Custom 3d Printed Pendant

I made a 3D printed custom pendant. My idea was to make it fit any old necklace or chain you might have lying around.
Supplies
3D printer
3D printing software
PLA 3D printing filament
PC/Mac
Designing the Pendant

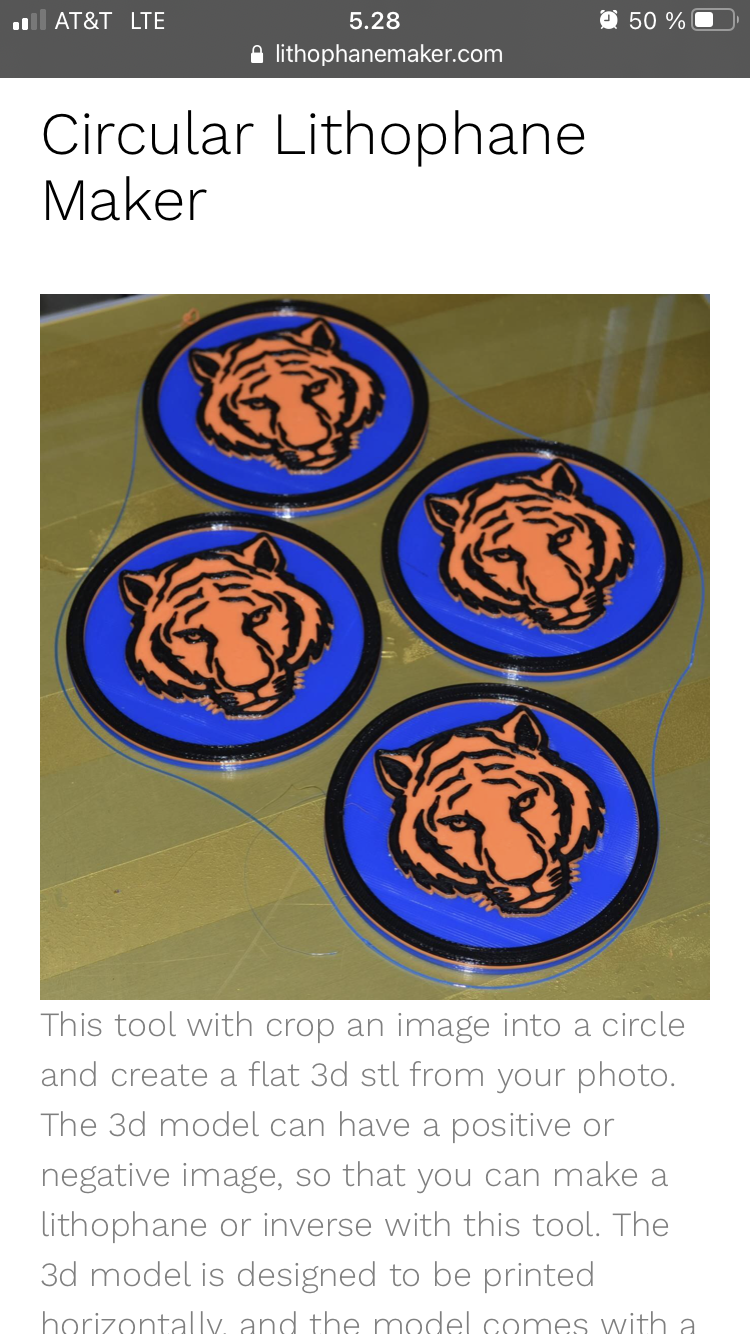
First, gather and set up all the tools you will need for this project. Once you're all set up, go to lithophanemaker.com on your computer. Many different kinds of lithophanes will show up. Scroll down and click on Circular Lithophane Maker.
Uploading and Cropping the Picture

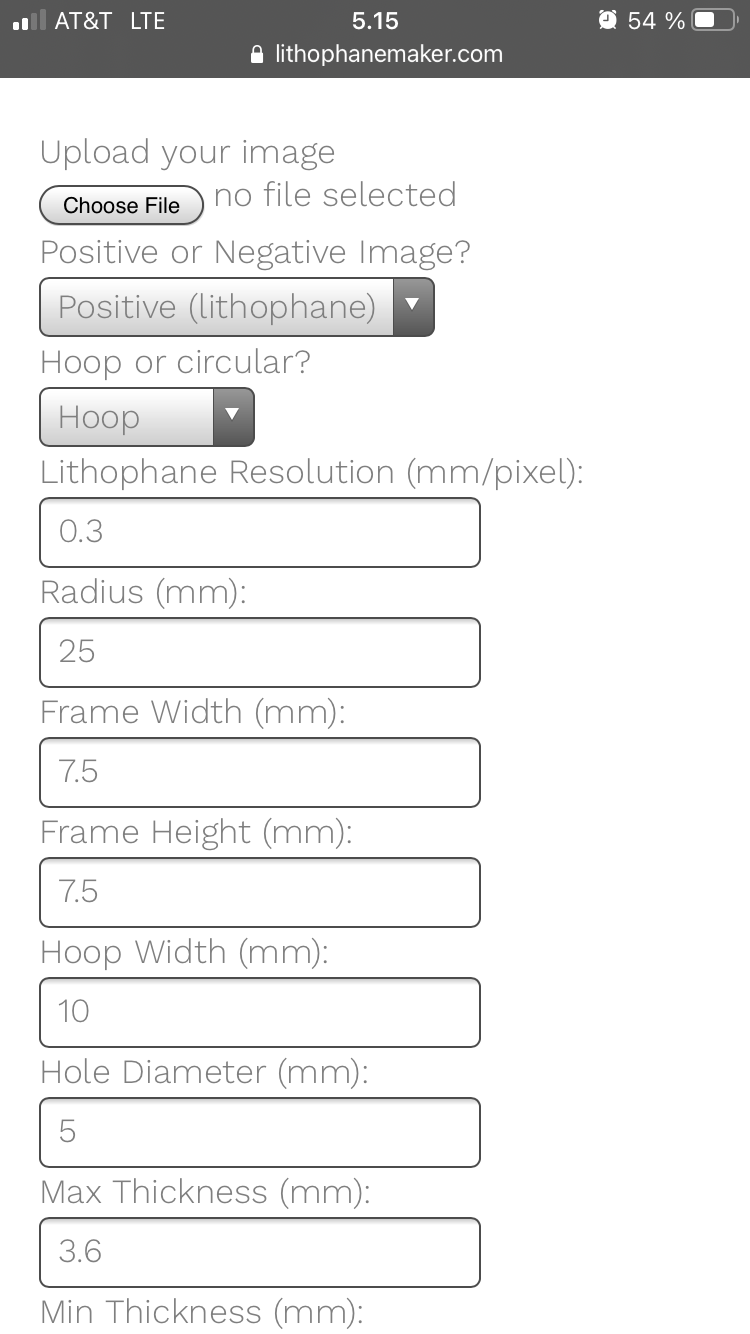
After you have decided what picture you will use for the pendant, you will want to upload the jpg file. You will do this by clicking on the choose file icon, which will take you to your computer’s files. After that, you can adjust the measurements to your liking. I found that doubling all the preset measurements gives you the best size for the pendant. When you are satisfied with all the settings, you should enter your email address into the correct box and click on the create stl icon.
Uploading Stl File to 3D Printing Software

After you have your stl file, you’ll want to open up any 3D printing software. I use Prusa Slicer, but any other software will work just as well. Just add the stl file to a new project, and you are ready to transfer the file to an sd card for printing.