Custom 3D Printed (in Silver) My Little Pony Charm
5118 Views, 49 Favorites, 0 Comments
Custom 3D Printed (in Silver) My Little Pony Charm
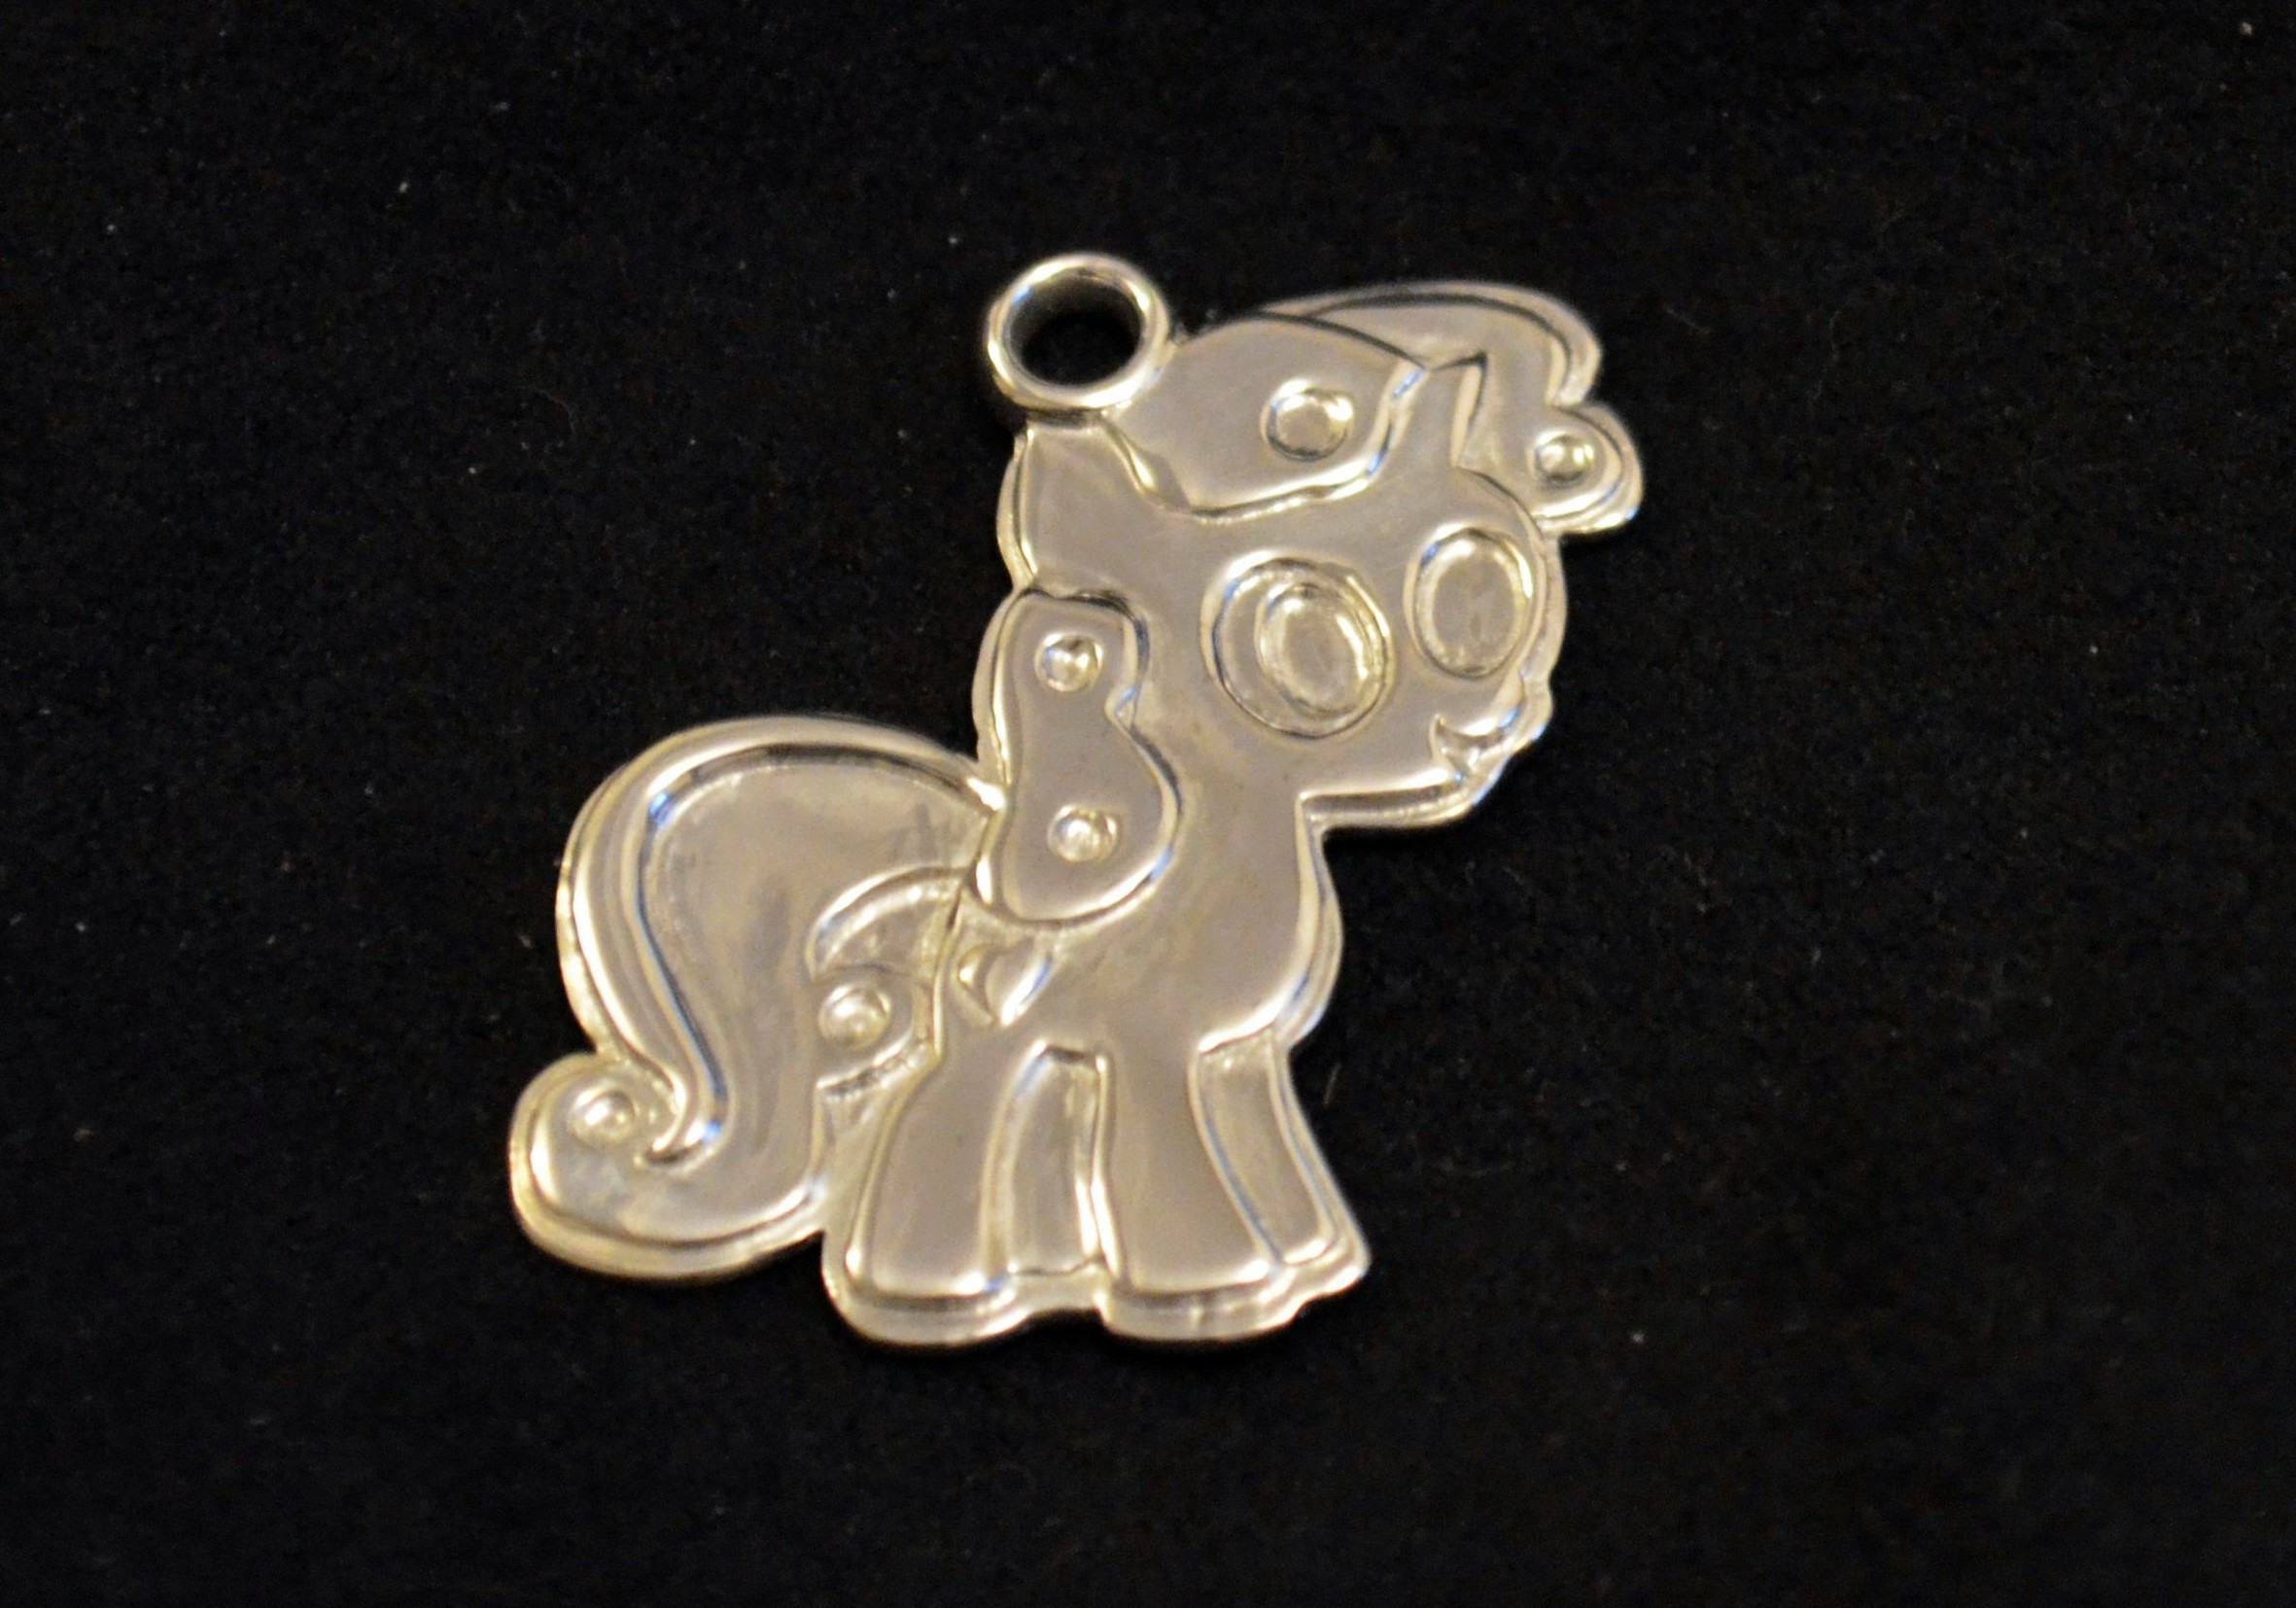
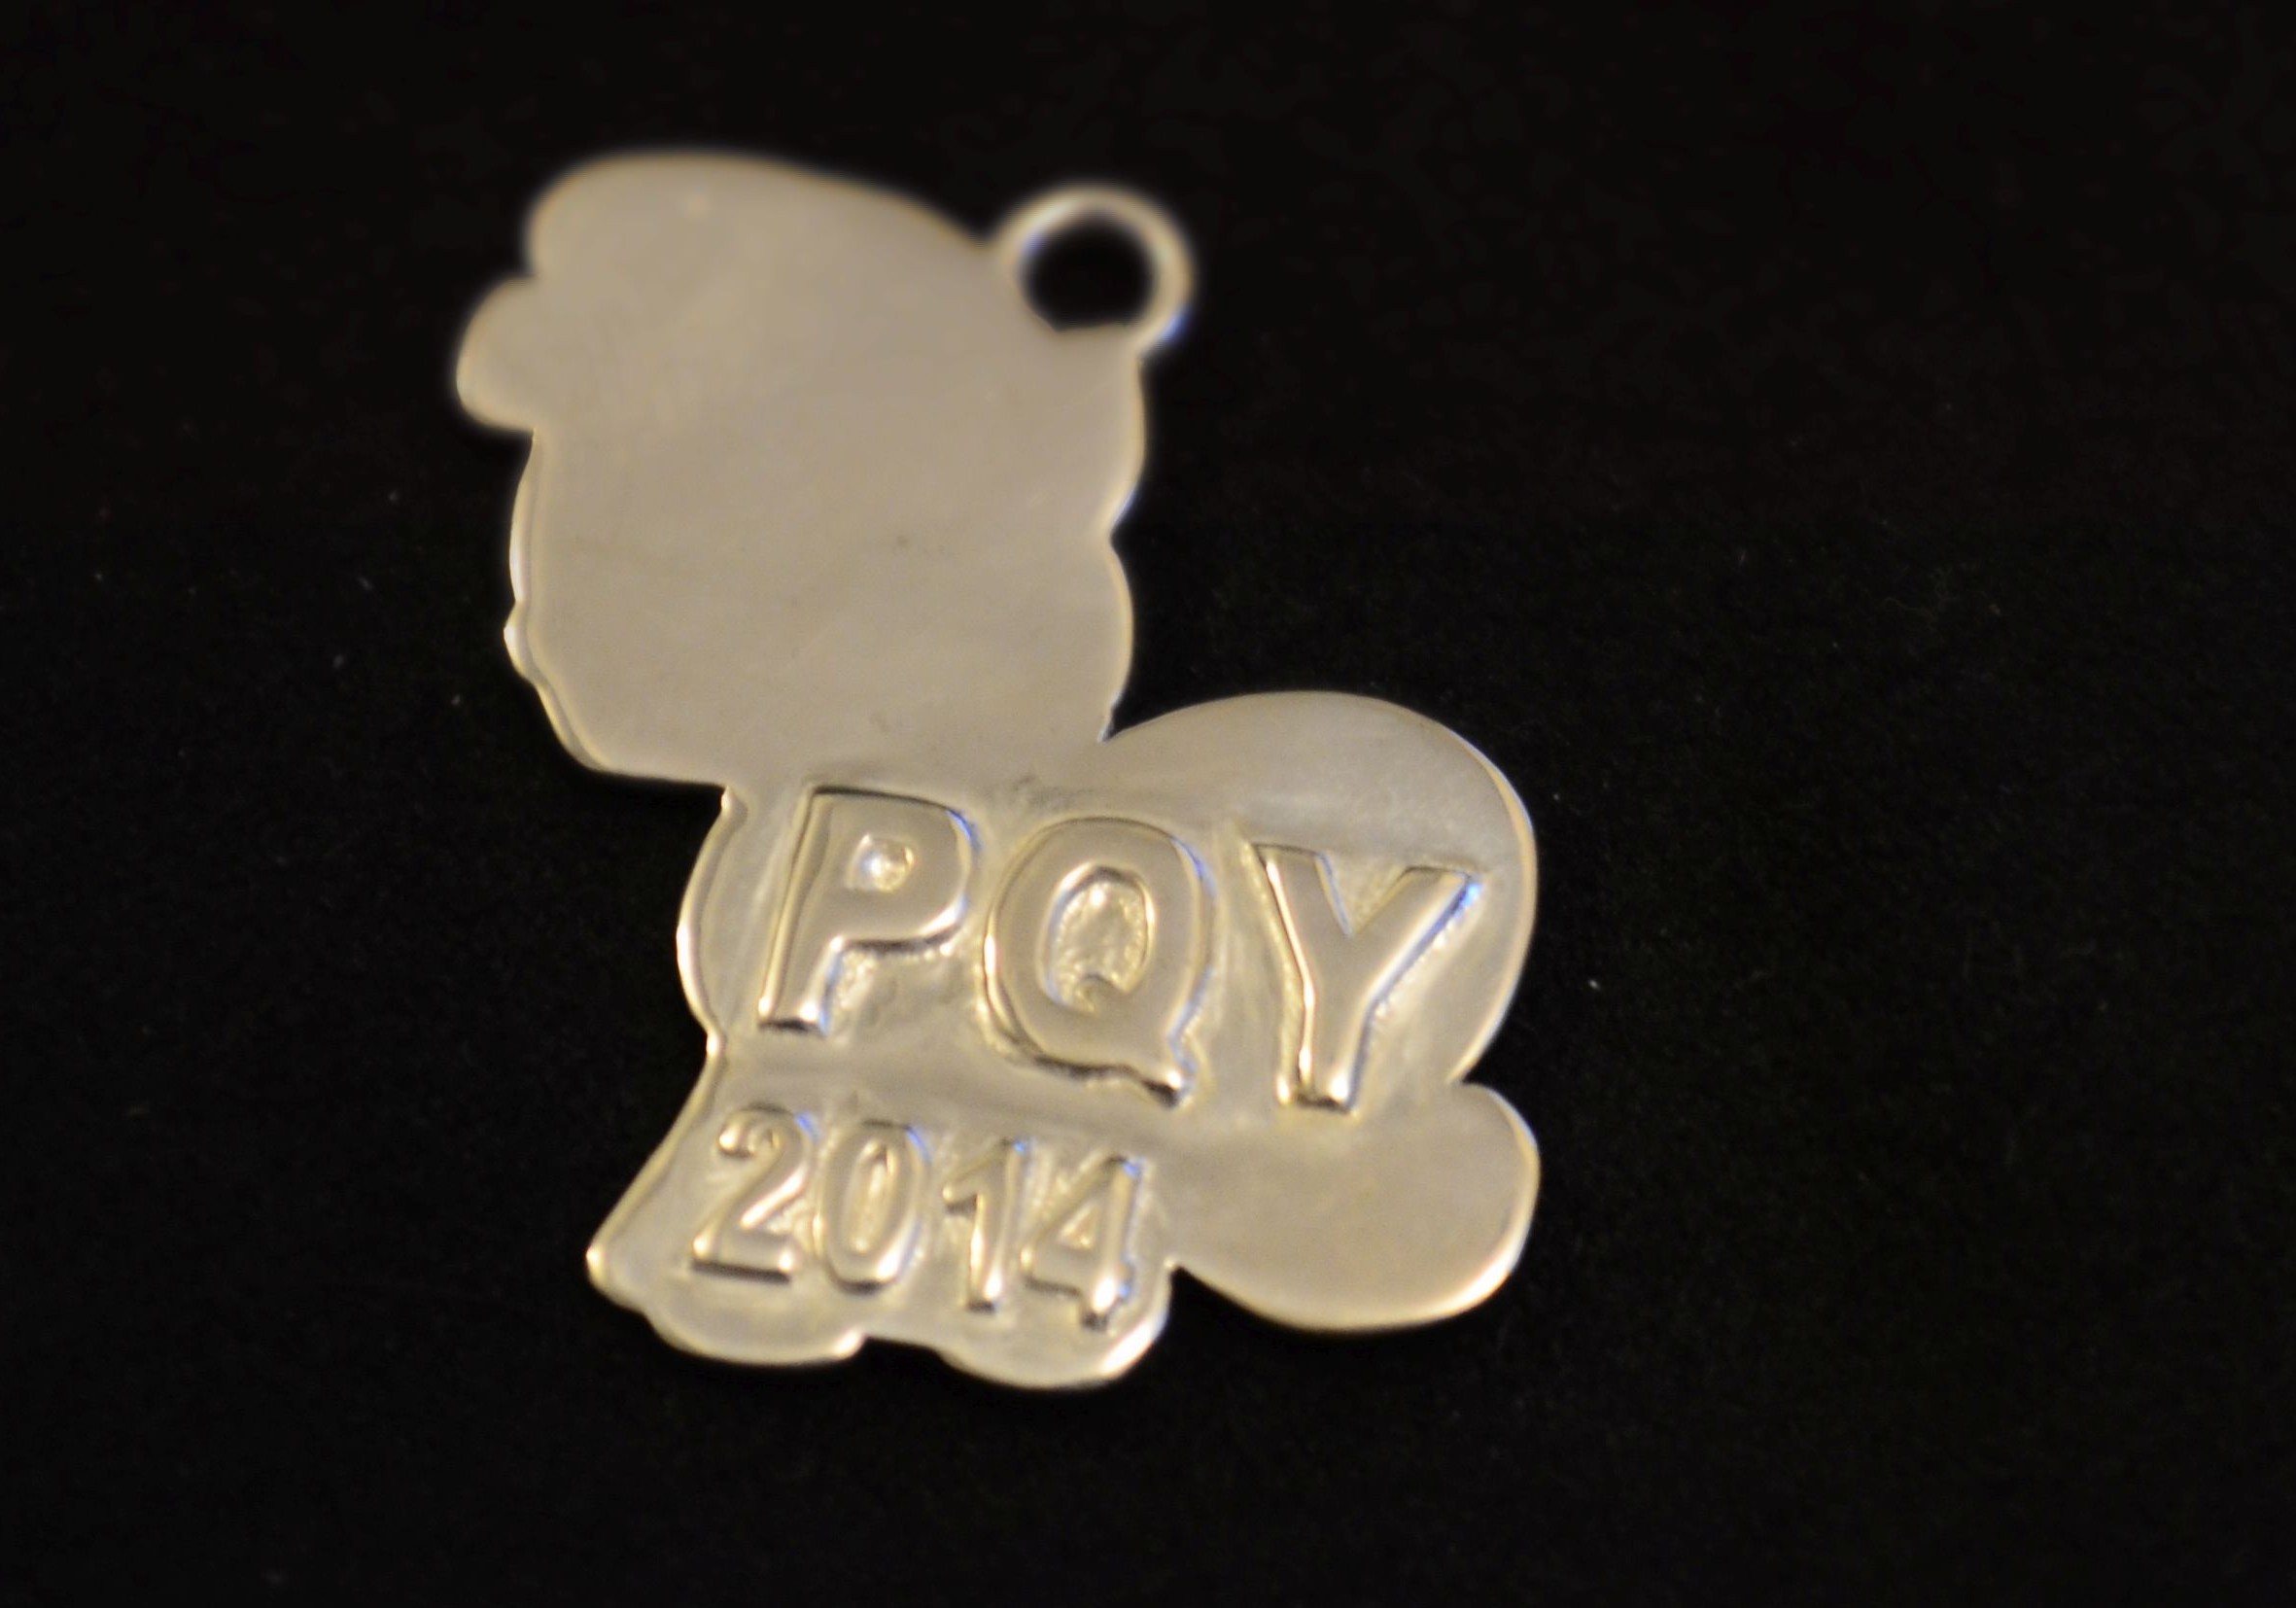
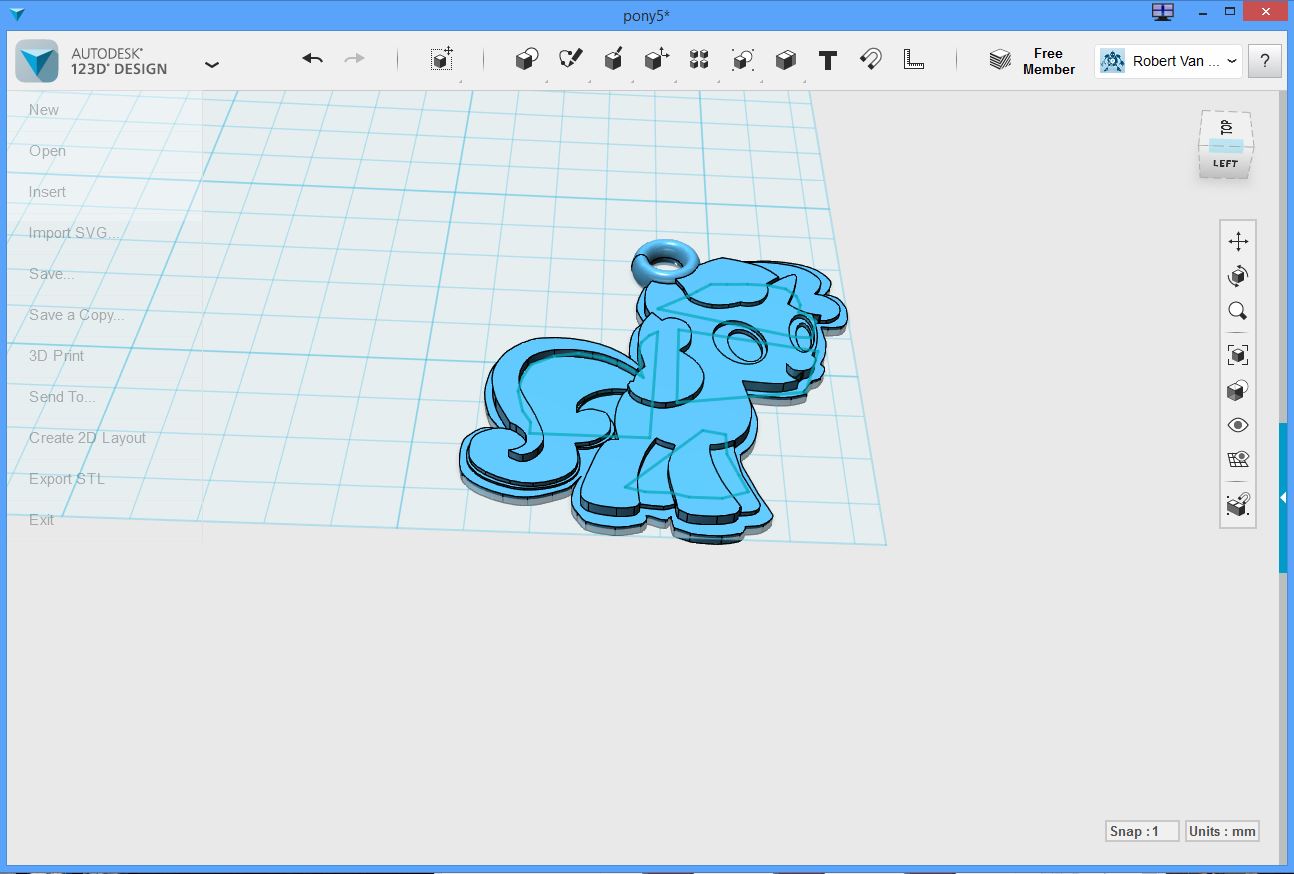
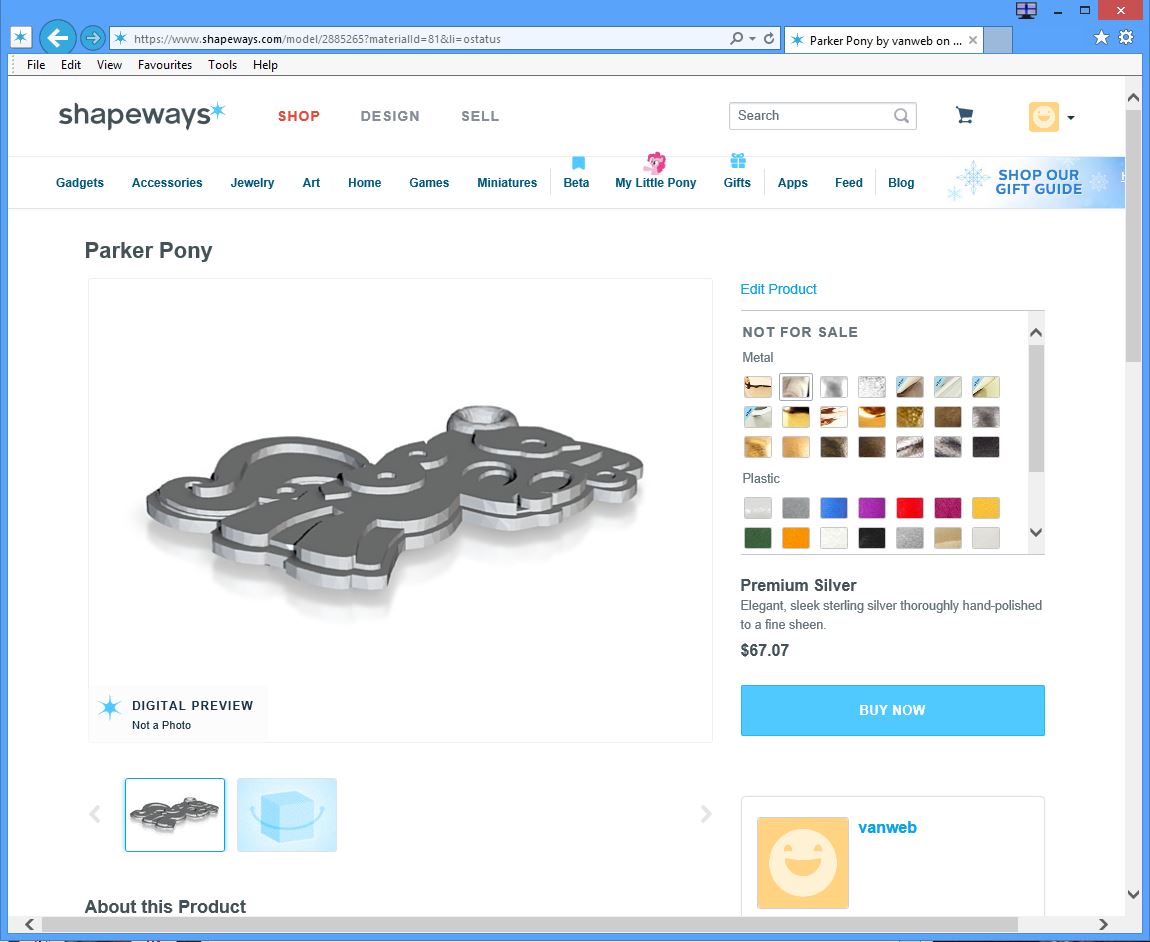
My 4 year old God-daughter loves My Little Pony (like all little girls it seems) but she has all of them and with Christmas coming up I needed a gift for her. Her second favourite thing is jewelry and unlike most 4 year olds she takes very good care of hers necklaces.
Below are the steps I went through to go from 2D drawing to a finished 3D charm.
In the Beginning...
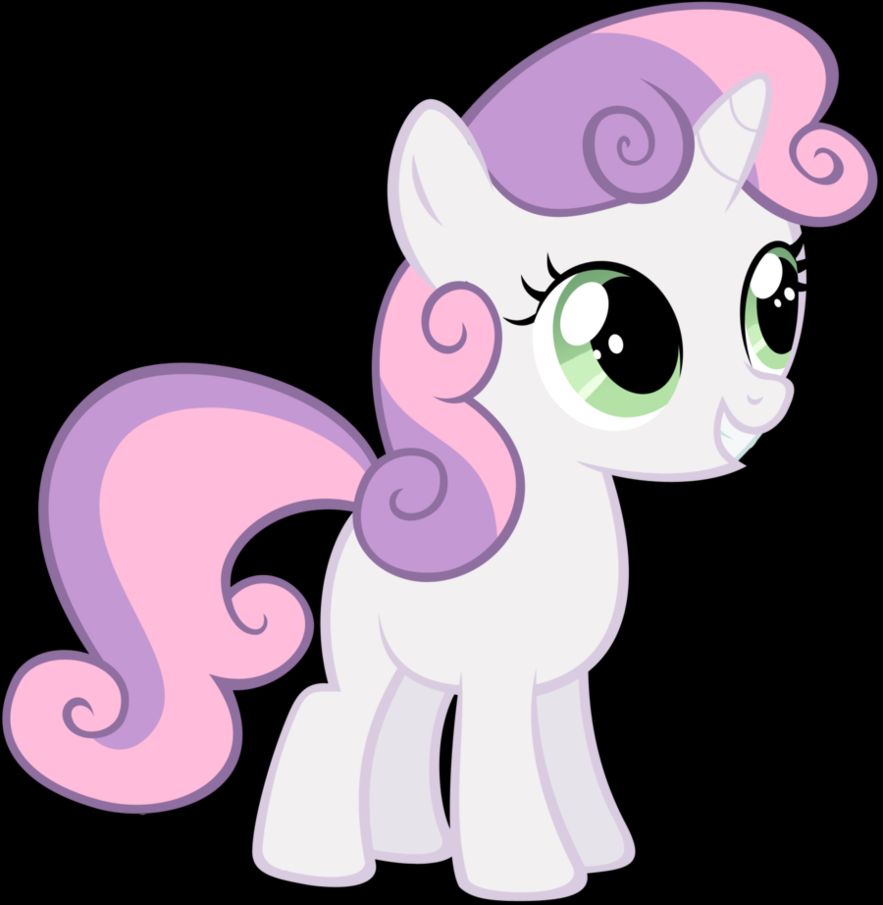
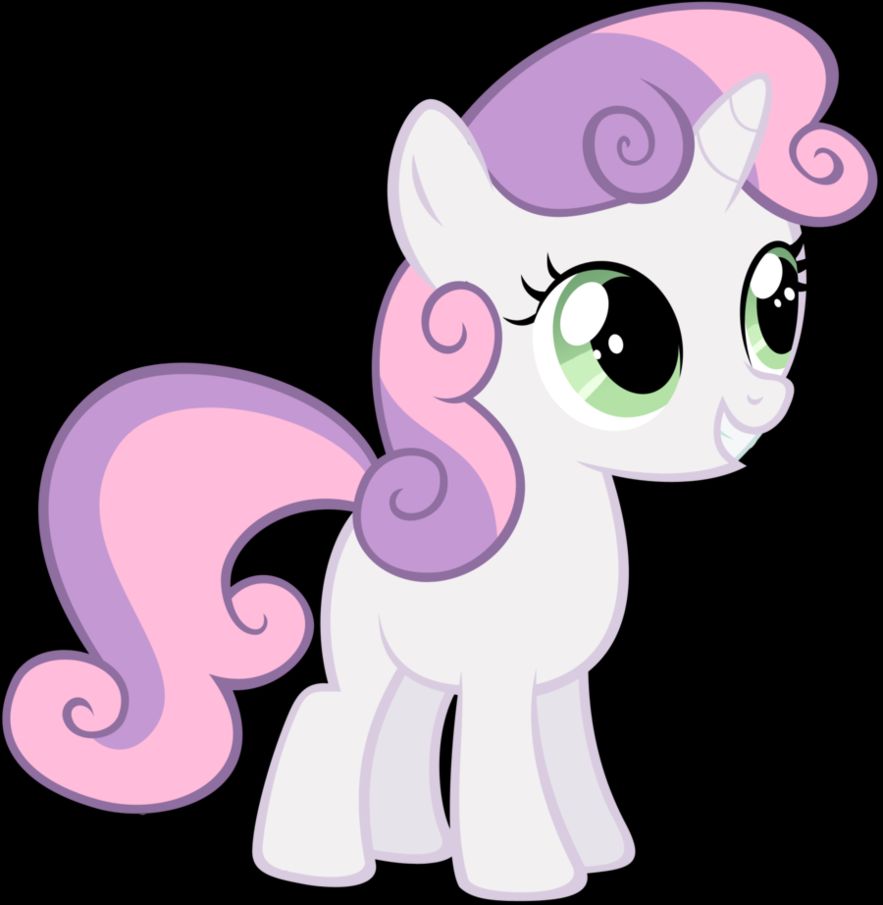
The first step is to find an image of the Pony (or any other object that you would like). I chose this image because it was fairly "solid" the legs and tail are very close to the body this way the finished charm will not have pieces that could easily break. If the tail was not attached fully to the body there would only be a couple of millimeters of metal holding it to the body. There was also some "texture" due to the curly hair which would make the finished object more interesting.
Trace the Image Into a Vector...
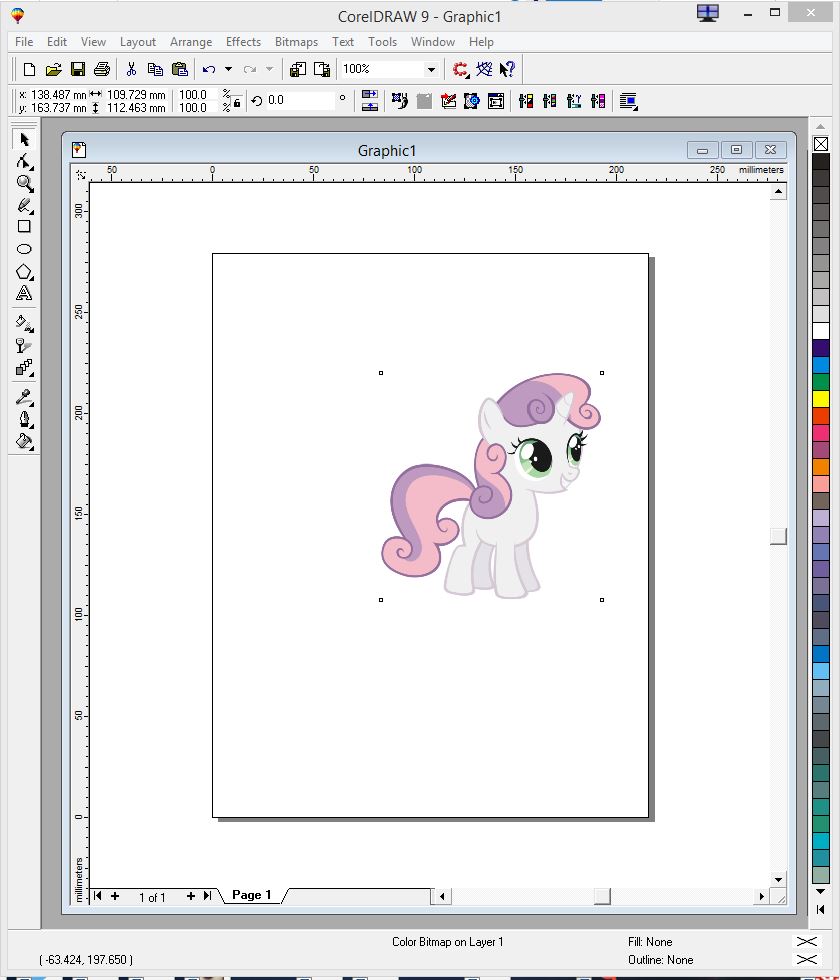
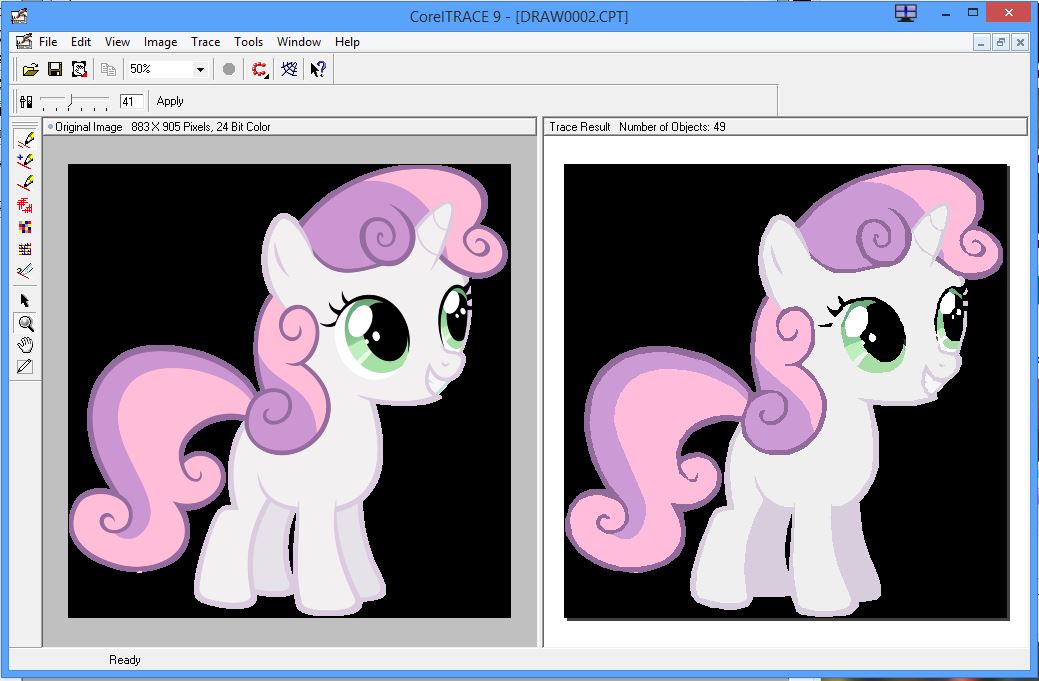
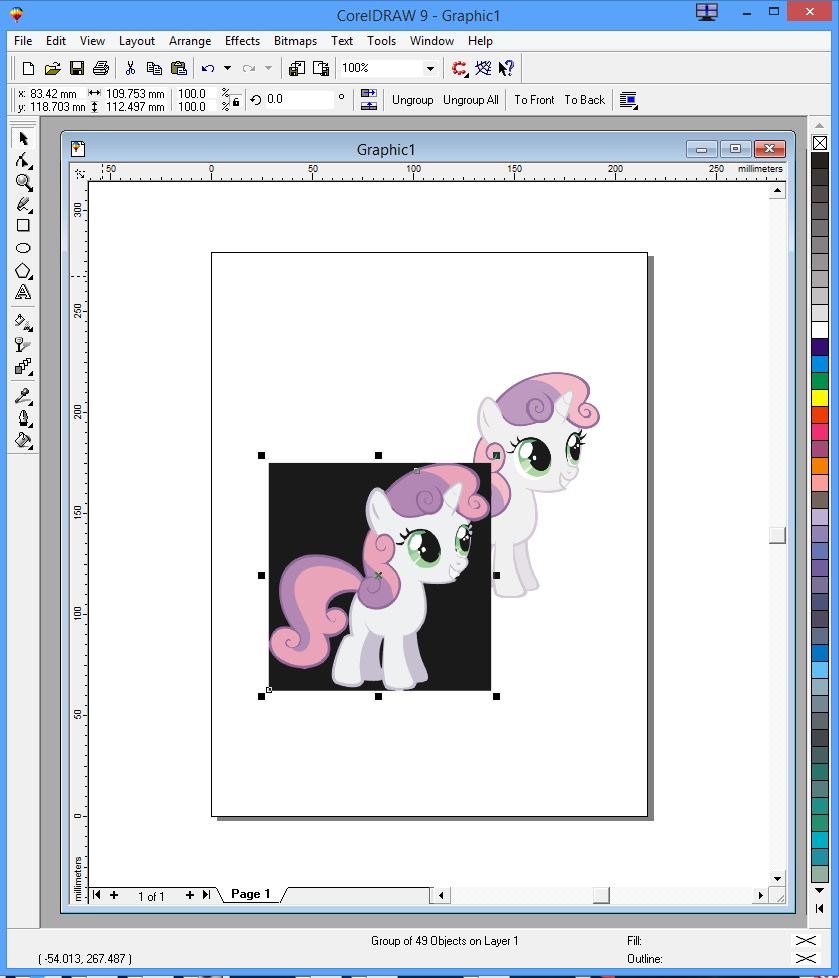
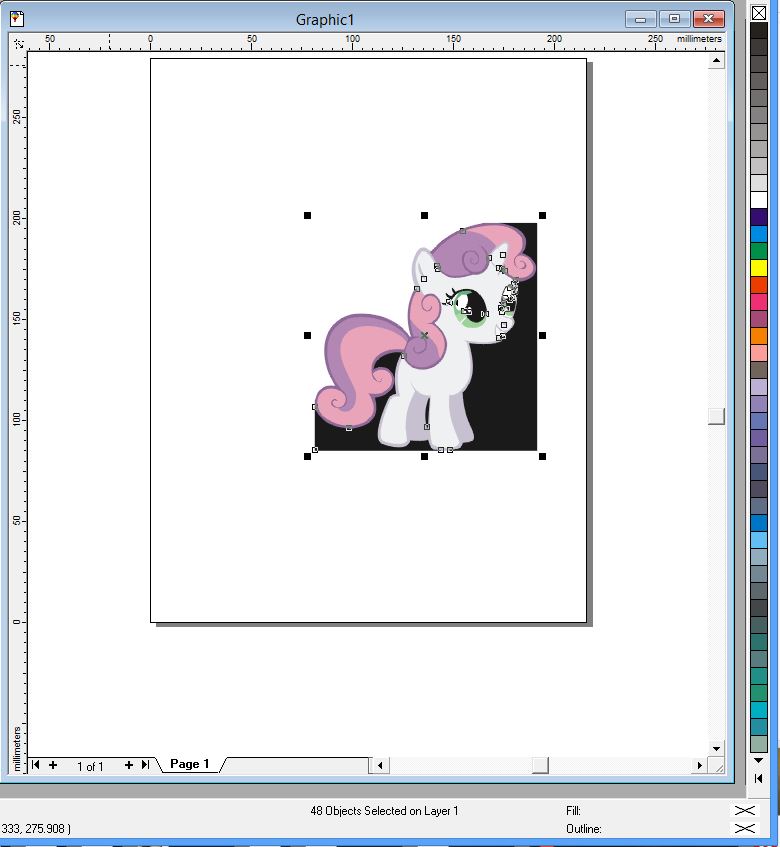
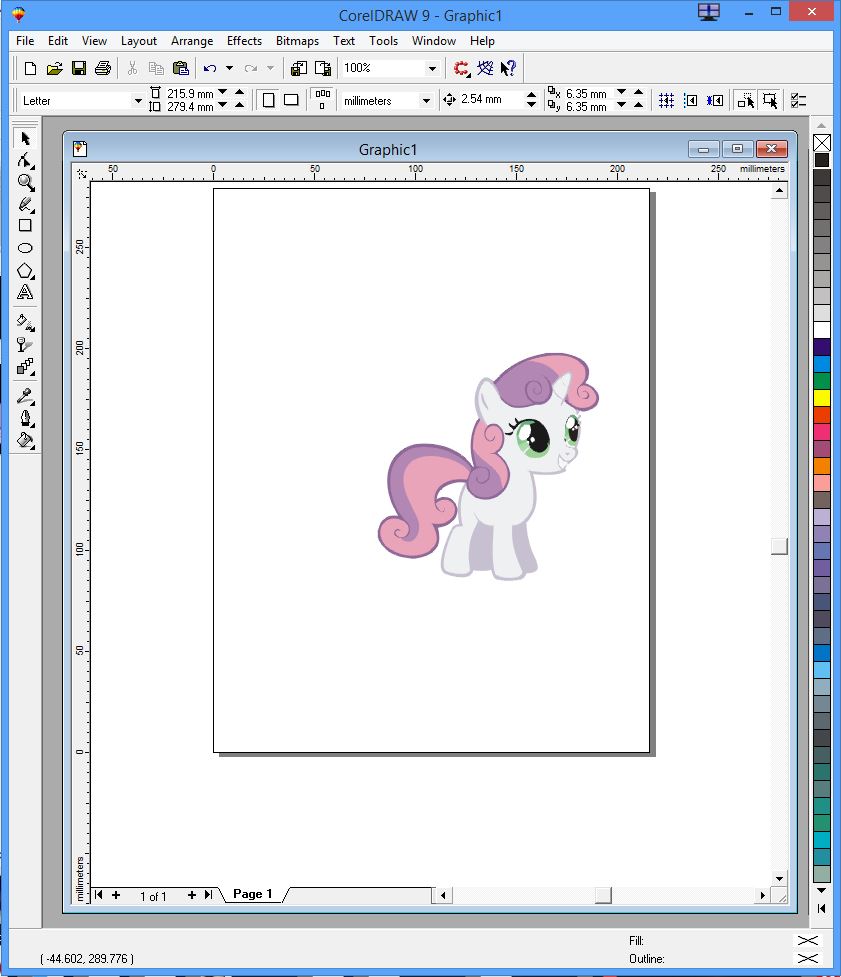
In order to use 3D software it is best to have a vector line drawing as an input file instead of a flat jpg as that way you can choose specific elements to work with. To convert the image I first imported the Pony jpg into Corel Draw as Corel has a Trace option that will convert a jpg into a vector.
- Open Corel Draw
- Create new drawing - "File" , "New"
- Add Pony jpg - "File", "Import"
- Select Pony jpg and click "Import"
- Resize image to fit page - Drag "resize squares" on lower right corner
- Open Trace - "Bitmaps", "Trace Bitmaps"
- Trace image - "Trace", "By Outline"
- Close Trace - "File", "Close", "File", "Exit"
There will now be two over lapping images, the original jpg and the traced vector. The top image is the vector. Drag it to the side and then select the jpg that is behind it. Delete this by clicking the "Delete" key. Now we need to simplify the vector image. This can be quite complicated and time consuming so I will gloss over this and assume that you know how to manipulate line vectors.
- Click on Image to select it then ungroup - "Arrange" , "Ungroup All"
- Delete Black background, click on background press "Delete" key
Simplify Vector...
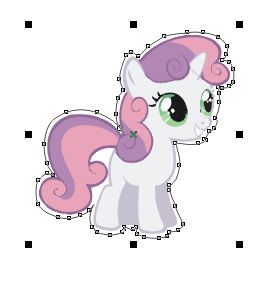
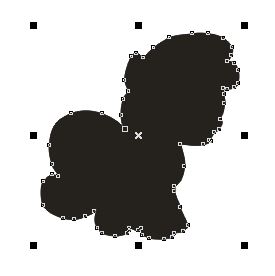
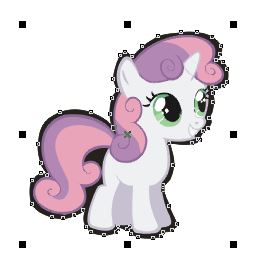
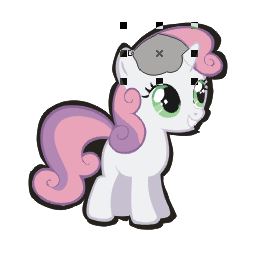
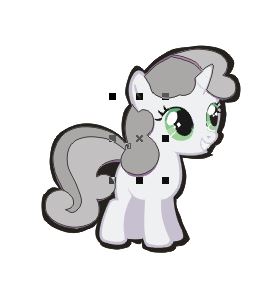
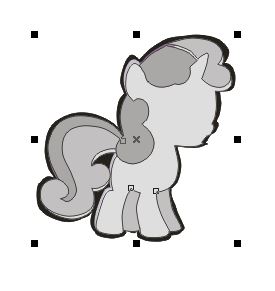
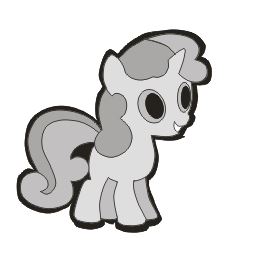
Use the "Pen" tool to draw a vector around the complete image. This will be the "background that will ensure all of the pieces are solid in the back. This should be just a couple of millimeters larger than the original image as you can see in the first image. Once the outline is complete fill the vector with black and then "Order" that to the back of the drawing. Then for each other part of the pony trace around the different colors and fill then with different shades of grey. You are able to add details into the image during the 3D process so things like the eyes and the curl details can be left out at this point.
Once you are done tracing all the parts select them and "Group" them into one object. Move this object and delete the original traced image. Save this simplified grouped vector as a ".cdr" file.
Convert Corel Draw to SVG for 123D Design...
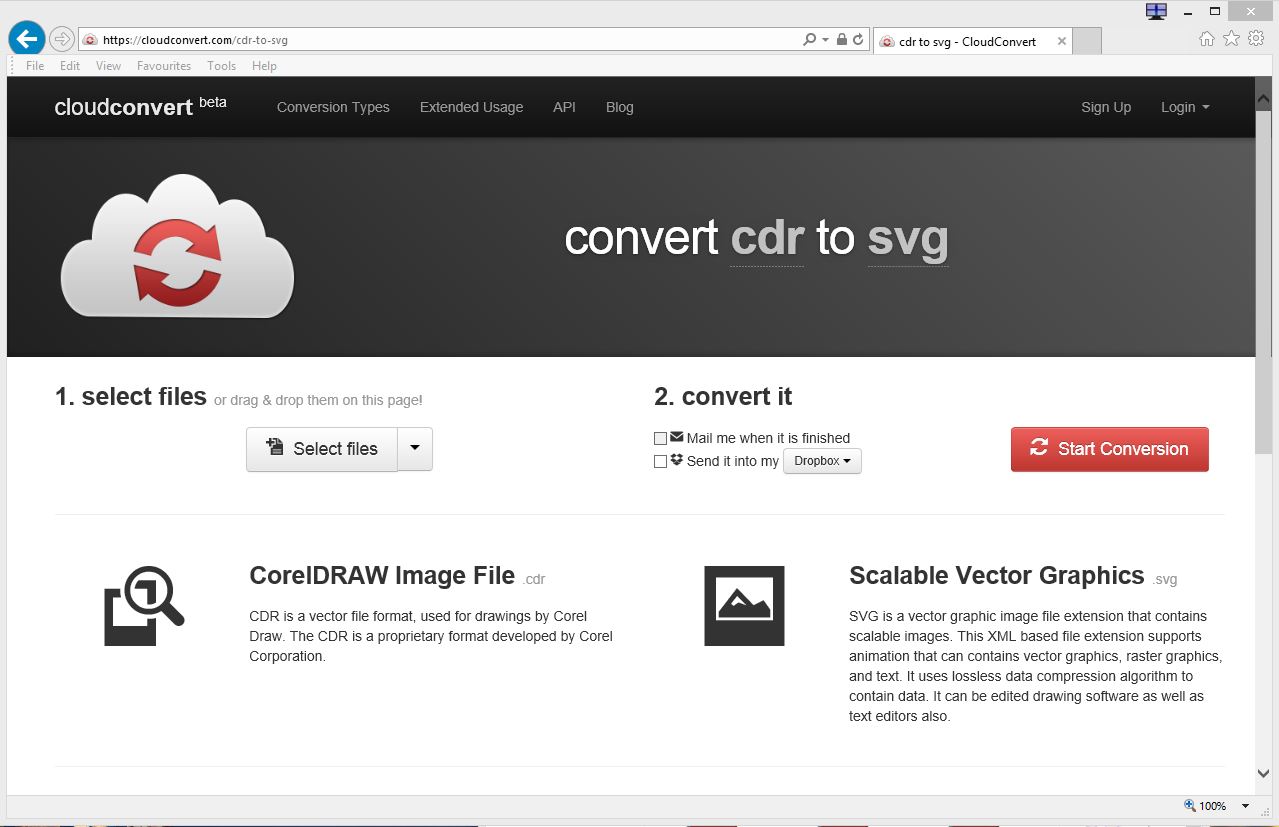
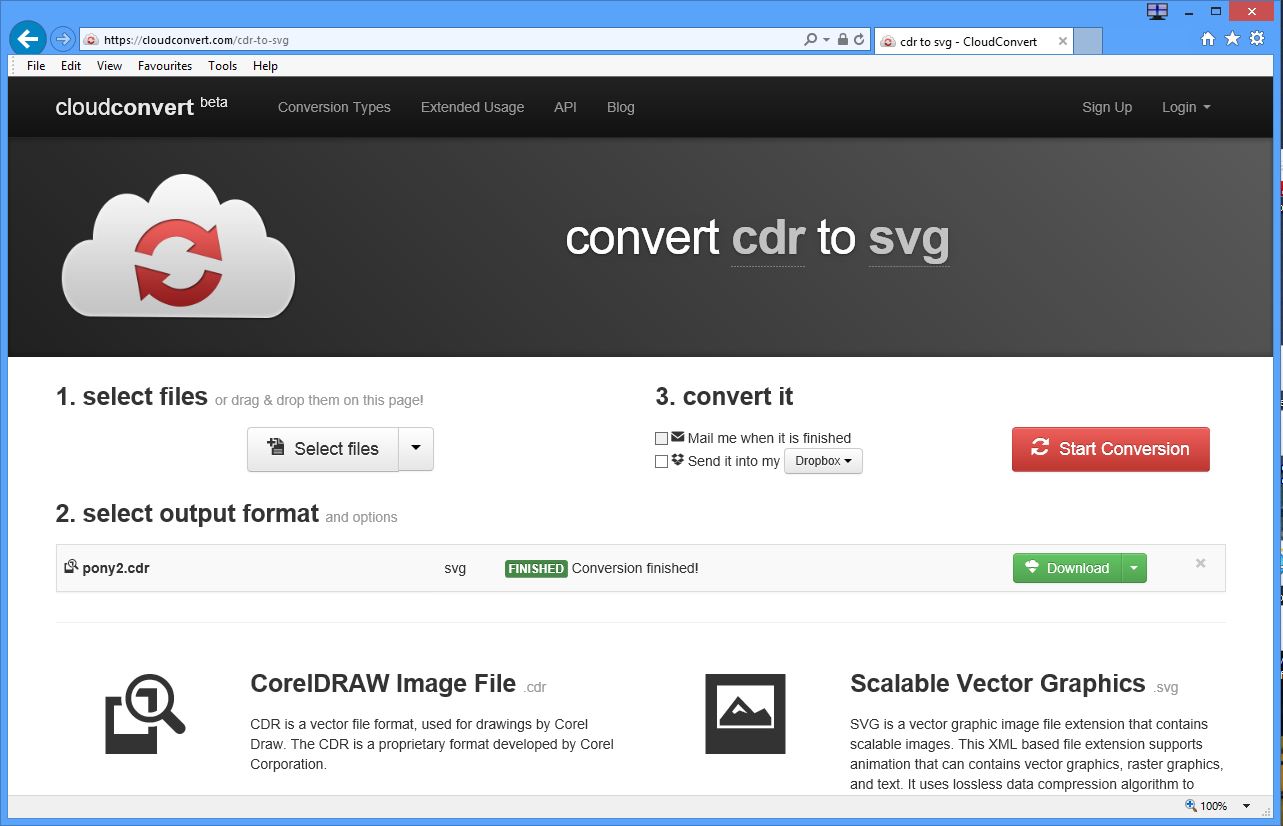
123D Design file type of choice is an "SVG" I did not have any luck exporting this file type from my older version of Corel Draw so I just saved it as a .cdr (Corel Draw native file type). I then used "CloudConvert.com" to convert the file. It is very easy, just open cloud convert in your web browser, choose the "CDR to SVG" option and select your Corel Draw file. Click the "Start Conversion" button and wait a couple of seconds. The button then turns into a green "Download" button. Just click this and download the file to your computer.
123D Design to Extrude the Pony Parts...
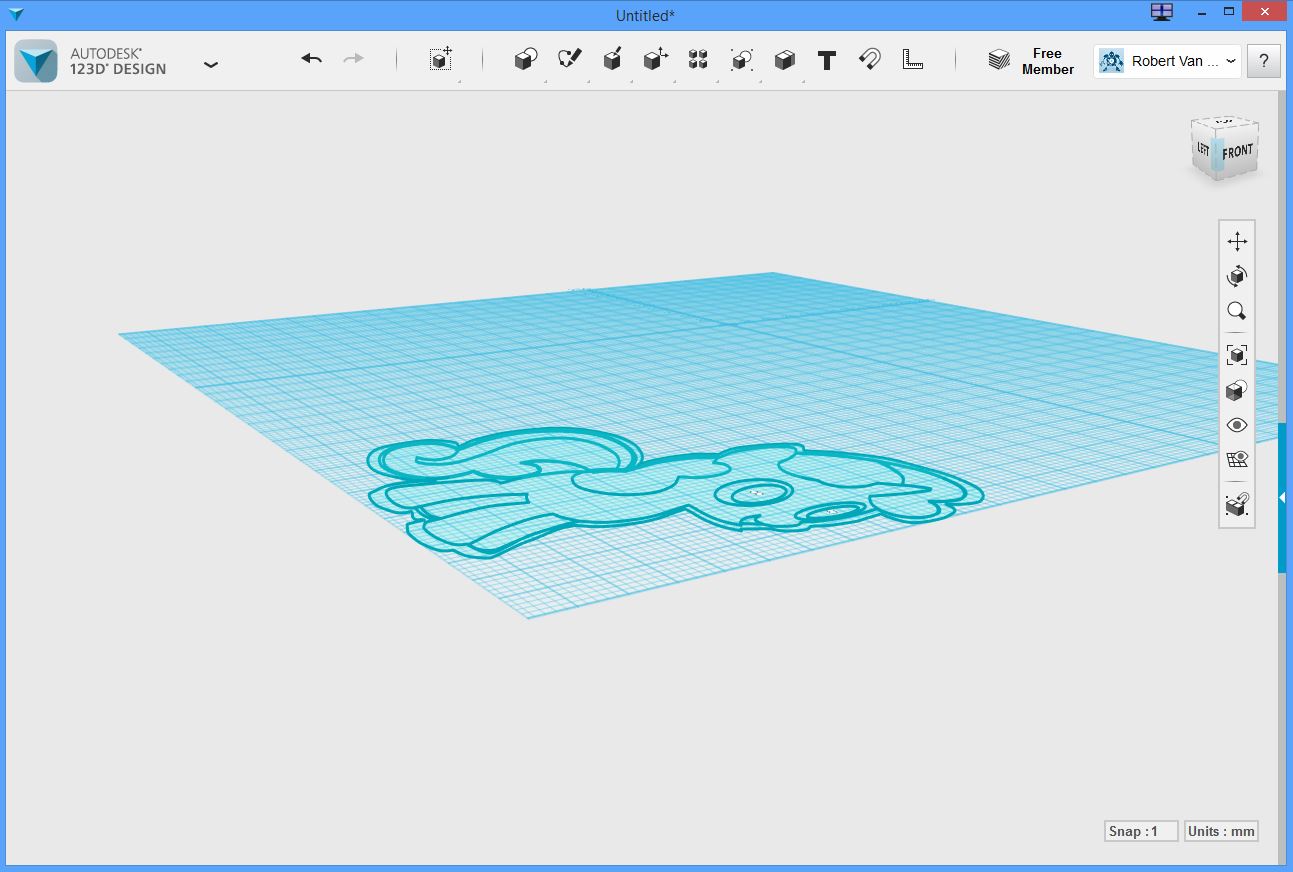
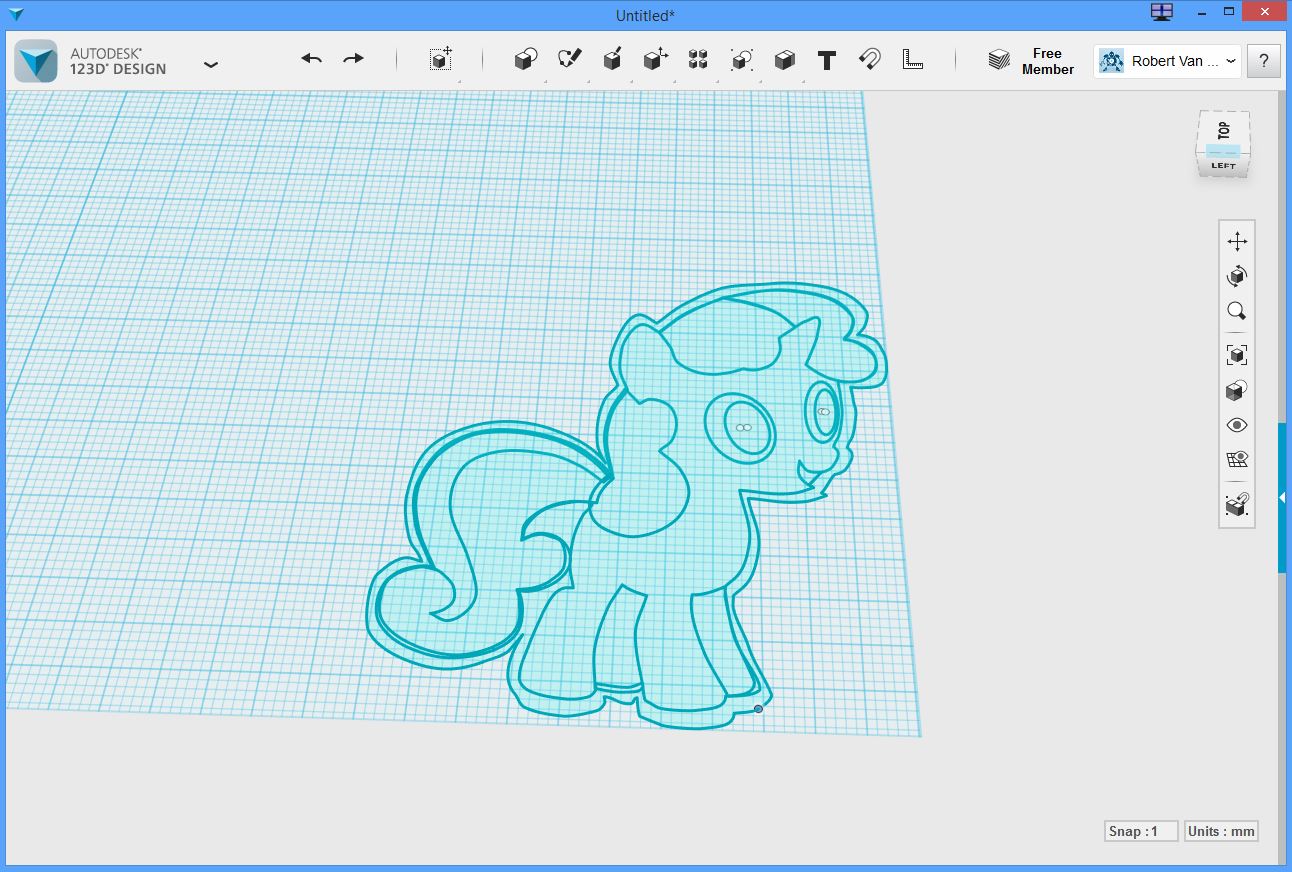
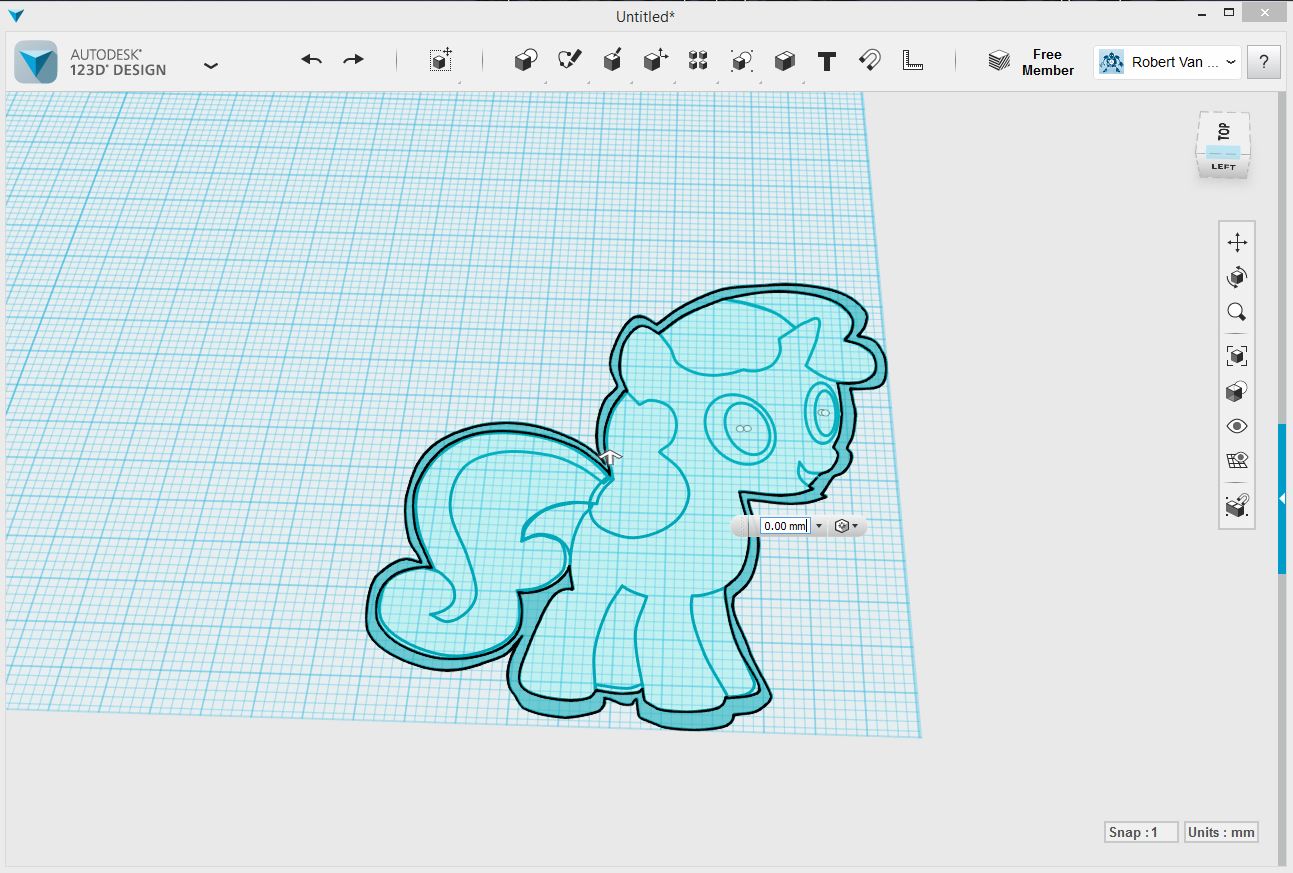
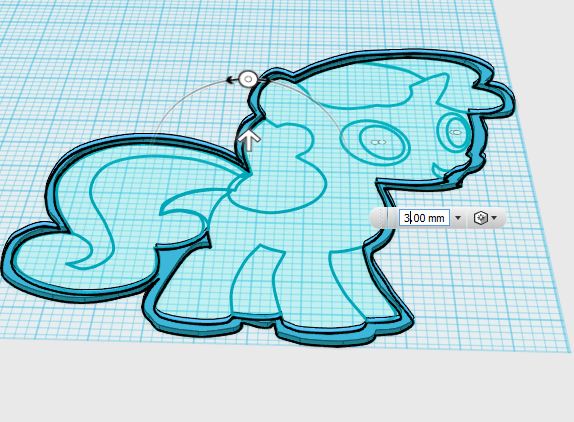
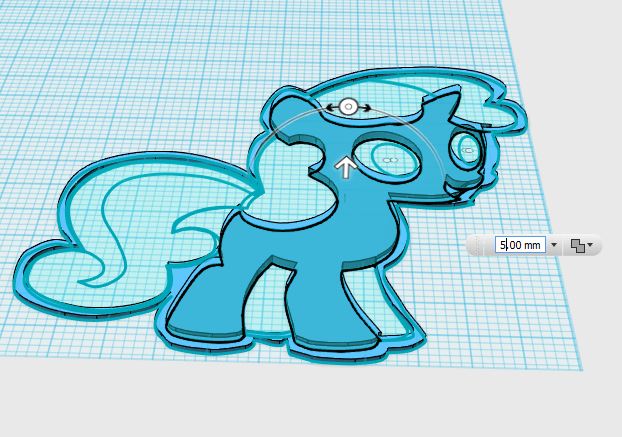
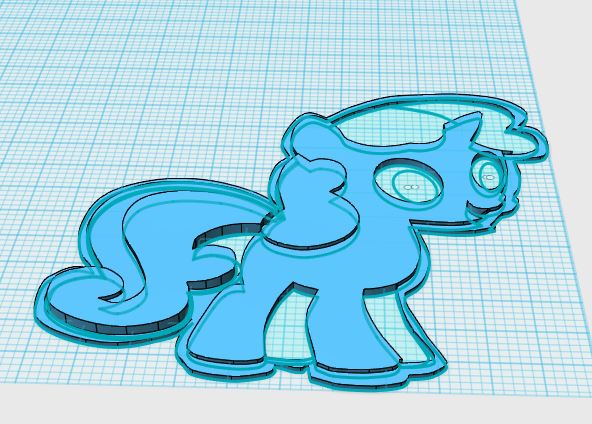
Open 123D Design and select "Import SVG", "As Sketch". You will see the Pont on the flat grid. What you need to do now is use the "Extrude" tool to lift the different sections to differing heights. This will give the "flat" charm a 3D appearance without being a full 3D horse. The heights of the differing sections are arbitrary but things like the Mane of the horse should be higher than the face of the pony. And the mane that is closer to you (by the ear) should be higher than the mane that is on the top of the head.
To start select the "background" that we first created in Corel Draw. click on the face of this area to select it then click the "construct" icon on the top tool bar (3D box with a pen on top) then select "Extrude" (3D box with an arrow pointing up on top). You will see an input box where you can type the height to extrude that section. Move to the next section and repeat until you are done.
Add a Ring...
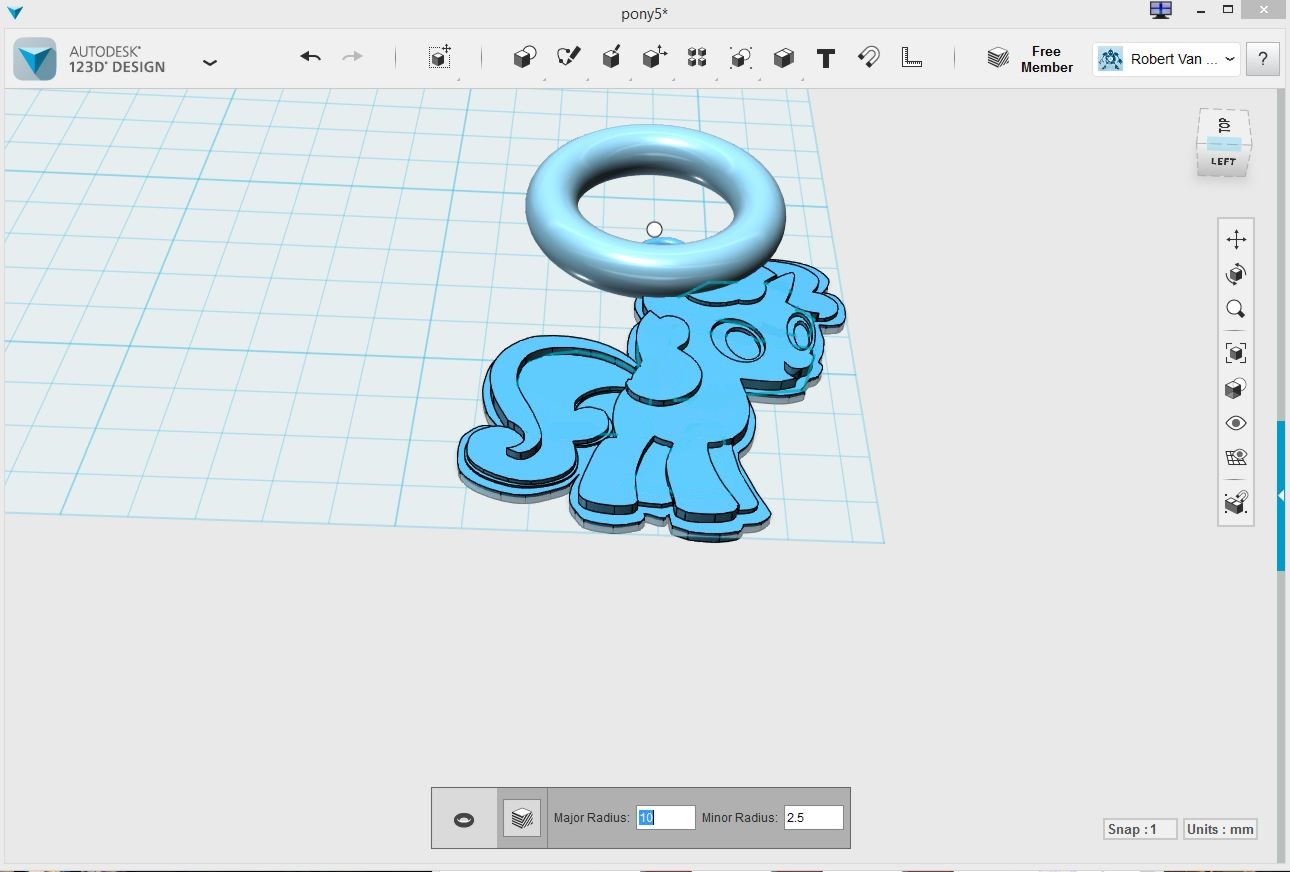
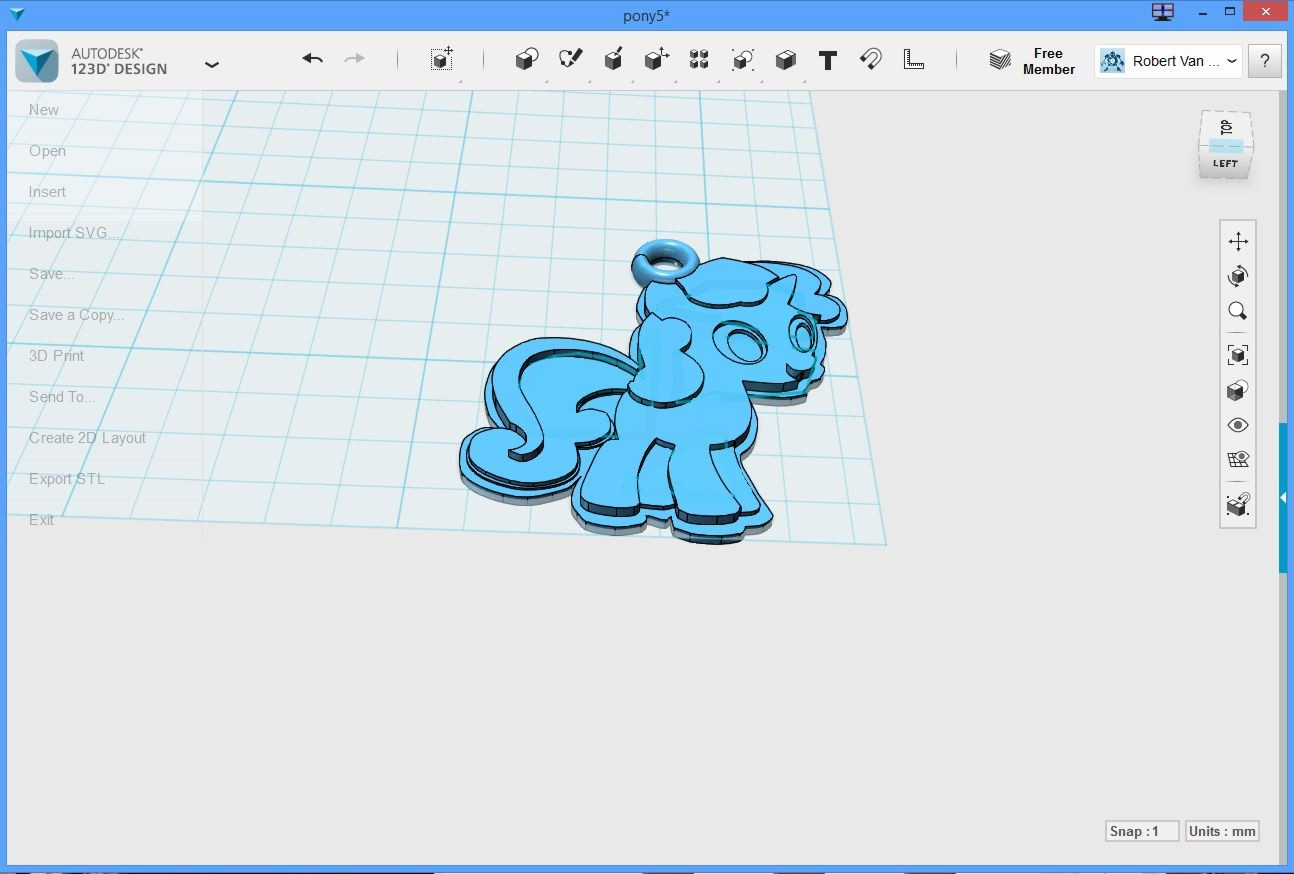
In order to hang the charm on a bracelet of a necklace there needs to be a ring on the pony. Click the "Primitives" icon on the top toolbar (3D box with a circle on the top). Then select the Torus (donut), adjust the Major and Minor radius to match the size of the charm and place this just above the ear or the Pony. Select all objects and click "Combine" icon (2 - 3D boxes together) then click "Merge" icon (3D box with a circle embedded in it).
Export the 3D image as an STL file.
A Little Tinkering...
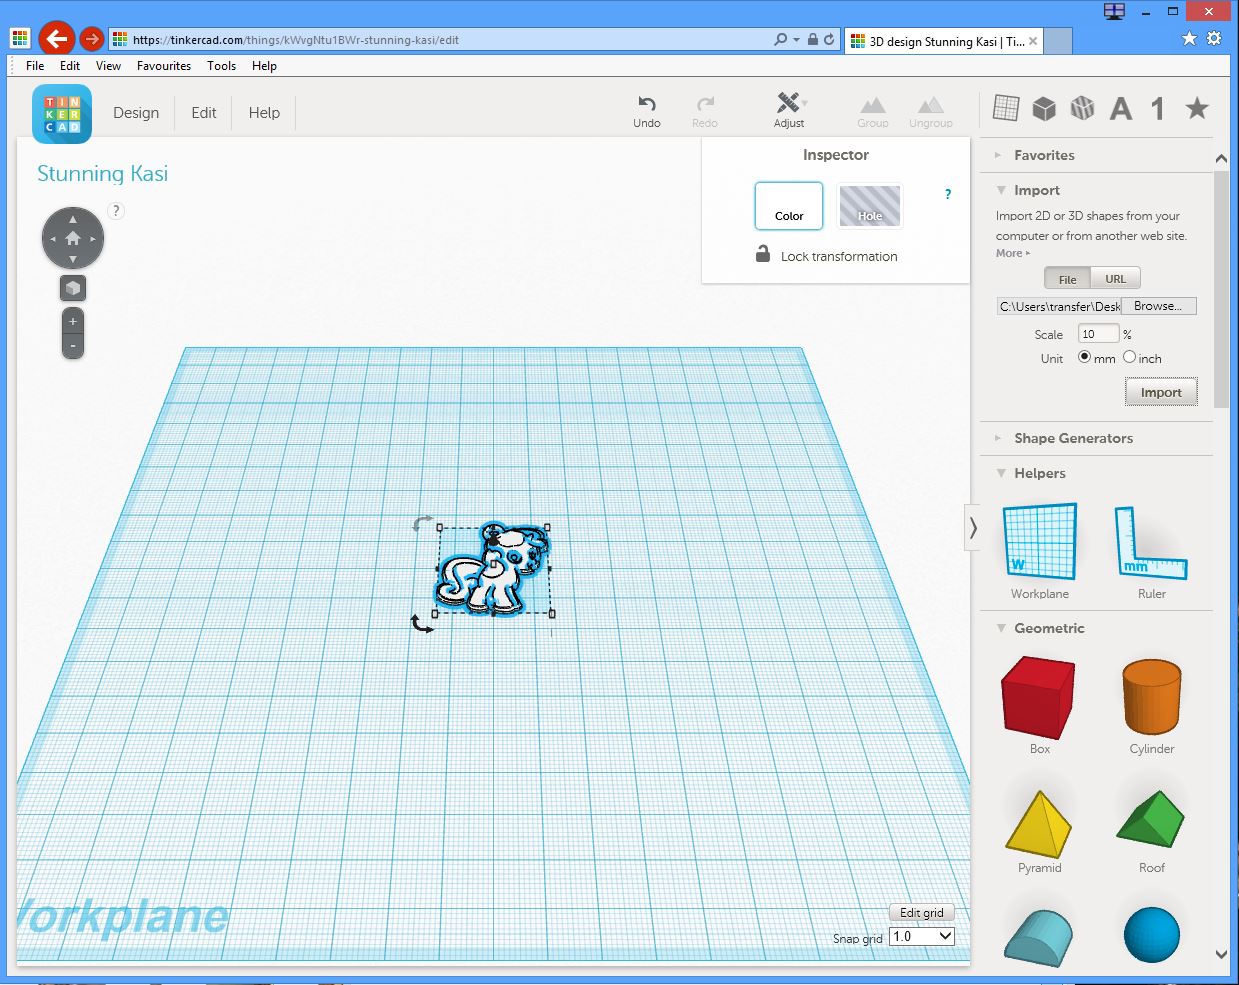
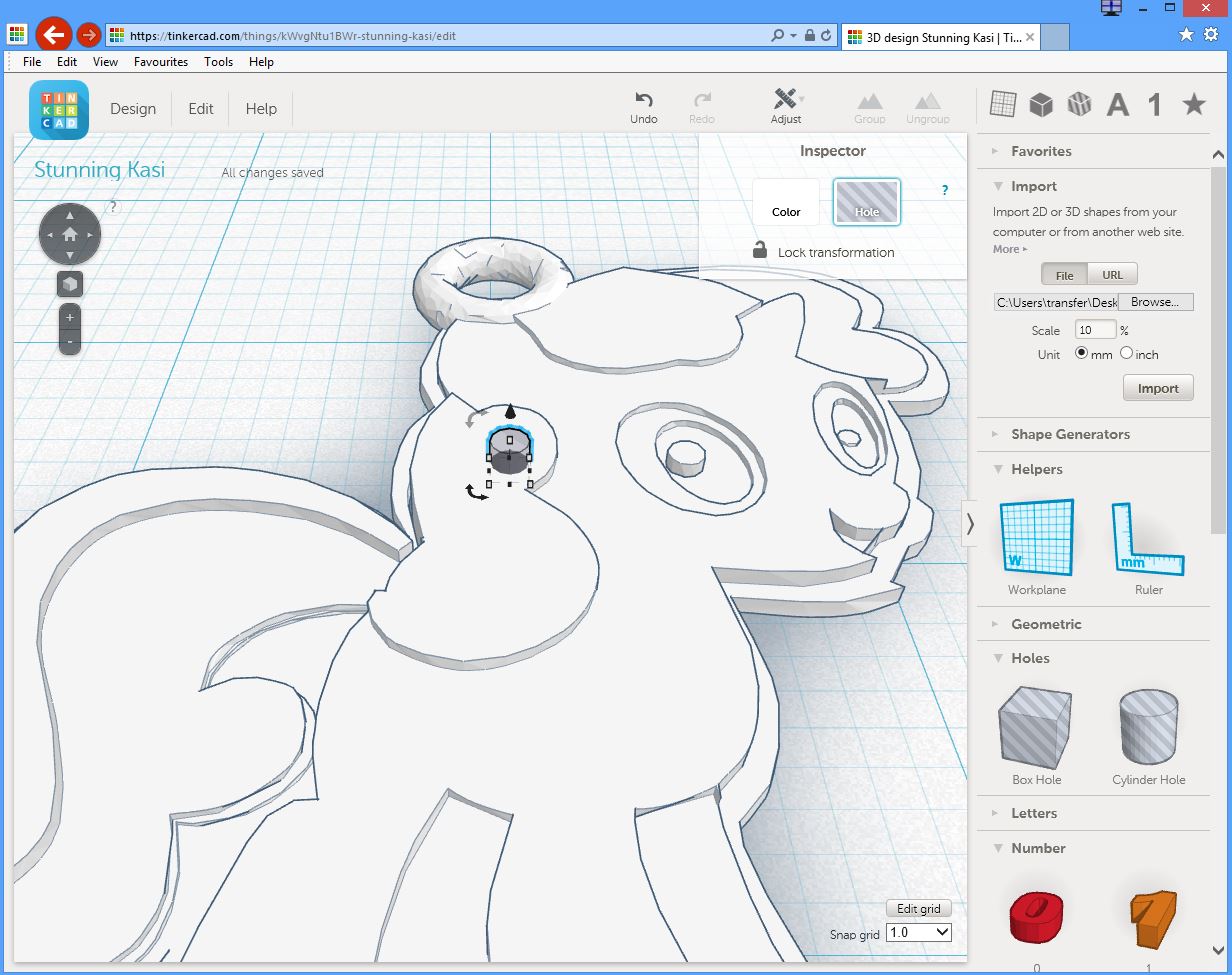
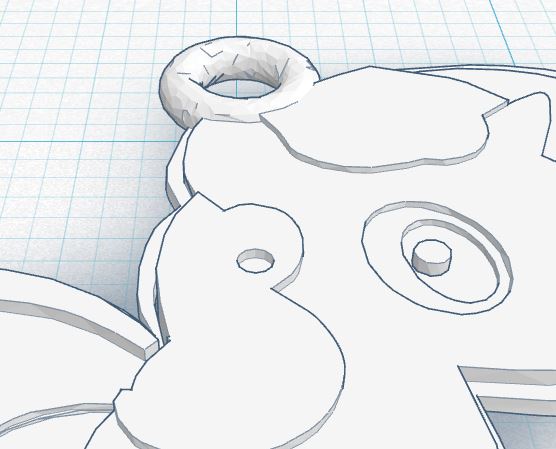
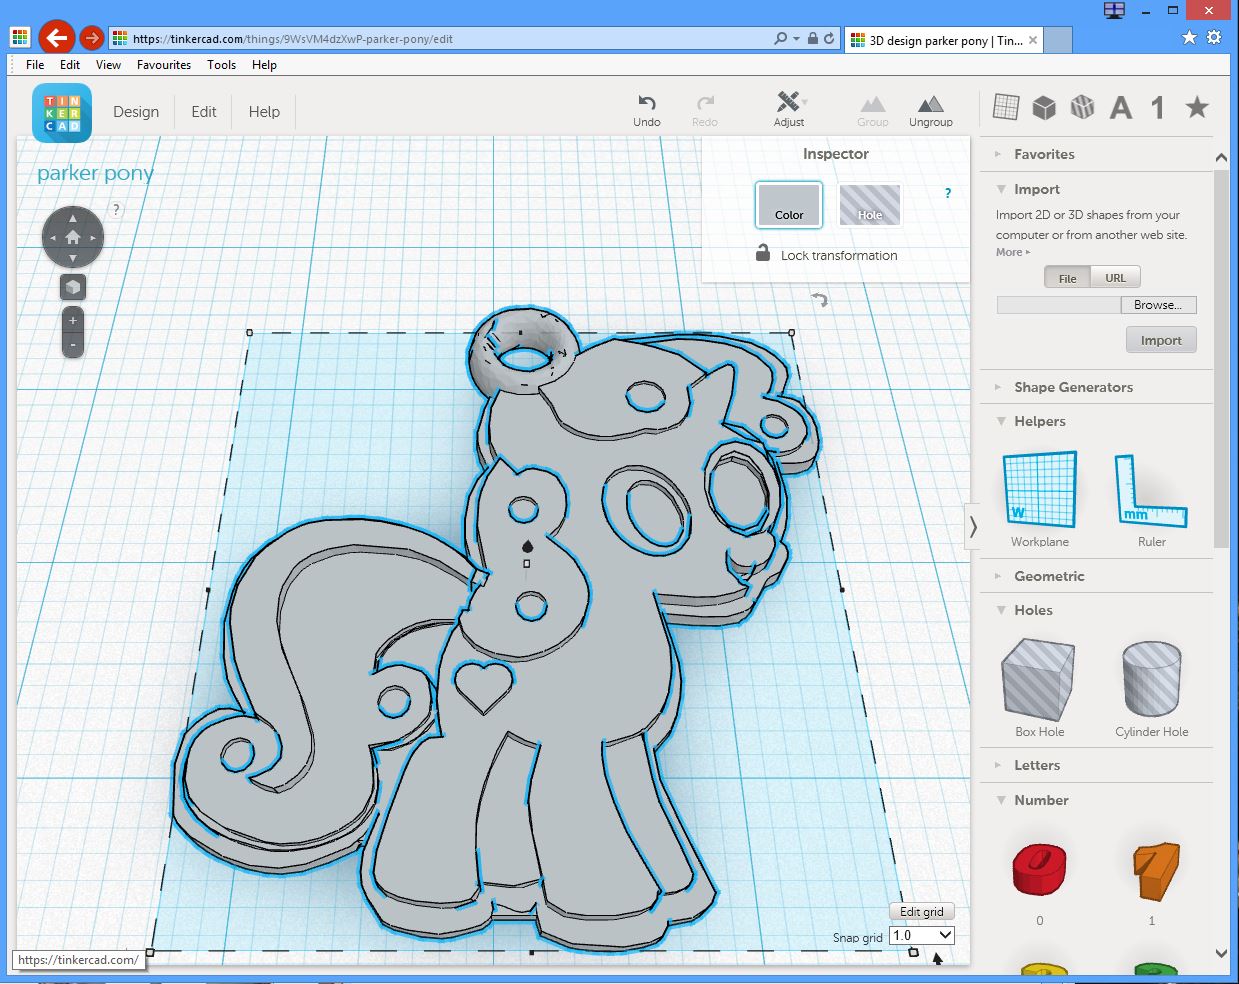
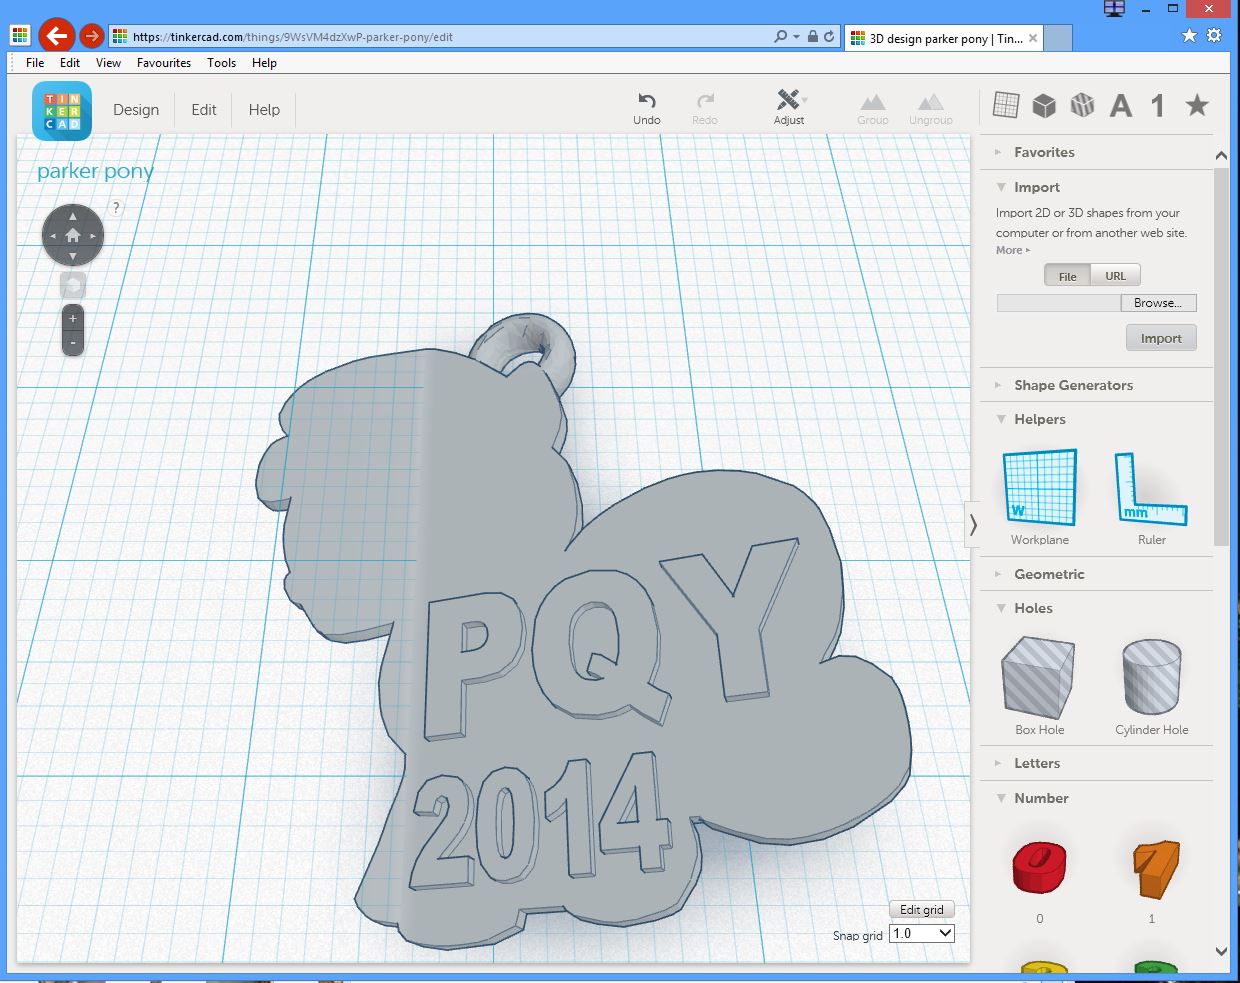
I was looking at the Pony and felt it needed a bit more BLING... I wanted to add some more texture to it which would involve adding some circle indents where the hair curls would be. I find it easier to do this with TinkerCad as they have a great "Hole" function. I opened the STL file created in the previous step with TinkerCad. With this I added holes where the curls were in the Pony's mane. I also added a "Heart" (a TinkerCad native object) to the Pony's hip.
The last step was to add my God-Daughter initials and the year on the back. Again TinkerCad had built in letter and numbers that could be easily placed on objects and sized correctly. TinkerCad also has a function to directly export the final 3D file to Shapeways (Shapeways is a commercial online 3D printing company that prints in many different materials including Silver).
Note: I am not including the STL files for this project for two reasons:
- There are copyright issues because this is a copyrighted design of "My Little Pony" I am sure there is no problem to make one for my little girl but to make it public and potentially have someone produce them in quantity could cause some issues.
- My God-Daughters initials and the year is embedded in the object. I "Merged" these objects into the pony when I saved it so that I cannot easily remove them.
Make It Shine...
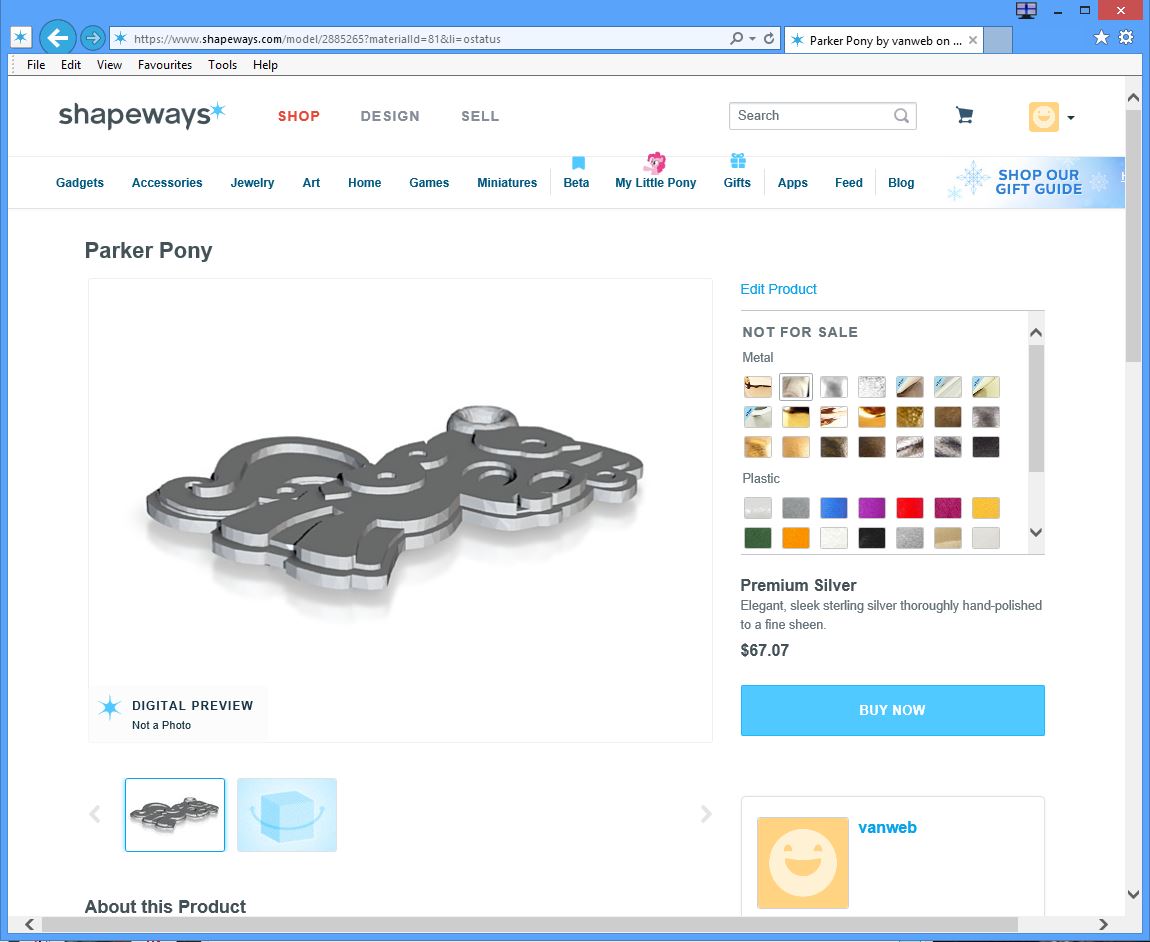
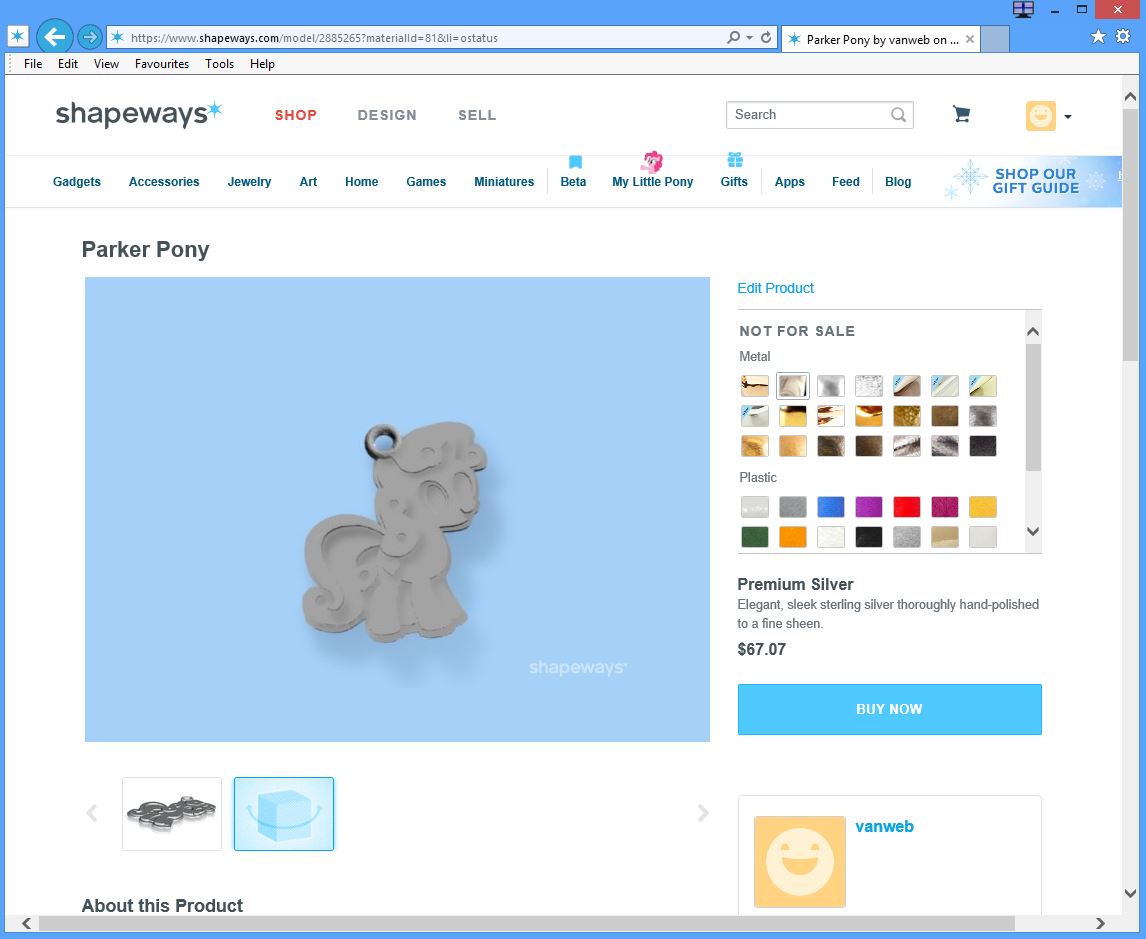
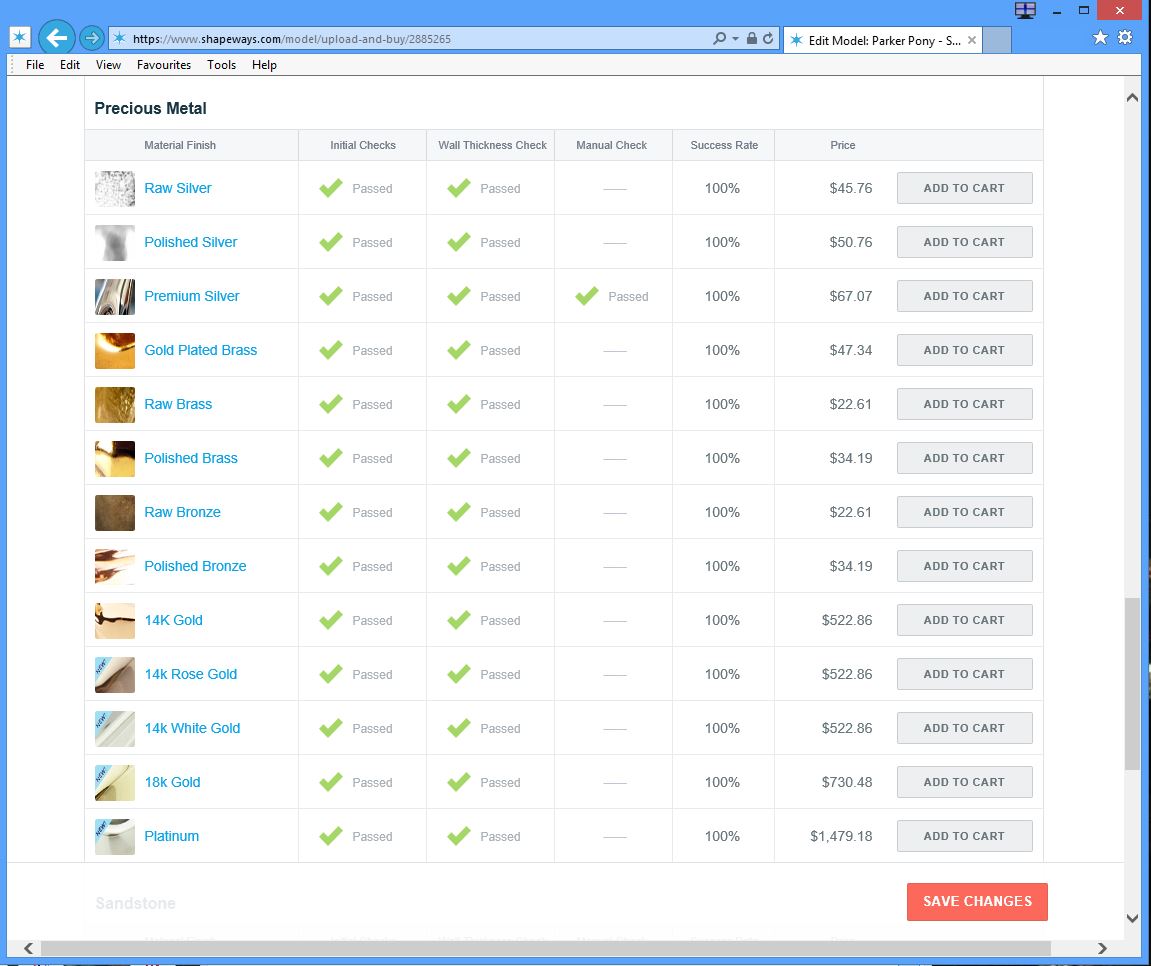
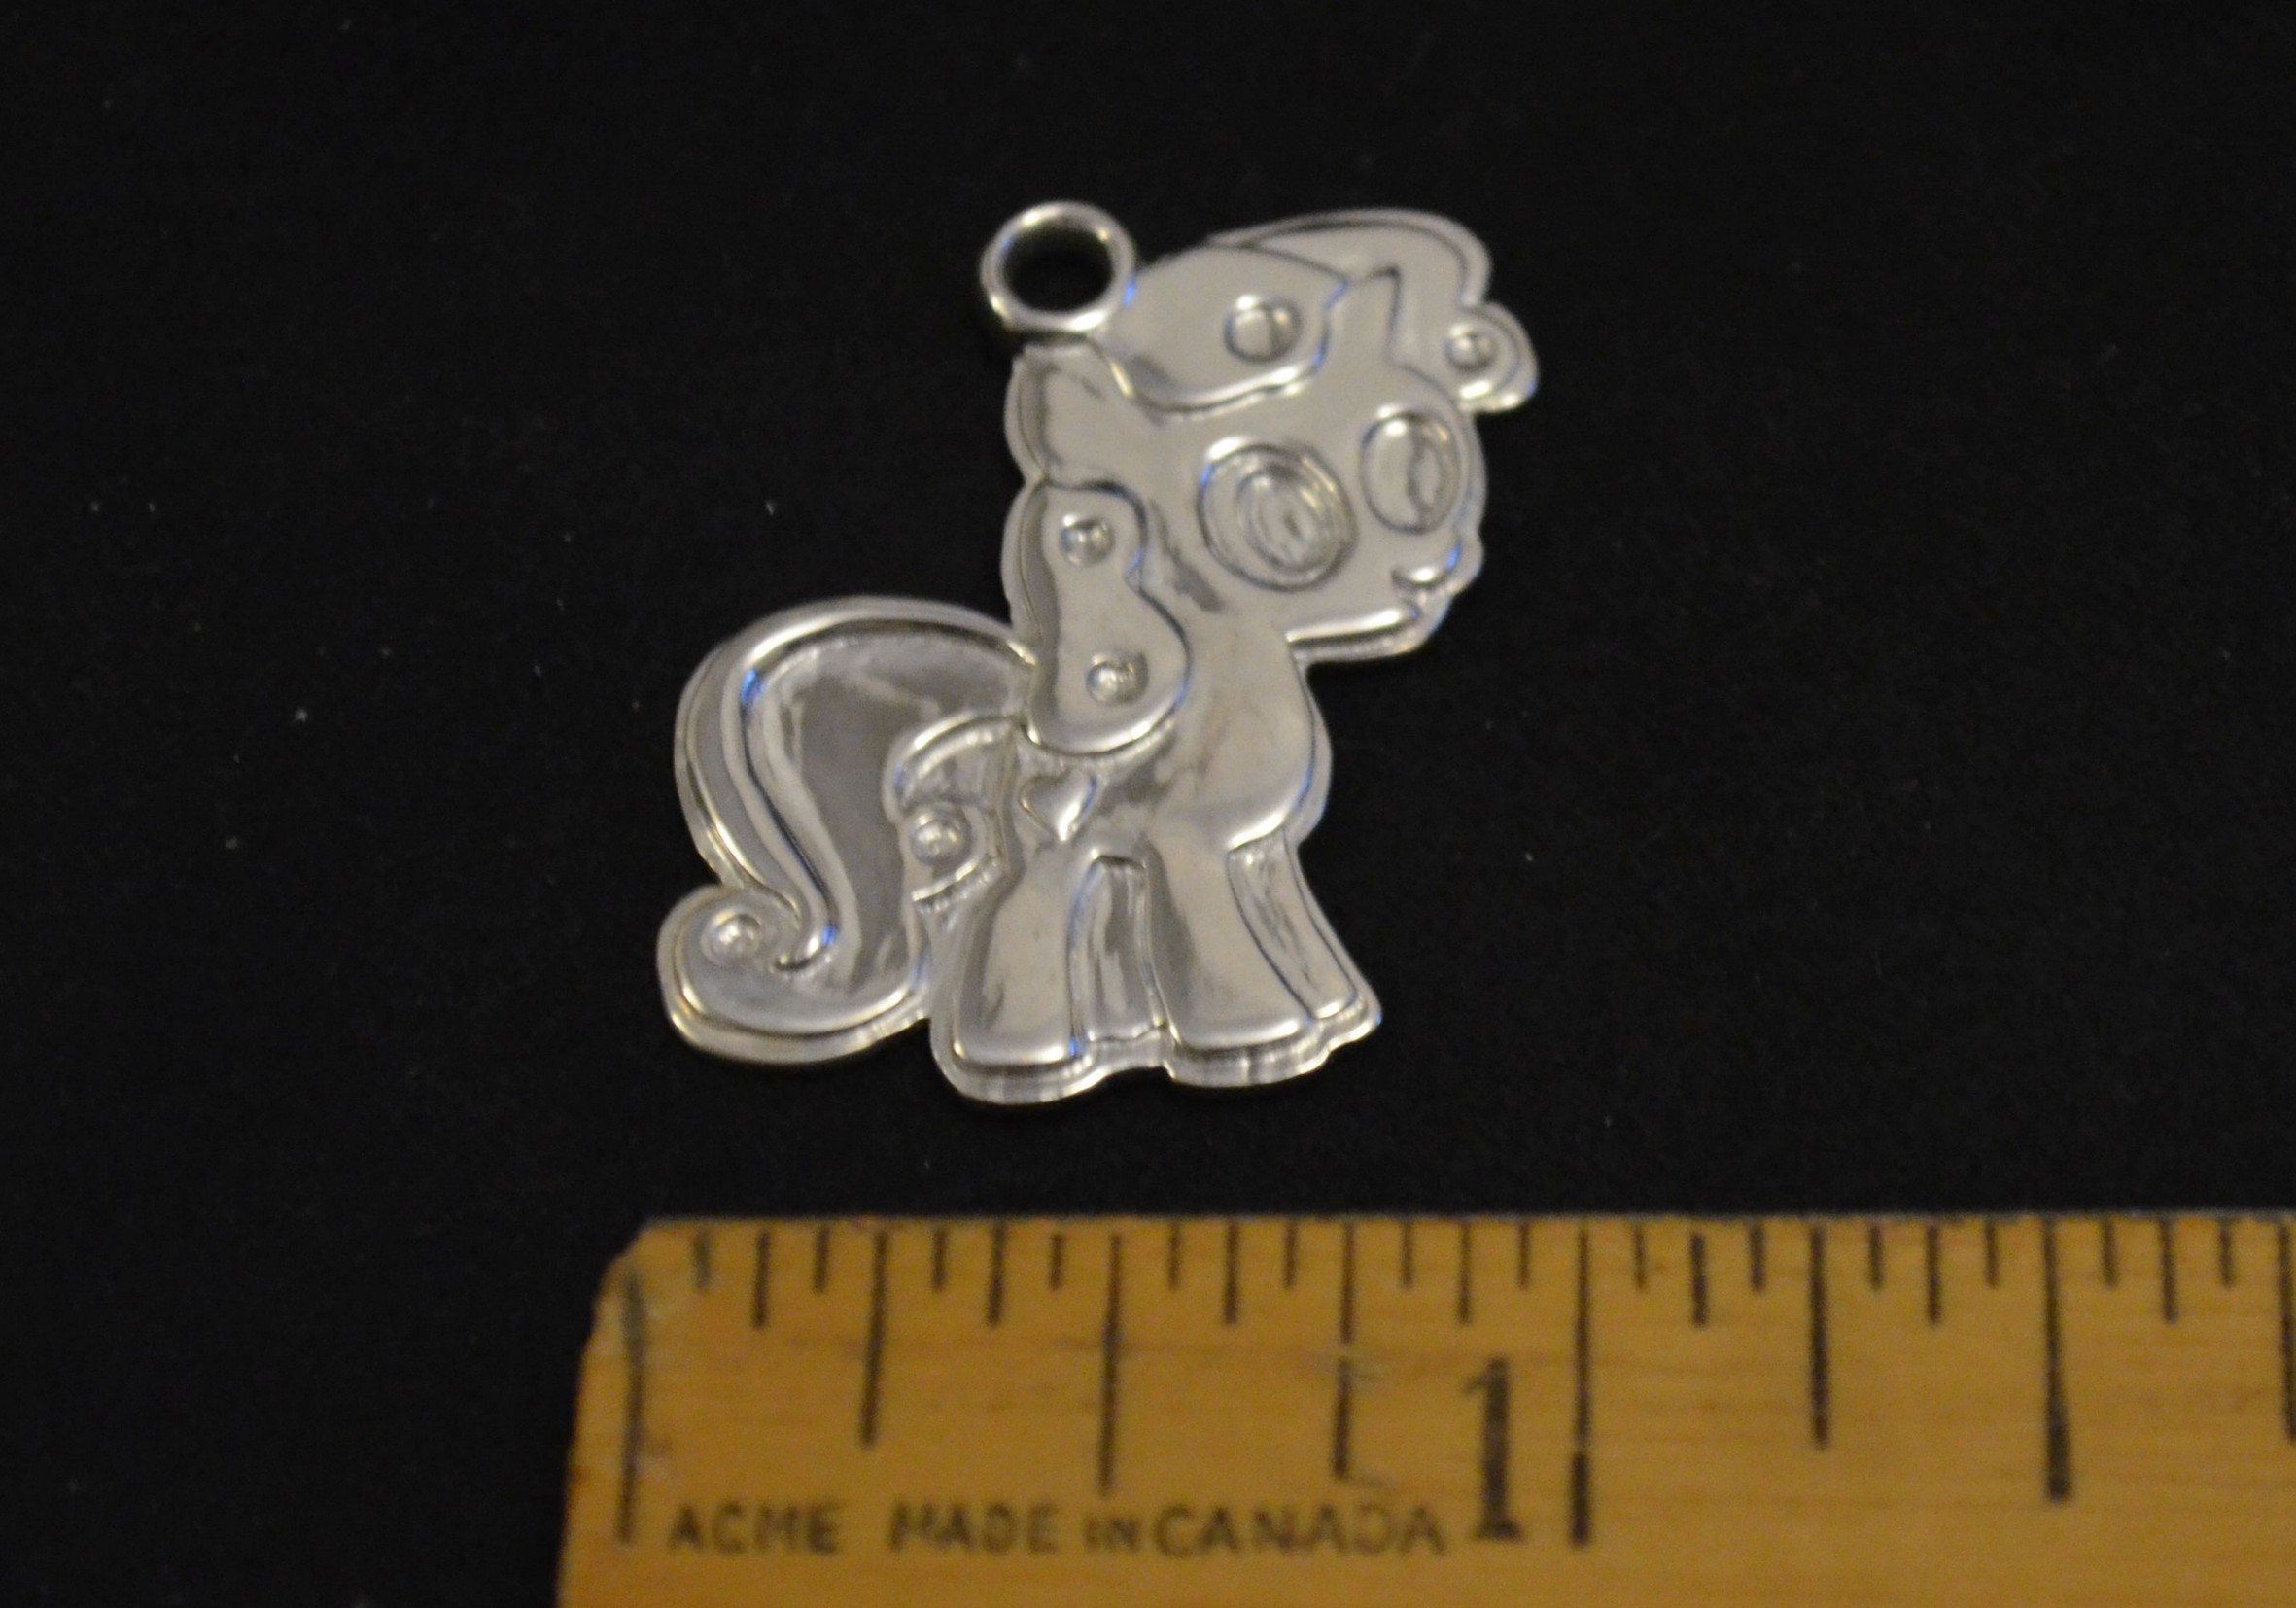
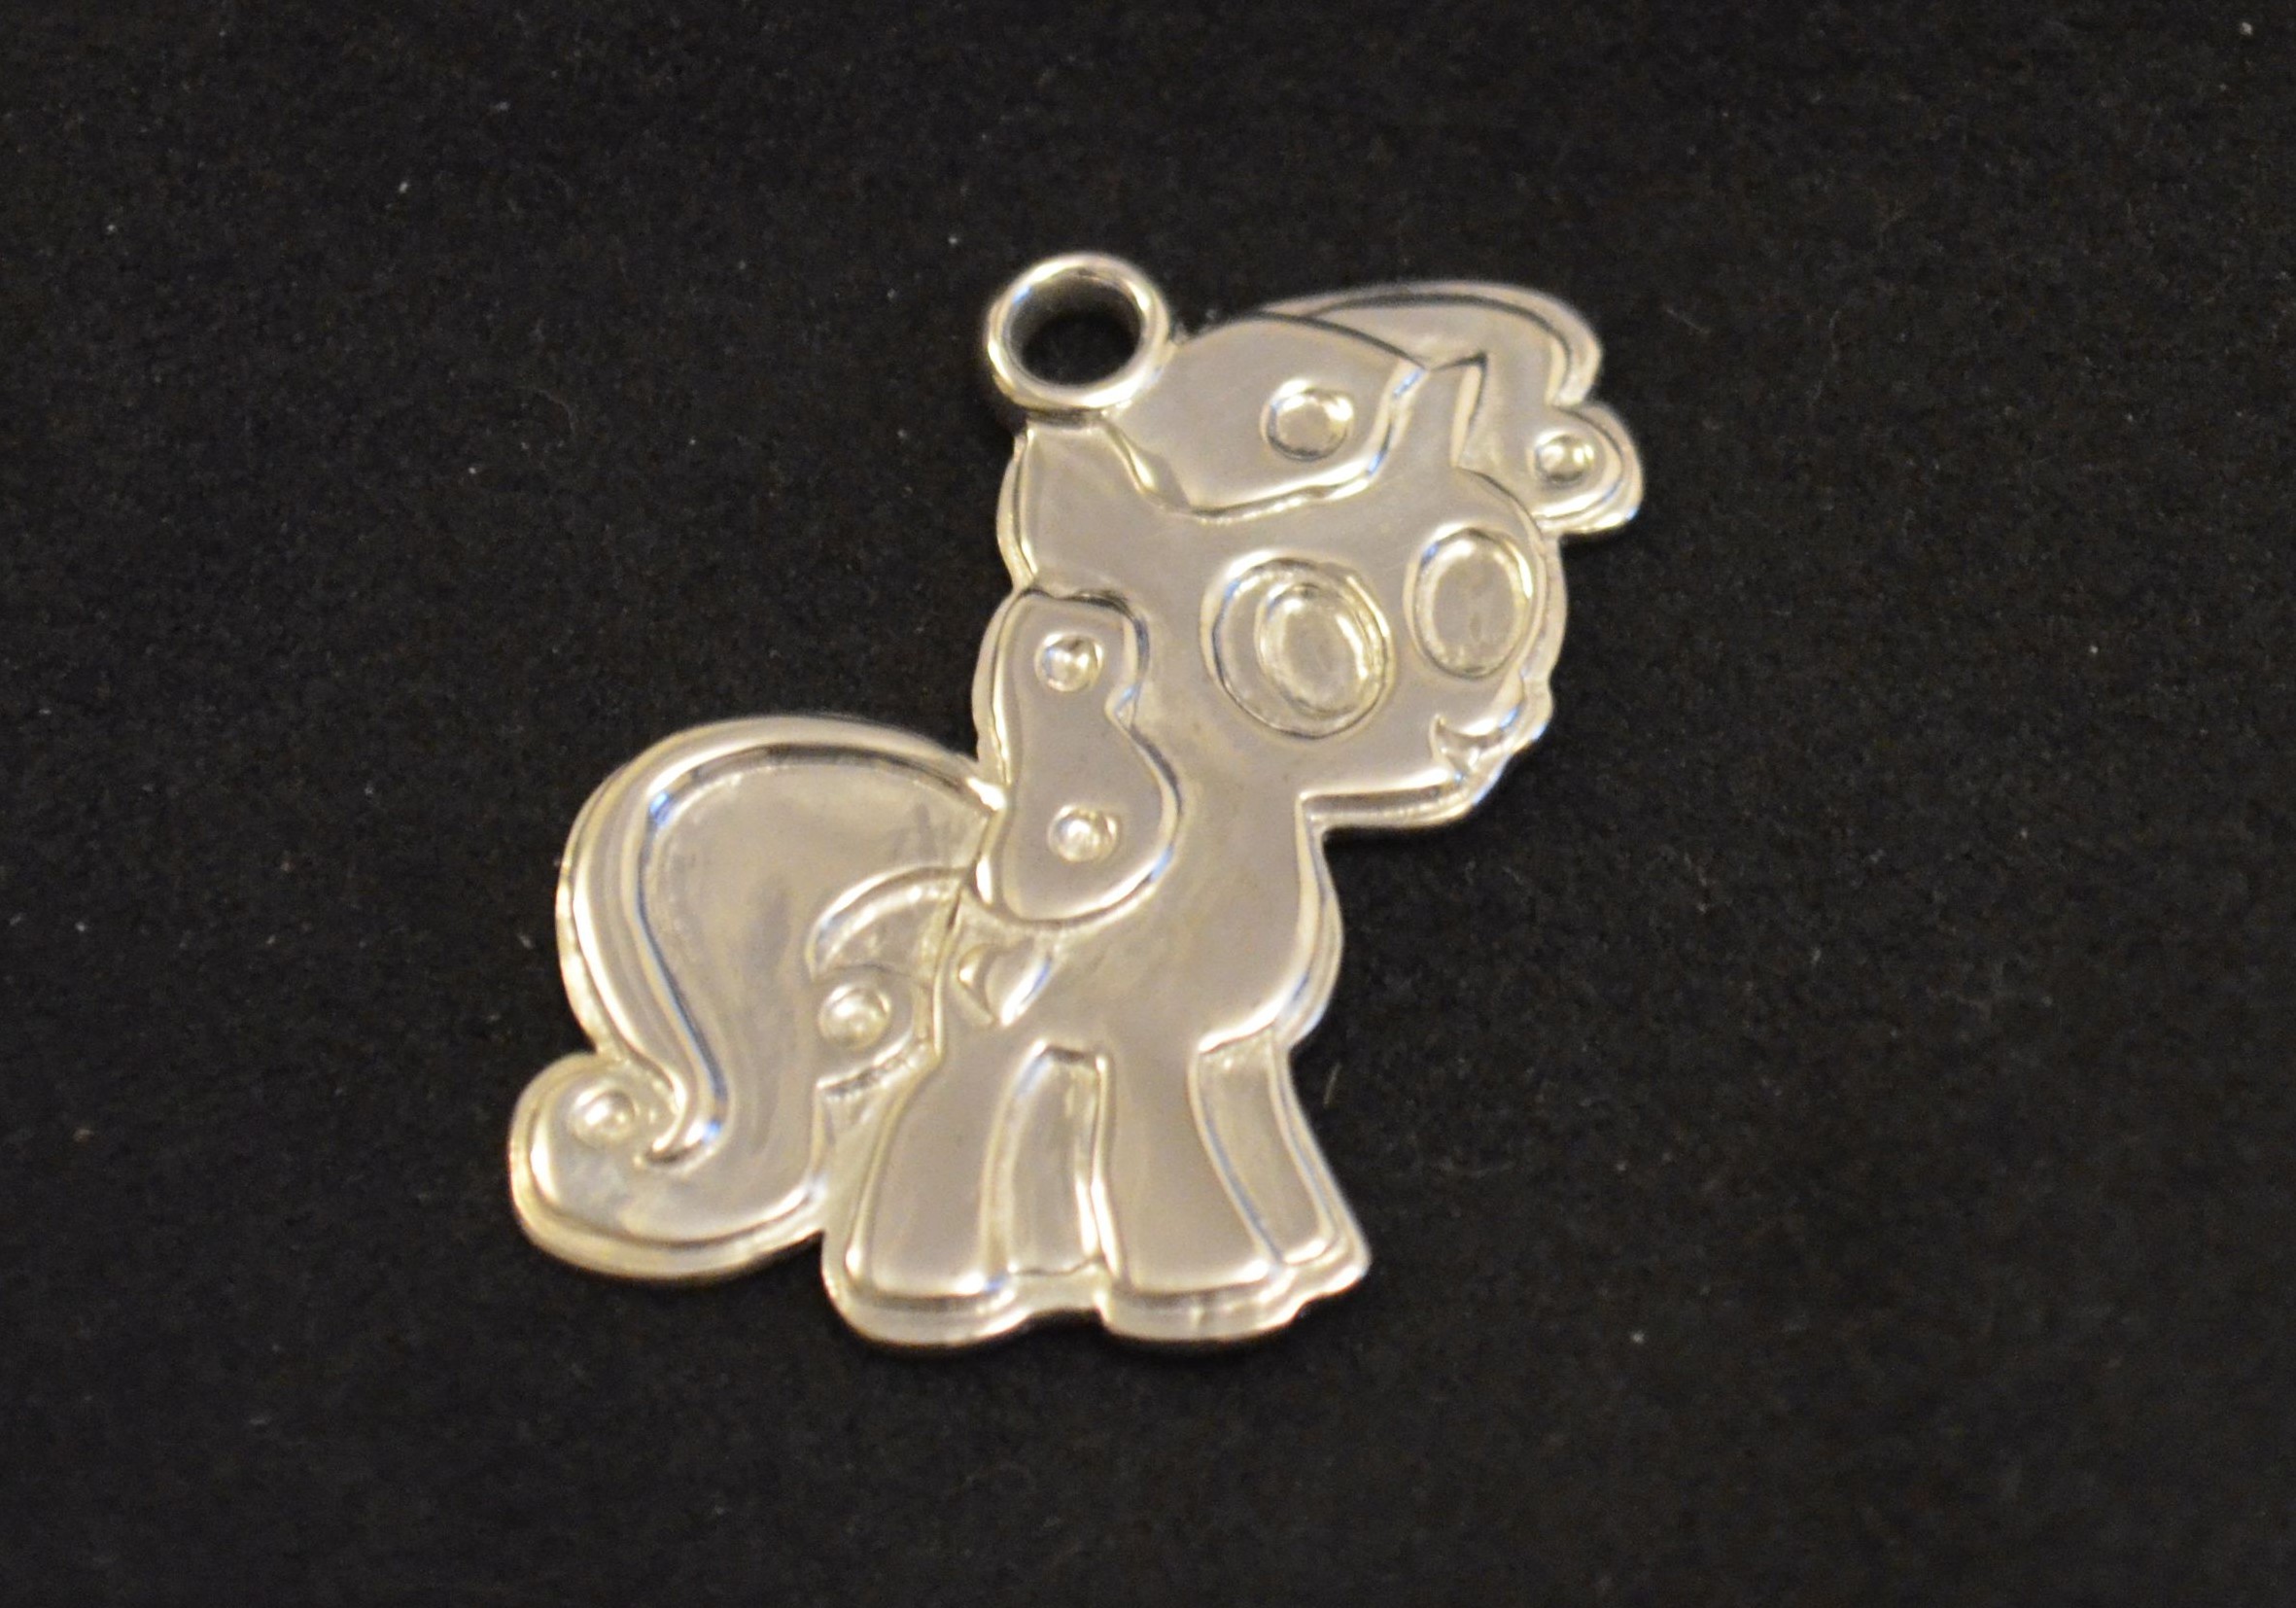
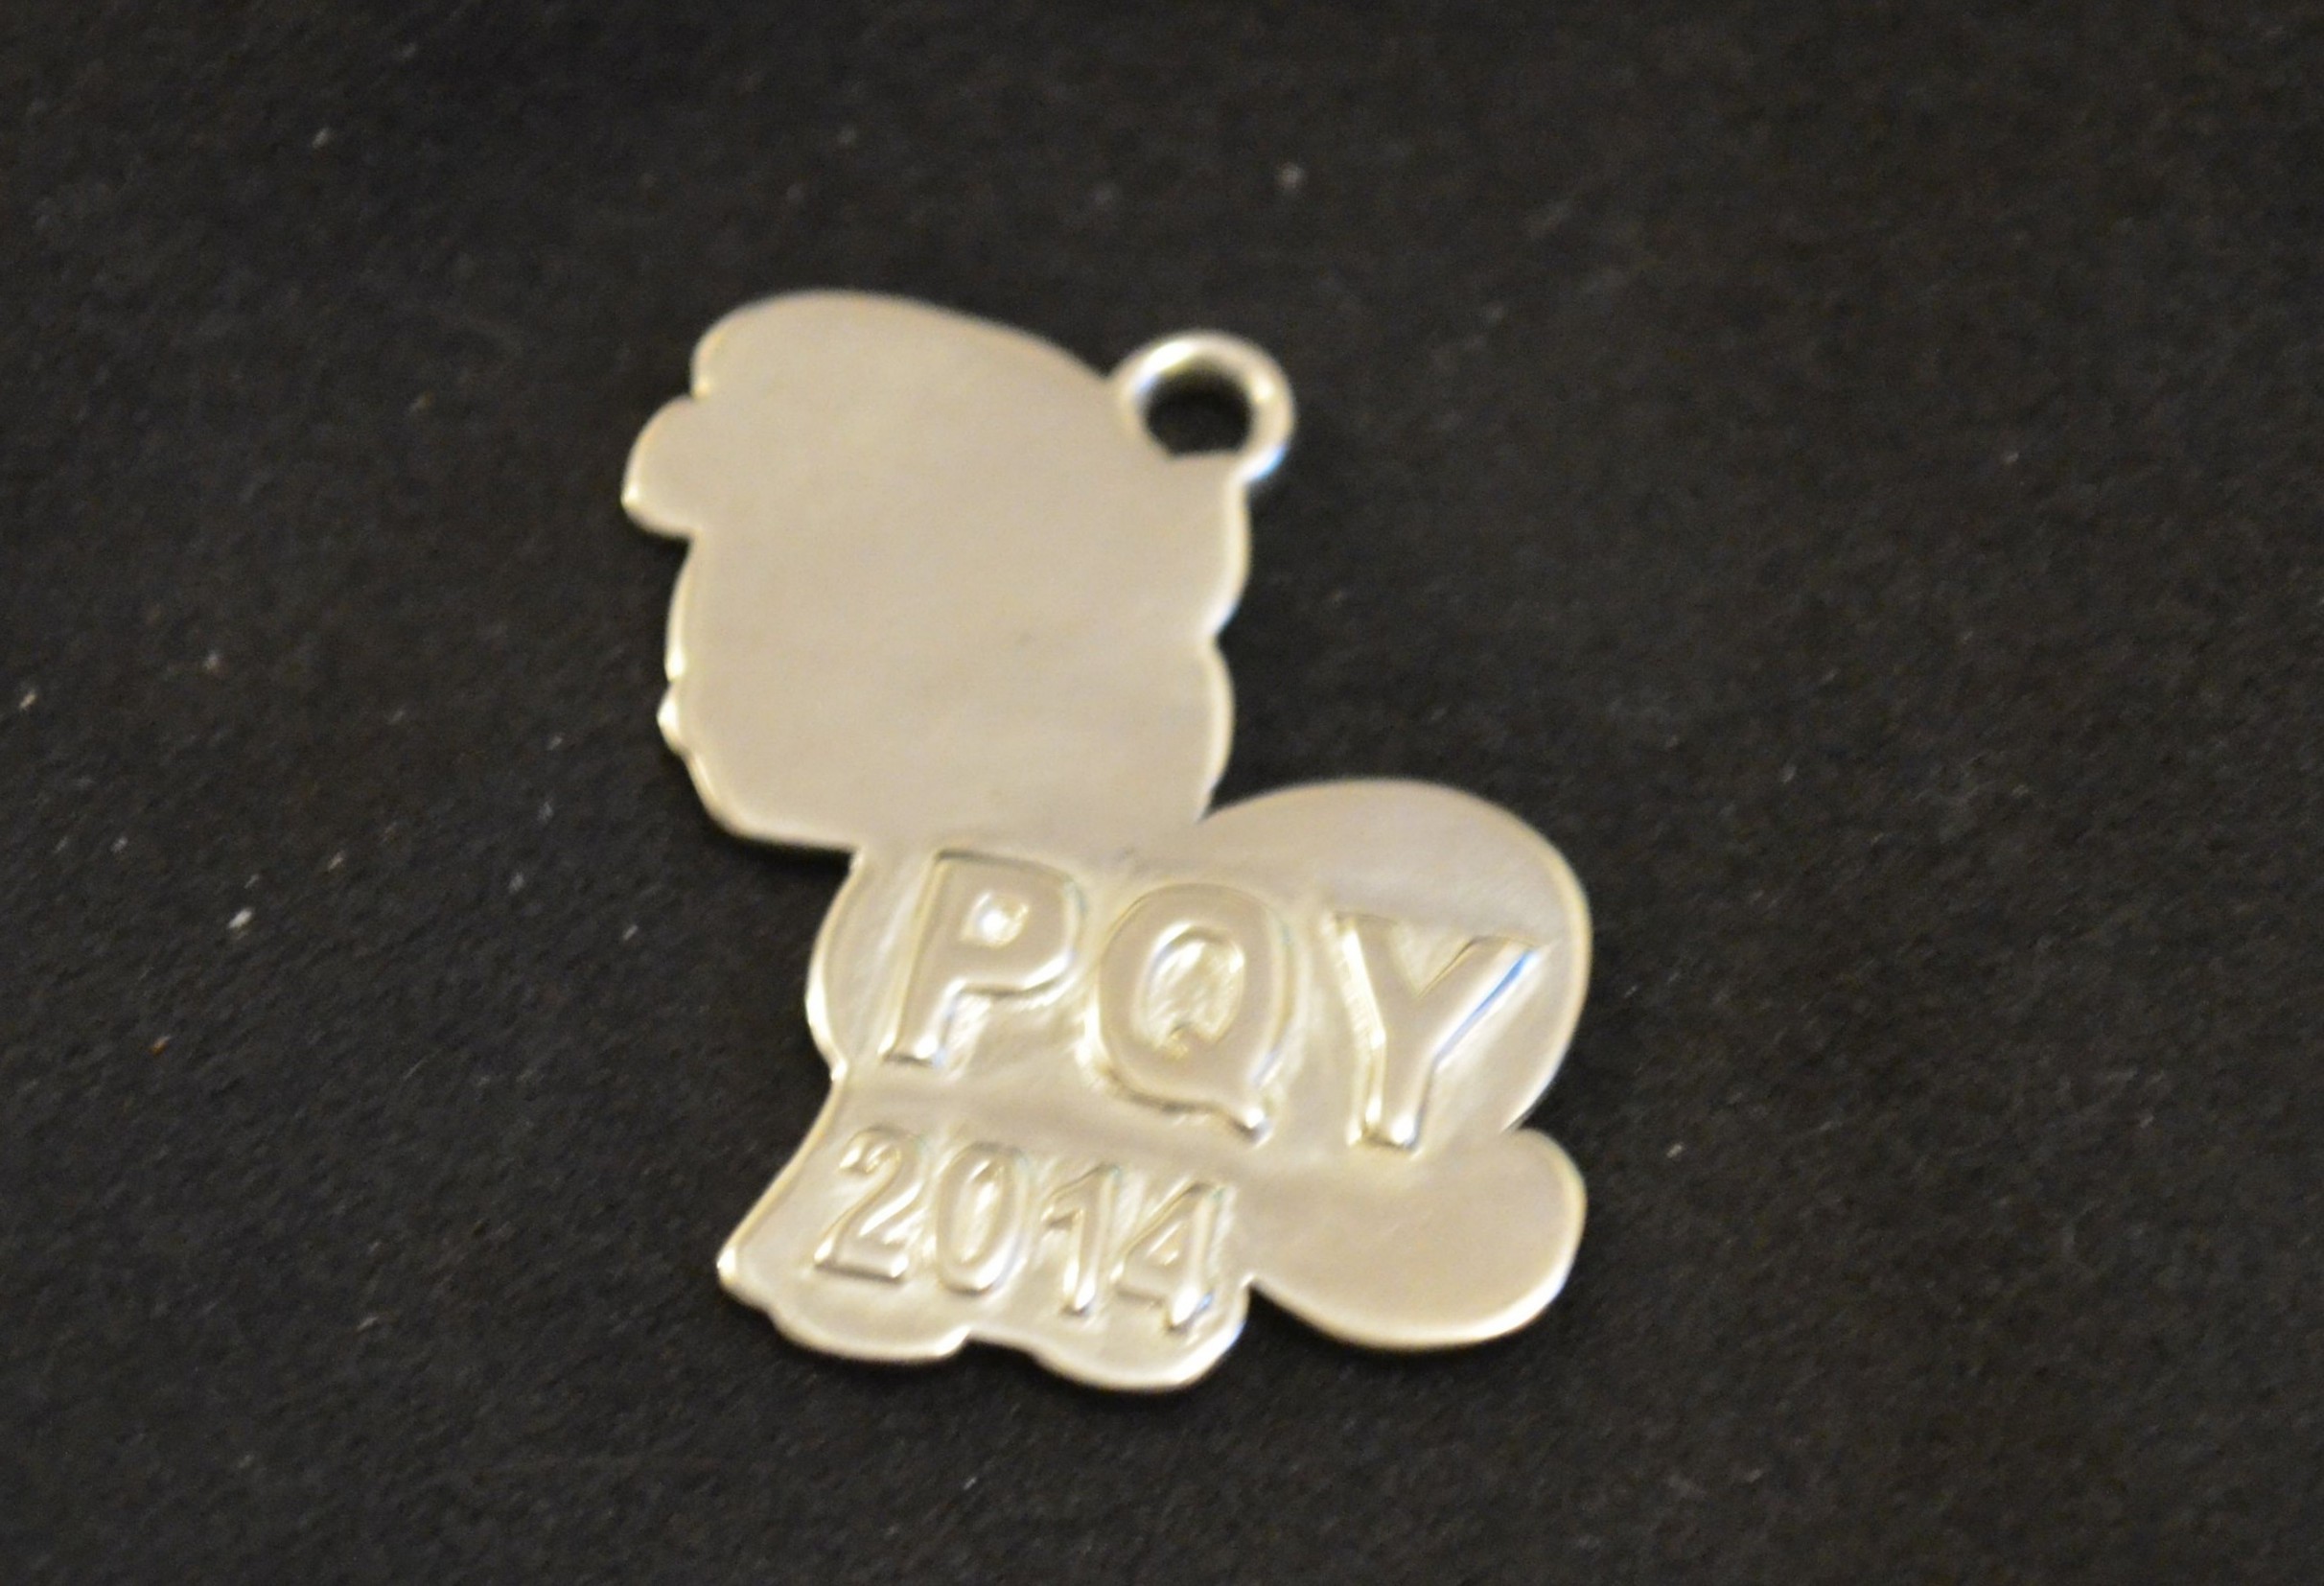
Once the 3D object is imported into Shapeways it will go through some automated checks. One issue that came back was that some "walls" were too thin. This was indicated on the "year" on the back and around the "eyes". I went back to TinkerCad and made that date larger on the back. The eyes were more difficult as I had to fill in the existing indentation and then redo them smaller and further away from the edge of the face while still making it look like a pony. This process took a few iterations until the pony passed all of the tests.
Once it passed I selected "Premium Silver" as the material and ordered a "Print". This is when you wish you had your own printer in order to print sample copies in plastic to make sure everything would come out correctly before committing to Silver. I did not have time to do a plastic copy as Christmas was fast approaching. Luckily everything worked out fine and I have in my hands a little silver pony charm ready for a little girls Christmas stocking! I will update this Instructable with pictures of here wearing her new pony after Christmas!