Custom 3D Printed Standoffs
by icecats in Workshop > 3D Printing
12438 Views, 109 Favorites, 0 Comments
Custom 3D Printed Standoffs
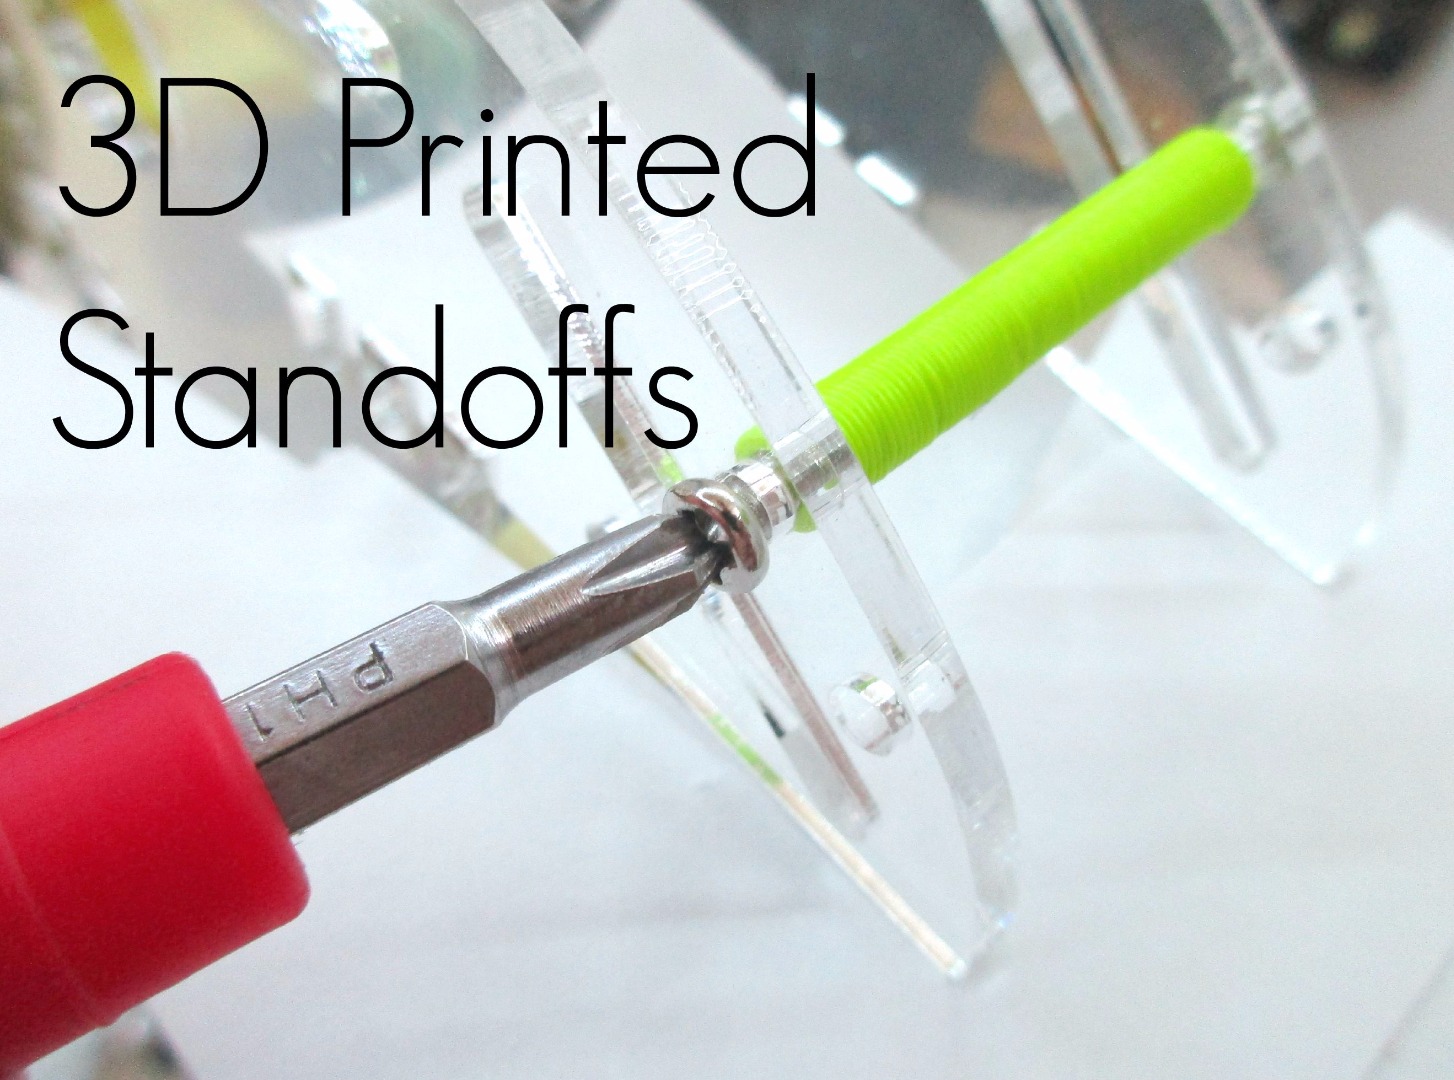
Little bits of hardware are one of the hardest components to stock in your workshop. Standoffs are an excellent example of this. Standoffs come in a huge variety- they are customized in length, screw size, and outer diameter. It is always disappointing when you end up having to order something as infinitesimally small as a single standoff and wait a couple of weeks for the 1/2 ounce package to arrive.
Why not 3D print one? 3D printing offers a quick turn-around on customized objects such as a standoff. The print time for a single standoff is a little bit more than five minutes. You make the choice: wait 2 weeks and pay ridiculous shipping prices... or print the object off in a couple of minutes.
Materials and Supplies
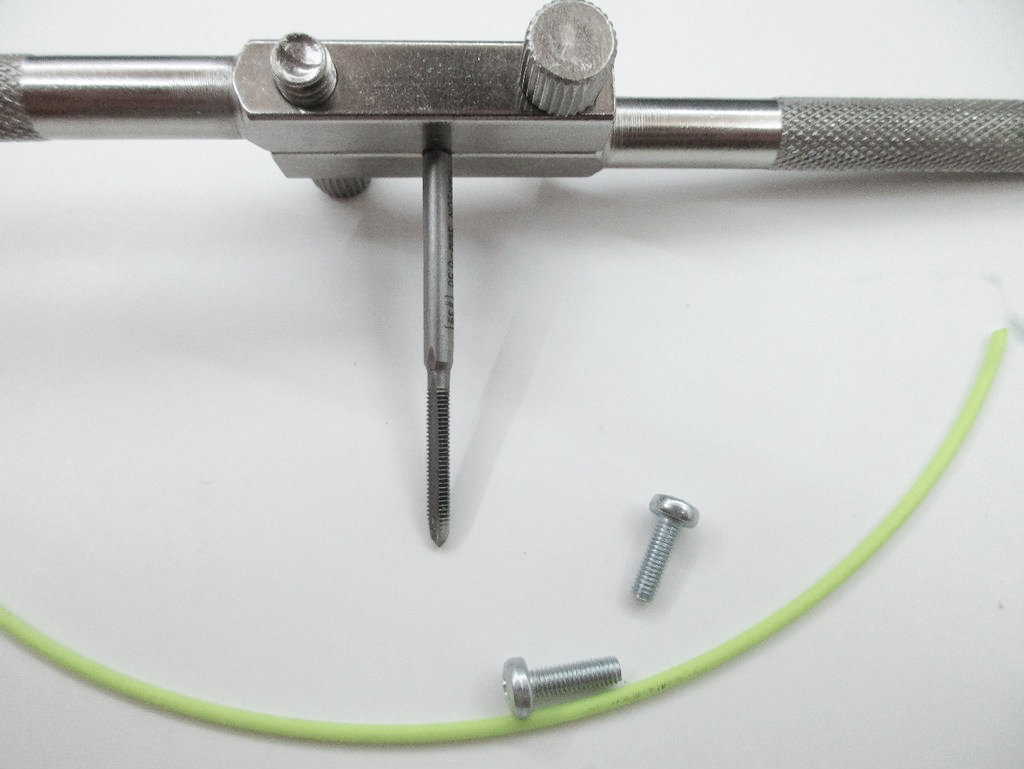
You will need to gather the following items to complete this project:
- 3D printer
- PLA/ABS filament
- CAD program- I will be using Autodesk Inventor Student
- screws
- appropriately sized tap
- calipers
Measure
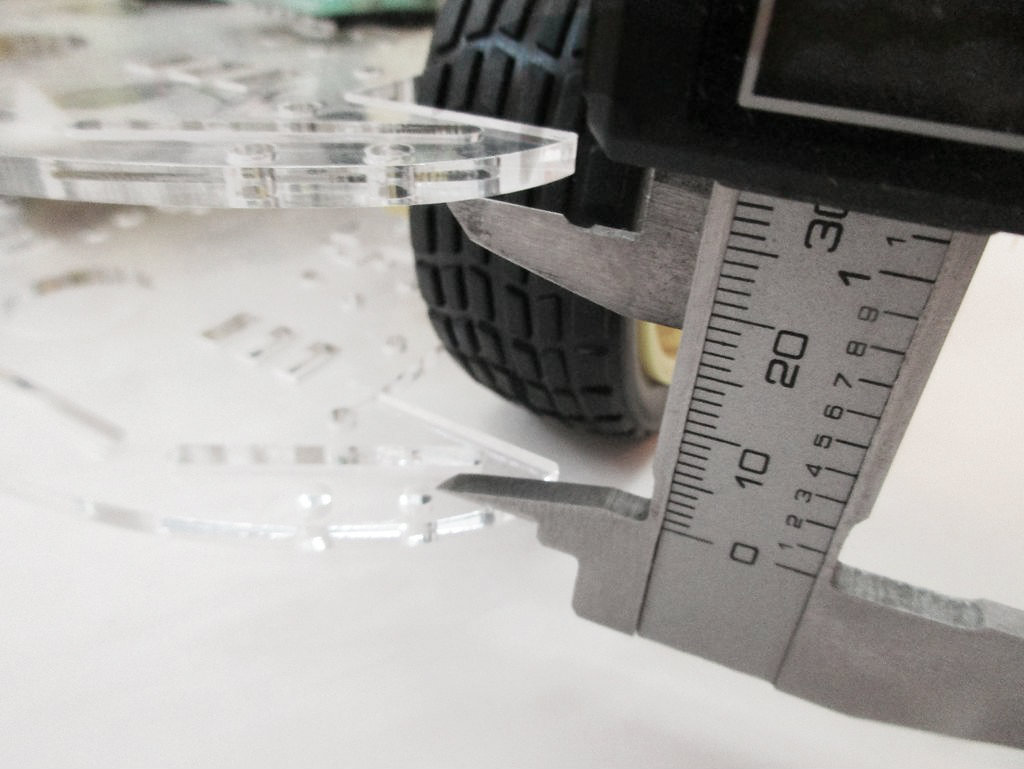
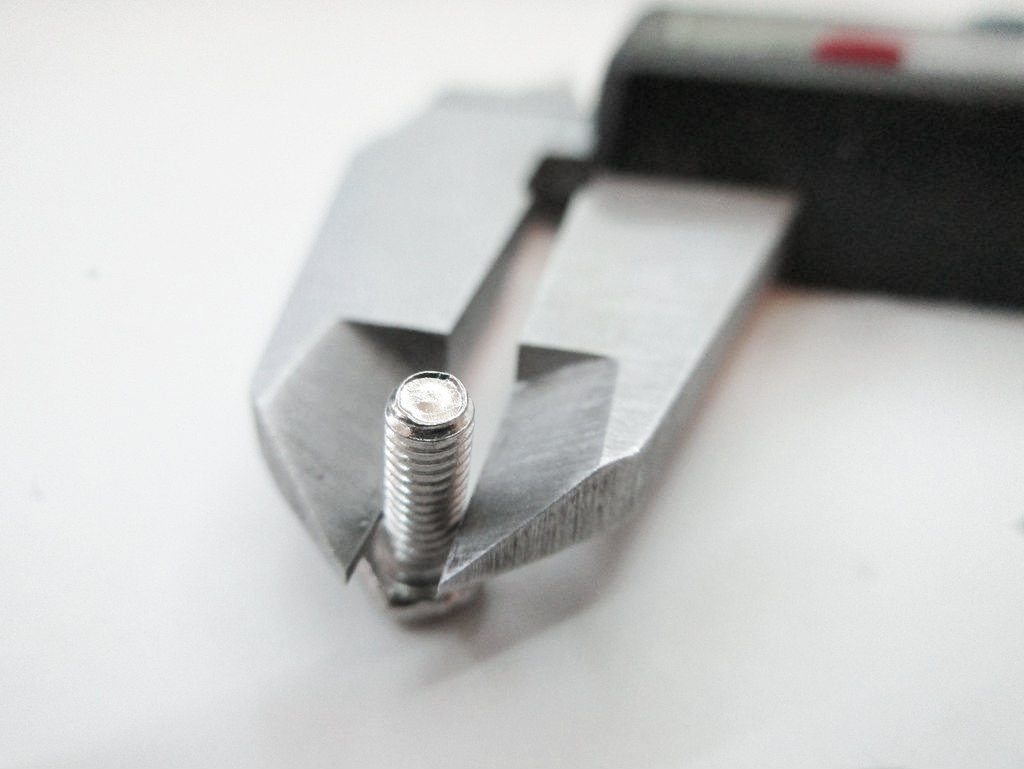
Before you design your standoff, begin by taking a few measurements. Using calipers, find the length of standoffs you need. Also measure the diameter of the screws you plan on using. Write this information down for later reference.
Design
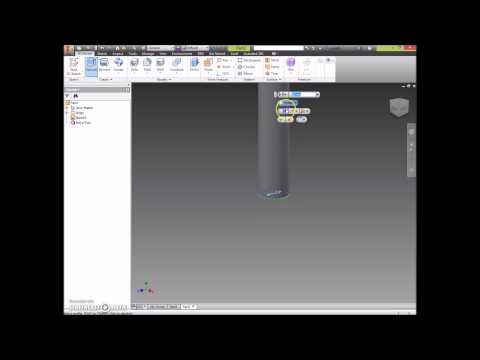
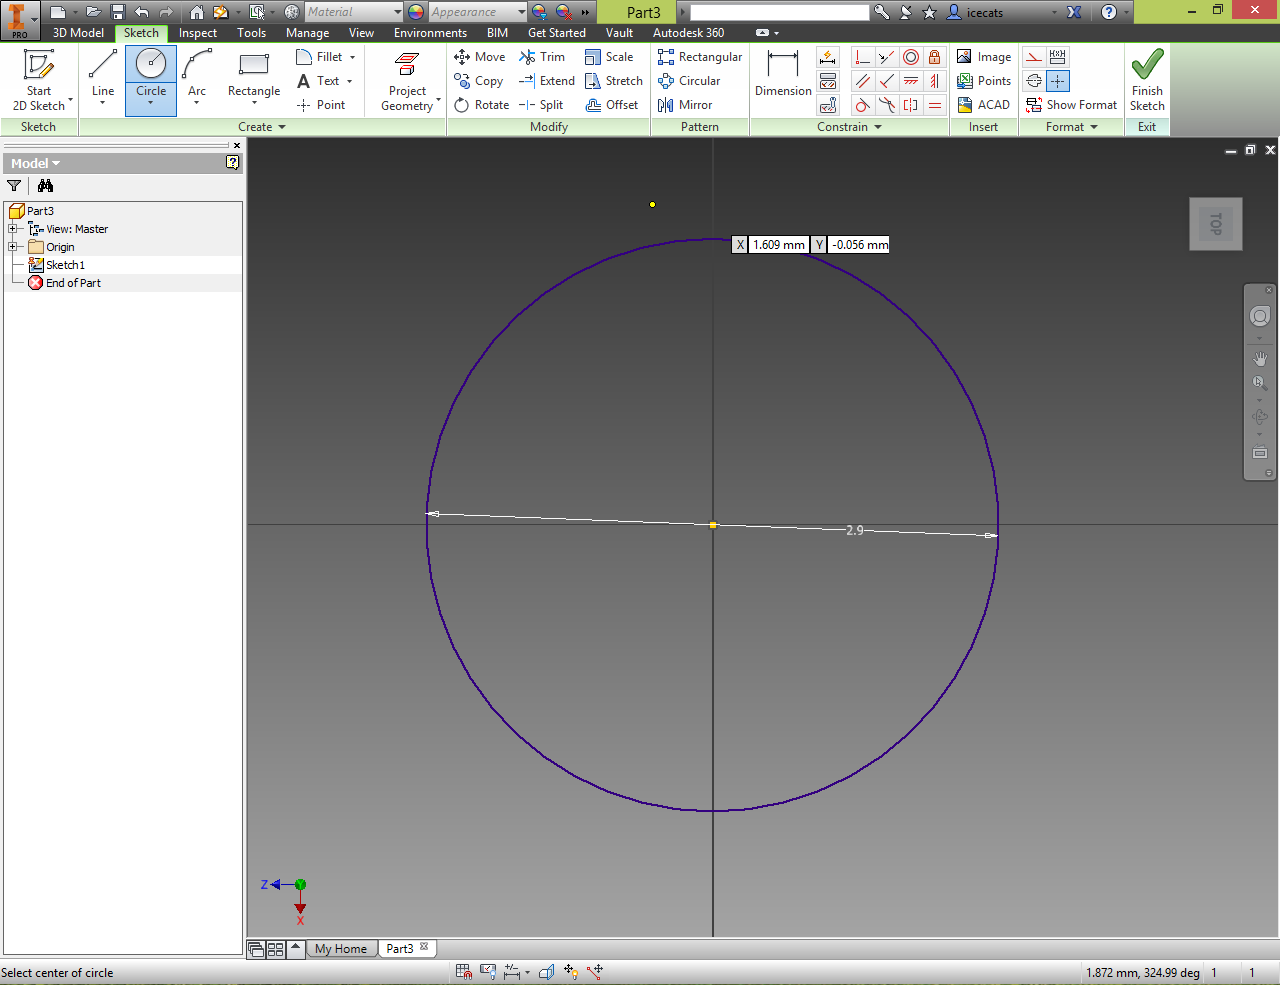
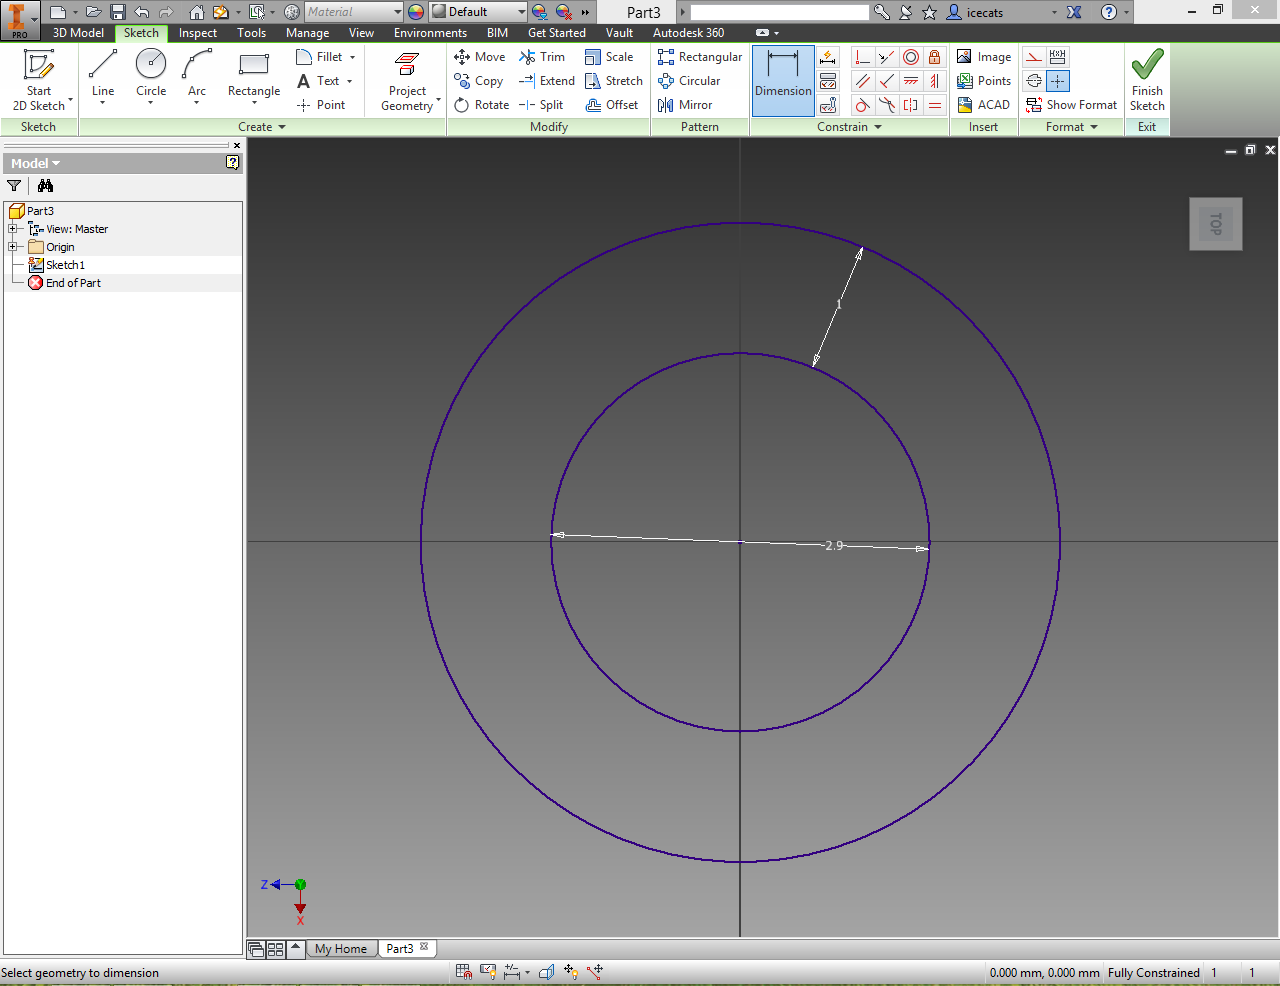
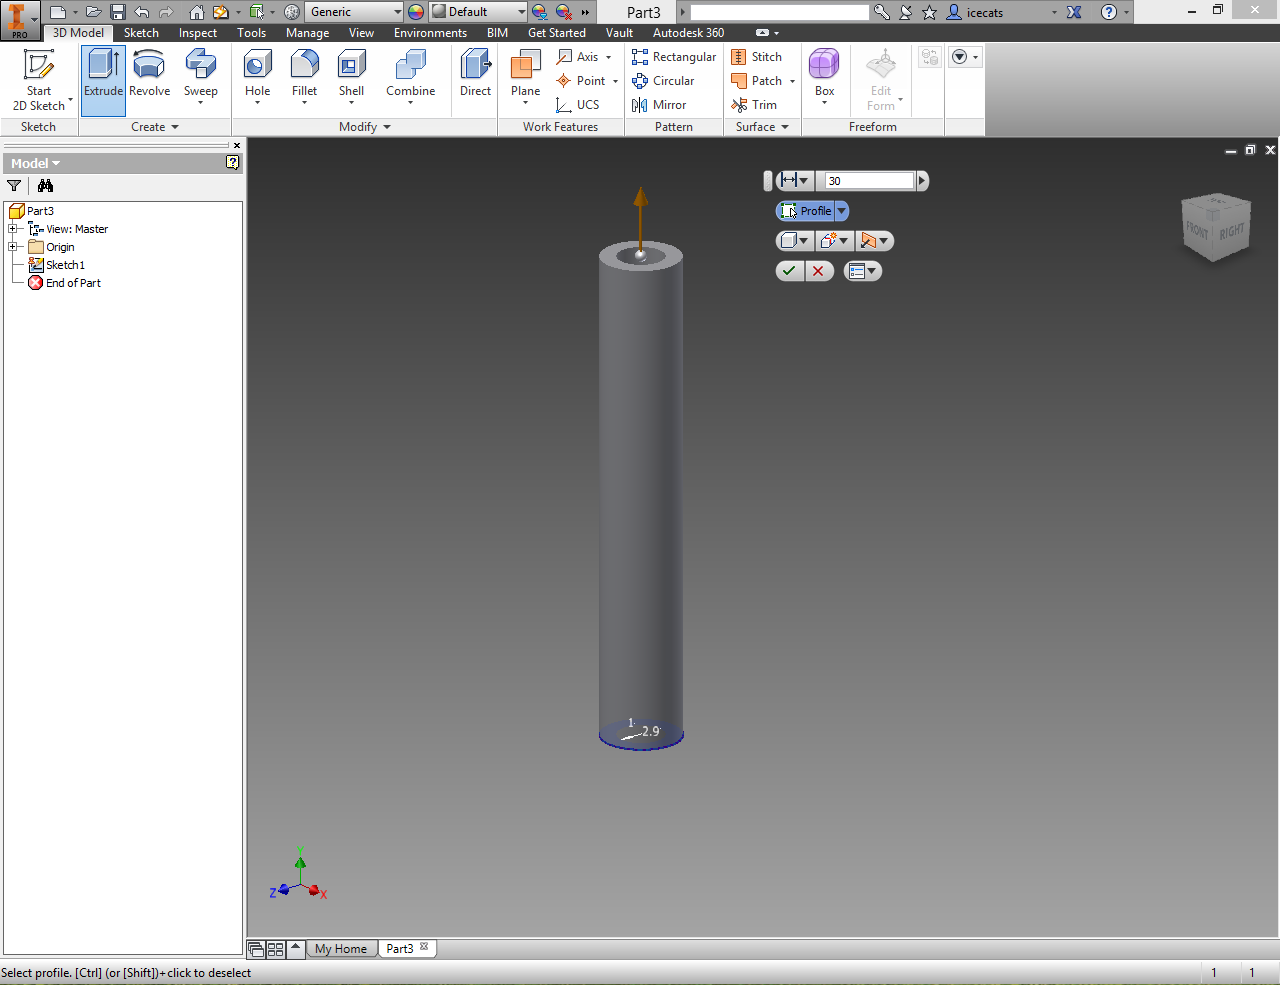
Design Time! Open your CAD program and start a new 2D sketch. Draw a circle based on the measured diameter of your screw. You want to make it slightly less because we will be tapping threads into the hole later (this may not be necessary, as some 3D printers print holes smaller anyhow). Next, offset your circle by at least 1 millimeter. This offset will be the wall thickness of the standoff. As a general rule of thumb, make the offset at least 1/3 of the hole diameter. Finally, extrude the offset perimeter to the desired height. Export your 3D model as a .stl or other 3D printable file.
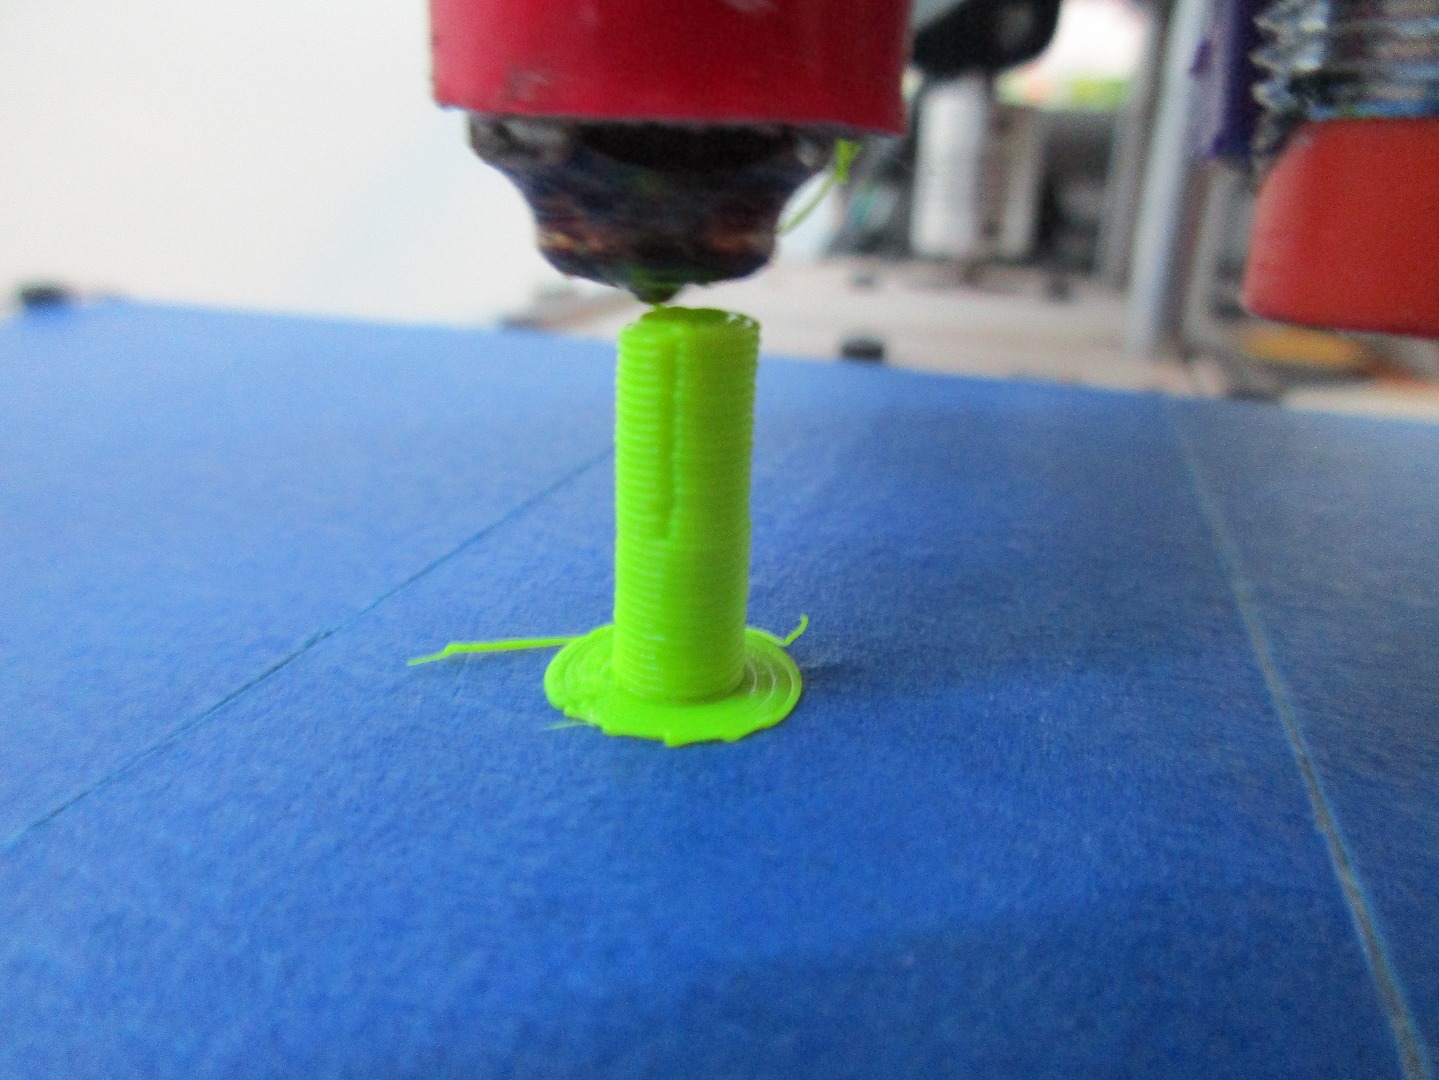
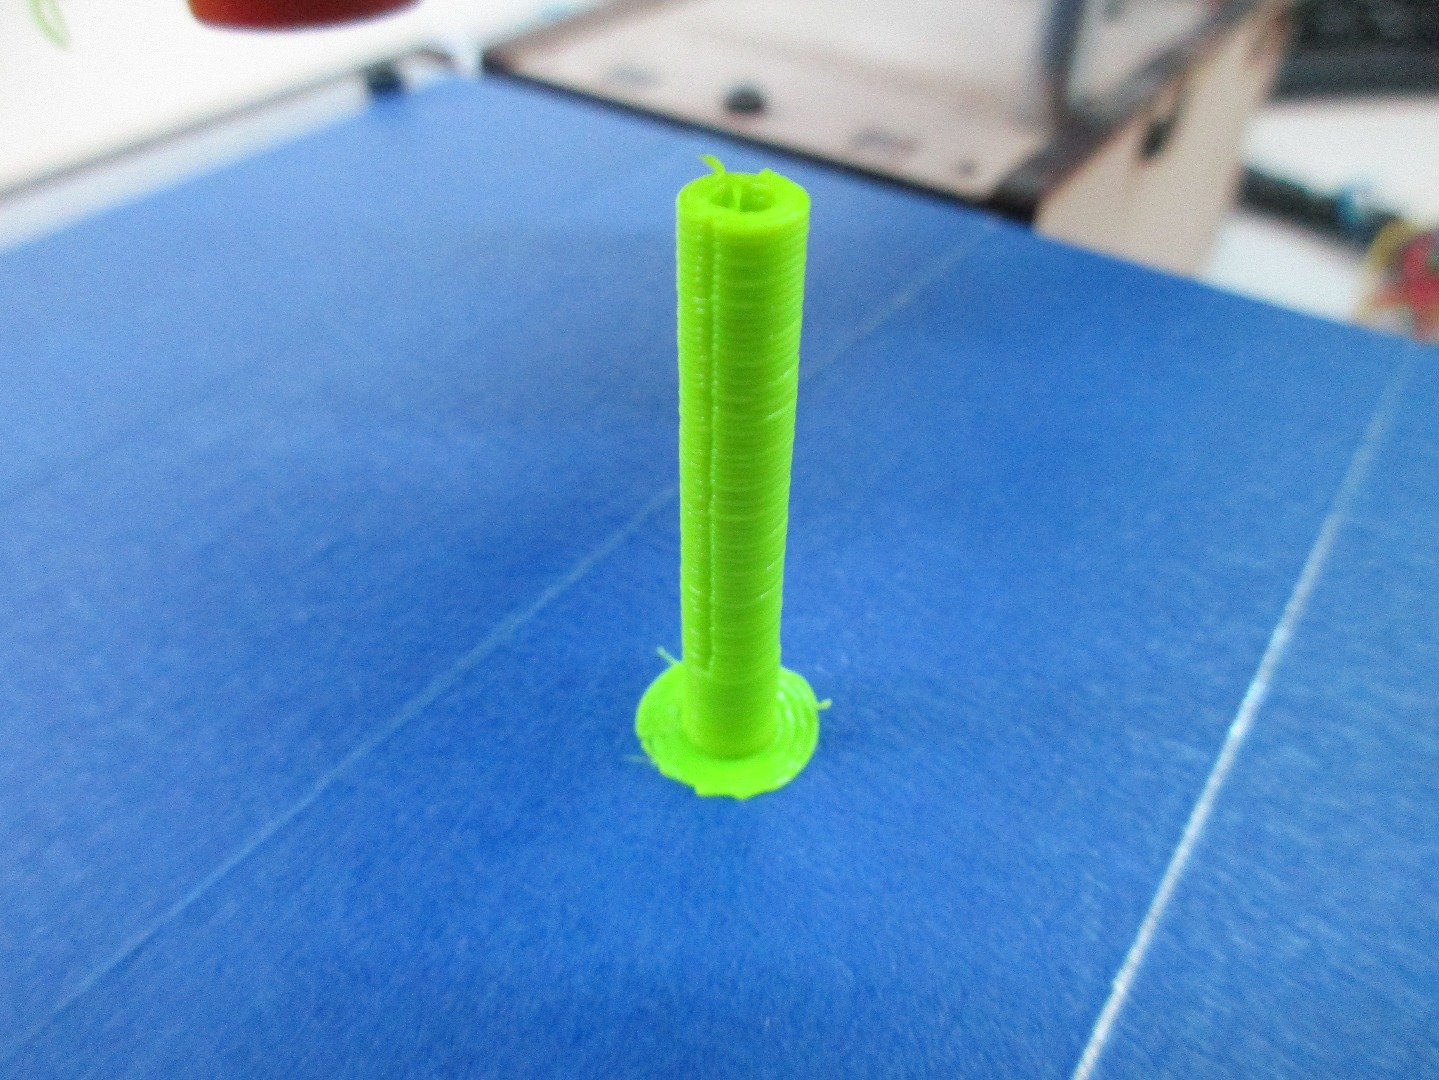
Now that you have a 3D model, it is time to print it out. I would suggest using a brim to provide extra support for the narrow print. Here are the settings that I used:
- PLA filament
- .4 layer height
- 100% infill
- 3 mm brim
Once you have sliced your model, start the print and enjoy the speedy delivery of homemade hardware.
Finish Up
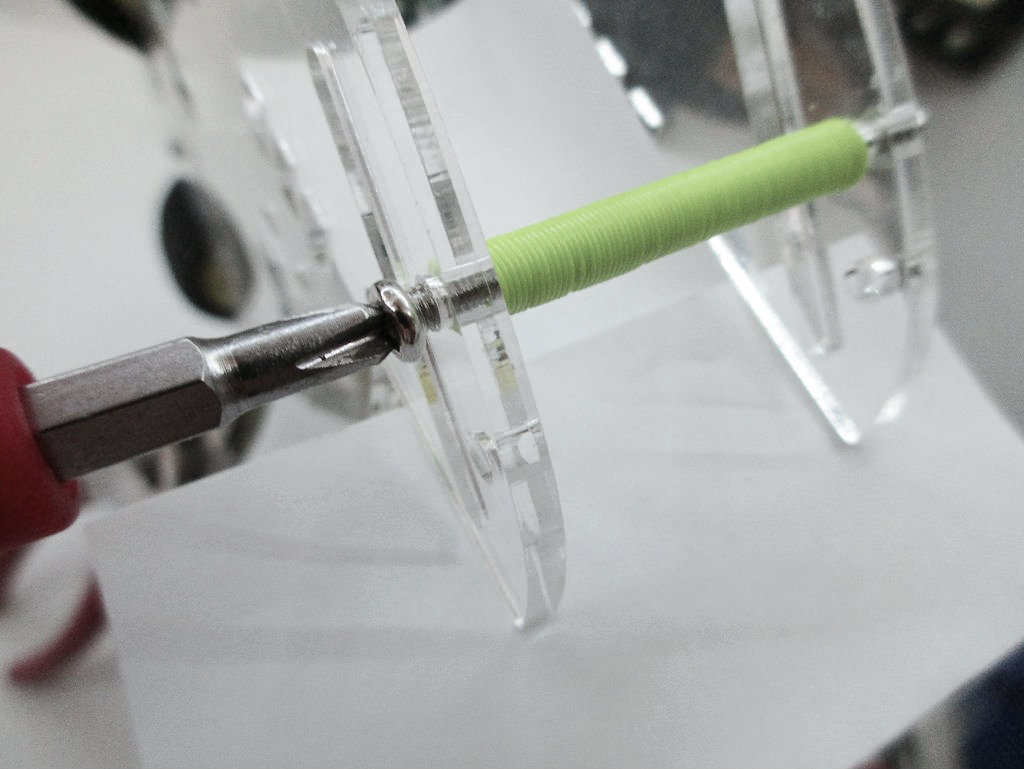
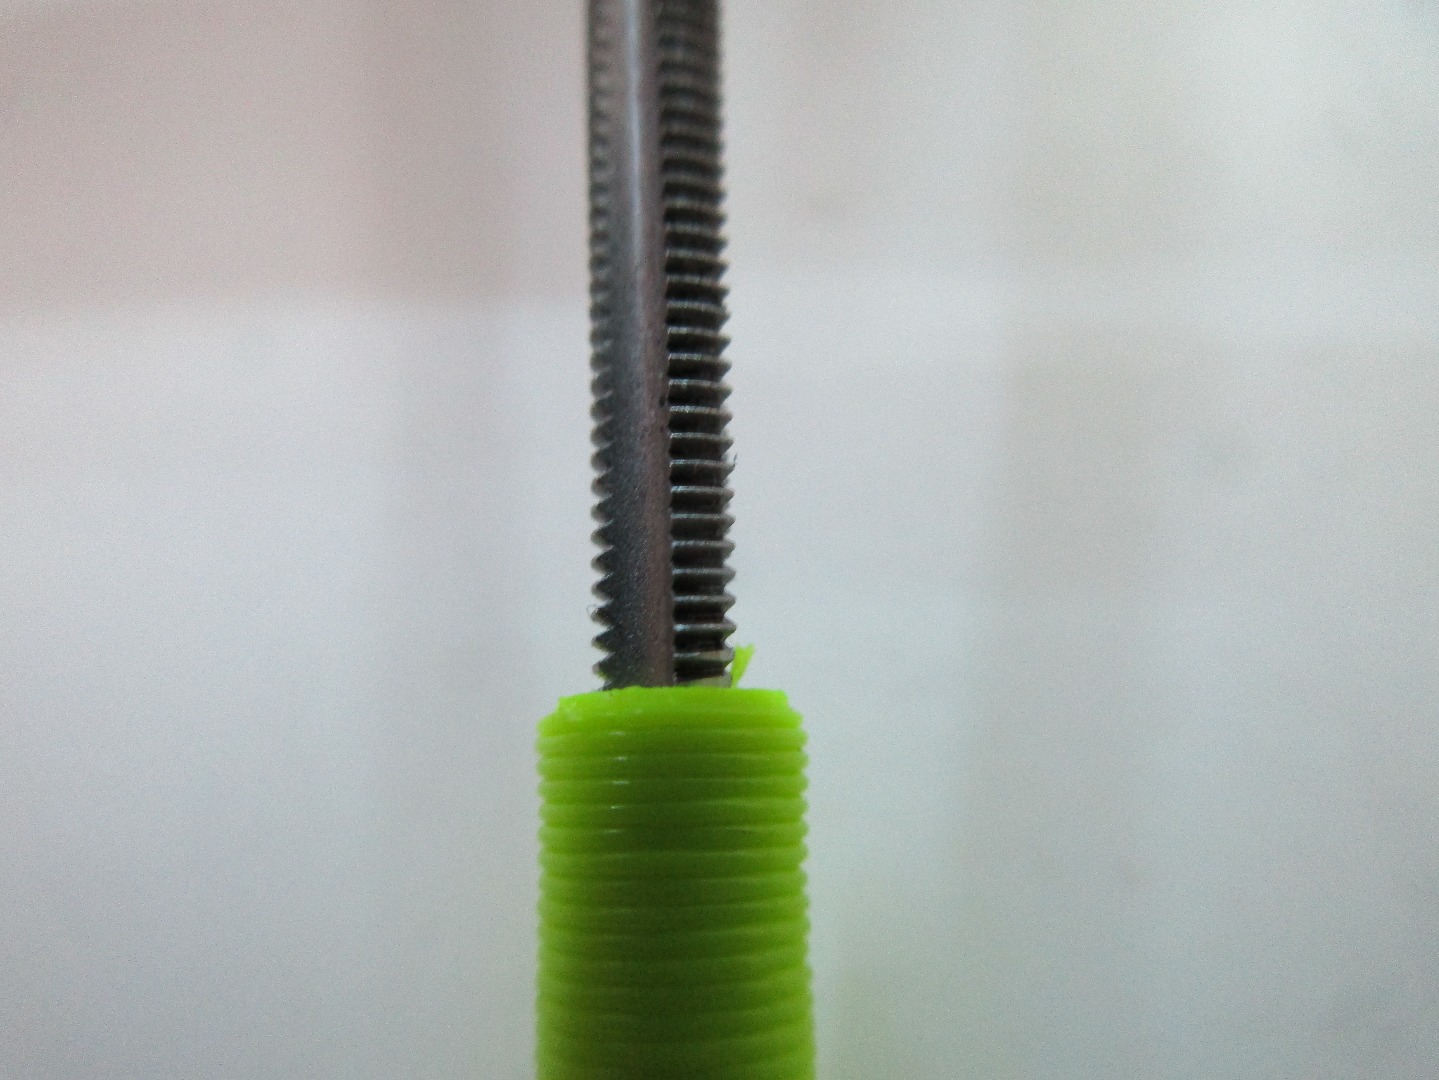
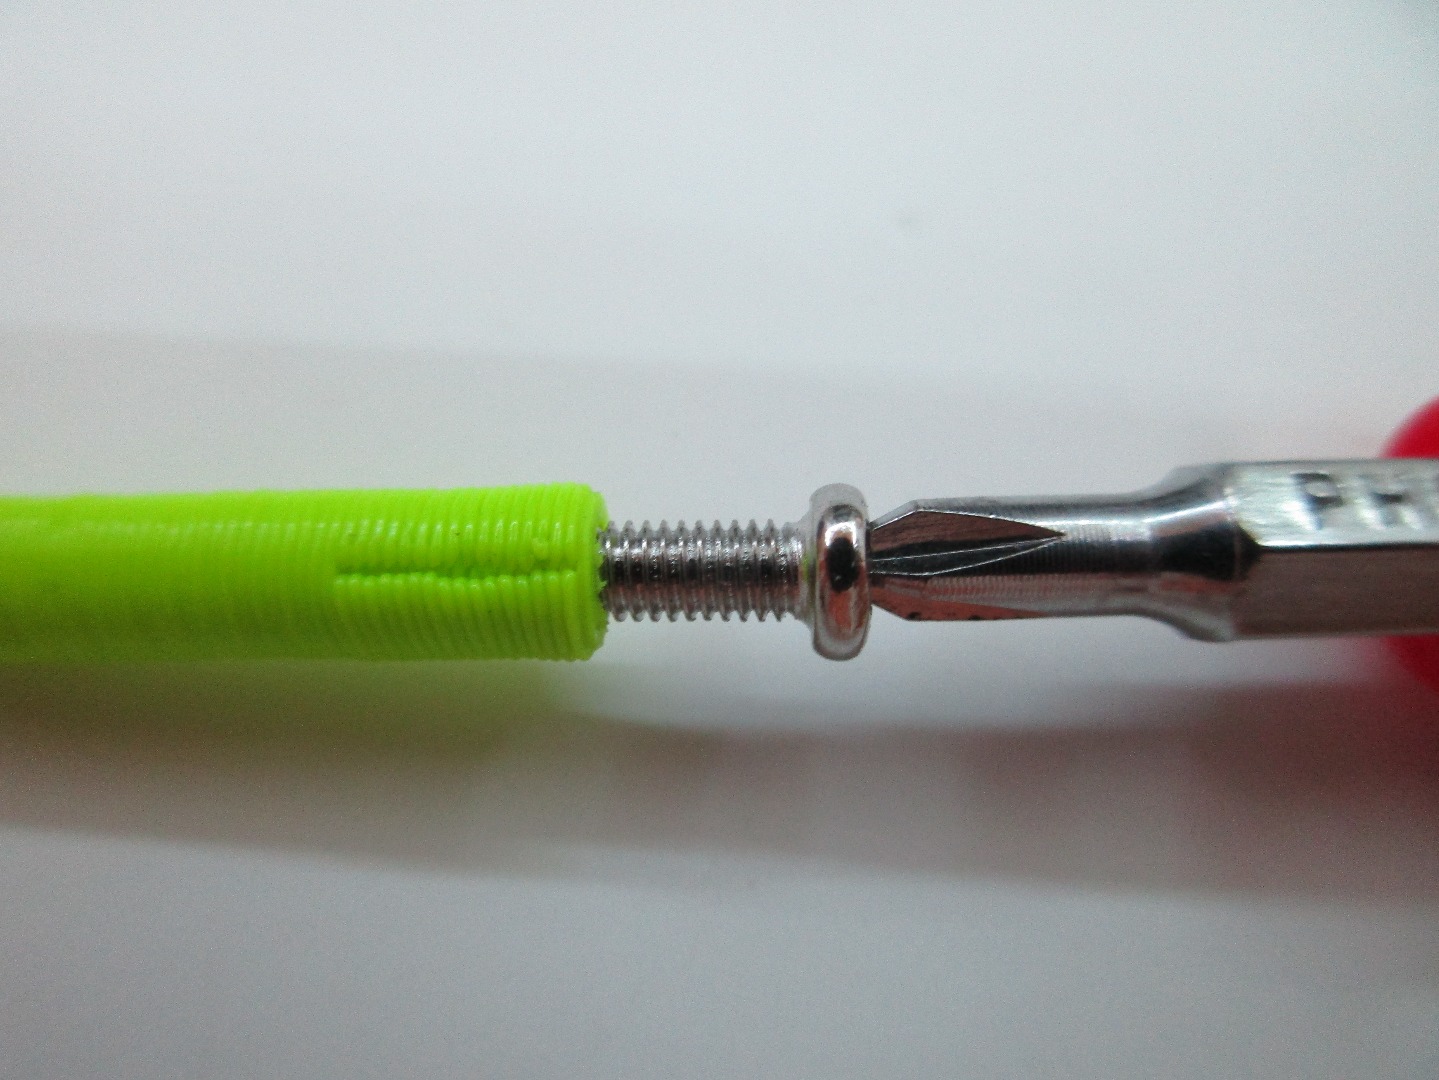
Use an appropriately sized tap to add threads to the interior of your standoff. This is best done slowly and with some patience. If the hole is too small, use a drill to bore it out. After adding threads, install your standoff using a couple of screws. Enjoy the ease and speed of home 3D printing!
Please let me know if you have any questions or suggestions!