Cura Setting for Ender 3 MicroSwiss DE Conversion
3260 Views, 3 Favorites, 0 Comments
Cura Setting for Ender 3 MicroSwiss DE Conversion
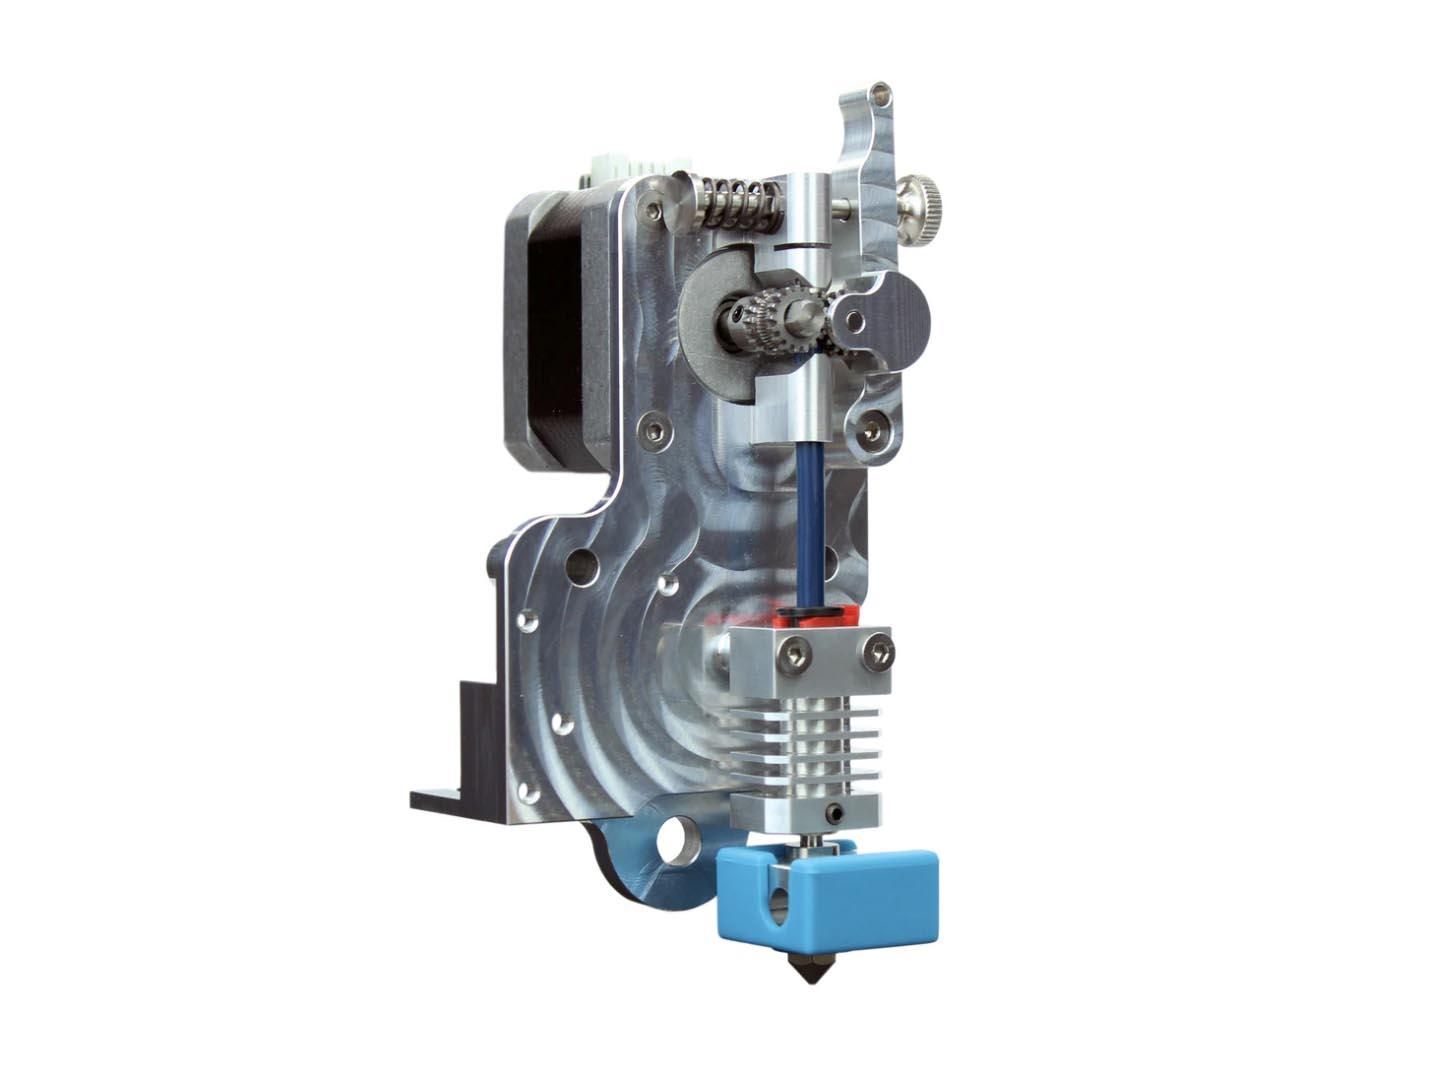
This instructable will walk through the basic steps of setting up a printer profile in Cura to work with the Ender 3 MicroSwiss DE conversion kit.
Supplies
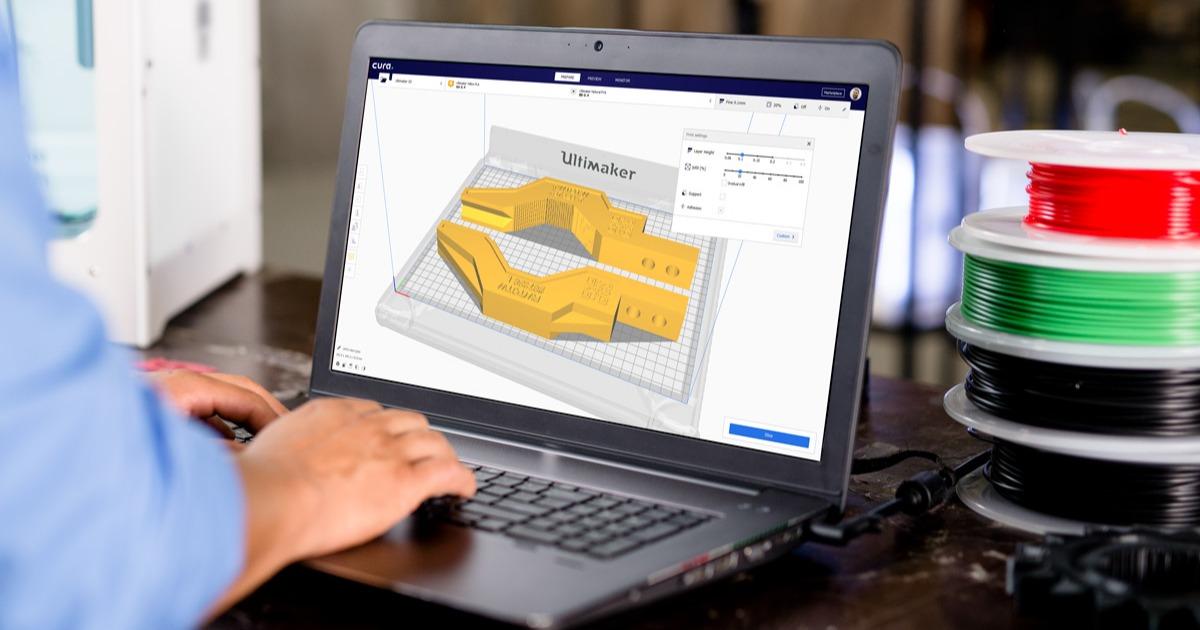
You will need a computer with the most recent version of Cura and the correct start gcode which is attached in step 5.
Open Cura
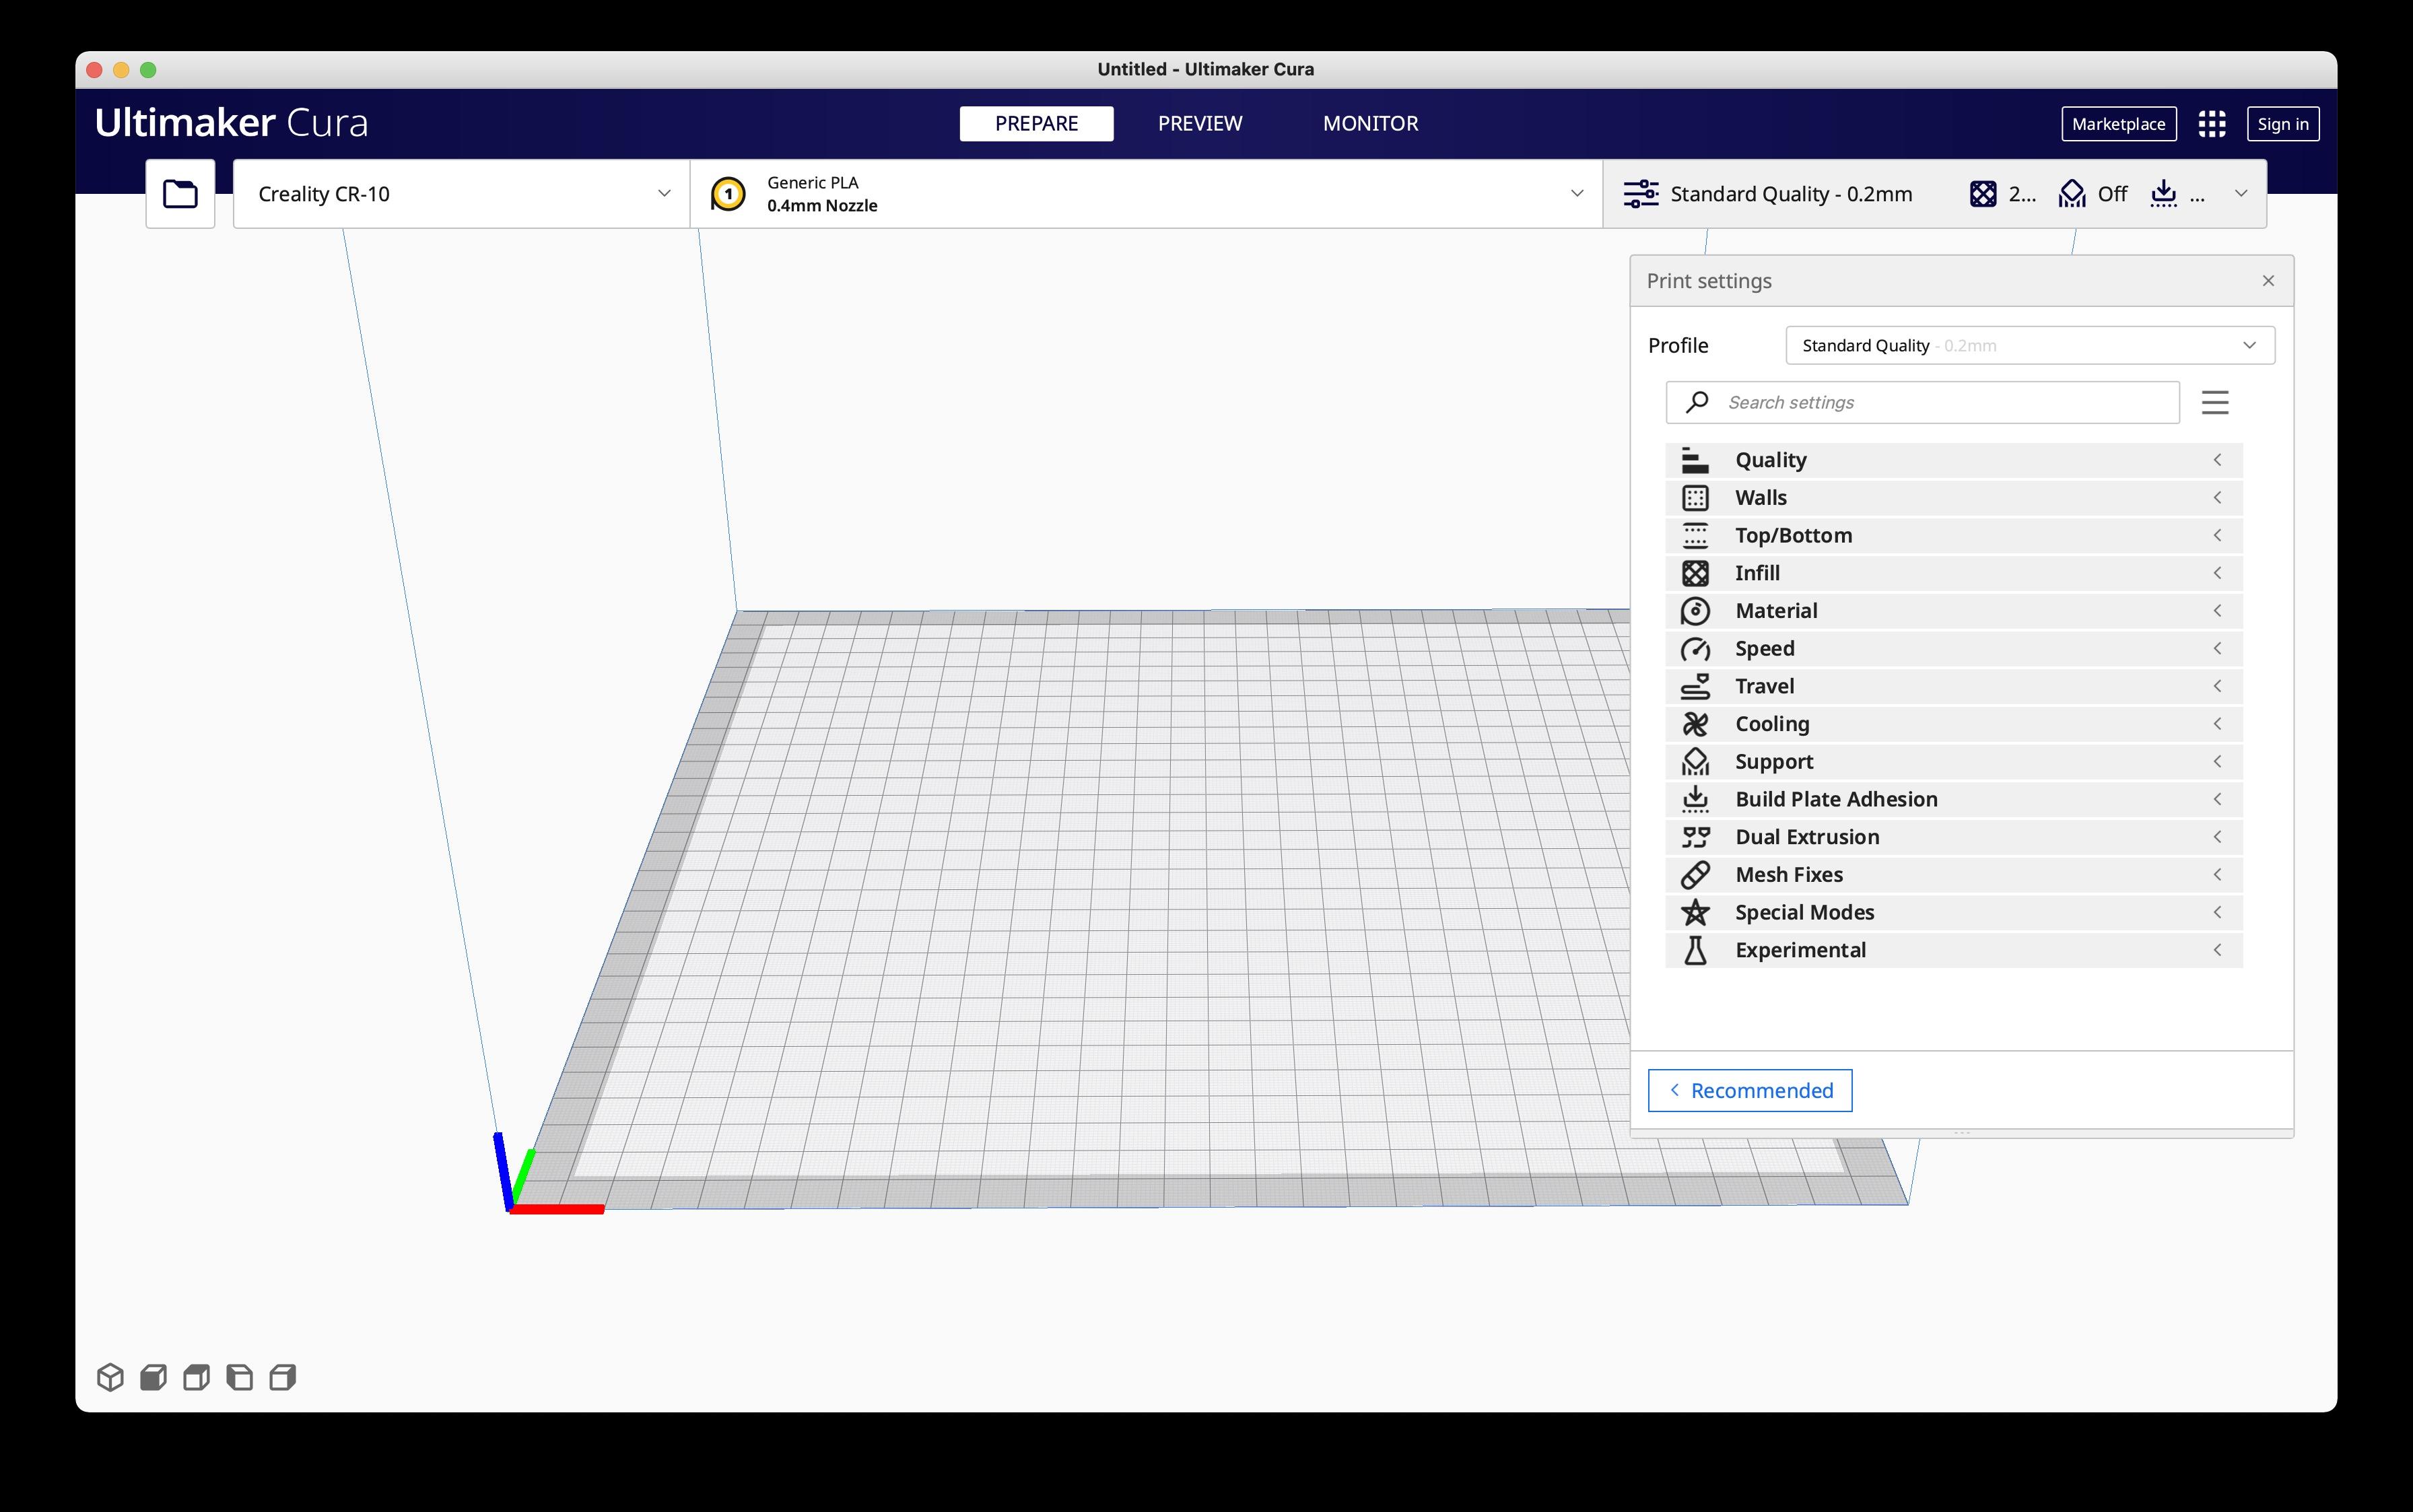
Open Cura
Add Printer
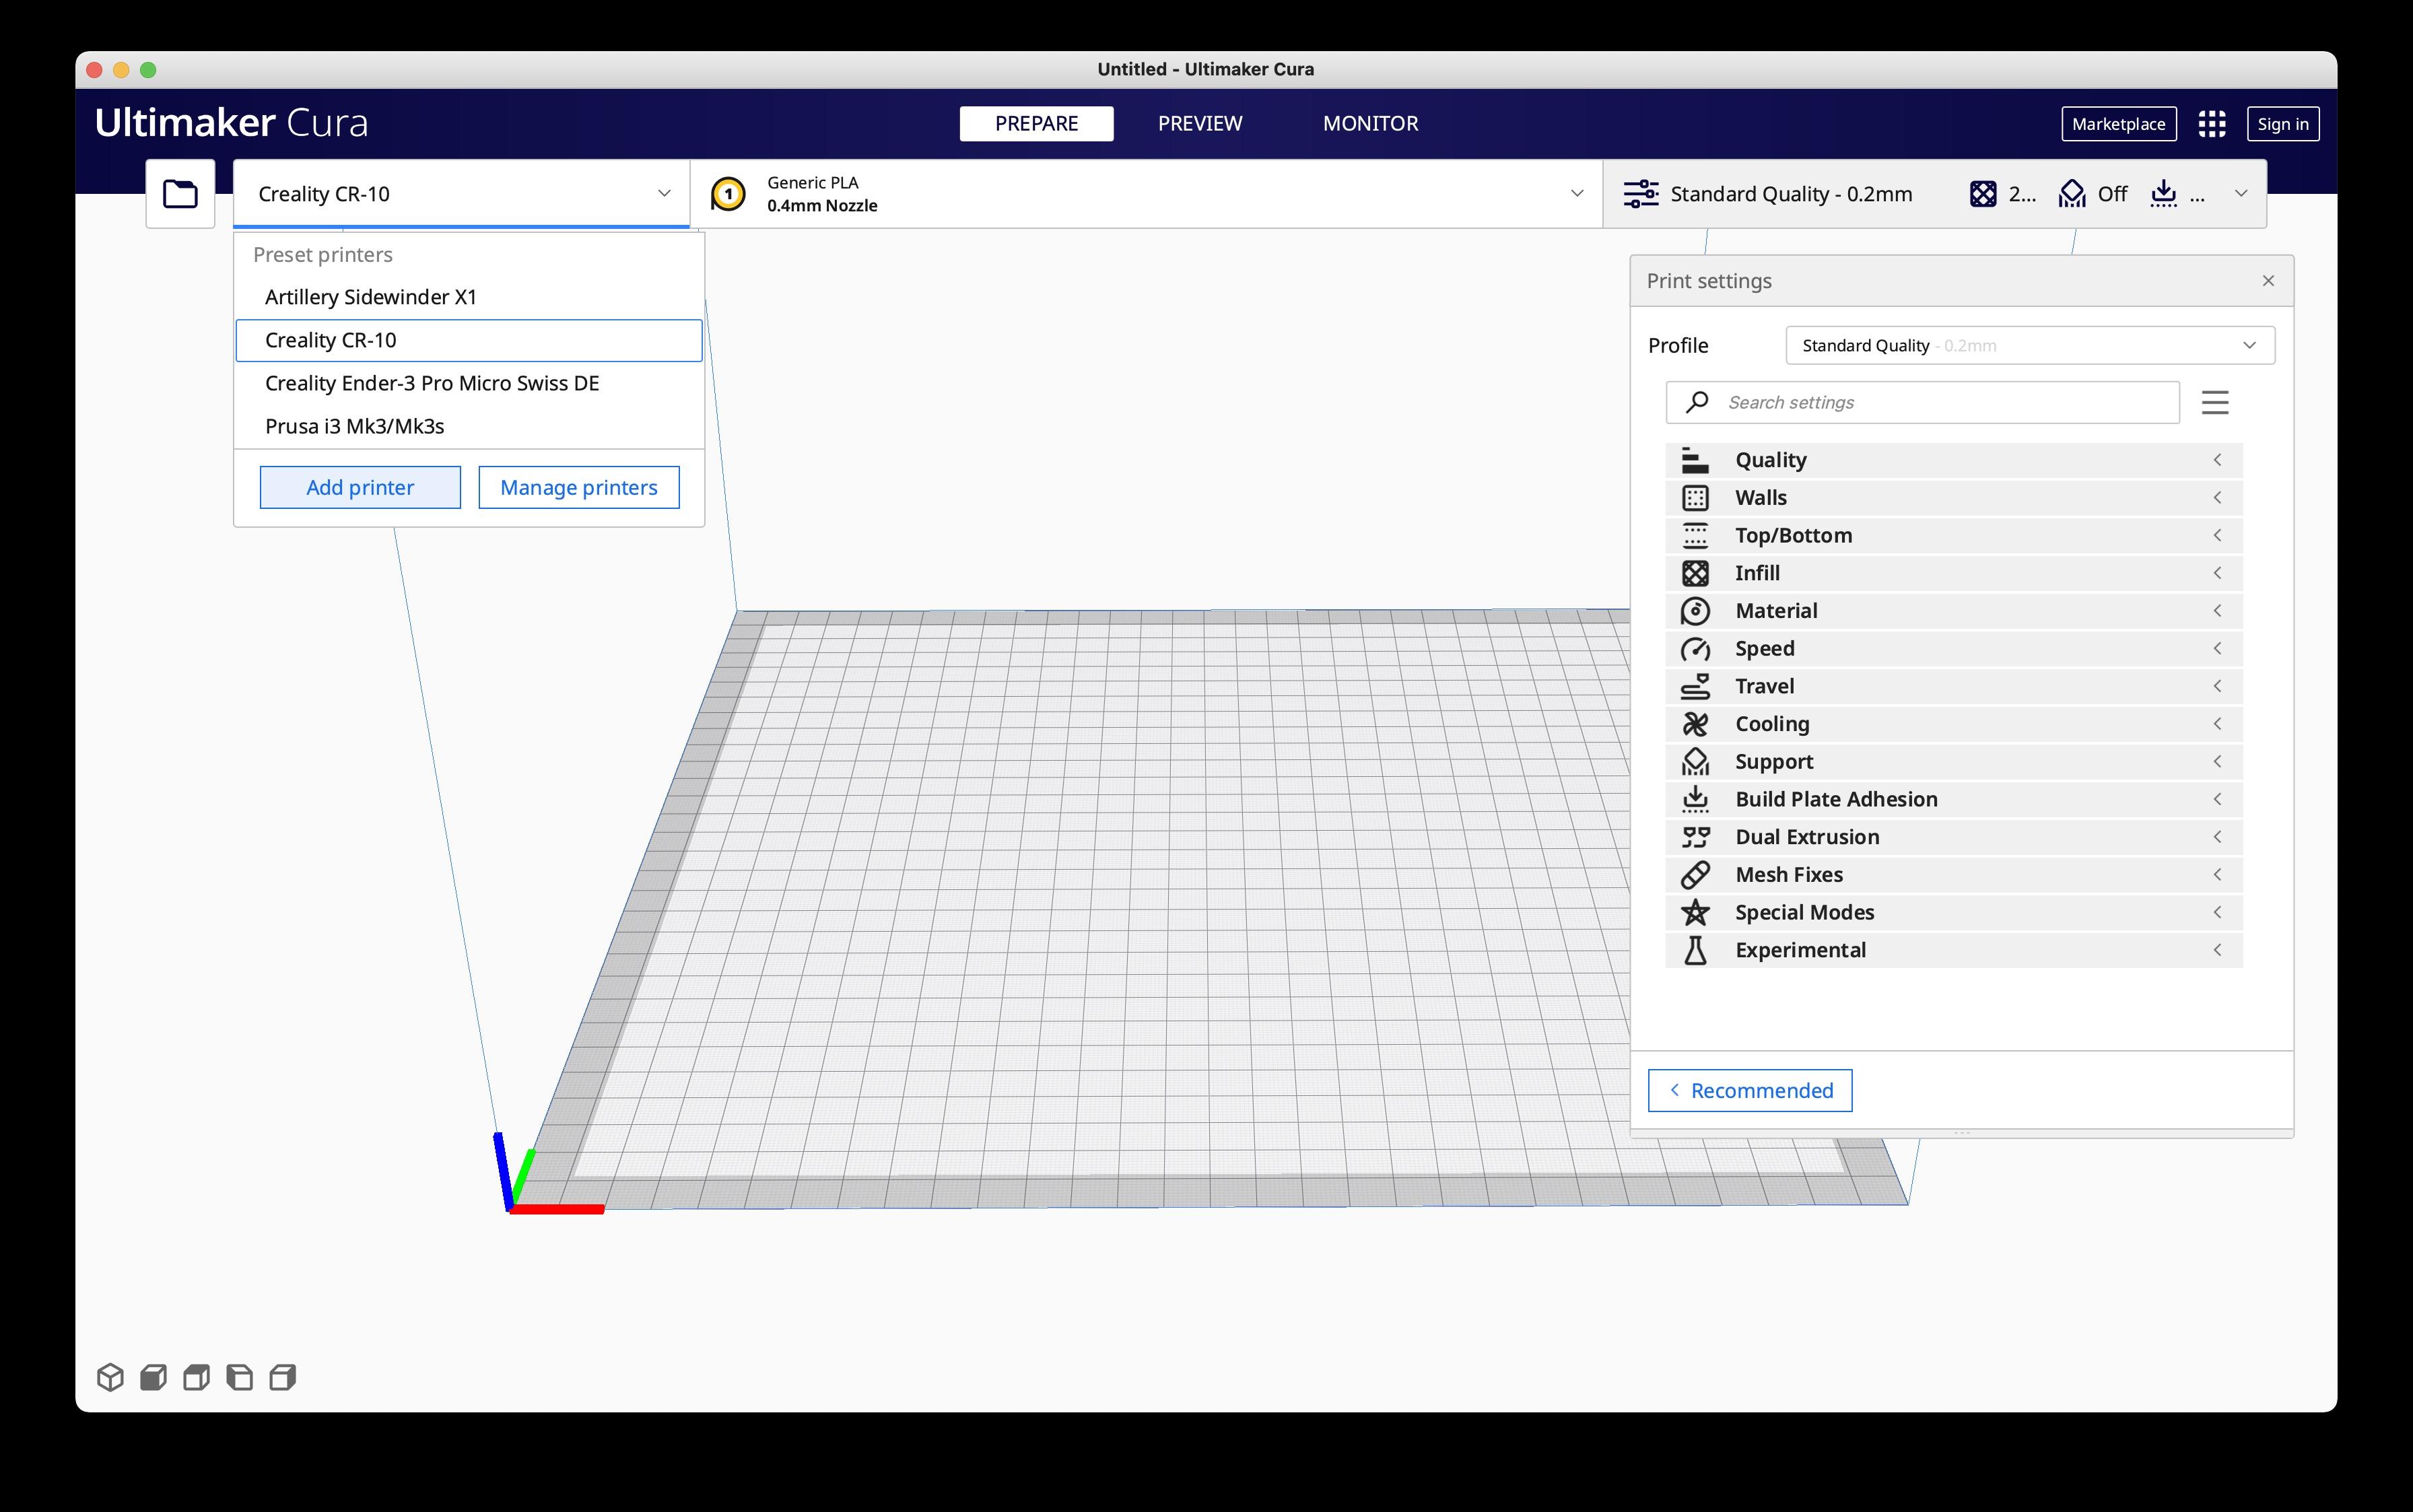
Go to the printer menu and click "Add Printer"
Add Non-Networked Printer
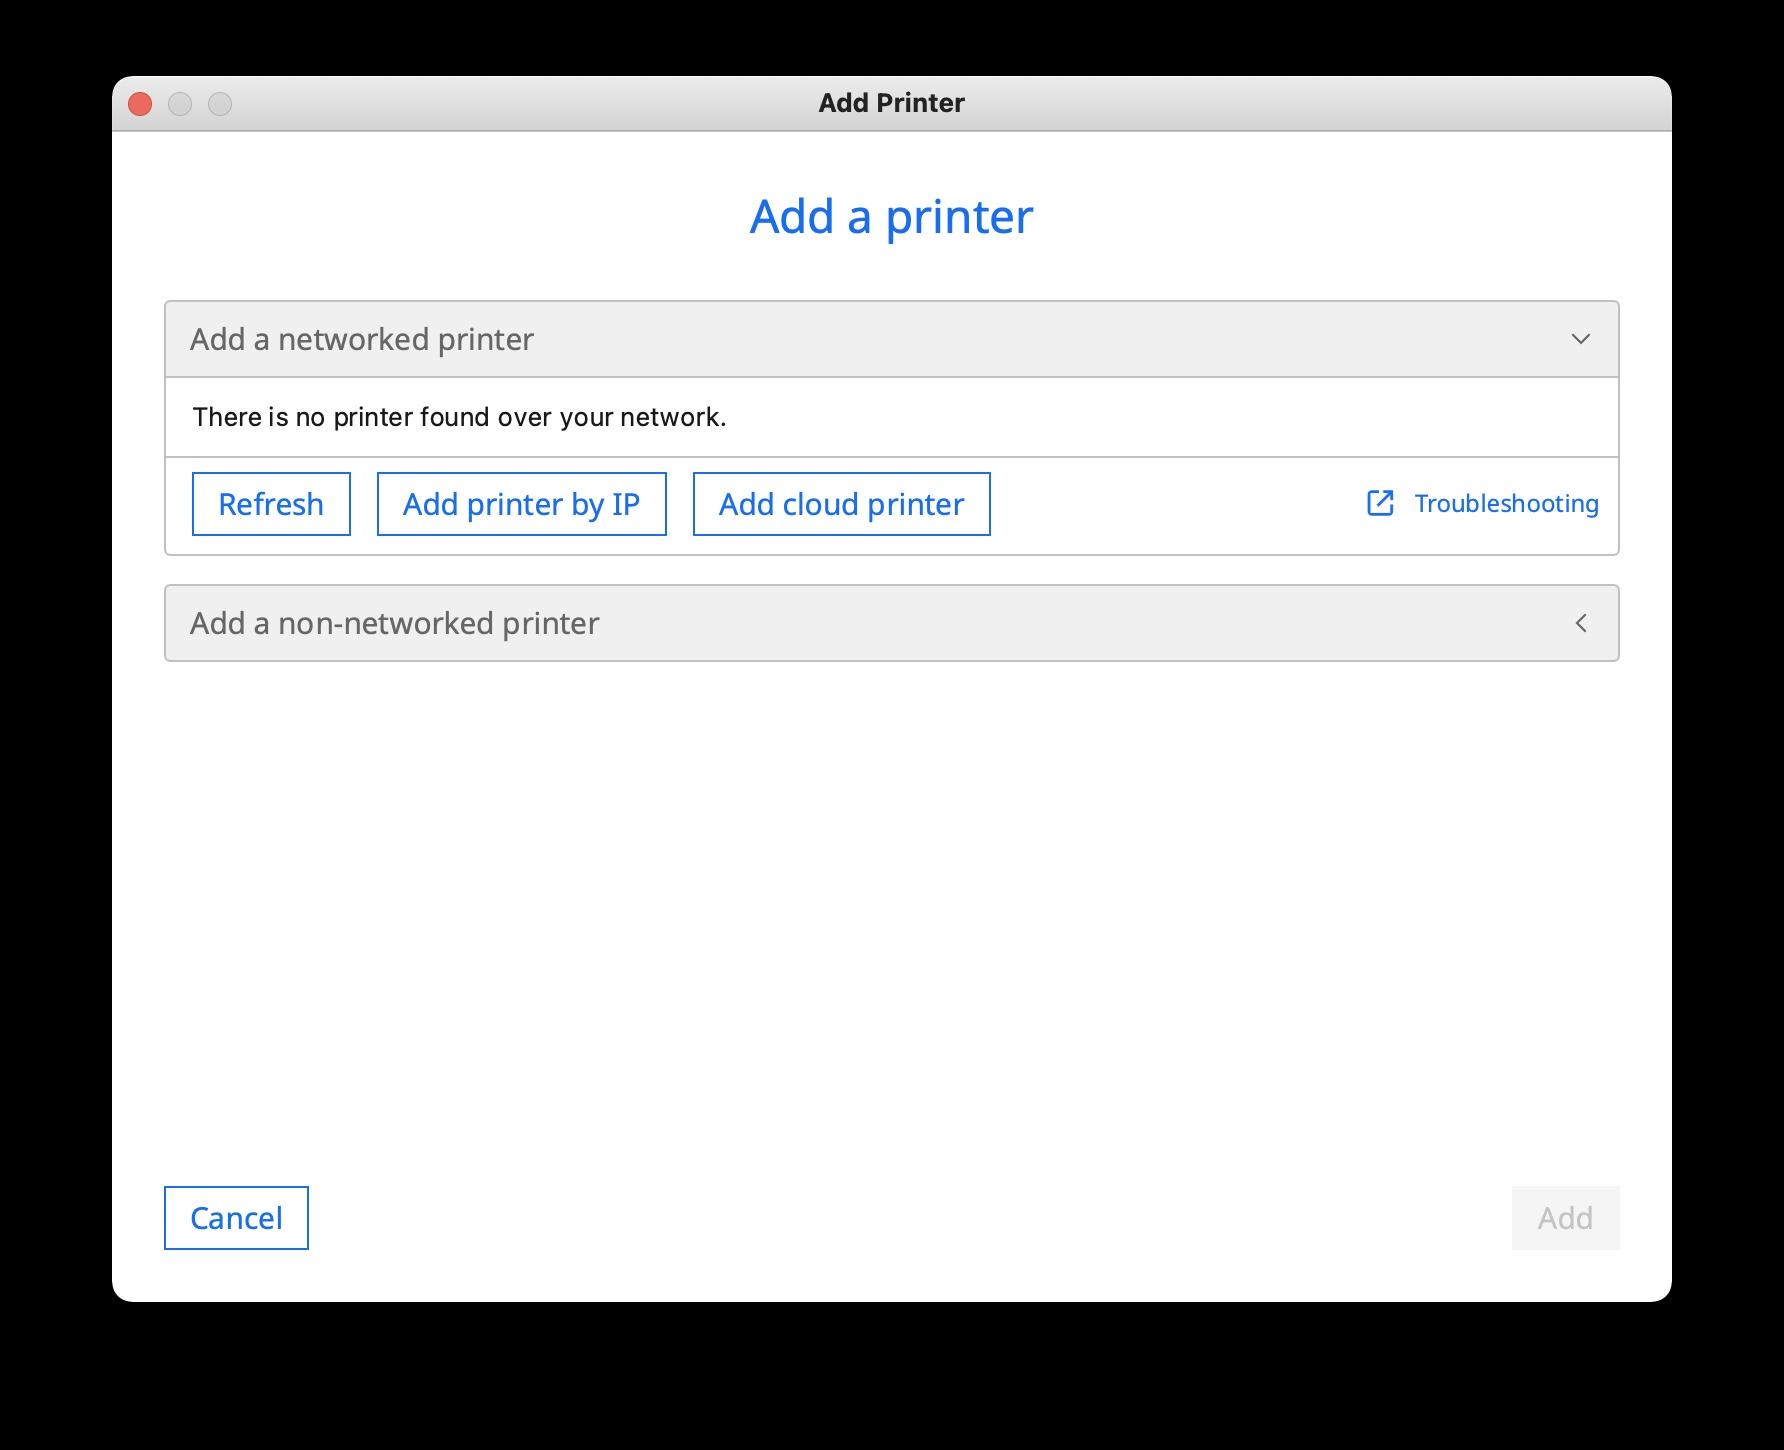
Click on "Add a non-networked printer".
Select & Add Ender 3 Pro
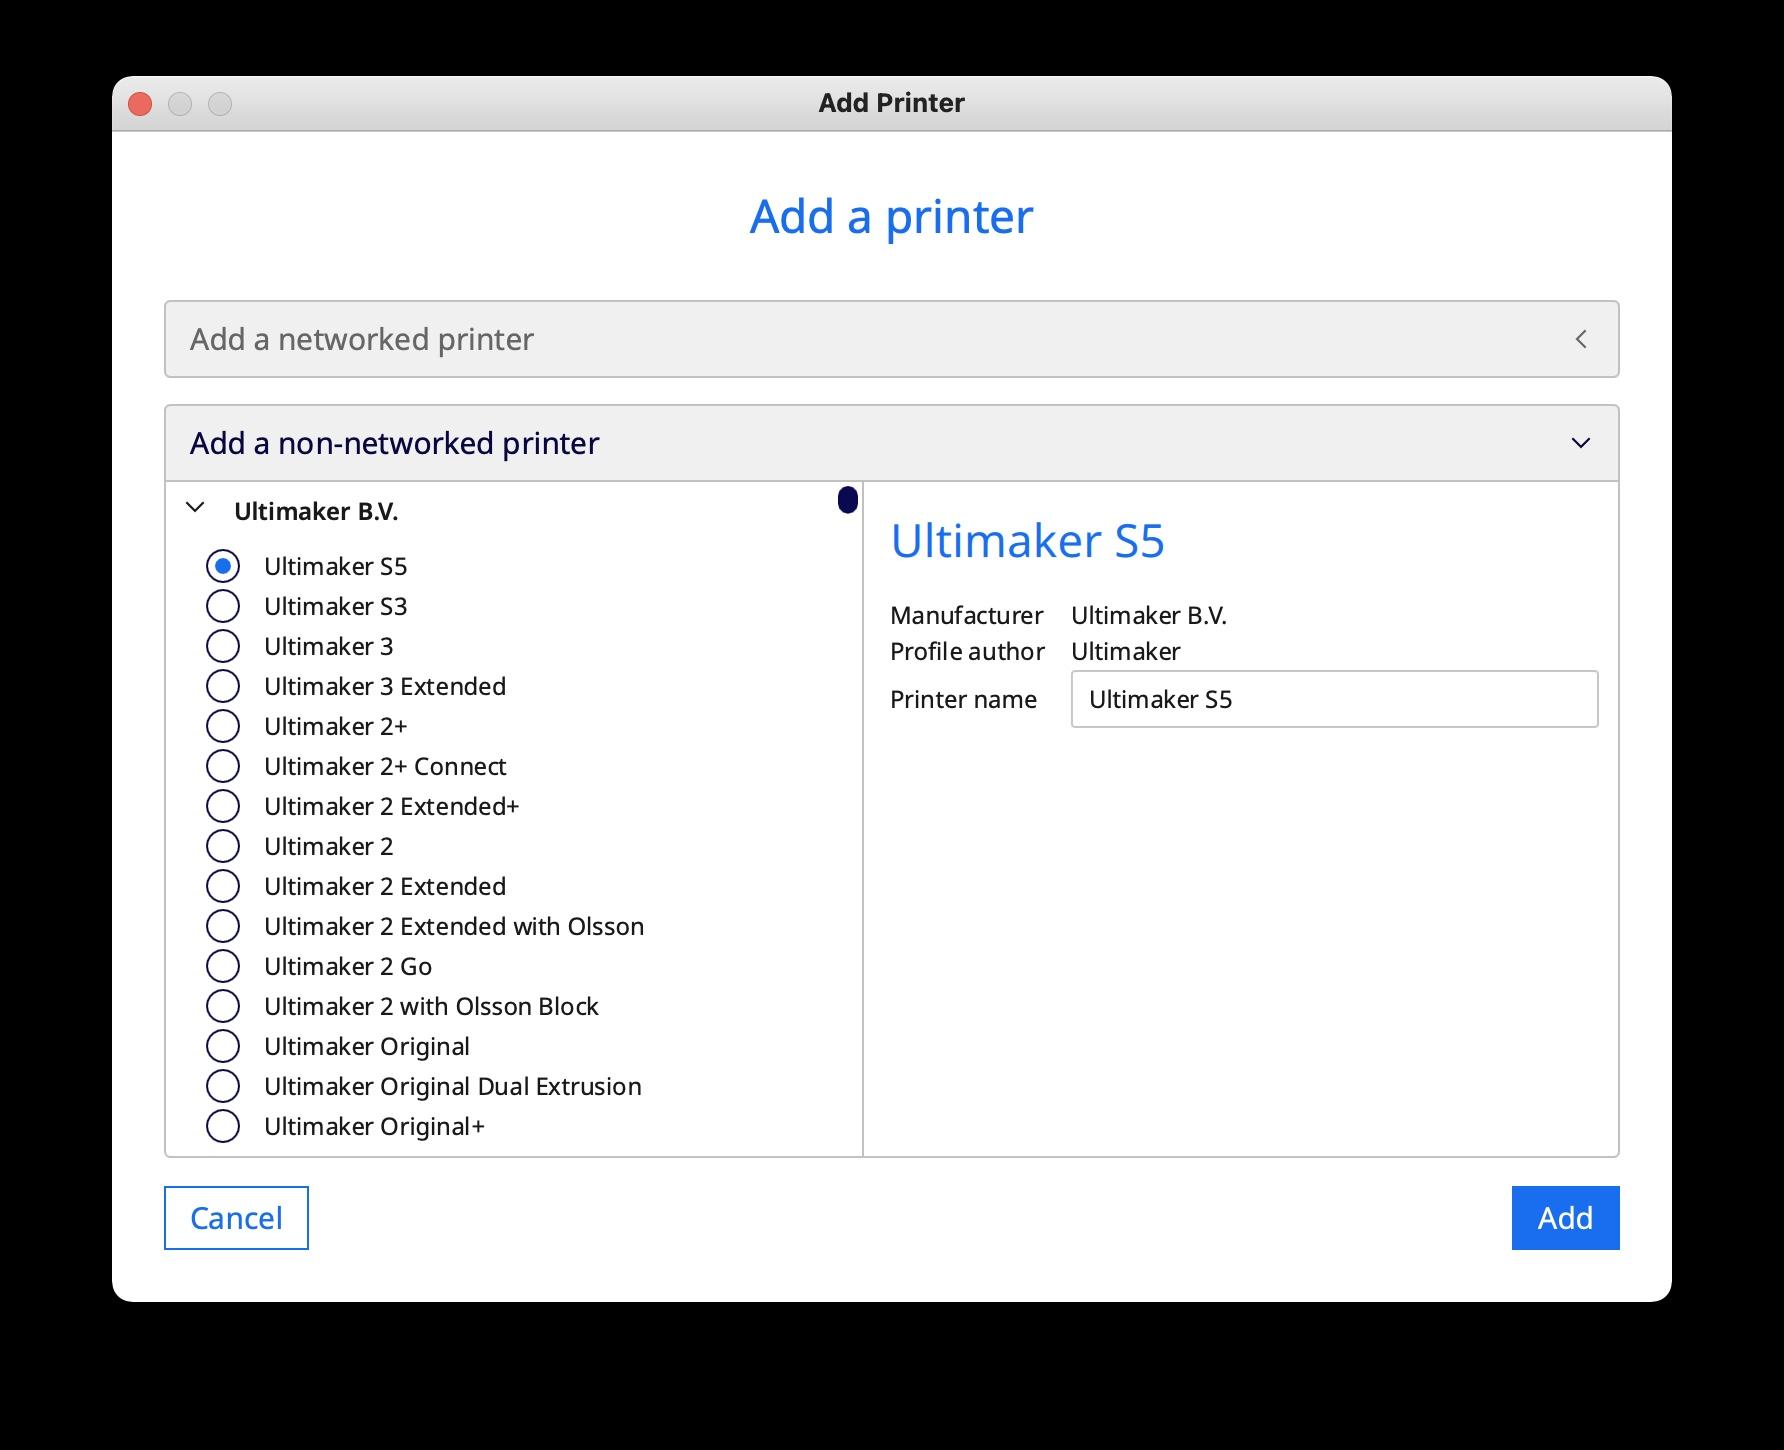

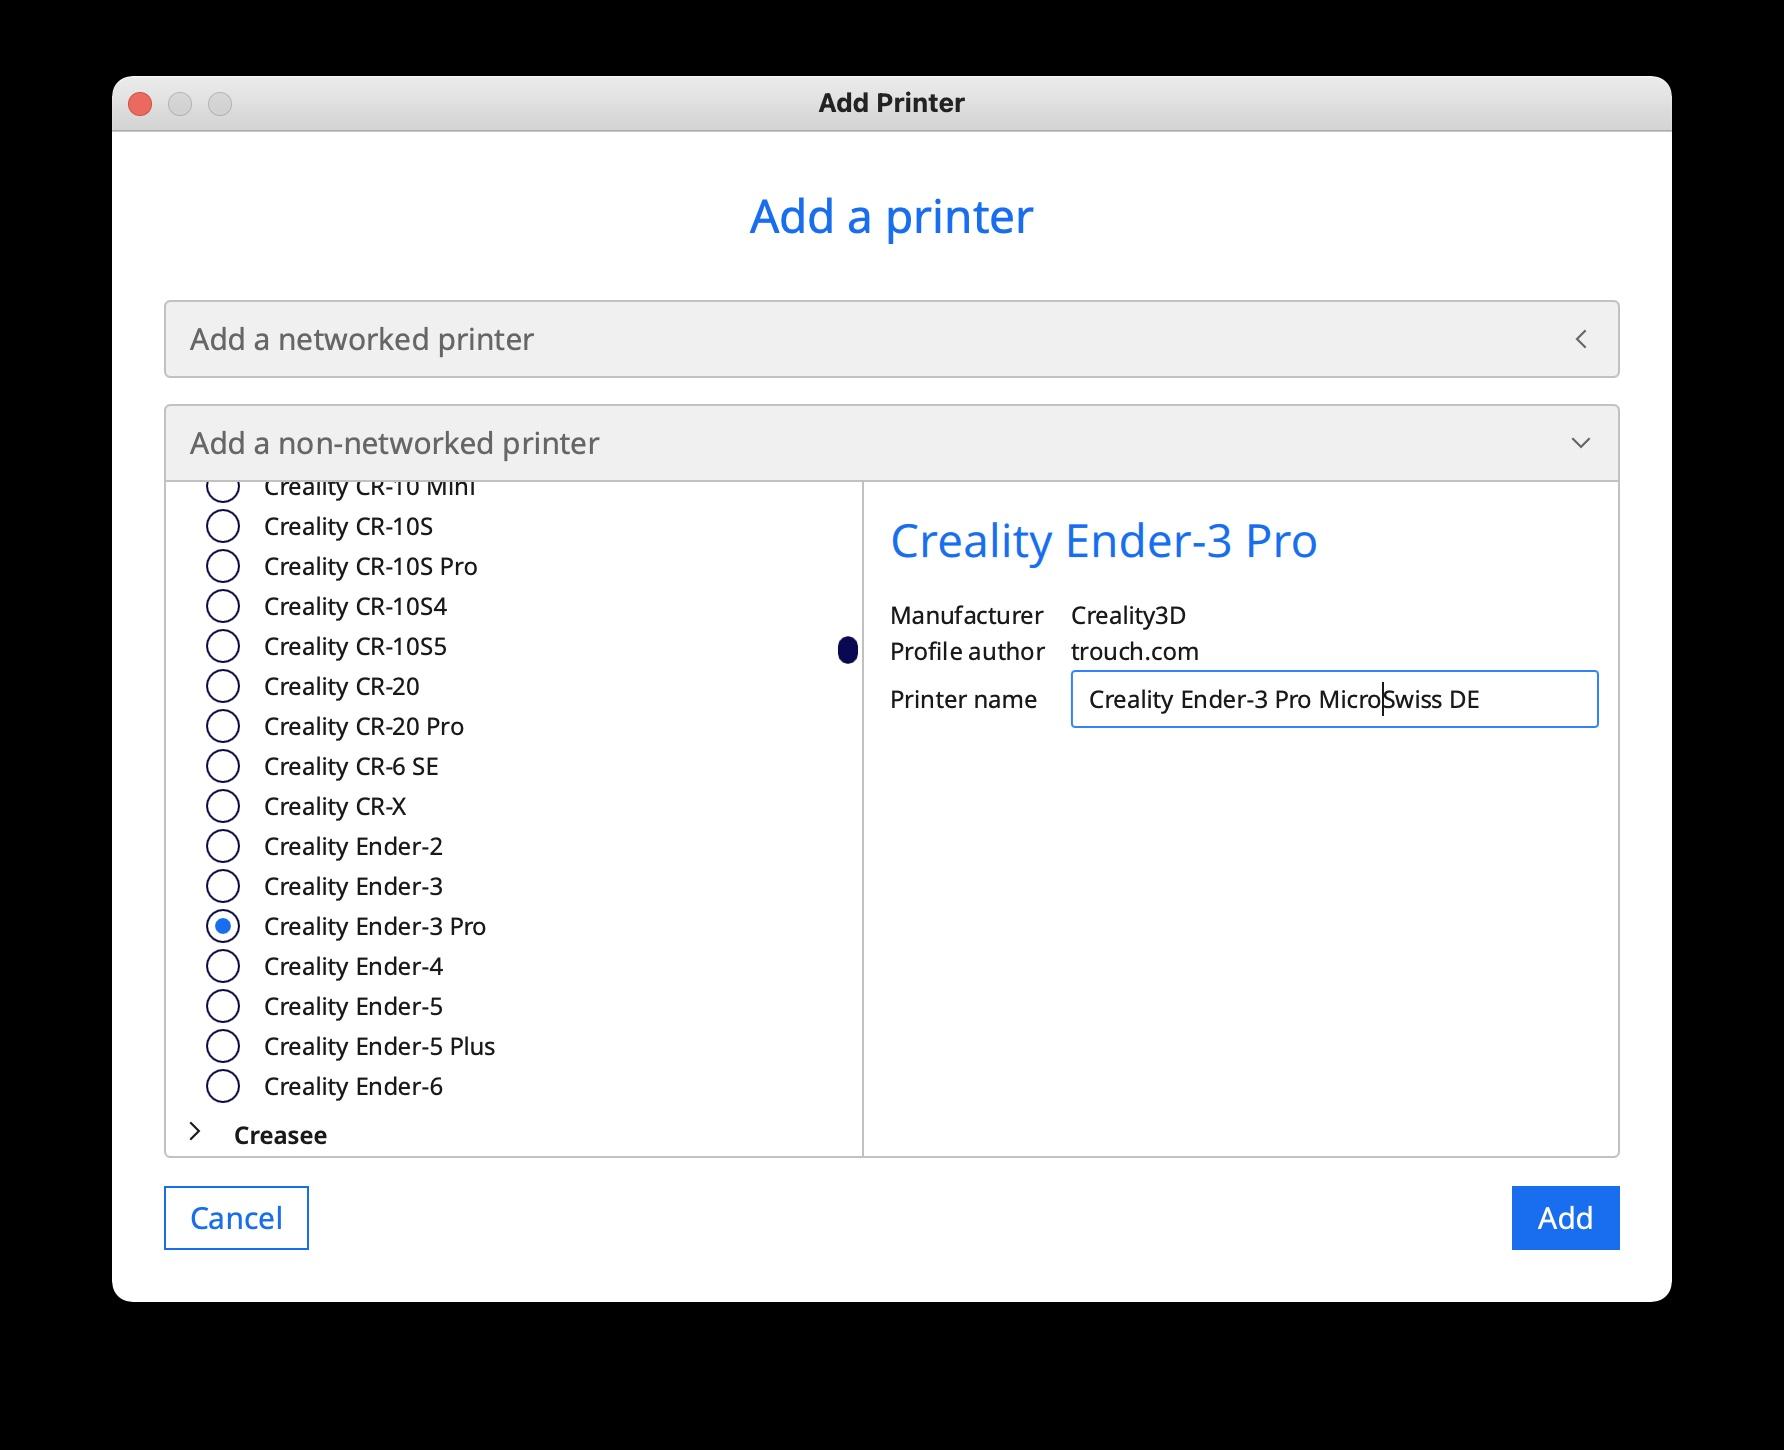
Scroll down the list of printer names and pick Creality3D and click the radio button next to Ender 3 Pro, rename the printer "Creality Ender-3 Pro MicroSwiss DE" then click the ADD button.
Update Start GCode
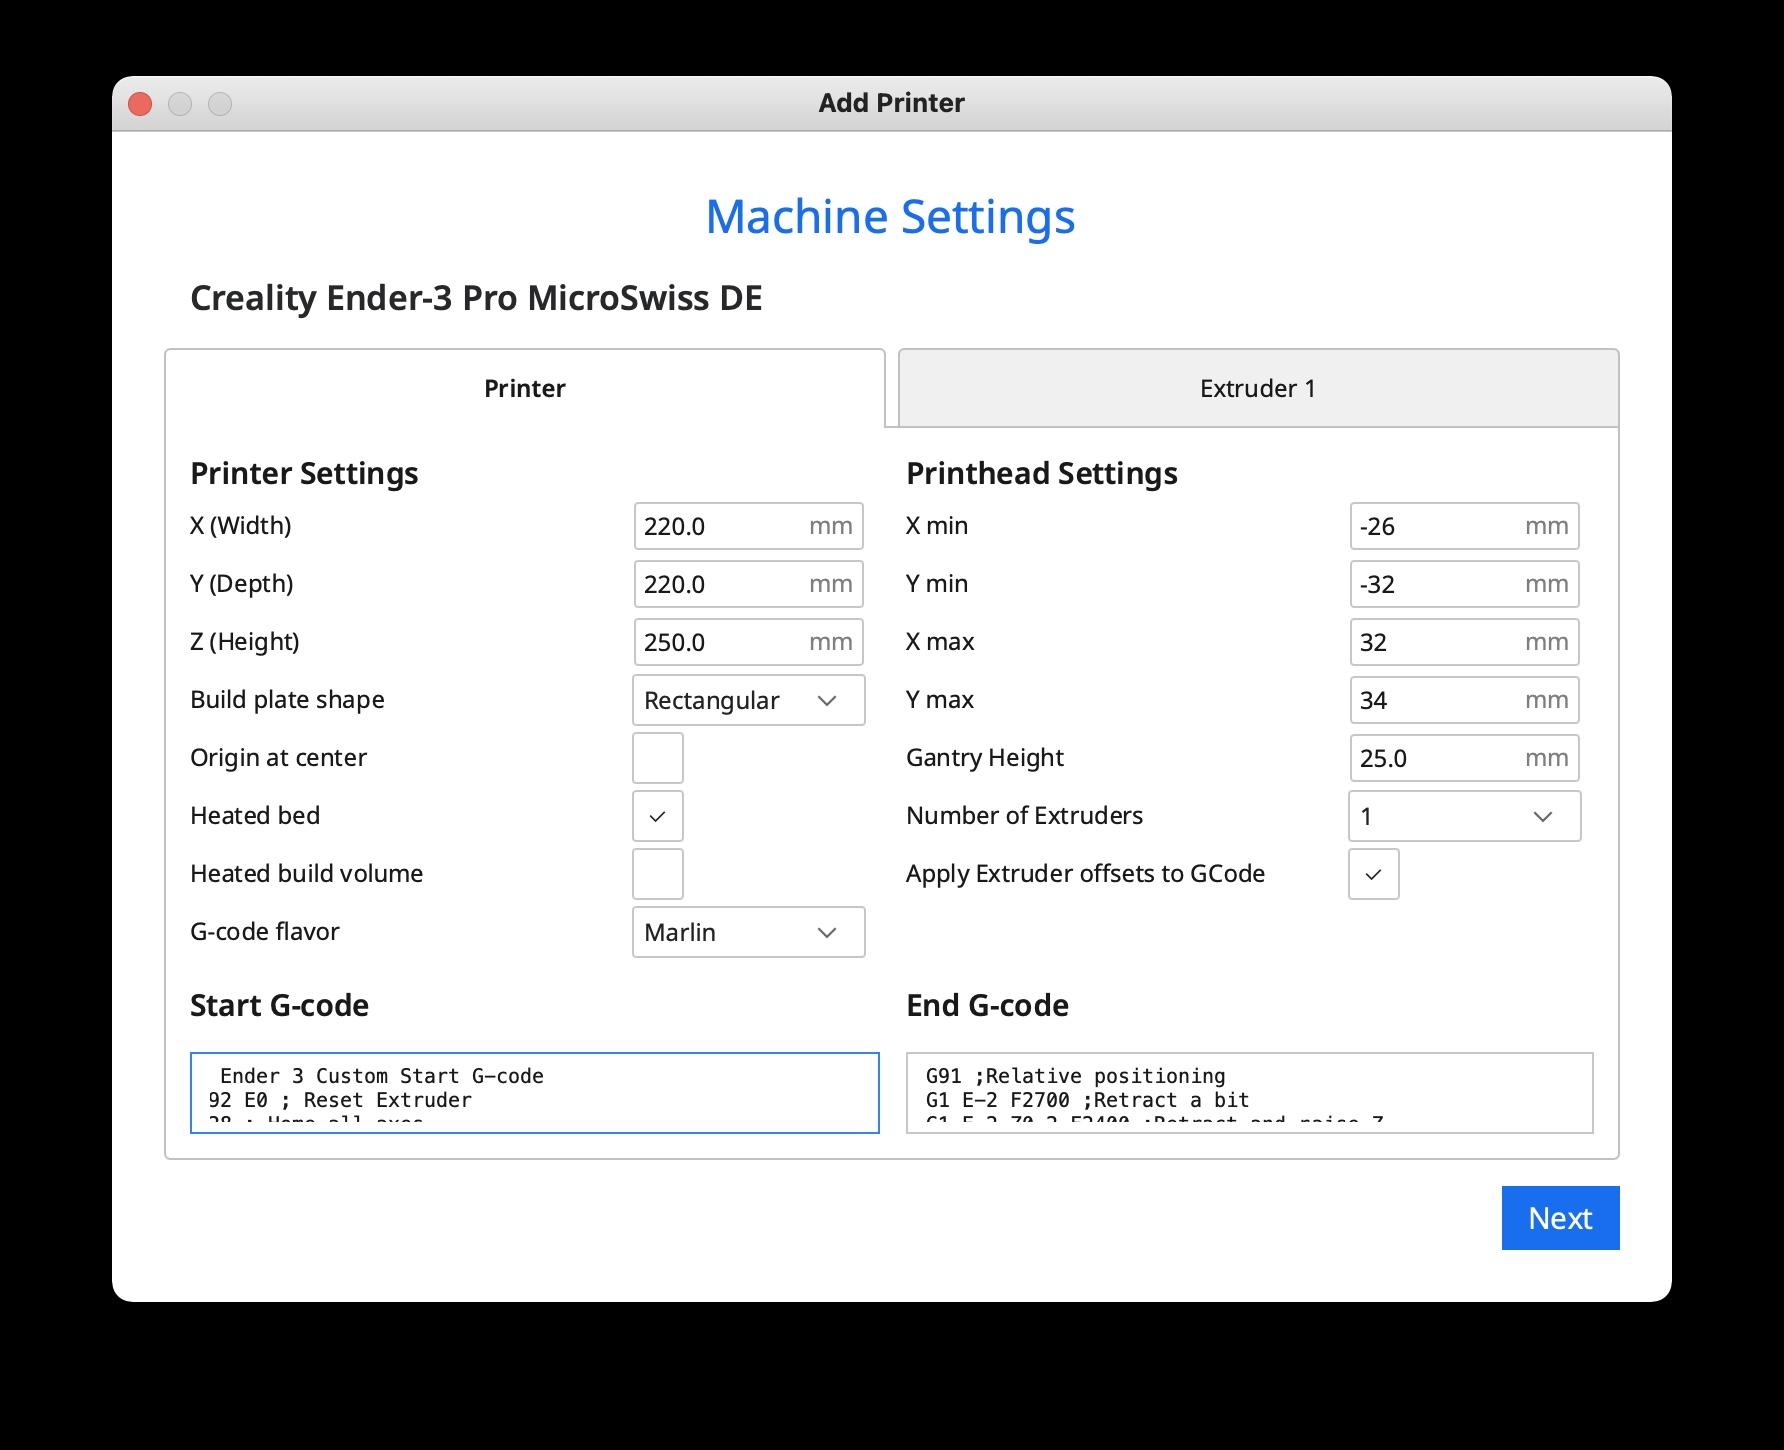
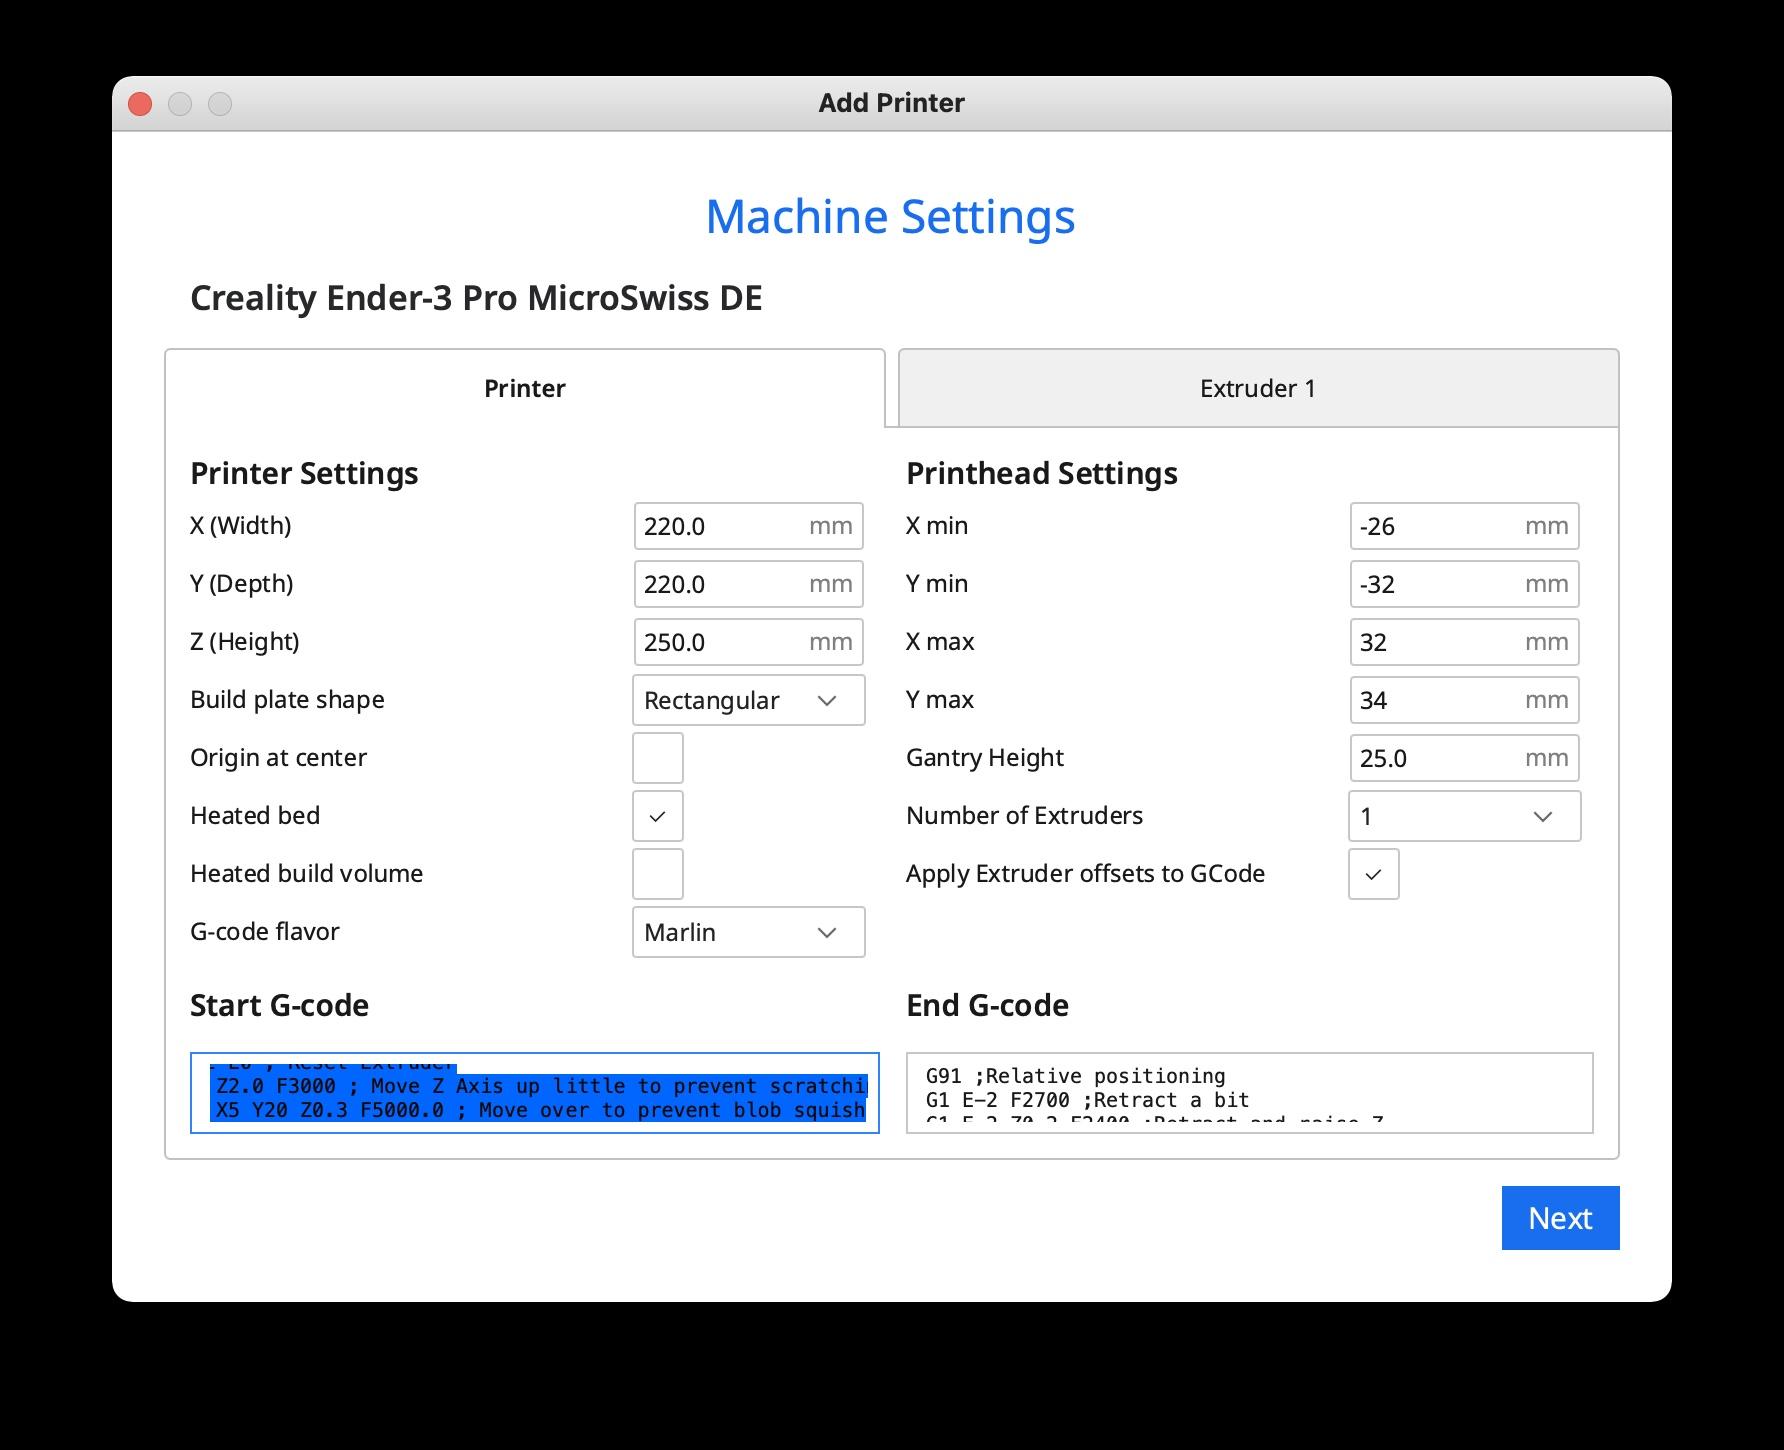

In the Machine Setting menu select the start code and delete it. Then copy and paste the code in the txt document provided here into the start code area. Click next and you are ready to start printing on the MicroSwiss DE.
Downloads
Finish Up
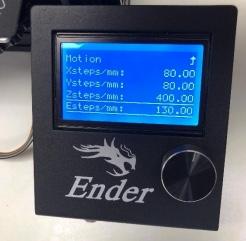
You will need to test your estep and flow rate. To do that you can watch this youtube video that is very good at explaining what to do.