Cube Puzzle in Tinkercad
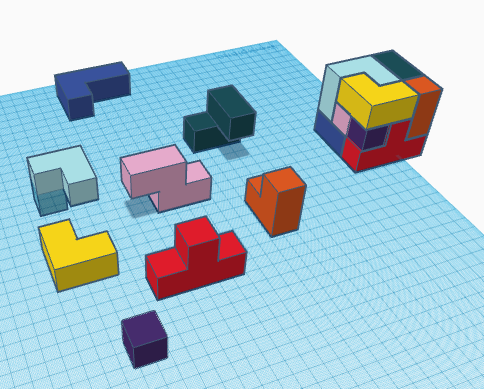
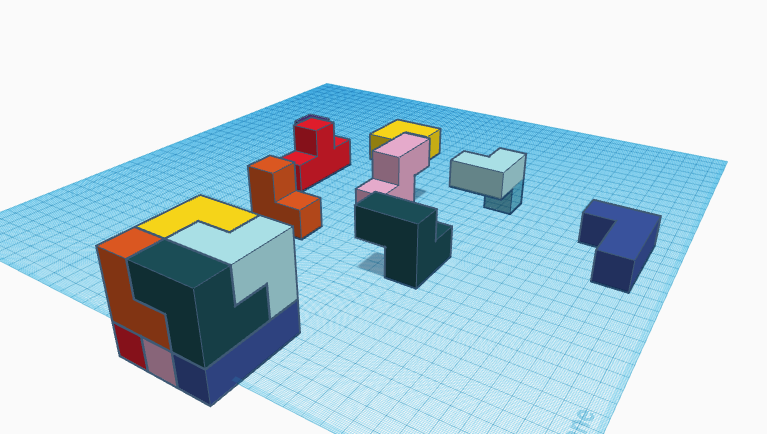
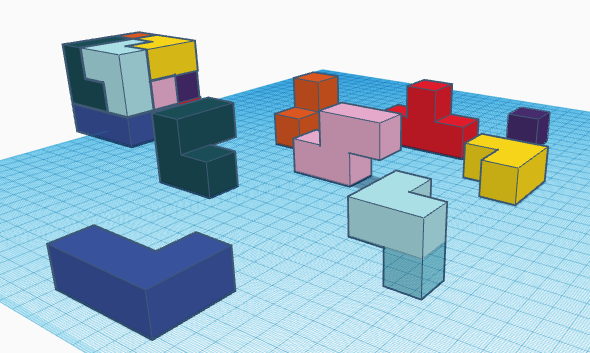
This is a cube puzzle made on Tinkercad in which you will have to assemble to the different shapes to make a cube.
Supplies
- A computer or a laptop
- A browser (Firefox and Google Chrome recommended)
- A notebook for rough ideas
Making the First Figure
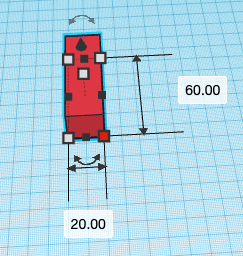
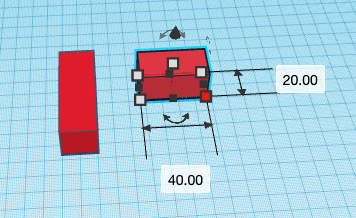
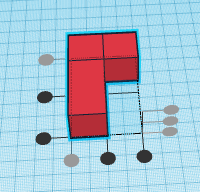
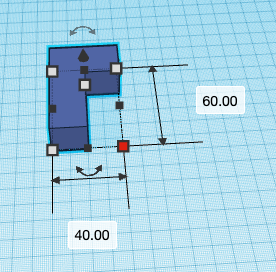
- To make the first shape first drag a cube on to the Workspace. Set it's Length to 60.00 , it's Width to 20.00 and it's Height to 20.00
- Drag another cube on to the Workplane set it's Length to 40.00 , it's Width to 20.00 and it's Height to 20.00
- Rotate the cube with Height 40.00 to 90 degrees
- Then place the rotated cube on the edge of the other cube perfecty
- Then the group the two cubes together
- Set a color to it if you want to
Making the Second Figure
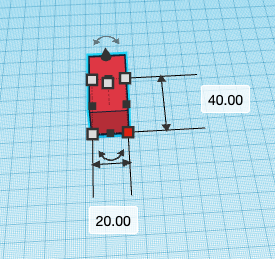
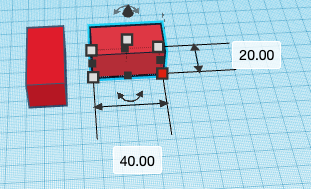
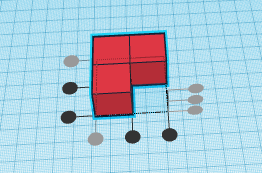
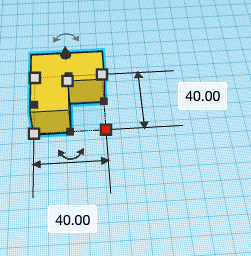
- Drag a cube on to the Workplane. Set it's Length to 40.00, it's Width to 20.00 and it's Height to 20.00
- Duplicate the cube and rotate it to 90 degrees.
- Place the duplicated cube on the edge of the other cube perfectly.
- Group them Together.
- Add a color to it .
Making the Third Figure
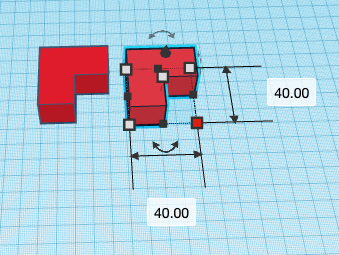
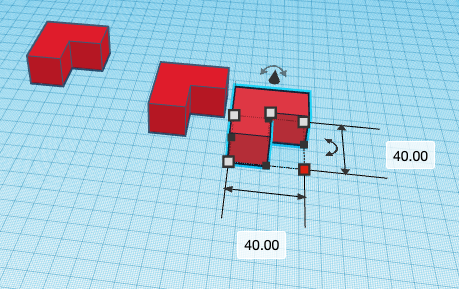
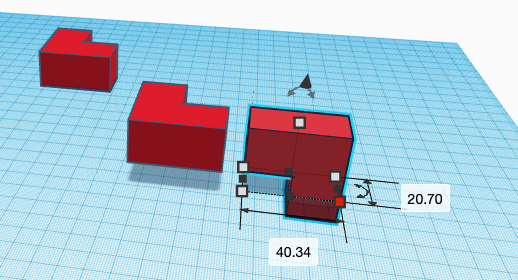
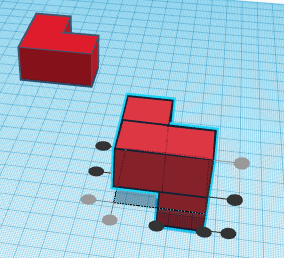
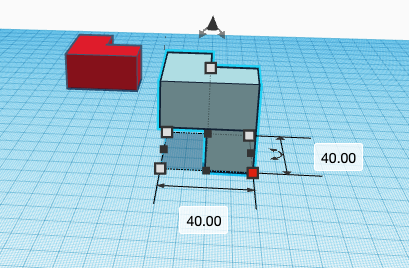
- Duplicate the 2 figure
- Duplicate the 2 figure again
- Rotate it to 90 degrees so that it is vertical
- Align one side of the horizontal figure to the side of the vertical figure
- Group them together
- Add a color to it
Making the Fourth Figure
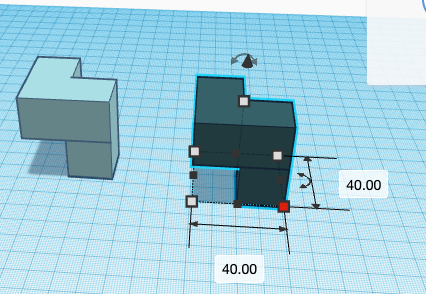
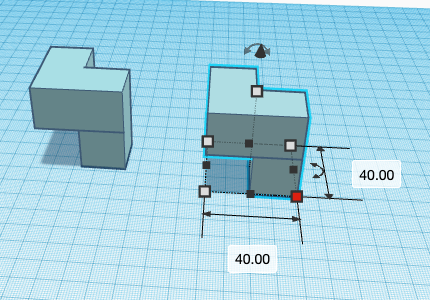
- Duplicate the Third figure
- Add color to it
Making the Fifth Figure
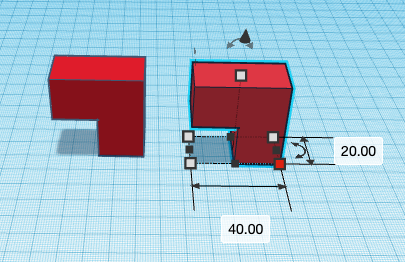
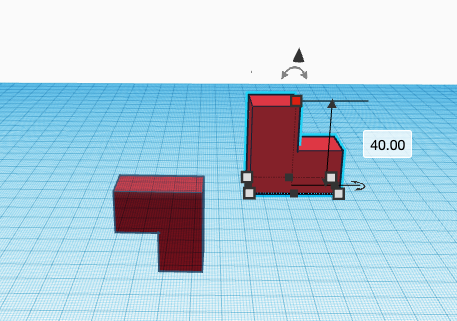
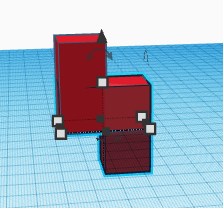
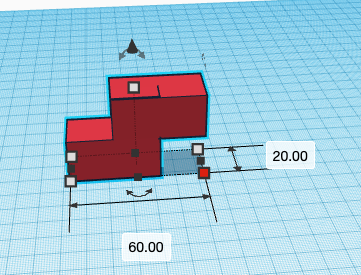
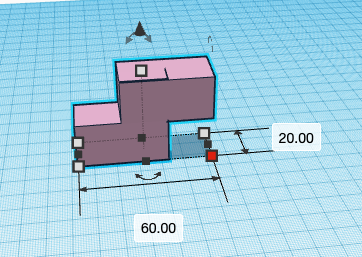
- Duplicate the Second figure twice
- You should get three Second figures
- Rotate the first duplicate such that one of arms faces upward
- Rotate the second duplicate such that one of its arms faces downward
- Align the base of the first duplicate with the base of the second duplicate
- Group them together
- Add color to it
Making the Sixth Figure
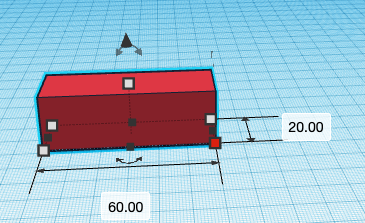
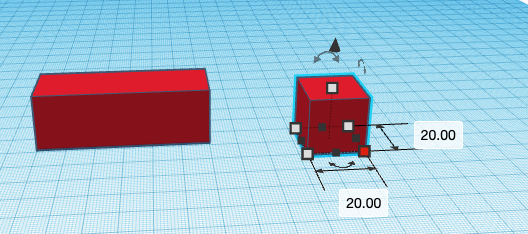
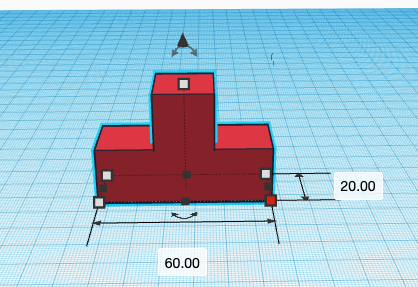
- First drag a cube on the Workplane . Set it's Length to 60.00 , it's Width to 20.00 and it's Height to 20.00
- Drag another cube on the Workplane . Set it's Length, Width and Height to 20.00( Mostly it's measures are always 20.00 by default)
- Align the small box in the center of the cuboid an lift it up to the surface of the cuboid
- Group them together
- Add color to it
Making the Seventh Figure
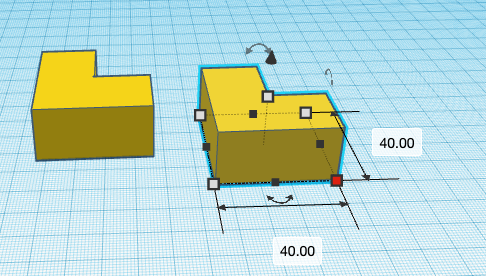
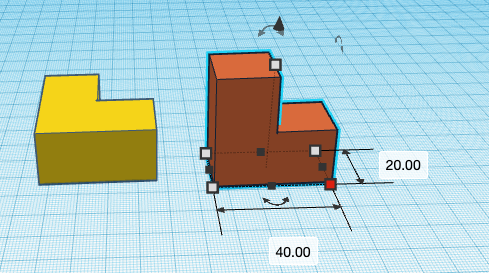
- Duplicate the second figure
- Add color to it
Making the Eighth Figure
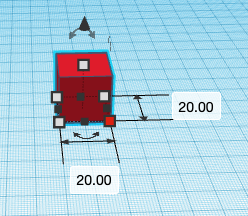
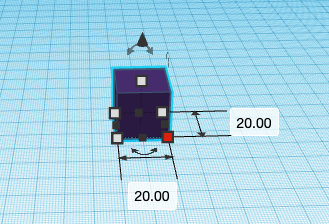
- Drag a cube on the Workplane . Check it's measures it should be as follows it's Length should be 20.00 , it's Width should be 20.00 and it's Height should be 20.00
- Add a color to it
Assembly of All Figures
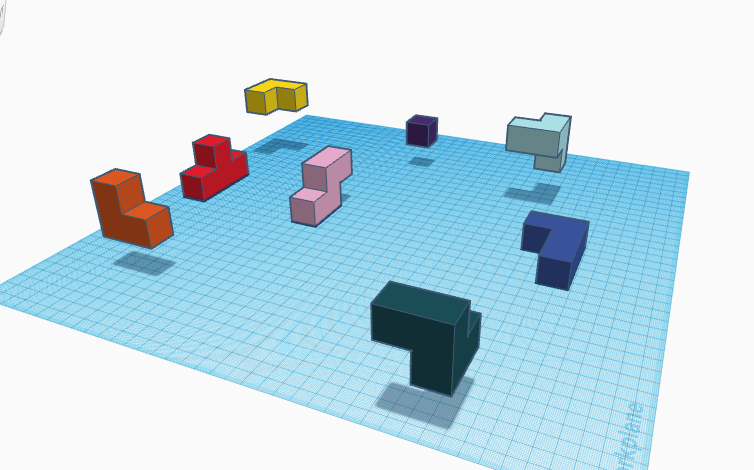
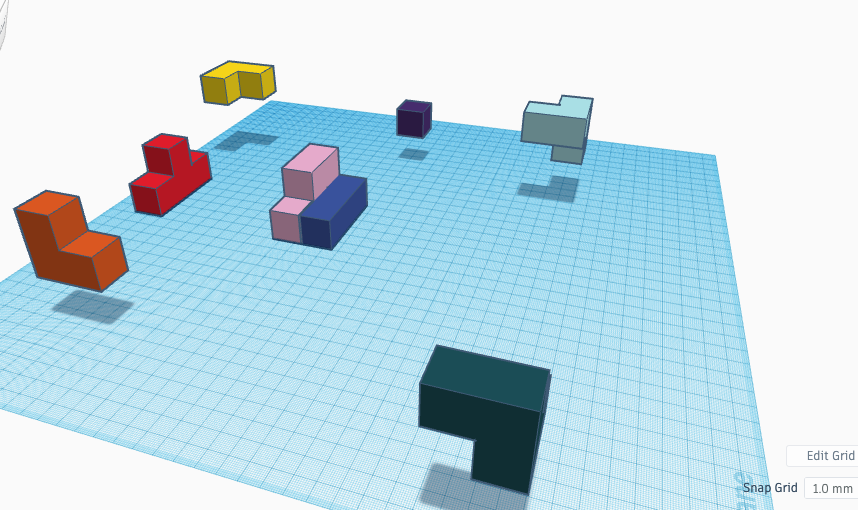
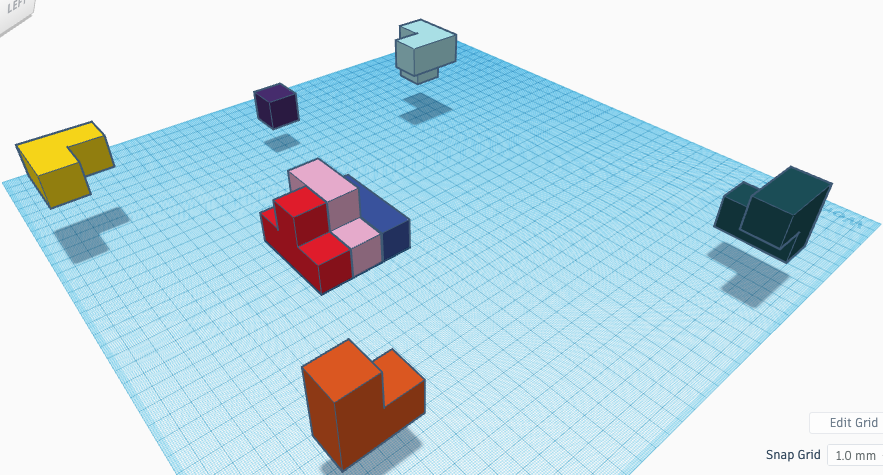
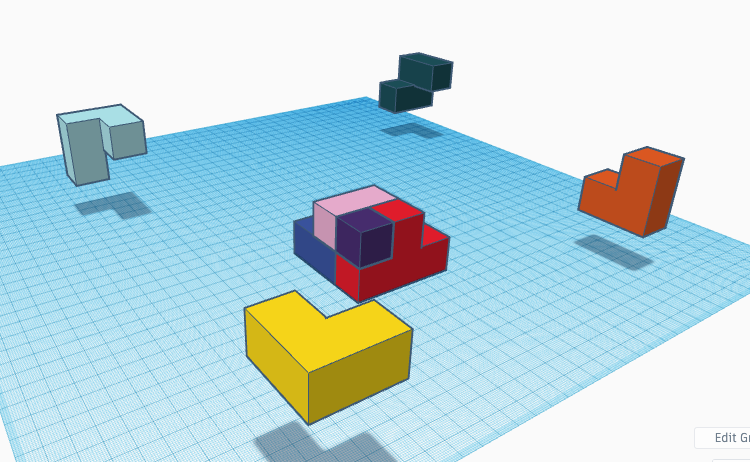
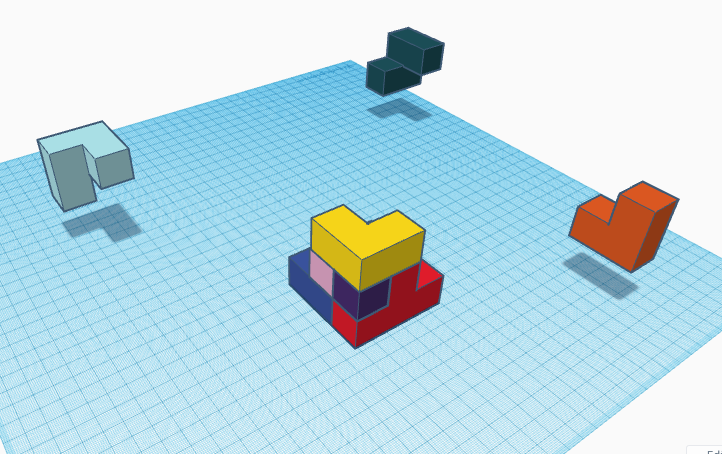
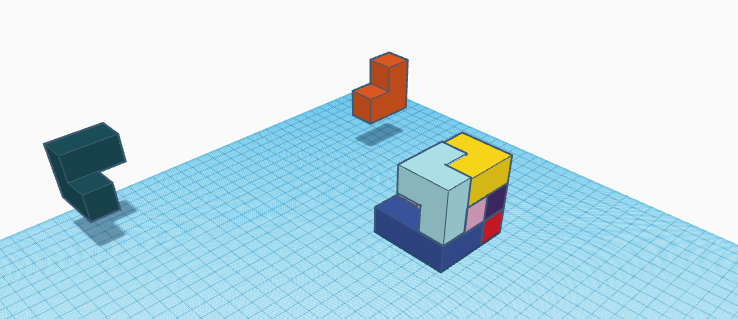
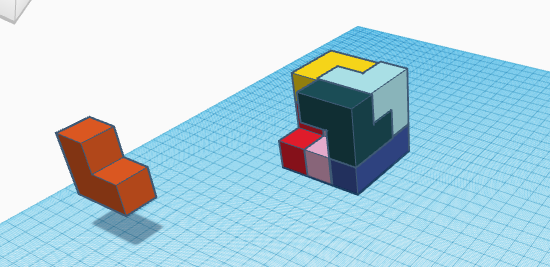
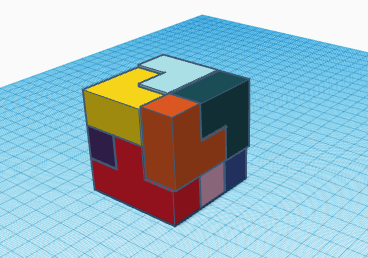
- Drag the fifth figure on the Workplane in the center
- Drag the first figure to the side of the 5 figure
- Drag the 6 figure to the other side of the 5 figure
- Drag the 8 figure on top of the 6 figure
- Drag the 2 figure on top of the 8 figure
- Drag the 3 figure on top of the 1 figure( Ensure that the 3 figure touches the 2 figure)
- Drag the 4 figure on top of the 1 figure but one of its arms should be below the 3 figure
- Drag the 7 figure on top of the 6 figure
- Awesome !!! the Cube is now ready
Finished Cube Puzzle
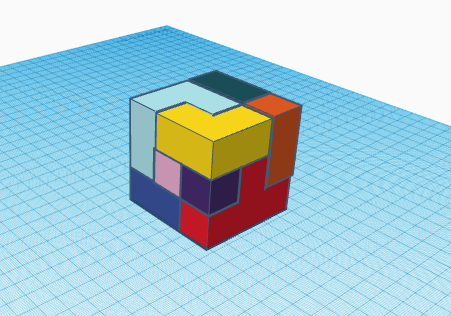
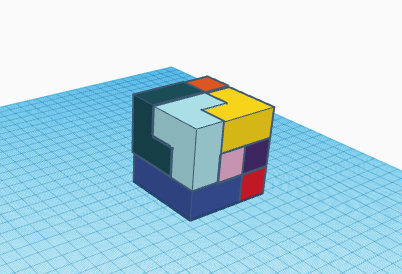
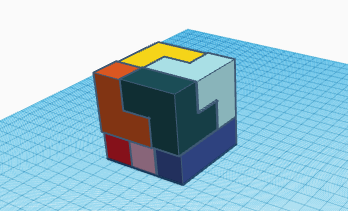
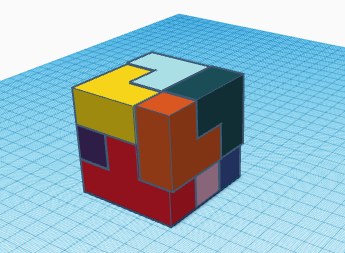
Yipee !! you just created your 3-D Cube Puzzle in Tinkercad