Crude WiFi-Enabled Weather Station
by Aleksandar Tsvetkov in Circuits > Arduino
3079 Views, 36 Favorites, 0 Comments
Crude WiFi-Enabled Weather Station
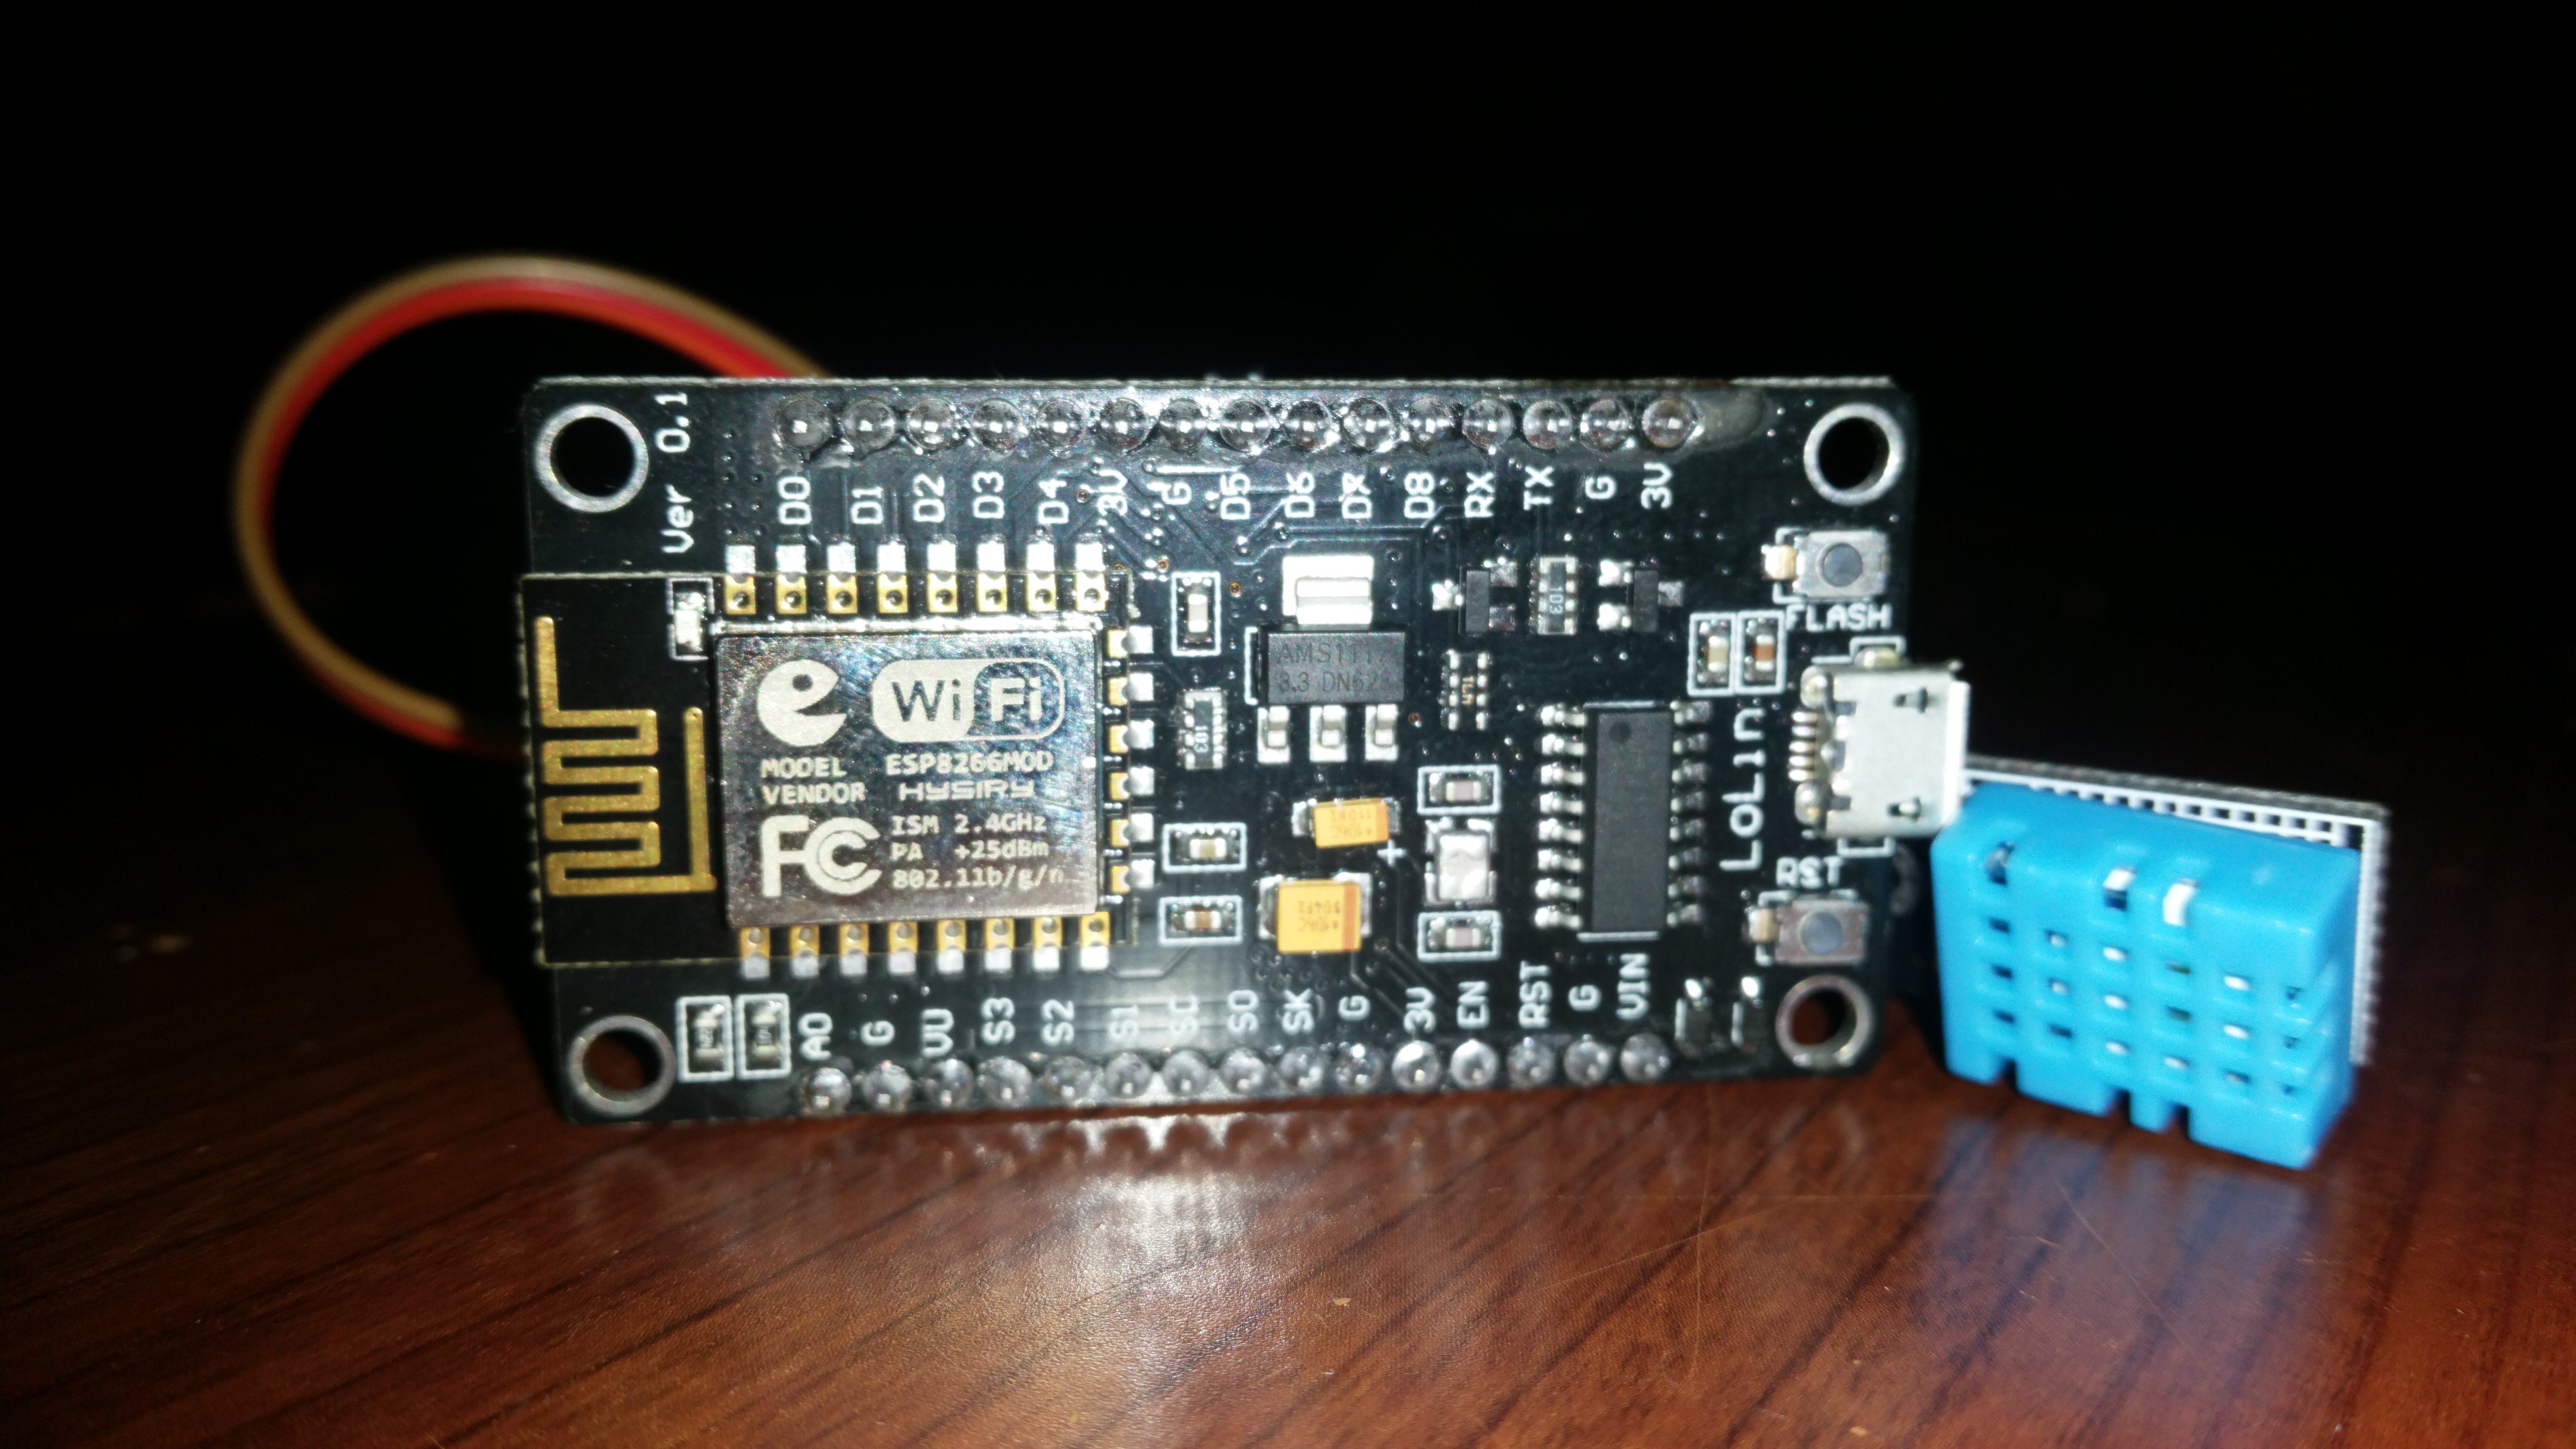
Today you are going to learn how you can build a simple WiFi-enabled weather station that sends you the temperature and humidity data using IFTTT directly to your e-mail. The parts that I've used can be found on kumantech.com
Parts Needed & the Necessary Conections
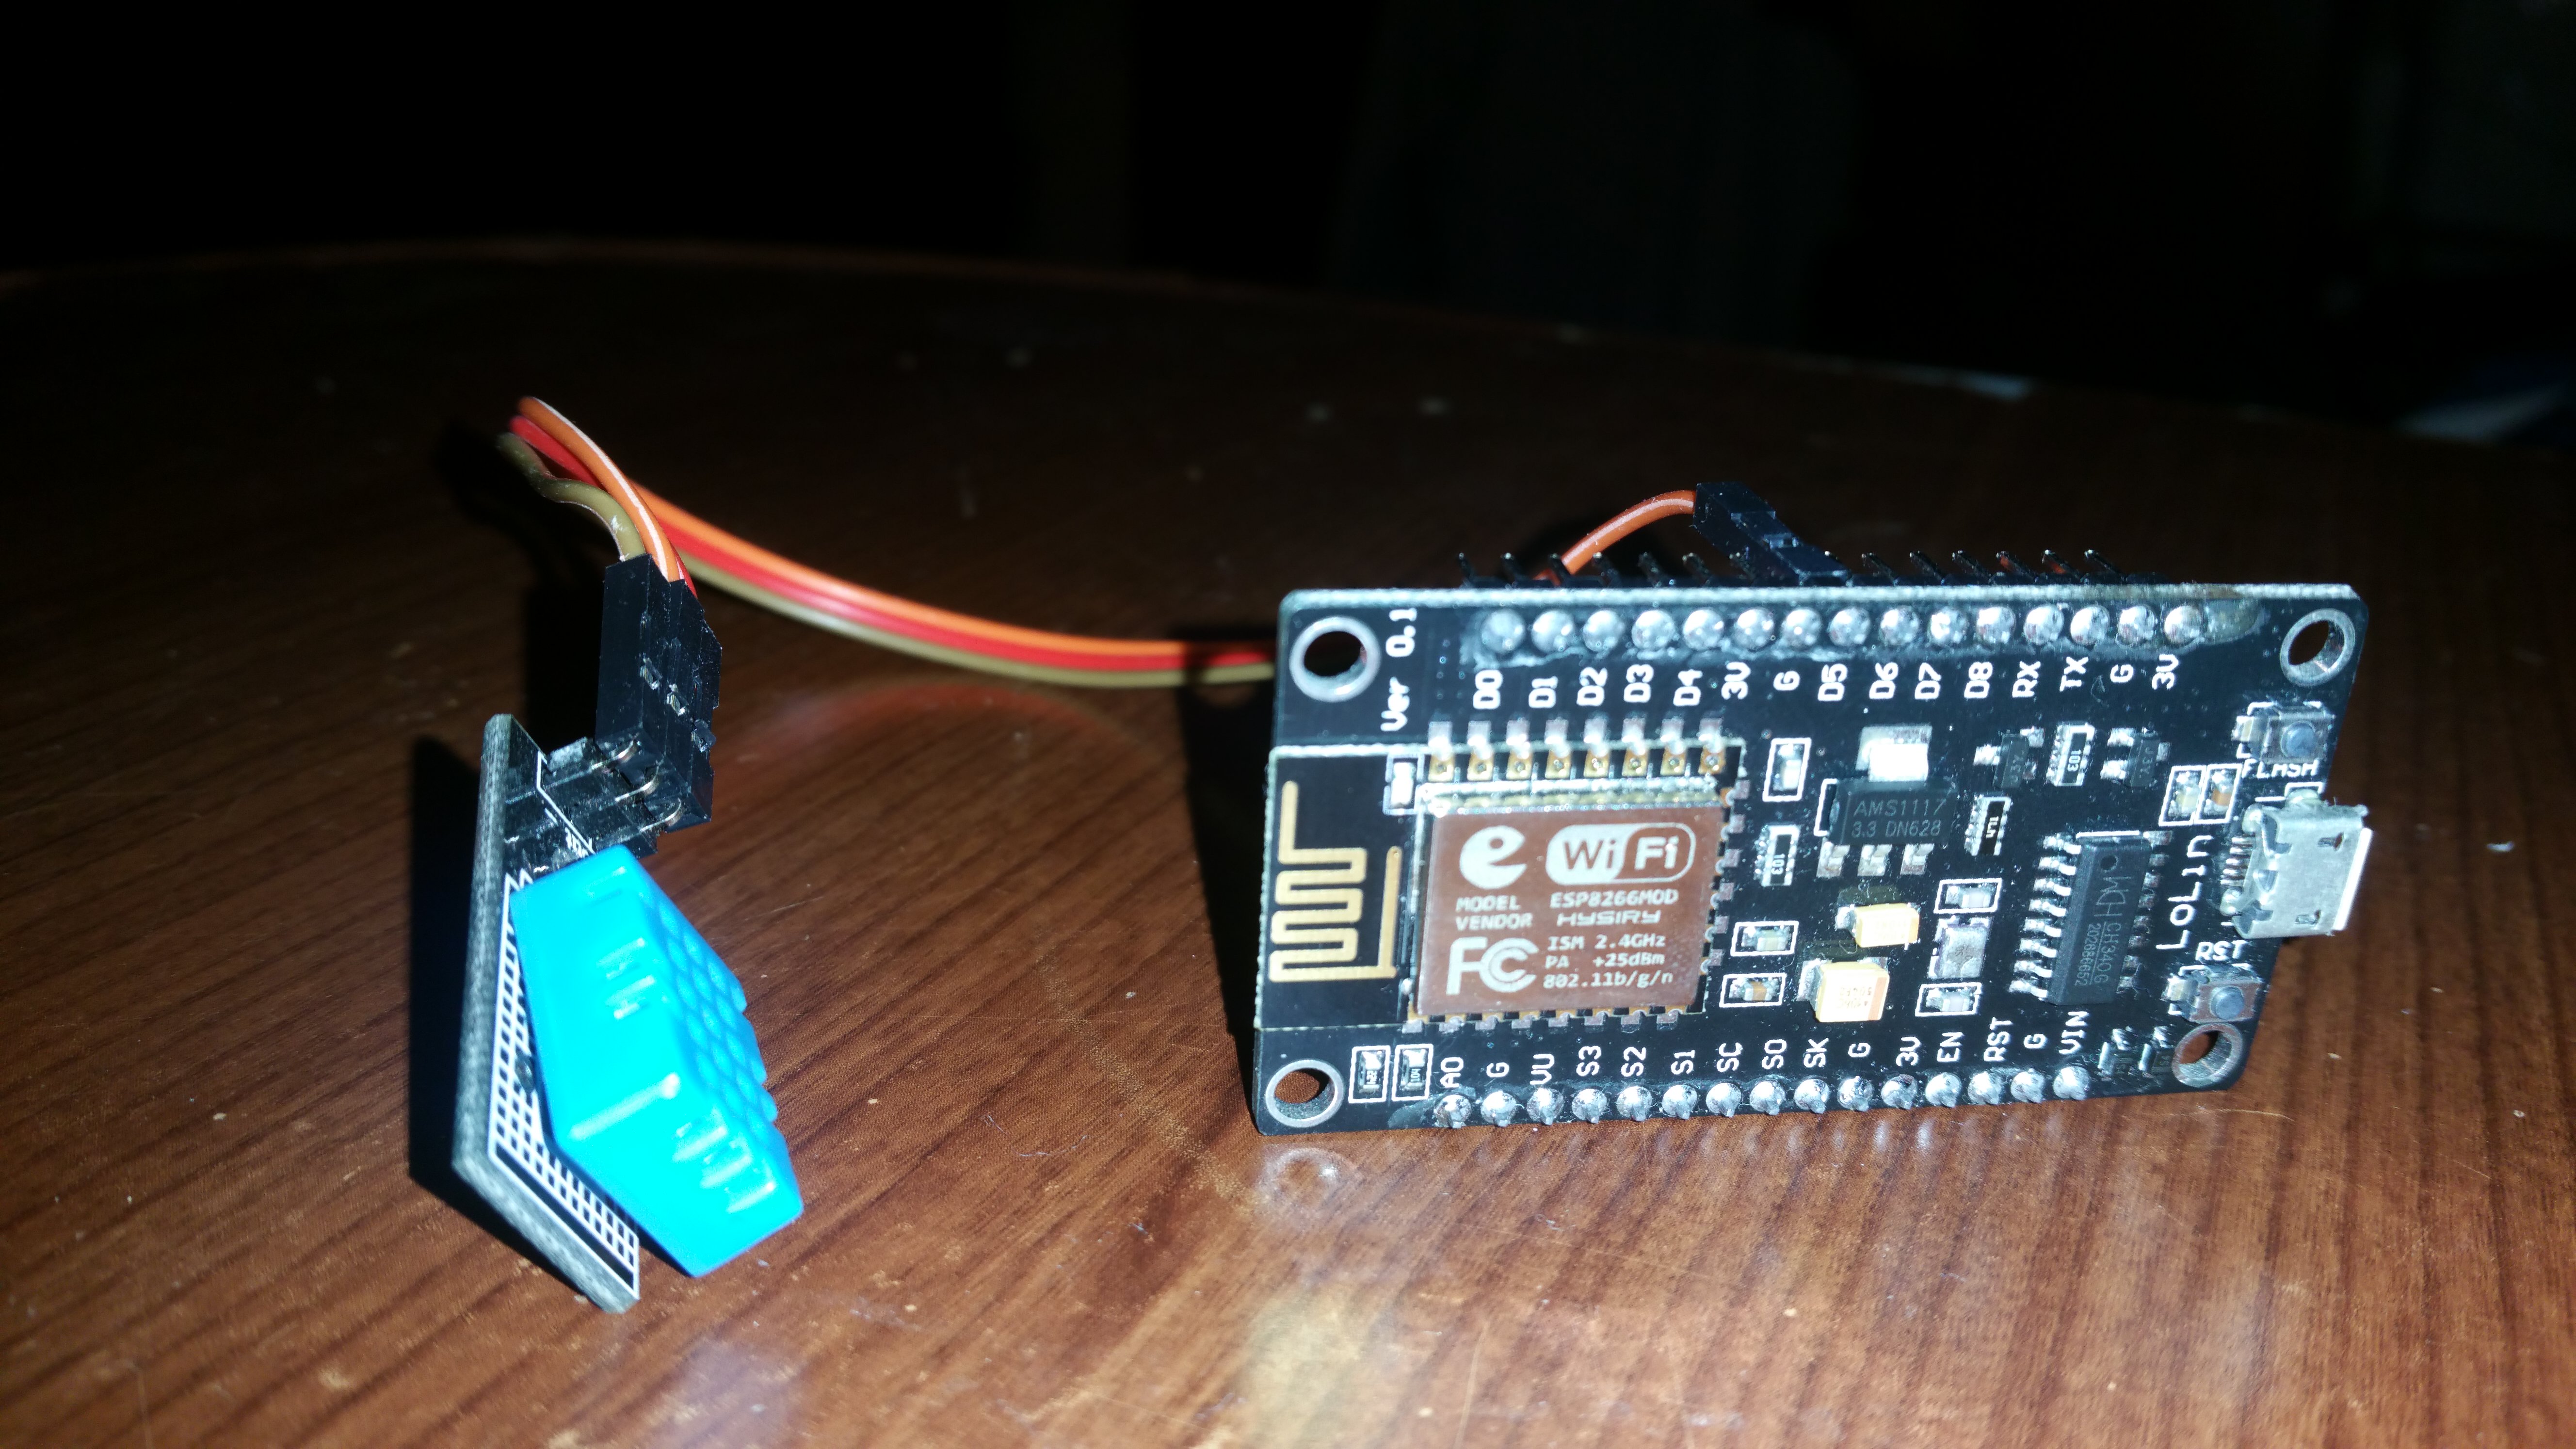
To complete this project, you will need:
- Node MCU Board
- DHT11 Sensor
- Micro USB Cable
- 3 x Jumper Wires (F to F)
Allchips is an electronics components online service platform, you can buy all the components from them.
How do I connect the sensor to the board?
DHT11 | NodeMCU
GND (-) -> GND
5V (+) -> 3.3V
OUT (Signal) -> D5
Setting Up IFTTT

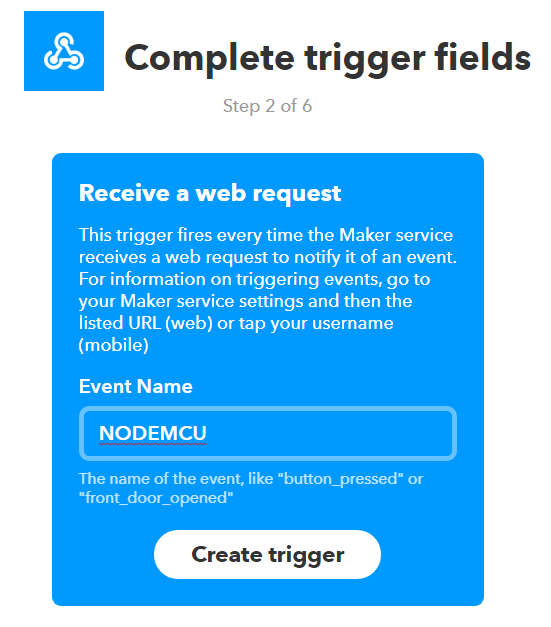
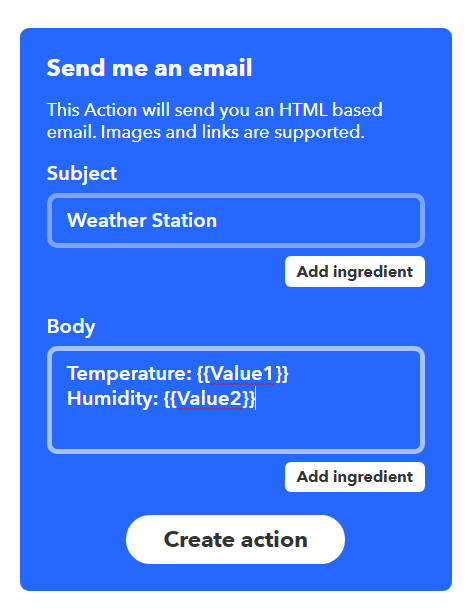
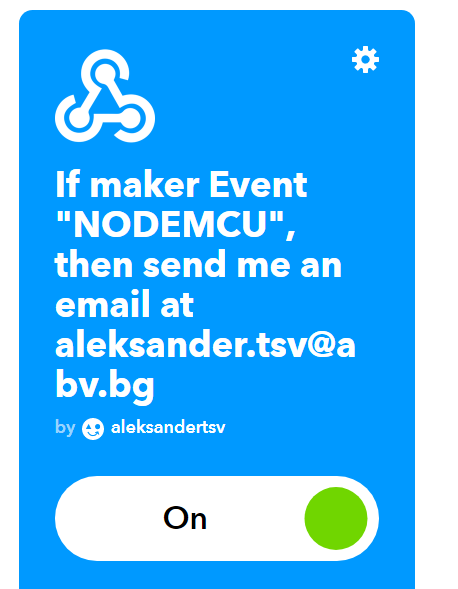
Head over to IFTTT.com and register an account (if you haven't already). After that, go to My Applets and then click on New Applet. Then, click on + this and when asked to choose a service, select, Webhooks. A list of triggers will popup, and at the time of writing this, there is only one available option - Receive a web request. Next, choose a name for the event and remember it (it will be used in the code). After creating the trigger, you need to click n +that and choose the service that we are going to use. In this case, it is email. In the next page, you need to choose how is the email going to look like. This is entirely up to you, but remember, you need to include the Value1 and Value2 fields for the incoming data. For reference, take a look at the third screenshot above. One last thing, go to the settings of the Webhooks service and at the bottom you will see an url. Copy the string after use/ and save it somewhere. This is your unique API key, you will need it later in the code. After completing this step, you are done with IFTTT for now. It's time for the code for the NodeMCU
Uploading the Code and Customizing
.png)
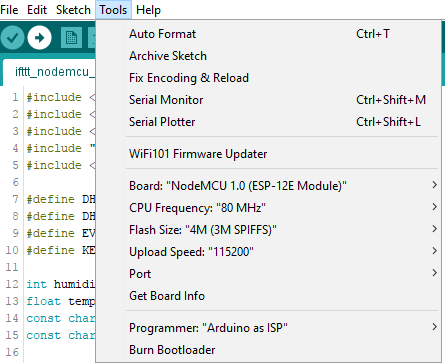
Before uploading the code (which can be found here), take your time and look at the commented lines and variables in the begging. You need to change some things up, and then upload the code to the NodeMCU.
After uploading the code and powering up the board, you will receive emails every x amount of time (can be modified in the code above). If you have the IFTTT app on your smartphone, you can receive notifications every time the applet runs. Now, check your email and you will see the weather data. You can add more sensors and connect with other applets.