Cross-stitch Pattern in Photoshop (with Symbols!)
by johanronstrom in Craft > Digital Graphics
278256 Views, 324 Favorites, 0 Comments
Cross-stitch Pattern in Photoshop (with Symbols!)
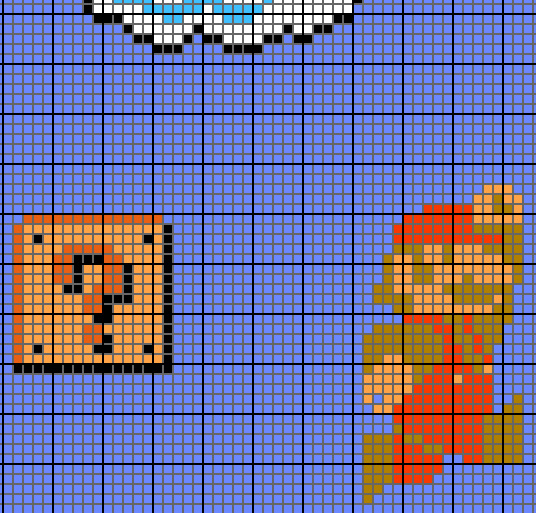
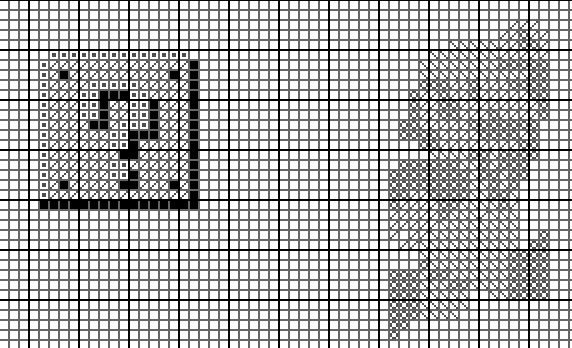
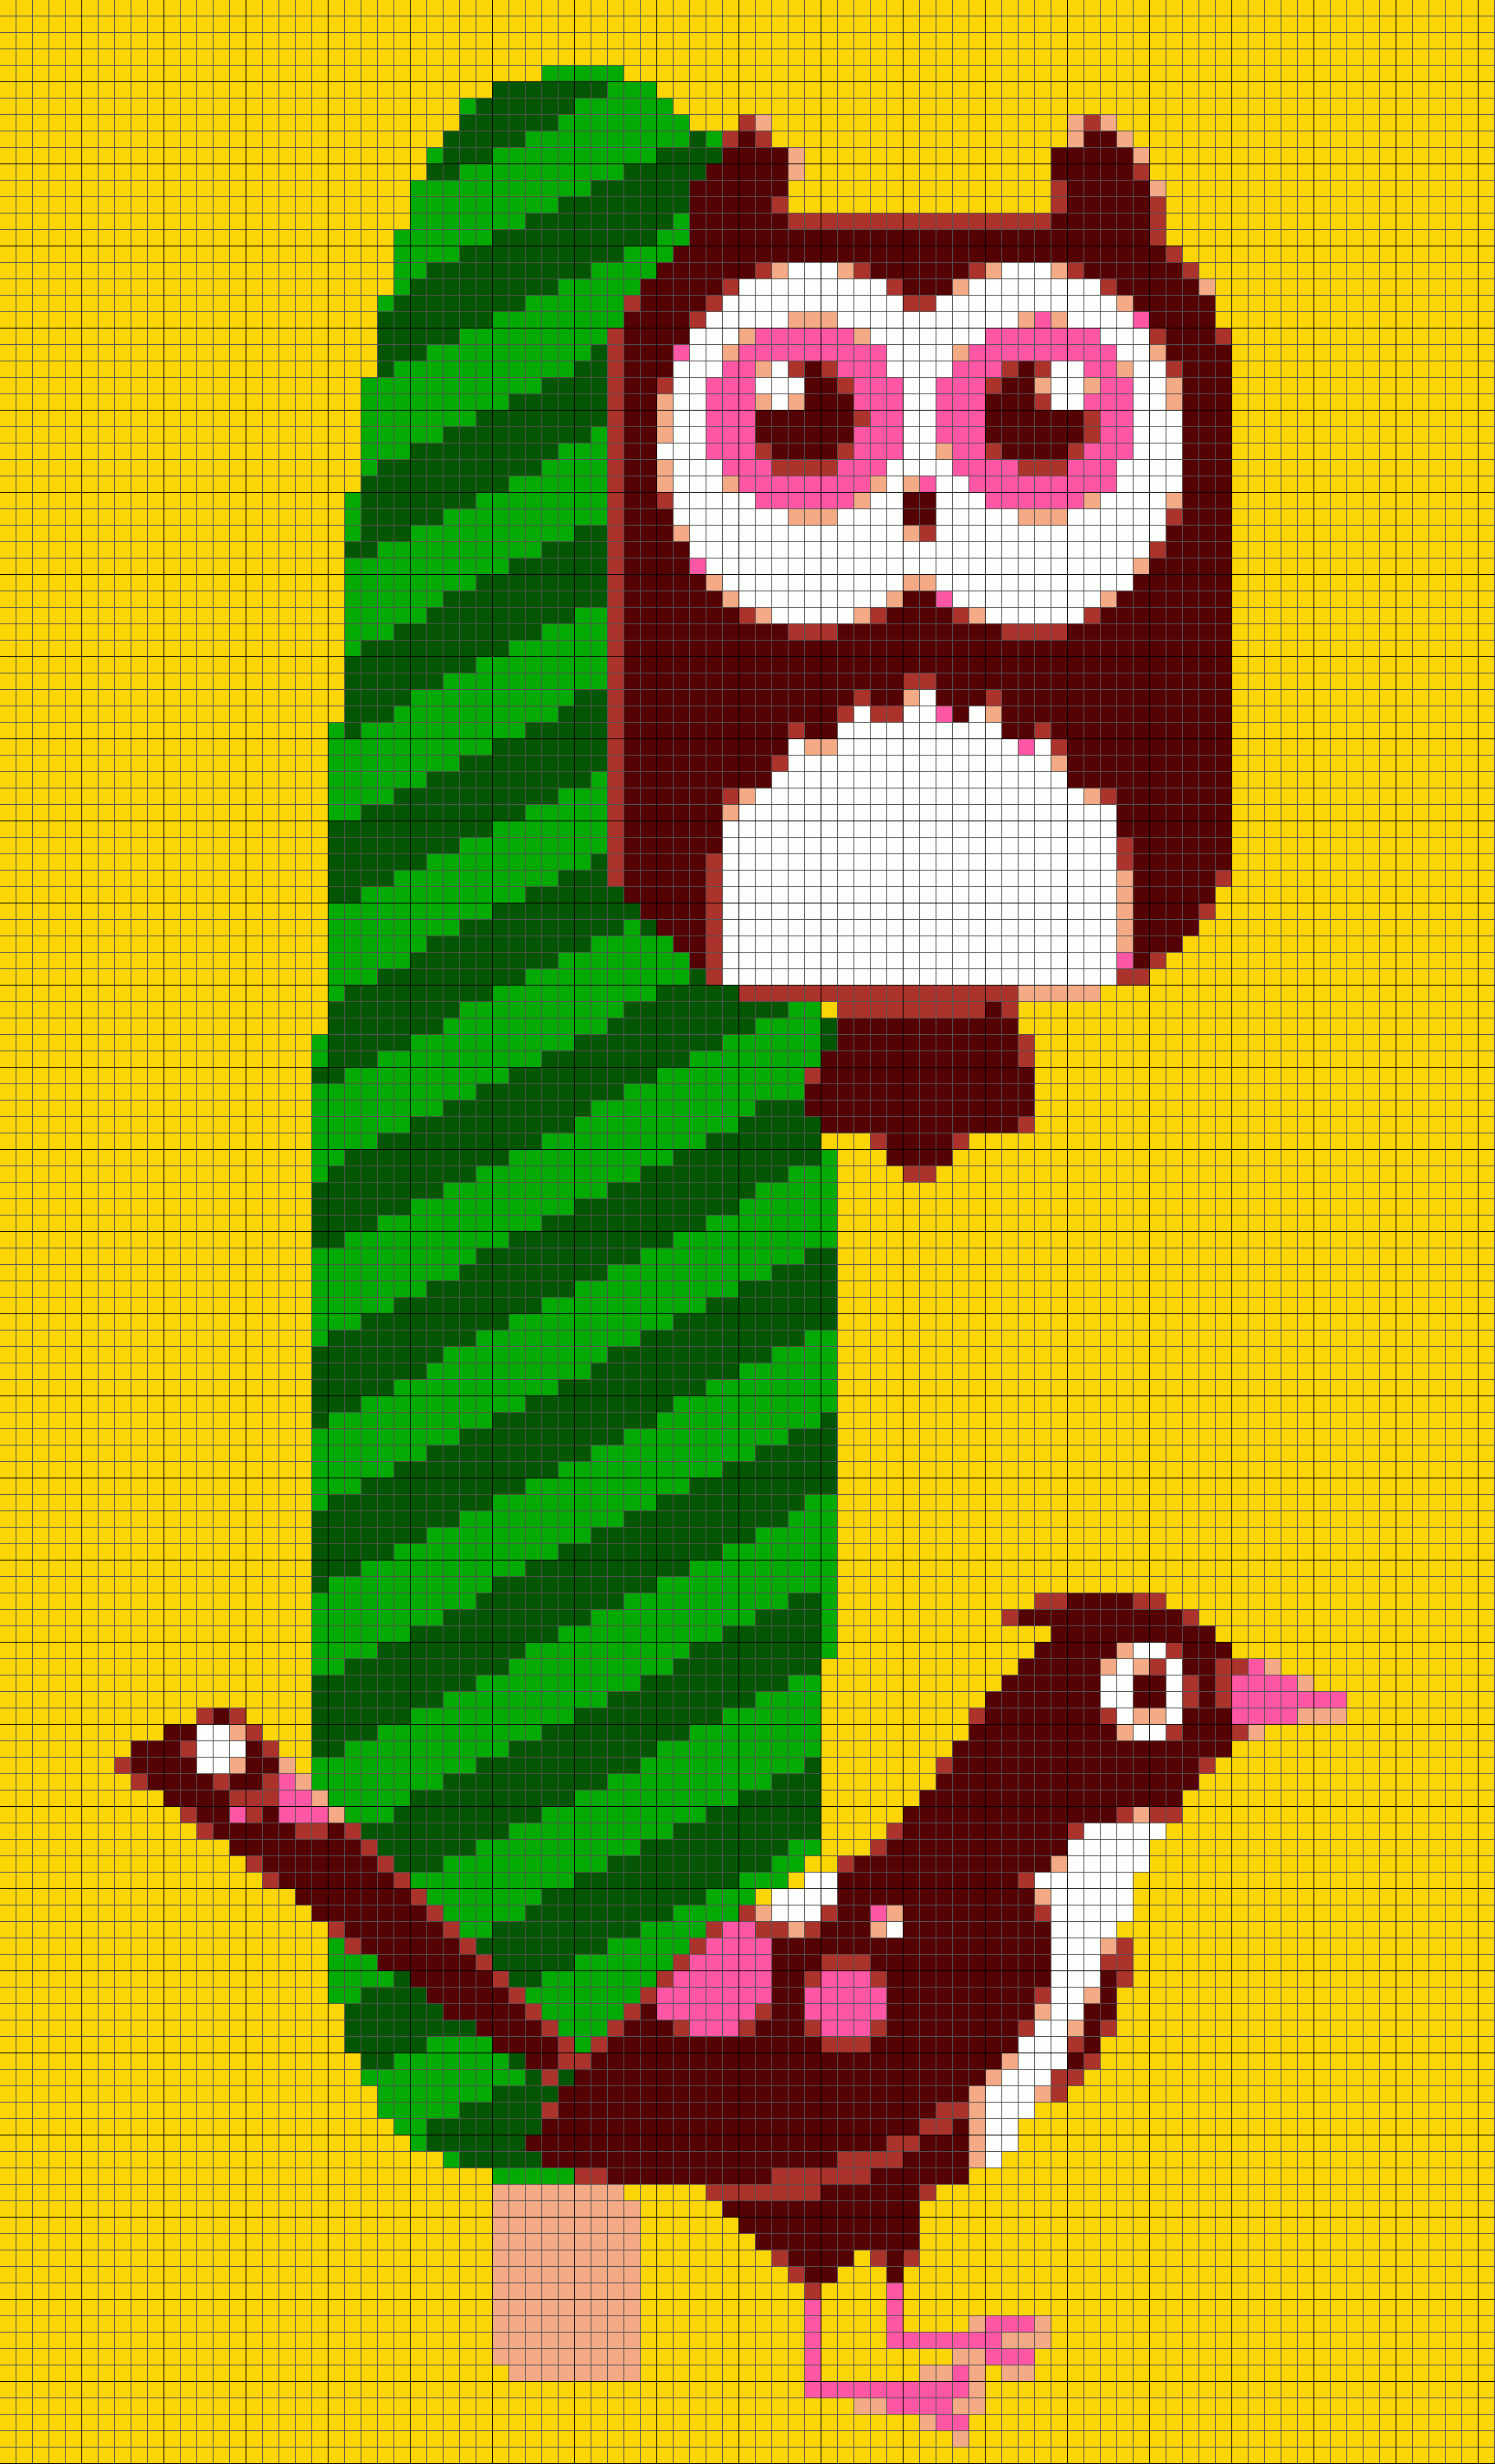
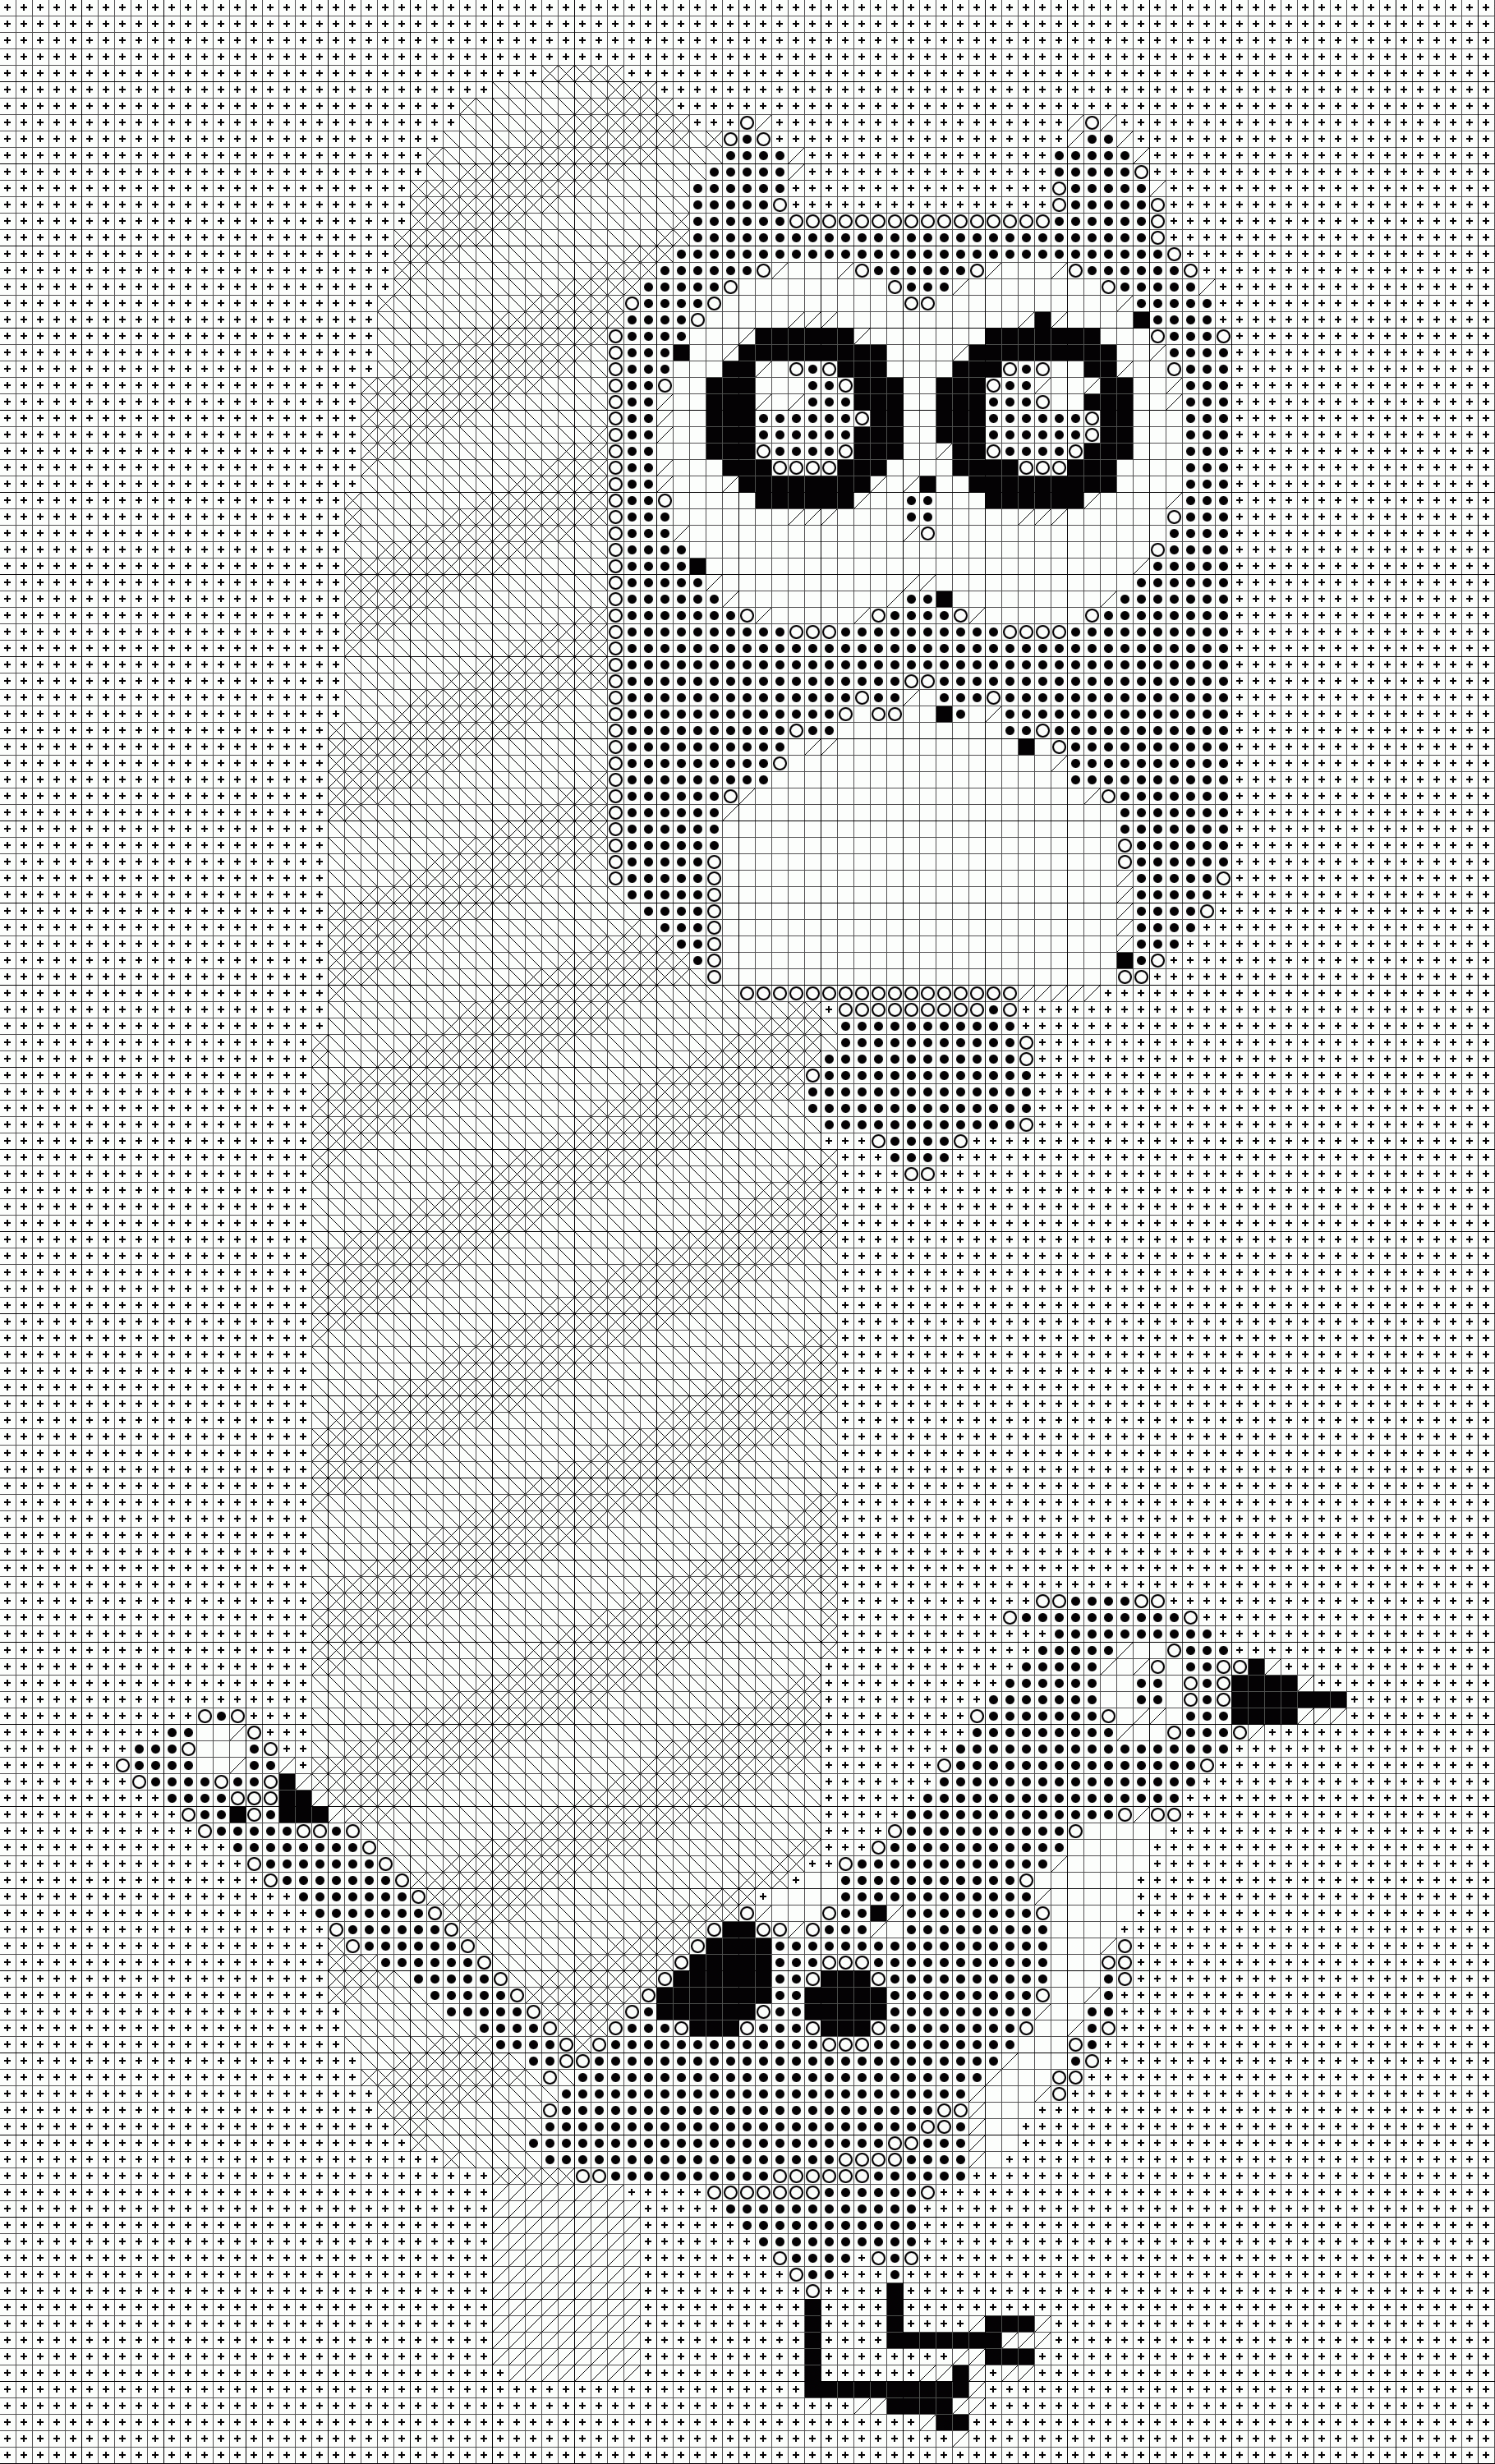
First we will prepare your original image by lowering the resolution, so that one pixel represents one cross, and lower the number of colors so that you can use a limited number of yarns.
Next we apply the grid.
After that I will show you how to replace individual colors with symbols.
This is good because you can print the pattern in black and white, and also because you can see the difference between similar colors.
This technique can of course be used to make decorations and gifts for the holidays, and other occasions!
Update: Here are two examples. The mario image has 5x5px square size and my complete bird montage pattern has 20x20px square size ( full size color, full size symbols)
Resize the Image
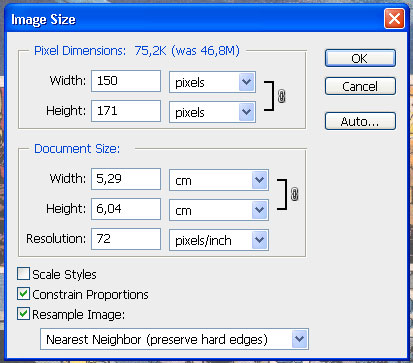

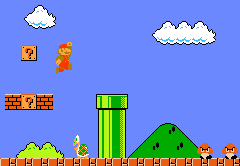
One way to lower the resolution is to use the filter "Mosaic". This is fine, but I don't really like it because it limits my control over the size of the final pattern. A much better way is to just resize the image to the desired number of stiches you want the final result to be (that way you also limit the number of total resizes to the image).
So,
Measure the fabric and count the number of stitches you want the result to be.
Resize the image to that number of pixels
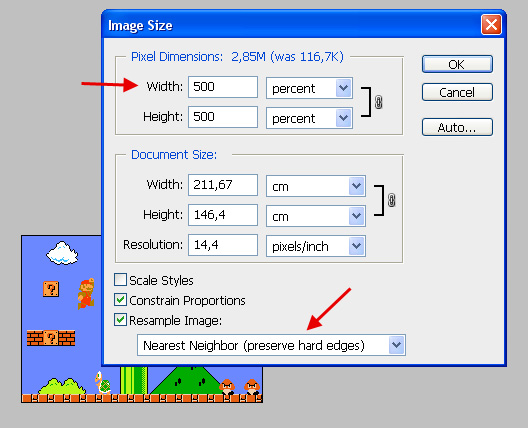
Then, resize it up again with 500% (I use 5px per square). Remember to use the "Nearest Neighbour" setting to preserve the edges. We want those!
Update: When resizing down the image, the only thing you are interested in is how many stiches wide and high your final product should be. Just insert those numbers in the "Pixel dimensions" (if it's greyed out, check the "Resample image" box). The resolution and document size makes no difference here.
Index Colors
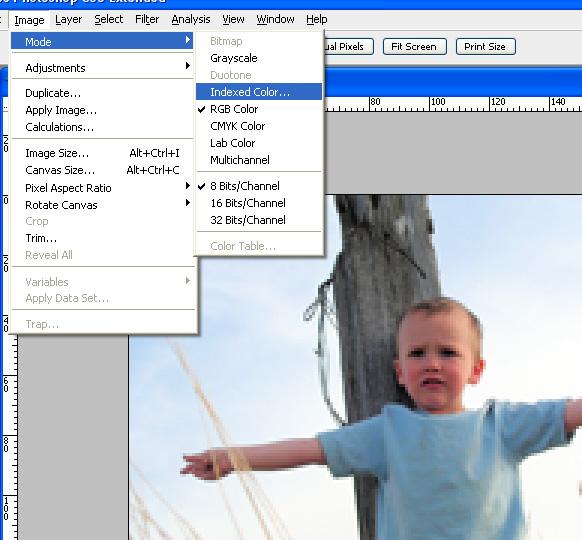
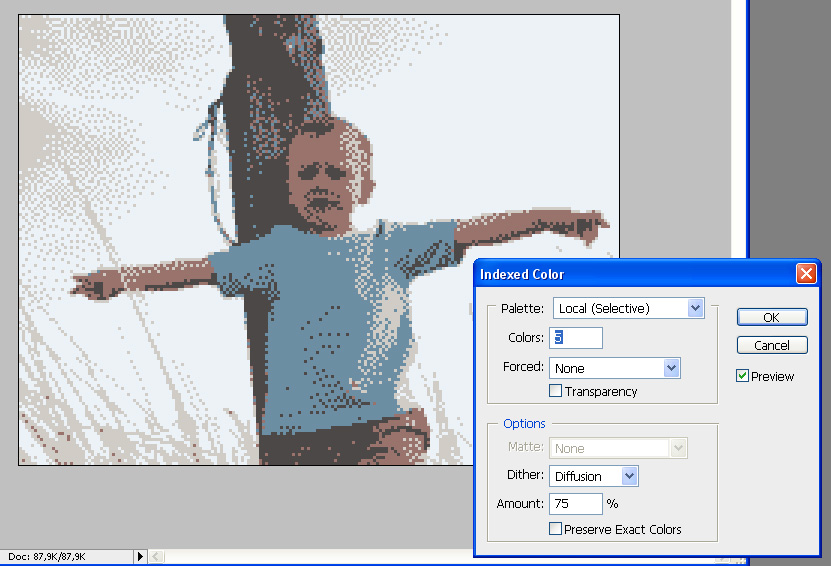
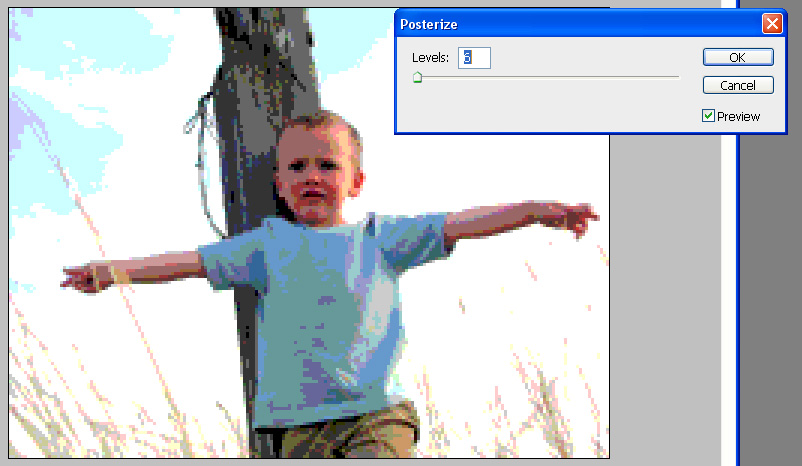
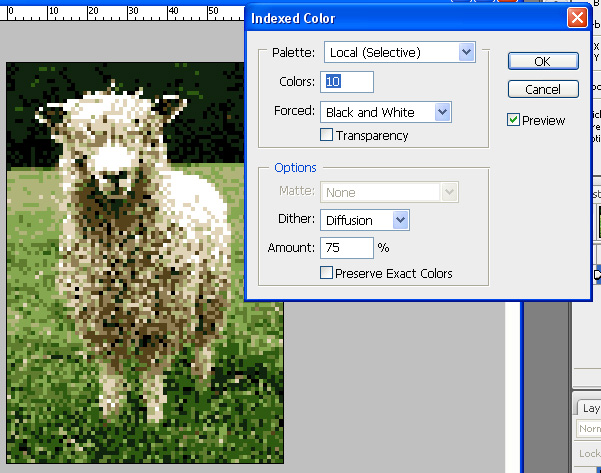
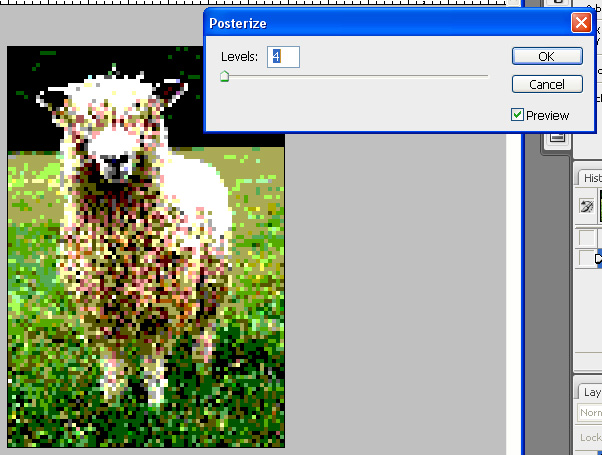
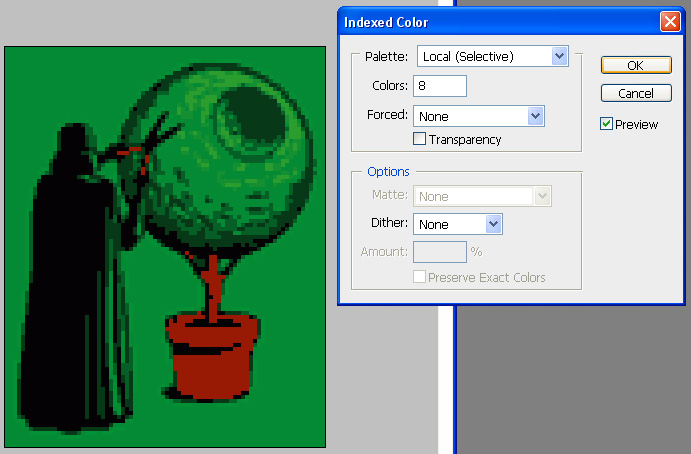
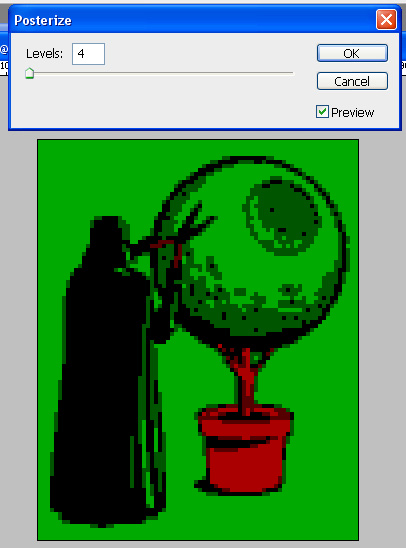

The first way is to change the image mode to "Indexed Color" and limit the number of colors. Play with the number of colors and the dither settings to see what results you get with the different values. The key is to get the highest quality possible with the lowest number of colors.
Update: When you are satisfied with the result, you'll have to change back to RGB color mode to be able to do the last steps. The colors have already been discarded so now you can work in RGB mode.
The other way is to use the Posterize filter. Same here, try different numbers and see what you get.
You could also start by making a custom palette with the yarn colors you have availiable and choose that palette in the "Indexed Color" dialog... Maybe more applicable if you are using beads
(The mario image already had the perfect number of colors so no need to change anything there)
Make the Grid
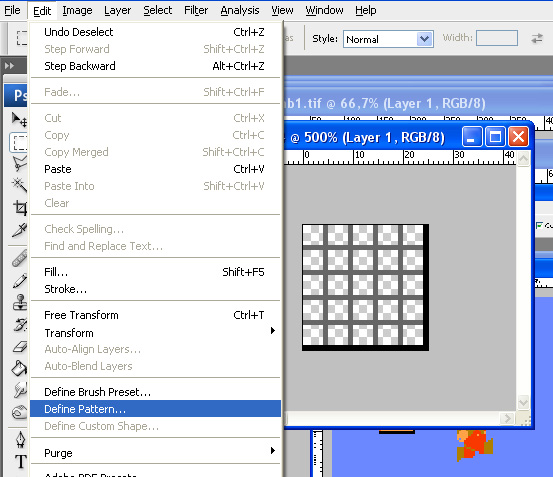

The first thing to do here is to define a grid pattern. I used 5px squares, and I want every five lines to be heavier, so I made a new document with 25x25px, and drew four gray lines and one black in both planes. Remember to use a transparent background. Then define it as a pattern.
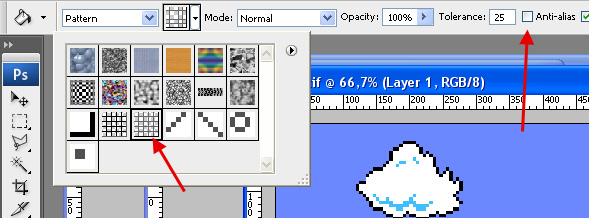
Now make a new layer above the original and fill it with your new grid pattern. Choose the Paint Bucket Fill Tool and select "Pattern" in the drop down, and use your new pattern. Then just click in the new empty layer to fill it with the pattern!
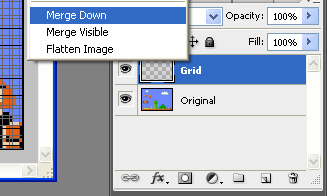
Next, you want to merge the grid layer and the original image layer.
Nice huh?
You could be satisfied here, but I am not. I once wanted to make a pattern out of a grayscale image using black, white and two shades of grey, but the greys were to hard to tell apart, so next I will explain how to replace colors with representing symbols. (also I have no color printer)
Replacing Colors With Symbols
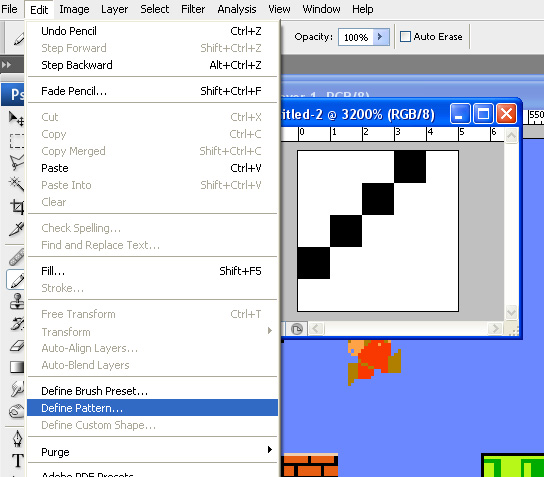
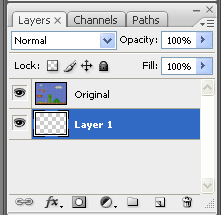
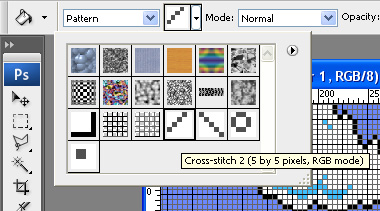


Here is a good place to make a copy of your result. You will need it to identify the colors after they are replaced!
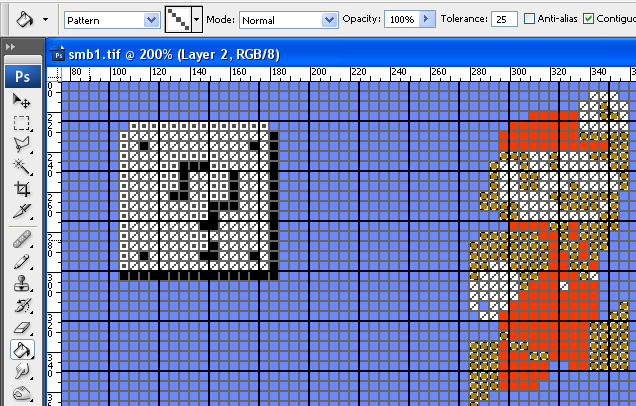
The first thing to do now is to define a few patterns to replace the colors with. They should be 5x5px and use only the top left 4x4 pixels, if you made the grid pattern the same as mine.
Next, make a new layer and place it behind the original image.
Fill this layer with one of your patterns.
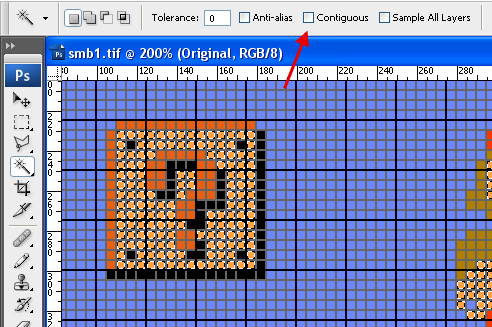
Now, using the magic wand, select the color you want to replace (without Anti-alias, and with Tolerance 0 and non-Contiguous).
Clear the contents of the selection (delete/backspace) to let the pattern shine through.
Last but not least, you need to merge the two layers.
Now, repeat this with all the colors you need to replace and you are set!
If you want it to look better you could easily use bigger squares from start, and make a wider grid and symbols, but this is good enough for me.
That's all for now! Post your home made patterns in the comments so we can se what you do!
Check out my instagram Restitch where I cross-stitch pixel characters on second-hand tapestries.