Cross Eyed Stereo Picture on the Cheap
by artworker in Circuits > Art
3530 Views, 15 Favorites, 0 Comments
Cross Eyed Stereo Picture on the Cheap
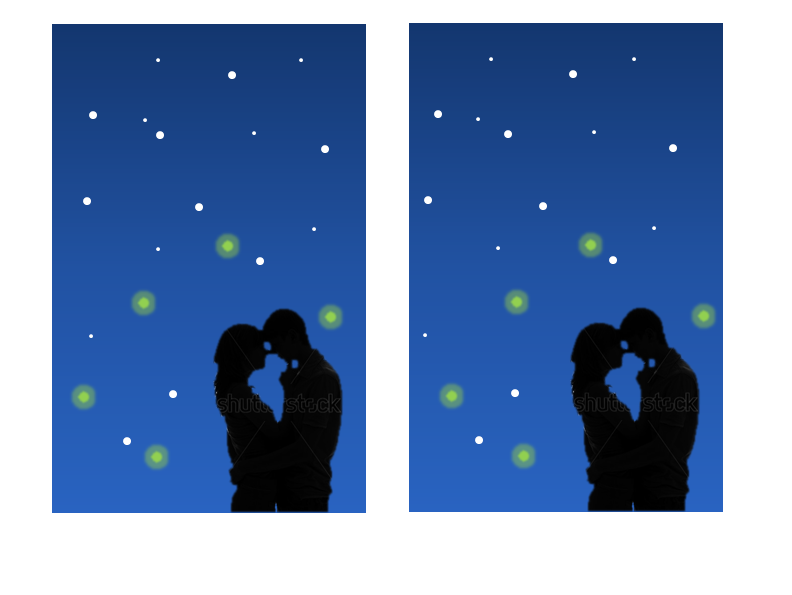
There are various images available around the net which represent perspective photography. those which have to be seen by placing the two images side by side and crossing your eyes. Most of them are made using cameras or costly software.
I was playing around with the concept of making cross eye perspective suddenly I got an idea to do that on the cheap! I don't know if it has ever been tried in this manner, but here it is.
Tools used: Microsoft Powerpoint
I was playing around with the concept of making cross eye perspective suddenly I got an idea to do that on the cheap! I don't know if it has ever been tried in this manner, but here it is.
Tools used: Microsoft Powerpoint
Left Frame
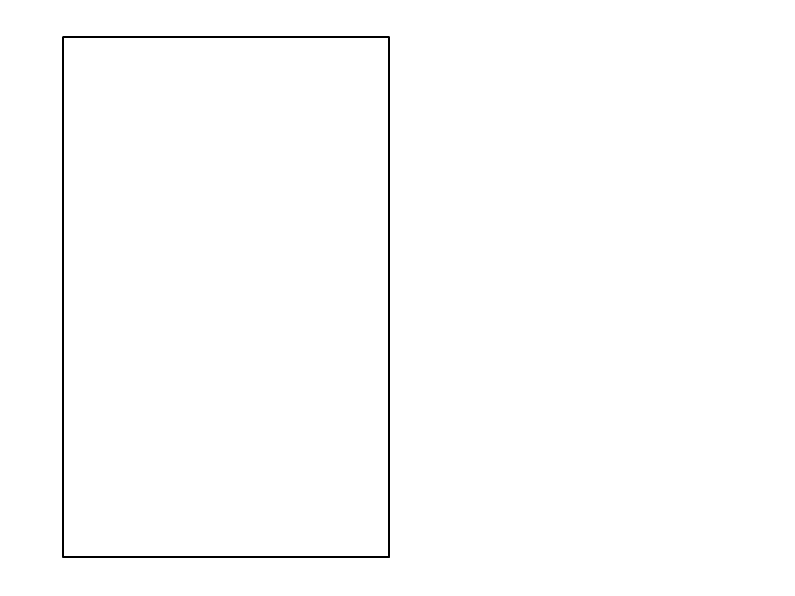
Open Microsoft powerpoint and create a frame. Make sure the frame is less than half of the screen because the second half will be used to create the other half (the shifted image).
The frame is used to guide the eyes to the images. Trust me! It is pretty difficult to cross the eye and compose the final image without the frame.
The frame is used to guide the eyes to the images. Trust me! It is pretty difficult to cross the eye and compose the final image without the frame.
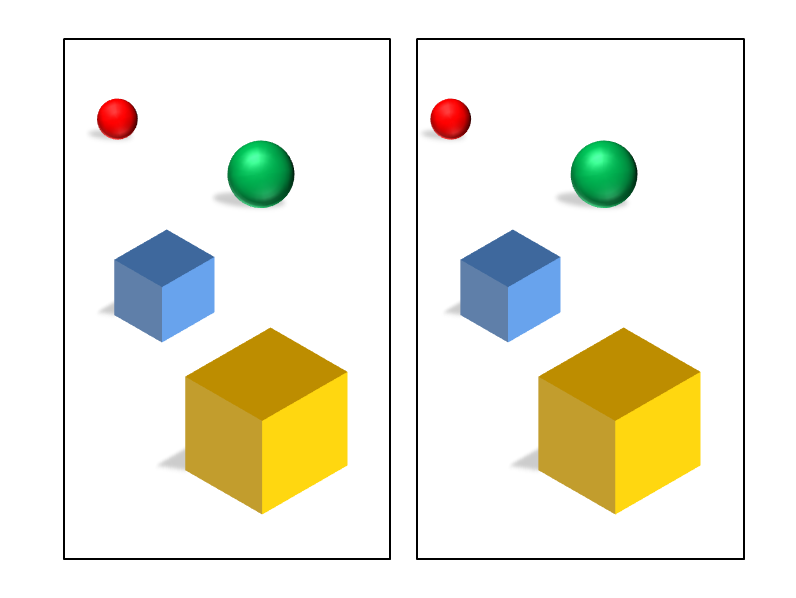
Composition
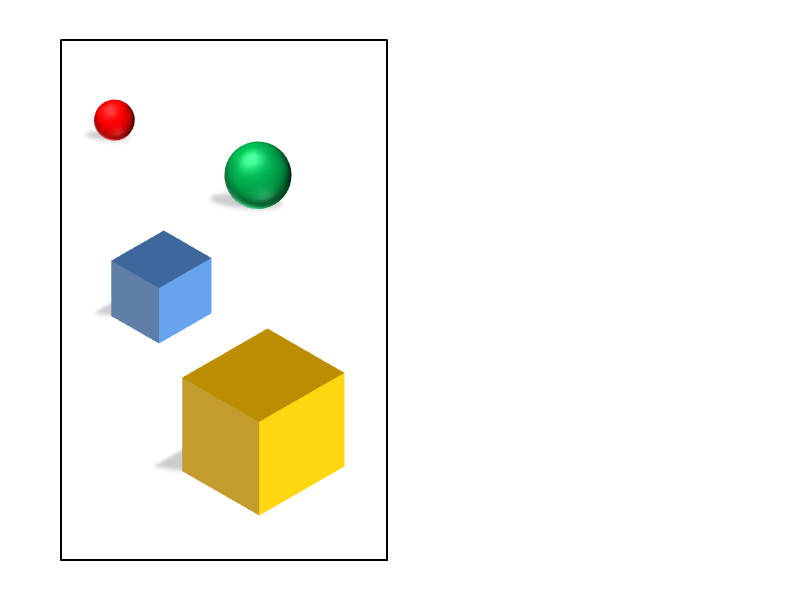
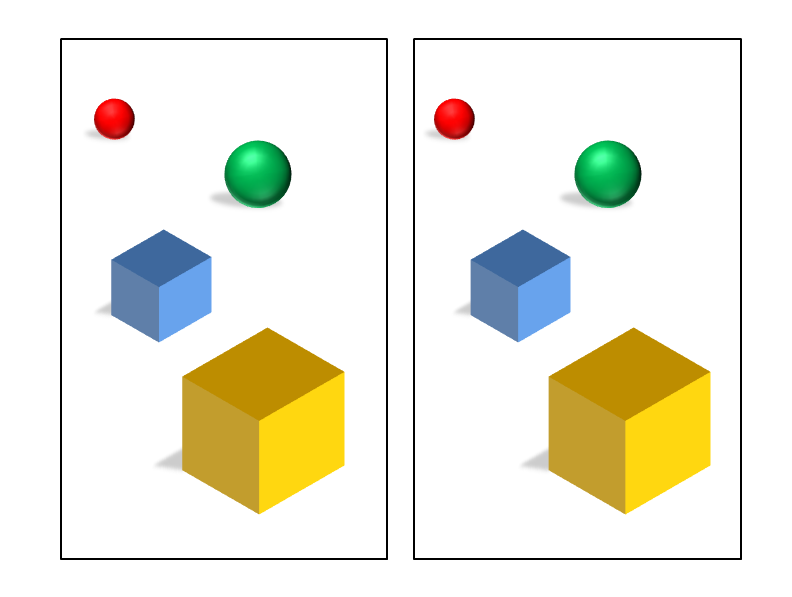
No start composing your image within the frame. Make sure you put everything that you require. Because in later steps it will be difficult to add anything because the positioning will be difficult. here I added some balls and cubes with the circle and box option from powerpoint and added some shadows too. You can use anything you like. Either it may be pictures, cliparts or free hand drawings. Just make sure that the images at the back will be smaller than the images at the front (perspective 101).
Right Frame

Now create the right frame by copying everything (ctrl +A). Make sure you align the right frame properly with the left frame. Distance doesnot matter much but vertically they should be aligned perfectly.
Fun of Perspective

Now in this step your image will literally jump out of the screen. So read carefully.
(I can show you the complexities of perspectives with angles and triangles and what happens, but will leave it for now just to keep it simple and tell you what happens when you do what)
For a starter we will just work on the right panel. You can work in the left panel or on both panels if you like in an advanced stage.
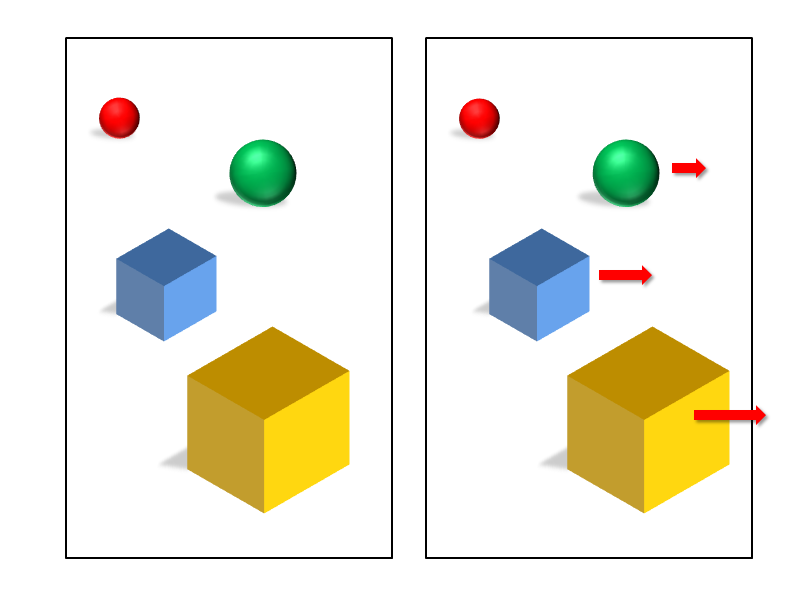
To make everything come out from the frame:
Shift the images to the right.
More the shift, the more will be the image towards you.
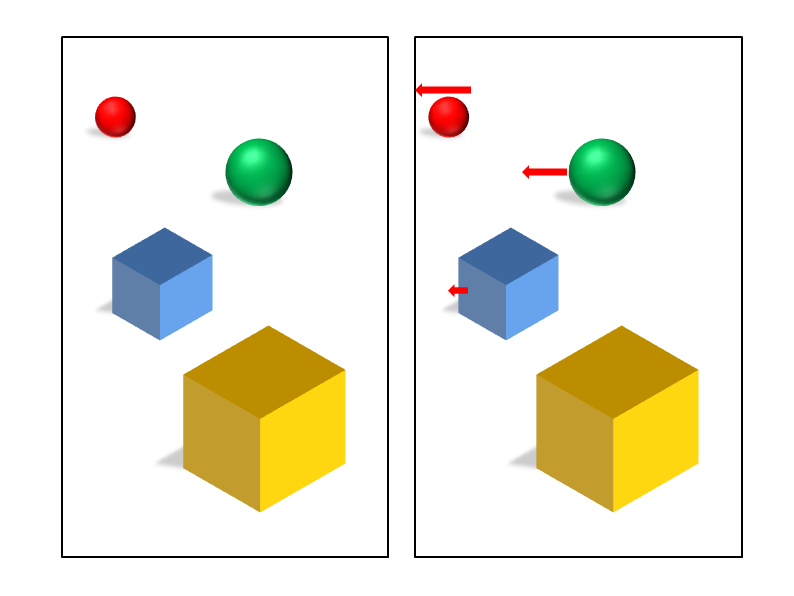
To make everything go into the frame:
Shift the images to the left.
More the shift, the more the image will move further away from you.
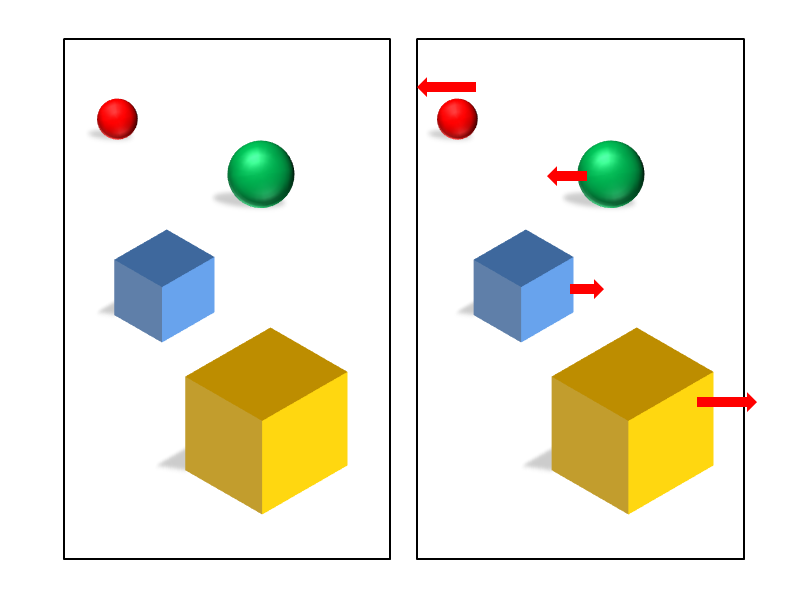
Use both the steps above simultaneously to make a more dynamic image:
Shift the images to the right/left.
Now the frame will look like it is in the middle of the composition.
(I can show you the complexities of perspectives with angles and triangles and what happens, but will leave it for now just to keep it simple and tell you what happens when you do what)
For a starter we will just work on the right panel. You can work in the left panel or on both panels if you like in an advanced stage.
To make everything come out from the frame:
Shift the images to the right.
More the shift, the more will be the image towards you.
To make everything go into the frame:
Shift the images to the left.
More the shift, the more the image will move further away from you.
Use both the steps above simultaneously to make a more dynamic image:
Shift the images to the right/left.
Now the frame will look like it is in the middle of the composition.
Finally
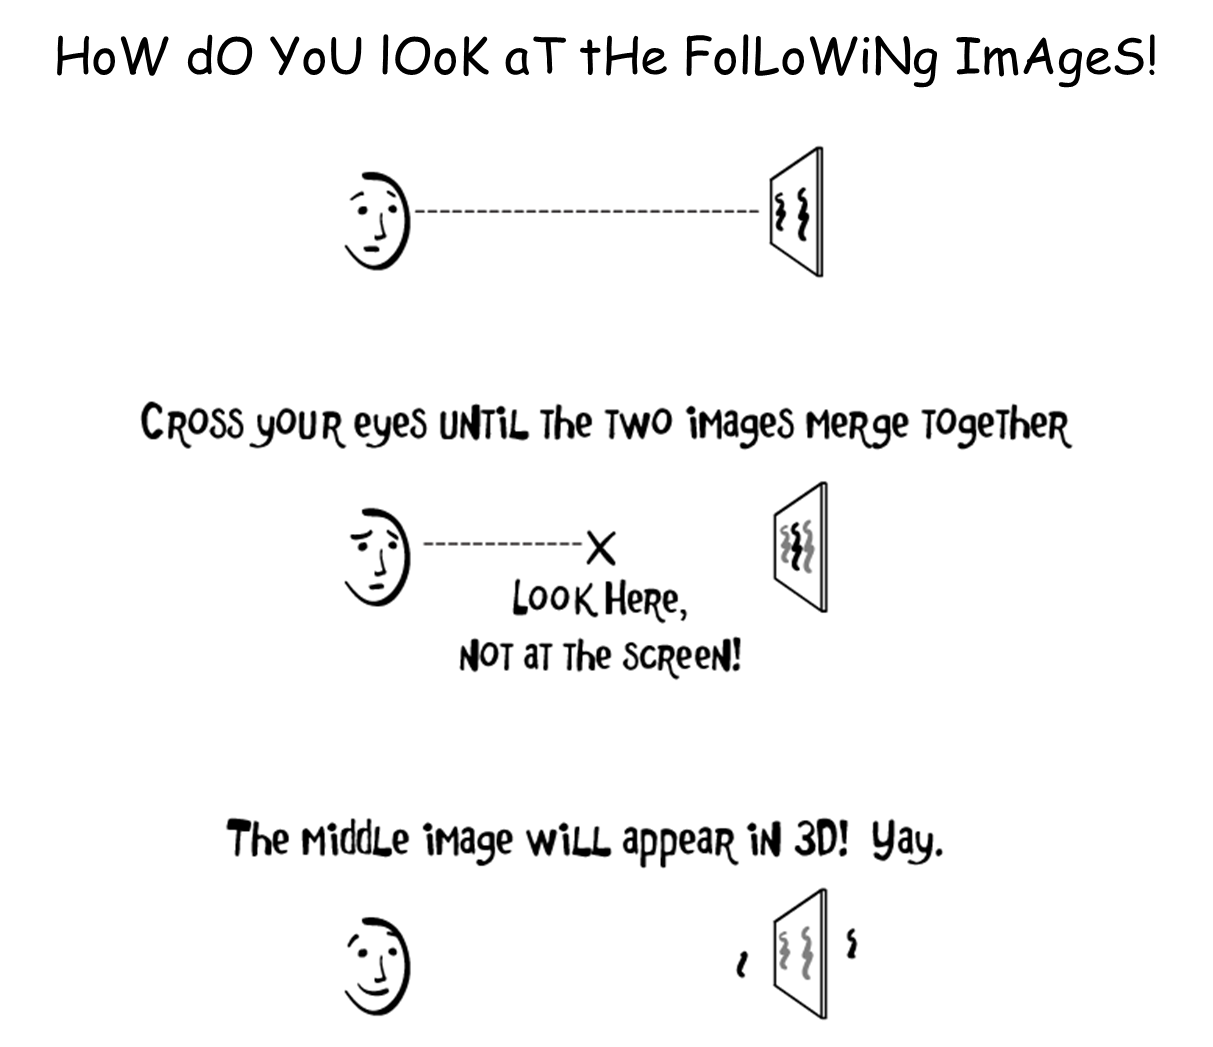
Here is an instruction that will tell you how to use the cross perspective. Just look straight into the images and cross your eyes to see the images. It may take some time for those who are doing this for the first time. Apologies to them who can not see the magic.
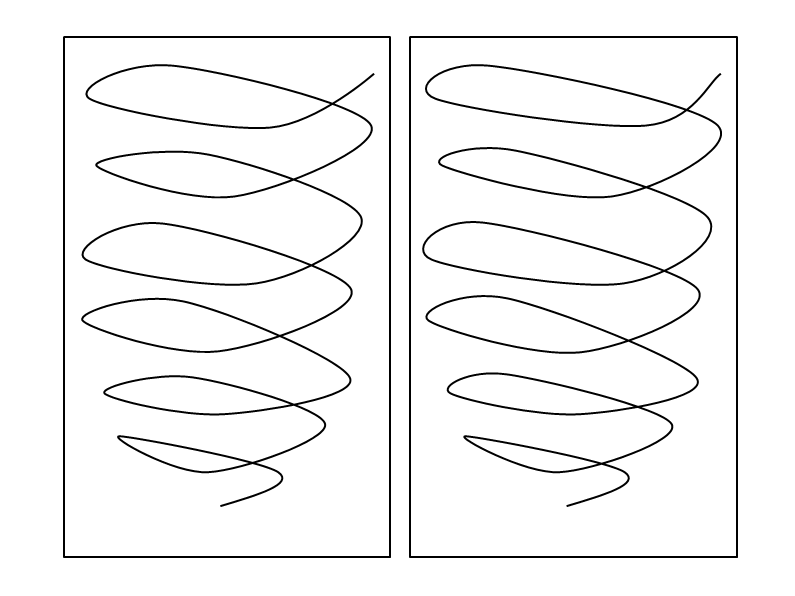
Here are 2 more images that I created just for fun. Fun part is you don't just have to look at the screen to get the fun. The fun can be seen on the printout of the images too. Comment if you want to know how the tornado is made.
Here are 2 more images that I created just for fun. Fun part is you don't just have to look at the screen to get the fun. The fun can be seen on the printout of the images too. Comment if you want to know how the tornado is made.