Crock-Pot Pizza

This recipe for crock-pot pizza is very flexible and can easily be made gluten-free, vegetarian, or any other specifications you may need or want. The type of pizza outlined is a veggie, Canadian bacon, pineapple pizza. Although this is the specific pizza for this recipe, you can make any pizza you desire.
Serves: Family of 6-8 or 2 starving college students
Prep-time: 1-2 hours
Cook Time: 6-8 hours
Overall Time: 8-10 hours
Needed Items
One 5 or 6 quart crock-pot (may use different sized crock-pots, layers may require more ingredients or you will have more layers)
One 5-quart pot with a lid
Large strainer
Good sharp knife
Cutting board
Measuring utensils
Ingredients For pizza Filling
One 16 oz. box of large elbow macaroni
One 2 lb. block of mozzarella cheese
One 8 oz. package of Canadian bacon
One red pepper
One green pepper
One red or yellow onion
8 oz of canned or fresh pineapple, drained of course and chopped to bite size chunks.
Small amount of lard (this will be used on the inside of your crock-pot so food doesn't stick)
For the Sauce
At least 16 oz. of Pizza Sauce
Boil Water

For your noodles, fill the pot almost full of water and set on high. Put on a lid as the water heats up faster.
Grate Cheese
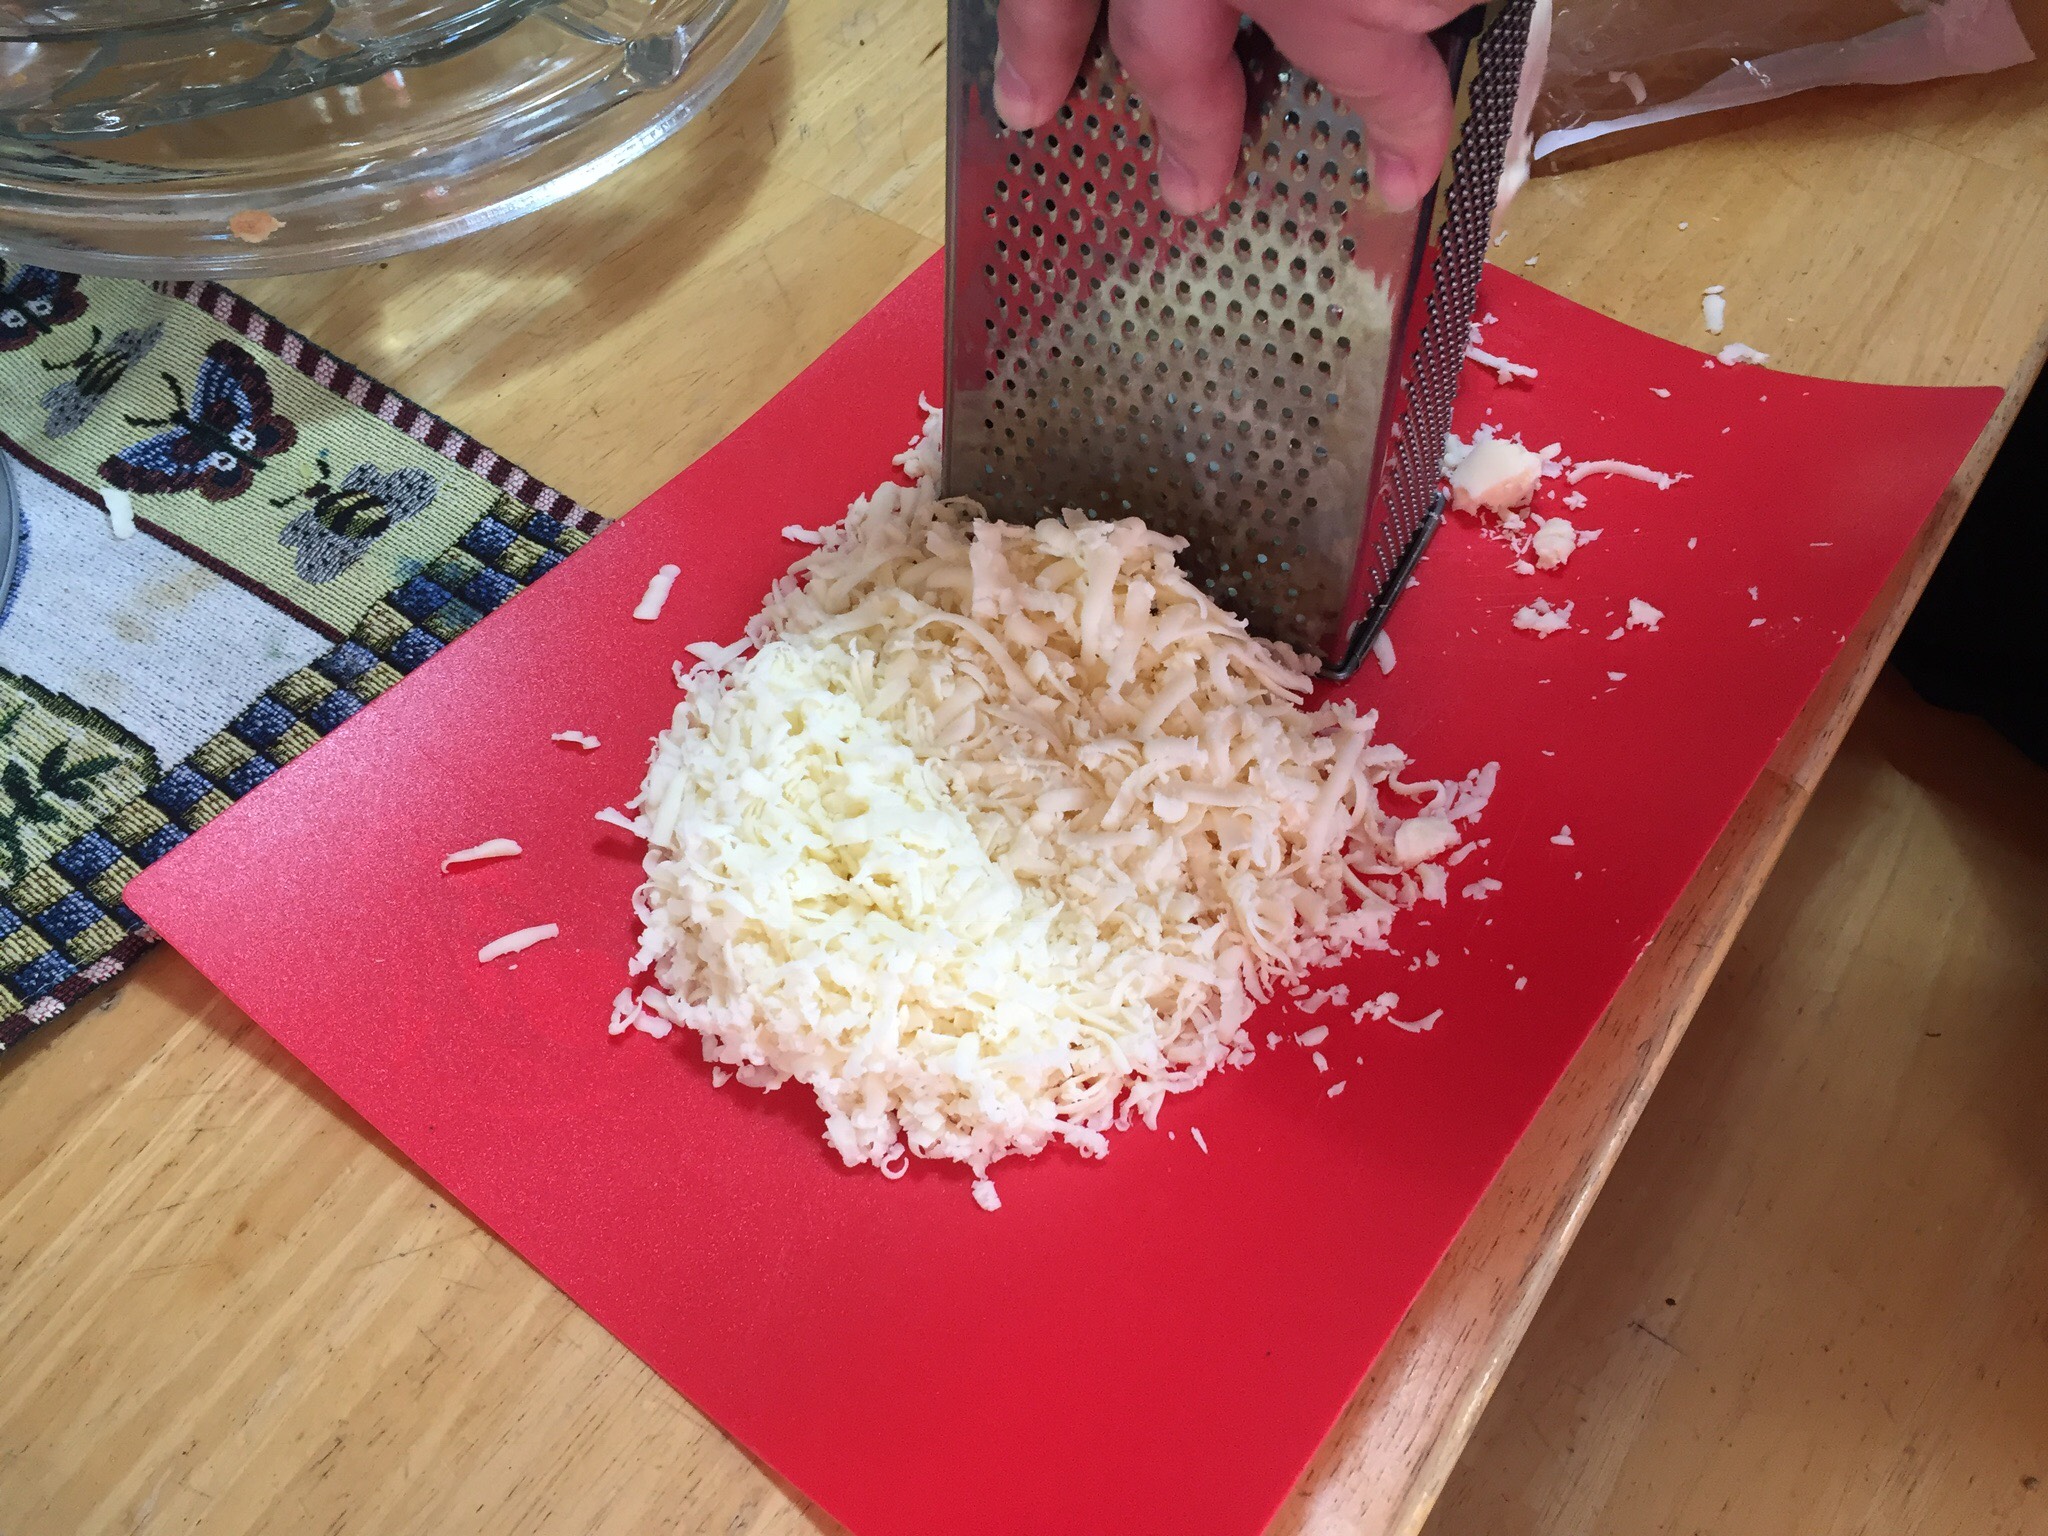
While your water is warming up, grate your whole block of cheese.
Slice Peppers

Now, slice your peppers into 2-inch wide strips.
Dice Onions
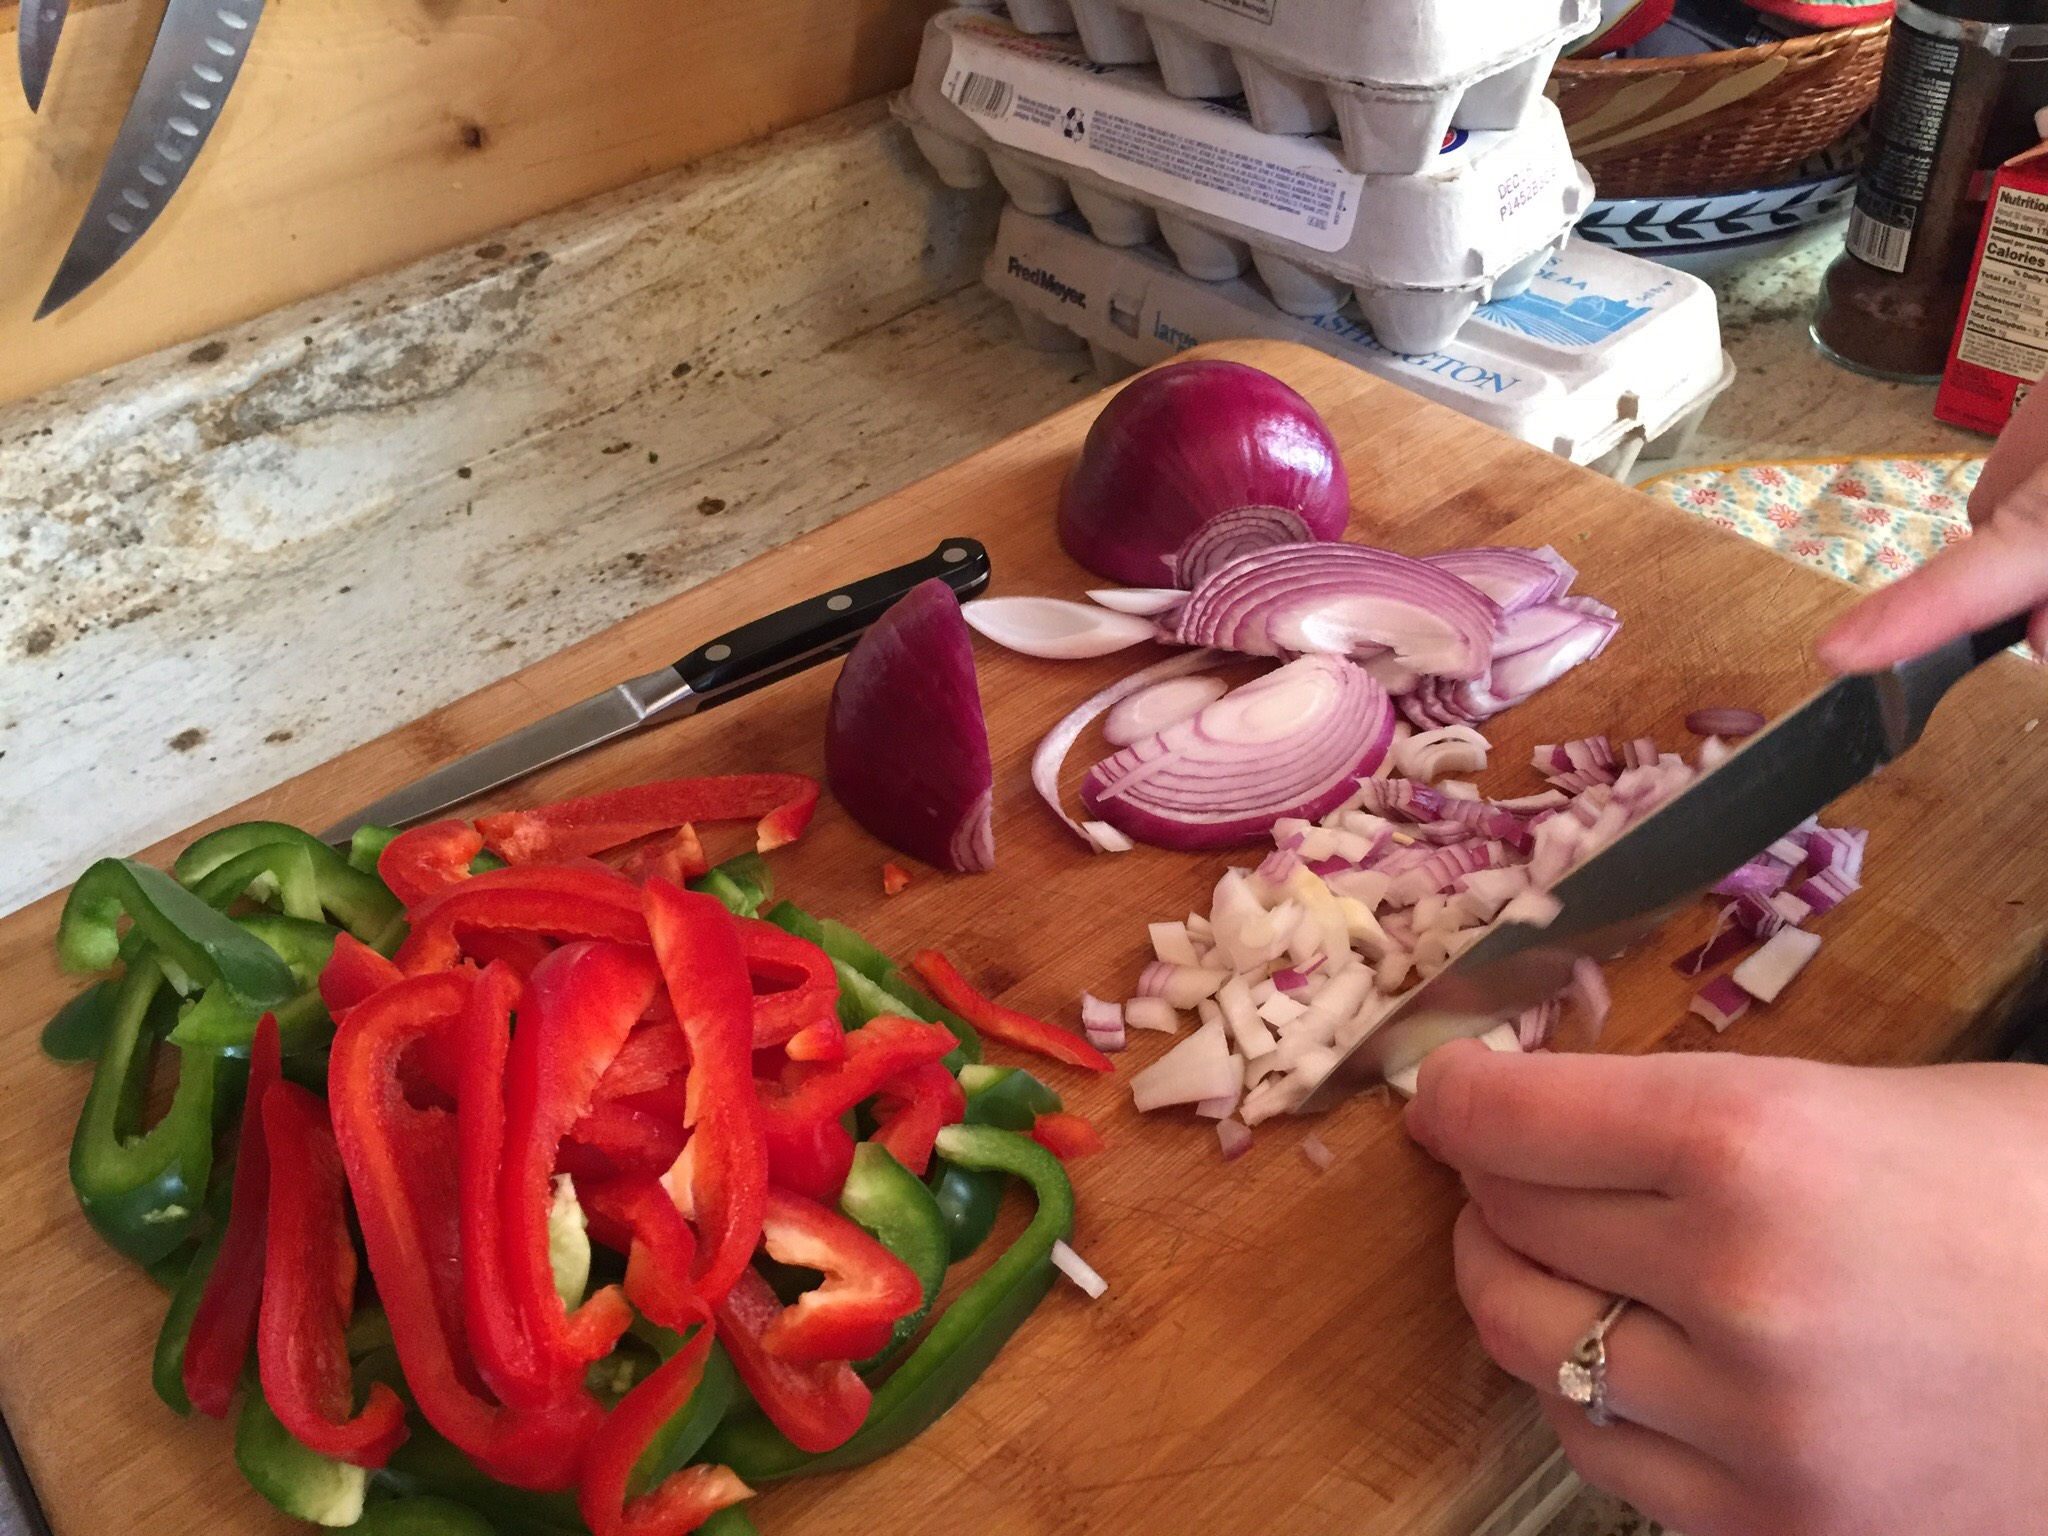
Next dice your onion, you only need ¼ to ½ of the onion, but may use more if you please.
Cut Canadian Bacon

Time to cut your Canadian bacon. The Canadian bacon should be cut right down the middle so it is in halves.
Cook Noodles
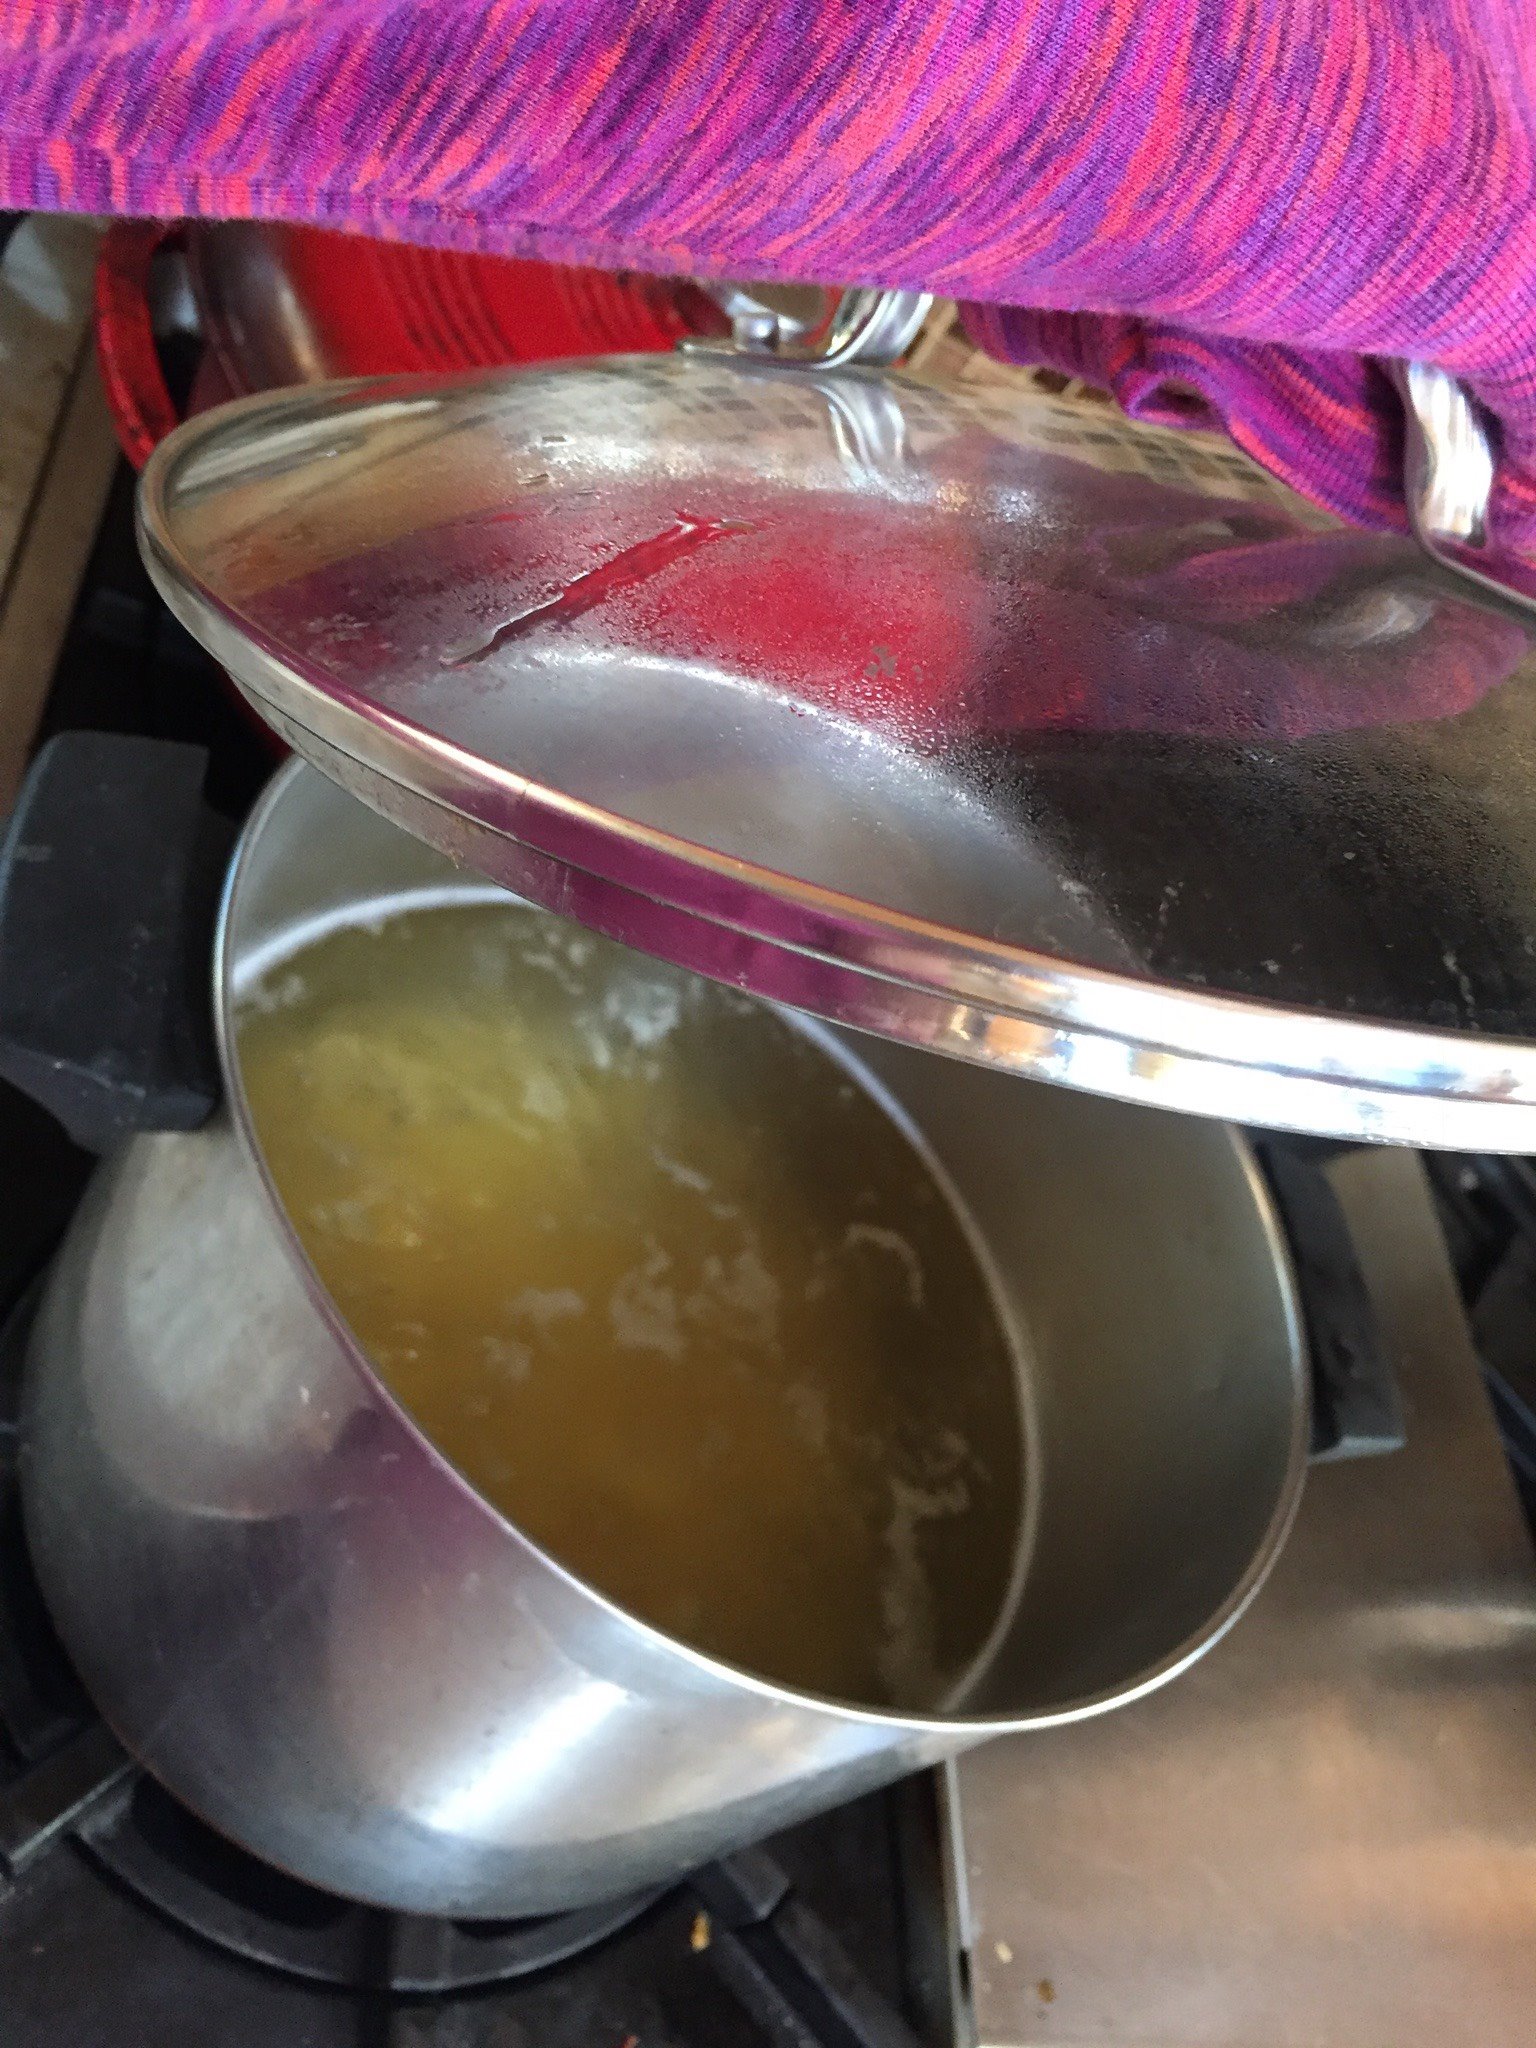
When the water has come to a rolling boil, add the entire box of noodles, set the temperature to medium, and stir. Stir every few minutes. Cook the noodles until aldente (definition of aldente: https://www.thespruce.com/what-is-al-dente-995554) according to package instructions.
Strain Noodles

Pour the noodles into the strainer and rinse with cold water. Give the strainer a nice last shake to get rid of excess water and set aside to strain.
Lather Crock-Pot
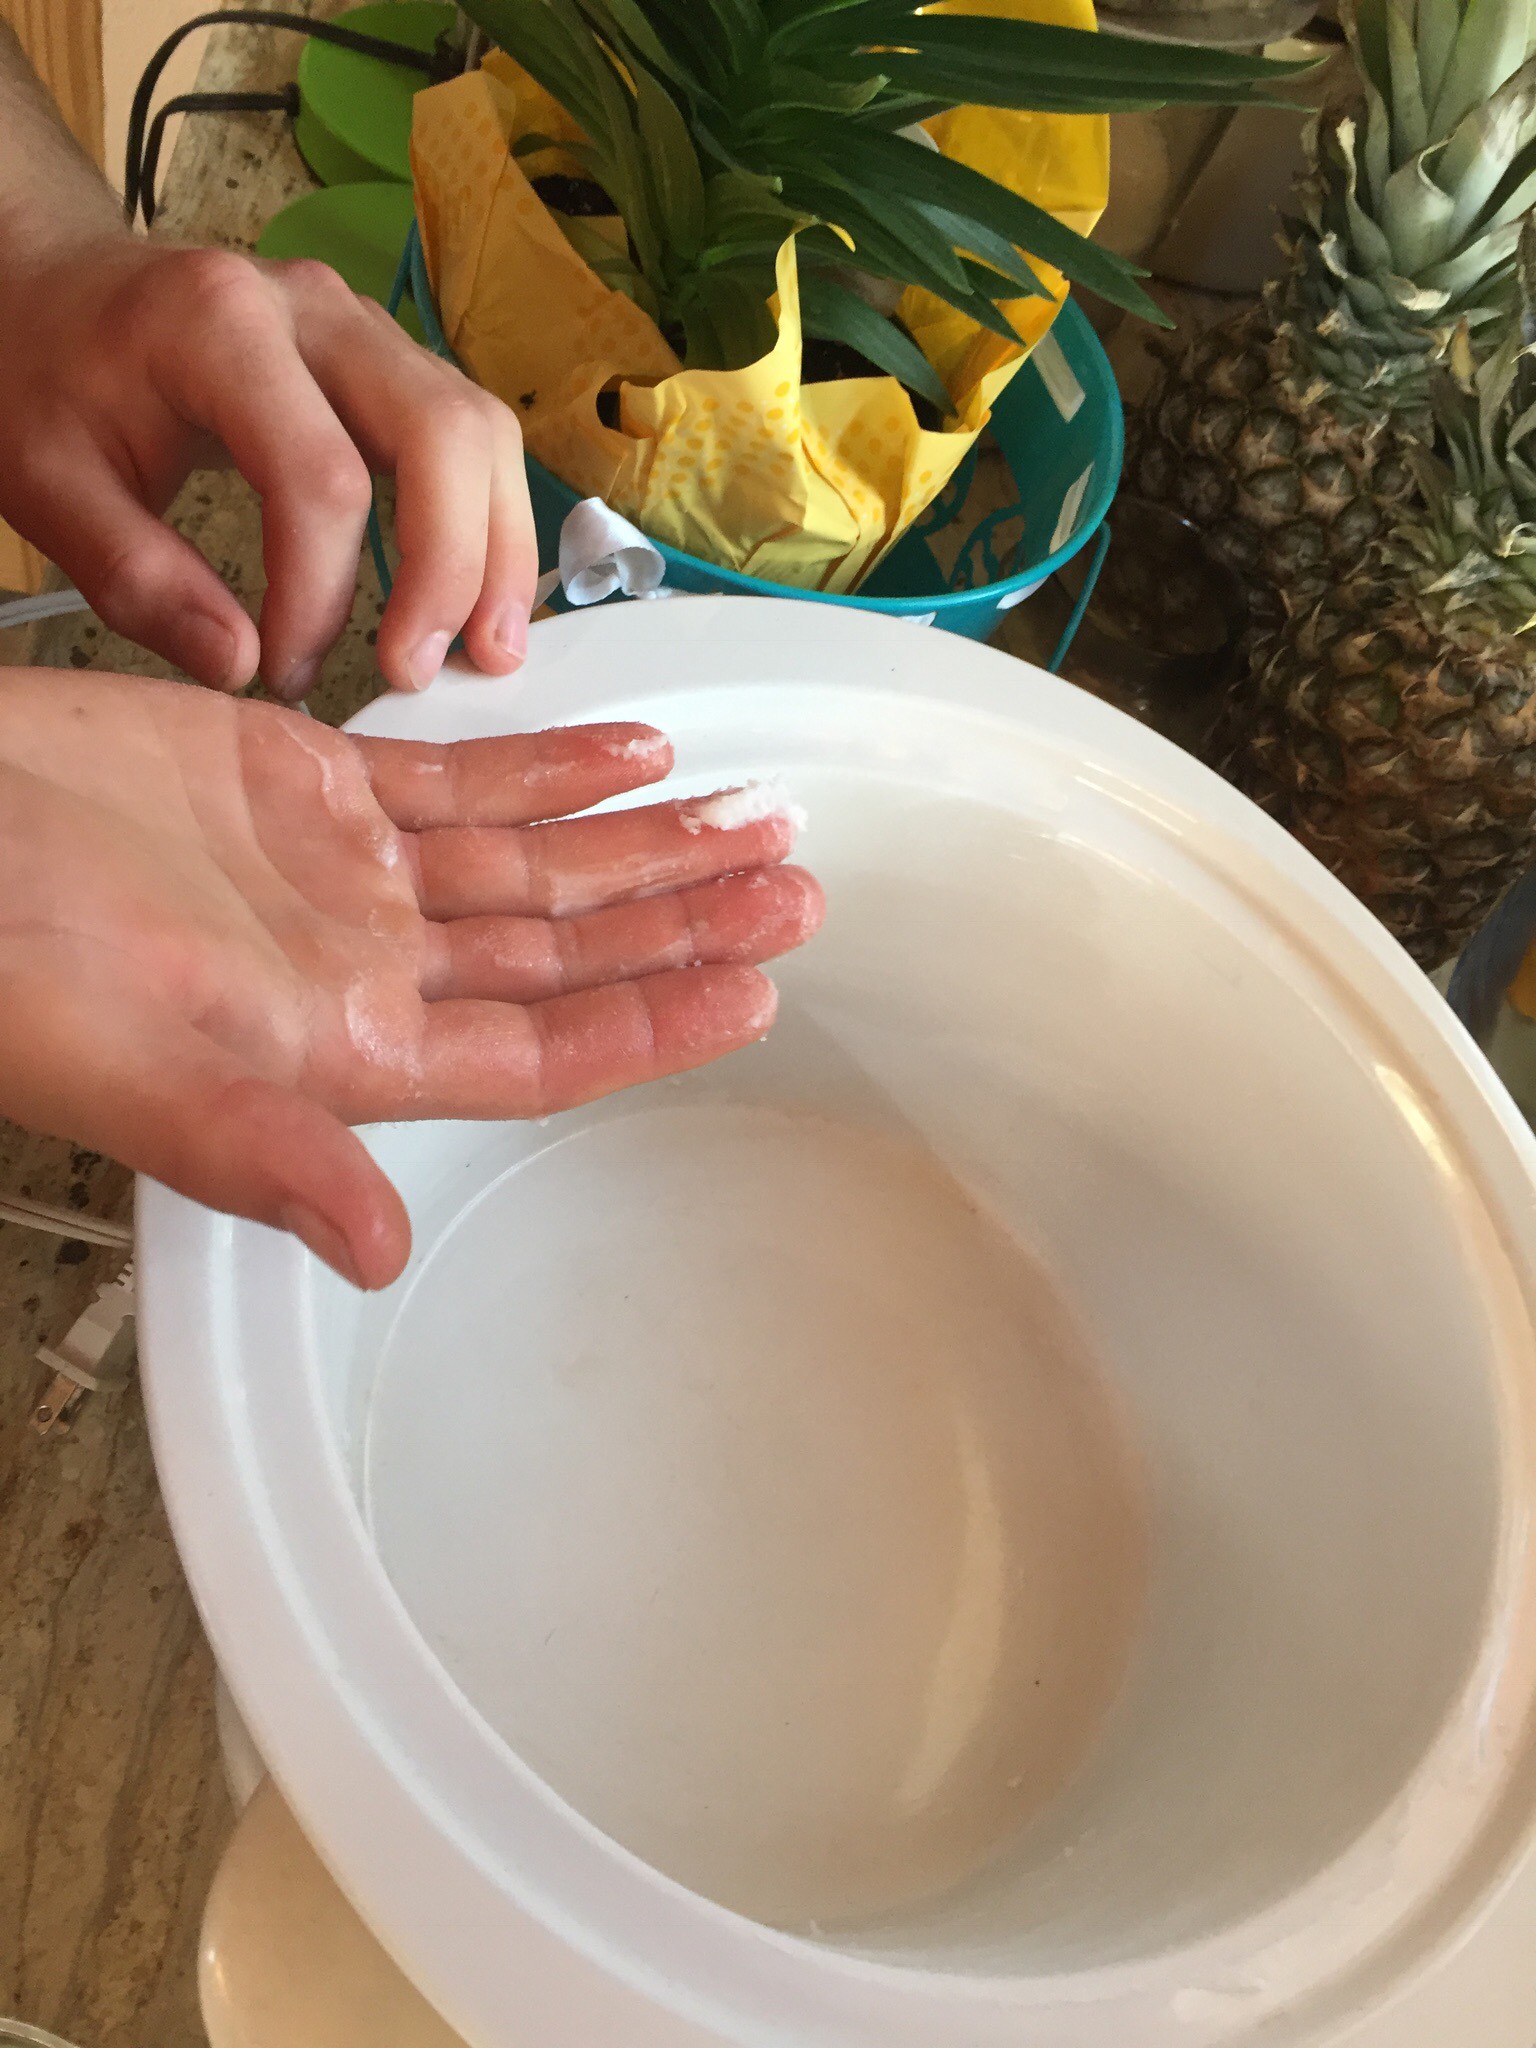
Now, go to your crock-pot and lather it in lard. Make sure you lather your crock-pot well, don’t miss any spots!
Sauce Layer
Next is your layer of sauce, about 1-1 ½ cup each layer.
Noodle Layer
Now, cover the sauce with a good couple handfuls of noodles. Not too much, just enough to make a layer.
Second Sauce Layer
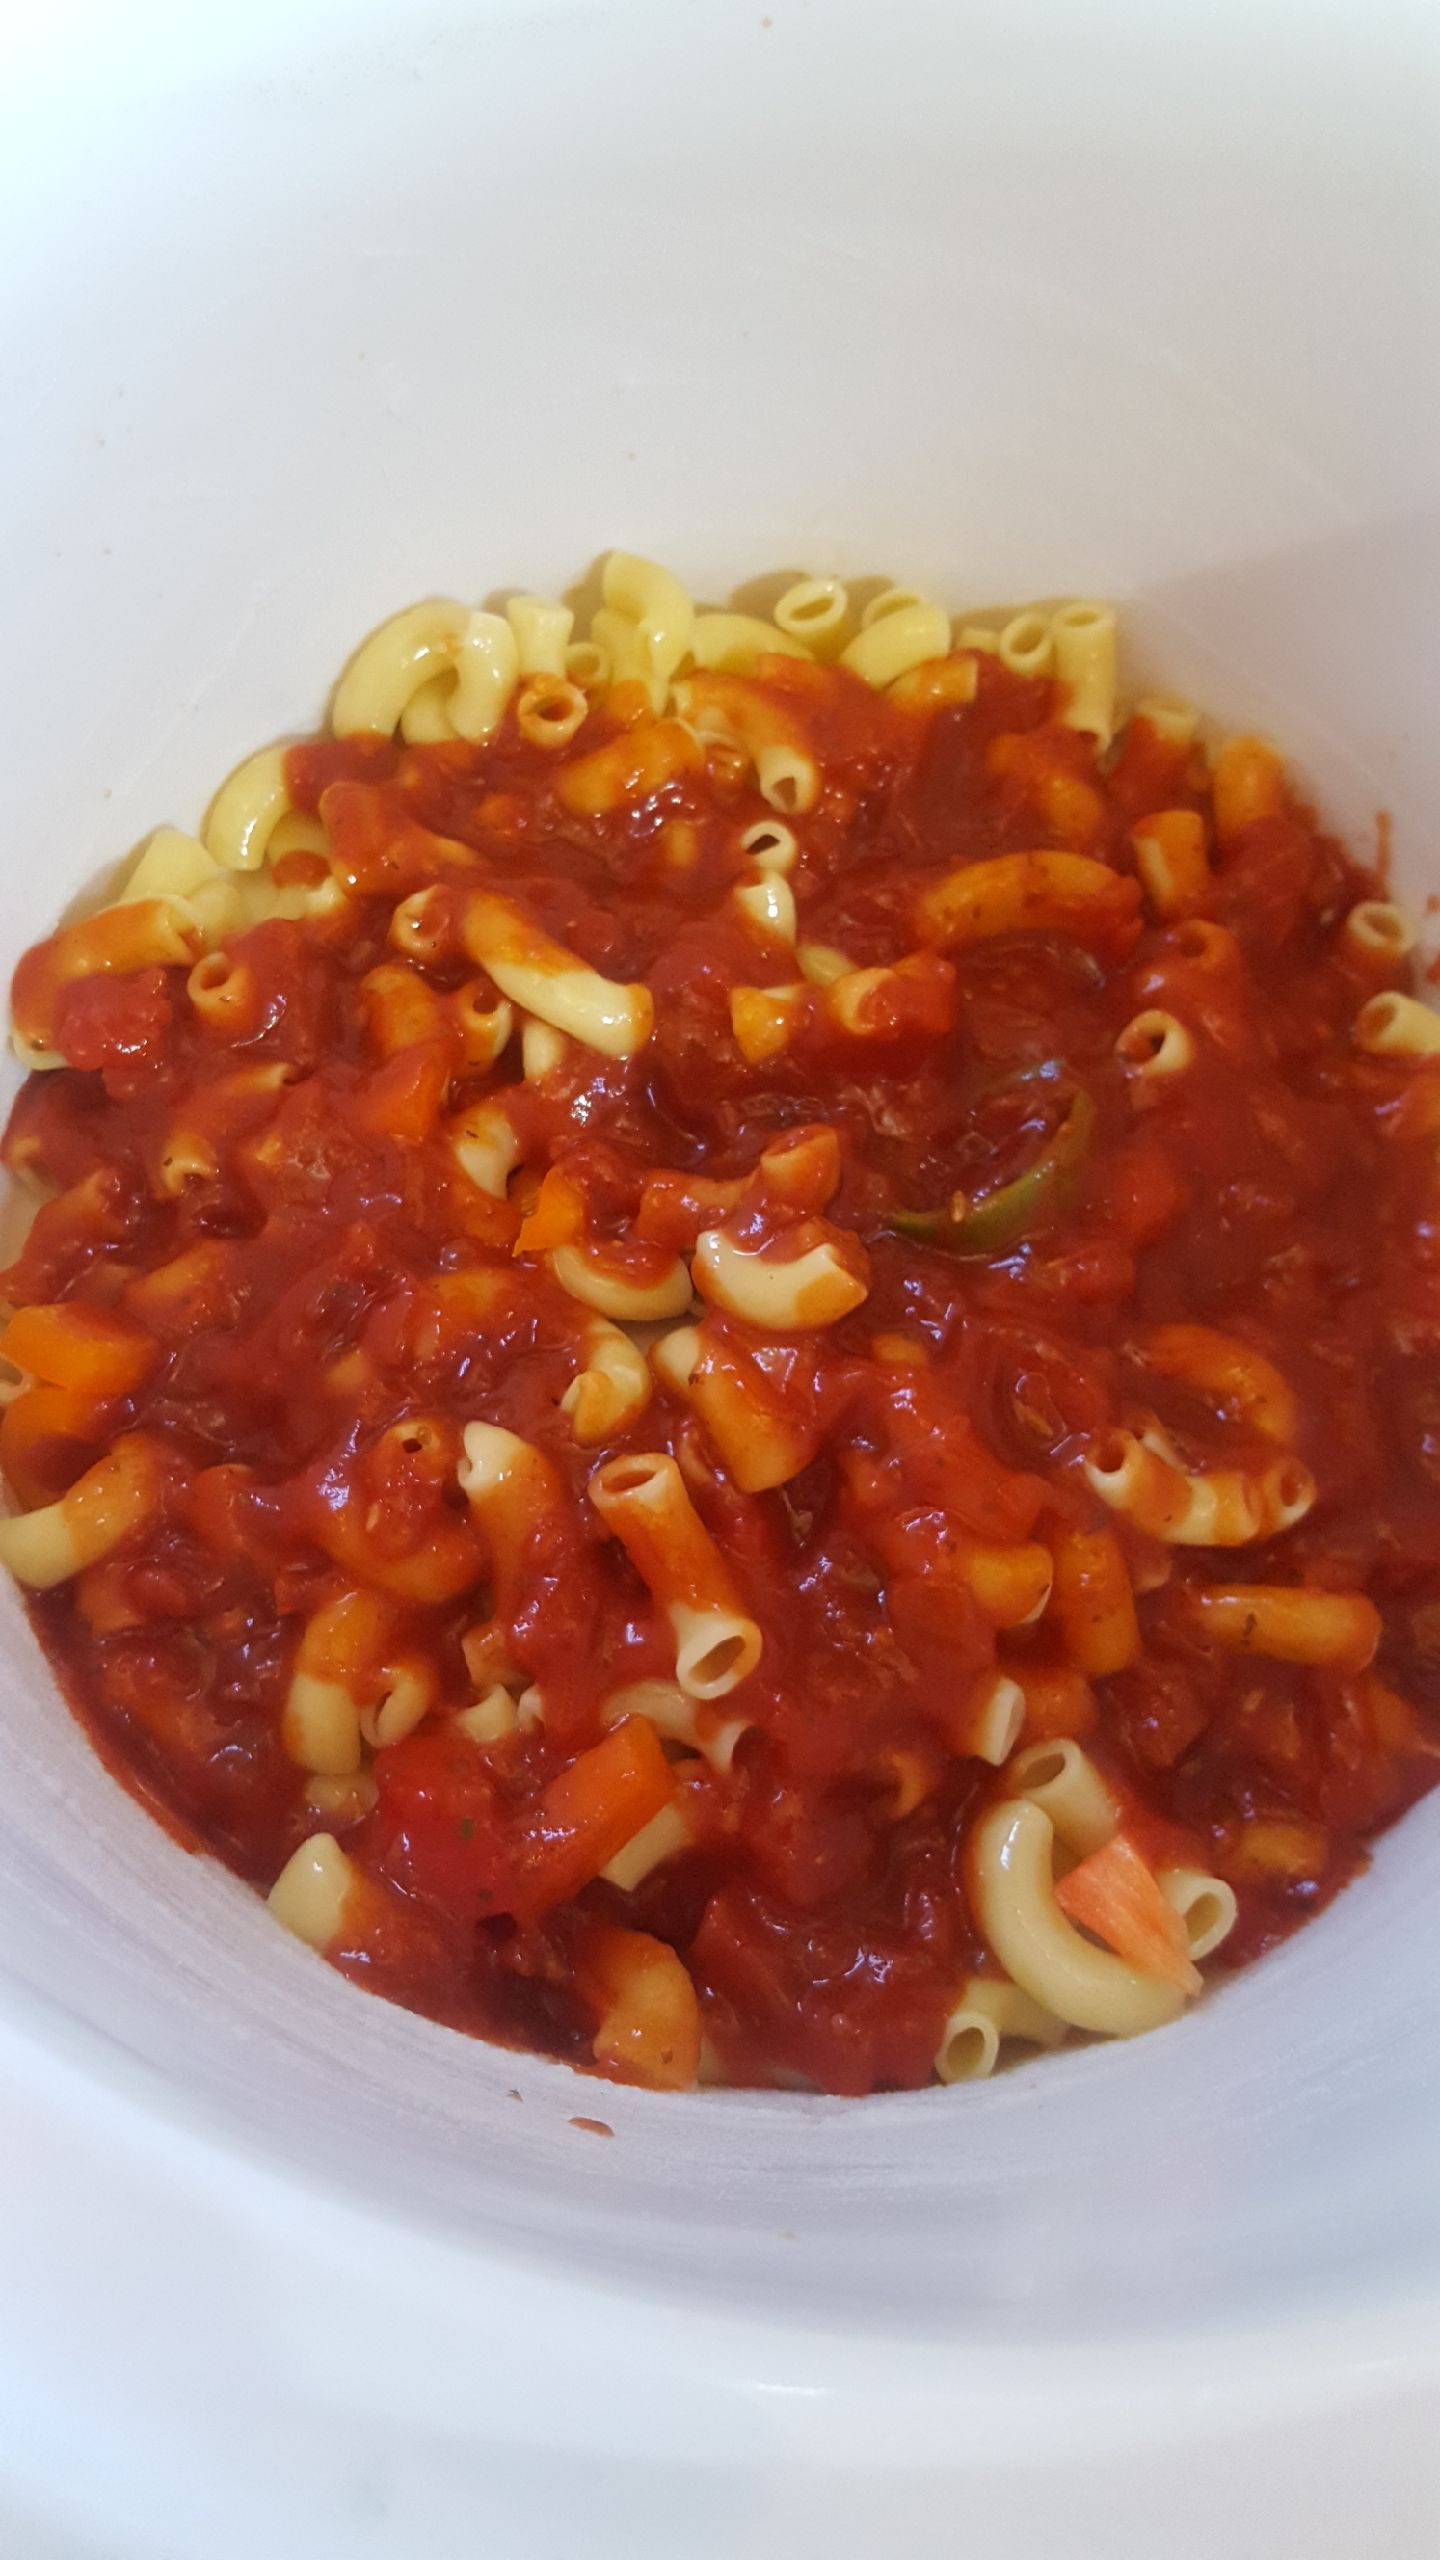
Time for a layer of sauce, cover all those noodles. The noodles will absorb the moisture from the sauce, becoming soft.
Veggie Layer
Next add a layer of veggies. As you begin adding veggies, Canadian bacon, and cheese; make sure to pace yourself well. This is where your estimating skills come in hand.
Canadian Bacon Layer

Time for a thin layer of Canadian bacon.
Cheese Layer

Now, cover it with a beautiful layer of fluffy, grated cheese.
Repeat Layers
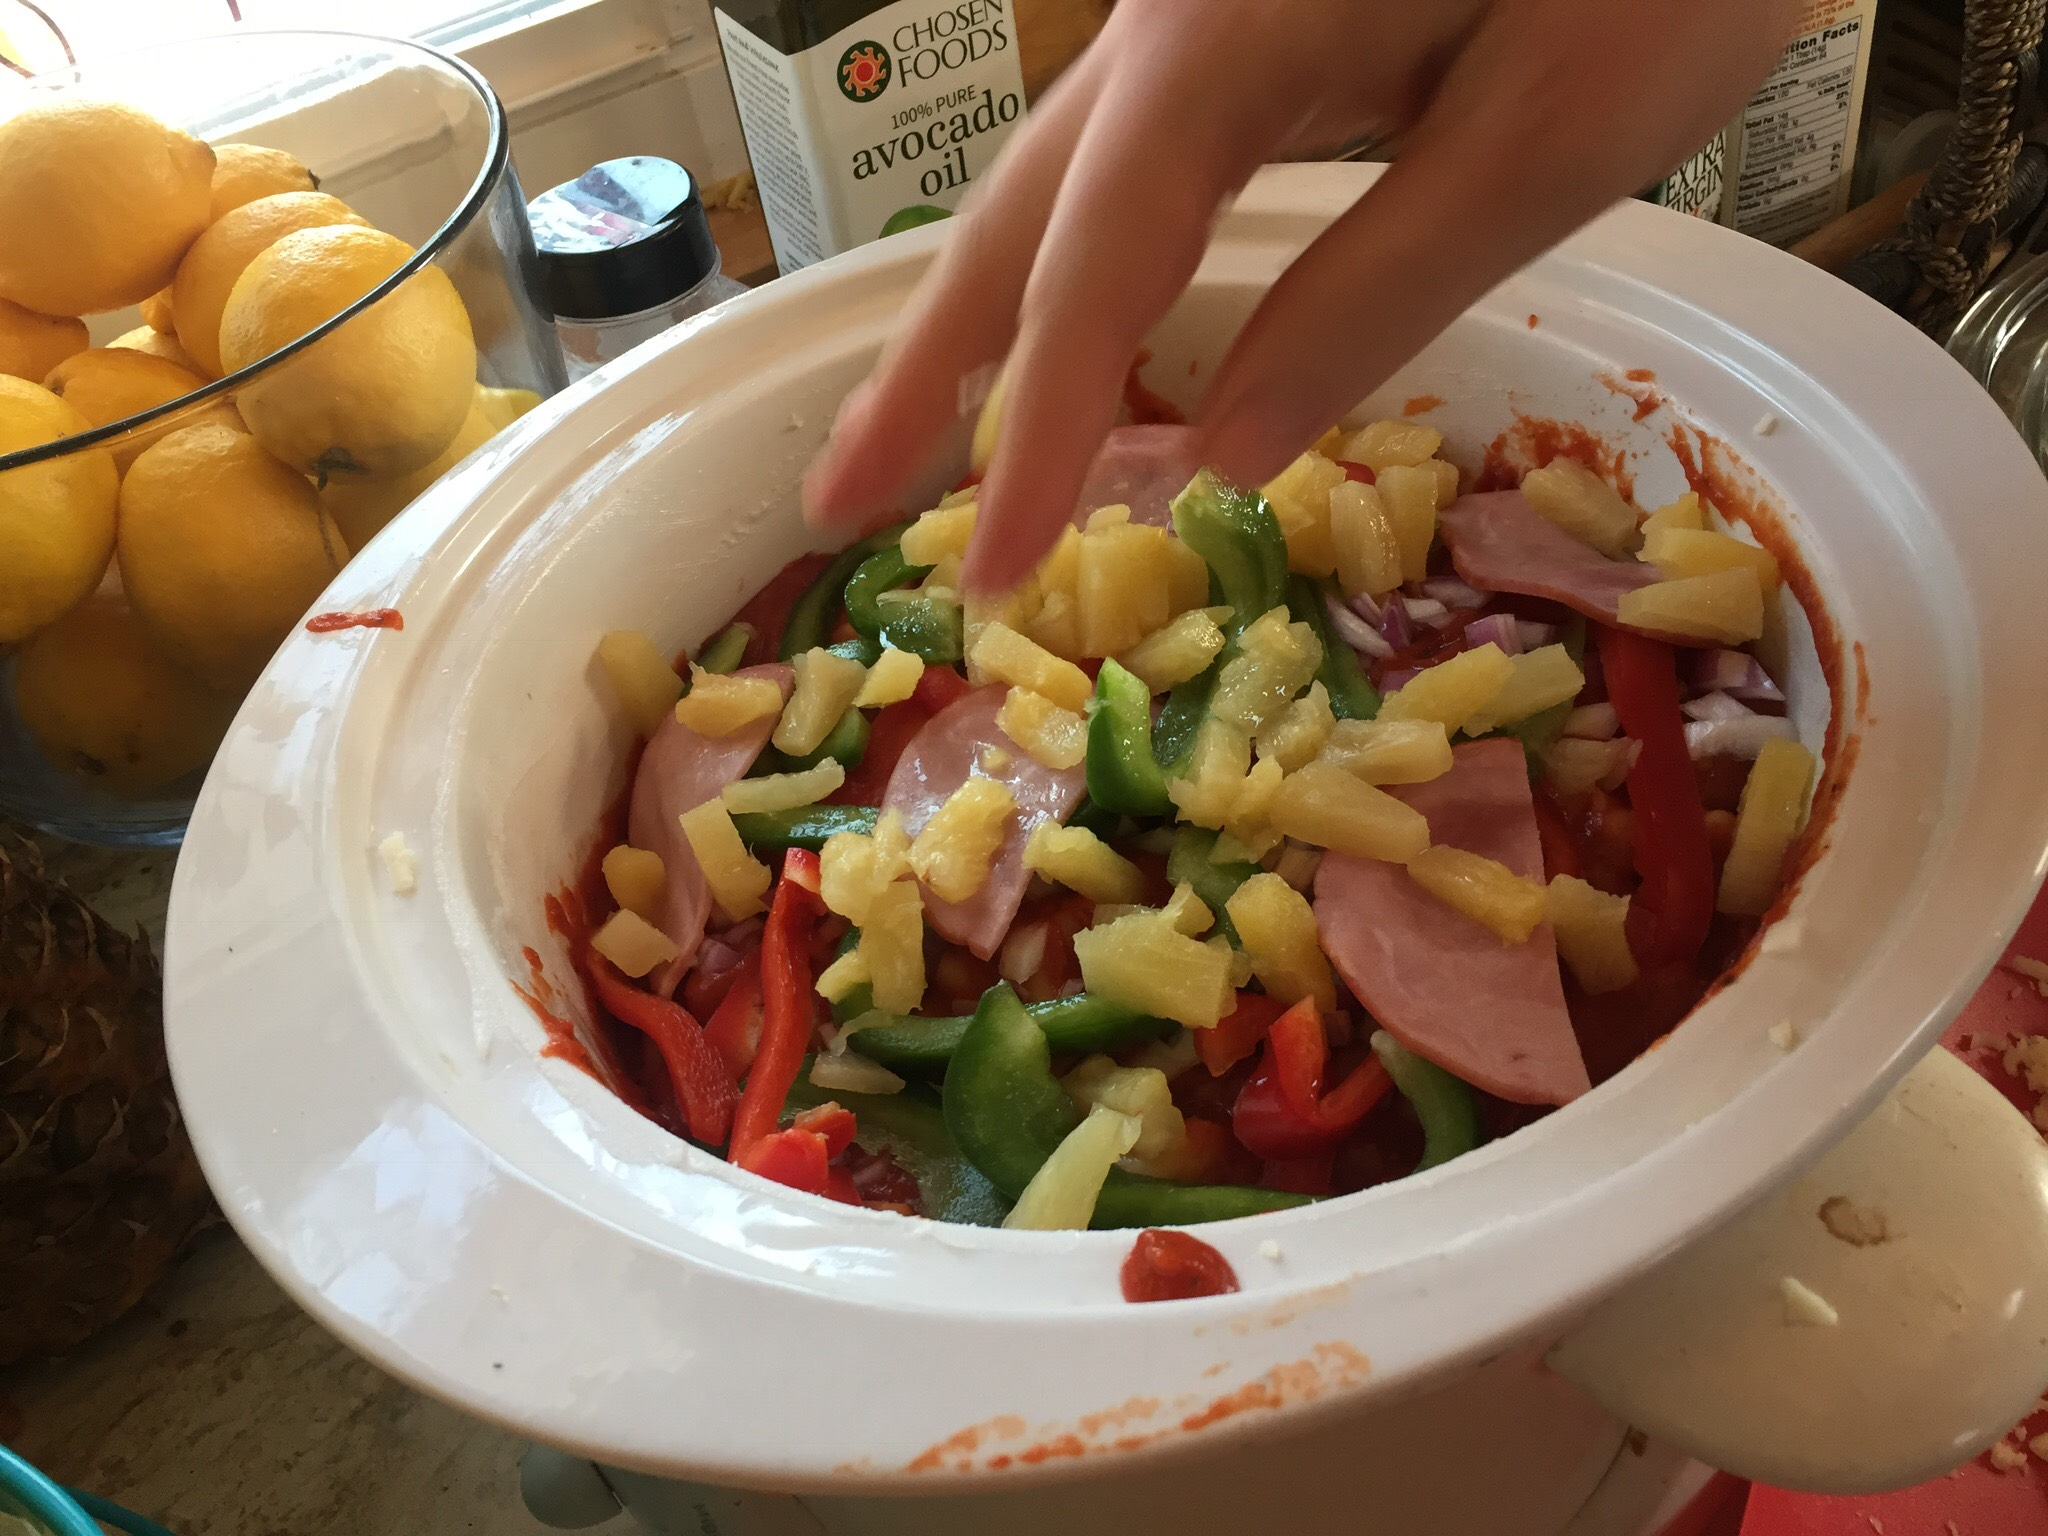

Continue to layer your crock pot pizza. Remember, try and estimate your ingredients evenly between each layer. Noodles, sauce, veggies, meat, and cheese. Repeat as many times as needed or wanted. When close to the top make sure your last layer is cheese. The cheese is the glue to the pizza and holds everything together on top.
Cover and Bake
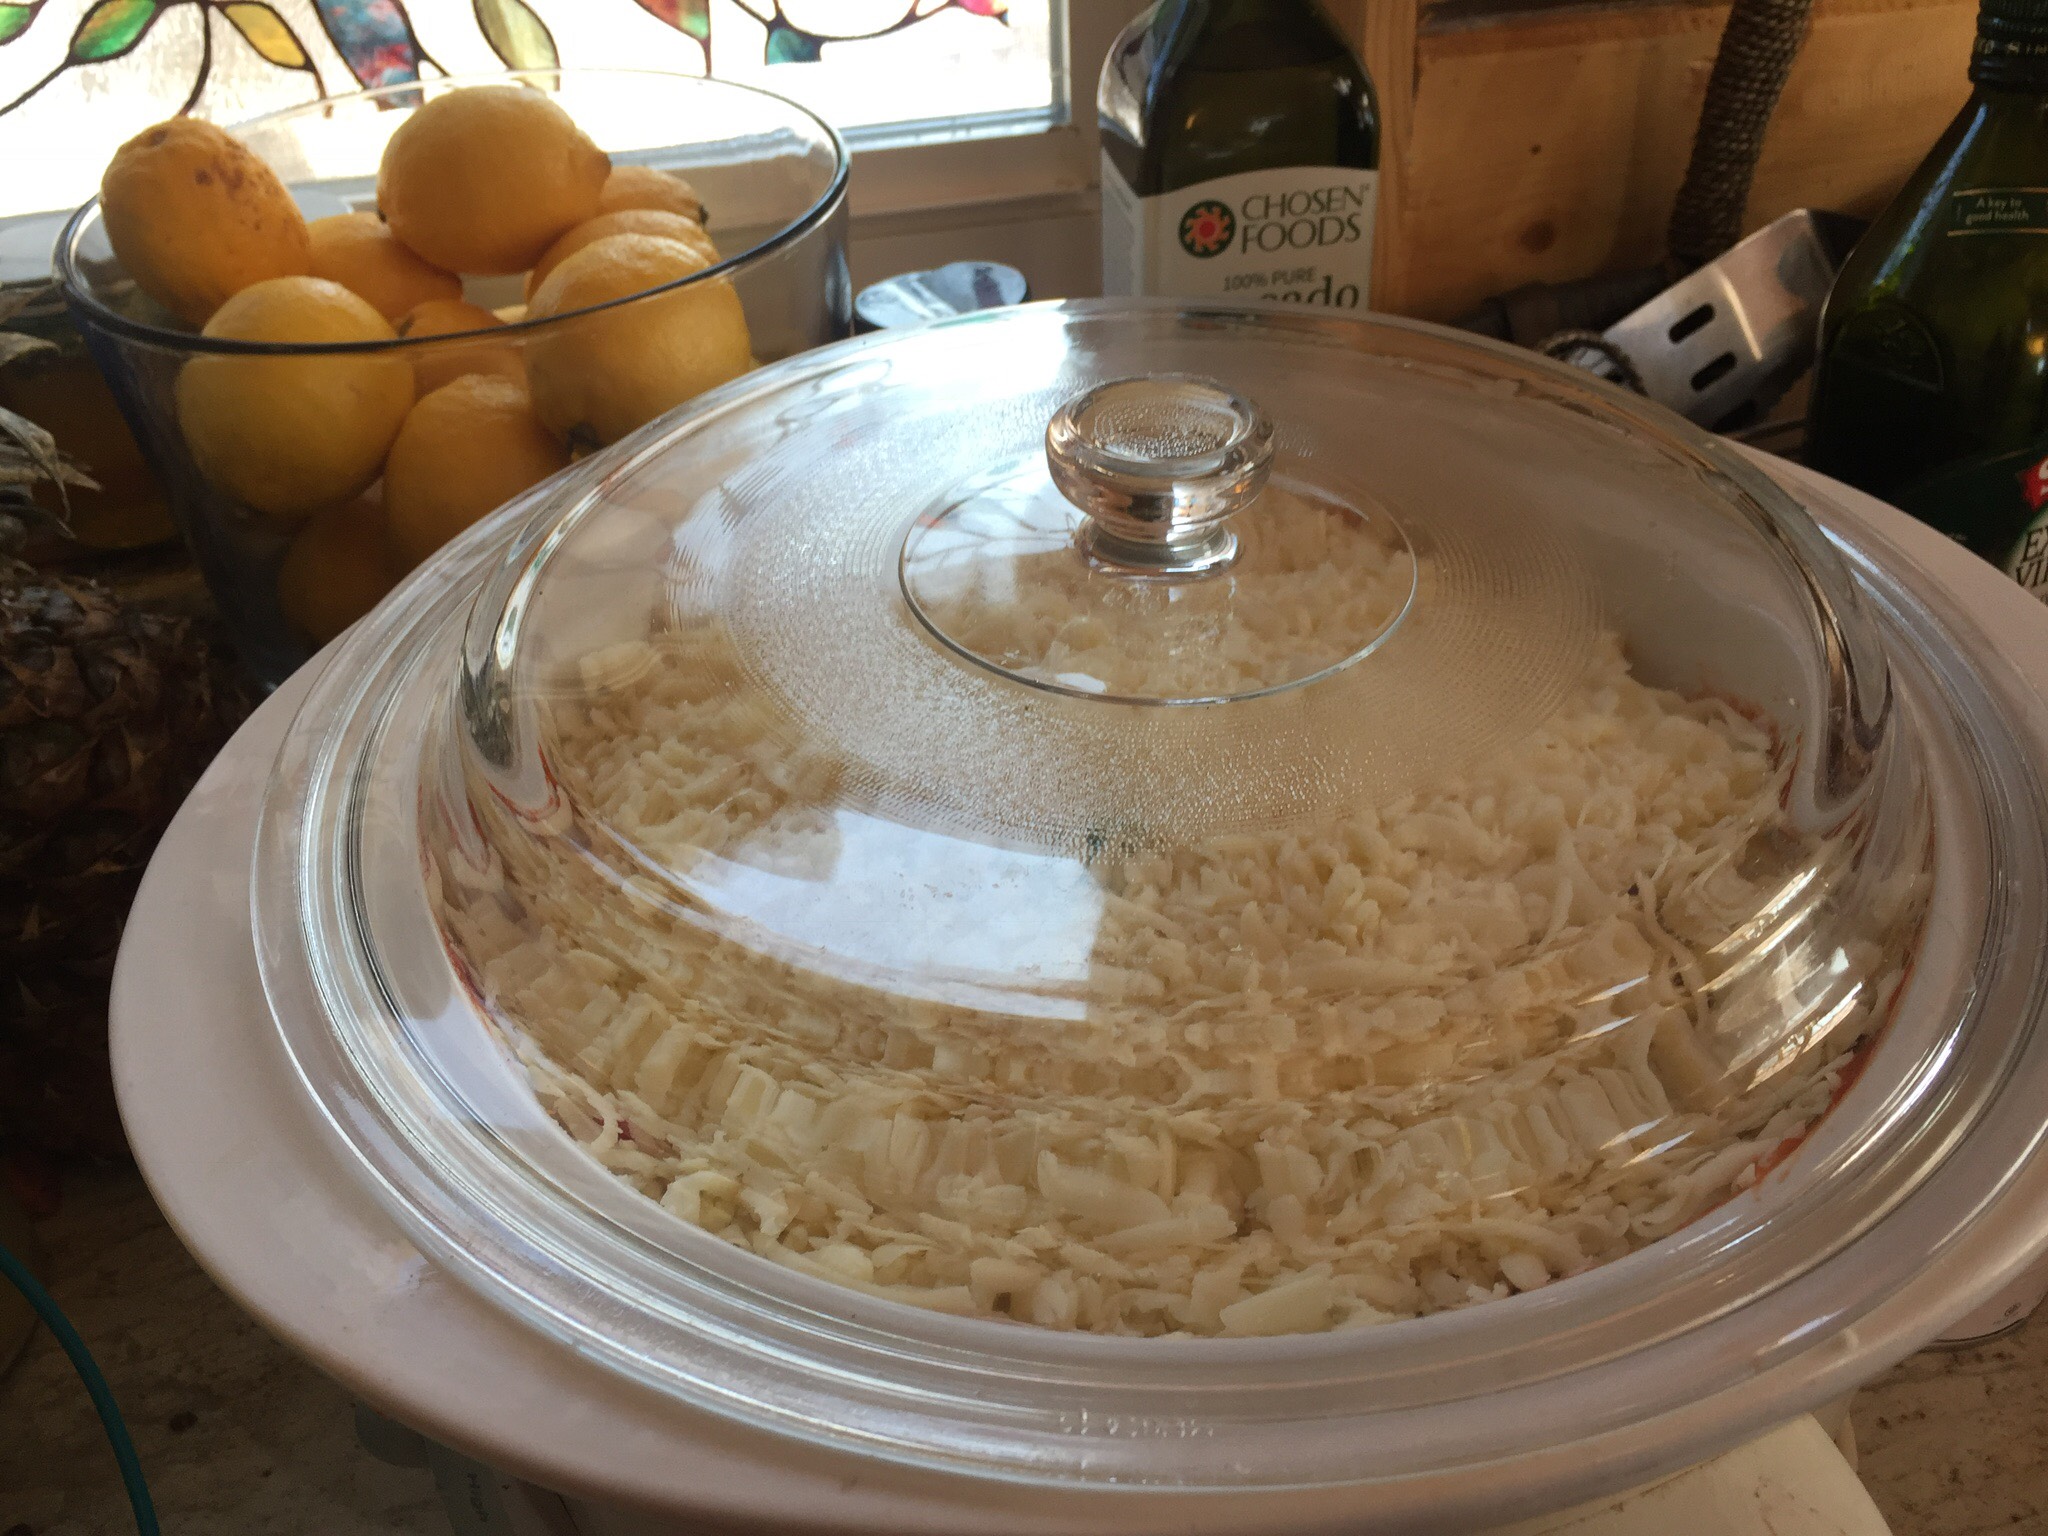
Cover your crock pot and set on high for 4-5 hours bake or medium for 5-7 hours bake. This is a forgiving recipe and unless your crock pot runs very hot, the given times are flexible.
It's Ready!

Once its bubbly and the top layer looks “tanned” its ready for serving. Get yourself a plate or bowl and load up. A dash of hot pepper flakes or a splash of balsamic vinegar are the final touches on this hot treat.
Enjoy!
Adapted from Jacki Michels'
Cooking on the Wild Side