Crochet Espeon
by Little Dragon and Company in Craft > Knitting & Crochet
10694 Views, 234 Favorites, 0 Comments
Crochet Espeon


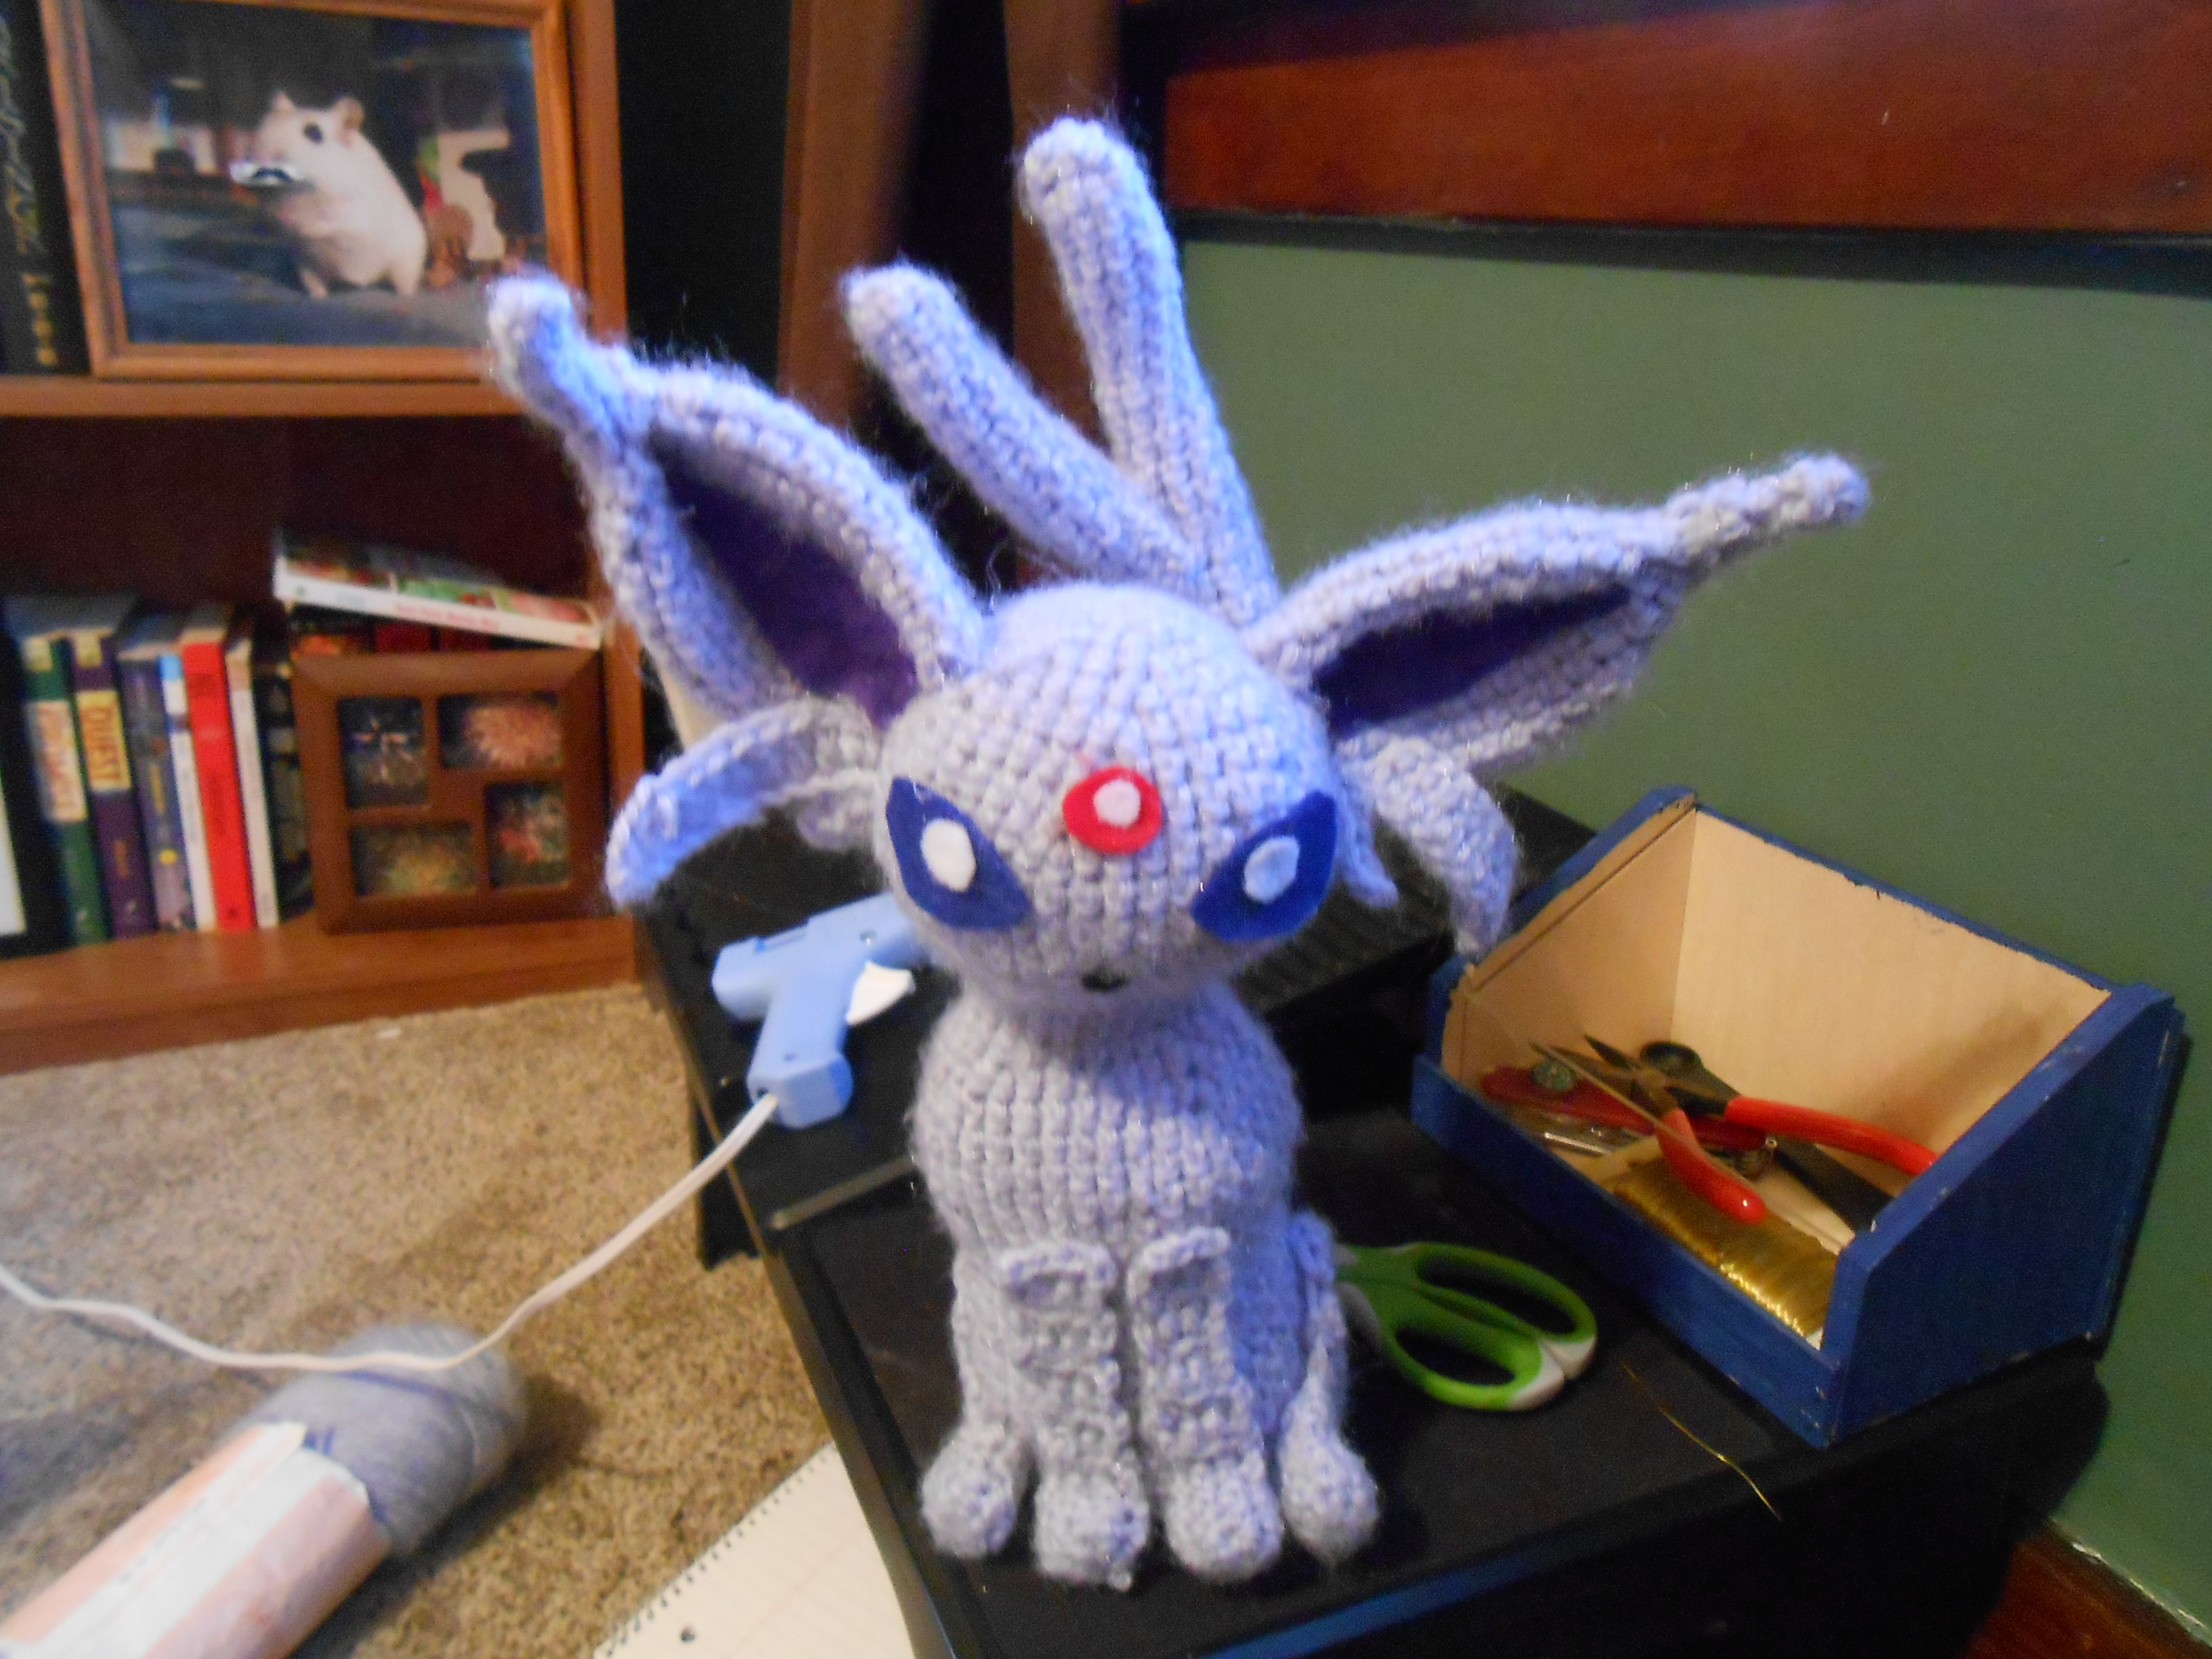
An Espeon I have been working on for a while. The ends of the tail are pose-able. This is, hands down, the best amigurumi I have made to date, and I am quite pleased with it.
Needed Materials and Other Notes
Needed Materials:
- two skeins of pale purple yarn (I used )
- a size f (3.75 mm) crochet hook
- scissors
- hot glue gun (optional)
- safety or sewing pins (option)
- red felt
- purple felt
- dark blue felt
- white felt
- needle
- thread to match your felt (if you use hot glue, the needle and thread are unneeded)
- black felt
- florists wire
Other Notes:
- Again, this ami' is more complex due to the ears, fins, and tail. Be sure you are comfortable working with rounds and using the magic loop.
- The used stitches are: single crochet, increase, decrease, and double crochet
Creating the Head and Body

Single crochet (sc) 6 in a magic ring (mr)
- round 1: increase (inc) in every stitch (12)
- round 2: *sc in 1 stitch, inc for 1 stitch* repeat from * to * around (18)
- round 3: *sc for 2 stitches, inc for 1 stitch* repeat from * to * around (24)
- round 4: *sc for 3 stitches, inc for 1 stitch* repeat from * to * around (30)
- round 5: *sc for 4 stitches, inc for 1 stitch* repeat from * to * around (36)
- round 6: *sc for 5 stitches, inc for 1 stitch* repeat from * to * around (42)
- round 7: *sc for 6 stitches, inc for 1 stitch* repeat from * to * around (48)
- rounds 8-10: sc in every stitch around
- round 11: *sc for 5 stitches, decrease (dec)* repeat from * to * around (42)
- round 12: *sc for 4 stitches, dec* repeat from * to * around (36)
- round 13: *sc for 3 stitches, dec* repeat from * to * around (30)
- round 14: *sc for 2 stitches, dec* repeat from * to * around (24)
- round 15: *sc in 1 stitch, dec* repeat from * to * around (18)
This is an excellent time to start stuffing your ami'.
- rounds 16+17: sc in every stitch around
- round 18: *sc for 5 stitches, inc for 1 stitch* repeat from * to * (21)
- round 19: sc in every stitch around
- round 20: *sc for 6 stitches, inc for 1 stitch (24)
- round 21: sc in every stitch around
- round 22: *sc for 2 stitches, inc for 1 stitch (32)
- round 23: *sc for 7 stitches, inc for 1 stitch (36)
- rounds 24-28: sc in every stitch around
- round 29: *sc for 4 stitches, dec* repeat from * to * around (30)
- round 30-33: sc in every stitch around
- round 34: *sc for 9 stitches, inc for 1 stitch* repeat from * to * around (33)
- round 35: *sc for 10 stitches, inc for 1 stitch* repeat from * to * around (36)
- rounds 36-40: sc in every stitch around
- round 41: *sc for 4 stitches, dec* working in front loops, repeat from * to * (30)
- round 42: *sc for 3 stitches, dec* repeat from * to* (24)
- round 43: *sc for 2 stitches, dec* repeat from * to * (18)
- round 44: *sc in 1 stitch, dec* repeat from * to * (12)
Finish off. Add in enough beans so the Espeon will stand up unaided. Weave your long tail through the stitches and cinch to close. Pull the excess tail up through the Espeon so it is not visible.
Creating the Ears


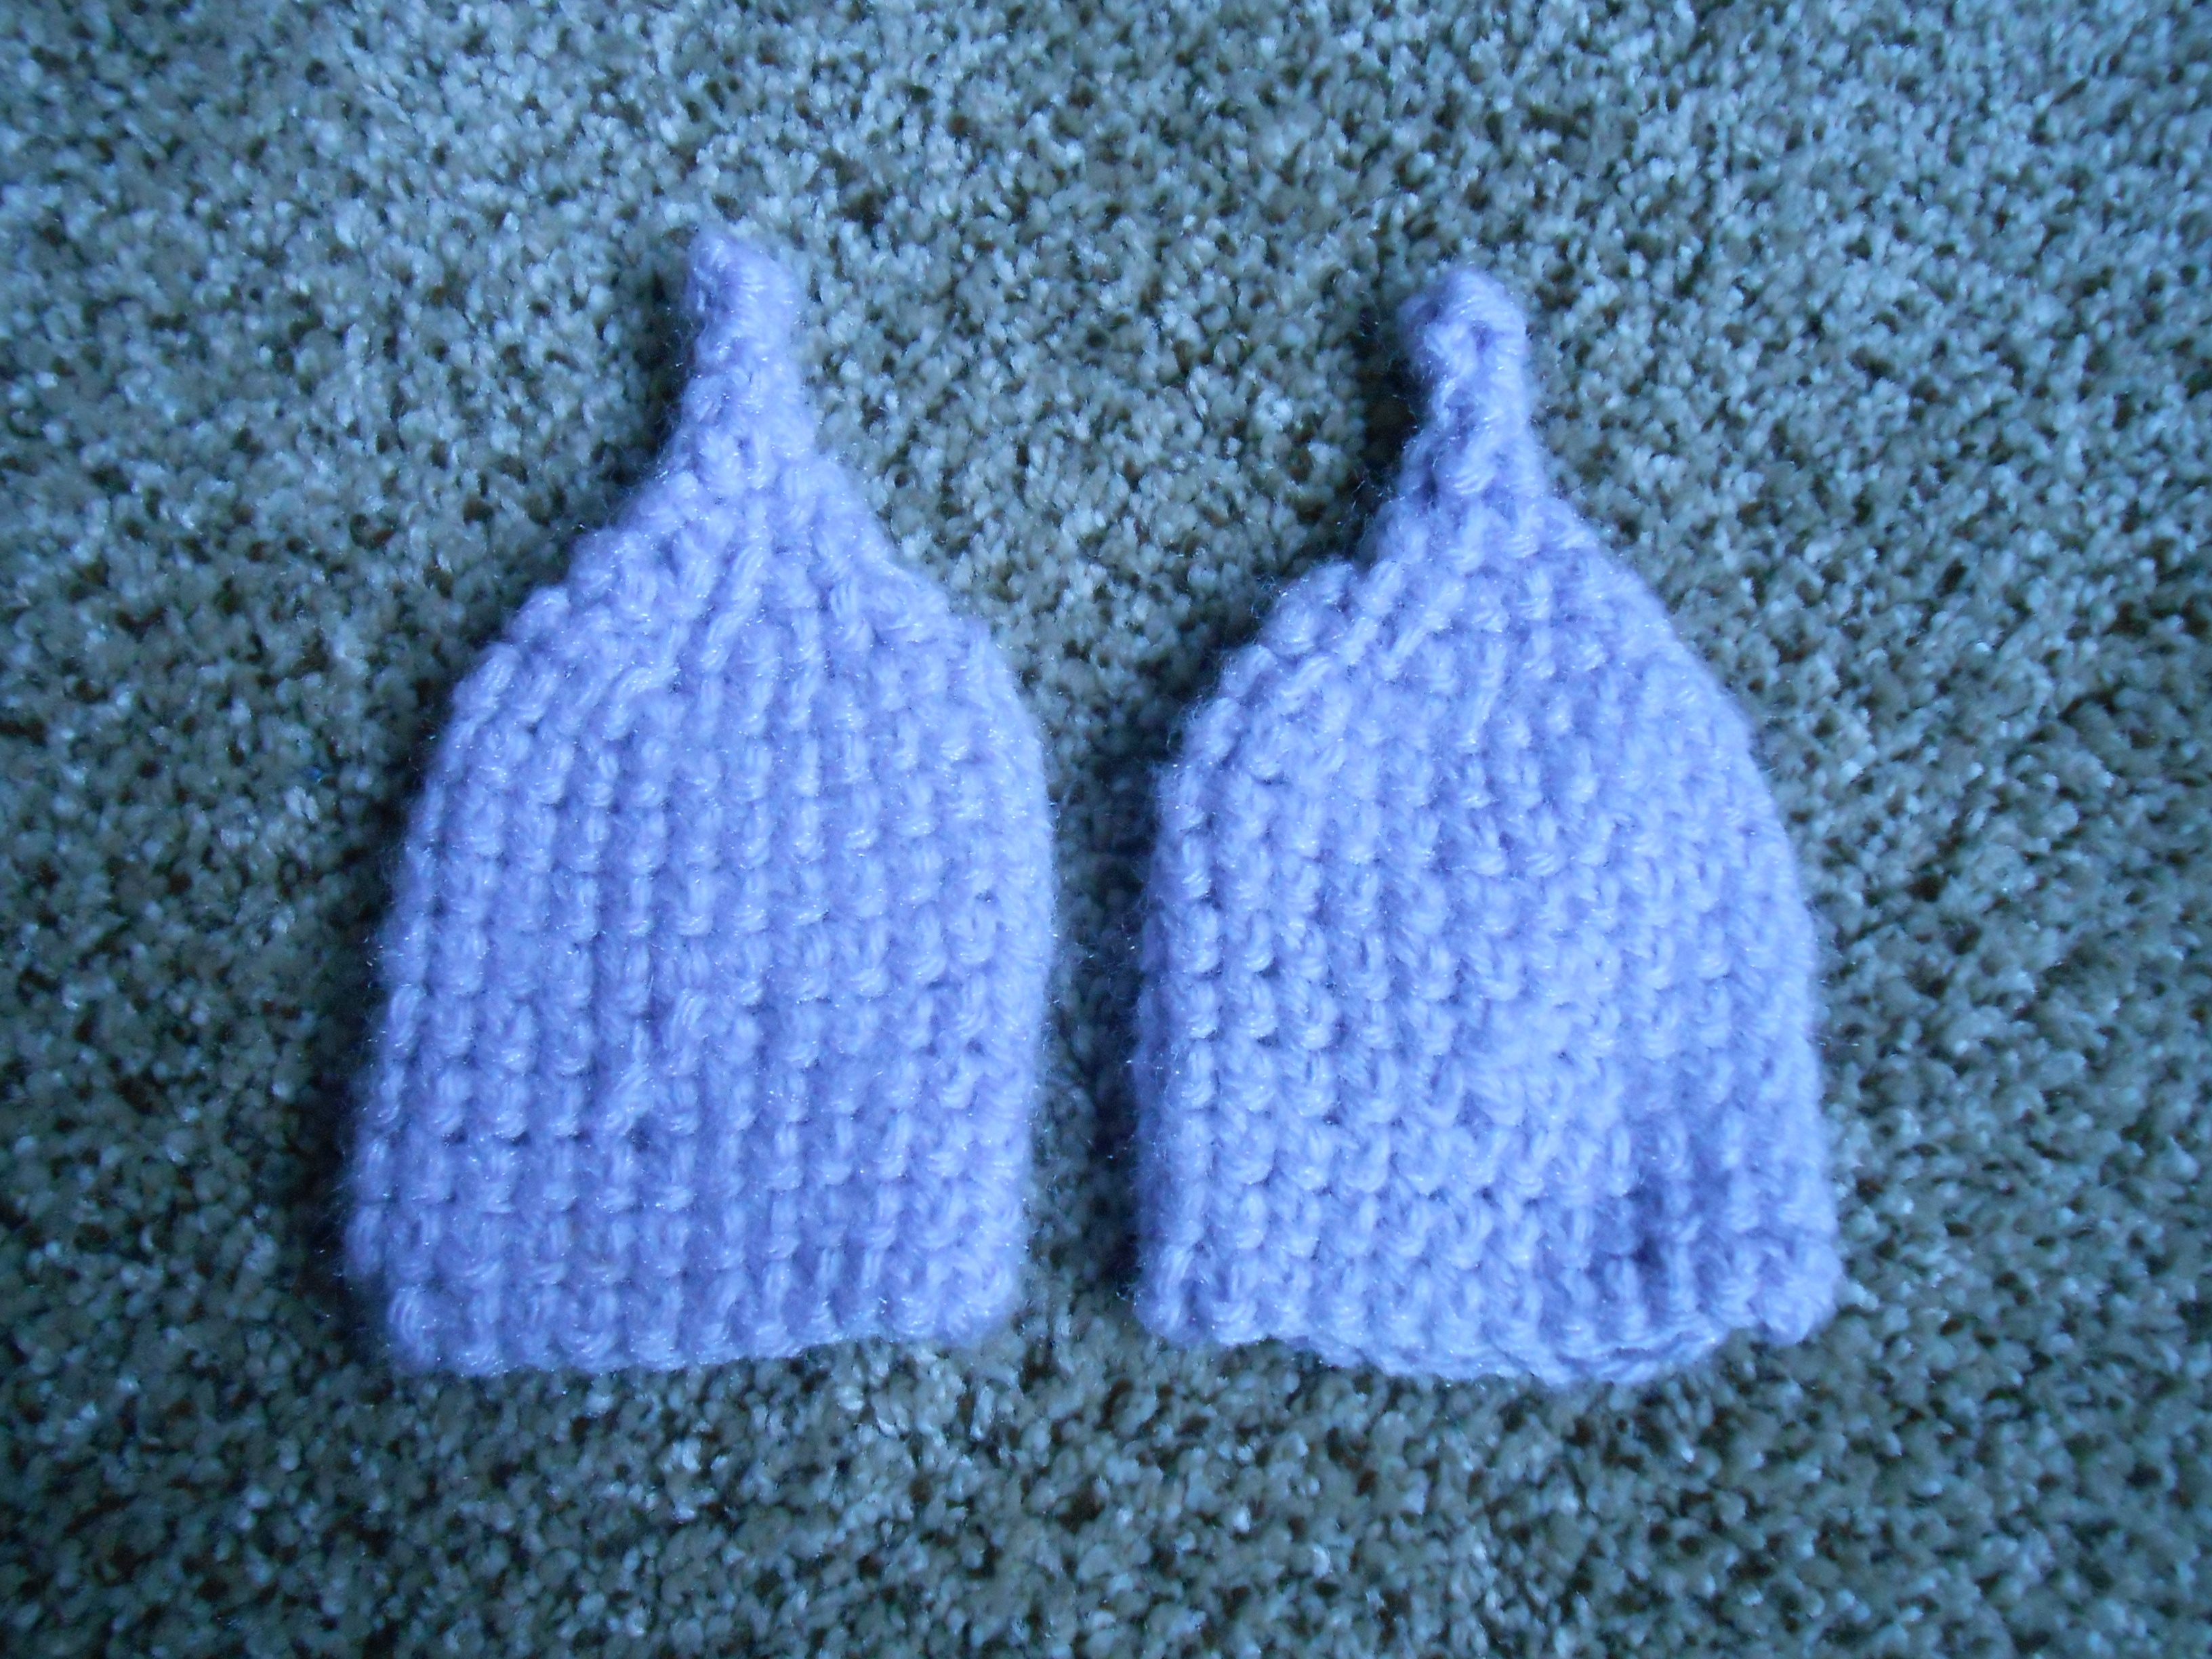
In a mr sc 3
- round 1: sc in every stitch around
- round 2: sc in the first stitch, inc in the next, sc in the last stitch (4)
- round 3: *sc in the next stitch, inc in the next stitch* repeat from * to * twice (6)
- round 4: *sc in 1 stitch, inc in the next stitch* around (9)
- round 5: sc in the first stitch, *inc in 1 stitch, sc in 1 stitch* repeat from * to * around (13)
- round 6: sc in the first 3 stitches, *inc in 1 stitch, sc in 1 stitch* repeat from * to * around (18)
- round 7: *sc in 2 stitches, inc in 1 stitch* repeat from * to * around (24)
- rounds 8-15: sc in every stitch around
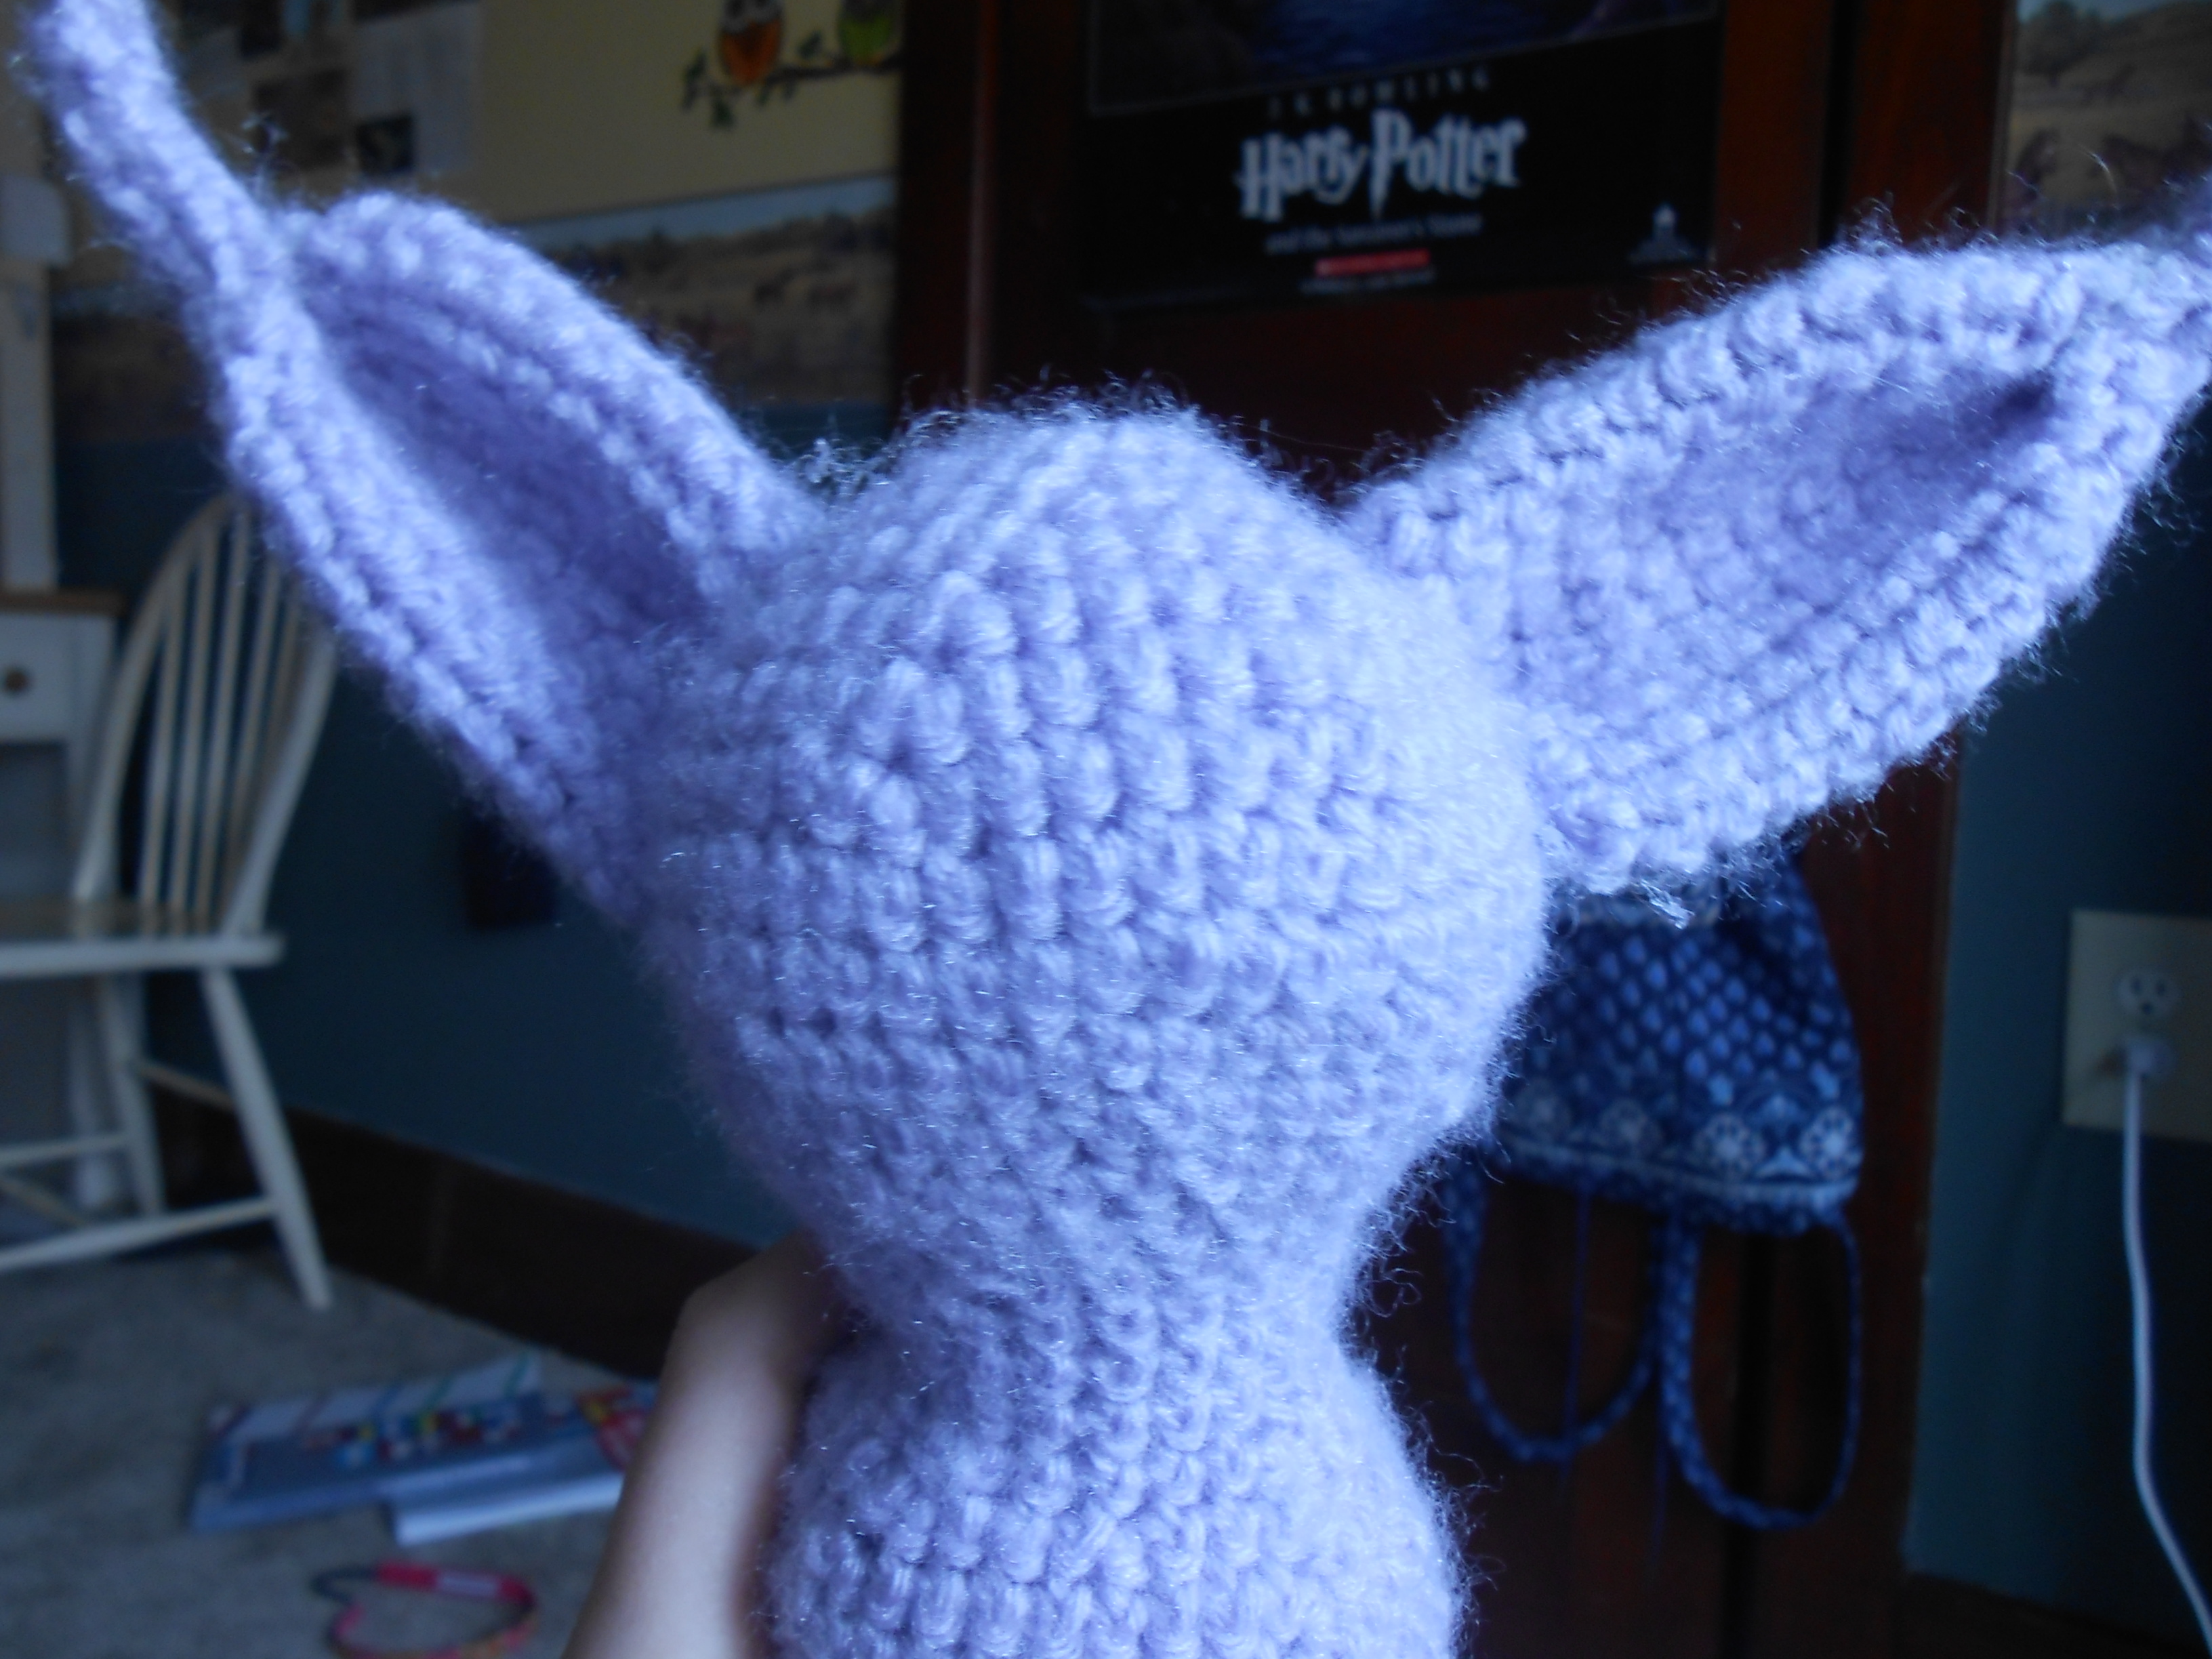
Make two ears, obviously. To make the taper stick up straight, lay the ear down flat and pinch it on the left side of the fourth row. Fold it over so it touches the right end of the sixth row. Secure it with hot glue or with several stitches. Pinch the bottom sides of the ear together and let them come apart slightly. This will make the right ear. To make the left ear, pinch the right side of the fourth row to the left side of the sixth row. Continue on normally. If you desire, pin the ears to the head before you attach them. Attach the ears to the head.
Creating the Whiskers


chain 16
- row 1: skip the first stitch, sc for 5 stitch, double crochet (dc) for the next 9 stitches, slip stitch in the last stitch
finish off and weave in your loose ends. To create the smaller whisker, fold the top of the last sc to the bottom of the second dc. Secure with hot glue or a few stitches to the inside of the ear.
Creating the Face


Ears:
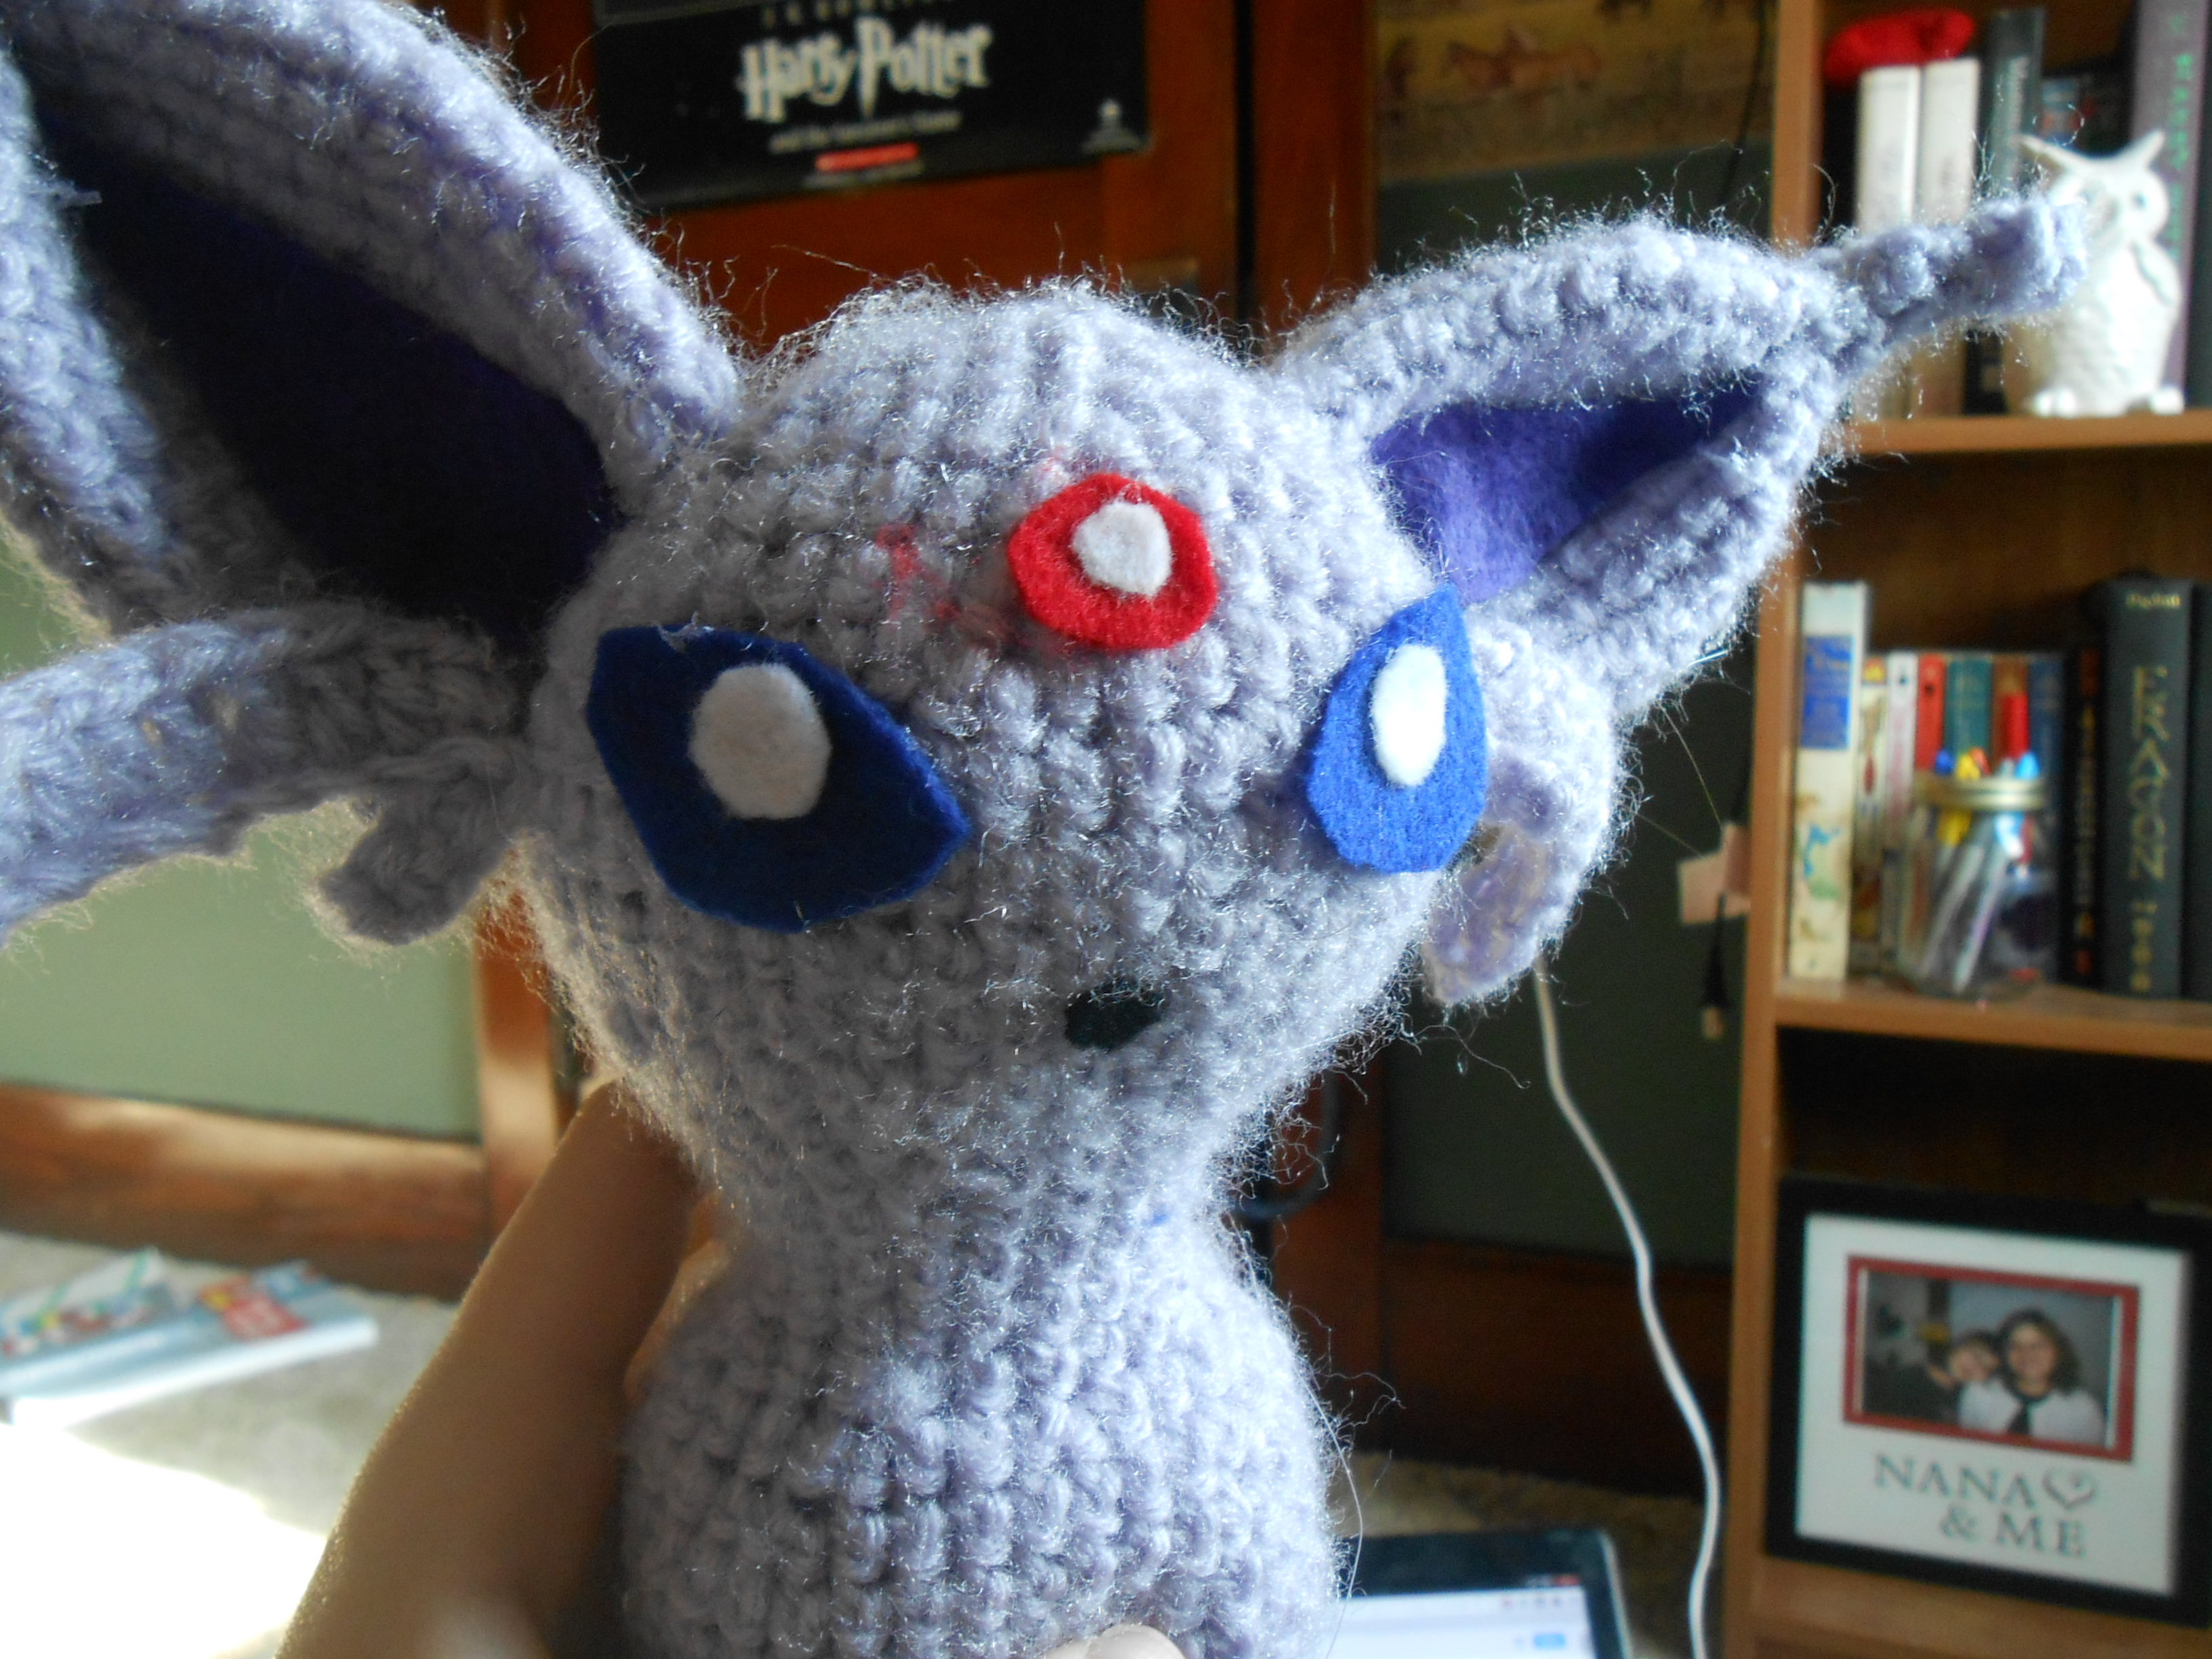
Take a piece of paper and cut it in a triangle, about the size of the ear. Press it inside of the ear. Pull it out and make any changes that are needed. Repeat until you are happy with how it nestles down into the ear. Use the paper to guide you in how to cut the purple felt. Remember you will need to insertions for the whiskers to nestle into.
Eyes:
I suggest that you draw several examples of eyes based off of the official Espeon and chose which one you like best. Cut two eyes out of the navy felt. Eyeball a small shine out of white felt.
Jewel:
Eyeball a red circle out of red felt. Cut a smaller circle out of white felt for the shine.
Mouth:
Cut the mouth out of black felt. You can make it circular like mine, the traditional triangle, or any other mouth like shape.
Hot glue the jewel and eye shines to there respective pieces, and glue all the pieces to the face as shown.
Creating TheTail


- Cut two lengths of wire, one 12 inches, and one 3 inches.
Main Tail Section:
In a mr sc 5
- round 1: inc 2 in every stitch around (10)
- round 2: sc in every stitch around. Take the longer piece of wire and thread through the inside of one stitch, fold it over once to secure it
- rounds 3-38: sc in every stitch around
- round 39: sc for 5 stitches
finish off and weave in the ends. Snip off any wire that protruds.
Secondary Tail Section:
In a mr, sc 5:
- round 1: inc 2 in every stitch around (10)
- round 2: sc in every stitch around. Take the shorter piece of wire and thread through the inside of one stitch, fold it over once to secure it
- round 3-12 rounds: sc in every stitch around.
- round 13: sc for 5 stitches
Finish off and weave in the ends. Snip off any wire that protrudes. Line the two segments up so they are even. Make sure the longer of the two ends will be on the bottom. Then secure the two pieces together, either with hot glue or stitches. Add support by sewing or gluing the middle stitch of the second row to the main piece. Sew or glue the base of the tail to the body, once again making sure the longer section is on the bottom. Support is also needed here. Sew or glue the tail and the body together until you reach the middle of the shoulders. It is much easier, I think, to use hot glue on this part.
Creating the Legs


Front Legs:
In a mr, sc 6
- round 1: *sc in 1 stitch, inc in 1 stitch* repeat from * to * around (9)
- rounds 2+3: sc in ever stitch
- row 4: sc in 6 stitches, chain one, and turn (6)
- rows 5-13: sc in every stitch, chain one, turn
Finish off and weave in ends. Make two front legs. You may want to put a small amount of stuffing inside of the foot. Secure them to the front of the body with hot gluing them or sewing them on.
Right Back Leg:
In a mr, sc 9
- rounds 1-4: sc in every stitch around
- row 5: sc for 4 stitches, chain and turn:
- row 6: sc for 2 stitches, inc for 2 stitches, chain 1 and turn (6)
- row 7: inc for 2 stitches, sc for 4 stitches, chain 1 and turn (8)
- row 8: sc for 6 stitches, inc for 2 stitches, chain 1 and turn (10)
- row 9: sc in every stitch, chain 1 and turn
- row 10: sc for 6 stitches, dec twice, chain 1 and turn (8)
- row 11: dec twic, sc for 4 stitches
- row 12: dec, sc in 1 stitch, dec, sc in 1 stitch.
Finish off and weave in ends. You may want to put a small amount of stuffing inside of the foot. Either sew or hot glue leg to the right side of the body.
Left Back Leg:
- rounds 1-3: sc in every stitch around
- round 4: sc in every stitch around, chain 1 and turn
- row 5: sc for 4 stitches, chain and turn:
- row 6: sc for 2 stitches, inc for 2 stitches, chain 1 and turn (6)
- row 7: inc for 2 stitches, sc for 4 stitches, chain 1 and turn (8)
- row 8: sc for 6 stitches, inc for 2 stitches, chain 1 and turn (10)
- row 9: sc in every stitch, chain 1 and turn
- row 10: sc for 6 stitches, dec twice, chain 1 and turn (8)
- row 11: dec twic, sc for 4 stitches
- row 12: dec, sc in 1 stitch, dec, sc in 1 stitch.
Finish off and weave in ends. You may want to put a small amount of stuffing inside of the foot. Either sew or hot glue leg to left side of the body.
(sorry for not having very many photos here, I got caught up in the project)