Cricut Joy Greeting Card for Non-Crafters
by lotofthingtodo723 in Circuits > Electronics
922 Views, 5 Favorites, 0 Comments
Cricut Joy Greeting Card for Non-Crafters
I created this project for my technical and professional writing course :)
Supplies
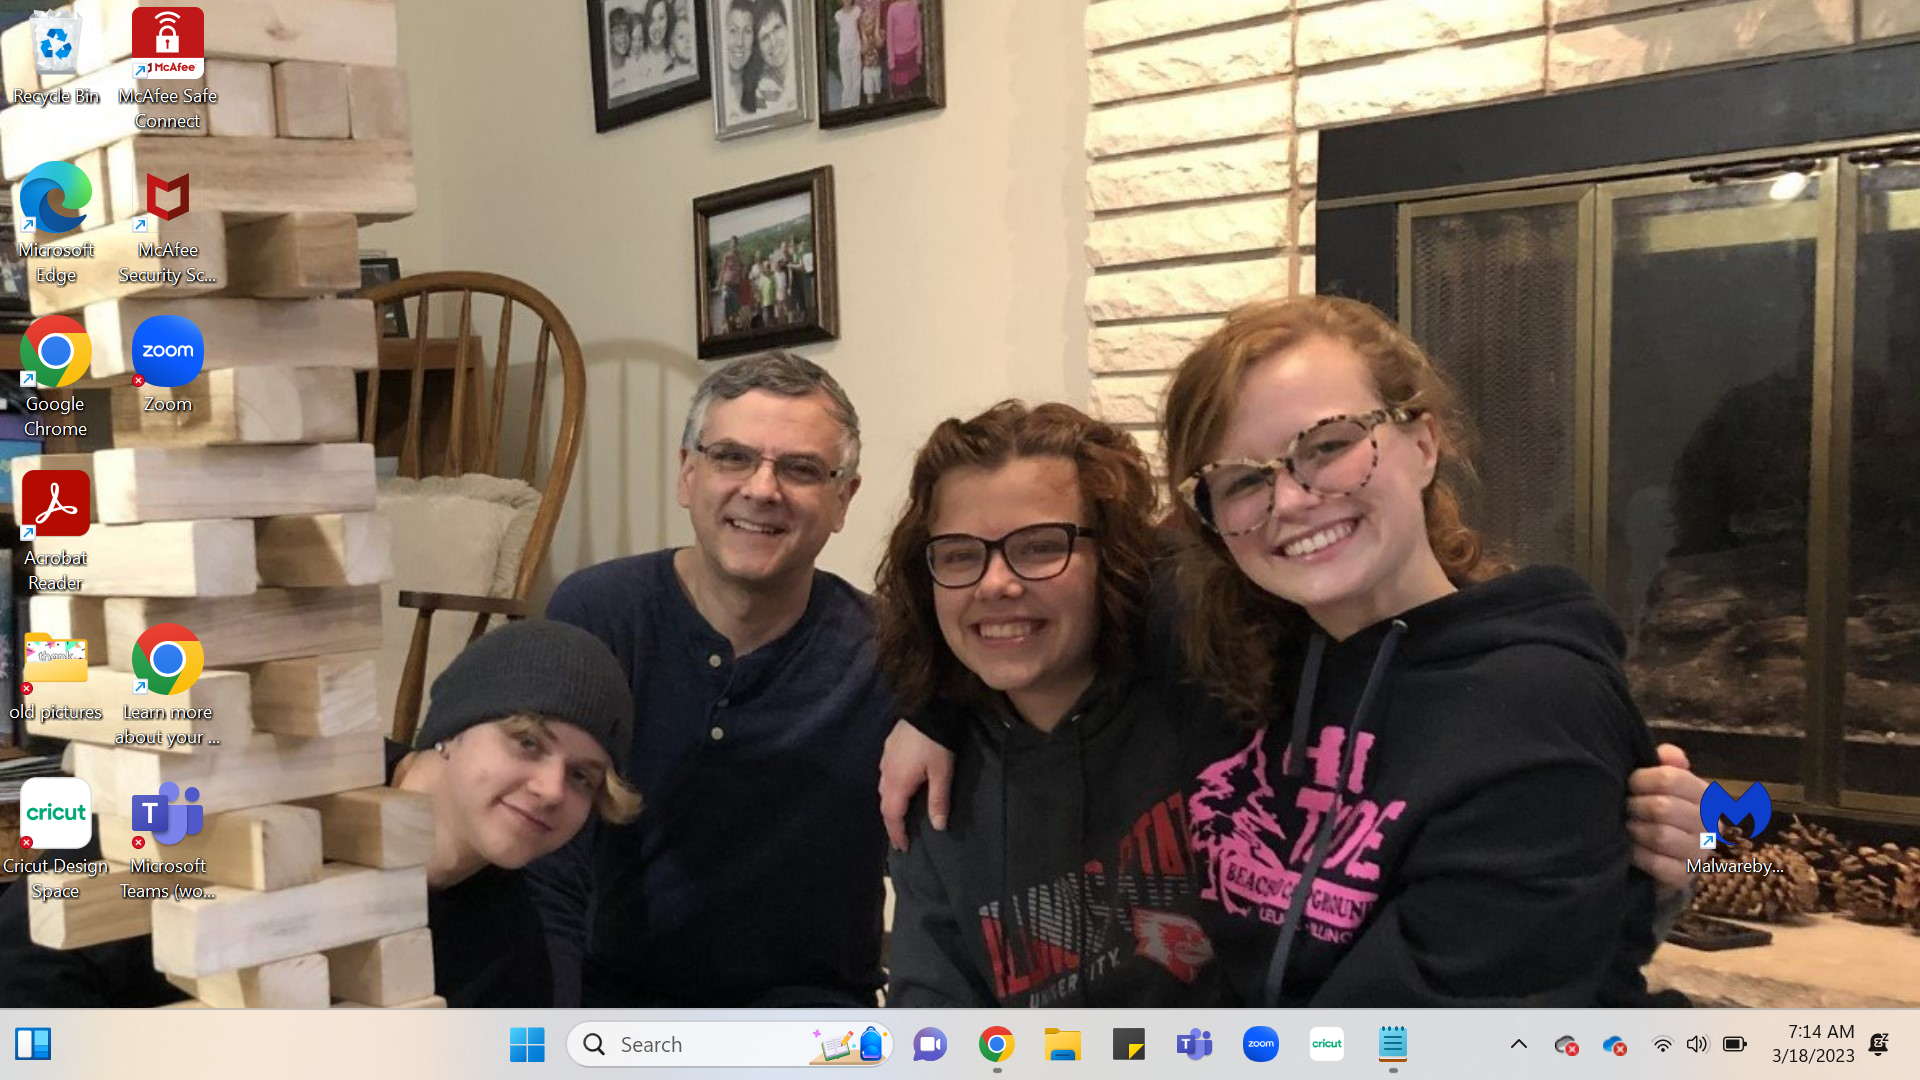
Locate the Cricut Design Space App
.png)
For my ENG 249 colleagues it is located on the taskbar on Tori’s computer!
Note: It is a white box with green letters spelling "cricut"
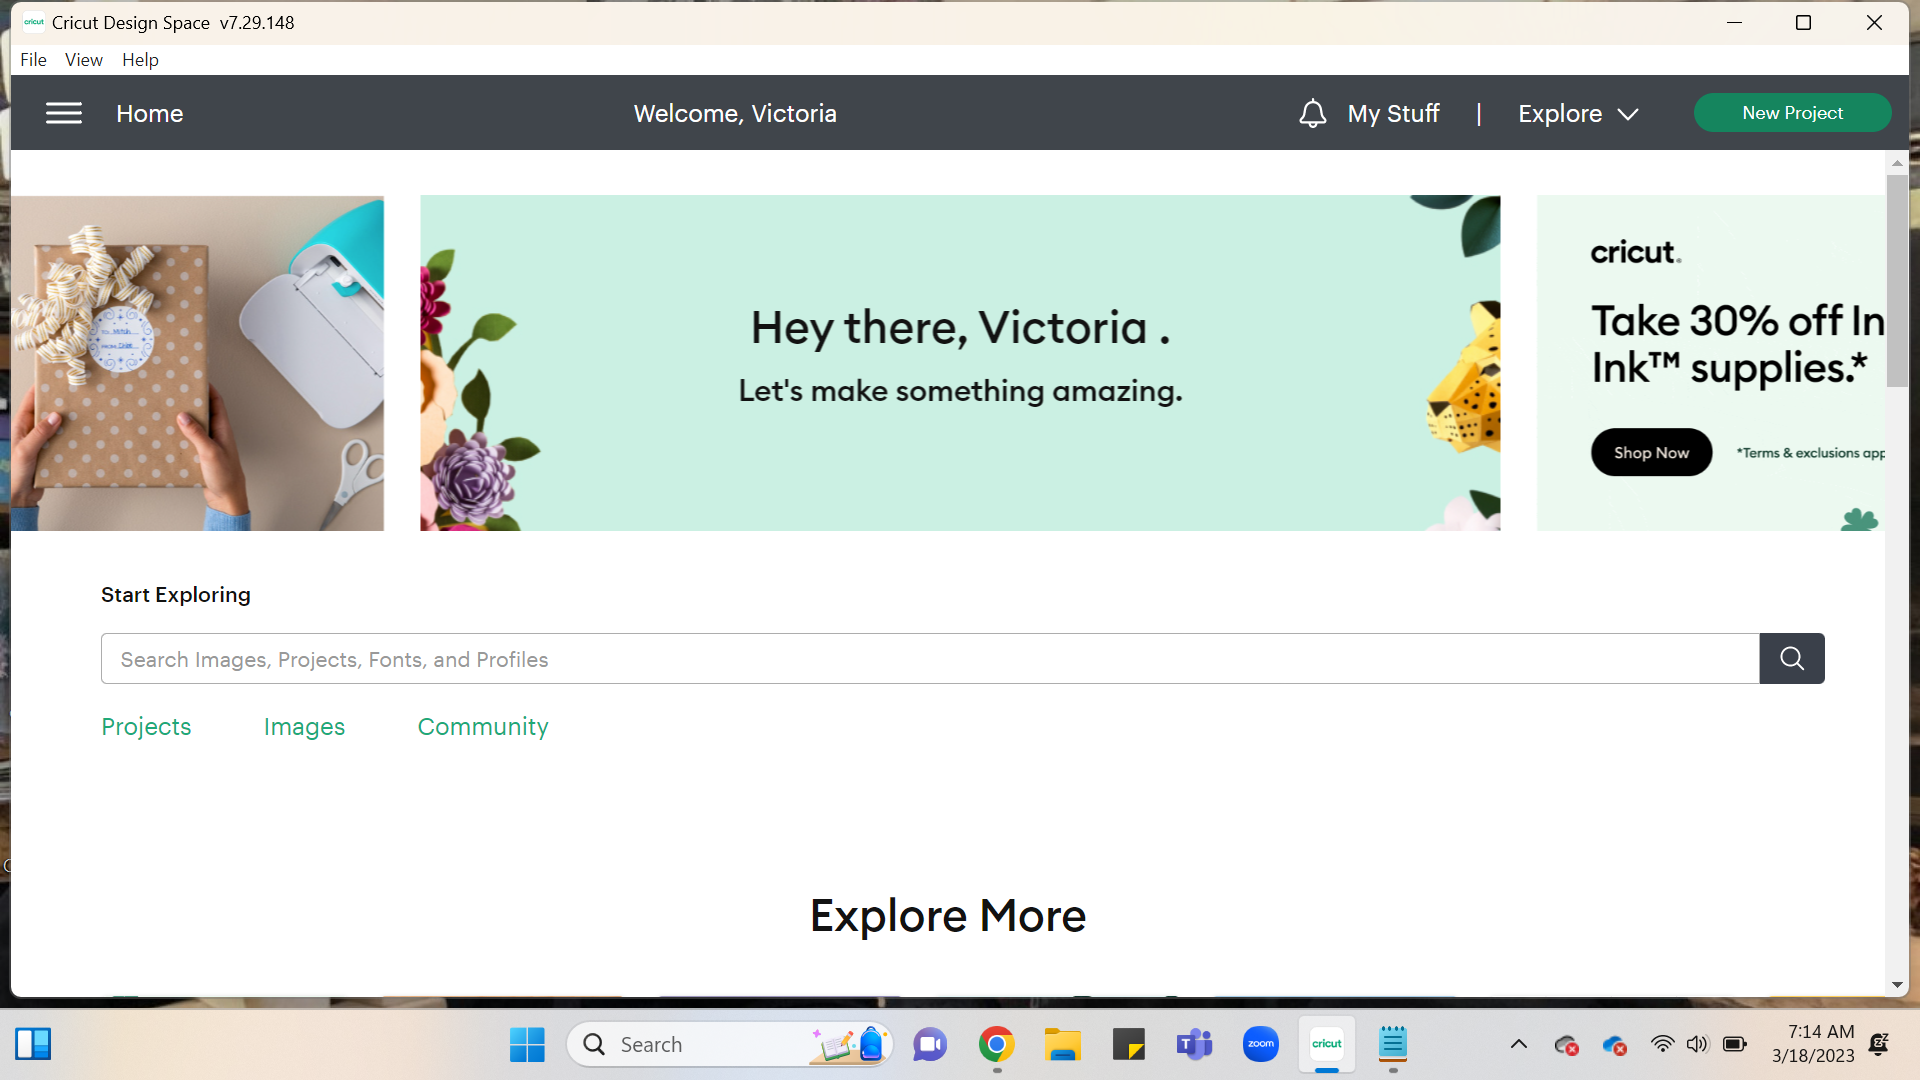
Find the “my Stuff” Tab on the Top and Open
.png)
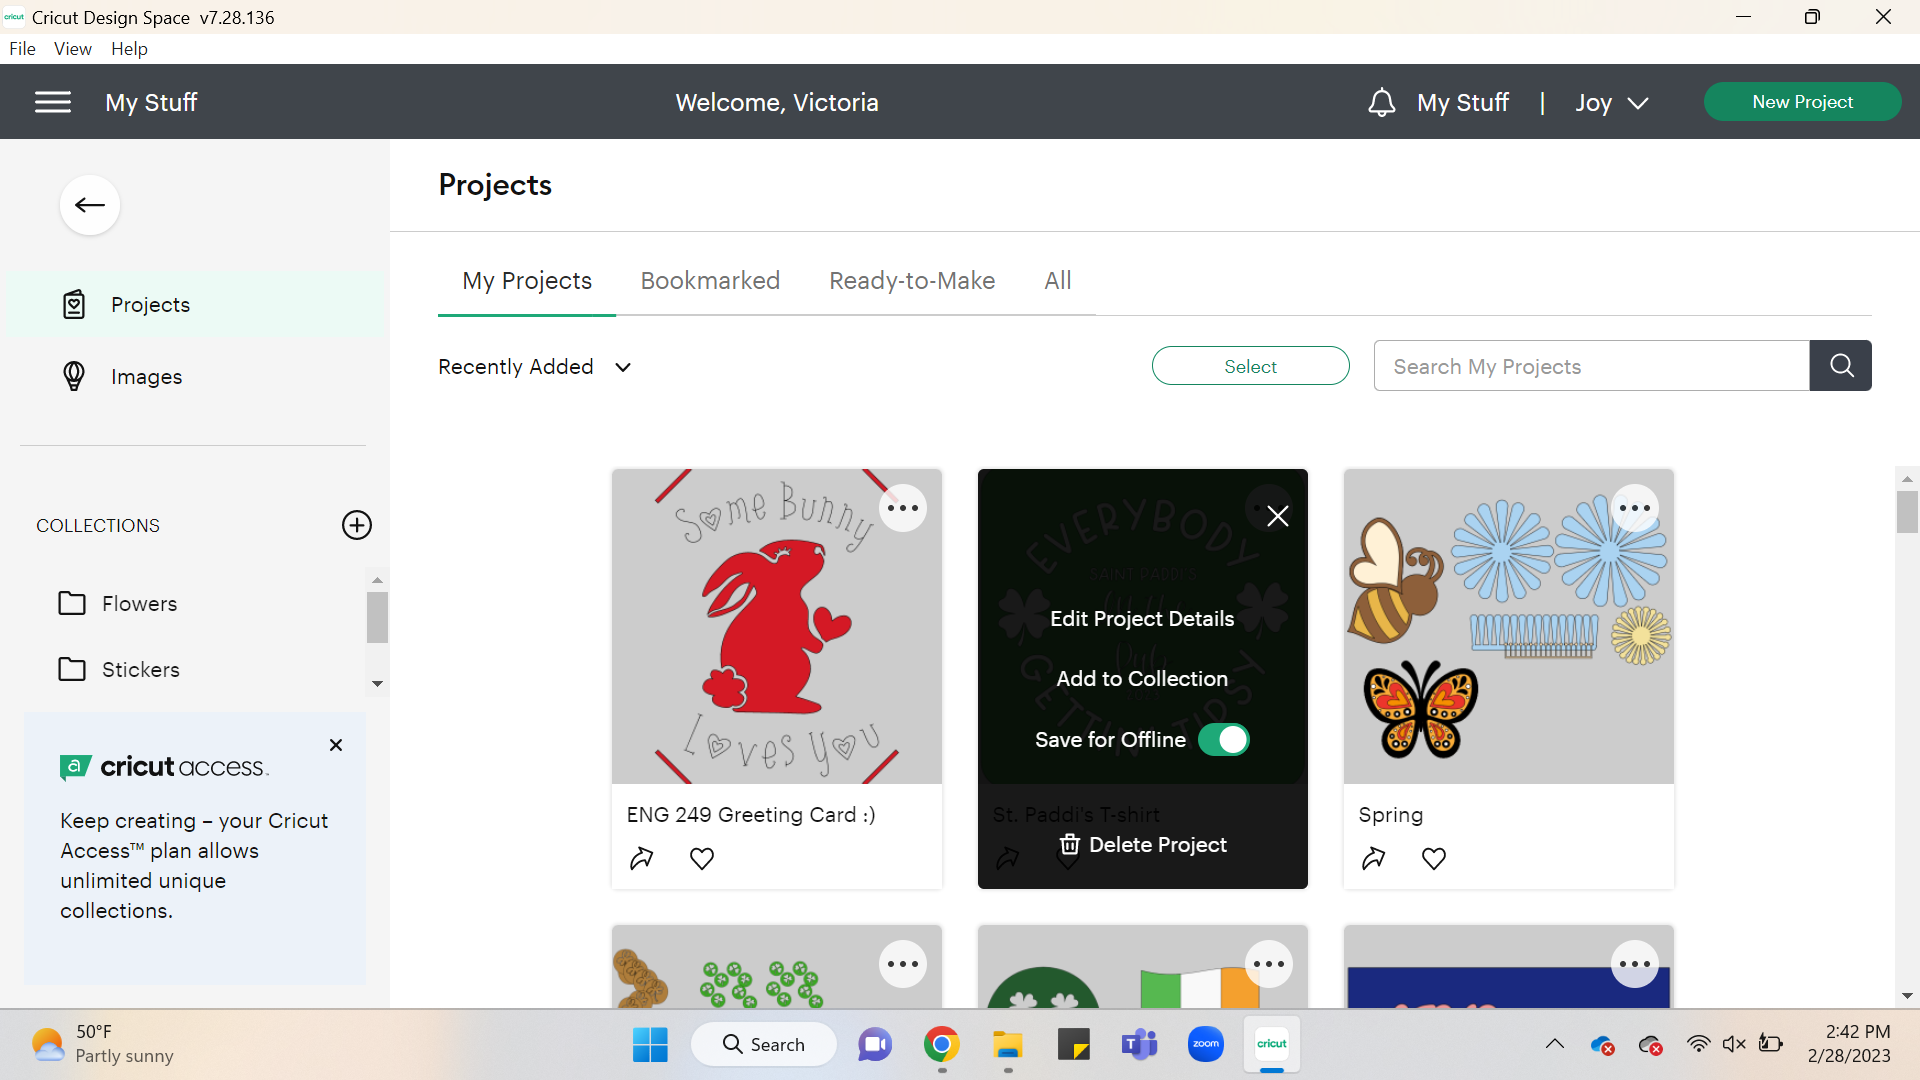
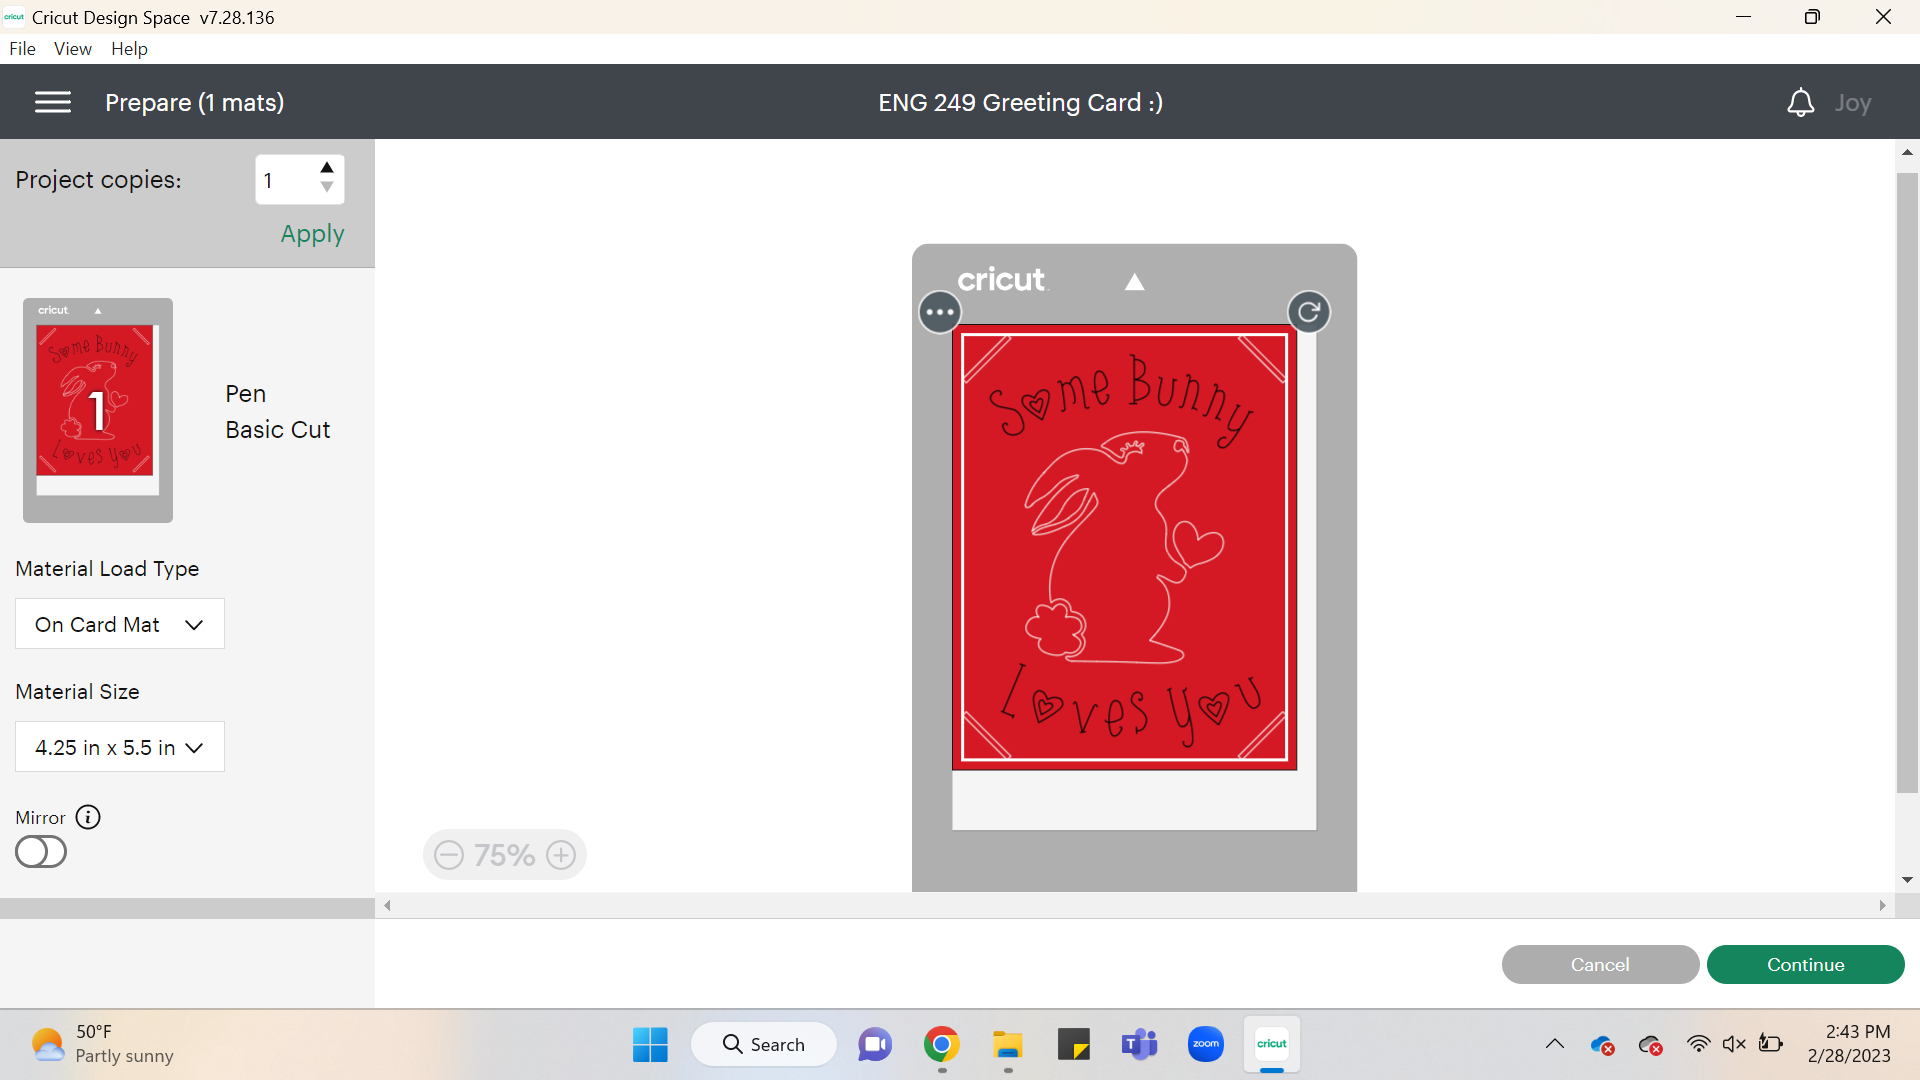
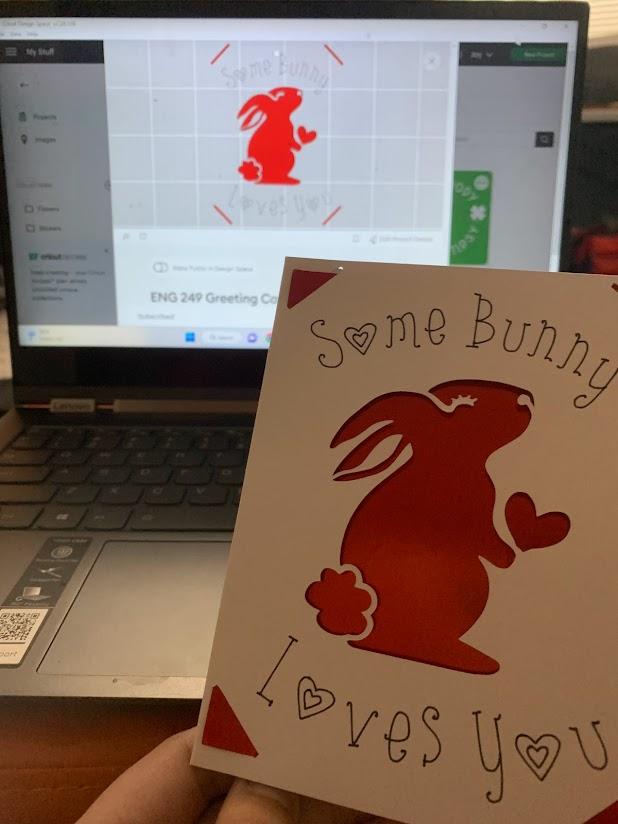
Select the “ENG 249 Greeting Card :)” Project - the Project Is Ready to Go!
.png)
Note: On the top make sure next that you see “Joy” next to the make it button, if not click the down arrow and select “Joy”
Click the Green “Make It” Button
.png)
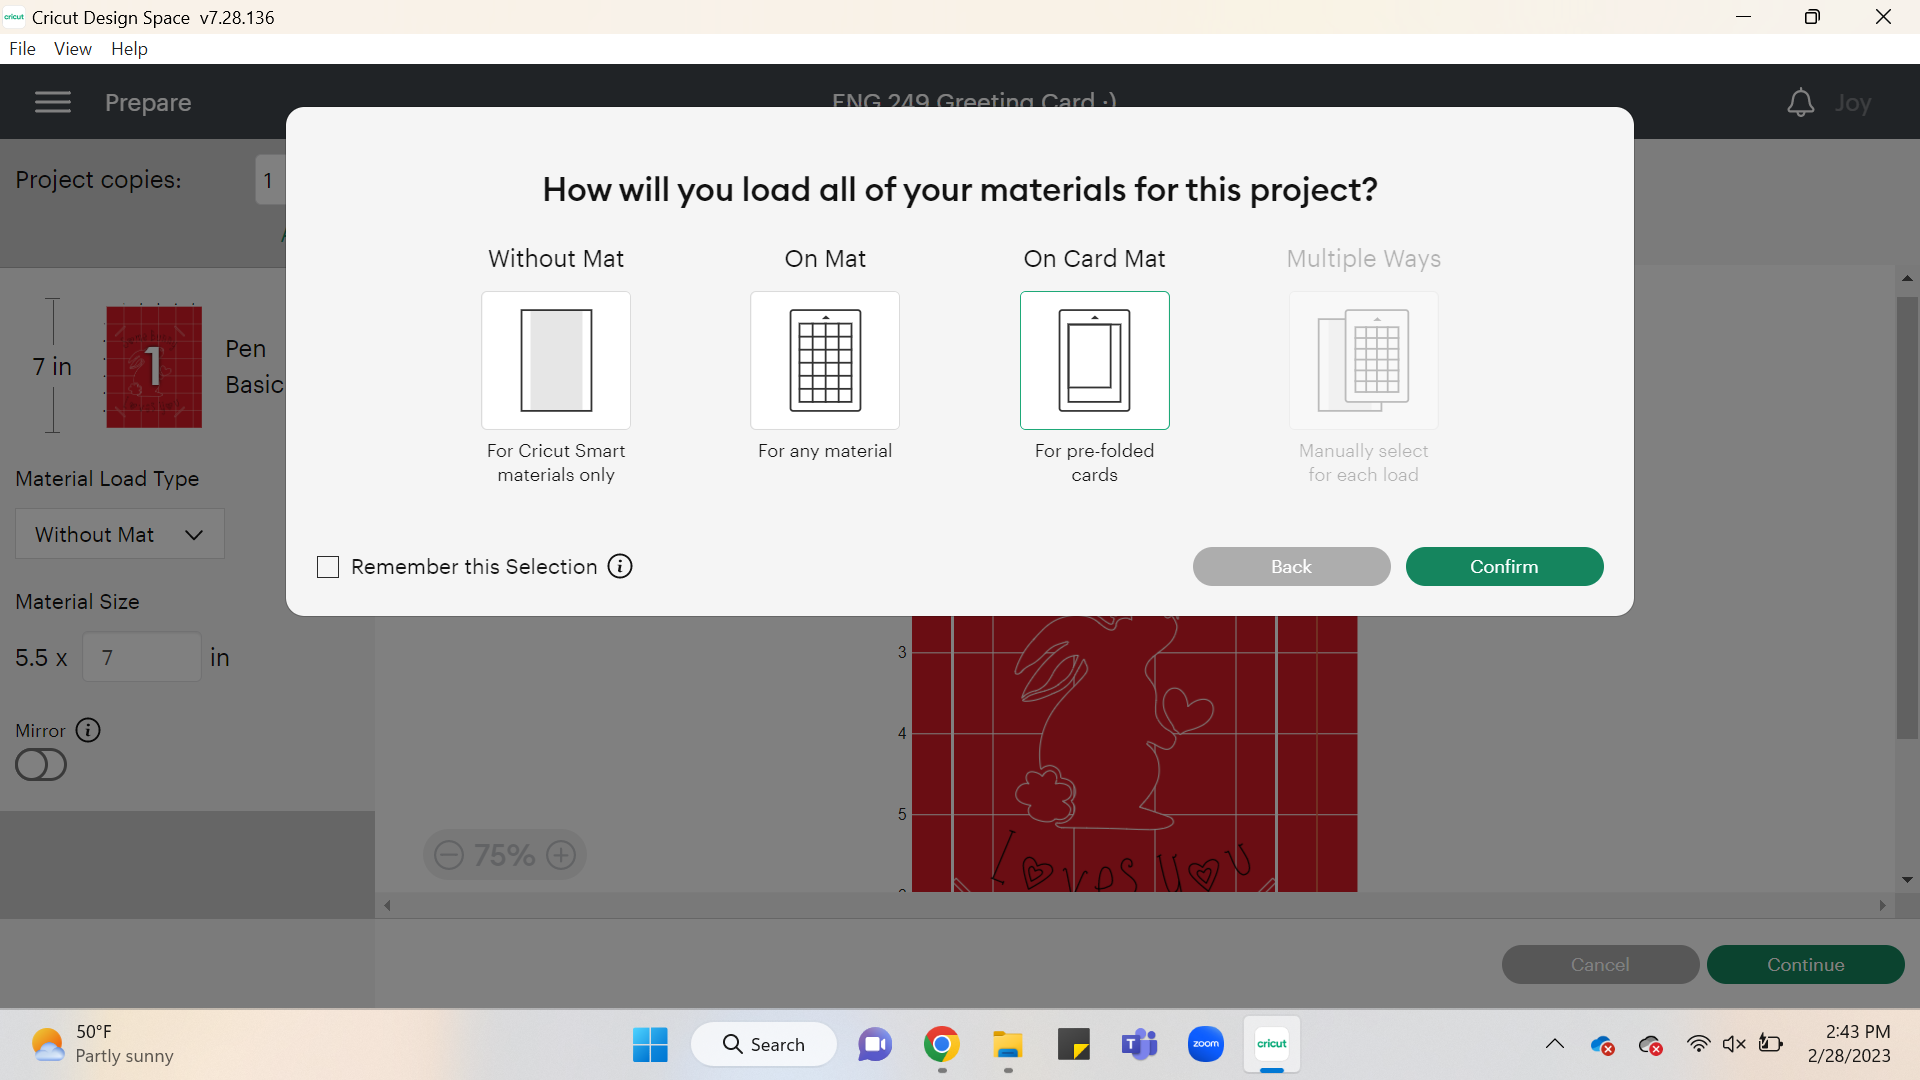
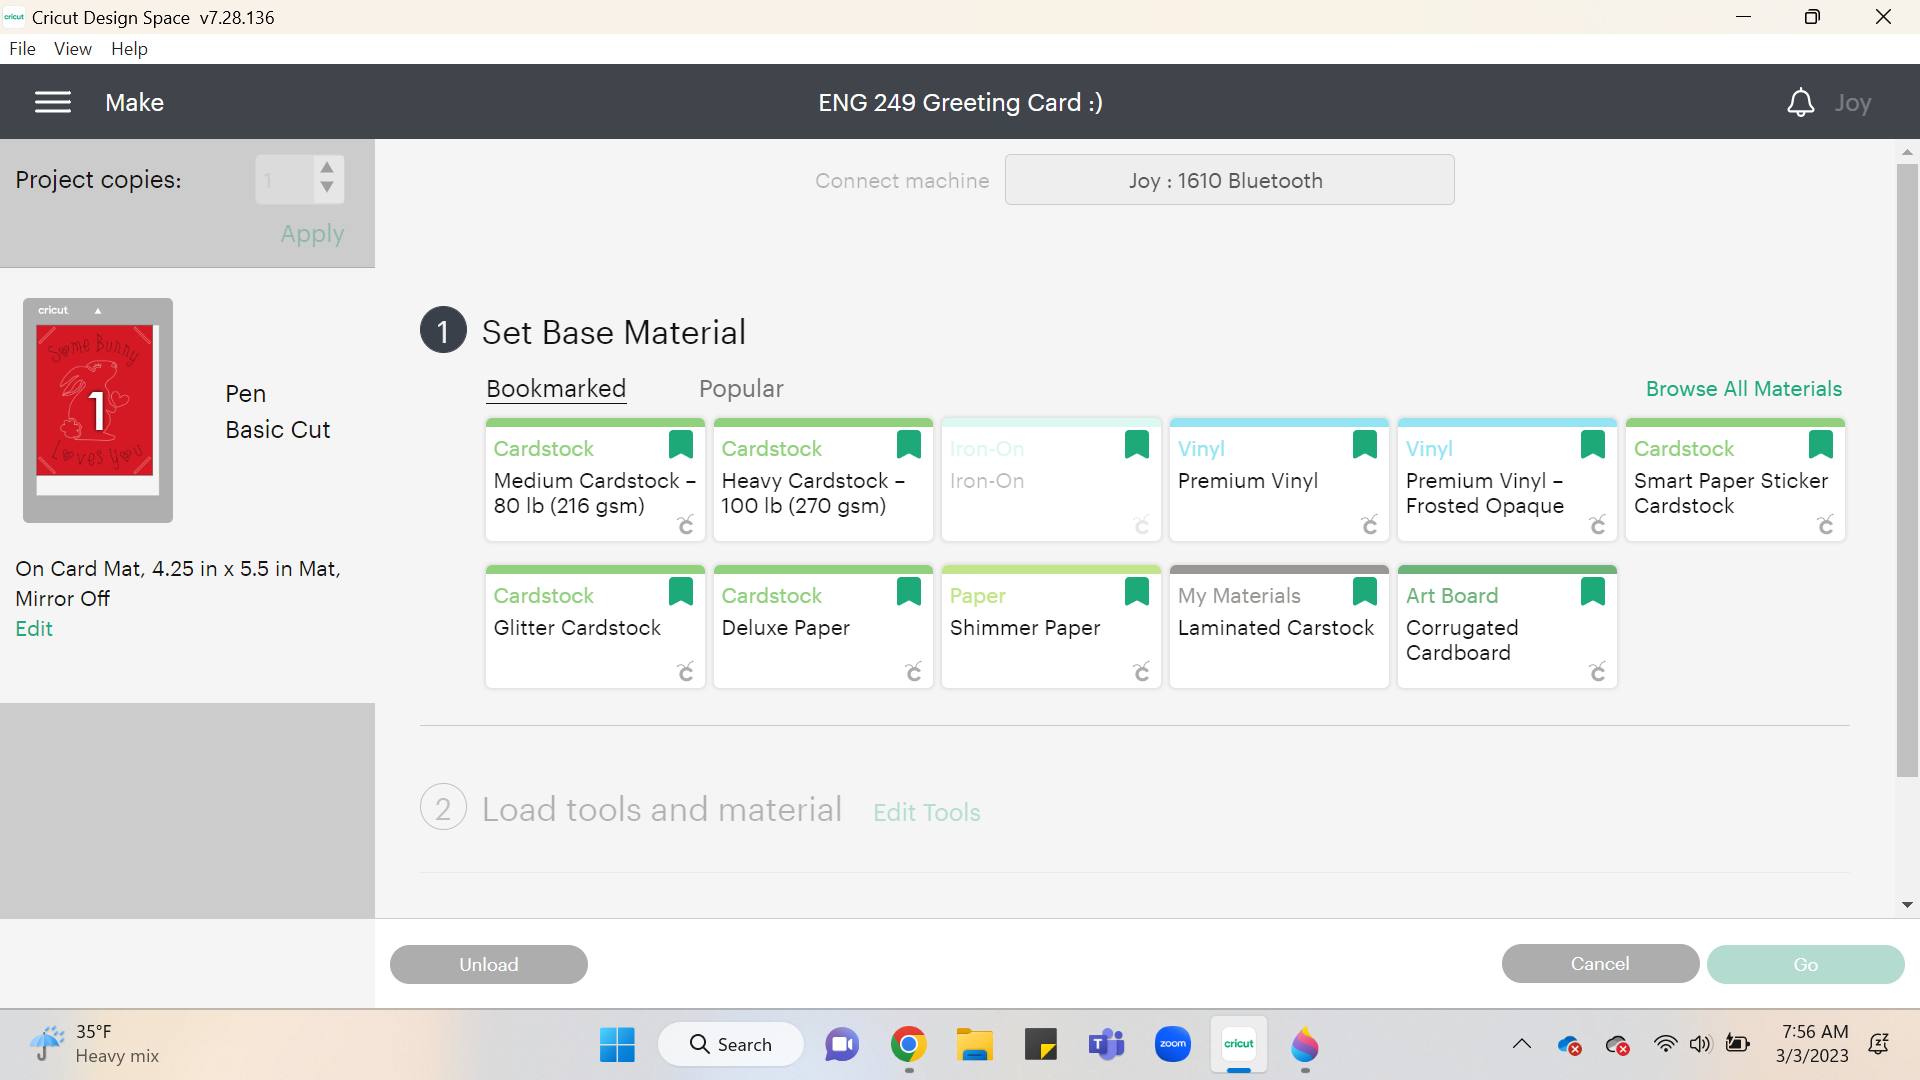
Select “On Card Mat” Then Click Green Confirm Button.
.png)
When asked “How will you load all of your materials for this project?” Select “On Card Mat” then click the green confirm button.
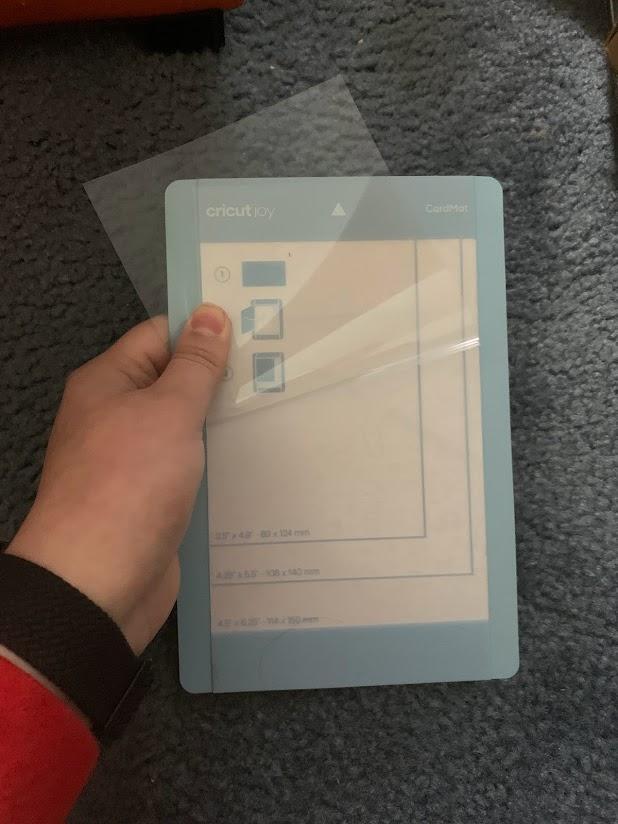
Prepare Your Mat

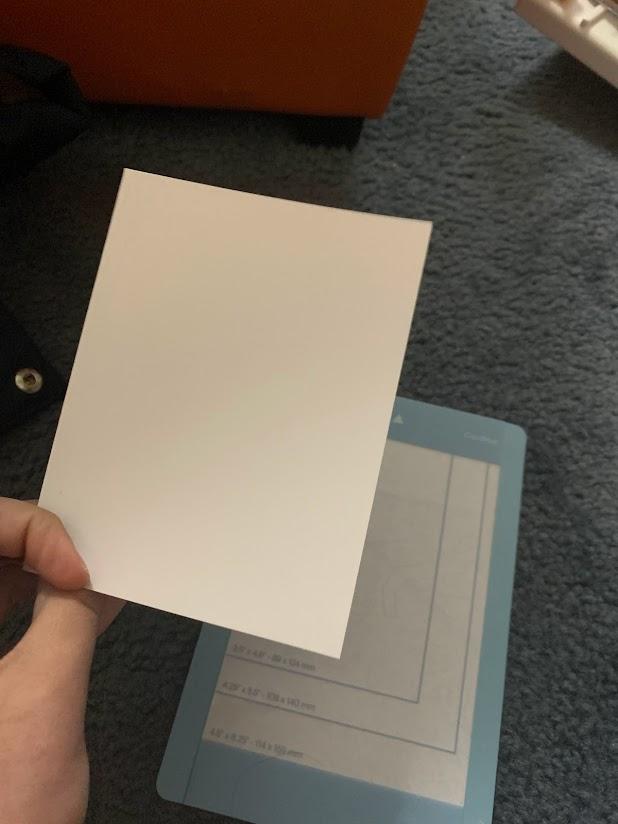
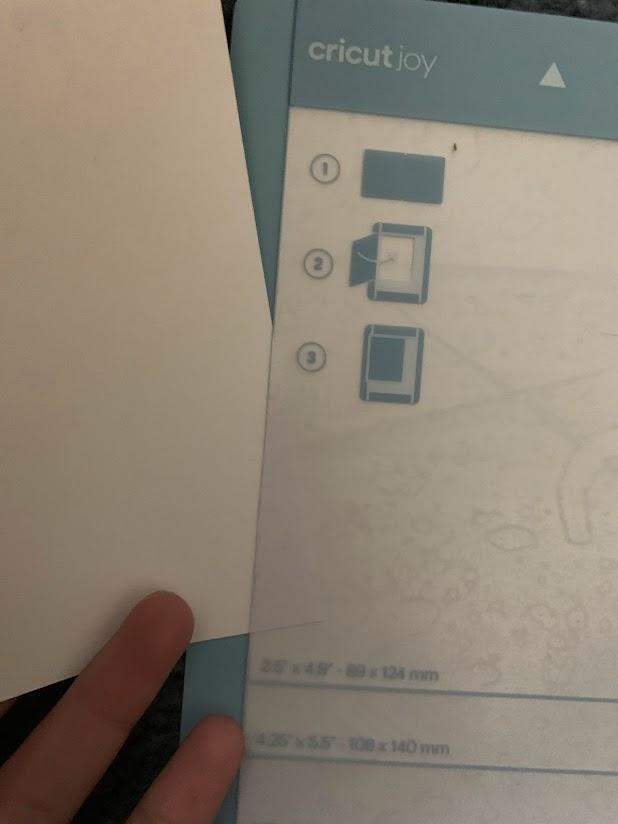
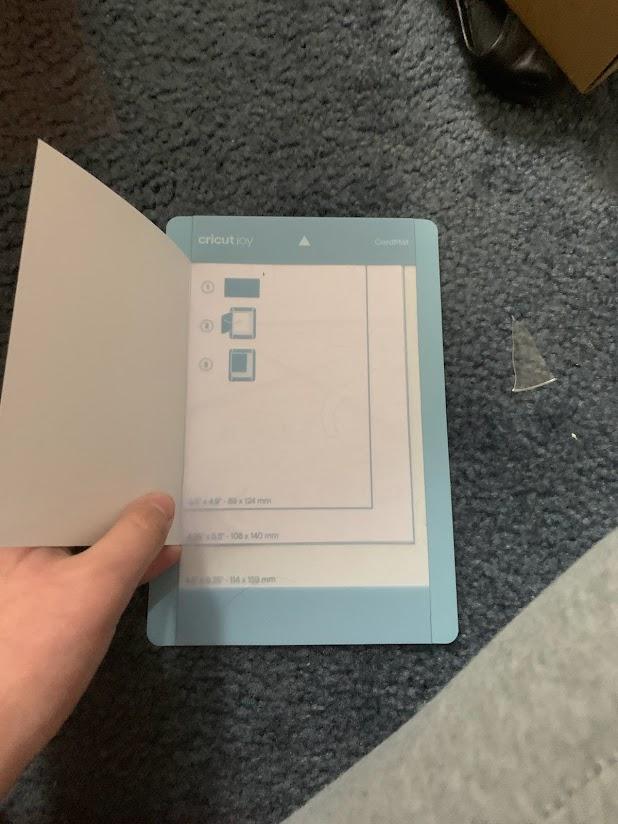
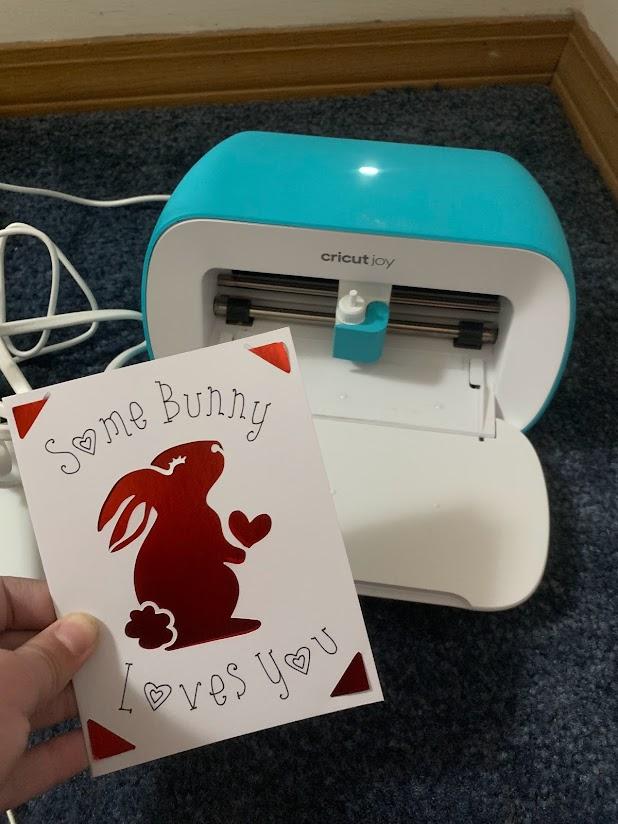
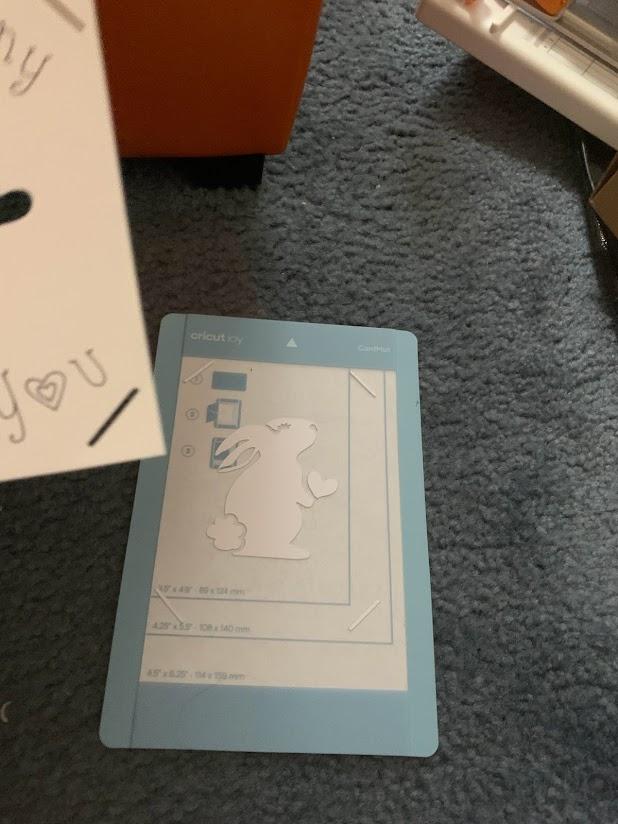
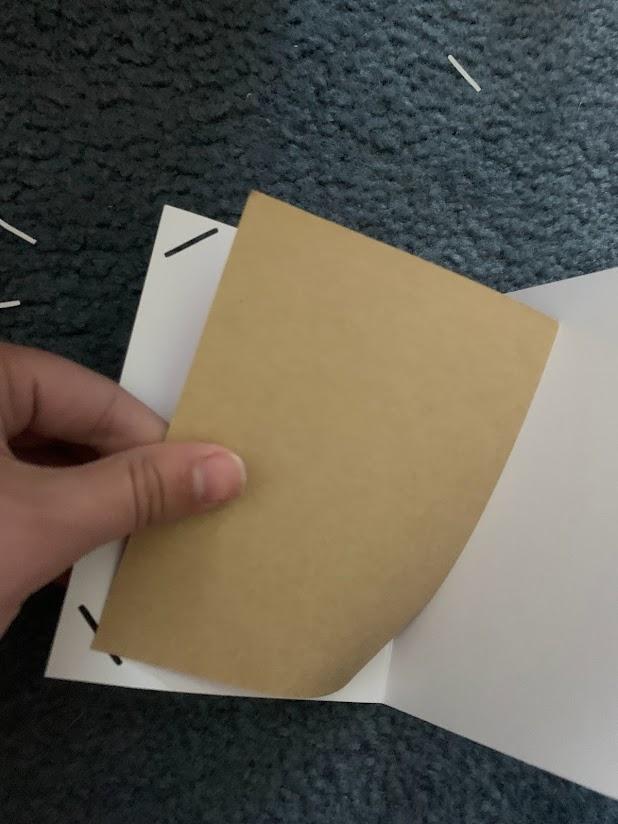
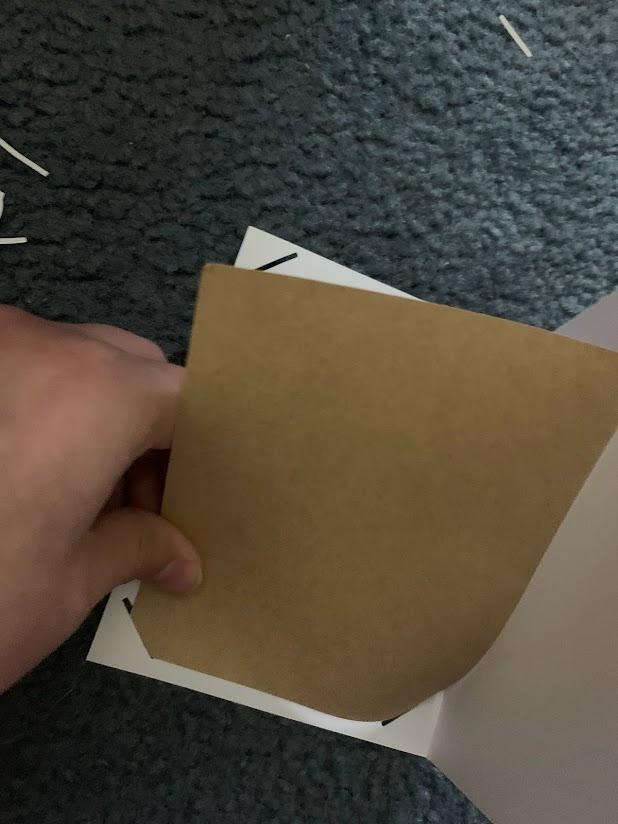
Take the insert card out of the package, for this project I’ve used 4.25x5.5 inch cards. Take out the folded card. Take off the protective film. Then Lift the bottom of the sticky top and insert the card into the slot, line up with the top and 4.25 by 5.5 box
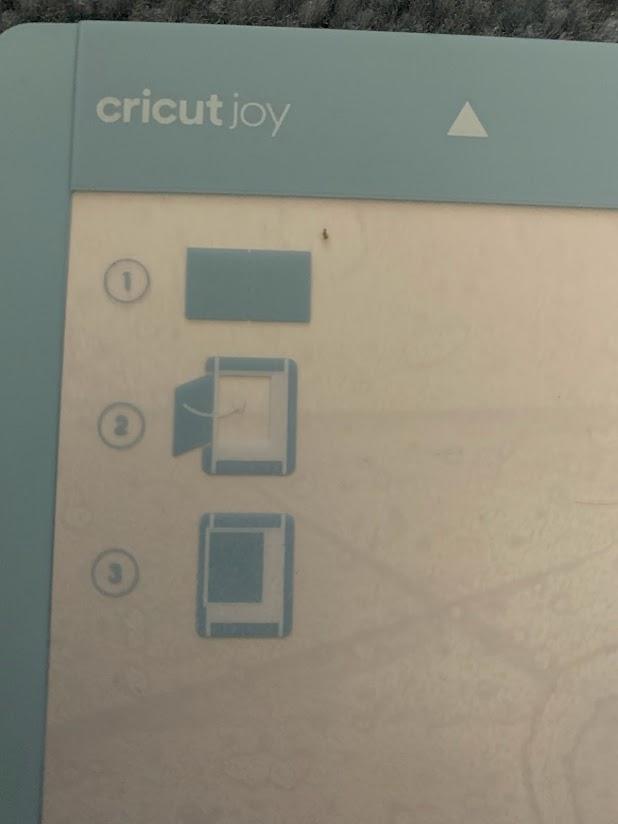
- Note the mat is made up of a sticky top and flap to insert the card into
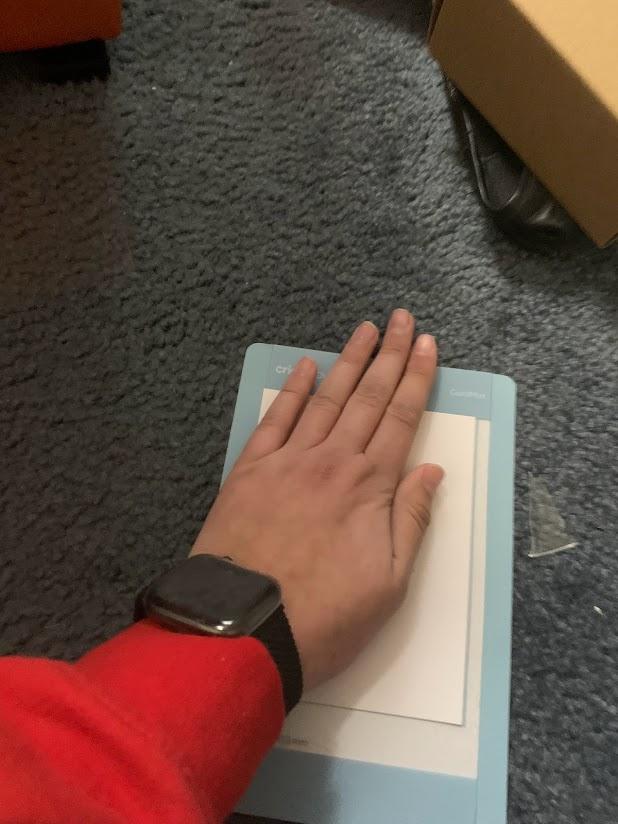
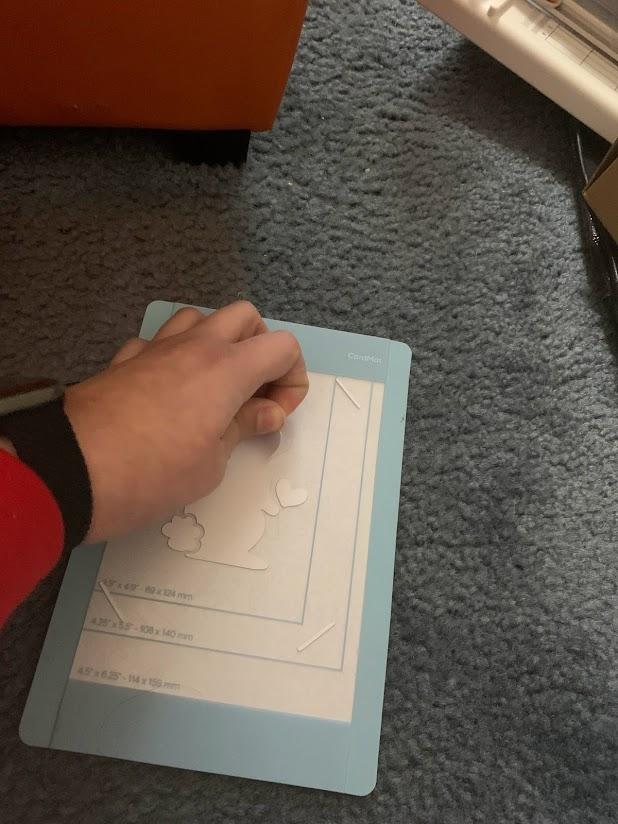
Stick the Card Onto the Mat

Click “Continue” in the Design Space
.png)
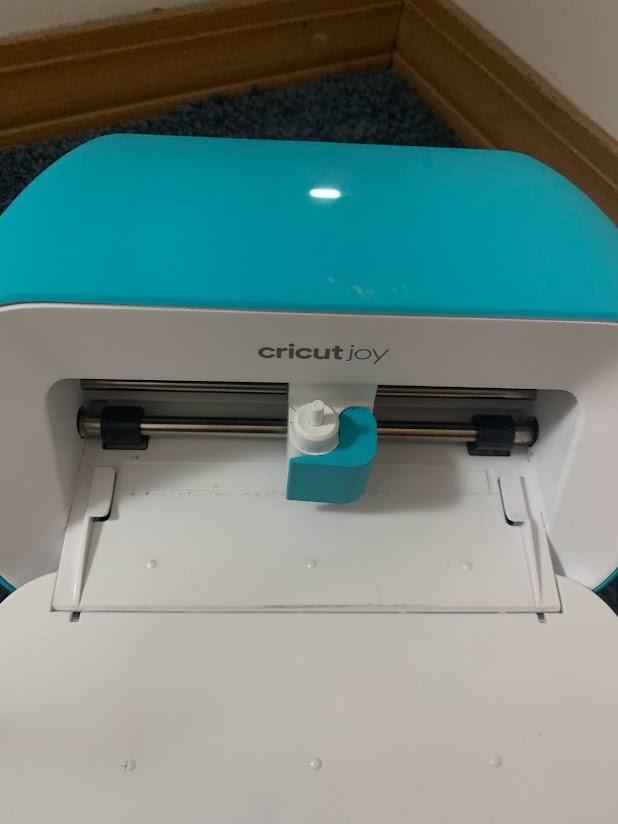
Plug Into Your Cricut Joy and Open Flap Via Top Indent
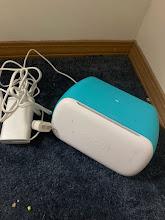
Note: The Cricut will connect via Bluetooth to your computer
Select “Medium Cardstock” for the Materials
.png)
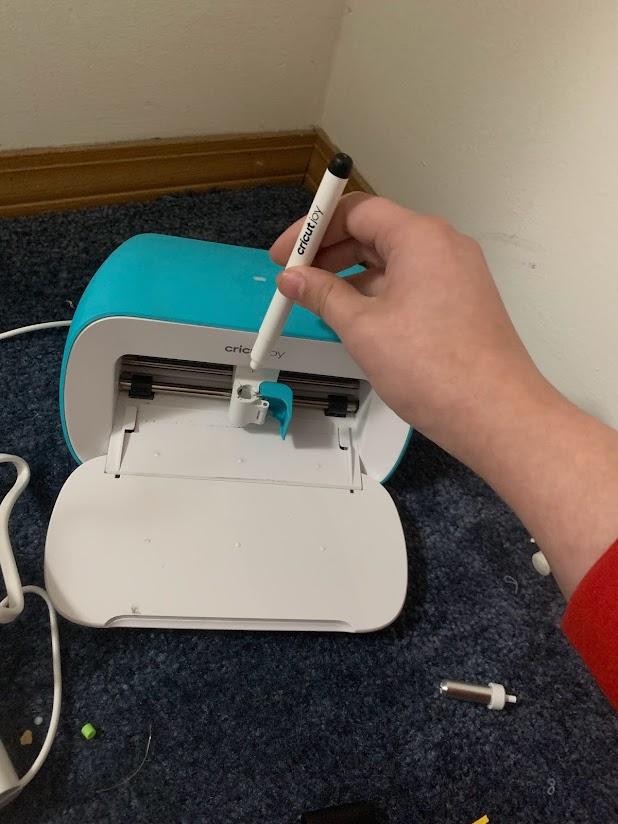
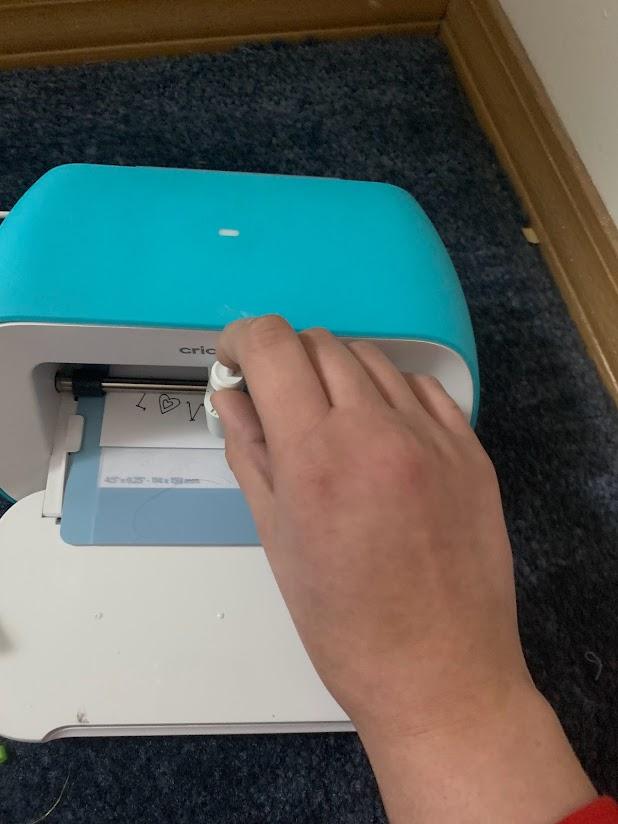
Take Out the Fine Point Blade by Opening the Blue Clamp
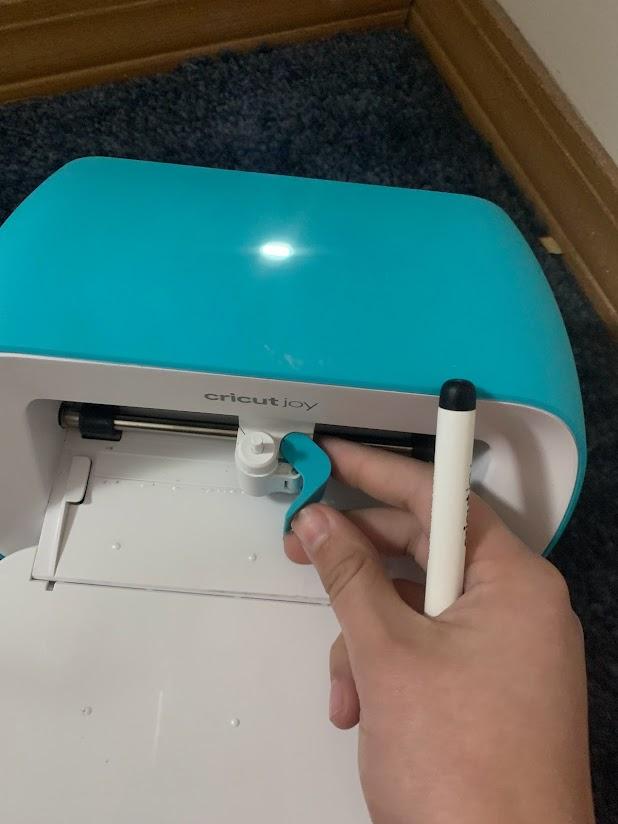

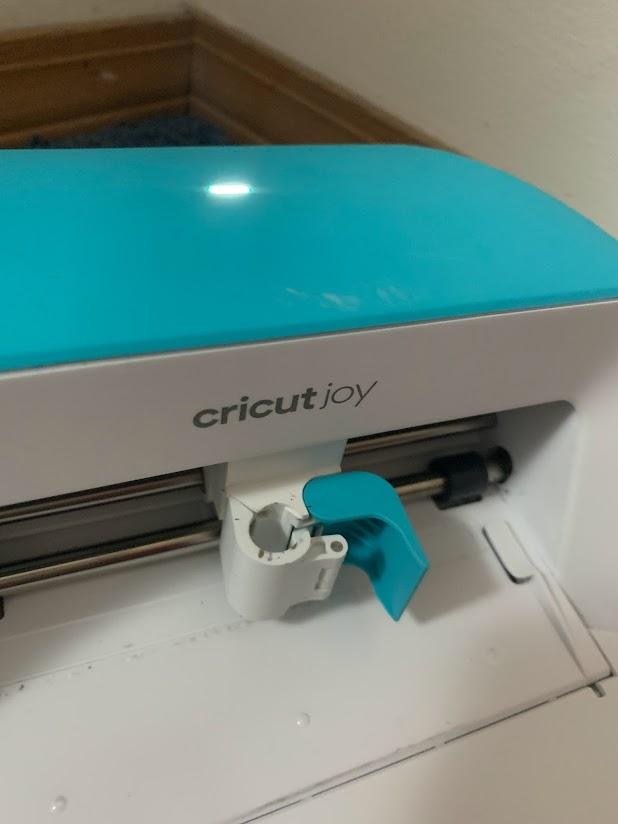
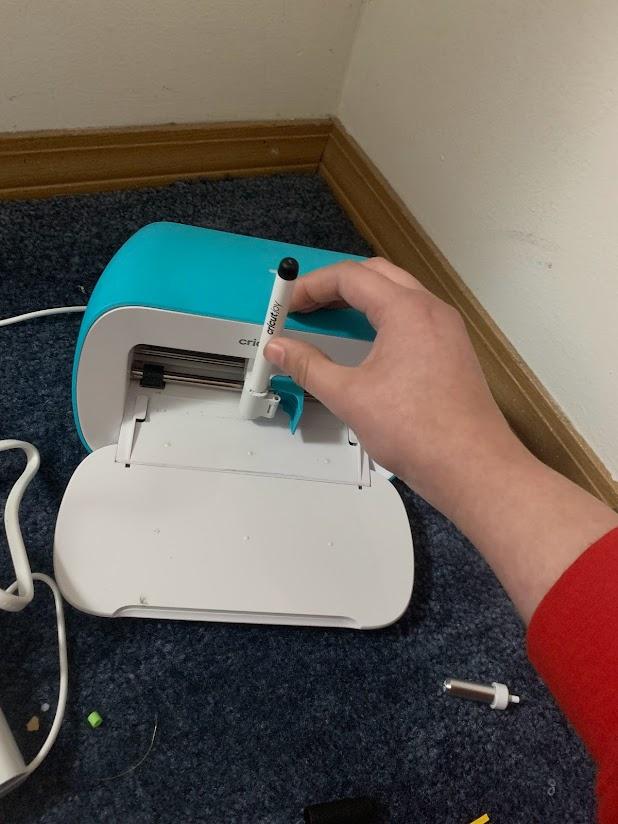
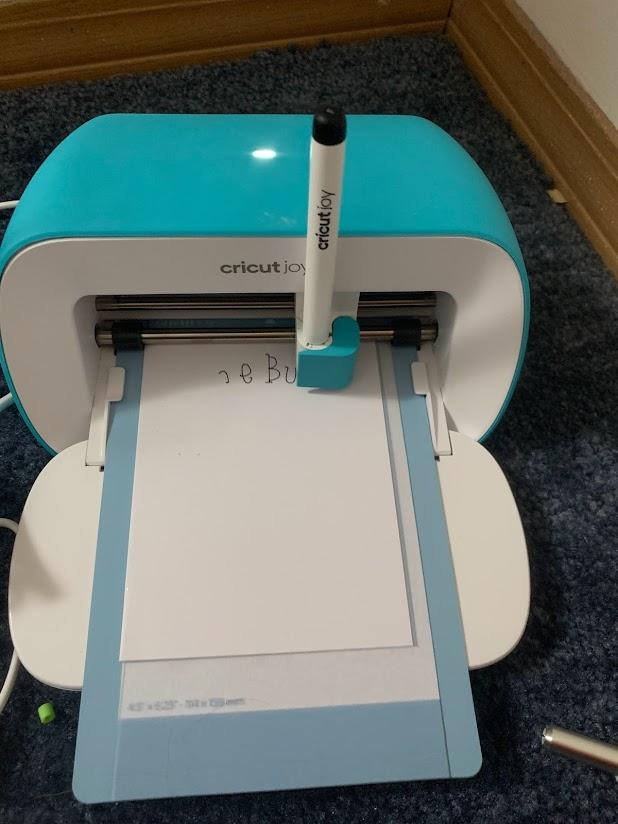
Insert Pen Until You Can No Longer and Close Clamp
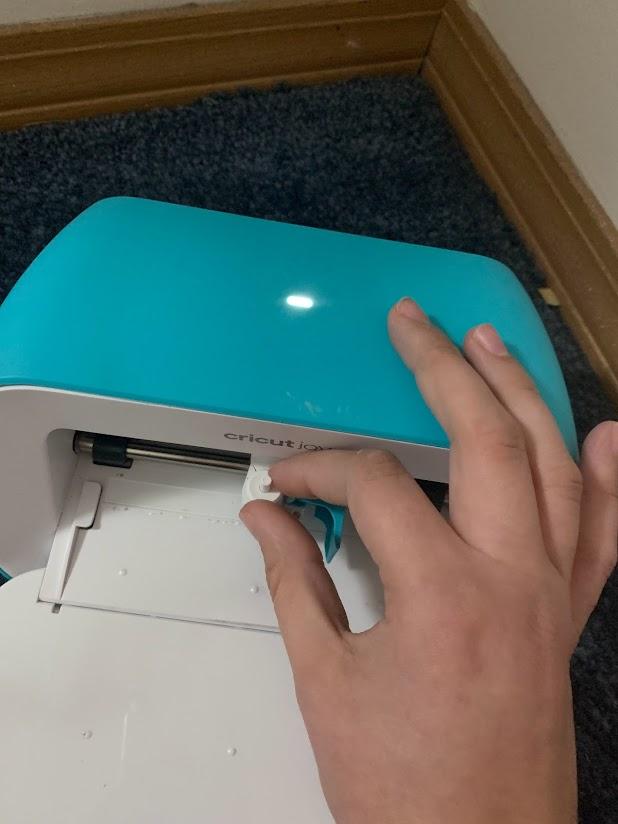
Quickly Push the Card Mat With the Arrow Facing Up Under White Guides Against Grey Rubber Feet
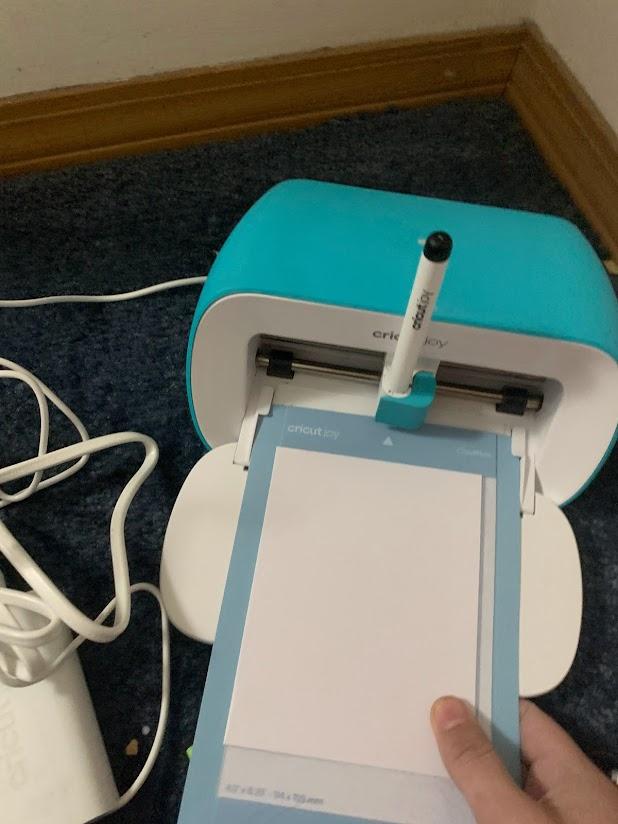
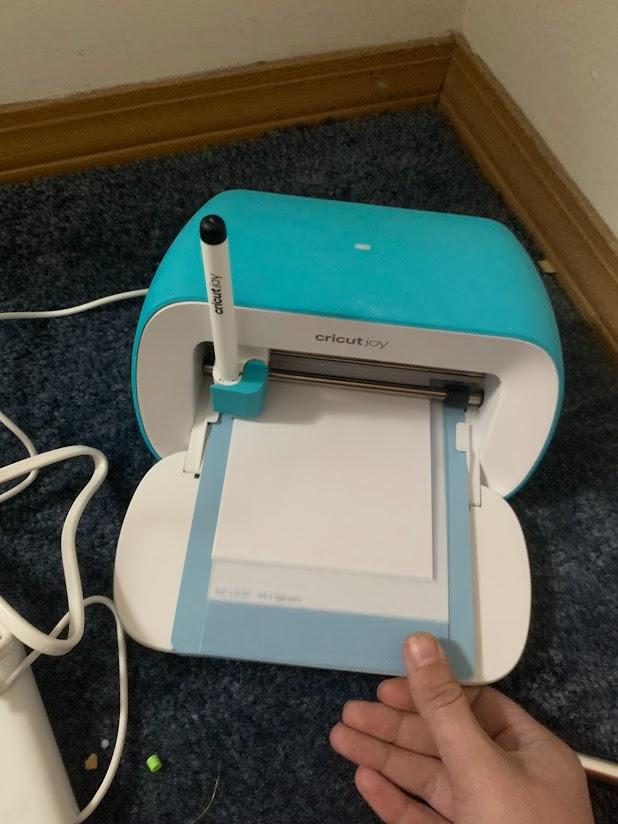
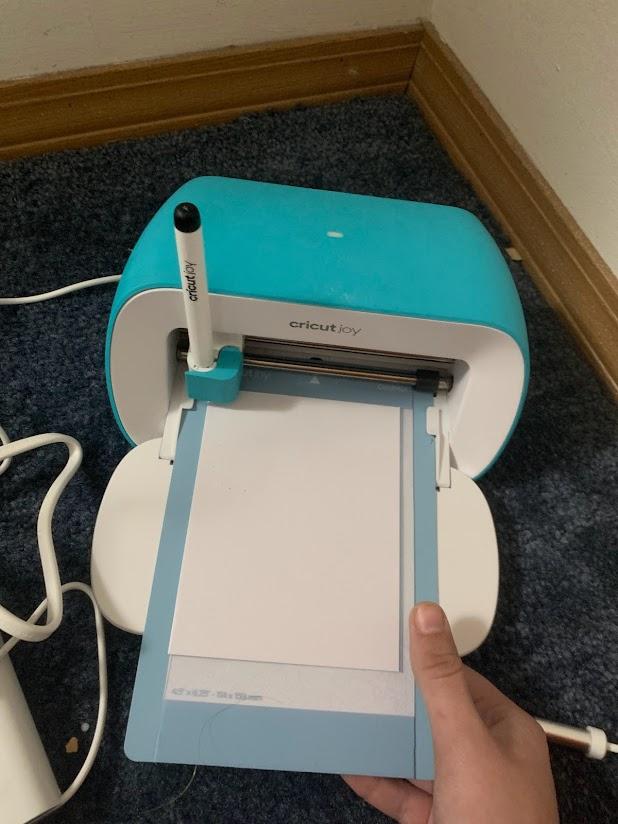
Note mat will load back and forth to make sure it is aligned
IF grey wheels do not grab the card mat unplug Cricut and start over at step 2
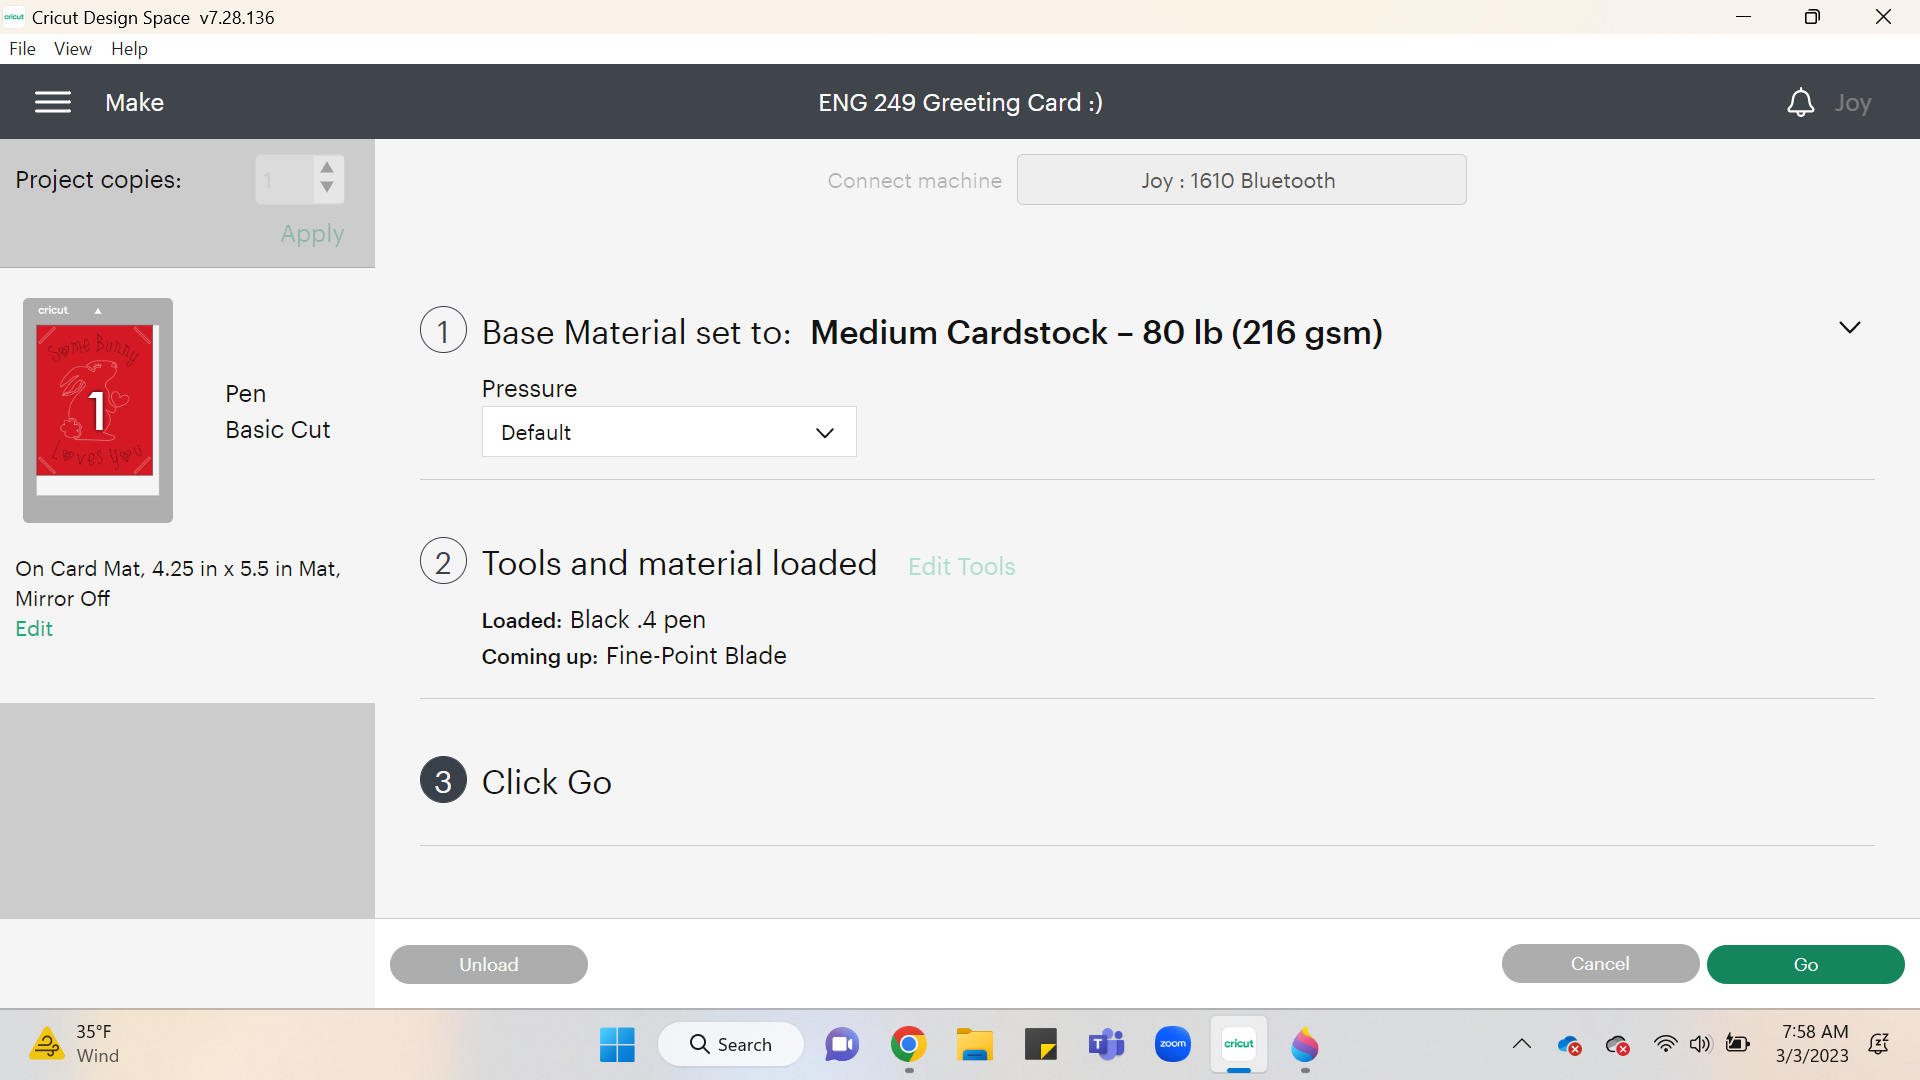
Click “Go”
.png)
Note design space will prompt you to change from the pen to the fine-point blade
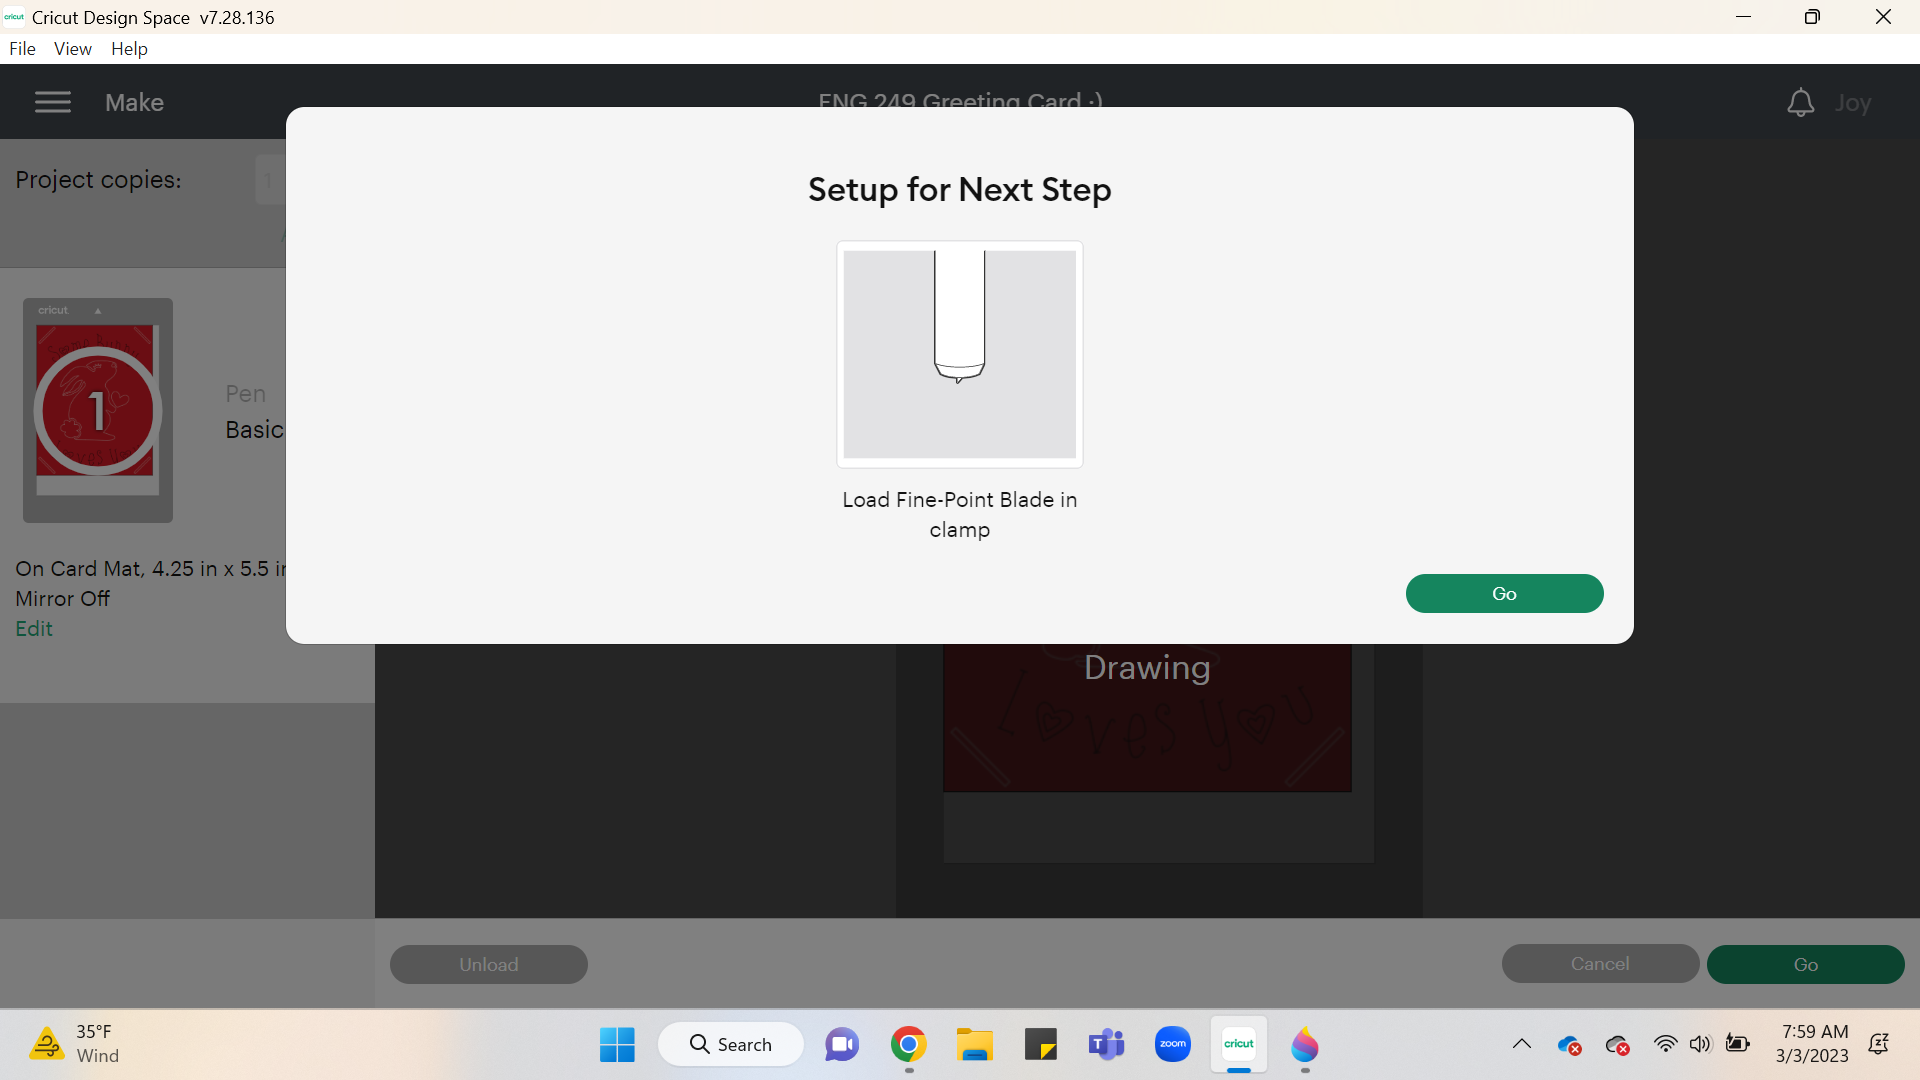
When Prompted Open the Clamp and Switch Pen for Fine Point Blade.
.png)
Click “Go”
.png)
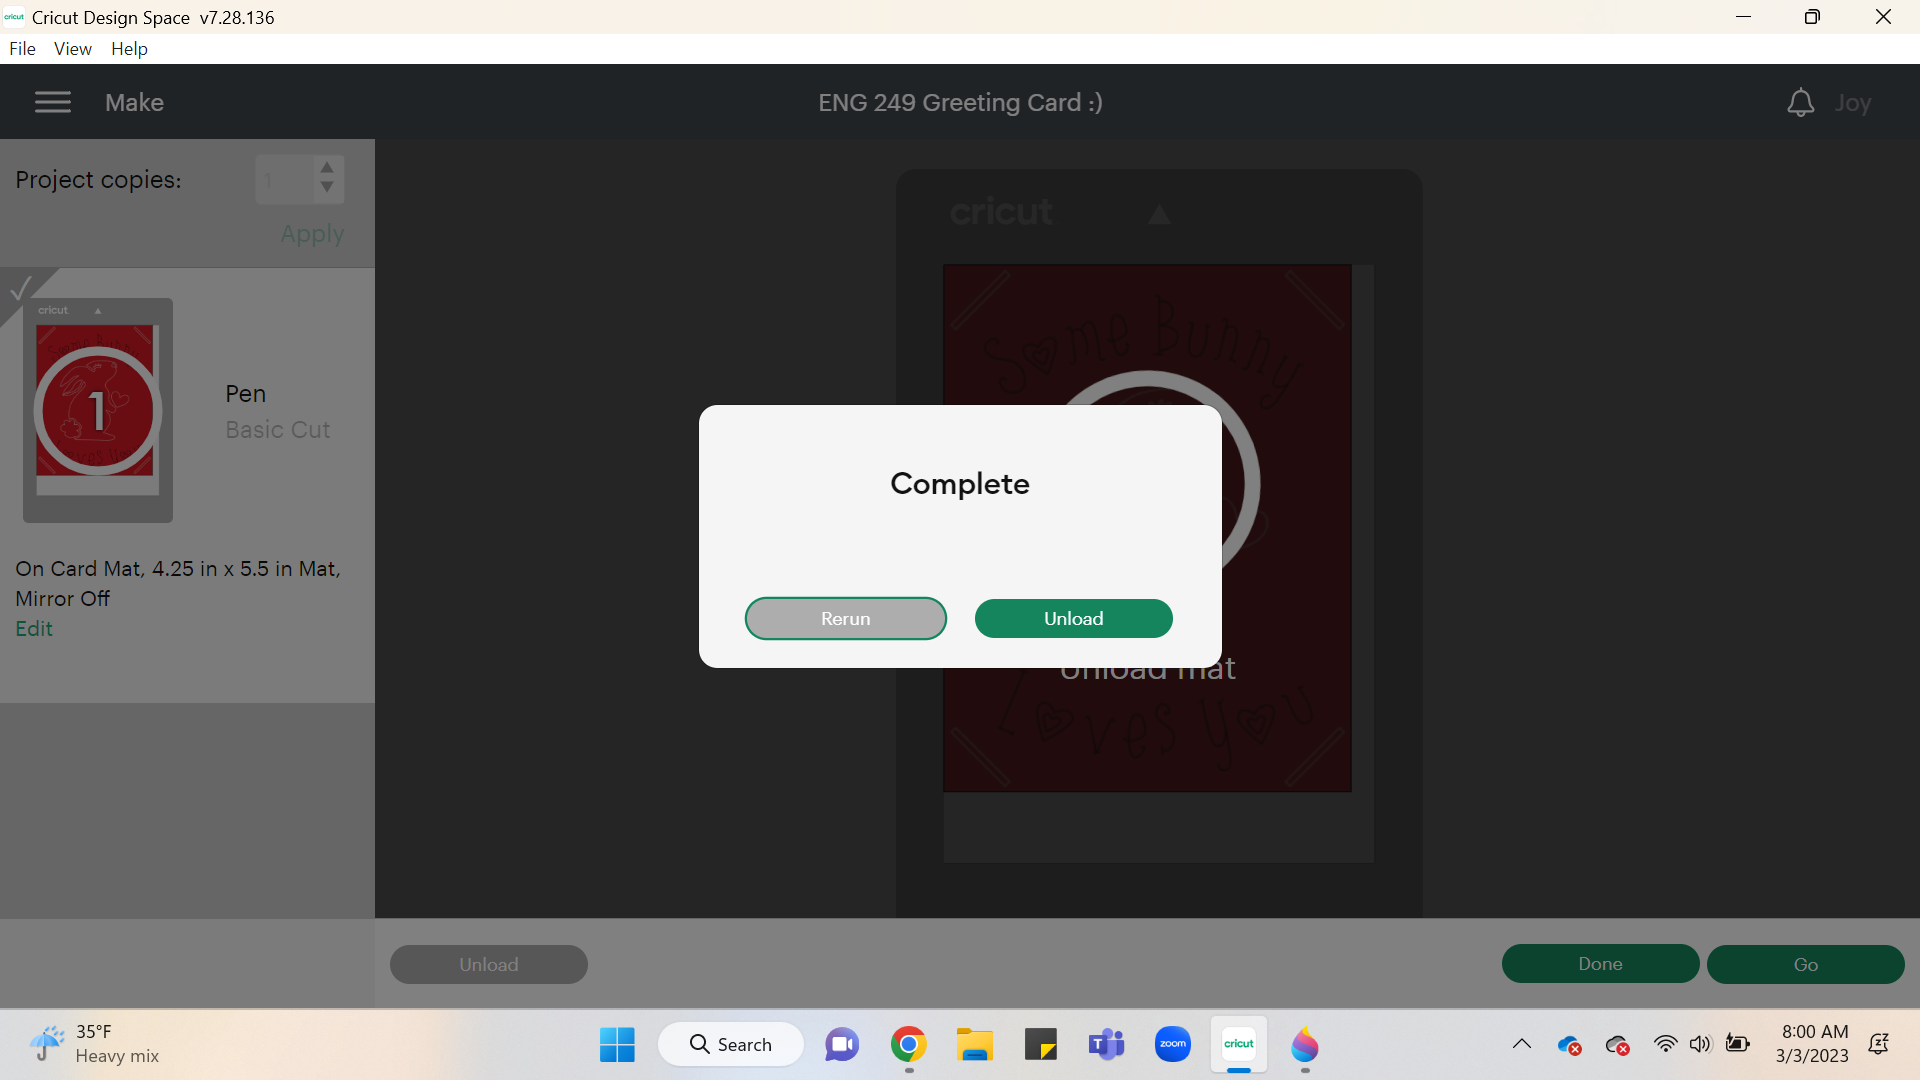
Click “Unload”
.png)
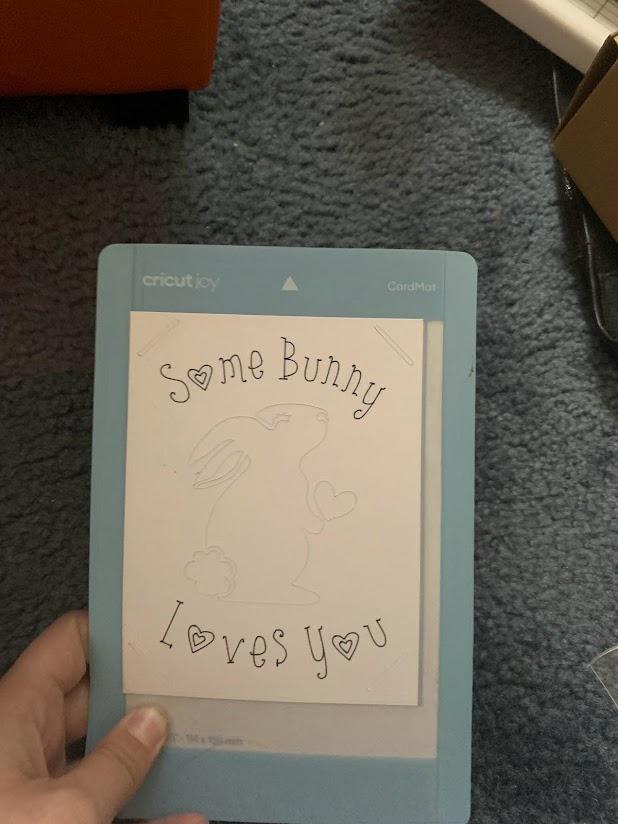
Carefully Lift the Card From the Bottom Right Off of the Mat and Remove It From the Slot
Remove Leftover Paper From the Mat and Discard
Select Red Card Insert
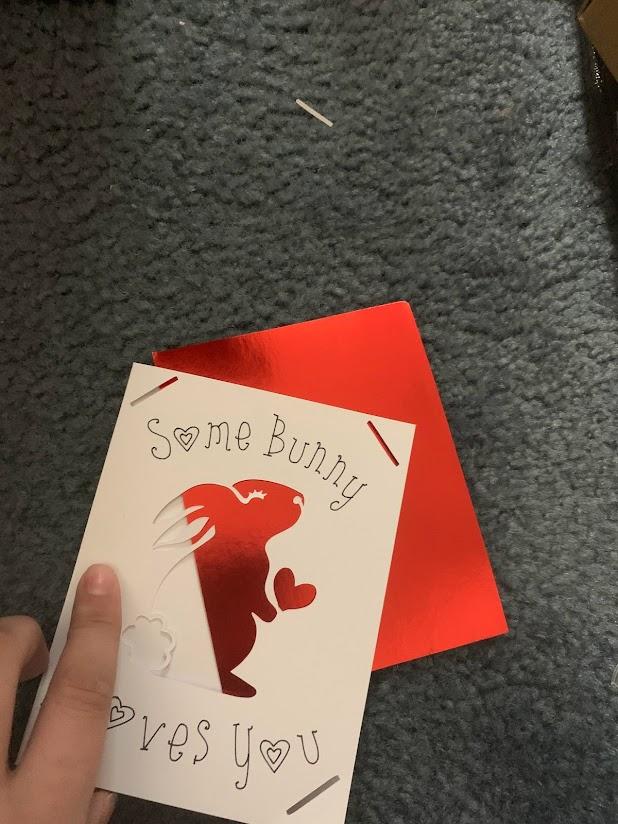
Insert Red Insert Into Slots on Four Corners
Replace the Film on the Mat
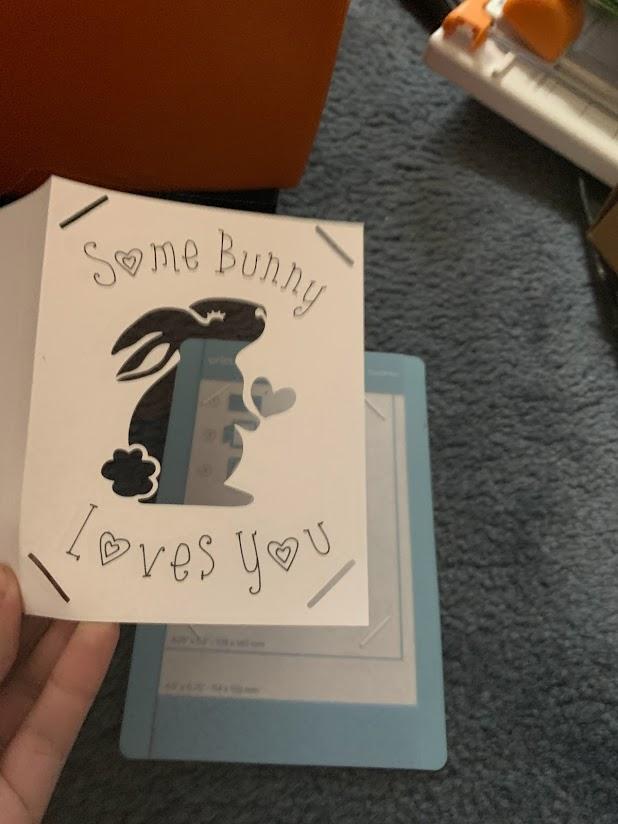
Enjoy Your Card

Thank you for following the tutorial! Enjoy your card :)