Cricut Cut Placement Jig

Because Cricut machines are designed to cut shapes from blank sheet stock, they don’t have and don’t need a high level of positional accuracy in normal operation. But what if you want to cut out an image that is already printed on gift wrap, stamped on paper, or to cut a photo print into a tight shape, where Print then Cut (a Cricut mode that does provide high positional accuracy via reading a printed sensor mark) isn’t applicable? Or maybe you want to cut a printed image with the Cricut Joy, which doesn’t support Print then Cut. In these cases a simple hinged jig made from scrap cardstock is a valuable workaround.
What about SnapMat? The Cricut iOS app has a feature called SnapMat that serves a similar purpose, but is only accurate "within a few millimeters," according to Cricut, and only supports Explore and Maker models. The hinge method is handy to have in your arsenal when you need high accuracy, need to work from a computer or Android device, or are cutting with a Cricut Joy.
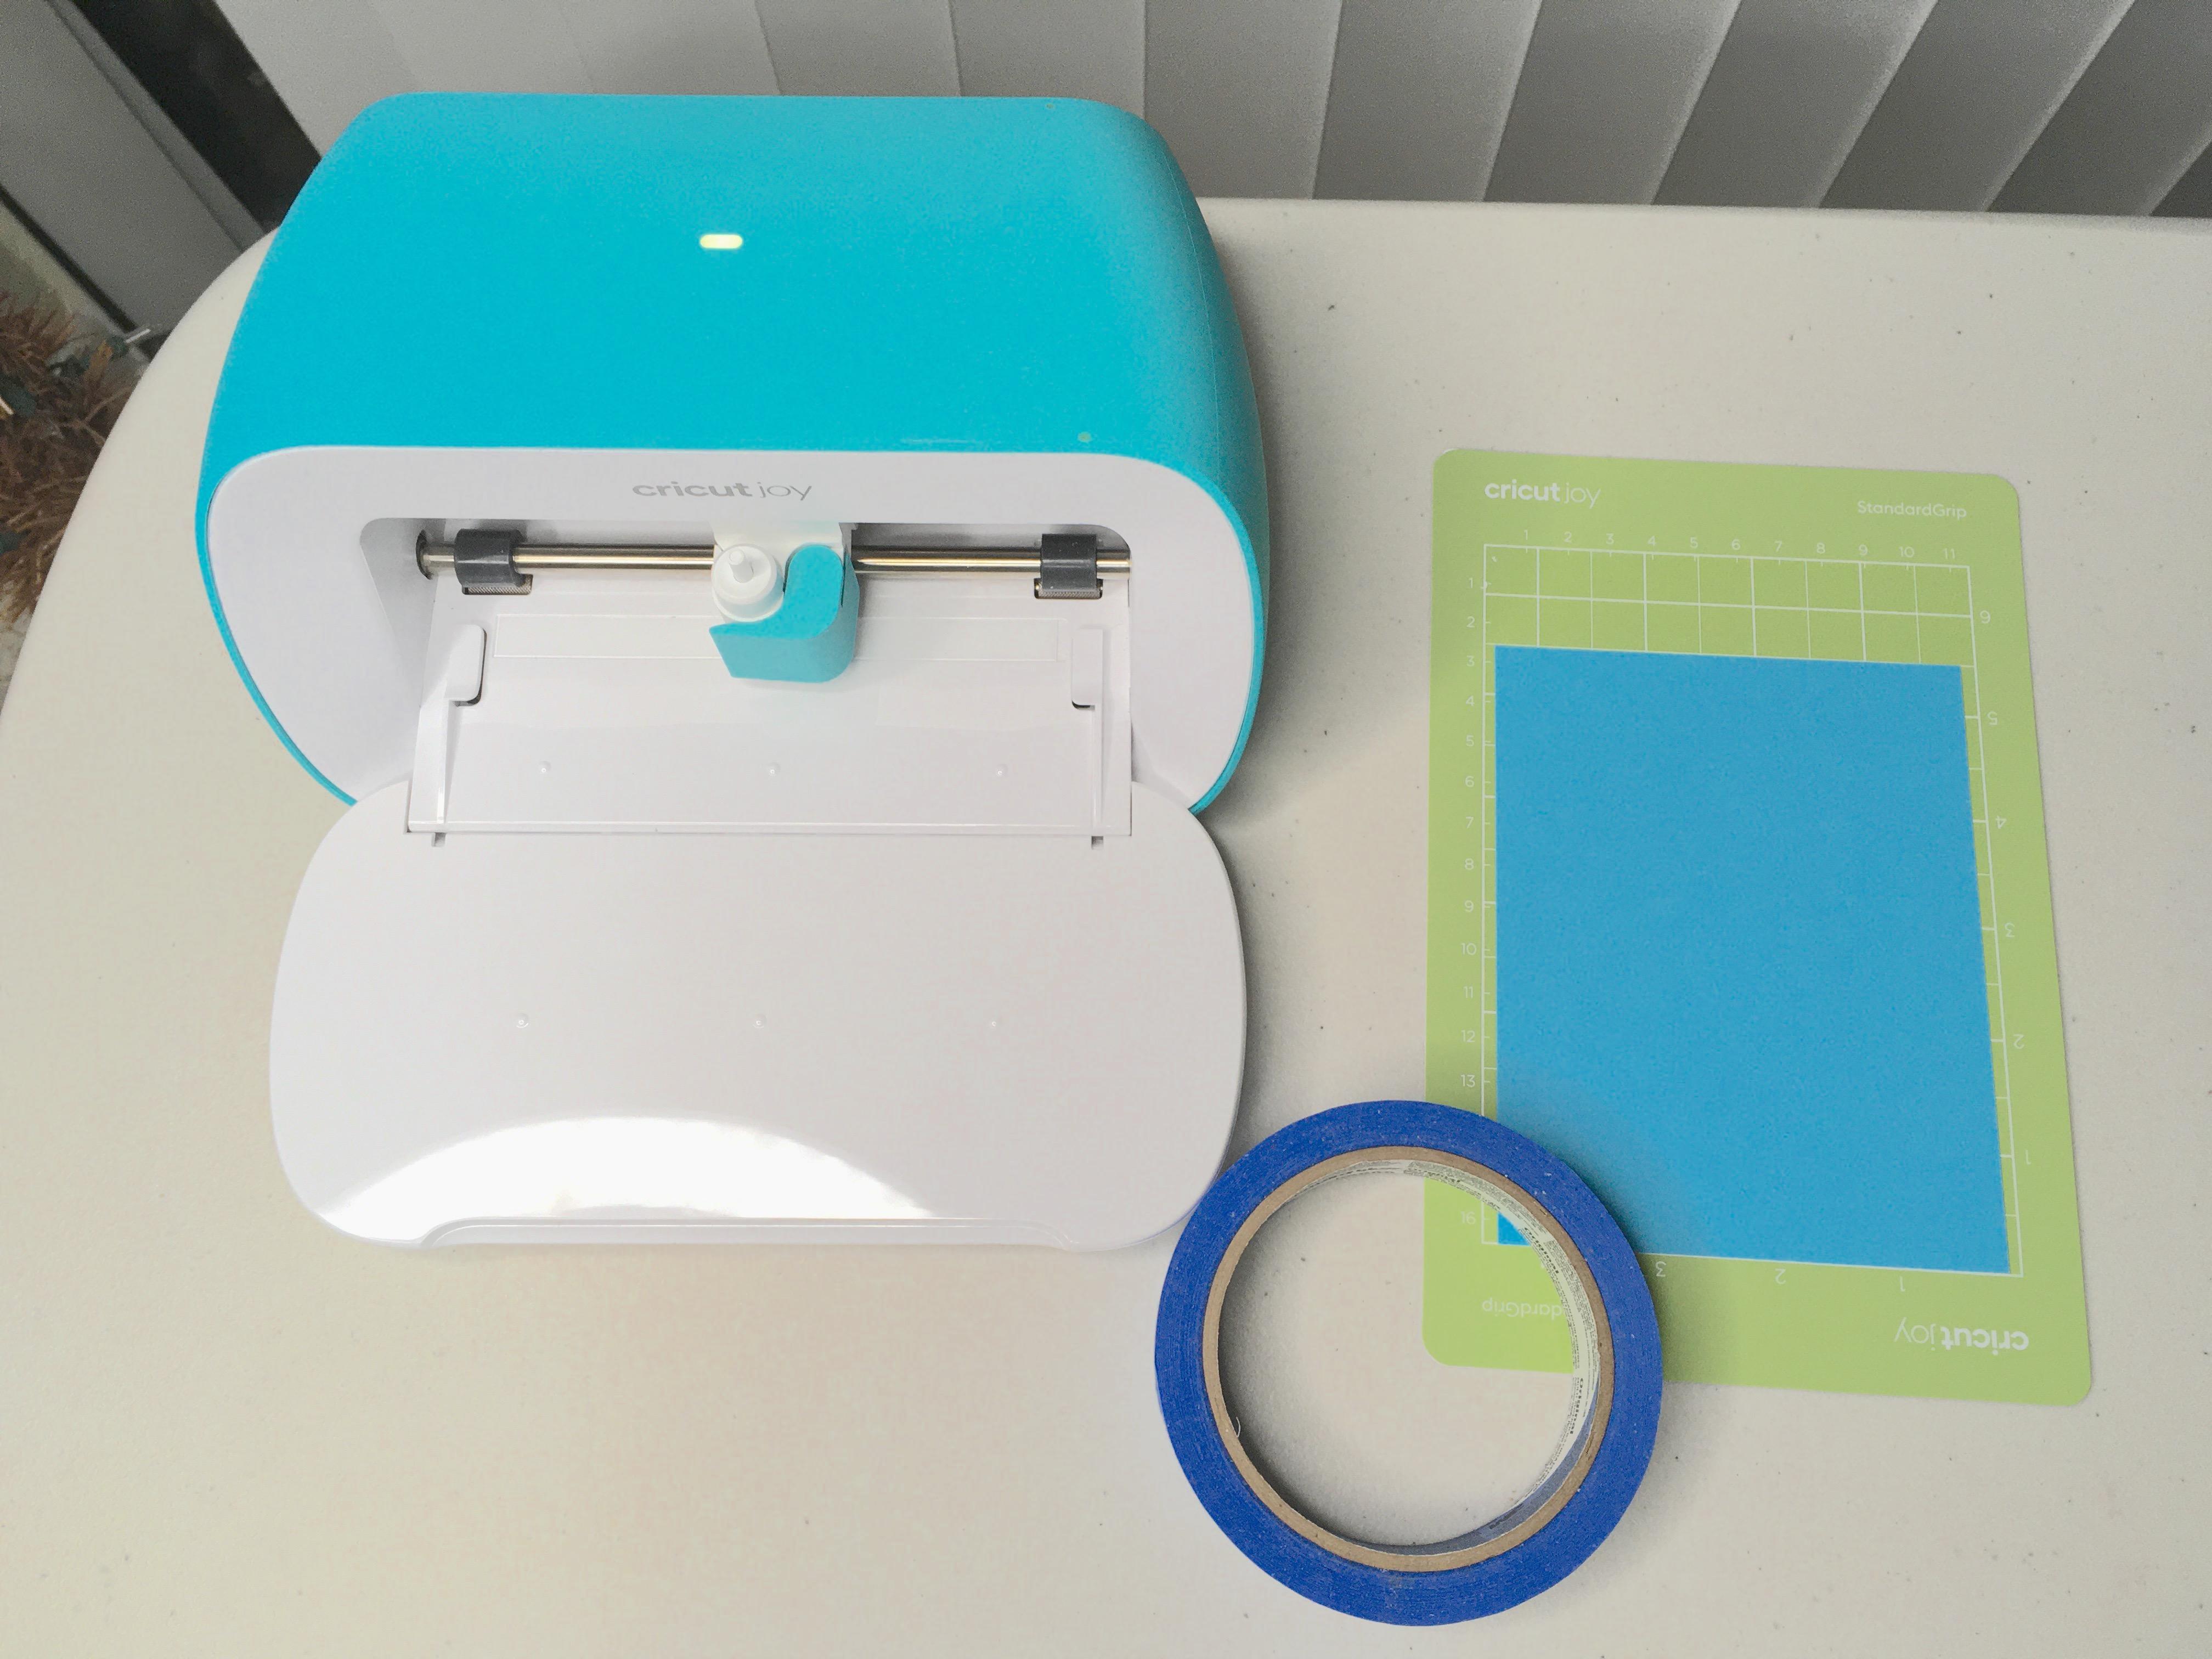
Supplies
- Cricut Joy, Explore or Maker model cutting machine
- corresponding Cricut cutting mat
- scrap cardstock
- painters tape
- scanner or camera phone
Creating the Cut Path
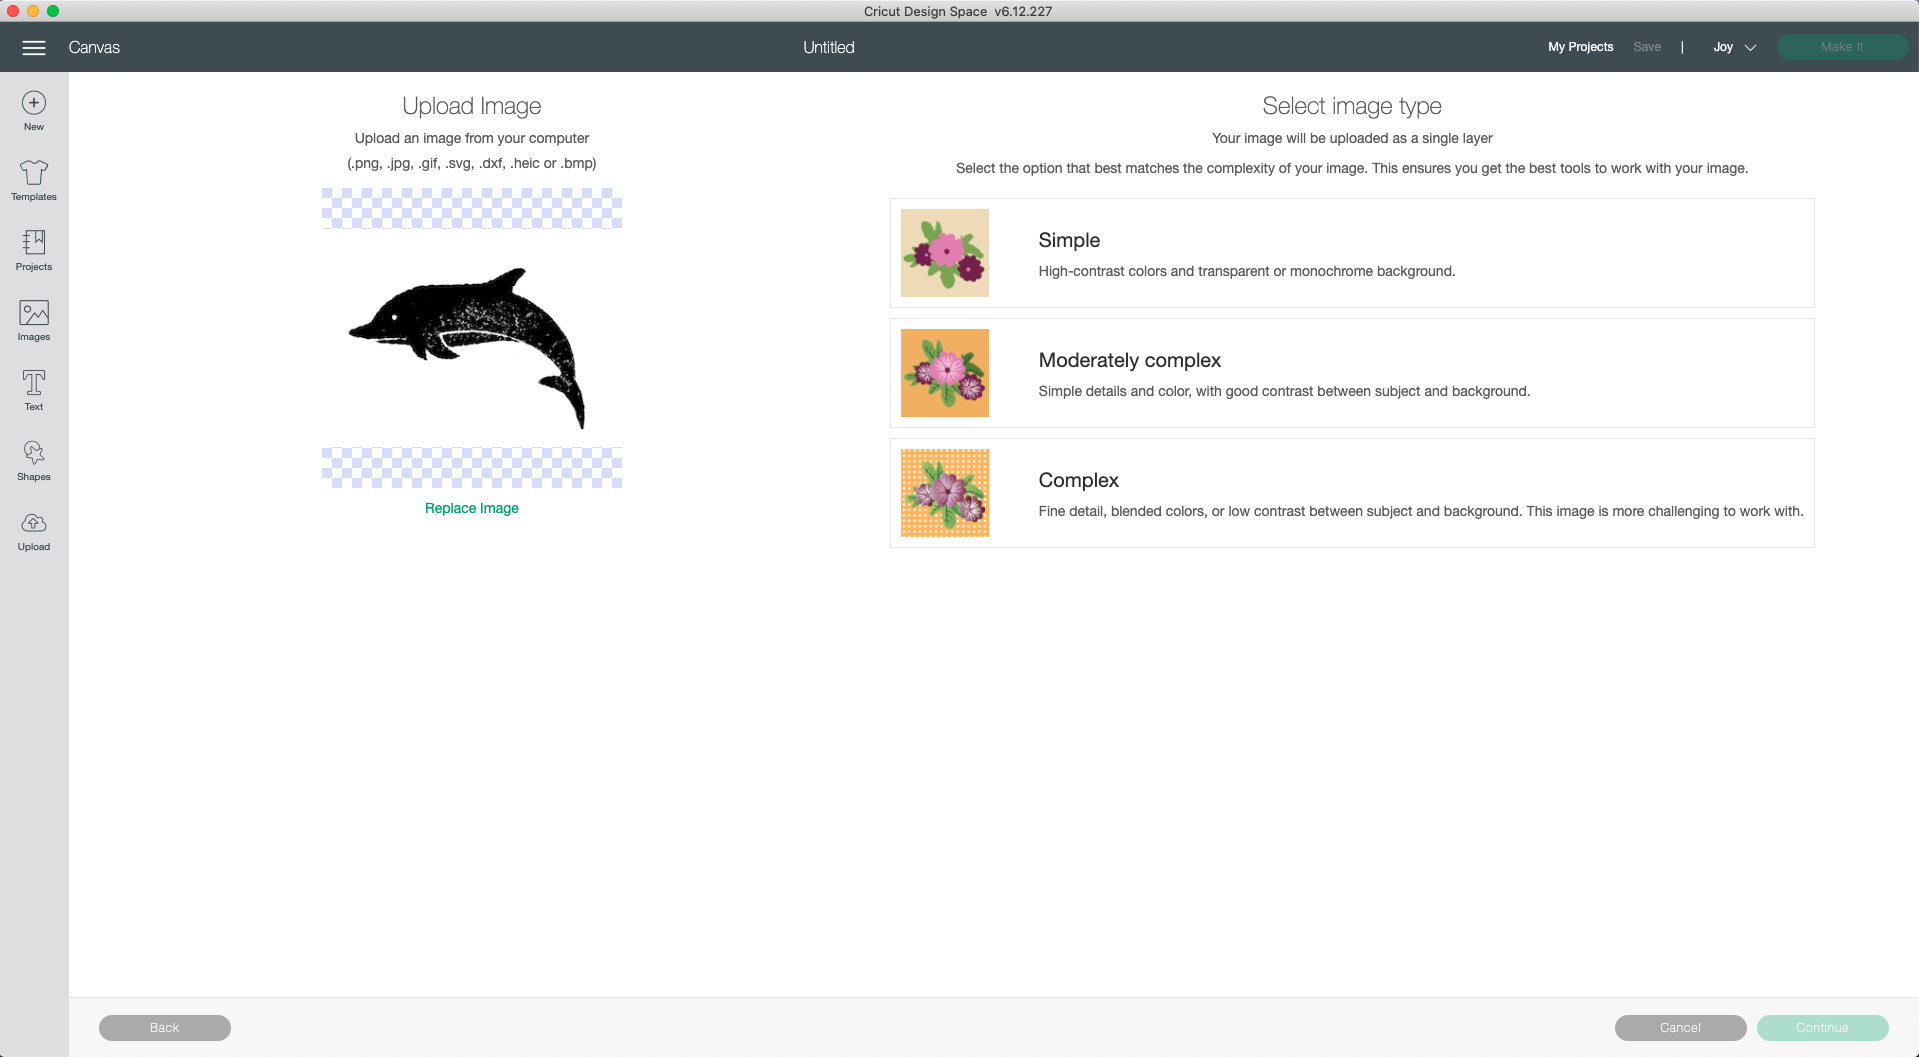
For an image you want to cut out, you will need a true size cutting line to match the image that is already on your paper. The shape is obtained through the normal upload and clean up process, and either of the 2 simple methods below will ensure that that shape is also the correct size.
Note that some stamp companies prohibit scanning of their stamped images. My example stamp is free of these restrictions and has no available companion die.
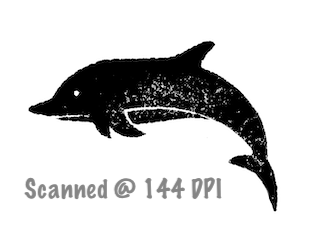
144 DPI Method
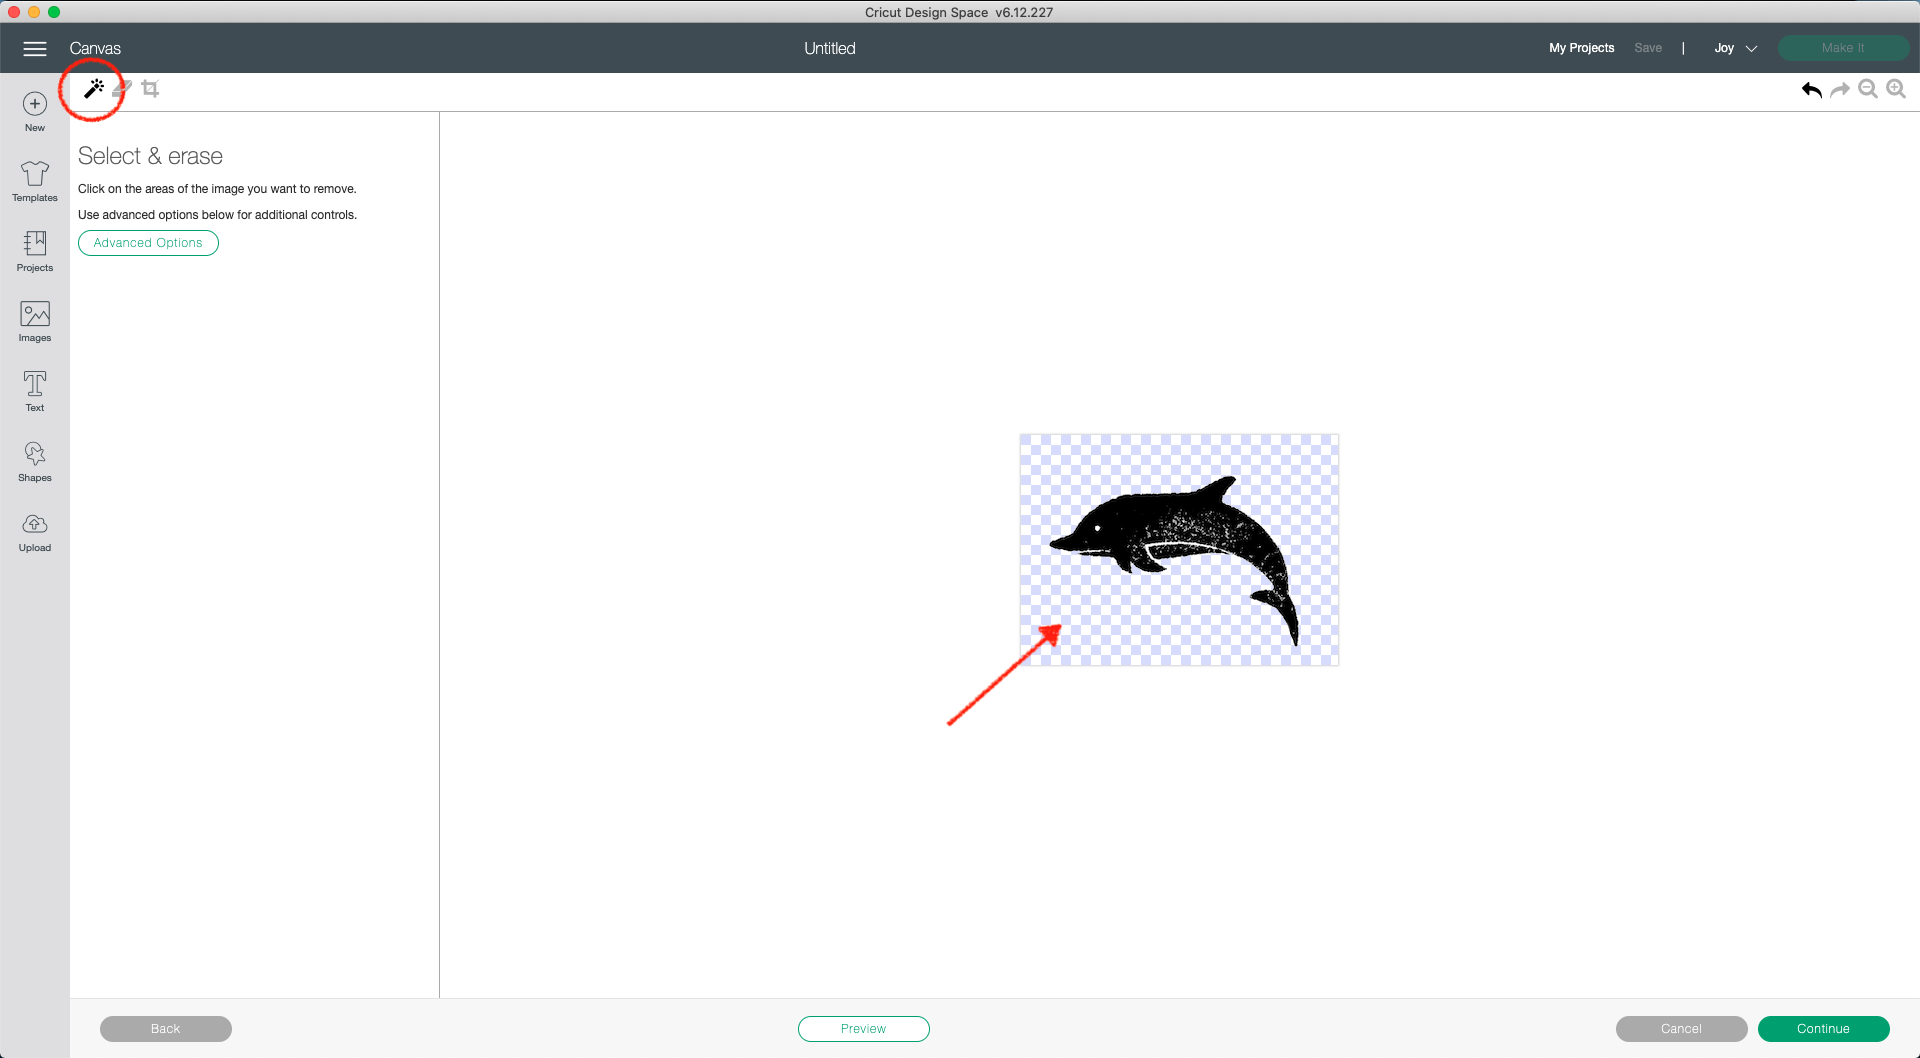
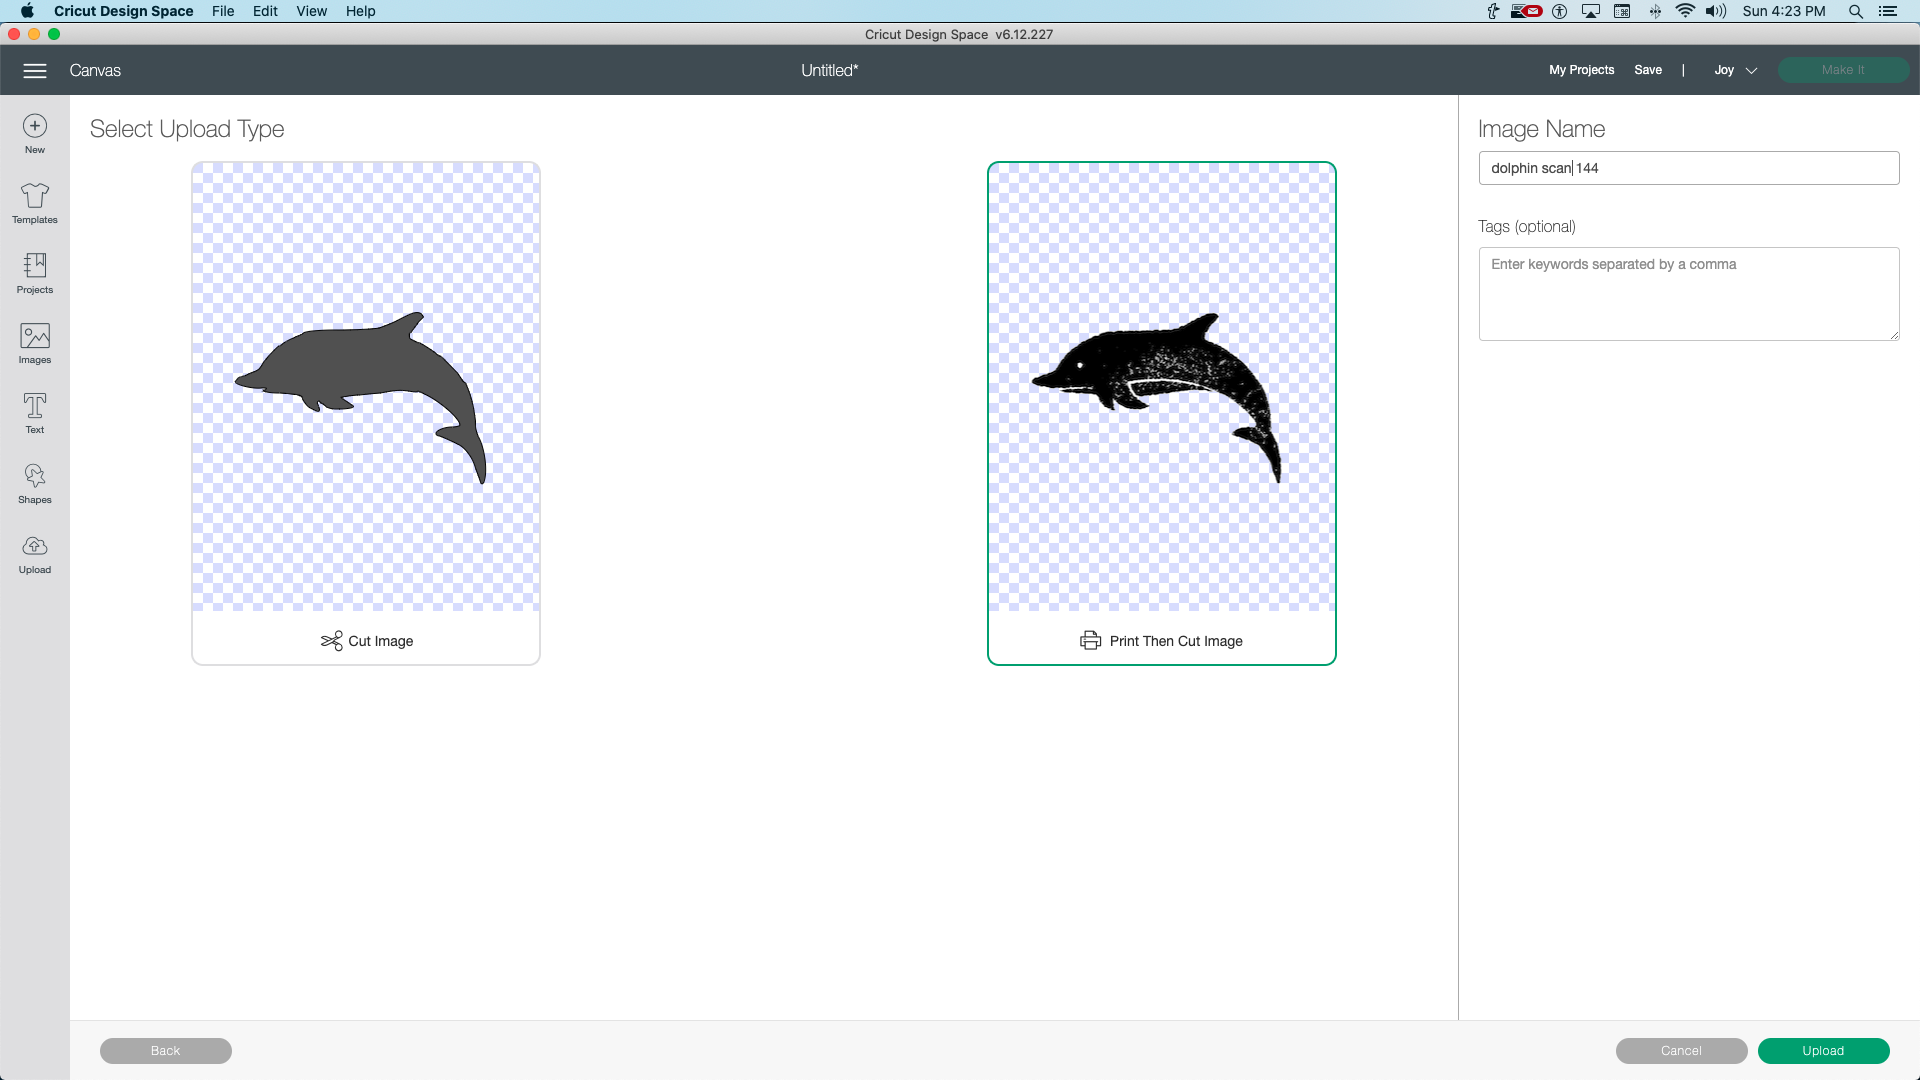
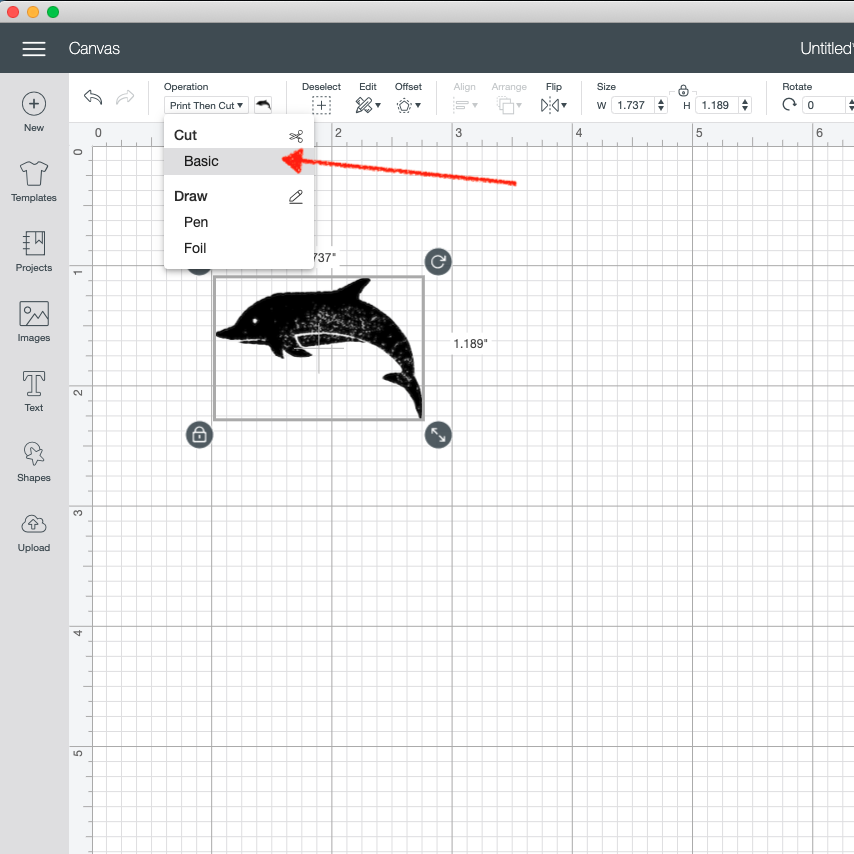
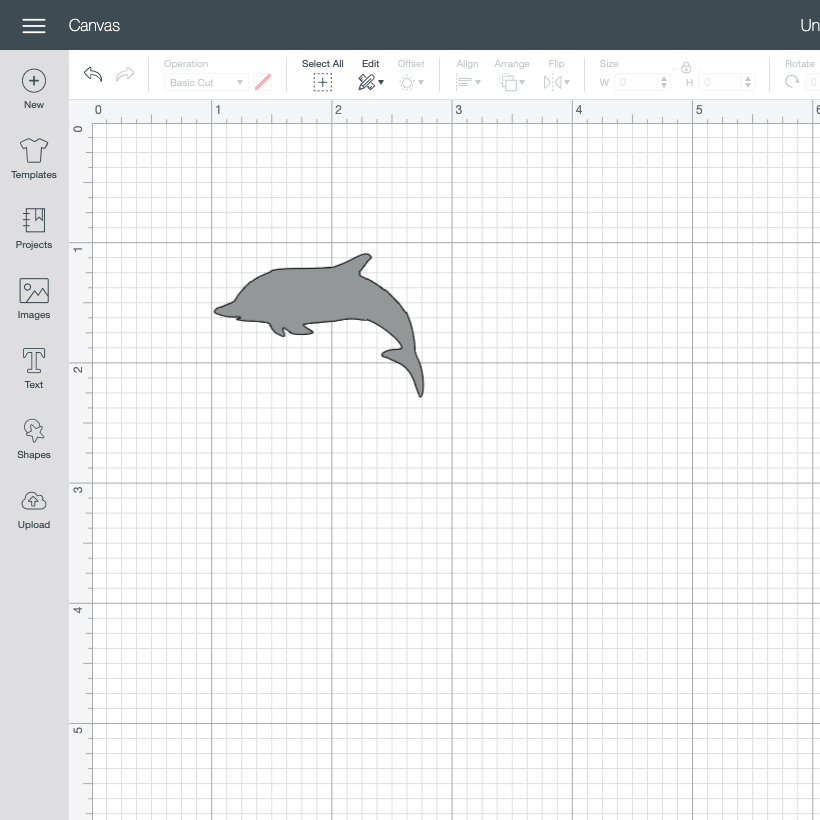
The current Cricut convention is to import JPG or PNG format files scanned at 144 dpi at the correct size when they are saved as Print then Cut (change it back to Basic Cut once its inserted onto the Canvas) as I show in the screen shots for this step. If your scanner doesn’t support 144 dpi, you can scan at a preset resolution (like 300 dpi) and resample the image to 144 dpi in photo editing software.
Reference Shape Method
Scan or take a head on photo (phone scanner app recommended) with a shape of known dimensions (I use a 1 inch black circle) close to, but not touching, your item. Once inserted into the Canvas, use the Contour feature to resize your image based on the reference shape. I have a detailed video on this method here.
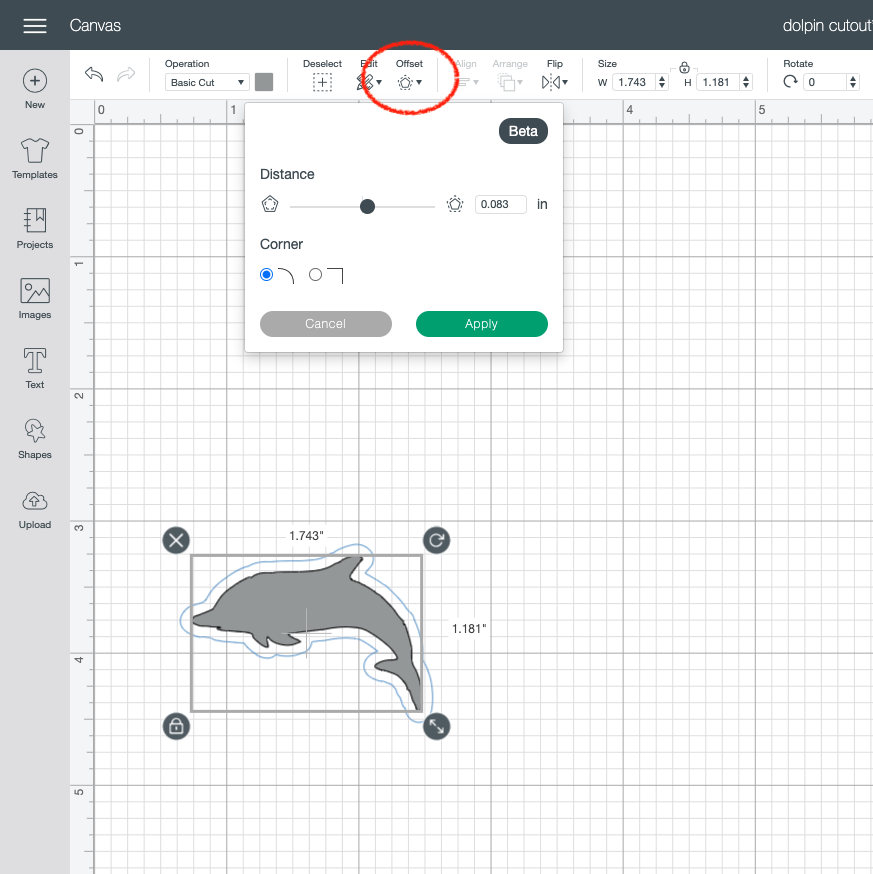
Once you have a true size representation of your image, you can use the Offset feature (desktop only) to add an additional margin between the image and the cut line as desired. You only need to go through the scanning, importing and offsetting process once for each stamp or image. As long as you save the corresponding Design Space project, the cutting path can be reused.
Cutting the Jig
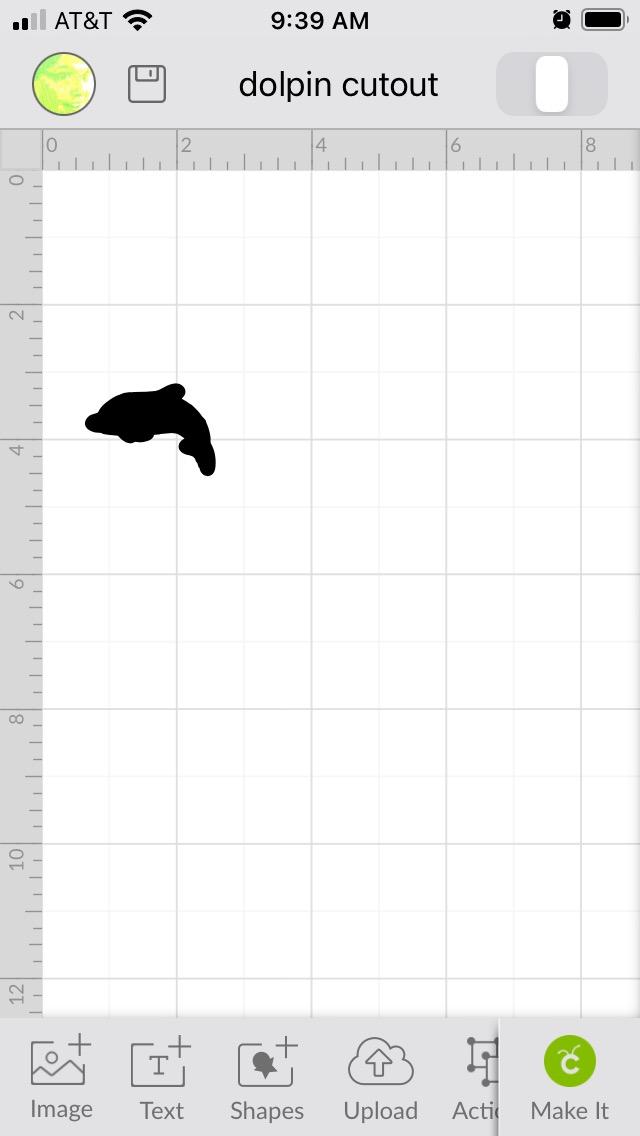

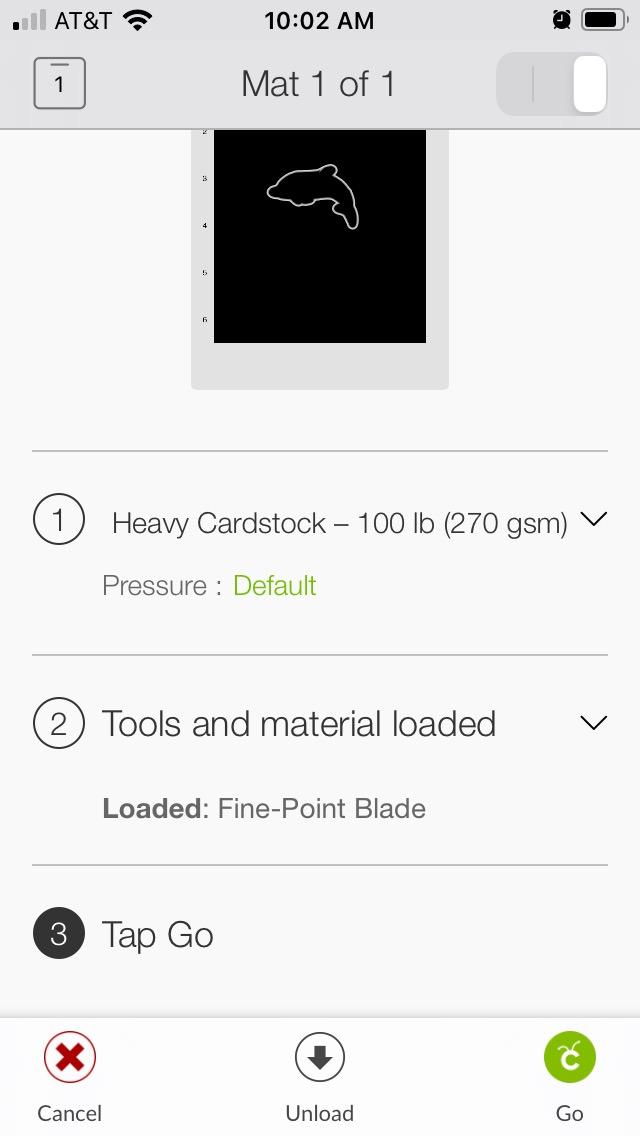

Click the Make it button to reach the Prepare screen (I've now switched to the mobile app for cutting in this example). Reposition the shape on the preview mat, avoiding the top inch for Maker or the top half inch for Explore or Joy as you will need the clearance later. I find several inches down to be most convenient for small shapes.
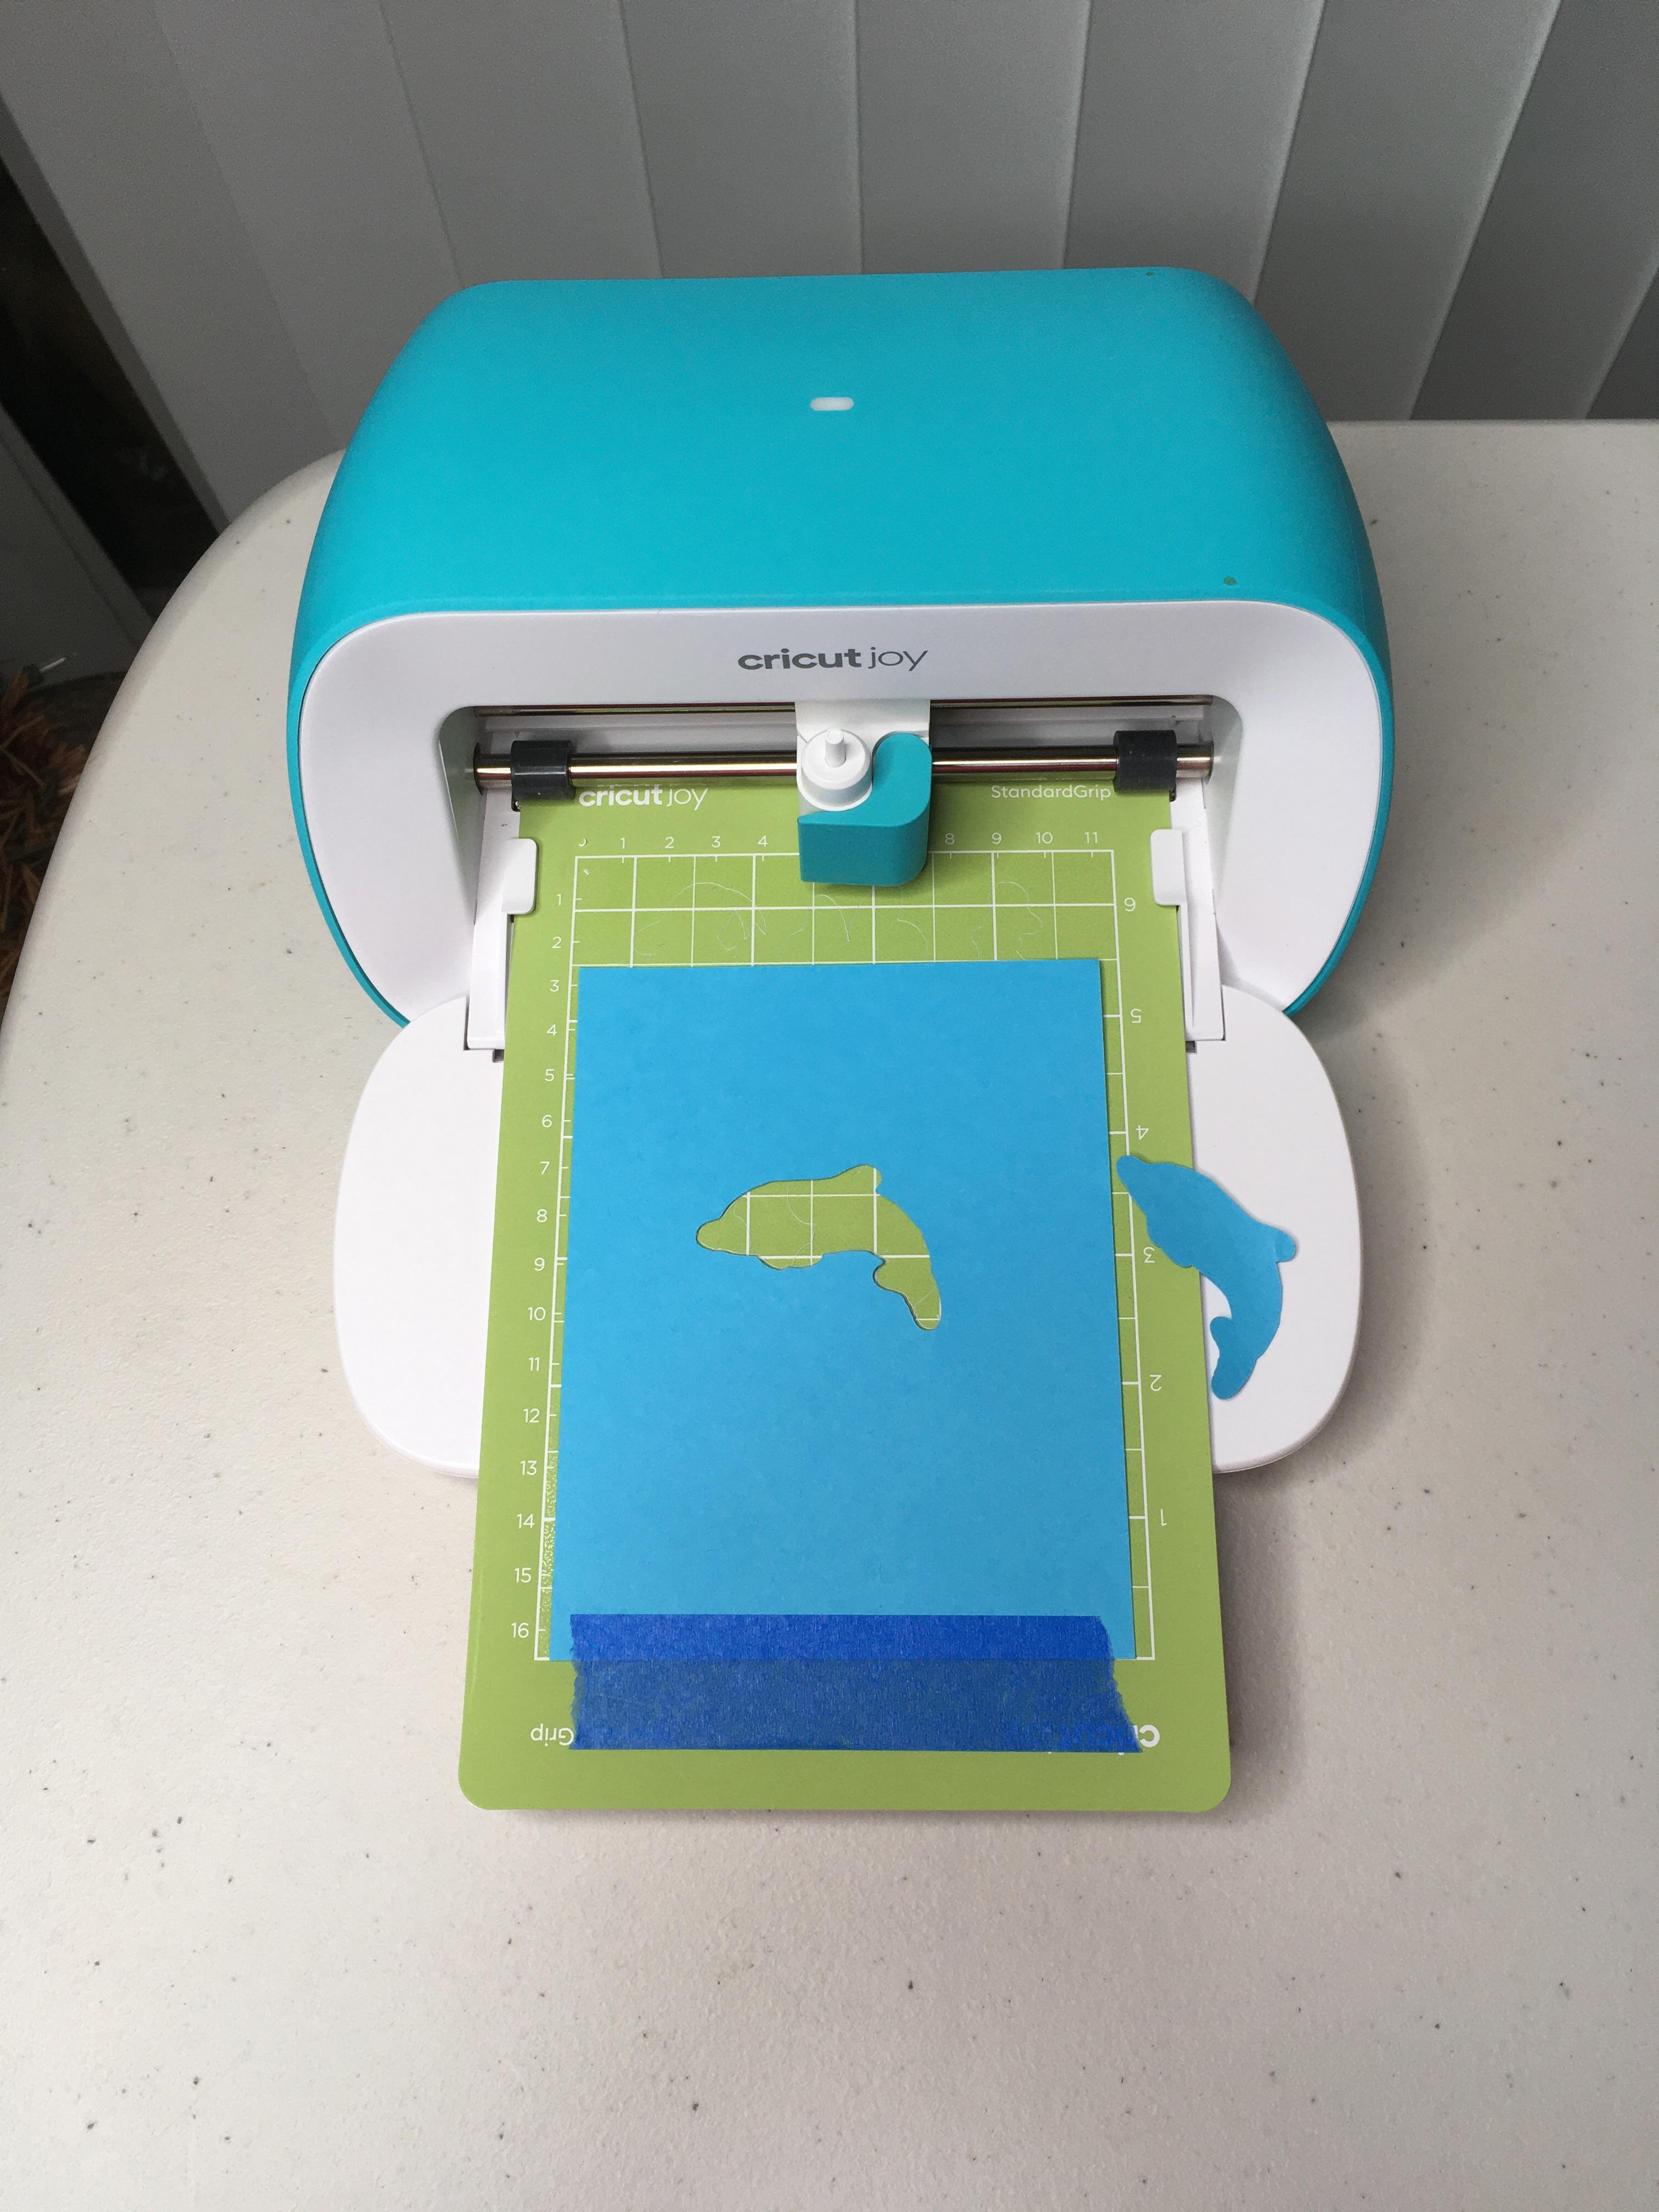
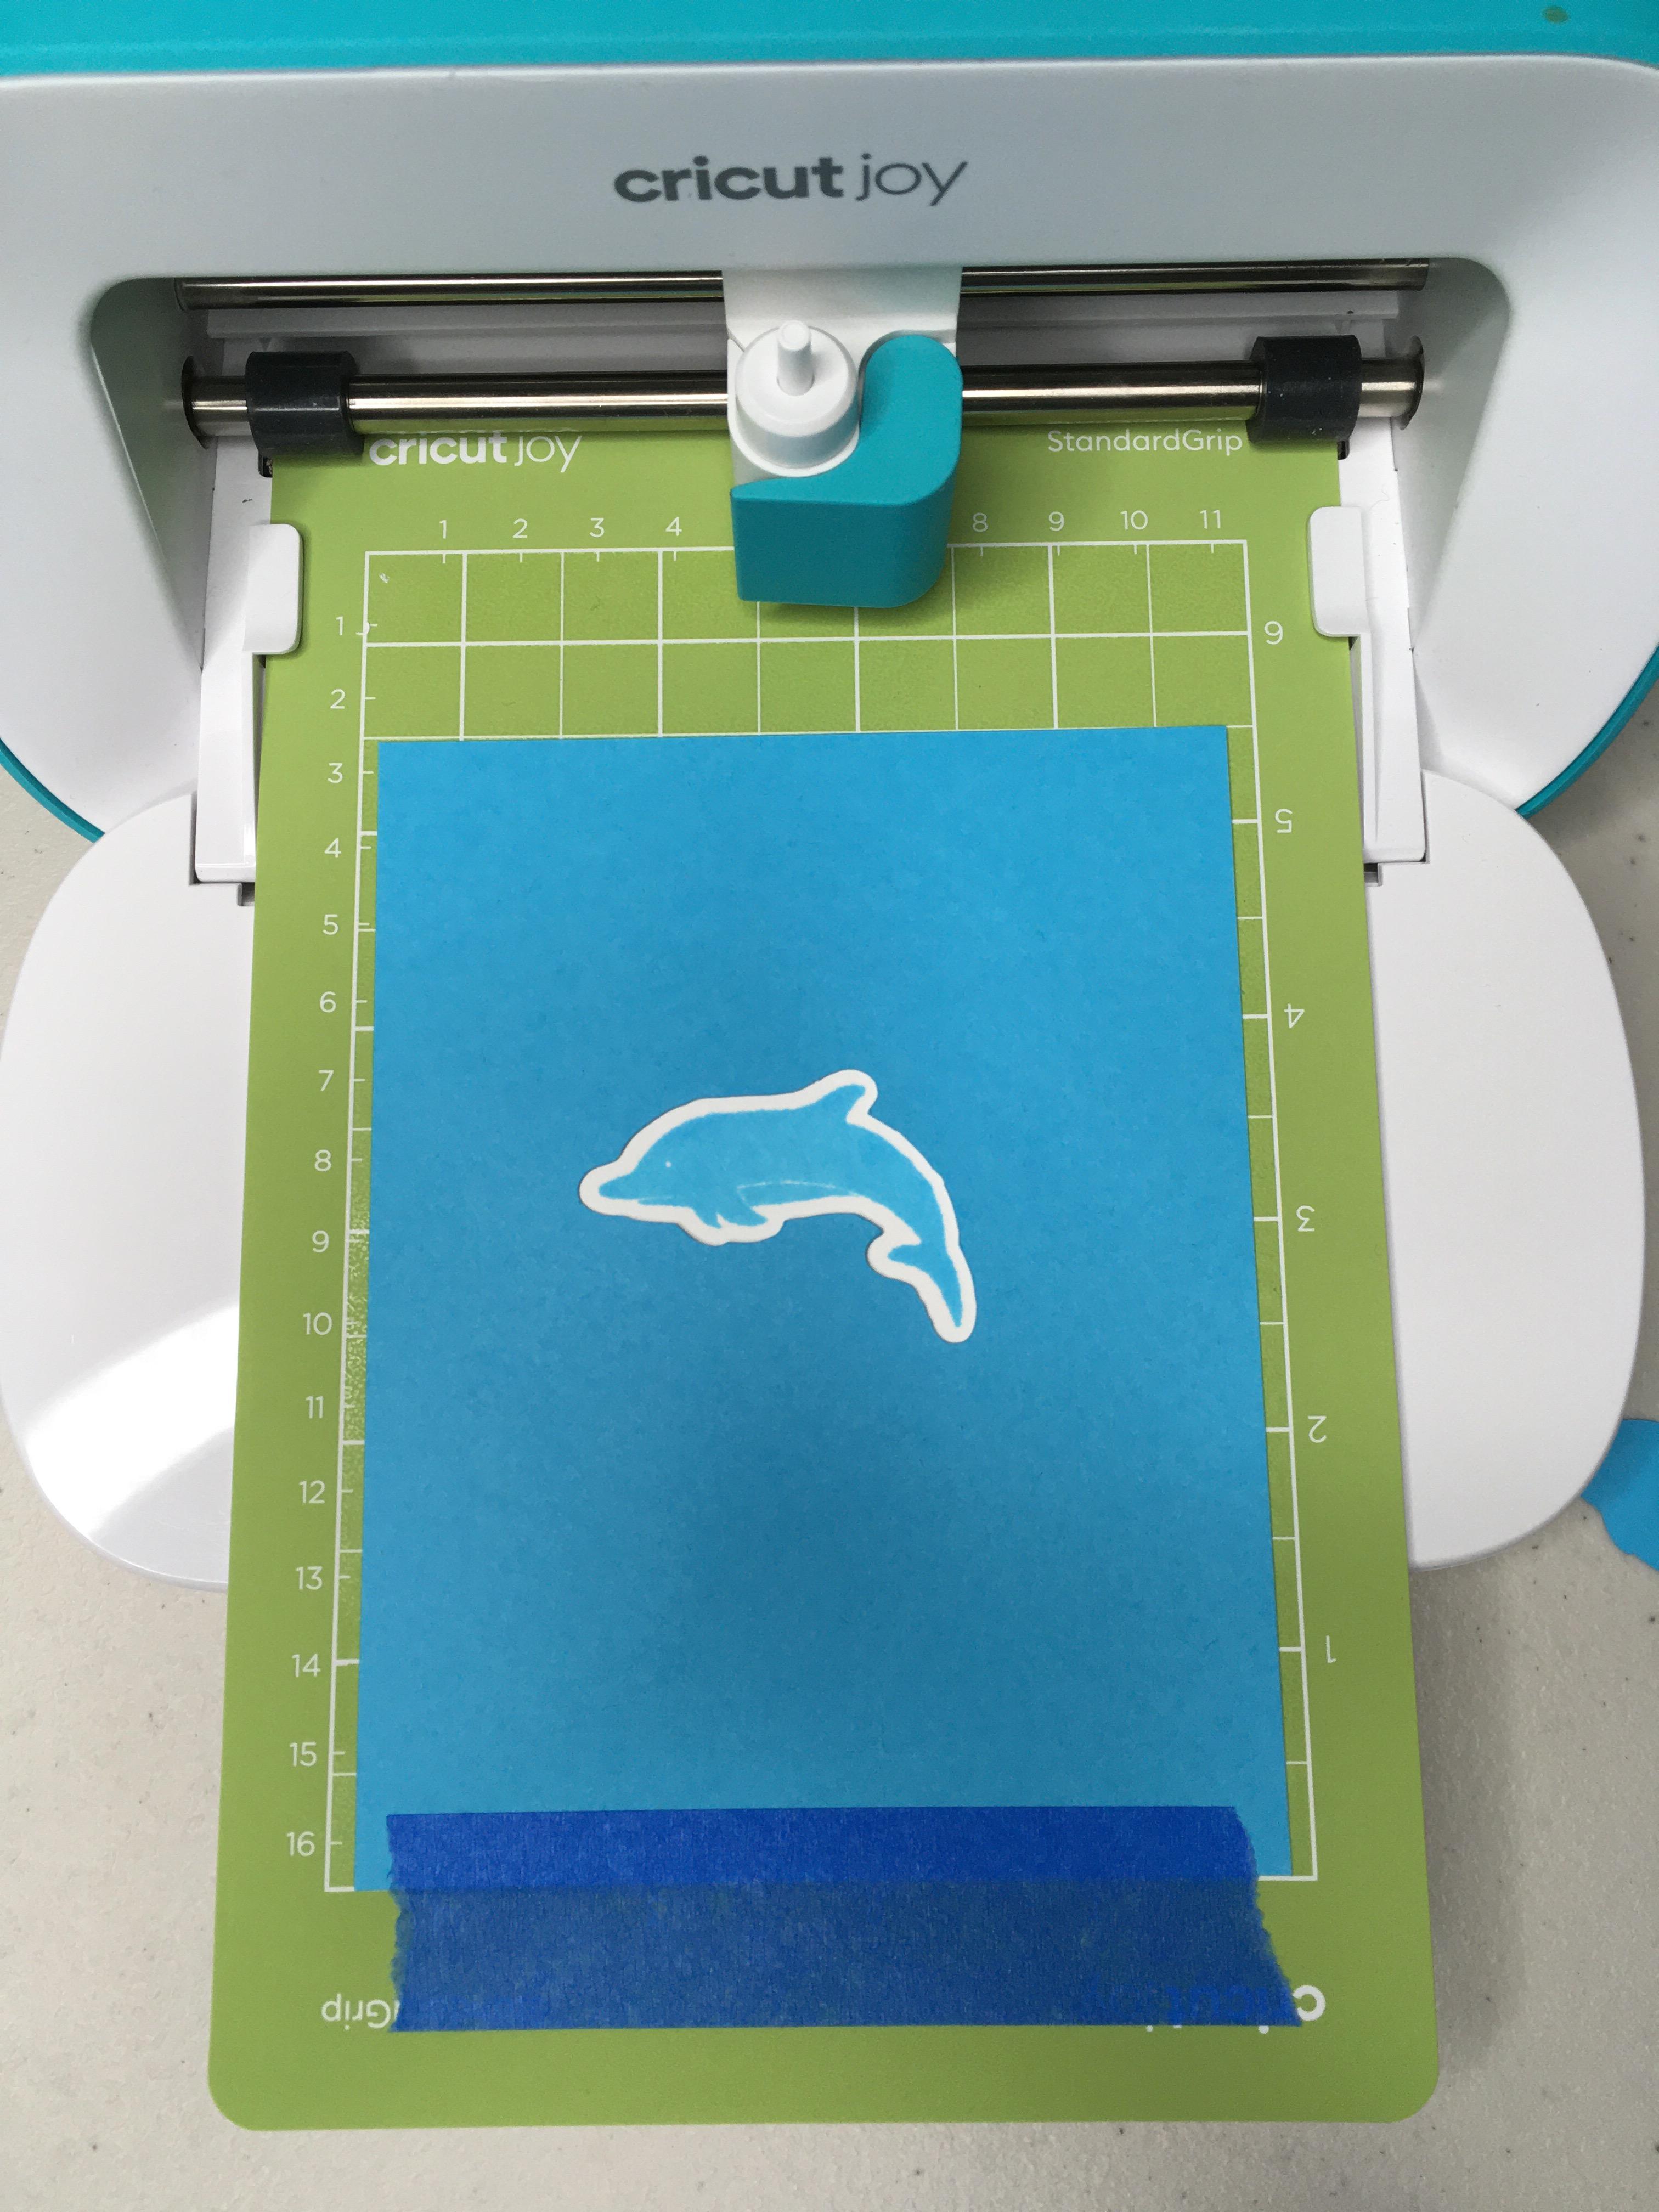
Place your scrap cardstock on the mat, covering the area where the cut will go with extra margin below it. Trim your cardstock if necessary to leave the top inch for Maker or top half inch for Explore or Joy of the mat grid uncovered.
Tape the cardstock only along the bottom edge. The tape should not extend past the right and left edges of the cardstock.
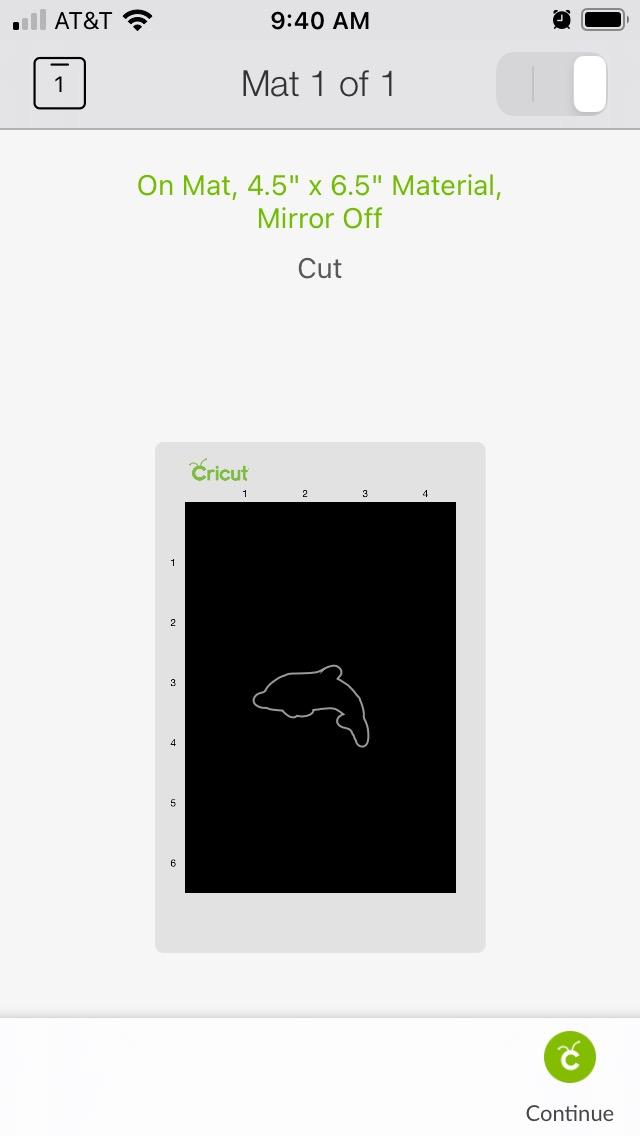
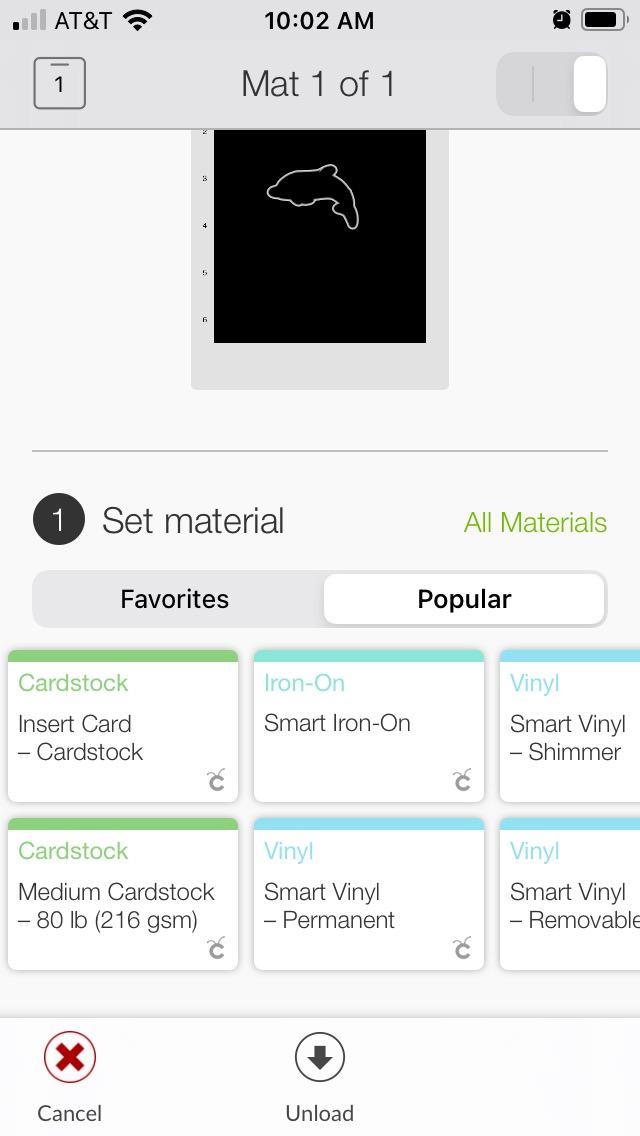
Press the Continue button. Select your material based on what your image is stamped or printed on, in my case, Heavy Cardstock. (If your Cricut model has a dial, you can choose a different setting for each run, otherwise we choose the setting in the software to match the most important cut in the series). Load the blade, load the mat and press the Go button.
When the Cricut finishes cutting your shape from the scrap cardstock, leave the mat loaded and remove the cutout. If you did not get a clean cut, press the Try Again button in the app or Go button on Explore or Maker machines.
Positioning the Printed or Stamped Image
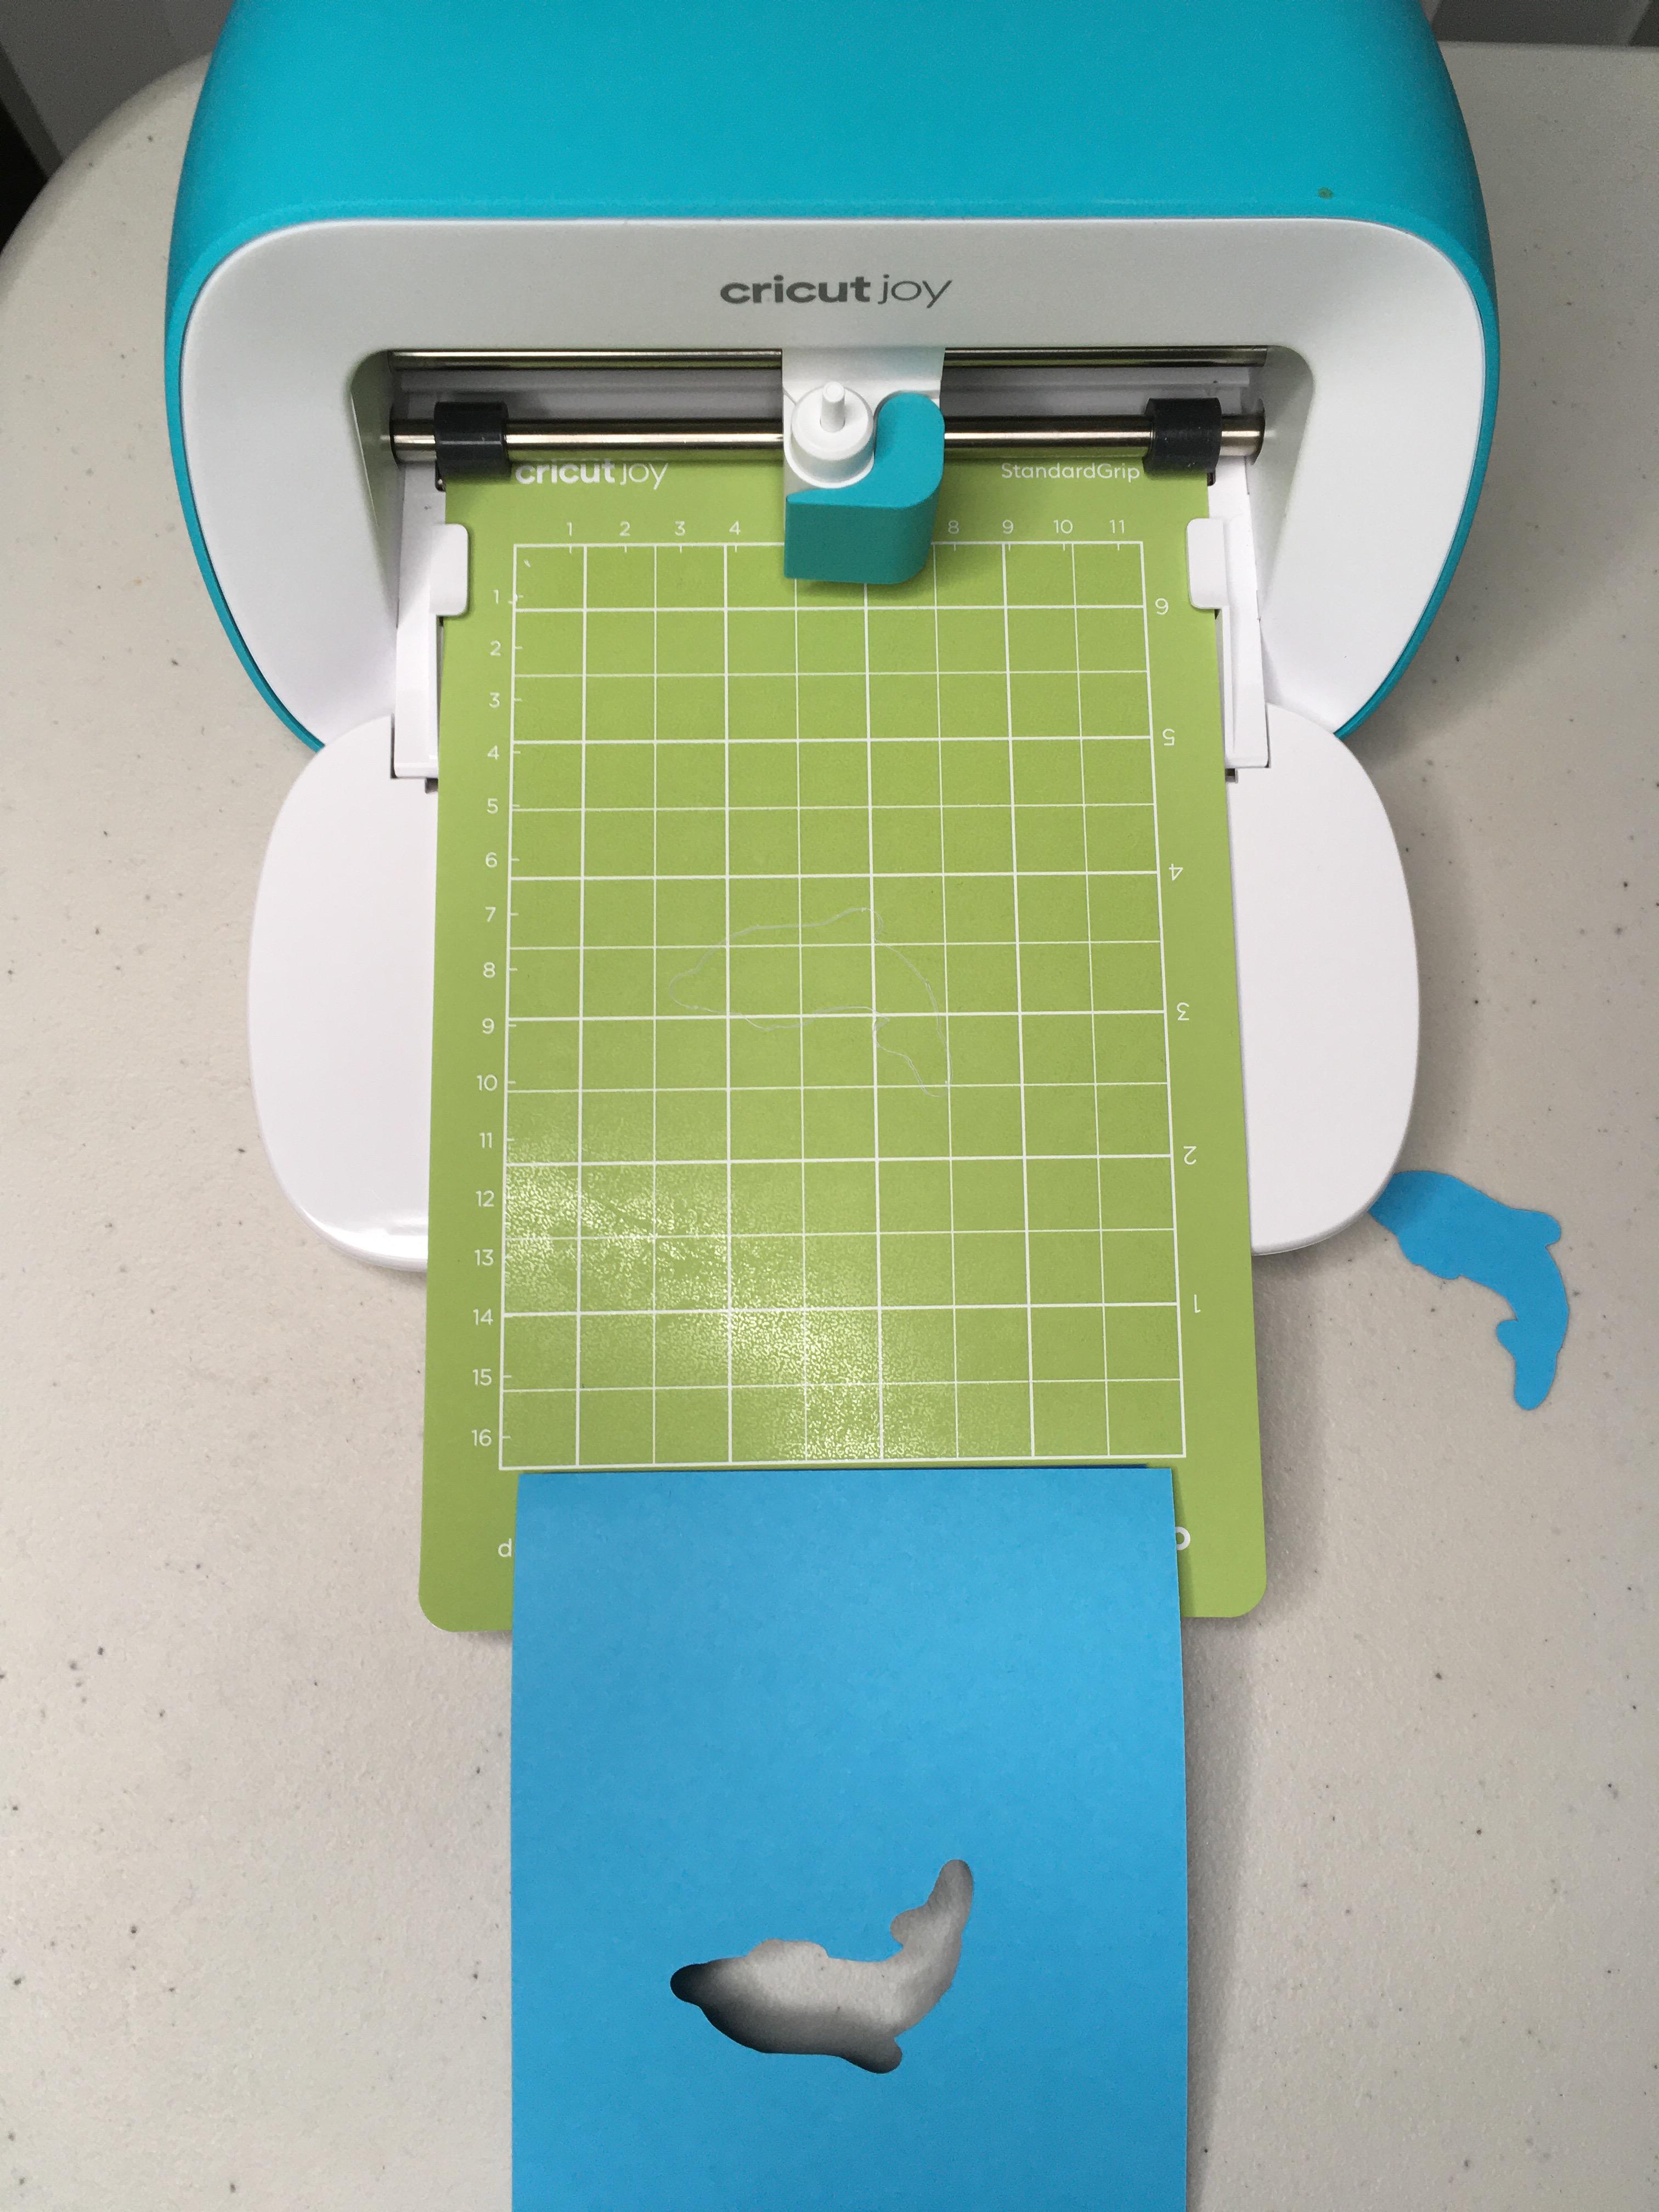
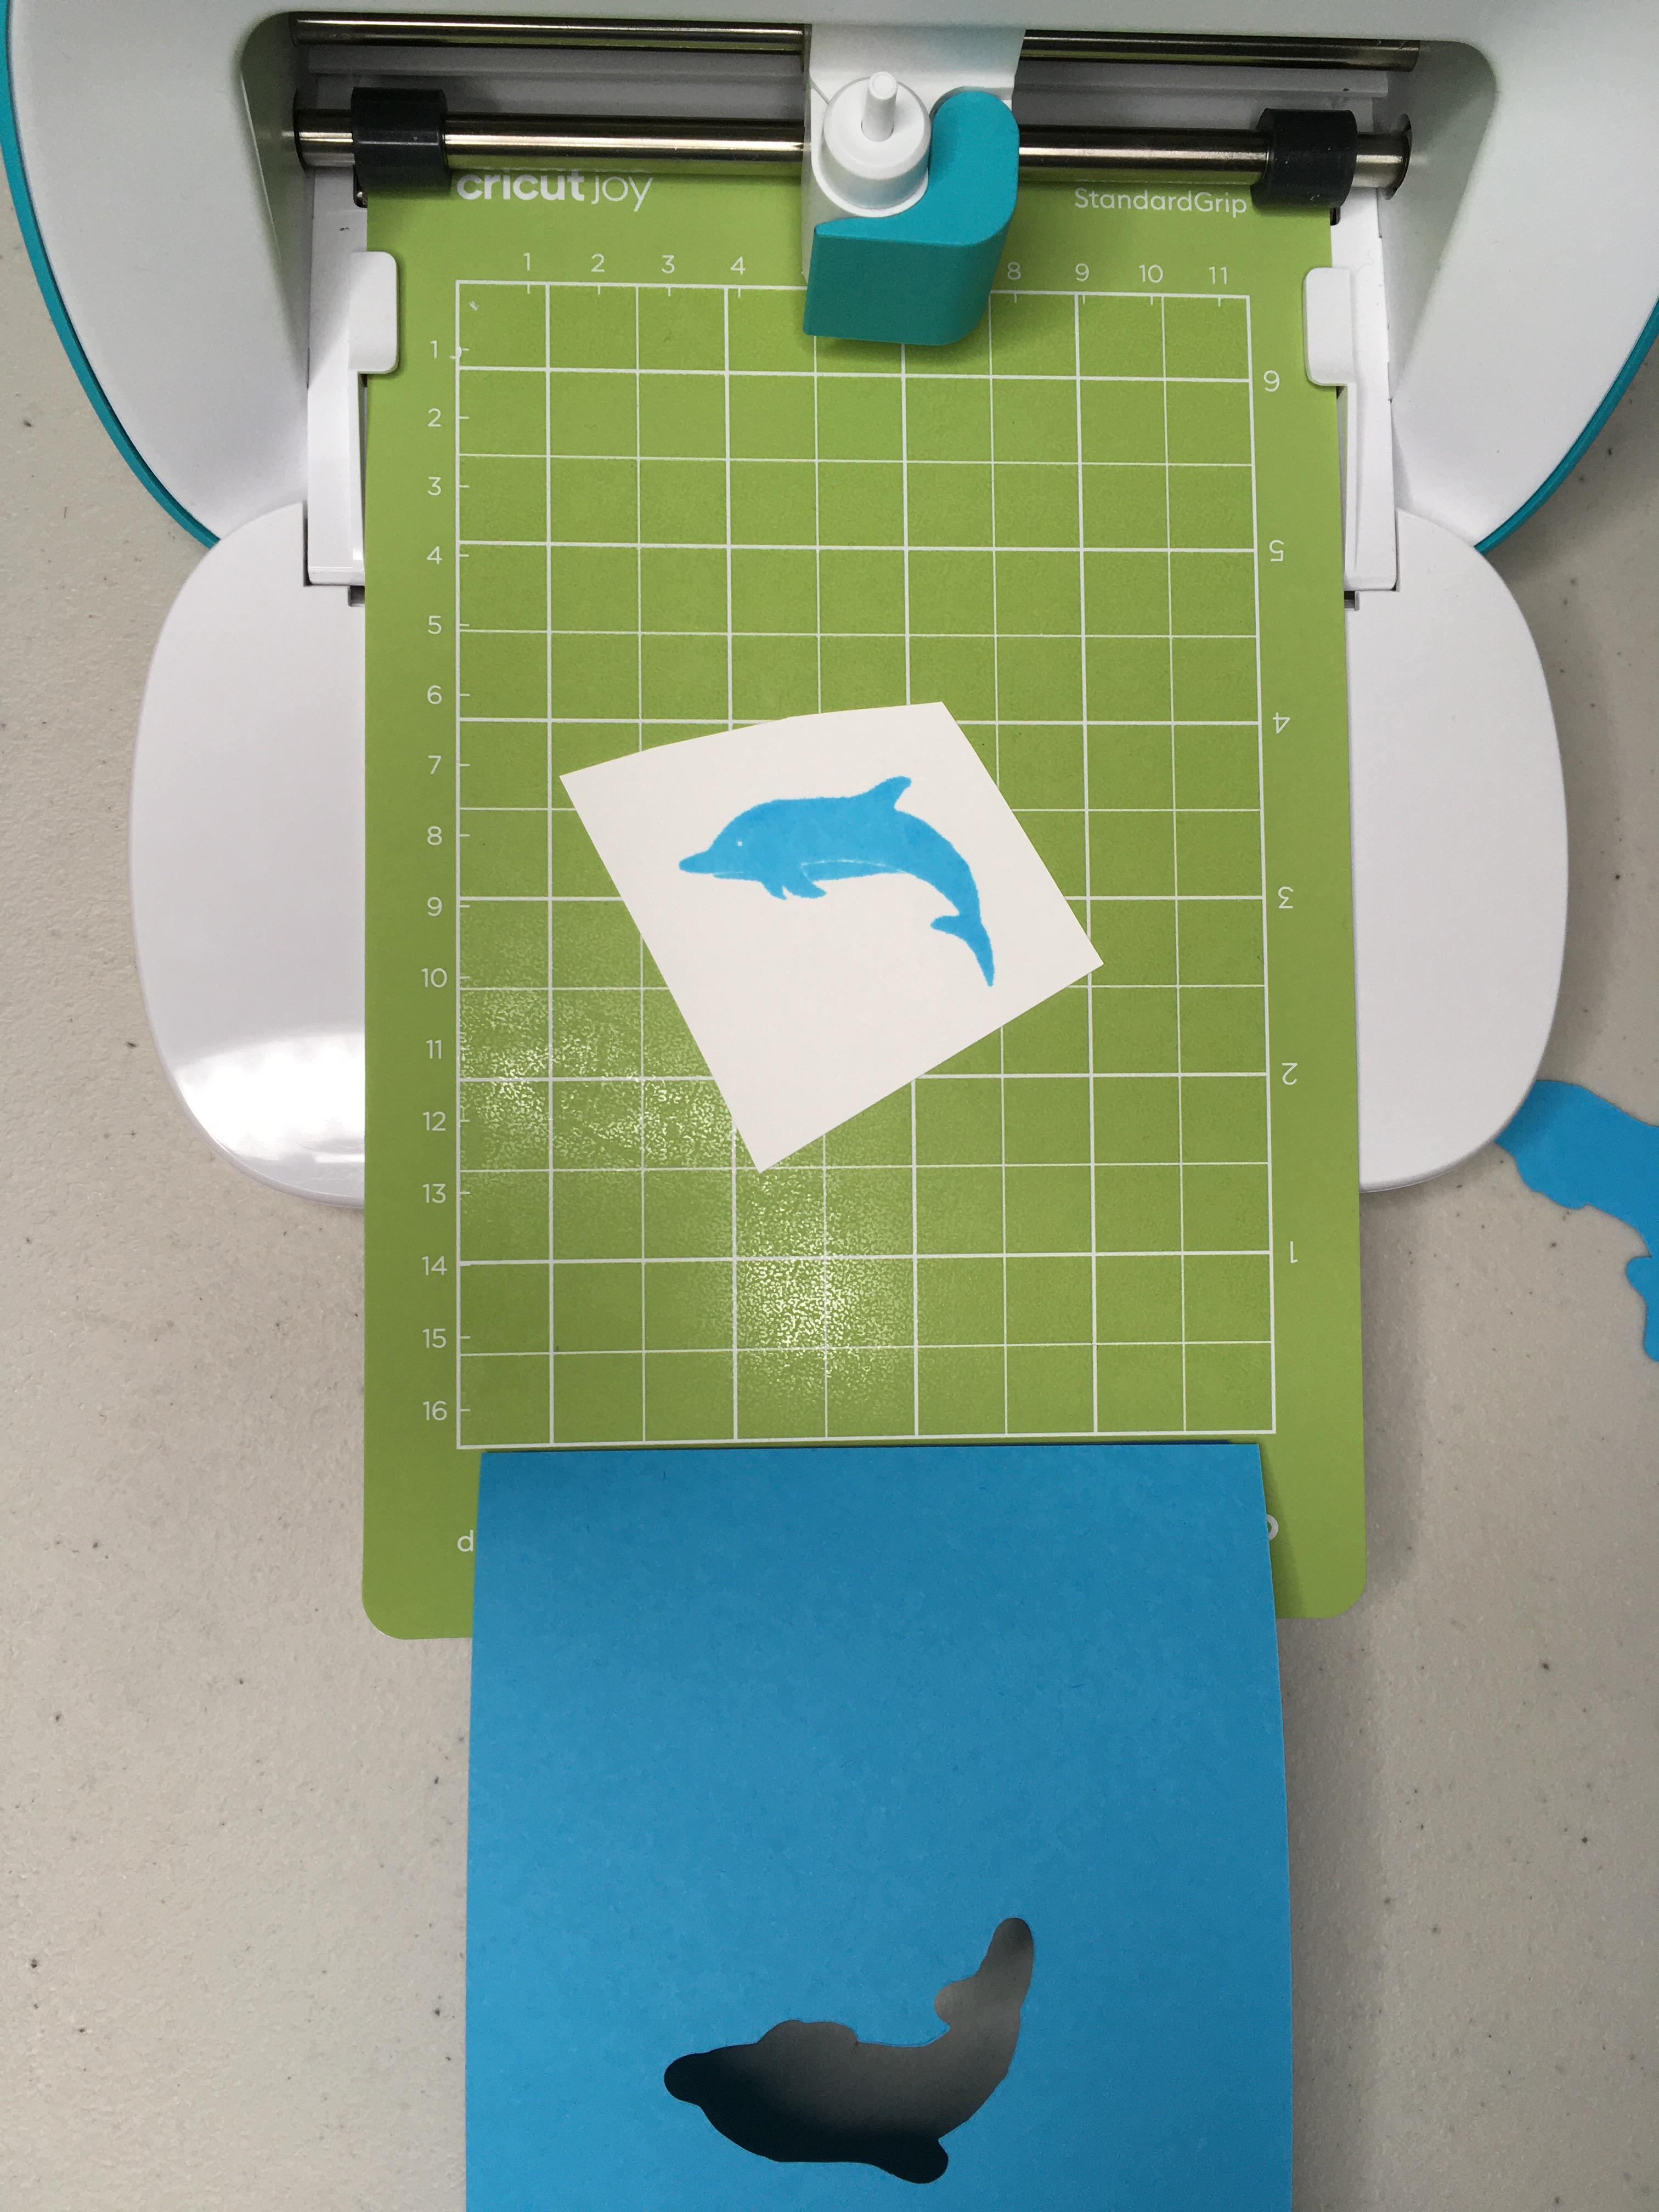
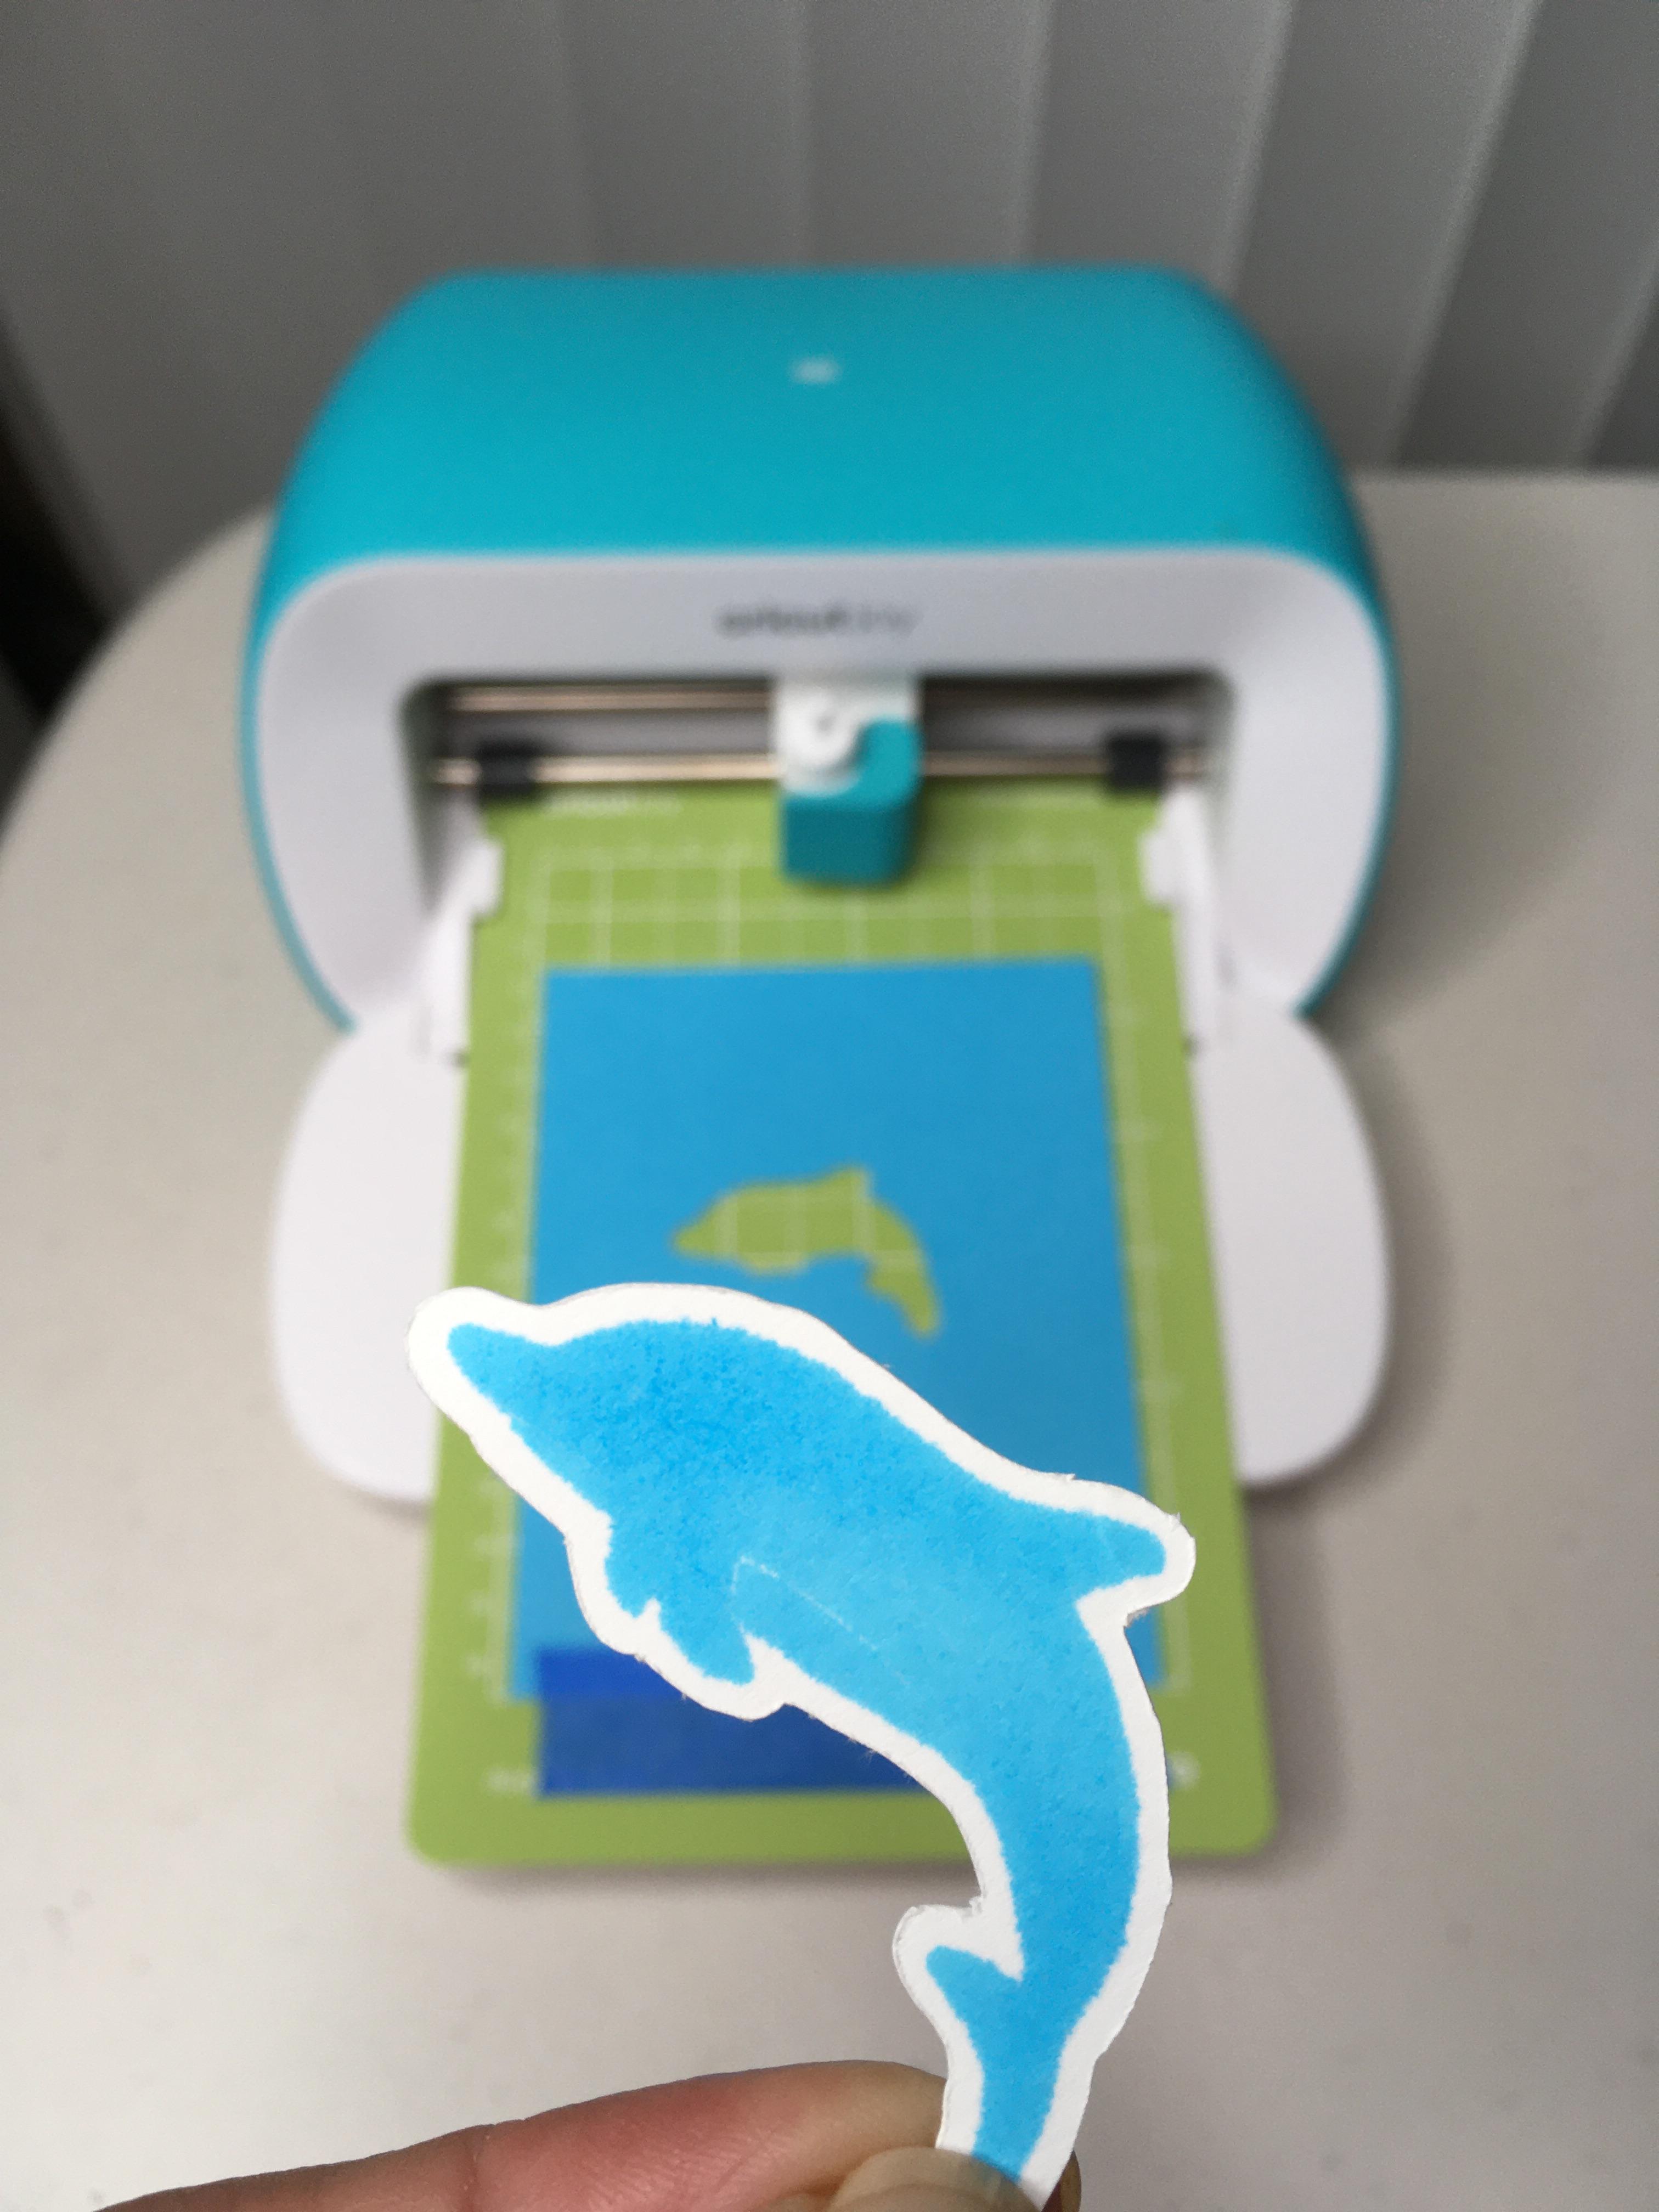
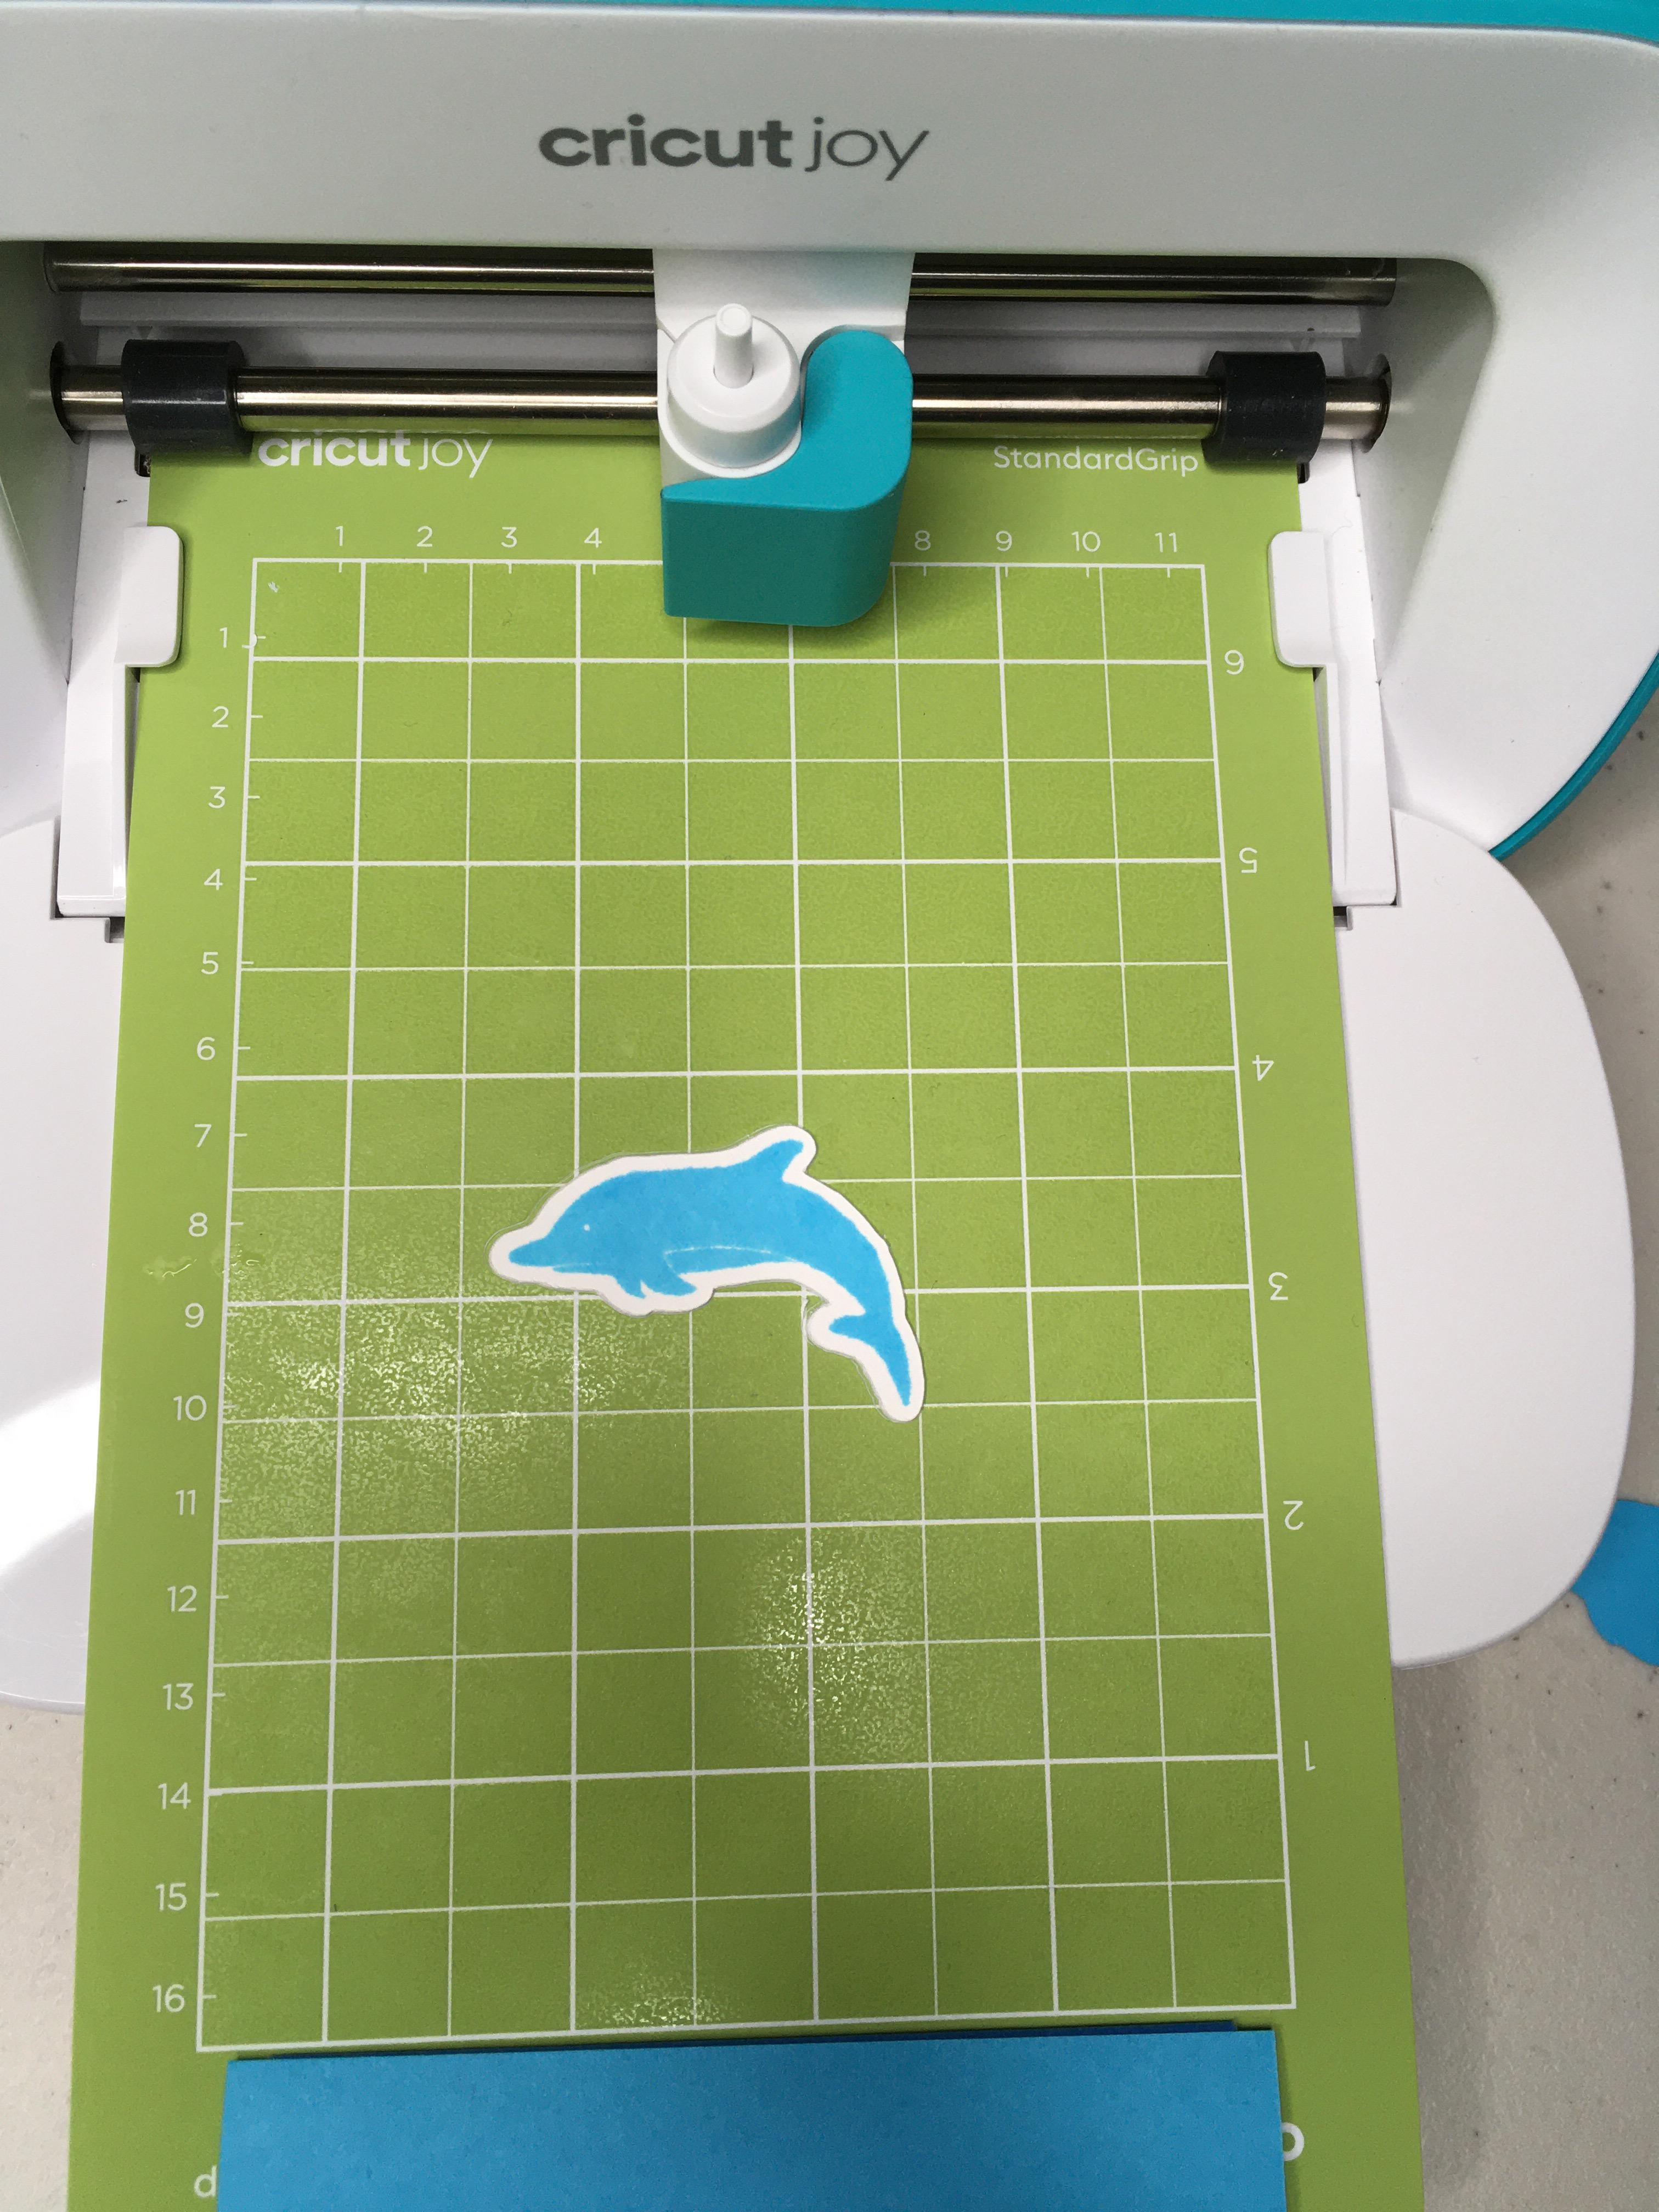
Working with the mat still gripped in the machine's rollers, carefully lift the cardstock from the top down, using the tape as a hinge.
Place the preprinted image behind the flap and center it in the opening. Take your time to carefully lay it back onto the mat while keeping it centered.
Make sure the paper is firmly stuck to the mat, then fold the flap back down out of the way. Do not remove the flap.
Cutting the Printed or Stamped Image
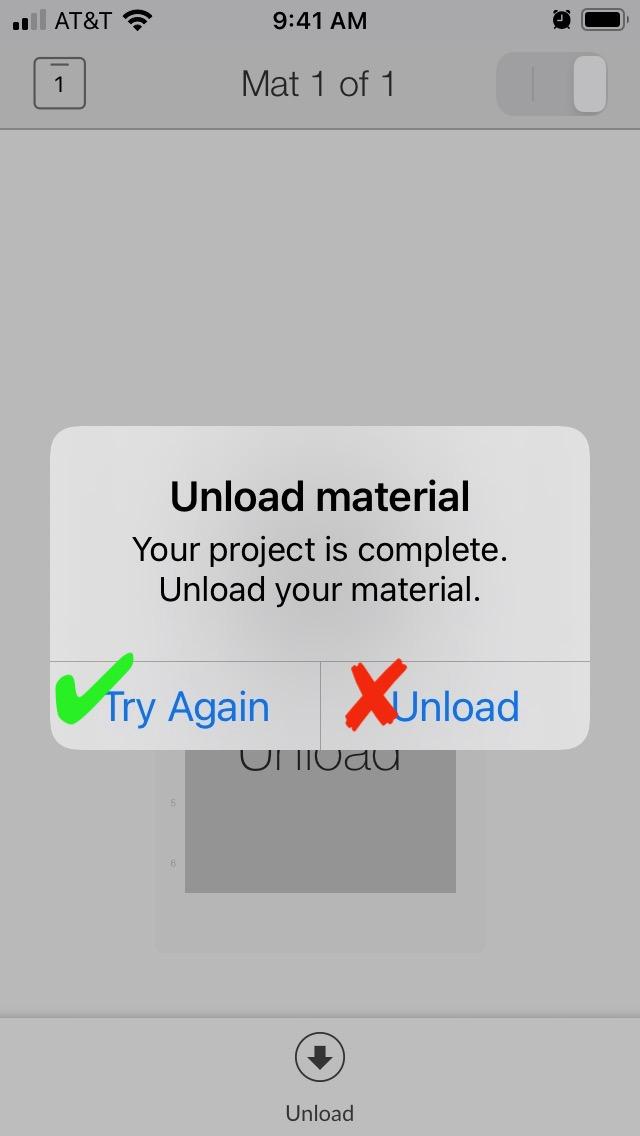

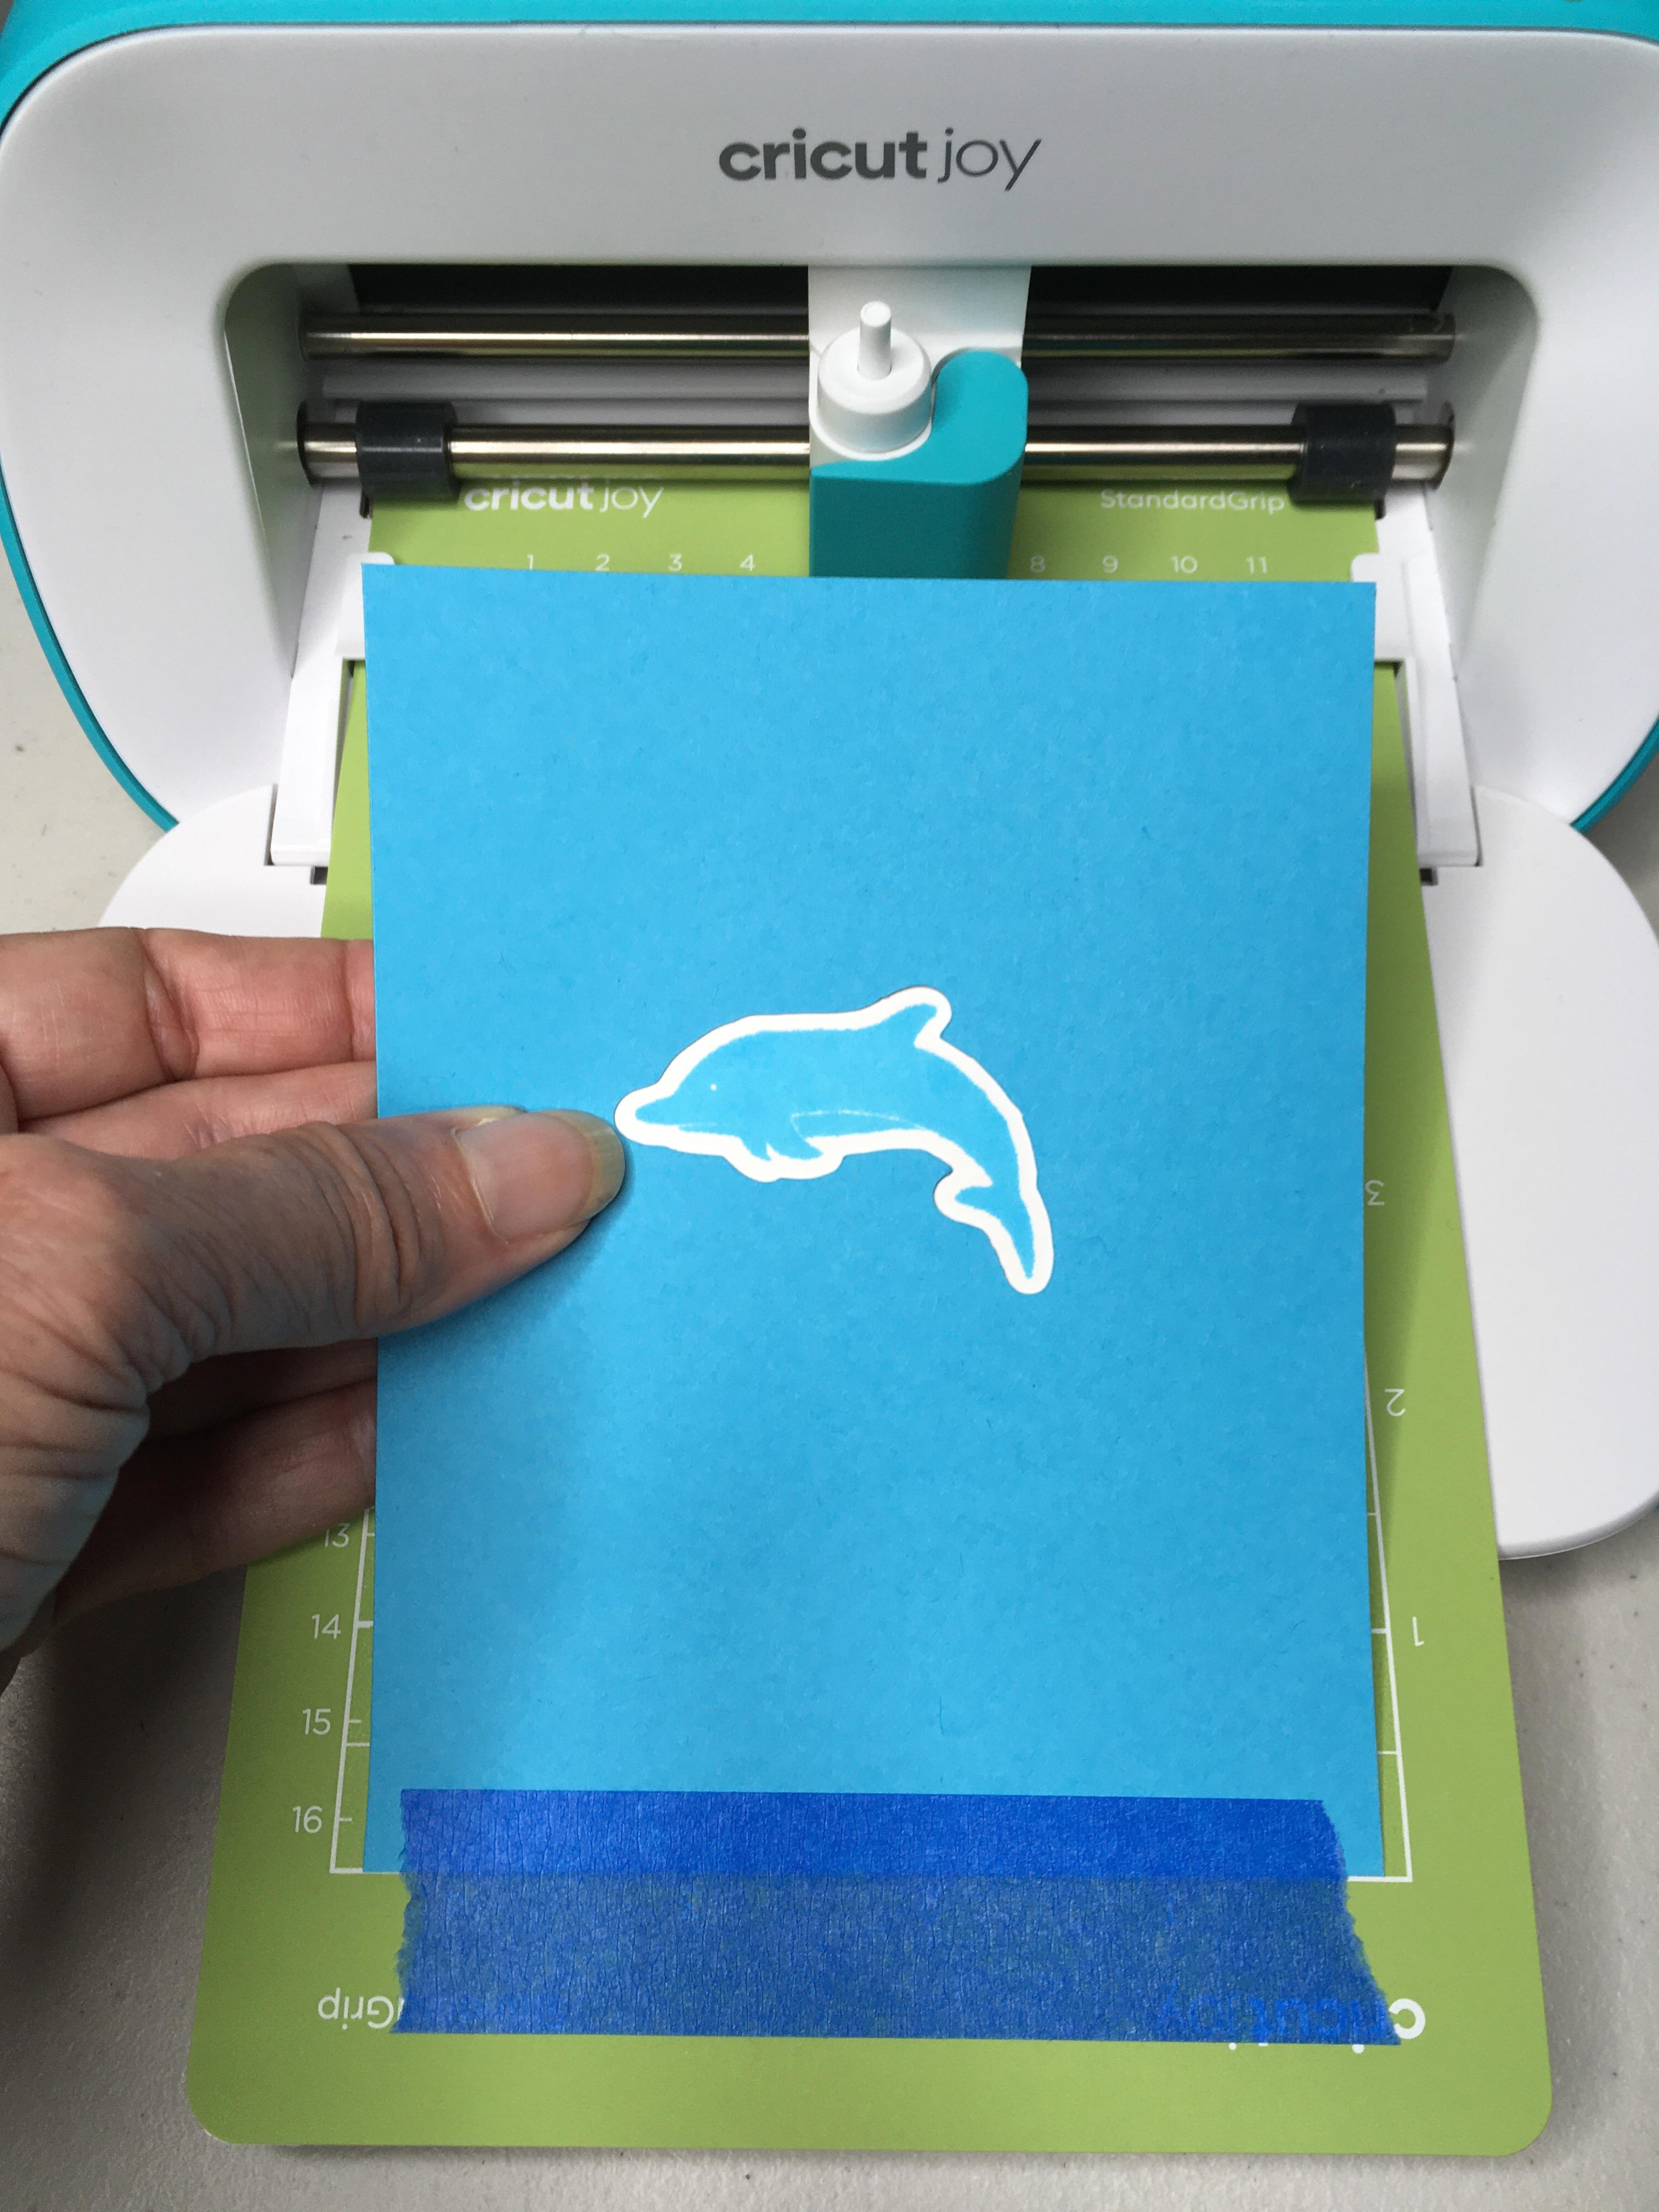
Click the Try Again button in the app or the Go button on the Explore or Maker machine and watch as the path is cut around your printed/stamped image.
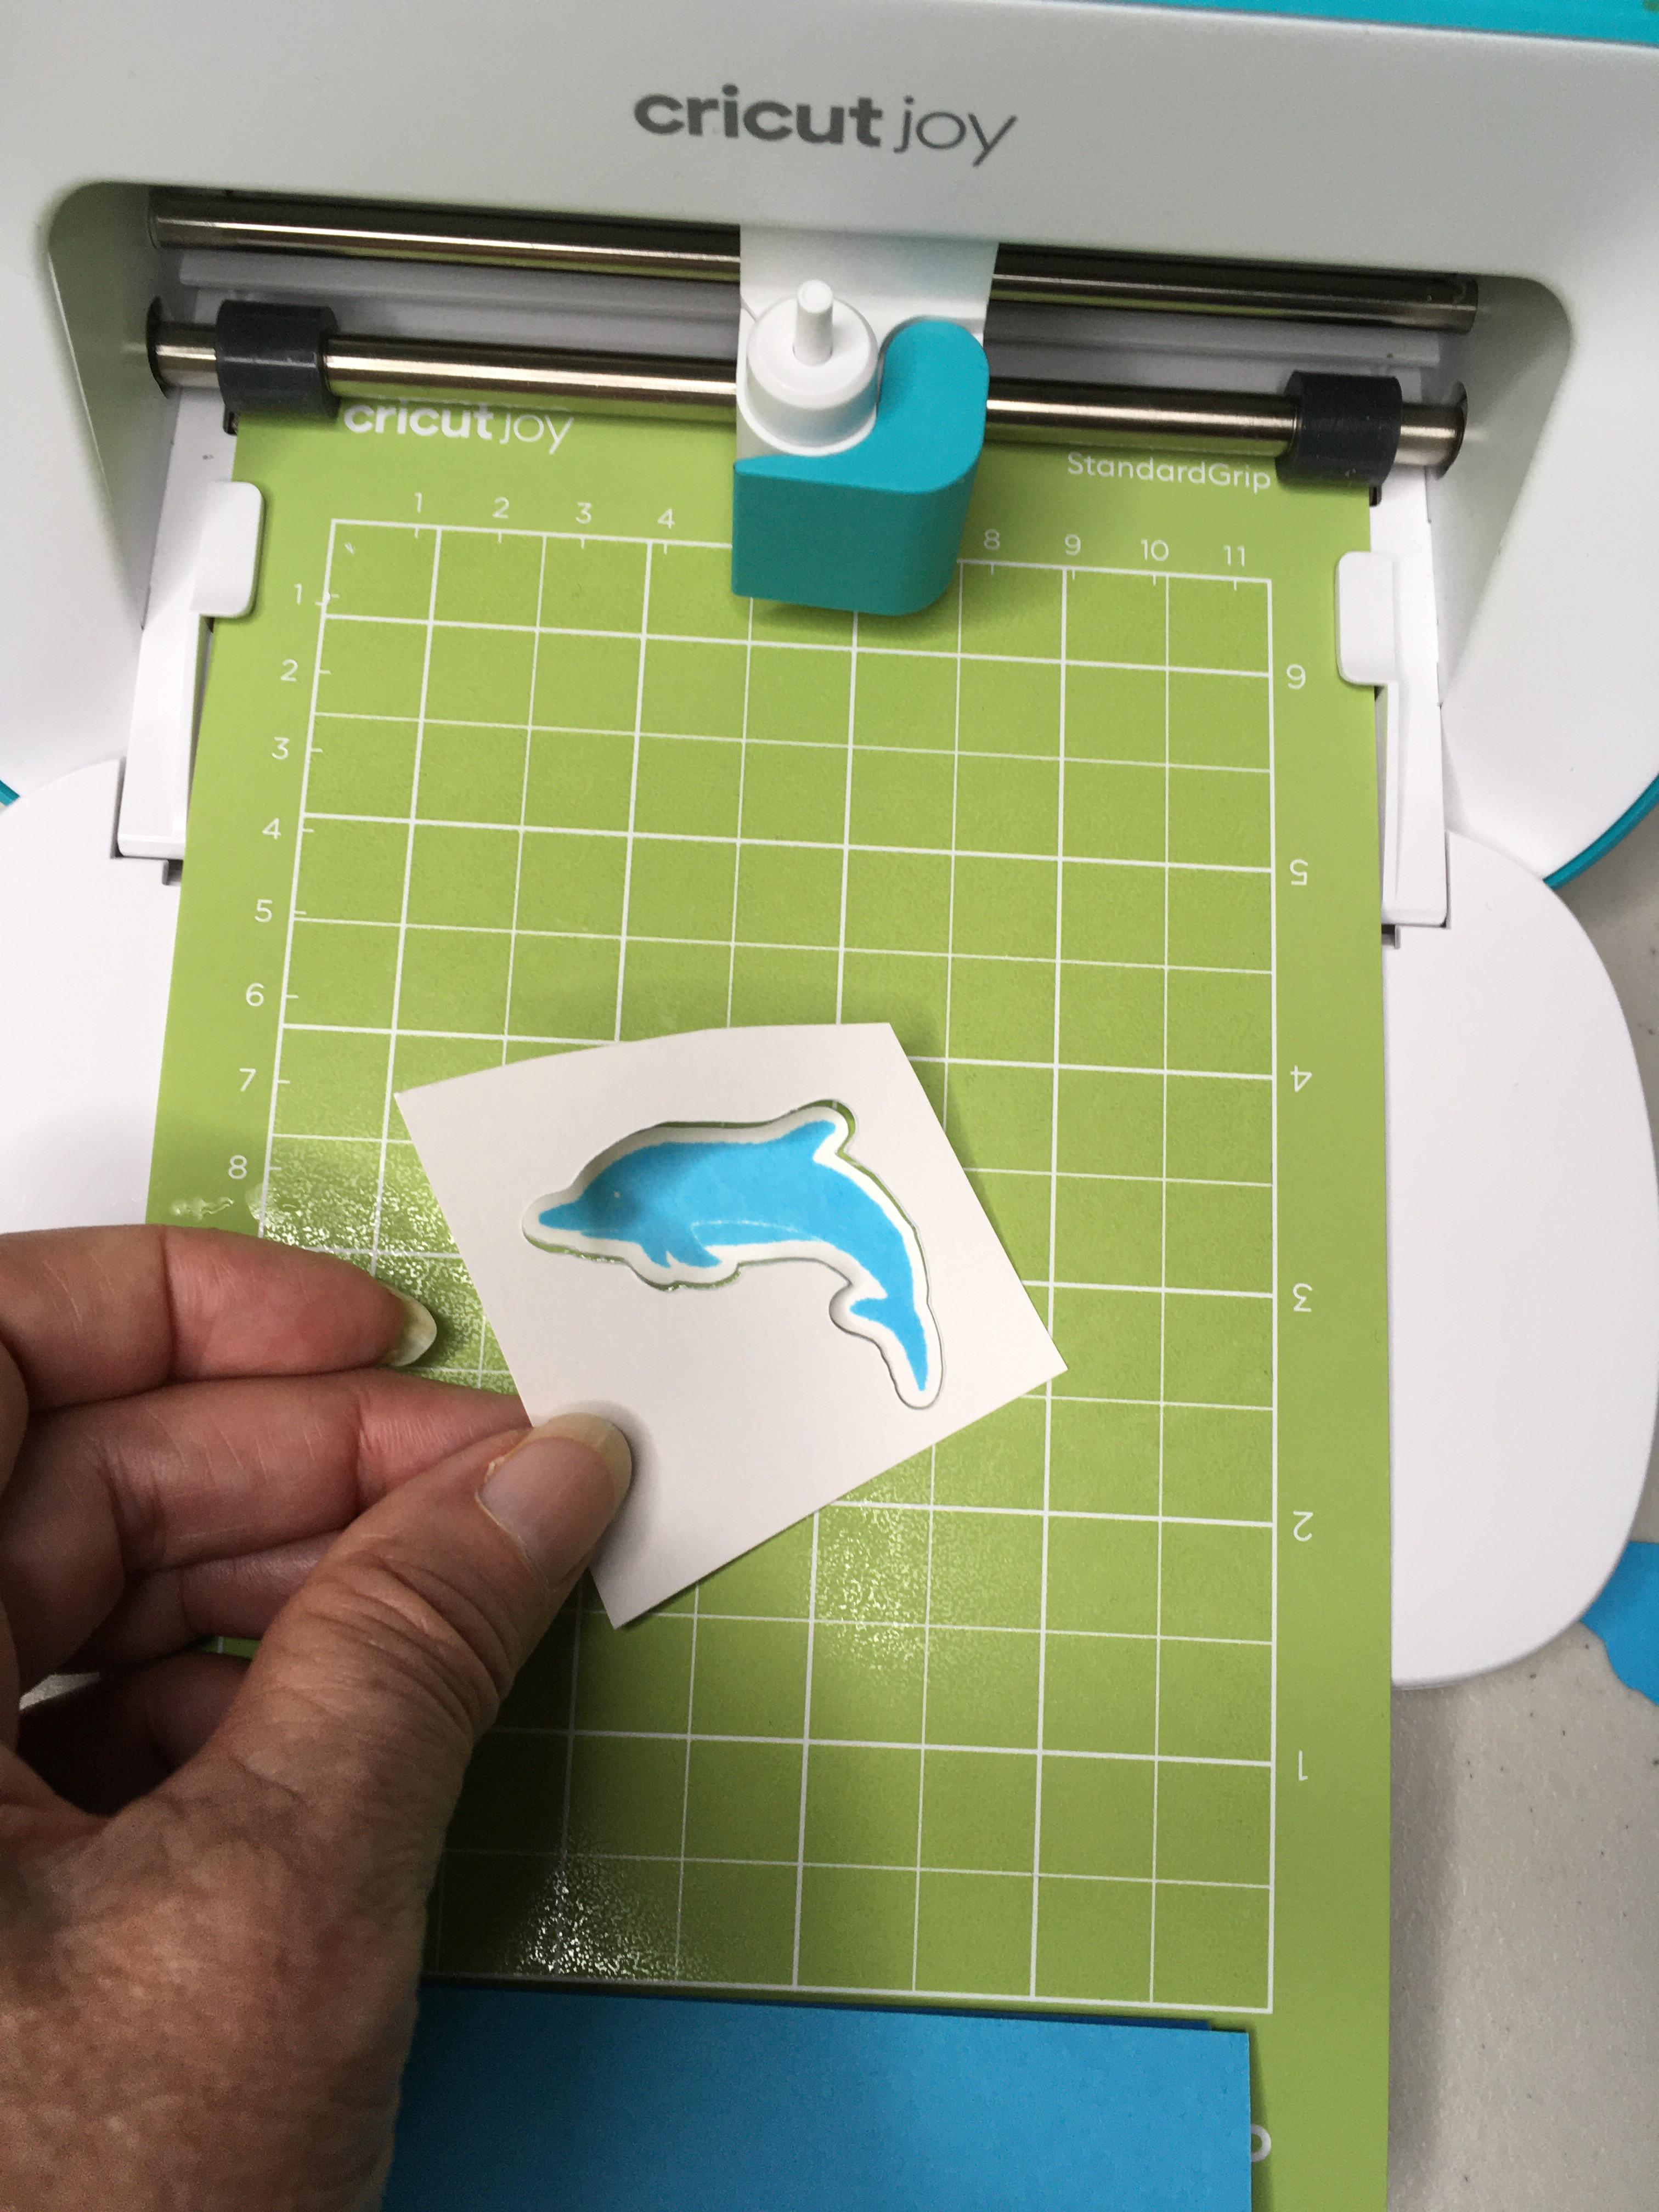
Remove the surrounding paper from the mat to reveal the cutout. If you did not get a clean cut, press the Try Again or Go button. Remove your cutout from the mat.
As long as your flap is still securely taped and the mat has not been unloaded, you can repeat the process with additional images of the same shape and size. Do not unload the mat until you are sure you a done. Once you unload the mat you will need to recut the jig to ensure accurate results.