Creative Process
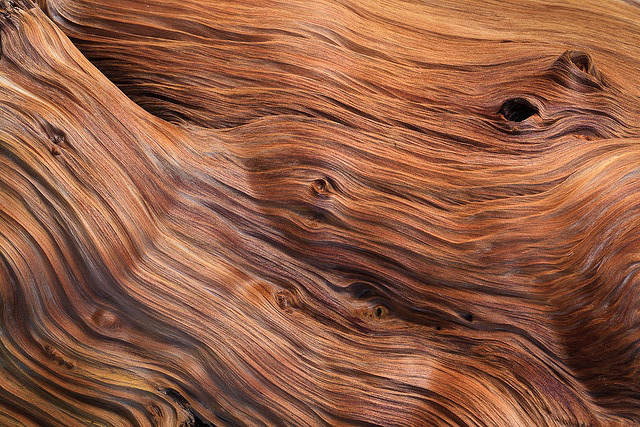
Whenever we start designing, we always like to go through our collection of images we've been saving over the years. For this line of jewelry, we were looking at a lot of nature, particularly patterns found in nature. Once we find the image that speaks to us, it's to get to the drawing board!
Drawing Board
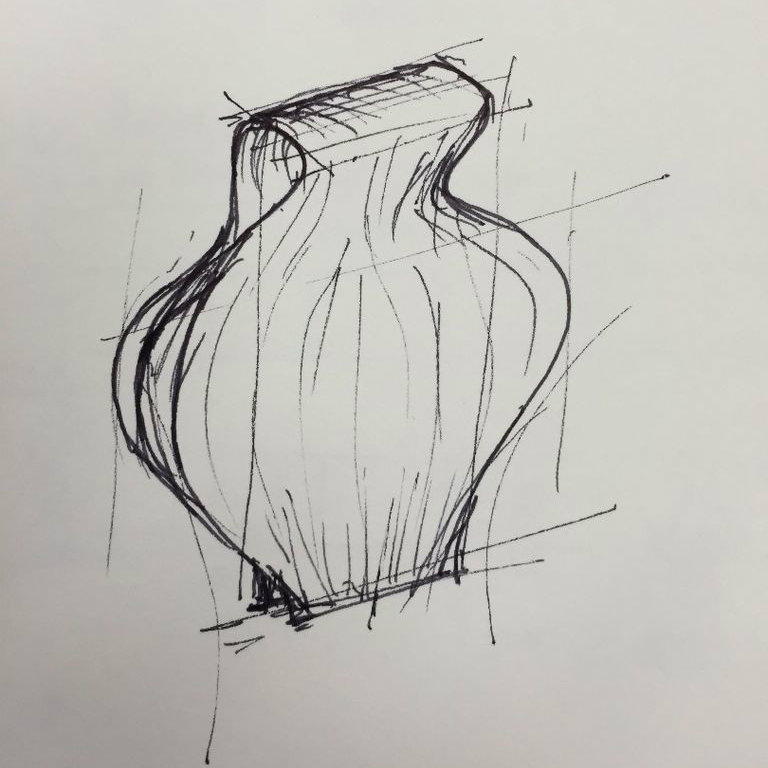
In this instructable we're going to look at the pendant. We had a pretty clear vision of the form we wanted to experiment with (definitely not always the case!). Before messing around with computers, softwares and other geeky technologies, we like to just pick up the pen/pencil/marker (whatever your weapon of choice is) and sketch away.
Basic Modeling
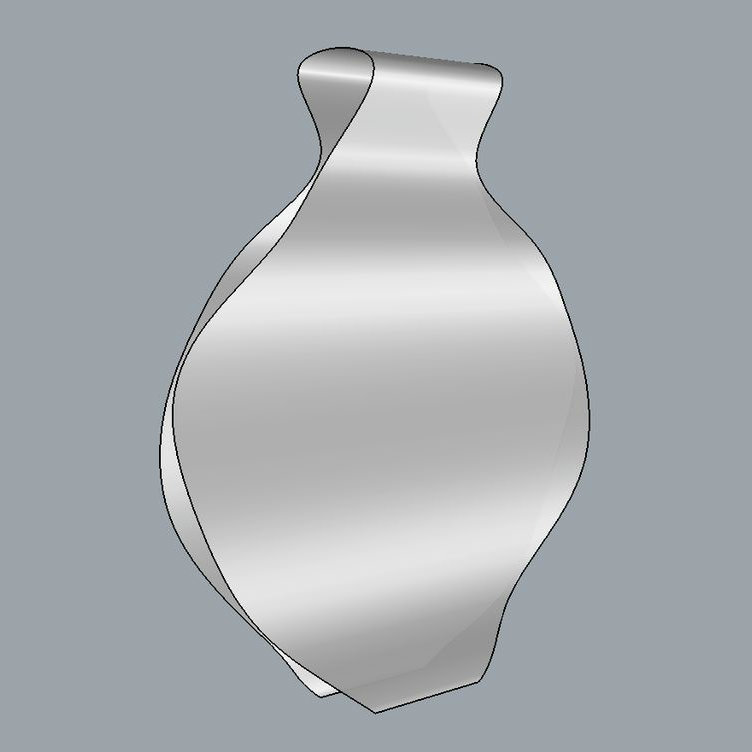
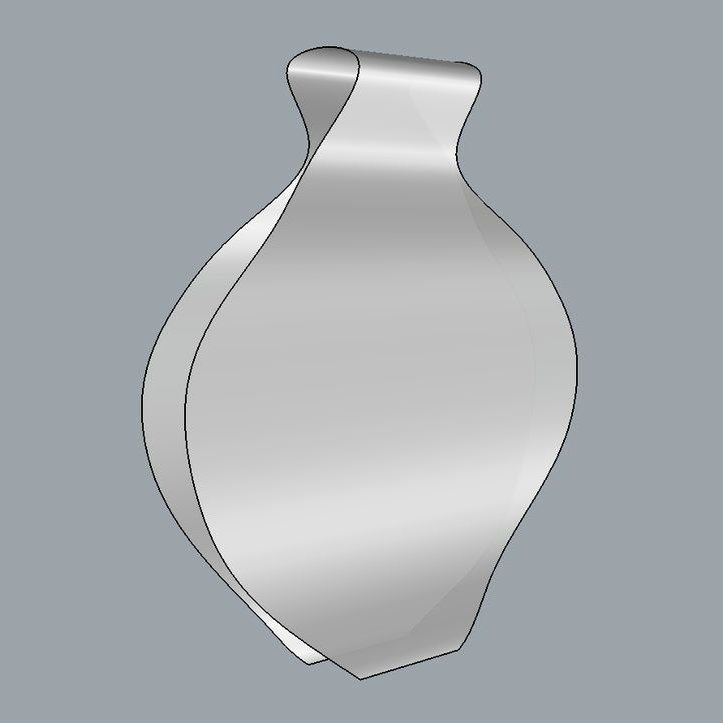
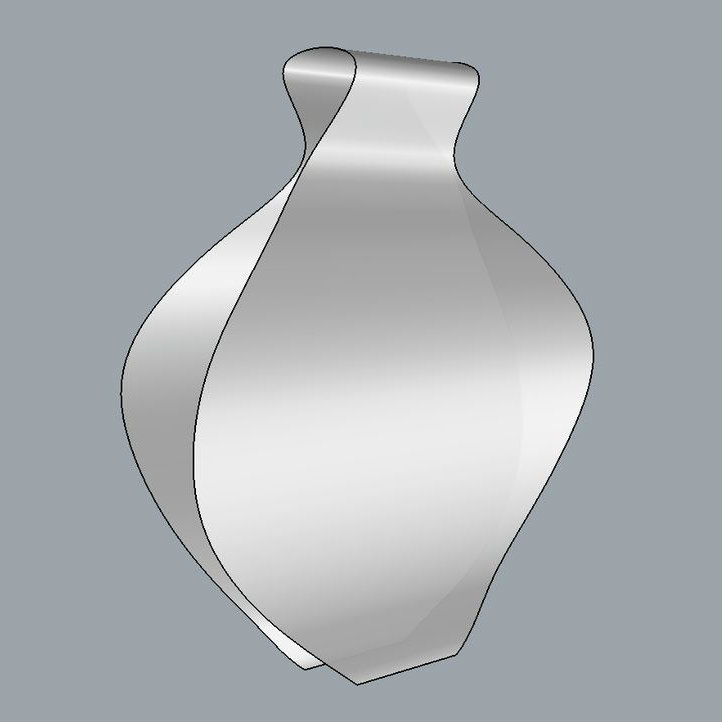
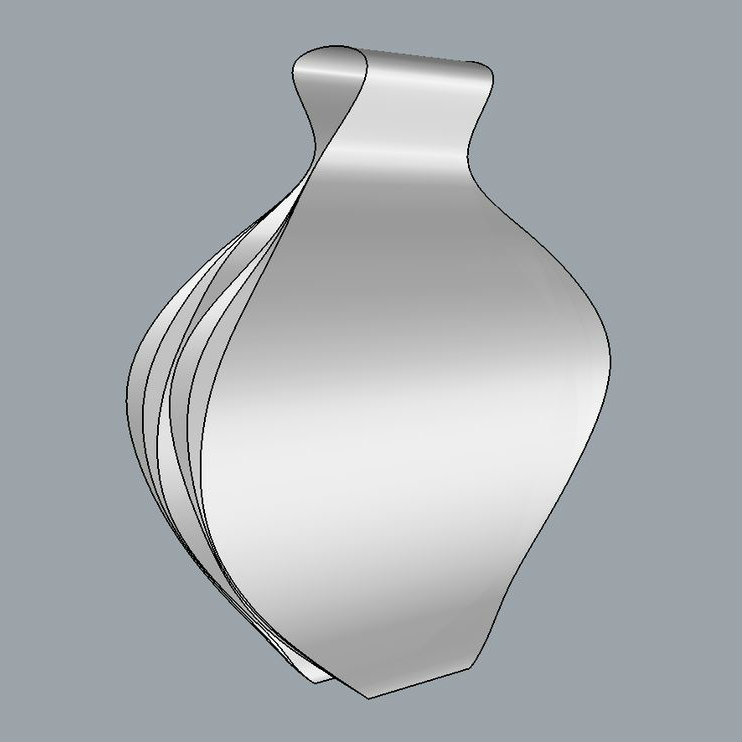
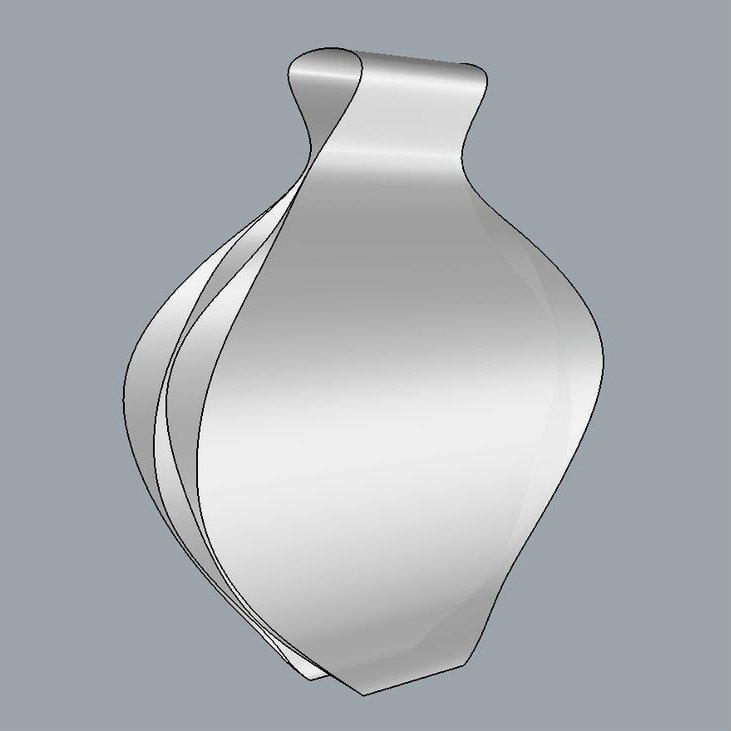
Let's start by creating the basic shape for the pendant with a series of lofted surfaces. After a few of them, we tried different combinations of surfaces to see what would work best for the next steps (hint: lots of lines)
Curves on Curves on Curves
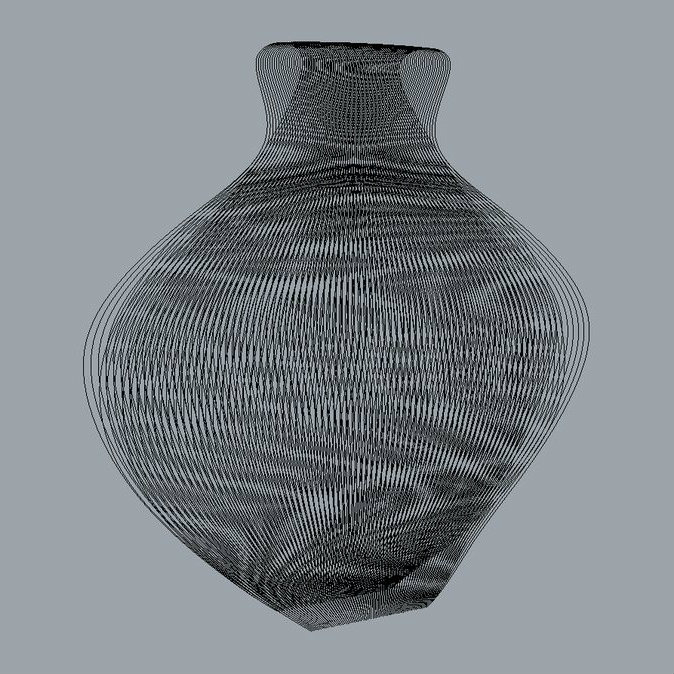
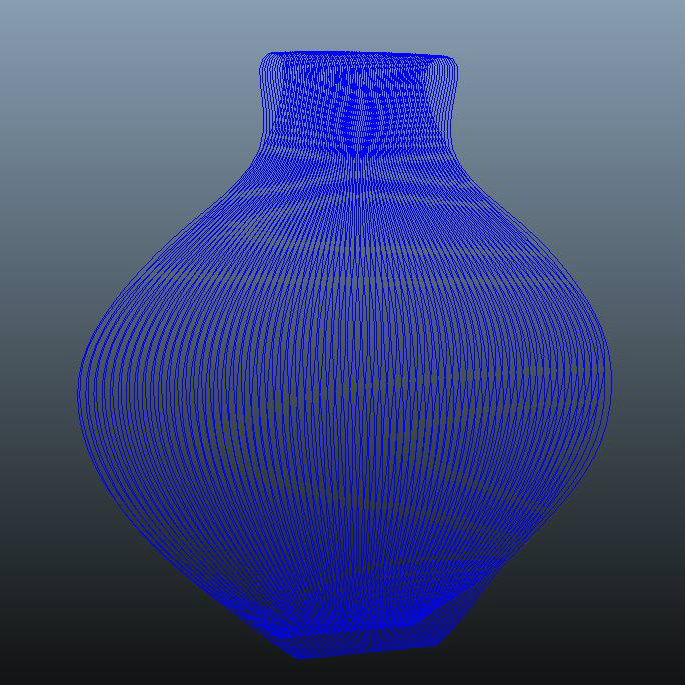
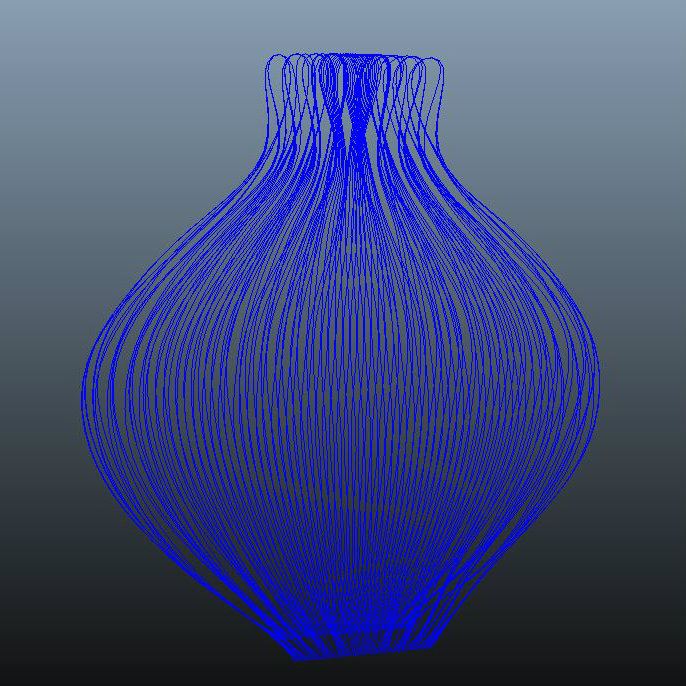
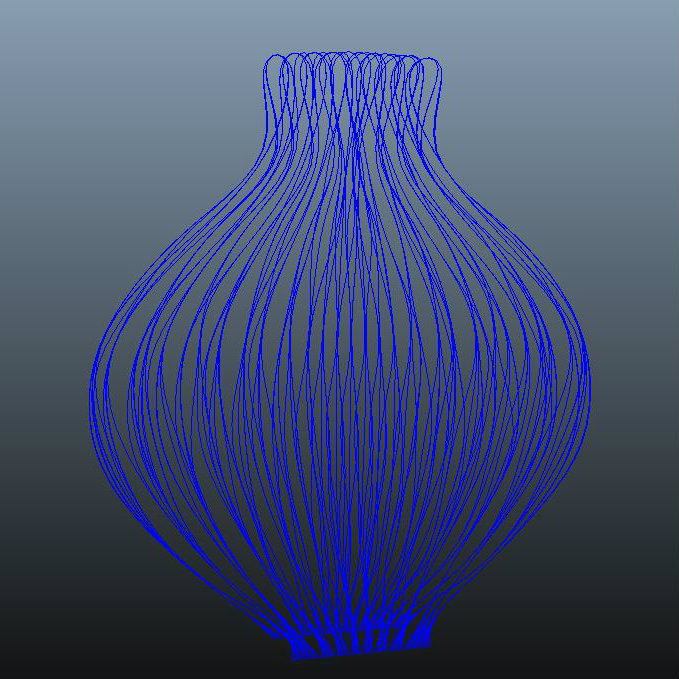
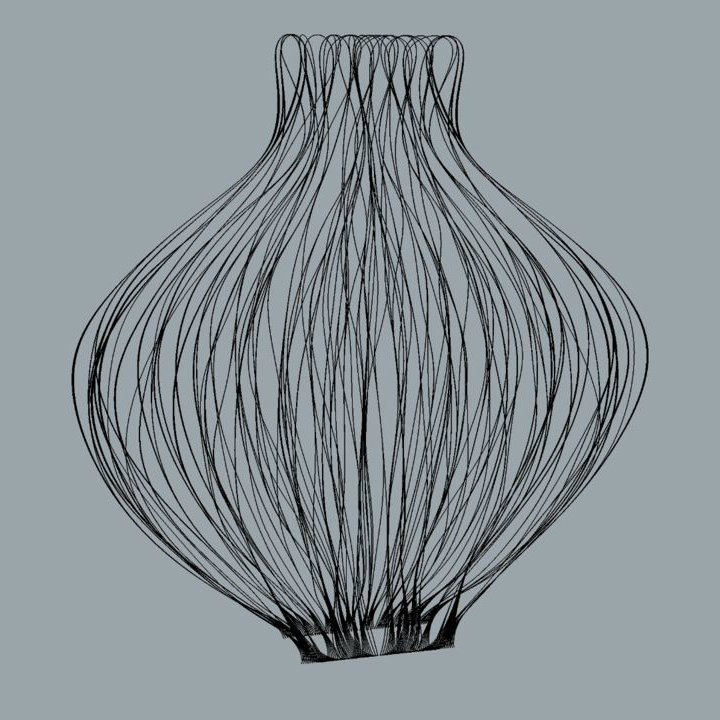
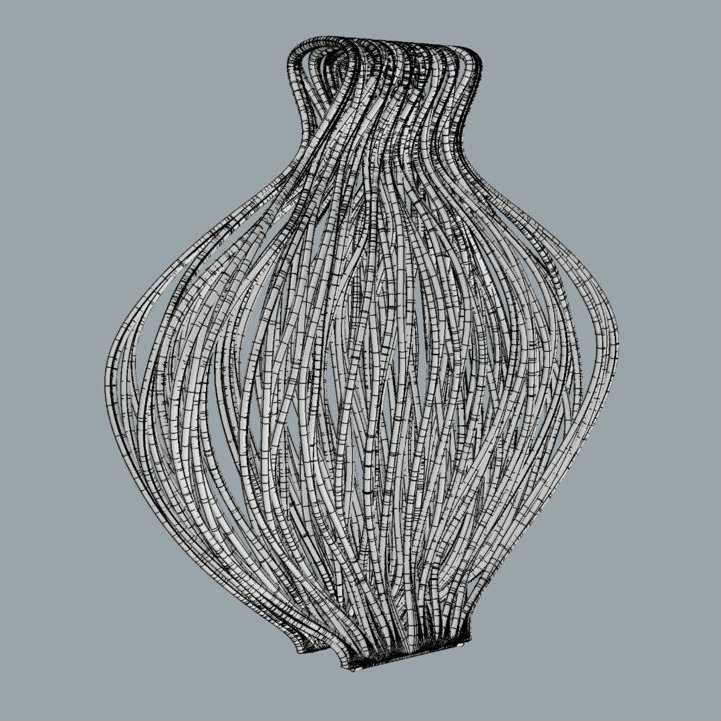
After the basic surface modeling, we go ahead and extract the curves defined by the curvature and edges of these surfaces.
Through Maya animation tools we start generating the connections between the curves, again, and again, and again until we find the right settings and are happy with the results!
Once we're happy with it, let's solidify those curves into pipes!
Adding Sprues
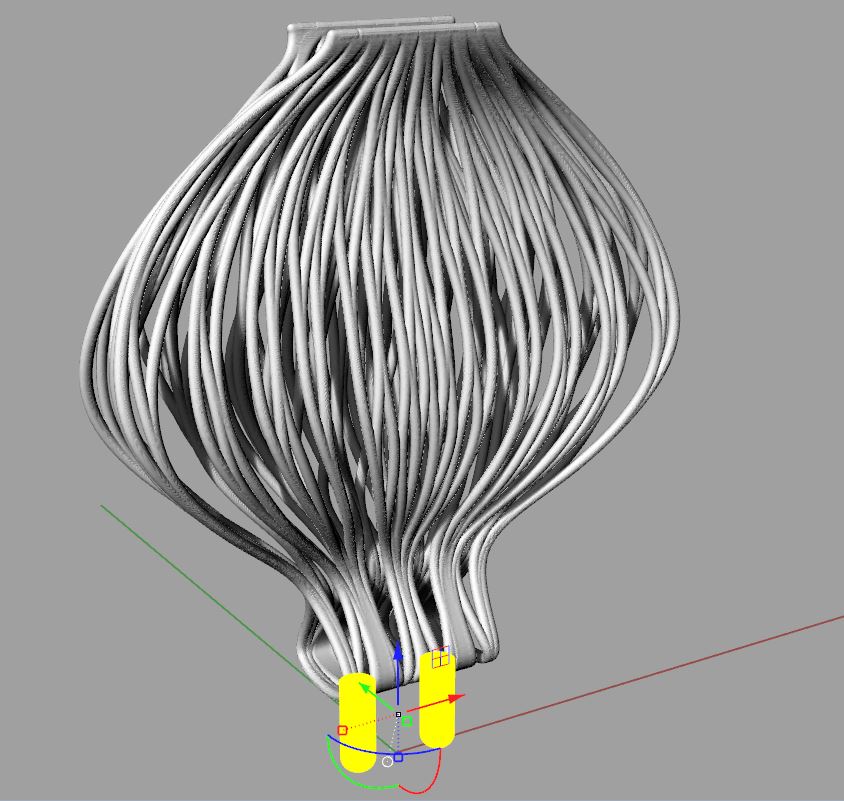
Ok we have our design ready to print now. But we still need sprues if we're going to cast this into metal!
So the best way to add sprues to any of your 3D models is to make sure you find flat areas in your model for them to connect to, it will be easier for the metal to flow later on during the cast.
Also, good specs to consider for 3D printing in wax and casting in metal:
- Keep your model at a minimum of 0.8mm thickness overall
- Make sprues at least 3mm wide cylinders
- Make sure all sprues are oriented in the same direction: makes it a lot easier to connect to the tree later on (see our Casting Instructable)
Meshmixer for Ember
Ok then!
Idea/Concept: Check!
Design: Check!
Casting Prep: Check!
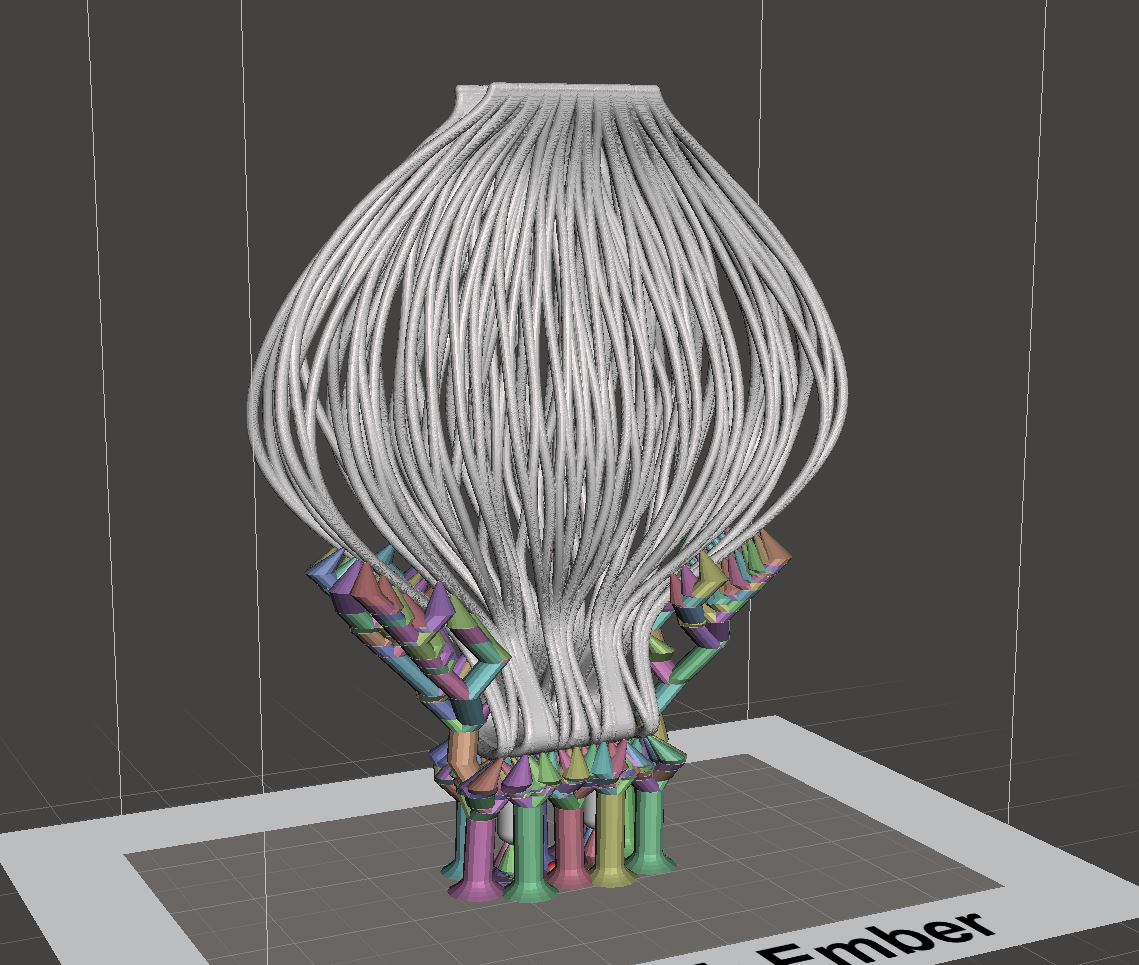
Now for the last step before printing on the Ember: Make sure you generate the correct support in Meshmixer using the Autodesk Ember Settings.