Creative DIY "Shopping and To-do List" Notepad Holder
by amitsaha in Living > Organizing
3086 Views, 66 Favorites, 0 Comments
Creative DIY "Shopping and To-do List" Notepad Holder
Welcome to my entry for the Instructables Build-a-Tool Contest! I present to you the "Creative DIY 'Shopping and To-do List' Notepad Holder," a uniquely designed tool to revolutionize your organization routine. This handy organizer not only keeps your shopping lists and to-do lists in order but also adds a touch of creativity and personalization to your daily chores. Whether you're a busy parent, a meticulous planner, or someone who loves DIY projects, this notepad holder will make your life easier by ensuring you never miss an item or task. Follow my clear, step-by-step instructions to create your own, and enjoy a more organized and efficient daily routine.
Supplies
- 10mm Ply Board - 10 x 30 cm
- 10mm Leather strap - 10mm x 60mm
- Cords and beads
- Dowel pin - 10 cm
- Necklace hook - 2 pcs
- Small screw eye pins - 2 pcs
- Wood lacquer (optional)
- Receipt Paper rolls
- Mini hacksaw blade
- 10mm screws - 4 pcs
- Button magnets - 4 pcs
Prepare the Base
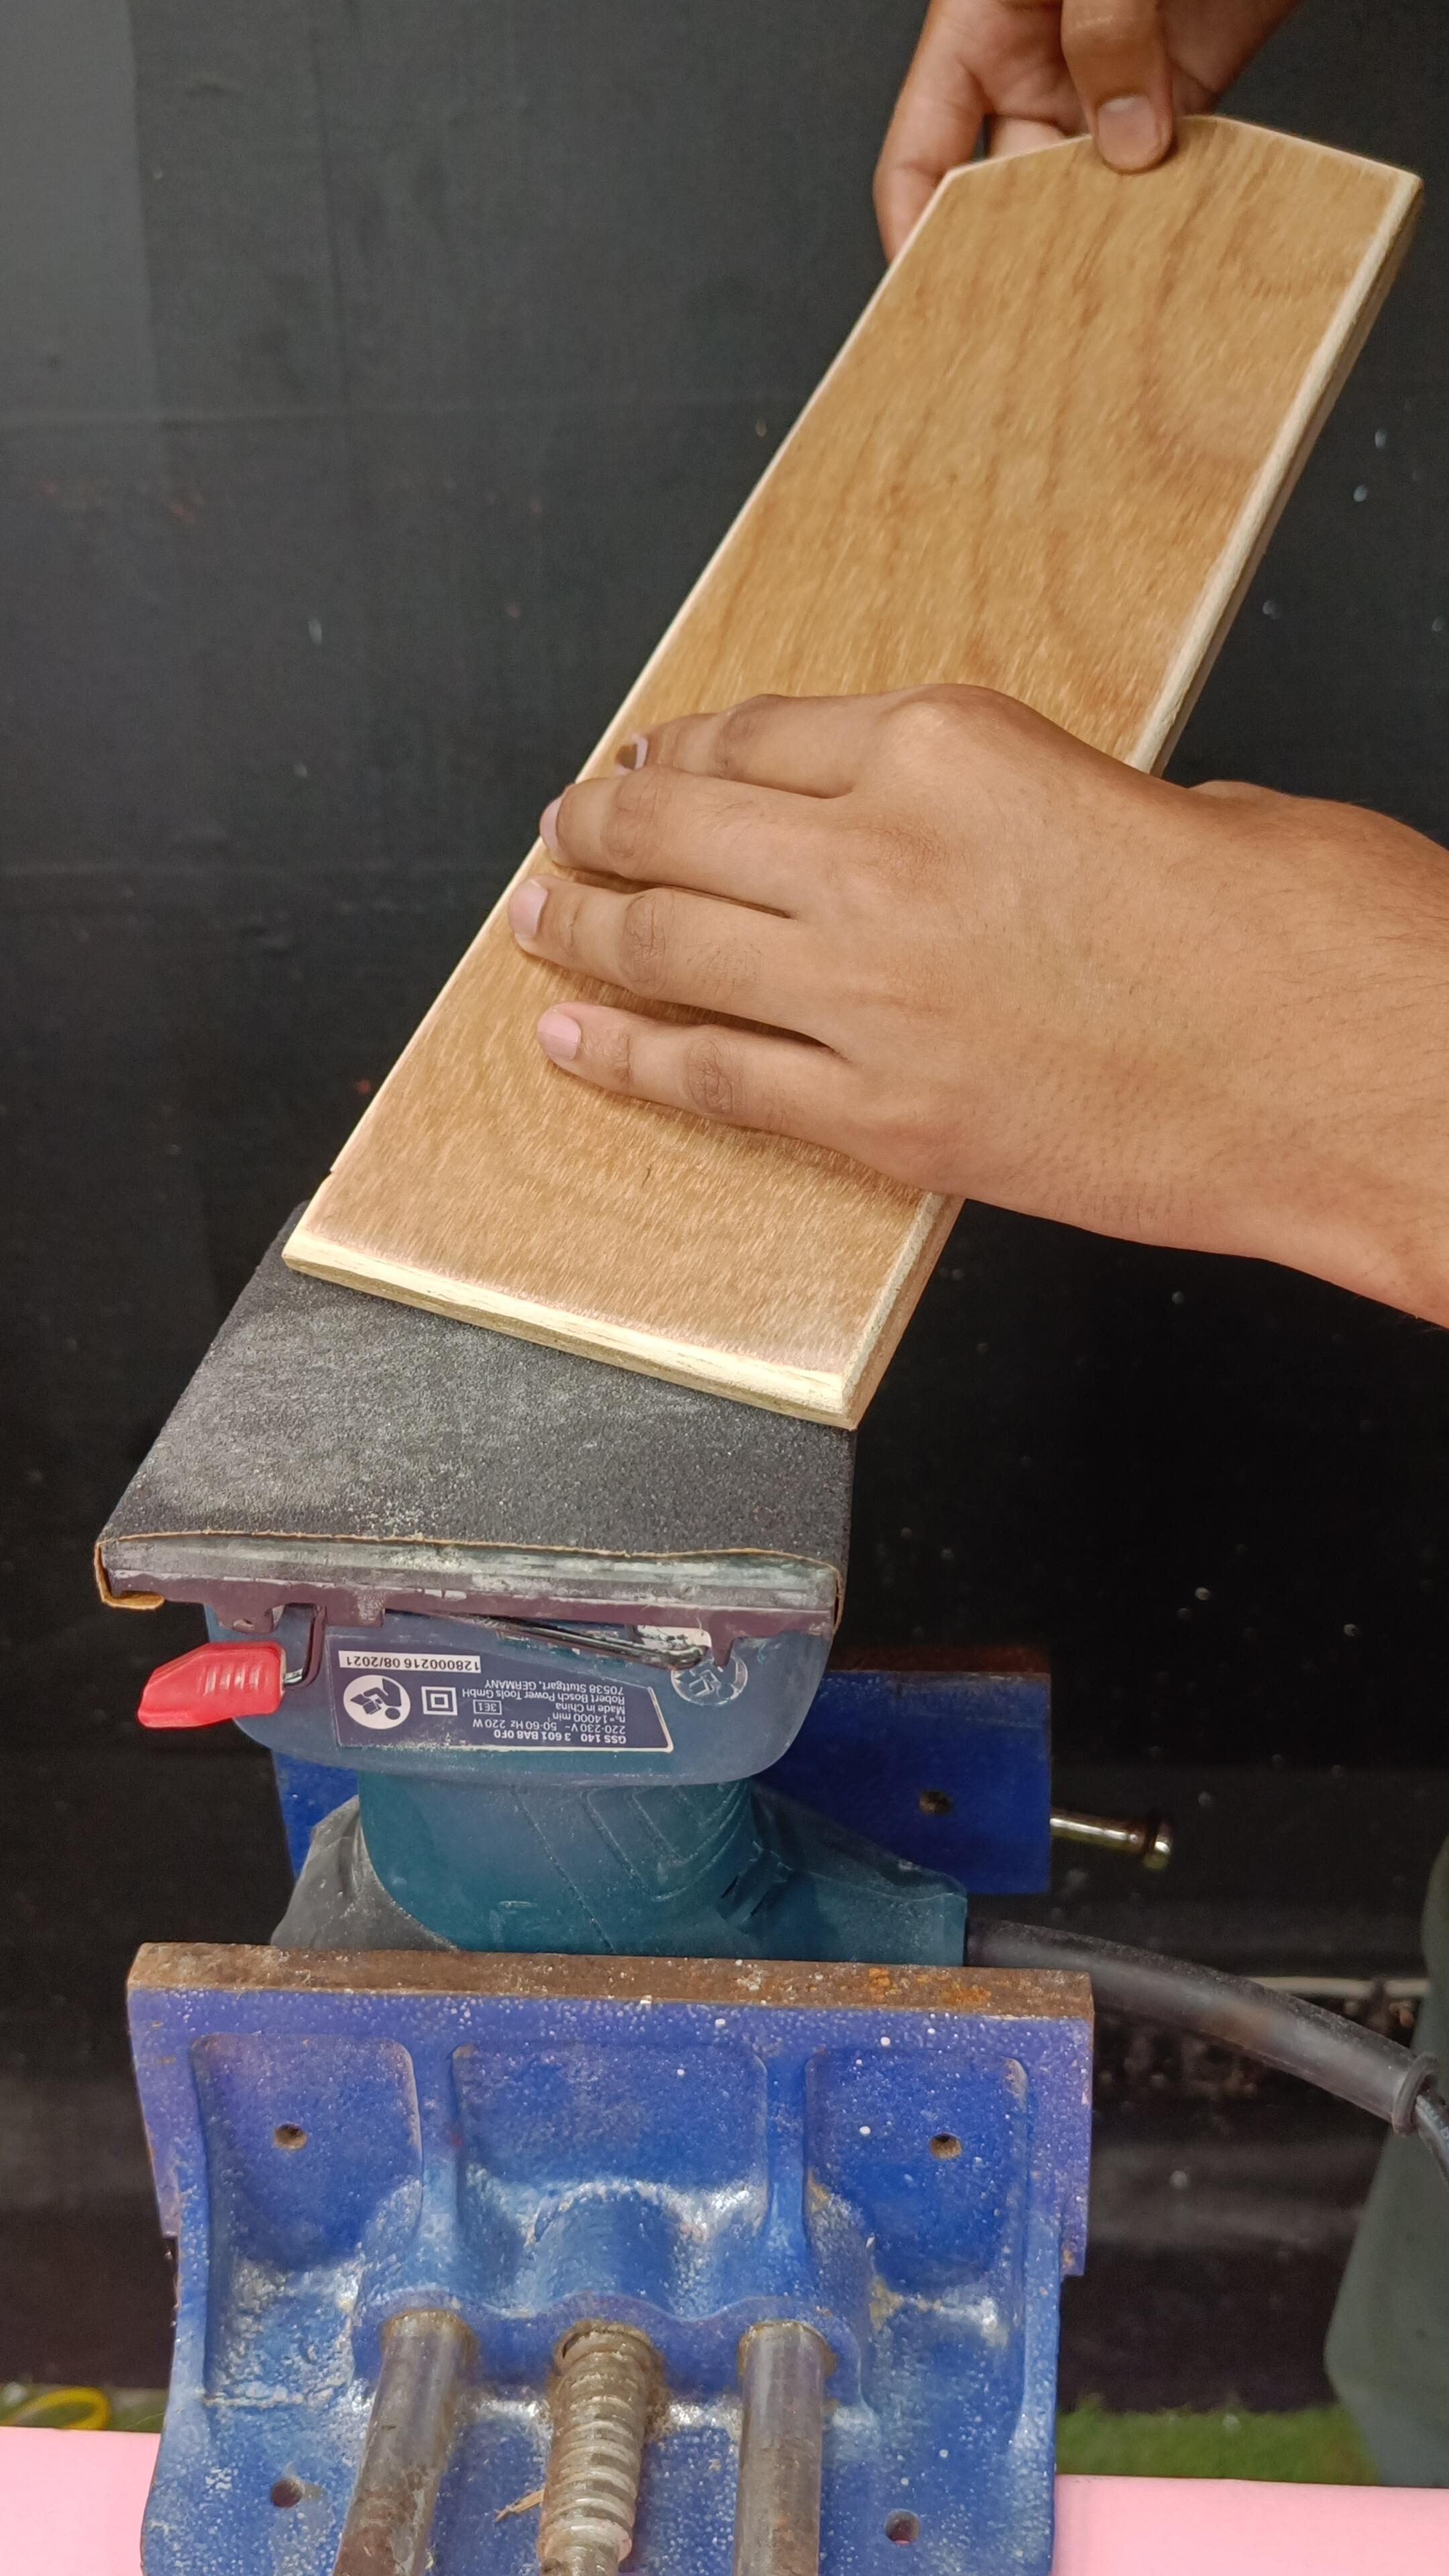
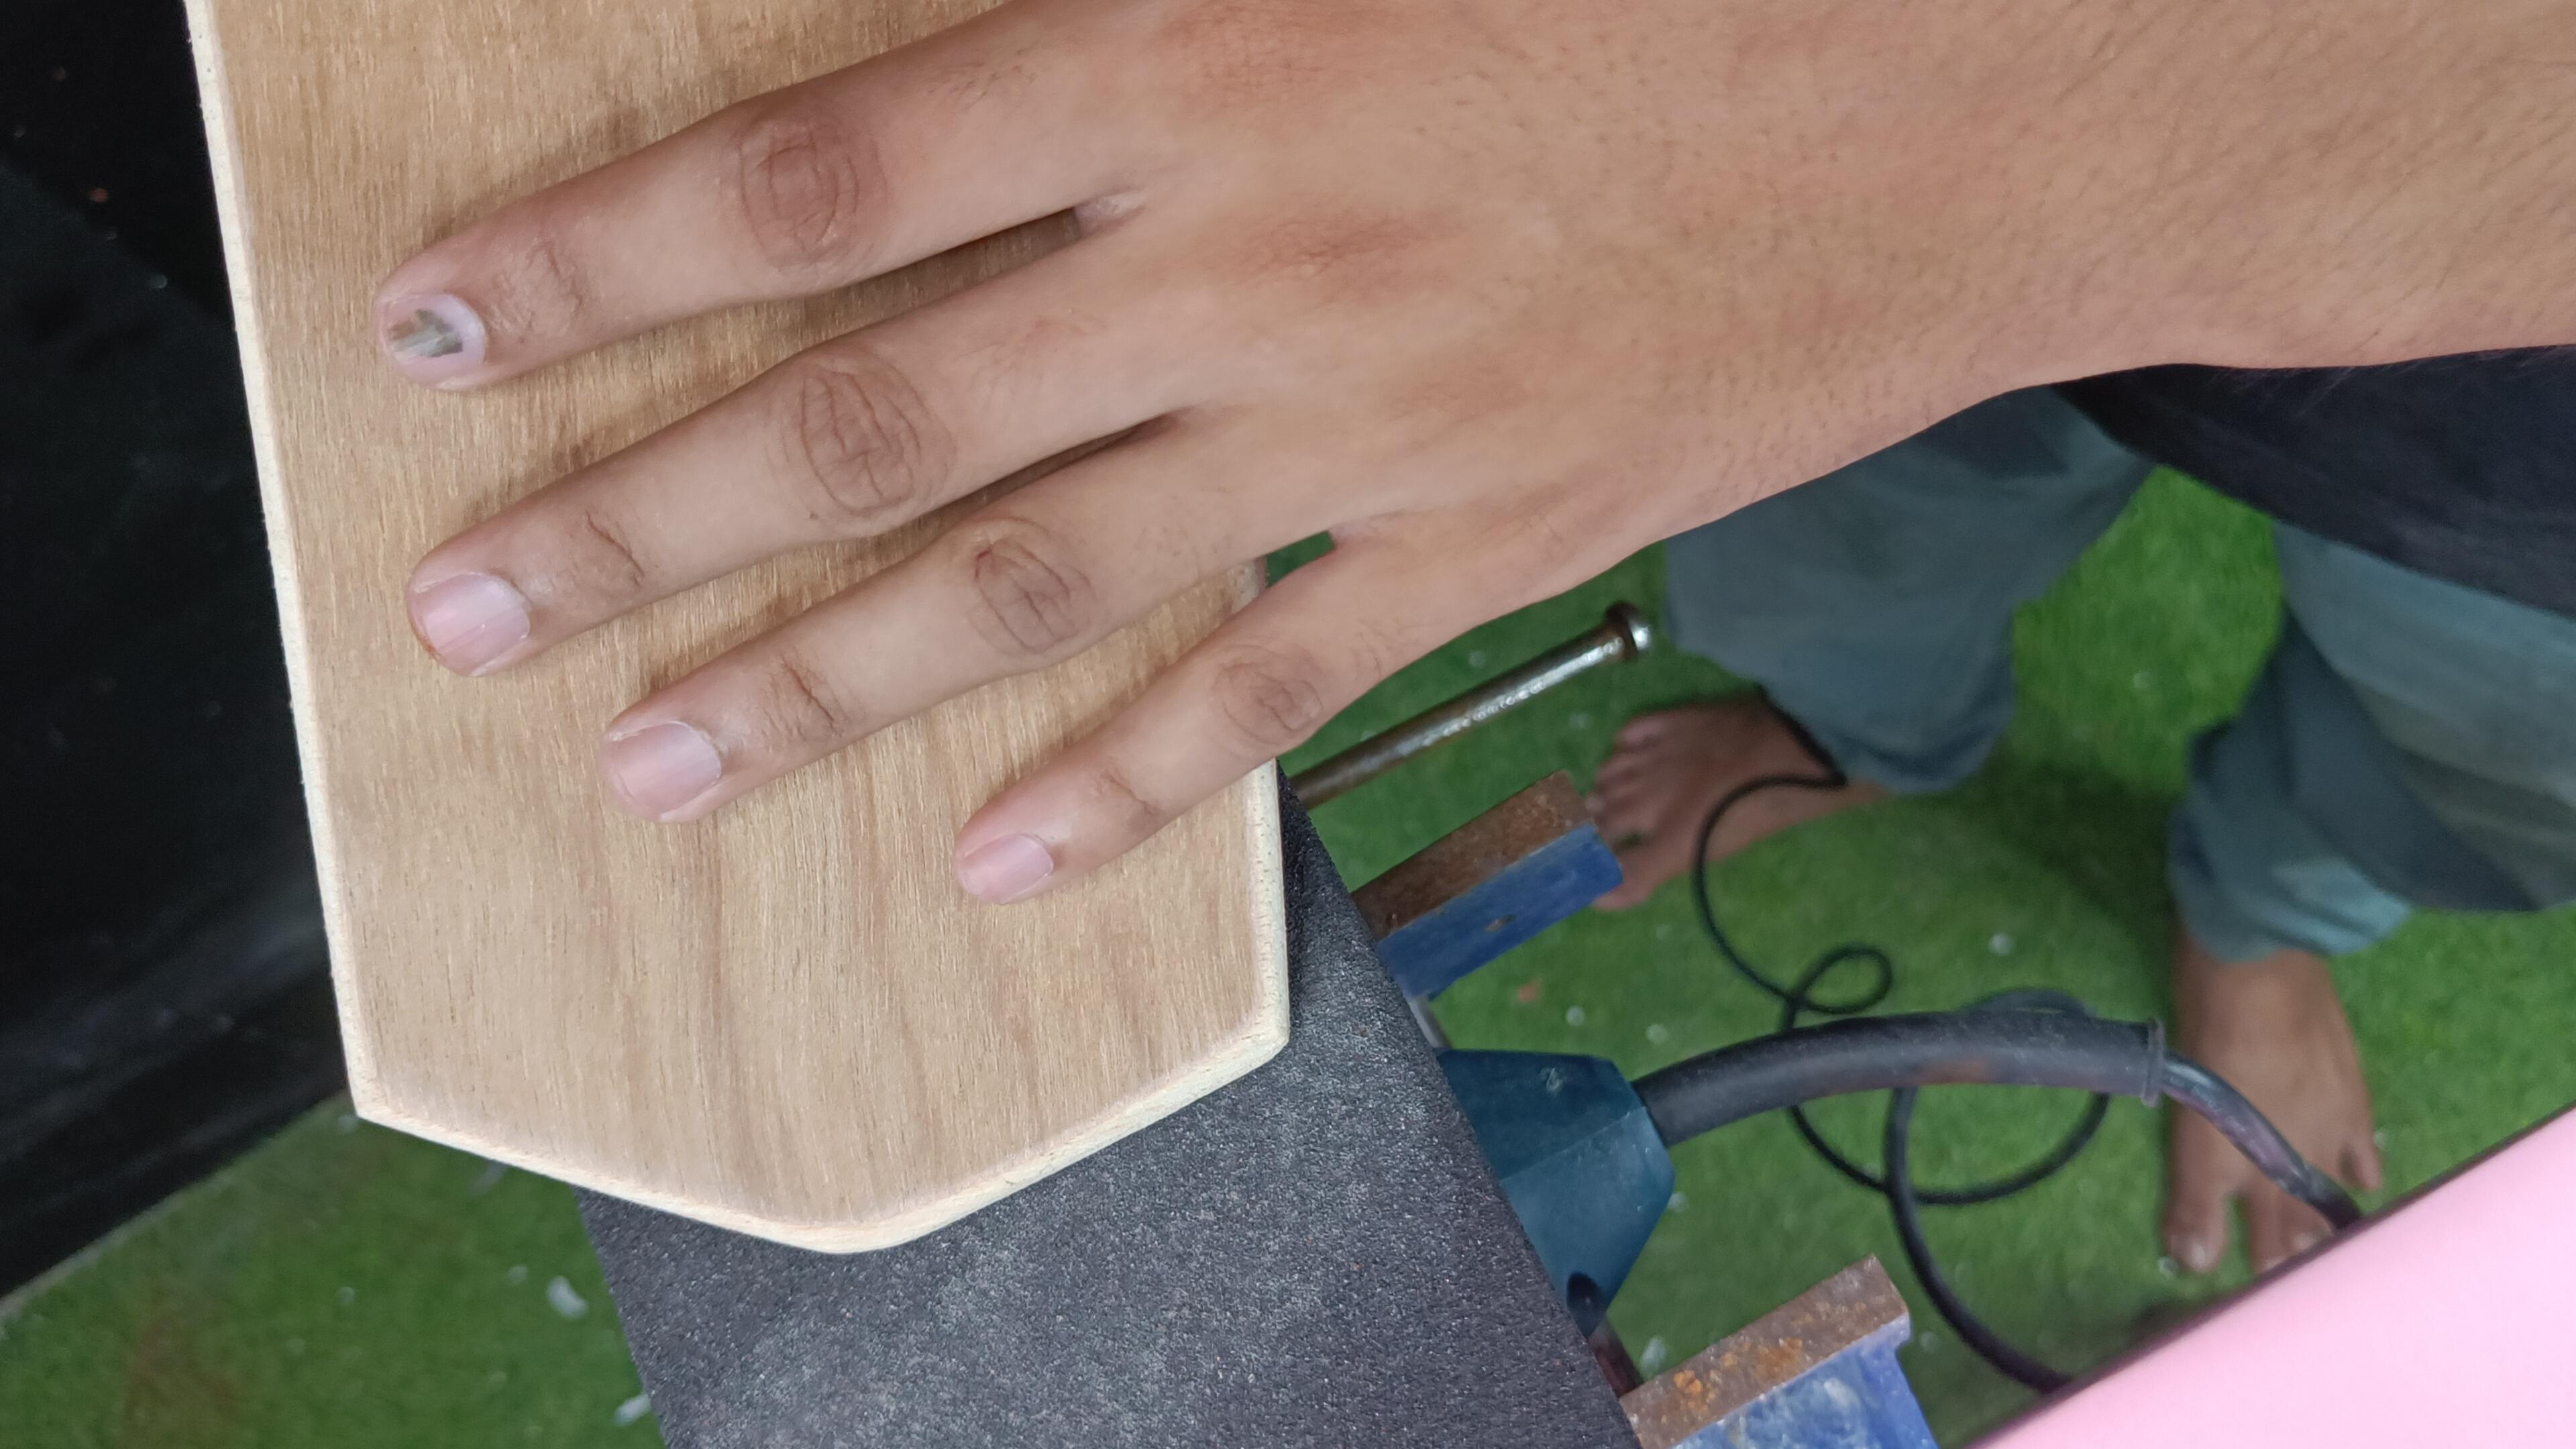
- Take the rectangular ply board of approximately 10 cm x 30 cm.
- Here we have designed and cut an arrow on one end of the rectangle base, and sanded all the corners round.
Hooking Points
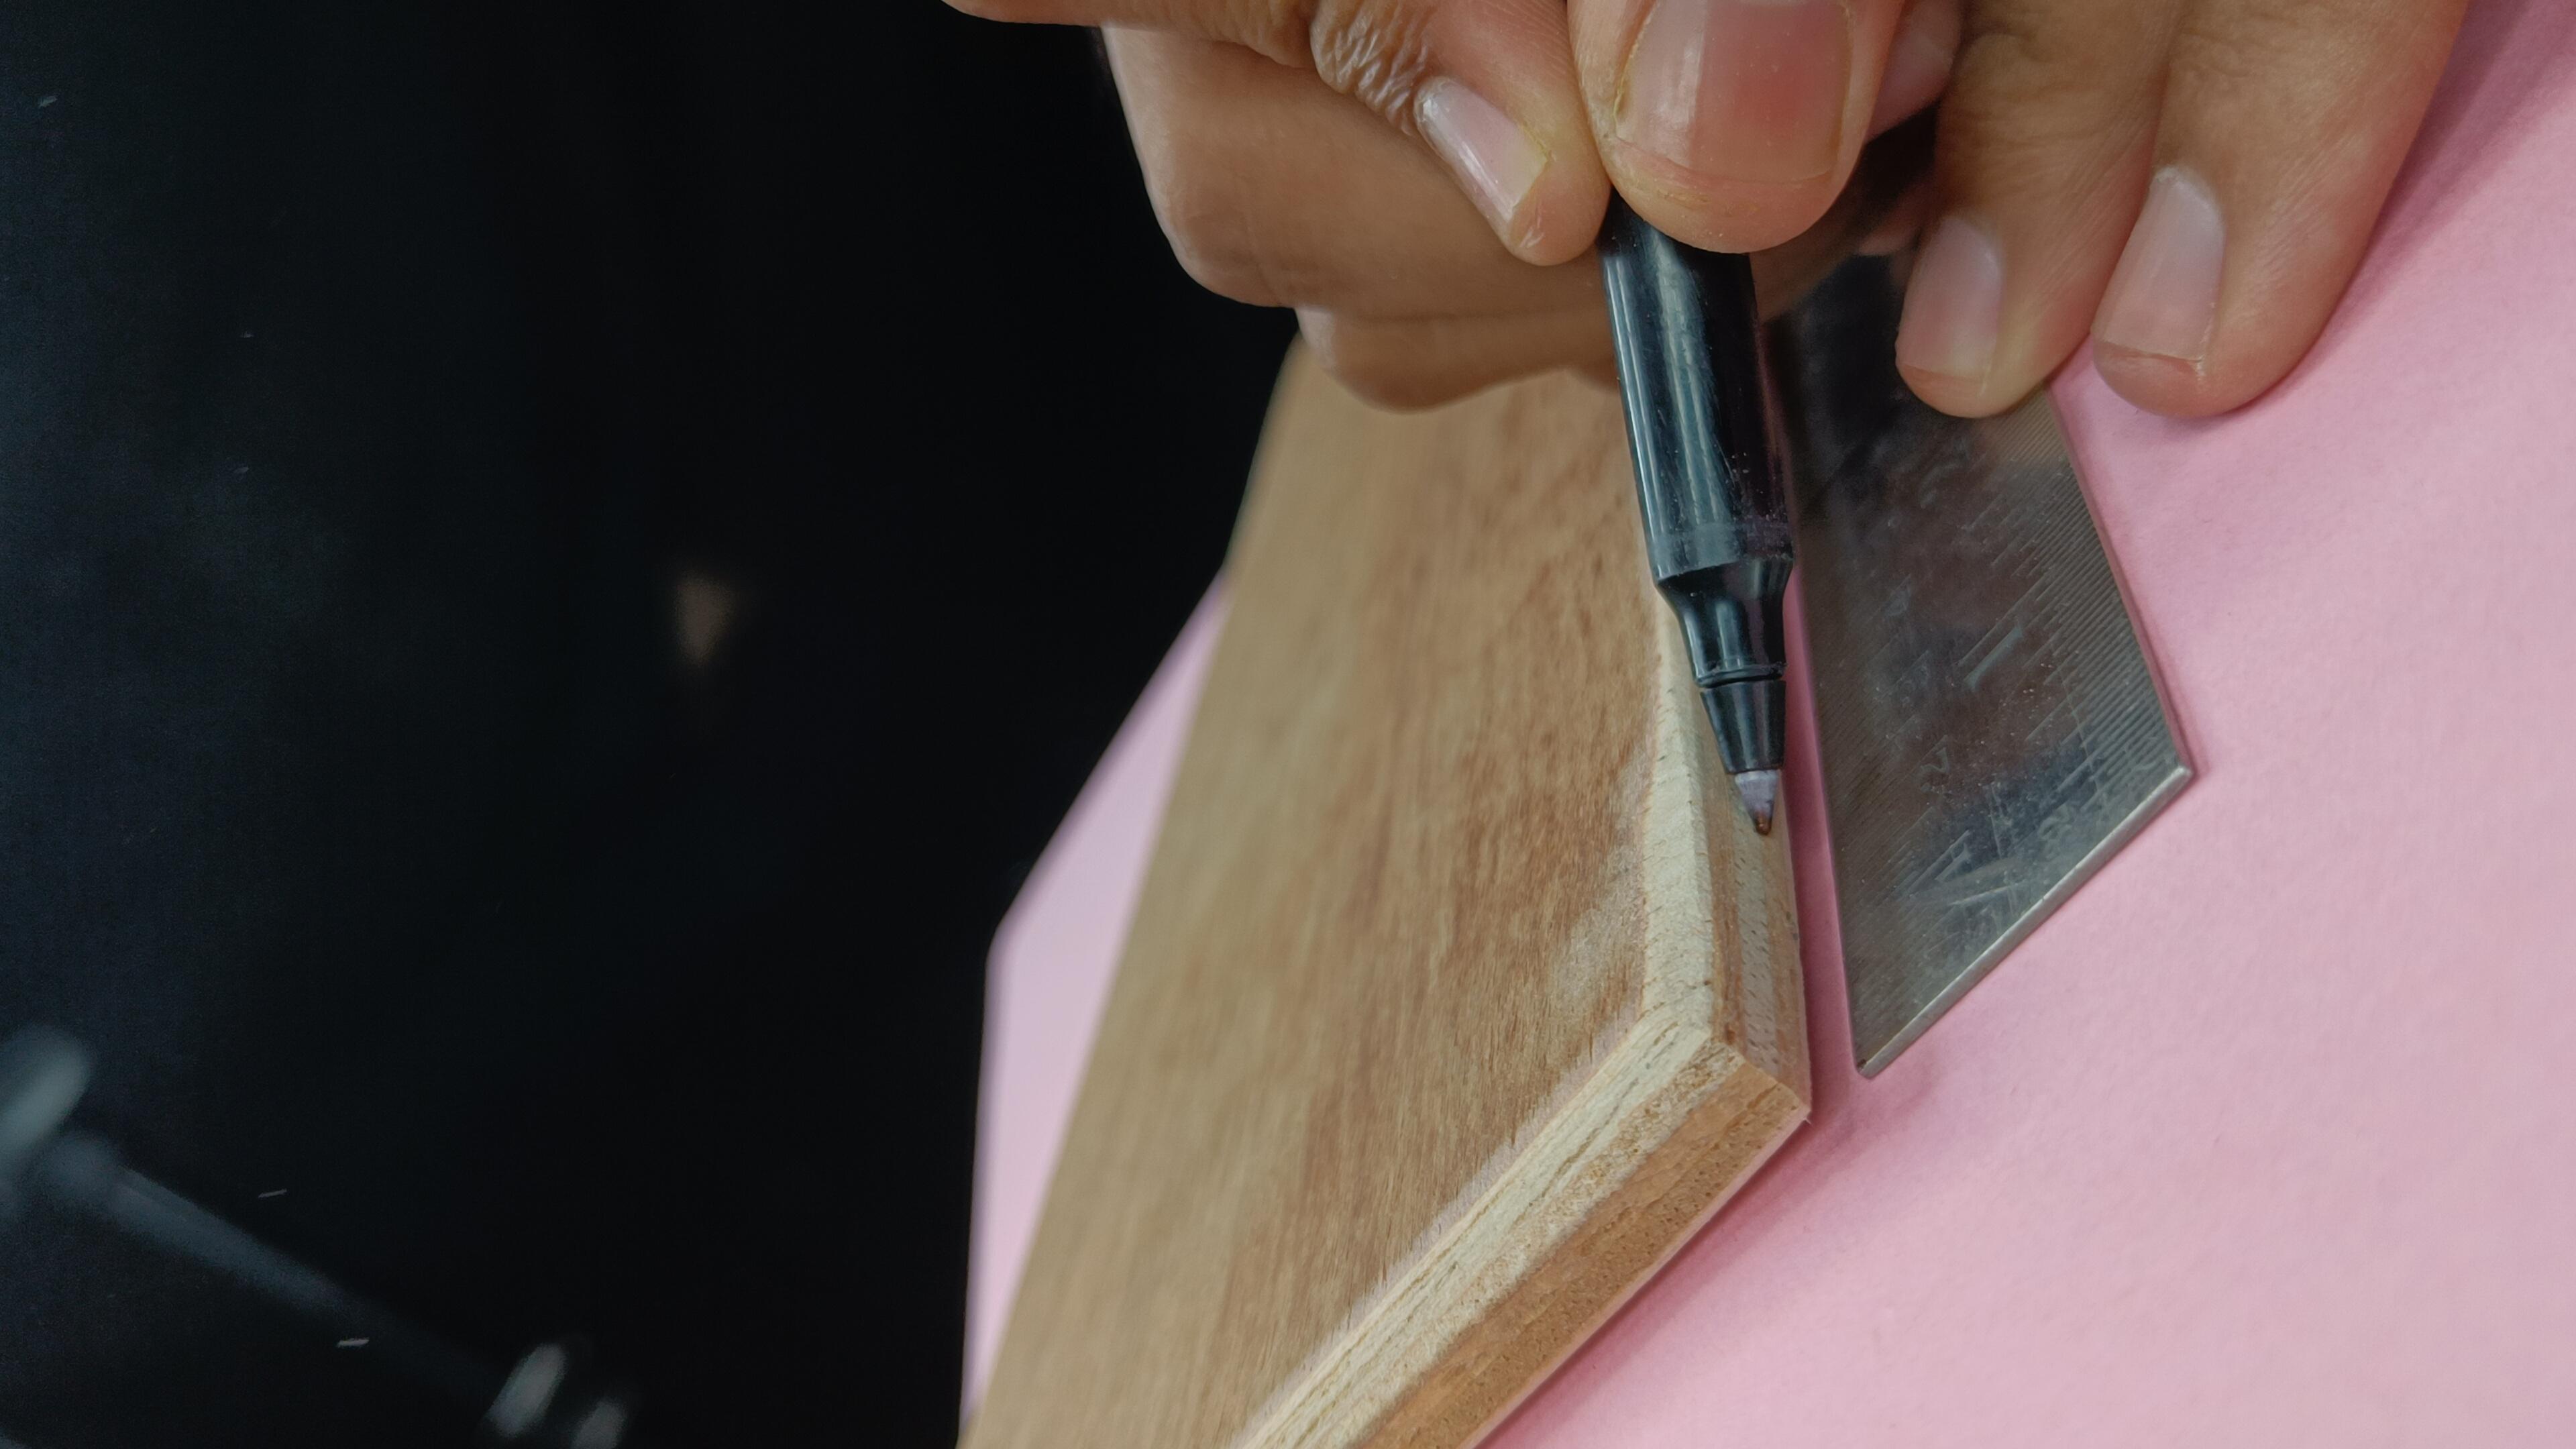
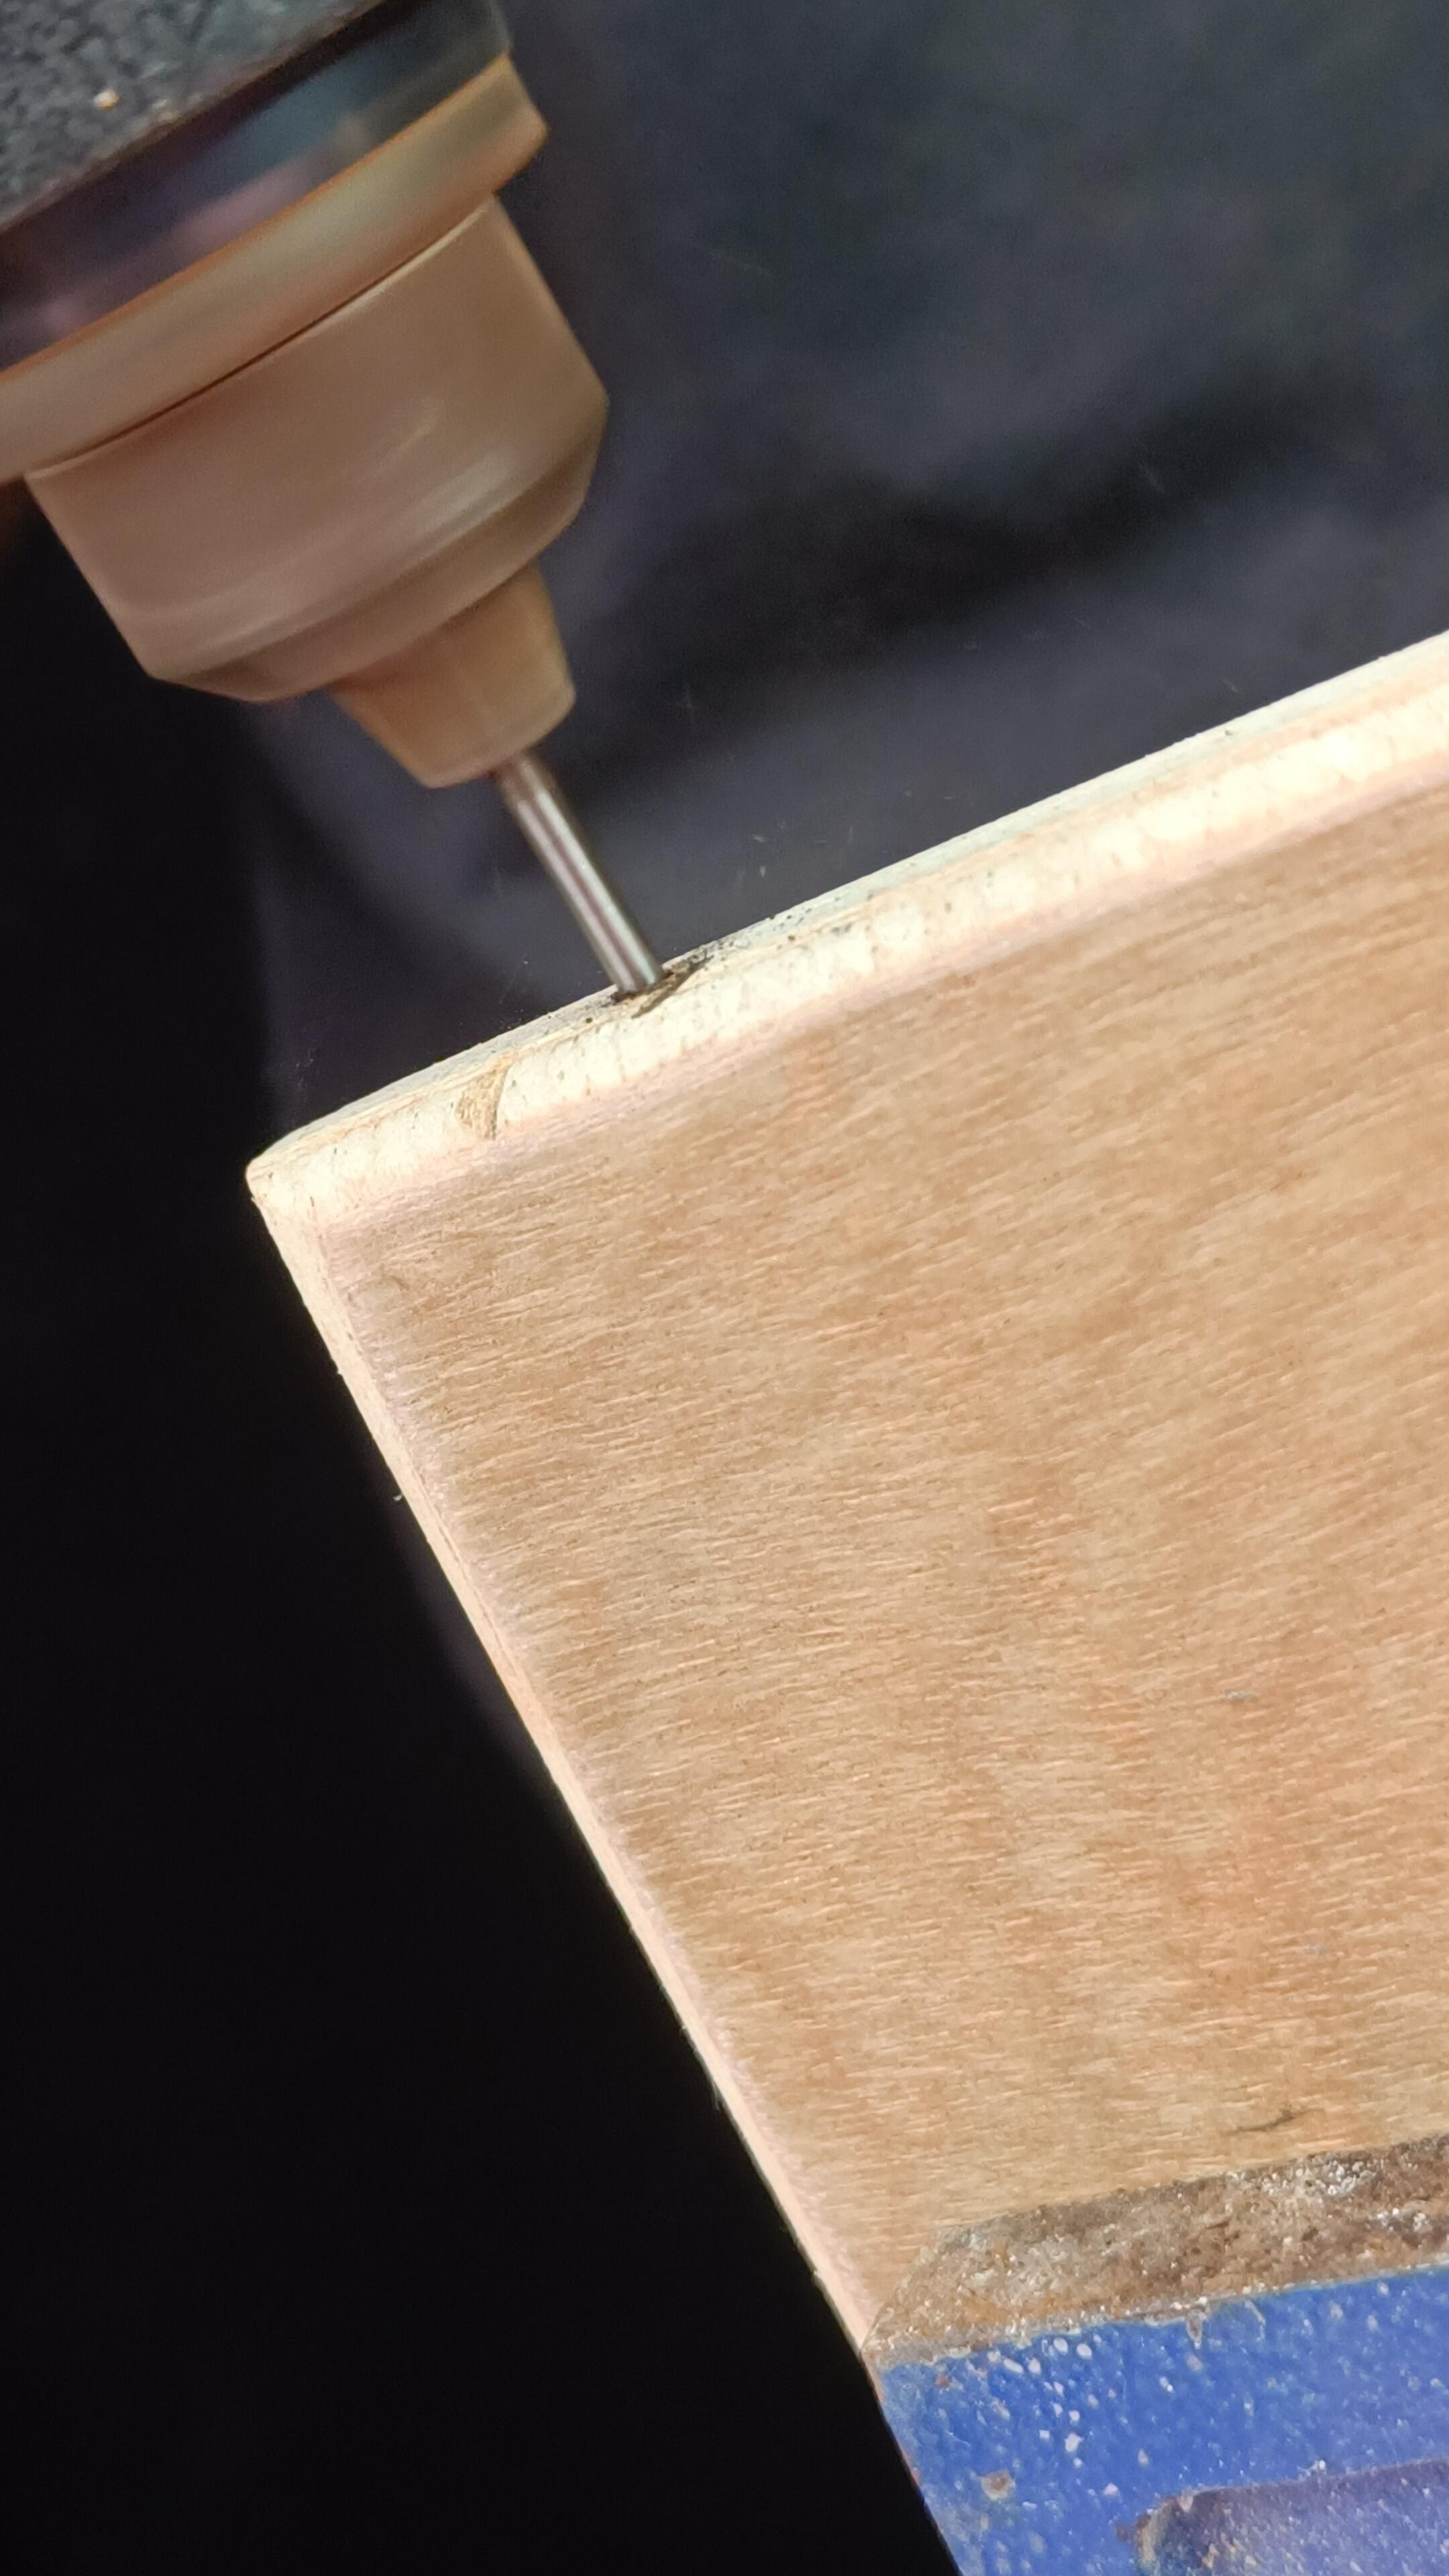
- Use a ruler and pencil to mark the points on your board's both side. These points will be drilled and the screw eye pins will be pinned.
Polishing the Surface
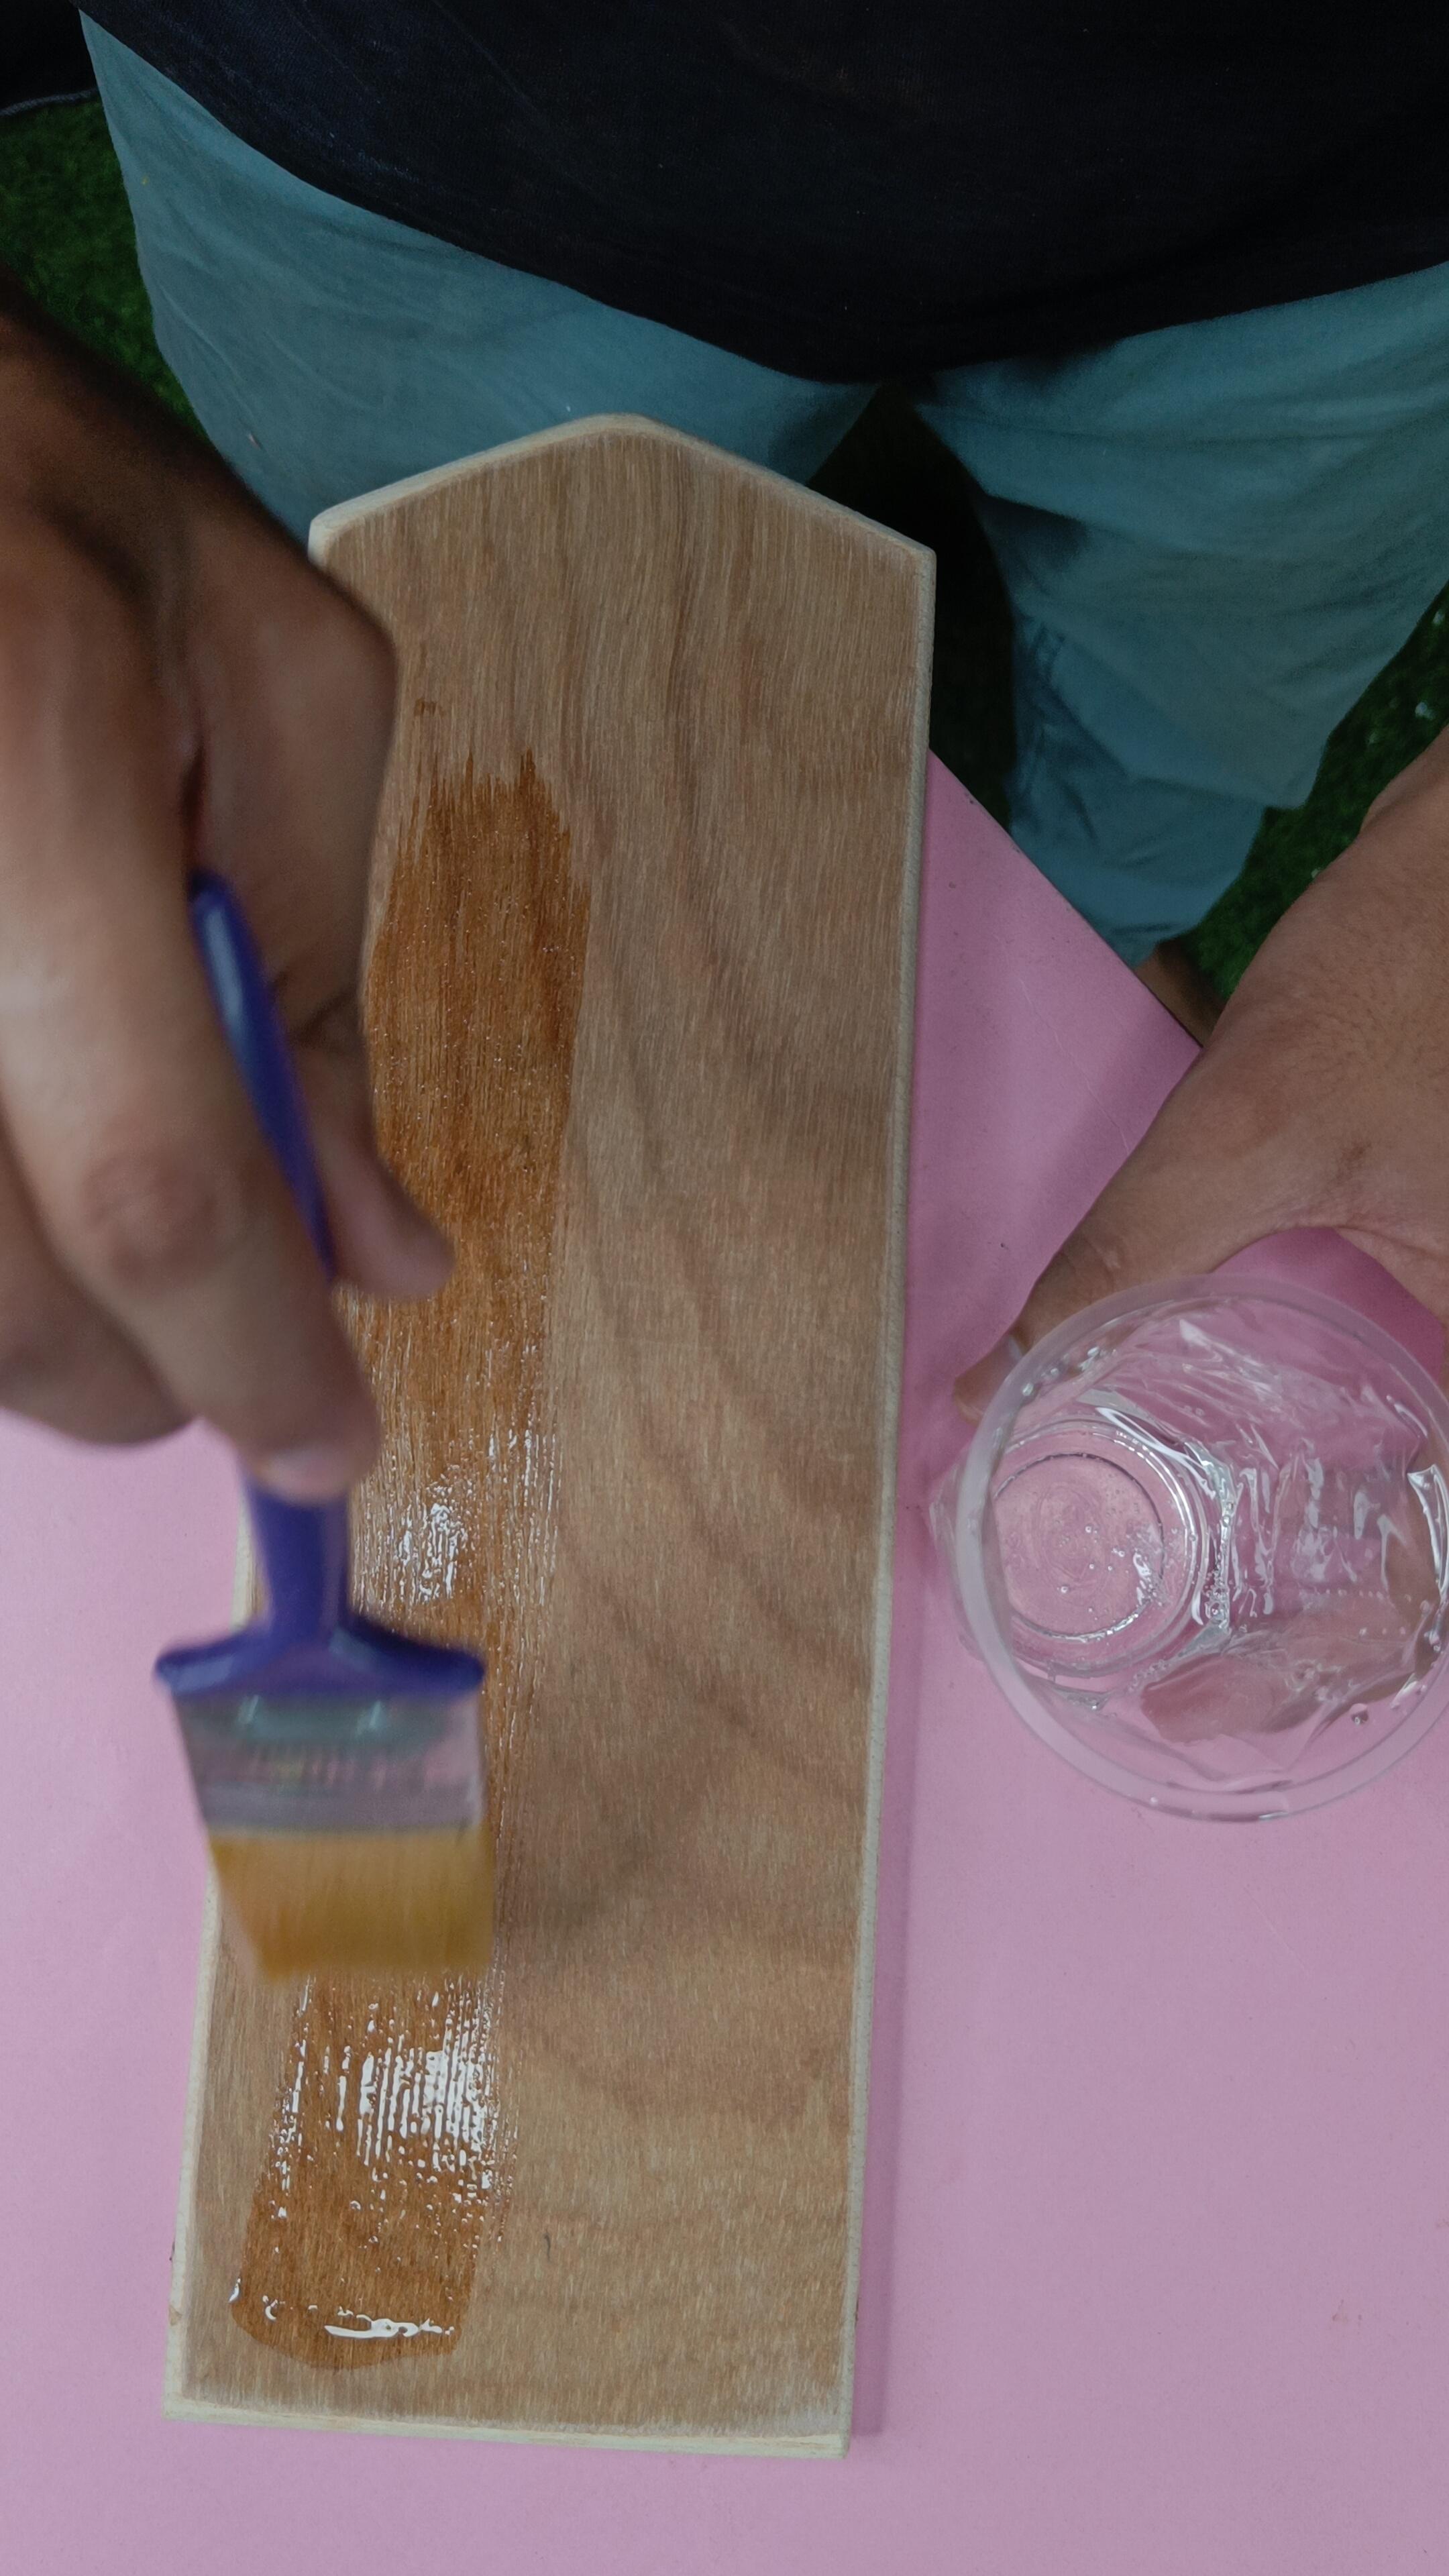
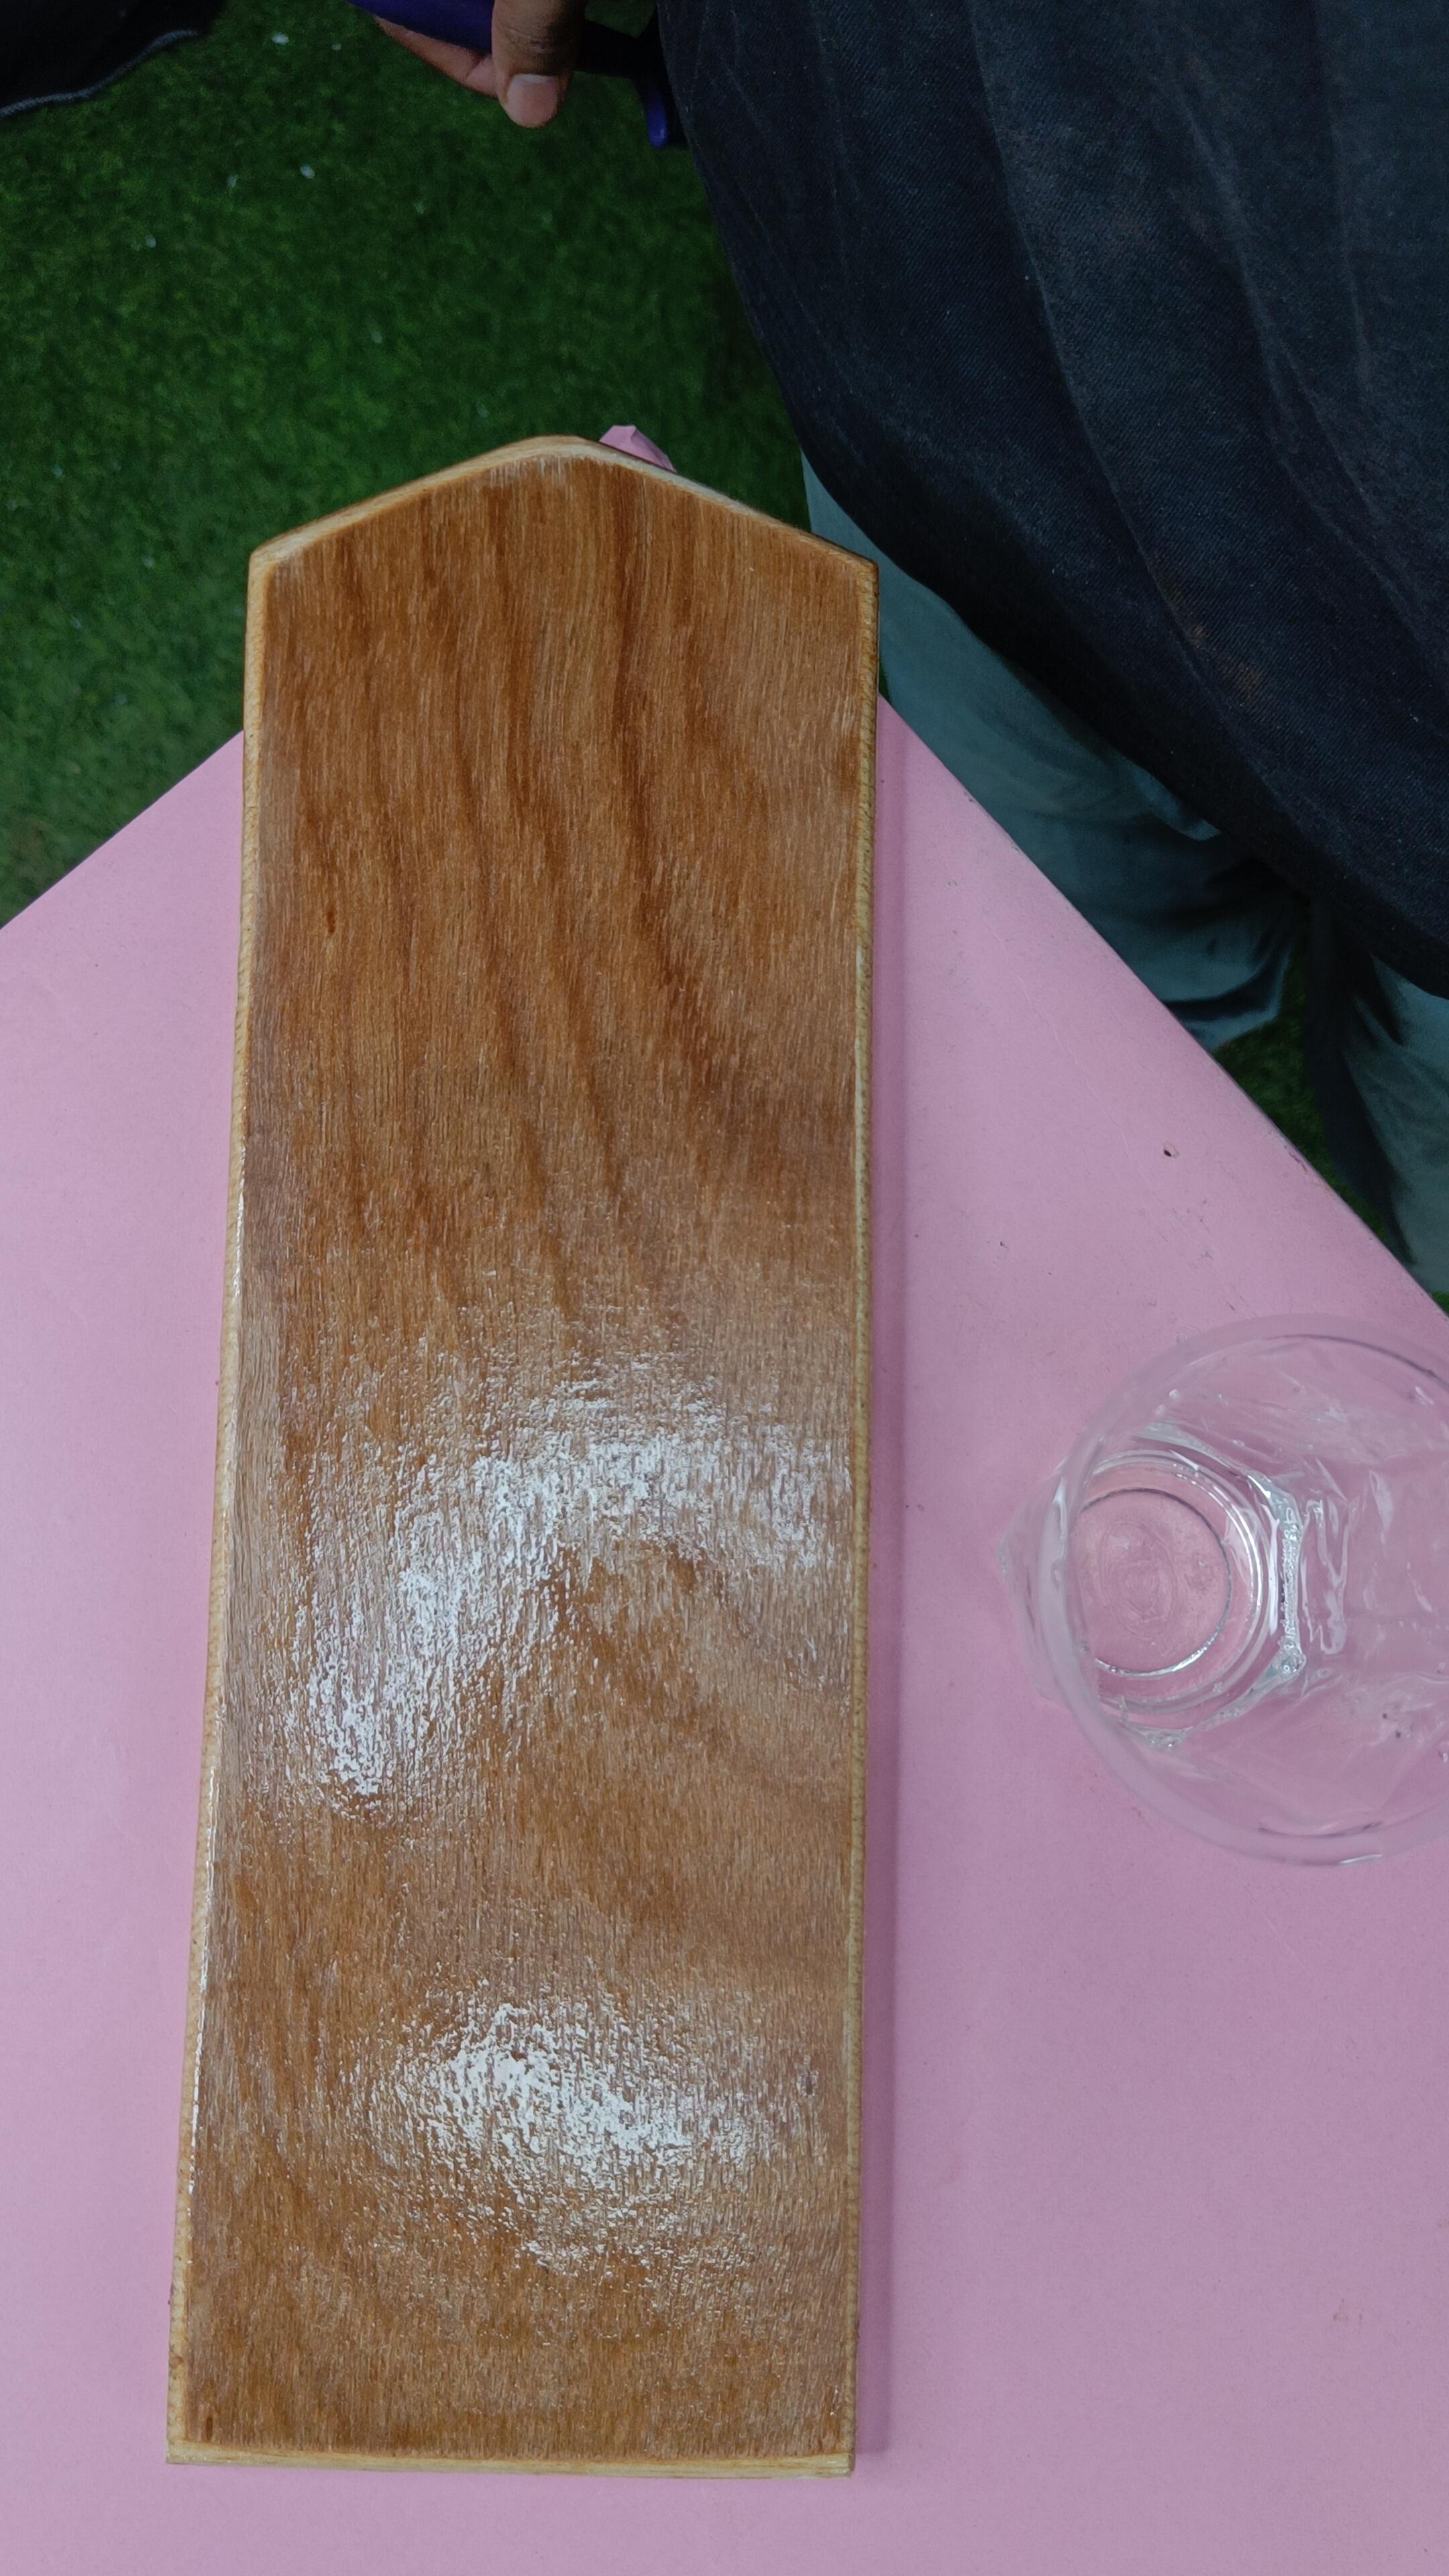
- Wipe the board with a clean & dry cloth to remove any dust, pencil marks. This step is essential if you plan to apply a sealant.
- Use sandpaper or a small file to smooth any rough edges on the board, especially around the drilled holes. This prevents fraying of the string or ribbon and ensures a clean look.
- Apply the wood lacquer coat and let it dry.
The Pen Holder
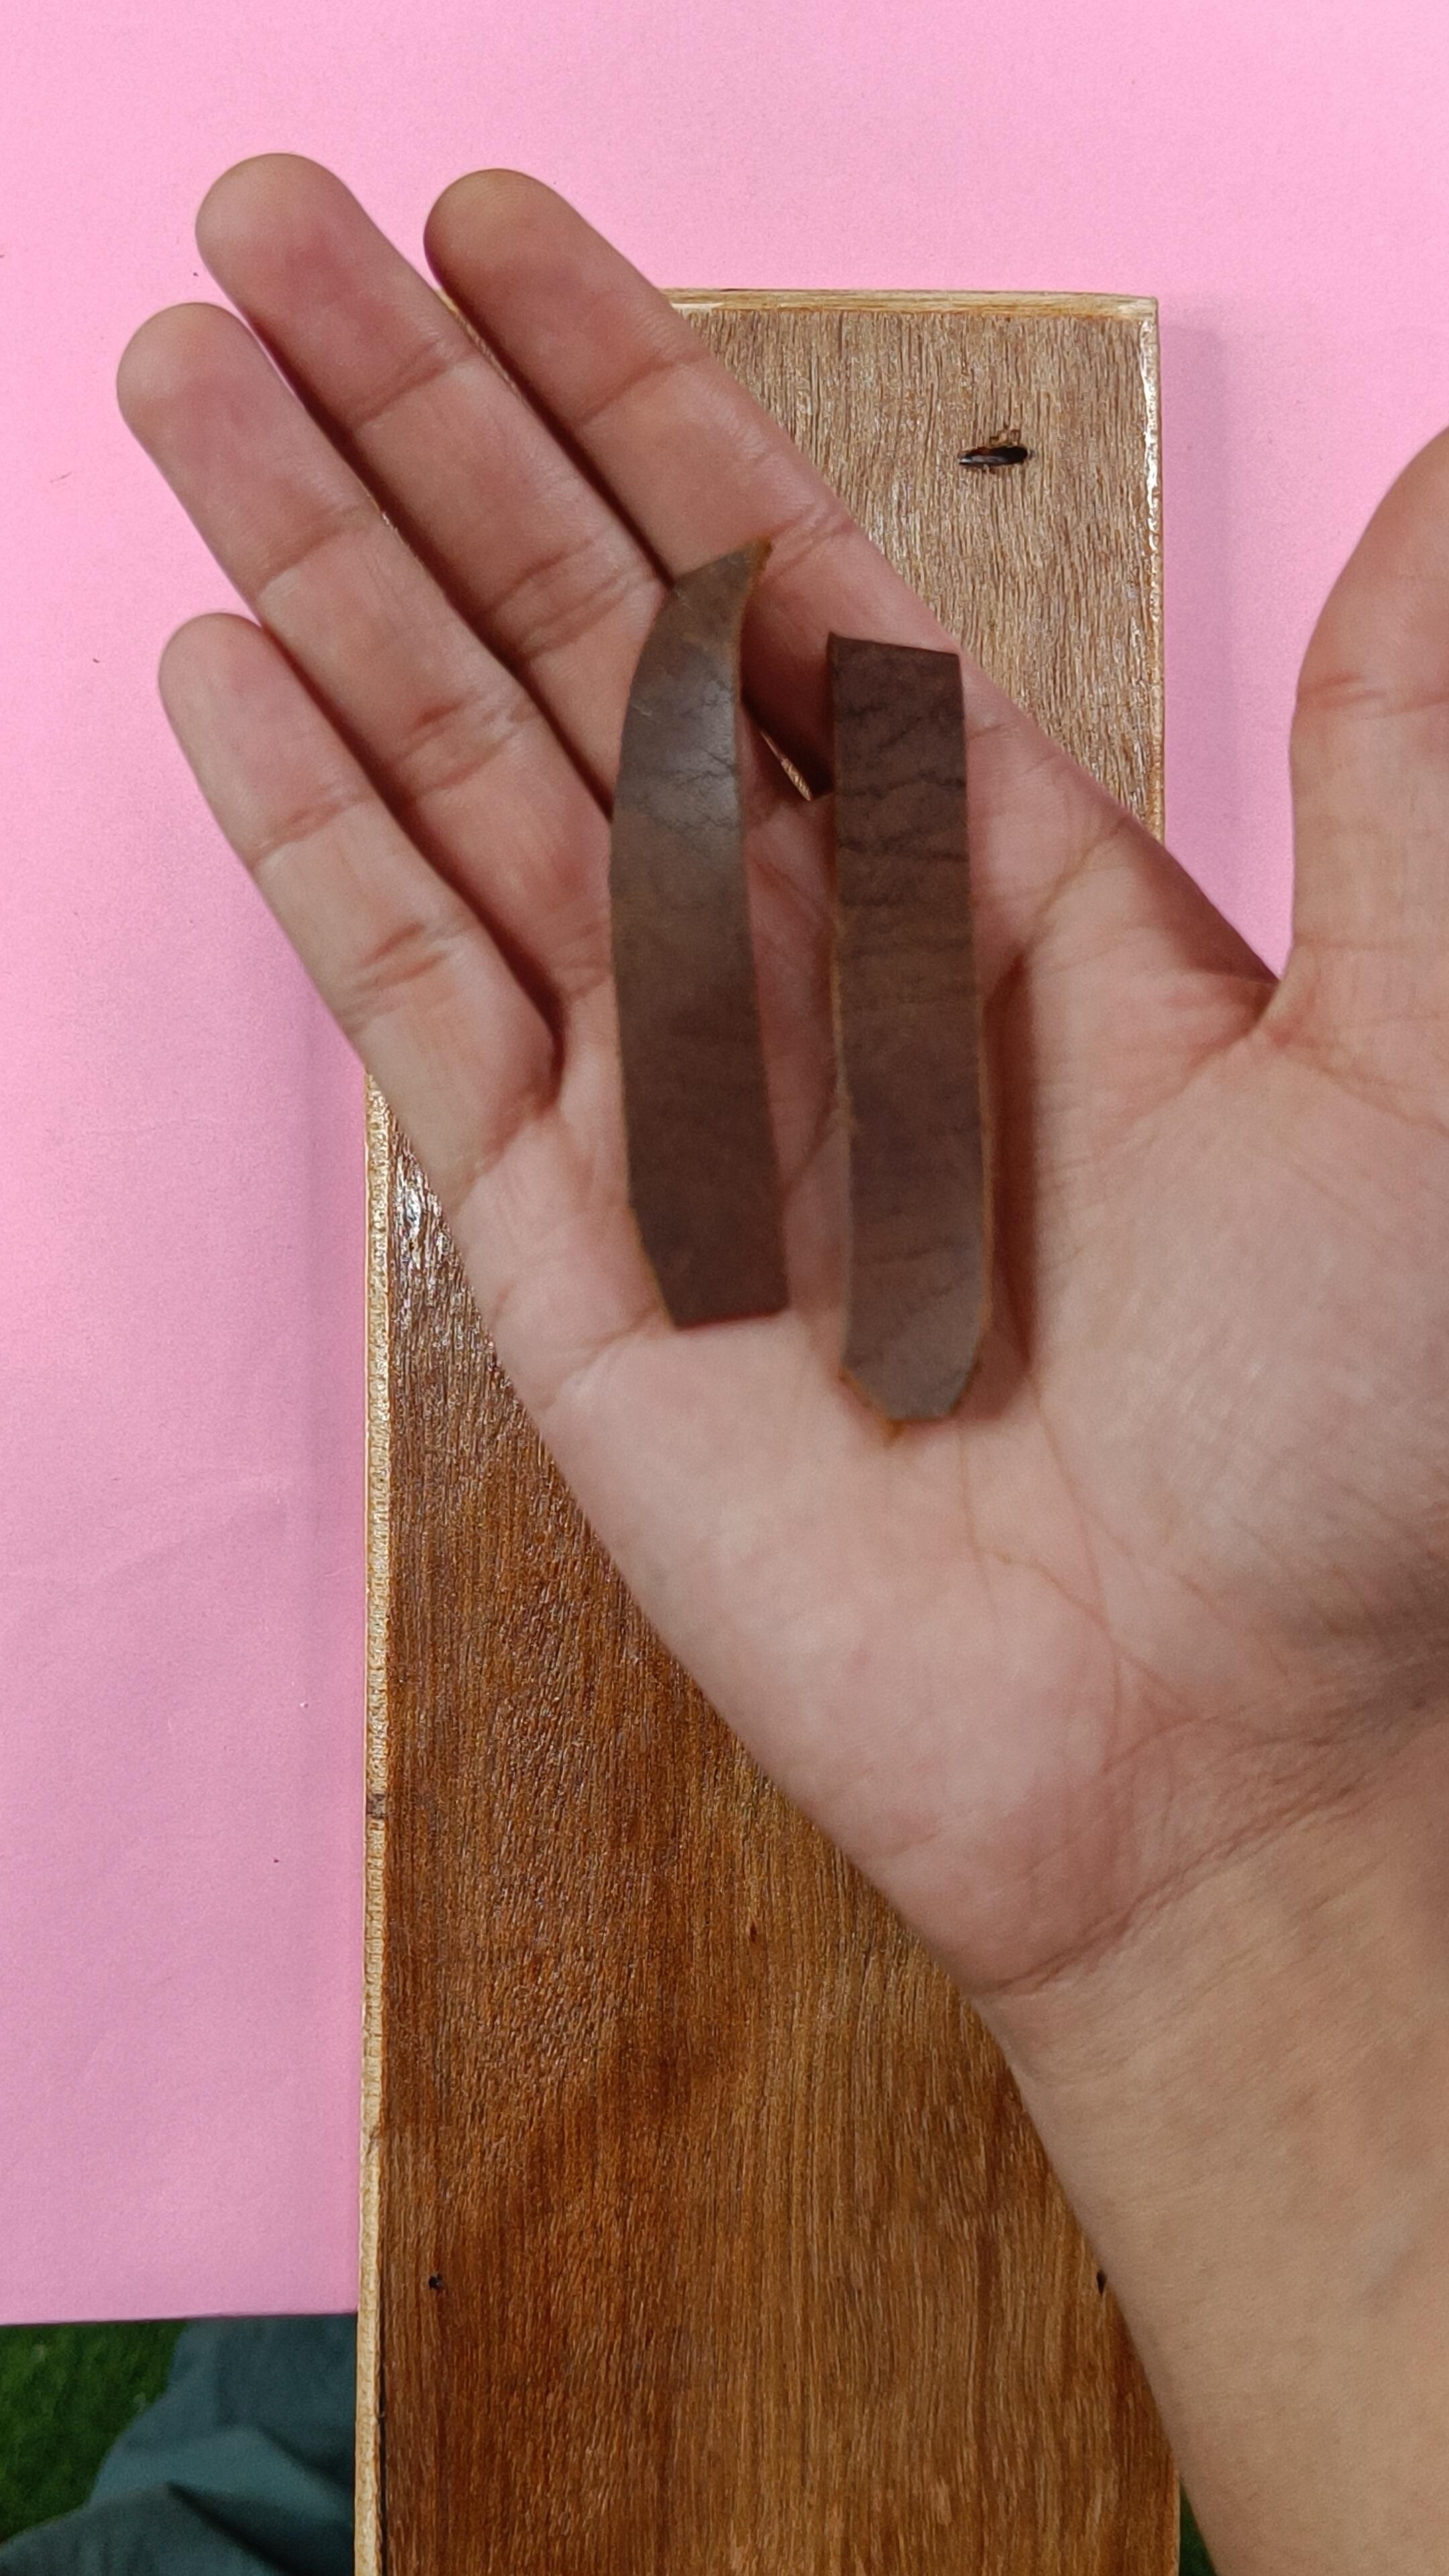
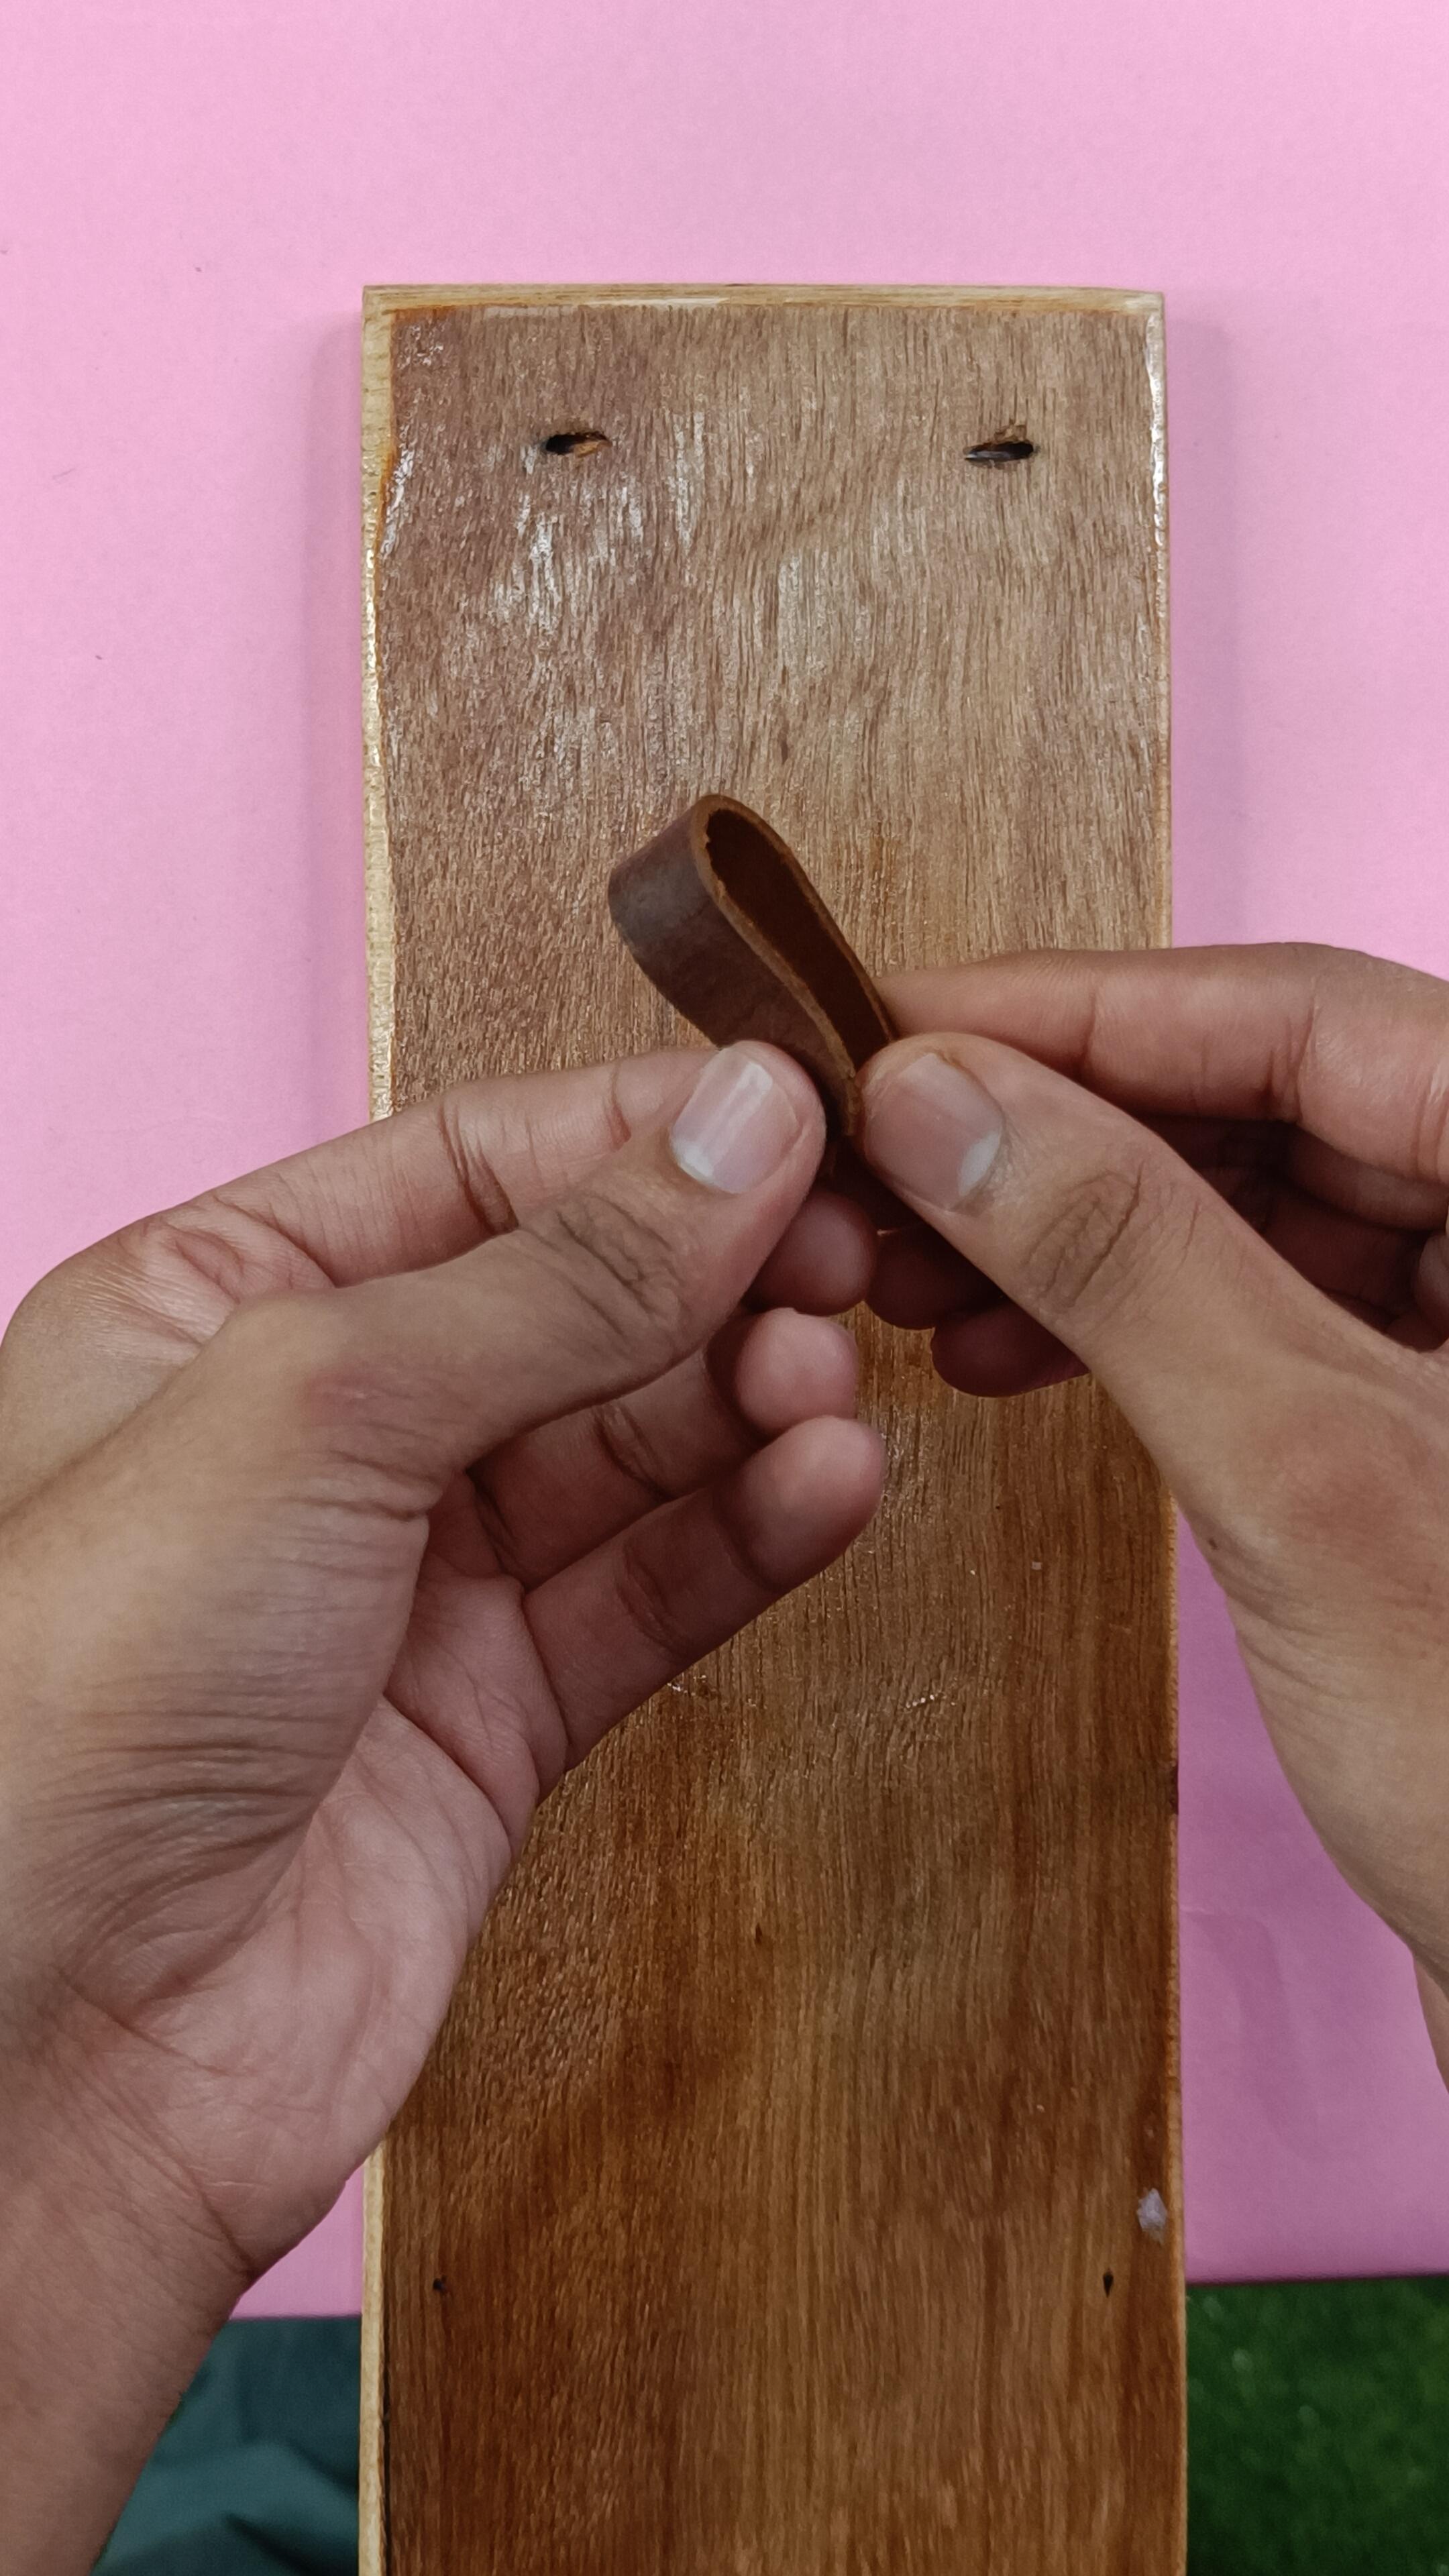
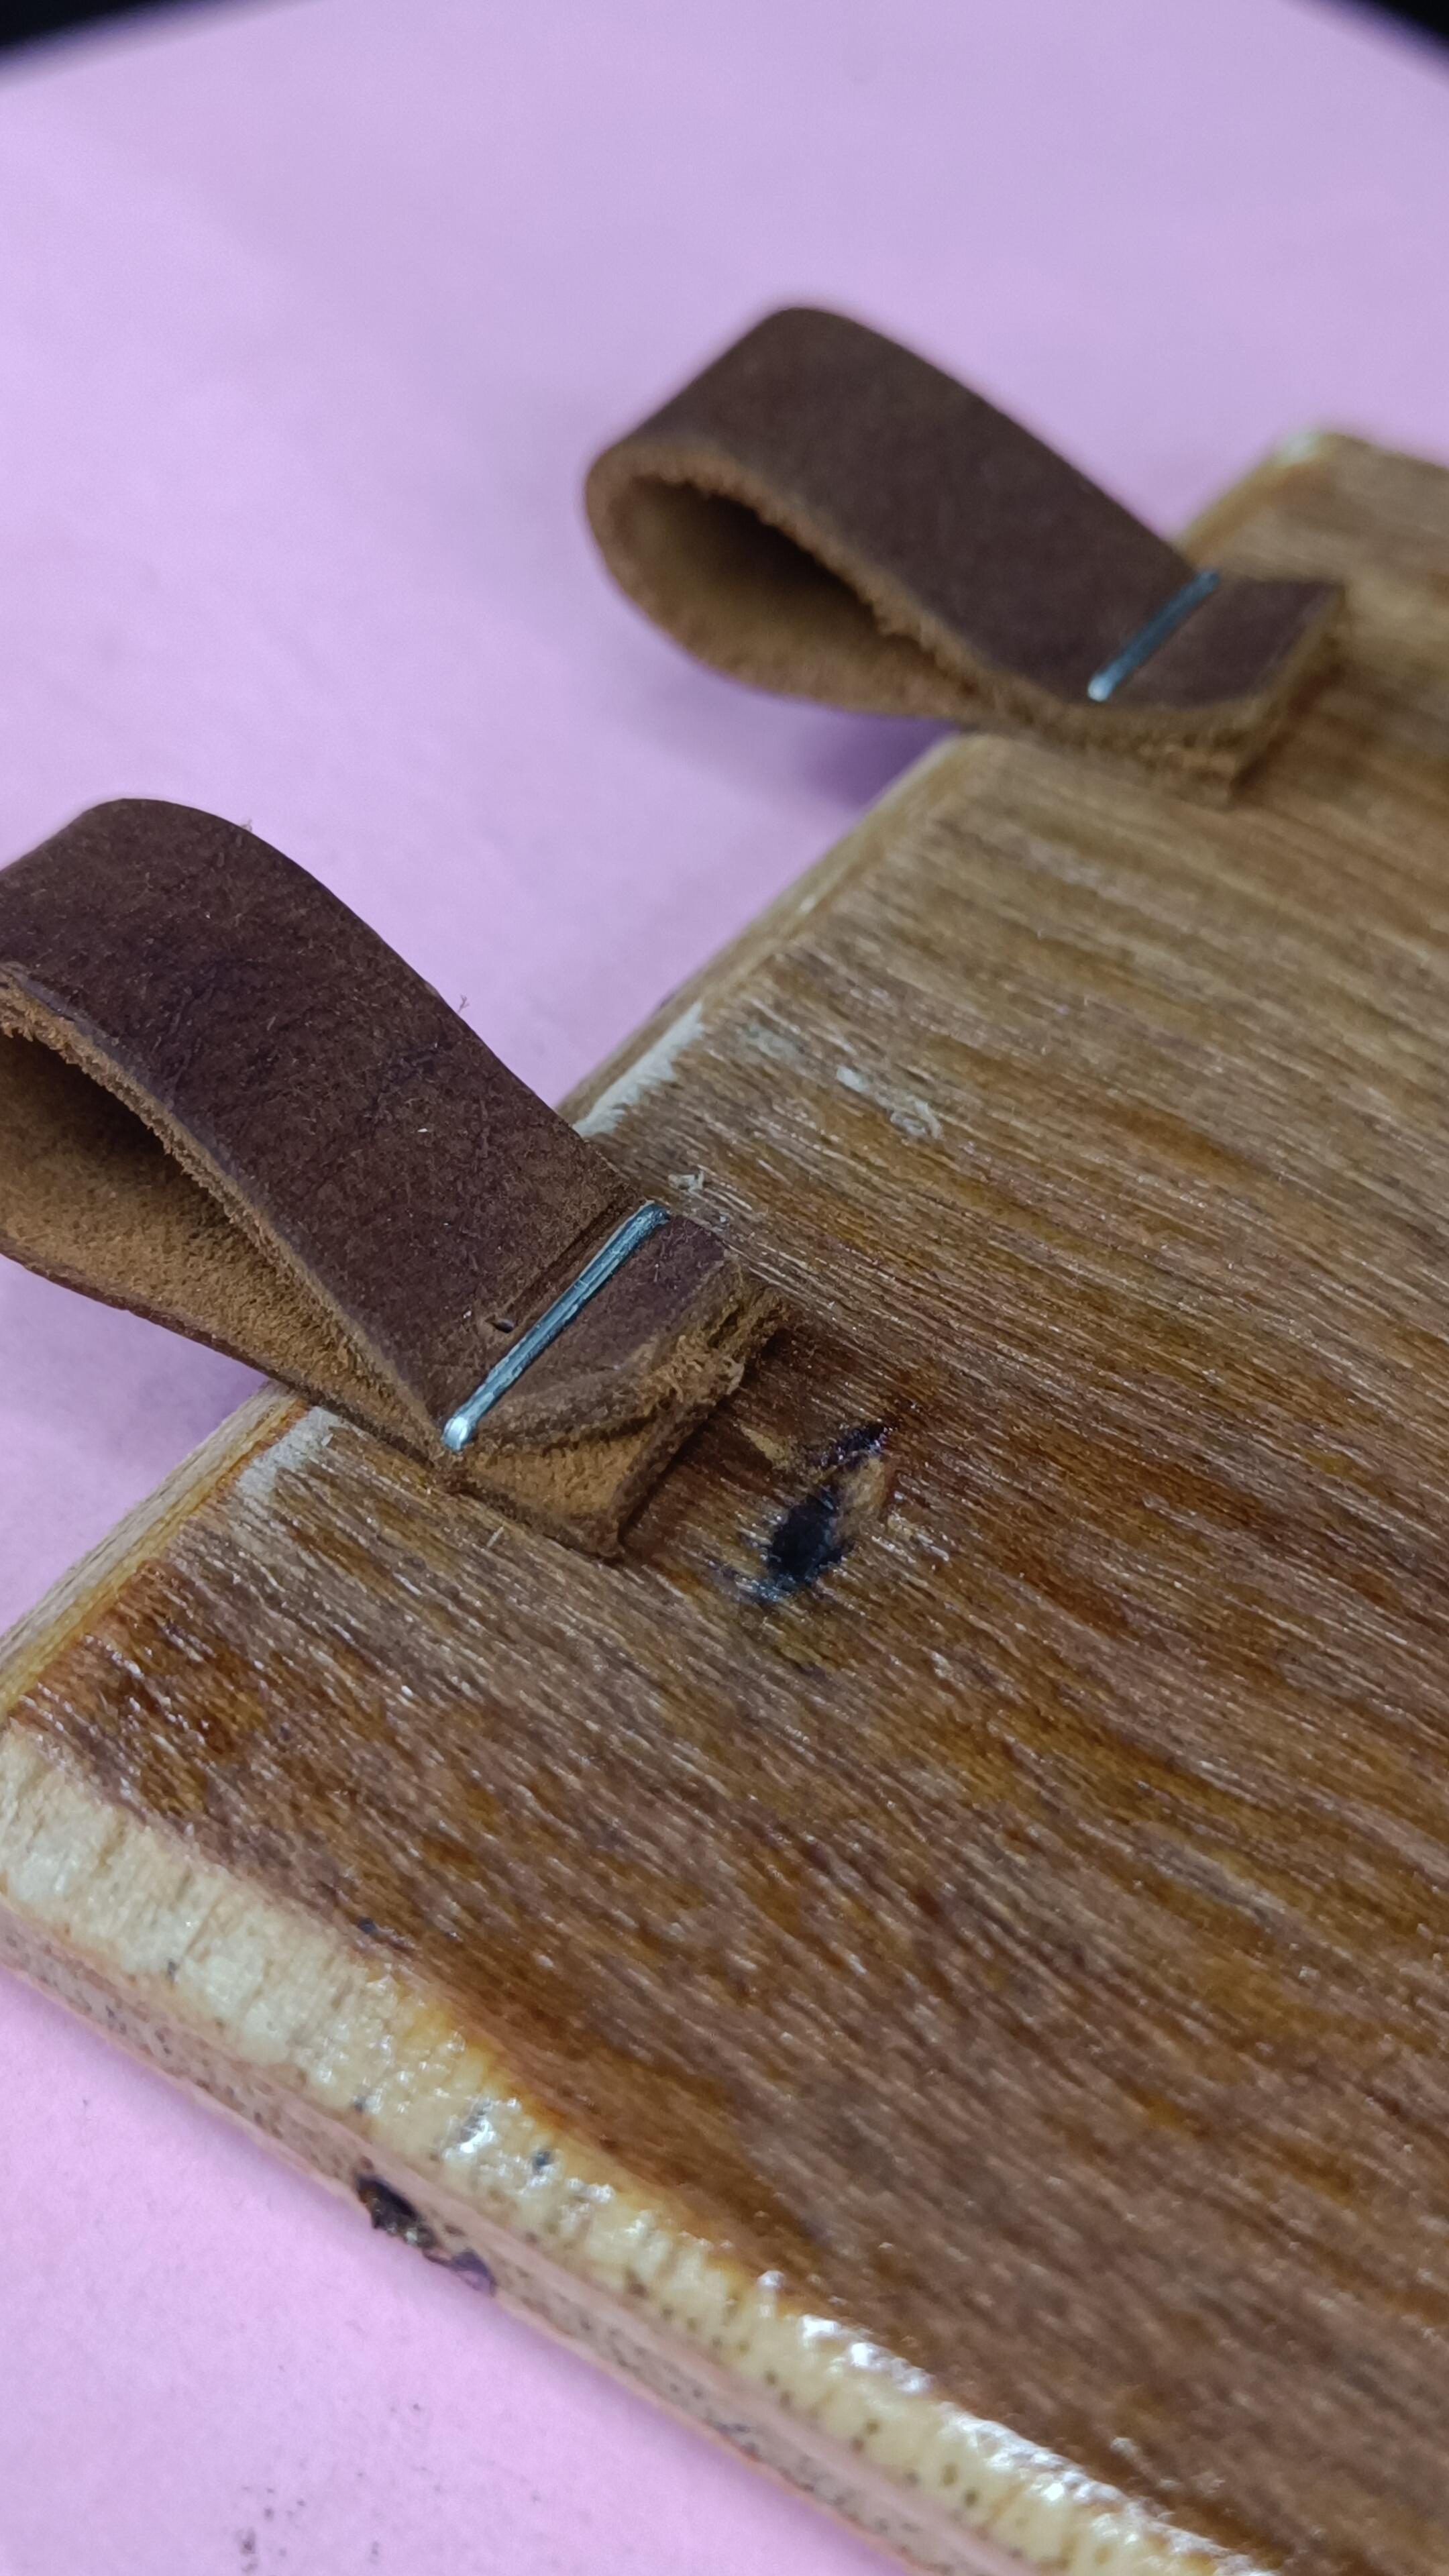
- Place your pen or marker in the pocket to determine where to cut the strips of leather for the pen to slide through.
- Fold the strap and with the help of a staple gun staple the both the straps with the board from behind.
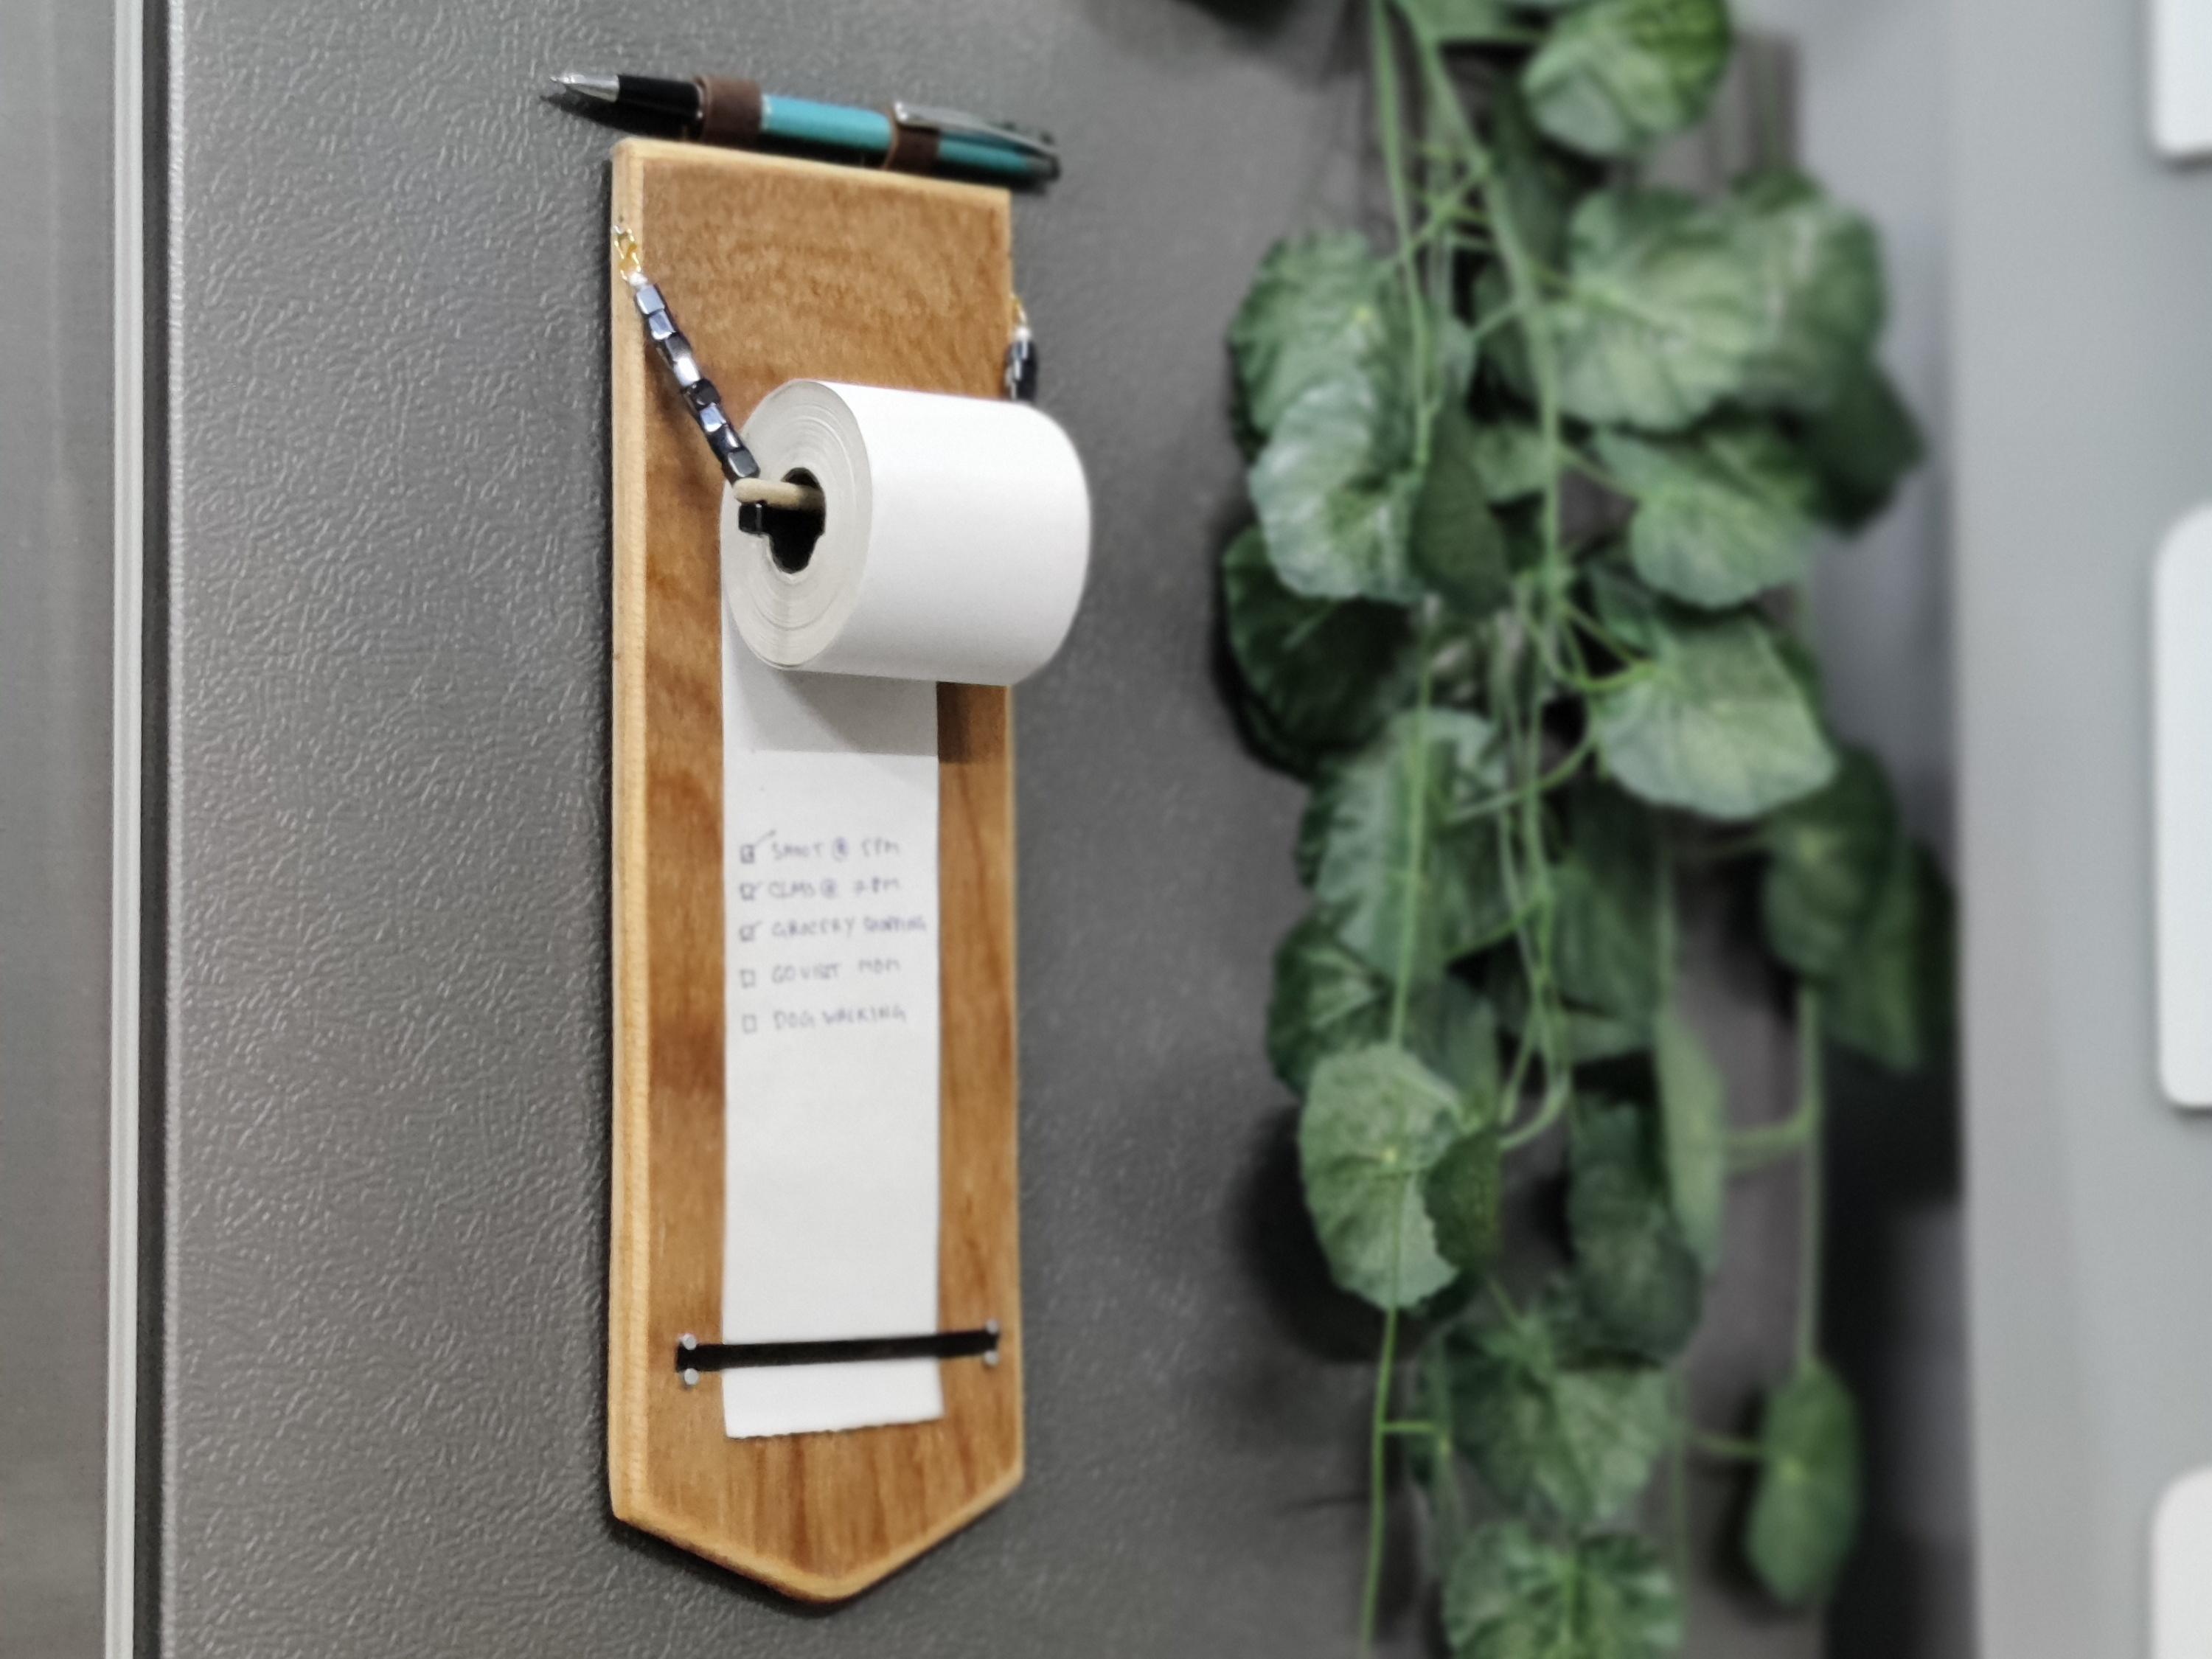
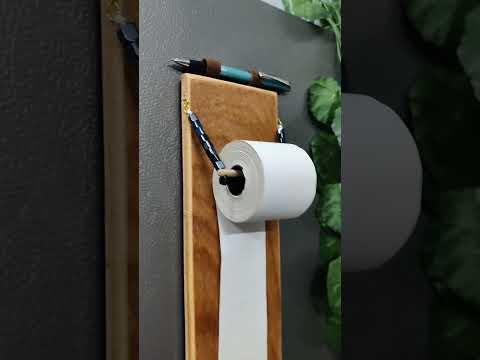
Make the Receipt Hanger
- Cut 2 pieces of string, ribbon, or wire to your desired length. A length of about 10 cm should be enough, depending on how low you want the roll to hang.
- Insert the screw eye pins on the sides of the board where the drills were made.
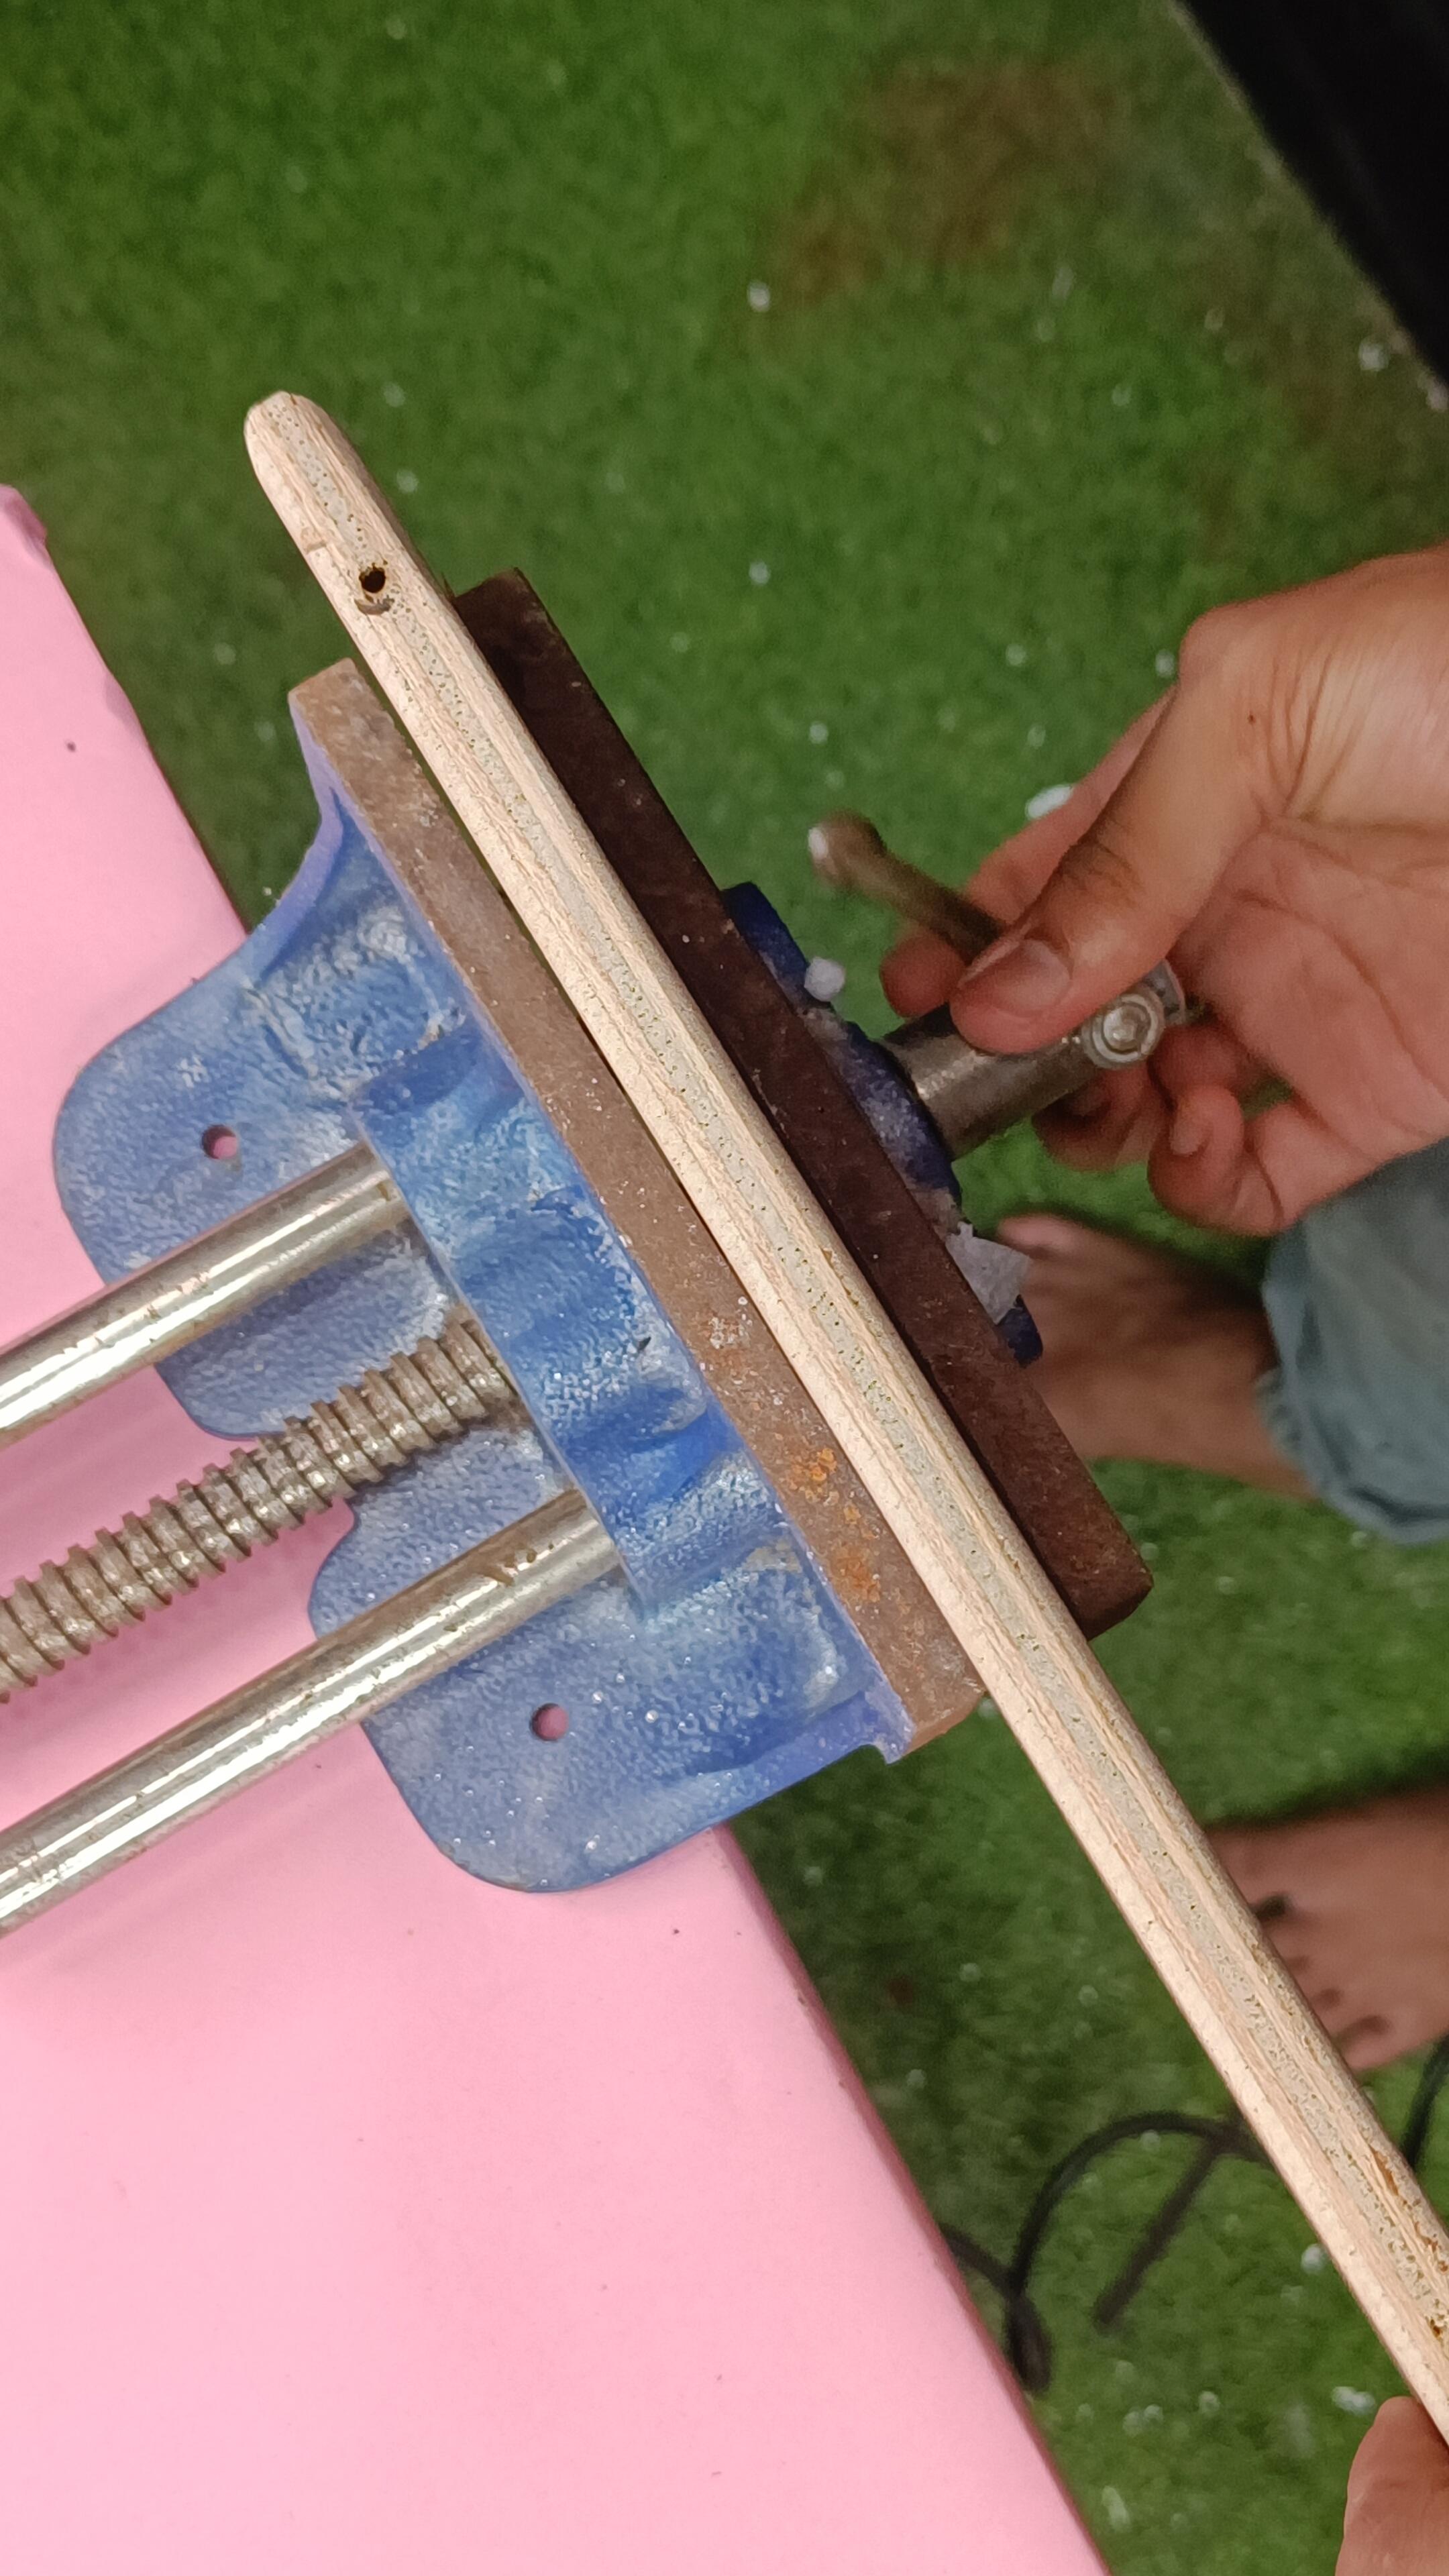
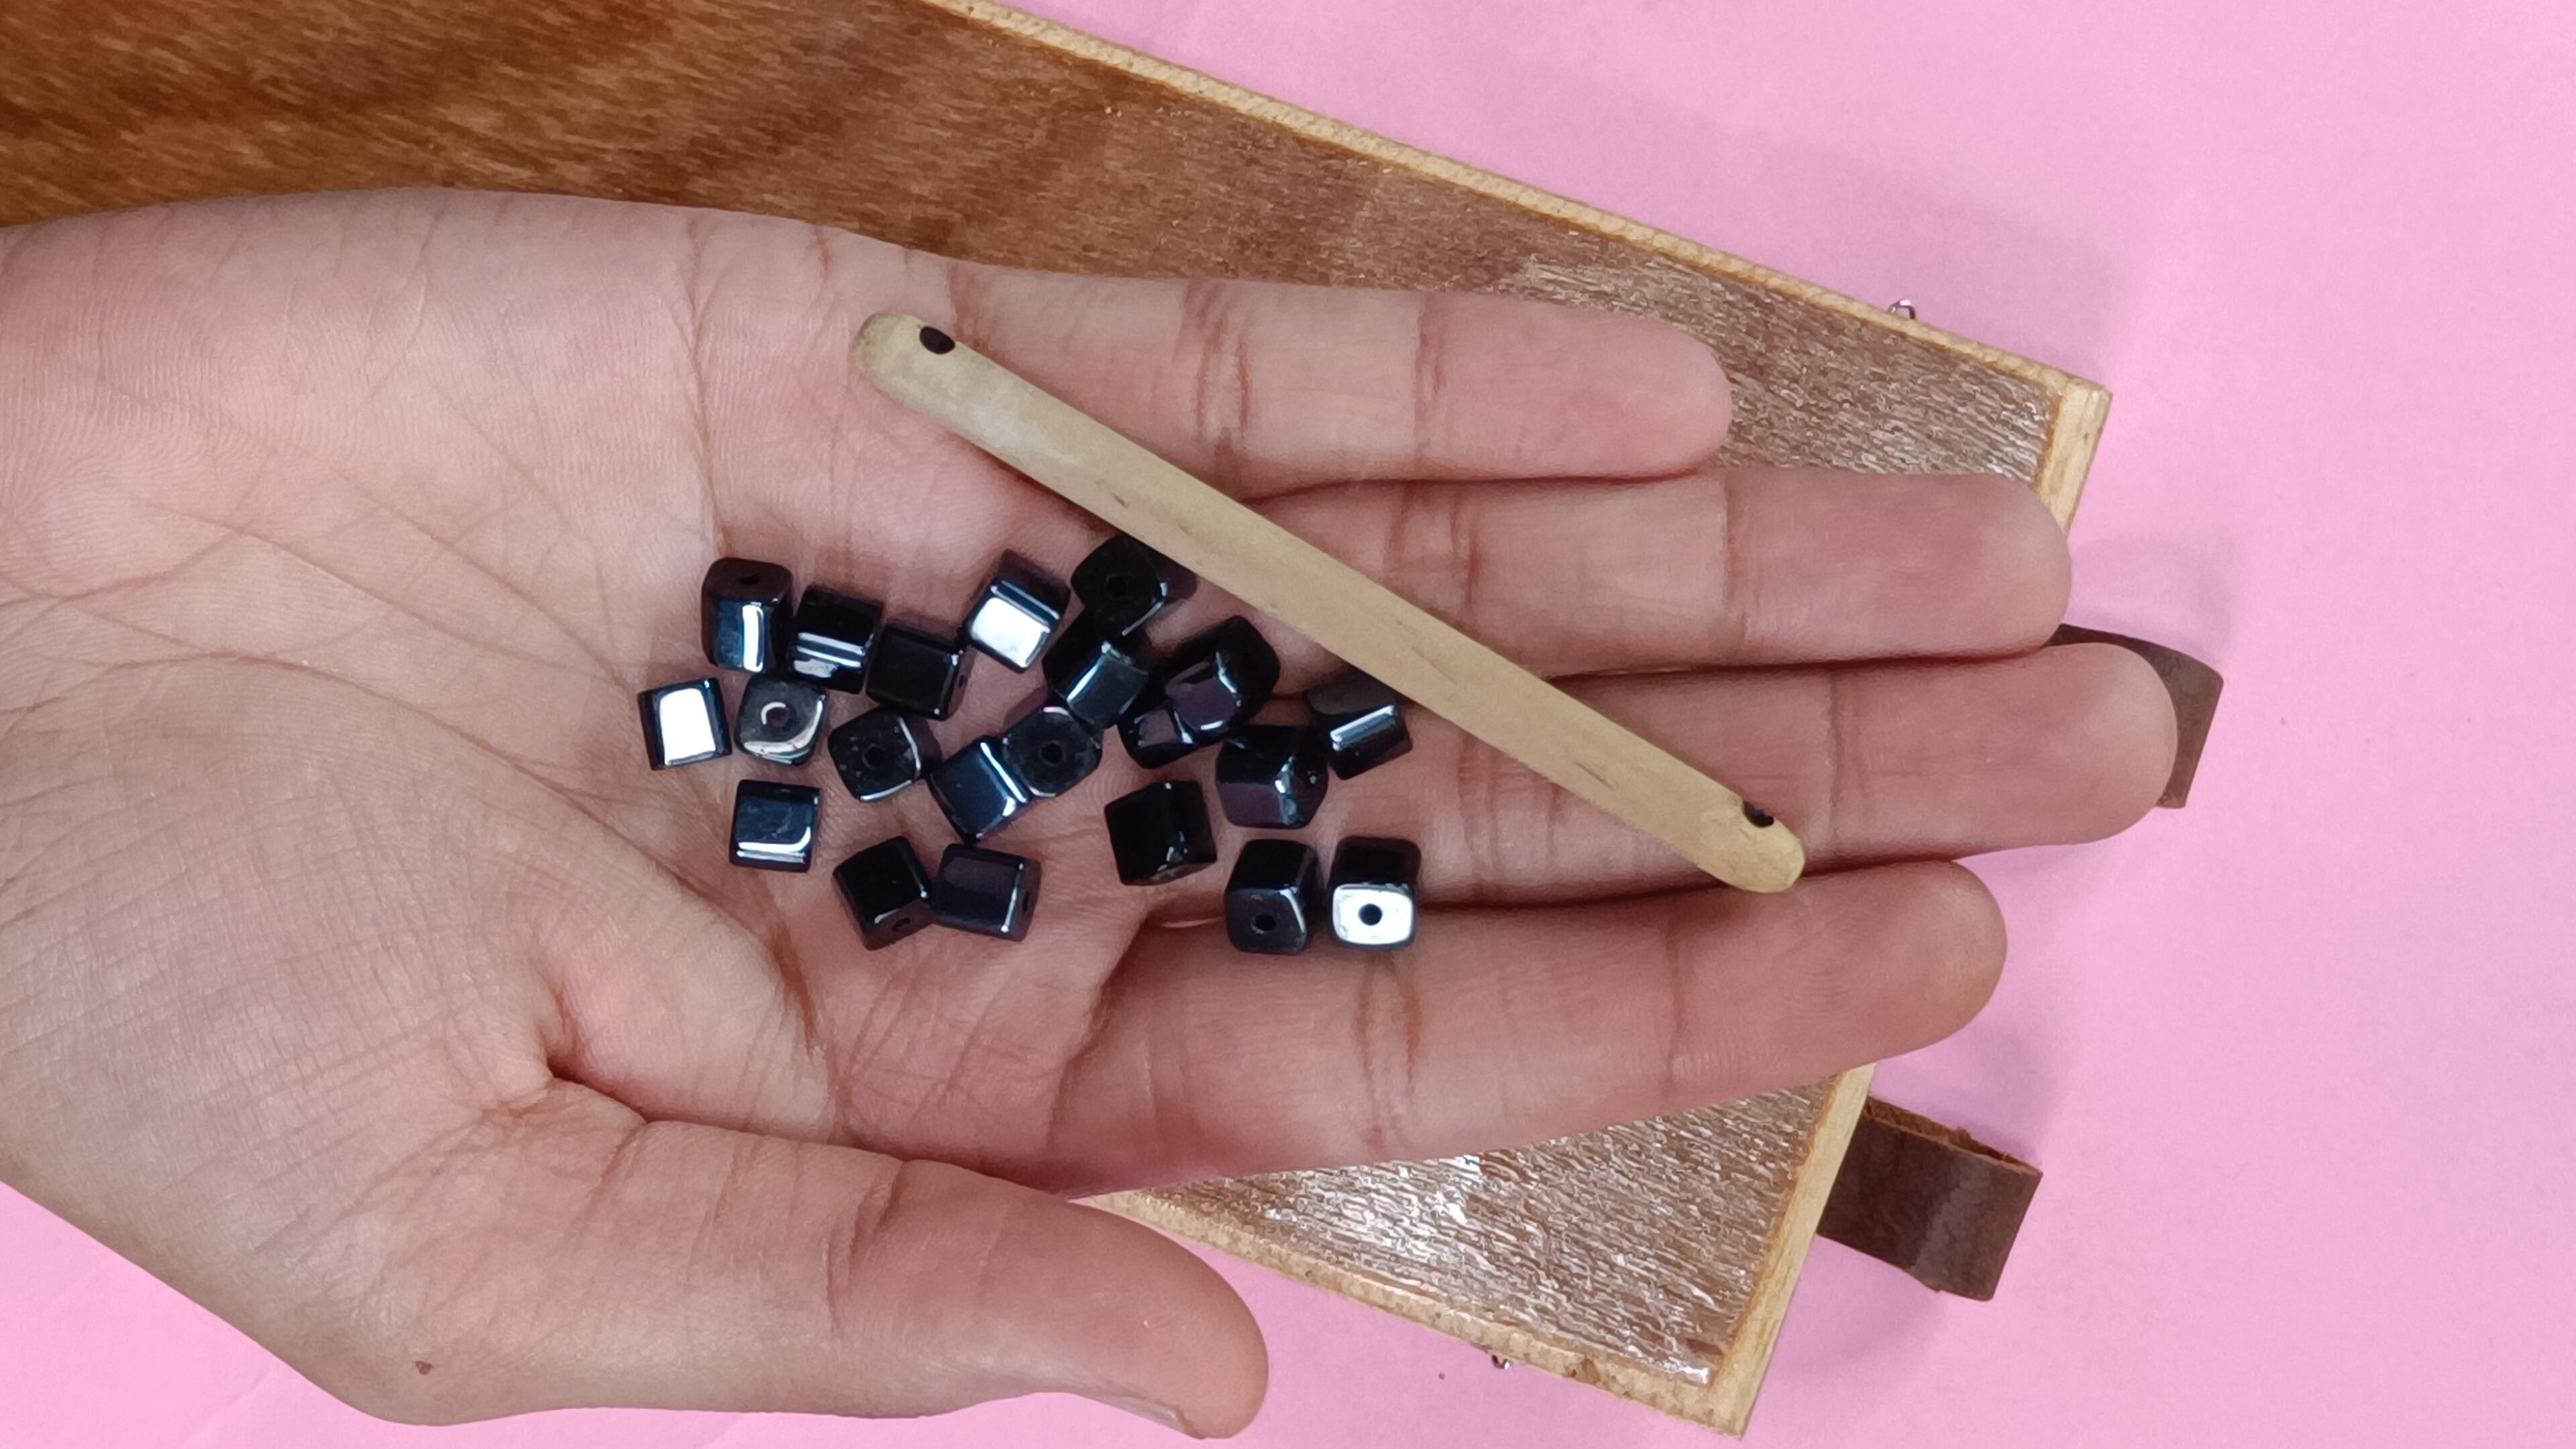
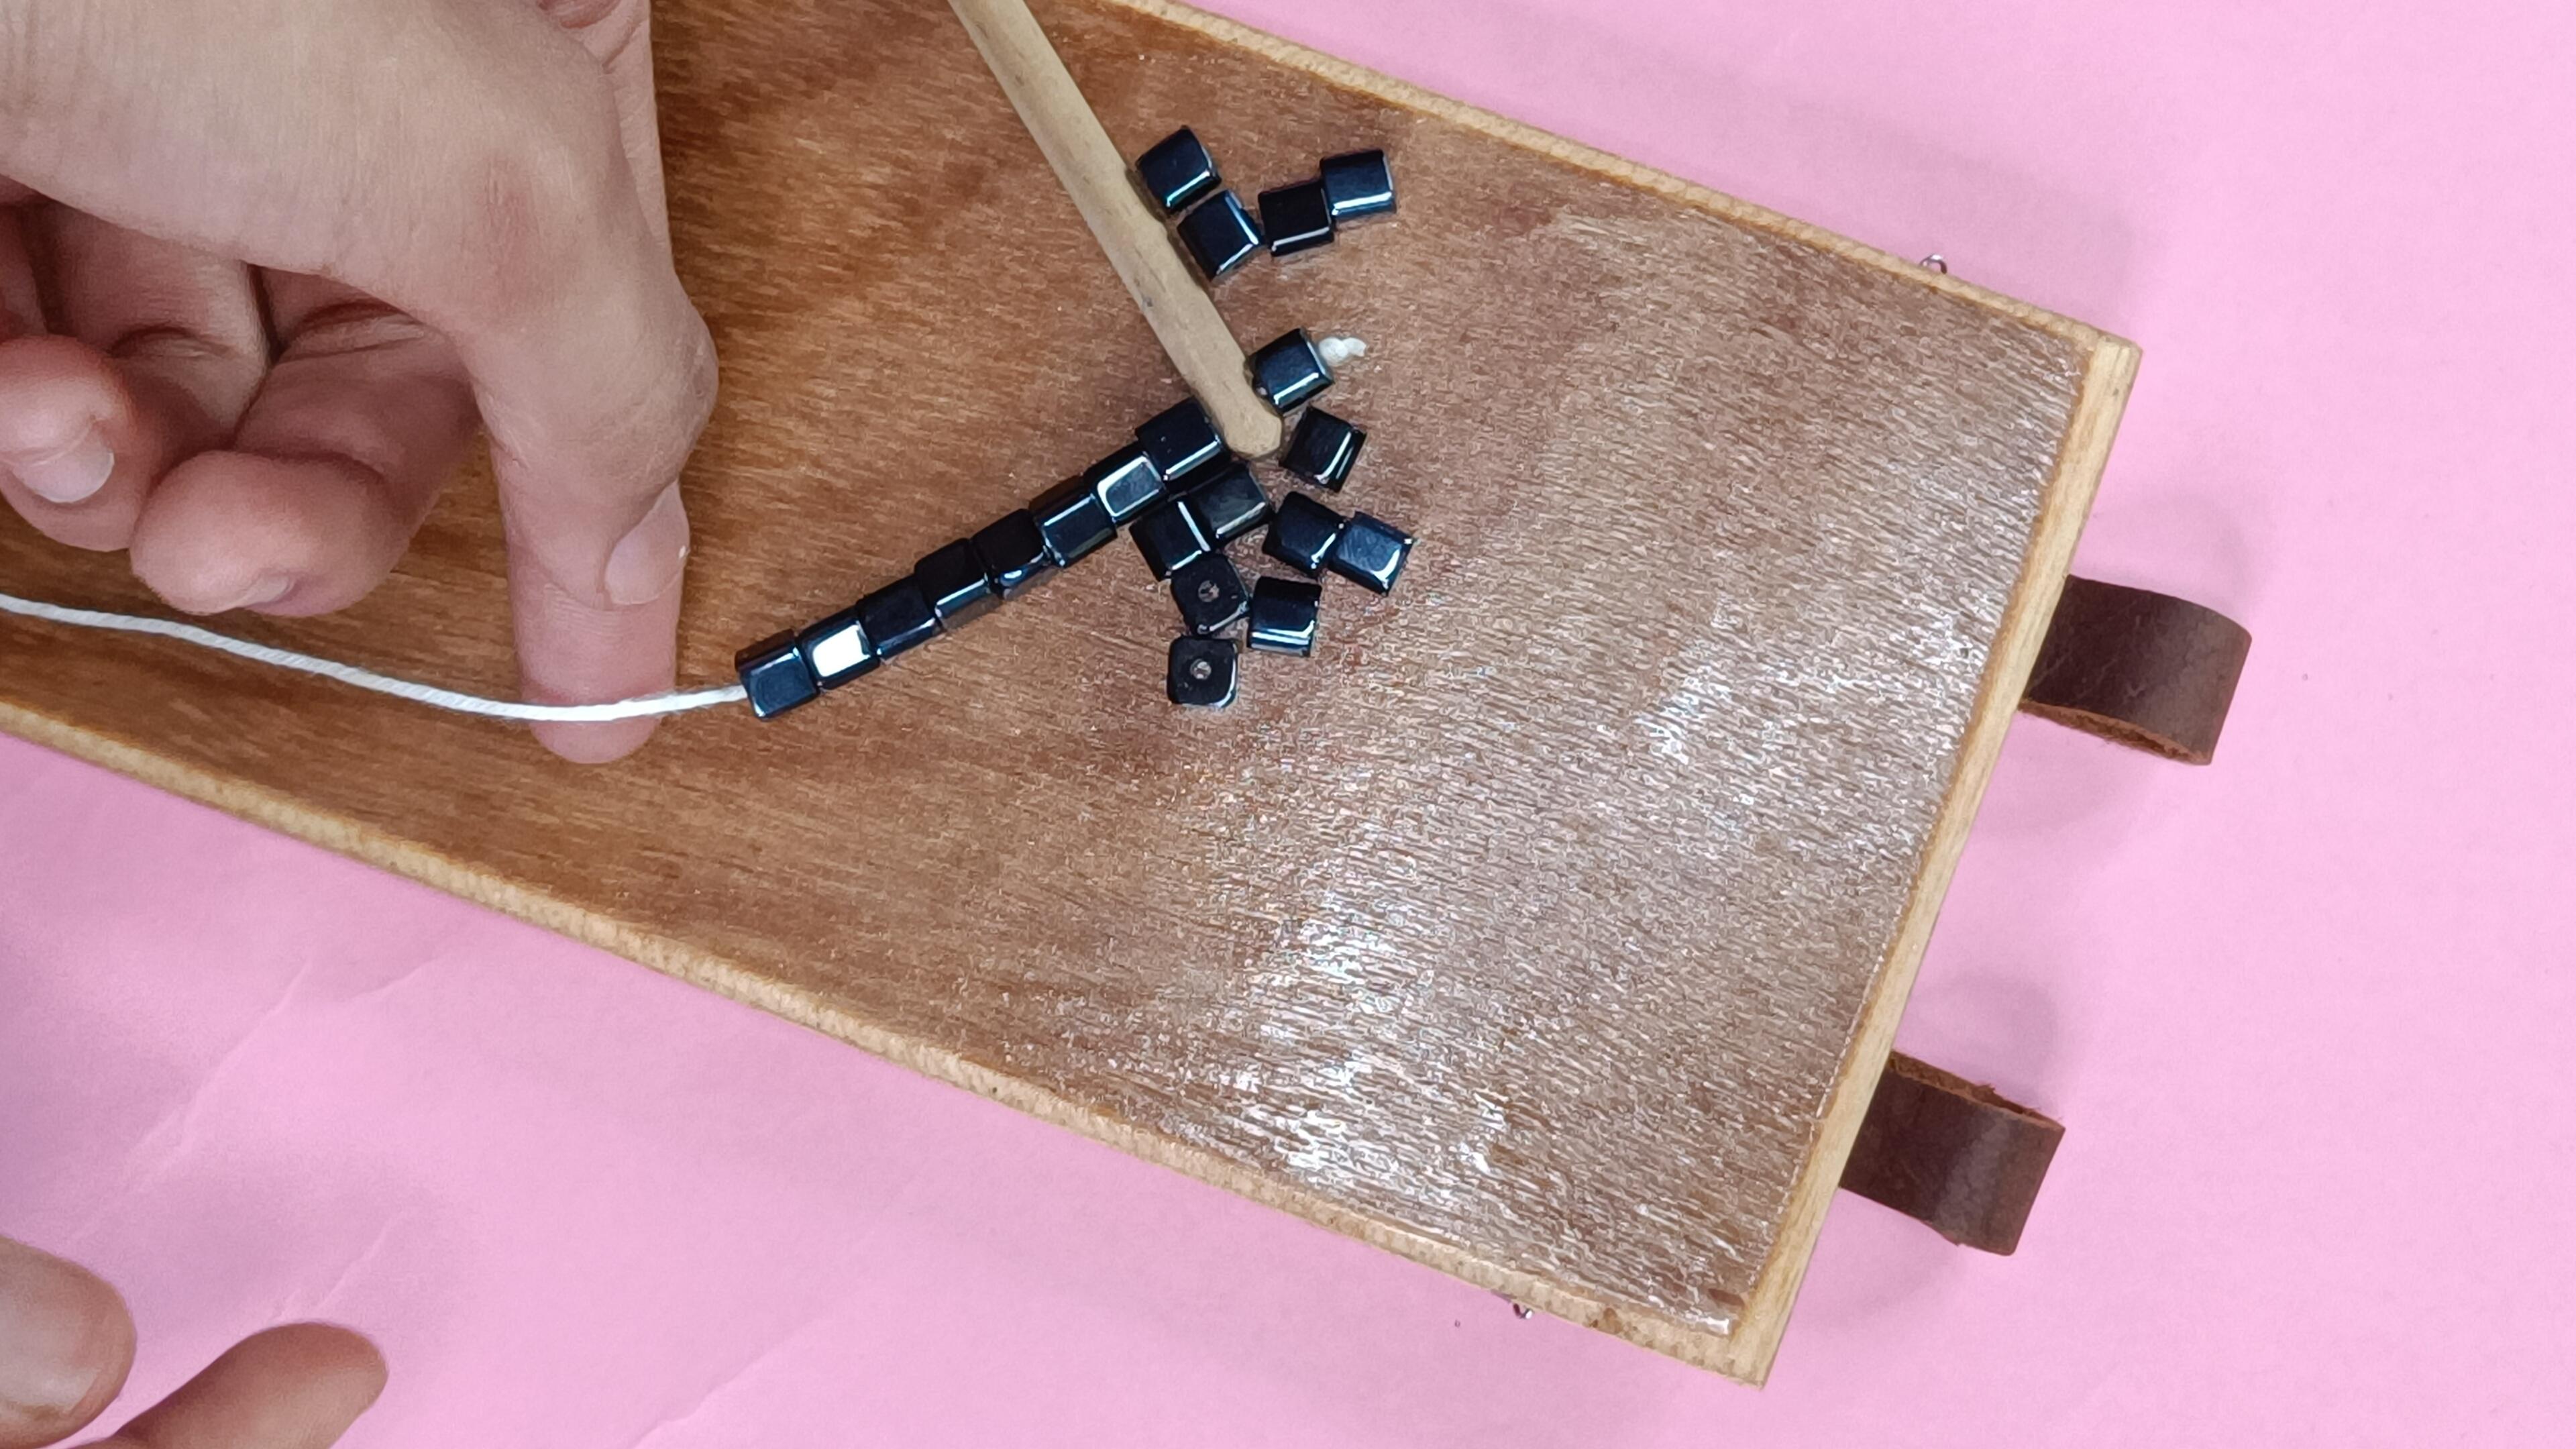
- Take a dowel pin and drill one hole on each side. This wooden dowel pin will act as an axis for the paper roll to spin.
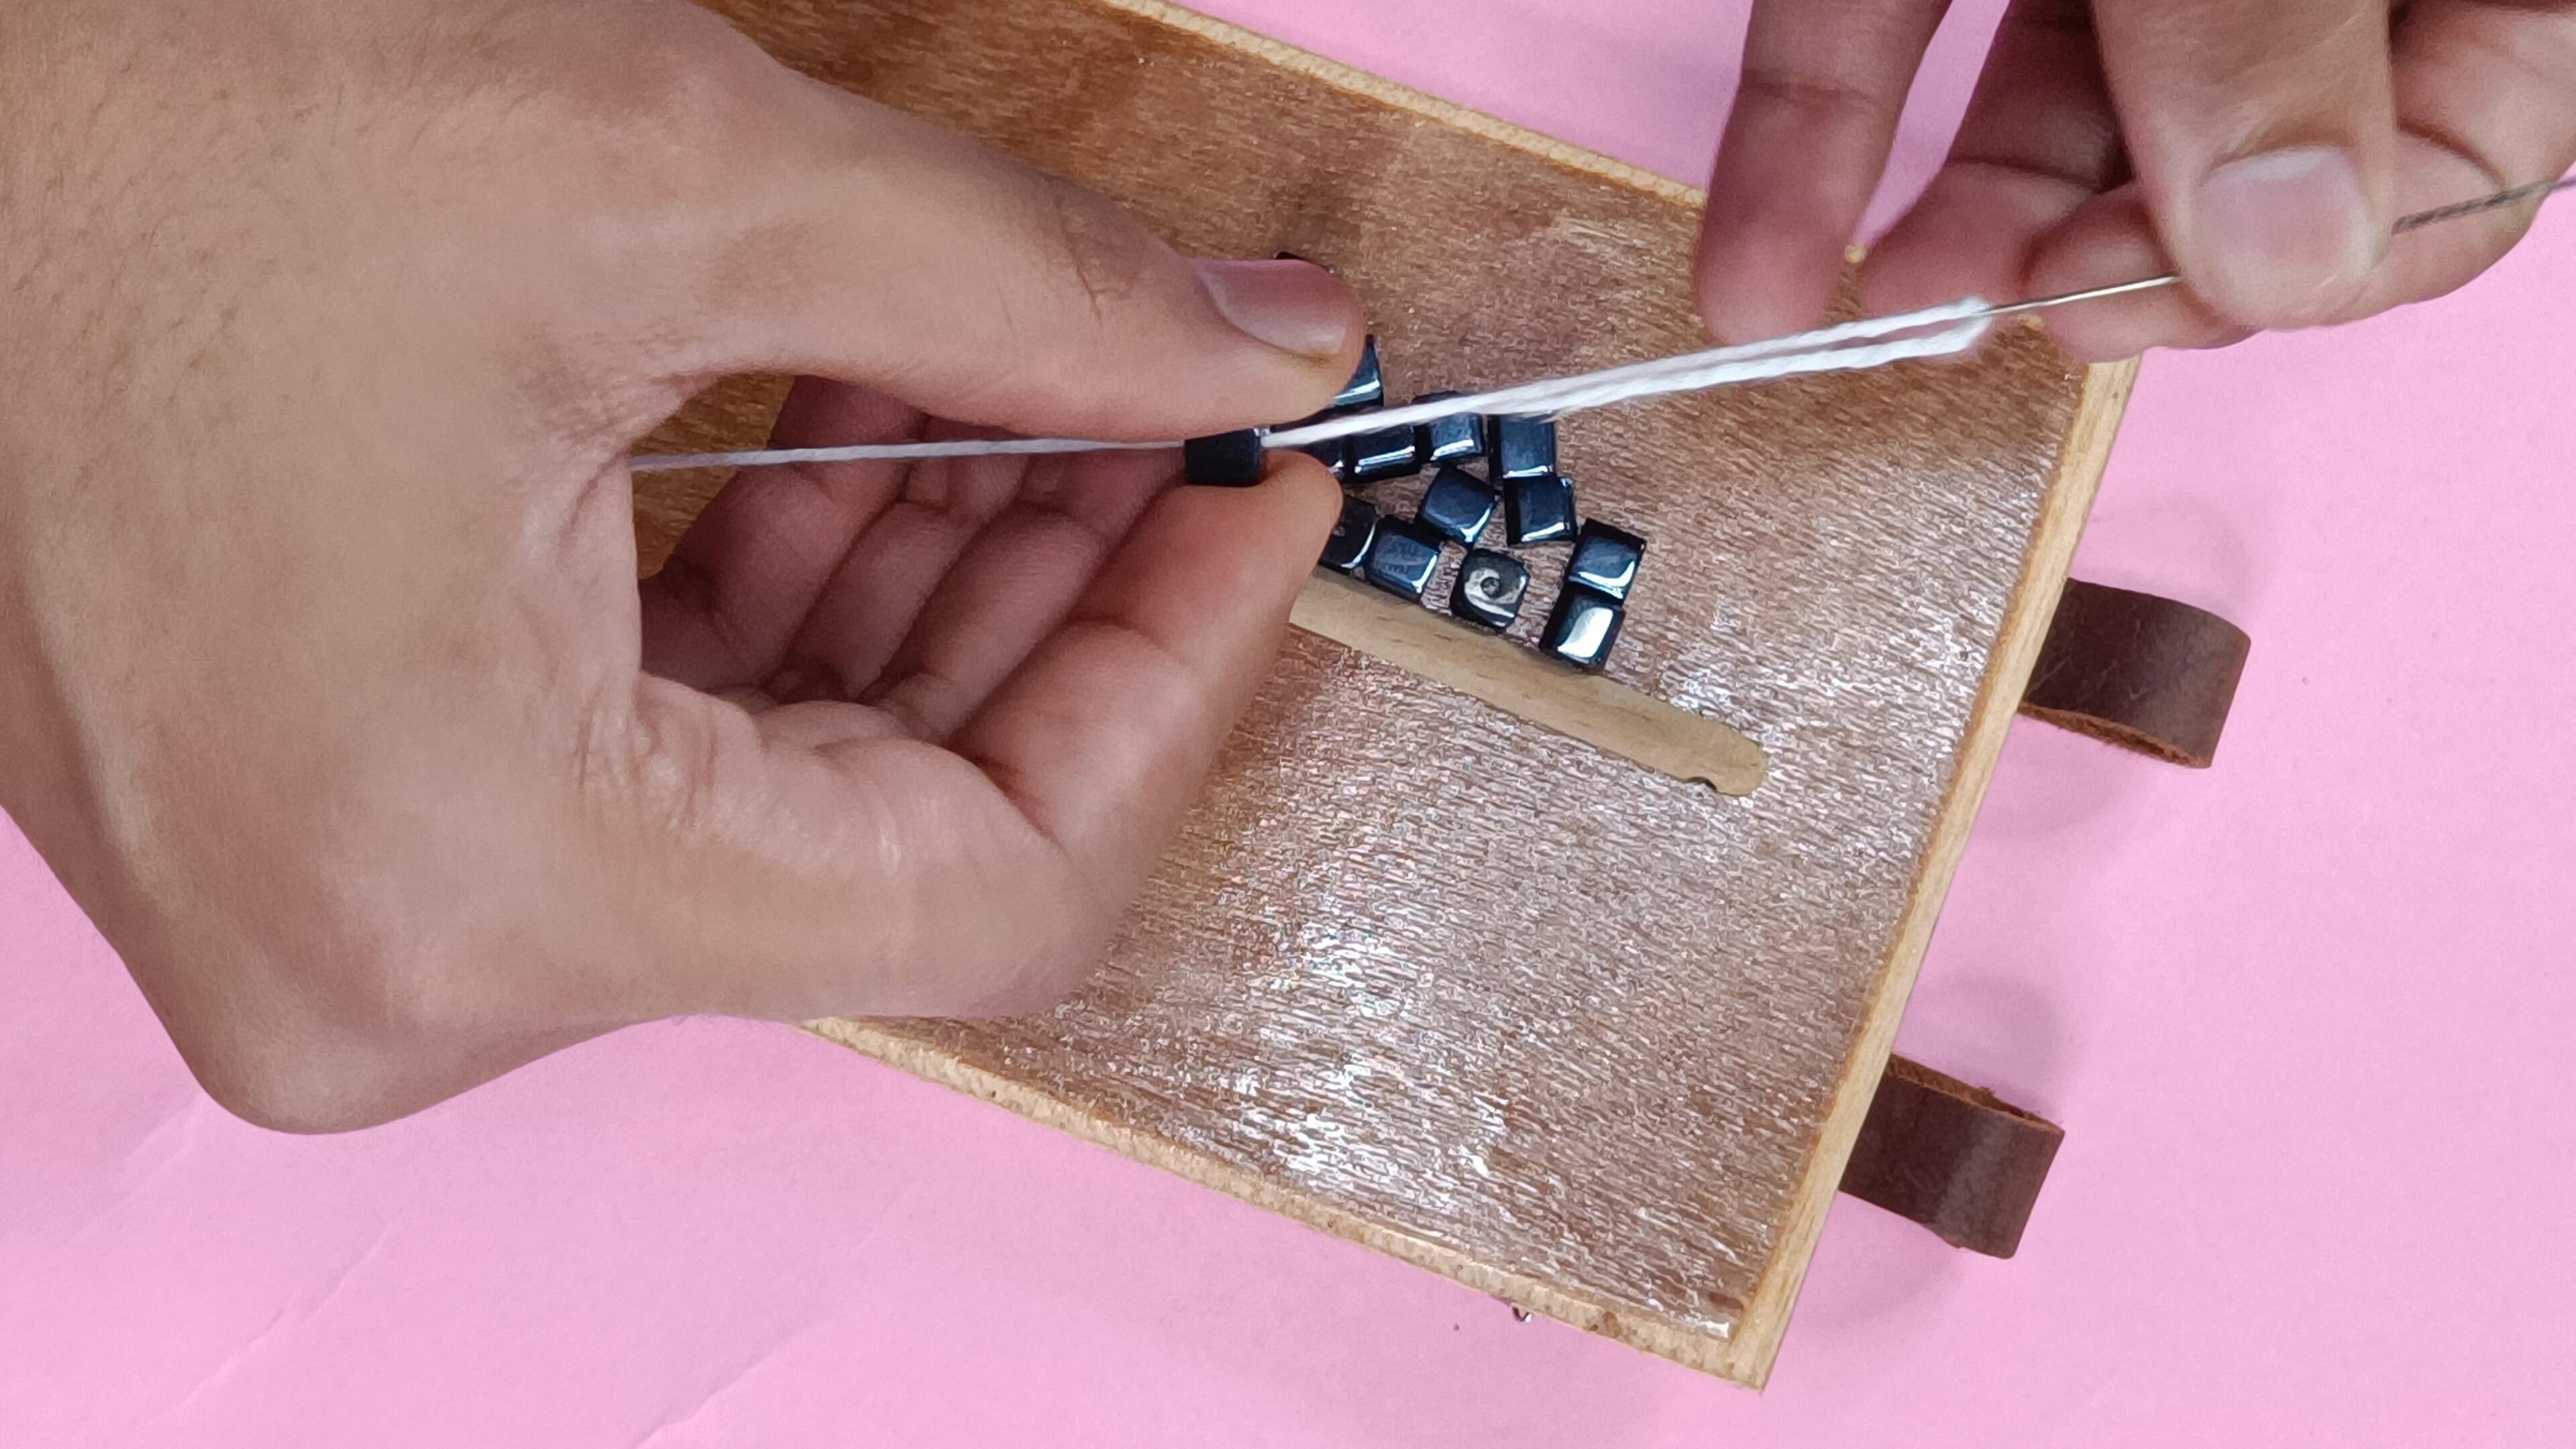
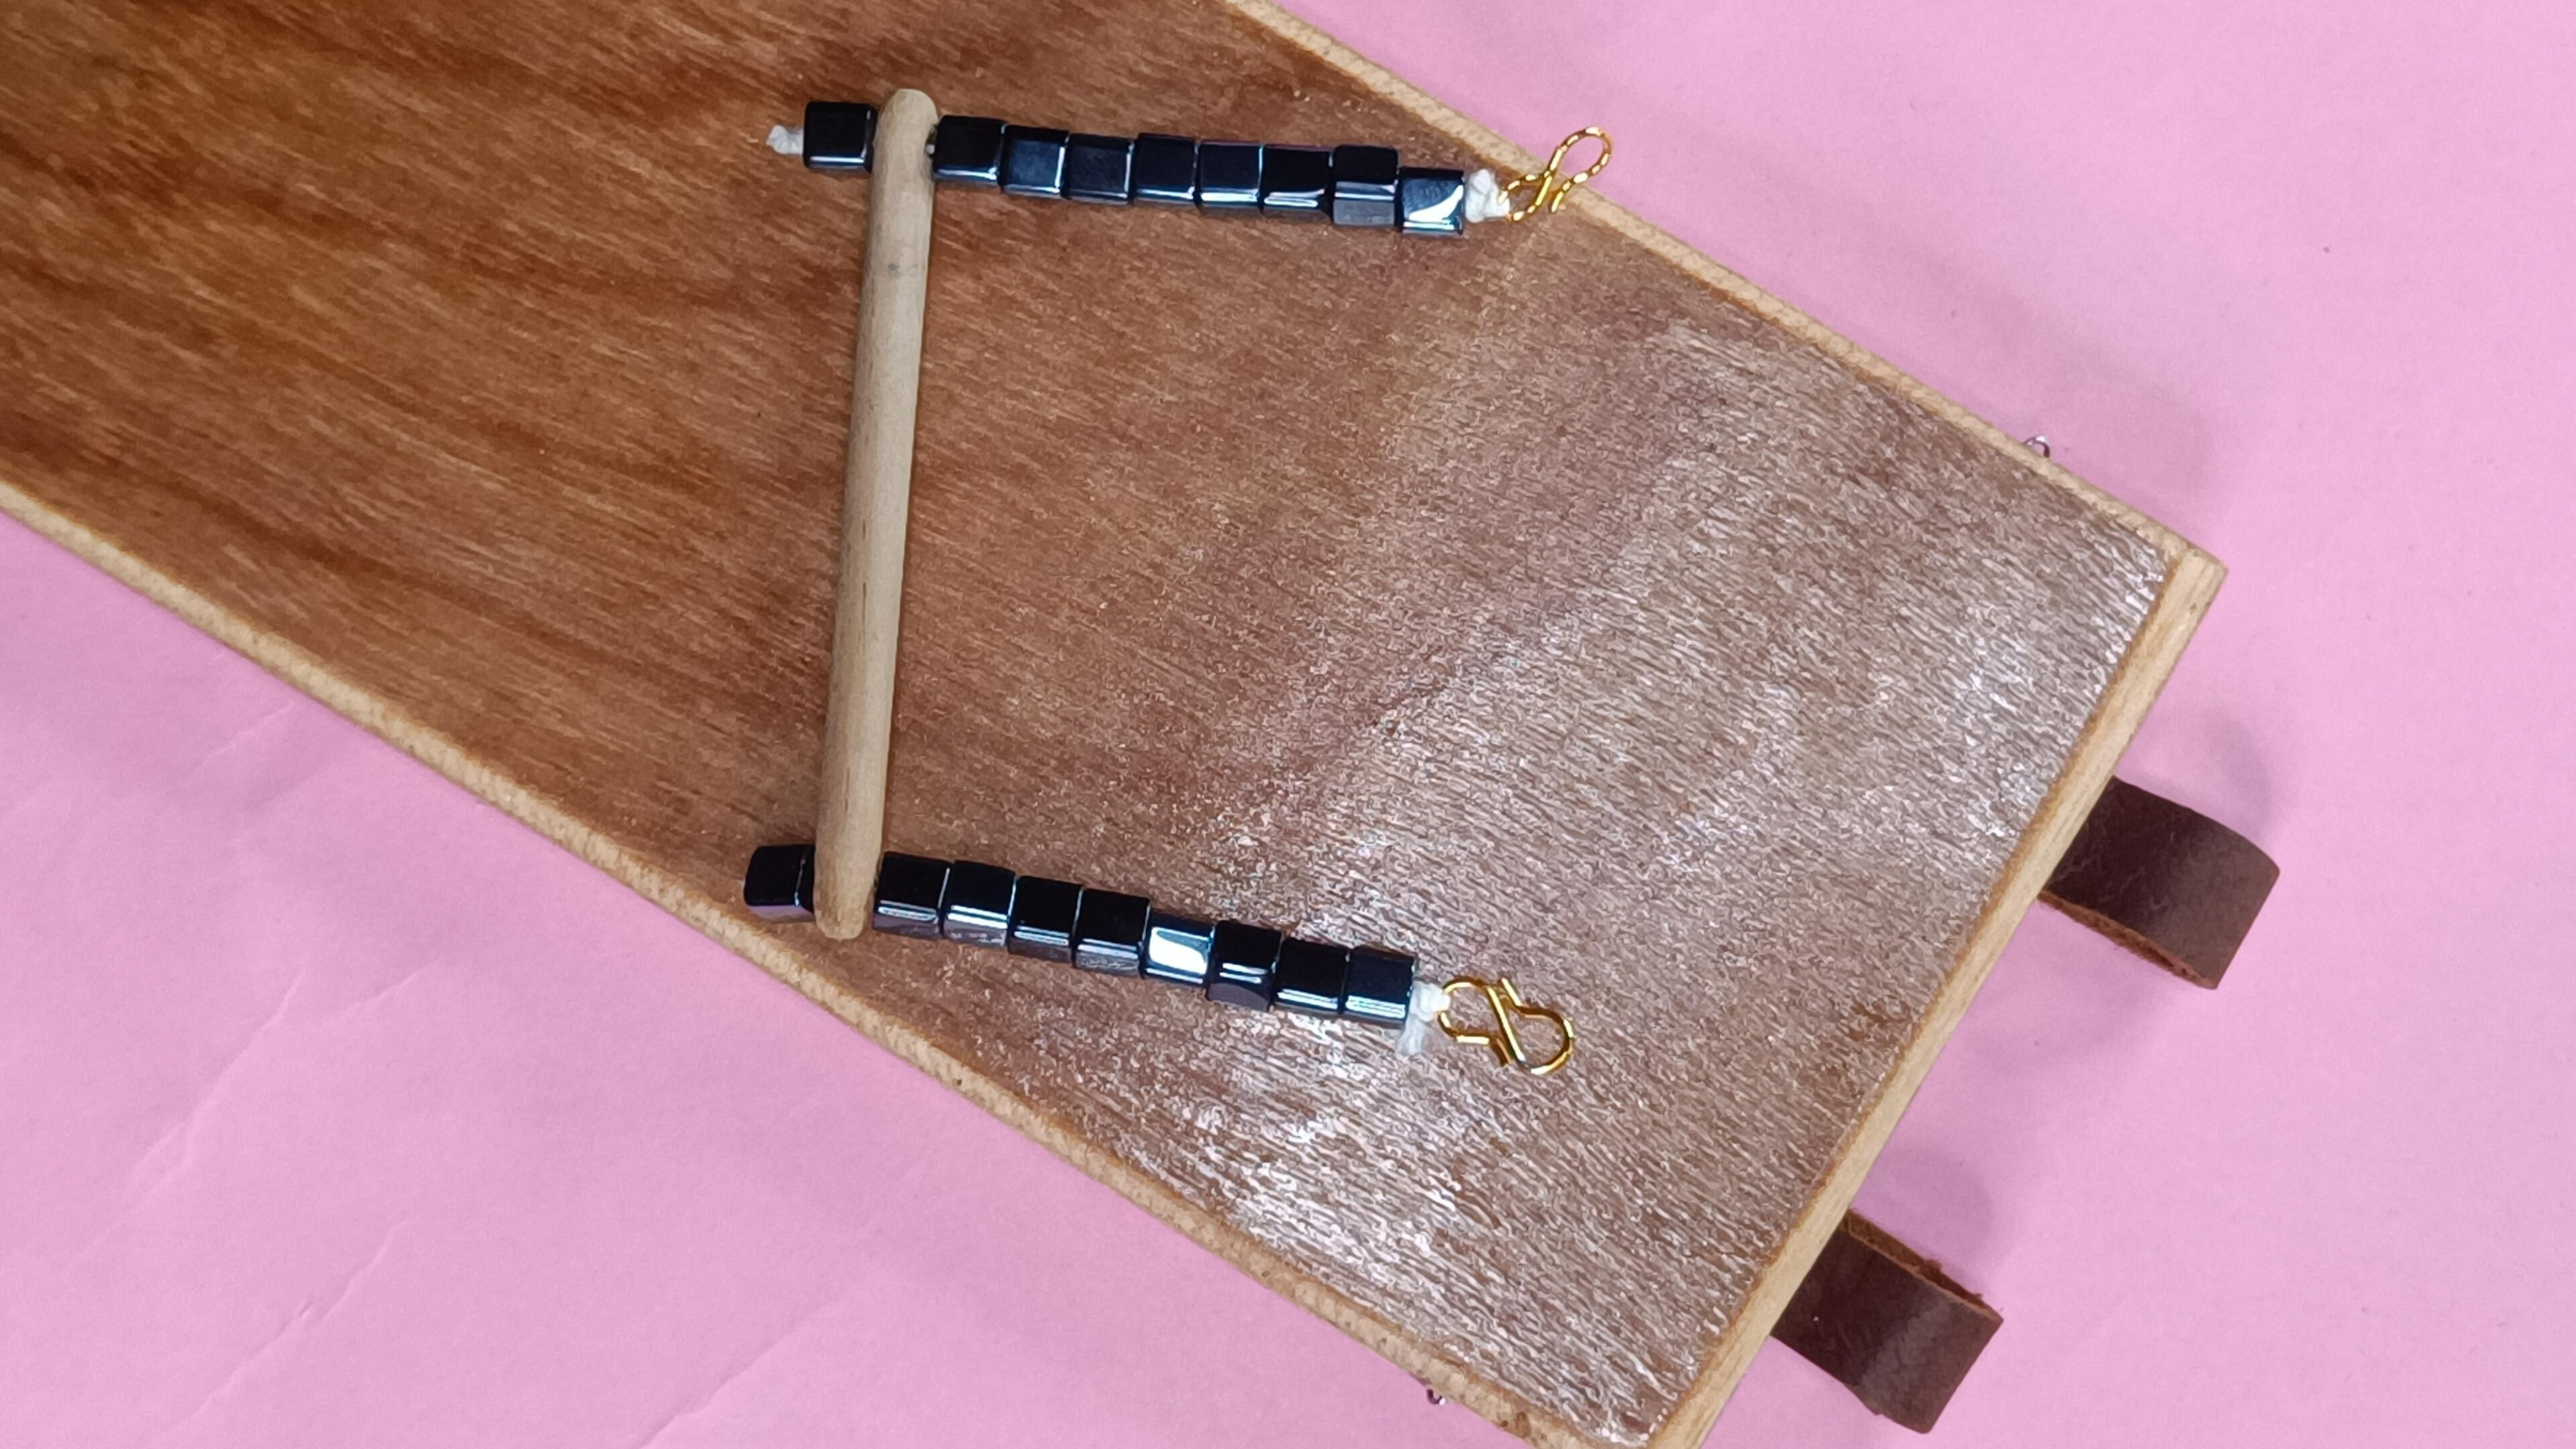
- Thread the beads and tie them on each side of the dowel pin.
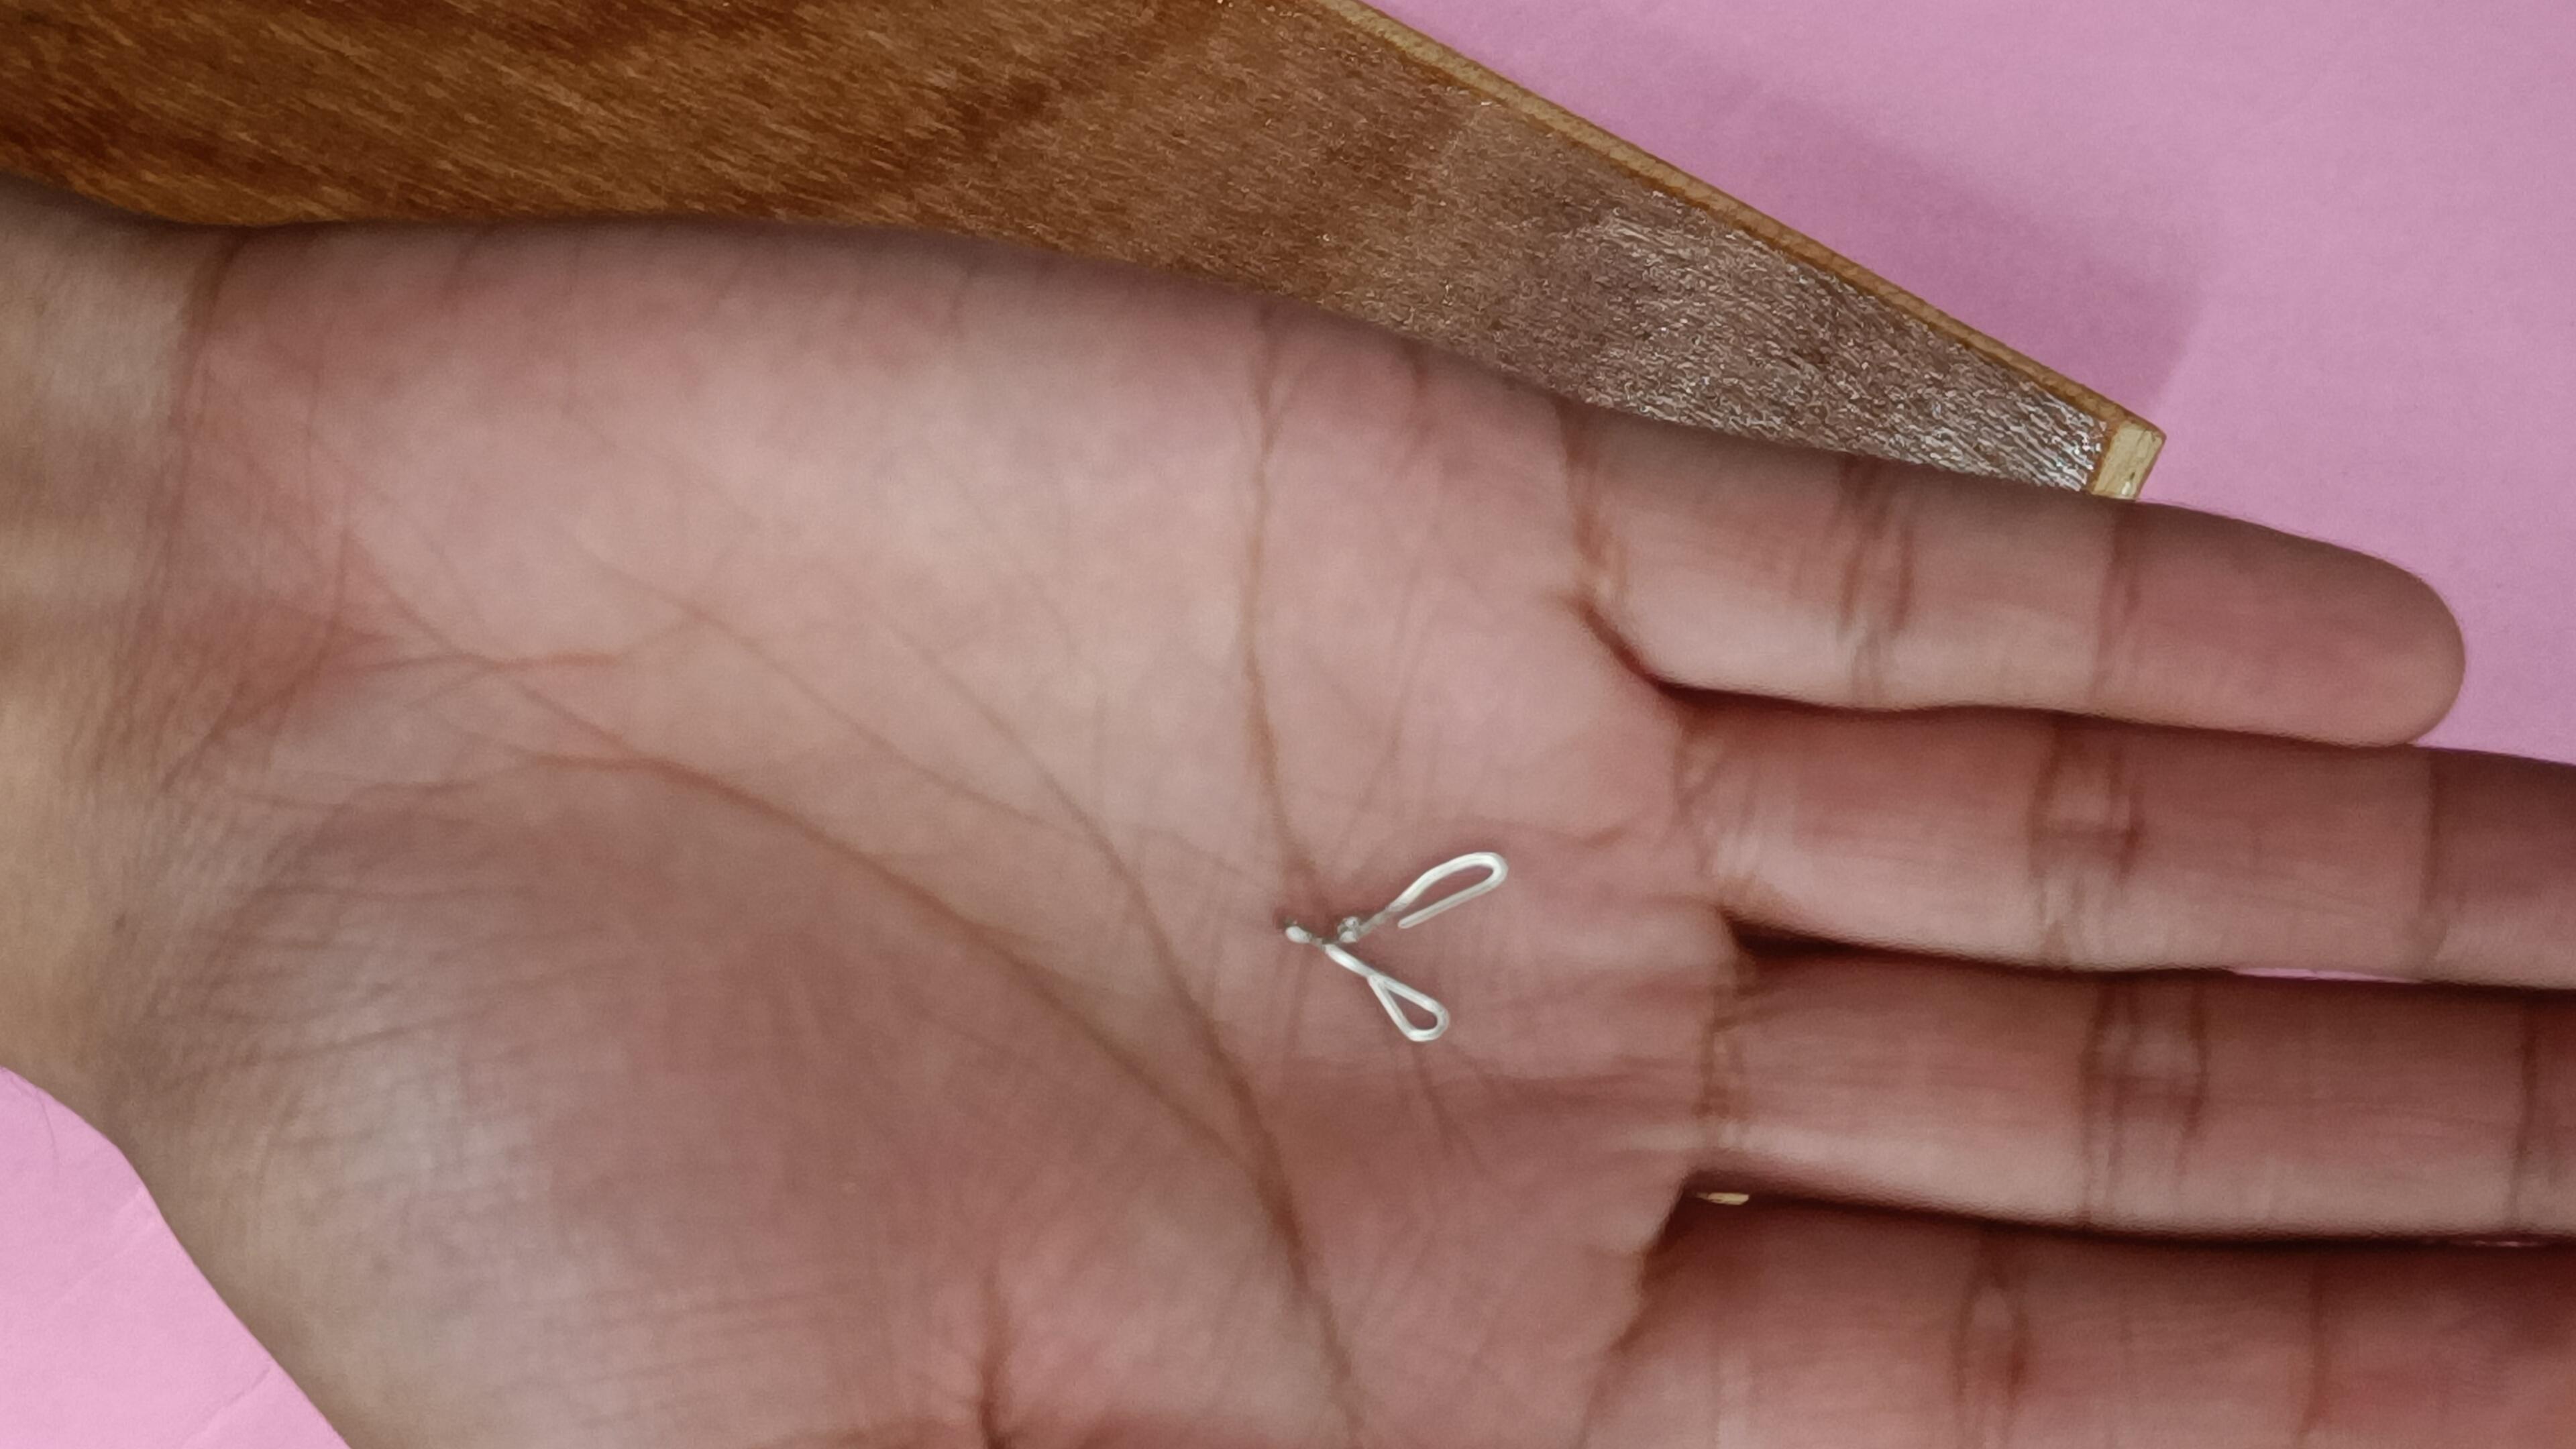
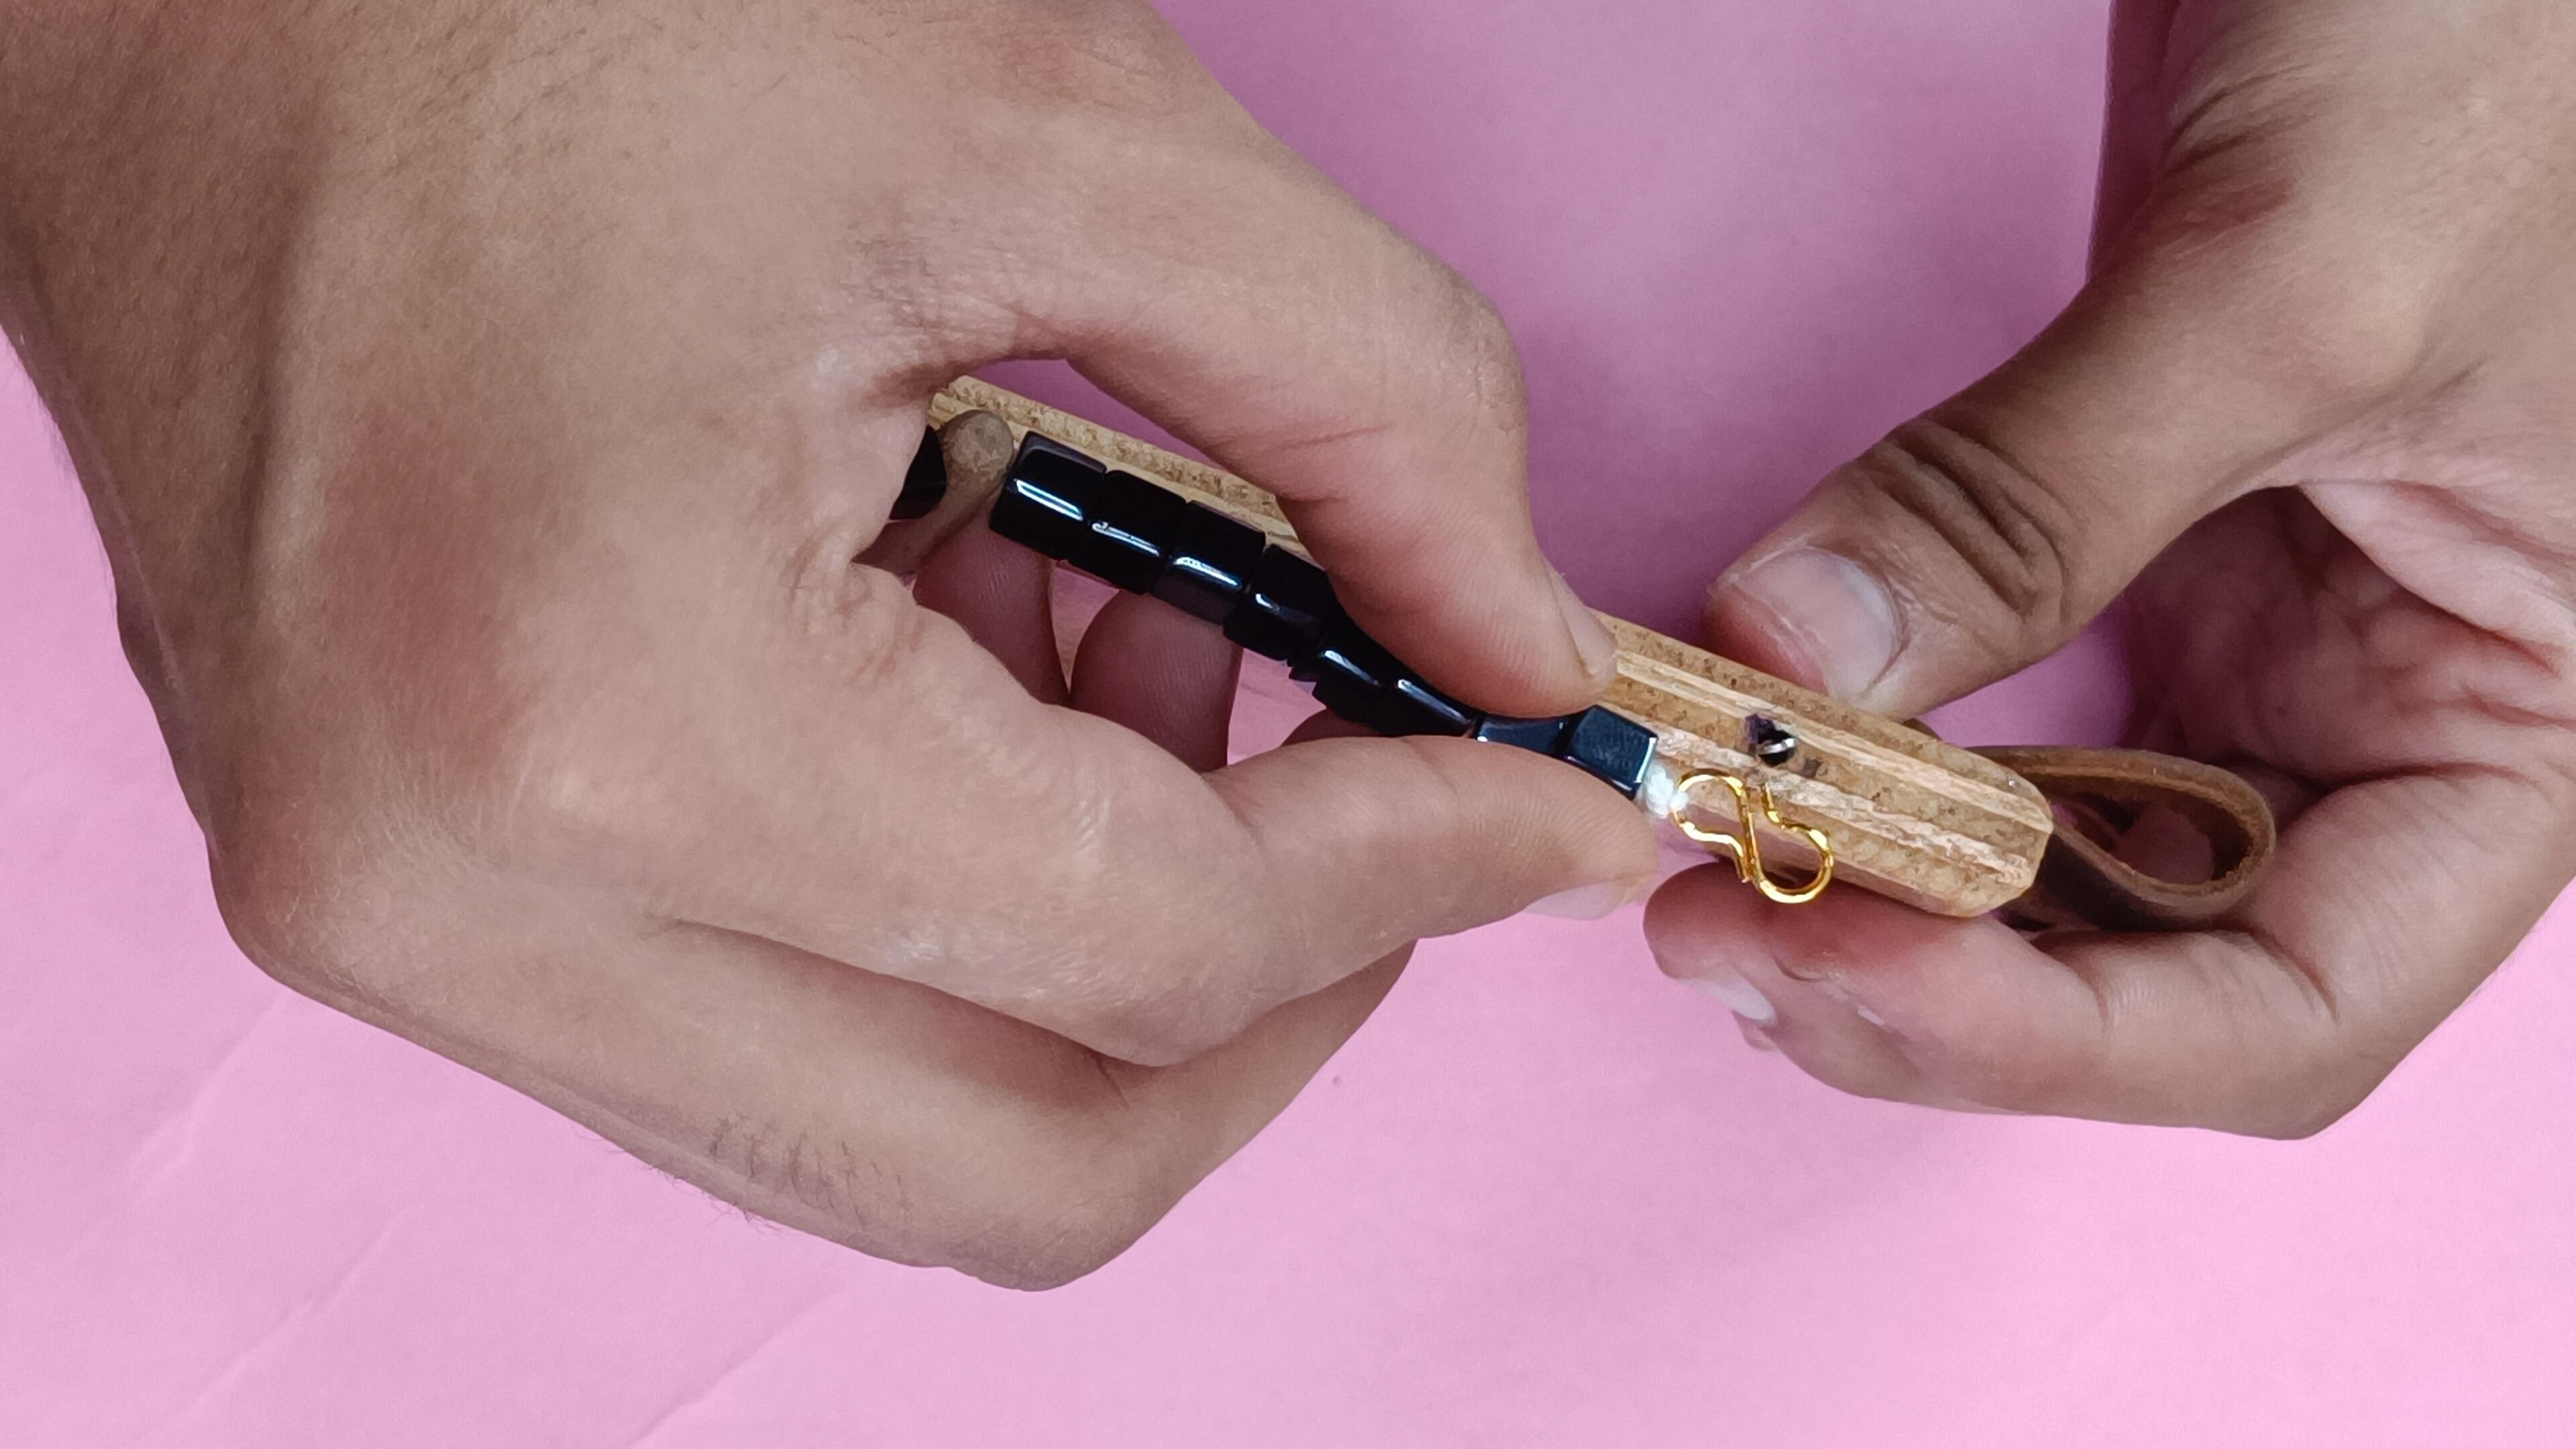
- Tie necklace hooks on each end of the thread. These hooks can be released if needed to change the paper roll.
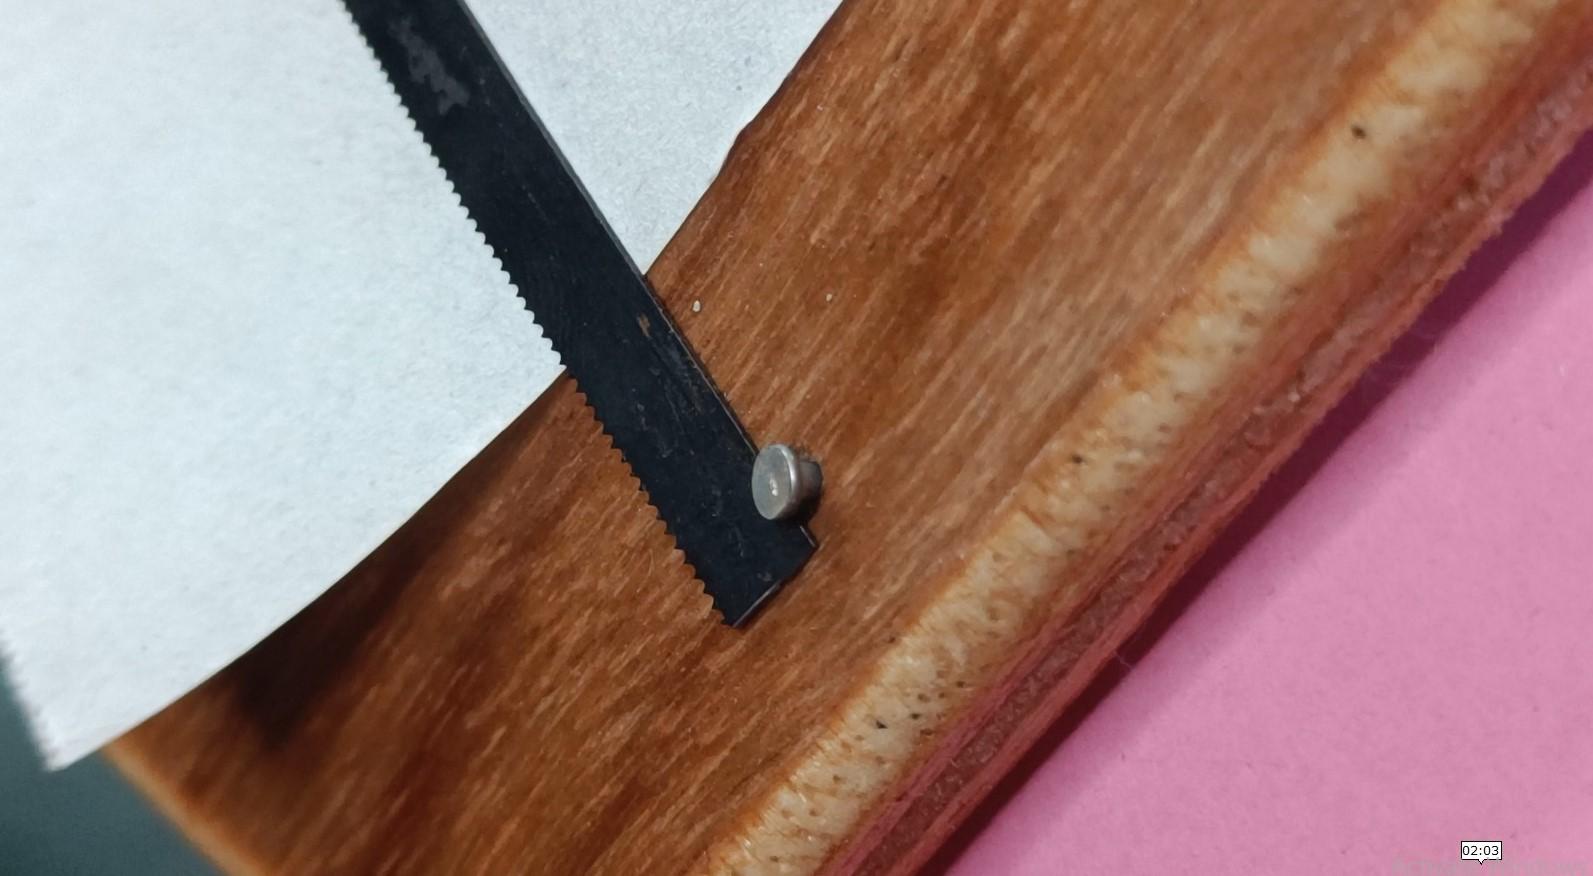
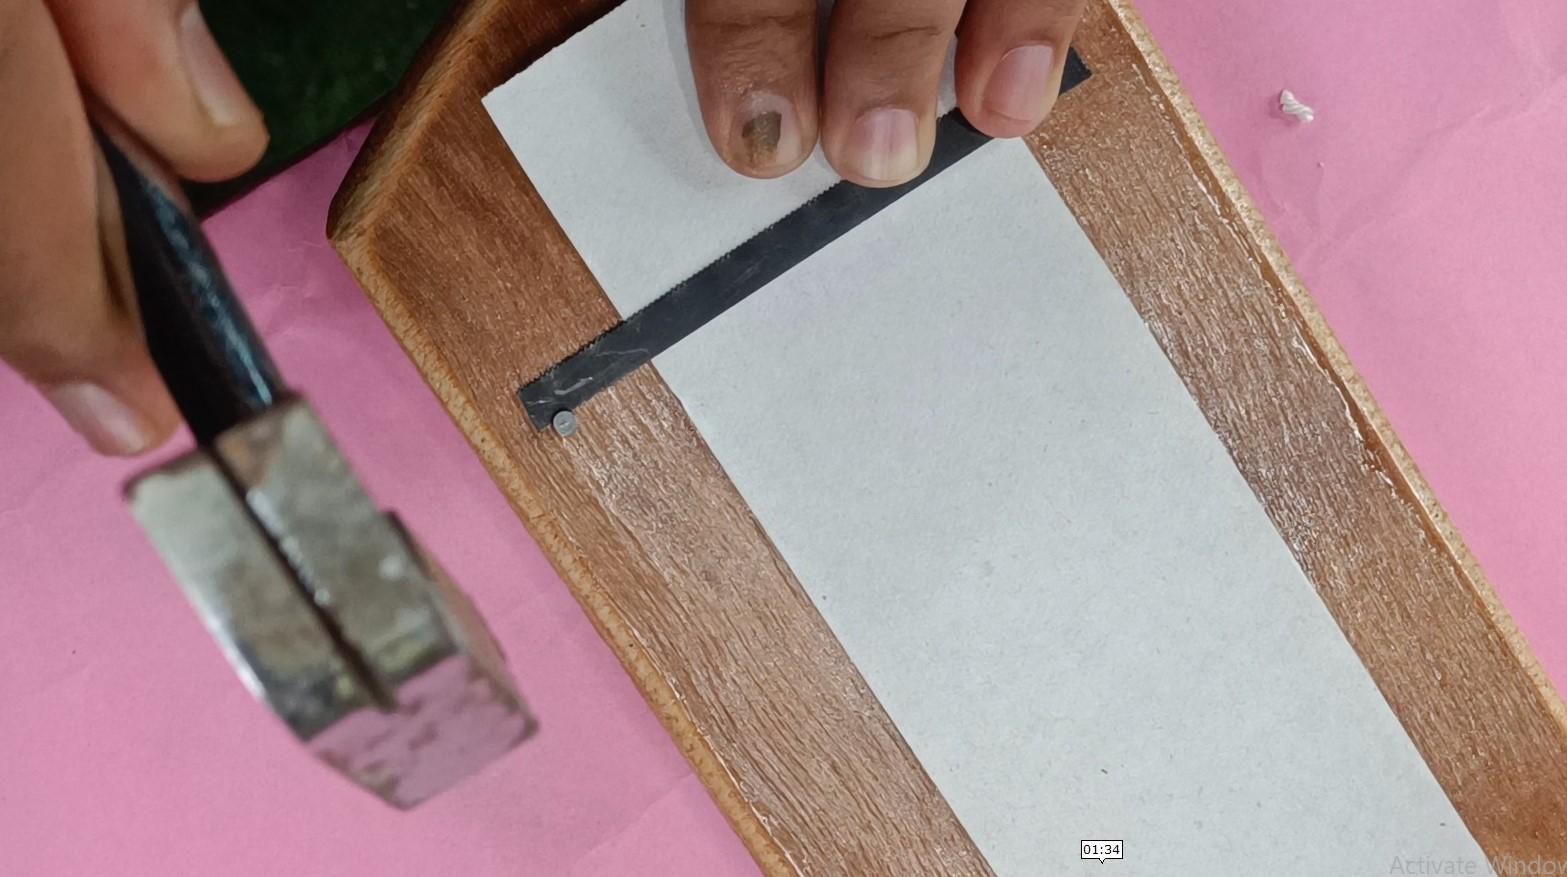
Installing the Paper Roll and Cutter
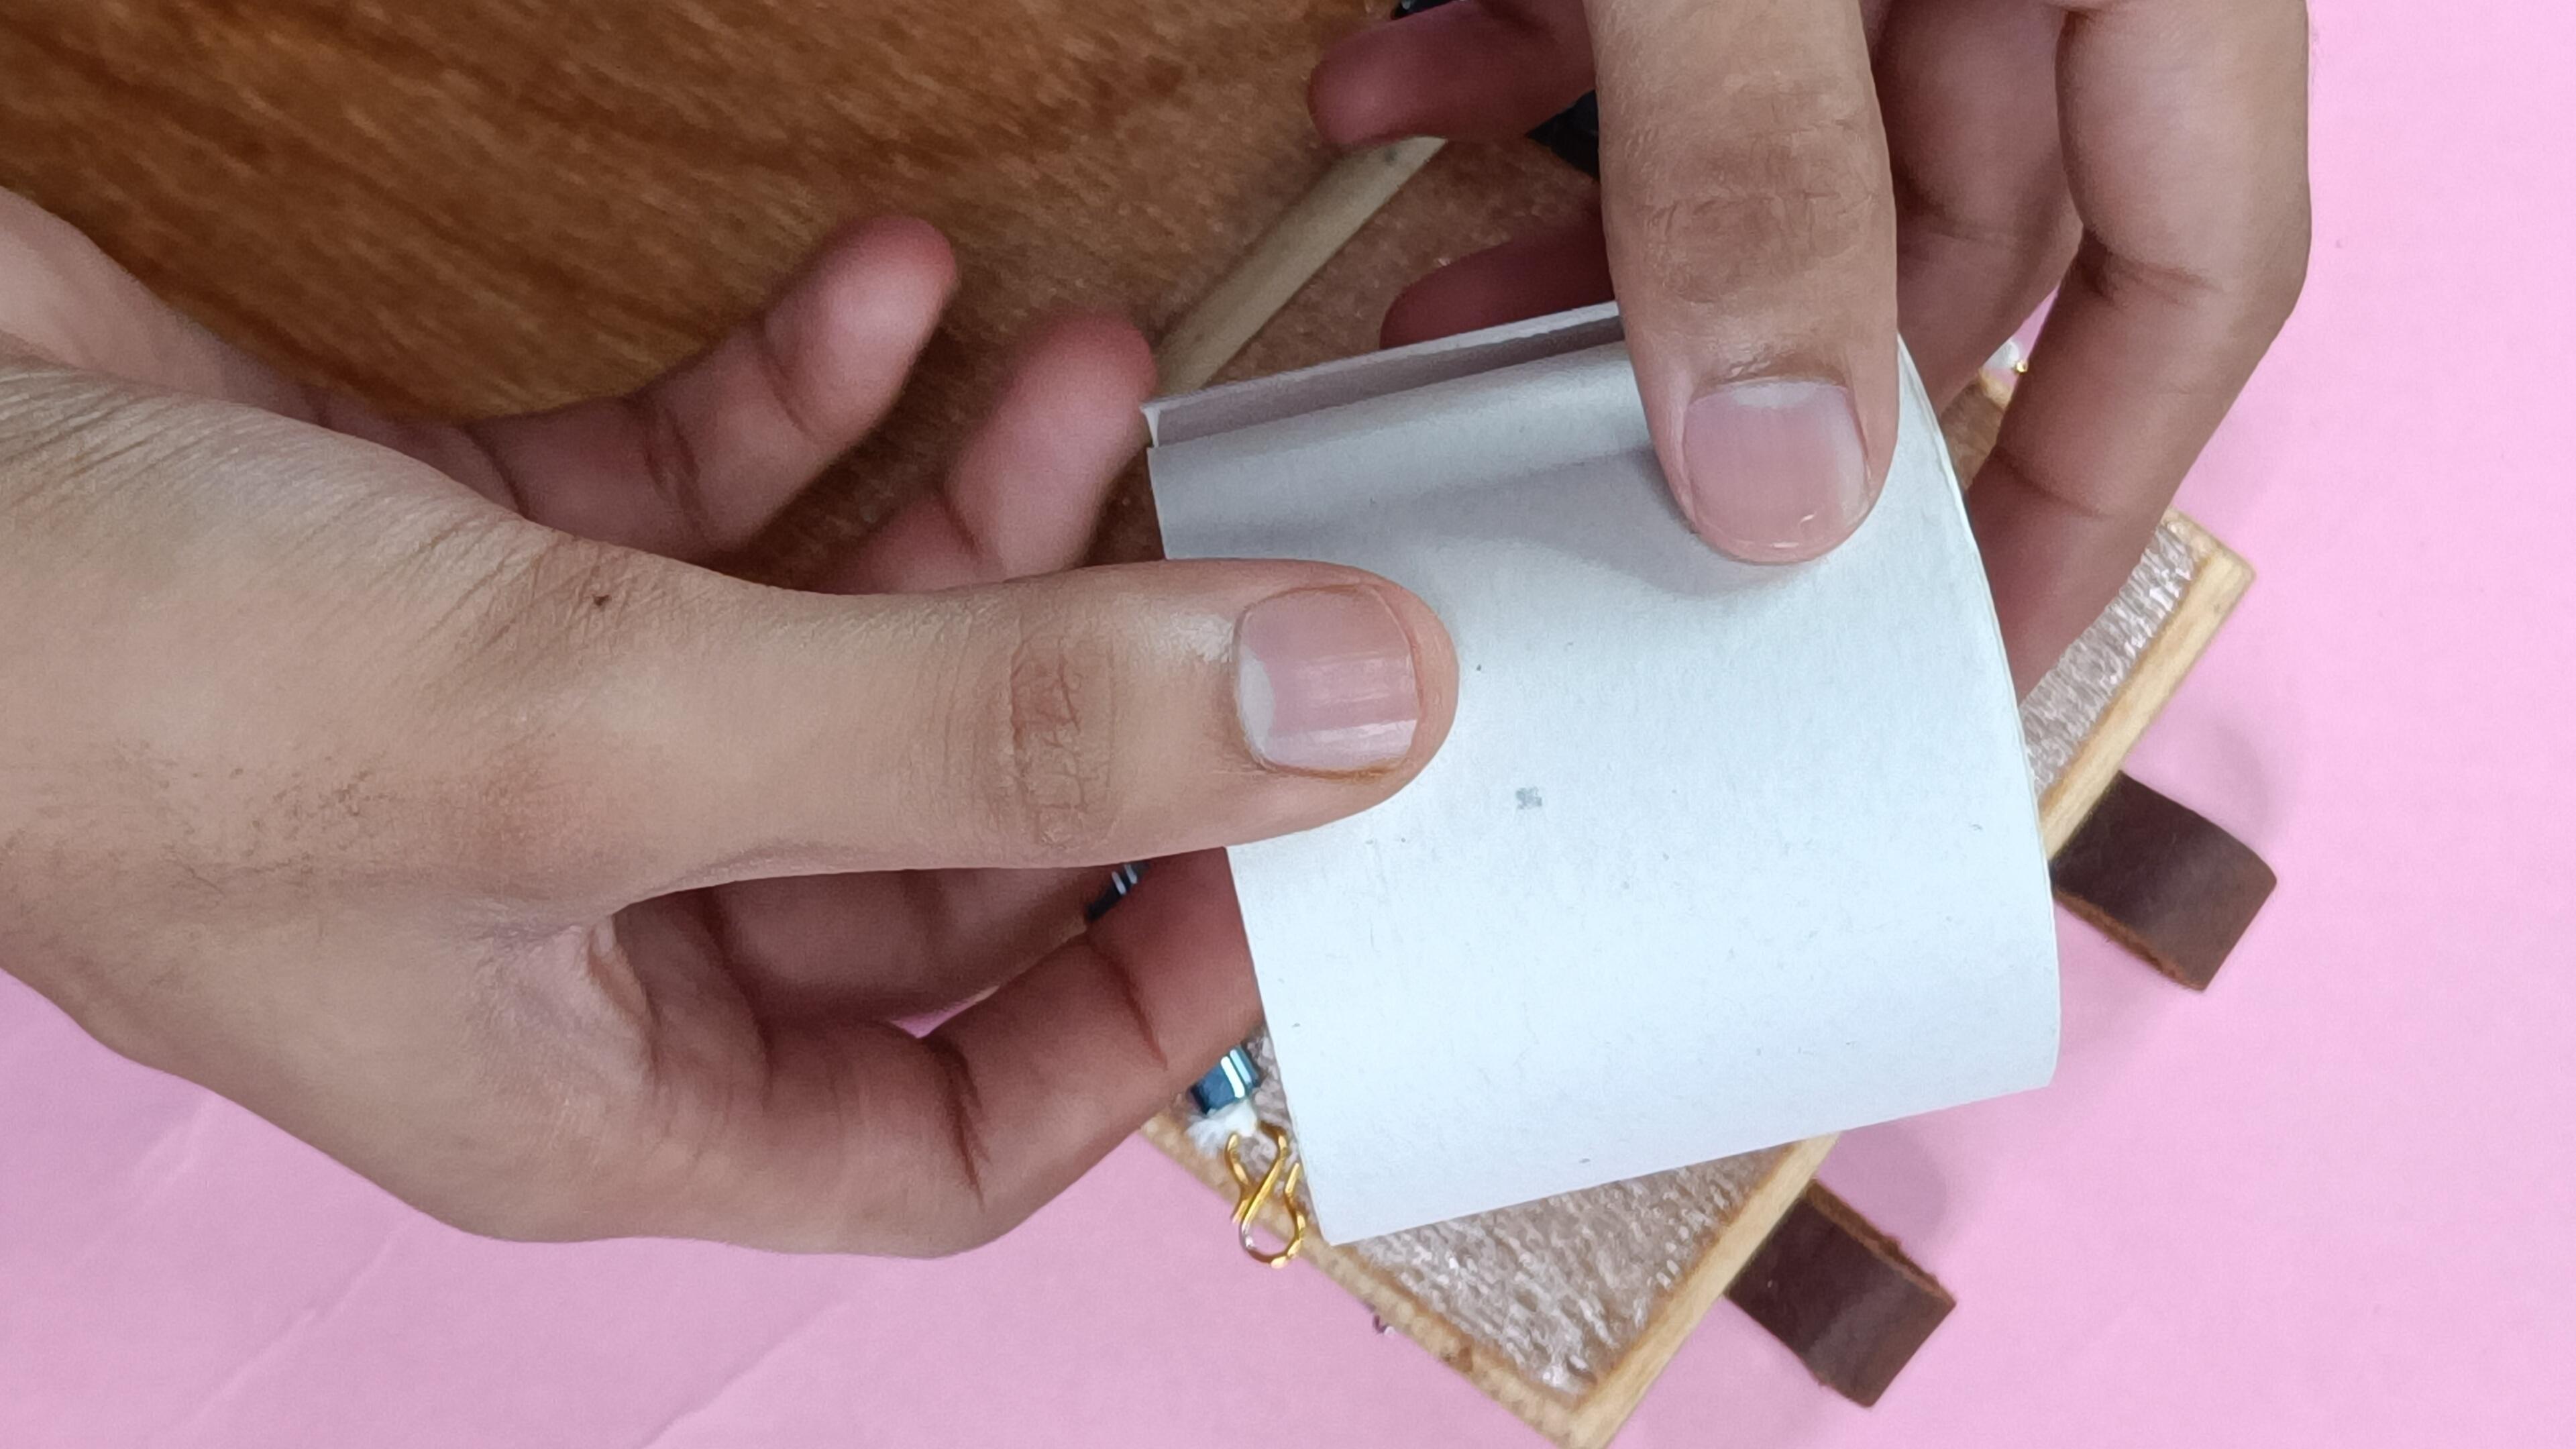
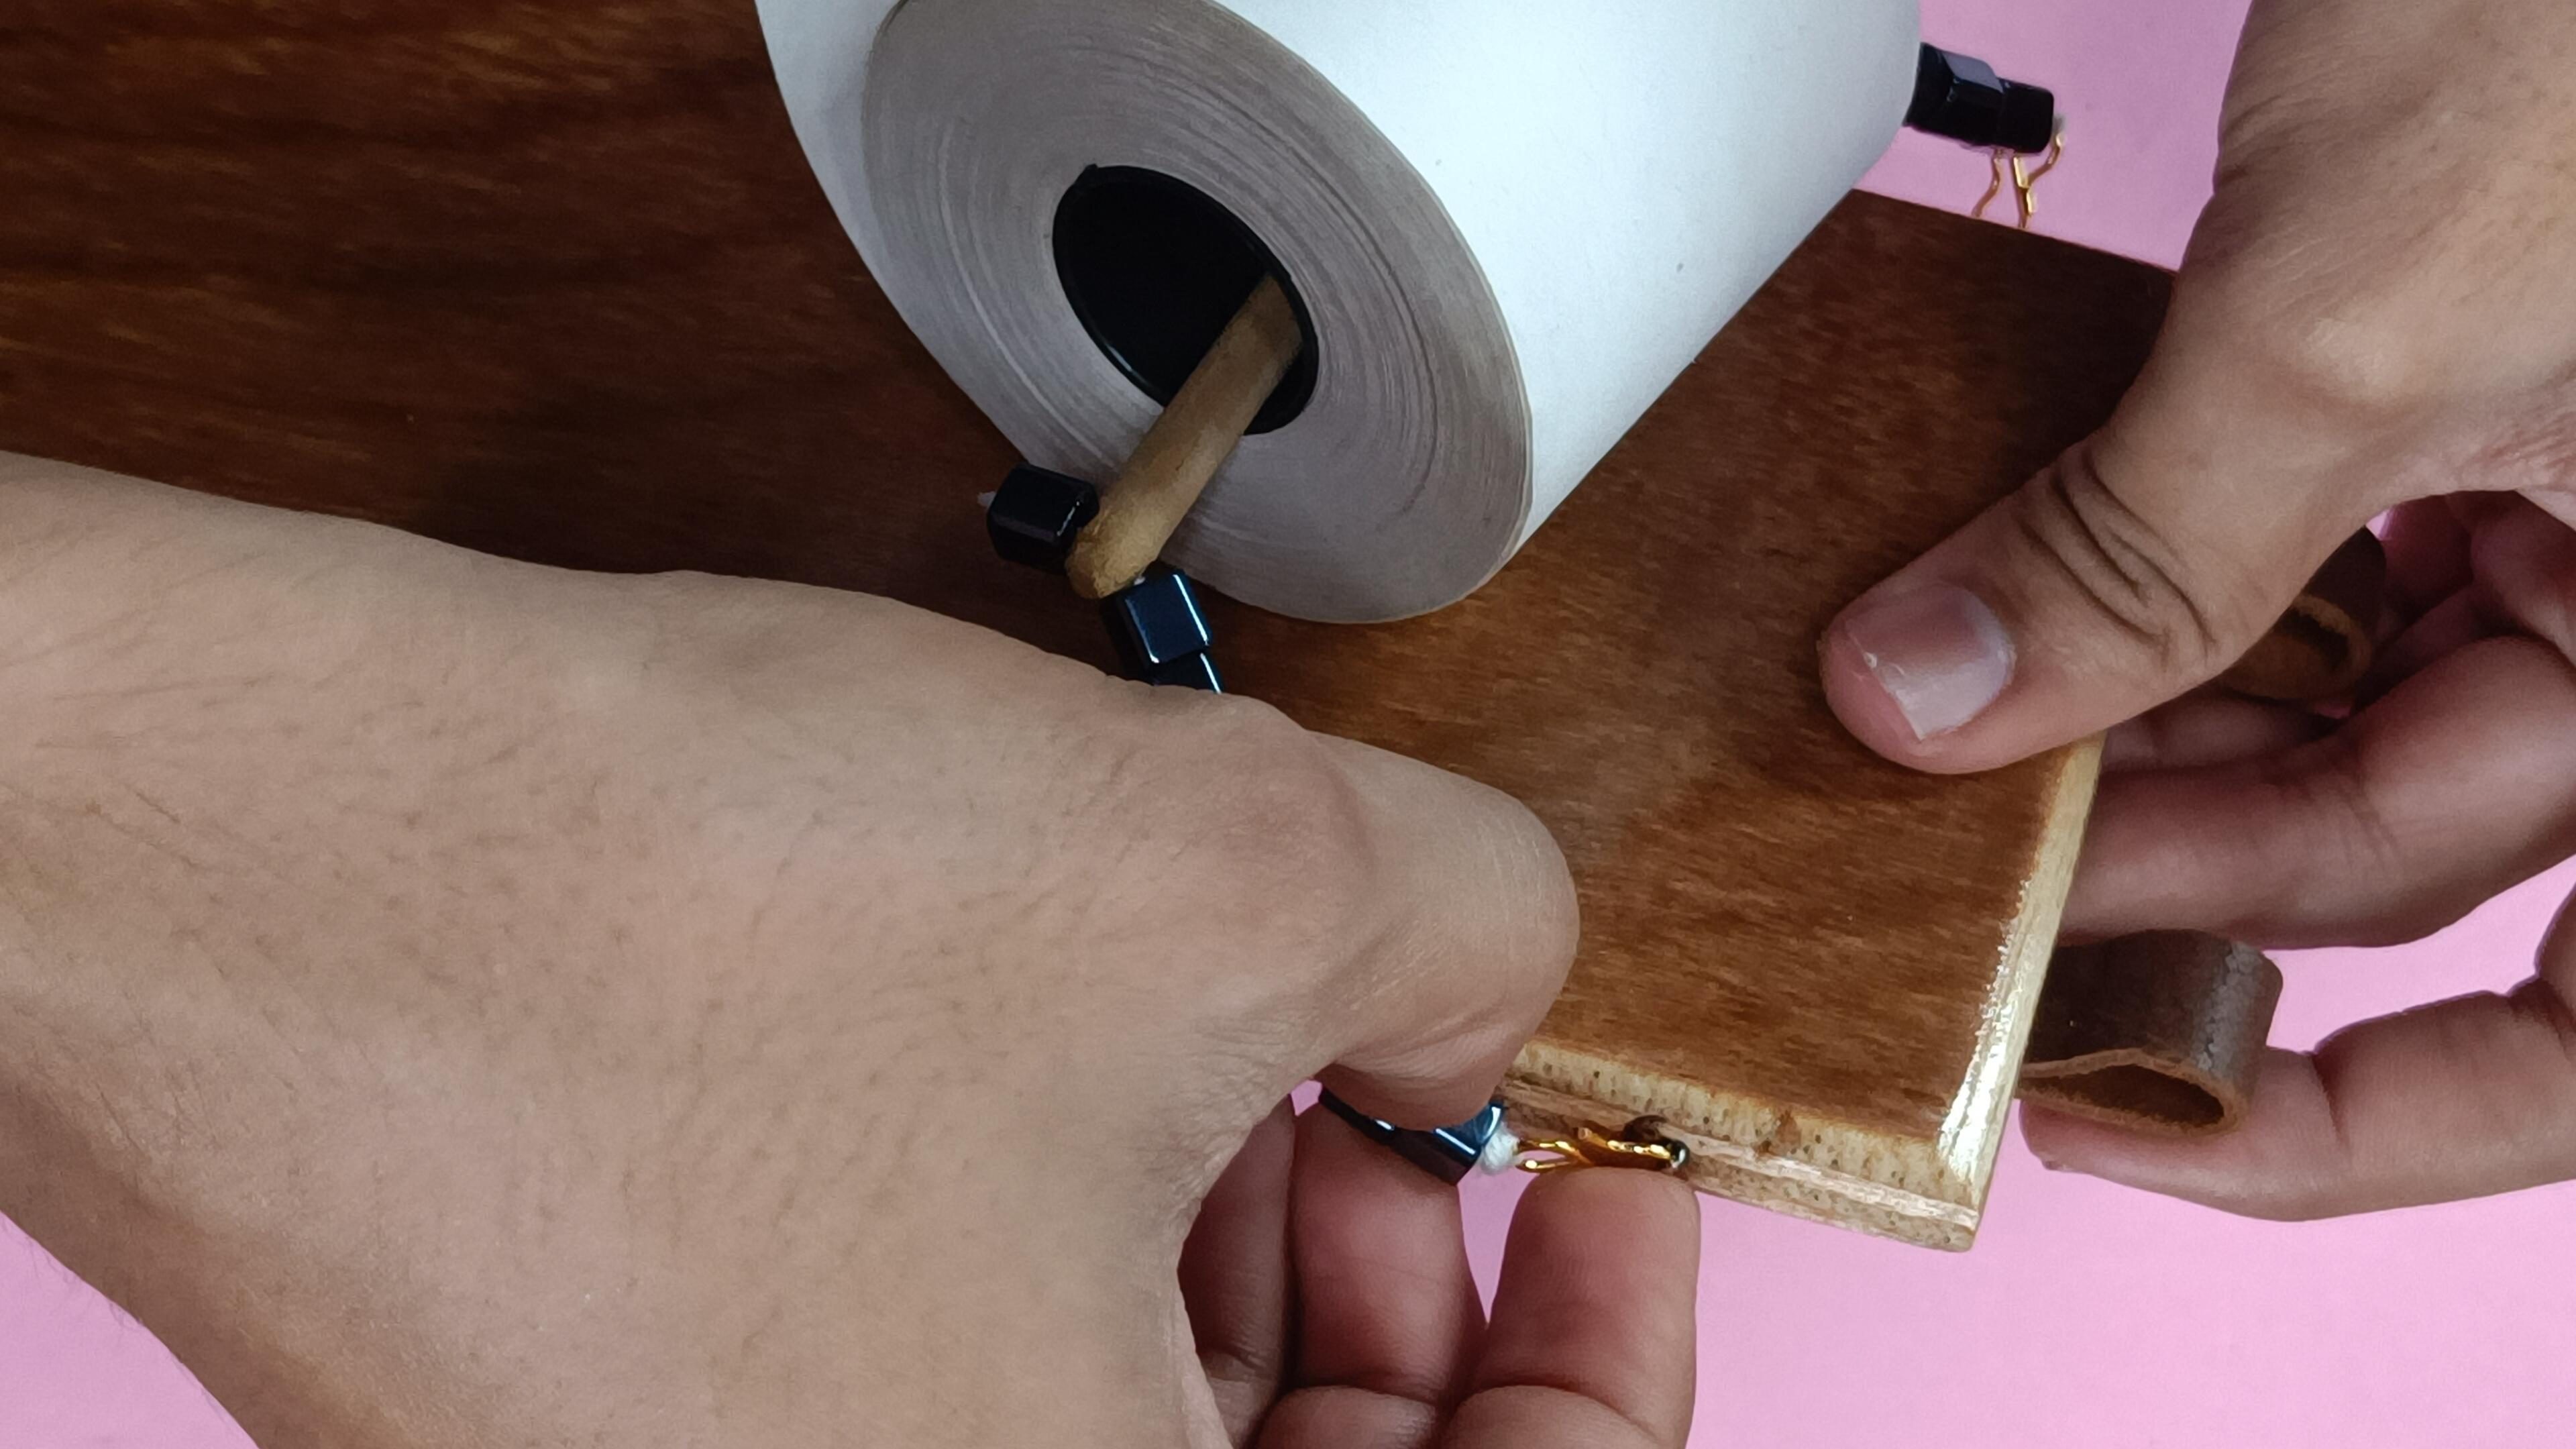
- Insert the paper roll and hook the sides.
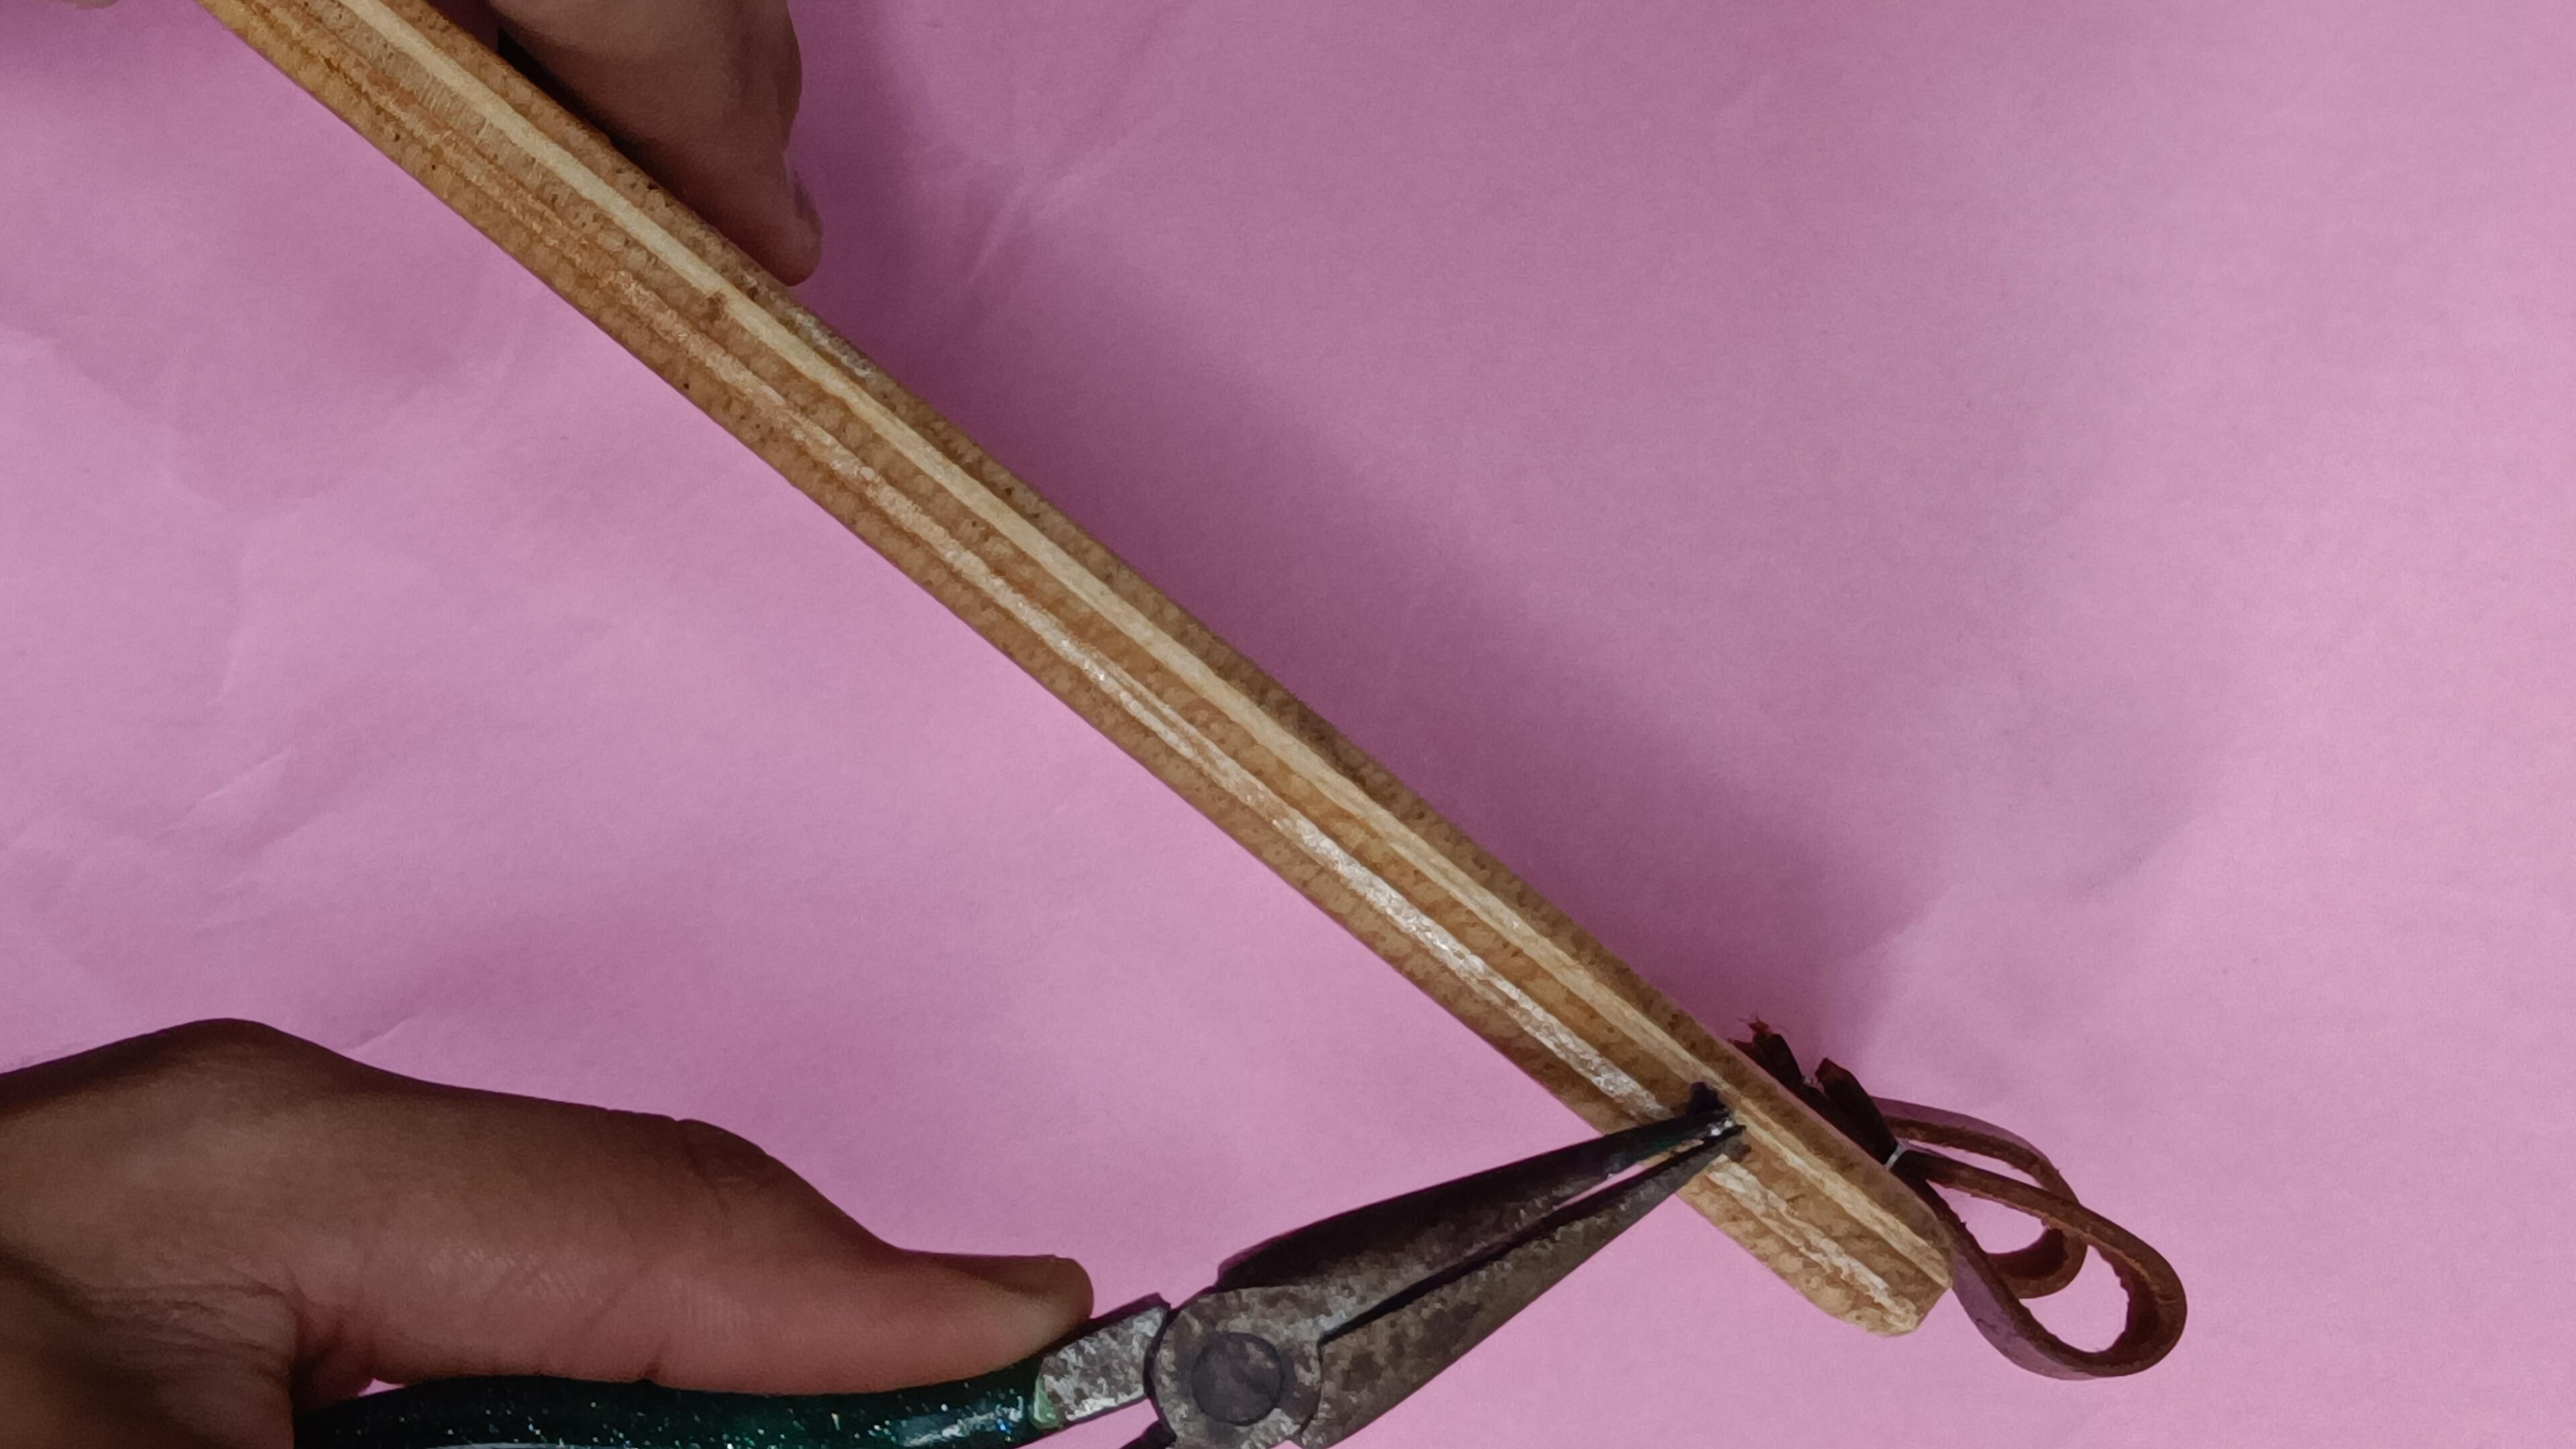
- Take a mini saw blade (an old used blade can do the job too), and trim the blade to resize it to fit on our board. Approximately of 10 centimeter in length.
- The paper was first passed under the blade and with use of 4 small nails the saw was fixed on the board. The saw was fixed with 4 nails 2 on each side, one from top and another from the bottom. This ensured the paper passes easily from under the blade and the blade is properly fixed too.
Adding Magnets
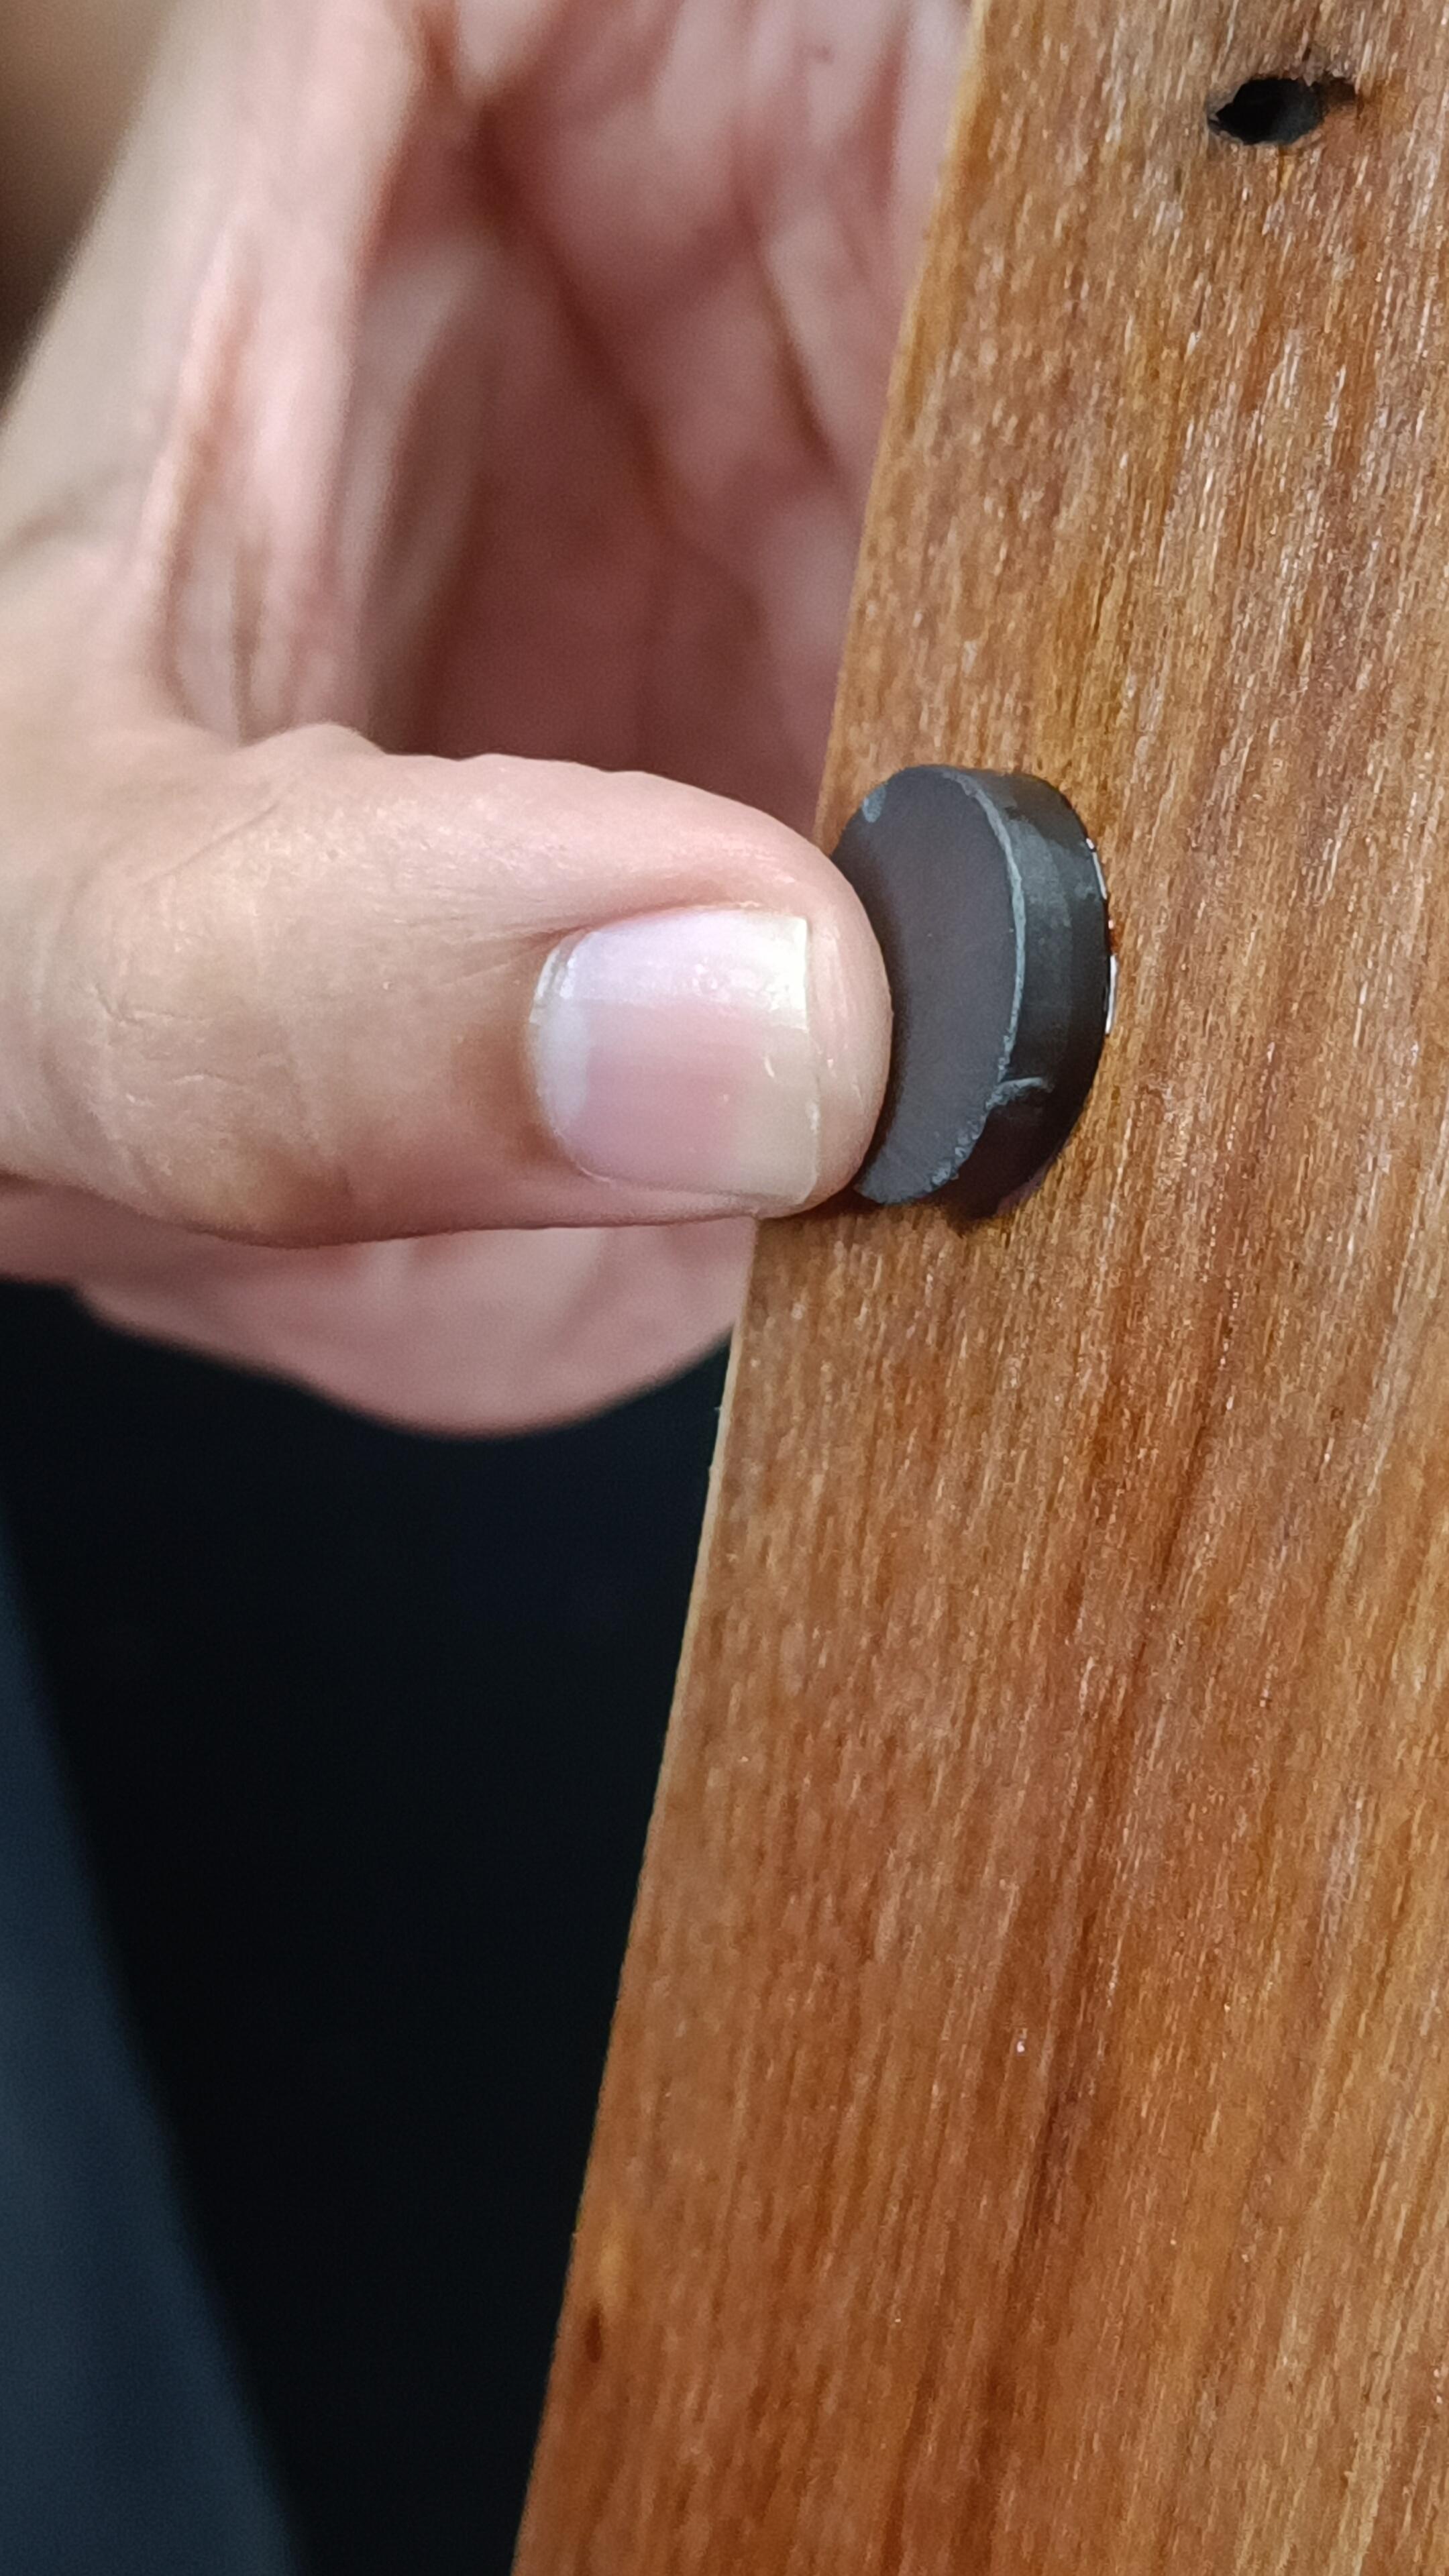
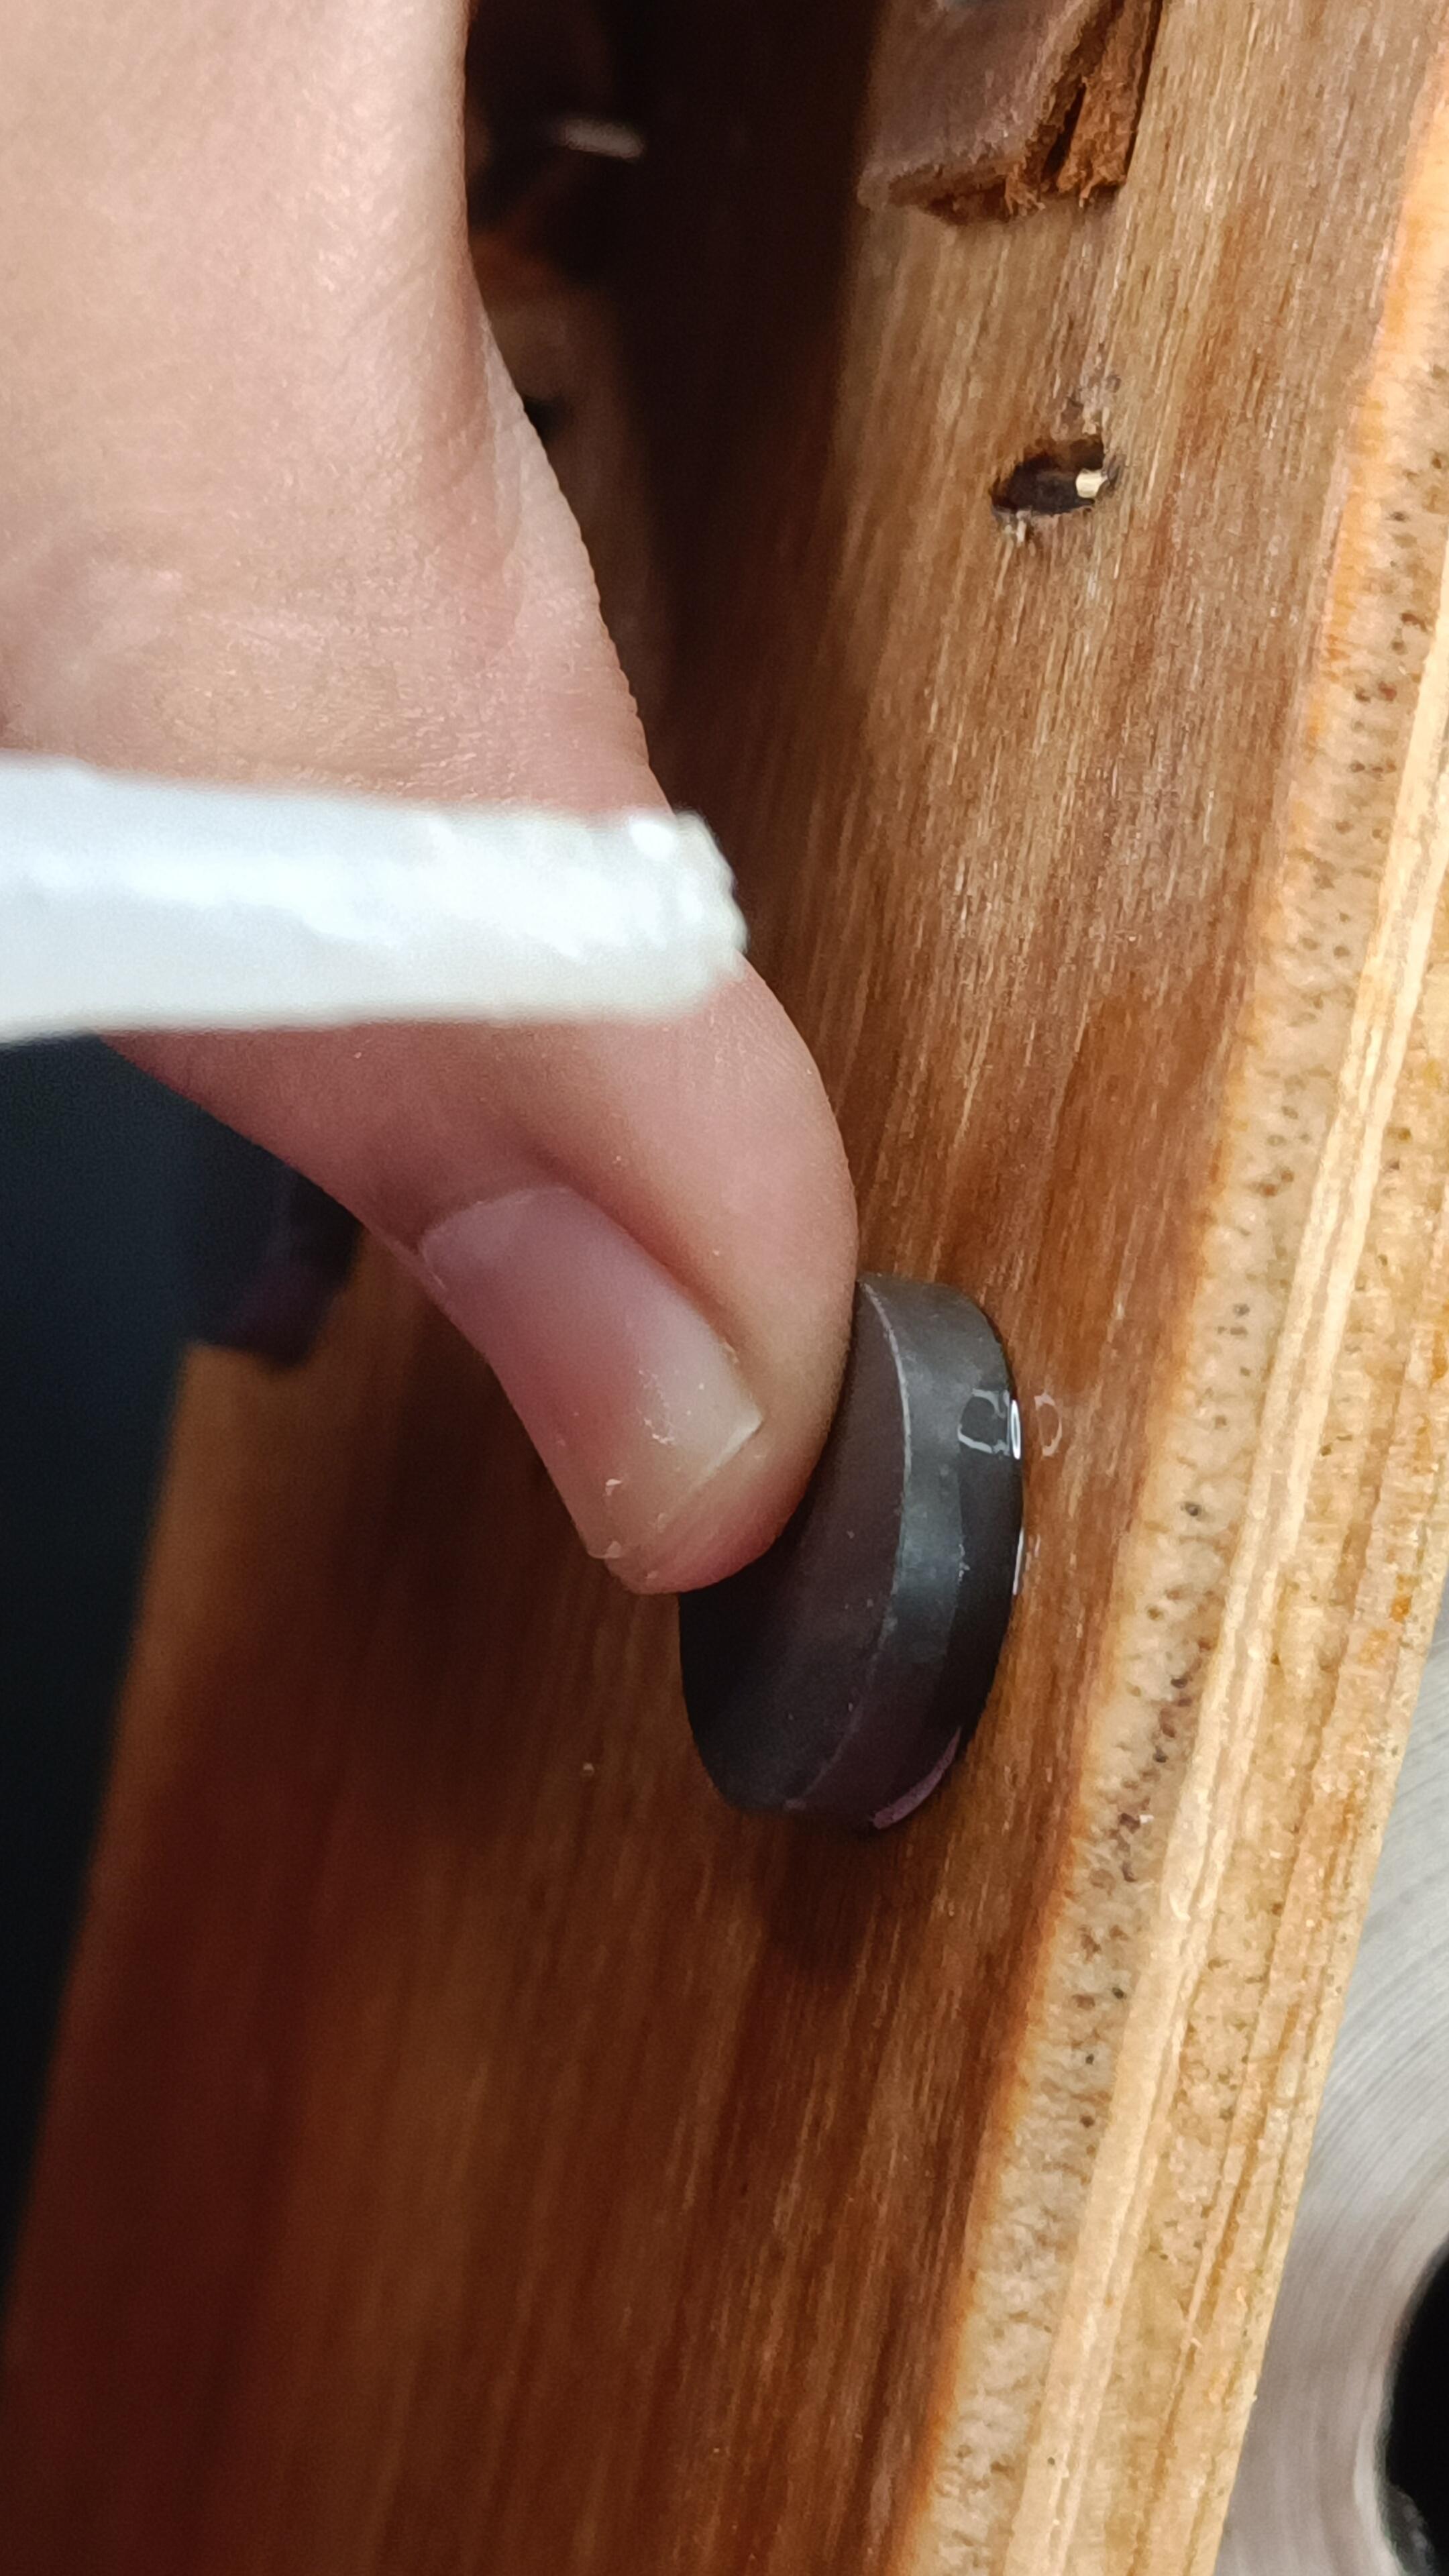
- Attached 4 button magnets using hotglue from the back side on all the 4 corners.
Conclusion

Thank you for exploring my "Creative DIY 'Shopping and To-do List' Notepad Holder" project. I hope this innovative tool inspires you to bring more organization and creativity into your daily tasks. By making your shopping and to-do lists more streamlined and enjoyable, this notepad holder proves that even the simplest tools can make a significant impact. I encourage you to recreate this project using my detailed instructions and customize it to fit your personal style and needs. Happy crafting, and may your lists always be in perfect order!