Creating a Witch With 123D Creature
by Adam Beamish in Circuits > Art
7123 Views, 8 Favorites, 0 Comments
Creating a Witch With 123D Creature
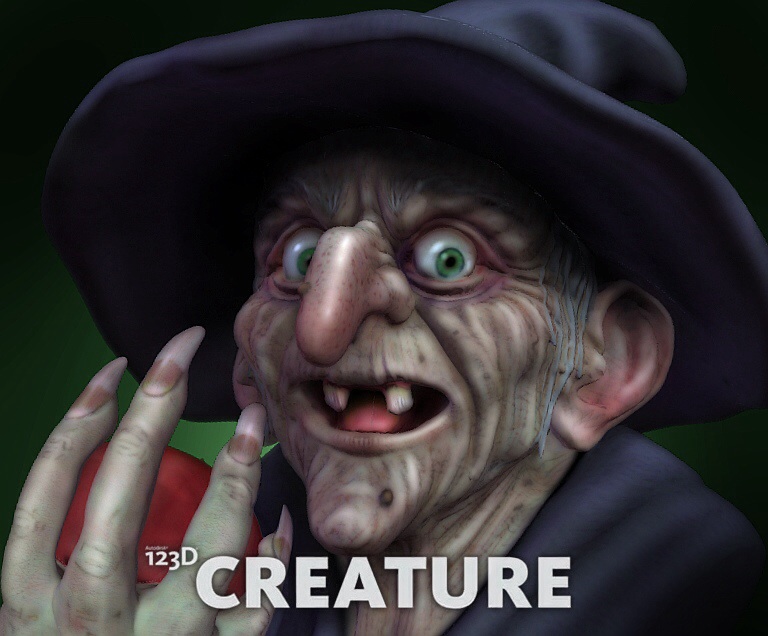
Create a 3D Witch for Halloween.
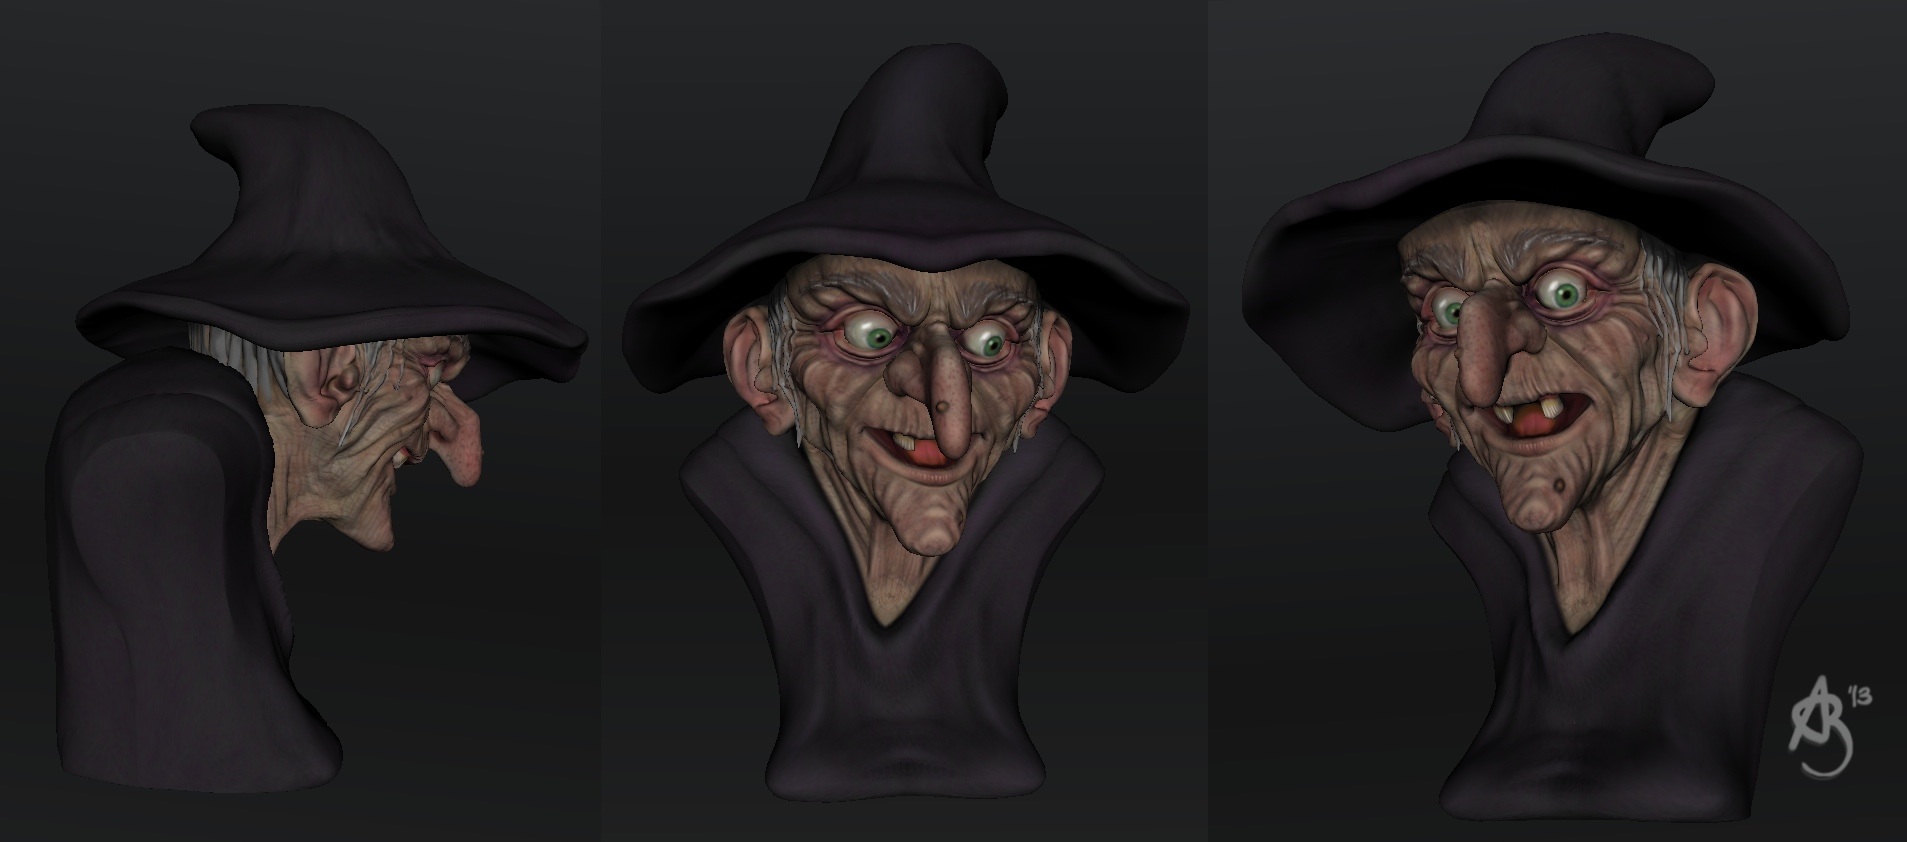
This Instructable will be In two segments. The first sculpting the Witch head, and the second sculpting the arm and apple.
You will need 123D Creature available from the Apple App Store.
The final Witch model can be found here in the 123D Creature Gallery.
With the final model you can produce a 3D print. How about a bookend, a shelf ornament, a Halloween tree decoration. Or just a 2D image to print out. Try 123D Make and create a cardboard model at home.
Creating a Basic Shape
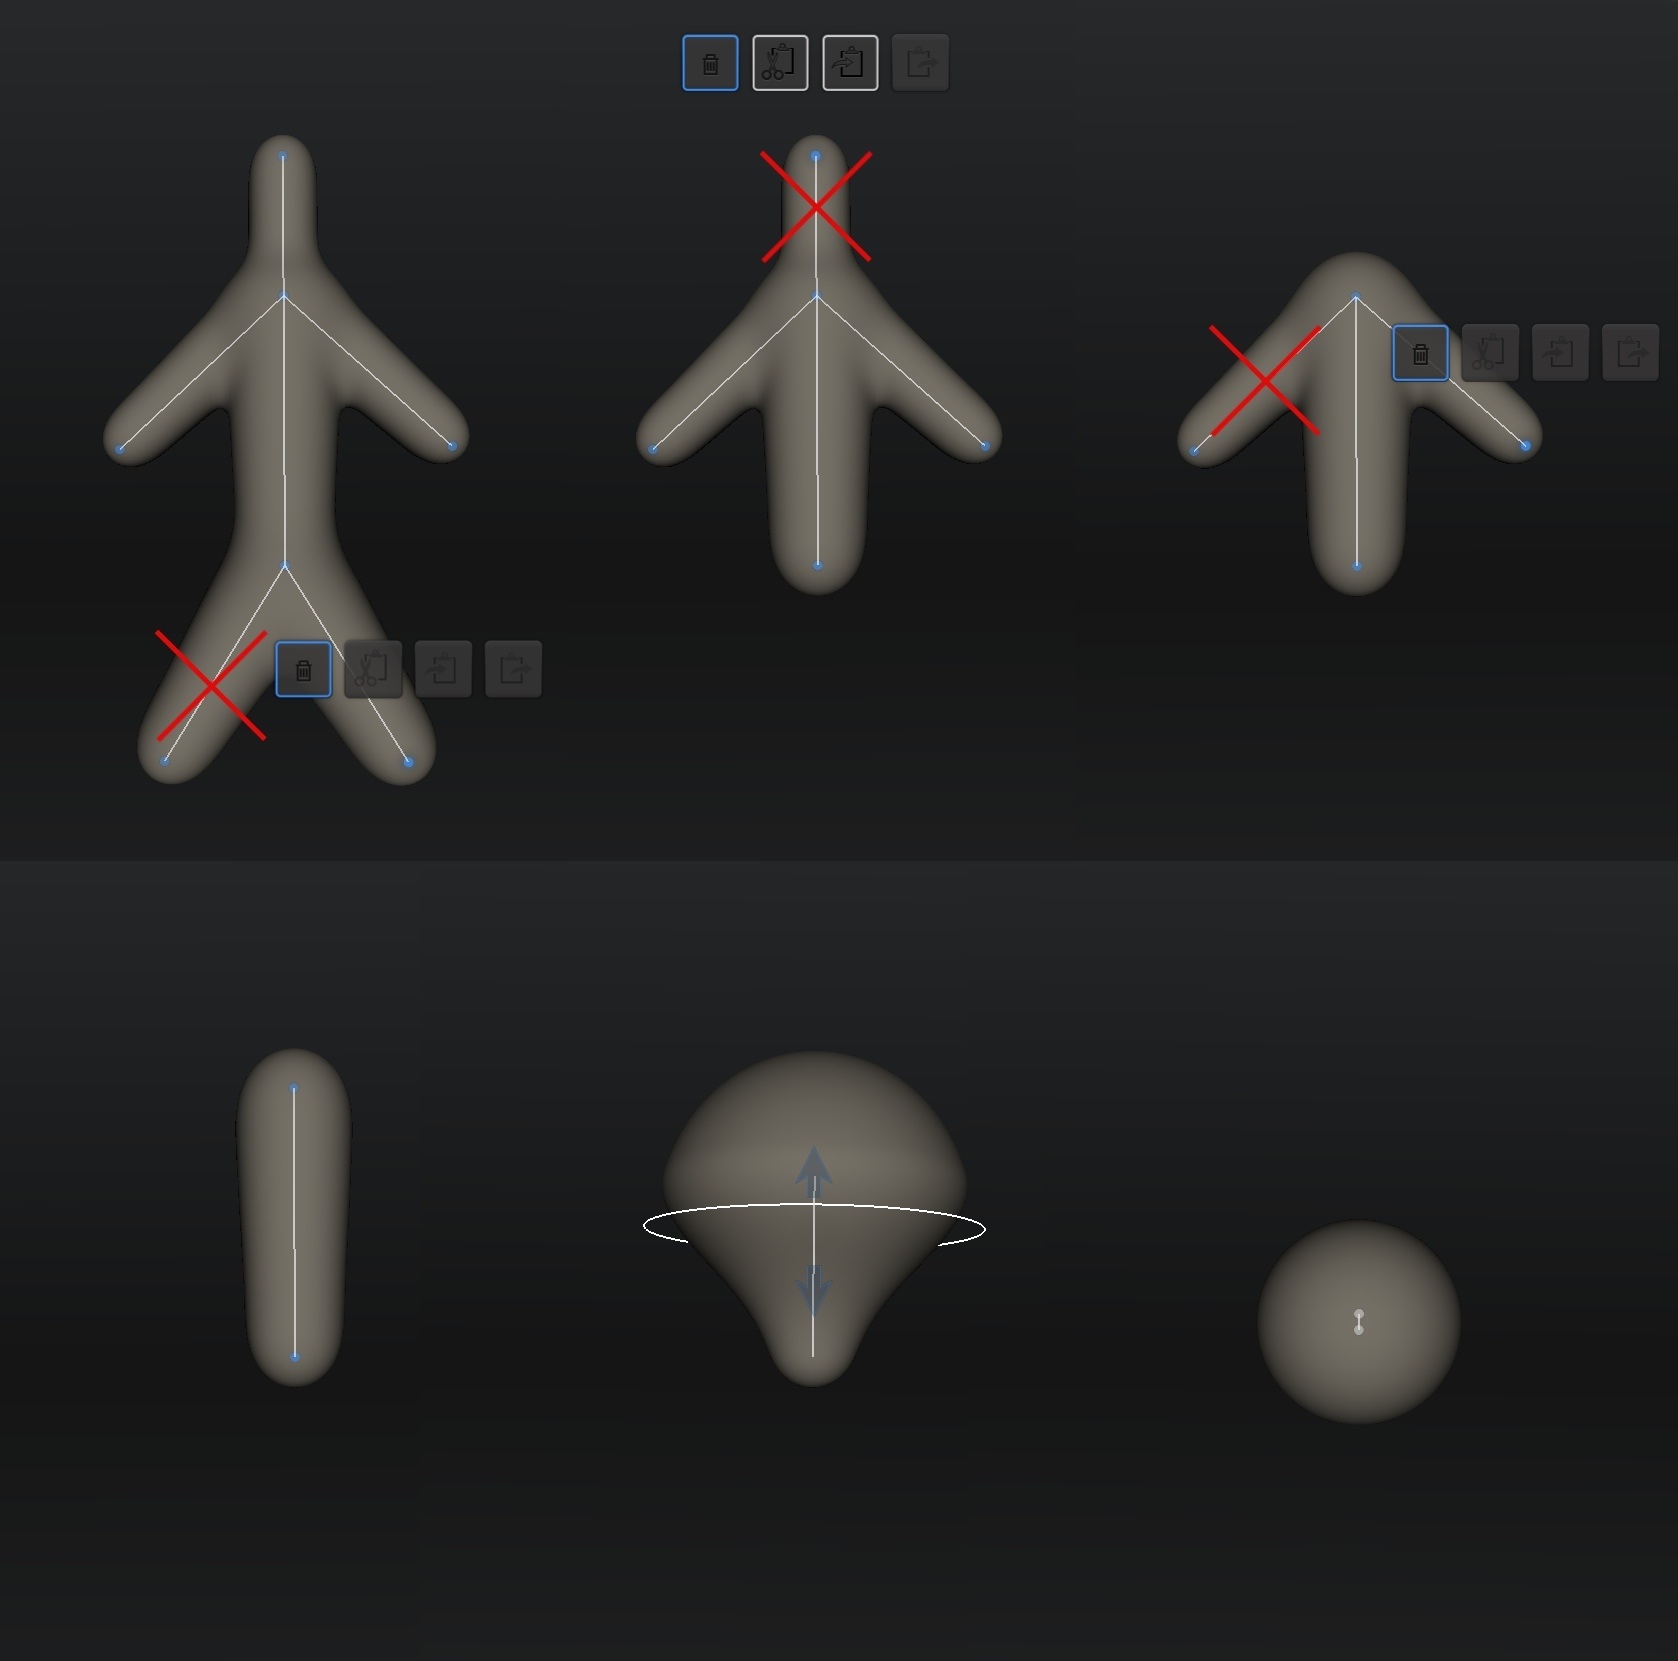
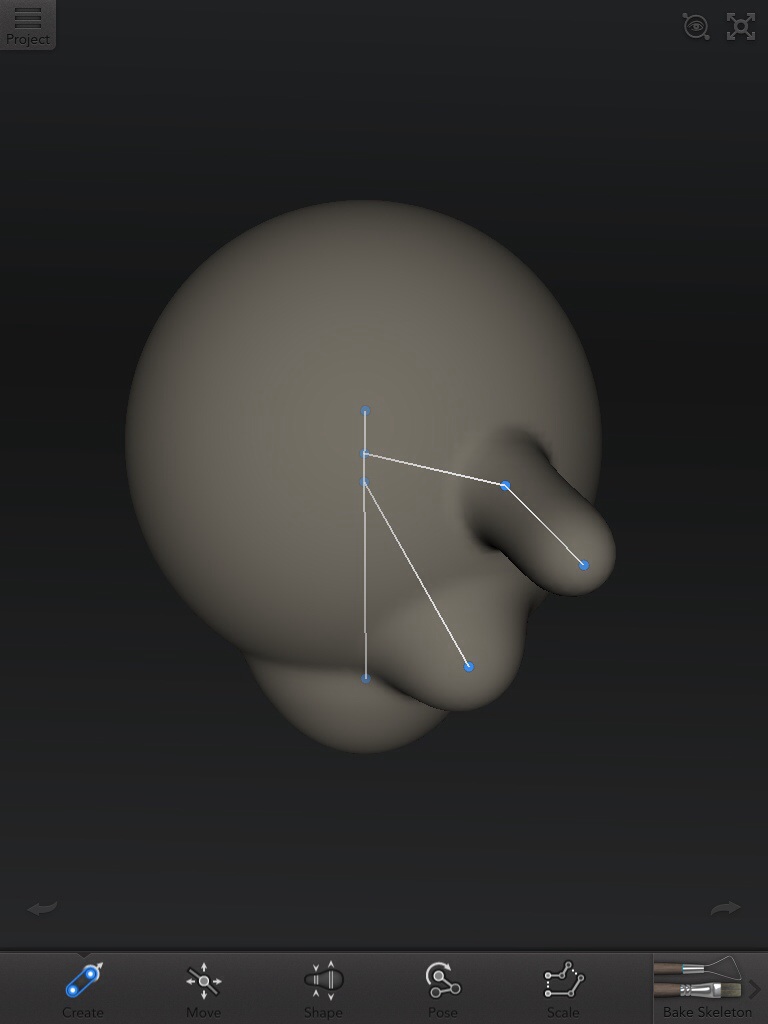
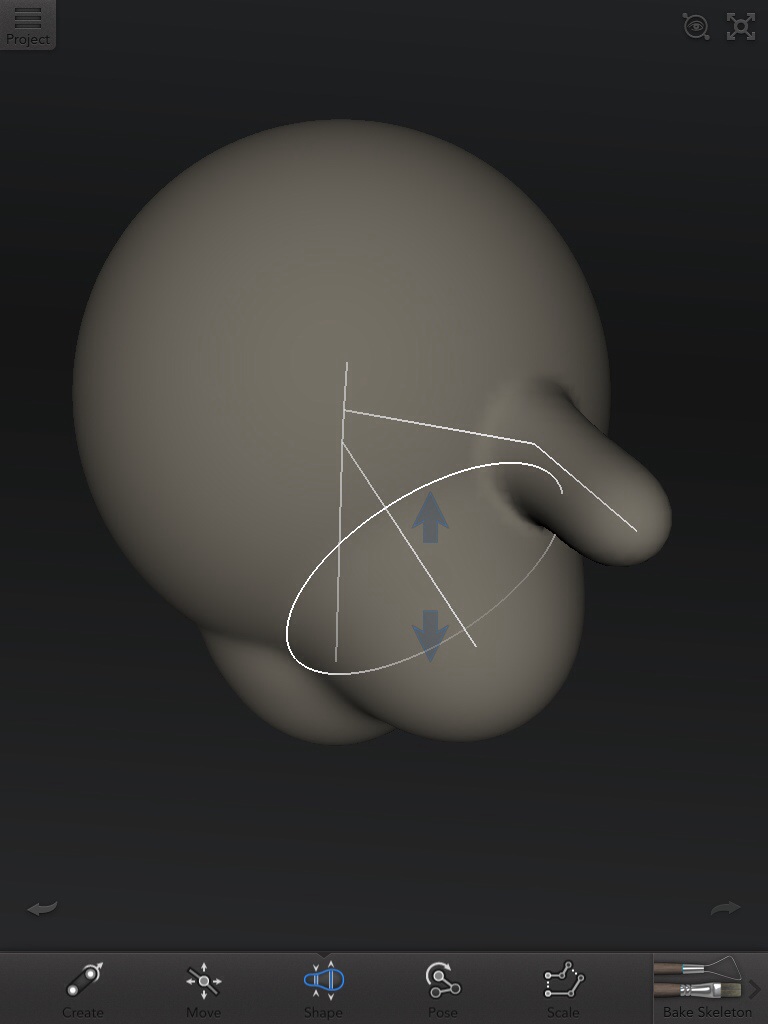
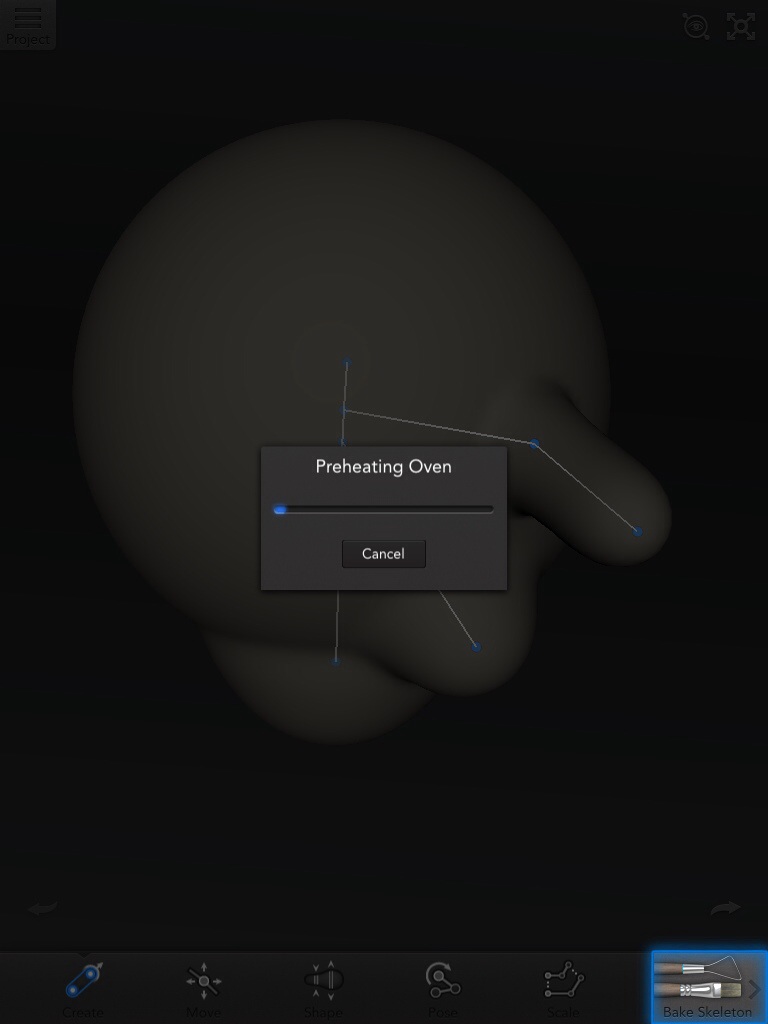
To begin you will need to create a basic shape to sculpt on. The key thing is not to make the basic model shape too complicated.
123D Creature has a set amount of polygons, so you don't want to waste any.
You will start with a stick figure but you will need to turn this into a ball.
Use the create tool to add and delete skeleton appendages as shown to create the ball shape.
First delete the legs, head and then arms.
Next use the Shape tool to make the ball round.
By adding a nose skeleton appendage, allows more polygons in that area so you will have more to work with later.
Once you have finished, press the Bake Skeleton button.
Sculpting
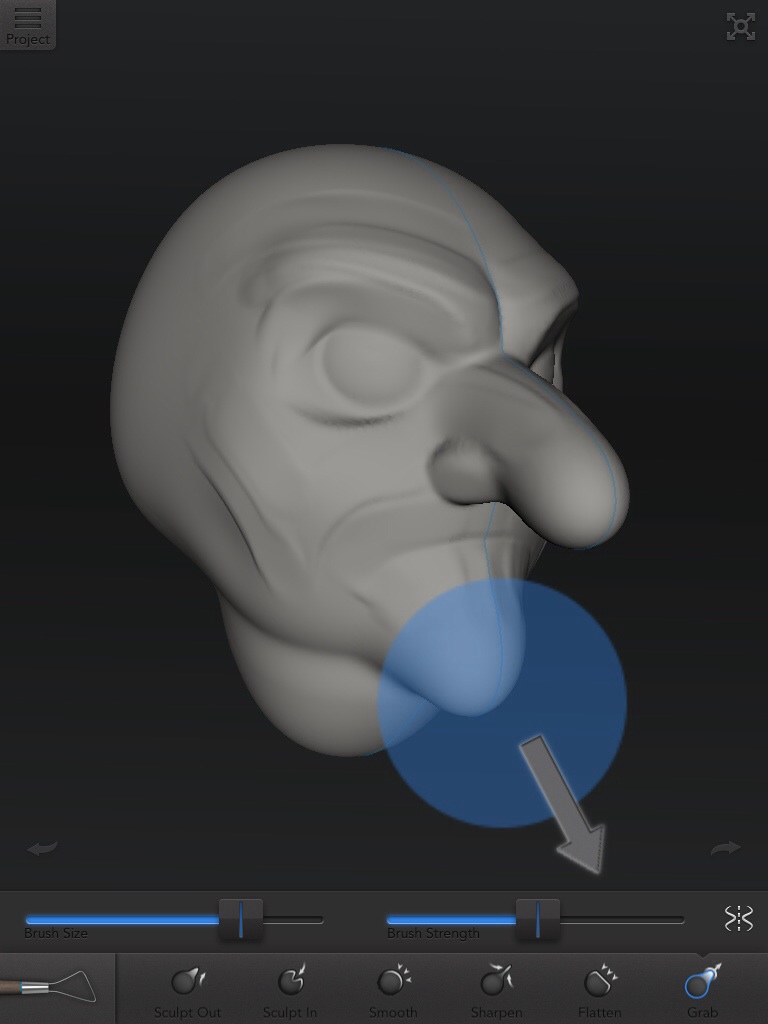
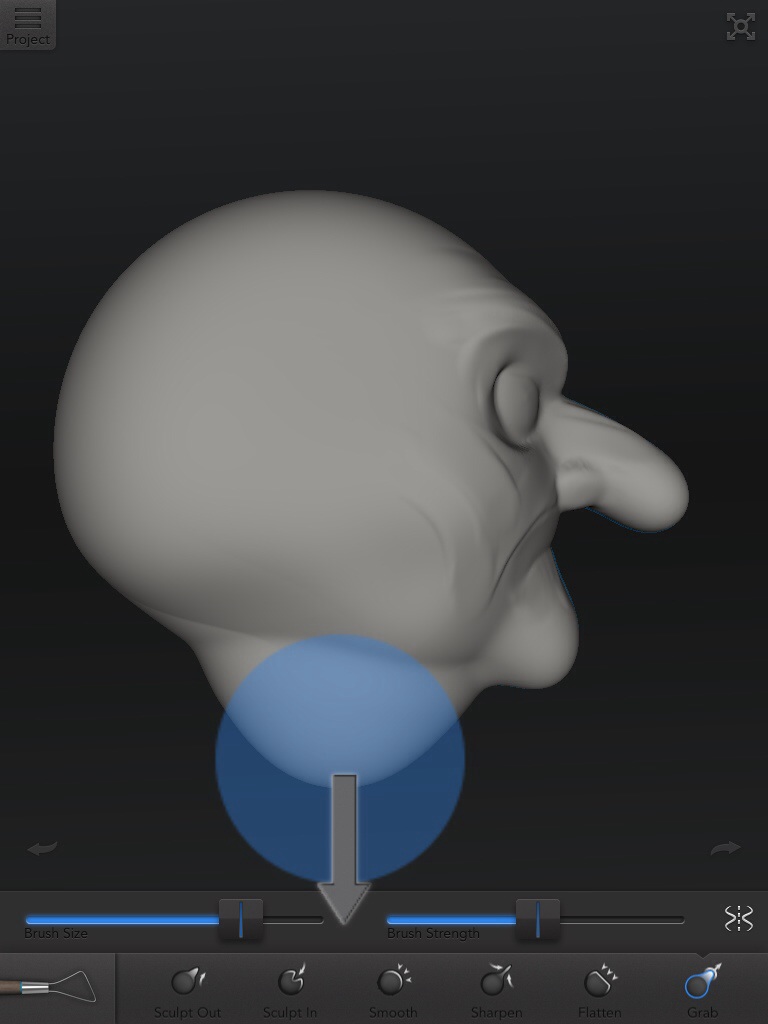
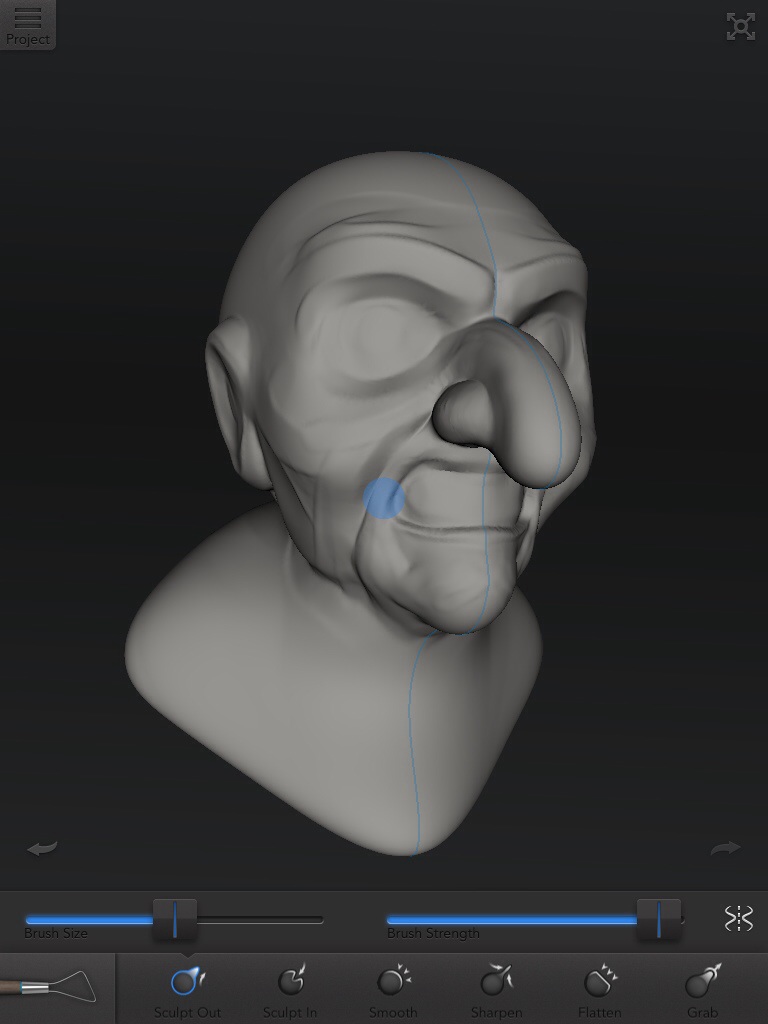
After baking has finished, your model is now ready to be sculpted.
Start by using the Grab tool to pull out the neck and nose shapes.
Next use the Sculpt Out brush to add basic facial features (At this stage concentrate on face shape instead of the detail).
The Flatten tool helps to give clean simple form. Use it on the jaw line and eyebrow ridge.
Keep checking while you are modelling that you have Symmetry on. You don't want to find you are only working on one side of the face.
Always save your work when you have made major changes.
Make sure you have a few different saved versions in-case you make a mistake.
Adding Detail
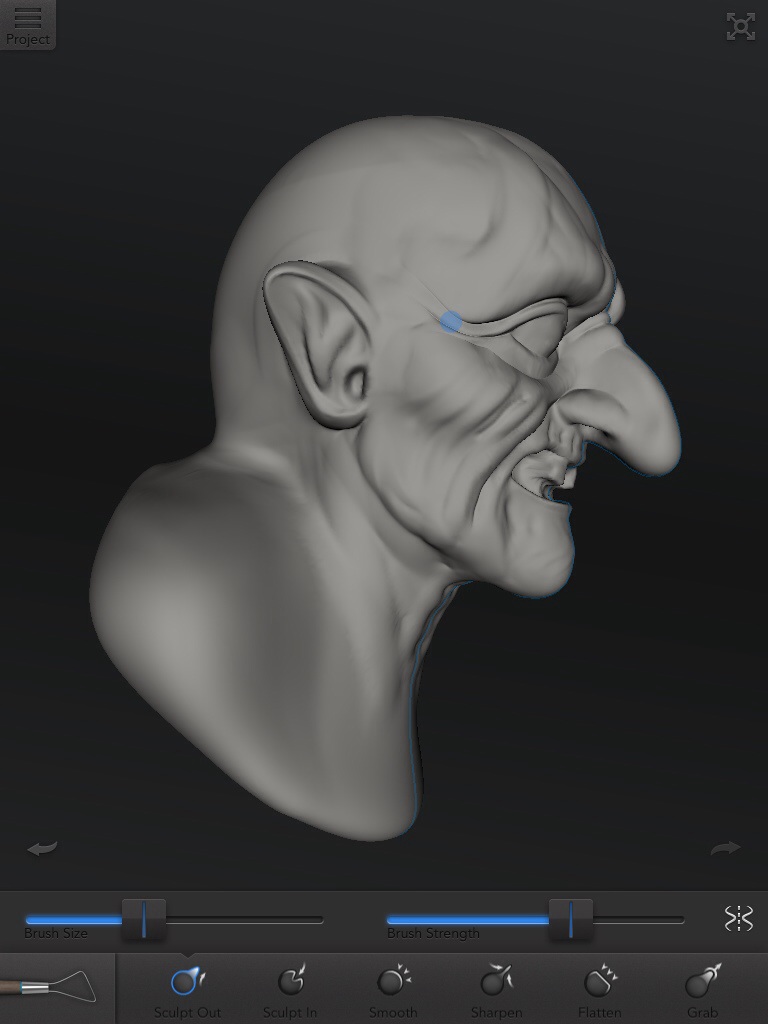
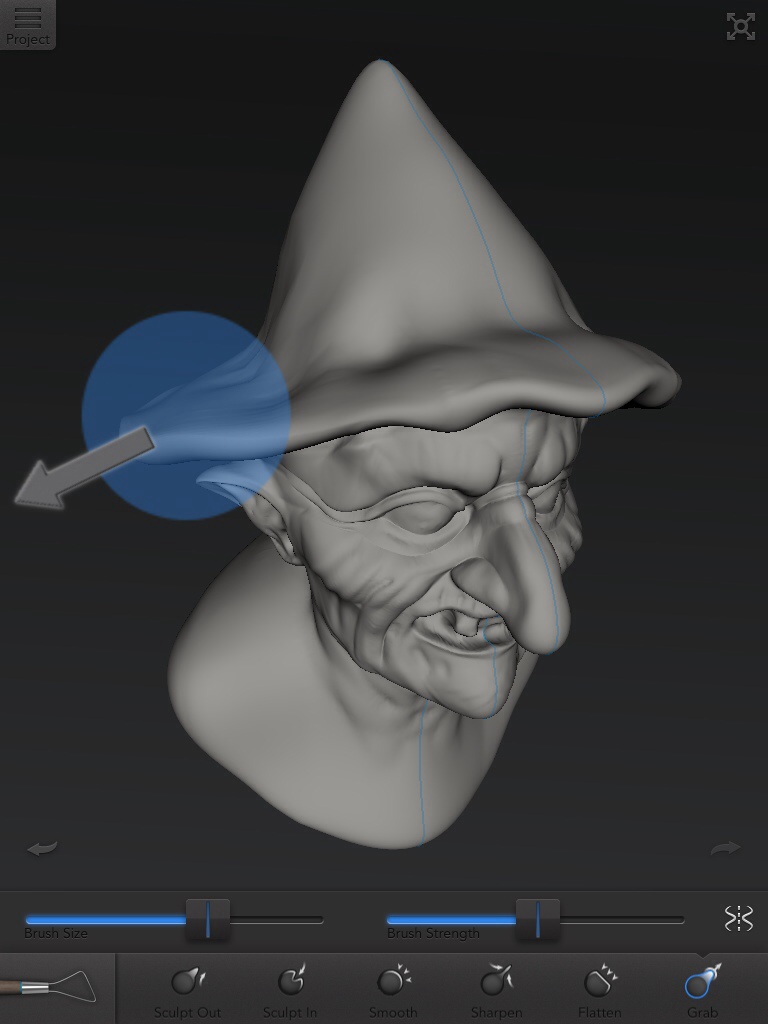
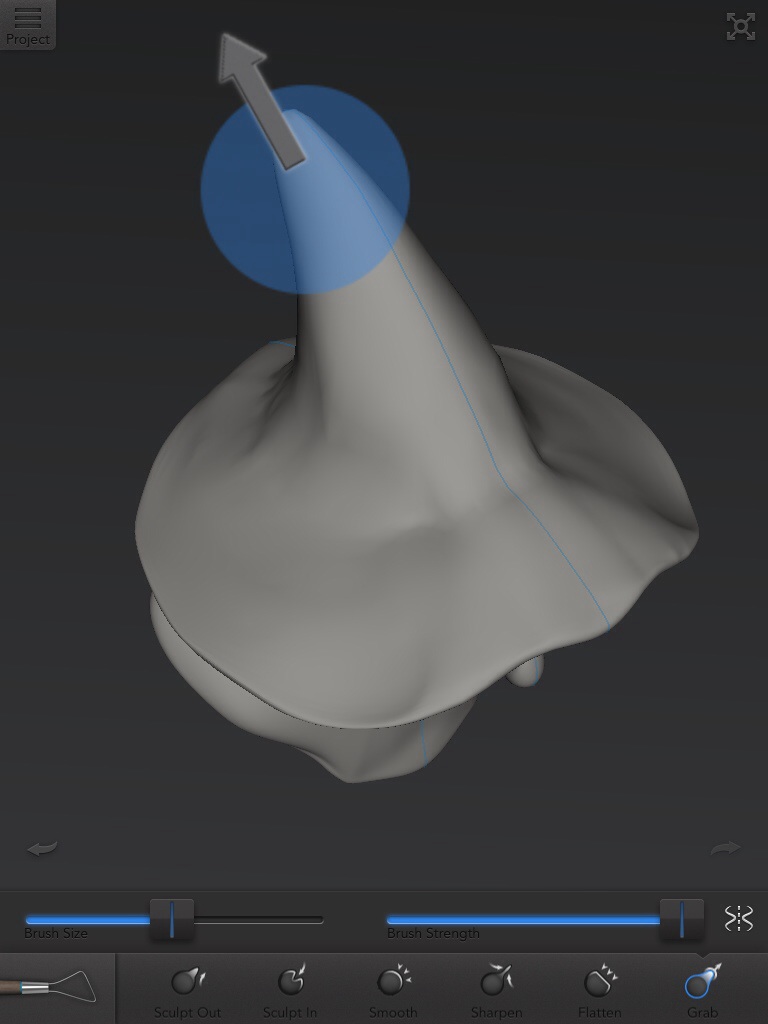
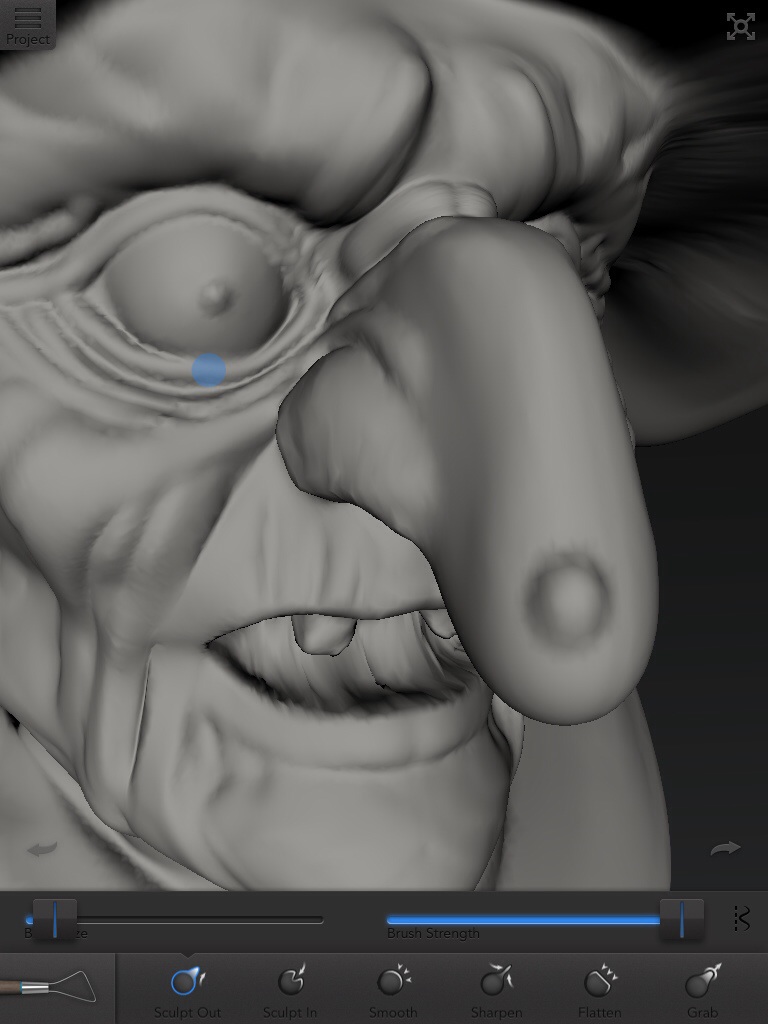
Once the basic shape is sculpted, start adding detail to the face like wrinkles.
The Grab, Sculpt Out, Sculpt In and Sharpen tool is used a lot at this stage.
Sculpt a ball mound for the eyes first using the Sculpt Out tool. Then using the same brush with a smaller size, add the eyelids.
Use the Grab tool to nudge(push) the areas closer together.
The Sharpen tool is best used to define features.
To create the Witch's hat use the Grab tool. Gradually work around the top of the head pulling out the polygons.
Be careful not to drag out too much or the polygons will become stretched and creased.
Final Detail and Shape
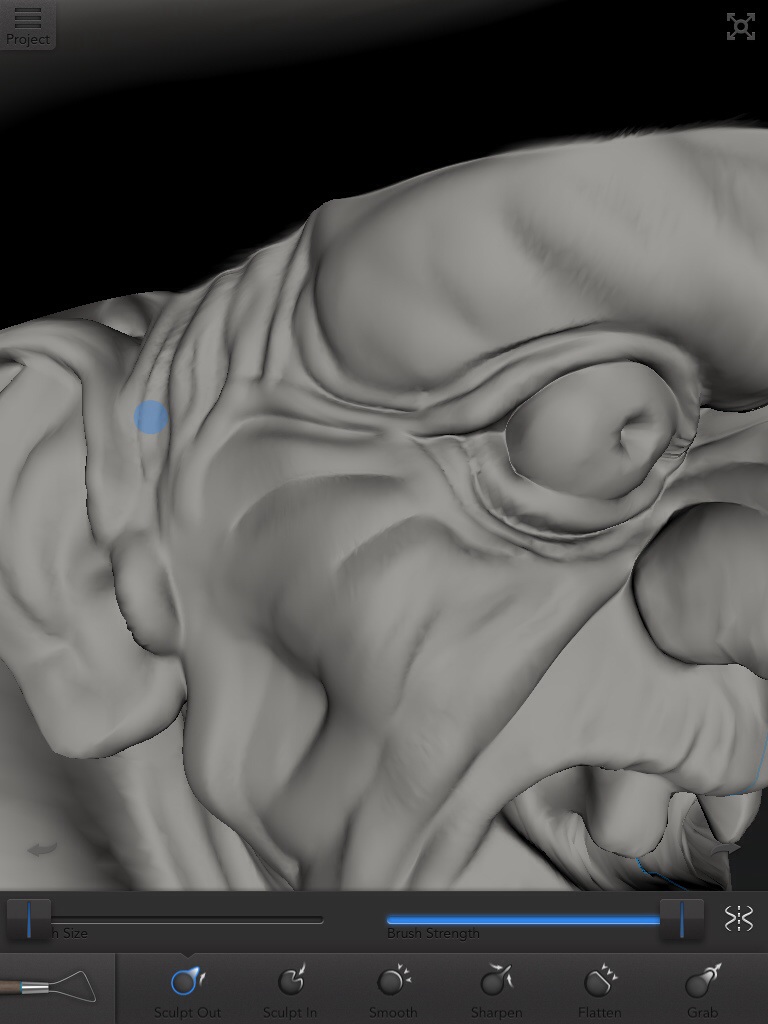
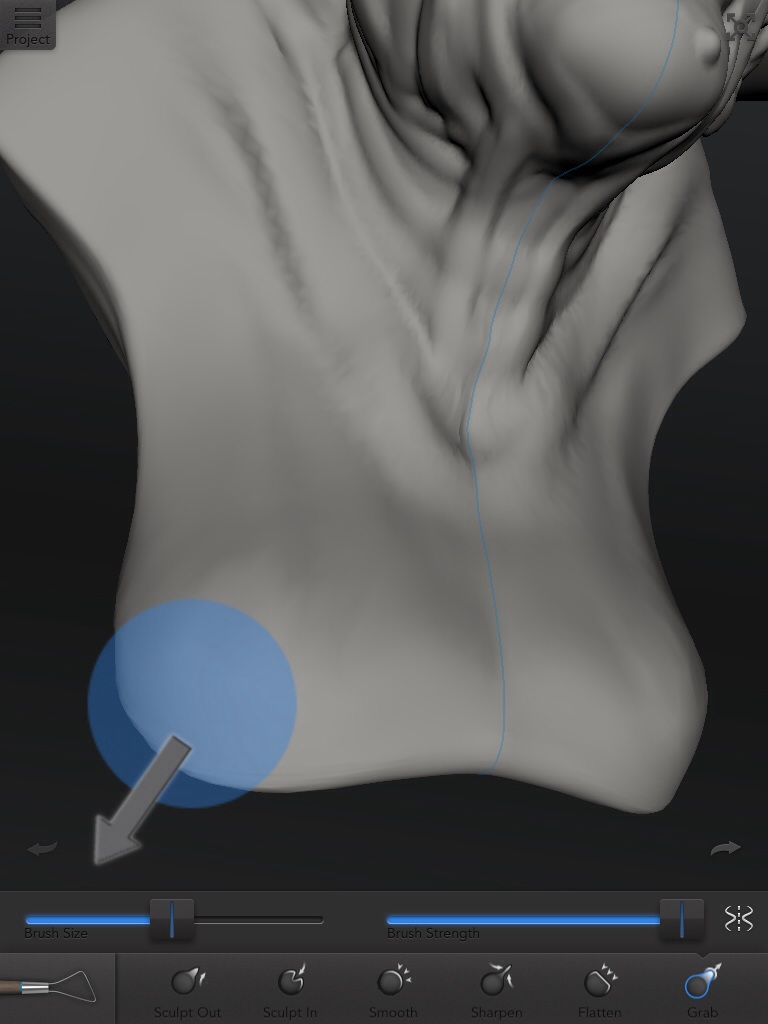
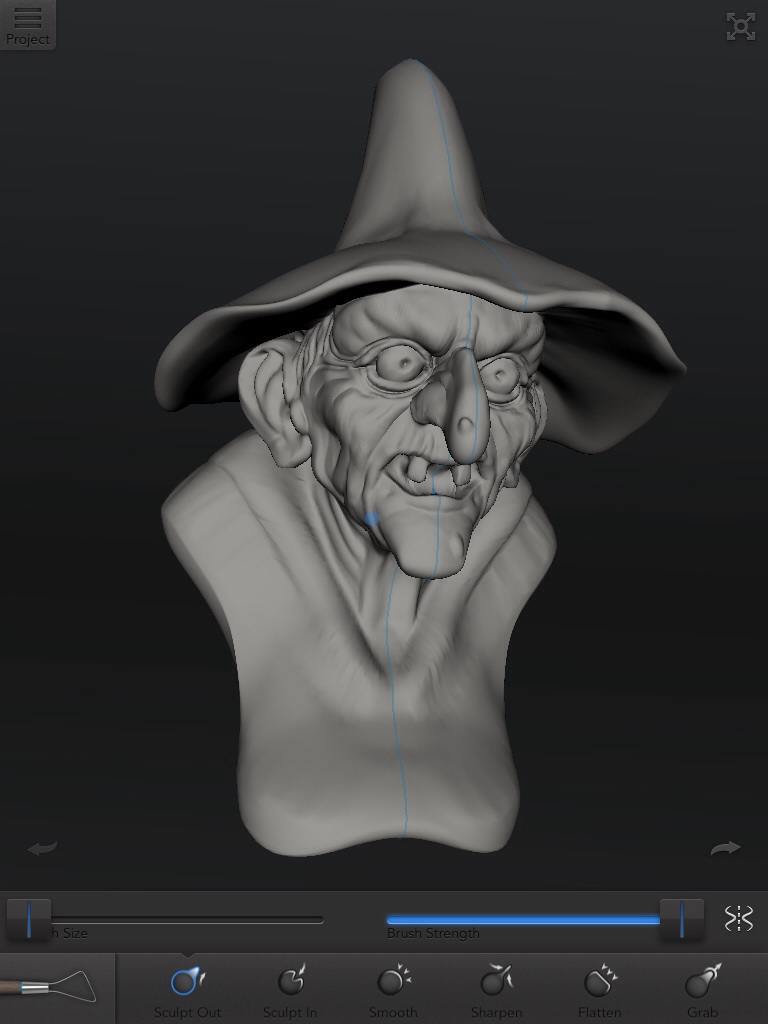
Continue adding detail like wrinkles, hair and teeth. Use any tool that works best for you.
For wrinkles and hair the Sculpt Out, Sharpen and Smooth tools are used.
If you find you can't get the detail you want, try and fake it with texturing.
Continue to work on detail and shape. Pulling out the body will help give the model a flat base to sit on.
For wrinkles and hair the Sculpt Out, Sharpen and Smooth tools are used.
If you find you can't get the detail you want, try and fake it with texturing.
Continue to work on detail and shape. Pulling out the body will help give the model a flat base to sit on.
Painting and Texturing
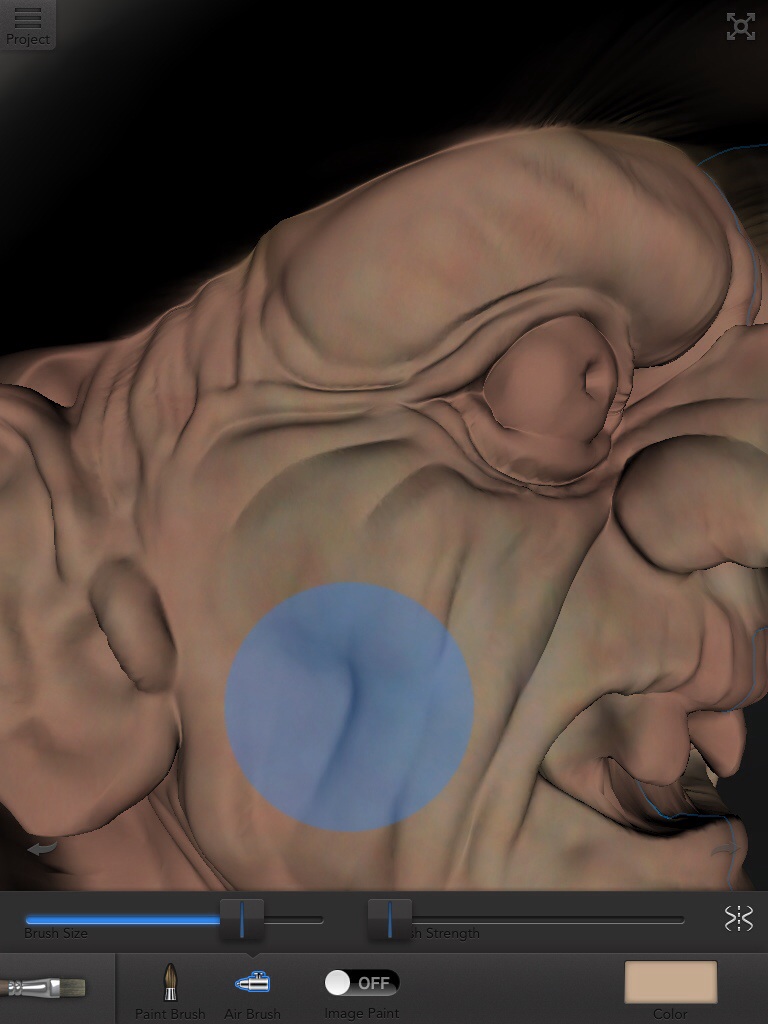
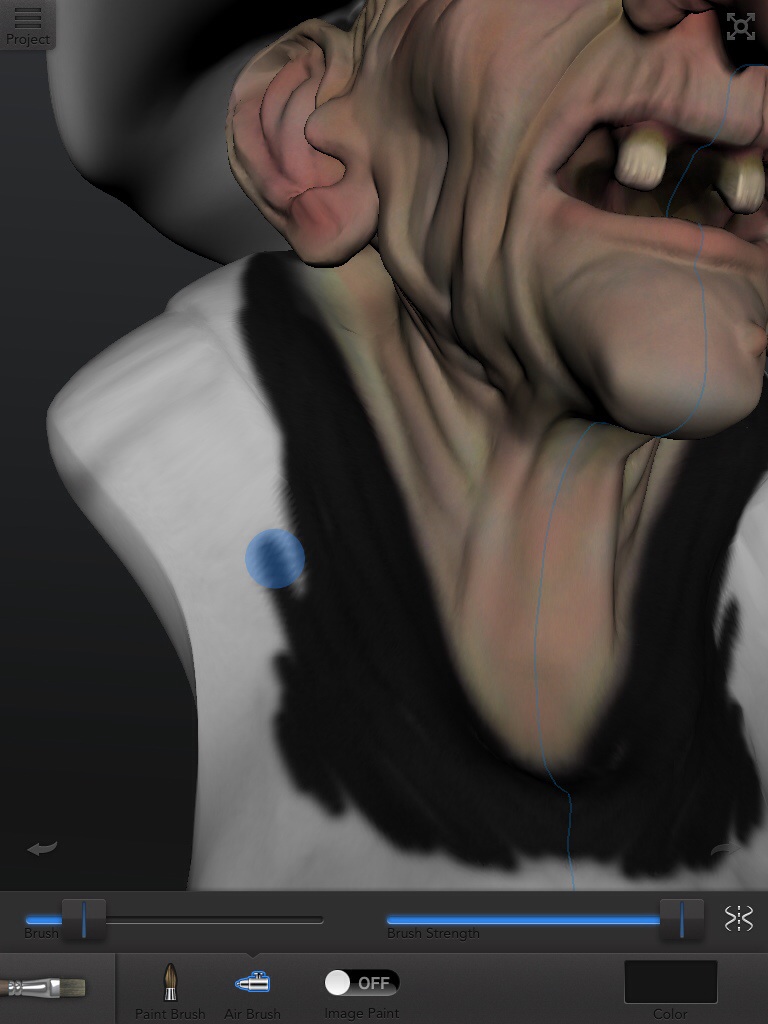
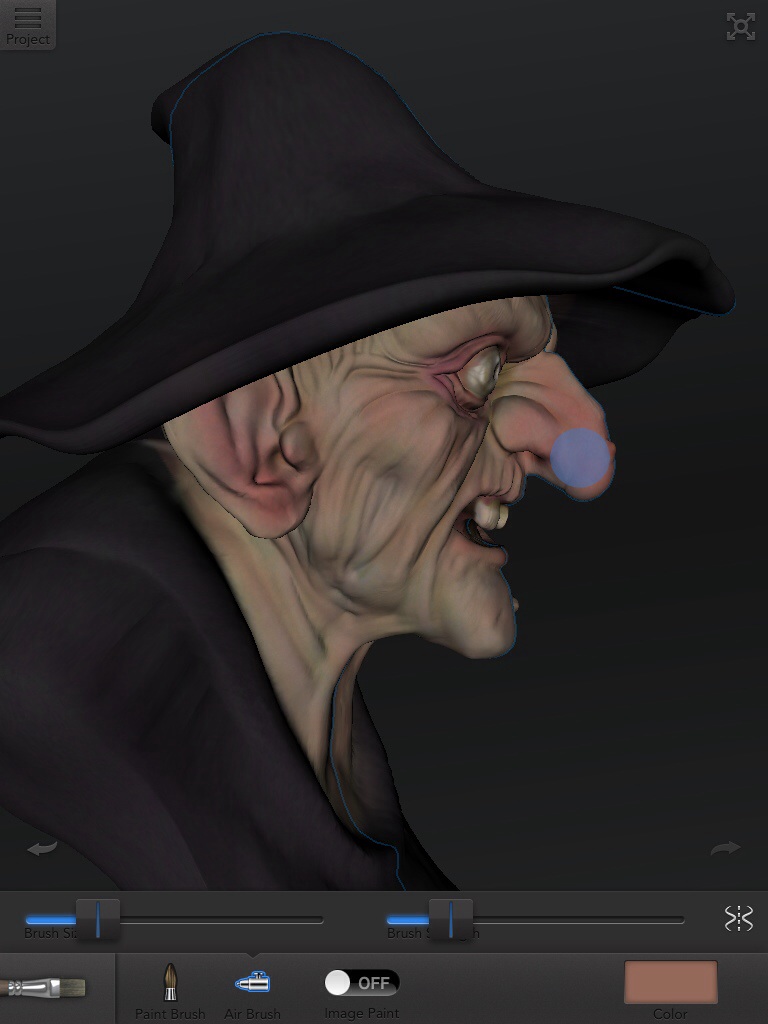
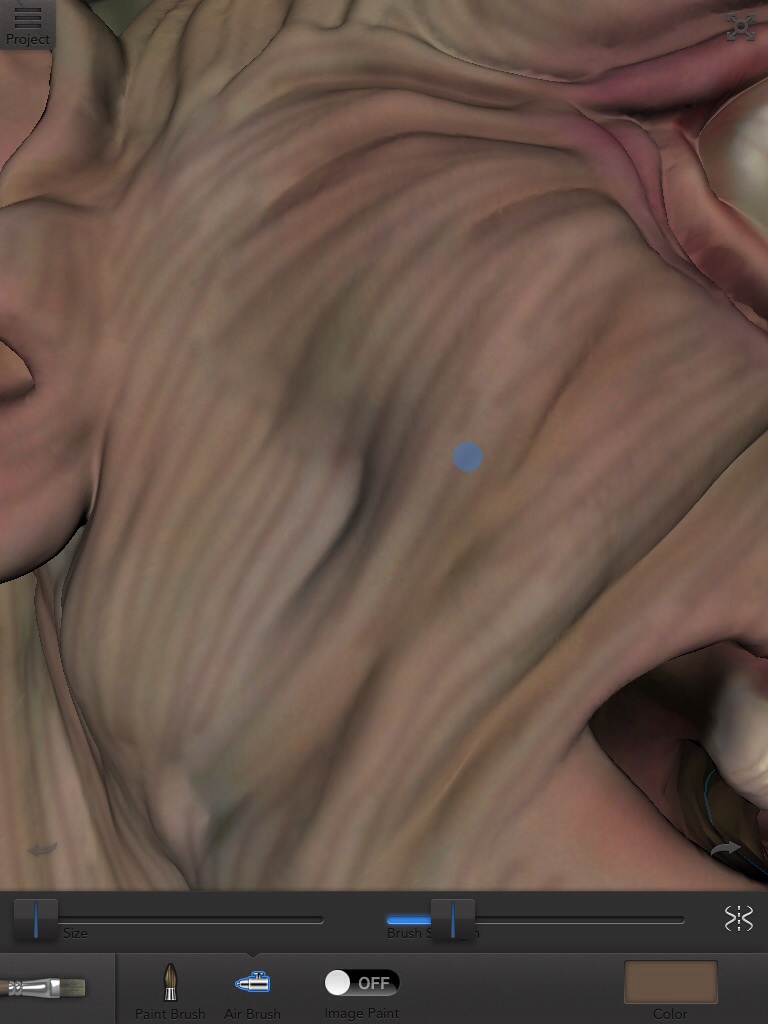
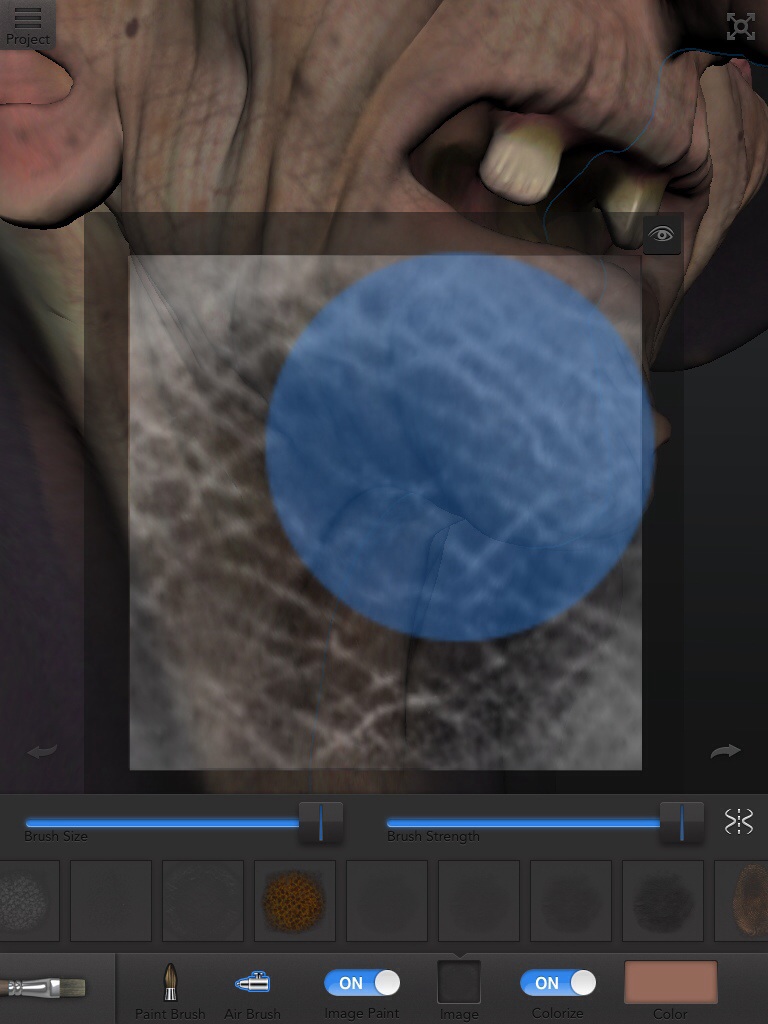
To create a basic skin tone start with a solid colour, then choose another flesh colour like a grey green and take the brush strength down to no strength. No brush strength gives you a very weak coverage of paint that helps to give a mottled skin texture.
Add as many colours as needed to get the result you want.
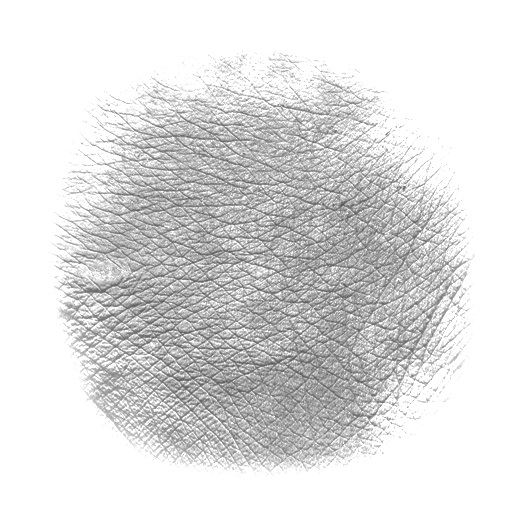
Next load an alpha image ( an image with a background to create the appearance of partial or full transparency) of a skin texture to add depth to the paint. Switch colourize on to make the alpha texture coloured.
As 123D Creature doesn't have real specular highlights, bump and reflections you may want to paint your own in. Think about your final light direction when you add these.
Finishing Touches
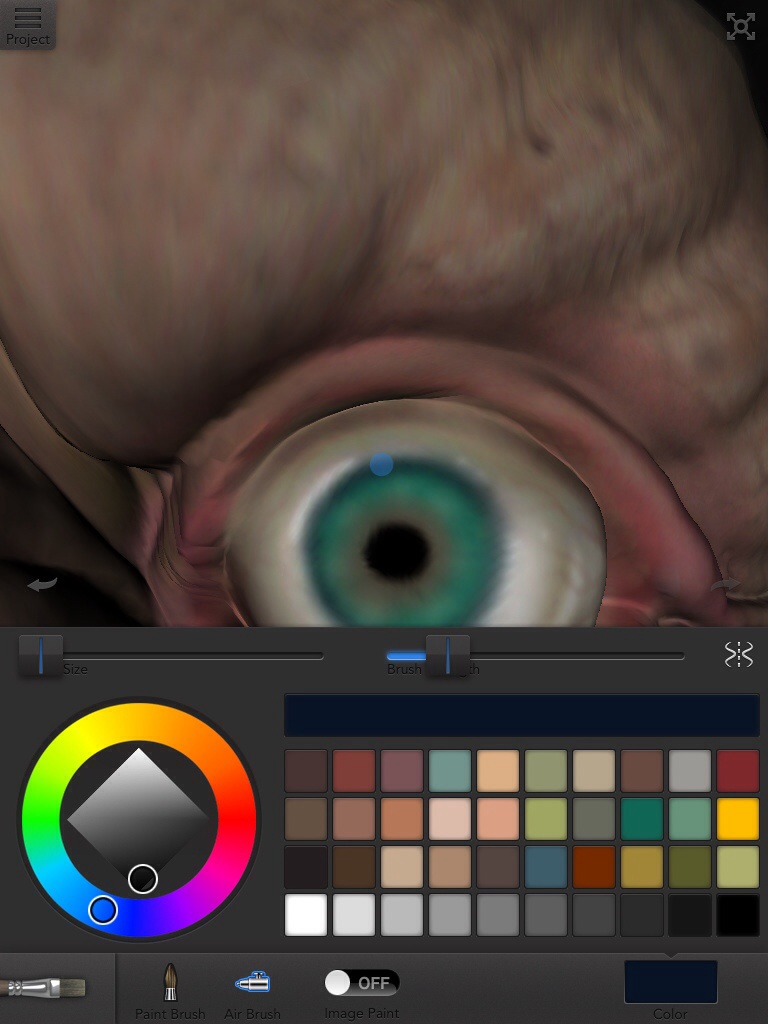
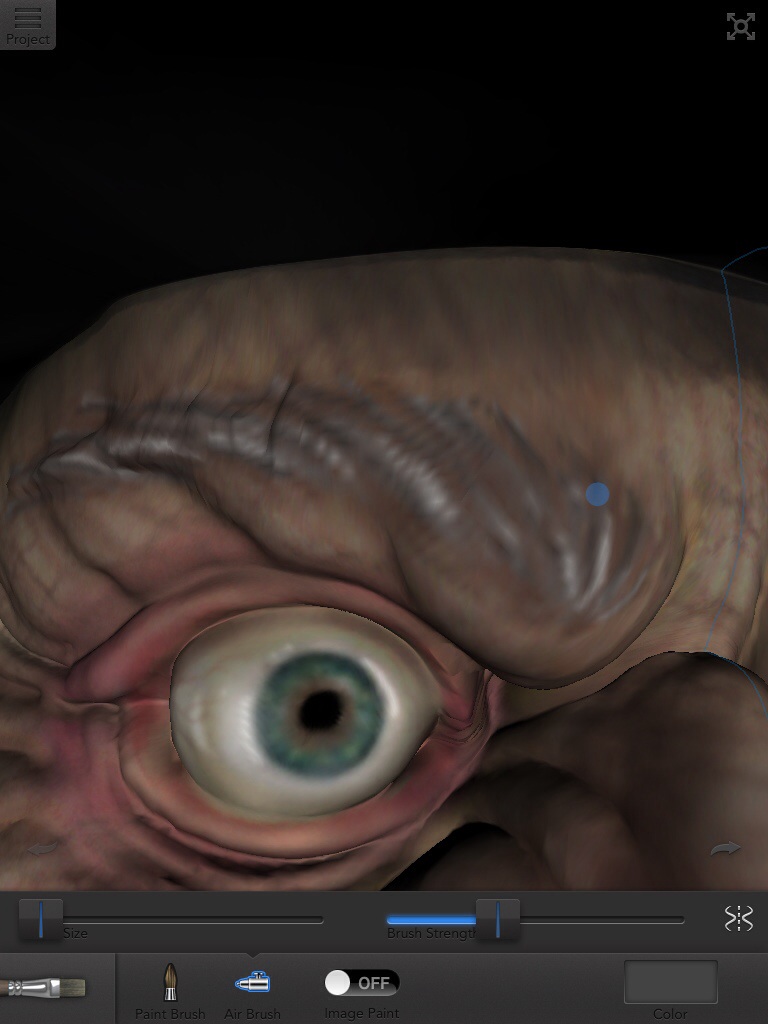
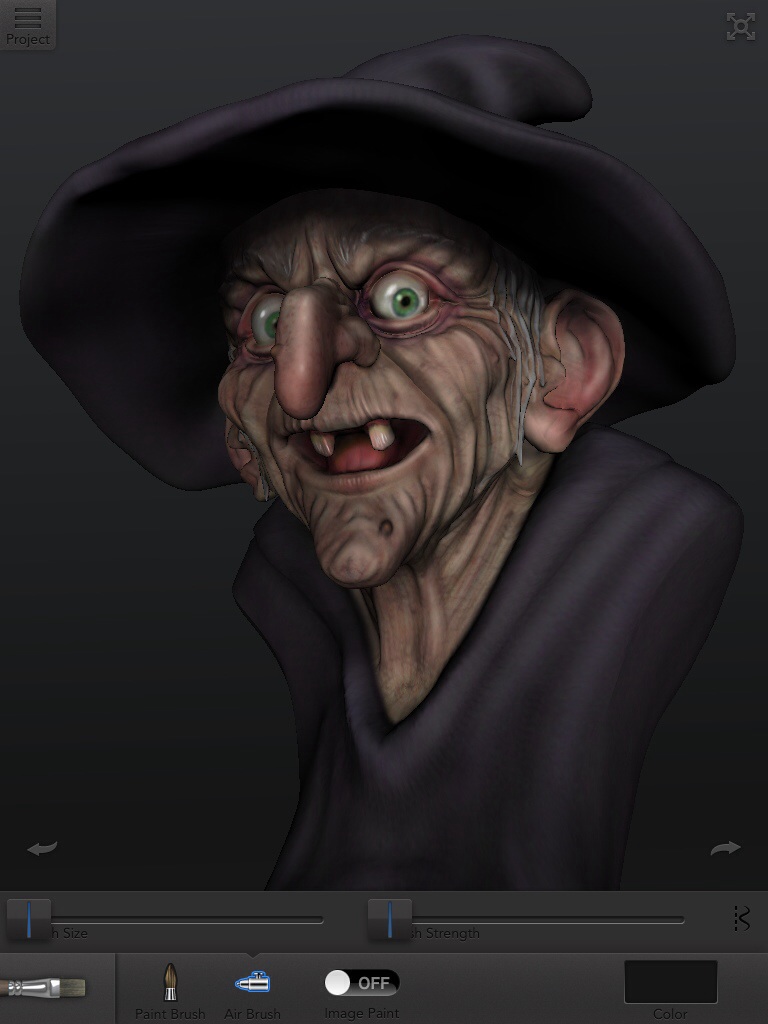
Adding detail to the eyes helps to bring the character to life.
Start with base colours and build up the colour pattern.
Add the fake specular highlights and reflections. Adding a reflective colour of the face at the bottom of the eyeballs helps to give a gloss look.
You may want to add detail that you couldn't model in at this stage. Things like fine wrinkles and hair.
Continue until you are happy with your model.
Render and Export
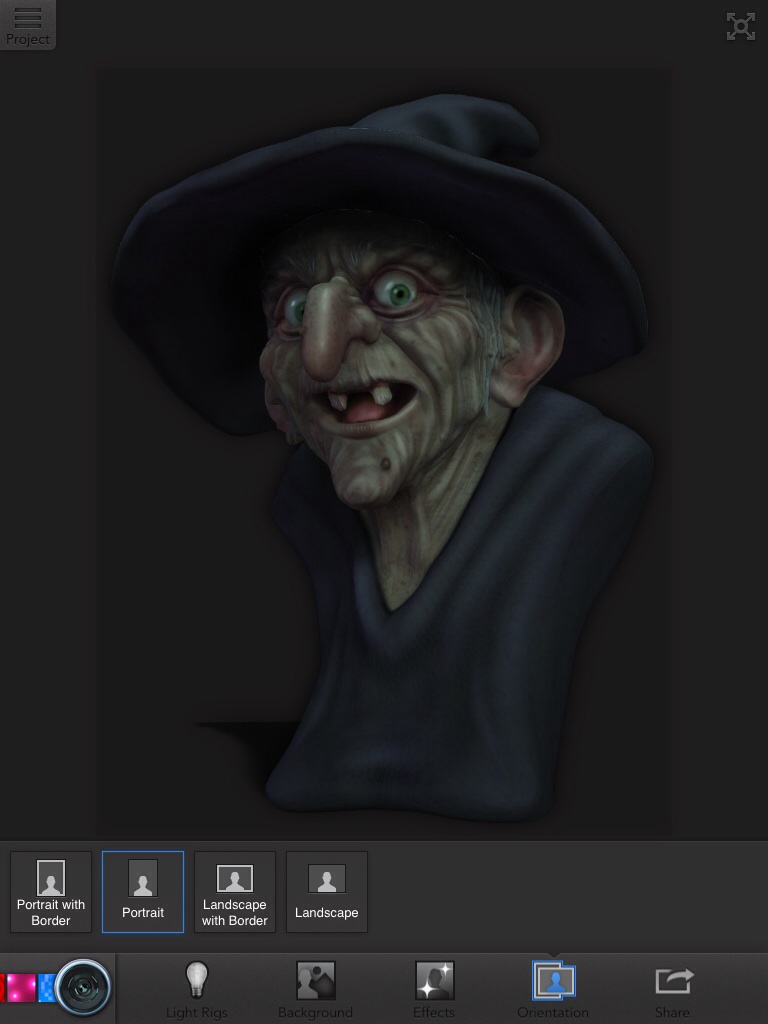
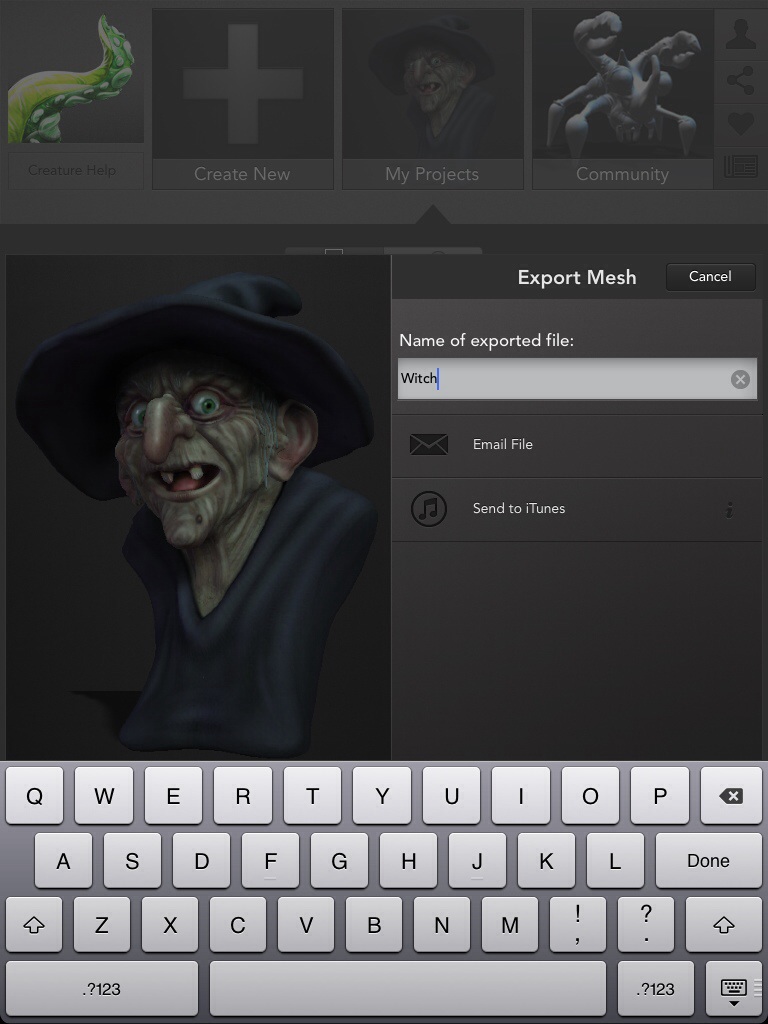
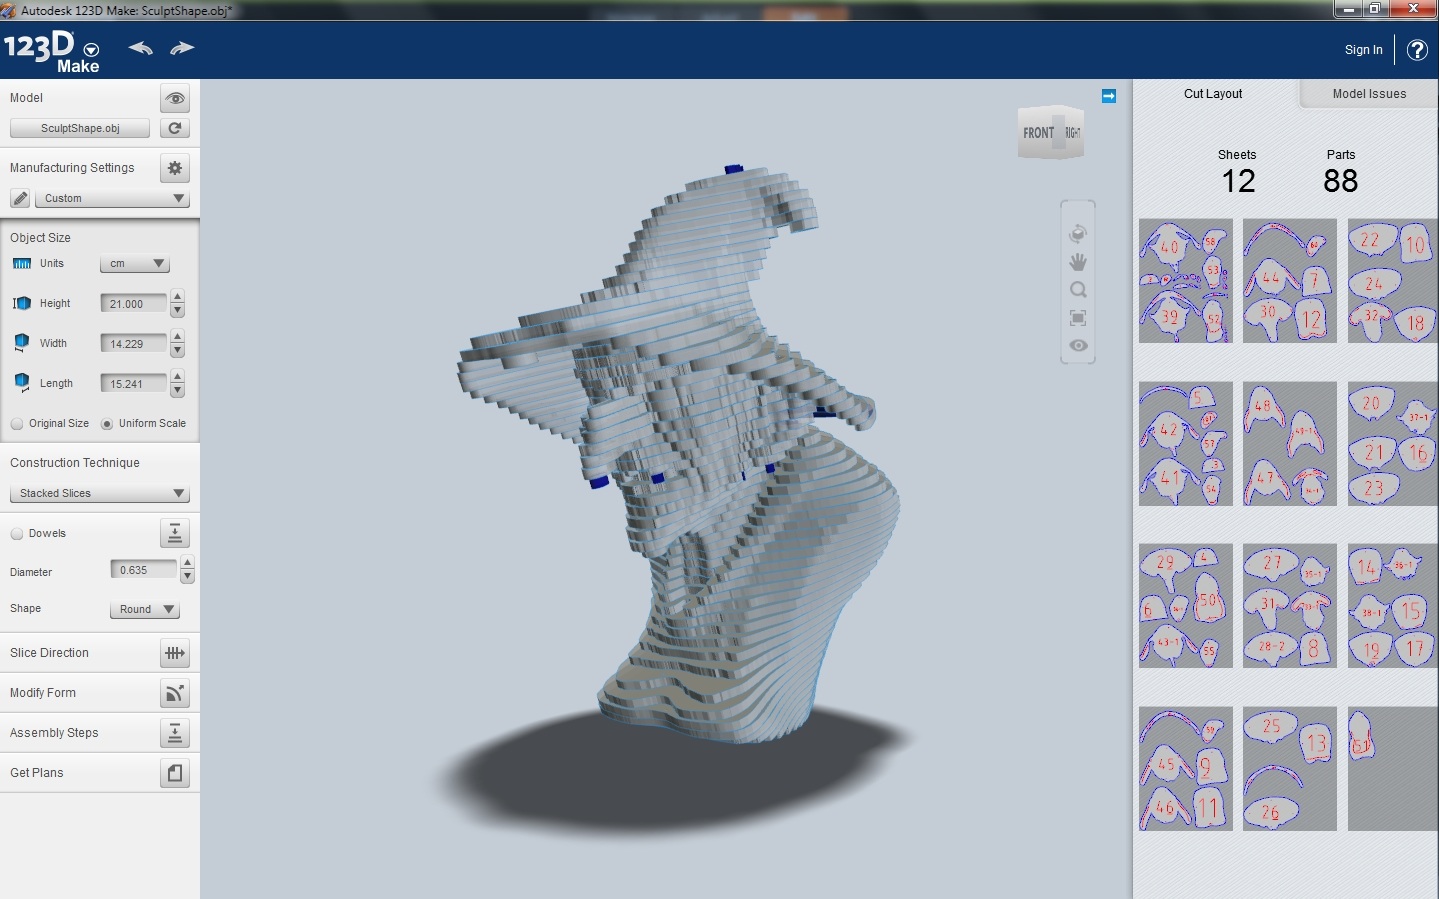
Once you have finished your model you can take it into the Render section of the App.
Play around with the light settings and effects to get the desired final image.
If you want to export your model to another program like 123D Make you can easily do that in the menu options. The file will be an obj file which you can find in iTunes under the 123D Creature App.
Play around with the light settings and effects to get the desired final image.
If you want to export your model to another program like 123D Make you can easily do that in the menu options. The file will be an obj file which you can find in iTunes under the 123D Creature App.
Creating a Hand
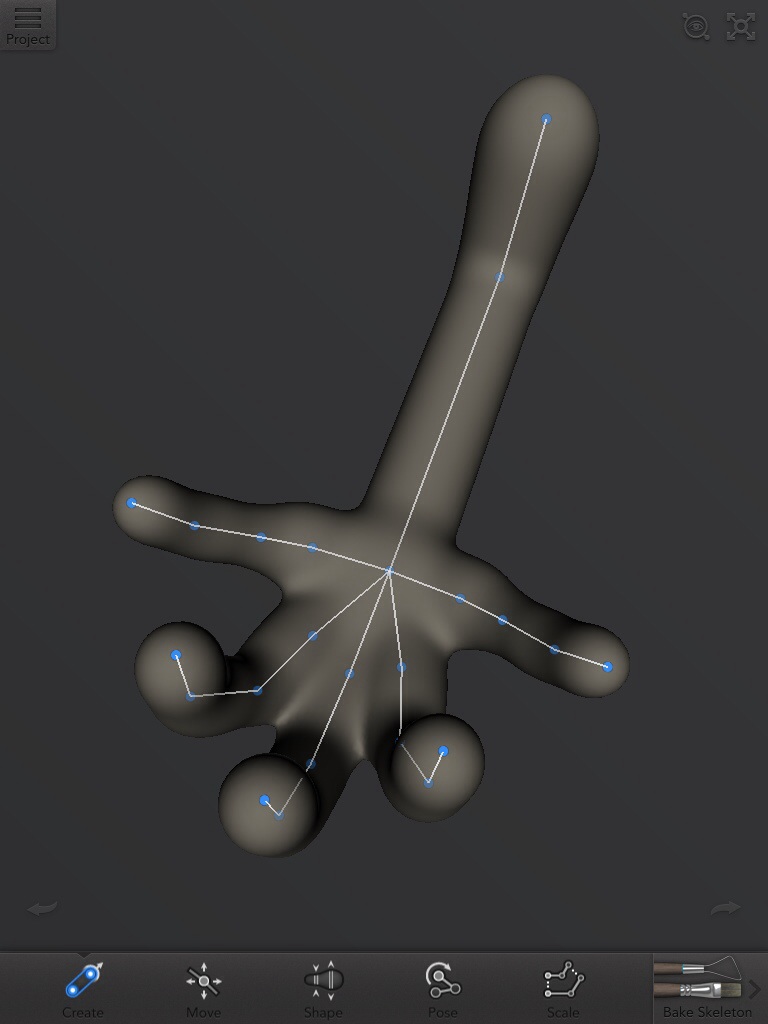
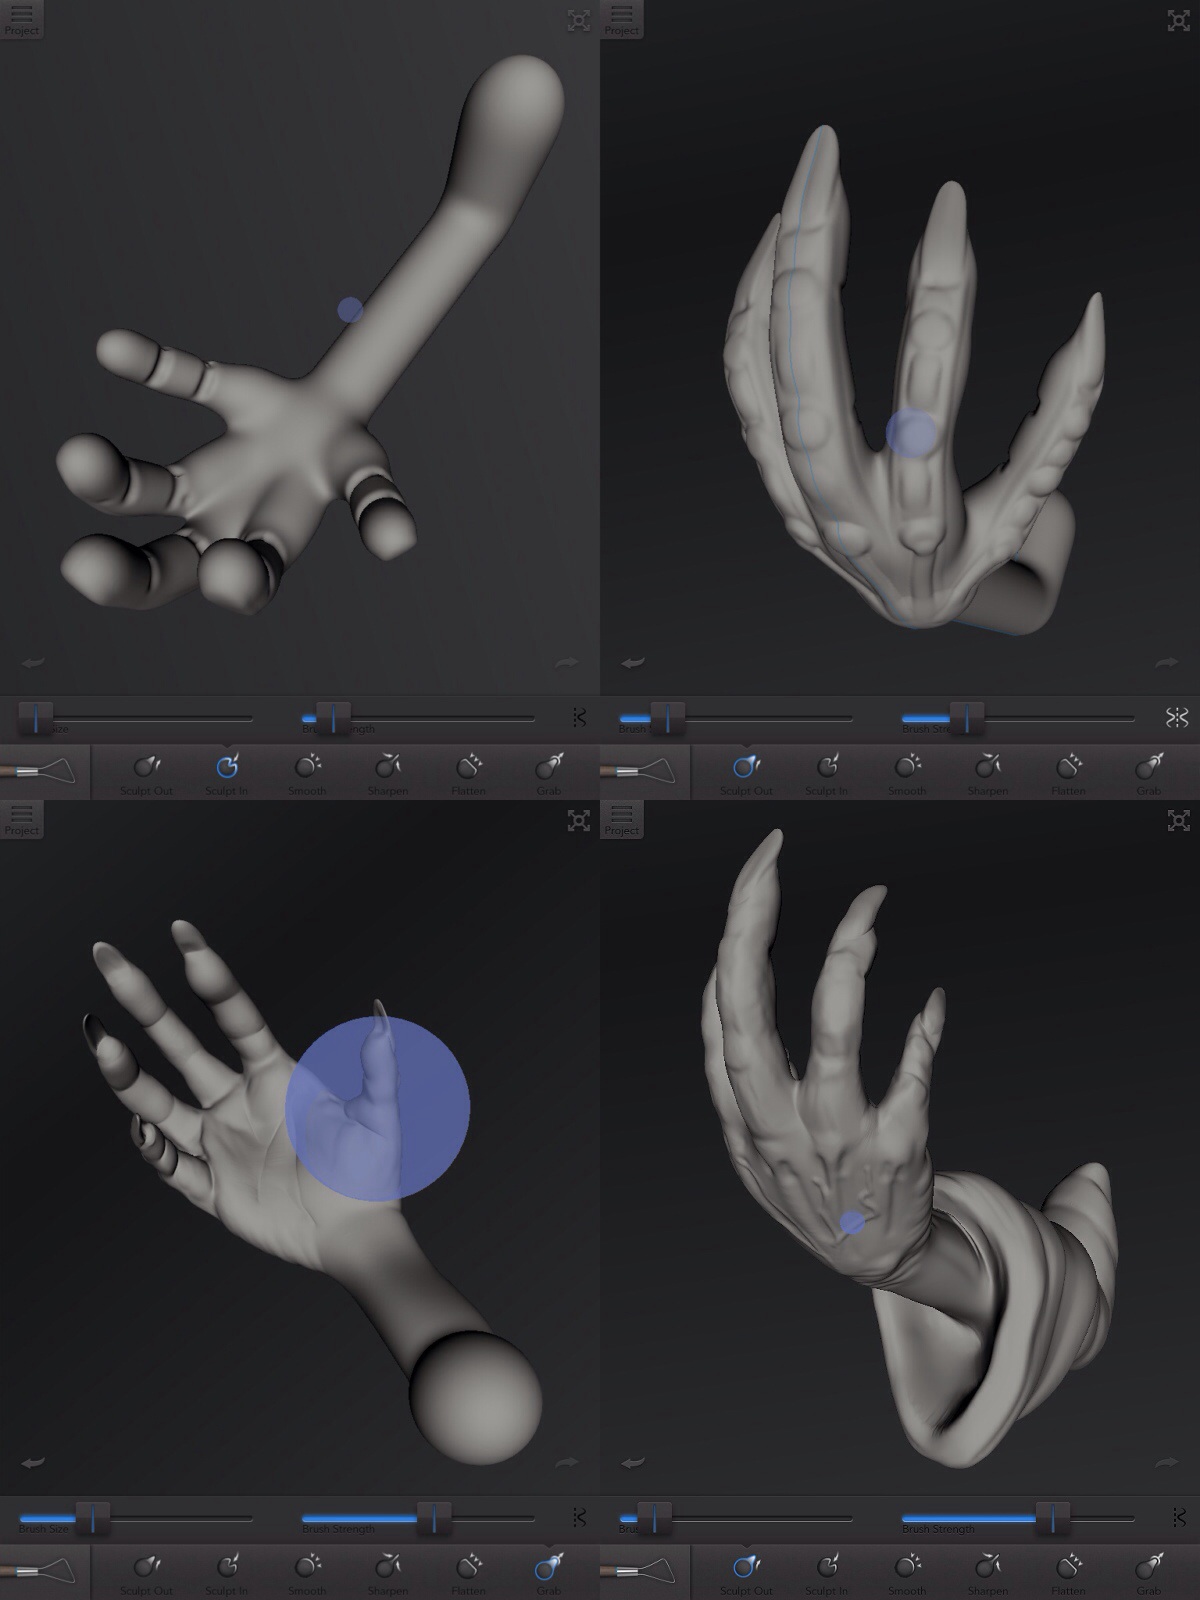
As before create the skeleton appendages. When finished press the Bake Skeleton button.
After the model is baked, start adding bulk and shape to the fingers.
Use the Sculpt Out and Grab tools. Define the knuckles and finger nails.( keep symmetry on until you re-position the fingers)
After you have added shape and detail you will want to move the fingers into the correct positions.
Turn off symmetry and use the Grab tool to re-position the fingers. (You will need to be careful as the fingers can become distorted)
Next add volume to the arm to create a cloak sleeve by using the Sculpt Out and Grab tool.
Painting and Texturing the Arm
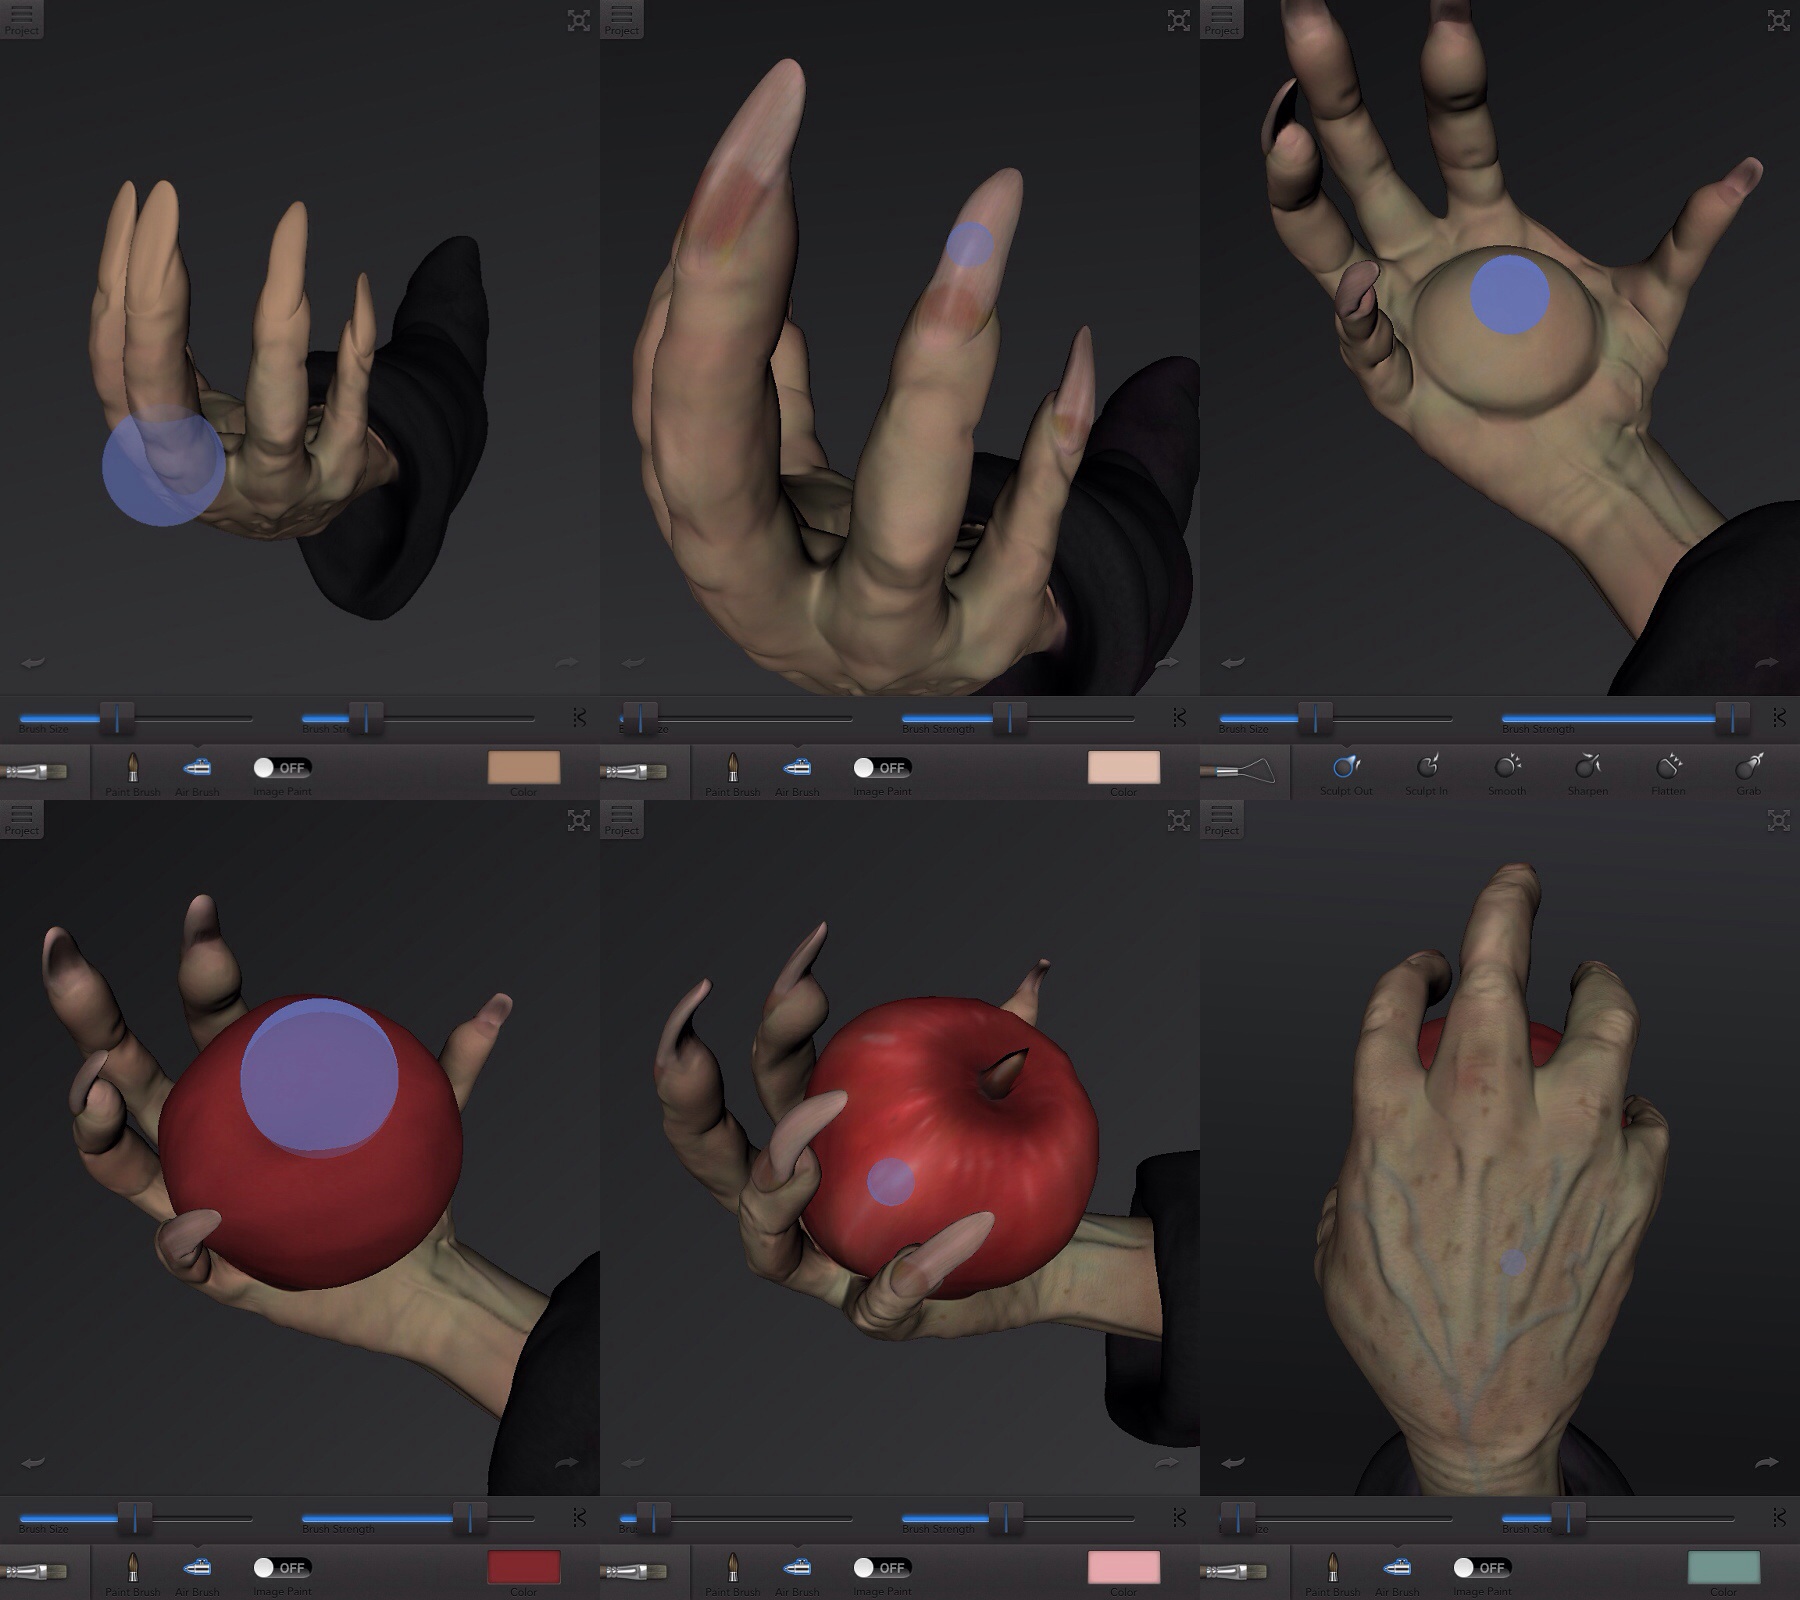
As before build up the skin texture with different colours but keep them the same as the face colours.
Sculpt the apple in the palm of the hand using the Sculpt Out and Grab tools.
When painting the apple use a small brush size to work in between the fingers.
Add reflection and specular highlights to the hand and apple.
Sculpt the apple in the palm of the hand using the Sculpt Out and Grab tools.
When painting the apple use a small brush size to work in between the fingers.
Add reflection and specular highlights to the hand and apple.
Render and Composition
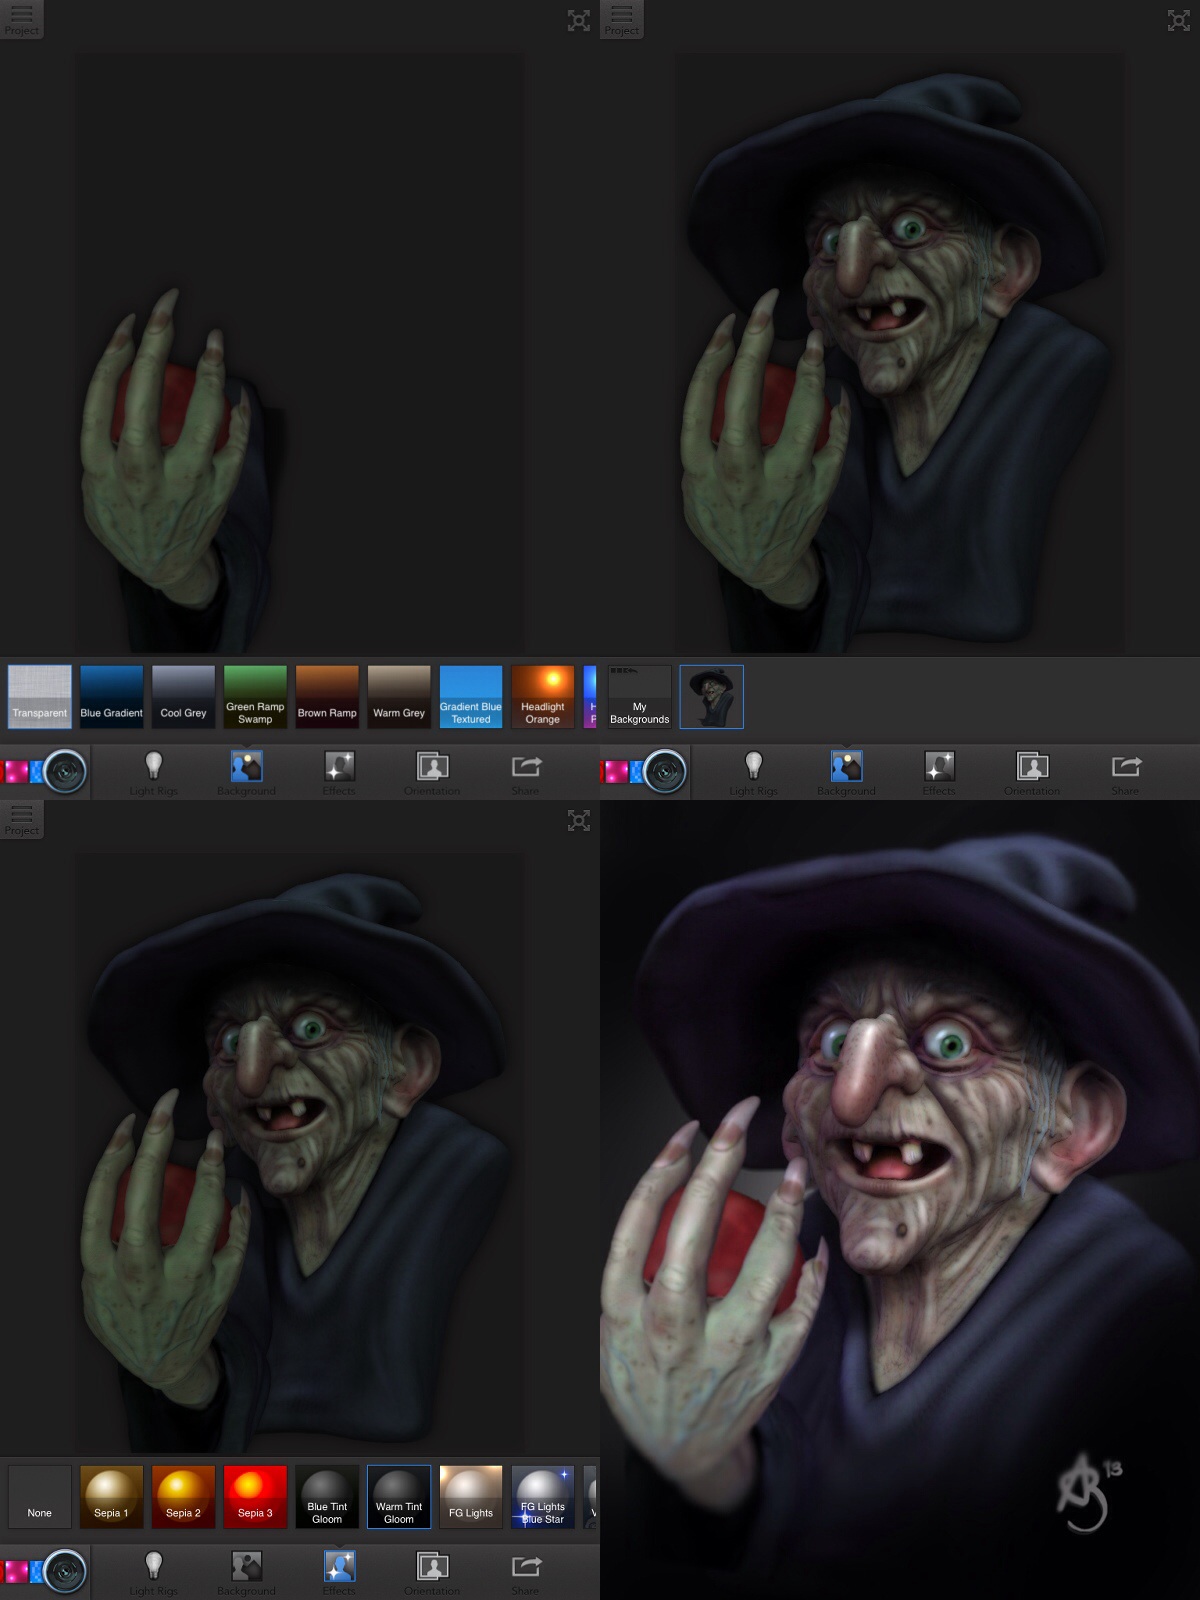
To combine the two separate models into one image you will need to have the hand loaded and the render of the Witch's head in My Backgrounds loaded from your photo album.
Load the Witch head render in the background and position the hand.
Keep the lighting the same as you did for the head. You will want the lighting to match.
Add the same effects and save the image.
To print or use your model as one object, export them both as obj files.
In Meshmixer you can load both the objects and create one single model file.
It all depends on you what tools you use in the App for sculpting and what stages you decide to follow. All that matters is that you are happy with your creation and learn something new. Enjoy sculpting!