Creating a Snowflake in Onshape
by jackdugery in Workshop > Laser Cutting
936 Views, 0 Favorites, 0 Comments
Creating a Snowflake in Onshape
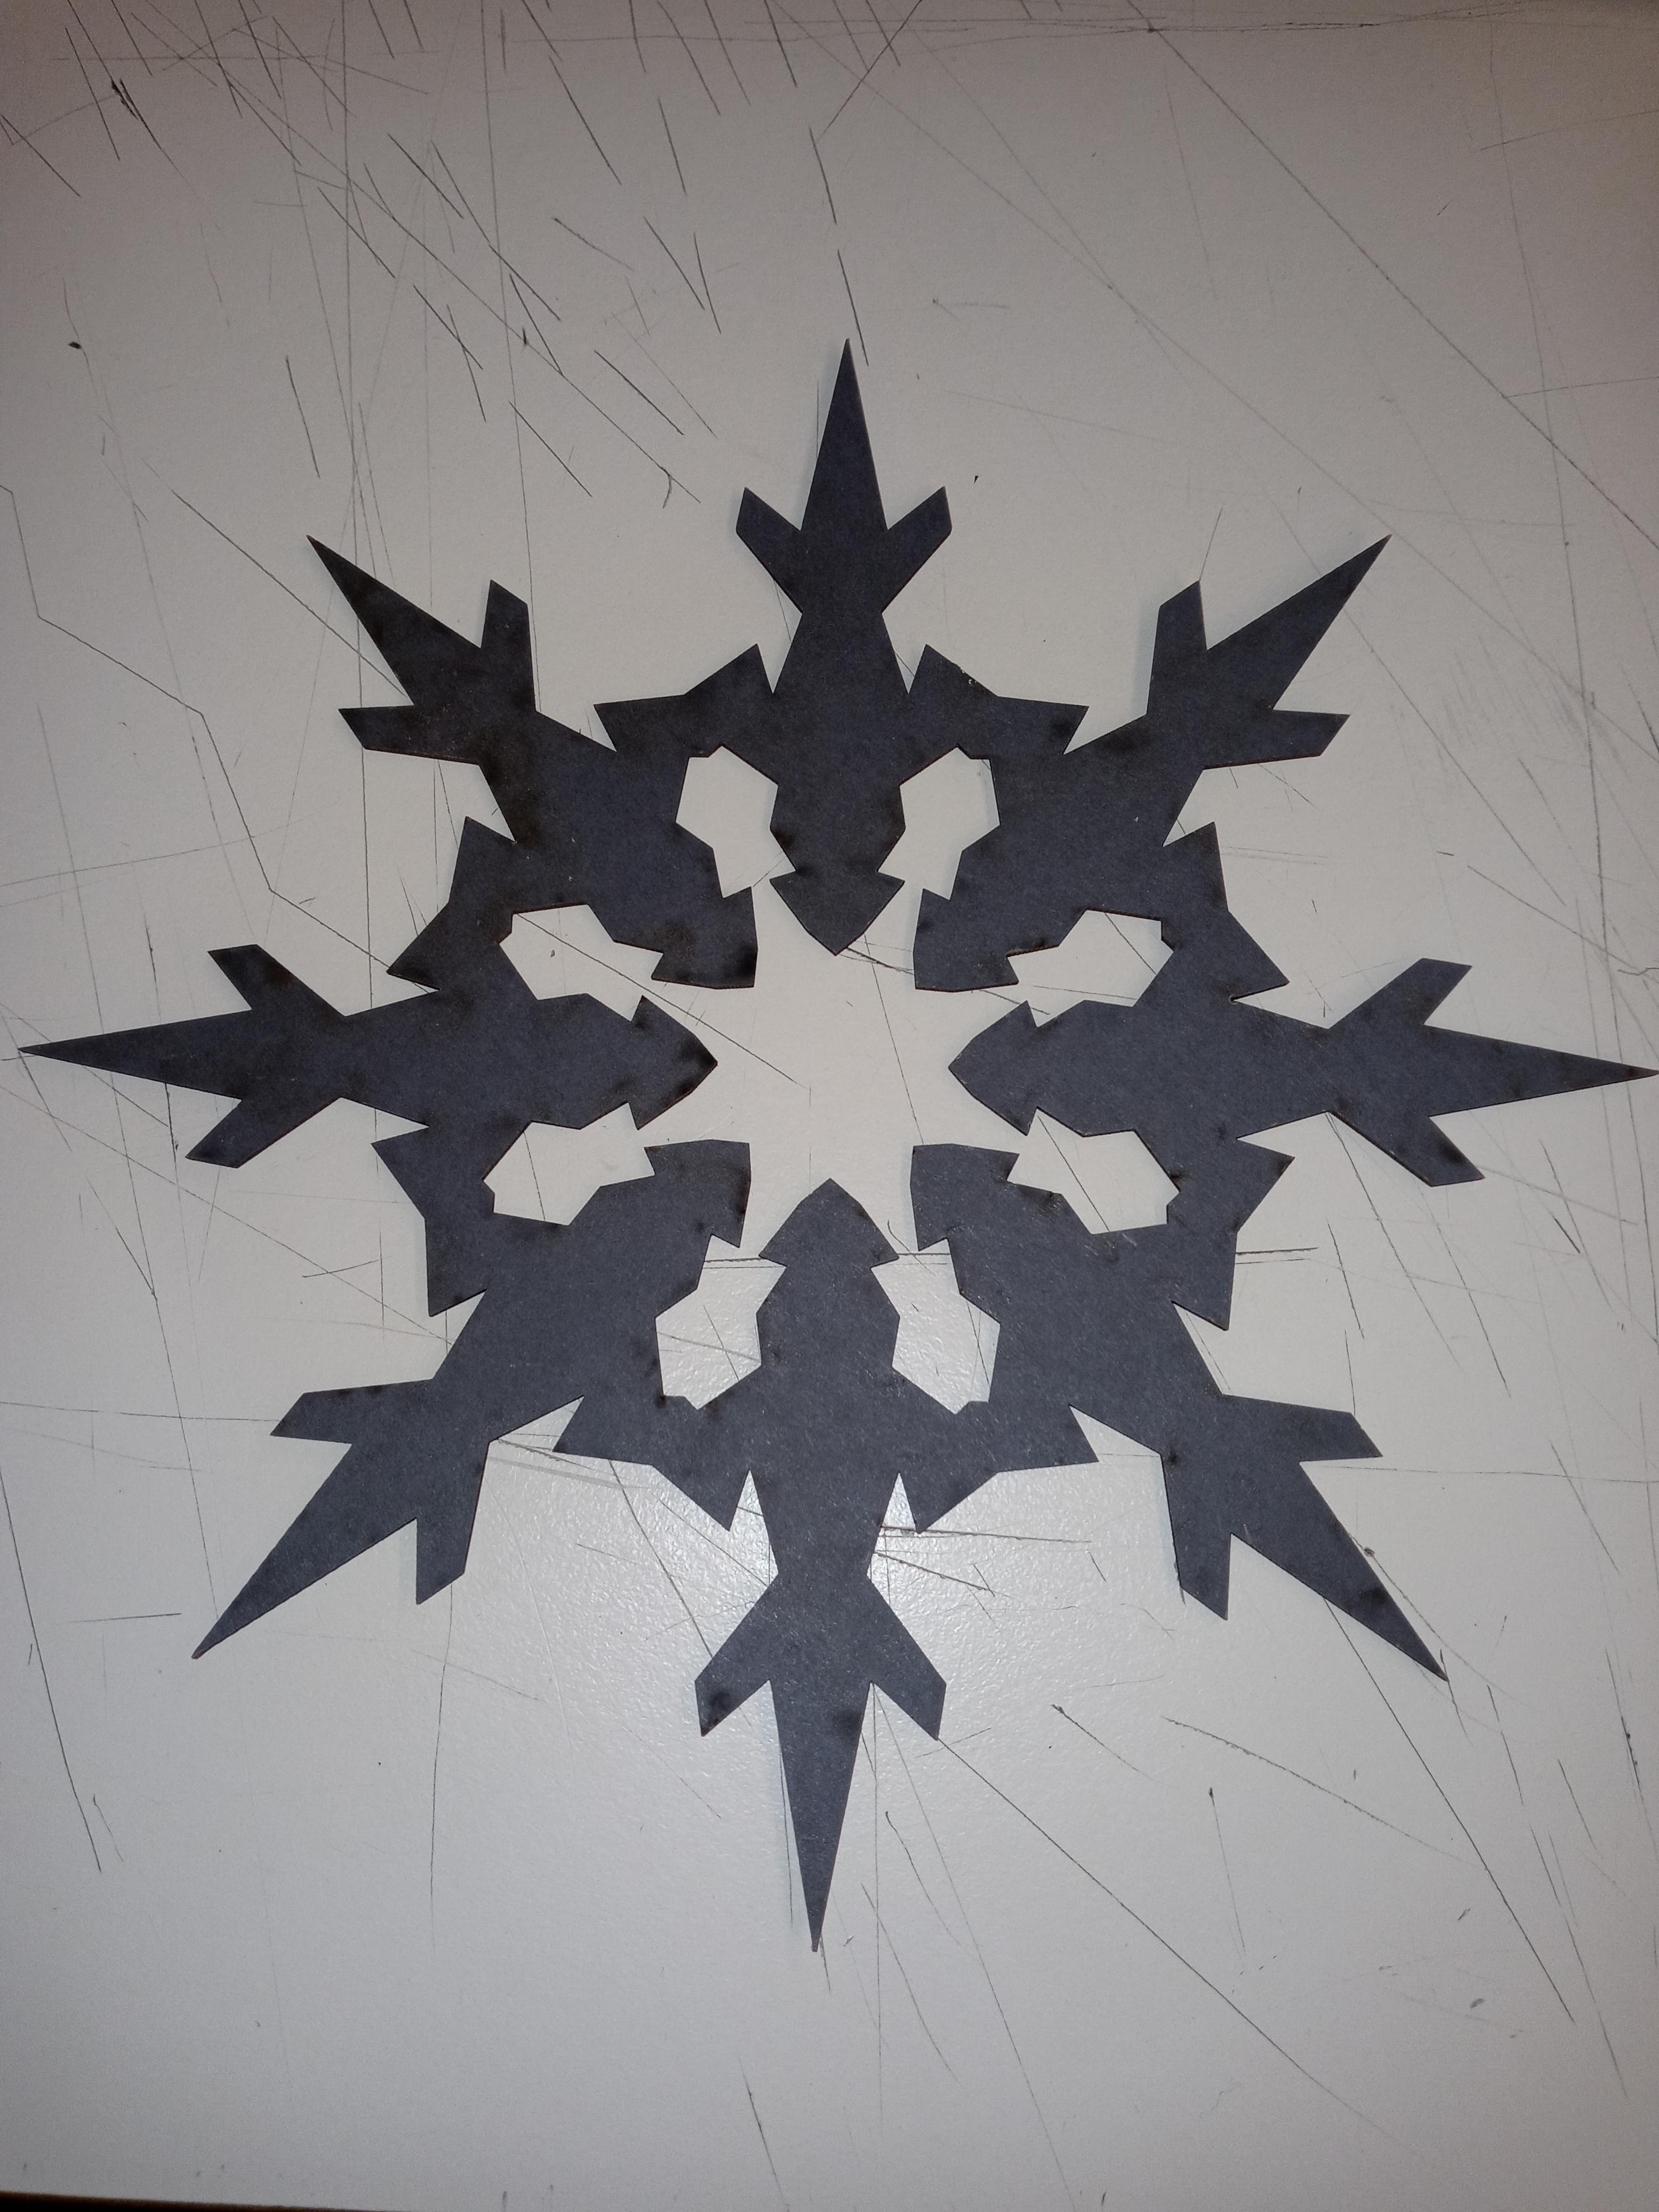
I made a snowflake in Onshape so I could later laser print it.
Supplies
A computer that can run Onshape in browser.
Making a Document
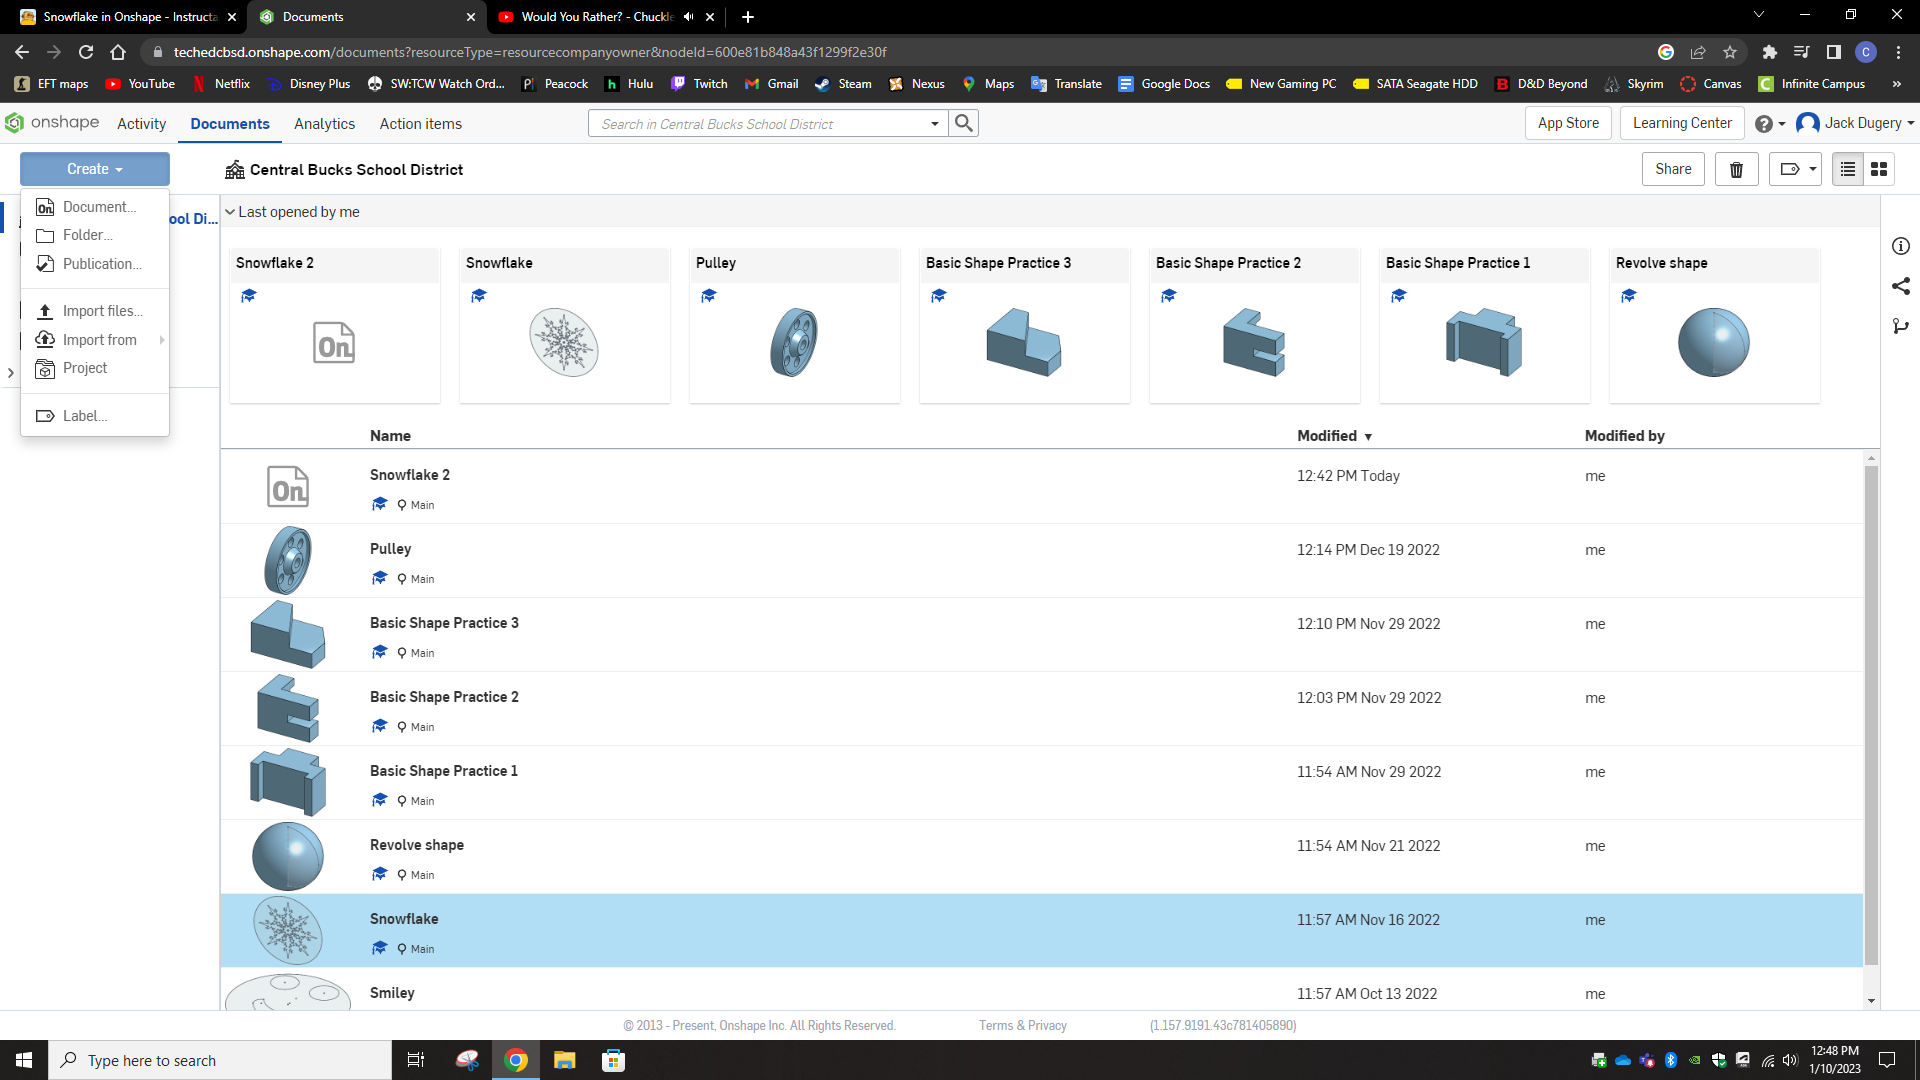
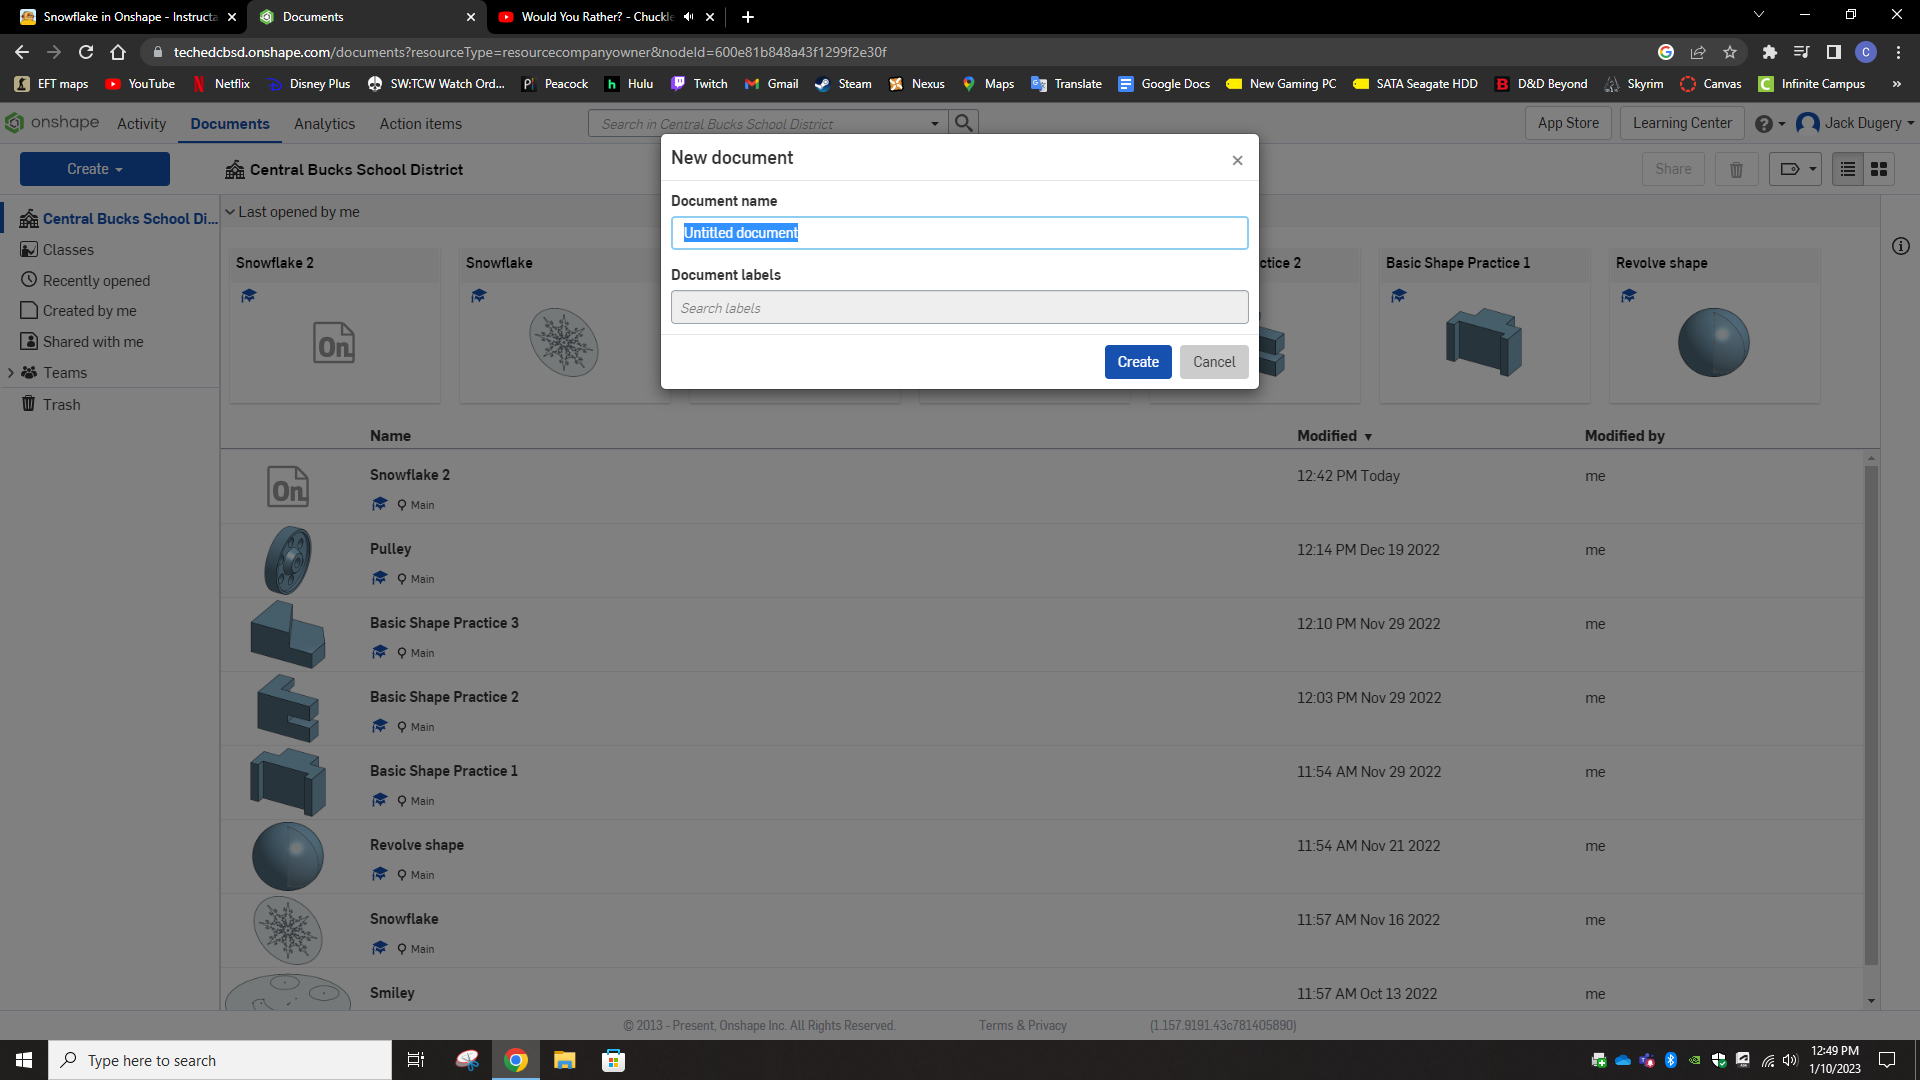
To create a document go to the top left and click on the create button then on document. Then name your document and click create.
Creating a Sketch
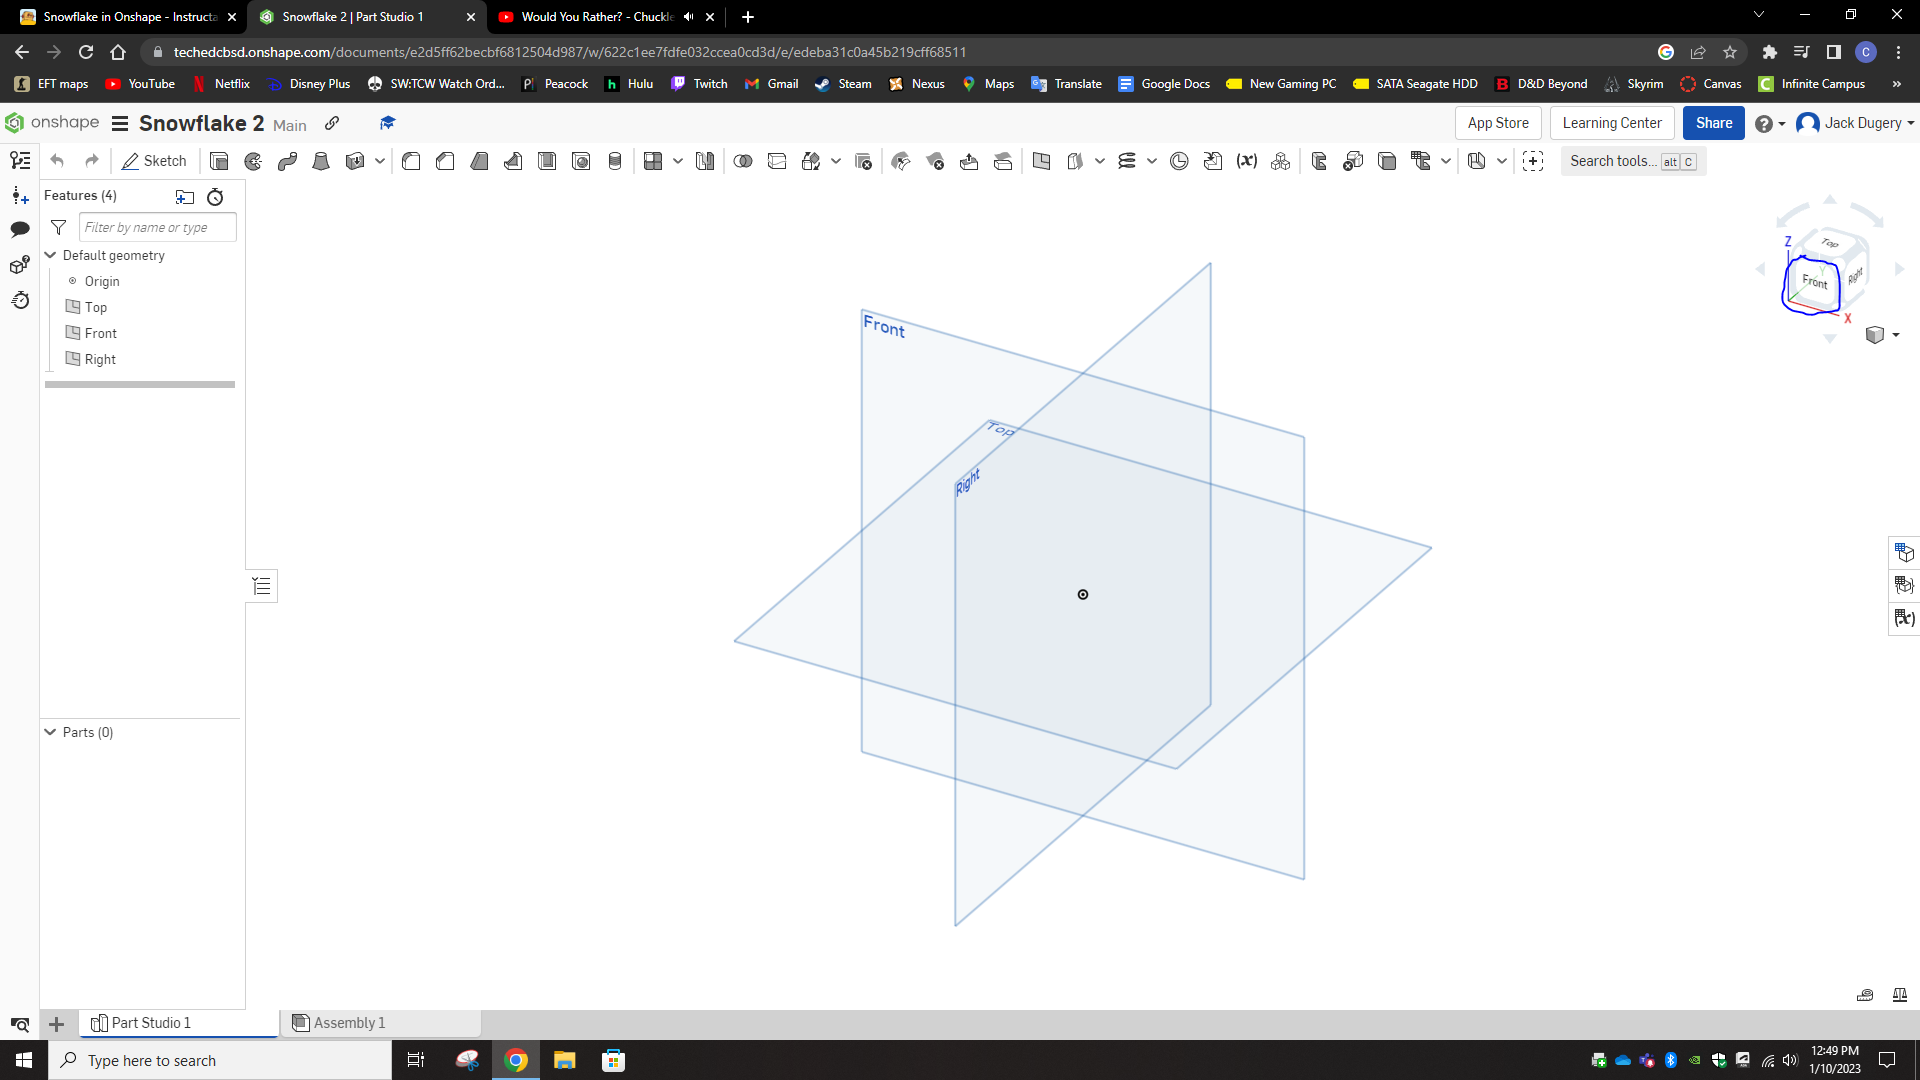
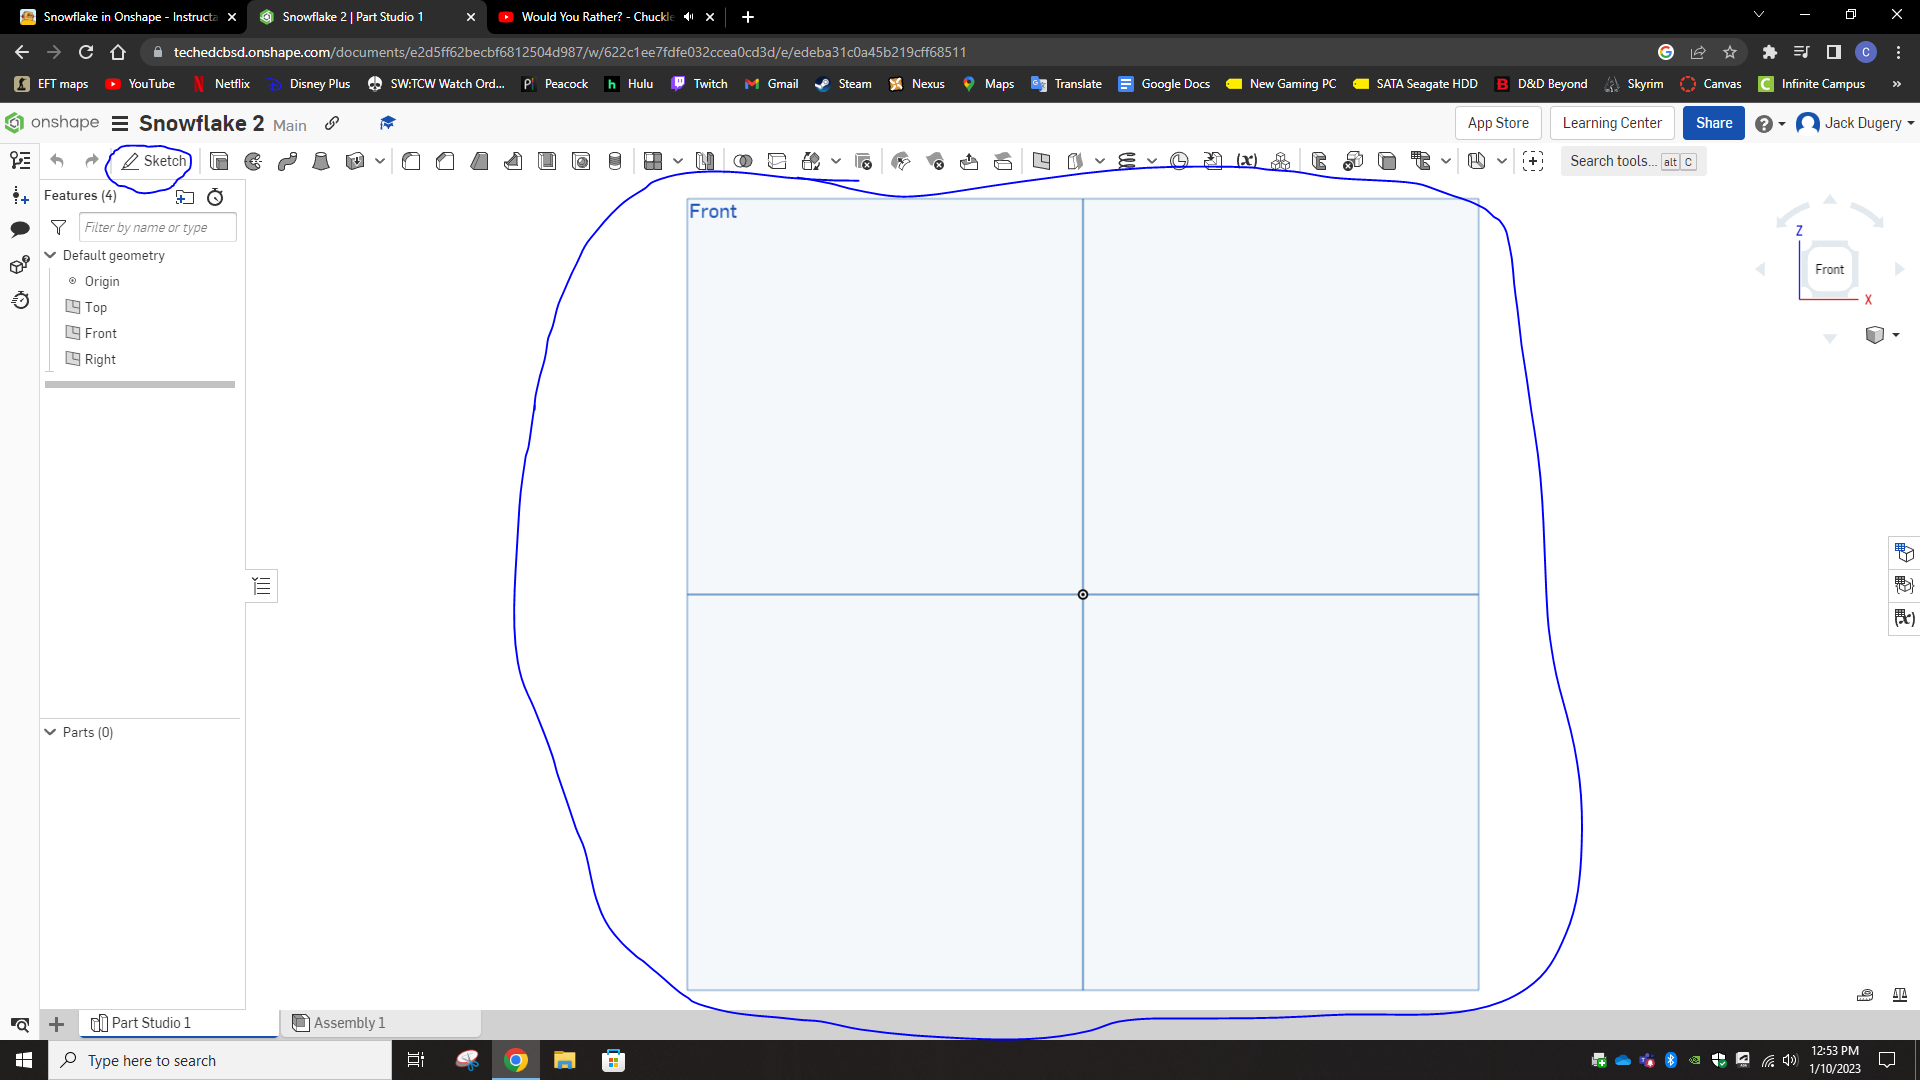
Go to the top right of your screen and click to one of the sides of the cube, then click on the sketch tool in the top left. After that, click on the shape square in front of you.
Drawing Your Shape
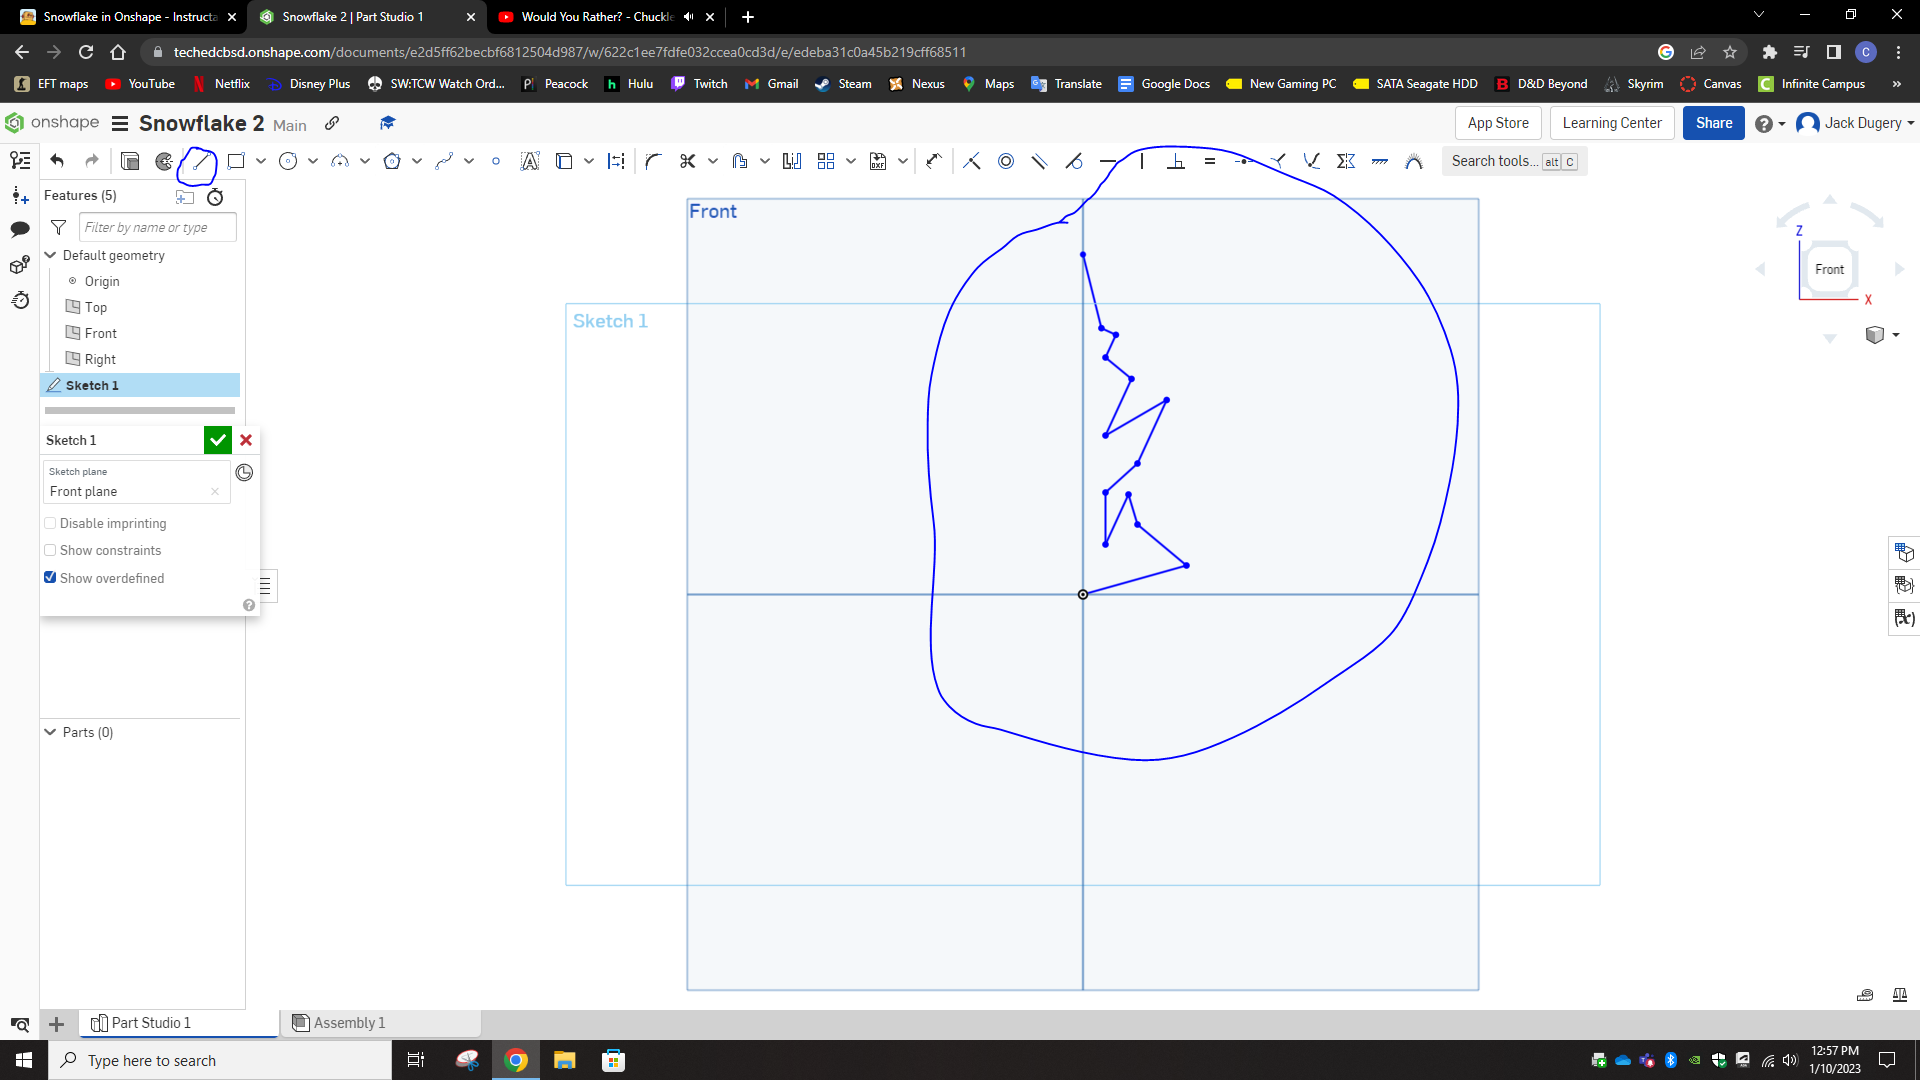
Click on the center of the square and begin drawing, make sure to stay within the top right quarter of the square when doing this.
Drawing a Mirror Line
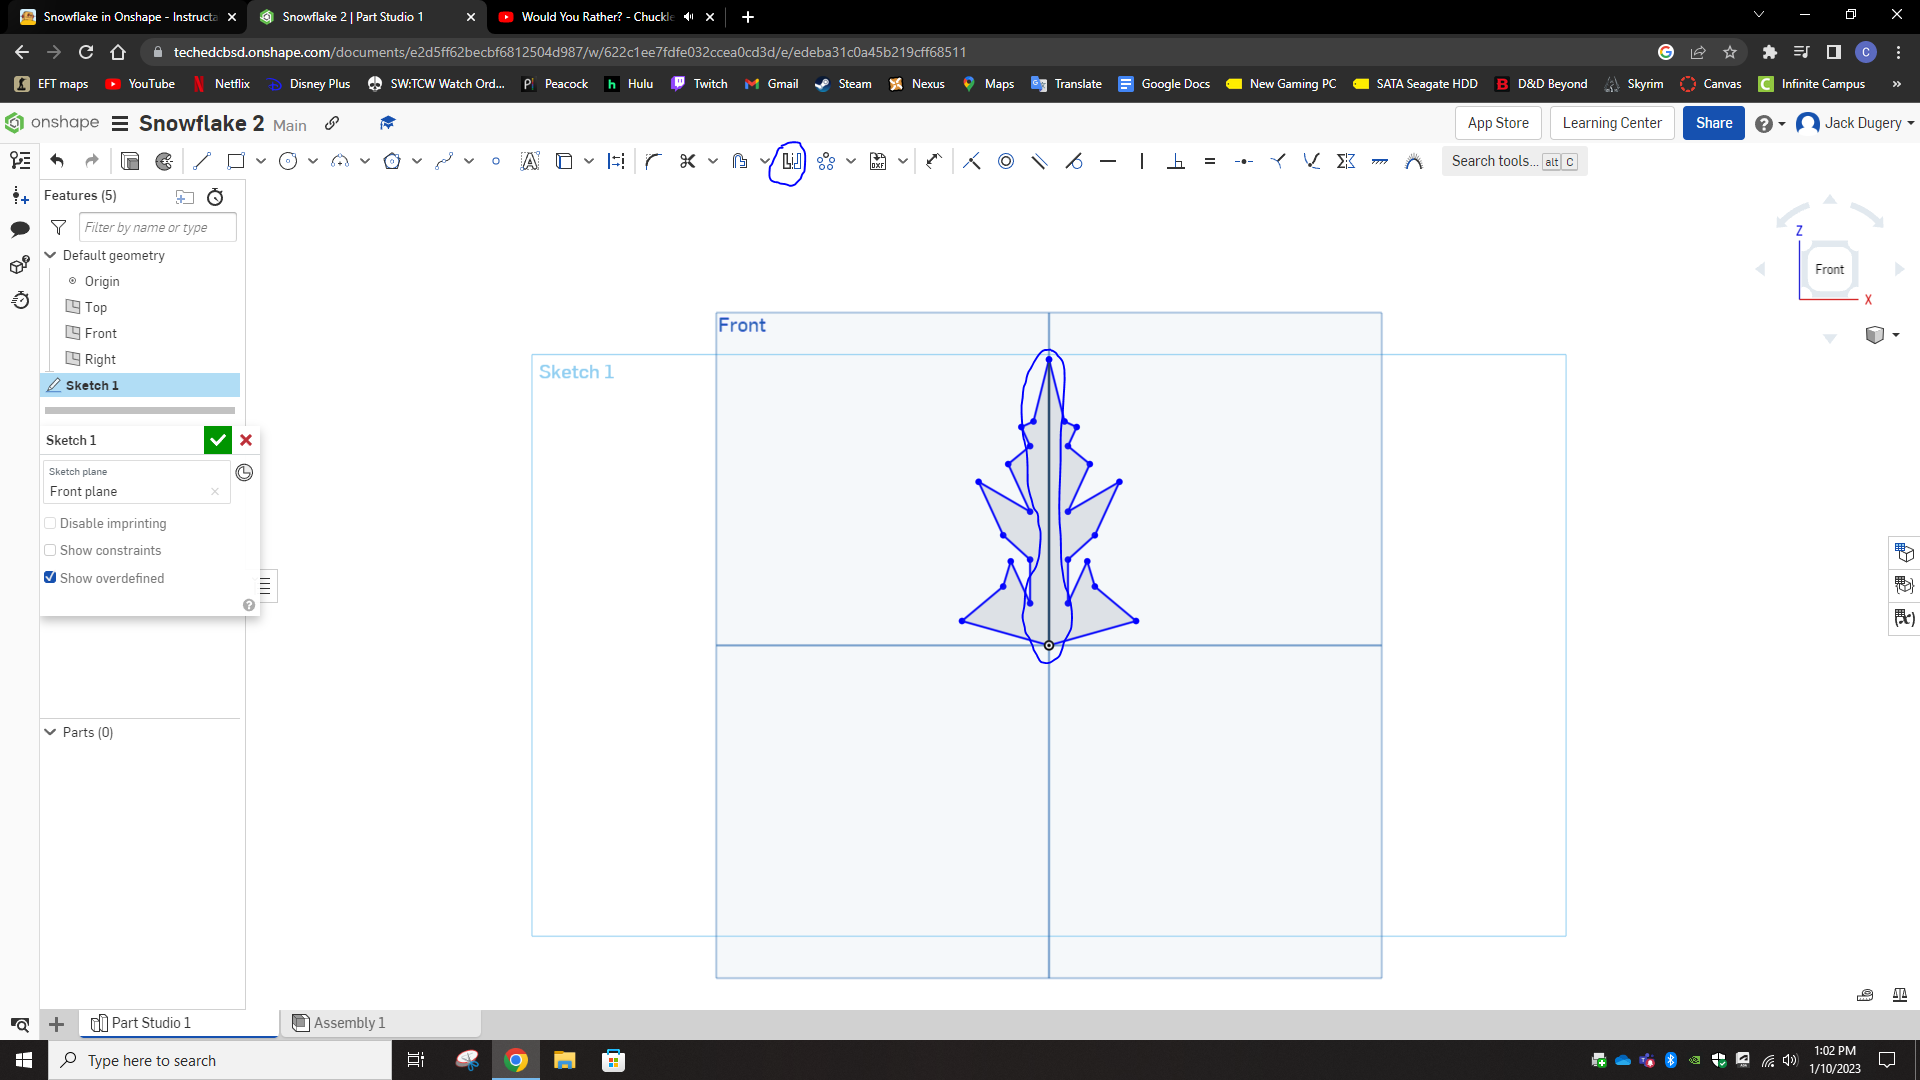
Next, draw a line from the center of the larger square and connect it with the top of your shape. After doing this select the mirror tool in the top middle of your screen and select your whole shape, select the line you drew from the center to the top of your shape as the line to mirror over.
Mirroring
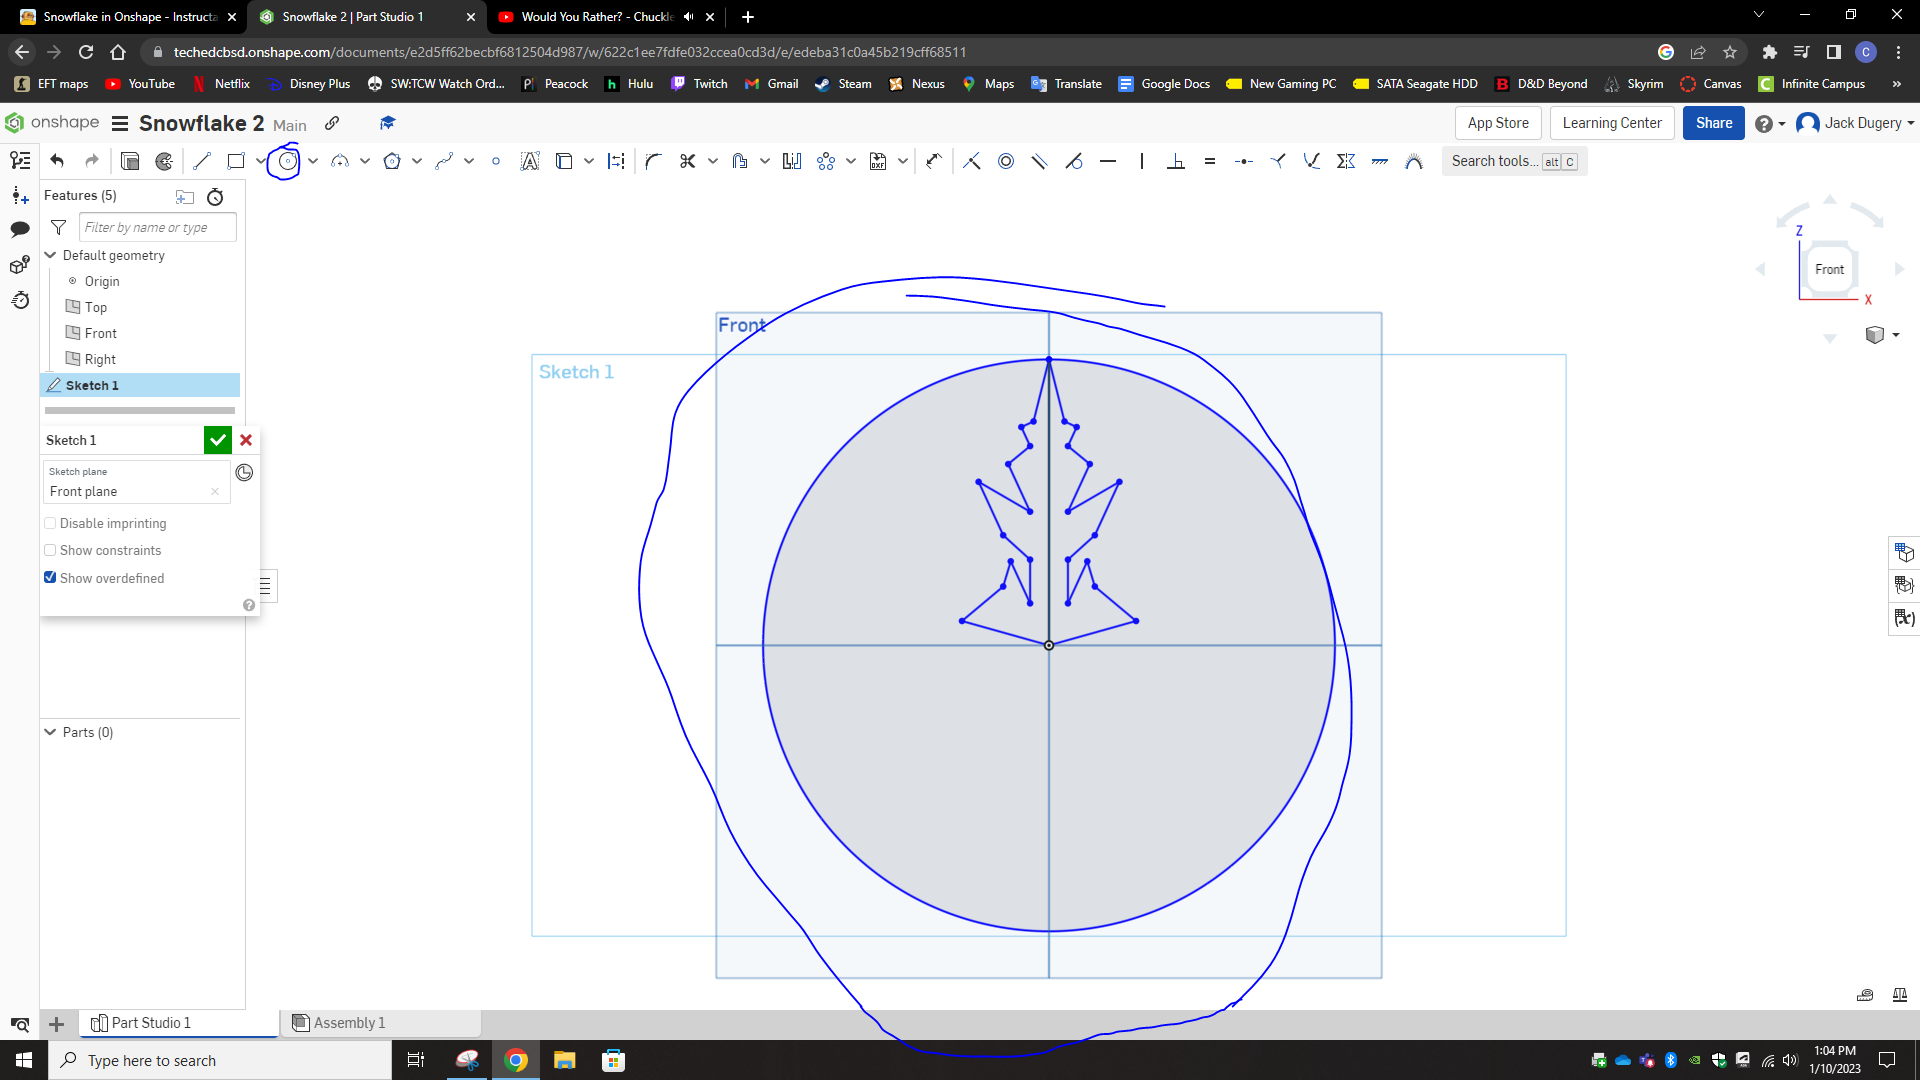
Next, select the circle tool in the top left, drawing from the center, making sure the edge of the circle is right on the end of your shape.
Making a Pattern
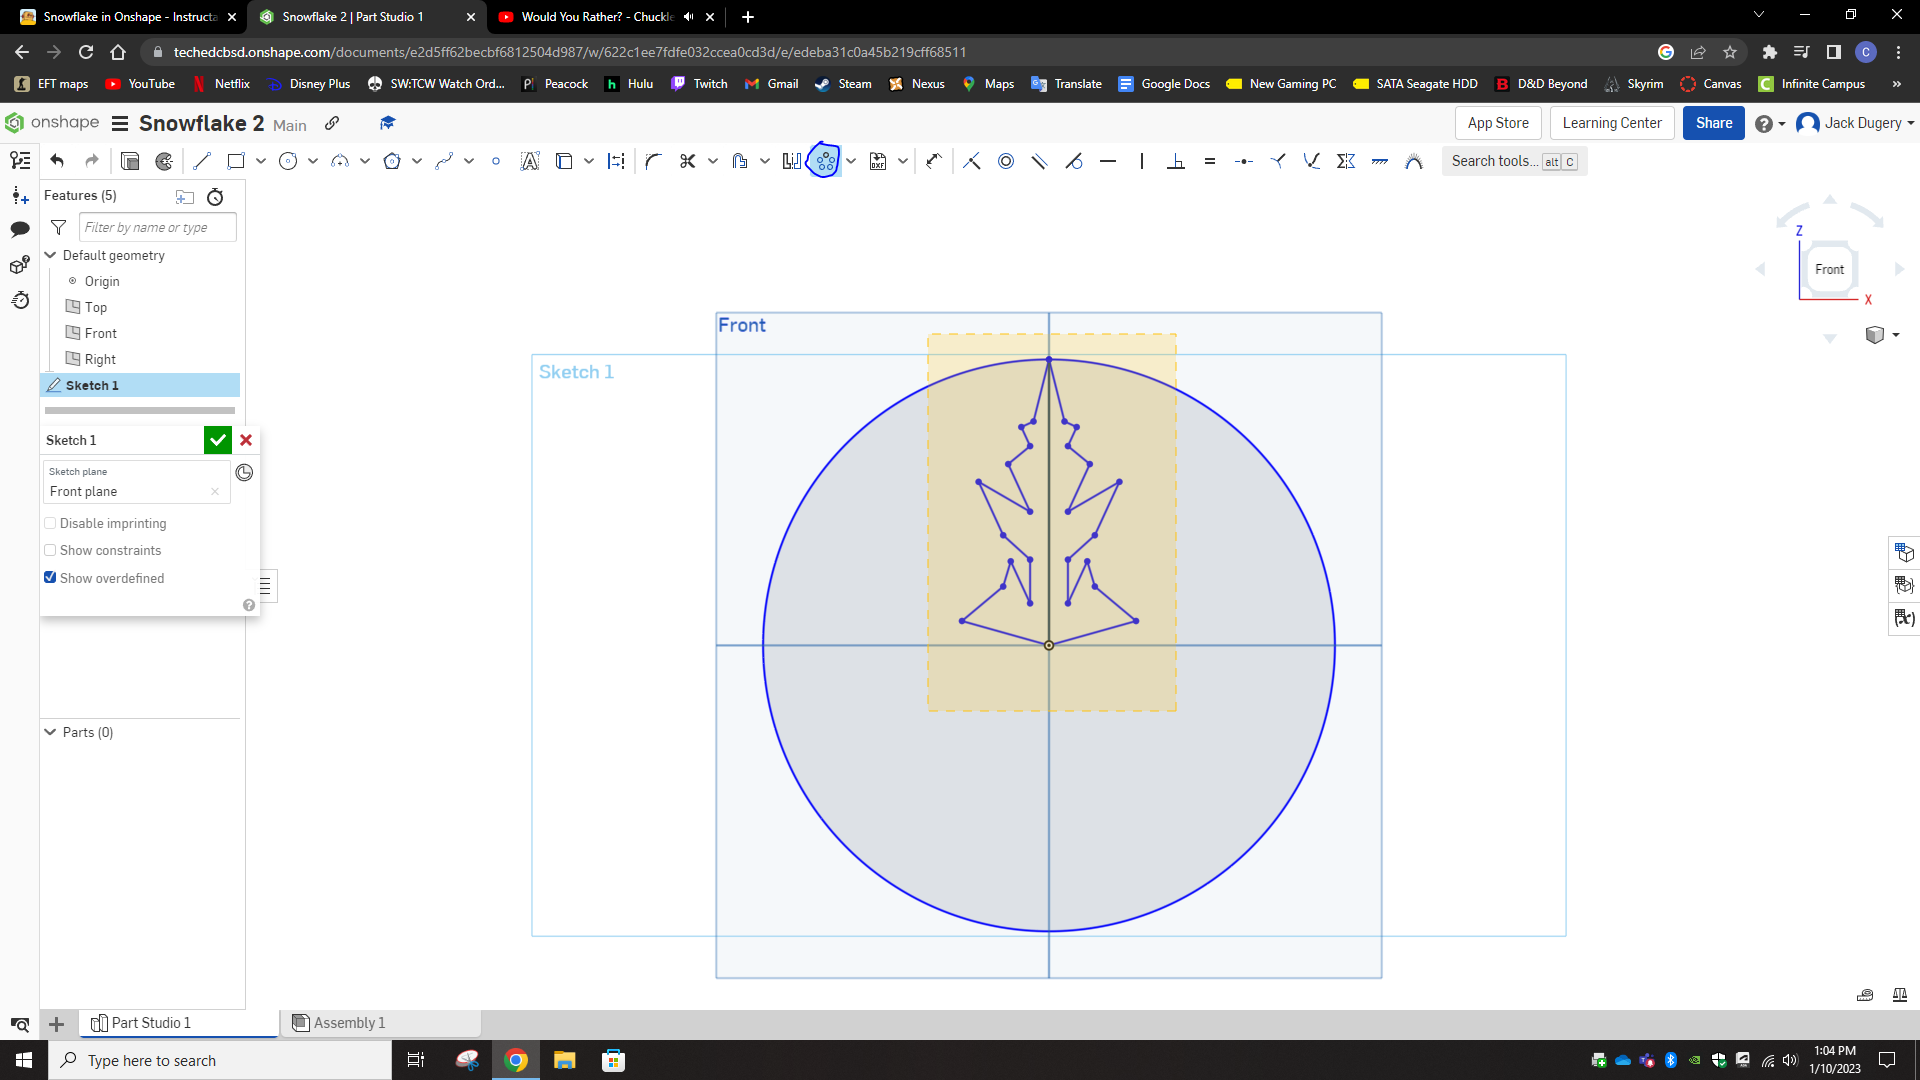
Next, click on the dropdown next to the linear pattern tool and select the circular pattern tool. After this select your whole shape again.
Continuing the Pattern
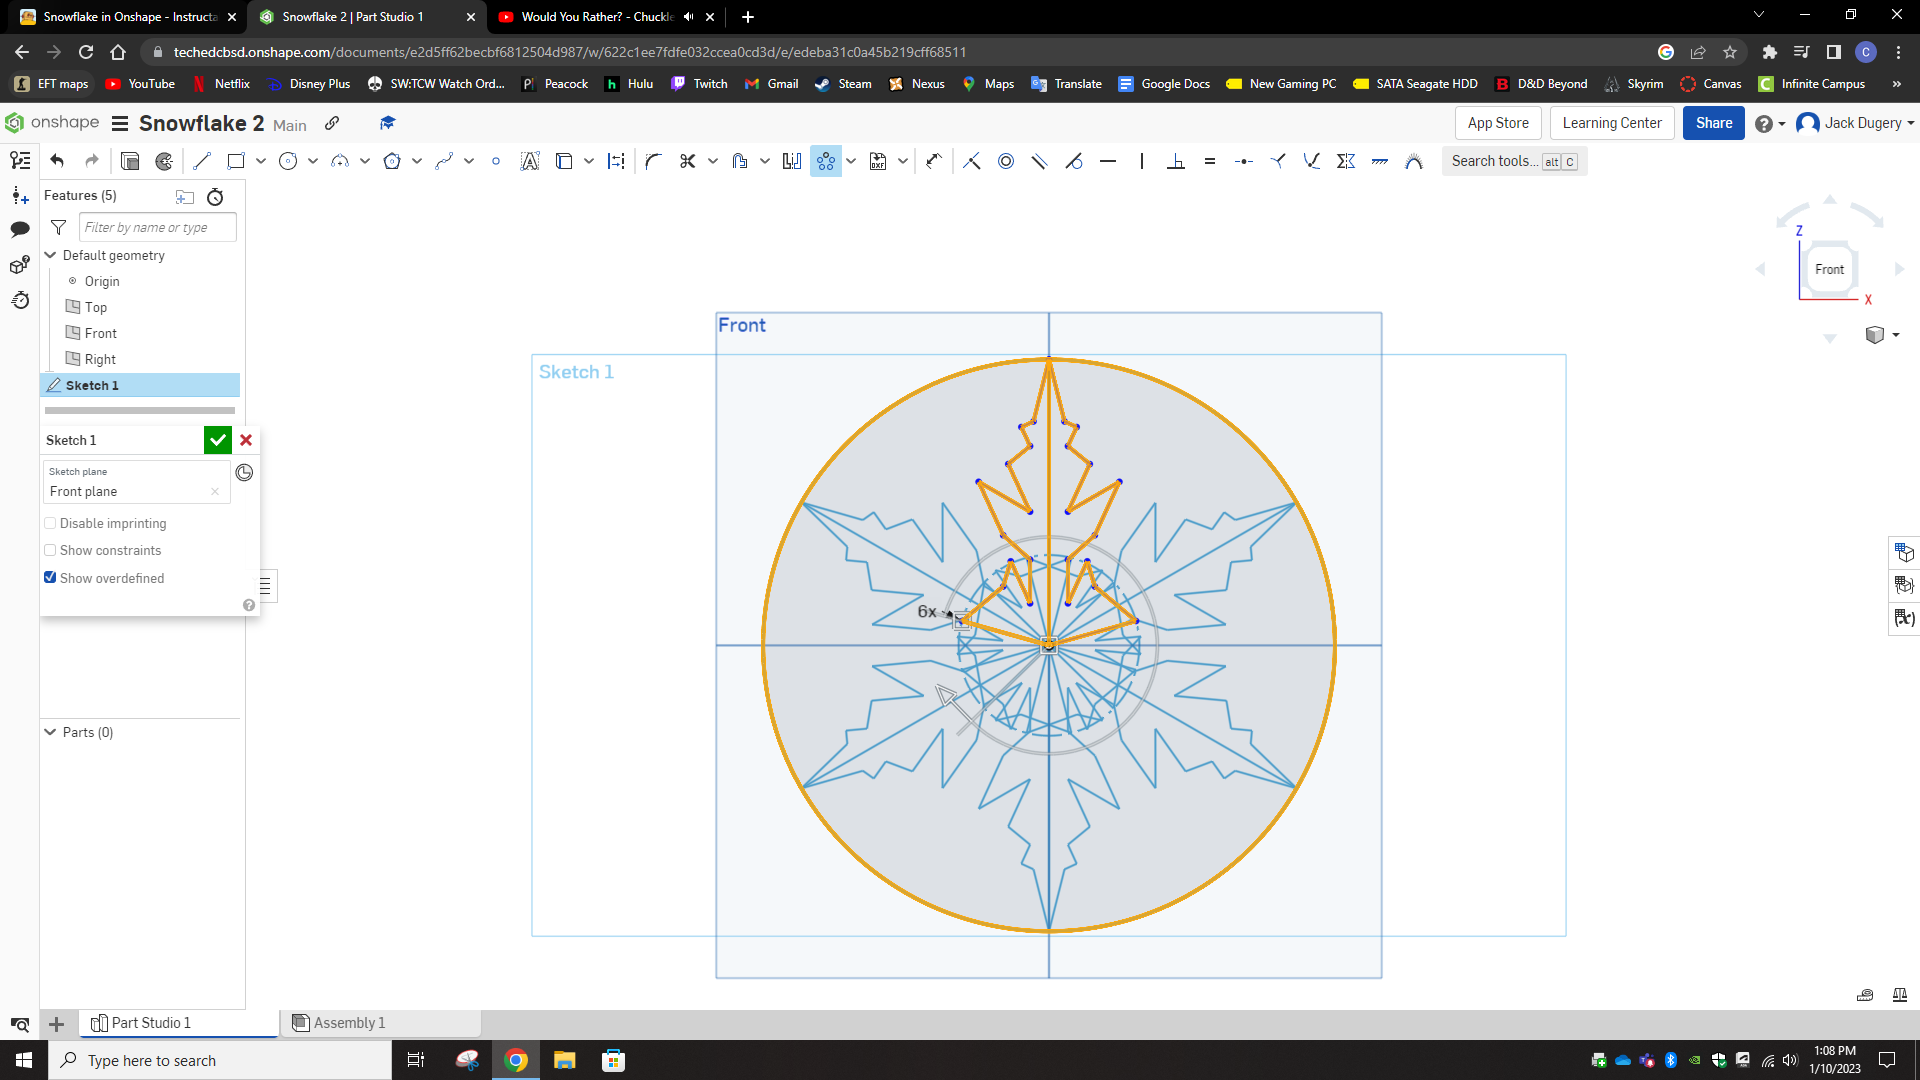
Double click on the 3x and replace it with how many times your want your shape to repeat around the circle
Touching Things Up
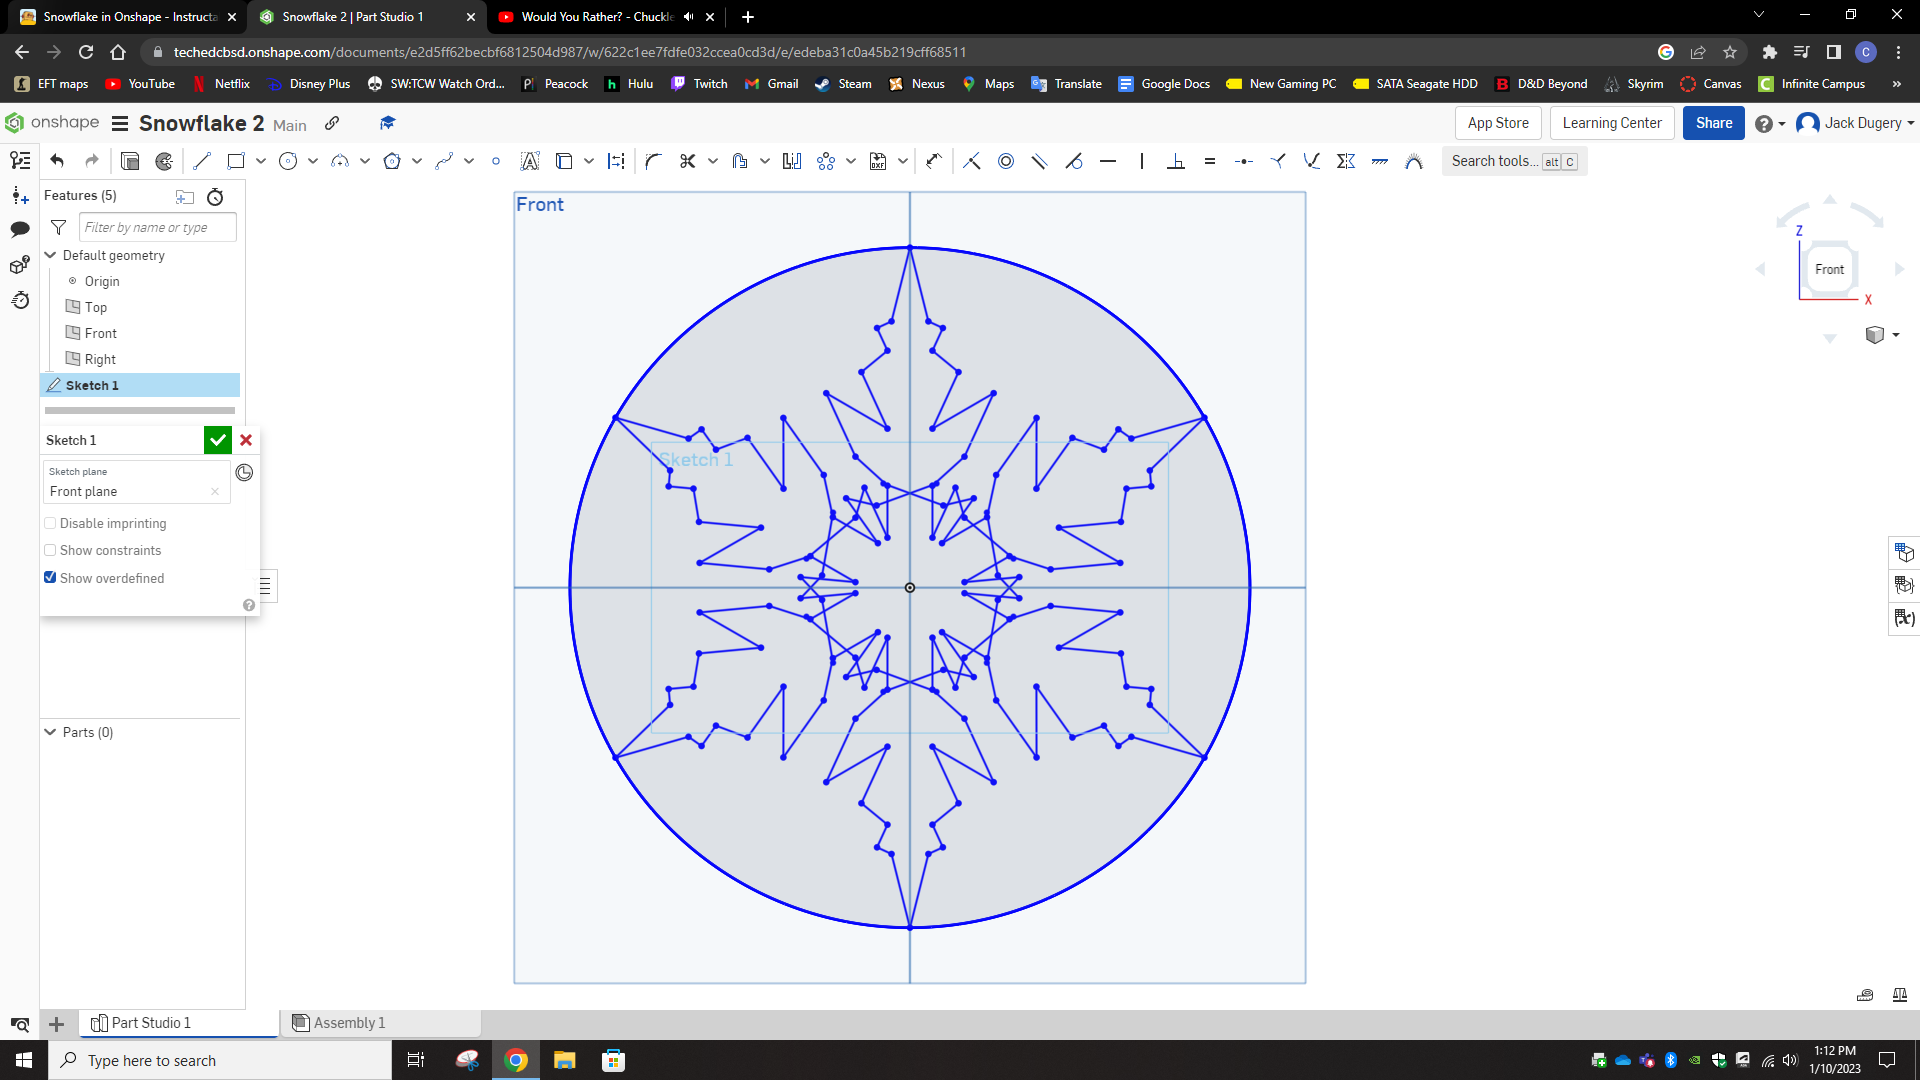
Now erase whatever you want except the outer circle to make your shape look how you want
Final Product
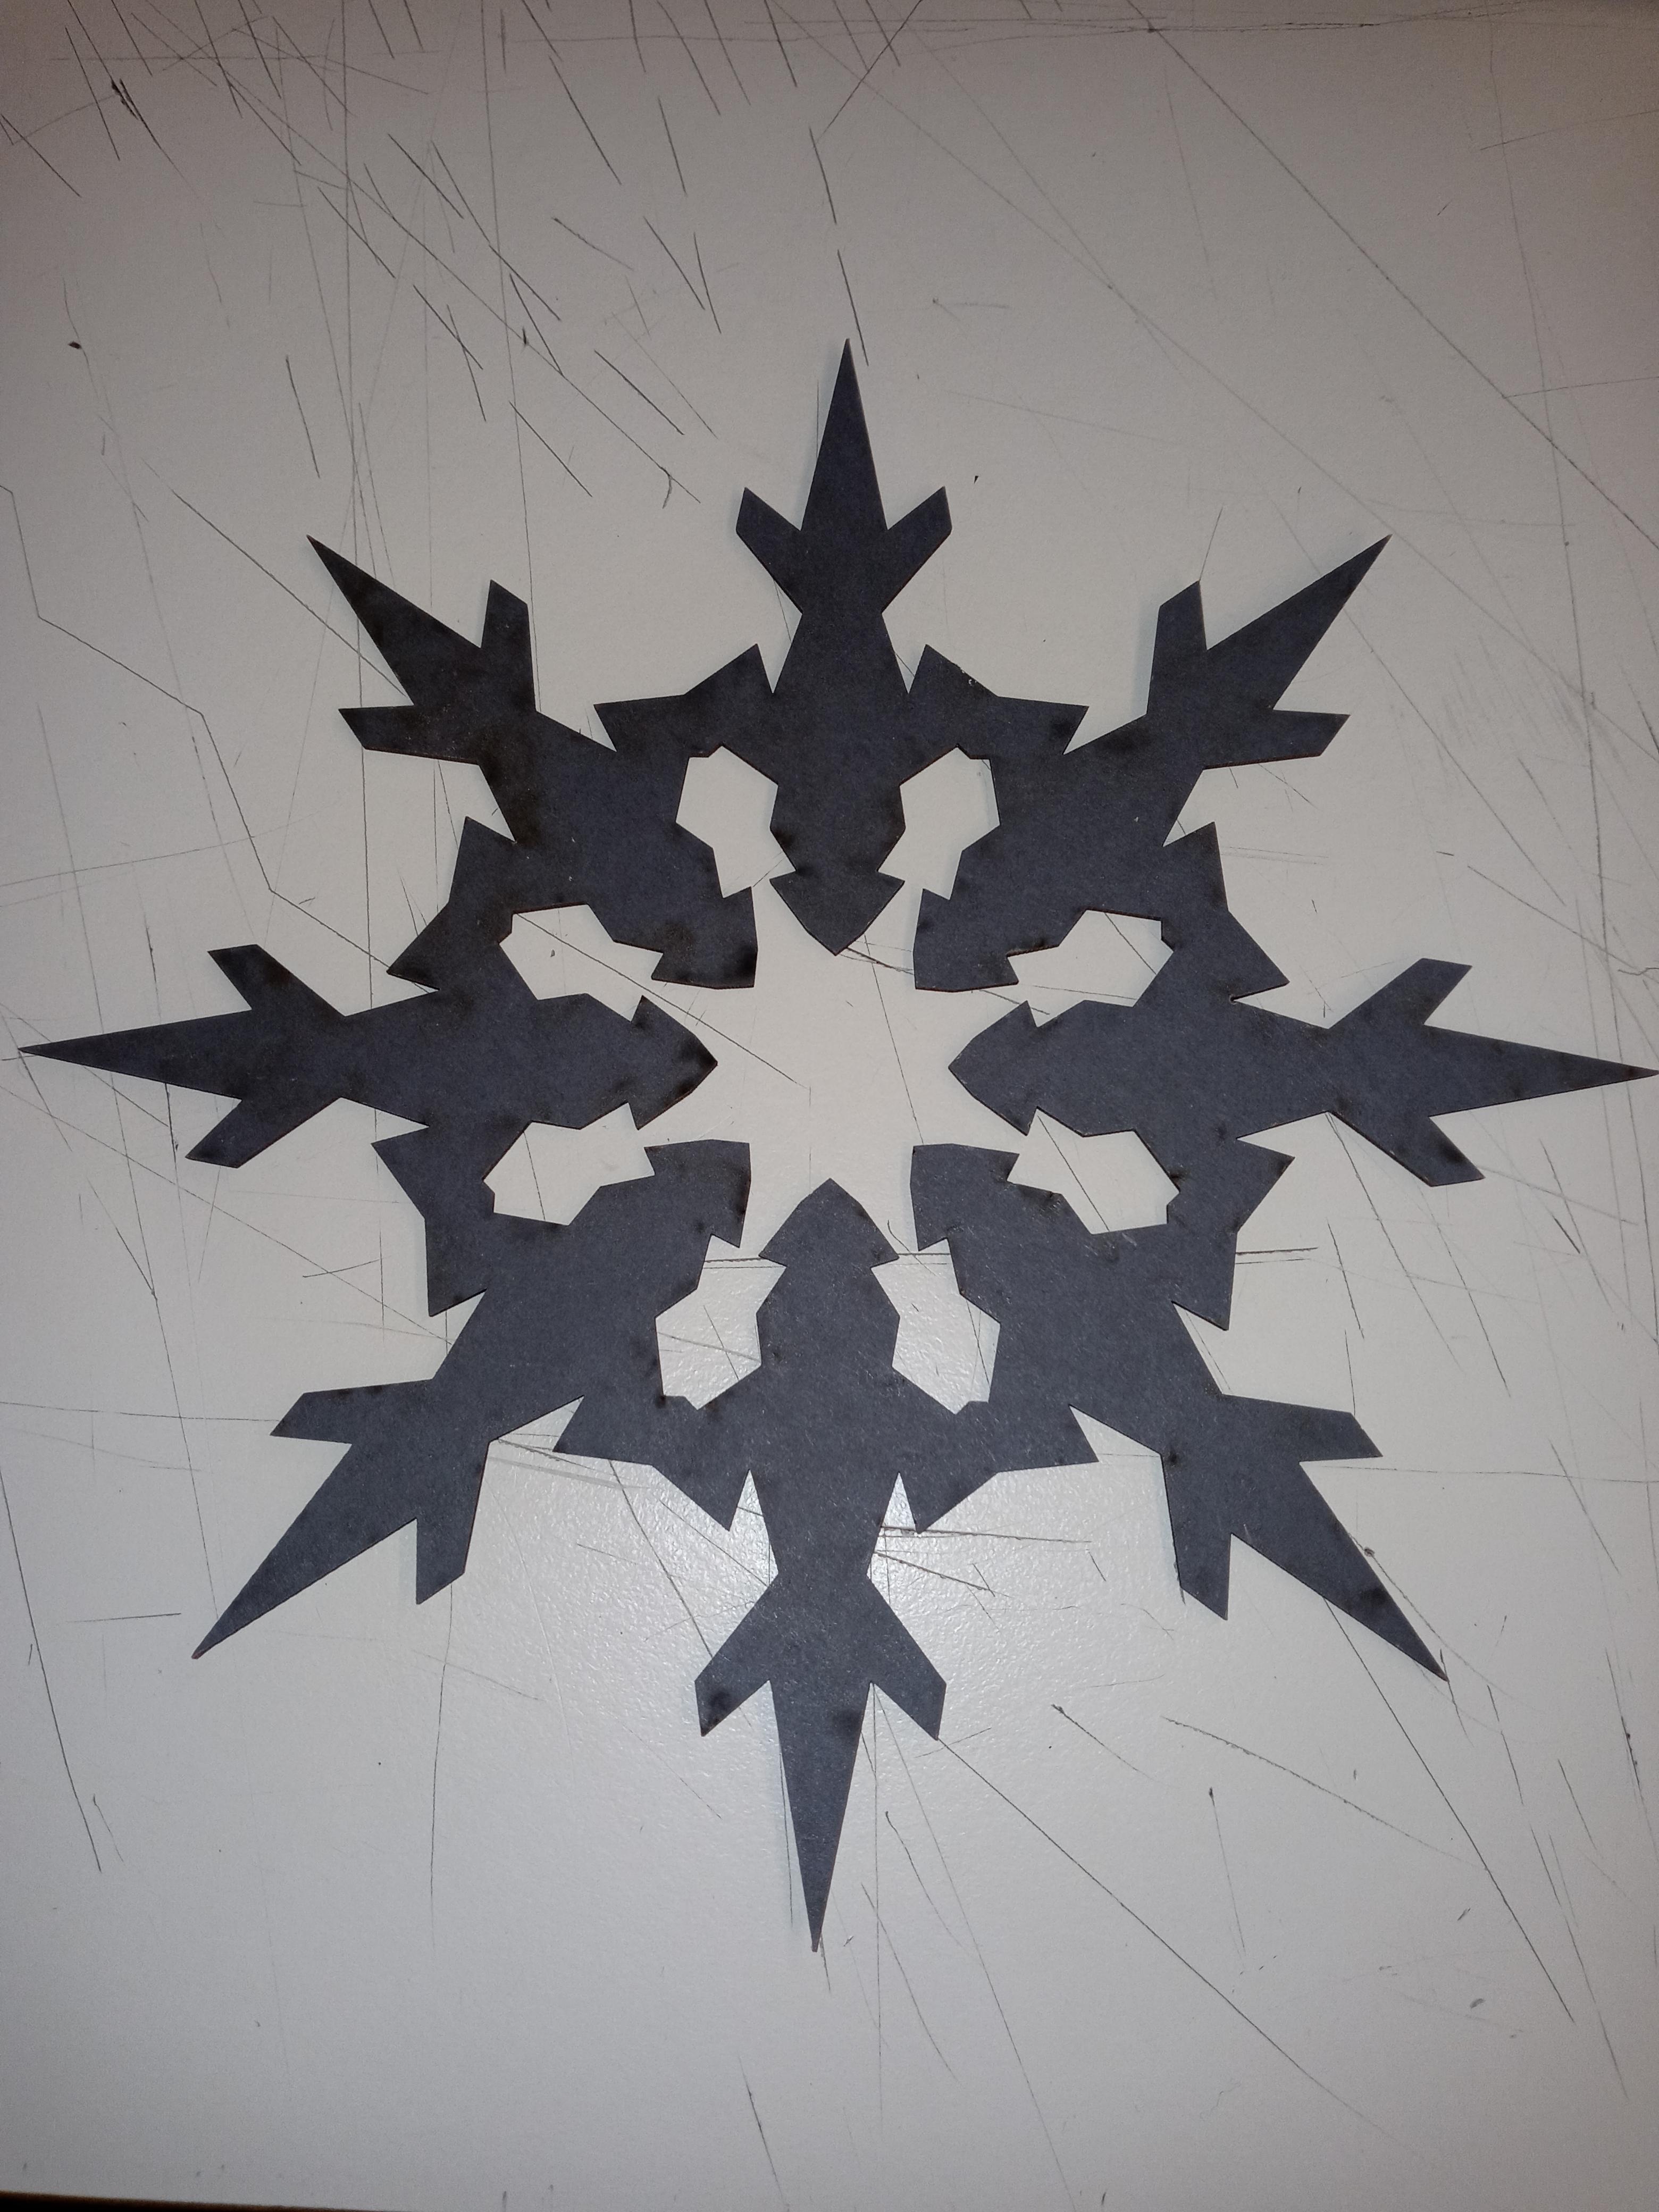
This was from another attempt I made but it is another example of what it can look like as a finished product.