Creating a Snowflake Using Tinkercad
by sarahcath in Workshop > 3D Printing
2210 Views, 15 Favorites, 0 Comments
Creating a Snowflake Using Tinkercad
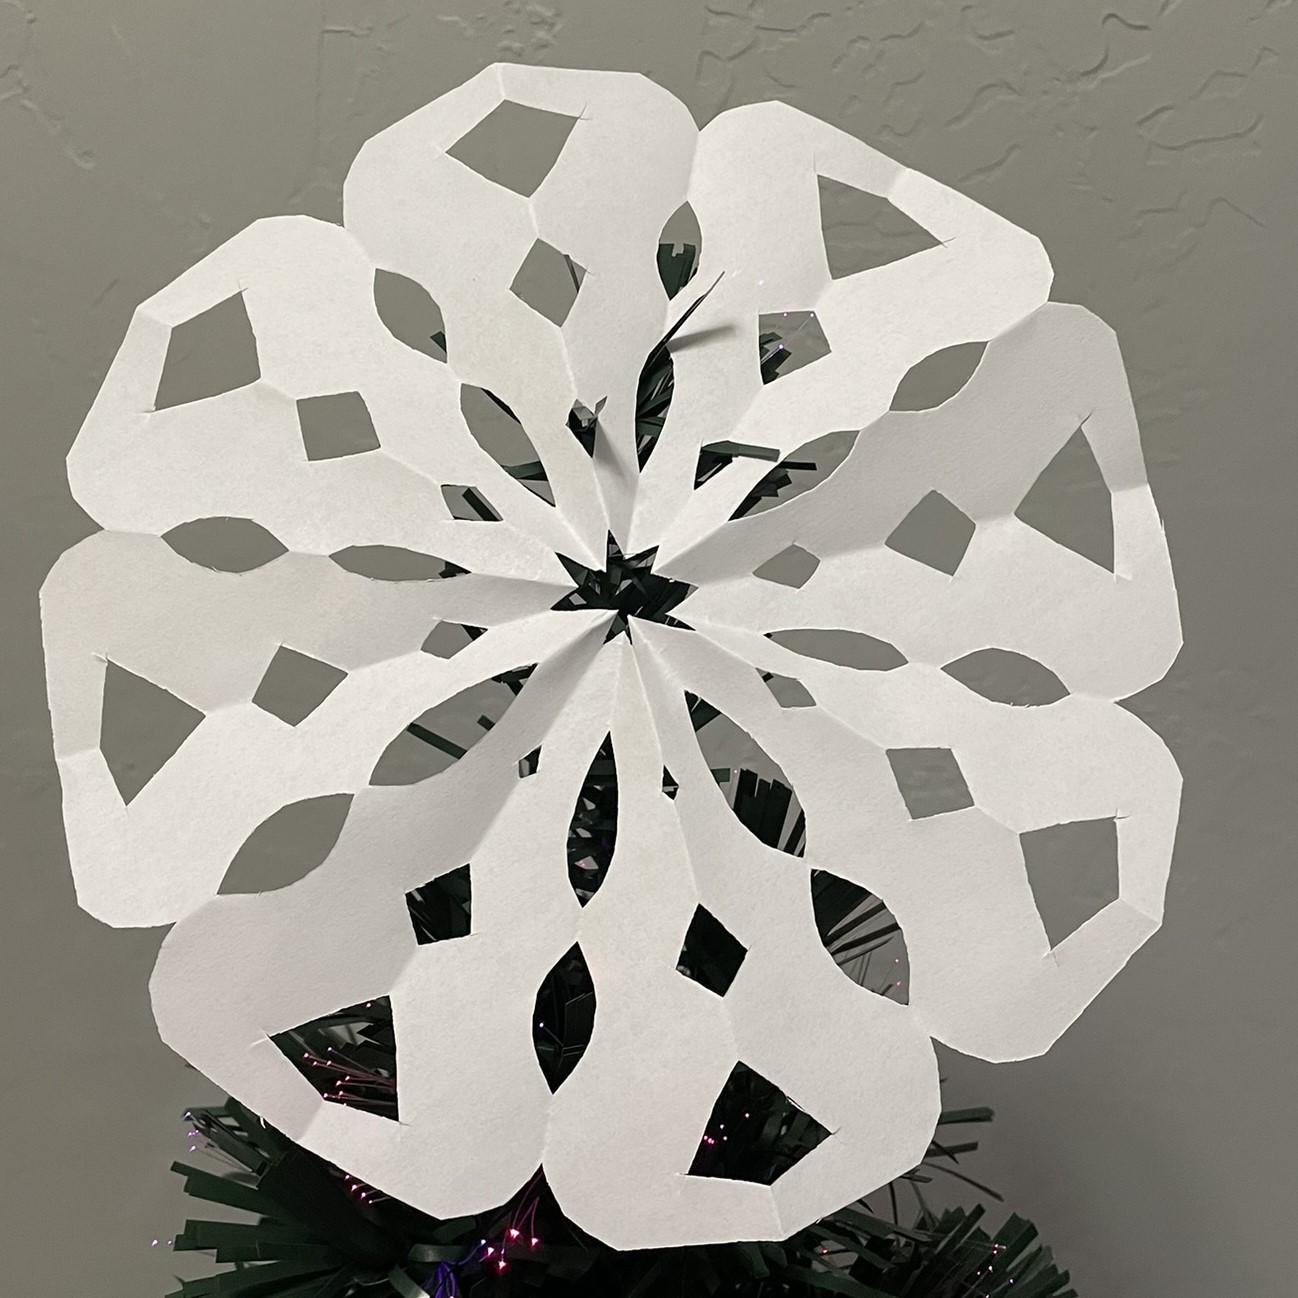

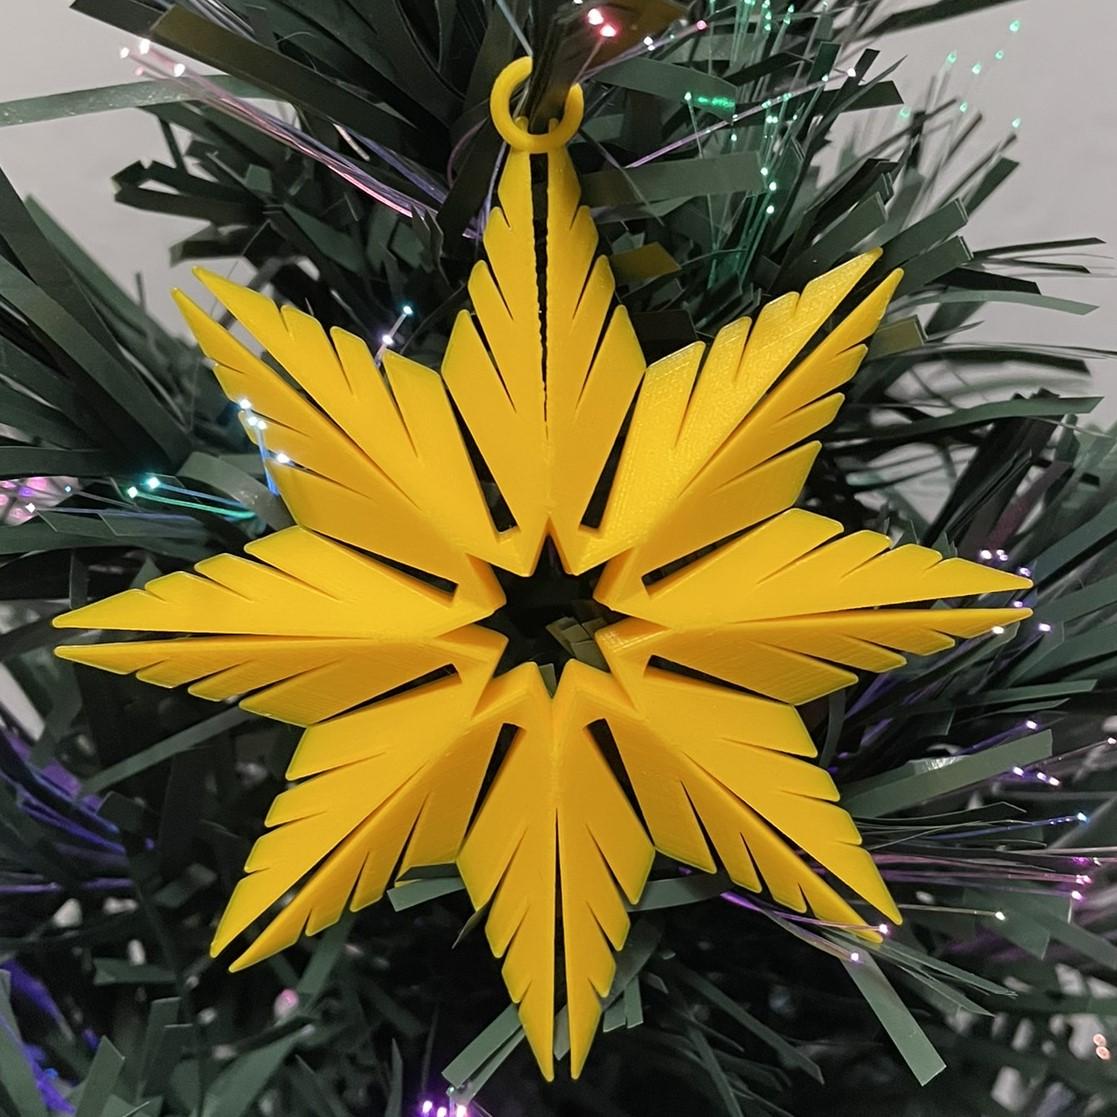
While visiting an office, I noticed that it was decorated with paper snowflakes. Each snowflake was unique because they were all made by hand. I realized that I could recreate the feel of paper snowflakes in Tinkercad by utilizing the Star shape and placing holes in the Star.
There are other great tutorials about creating snowflakes, placing shapes on the workplane or using CodeBlocks. This tutorial focuses only on using the Star shape and using holes of other shapes to create the design.
Supplies

Autodesk Tinkercad: You will need a basic understanding on how to log on and design items using Tinkercad. If you have never created a design in Tinkercad, you should take some of the lessons available in Tinkercad. You should know how to place a shape on the workplane. Turn shapes into holes. Along with duplicating, rotating, changing size and color, and grouping shapes.
Log Onto Tinkercad


- Access Tinkercad
- Click Log In
- If prompted- select the correct account type
- If prompted - enter your username and password.
Create a New Design
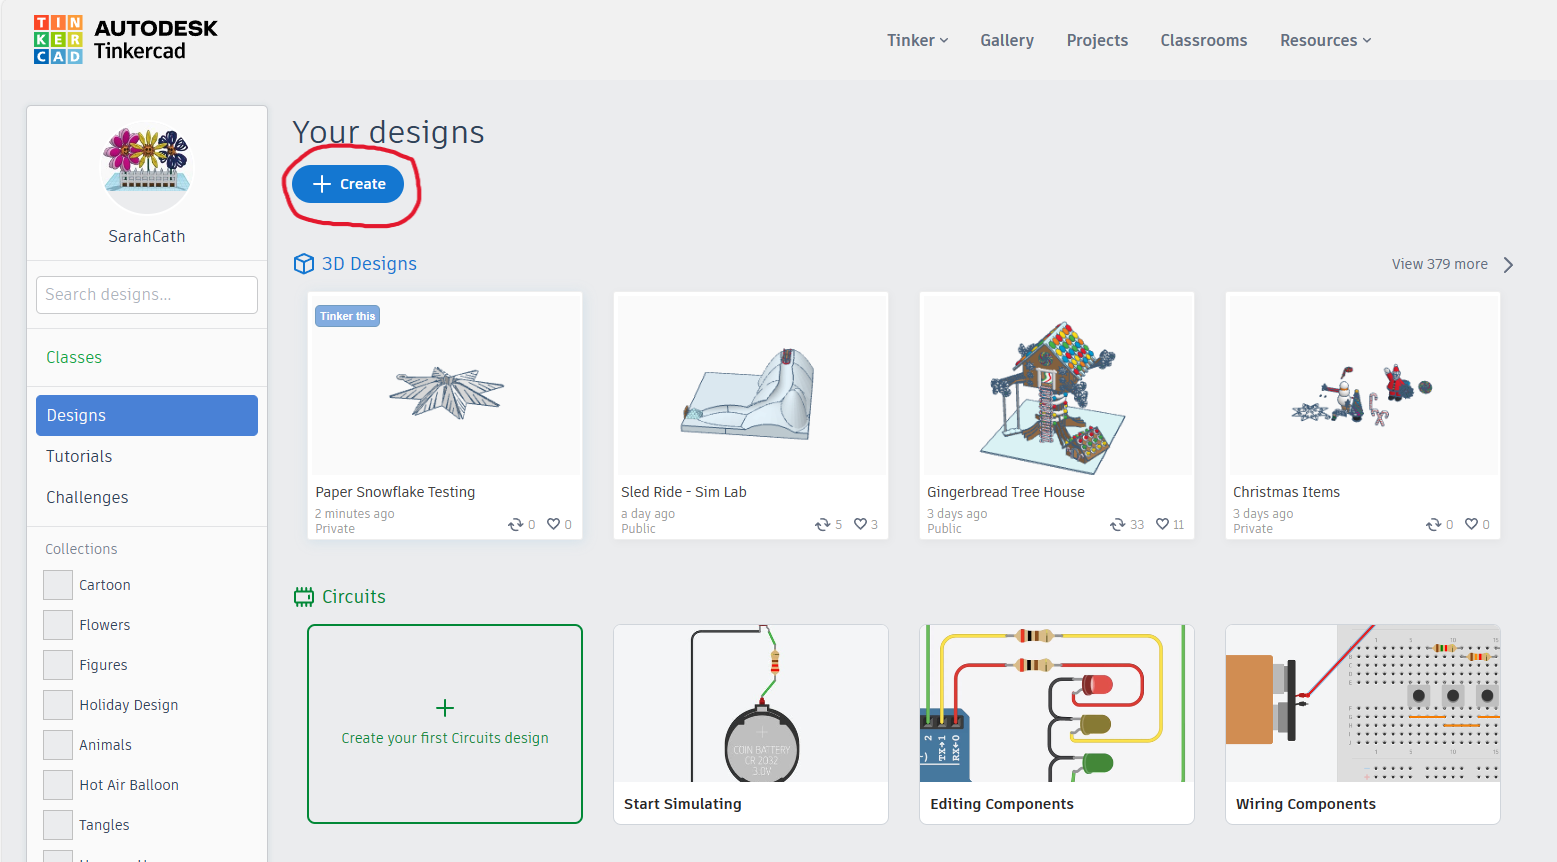
- Select Create
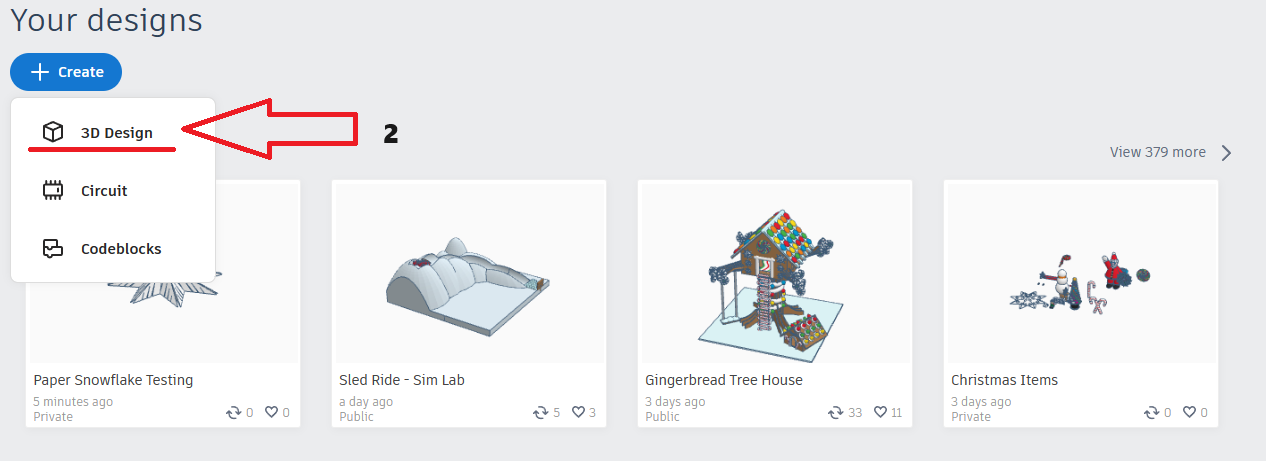
- Click 3D Design.
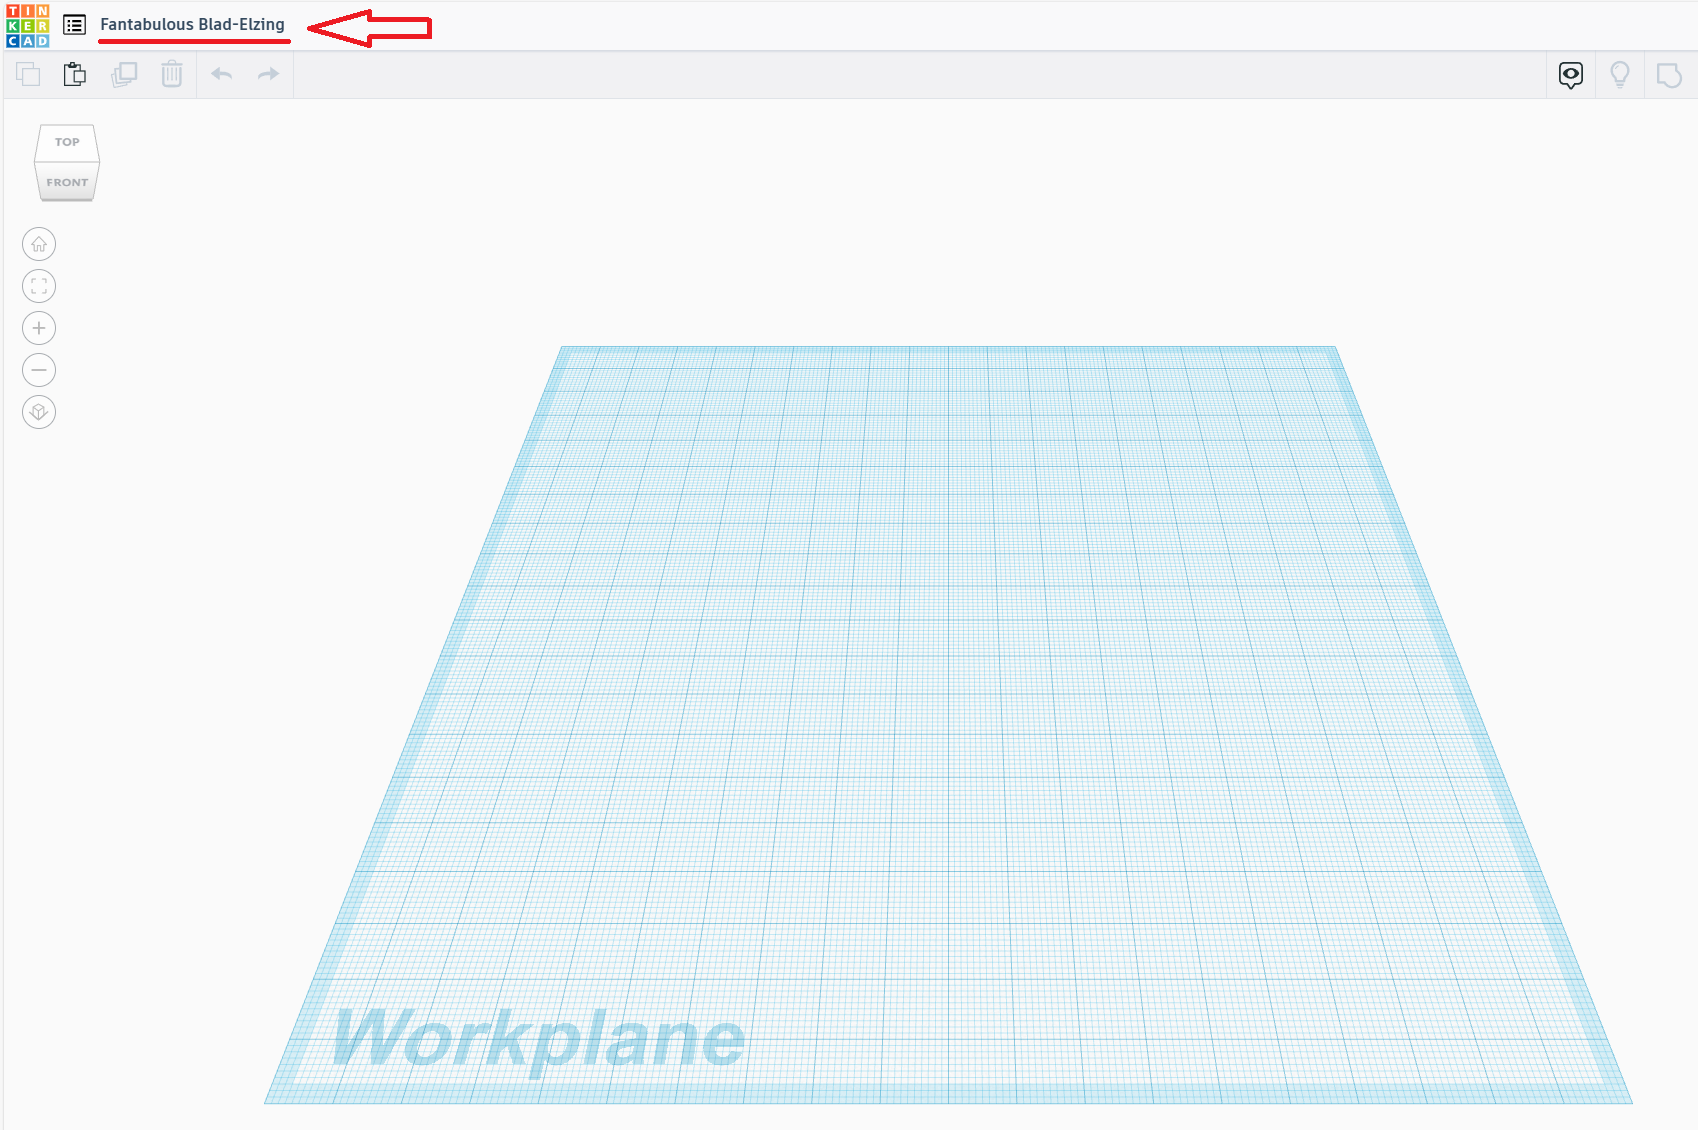
- Rename Design – Instead of taking the default name Tinkercad assigns a design, it is good practice to give your design a name. A design with a descriptive name is more likely to get recognized than a design with a default name. Why? Because sometimes I do not know what I am looking at until I see the name.
- Click the design's name at the top left of the screen and type in "Snowflake".
Create a Star
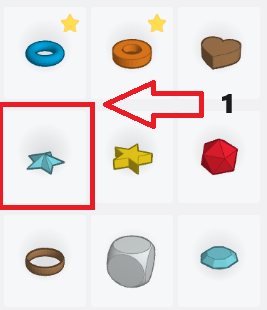
- Select the Blue Star from the Shapes menu and place it on the Workplane.
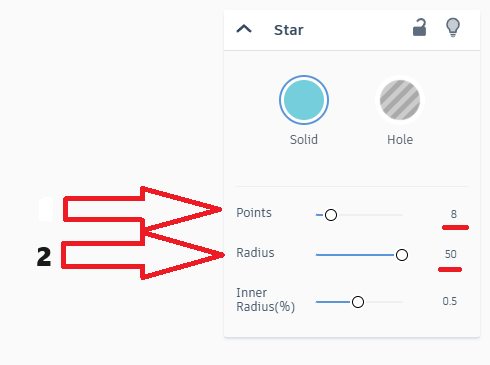
- Adjust the Points and Radius in the Star’s Properties window.
- Points: The default is 5 – with a max of 30. Using an even number of points will make it easier to add holes to the design. For these instructions set the Points to “8”. Note: The rotation degree the outer points are at are 0, 45, 90, and 135. The rotation inter points are at 22.5, 67.5, 112.5, and 157.5.
- Radius: The default radius is 20 which creates a 40mm (or 1.57 inch) Star. For these instructions set the Radius to the maximum value of 50 for a 100 mm (or 3.94 inch) Star.
- Inner Radius (%) leave it at 0.5.
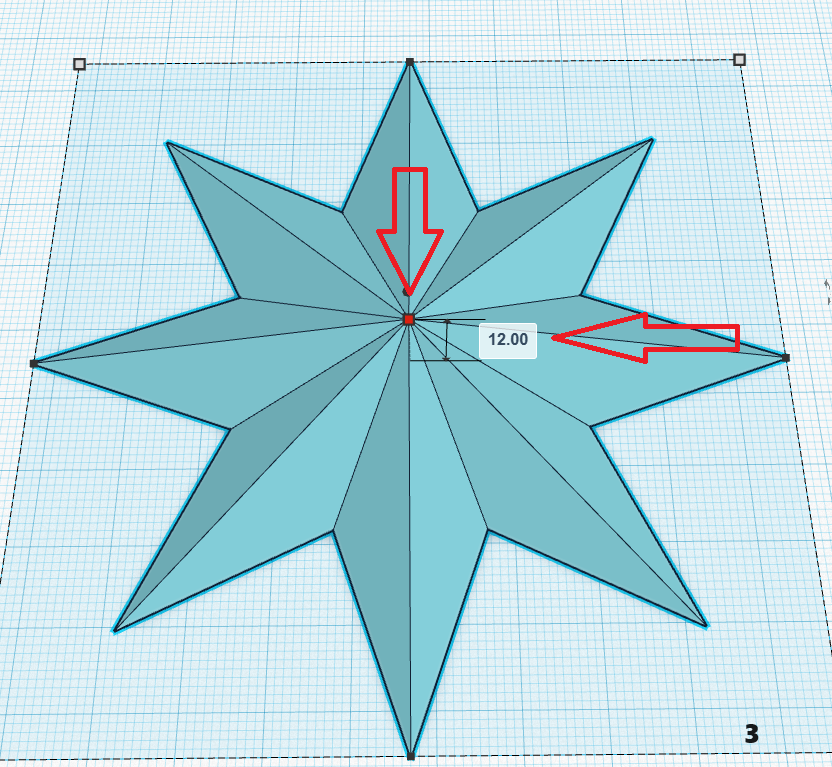
- Change the Height of the Star to 12mm (0.47 inches).
- Click the height box in the center of the Star.
- In the height's dimension box, change 10.00 to 12.00.
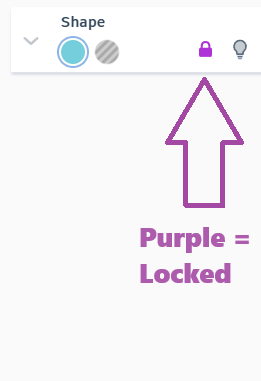
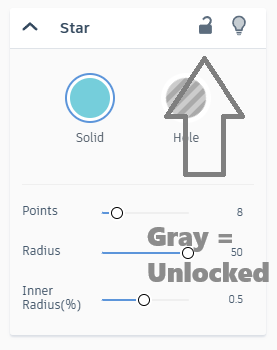
- Lock the Star to its current location by selecting the lock in the Star’s properties window. This will keep the Star from moving while you are working on it.
Creating a Snowflake
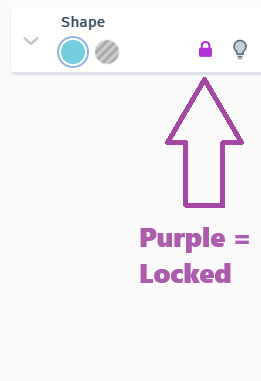
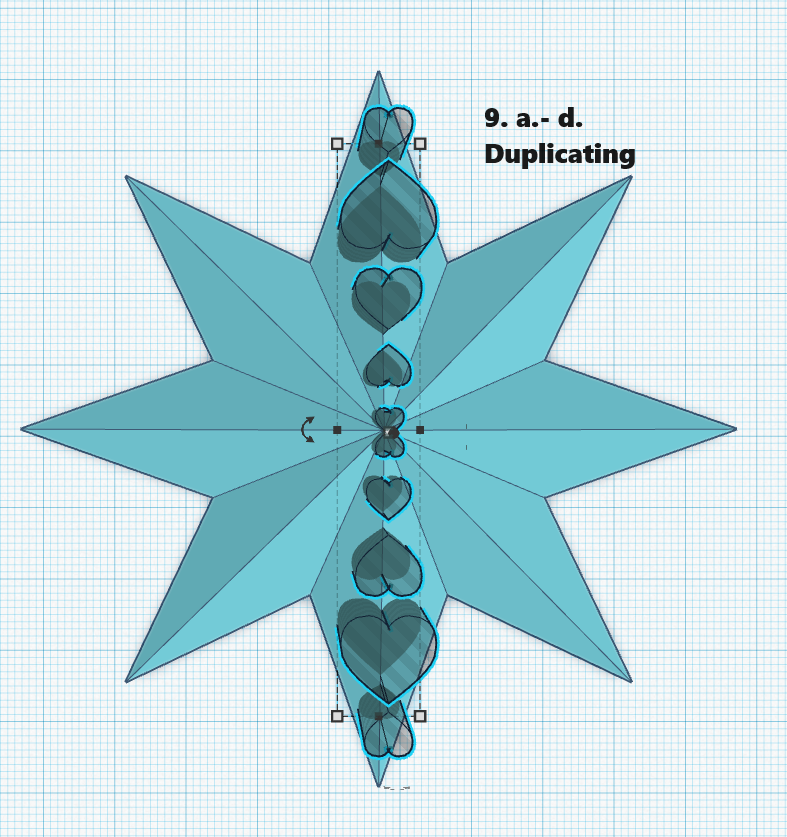
- Make sure the Star shape is locked to its current position.
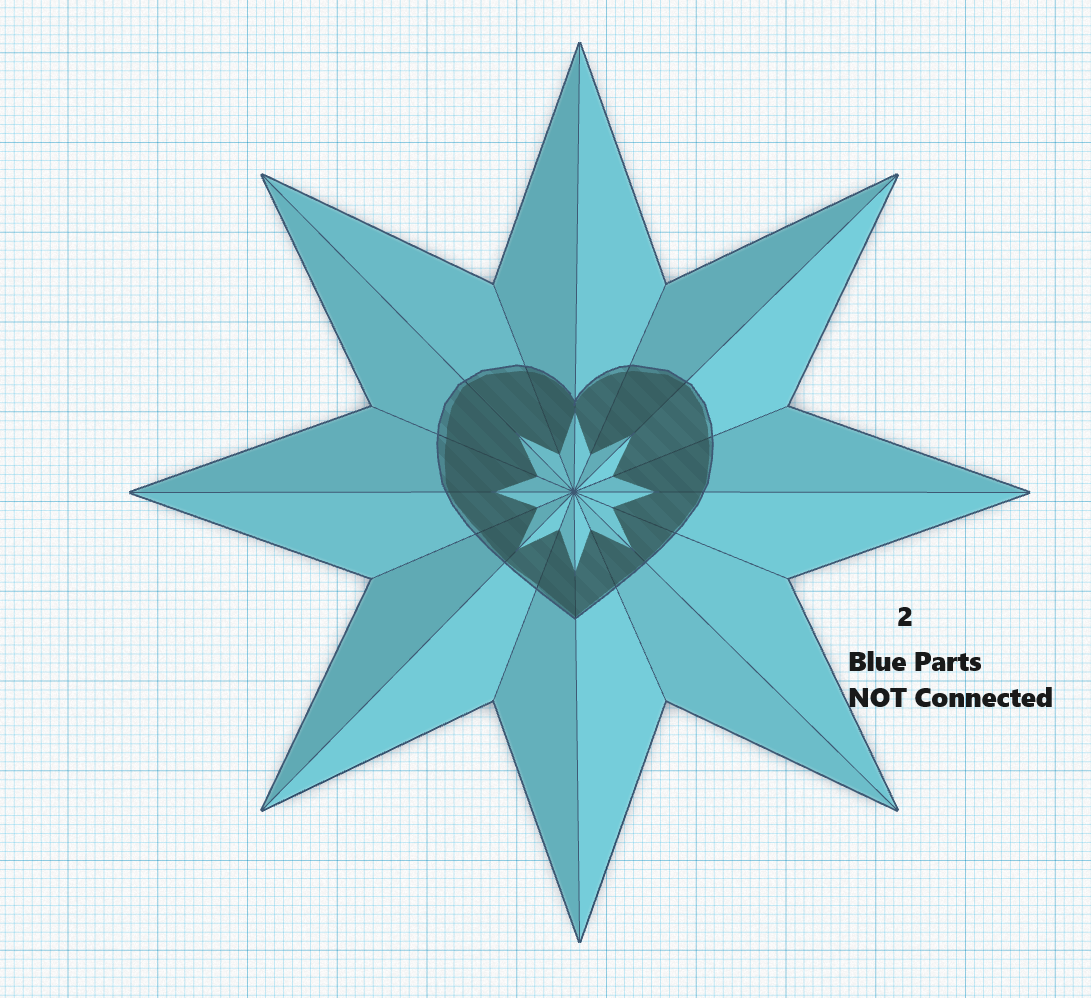
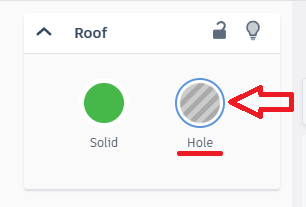
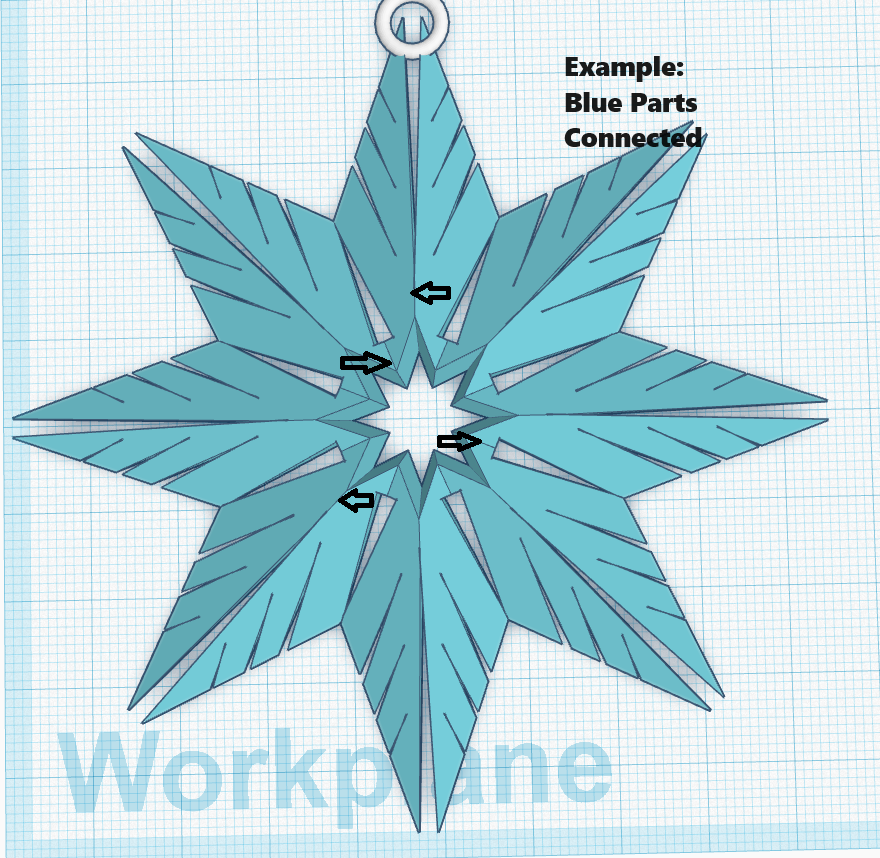
- Place a Heart shape on the workplane. In the Heart shape properties window, select Hole. Drag the Heart shape to the center of Star shape. It looks good, but there is a problem. The is nothing connecting the middle part of the snowflake to the outer part of the snowflake. When printed you will have two pieces; one small star, and one a large star with a heart shapes hole in it. To keep pieces of your snowflake from falling out when printed, all of the blue parts of the Star shape must be connected.
- Change the Heart shape dimensions to: Height 20mm, Length 3 mm, Width 3.27mm
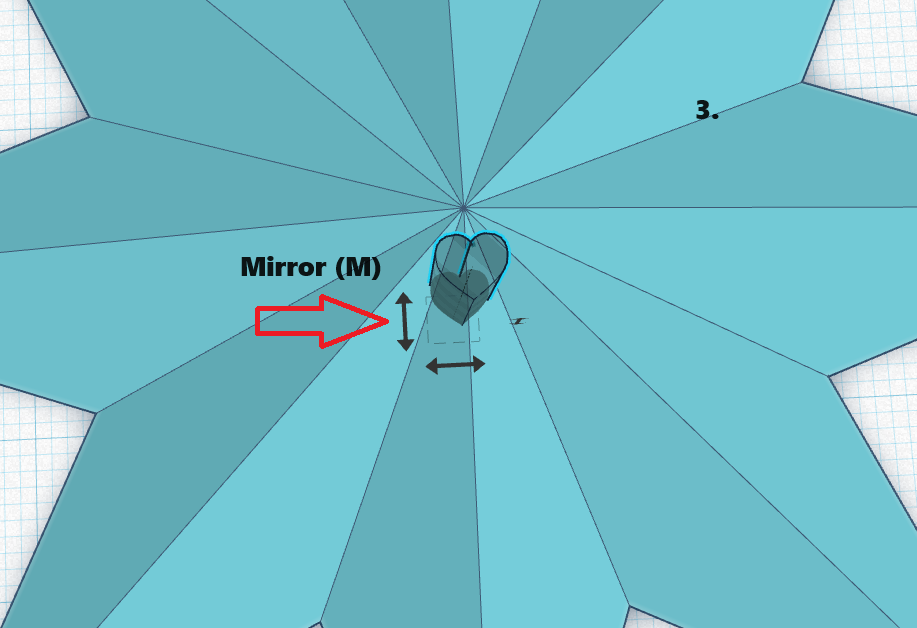
- Use the Mirror (M) function to flip the heart shape horizontally.
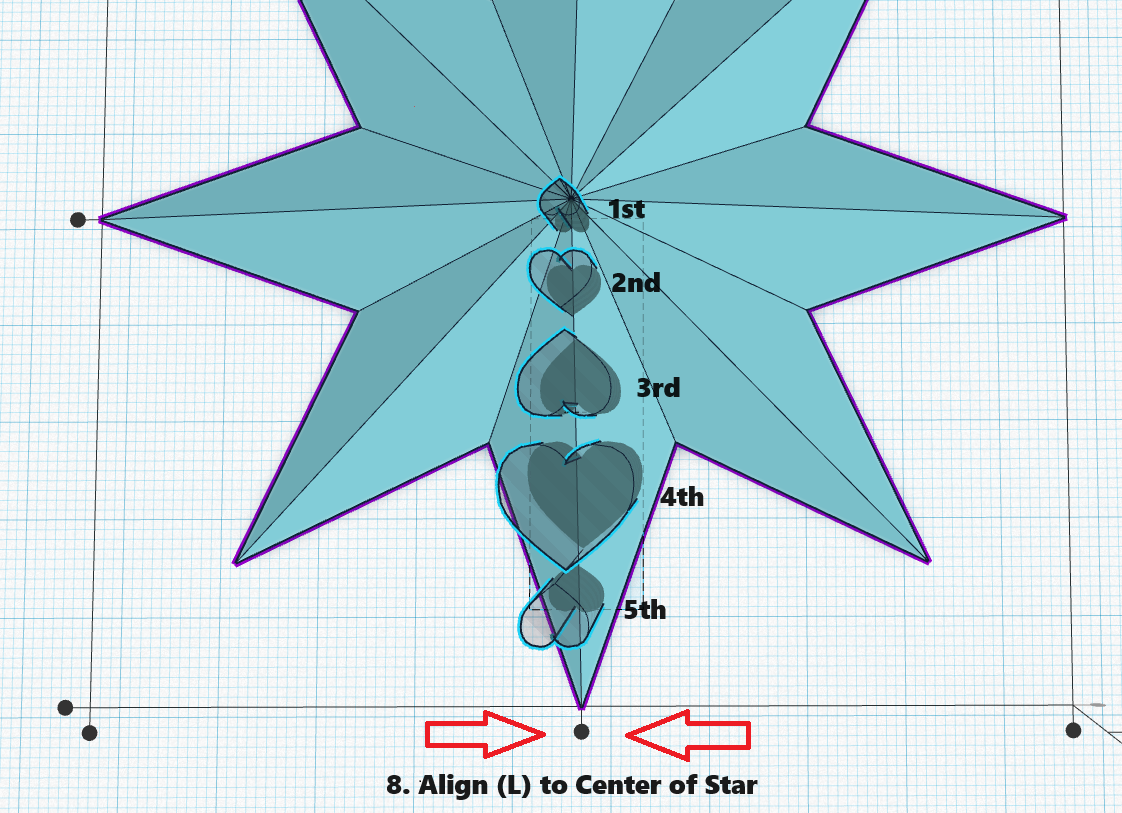
- Use the Align (L) function to center the Heart Shape to the exact middle of the Star.
- Move the Heart Shape 1.5mm down from the center towards the lower point of the Star shape.
- Make a second (2nd) heart shape:
- Select the first heart shape and duplicate the shape by pressing CTRL + D.
- Use the Mirror (M) function to flip the heart shape horizontally.
- Change the Heart shape dimensions to: Height 20mm, Length 4.86mm, Width 5.29mm.
- Move the Heart Shape down 6mm.
- Make a third (3rd) heart shape:
- Make sure the second heart shape is selected and duplicate the shape by pressing CTRL + D.
- Change the Heart shape dimensions to: Height 20mm, Length 7.34mm, Width 8mm.
- Move the Heart Shape down 20mm.
- Make a fourth (4th) heart shape:
- Make sure the third heart shape is selected and duplicate the shape by pressing CTRL + D.
- Change the Heart shape dimensions to: Height 20mm, Length 10.67mm, Width 11.62mm.
- Move the Heart Shape down 24mm.
- Make a fifth (5th) heart shape:
- Make sure the fourth heart shape is selected and duplicate the shape by pressing CTRL + D.
- Change the Heart shape dimensions to: Height 20mm, Length 5.25mm, Width 5.72mm.
- Move the Heart Shape down 30mm.
- If the heart shapes did not move to the correct positions, adjust the heart shapes on the lower point of the Star shape until you like the look of it.
- Align all the heart hole shapes:
- Select all the heart hole shapes by either dragging the mouse over the shapes or holding down the Shift key while clicking on s, each hole and selecting the star shape.
- Use the Align (L) function, and click on the bottom center align button, to center the holes on the Star.
- Duplicating the Heart hole shapes.
- Make sure all the Heart hole shapes are selected.
- Press CTRL + D to duplicate the holes.
- Use the Mirror (M) function to swap the holes horizontally.
- Move the duplicated holes up, towards the upper point 40mm
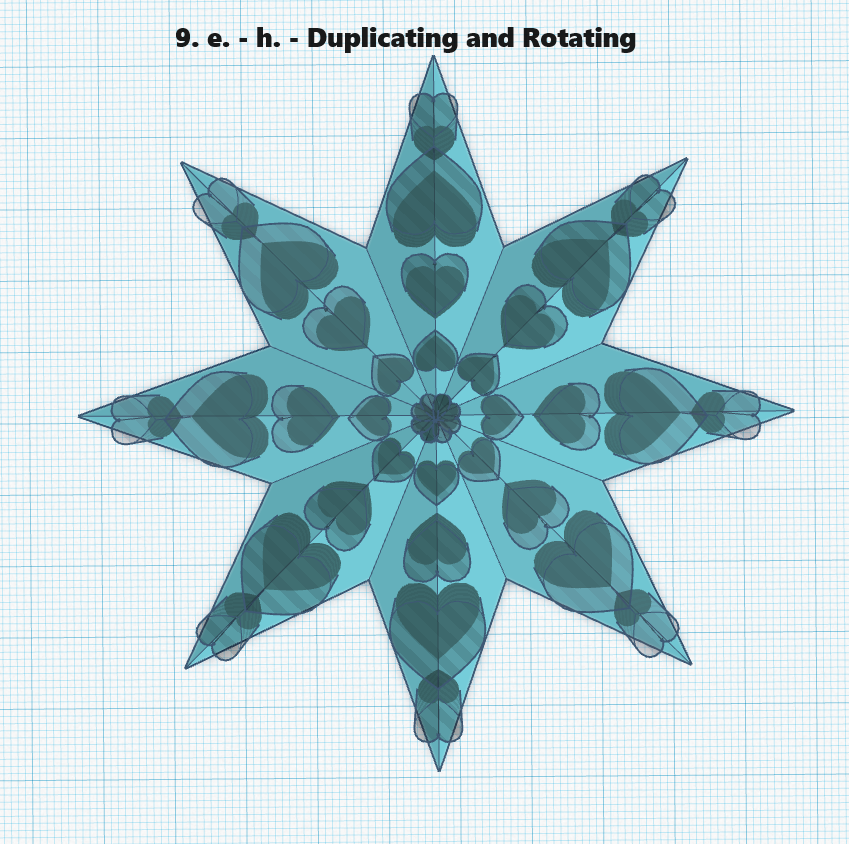
- Select all the heart hole shapes by either dragging the mouse over the shapes or hold down the Shift key while clicking on each hole.
- Press CTRL + D to duplicate the holes.
- Rotate the duplicated holes 45 degrees.
- Press CTRL + D two more times to place heart holes on all the points.
Tips:
- Work on one point of the Star. After that point looks good, you can duplicate the holes to other points.
- To work on the inner point, rotating the Star by 22.5 degrees will make it easier to move and align the shapes.
Finishing the Snowflake
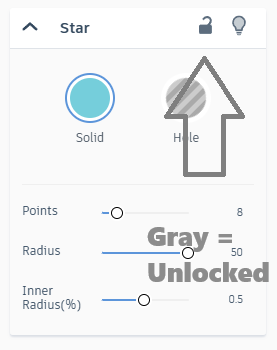
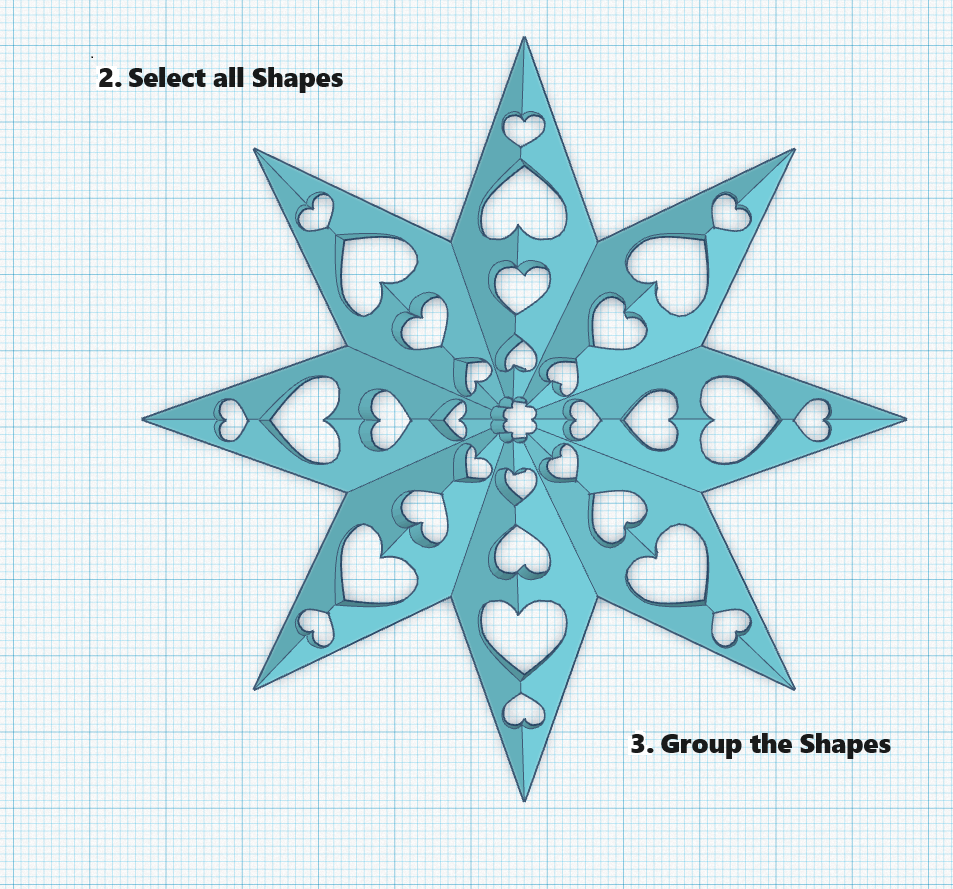
- Unlock the Star shape by clicking on the star, then clicking the lock in the Star’s property window.
- Select the Star shape and of all the heart hole shapes. The easiest way is by dragging the mouse over all the shapes. Alternatively, you can hold down the Shift key while clicking each of the shapes.
- Group the shapes by clicking the Group icon, or pressing CTRL+G. We have a snowflake! We need a way to hang the snowflake.
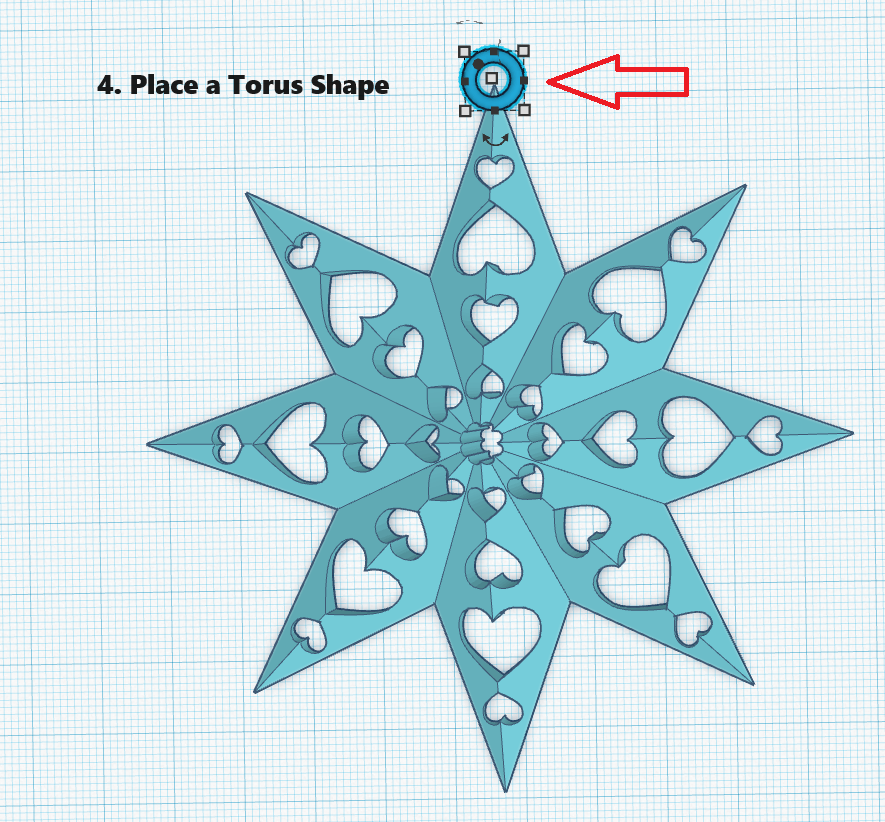
- Place a Torus shape on the workplane, and change the dimensions in its properties window to:
- Radius: 3.4
- Tube: 0.8
- Sides: 24
- Steps: 24
- Place the Torus on the top point of the snowflake (making sure it overlaps part of the snowflake) and center it by using the Aligned (L) function.
Note: You can change the color snowflake and torus to White.
Preparing the Snowflake for Printing
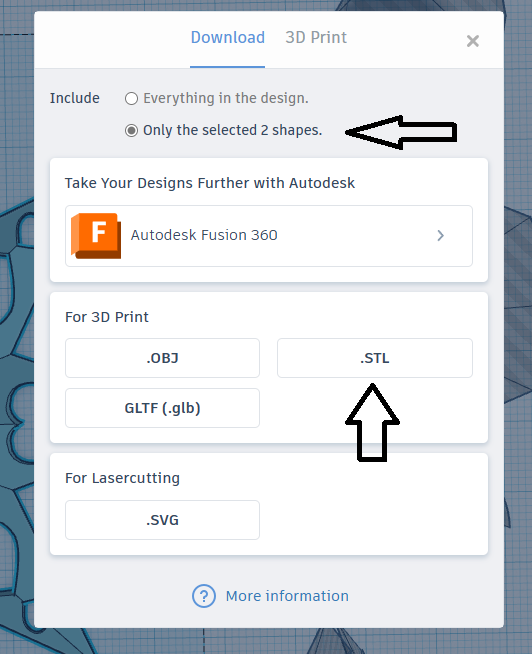
- Select the Snowflake and Torus
- Click on Export at the top right of the screen. The Export window will be displayed.
- Make sure the “Only the selected 2 shapes.” Is selected and click on .STL
- Save the file to the computer. Remember the file name and the location where it is saved.
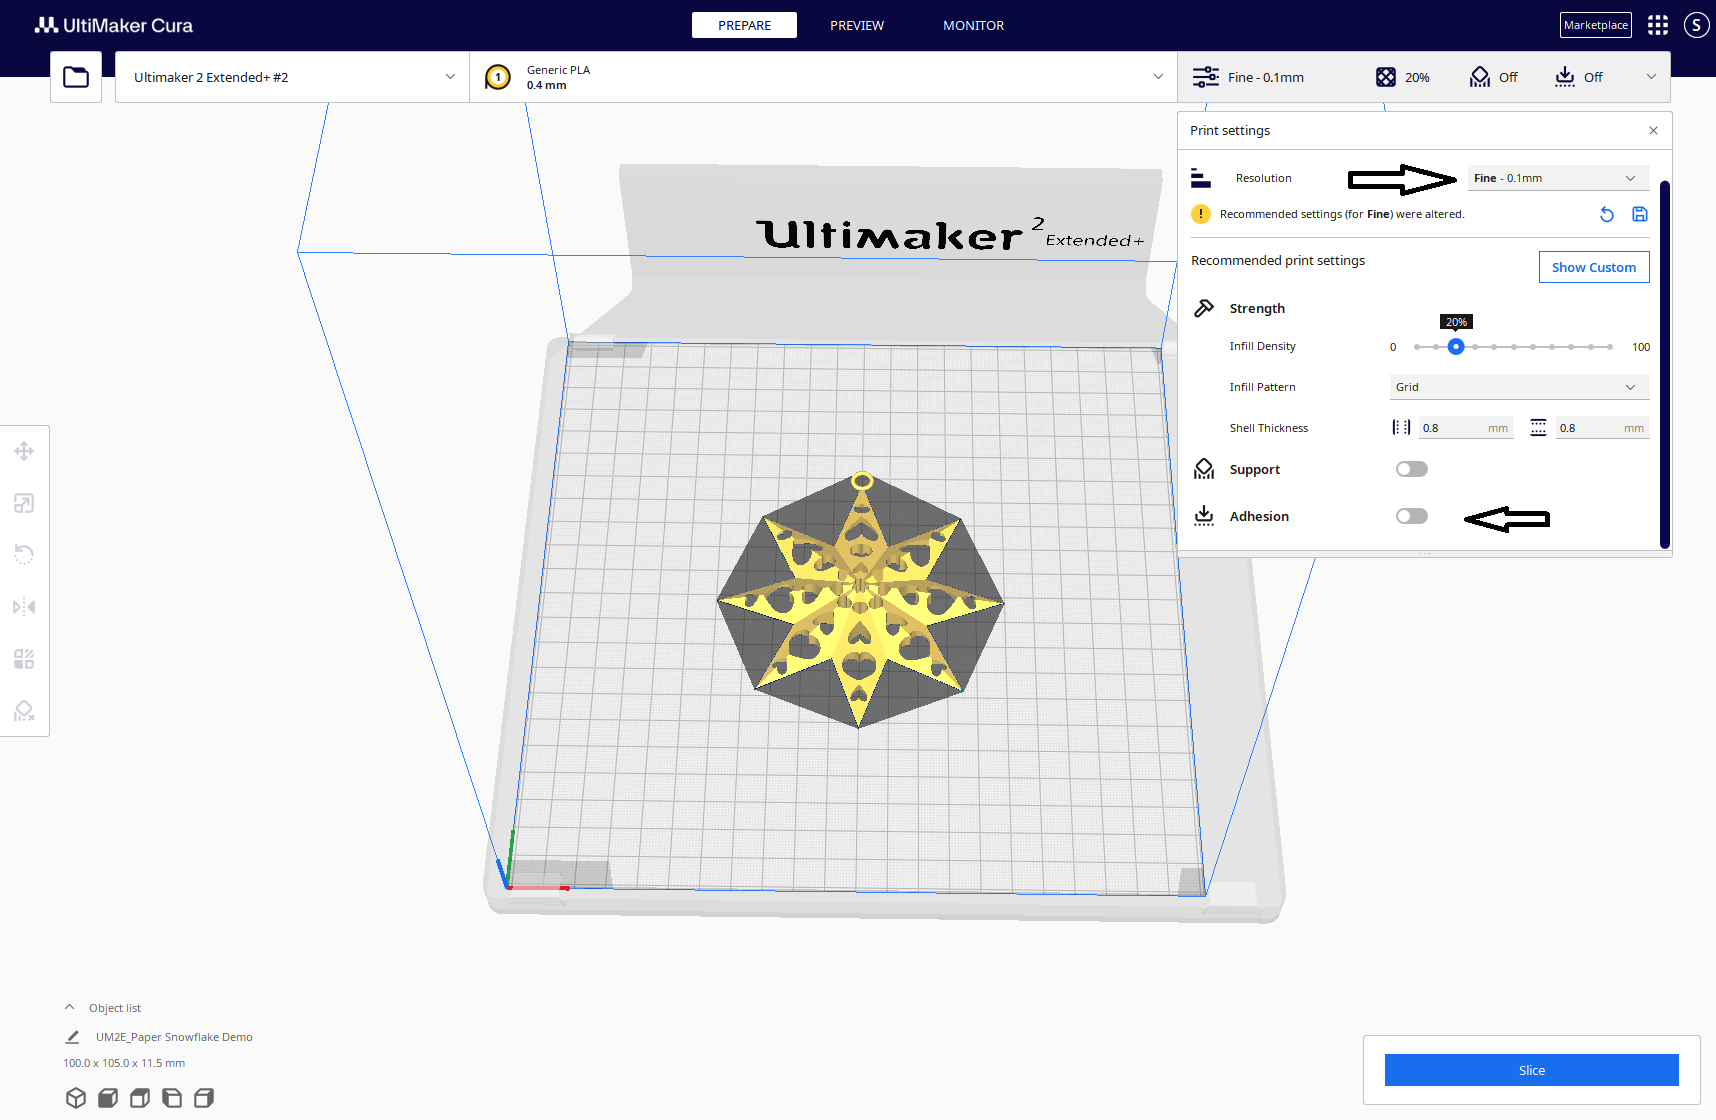
To 3D print a file, I must convert the .STL file to the GCode file that my printer needs. To make this conversion I use UltiMaker Cura. Most of the time, I use the default. But, for the Snowflake I set the Resolution to Fine – 0.1mm and turned off the Adhesion because the print is flat on the print bed.
The Final Results
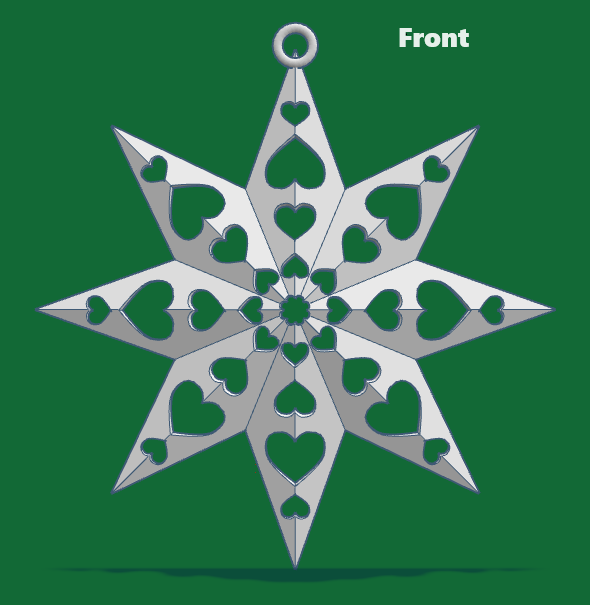
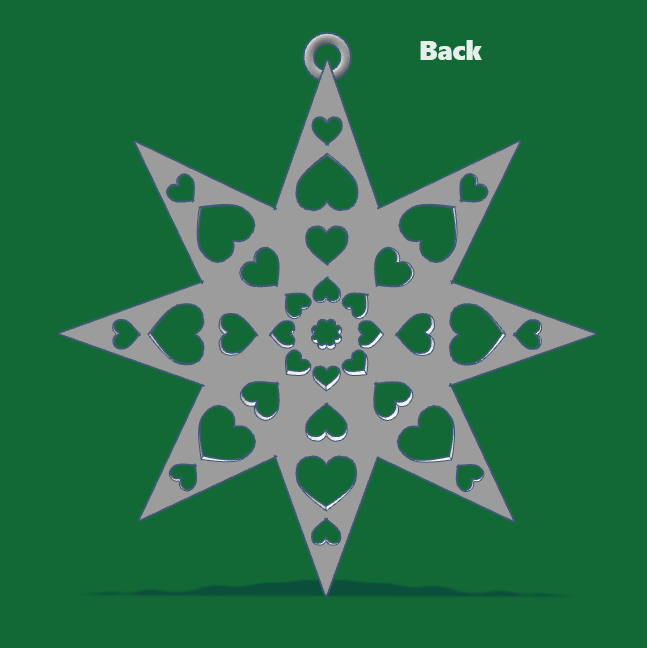
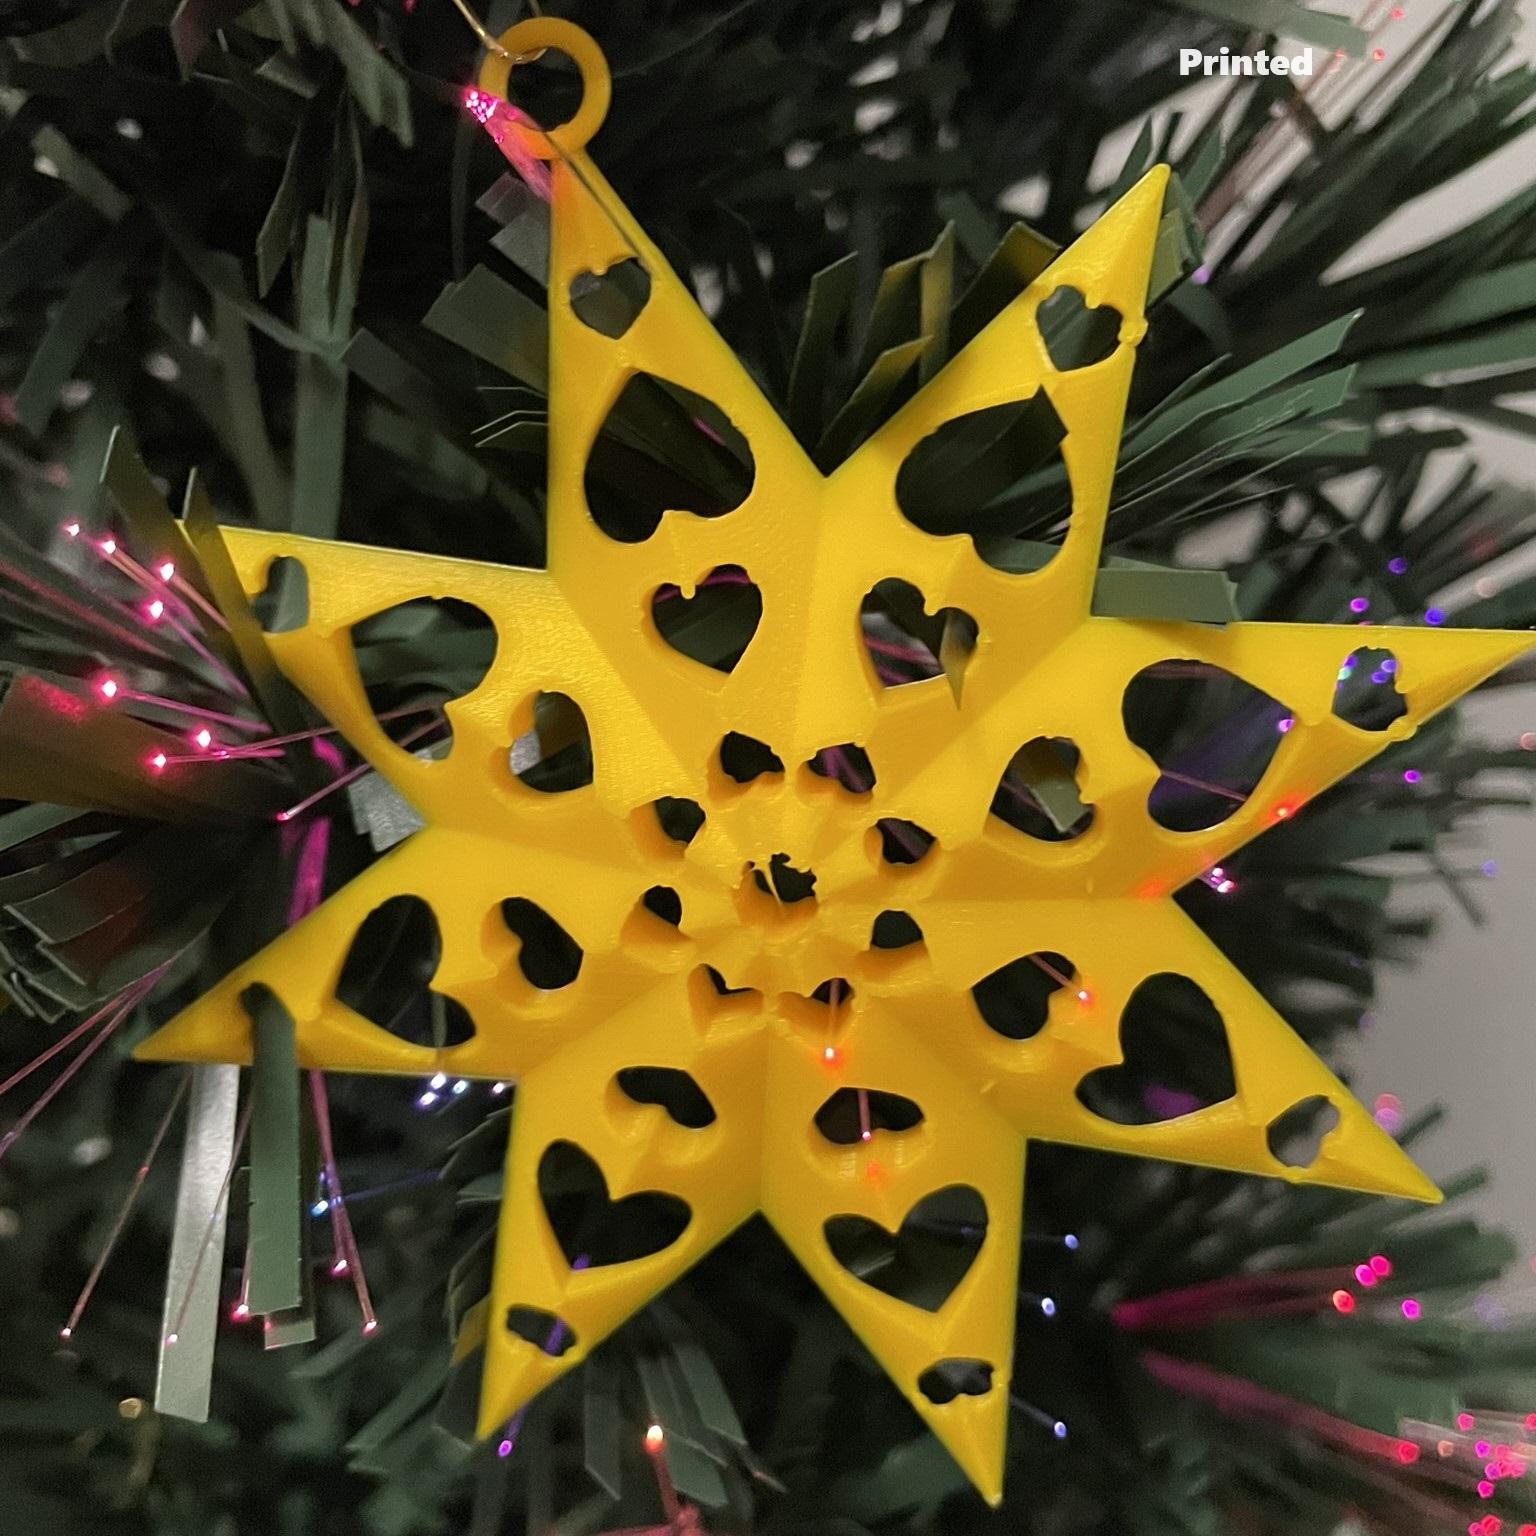
The back of the snowflake is just a pretty as the front of the snowflake. The printed version took about 3 hours to print.
What Not to Do
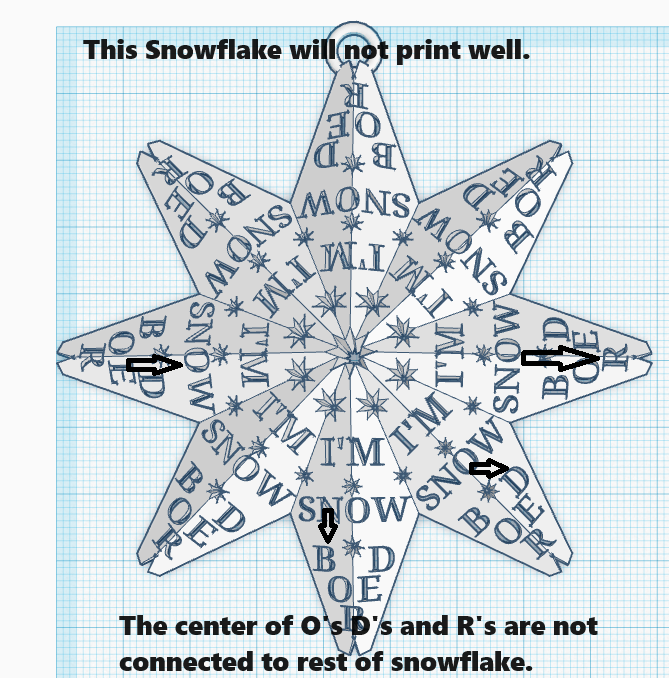
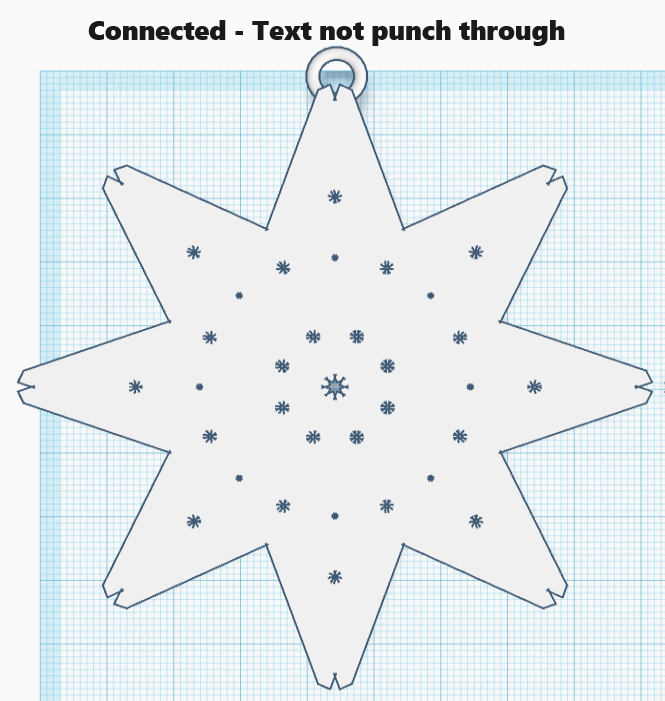
The blue area of the Star must be connected to other areas of the Star, or the Snowflake will print in pieces, or you will have holes where you did not want a hole. See the Snowflake with the Text. When printed, the centers of the D's, O's, B's, and R's will fall out of the snowflake, and it will have large holes.
To prevent this from happening, make sure snowflake is connected (one hole does not touch another hole). For this text example, do not place the holes all the way through the snowflake. Raise the text at least 1mm off the workplane.
Copy and Deconstruct
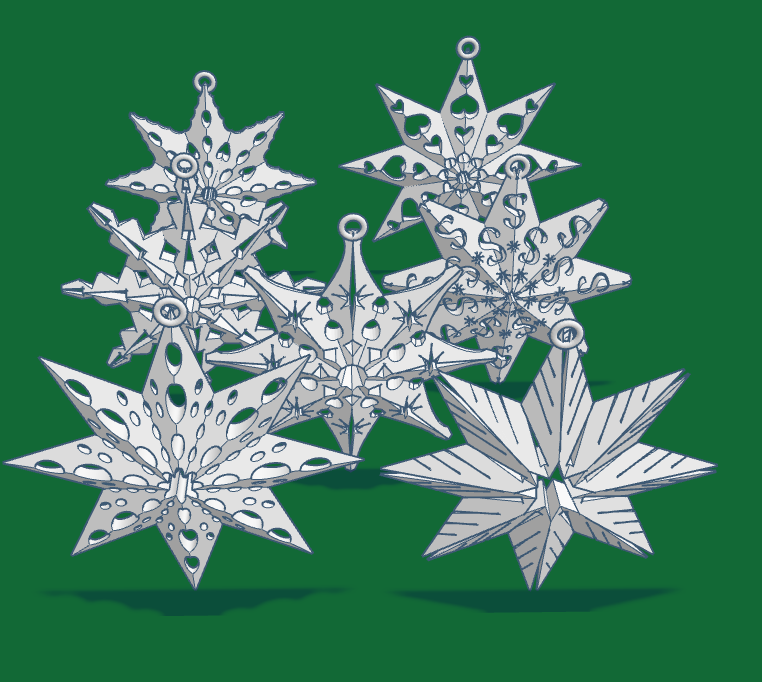
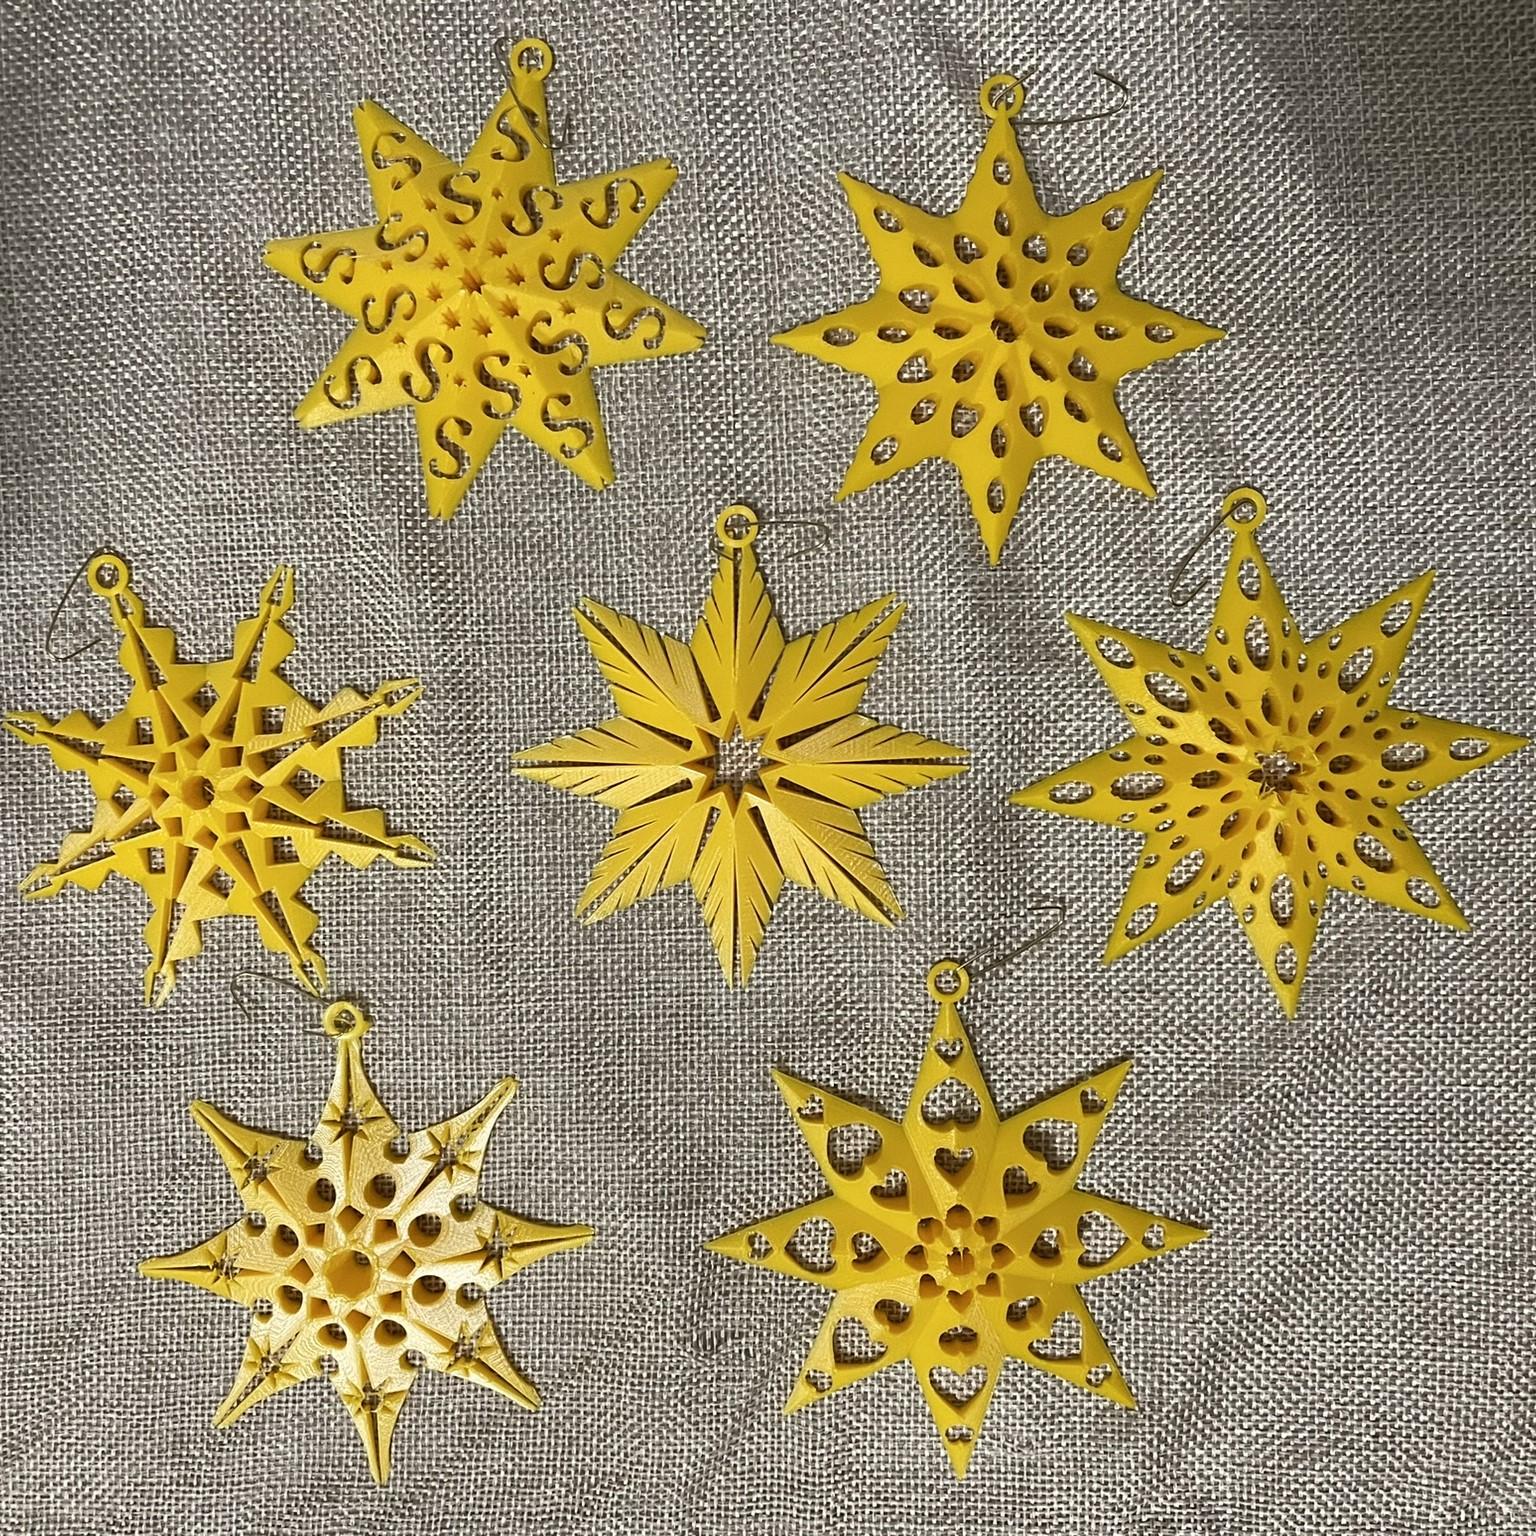
I made seven (7) snowflakes each using different shapes. They are available to copy at Snowflakes. I encourage you to deconstruct these snowflakes to see how they were made and create your own snowflakes.
If you would like to just print the snowflakes, the .STL files are available on Thingiverse.