Creating a Snapchat Geofilter Using Photoshop
by bradenbisping in Craft > Digital Graphics
8188 Views, 2 Favorites, 0 Comments
Creating a Snapchat Geofilter Using Photoshop
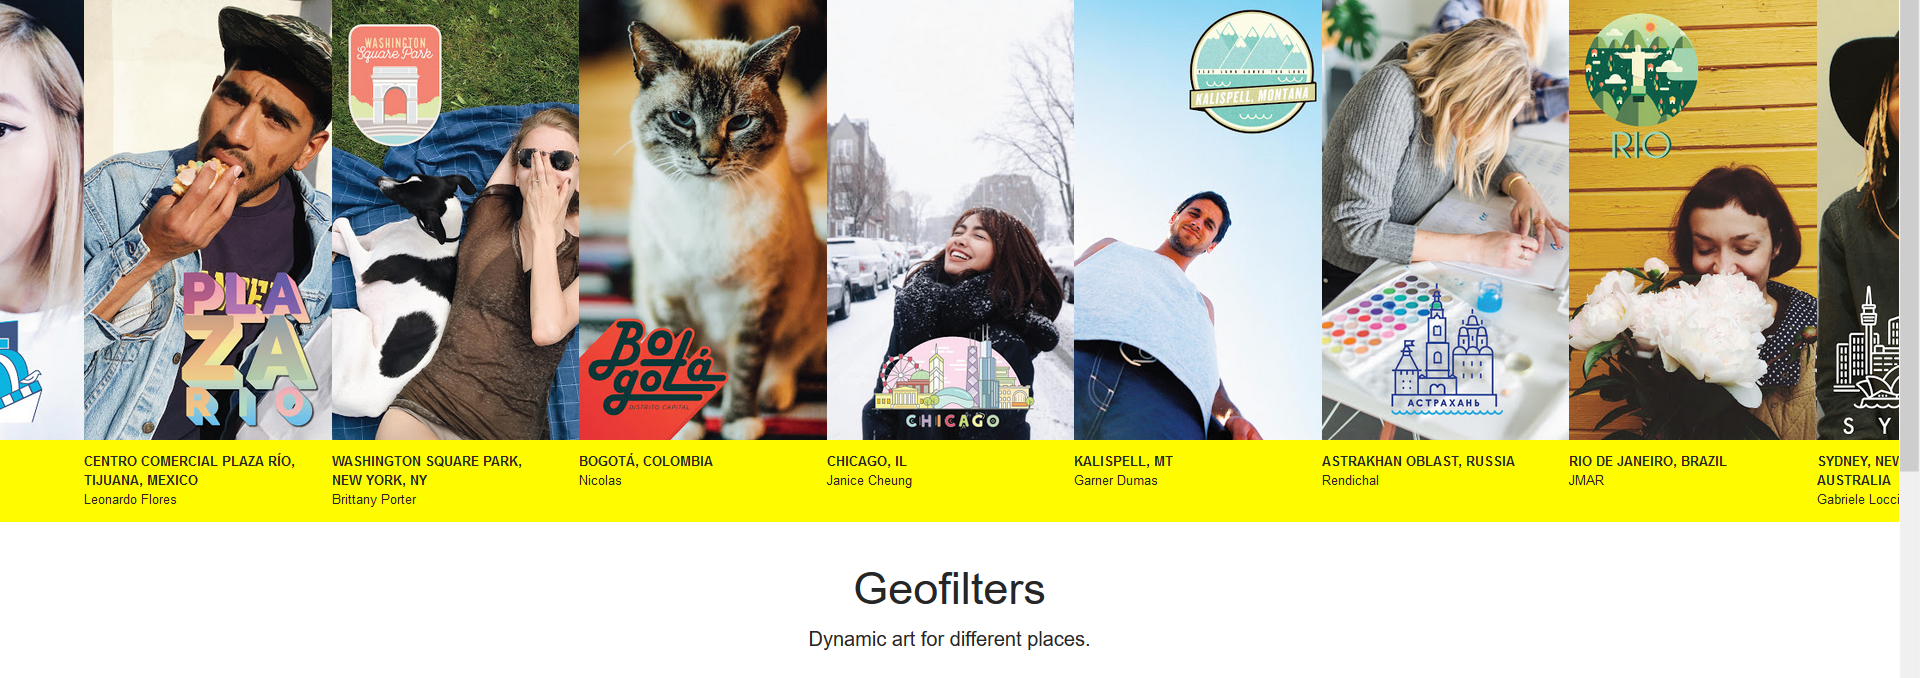
Adobe Photoshop is the most widely-used, and arguably the best form of photo-editing software there is available. It is used by a variety of people, from photographers to casual internet browsers. Less than 2 years ago, another use-case of this software was created by Snap Inc., called Geofilters. For artists who want to have their creations displayed through this medium, Photoshop can be utilized to create a logo that can be submitted to Snap Inc. and be utilized as a Geofilter.
This Instructable will instruct you on how to take advantage of the set of tools from Adobe Photoshop CC 2015. You will learn to open a new Photoshop file, format the file to Snap Inc.'s Geofilter requirements, import an image, edit the image to conform to the file’s borders, and finalize the file by exporting it to a certain picture type. While choosing the photo, this Instructable will cover the basics of copyright and how it affects your photo selection.
Open Adobe Photoshop
Adobe Photoshop CC 2015 is what we used in our screenshots. Photoshop is preferred because of its ability to remove background (white) layers for your Geofilter. Any photo editing software with the ability to edit layers is also acceptable.
Create Canvas
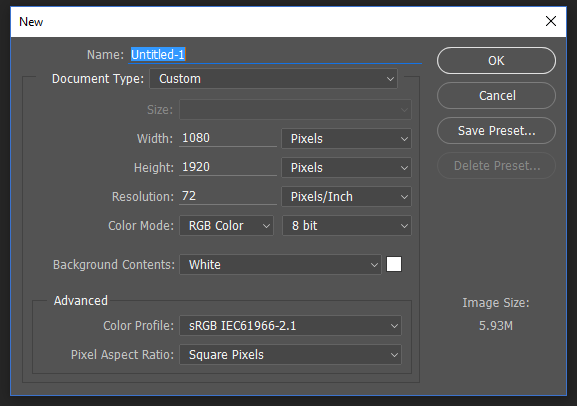
Go to top left drop down bars and select File > New.
A pop-up will then appear. Change the photo units to pixels and the width to 1080px for width and 1920px for height. Press OK when you are done.
Import Your Image
VERY IMPORTANT --- The image you select must be free of copyright claims to avoid legal action! The image you choose must be created by you, or free of copyright claims.
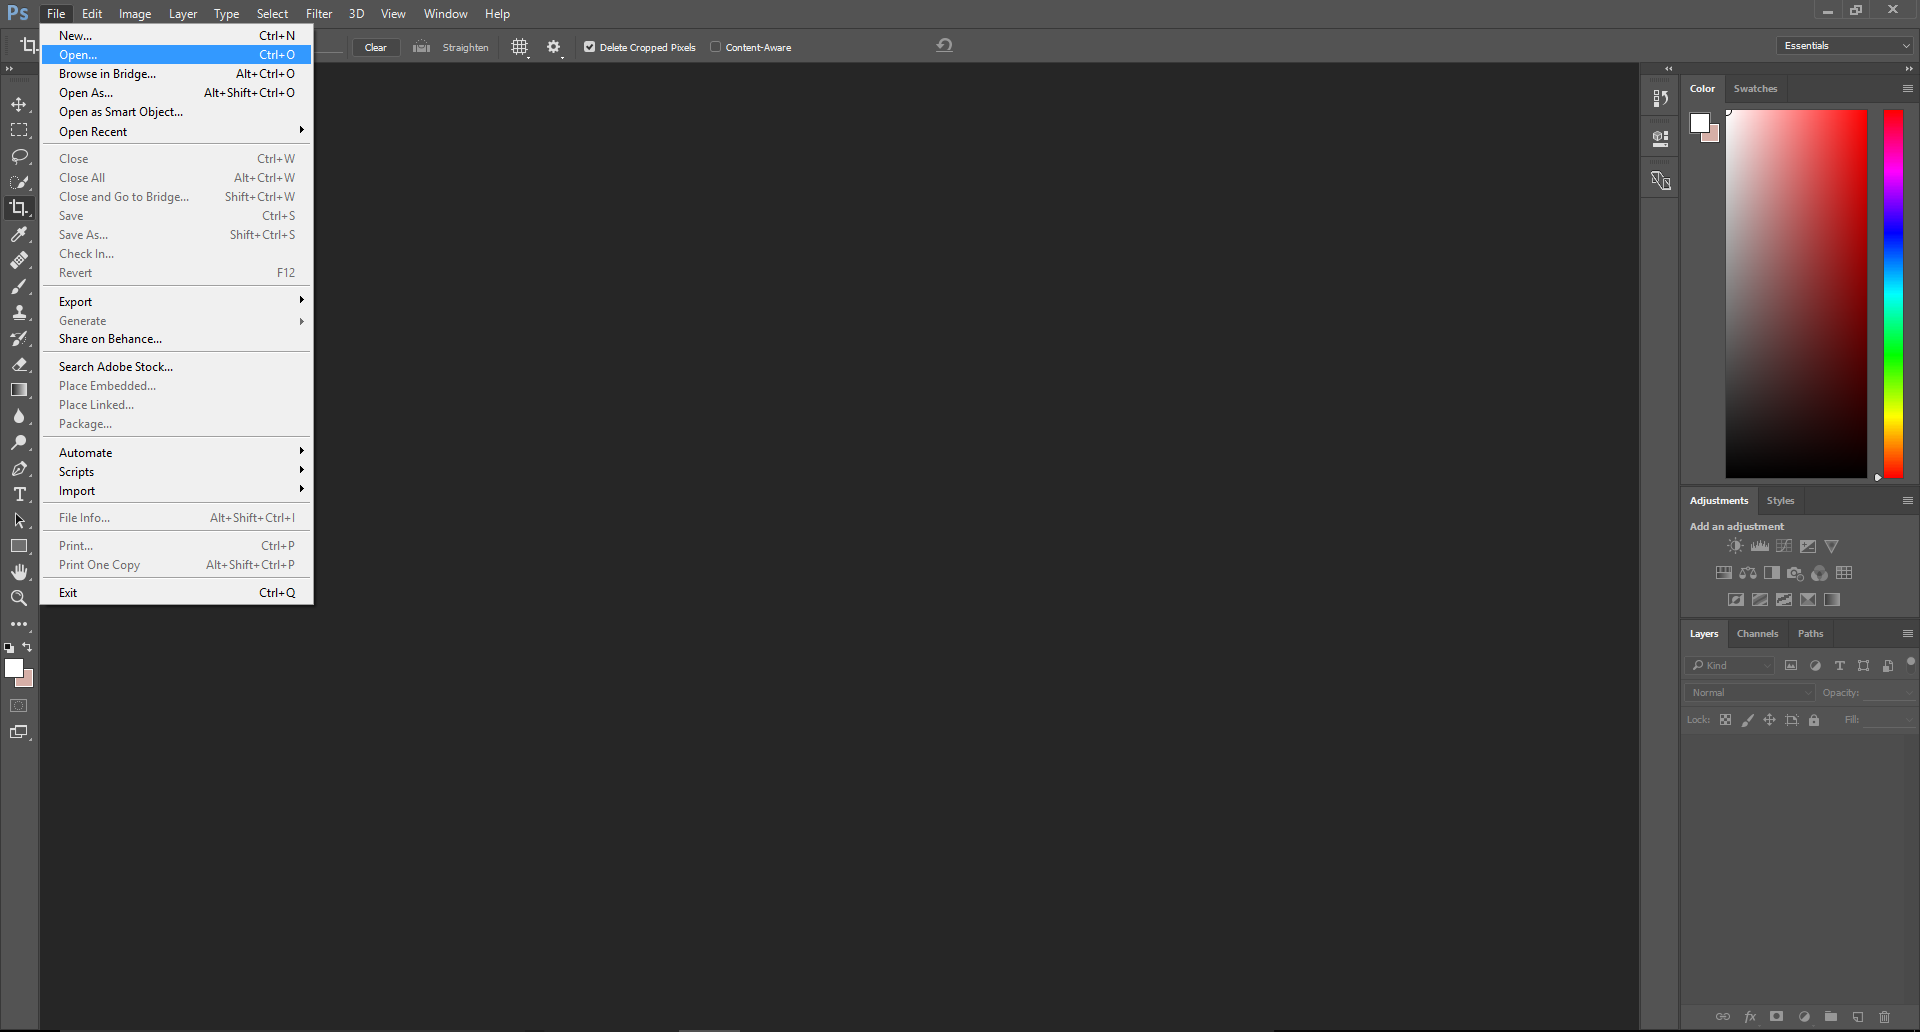
Go to the same drop down buttons in the top left and select File > Open.
Select the .png image file that you want to use (.png files are the best quality and most commonly used).
We used this image: https://drive.google.com/file/d/0B_hgJL9lyeZQSGZ1NVFGZzBtN2c/view?usp=sharing
Move Image to Canvas
Go to the drop down bars at the top and click Select > All.
From the top drop down bars, click the Edit > Copy.
Click on the open tab that you made in Step 3. Then go to Edit > Paste to paste the image.
Go to Edit > Transform > Scale. Move your image to whichever location you choose the bottom is a common place].
Click the check-mark button at the top in your tool bar (at the top of Photoshop) when you are done positioning your image.
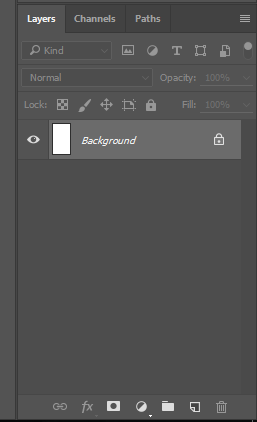
Press the “Layer Visibility” icon in the Layers tab on the bottom right part of Photoshop. It is the icon that looks like an eye.
Finish Modifications
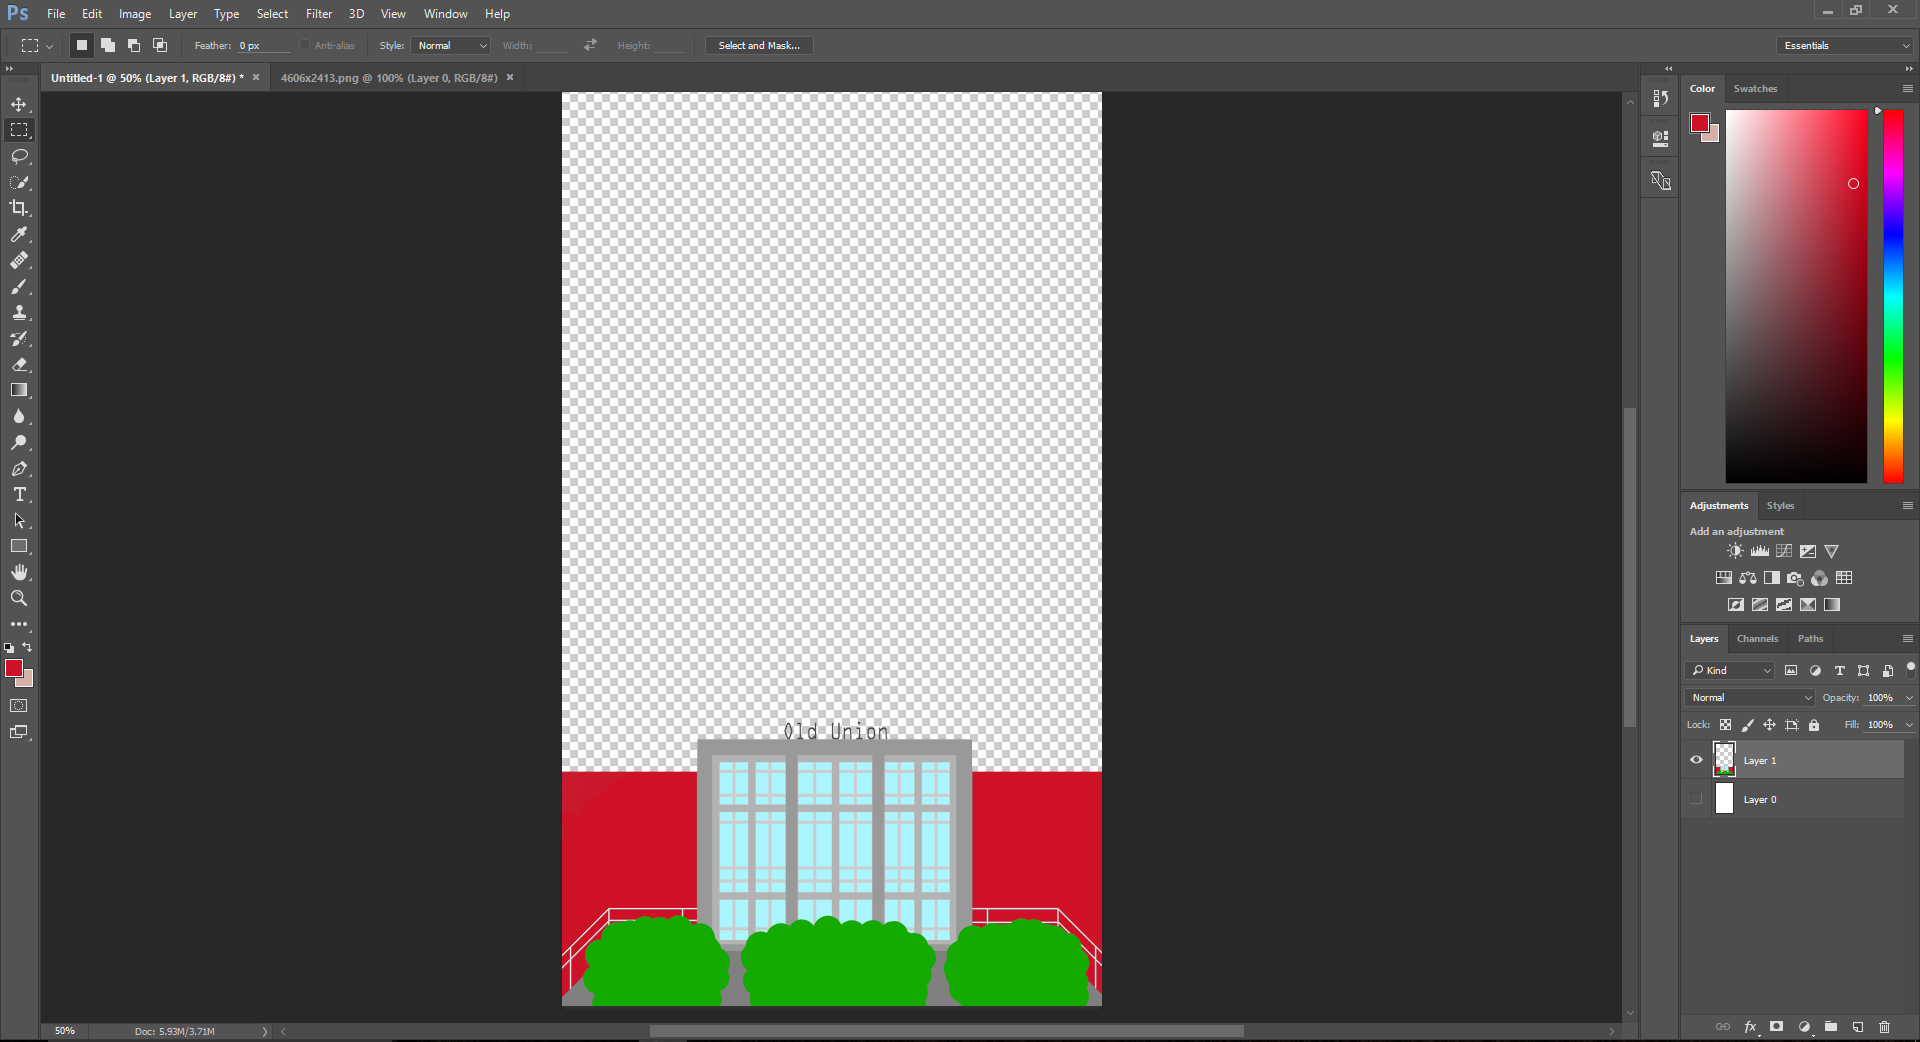
Make any other modifications to your image as you please. Make sure to save your work.
Your final image should have a checkered pattern in the background indicating a lack of a colored background as shown in the screenshot.
Save Image
To save your file go to File > Save As
Change the file format to the .png extension. Add whatever title you would like and click Save in the bottom right.
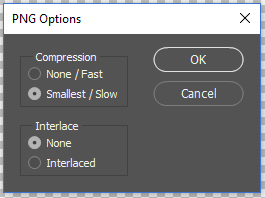
A pop-up will then appear afterwards with options for compression and interlace. Be sure to check None for Interlace. Click OK.
Go to Snapchat's Website

Go to https://www.snapchat.com/geofilters and click on the “Create Now” button under Community. On the following web page, click Next at the bottom.
Select Area You Want the Filter to Cover
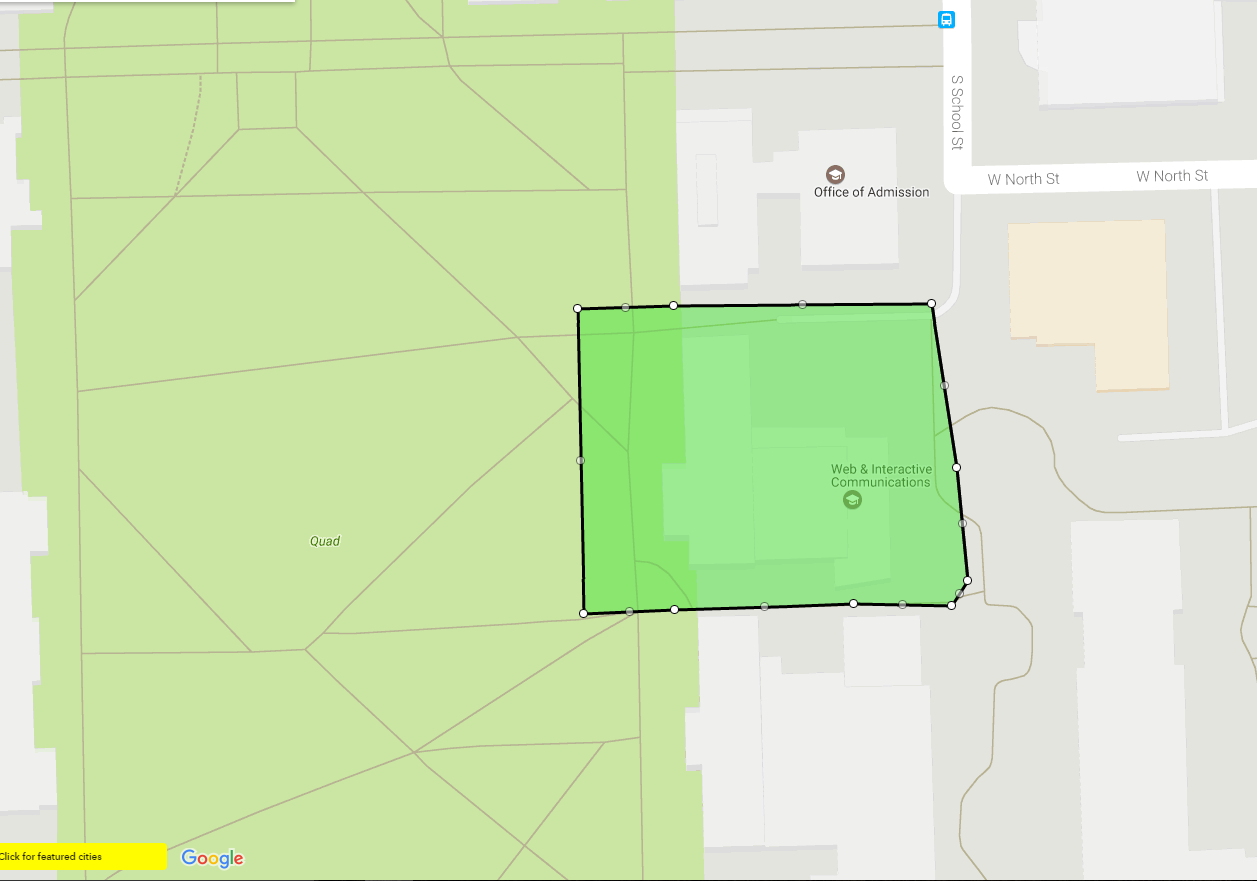
You will be redirected to a page using Google Maps.
Navigate to the planned area for your Geofilter (ex. Santa Barbra, California).
Draw a shape on the map by clicking anywhere. A dot will be created.
Connect the dots to complete your geo-location.
Add Details to Your Geofilter
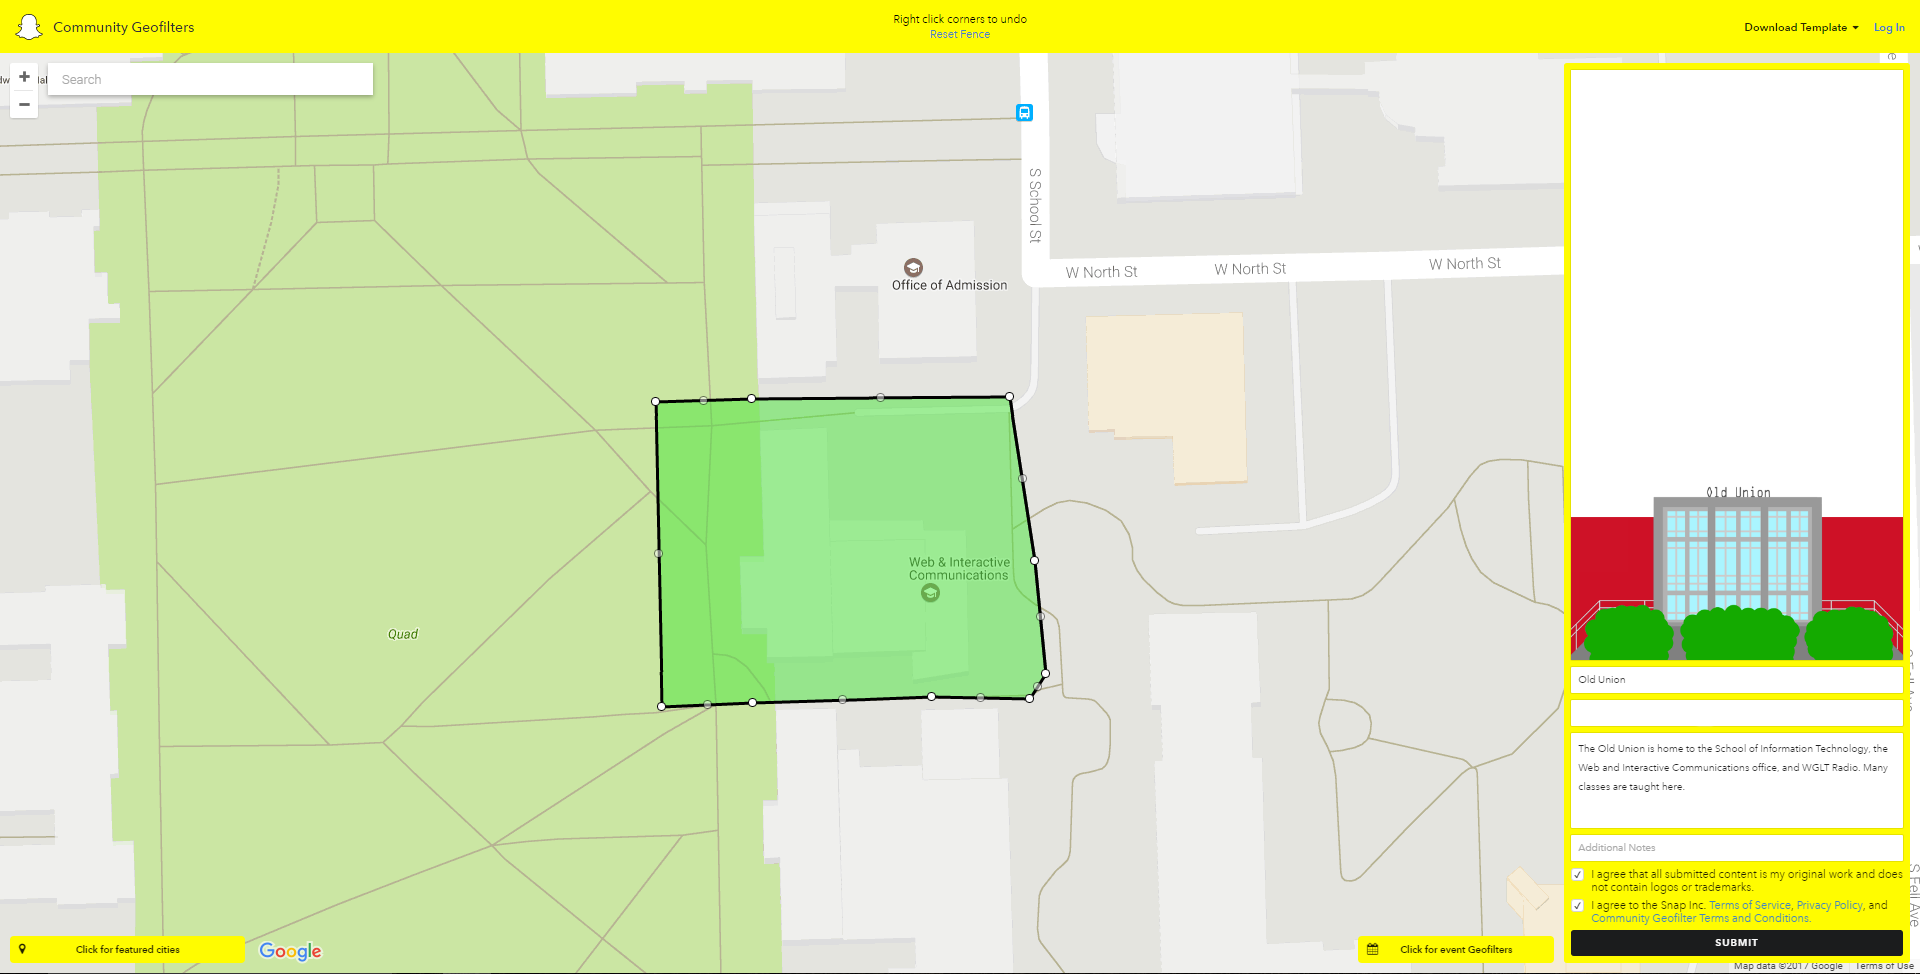
Check the right side of the page to find the area to upload your image.
Underneath, add your name, email, and add a small note stating why this Geofilter is meaningful to you.
Check each of the Terms of Service boxes at the bottom and click Submit.
Wait for Approval
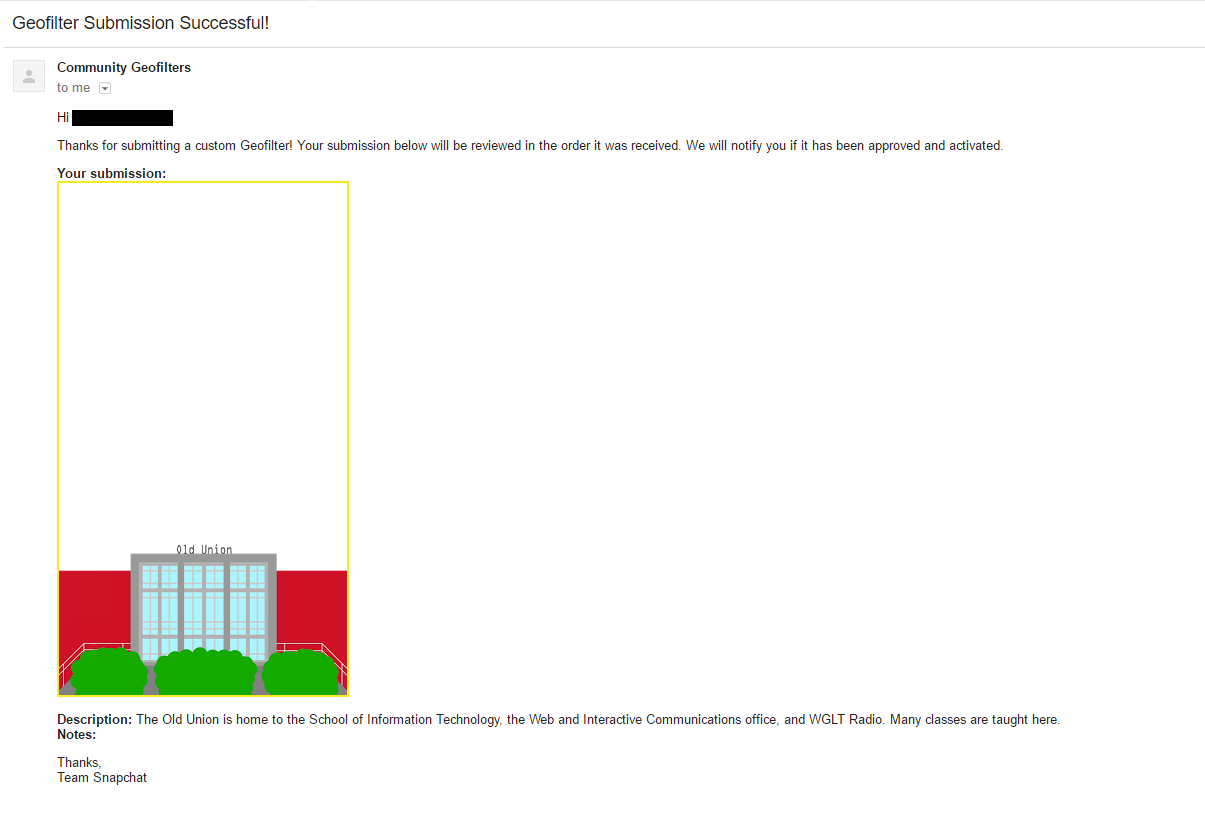
Wait for approval of your filter from Snap Inc.!