Creating a Puzzle Box
by flame_mistress in Living > Toys & Games
30121 Views, 152 Favorites, 0 Comments
Creating a Puzzle Box


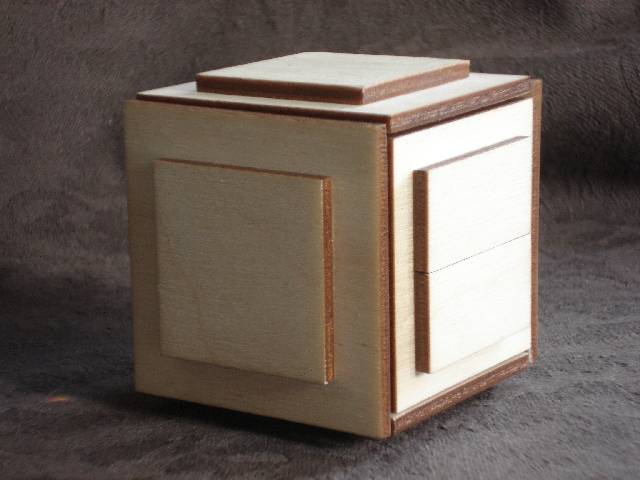
This was my very first project on the laser cutters at the TechShop, and I am indebted to Bruce Viney for supplying the plans for the project. Check out this (and many other) puzzle box plans at: http://homepage.ntlworld.com/bruce.viney/Black%20Nightmare%20Plans.pdf (or just search for “Bruce Viney puzzle boxes”). The interior of the box is fairly small (56mm length x 26mm width x 44mm deep), so if you want a larger box, you will have to adjust your dimensions to accommodate!
Tools and Materials:
- laser cutting machine (I made this at the TechShop: www.techshop.ws)
- vector art software
- USB stick
- 4mm plywood (minimum size: 264mm x 390mm)
- 6mm plywood (minimum size: 124mm x 44mm)
- metal dowels (I used short bits of an old coat hanger; the diameter must be small enough to reasonably drill into the end of the 6mm plywood)
- drill bit to match the size of your metal dowels
- your favorite drilling implement (whatever you can keep straight while drilling into the end of the 6mm plywood)
- 5-minute epoxy for the dowels
- wood glue
- tweezers
- rags
To make the box:
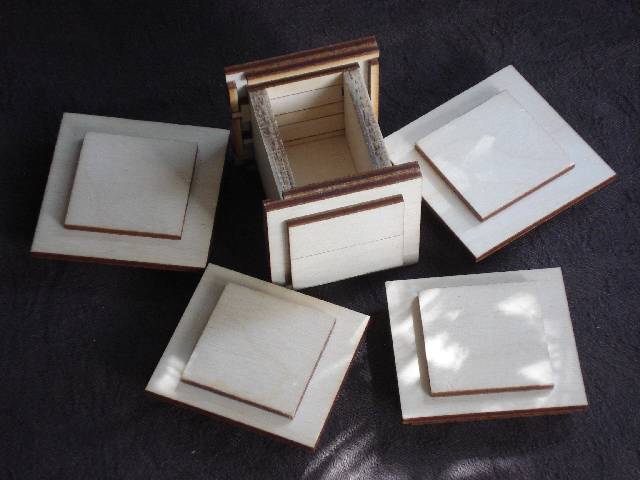
1. Depending on what type of vector art software you have, download the CorelDraw files or import the PDF files for the puzzle pieces. There will be five independent parts to the box: a box interior/front slider panel/back slider panel combo, a left panel, a right panel, a top panel, and a bottom panel. Note that the colors just helped me to keep the parts separate in the layout, as did the text; neither is critical, and you can import or not, as you choose.
2. If you want to add art to the wood surface, add raster art (as a separate software layer!) to the exterior pieces of the box (these will be the first and second layers of each panel). I did mine with a plain wood finish, but you can get as fancy as you like. Be sure to read the tips and tricks in step 4 if you are adding raster art!
3. Once your art is as you like it, set your wood up on the laser and cut your parts. Pick your pieces off of the laser, carefully noting which pieces go with which side of the box. It will make the assembly process *vastly* easier if you keep the parts for each side of the box segregated from each other. I used an embroidery/bead organizer (one of those plastic boxes with lots of separate compartments), but anything that will keep the parts from getting mixed up will help. Additionally, you may want to print a few (4-8ish) extra single and double thickness “sticks” (4mm x 4mm x 64mm and 4mm x 8mm x 64mm) to help with aligning the parts as you are gluing up the sides (the more “sticks” you have, the more sides you can work on simultaneously as the glue sets). Don't throw out the waste scrap yet!
4. I really can't improve on Bruce's instructions, so follow the plans on his site with the following tips and tricks:
- Because the laser will leave a *slightly* angled kerf, it is good to be consistent in which orientation you assemble your panels, if only for aesthetics. The exception to this is the outermost layer of each panel. The sliders mate much better and are easier to play with if you have the bottom of the laser cut facing out... so your box will look better if the outermost layer of *all* of the panels have the bottom of the laser cut facing out.
- If you have *art* on your outermost panels, you might be asking yourself how you are supposed to follow the tip above. First vector cut all of your pieces (don't run the raster yet). Do *not* remove/move anything from the laser bed! For any art-covered pieces where you will be putting the bottom of the laser cut facing out (definitely the sliders and the outermost layer of each panel, and perhaps the second layer as well), carefully pick the pieces out of the waste scrap (tweezers help), and flip them over. Now print just the raster art (this is why you made it a separate layer in your design software – aha!).
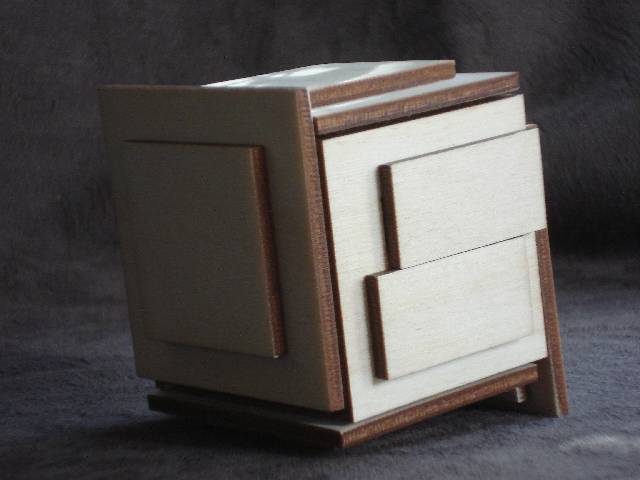
- When gluing things up for the sliders, be sure that the outer sliders themselves are held securely next to each other. Also be sure that the middle top slider is as far towards the top of the box as it can be and that the middle bottom slider is as far towards the bottom of the box as it can be. This will help take the “slack” out of the sliders that is caused from the laser's kerf and will prevent an unsightly gap in any artwork that you put on the sliders.
- Use the waste side of the 4mm cutout to hold the 48mm x 48mm pieces in place while you layer up the non-slider panels.
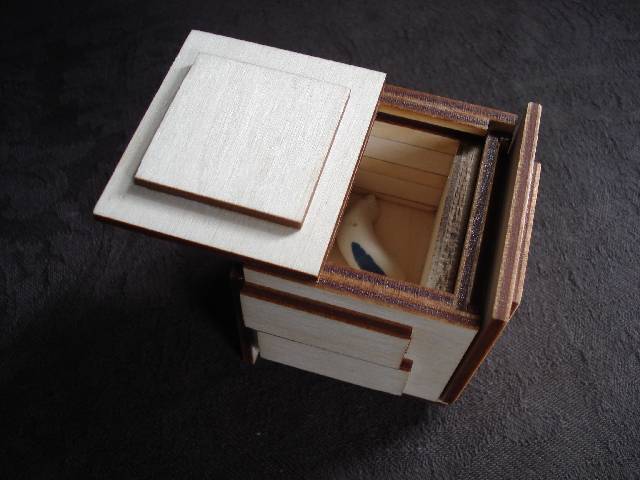
5. Once the glue has fully dried, assemble your box. Building it will generally give you enough information to be able to assemble it, but if you need help, the solution is also on Bruce's website. If needed, make any minor adjustments with a small chisel or a file. I like to keep a small trinket inside mine to entice people to play with it (“Of course I can't tell you what is inside the box... you'll just have to figure out how to open it!”)
Hand your box to your friend (or enemy?) and watch them puzzle away!