Create a Mural for Your Cycling Boudoir (or Whatever)
4858 Views, 9 Favorites, 0 Comments
Create a Mural for Your Cycling Boudoir (or Whatever)
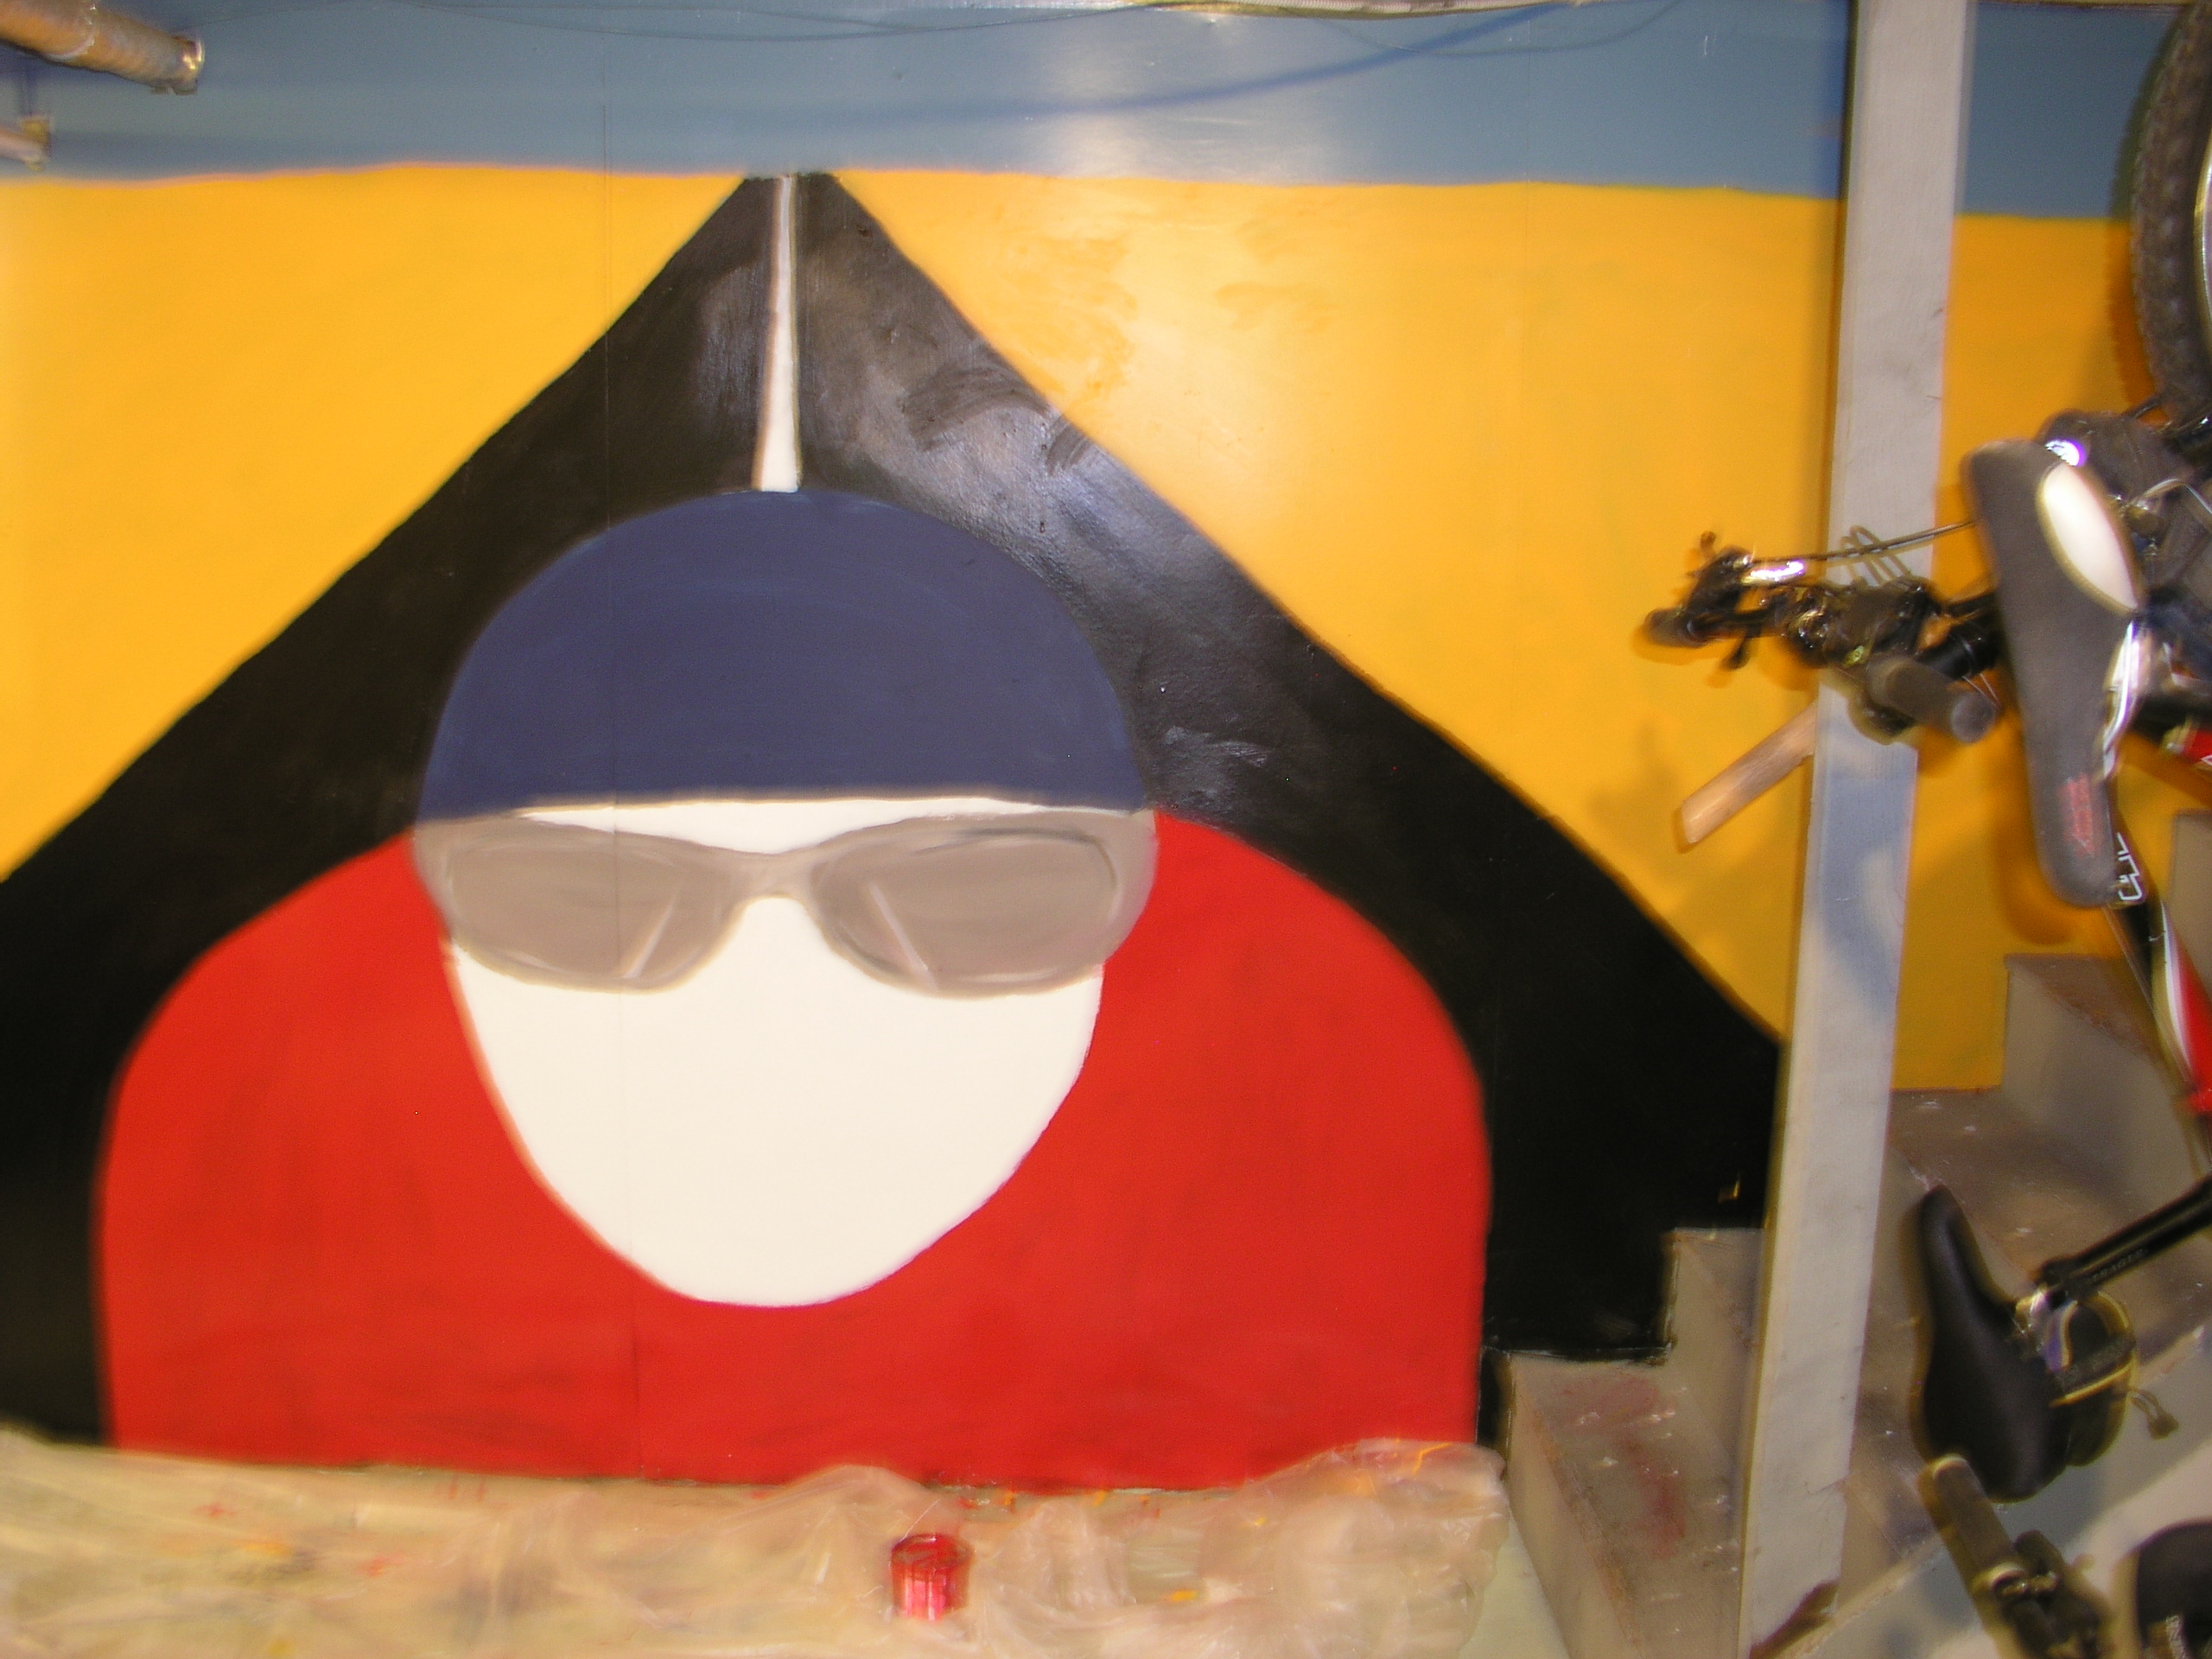
This instructable will teach you how to make a wall mural fast and easy with an overhead projector. It's really not very difficult. You probably need to do this over a period of two days, but not too many hours are involved.
My family is into cycling, A LOT! We live next to the Minuteman Bikepath, the busiest bike path in the USA. We use part of our basement as our cyclery (or bike boudoir). And it looked like a dungeon down there!
So we decided to spruce up the basement with some floor paint, and a mural.
You need some stuff:
1) Some art - your own original or a poster perhaps
2) An overhead transparency projector - or a modern PC projector
3) Some paint (latex house paint is fine), you can scrounge from your paint stash or buy small inexpensive samples at the hardware store.
Choose the Art You Want to Use.
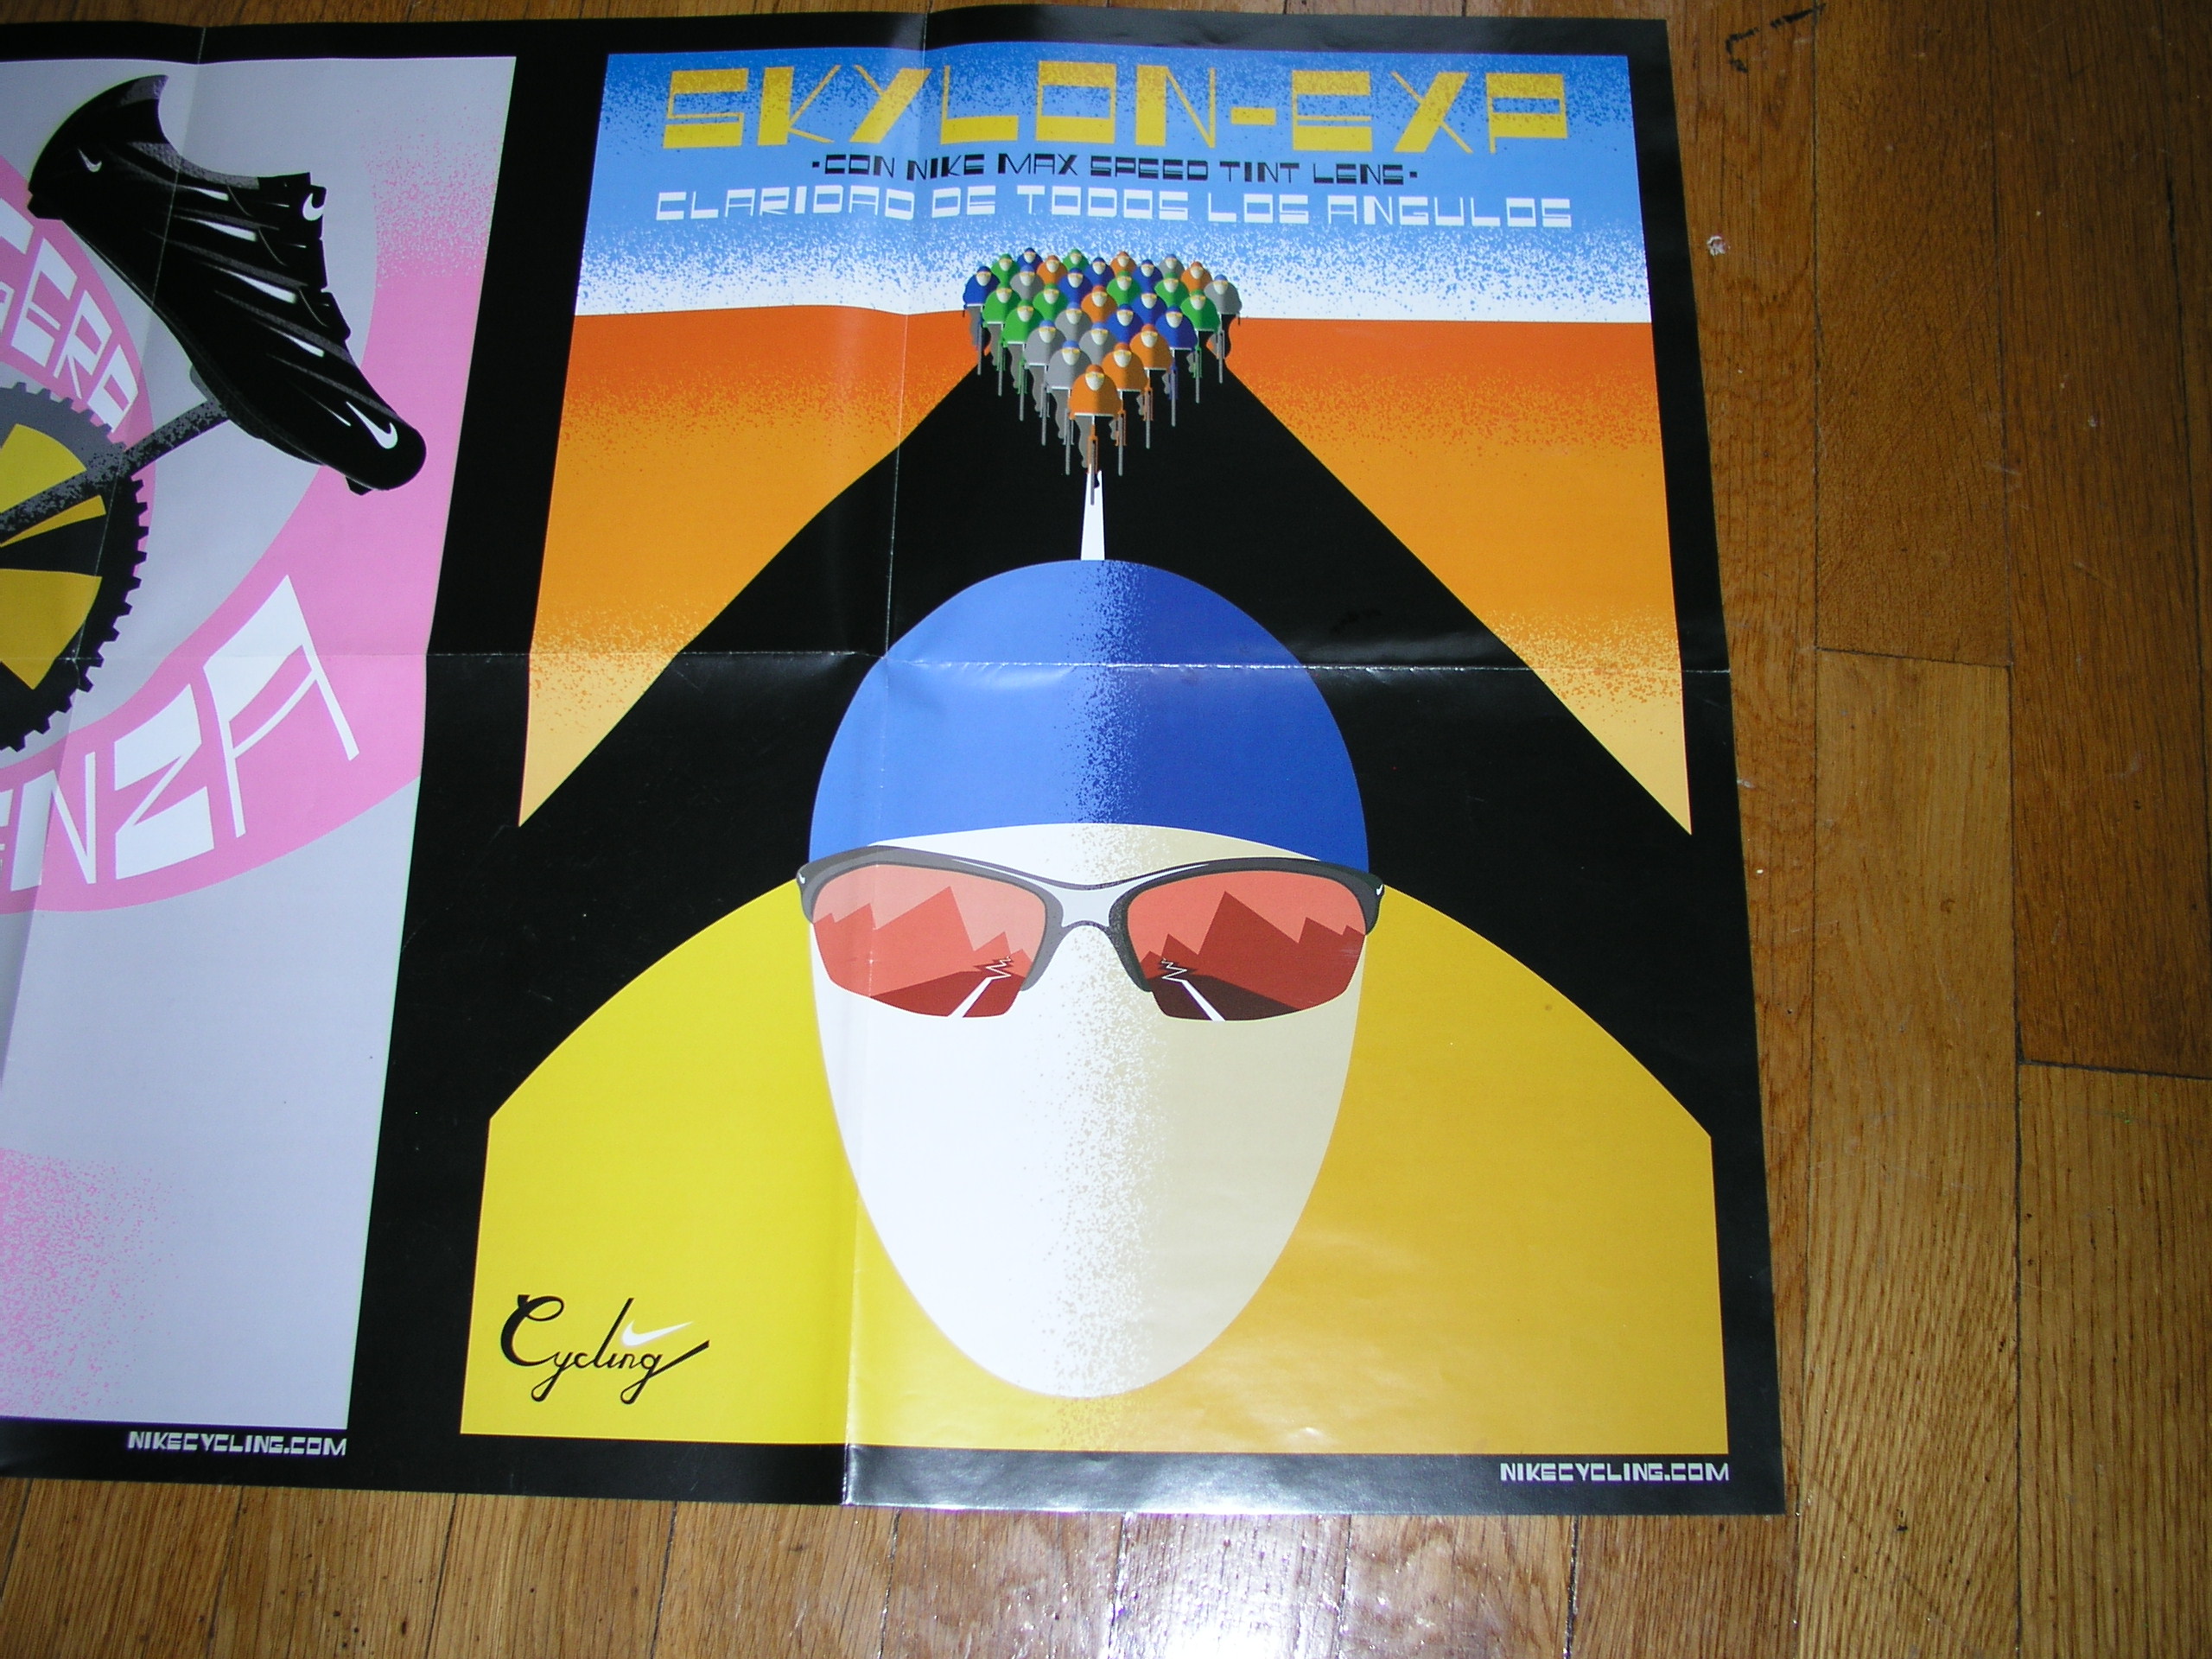
We saw this Nike poster in a cycling magazine and we thought it would be awesome! It's simple in design and colorful! We are not mural artists but we had heard of the technique of using an overhead projector. So we figured that the simpler the better.
Create a Transparency of Your Art
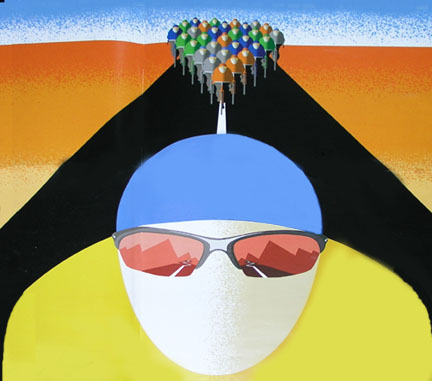
You can create an overhead projector transparency from a photocopy of the art, or you can go the route we used of photographing the poster and massaging it in photoshop. Then printing it onto a transparency.
In photoshop, we simplified the picture even further and approximated the aspect ratio of the wall, which is the ratio of the width against the height of the wall. That way, the wall would be completely covered by the mural image. Don't worry about perfection, you can easily extend lines once you start tracing and painting.
By the way, printing fine detail on a transparency can be tricky if you don't have specialized equipment. The main problem is that the ink doesn't want to dry. We didn't have a good printer and it's ok as long as you don't print anything complicated! This is another reason to keep the design simple.
Prepare the Surface of the Wall for Painting
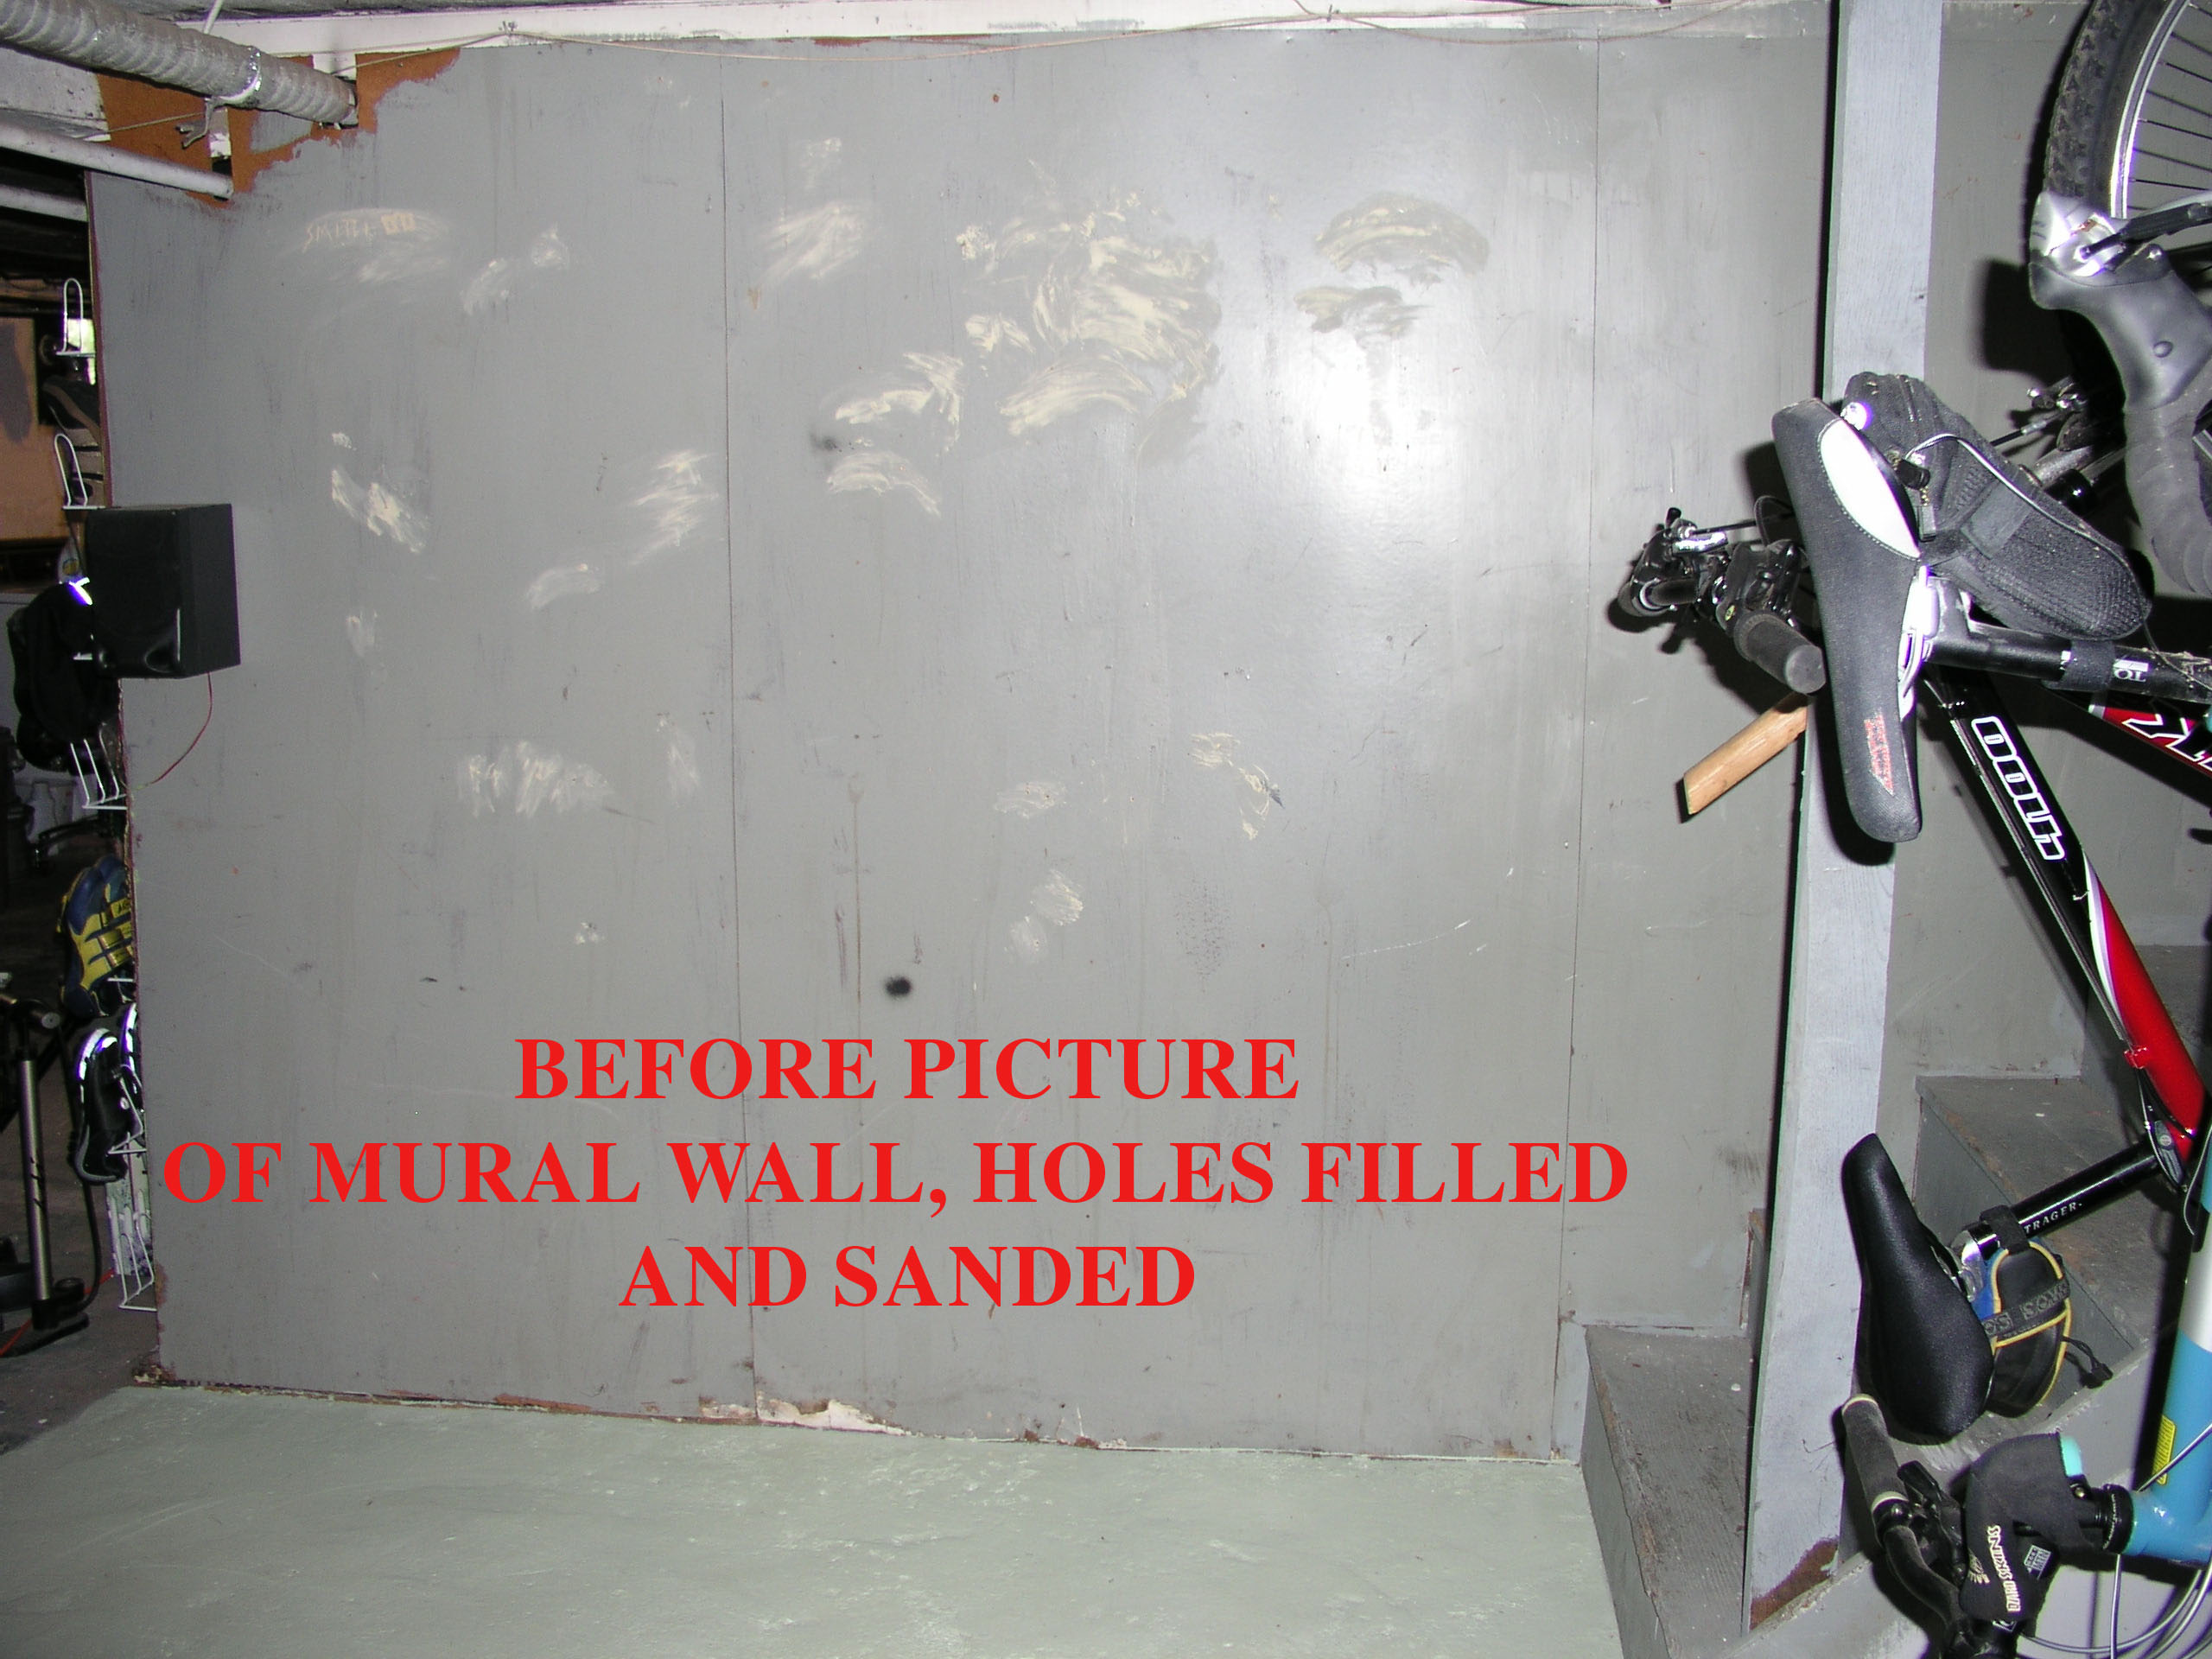
Our basement wall was painted a very dull navy gray color, which is not pretty, but it was an ok primer coat for the project. There were a number of nail holes on it, so we filled the holes and sanded them smooth.
Place the Projector With the Art Across the Room
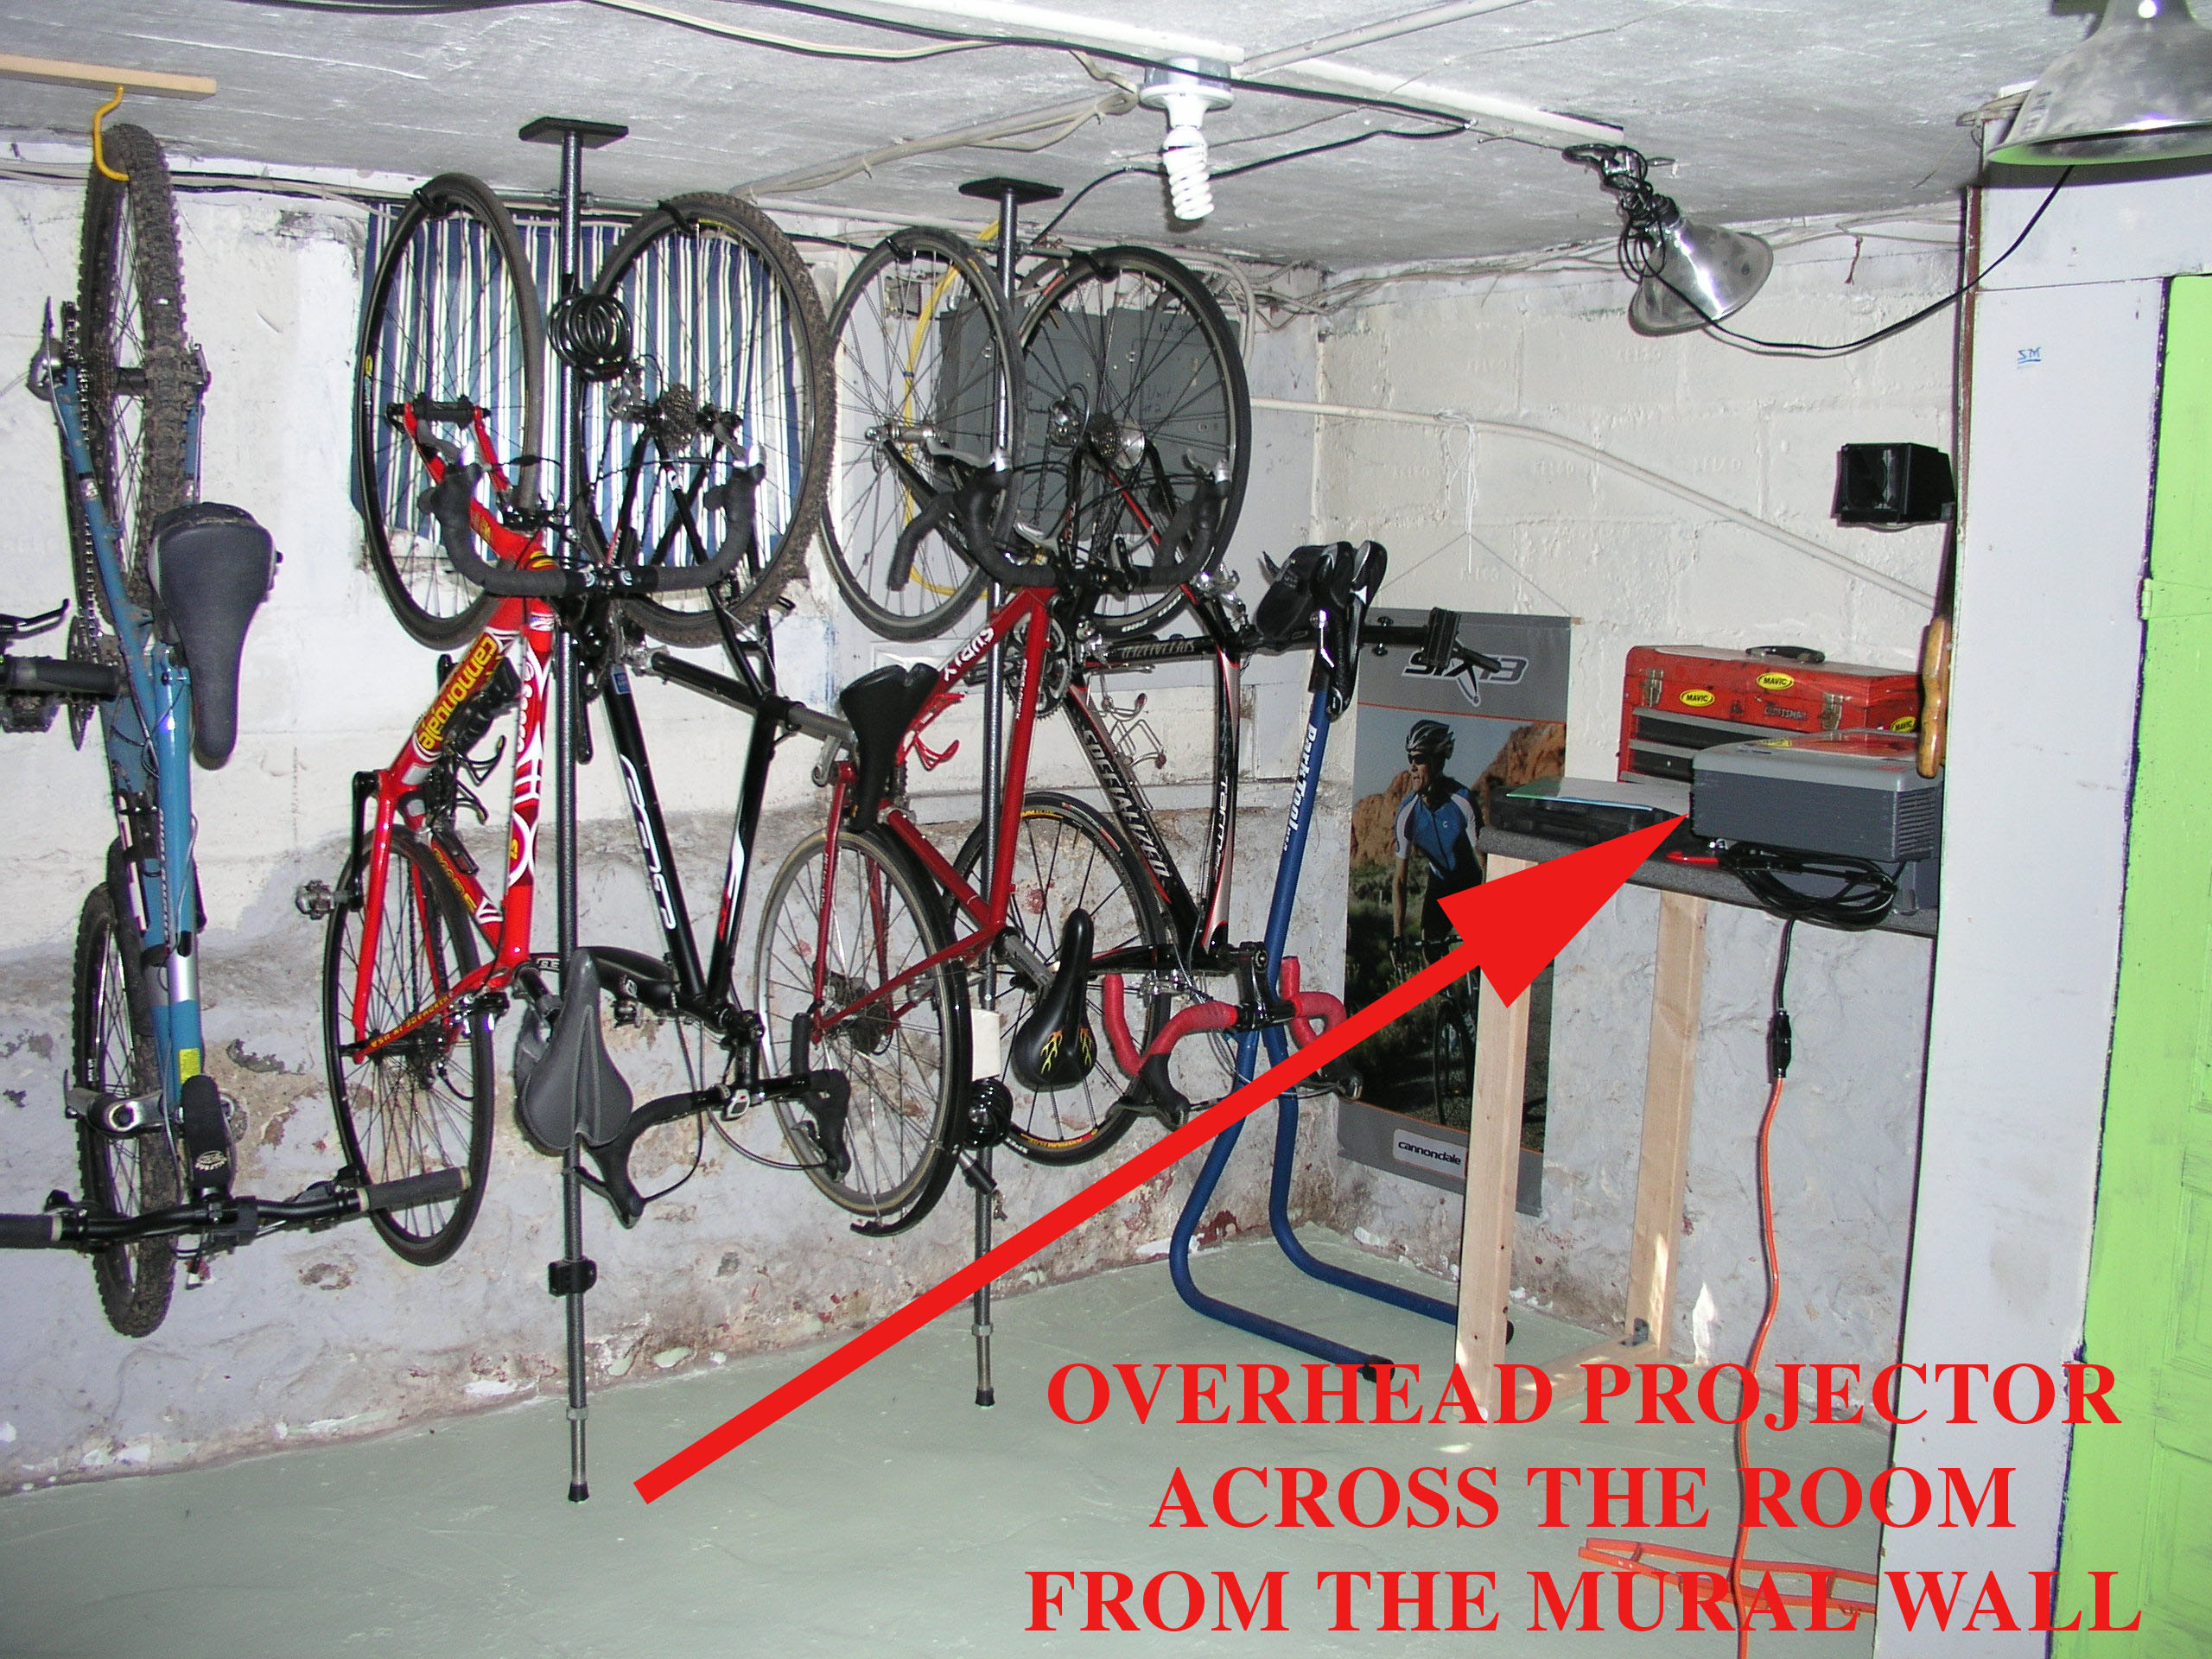
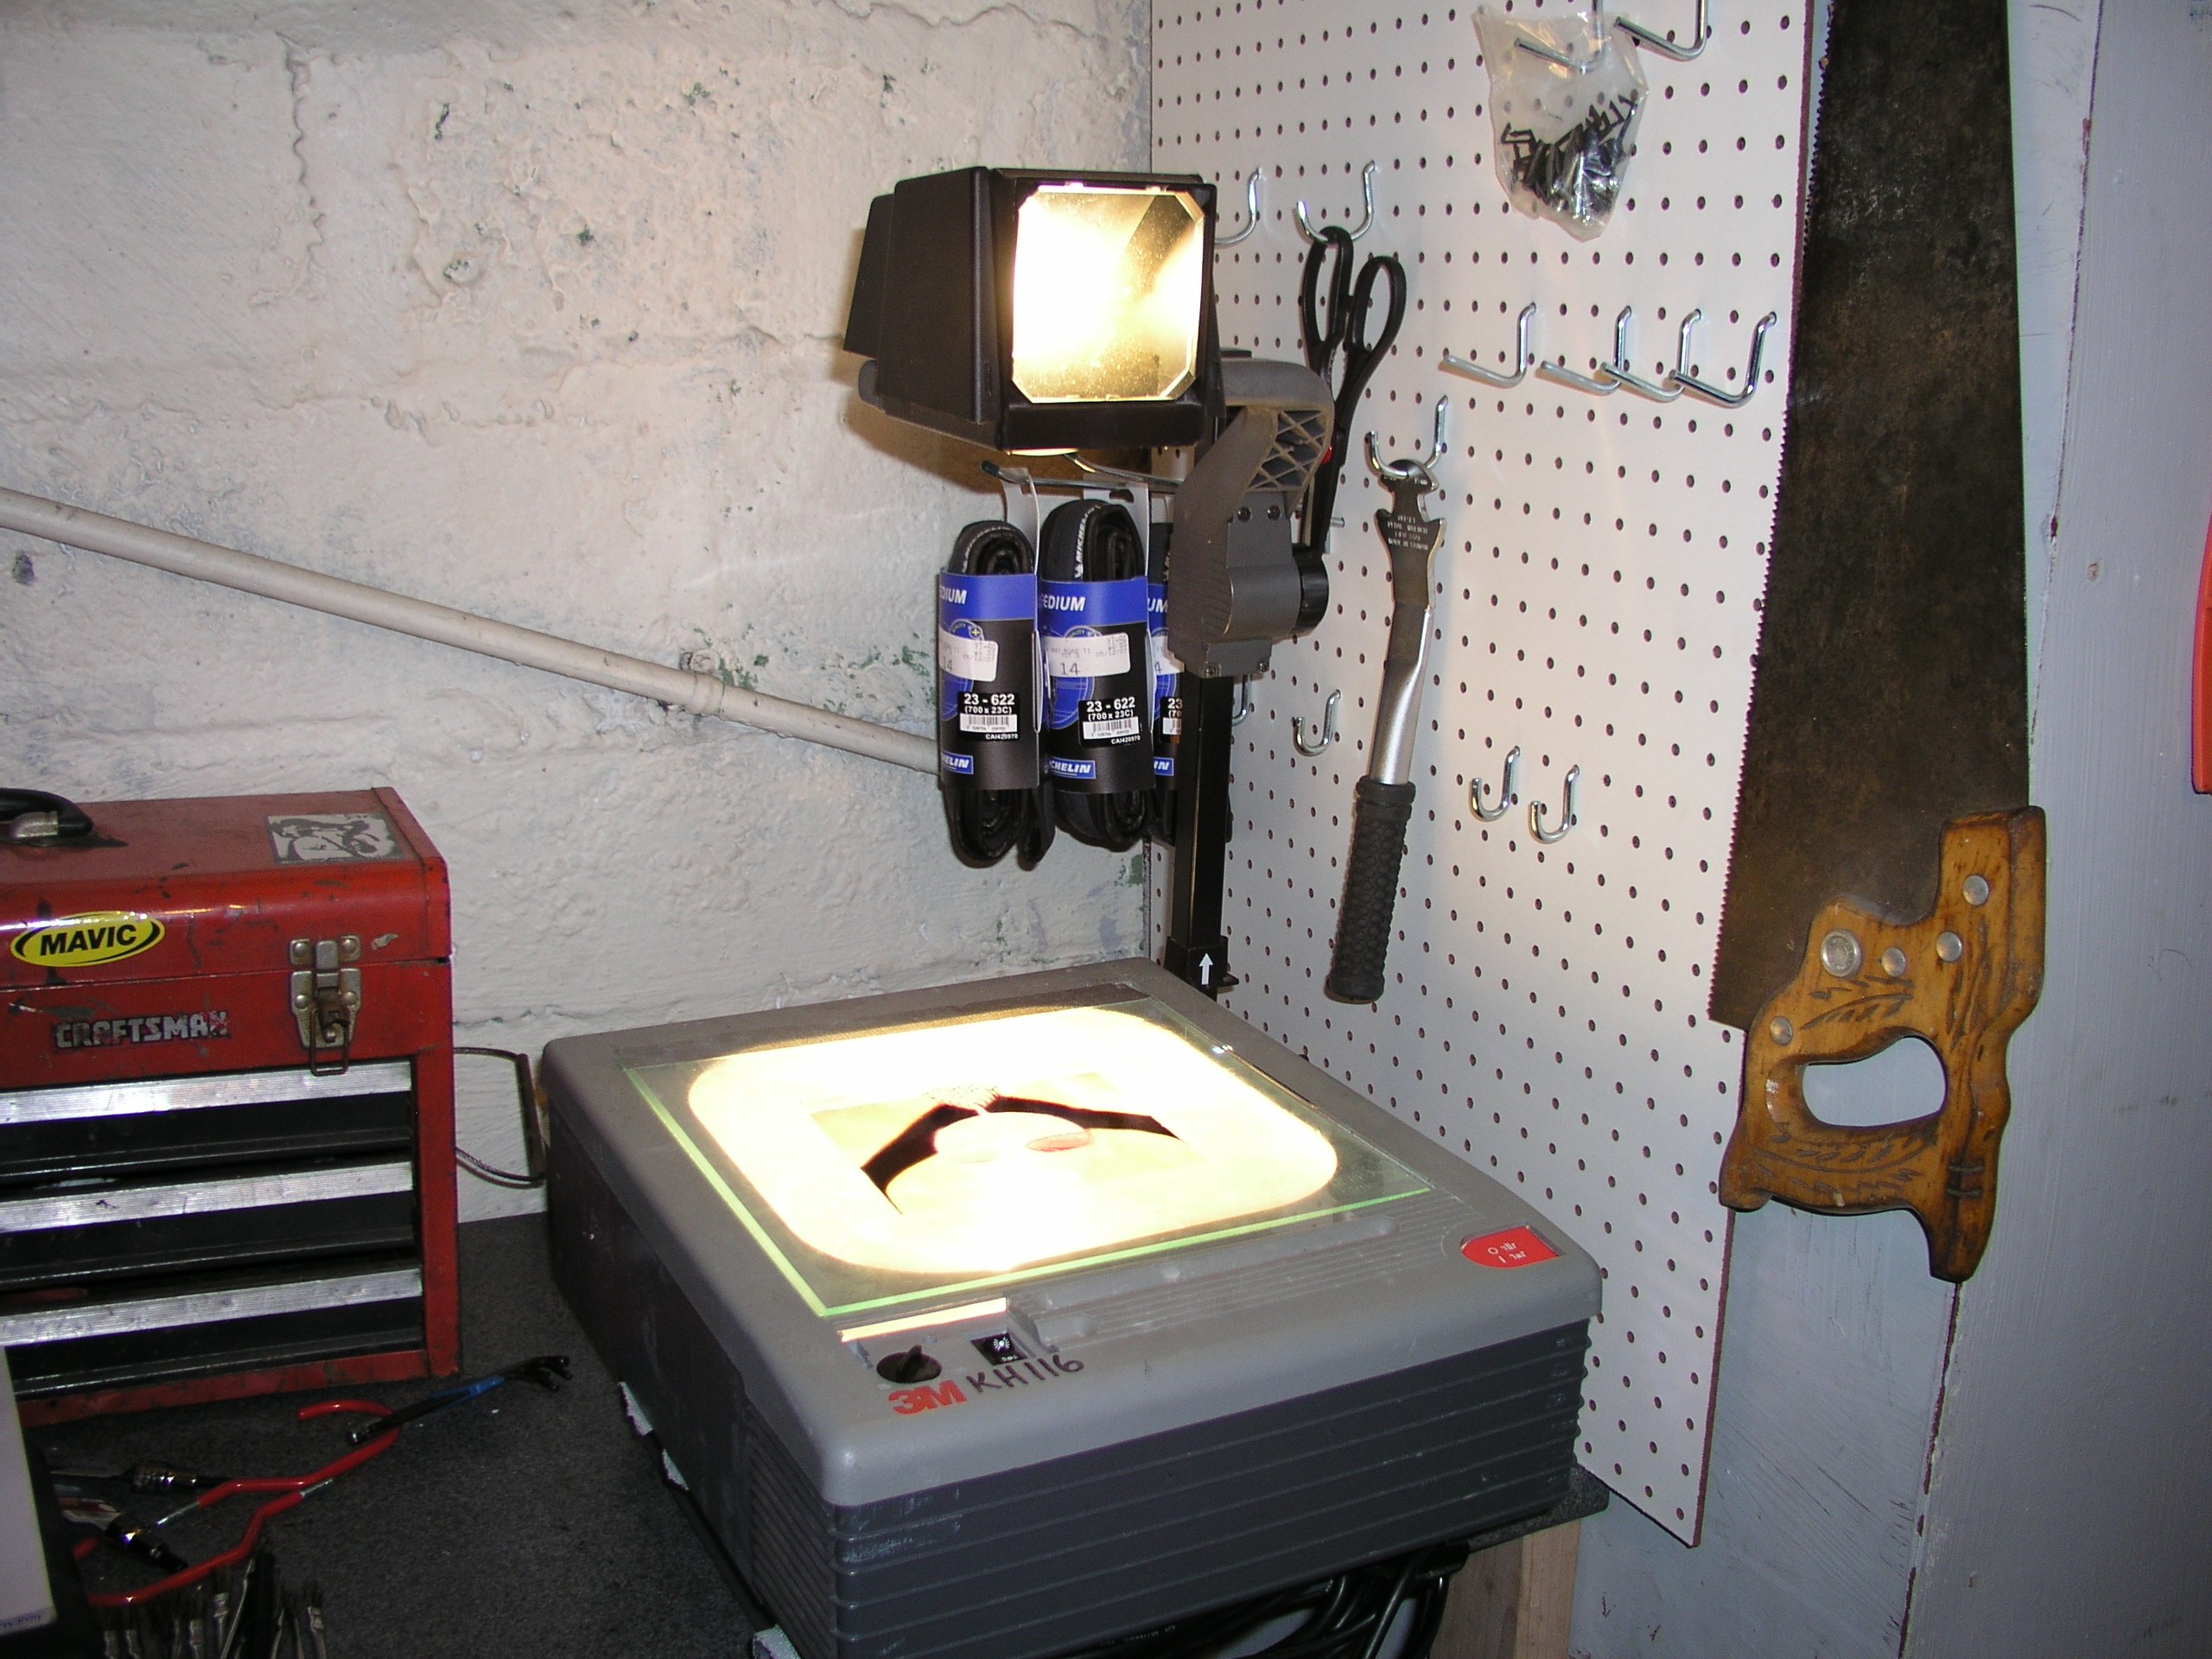
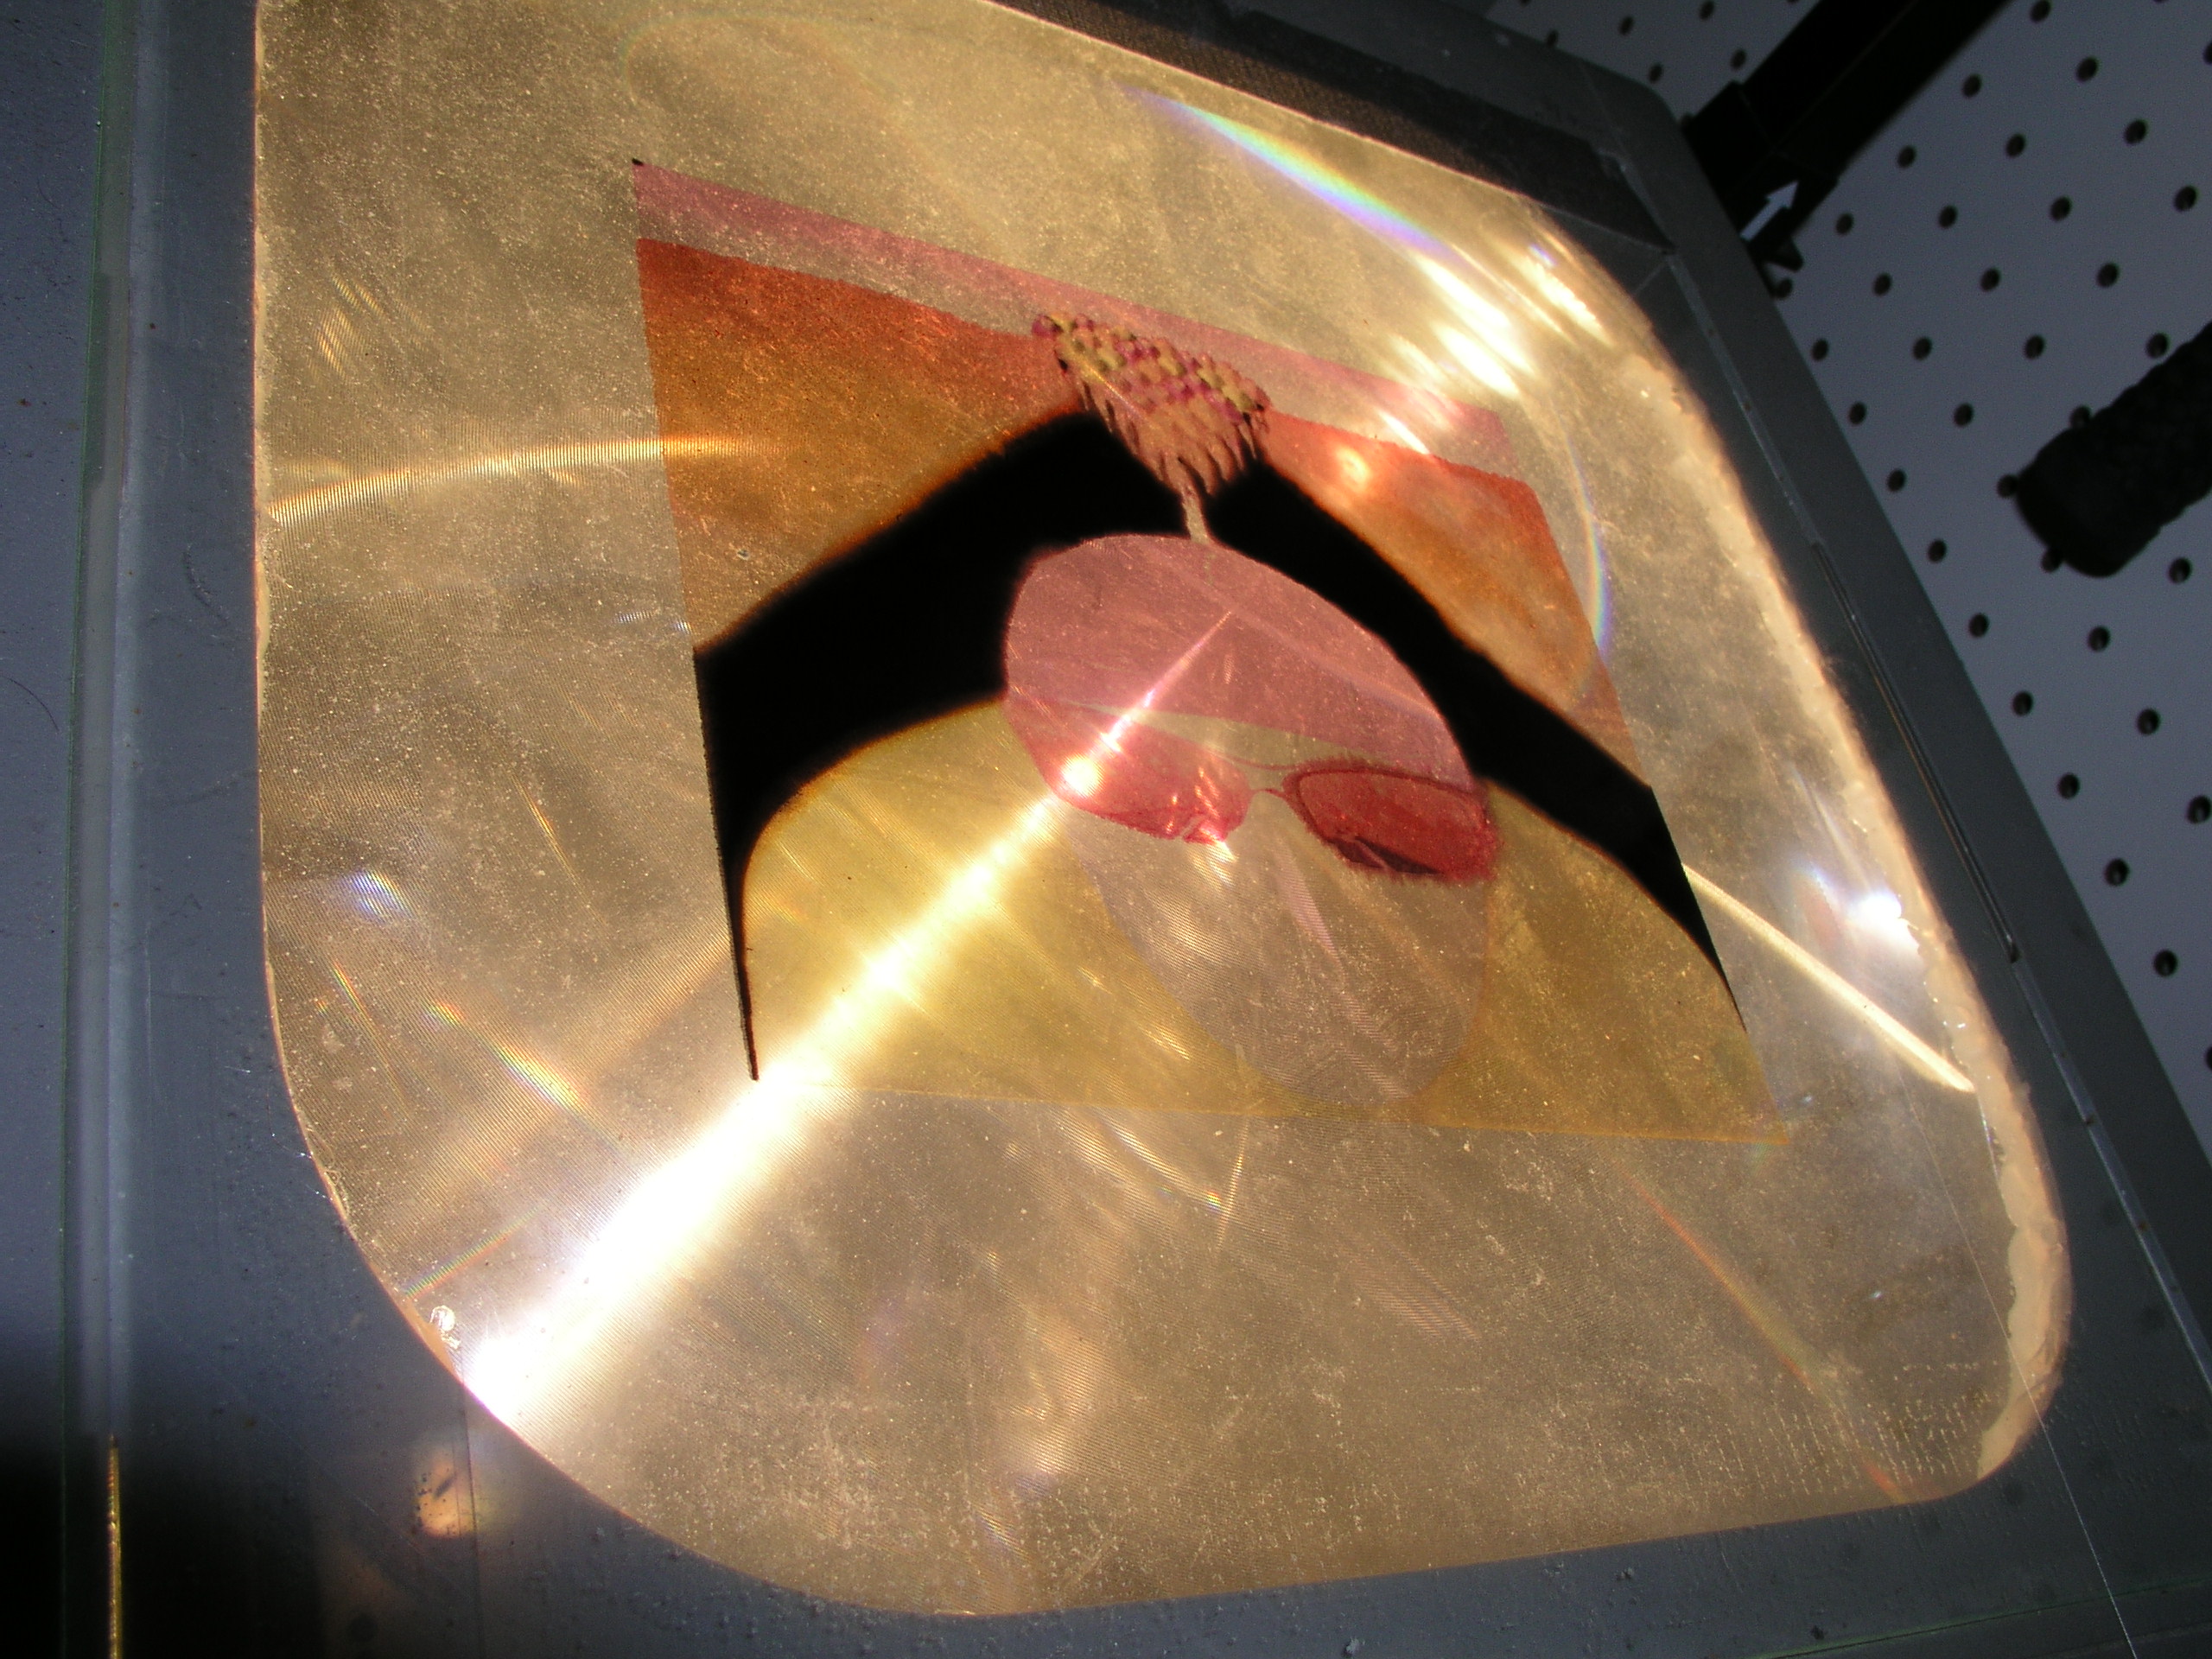
We placed the projector across the room on our workbench. Notice the transparency on the projector.
By the way, we got this projector at the MIT flea market. The guy who sold it to us wasn't sure if it worked so he actually gave it to us for free! But it did work! And once we got done with the project, we gave it away on craigslist to someone else so they could do a mural too.
By the way, we got this projector at the MIT flea market. The guy who sold it to us wasn't sure if it worked so he actually gave it to us for free! But it did work! And once we got done with the project, we gave it away on craigslist to someone else so they could do a mural too.
Project the Image, Trace It and Paint It
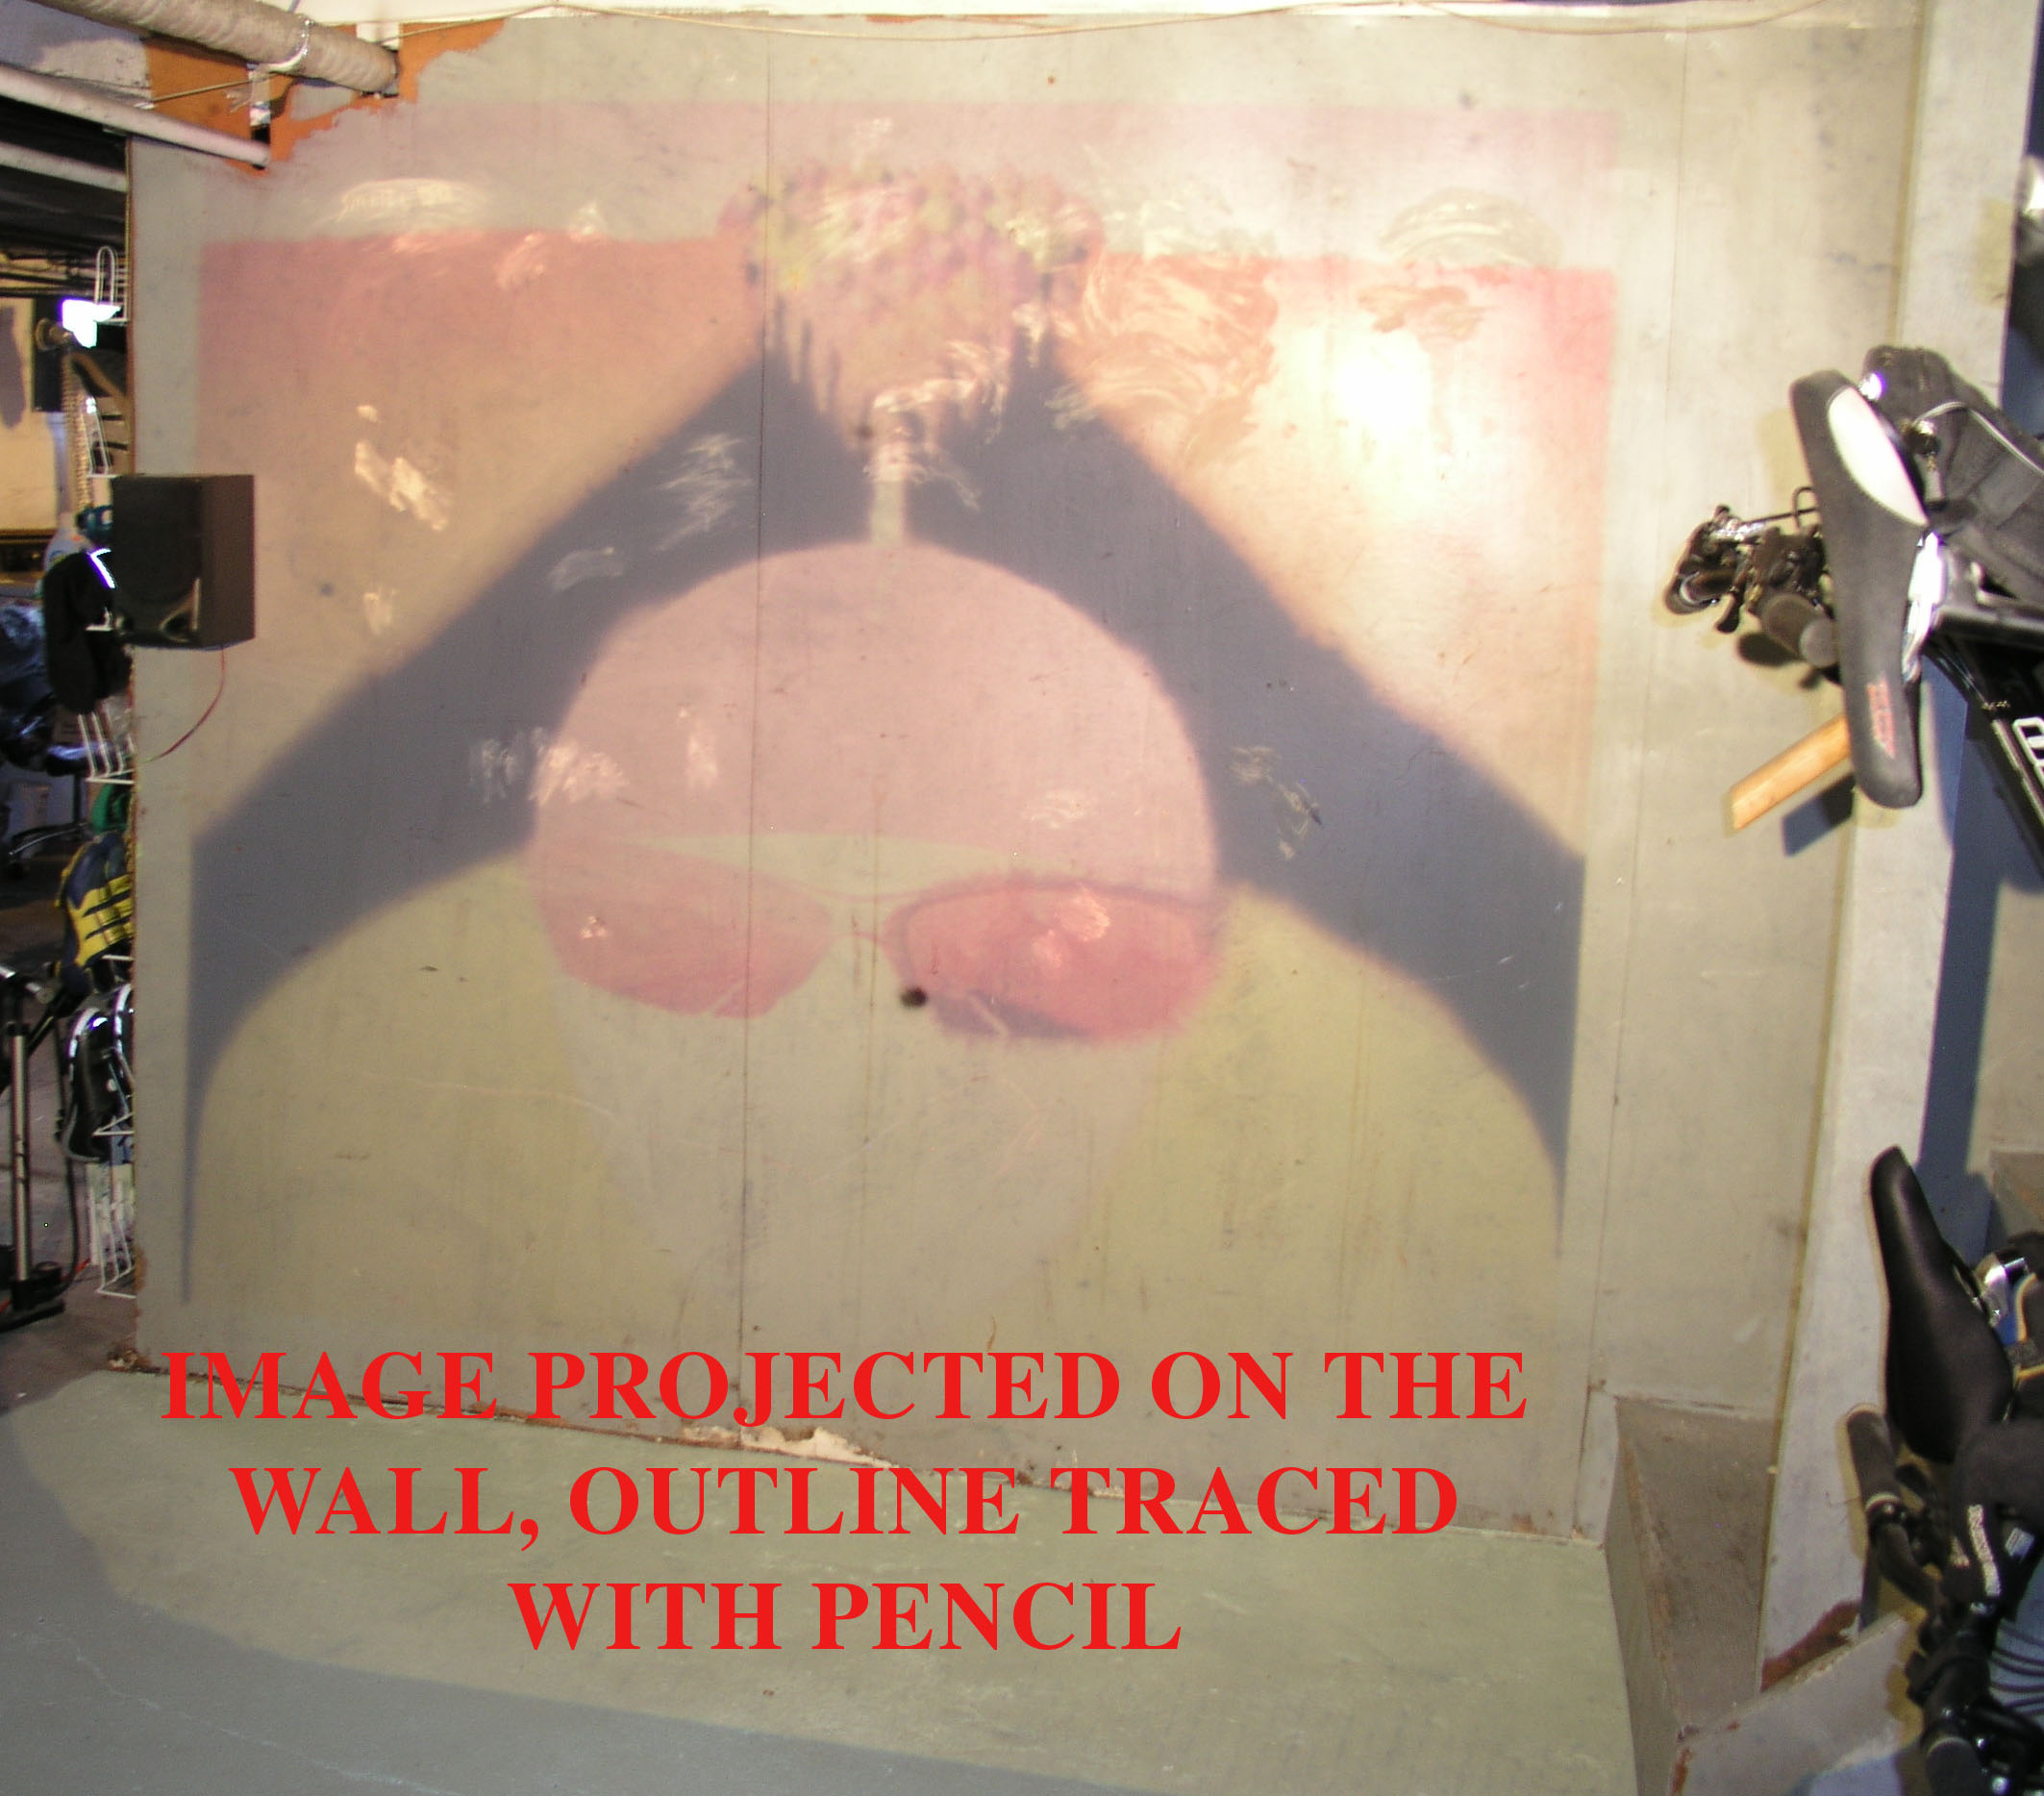
Projec the image on the wall. The projection was more intense than it looks in the picture, but the photo came out better using flash.
Trace the image with a pencil and start painting. Paint the light colors first, let dry and then paint the dark colors.
We painted the mural with colors we already had, so we substituted the Yellow on the jersey with red. We realized once we started tracing that the peloton of other riders in the back would be hard to paint, so we decided to skip them altogether. HEY we didn't want to spend a week on this and cut into our cycling time :)
Paint It and You're Done!

You may want to do two coats of paint just to be on the safe side.
If you are some kind of perfectionist, go ahead and use masking tape, we painted in free hand and it came out alright! Again, we were doing this quickly, WE ARE CYCLISTS NOT ARTISTS!
Hope you are inspired to make something like this!
If you are some kind of perfectionist, go ahead and use masking tape, we painted in free hand and it came out alright! Again, we were doing this quickly, WE ARE CYCLISTS NOT ARTISTS!
Hope you are inspired to make something like this!