Using Fusion 360 to Understand the Geneva Mechanism
by alamtania in Design > Software
3441 Views, 8 Favorites, 0 Comments
Using Fusion 360 to Understand the Geneva Mechanism
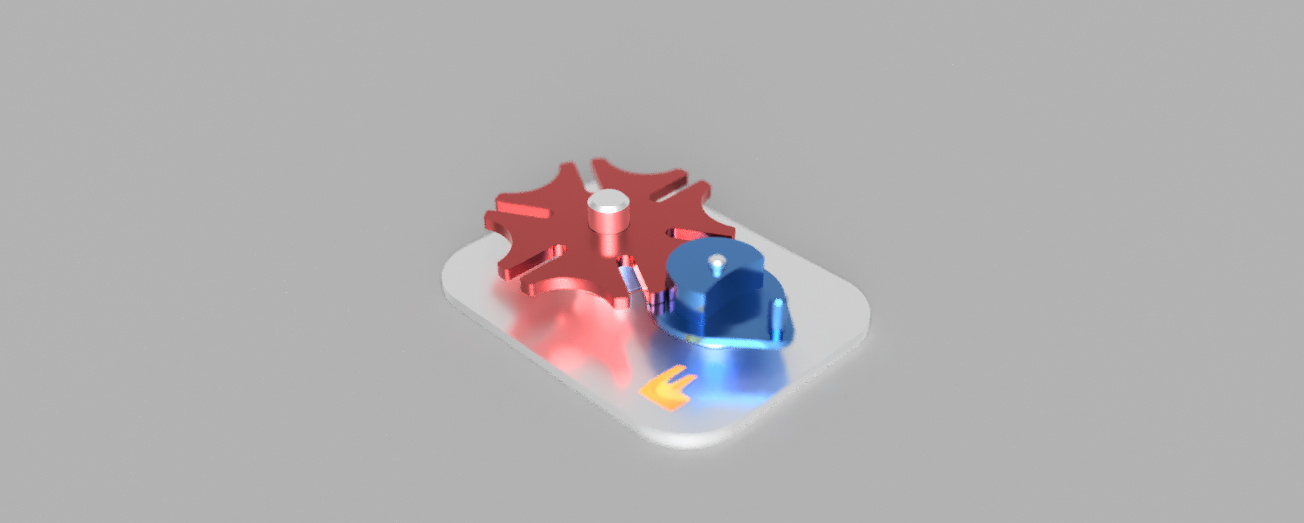
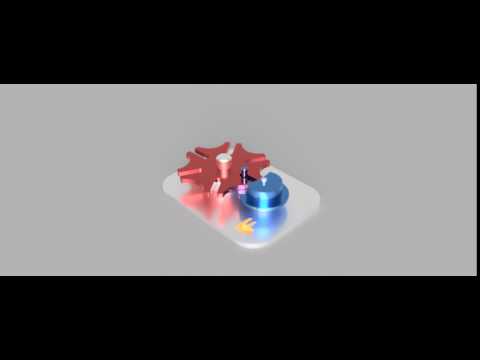
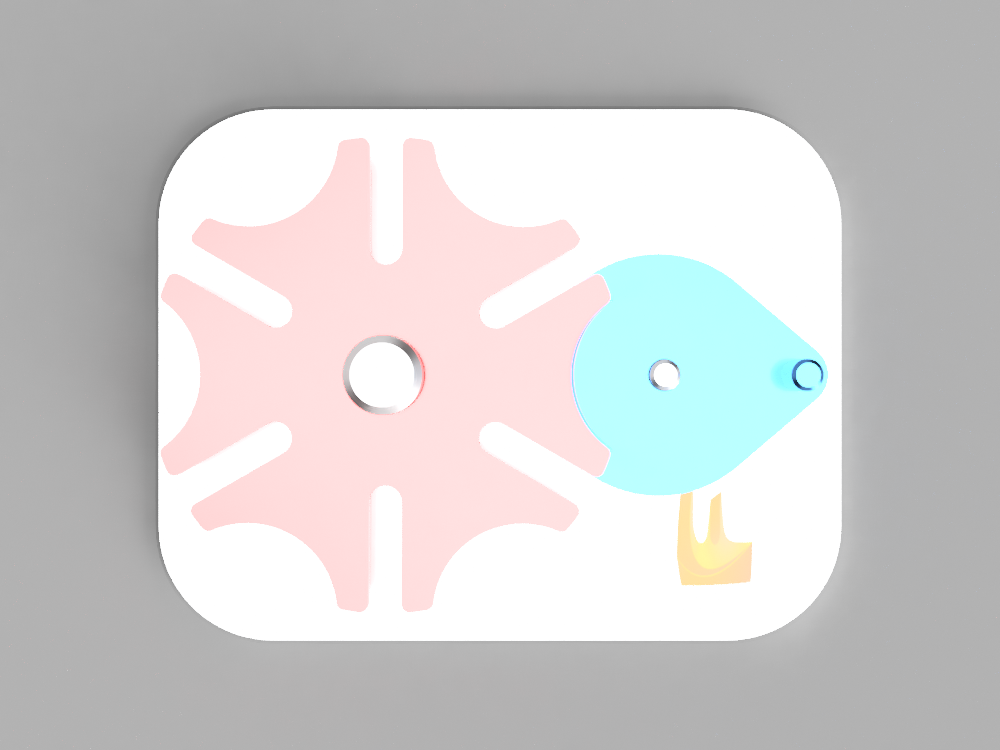
The Geneva drive, also called Maltese cross is a gear mechanism that translates a continuous rotation into an intermittent rotary motion.
You can see this project on Autodesk Gallery too: https://gallery.autodesk.com/projects/geneva-mechanism-2
Ideation of the Challenge
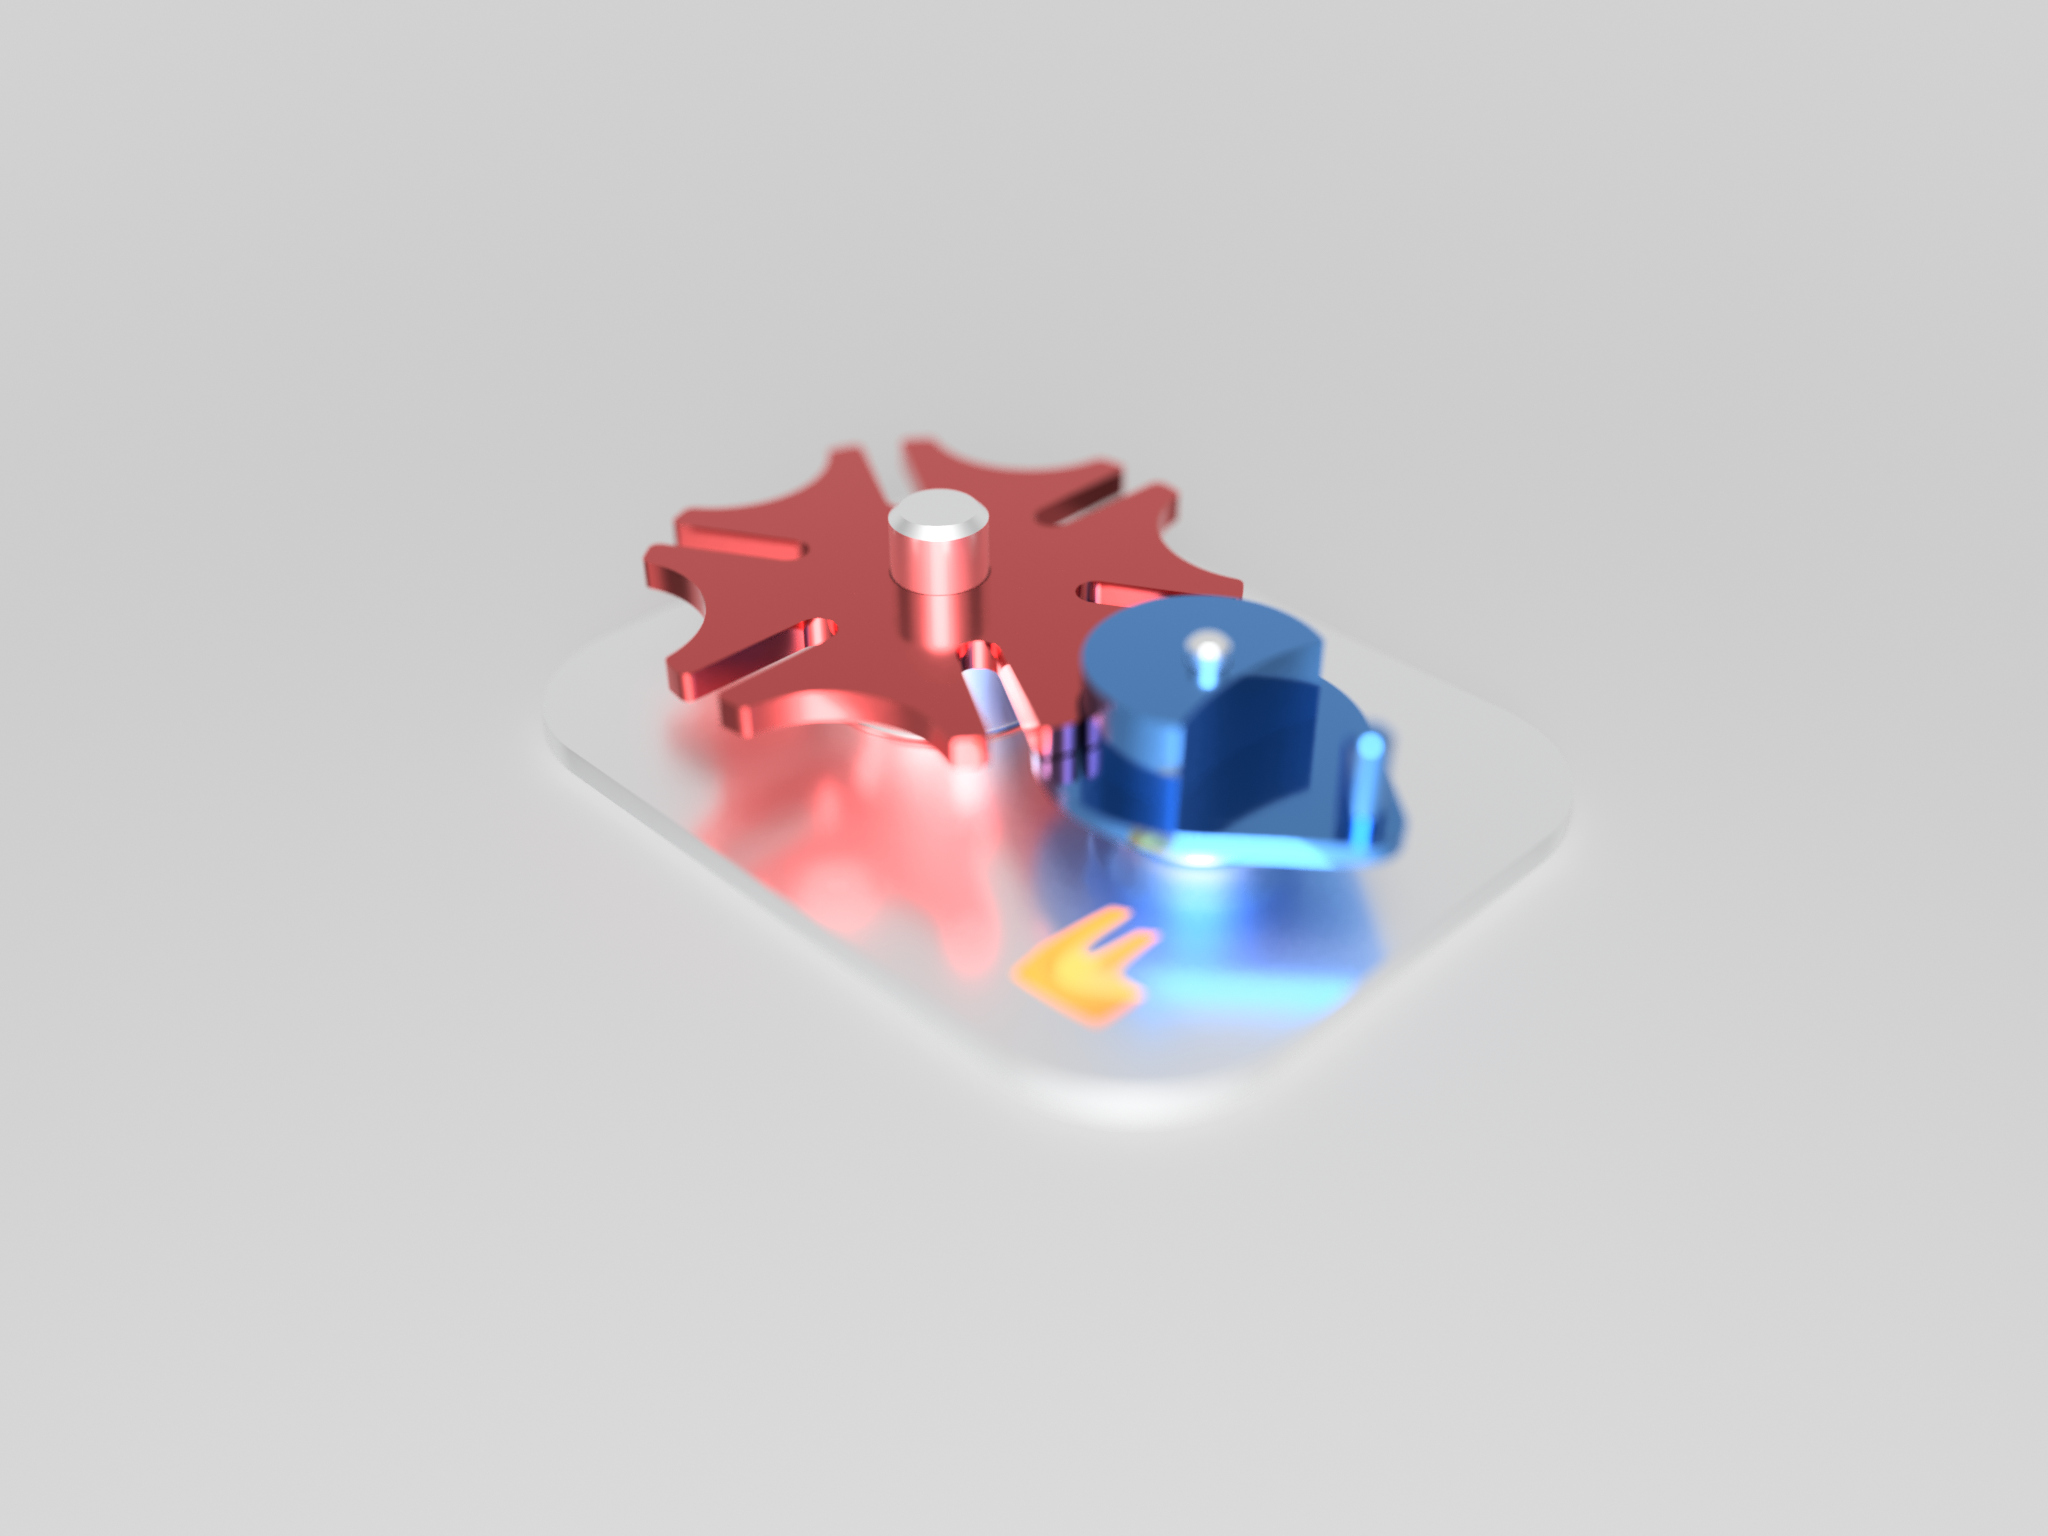
To study the mechanism, we need 3 models:
- A rotating drive wheel with a pin
- A driven wheel with slots where the pin can be inserted
- A base where the above two will stand
Creating the Geneva Wheel
.jpg)
.png)
.png)
.png)
.png)
.png)
.png)
.png)
.png)
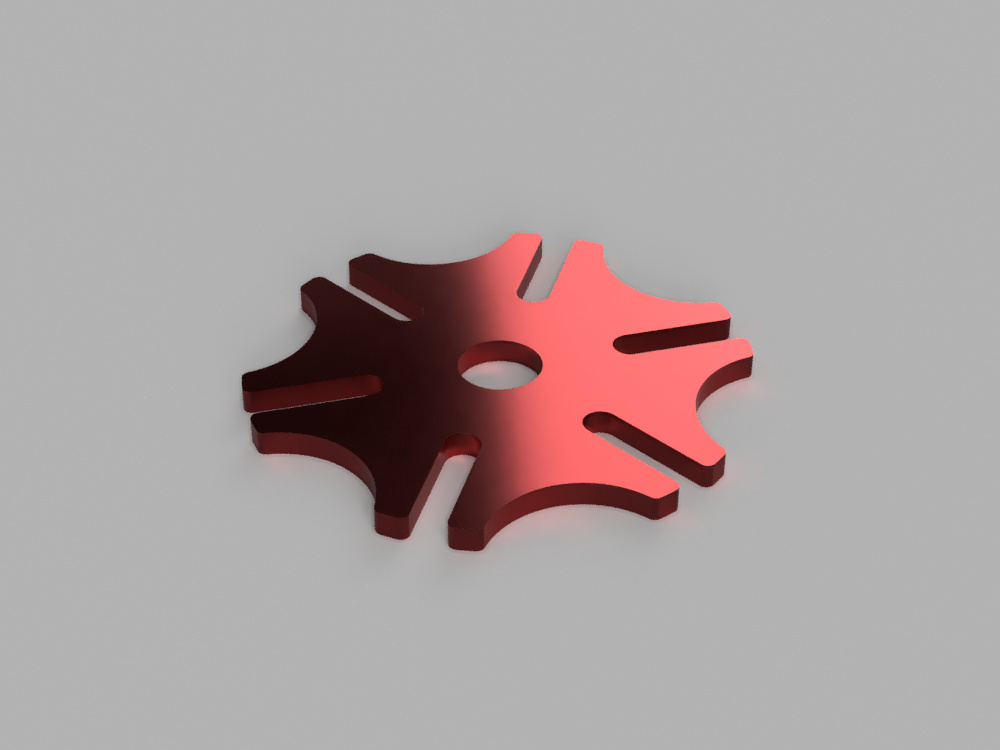
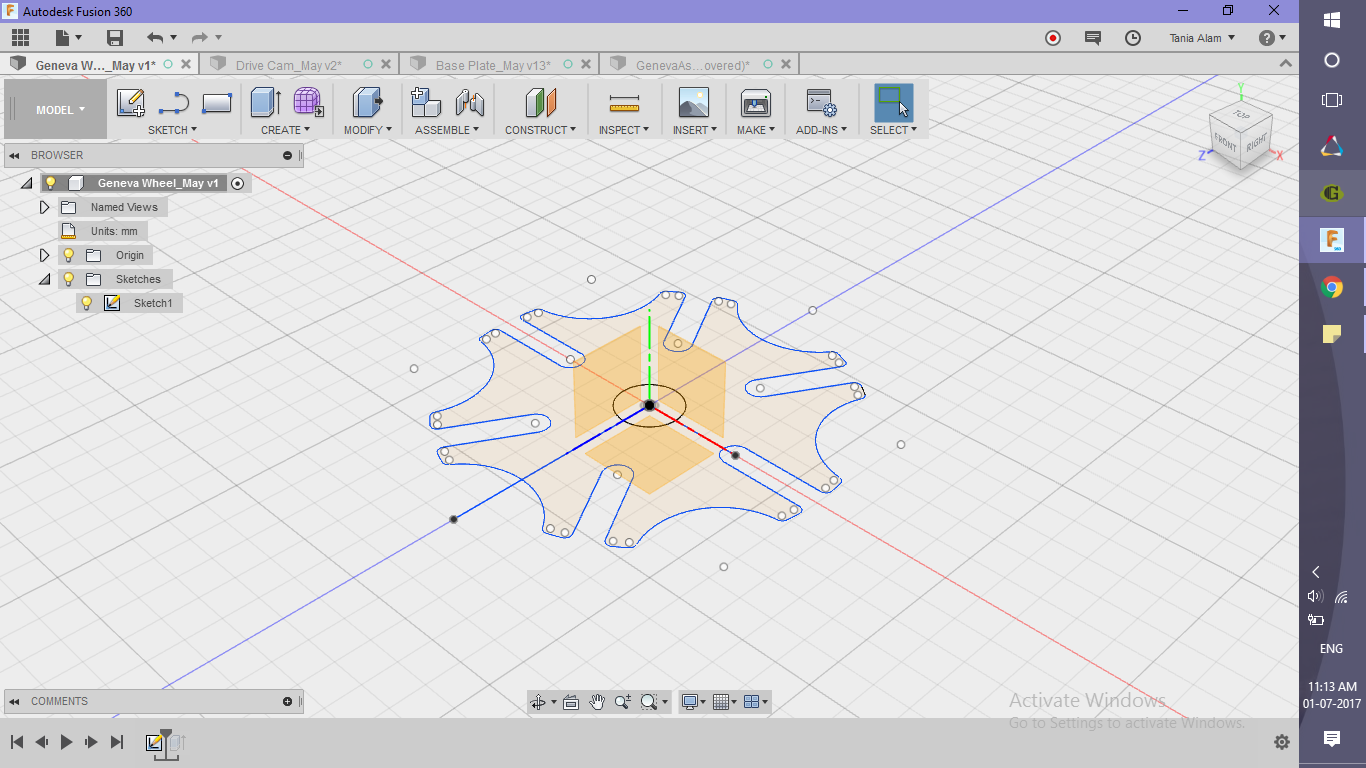
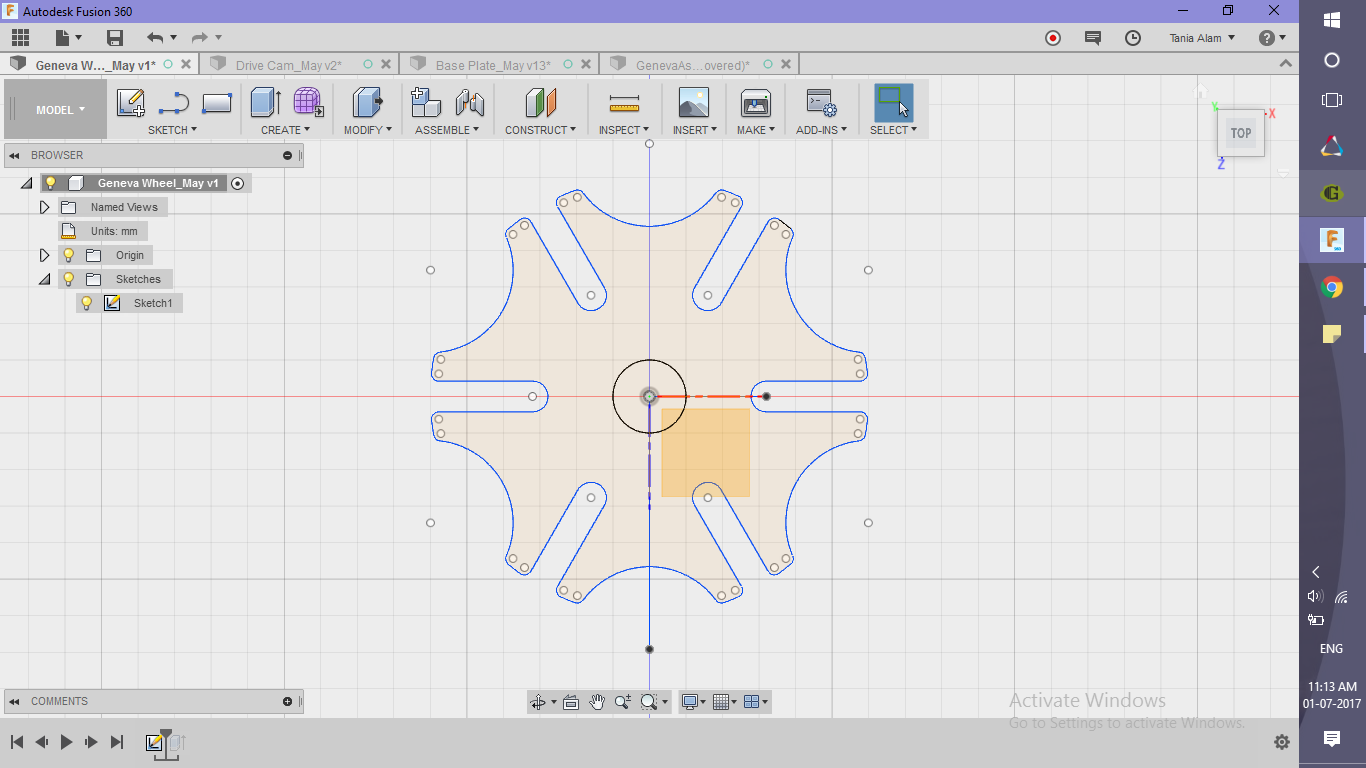
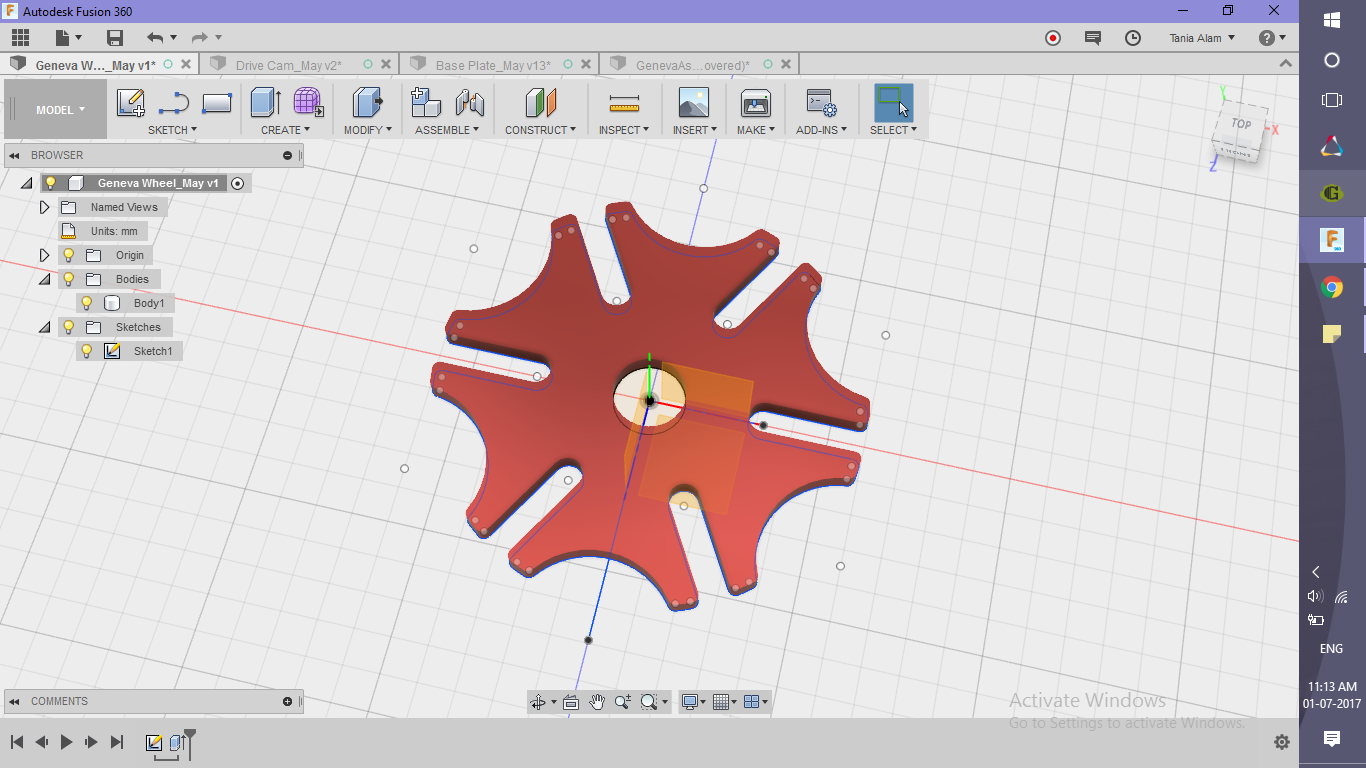
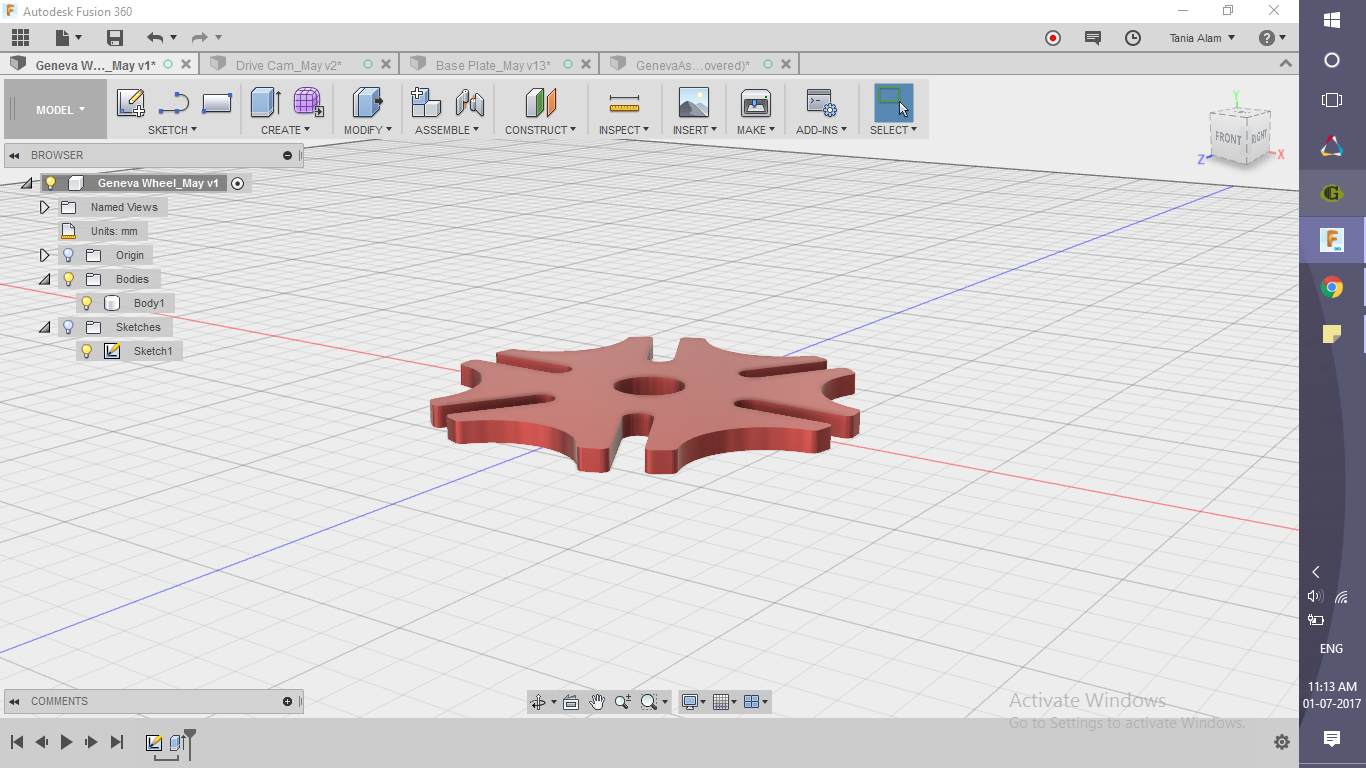
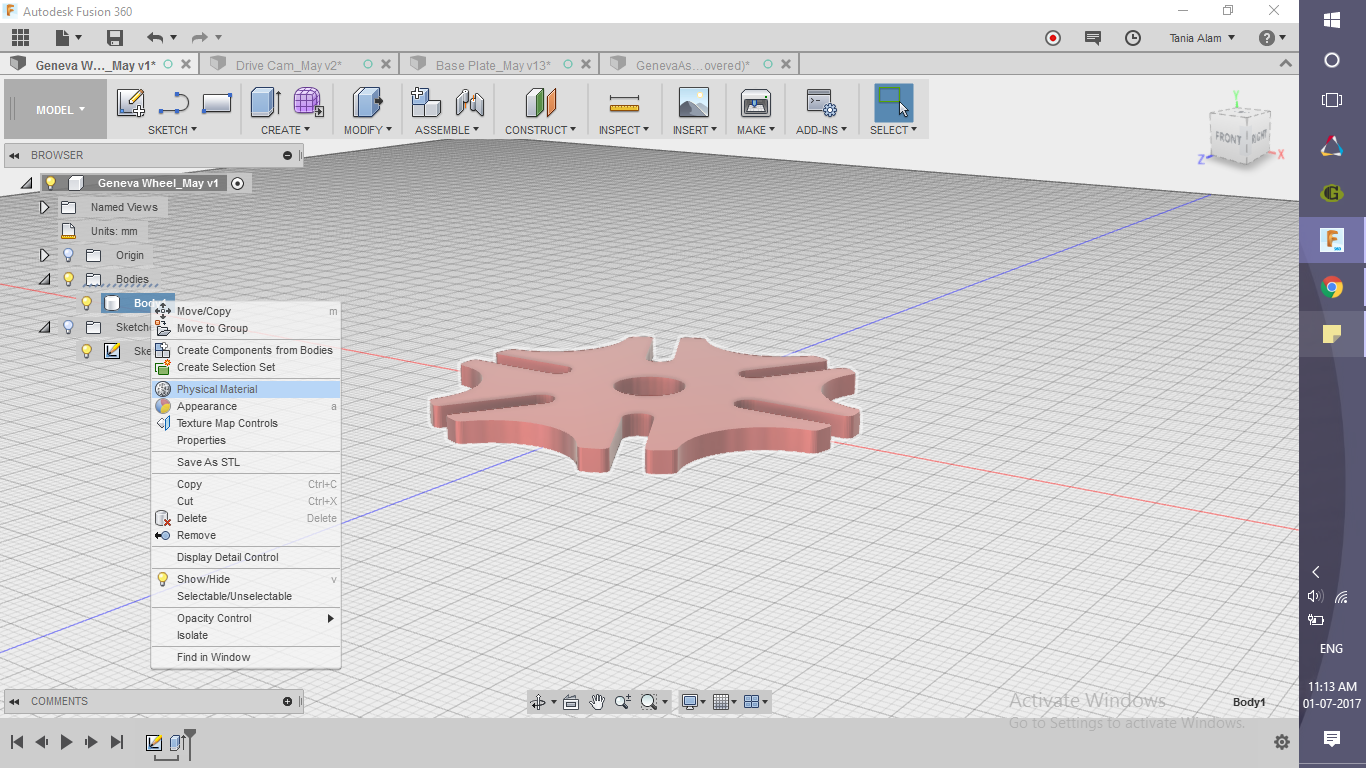
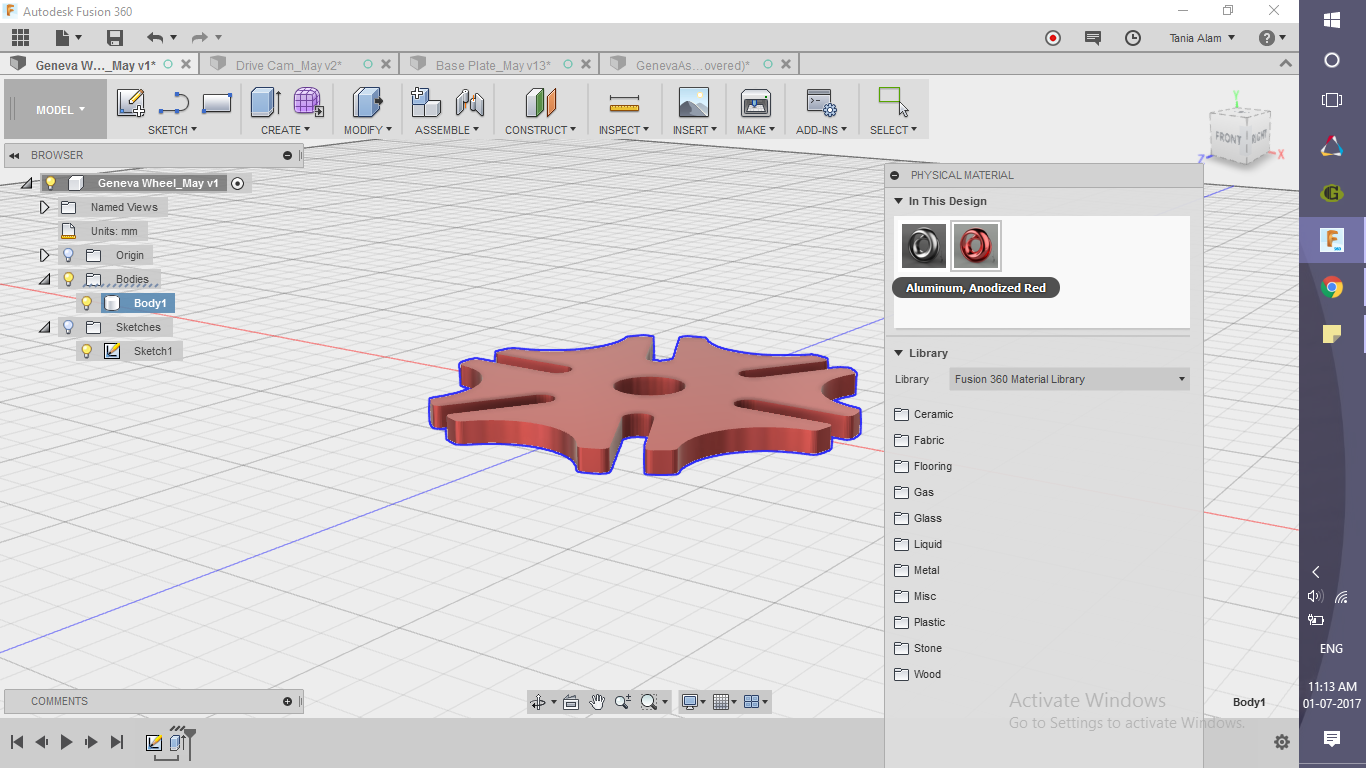
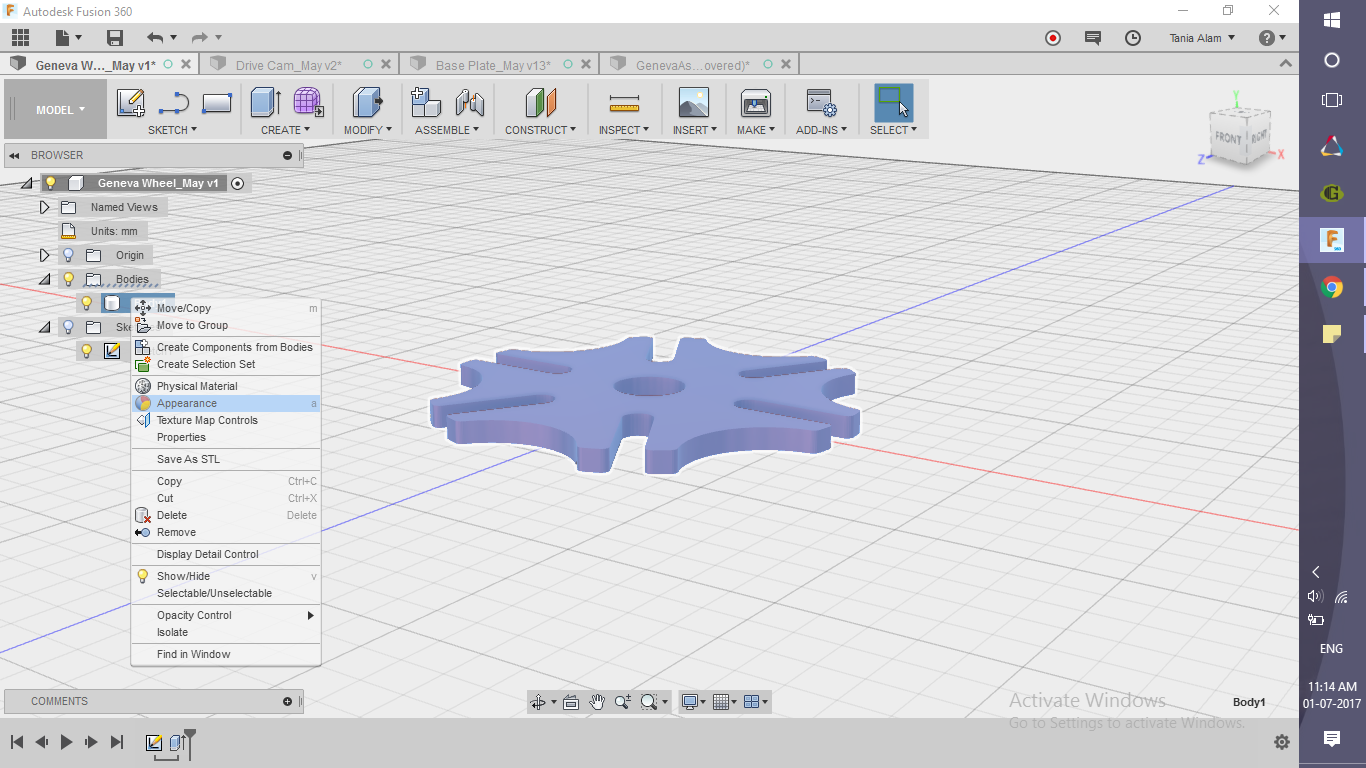
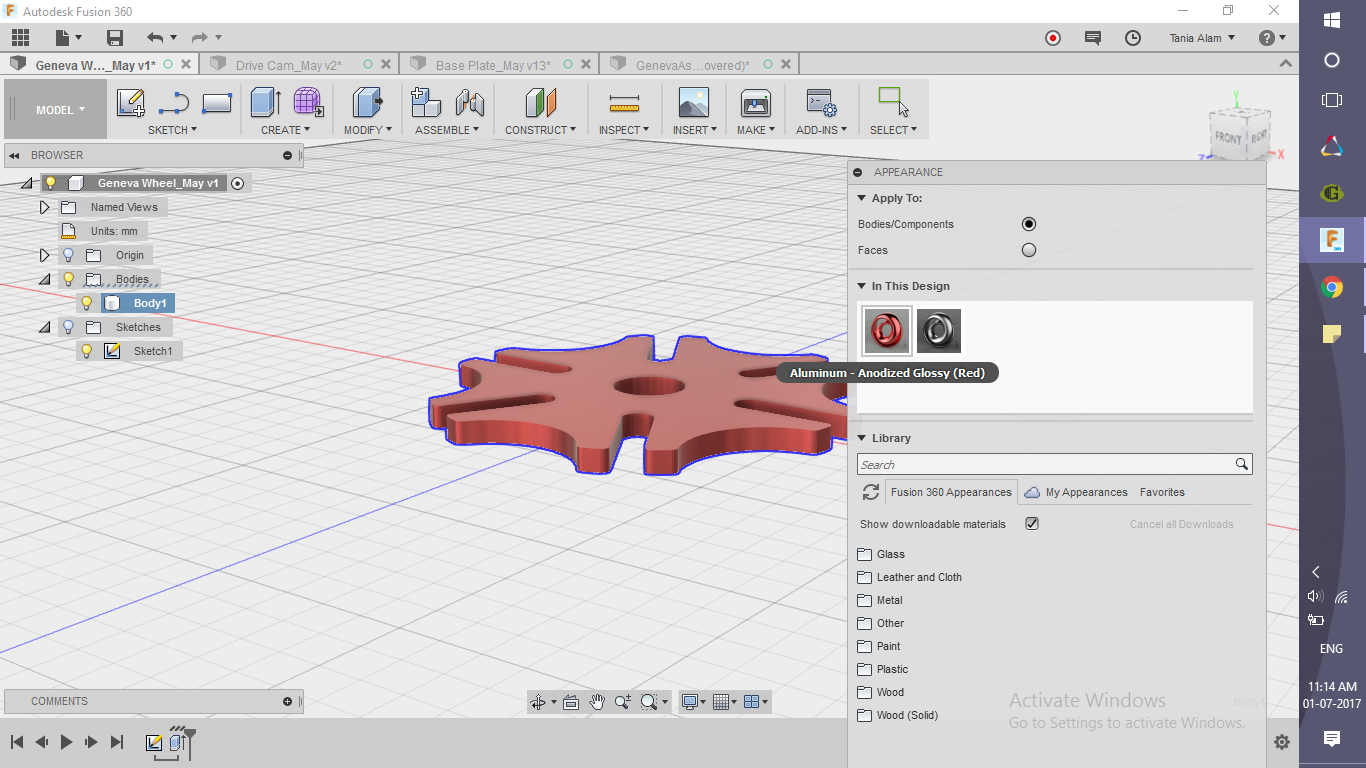
All the specifications of the wheel are given in the pdf file. The material that I have chosen for the wheel is Red Anodised Aluminium. You can choose a material of your choice.
For a step-by-step guide follow the link to my screencast: http://autode.sk/2rkbuTY
Downloads
Creating the Drive Cam
.png)
.png)
.png)
.png)
.png)
.png)
.png)
.png)
.png)
.png)
.png)
.png)
.png)
.png)
.png)
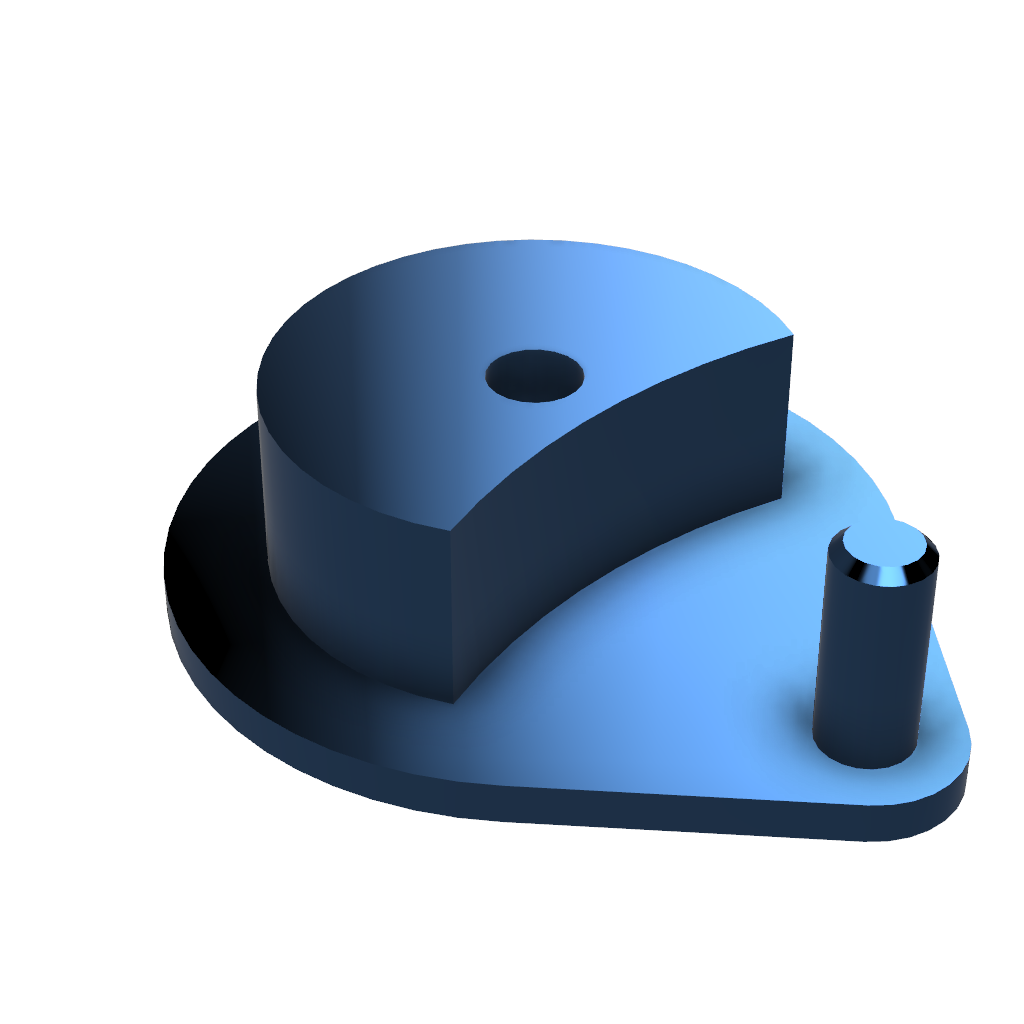
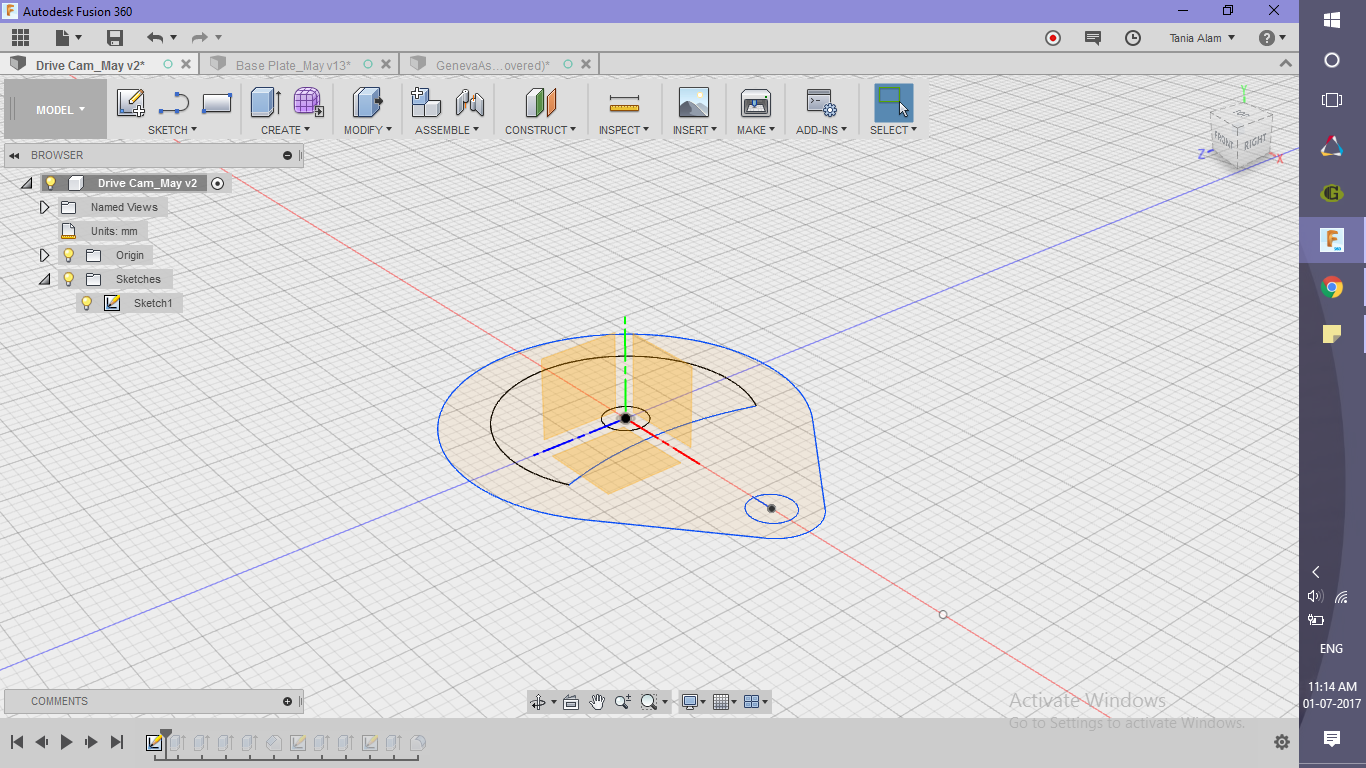
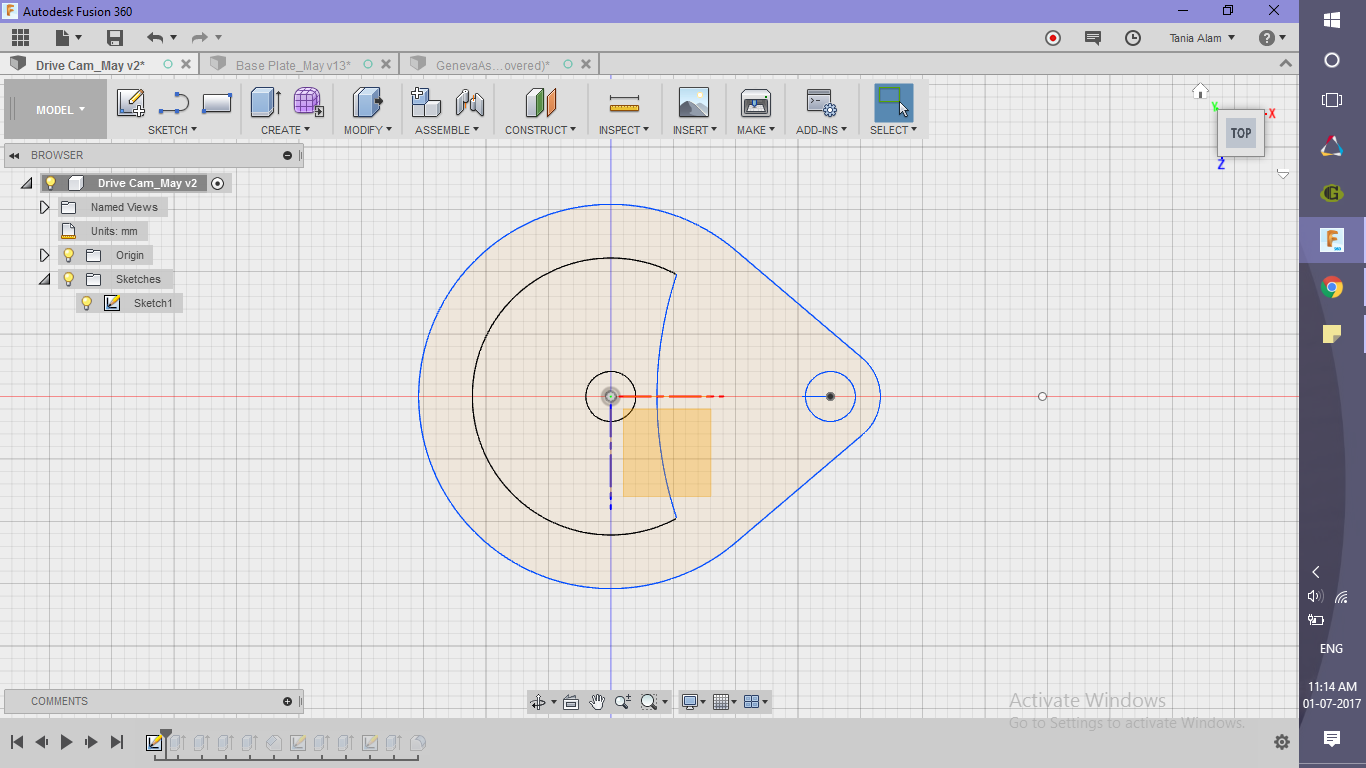
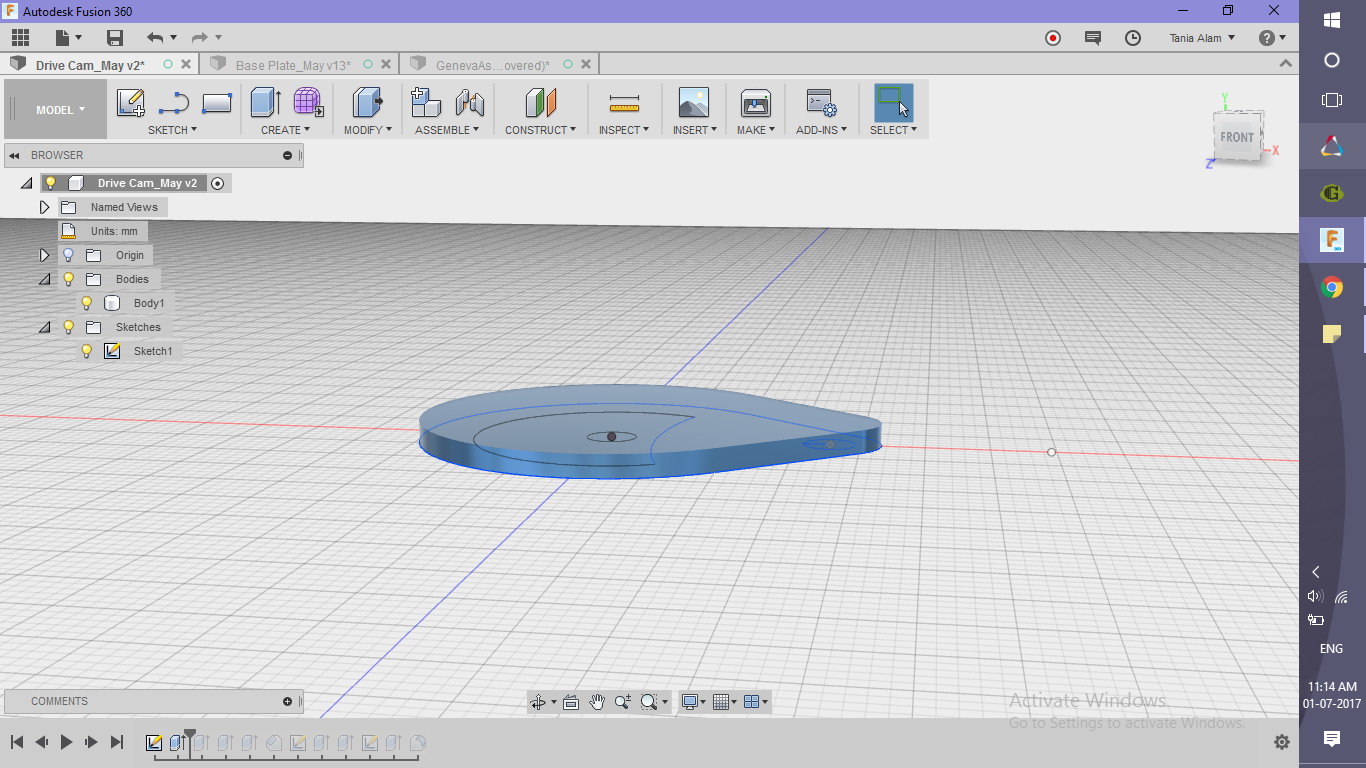
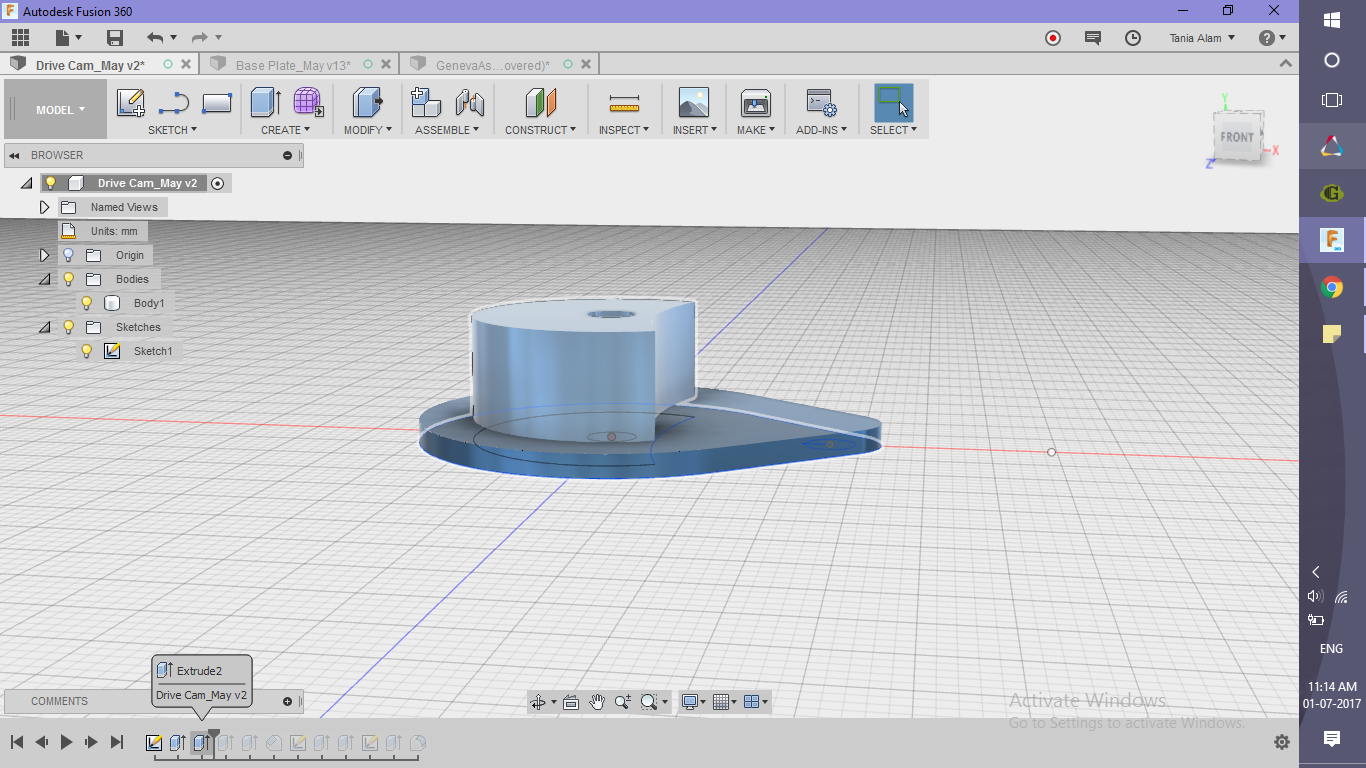
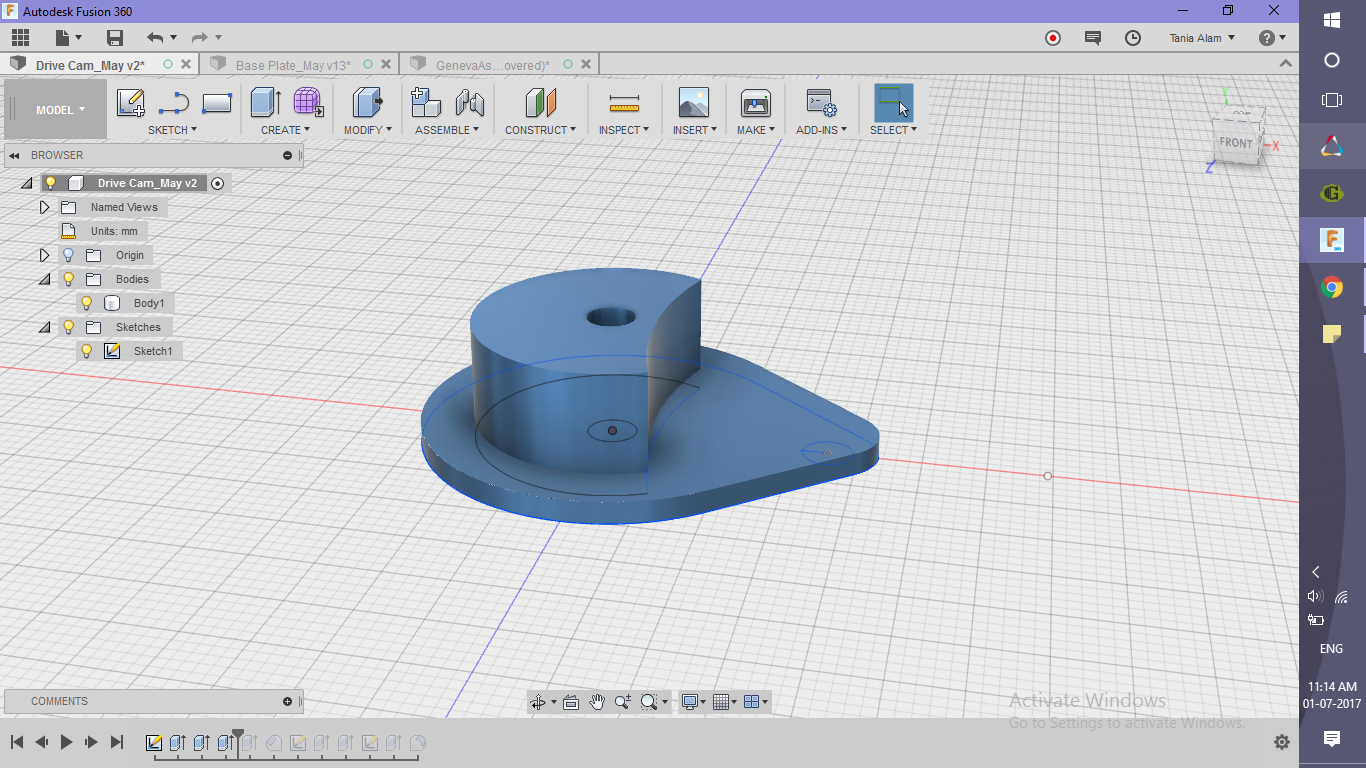
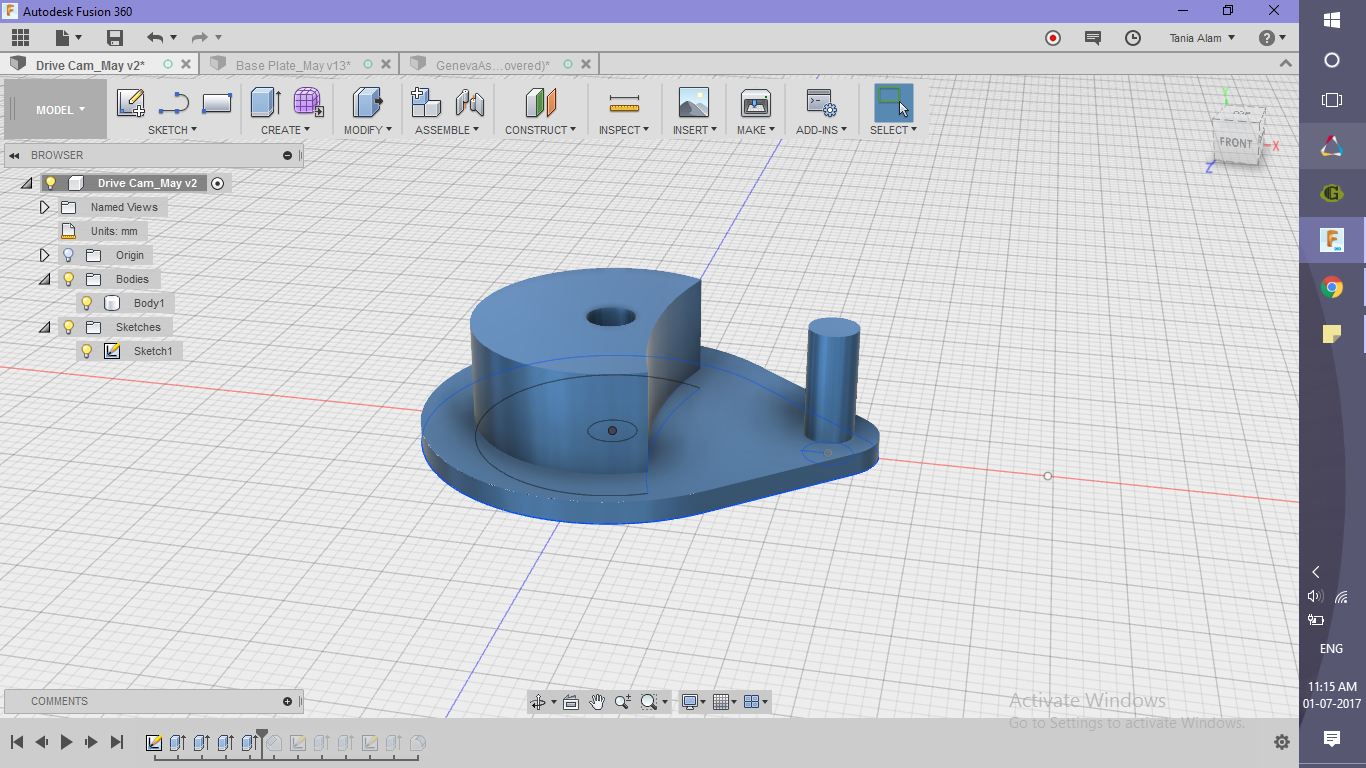
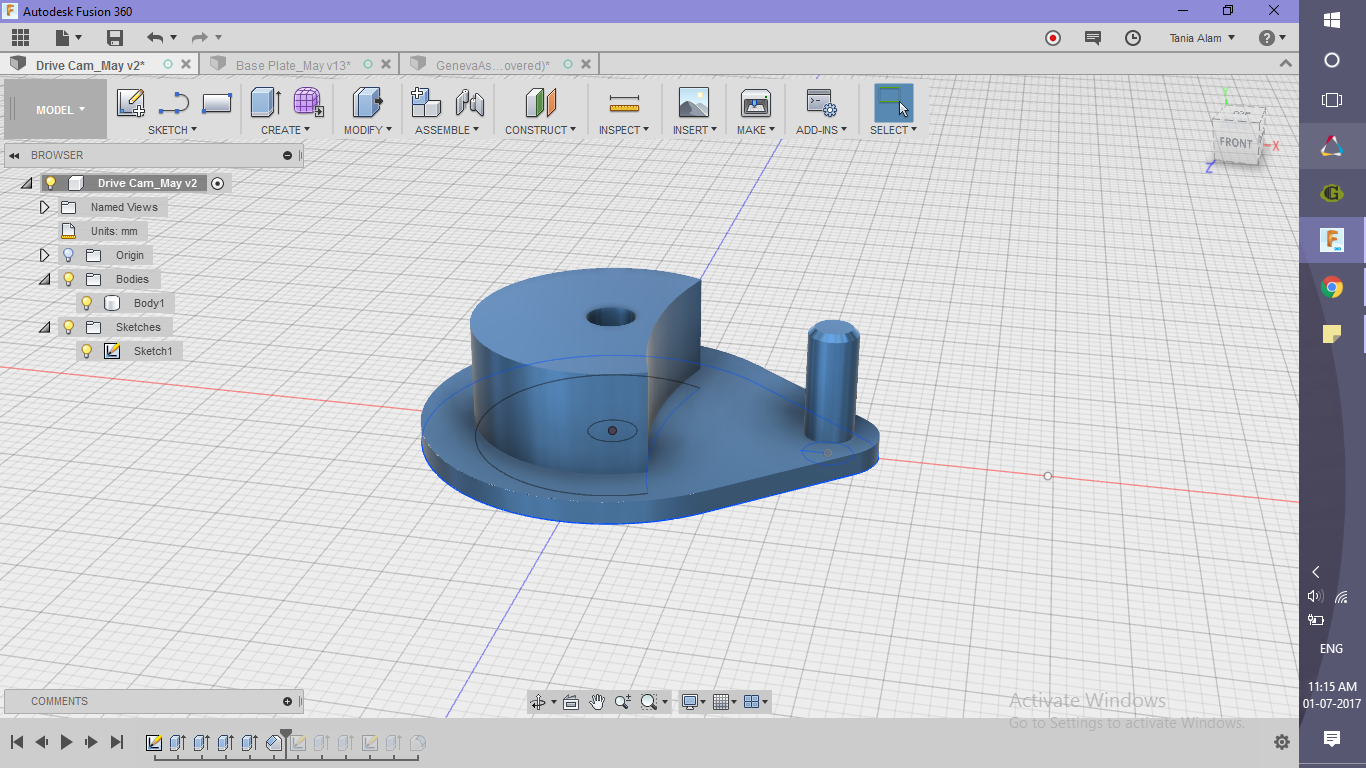
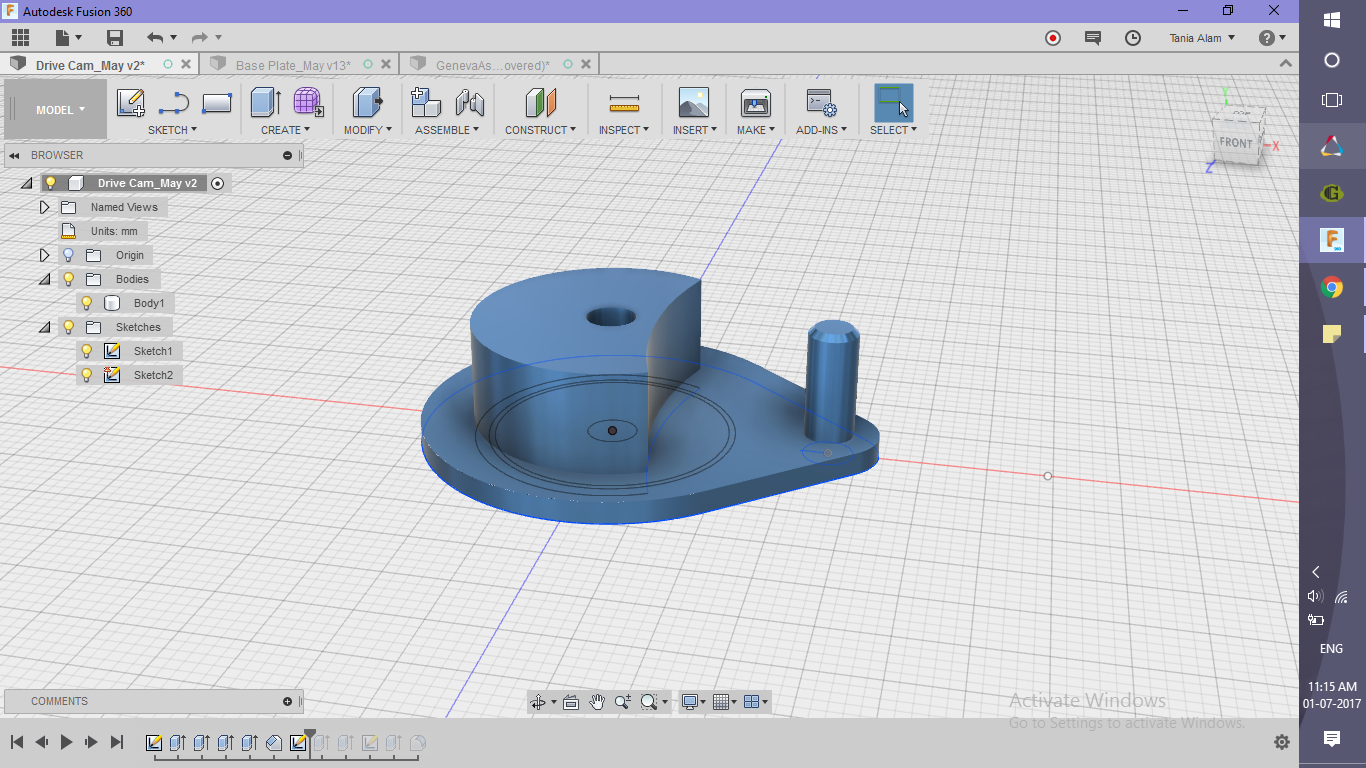
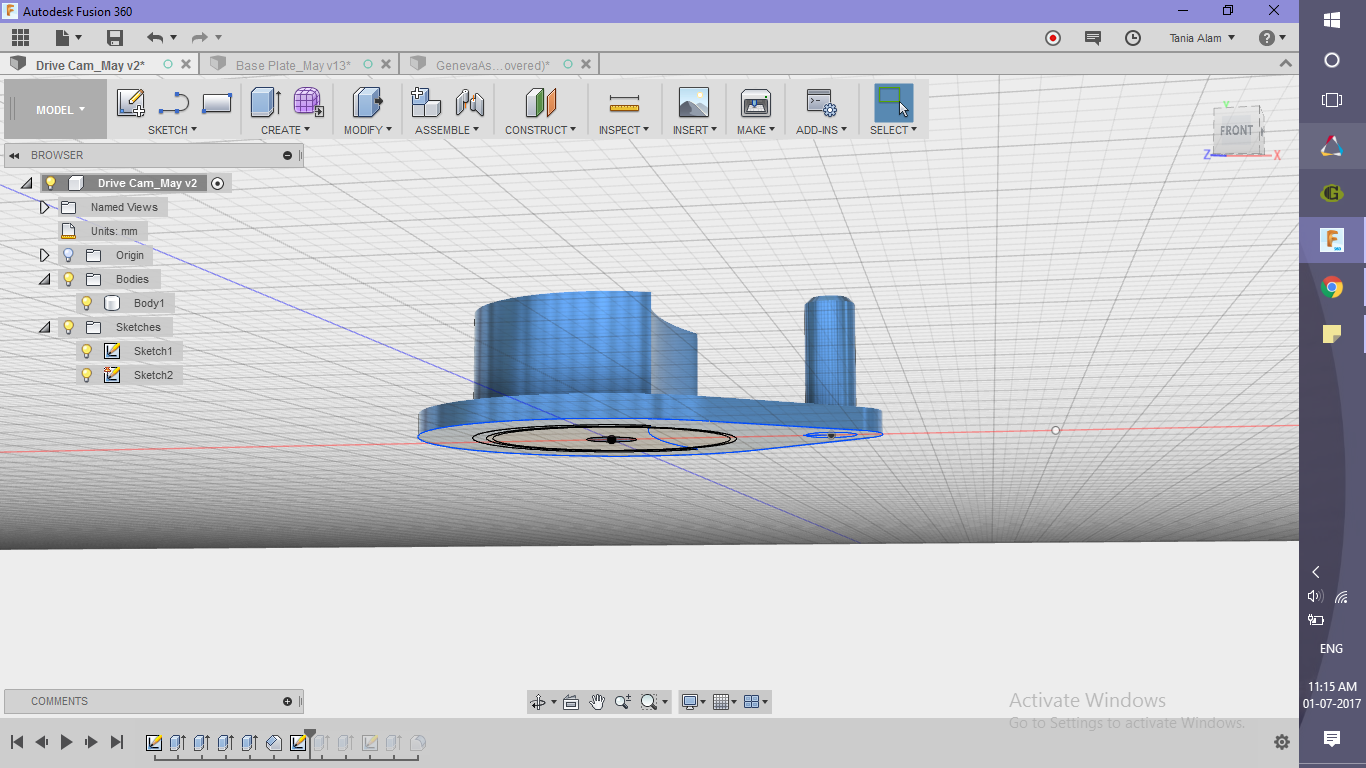
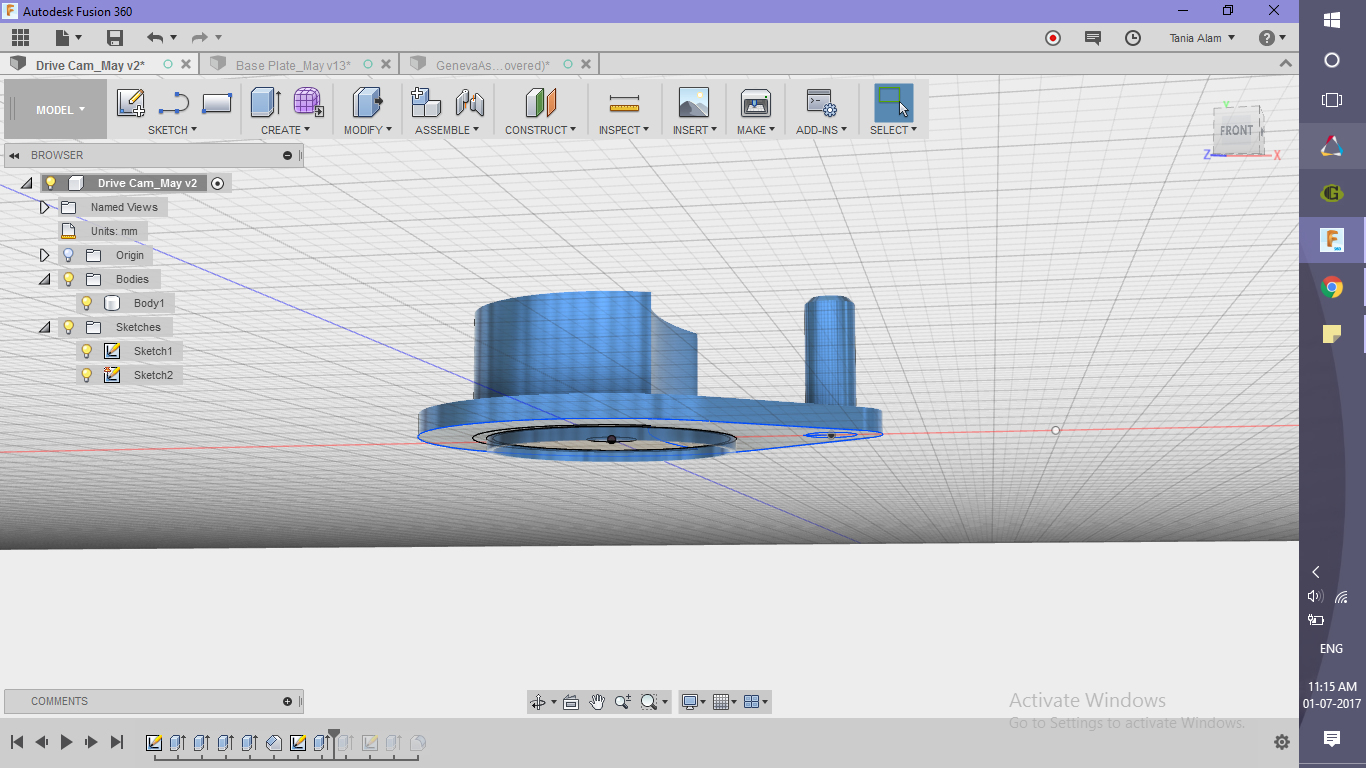
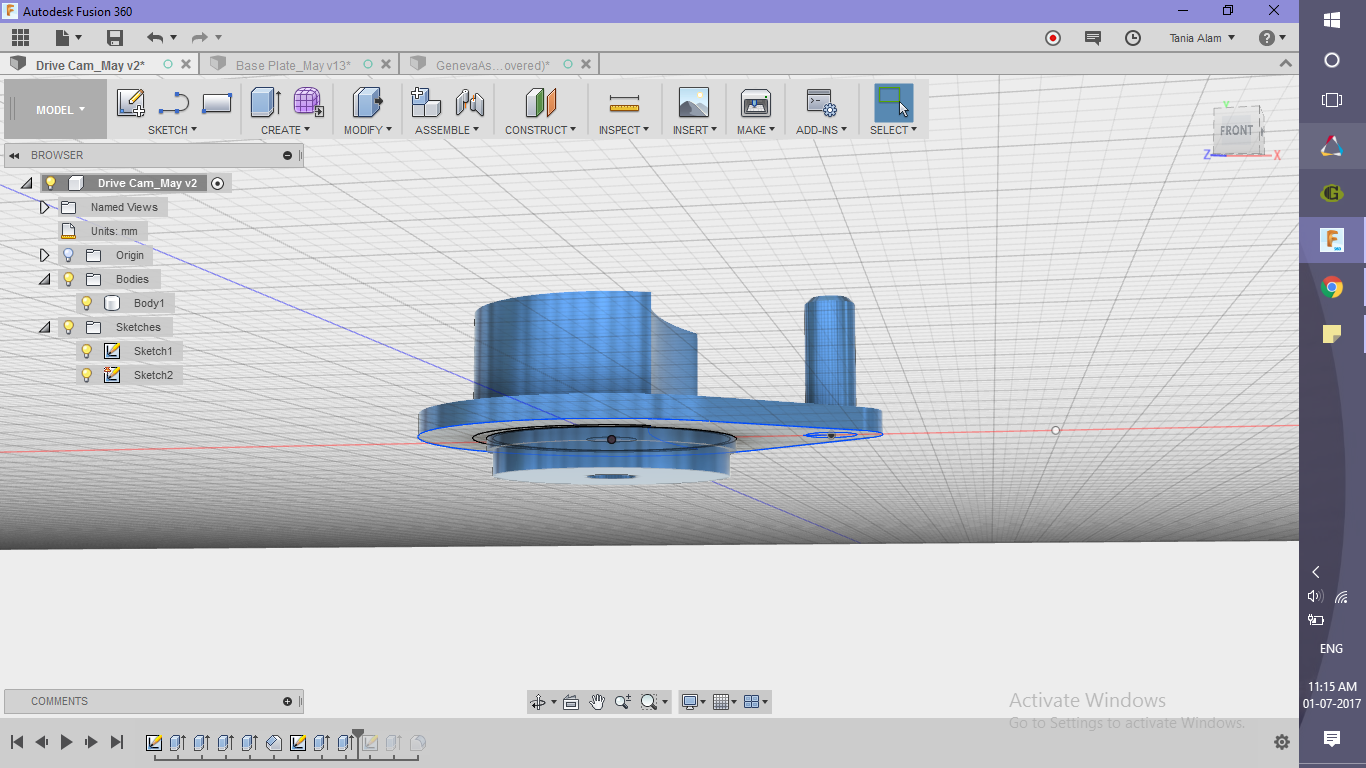
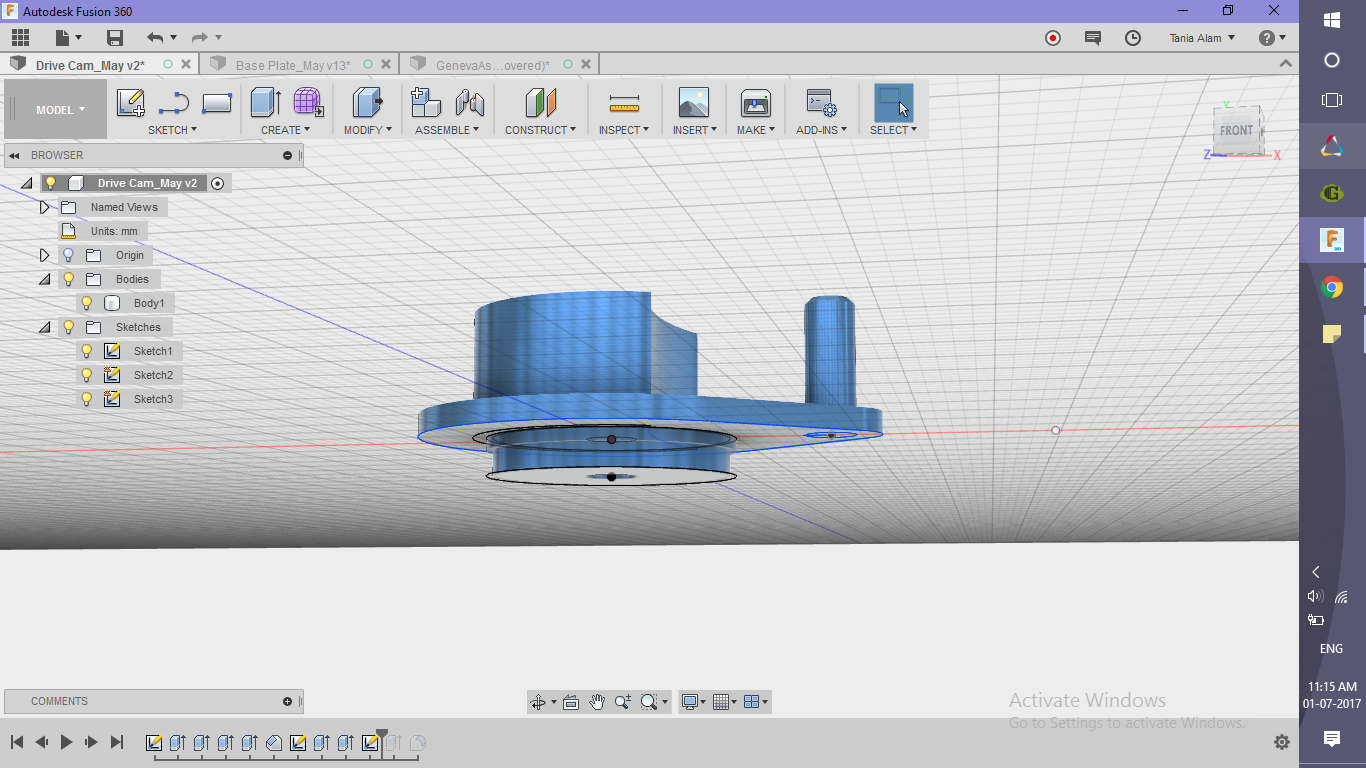
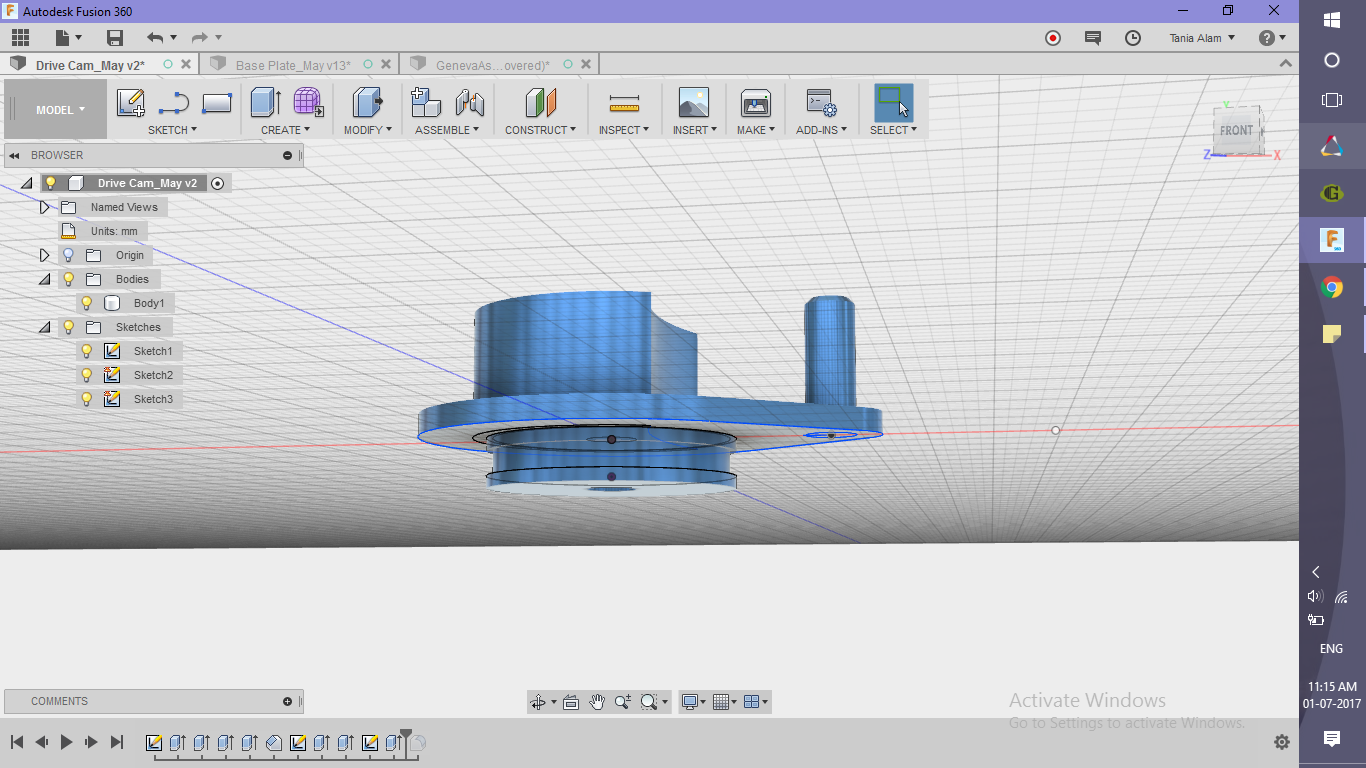
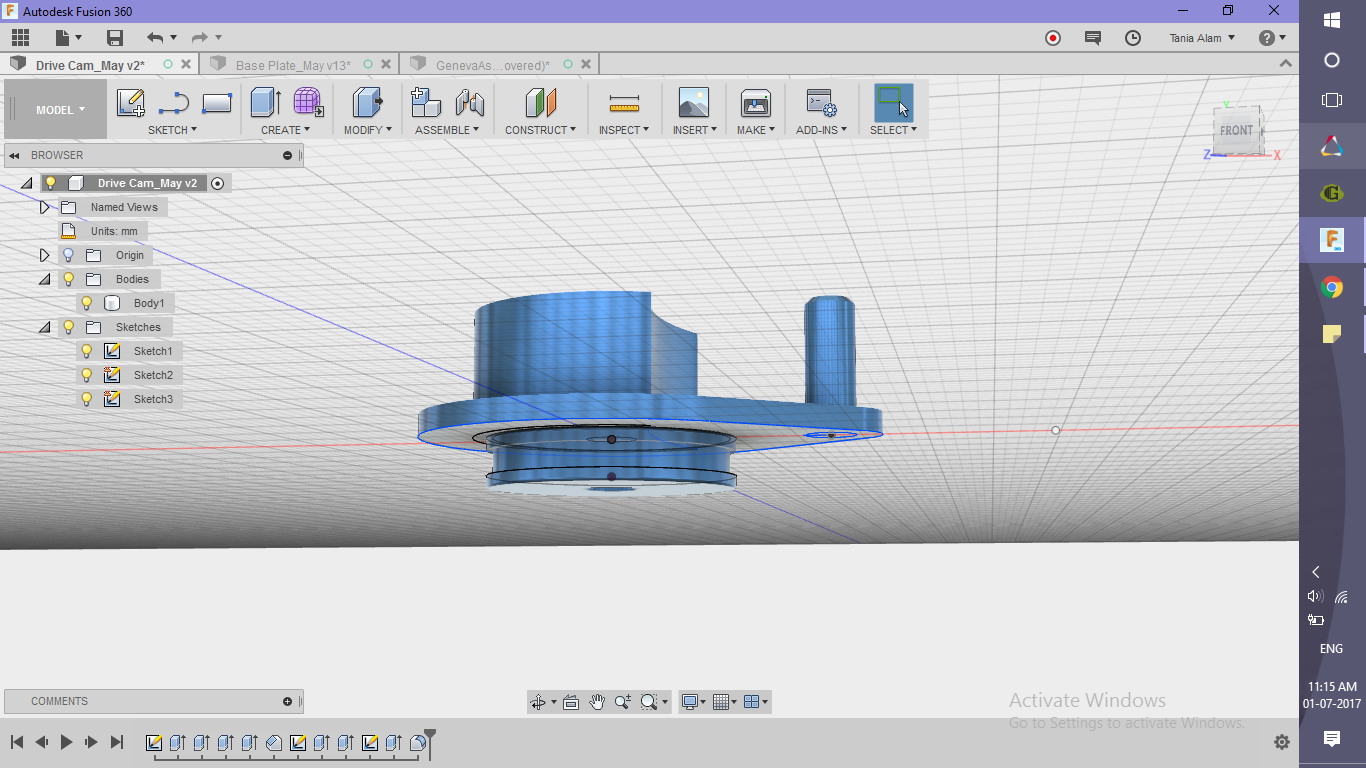
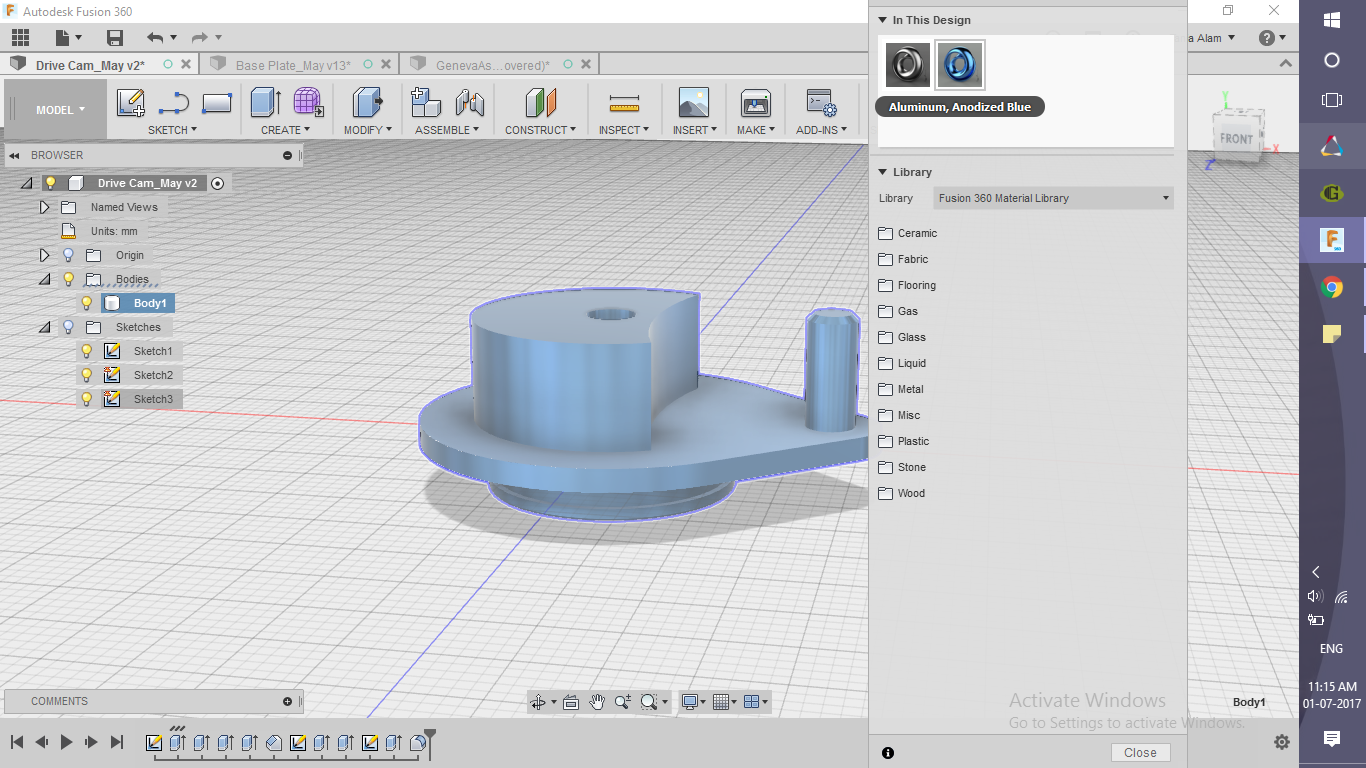
All the specifications of the cam are given in the pdf file. The material that I have chosen for the Drive Cam is Blue Anodised Aluminium. You can choose a material of your choice.
For a step-by-step guide follow the link to my screencast: http://autode.sk/2qPphhQ
Downloads
Creating the Base
.png)
.png)
.png)
.png)
.png)
.png)
.png)
.png)
.png)
.png)
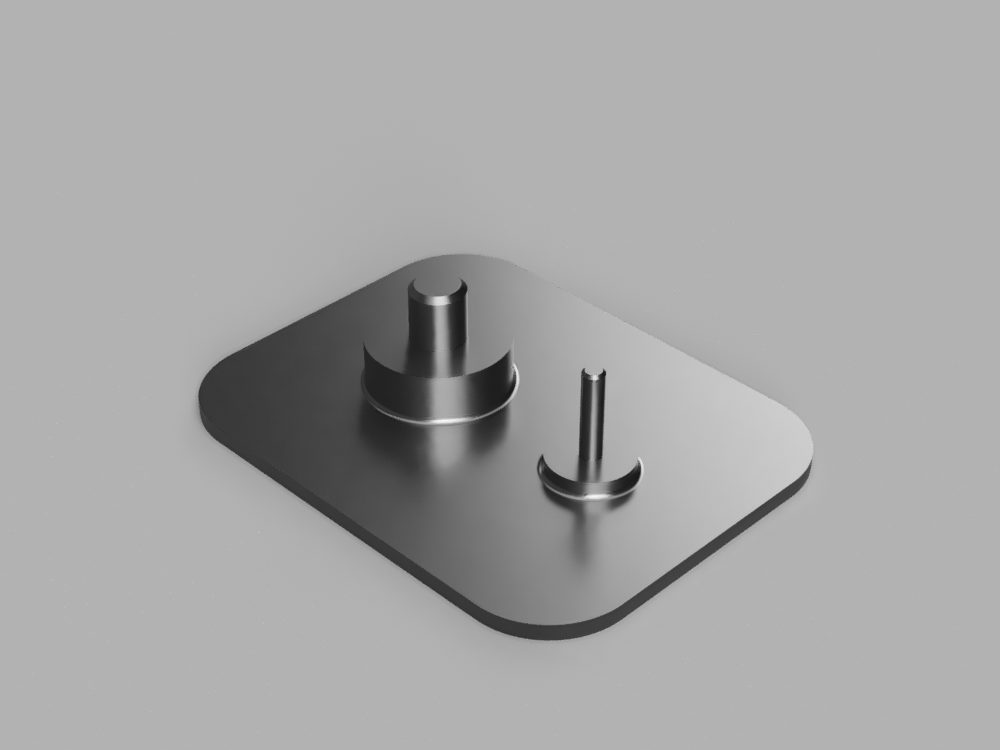
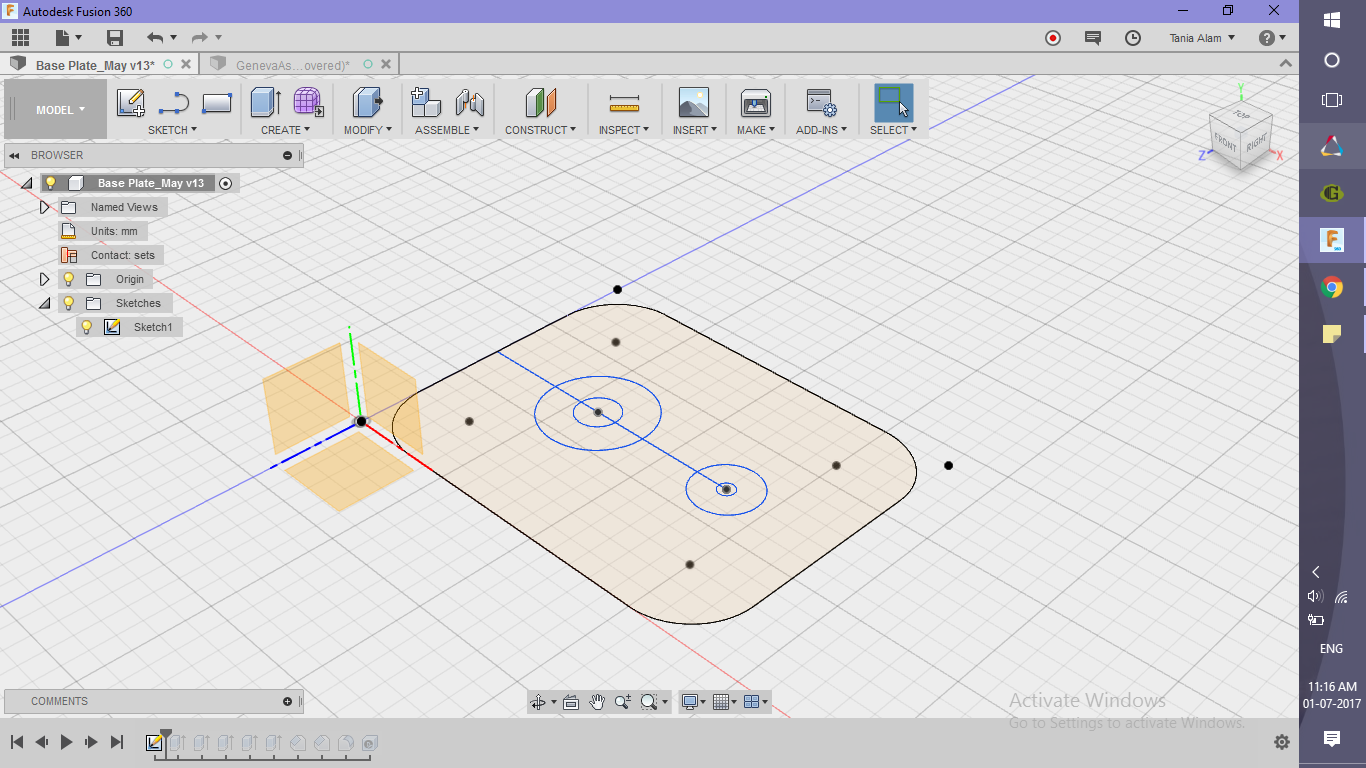
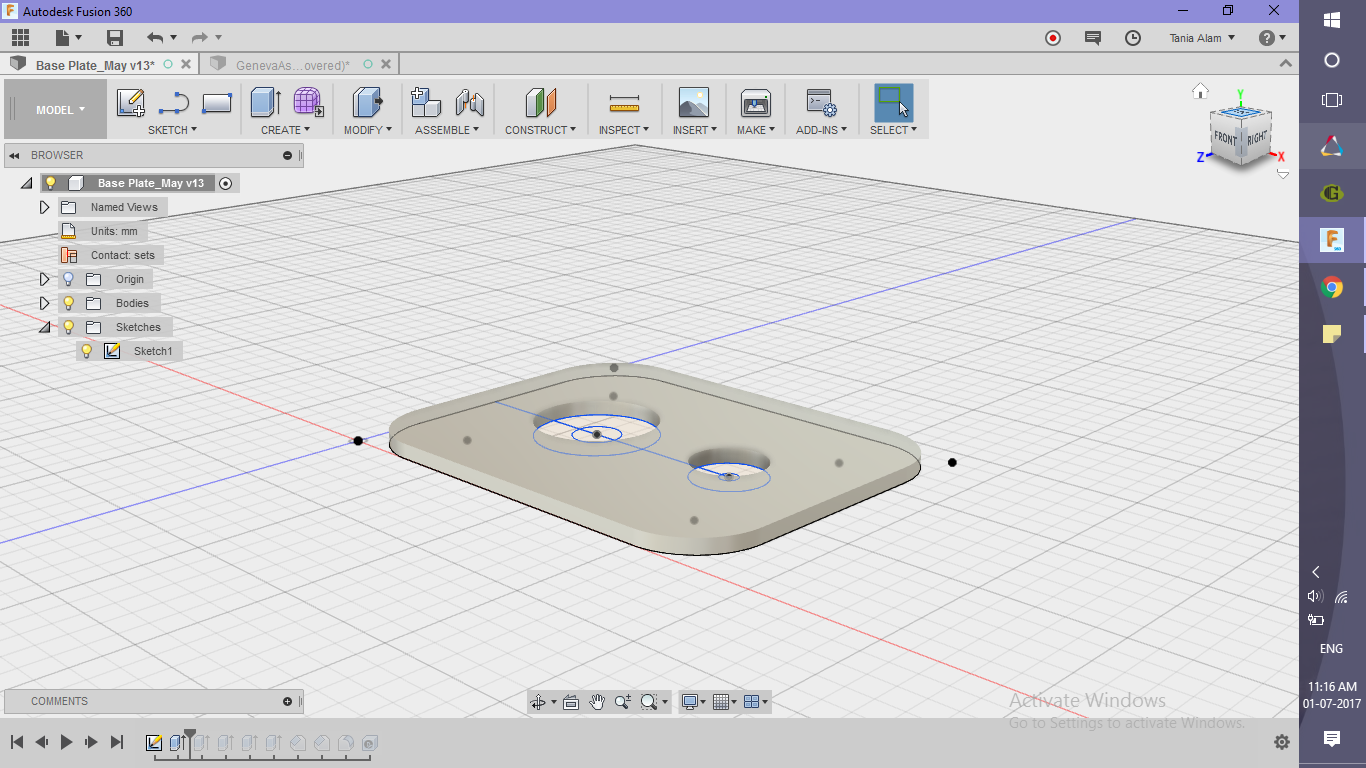
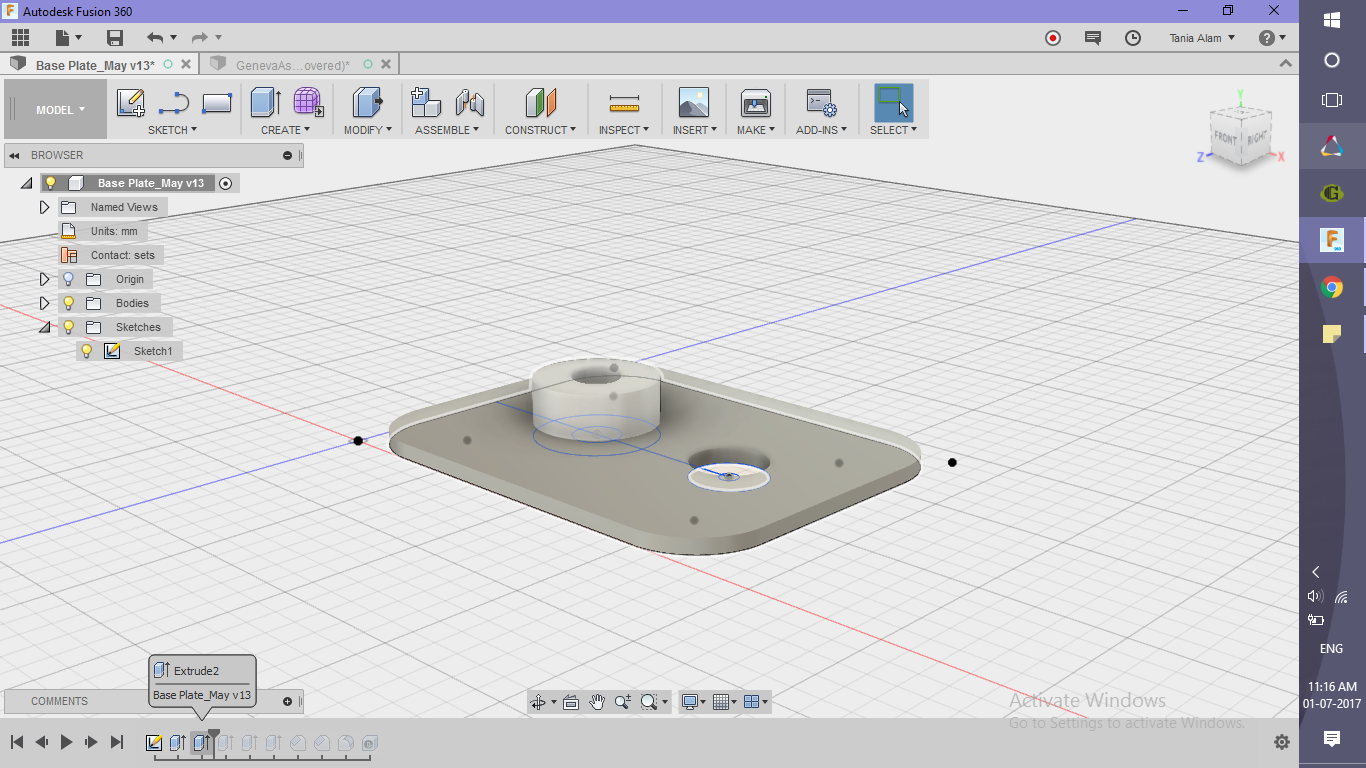
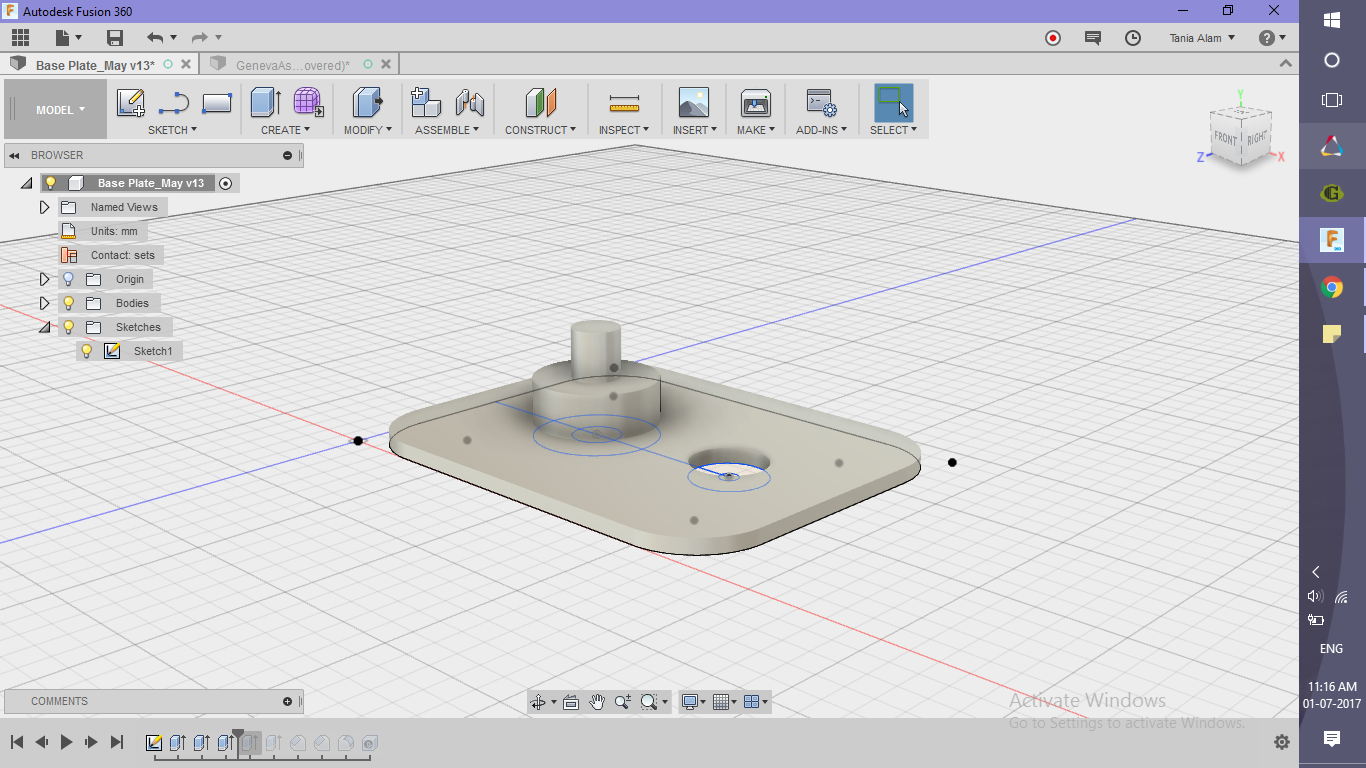
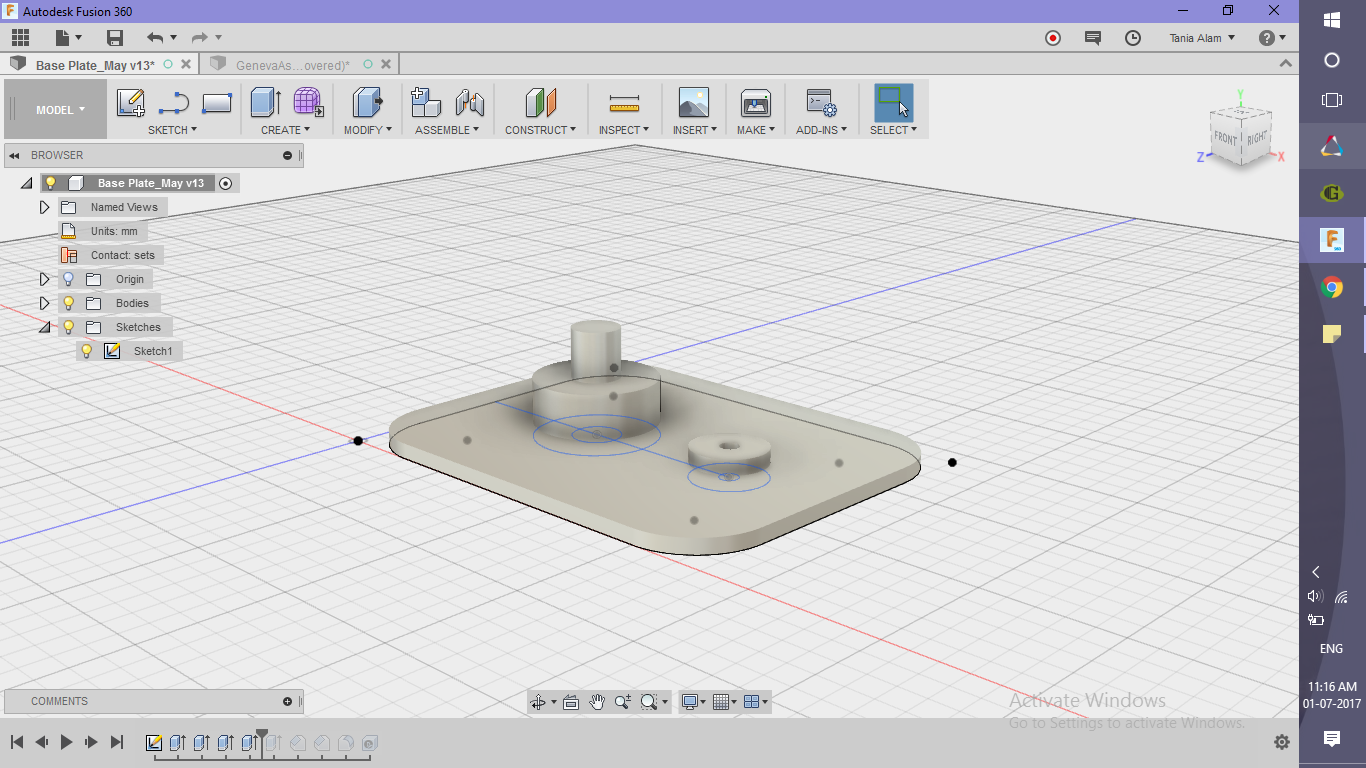
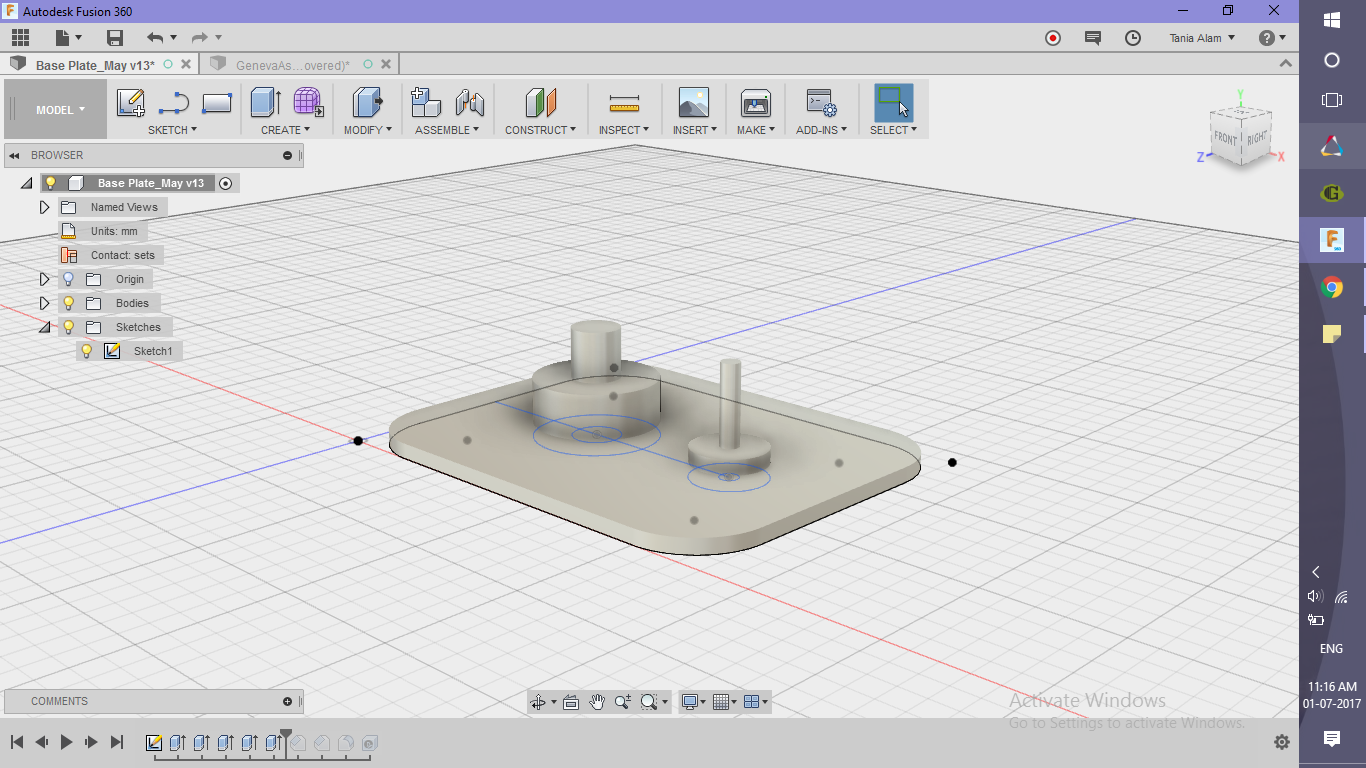
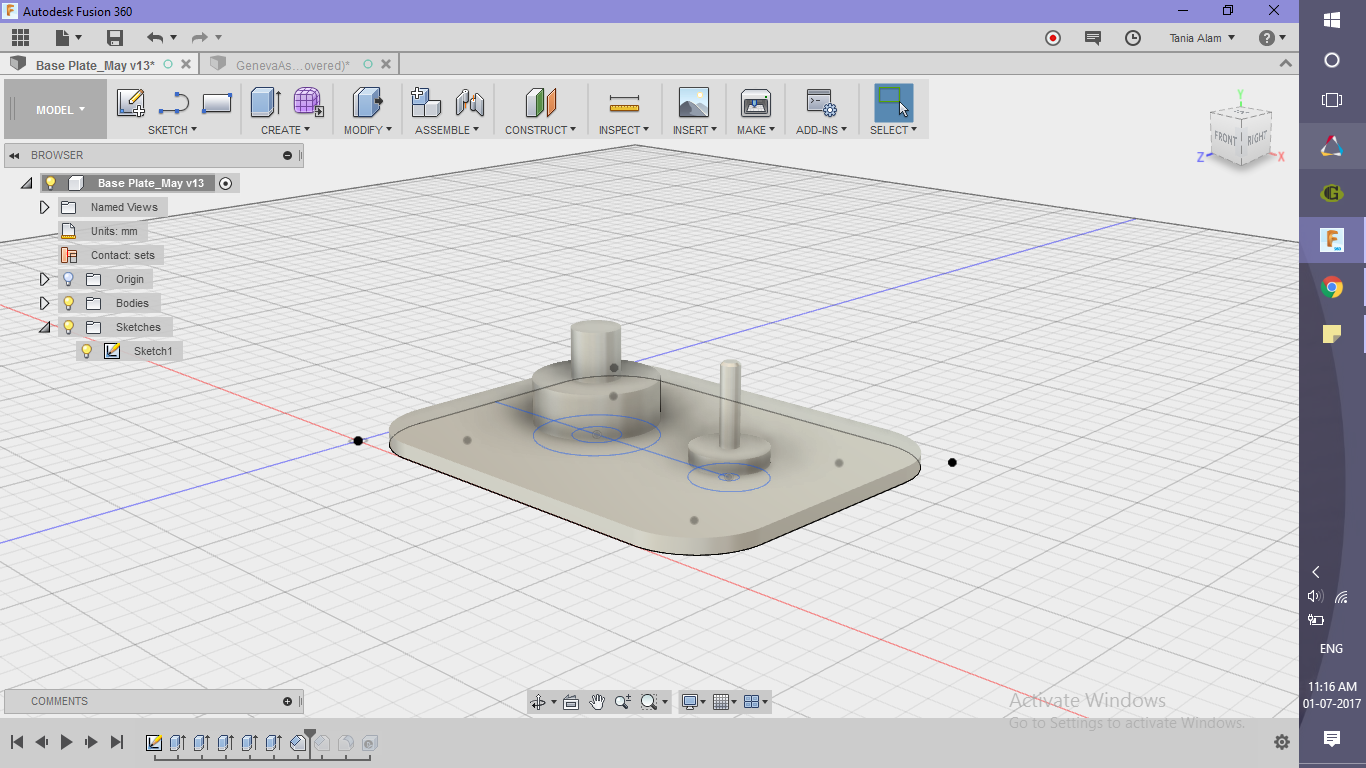
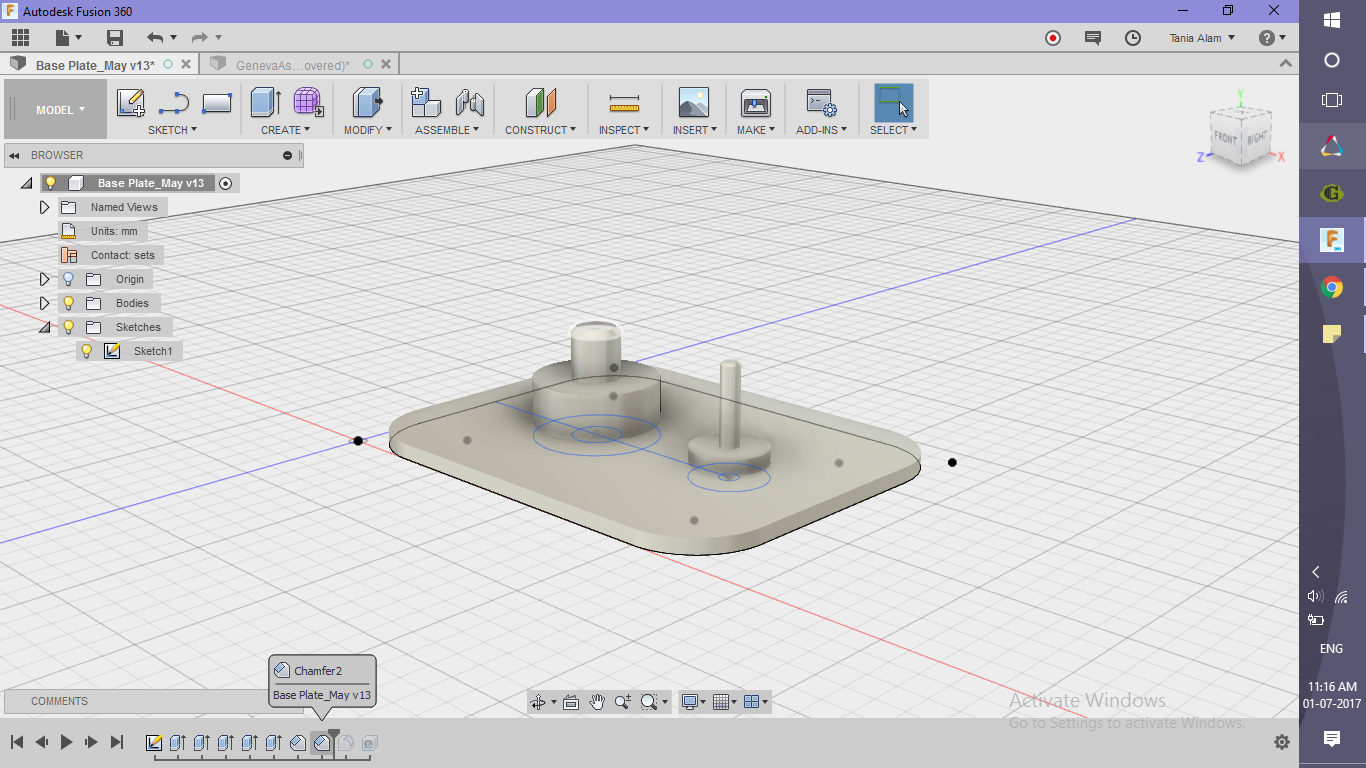
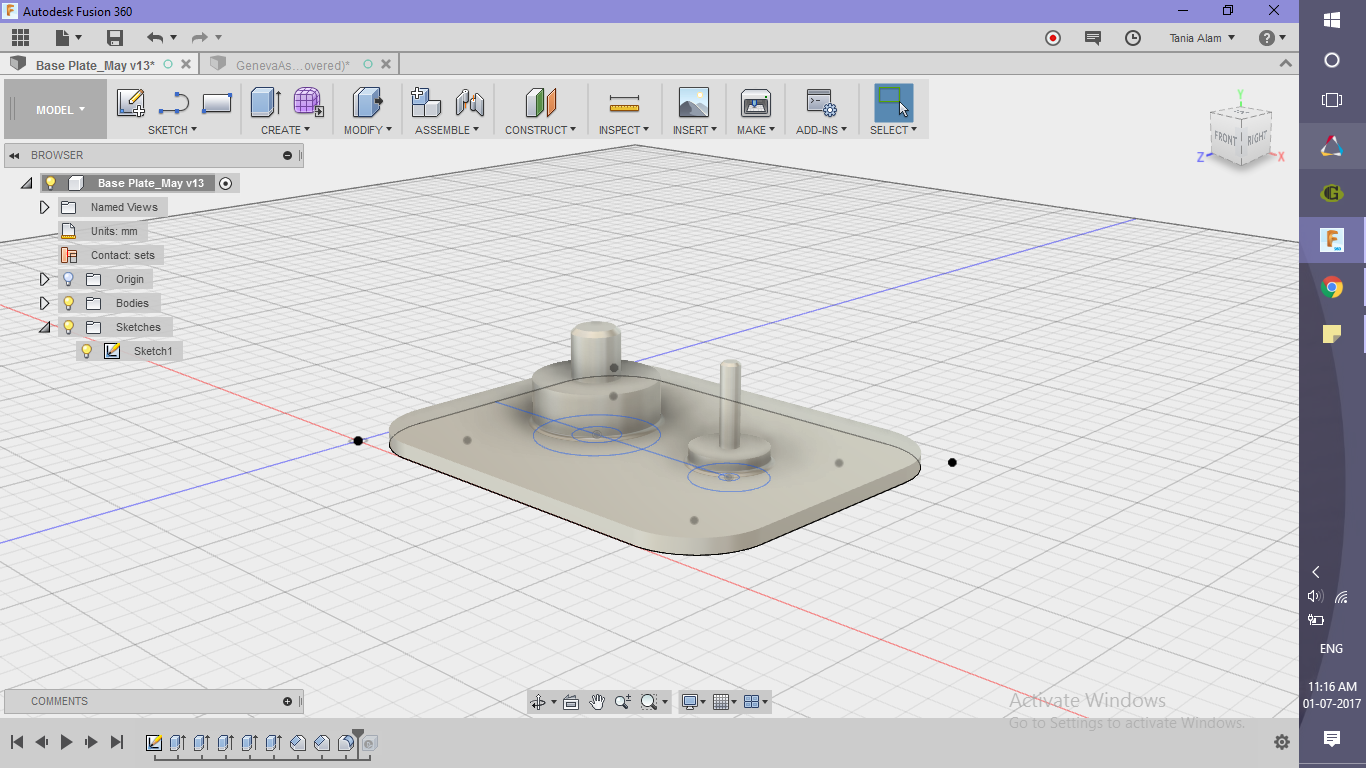
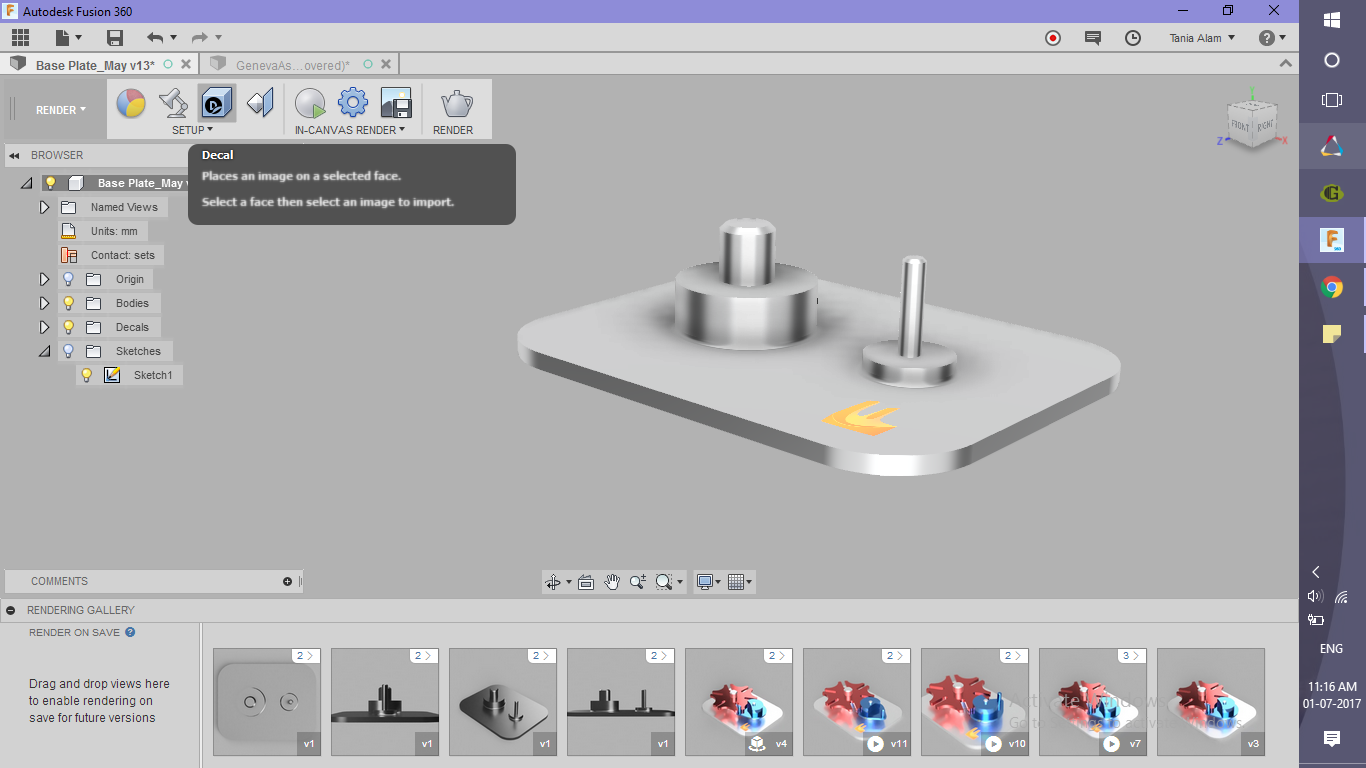
All the specifications of the base are given in the pdf file. The material that I have chosen for the base is Satin Aluminium. You can choose a material of your choice.
For a step-by-step guide follow the link to my screencast: http://autode.sk/2rNC2yl
Downloads
Assembling the Parts and Creating the Motion Study
.png)
.png)
.png)
.png)
.png)
.png)
.png)
.png)
.png)
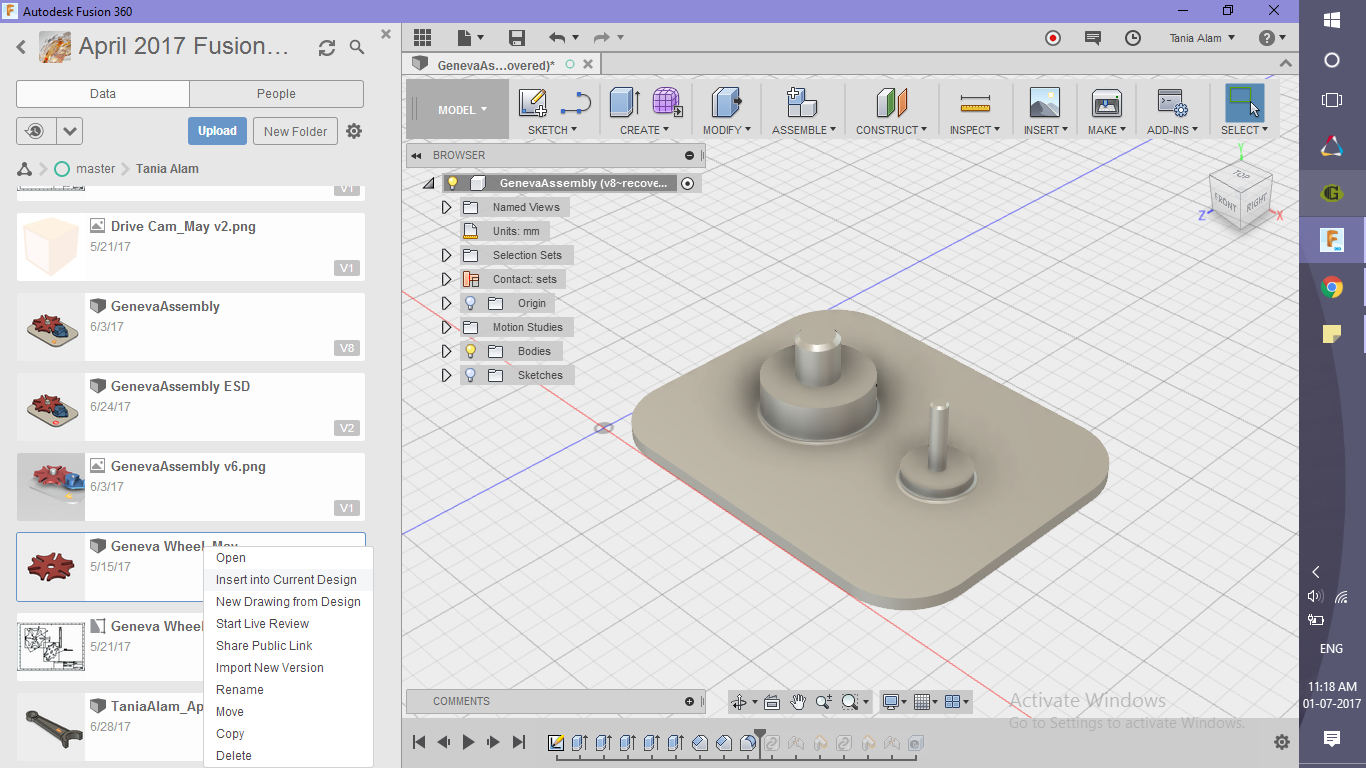
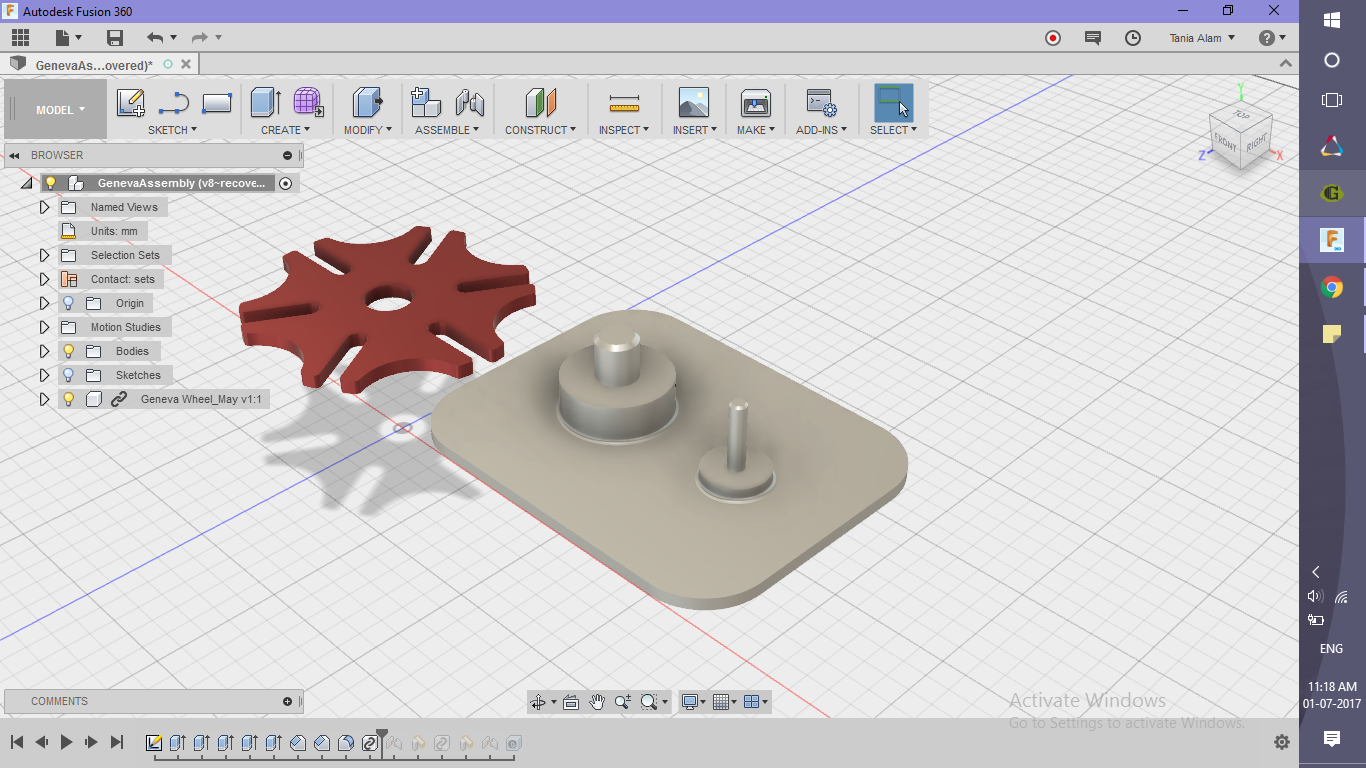
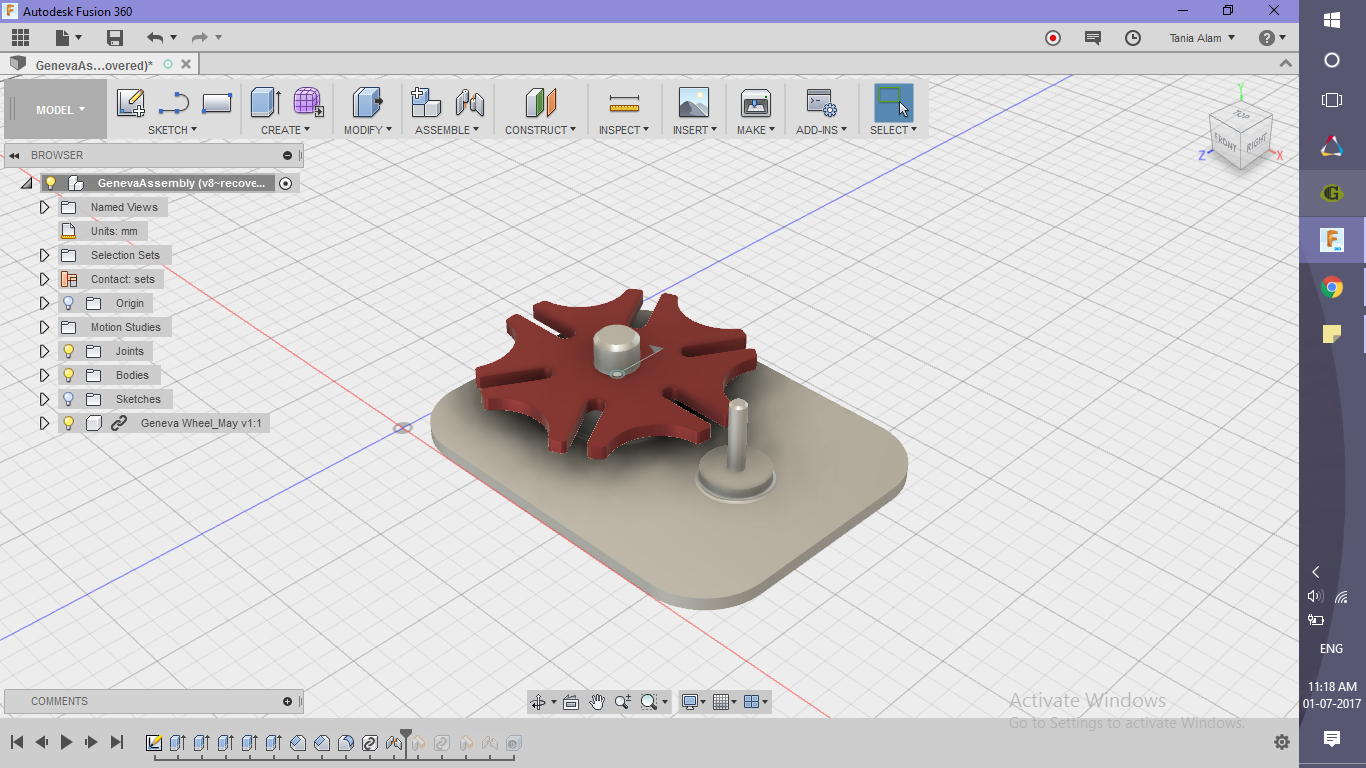
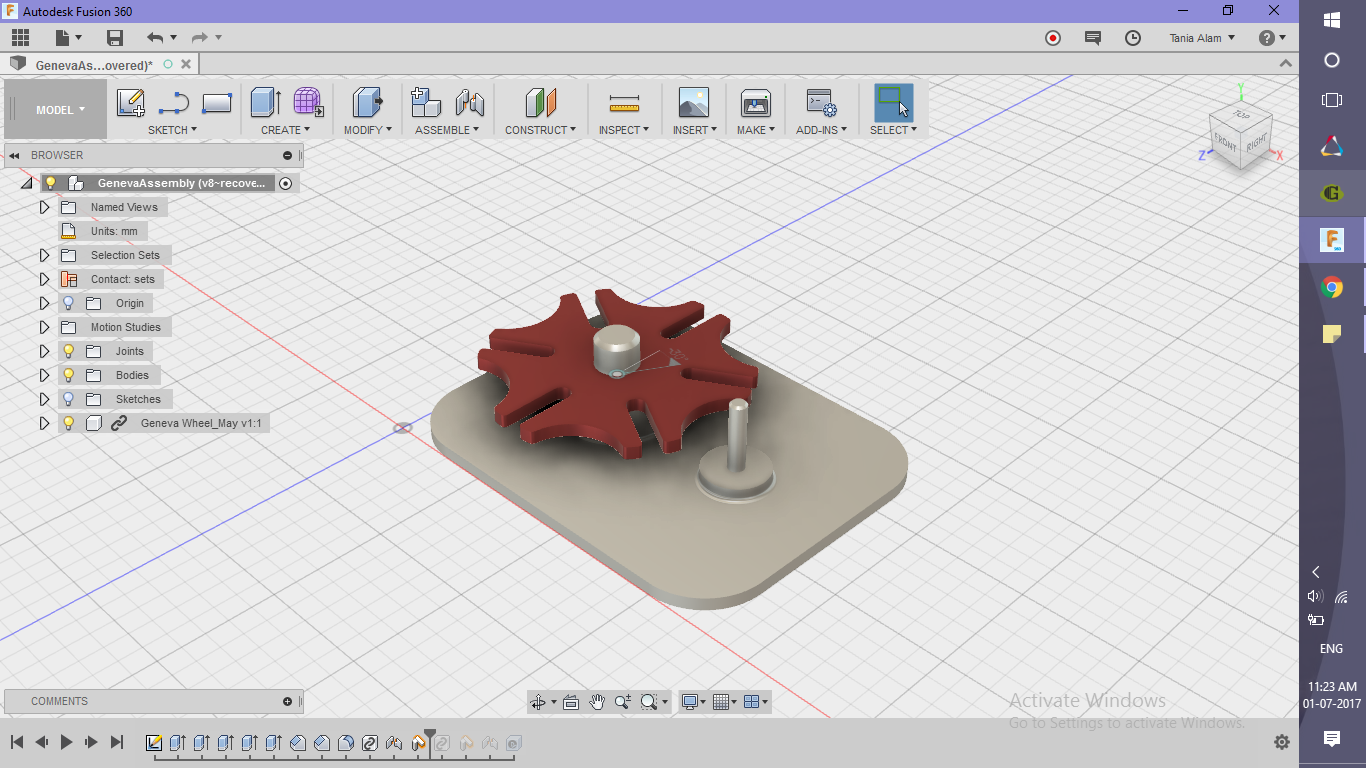
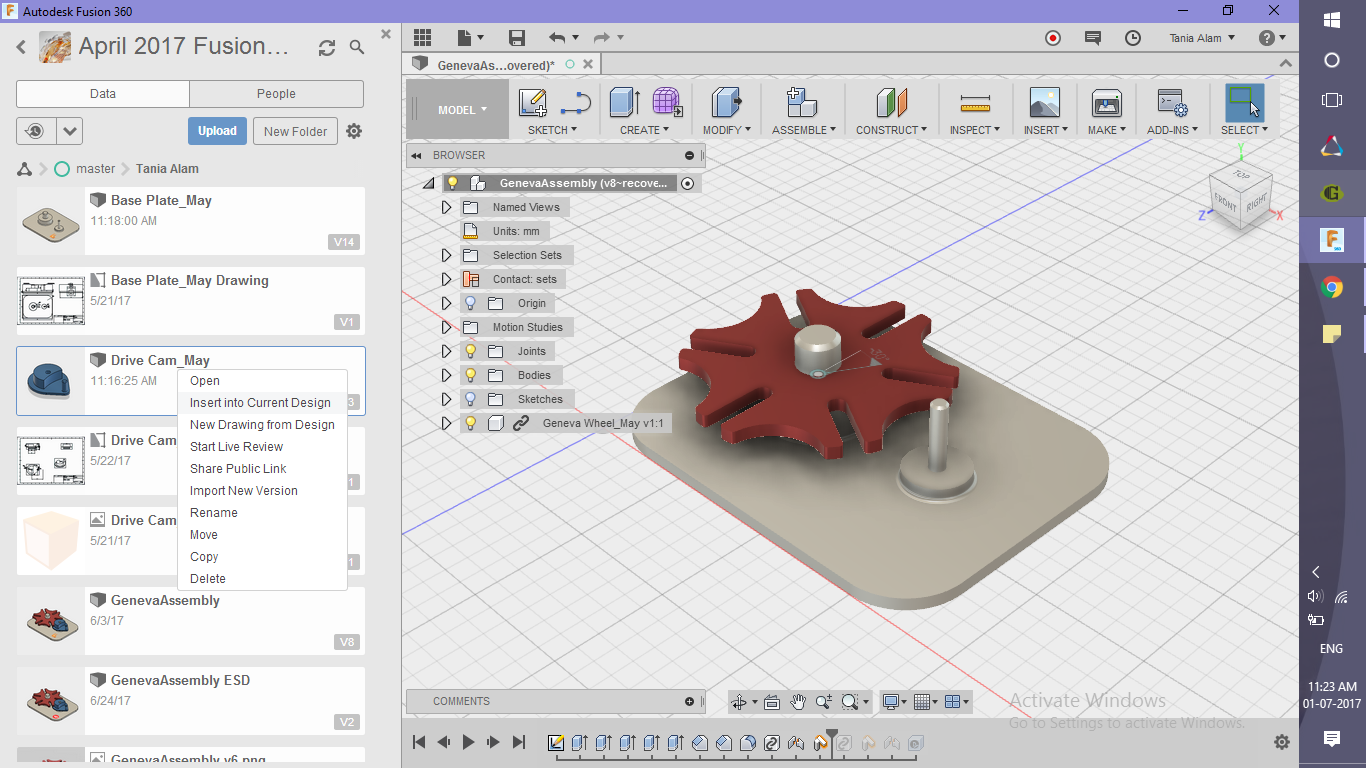
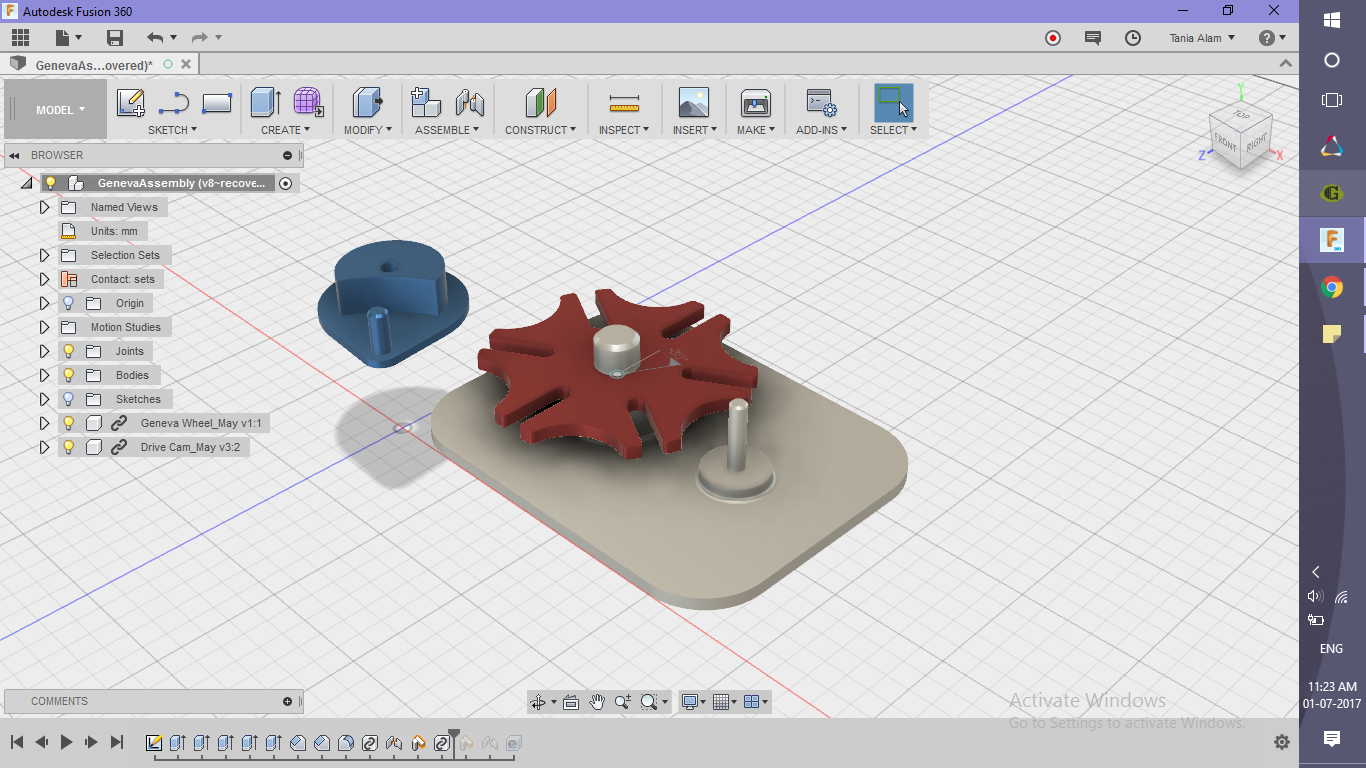
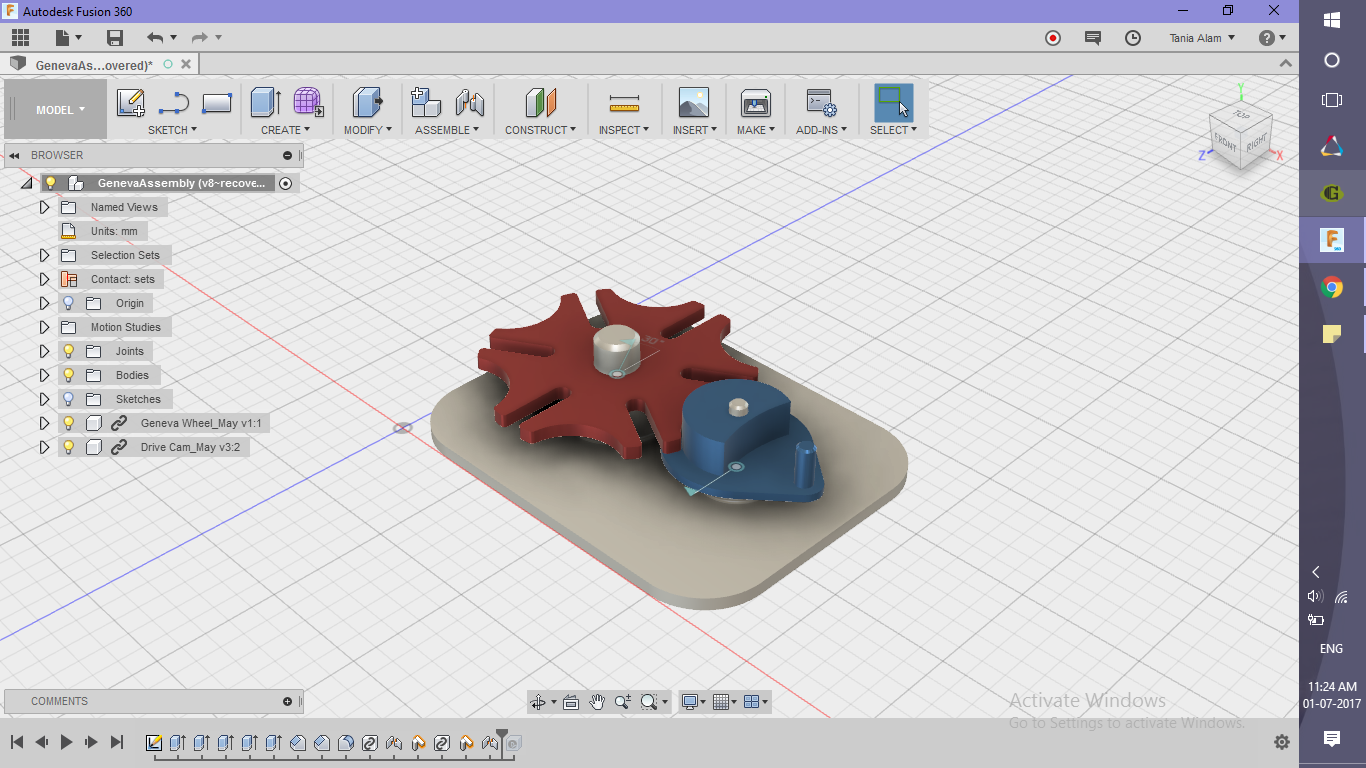
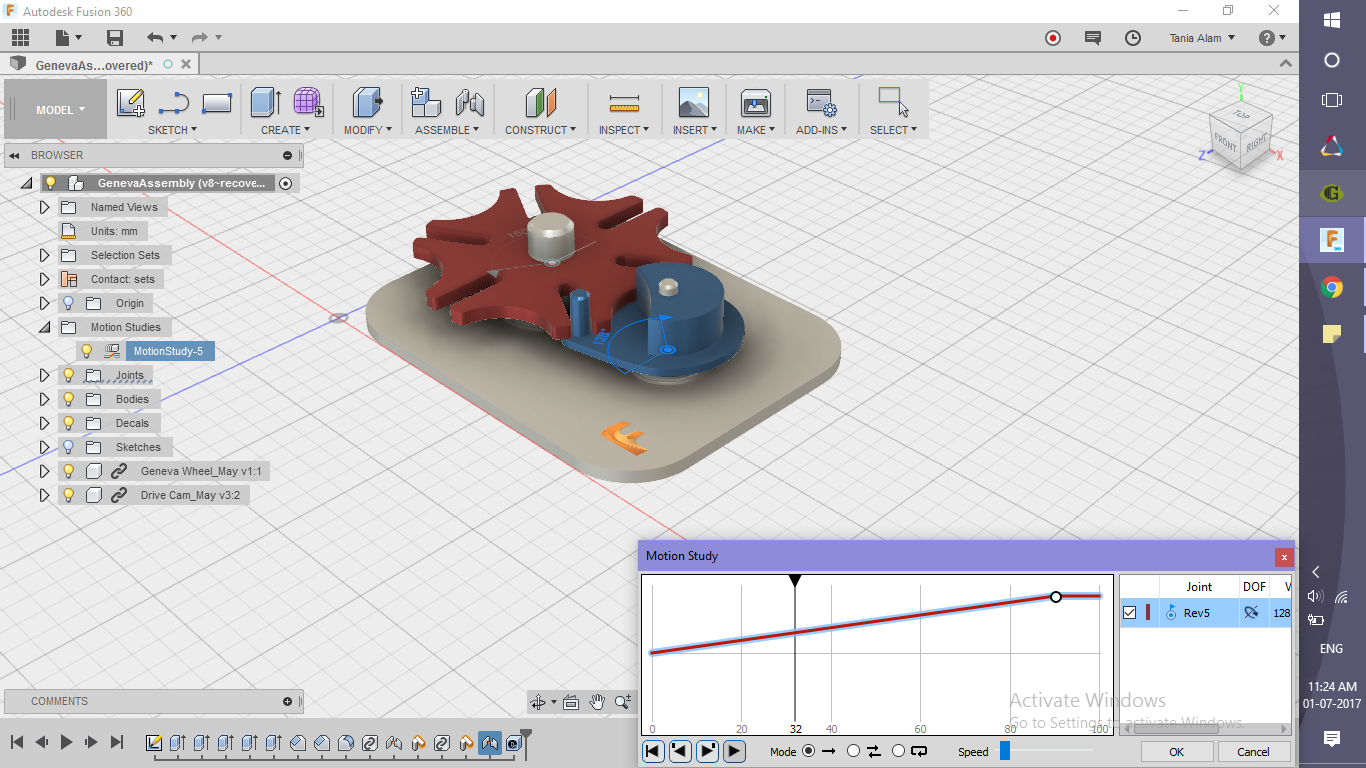
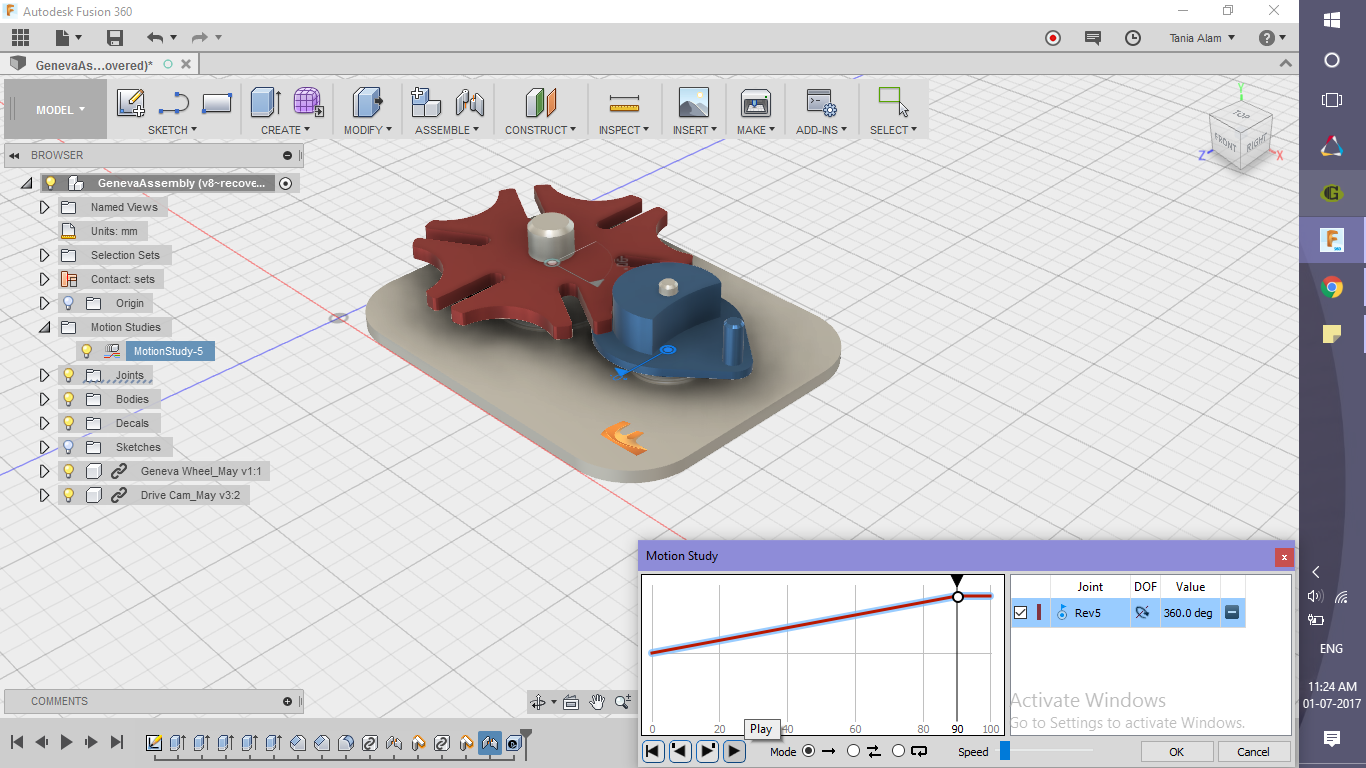
Set appropriate joints to assemble the parts. Define contact sets, ground the base and set up a motion study.
For a step-by-step guide follow the link to my screencast: http://autode.sk/2rkyqCp
Get the Renderings
.png)
.png)
.png)
.png)
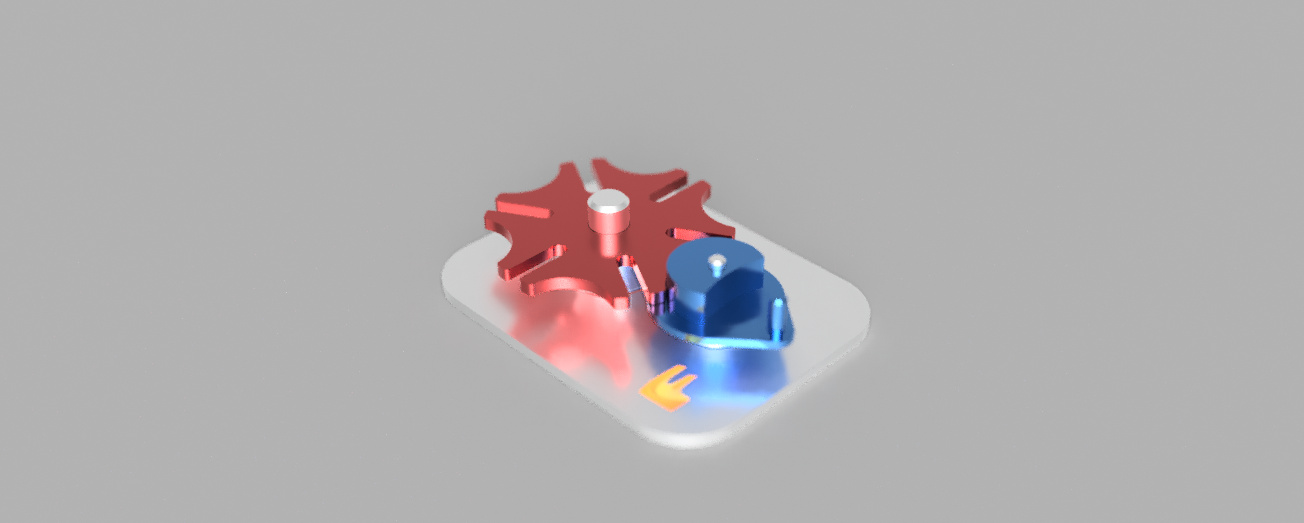
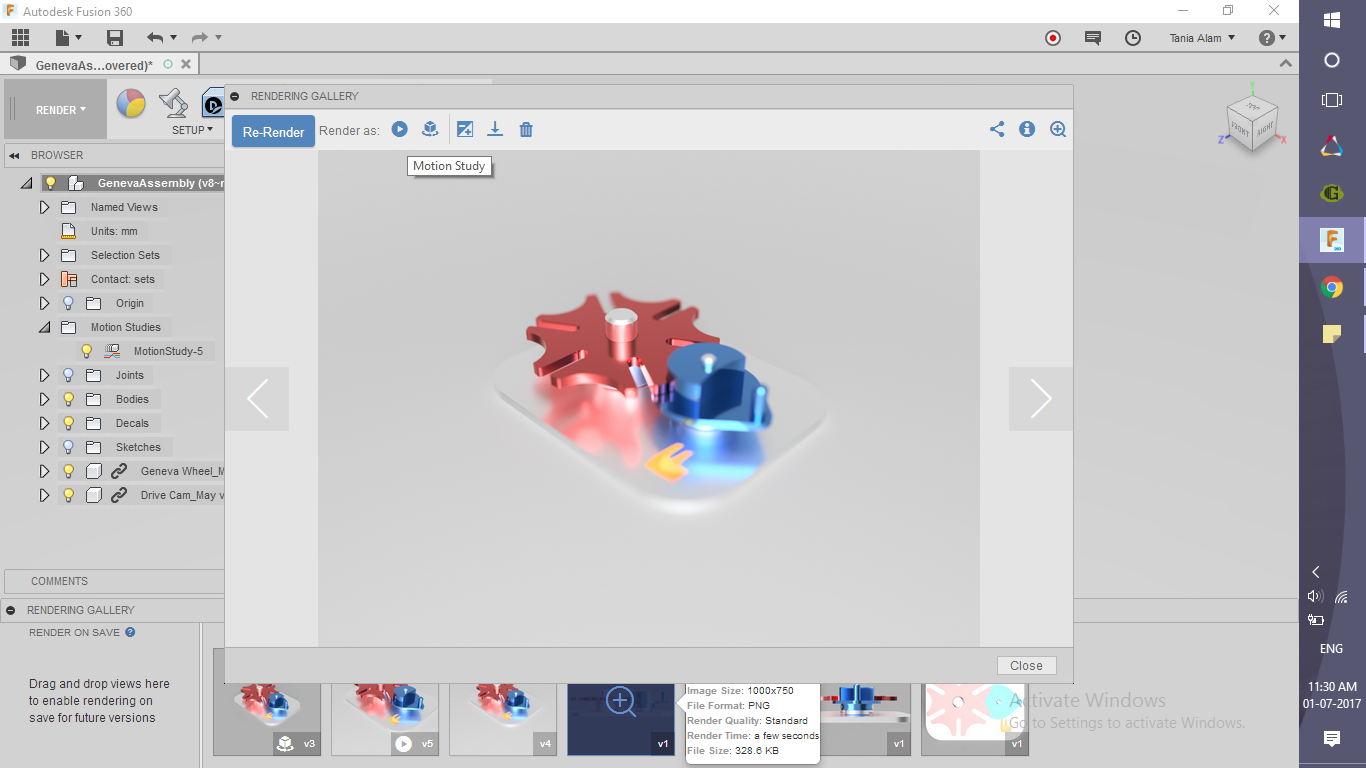
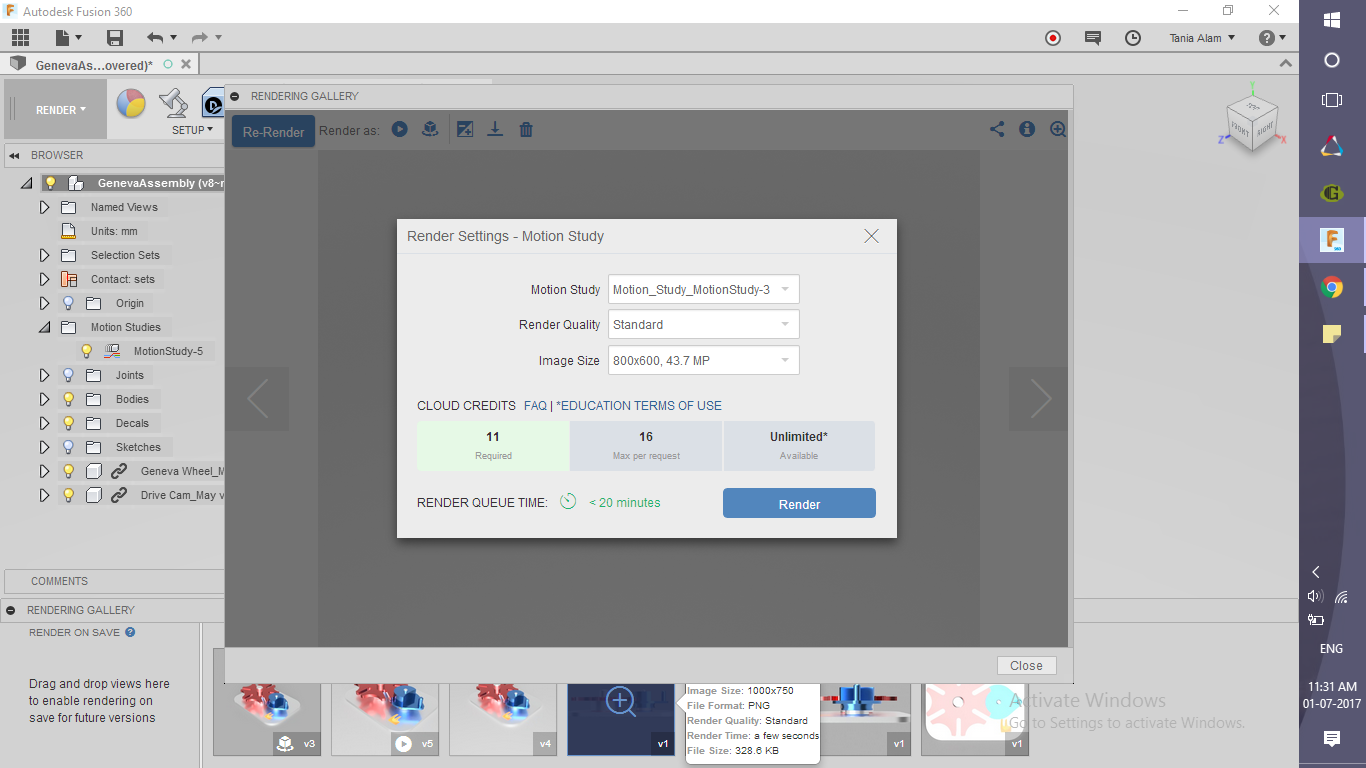
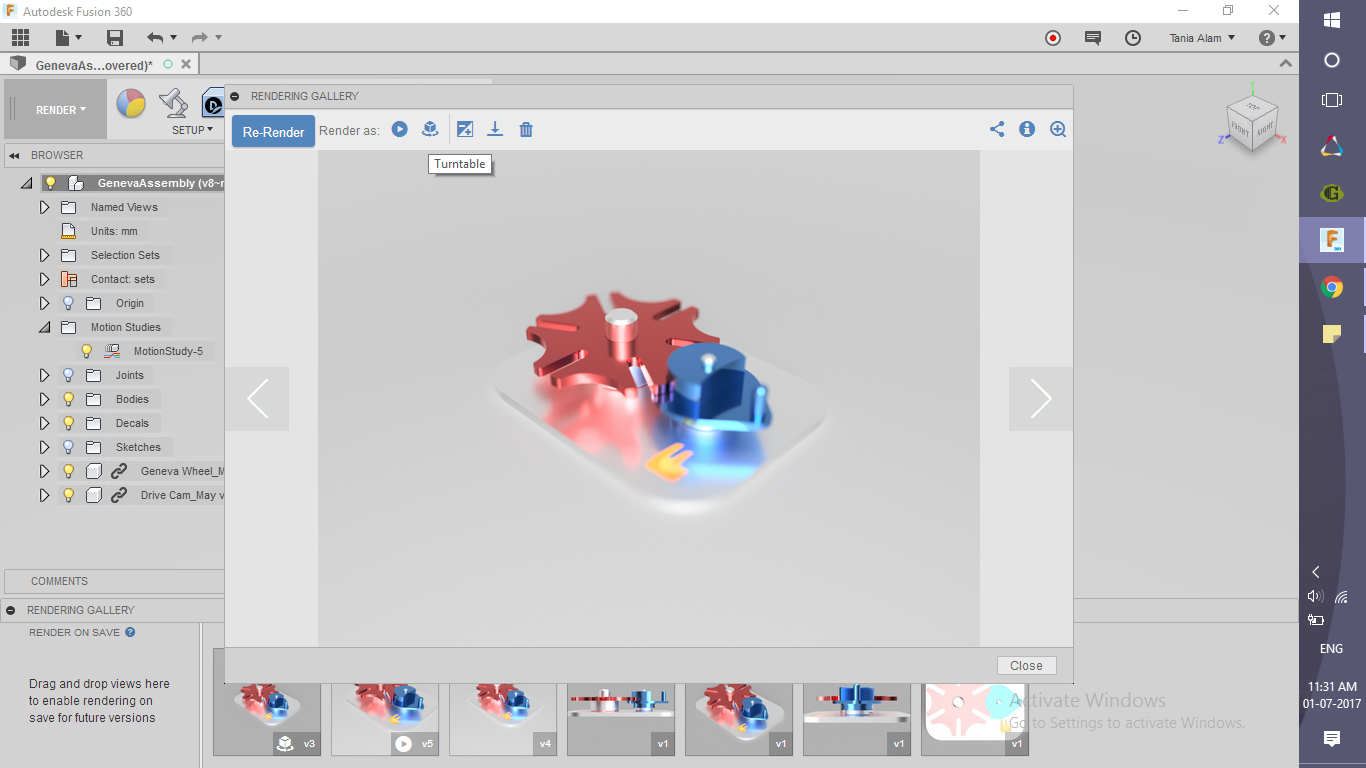
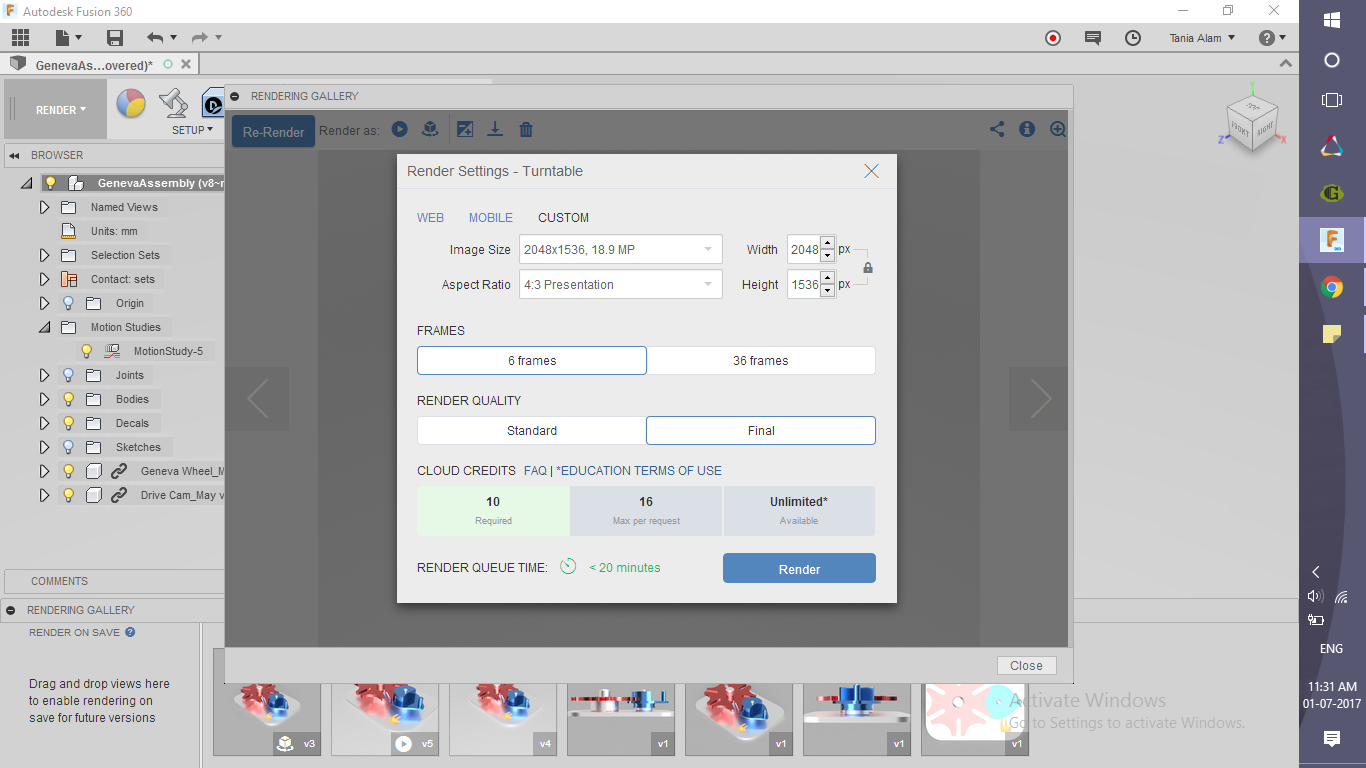
Now, go to the Render Workspace. Click on the Home view rendering when it's done. Click on the "Motion Study" option at the top of the image. Click on "Render" button and carry on with other stuff. The rendering takes some time and will go on in the cloud.
For a step-by-step guide follow the link to my screencast: http://autode.sk/2qPsXjF
Post Your Designs!
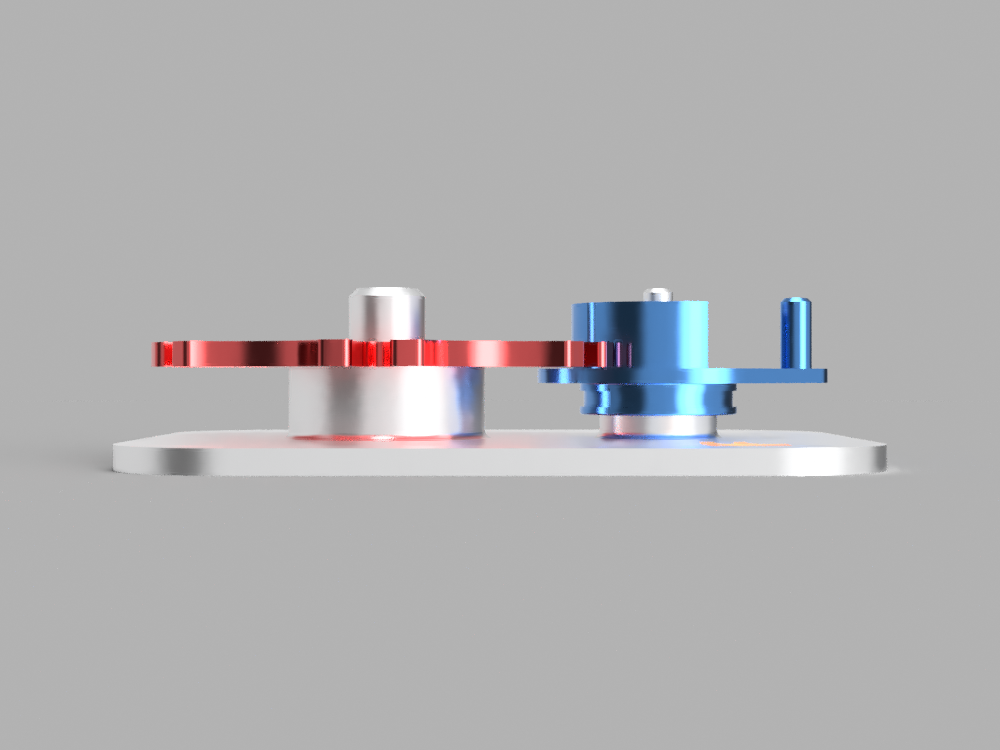
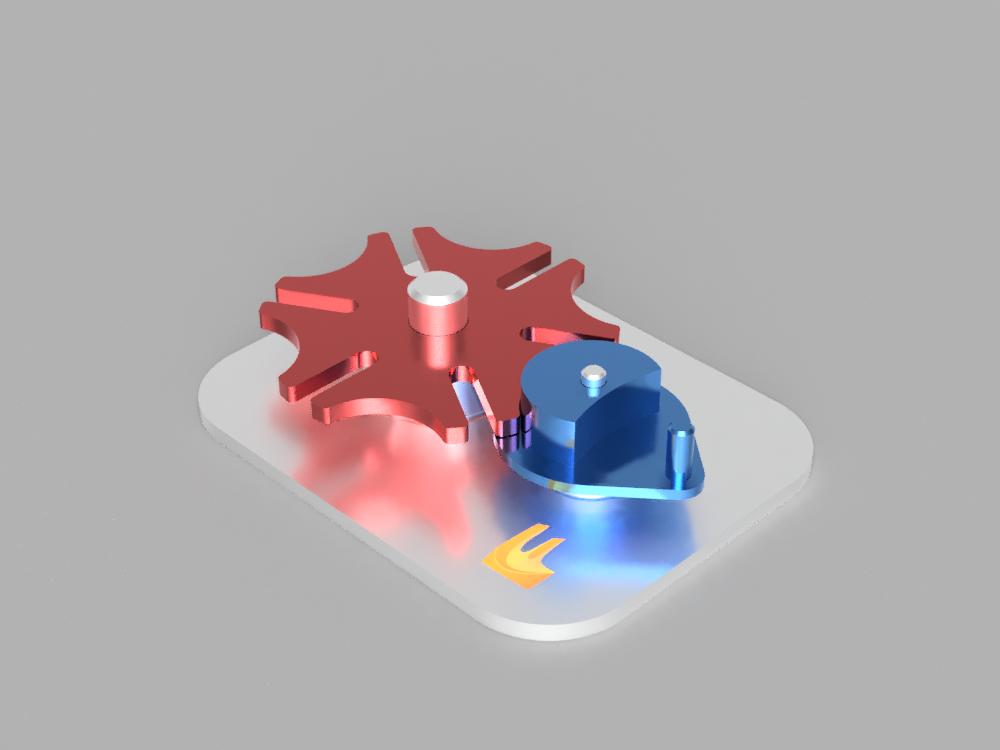
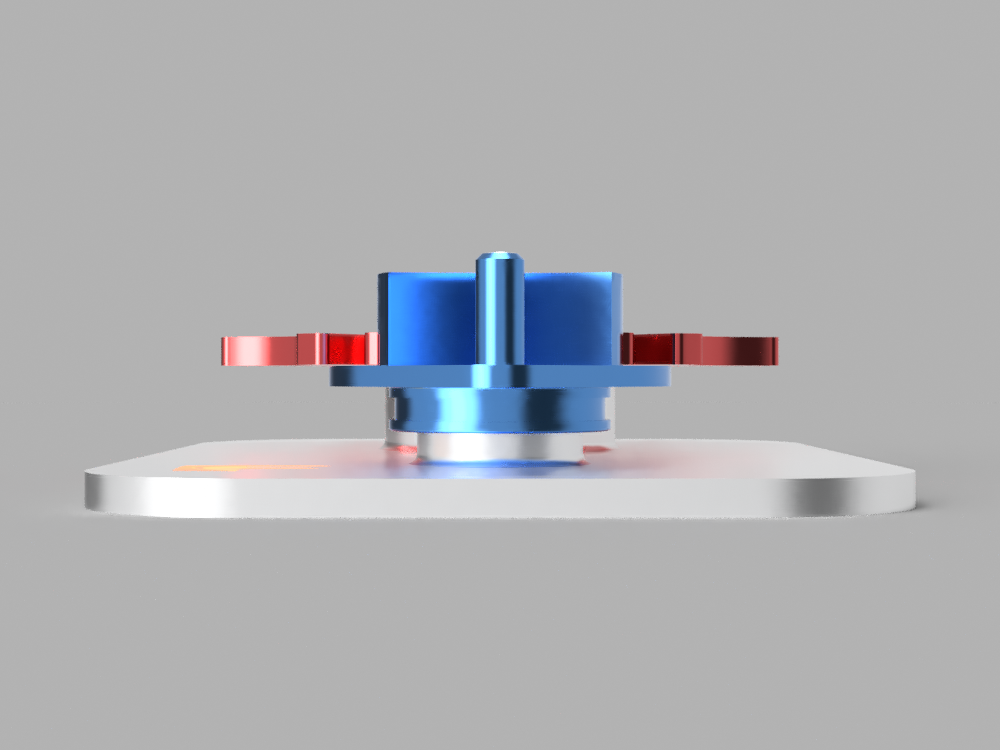
Hurray! You have done it. Please post your designs here. Click on "I Made it!" icon and post one of the renderings of your model. I'm excited to see them!
You can also follow my work on the Autodesk Gallery: https://gallery.autodesk.com/users/ZBAXRH3YFSR5