Creating a Laptop Stand Using Fusion 360!
by JoshuaJ1710 in Workshop > Organizing
1558 Views, 4 Favorites, 0 Comments
Creating a Laptop Stand Using Fusion 360!
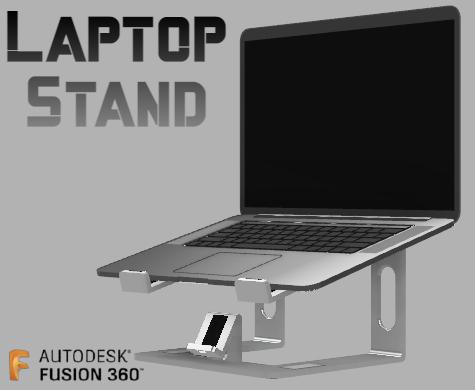
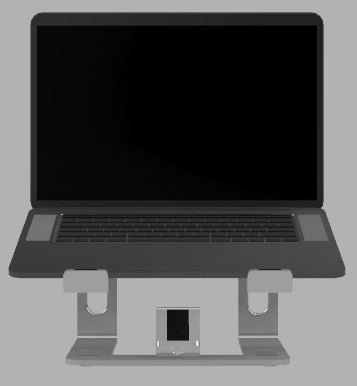
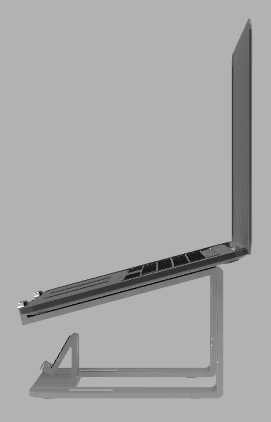
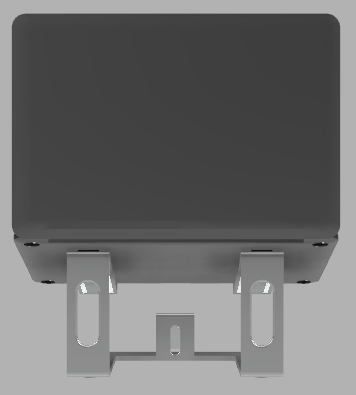
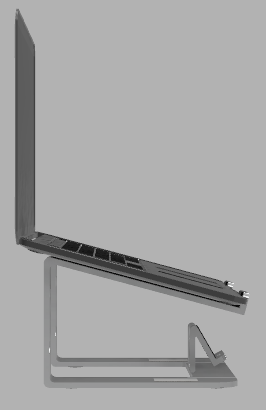
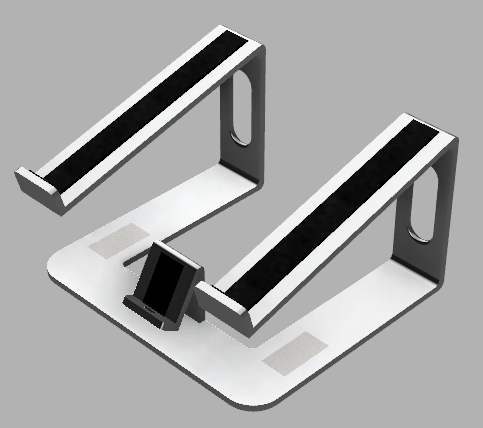
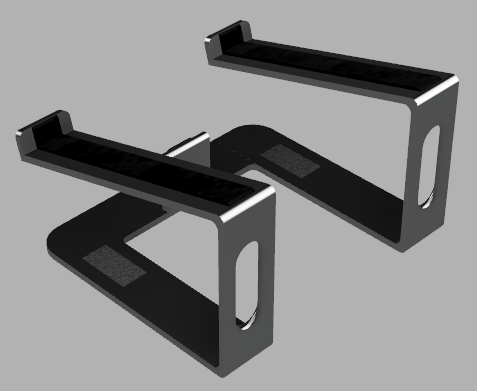
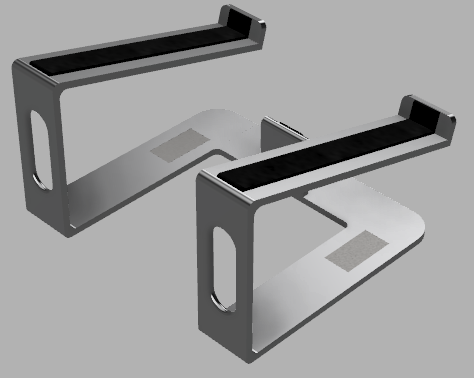
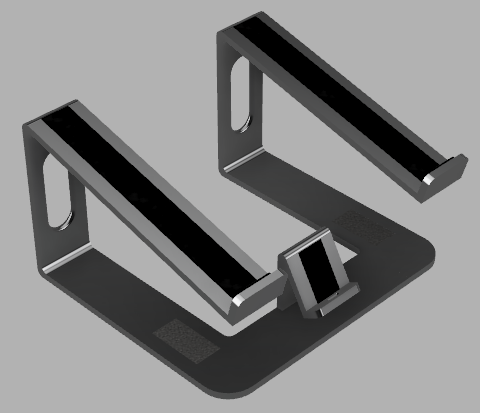
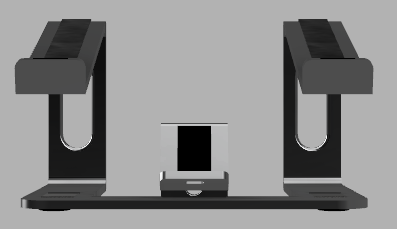
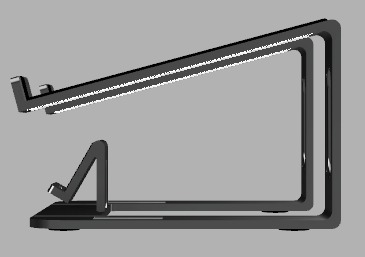
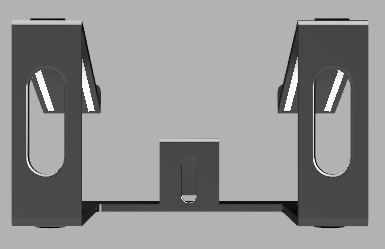
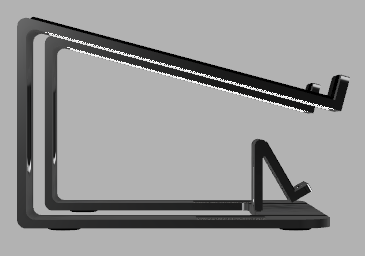
Hello there! My name is Josh, and I'm a Sophomore (10th Grade) at Olathe Northwest High School and am in the Engineering Academy. This instructable will show the design process of making a Laptop Stand using Fusion 360. This is a pretty simple process once you get the hang of it, and I think you could easily try doing this for yourself. Even though it's simple, it did take time and effort to create and design. The instructable will take you through the design process, along with the final design and accessories. This is one of my first projects that wasn't based on a real design, and my first time creating something in Fusion using brainstorming. I hope this Instructable is easy to understand, and easy to follow! And I hope you enjoy it!
Supplies

Materials Needed:
- A Laptop/Computer
- Fusion 360 Software
- An Autodesk Account
- Some Experience with CAD
Optional Materials:
- A 3D Printer
Model Files:
The Problem
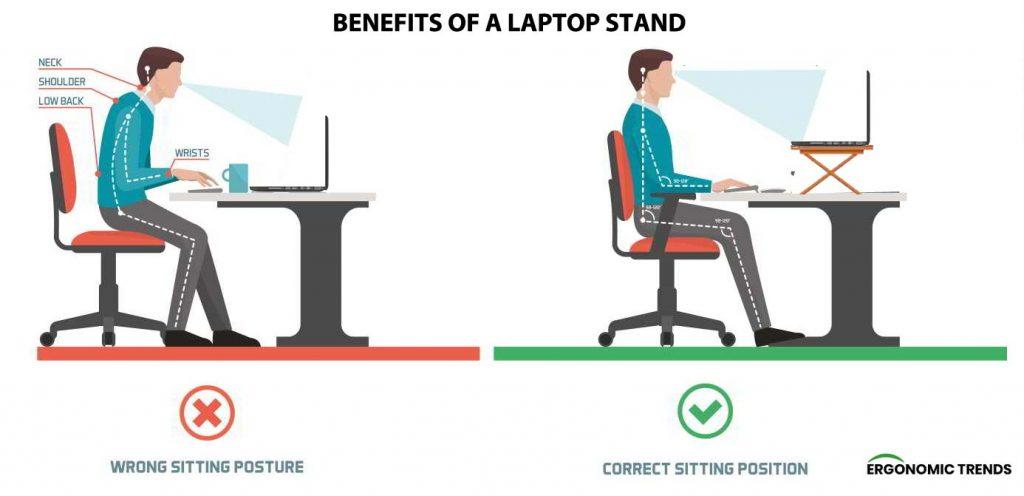
When you are sitting in front of a laptop for hours doing homework for your AP high school class, you may sometimes find yourself suffering from backache or wrist pain. Though usually harmless, these minor discomforts might lead to far more serious conditions if left untreated. These problems usually arise from irregular body posture or uncomfortable typing positions. If you’re suffering from these issues, one of the simplest and cheapest solutions is a laptop stand.
5 Reasons to have a Laptop Stand-
Better airflow- A laptop requires consistent airflow to keep its temperature down. As you run multiple programs, internal heat accumulates, making the laptop heat up. When a laptop is on a stand, your laptop is higher up, creating an air gap between the laptop’s base and the surface below it.
Minimize clutter- When you use a laptop stand, you can also tidy up your working desk with less clutter, keeping everything organized and clean. A neat working space allows you to focus on tasks without worrying about misplacing your items or jumbling wires.
Portability- A laptop stand is also lightweight and compact, making it a great companion tool for traveling. Some designs, such as mine, can even be split apart into different pieces, making them easy to store.
Reduced physical stress and pain- Exercising the right body posture while using a laptop for extended periods is important, and through the use of a laptop stand, your body can relax properly by sitting in a more comfortable position.
Comfortable for typing- A laptop holder provides the ideal resting positions for your hands to rely on by increasing the keyboard’s incline up to a 25-degree angle. This allows you to type using minimal force and energy.
The Design Process- Fusion 360
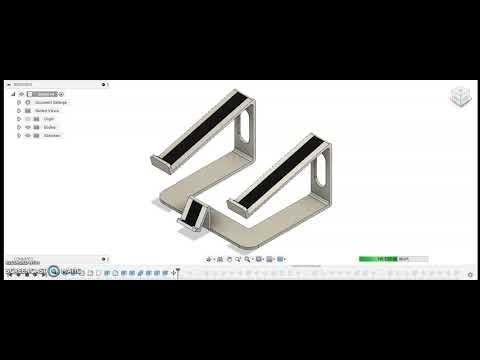
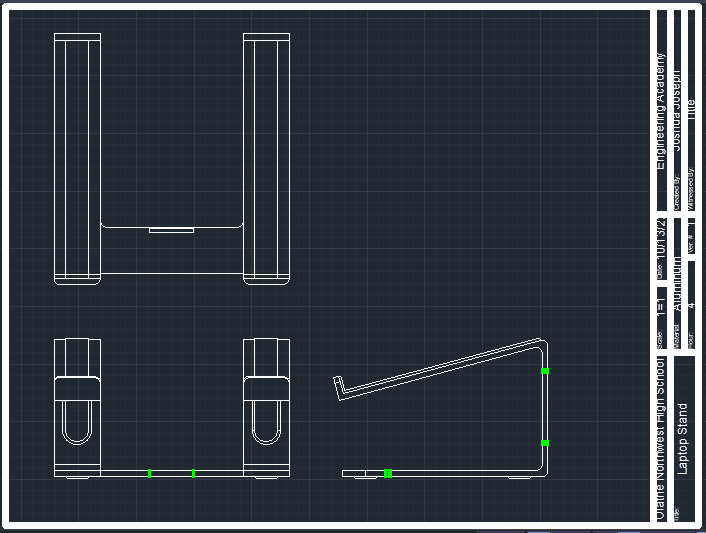
The design process was pretty straightforward. Since I am a sophomore in my school's Engineering Program, we are currently learning AutoCAD in our CAD I class. I decided to use the skills I have learned so far to create a 2D sketch of my idea. This was very simple, as AutoCAD allows anyone to easily create proper 2D technical sketches. This technical sketch is shown above. After I created this sketch, I moved to Fusion 360. I used my sketch on AutoCAD to create my idea in 3D on Fusion 360. This entire design process is shown above in the video. It's hard to explain in words, so watching the concept will probably help guide your design. It is fairly simple, as there are not many complex shapes or curves in the design. However, I do have a couple of tips for your design.
Tips:
- Fillet most of your corners, so that there aren't many sharp edges
- Don't forget to add rubber padding for the laptop, and the stand itself
- Add holes on the back of the stand to feed cables through
- Make sure the dimensions of your stand can fit most laptops (including the one you have)
- Make your design compact and made up of multiple parts that fit together securely
Accessories
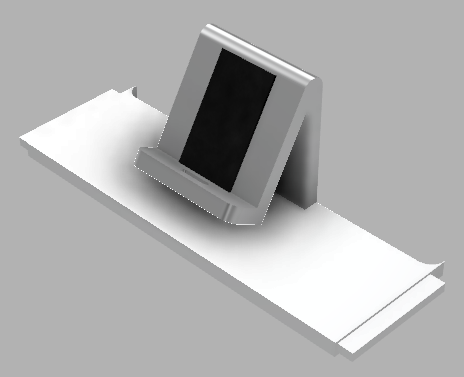
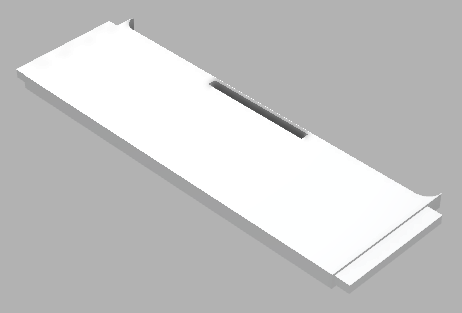
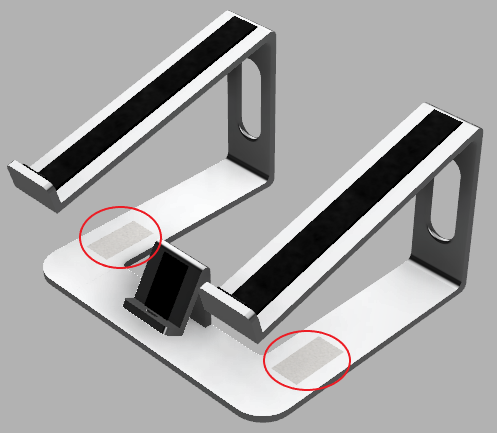
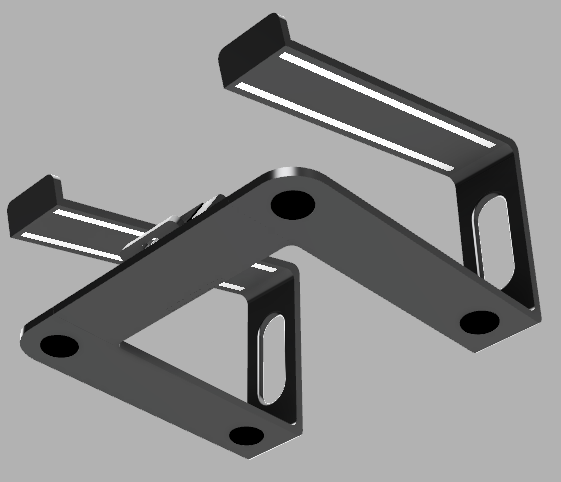
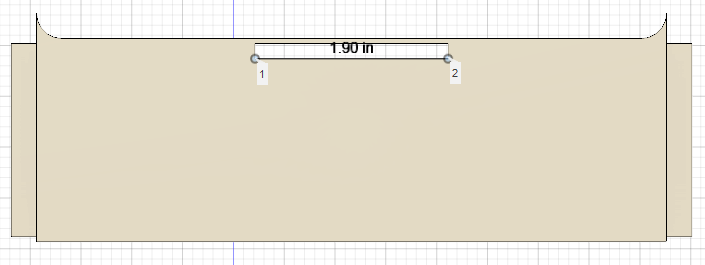
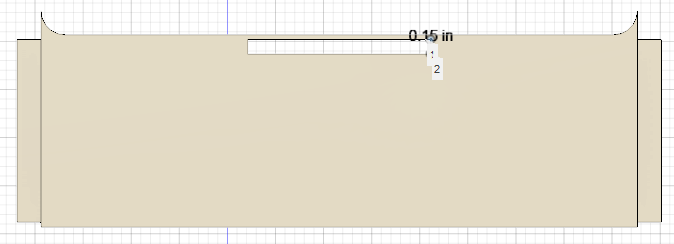
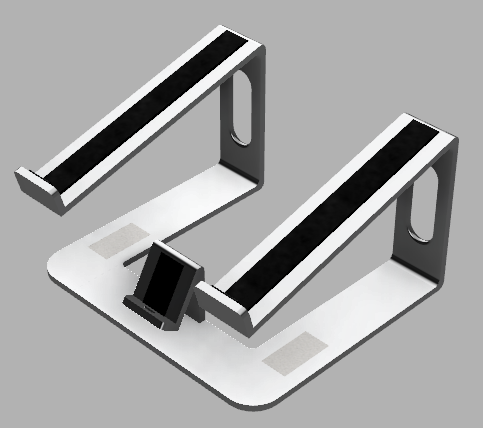
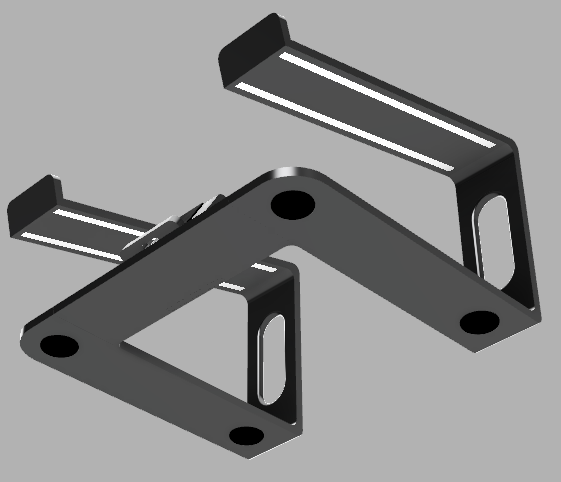
When I designed this laptop stand, I wanted it to have other functions. I decided to make a 1.90-inch by 0.15-inch slot where I could insert accessories (Photos 5 & 6). I didn't know exactly what I wanted to use as an accessory, so I made a small phone stand that could hold the user's phone while working on their laptop. This slot could be used for anything, as long as it could fit in the space under the stand and fit inside the designated slot. In addition to this, I also added a magnetic pad embedded into the side of the stand, so that the user could magnetically stick any important notes or photos onto their laptop stand. These magnets are shown in the third photo and are circled in red. Finally, I also added small slots underneath the main structure. These slots will house LED light strips, in case the user wanted to light up their workspace a bit more (Photo 4).
Rendering
Steps to How I Rendered This 3D Model:
Notice: (You don't have to follow these steps to render your design. This is how I taught myself to do it, and it worked well for me!)
- Once you complete your model, go to the top corner labeled "design." Click on the tab, and then click on "render." This should take you to the render workspace in Fusion 360.
- Next, open the color wheel labeled "Appearance"
- Then, drag and drop certain materials to certain parts of the model. (Use Materials List Below)
Notice: (The next few steps are optional, and are not required for rendering. It is meant for people wanting to render with a custom background)
- Open the tab at the top left corner labeled "Scene Settings."
- Then, go to your web browser (Used Chrome) and search for a website with HDR files
- After finding one that you like, return to Fusion 360, scroll down until you find text labeled "Attach Custom Environment", and click on it.
- Once you click on it, it should open your file explorer and download. Then, click on the file you downloaded as an HDR file, and click "Open."
- Then, it should eventually upload to the scene, and it should appear in the render workspace.
- Finally, you are finished!
Materials Used (Render Workspace):
- Rubber-Soft: Rubber Pads
- LED- SMD 5630- 50lm: Light
- Iron- Cast: Magnets
- Aluminum- Satin: Main Structure
You're Finished!
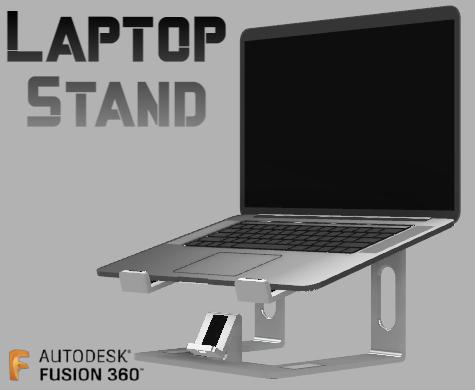
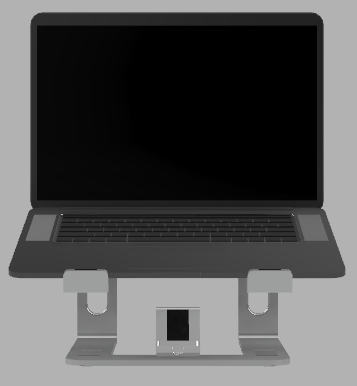
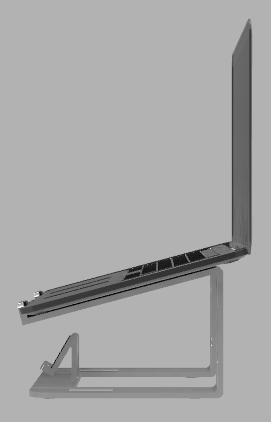
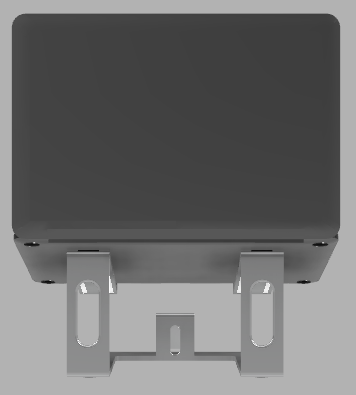
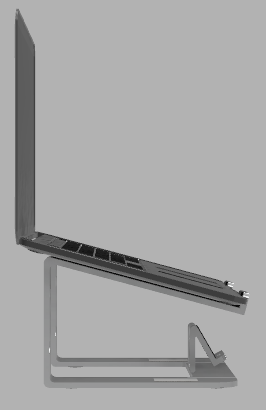
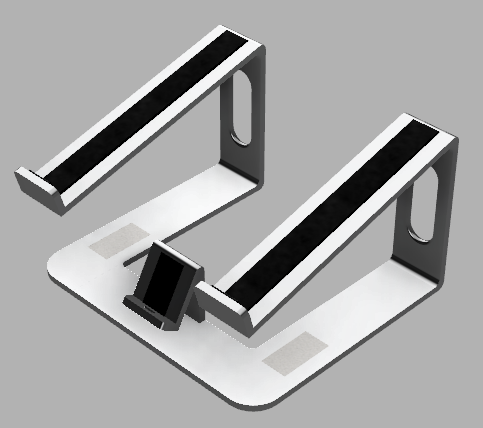
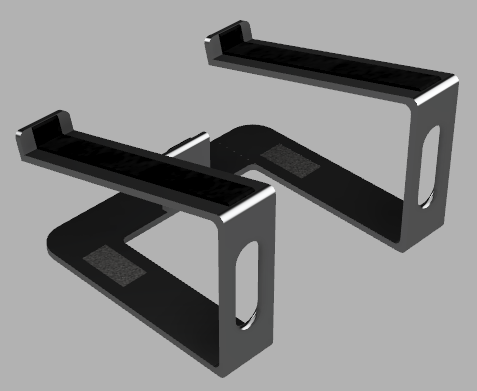
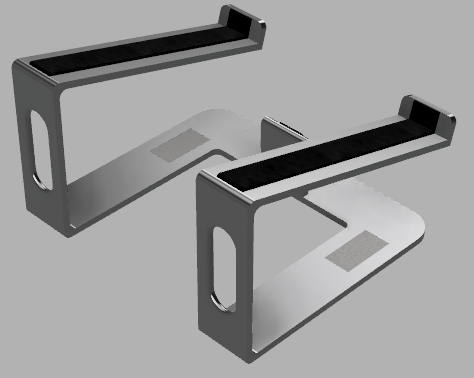
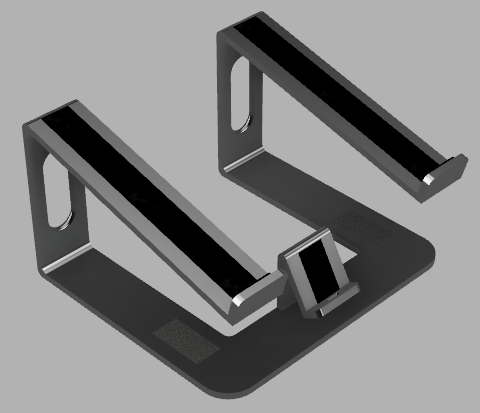
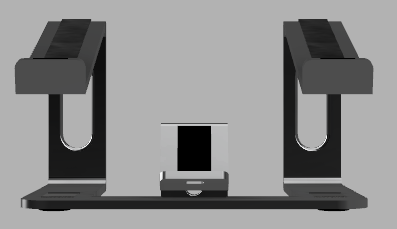
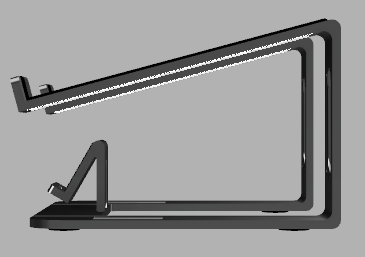
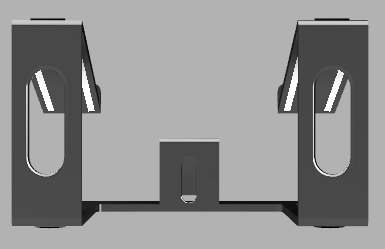
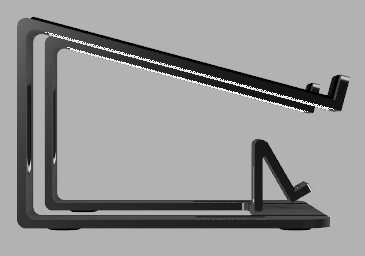
And this is the last and final step! Taking a look at your design! I am happy with how this turned out, and I hope you liked it too. It took some effort and time, but I think it pays off after you finish. I will still be tweaking the design, making changes, and adding more accessories, so stay tuned for that. Unfortunately, I don't have the tools needed to make this in real life. But if someone does, I would love to see how it turns out. Otherwise, I hope you enjoyed reading through this Instructable and seeing the design process of making a Laptop Stand using Fusion 360. And, I also hope you found this Instructable useful. If you have any questions, please feel free to leave me a message or comment below. Remember that your imagination can take you anywhere, and the sky is the limit!
Thank you for reading this, and have a great day!
Links to some of my other Instructables: