Creating a Cuppuccino With a Delonghi Espresso Machine
by DrewM53 in Cooking > Coffee
4491 Views, 11 Favorites, 0 Comments
Creating a Cuppuccino With a Delonghi Espresso Machine
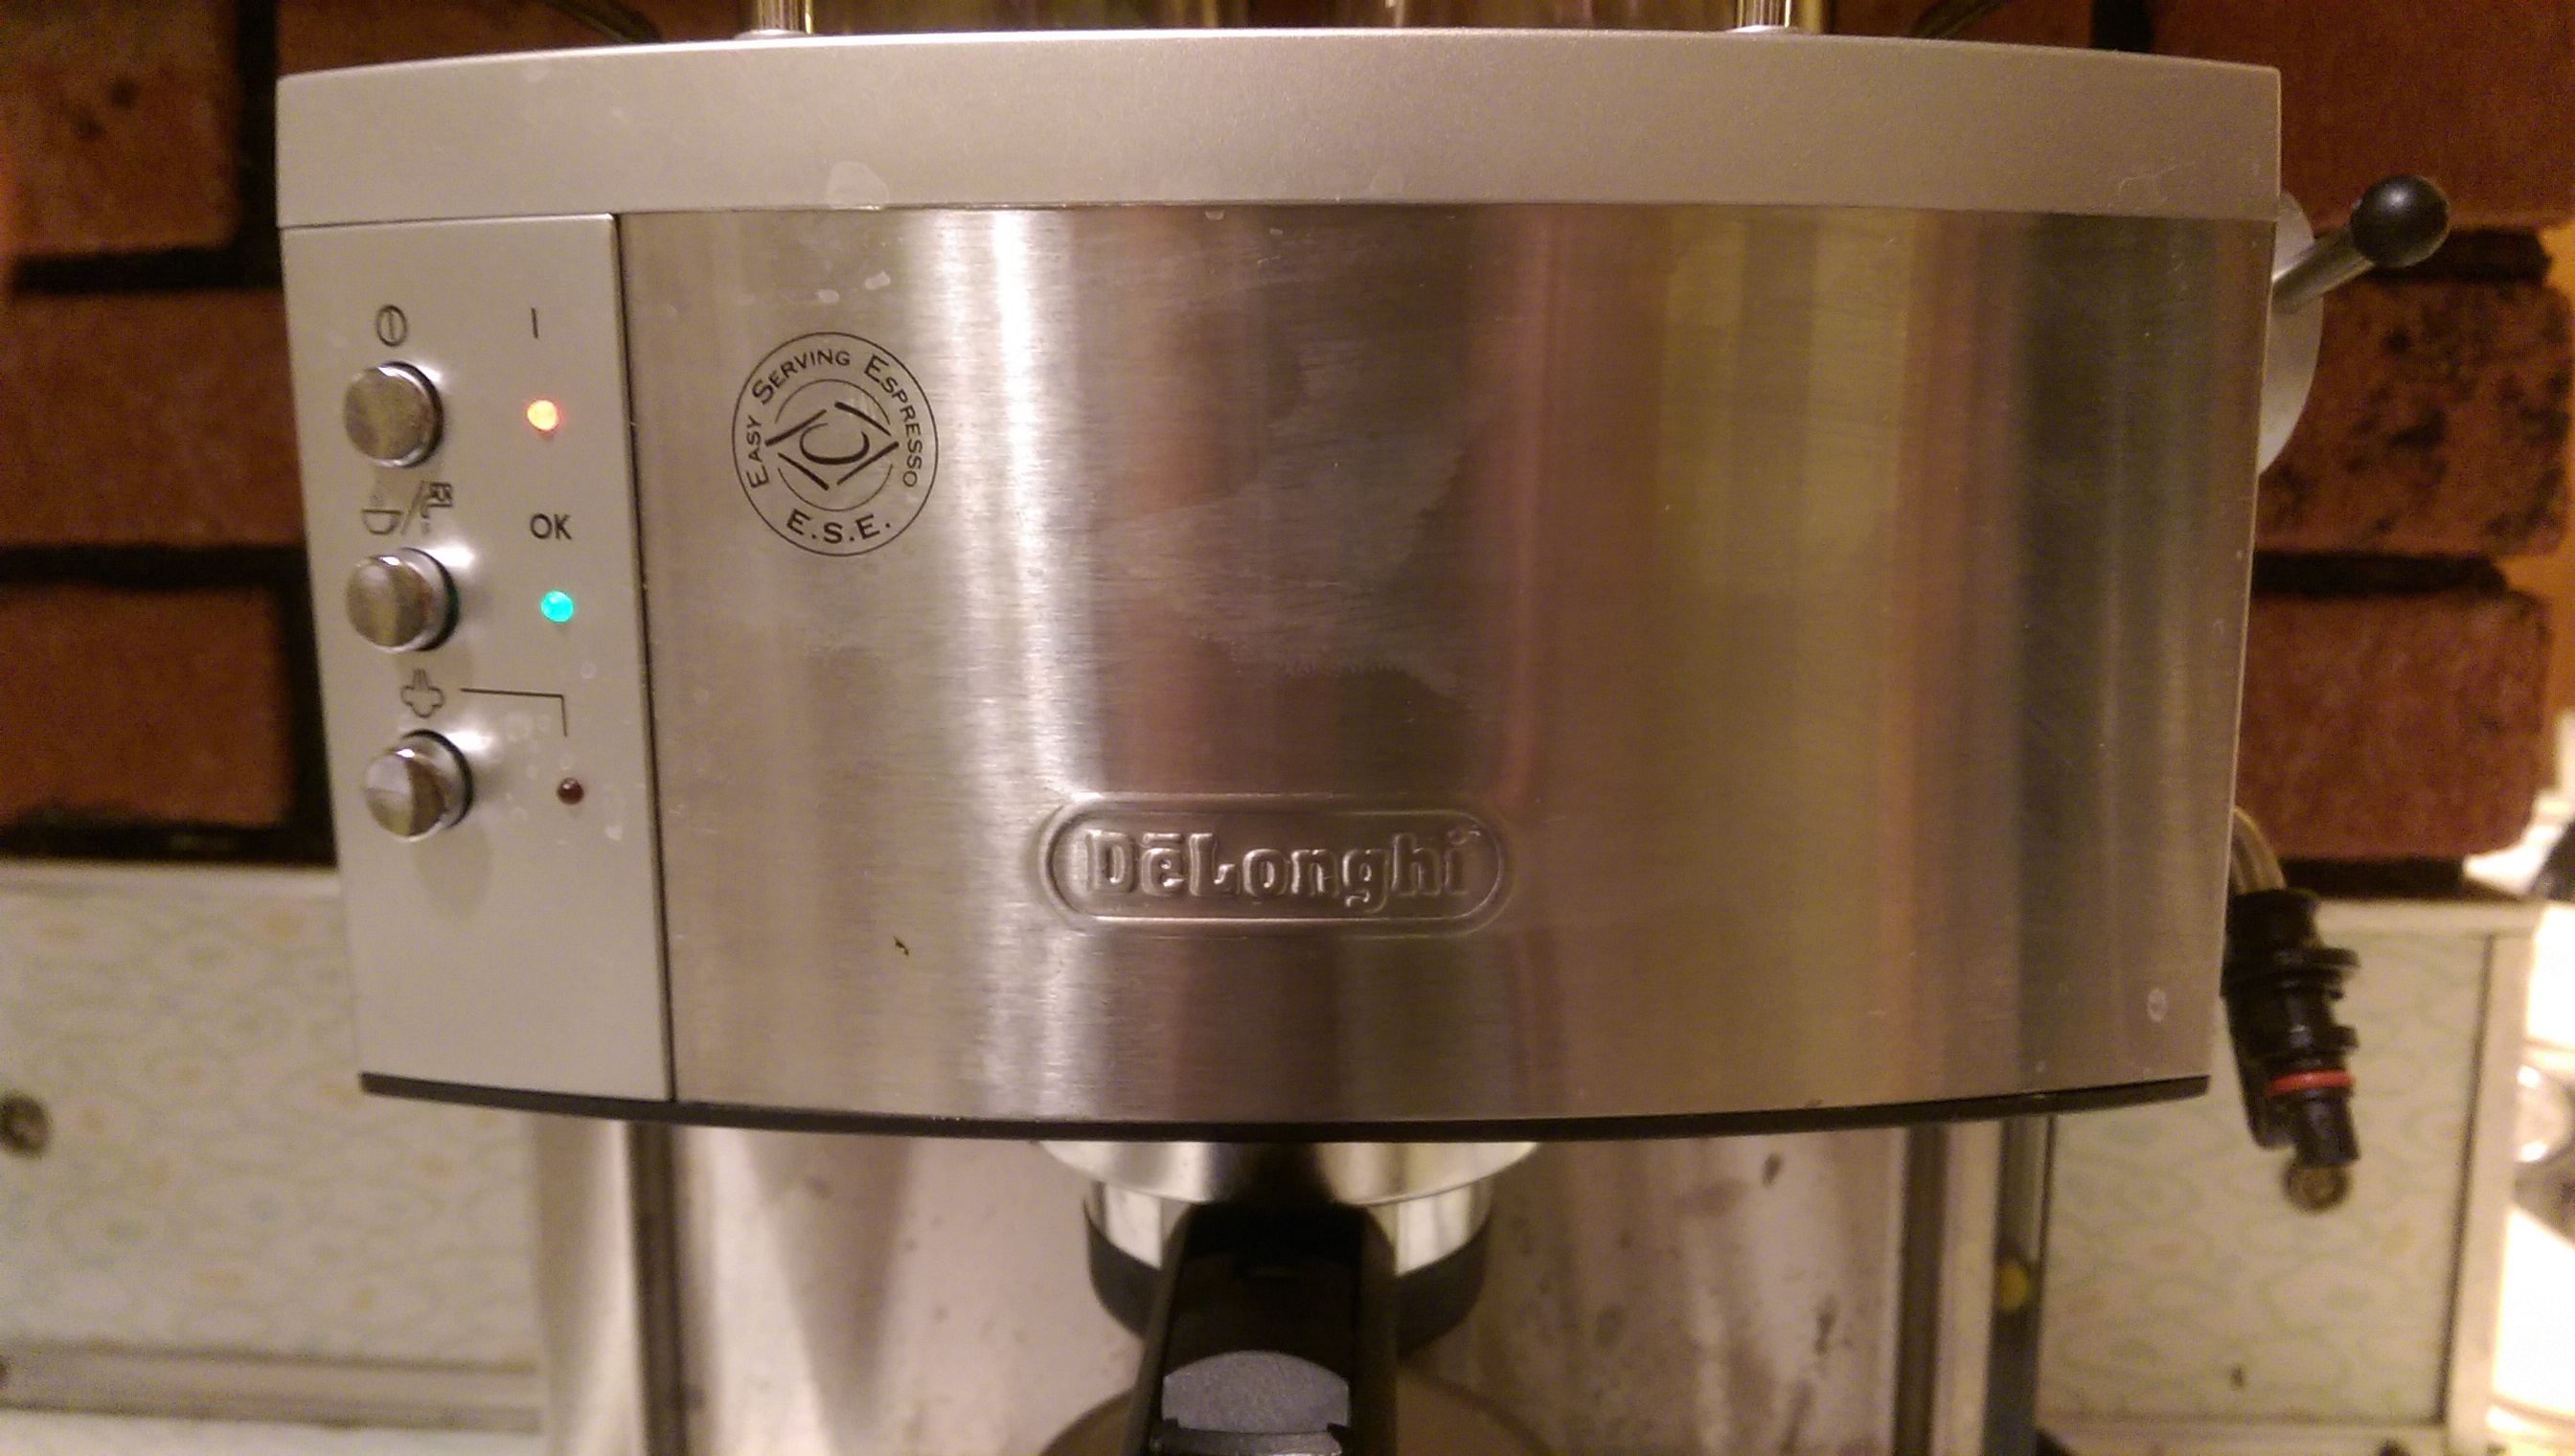
People around the world enjoy delicious caffeinated drinks every day. Often it is hard to make specialty drinks without prior knowledge or the correct equipment. By using an Delonghi Espresso machine, it makes this process easier with the correct directions.
Material Preparation
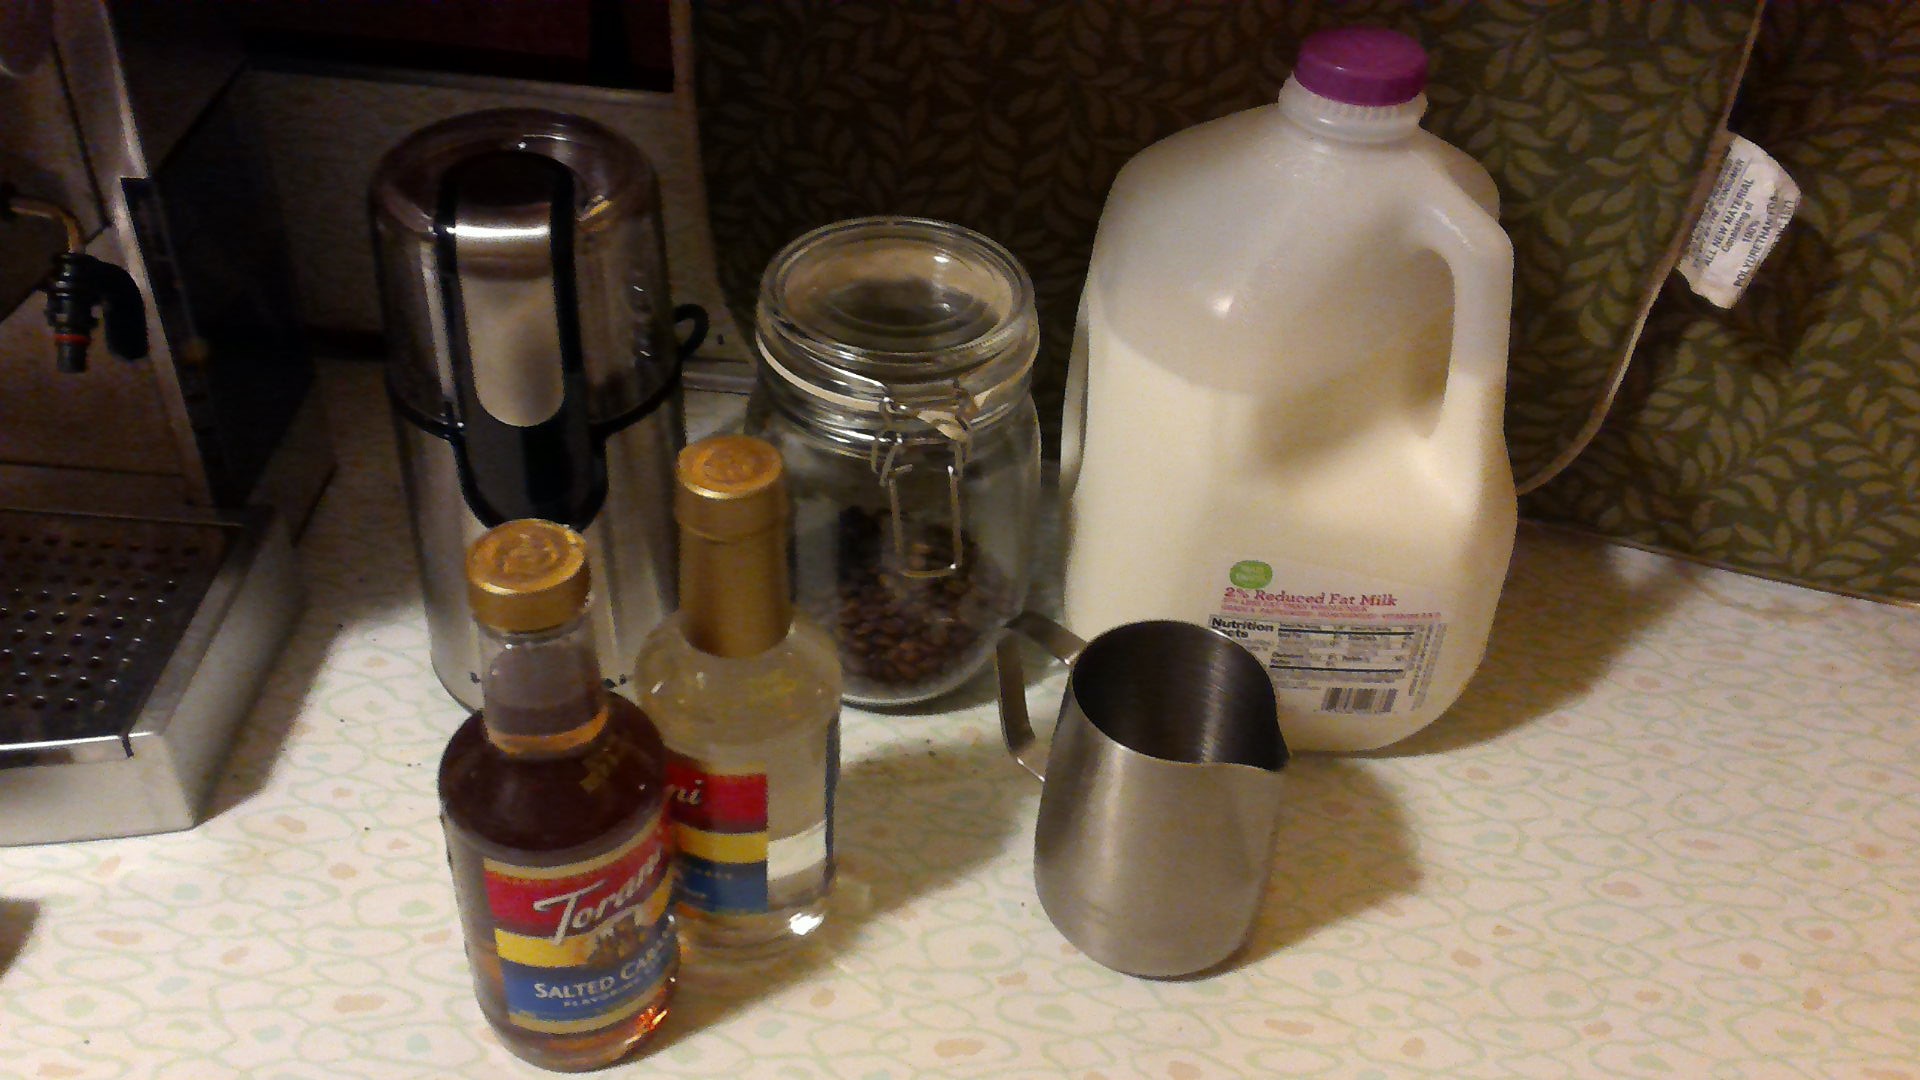
You will need:
- Cup or mug
- A cup of 2% Milk
- whole bean coffee
- coffee bean grinder
- Frothing kettle
- Spoon
Optional
- Flavoring
- Sugar
Preparing the Delonghi Espresso Machine
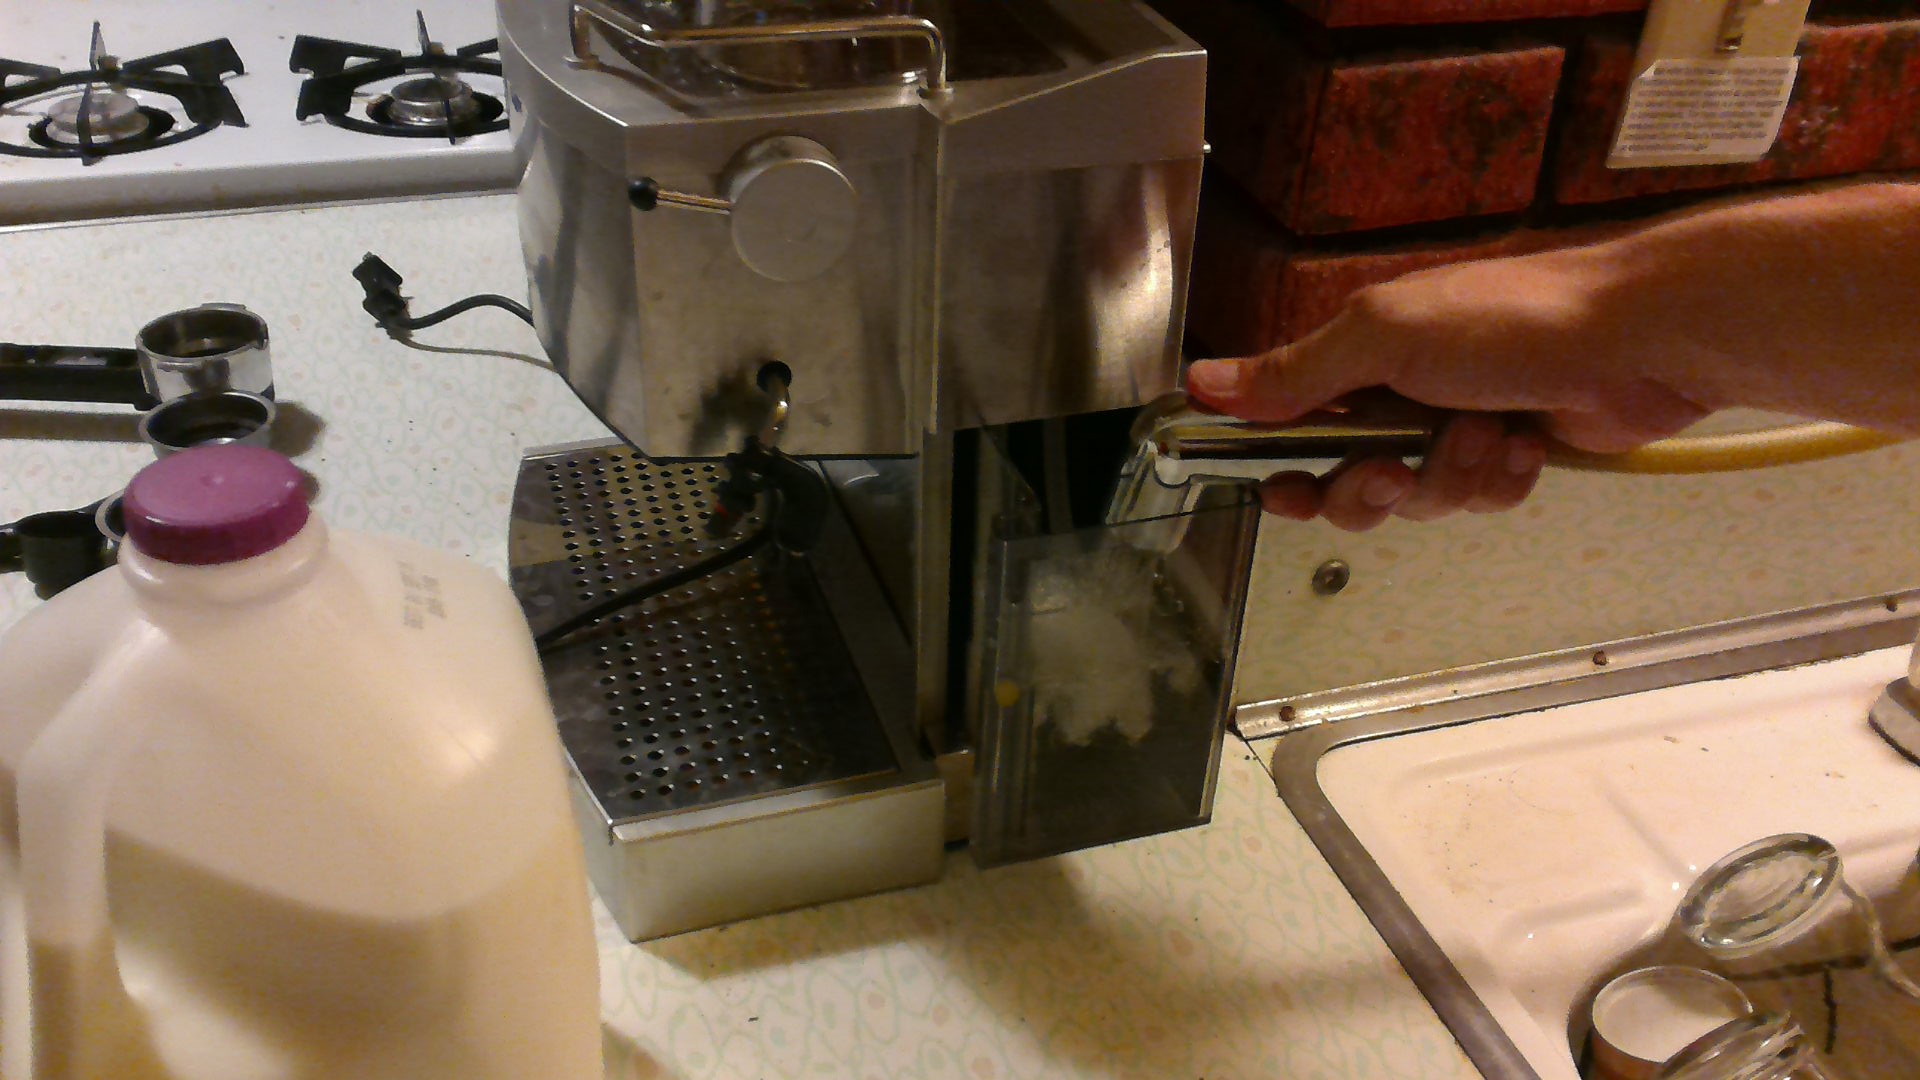
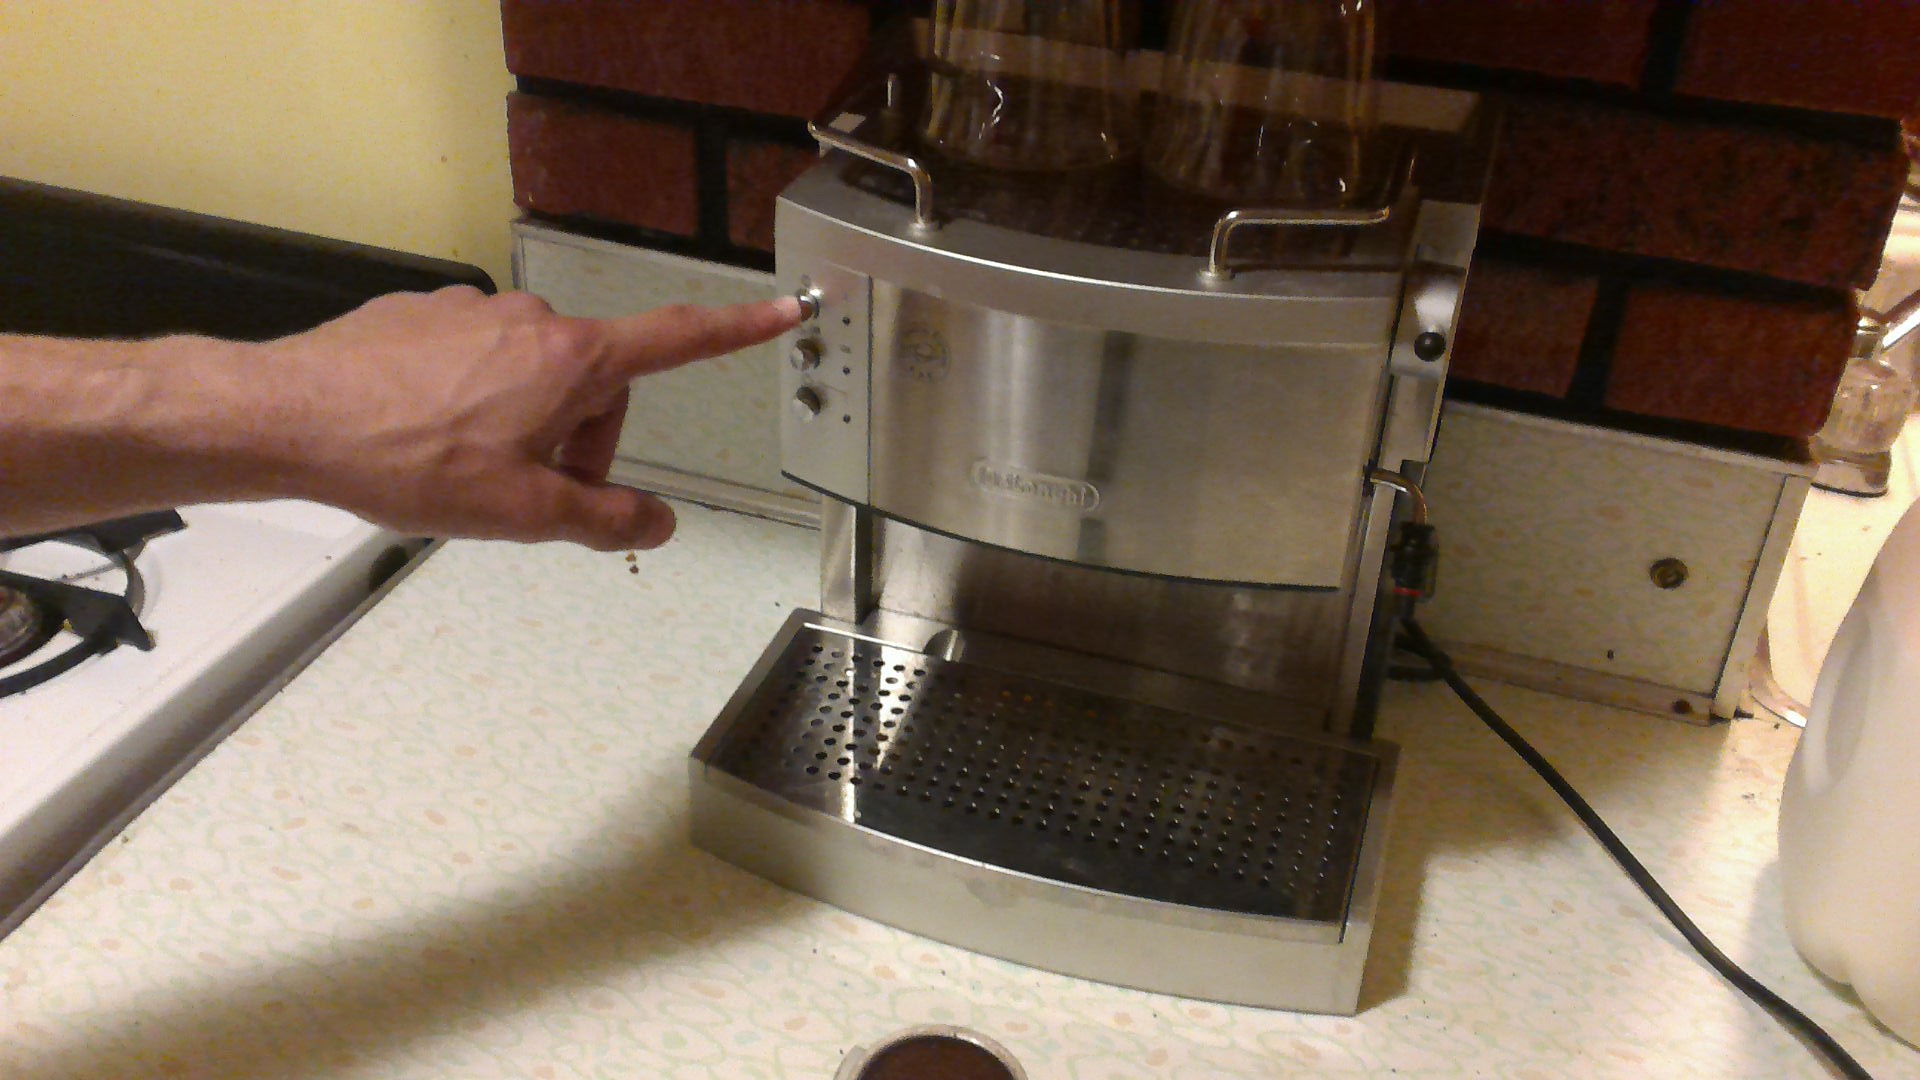
- Plug the DeLonghi Espresso Machine into a power outlet
-
Open water compartment and fill with cold water. Make sure to fill above the minimum line, while not going over the maximum line.
-
Turn on Machine
- Press top button, this will be red
Beans Preparation
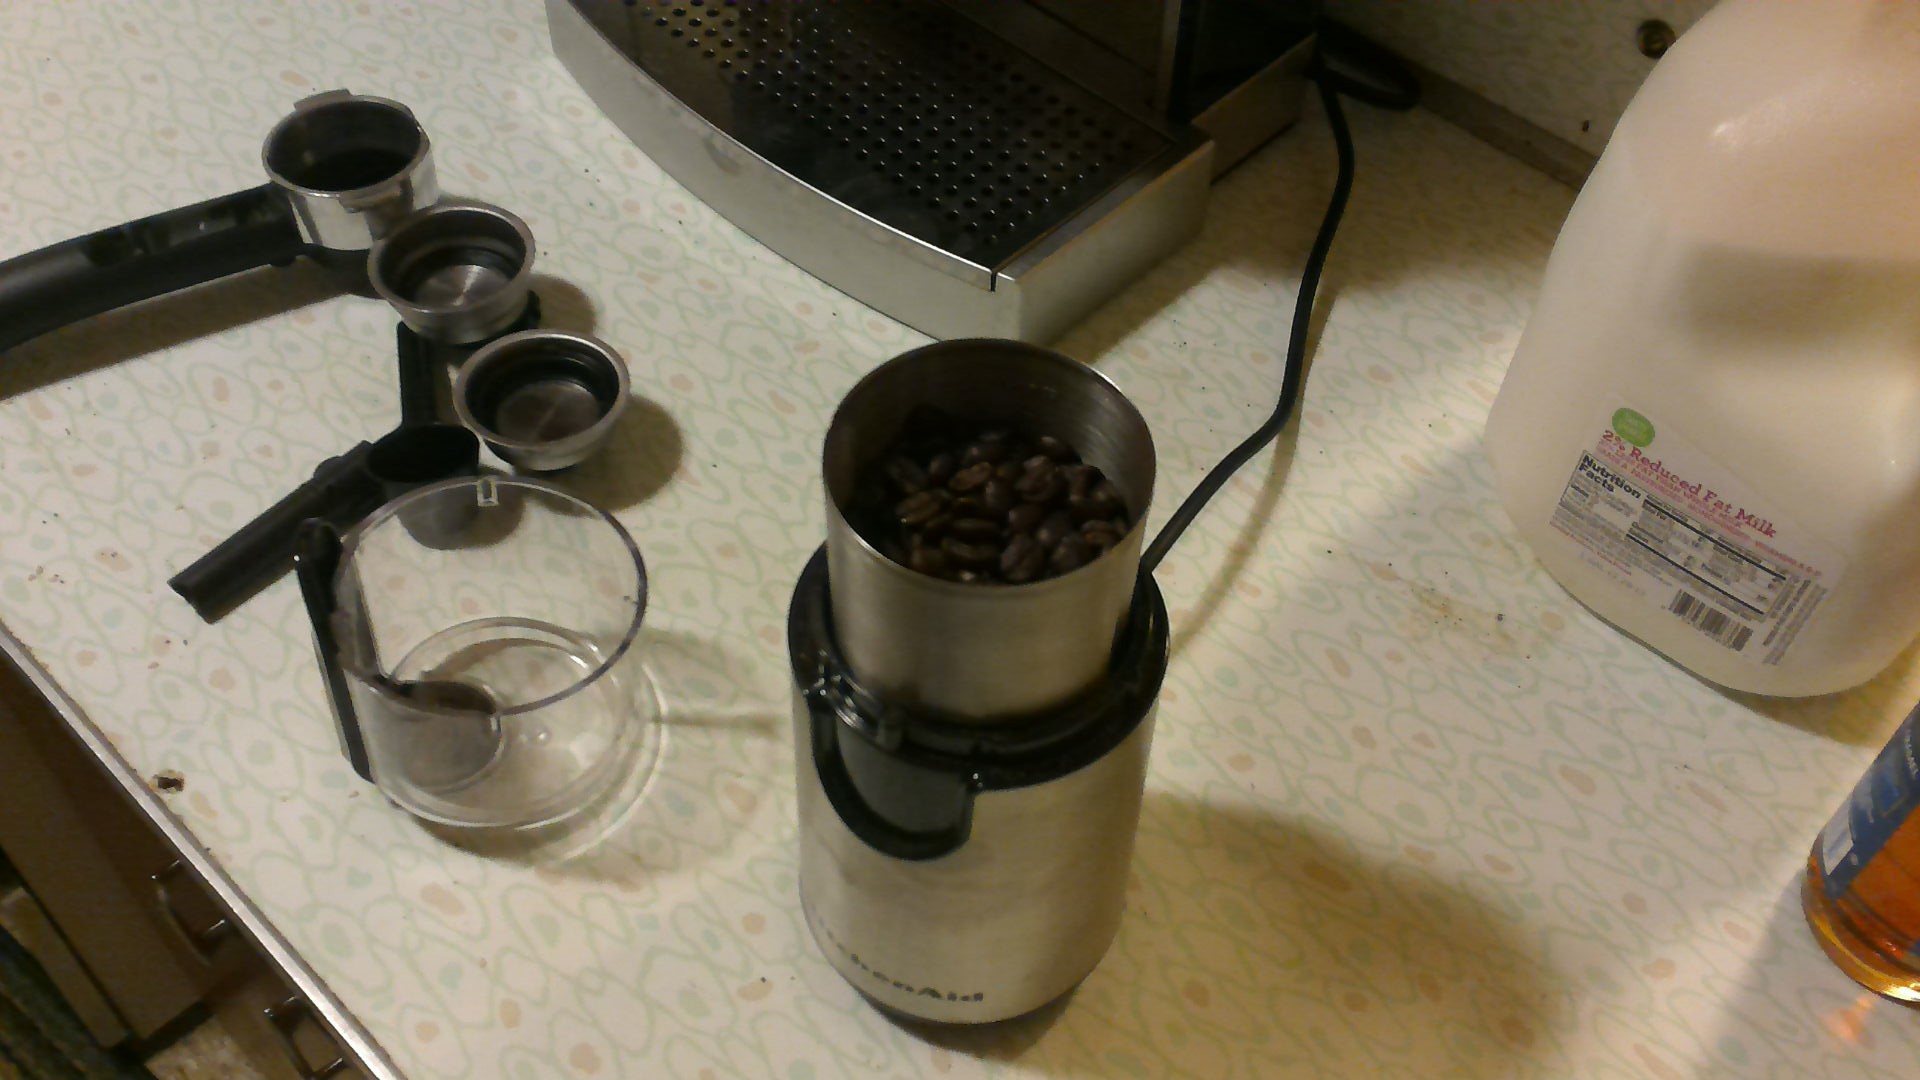
-
While the machine heats up begin preparing the beans for use.
-
Plug grinder into power outlet
-
Fill grinder to half full with whole beans
-
Place plastic cap onto the grinder
-
Press down on cap until beans are fine ground
- 15 - 20 seconds should be sufficient
Beans Preparation
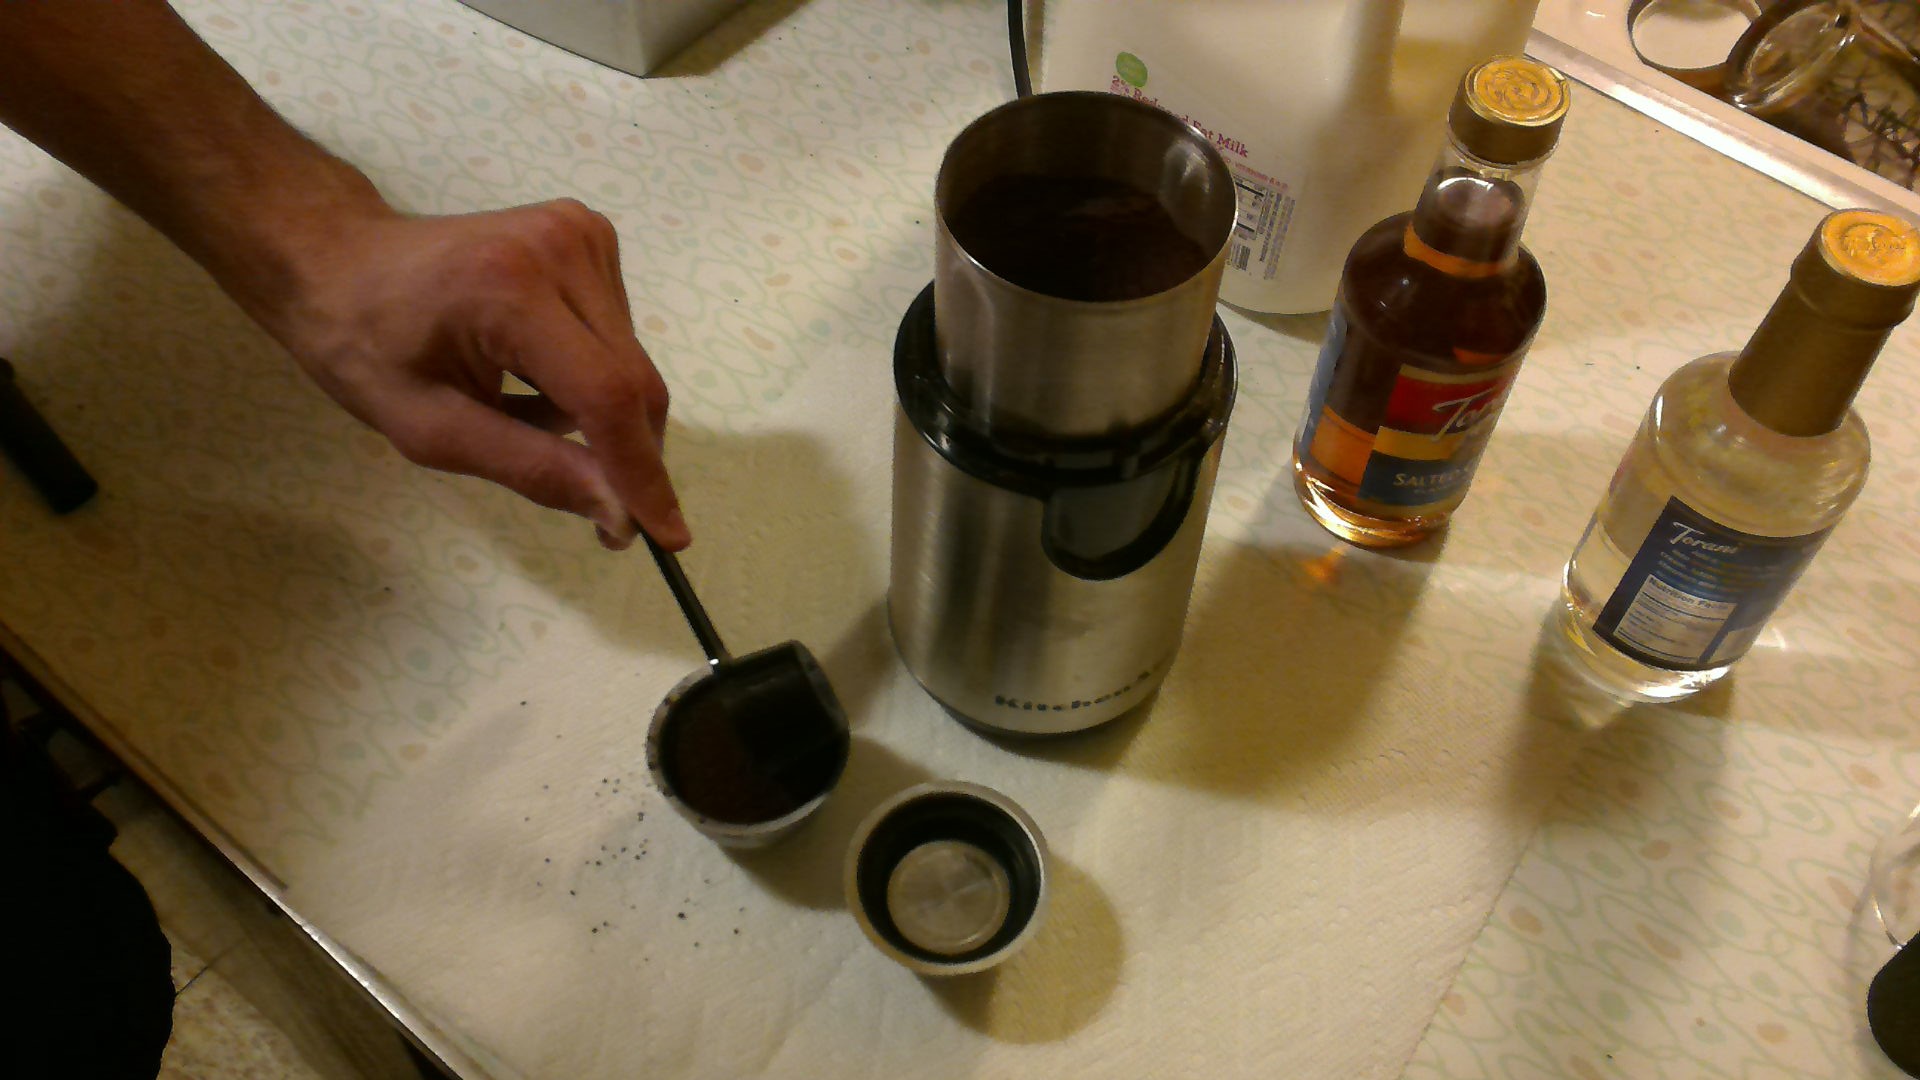
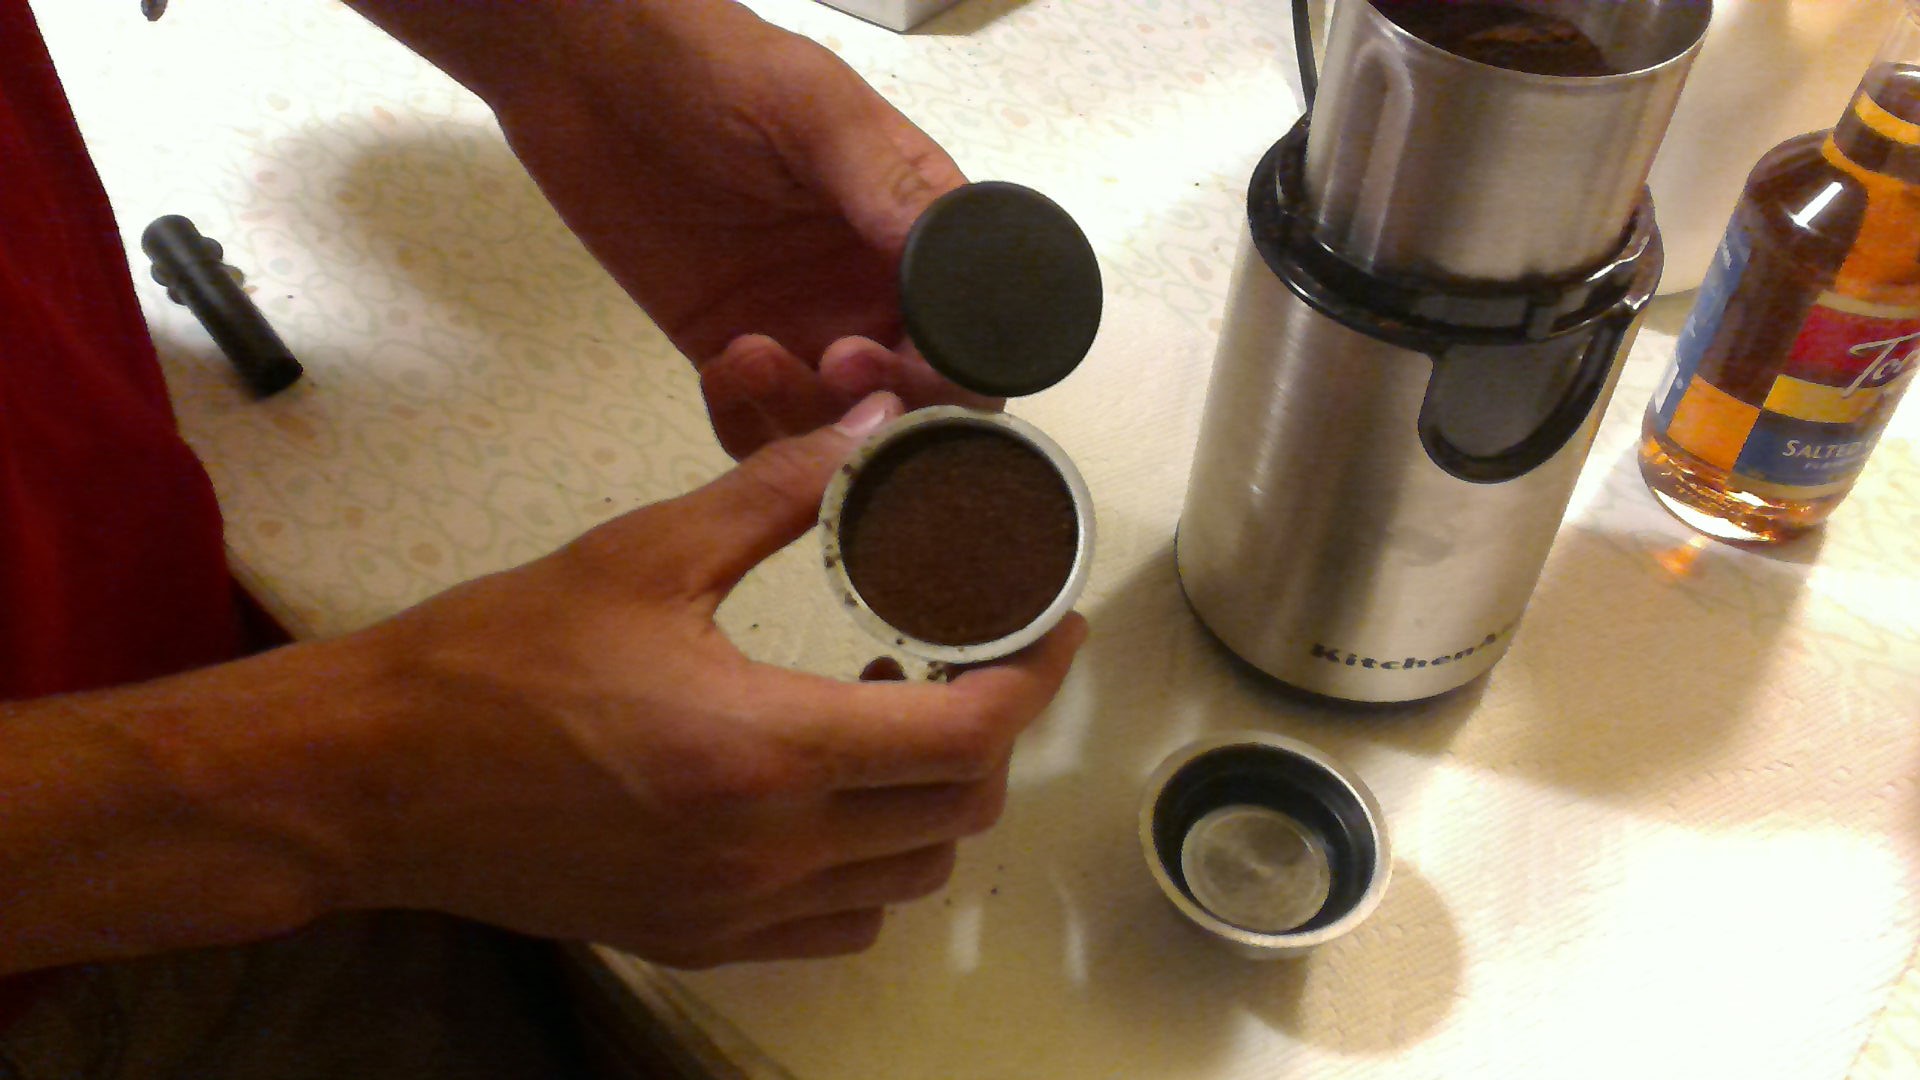
- Retrieve double shot bowl from the provided materials
- Scoop coffee grounds into double shot bowl
- Use provided packer to pack beans tightly into the bowl
- The packer will be on the front of the machine.
3. At this point, the machine will be ready to use, continue to the next step.
Espresso Preparation (1/3)
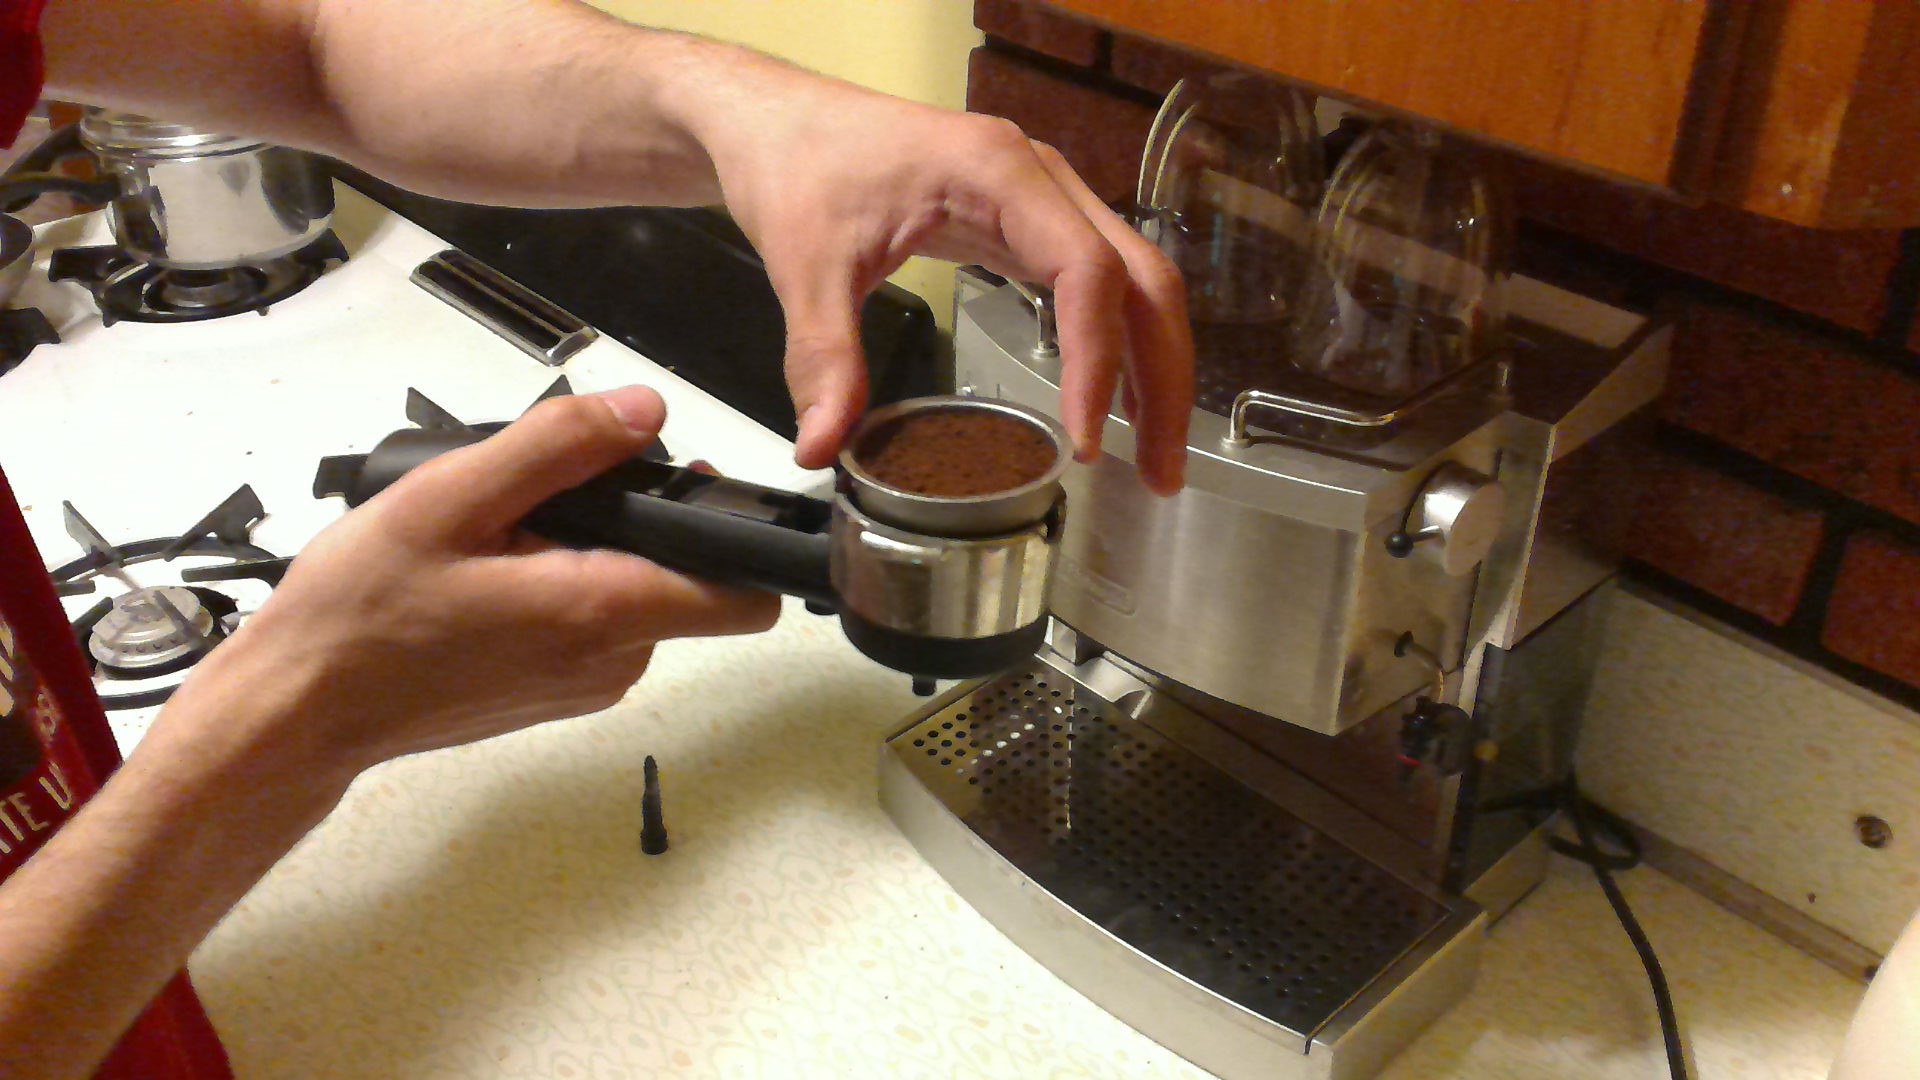
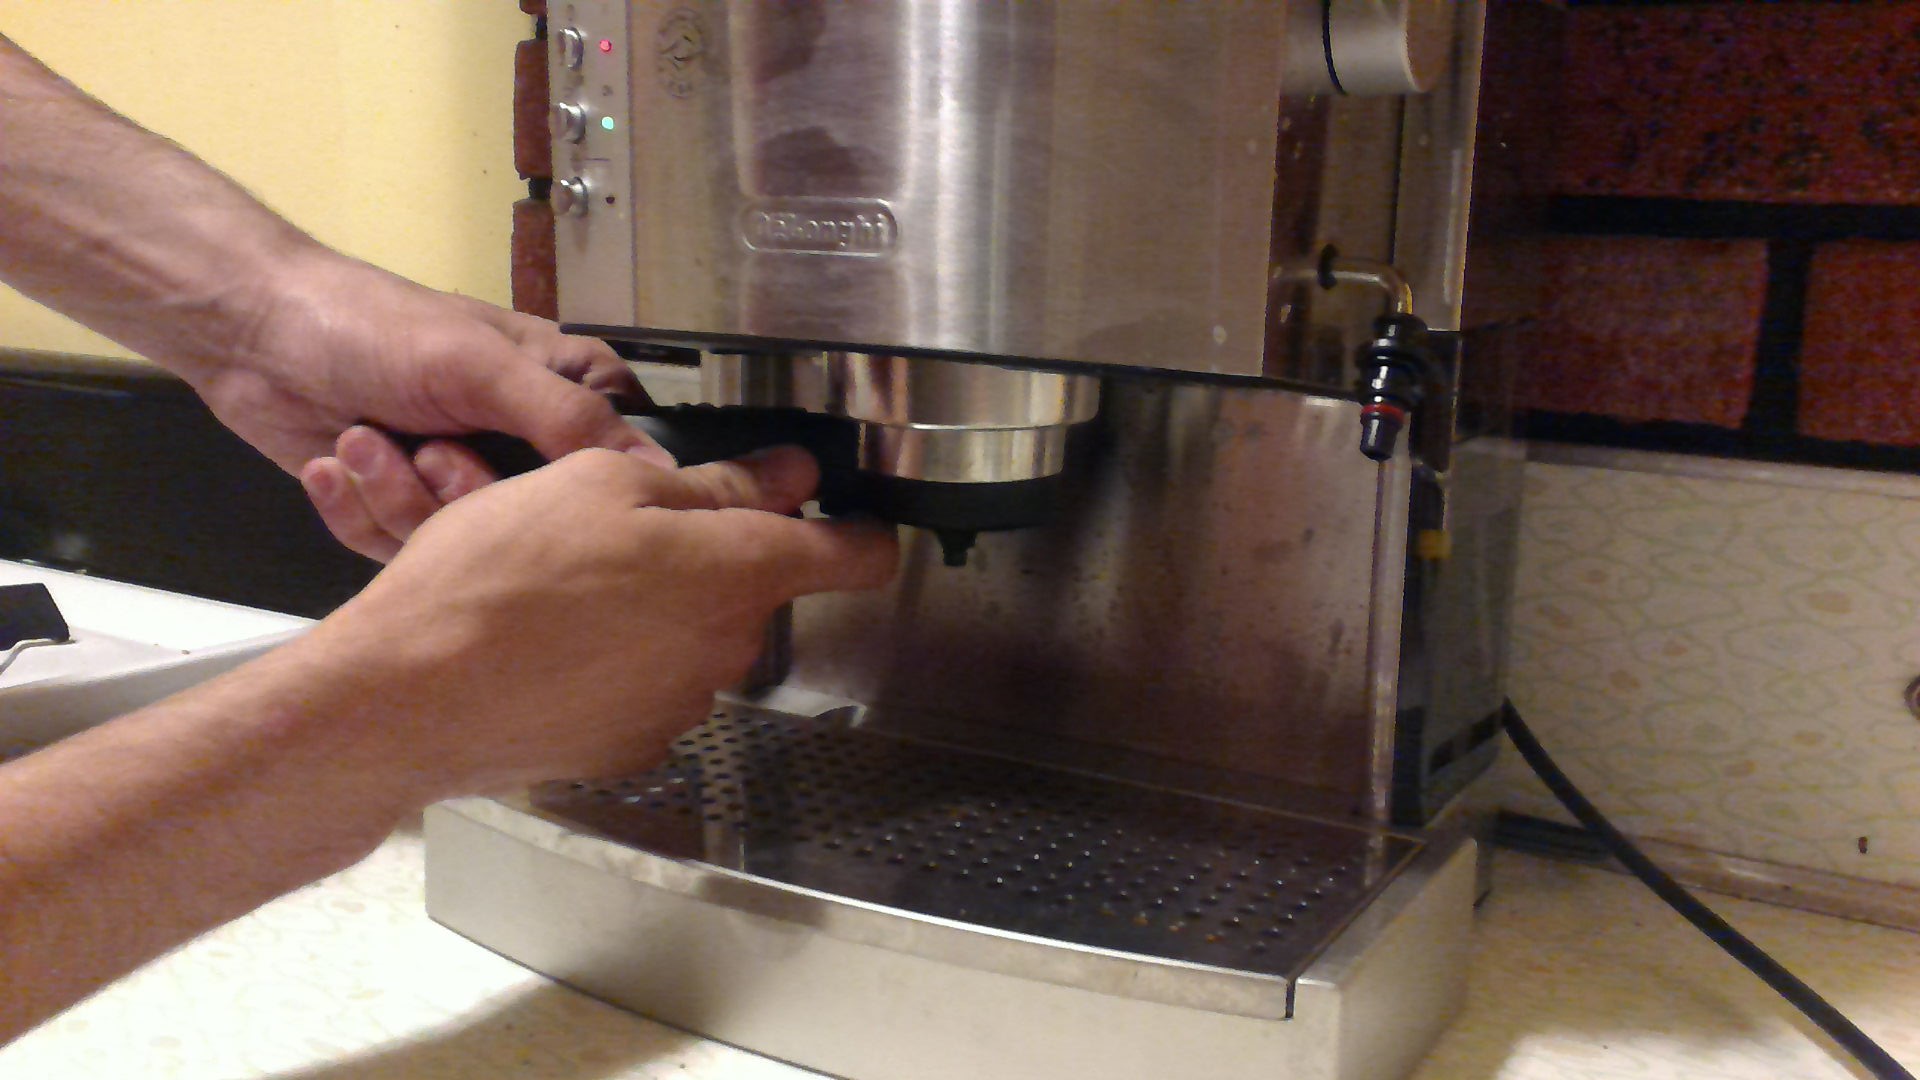
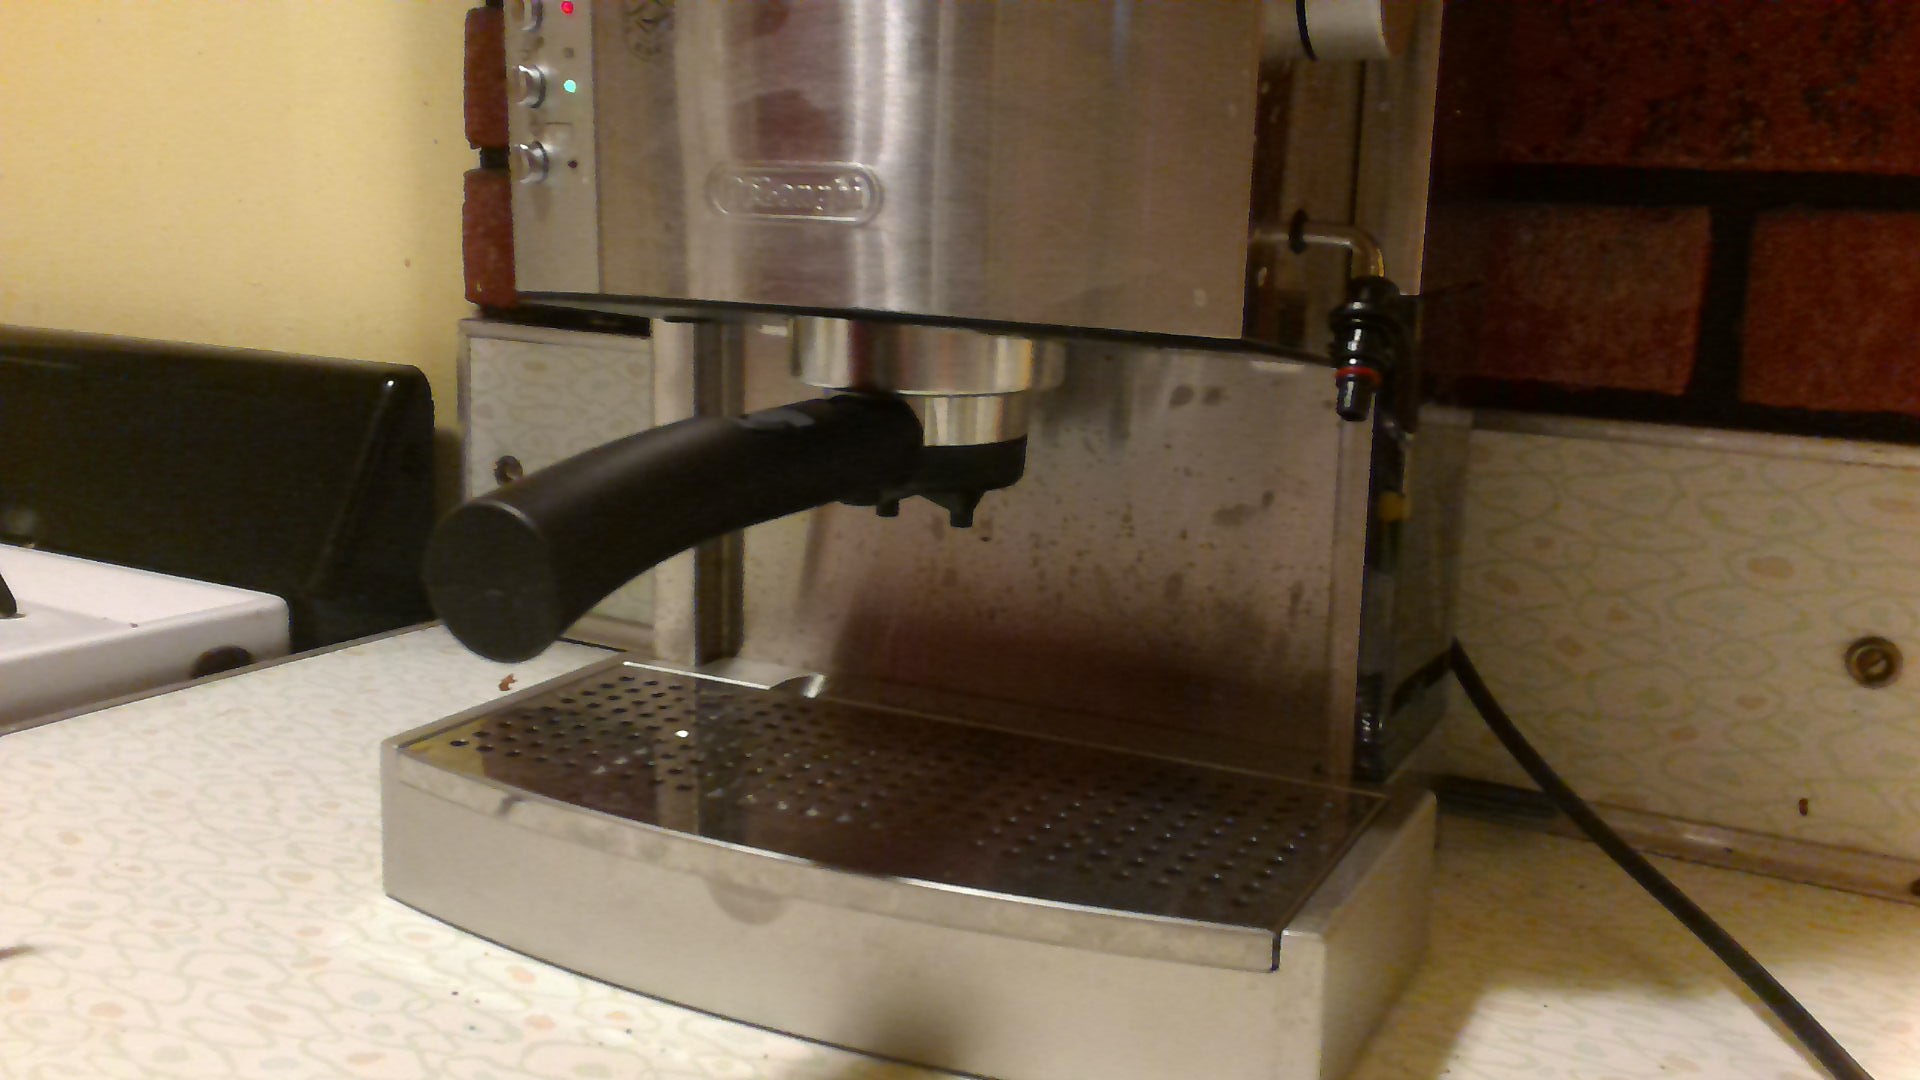
- Place bowl into handle. Rotate the bowl until it falls into place. The bowl will still be able to spin.
- Secure the handle underneath the machine by aligning with the hole
- Twisting the handle from the left to your right, into position.
Please refer to the video for assistance with the handle.
Espresso Preparation (2/3)
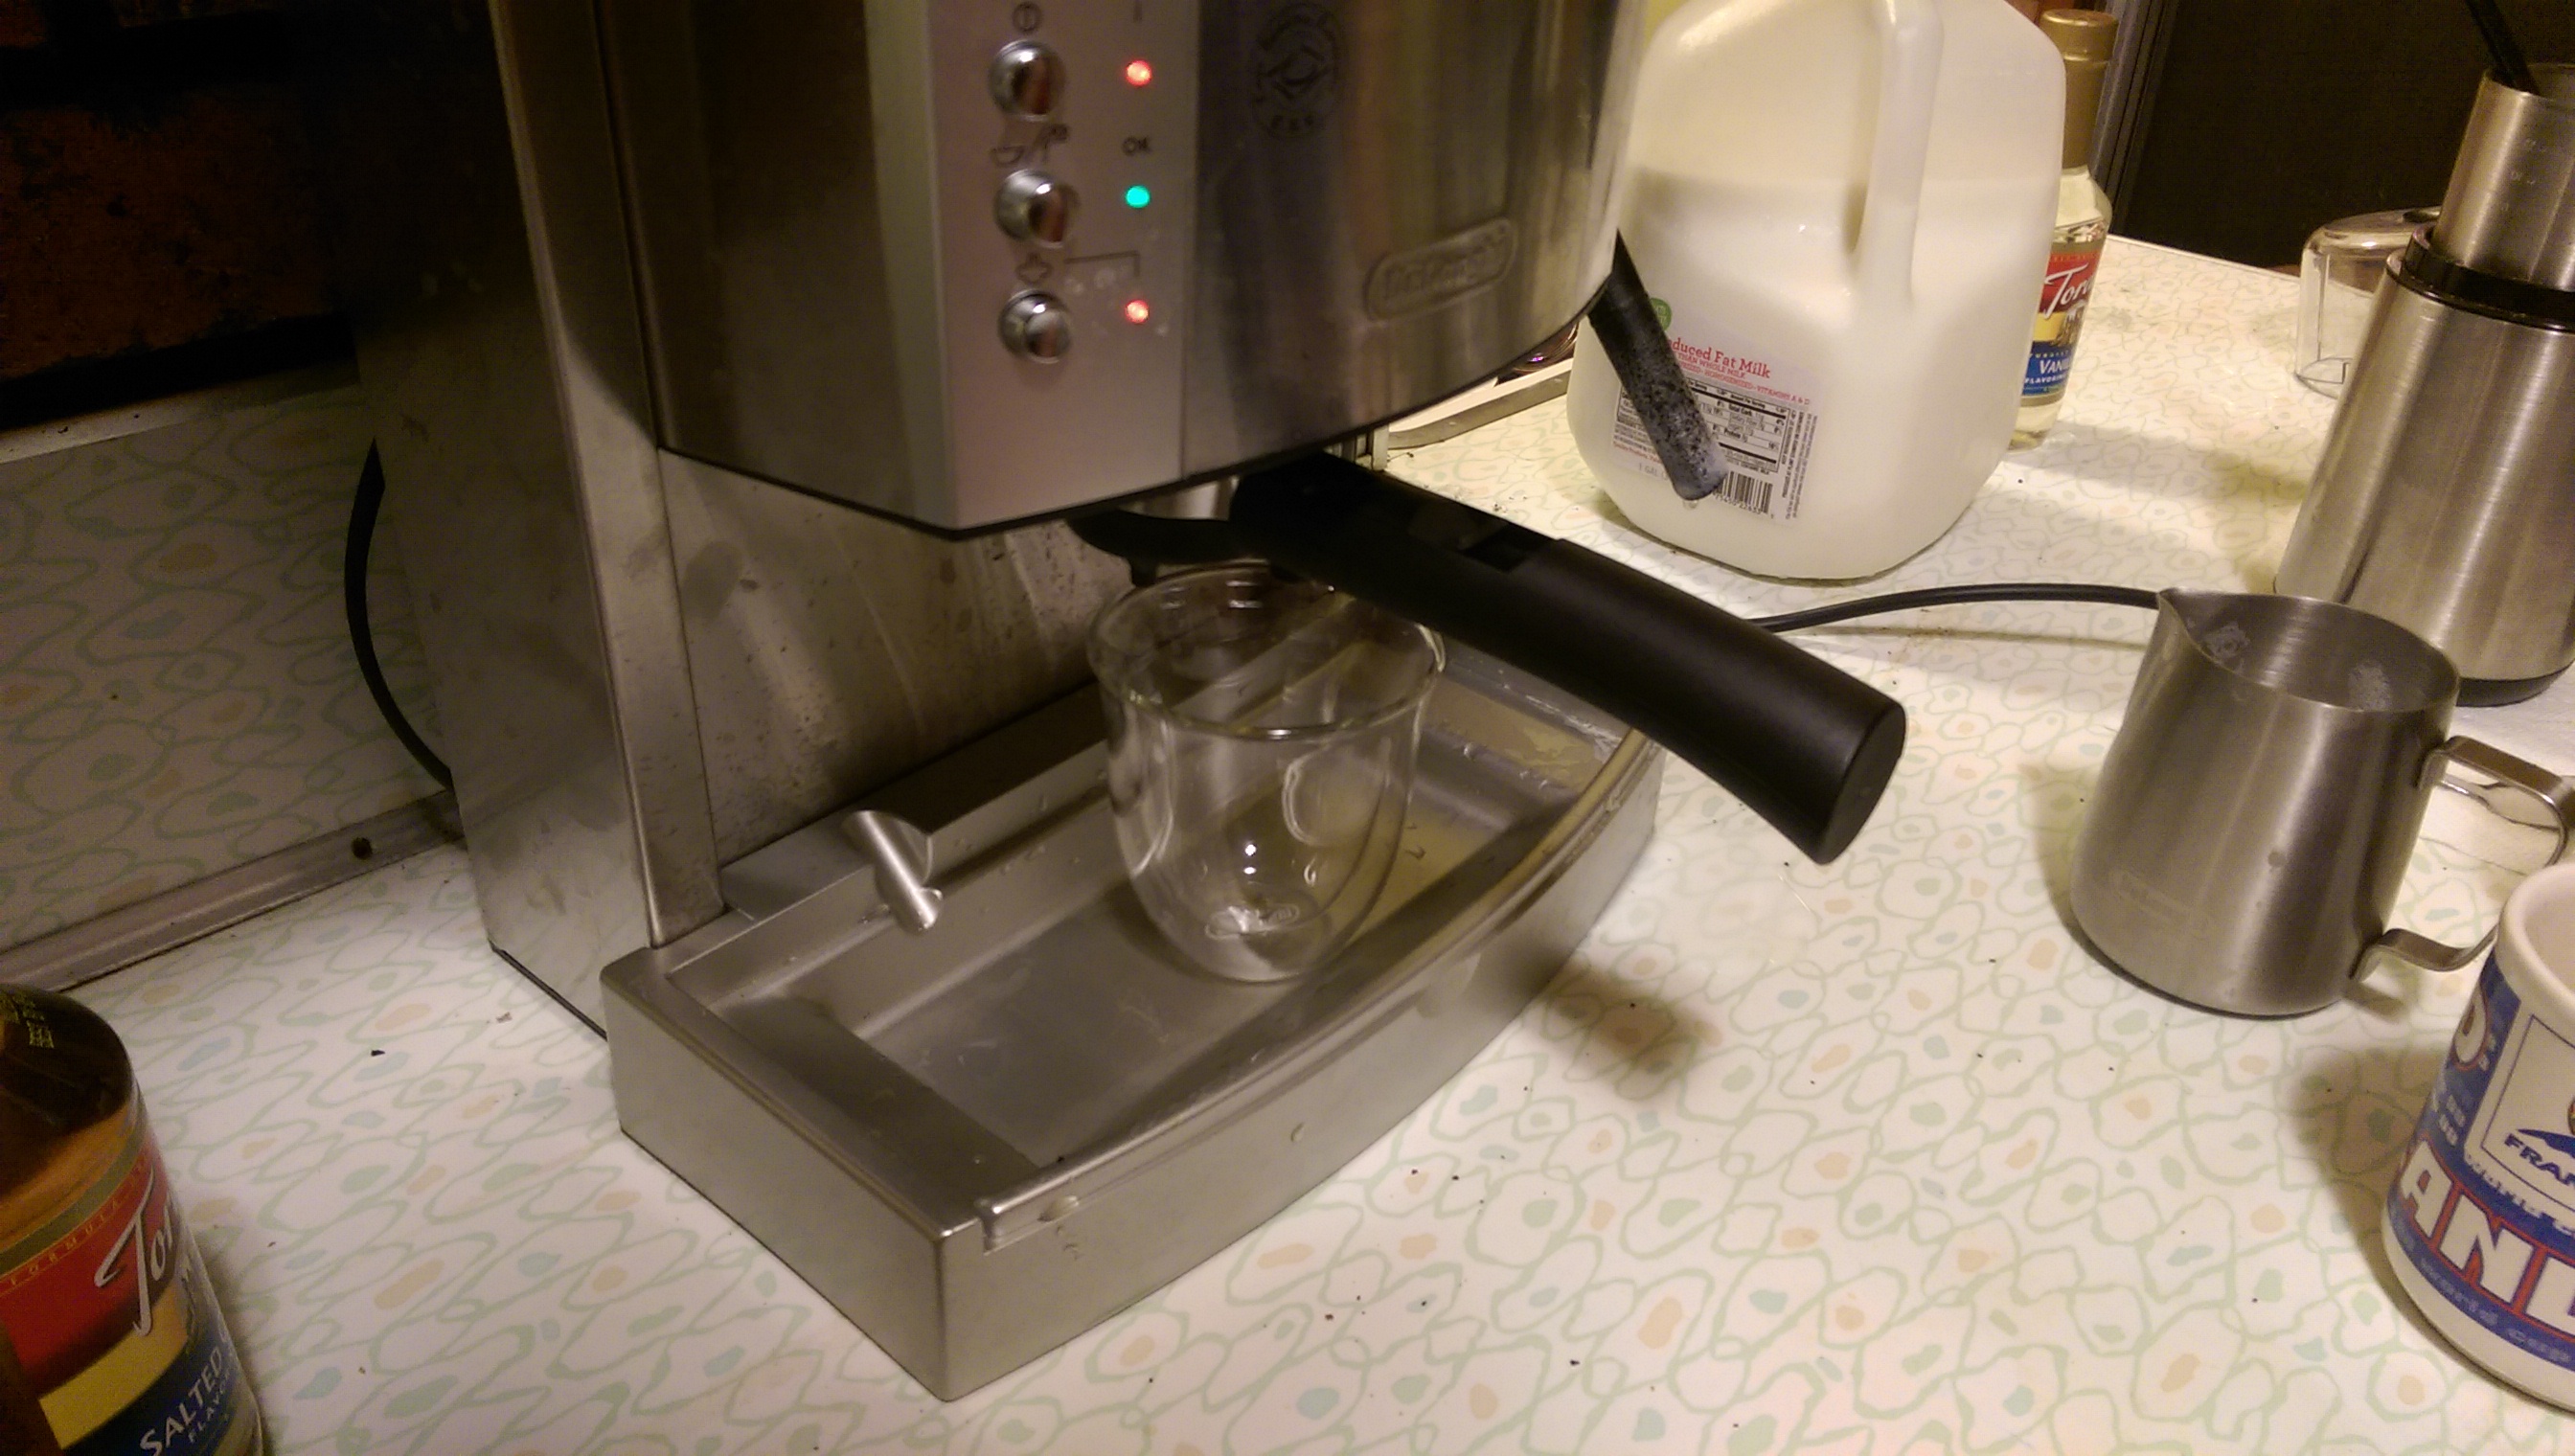
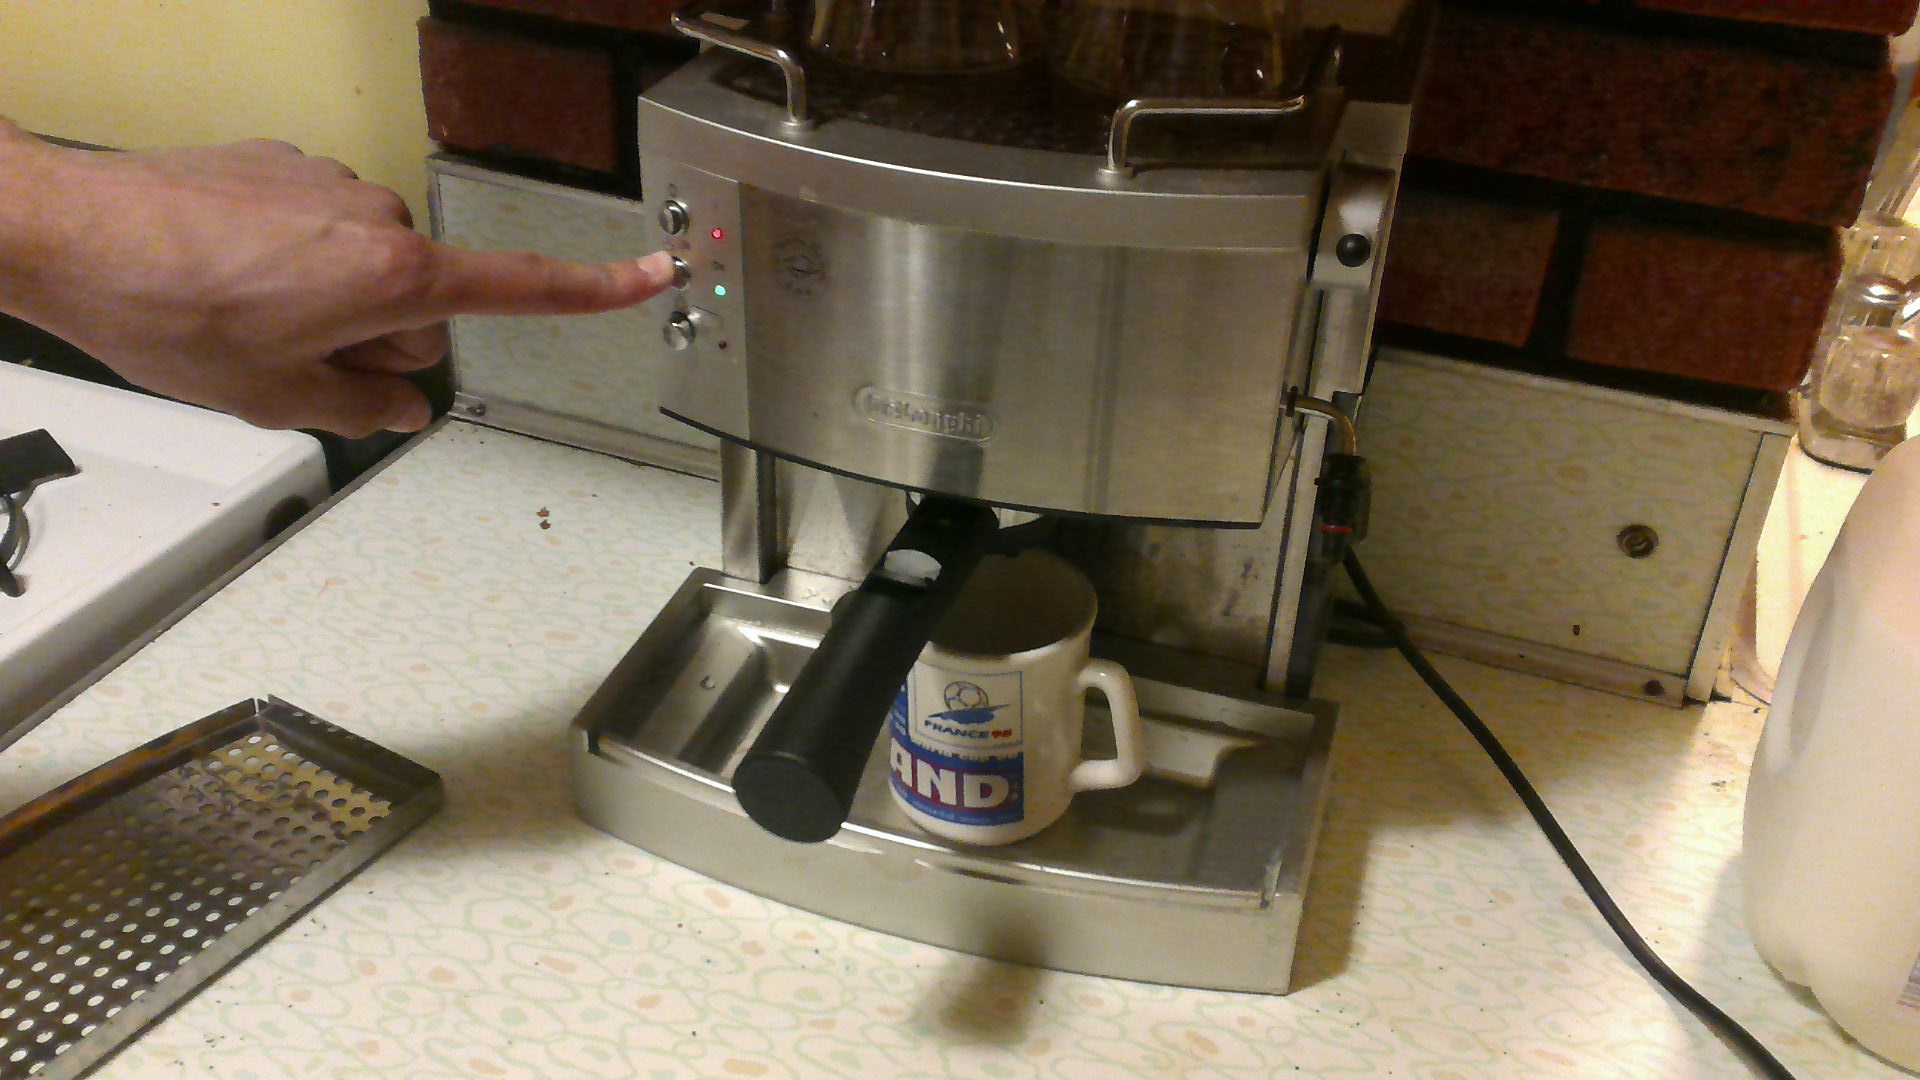
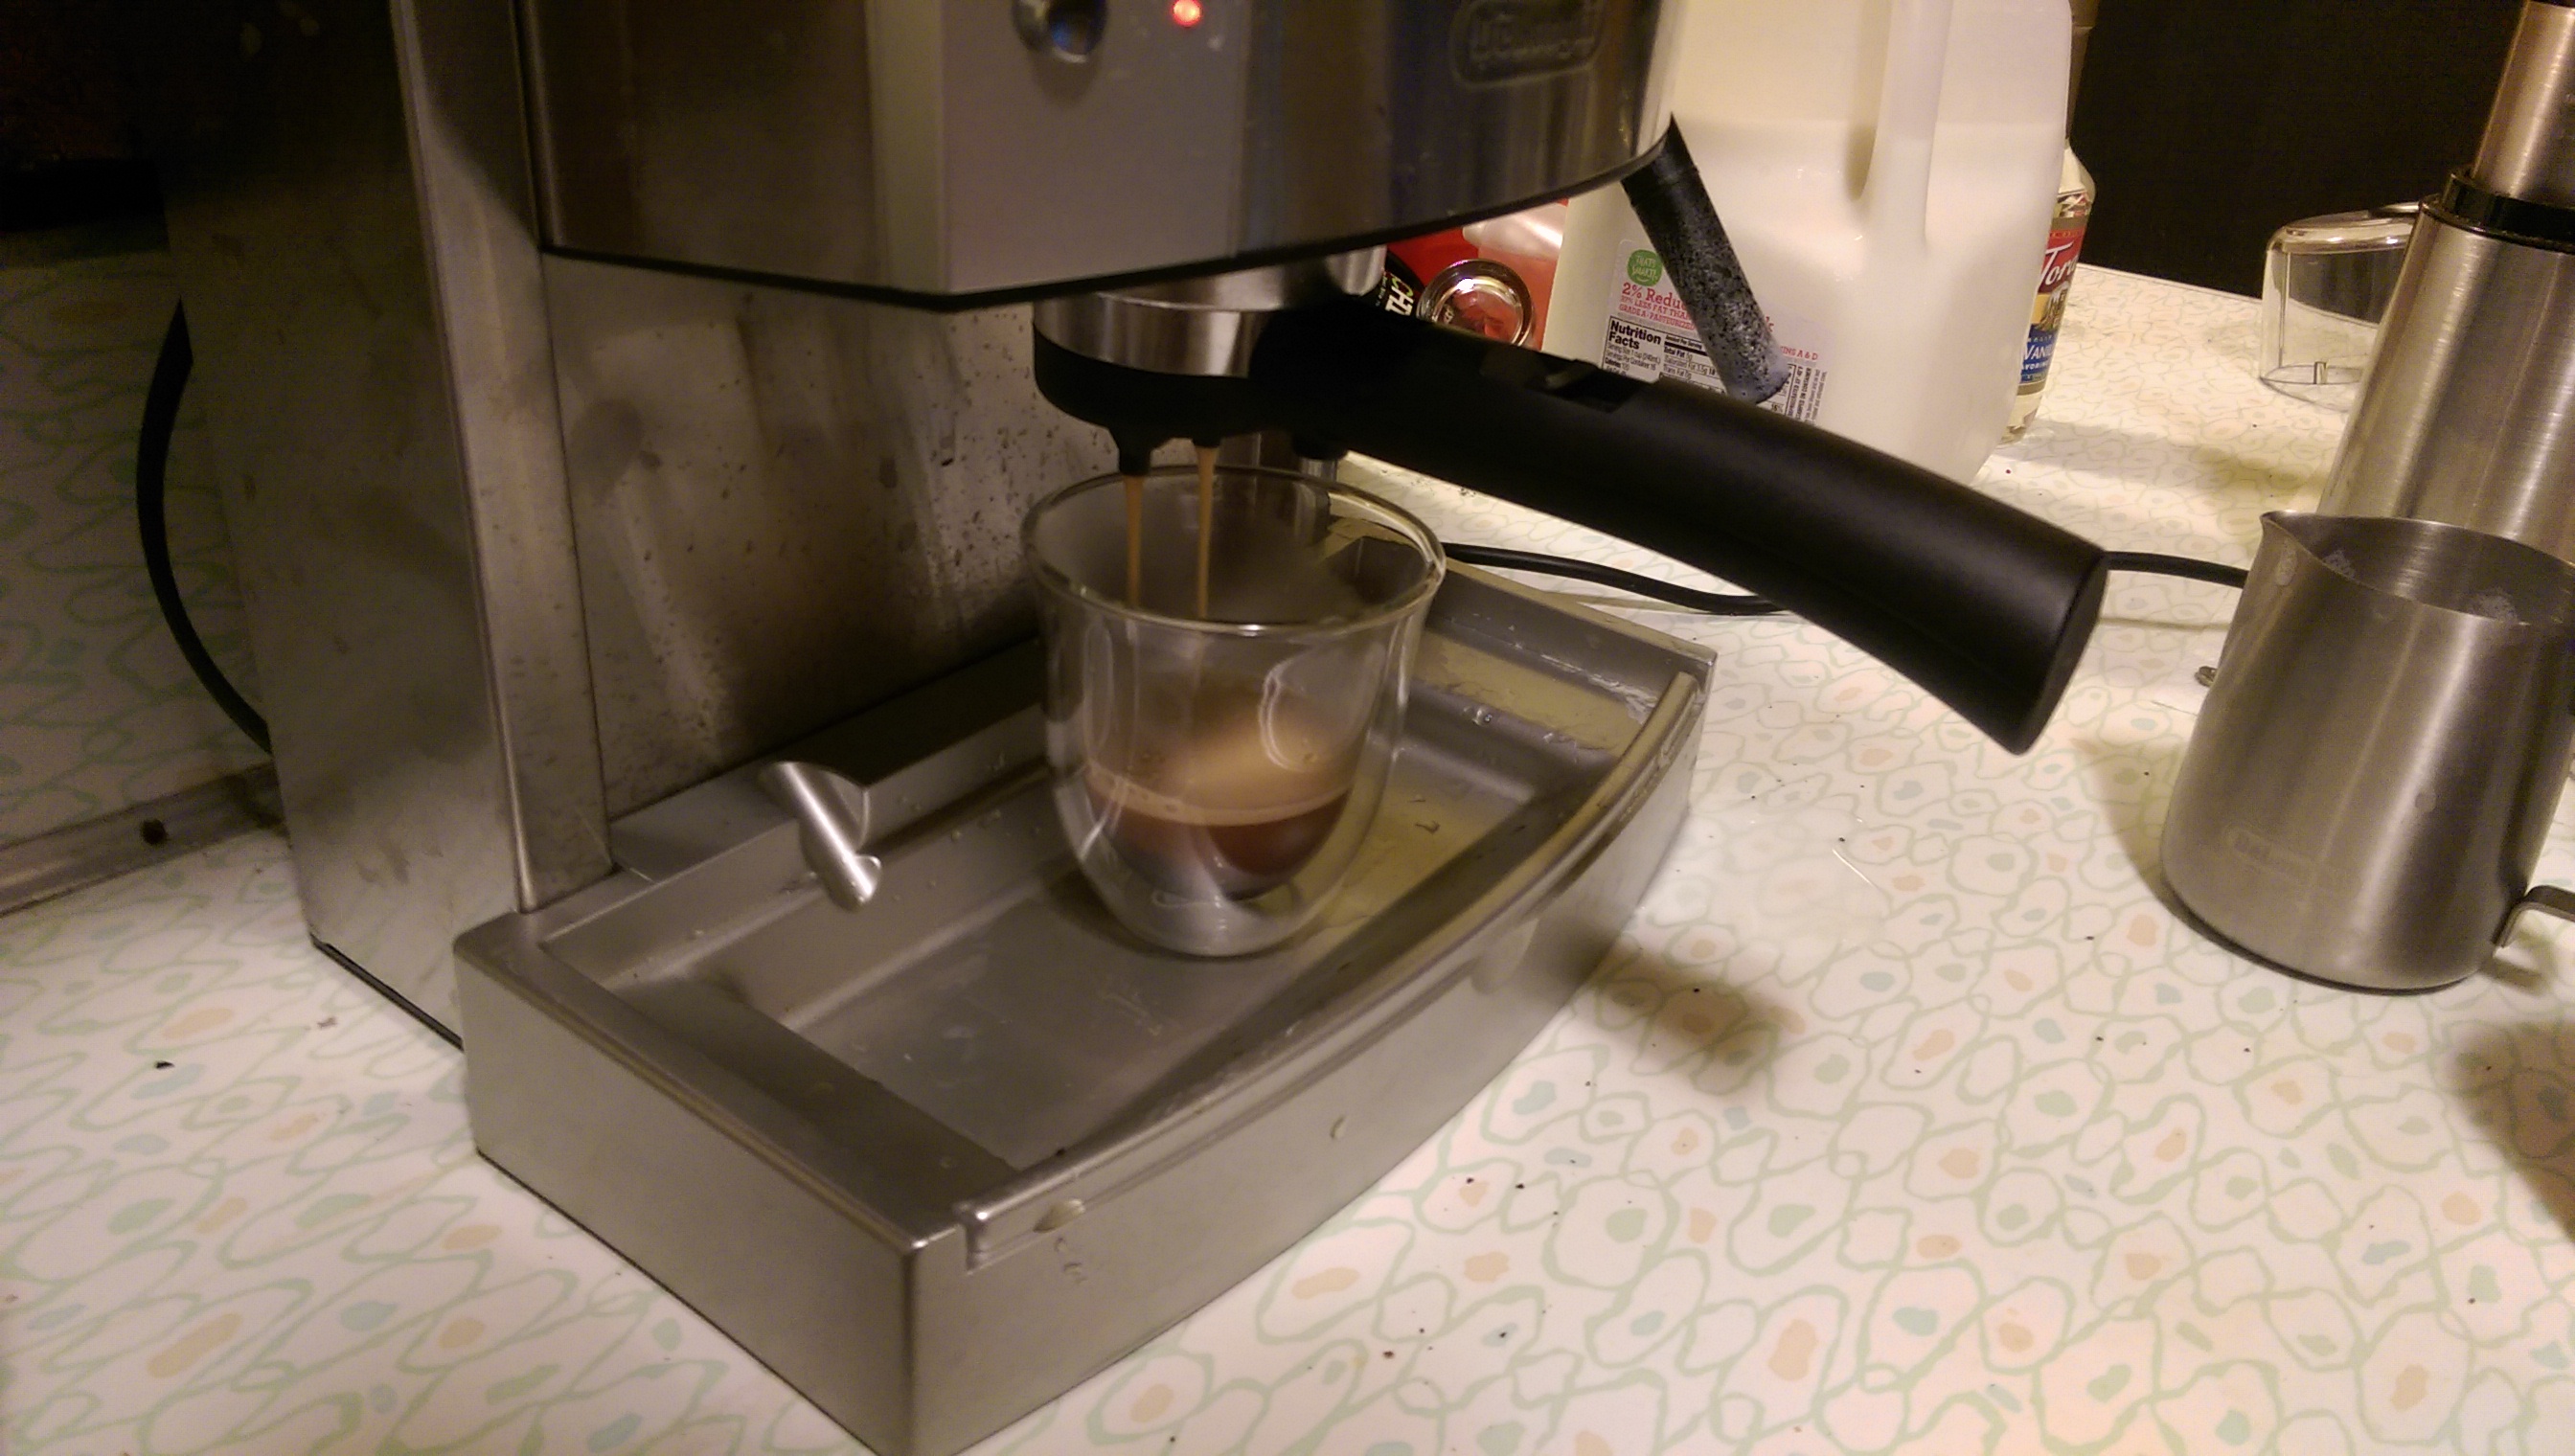
Place your mug or cup underneath the nozzle
Press the middle button to start pouring espresso, the light will become green.
Press the green button again when desired amount has been poured (about ⅓ of the cup)
- Expect dripping after the button has been pressed
At this point you can add flavoring or sugar if desired
Espresso Preparation (3/3)
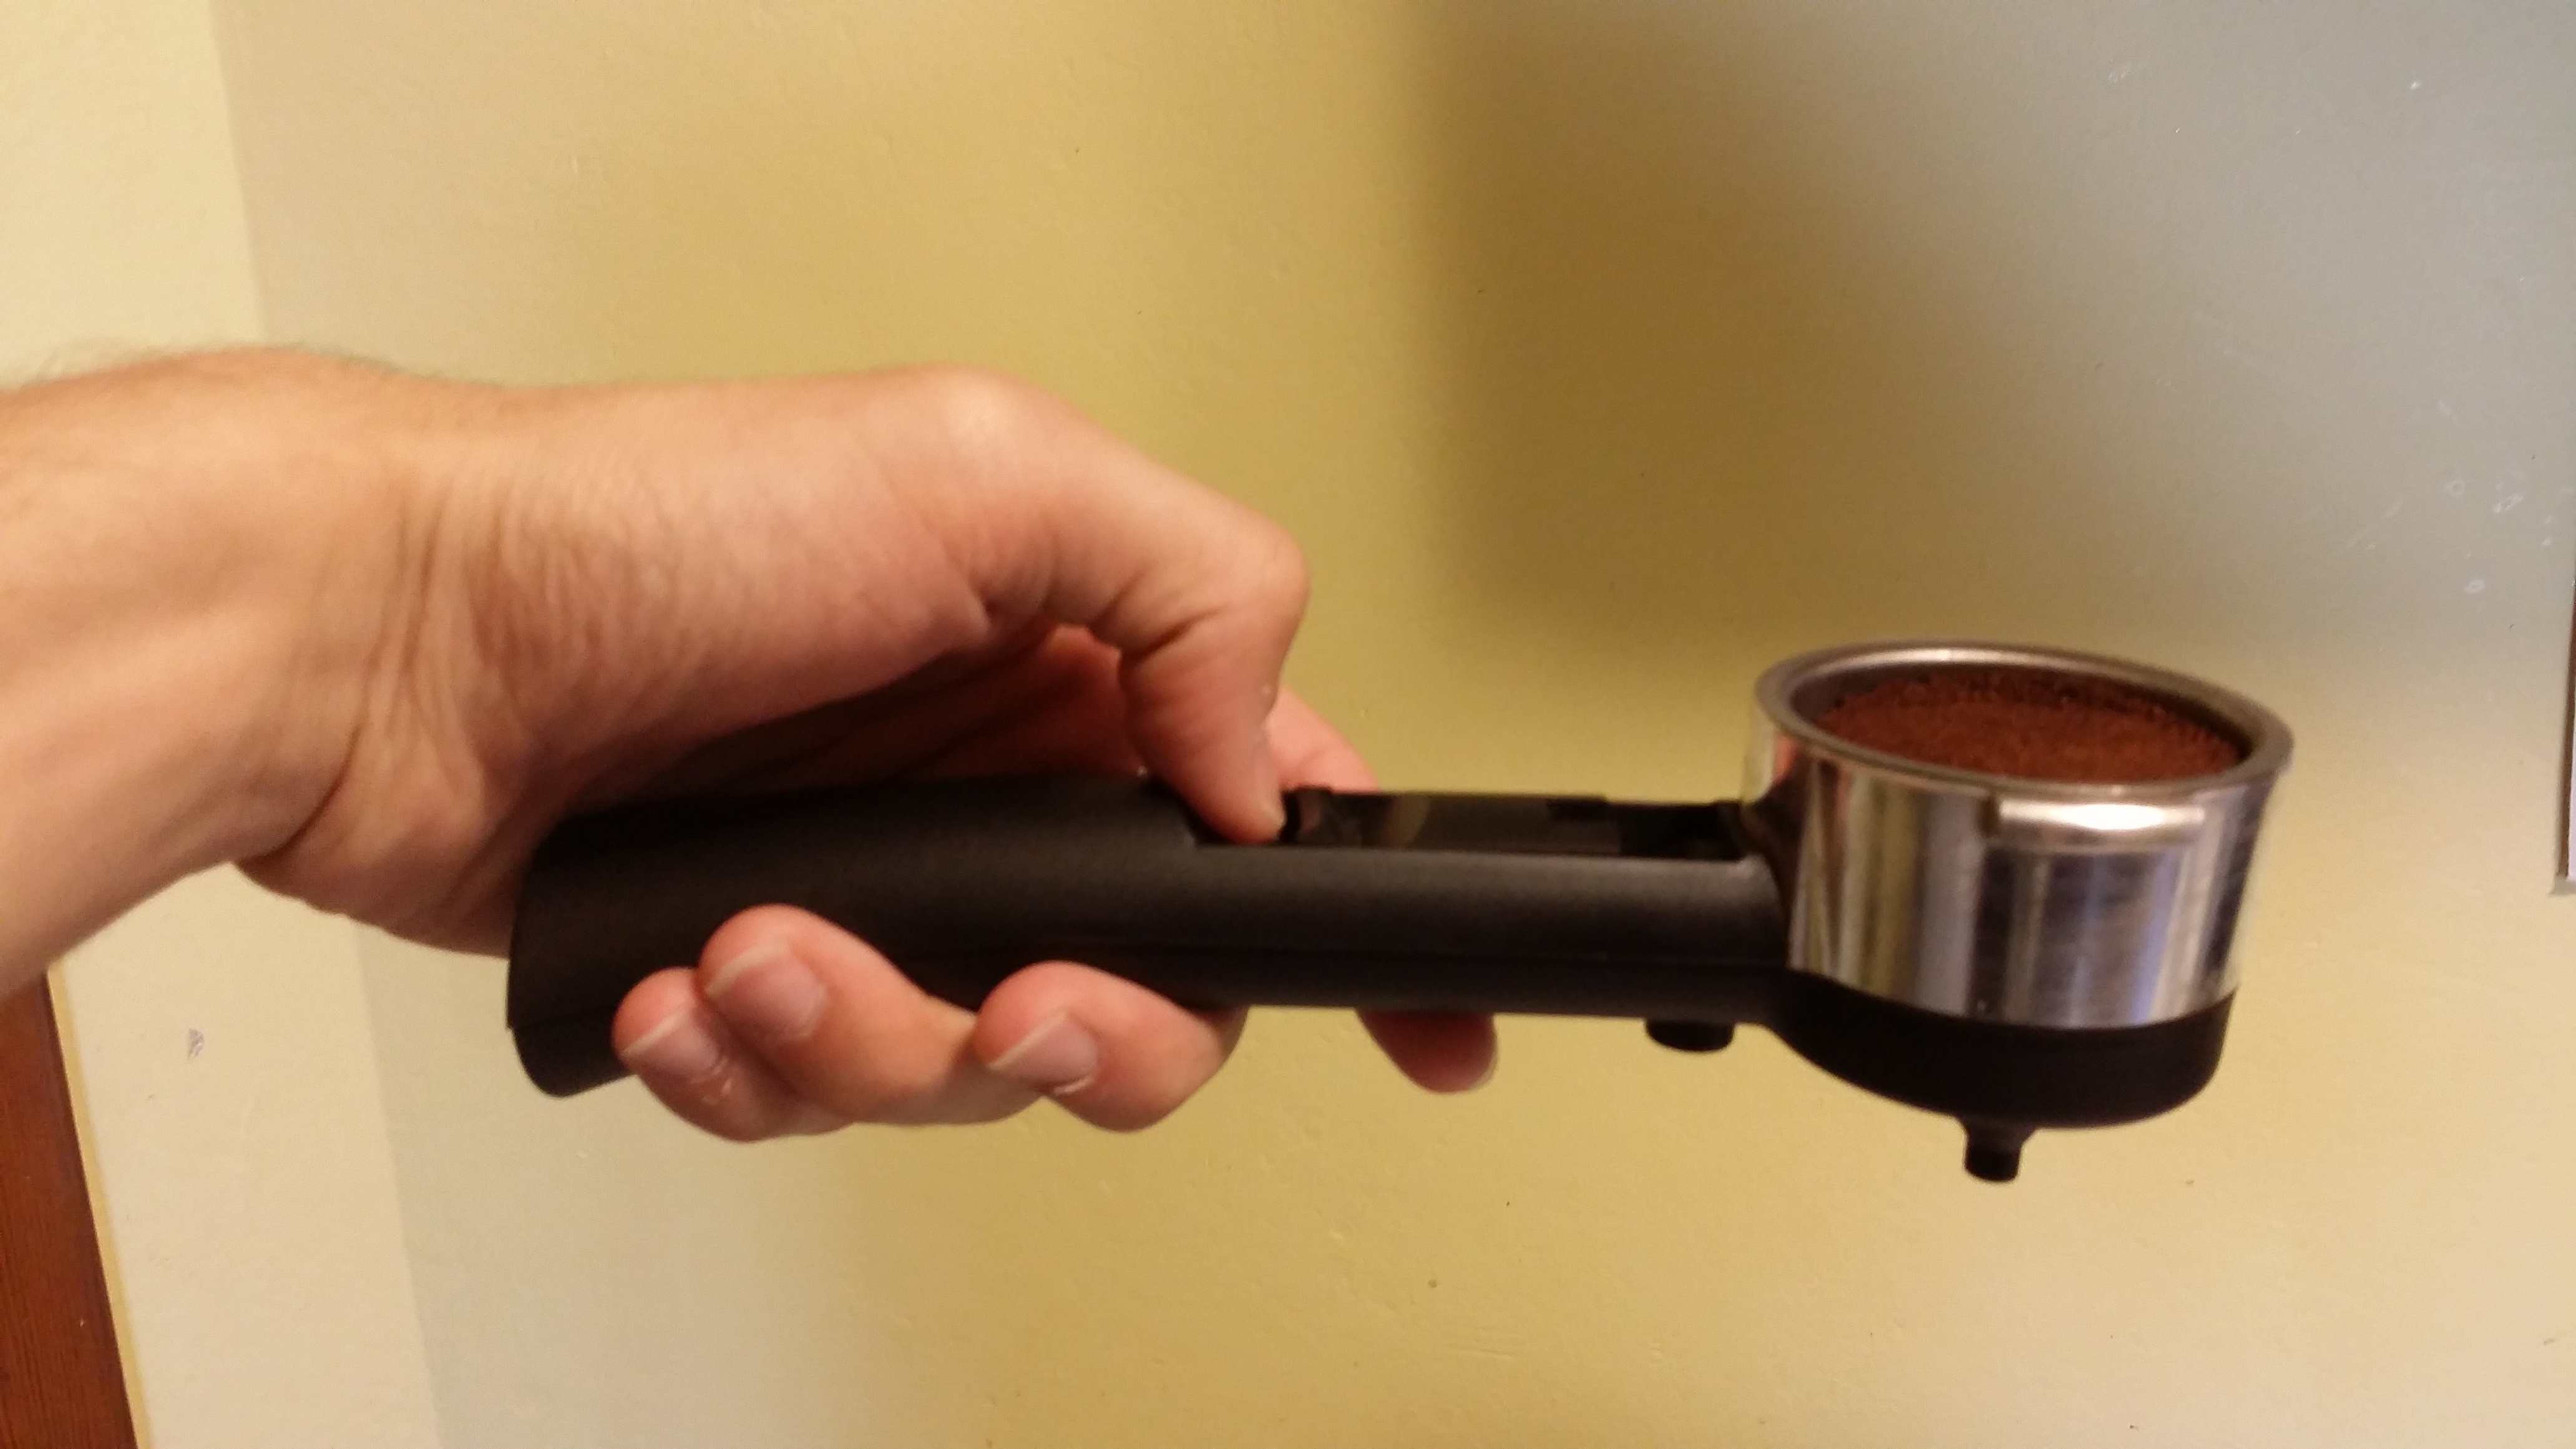
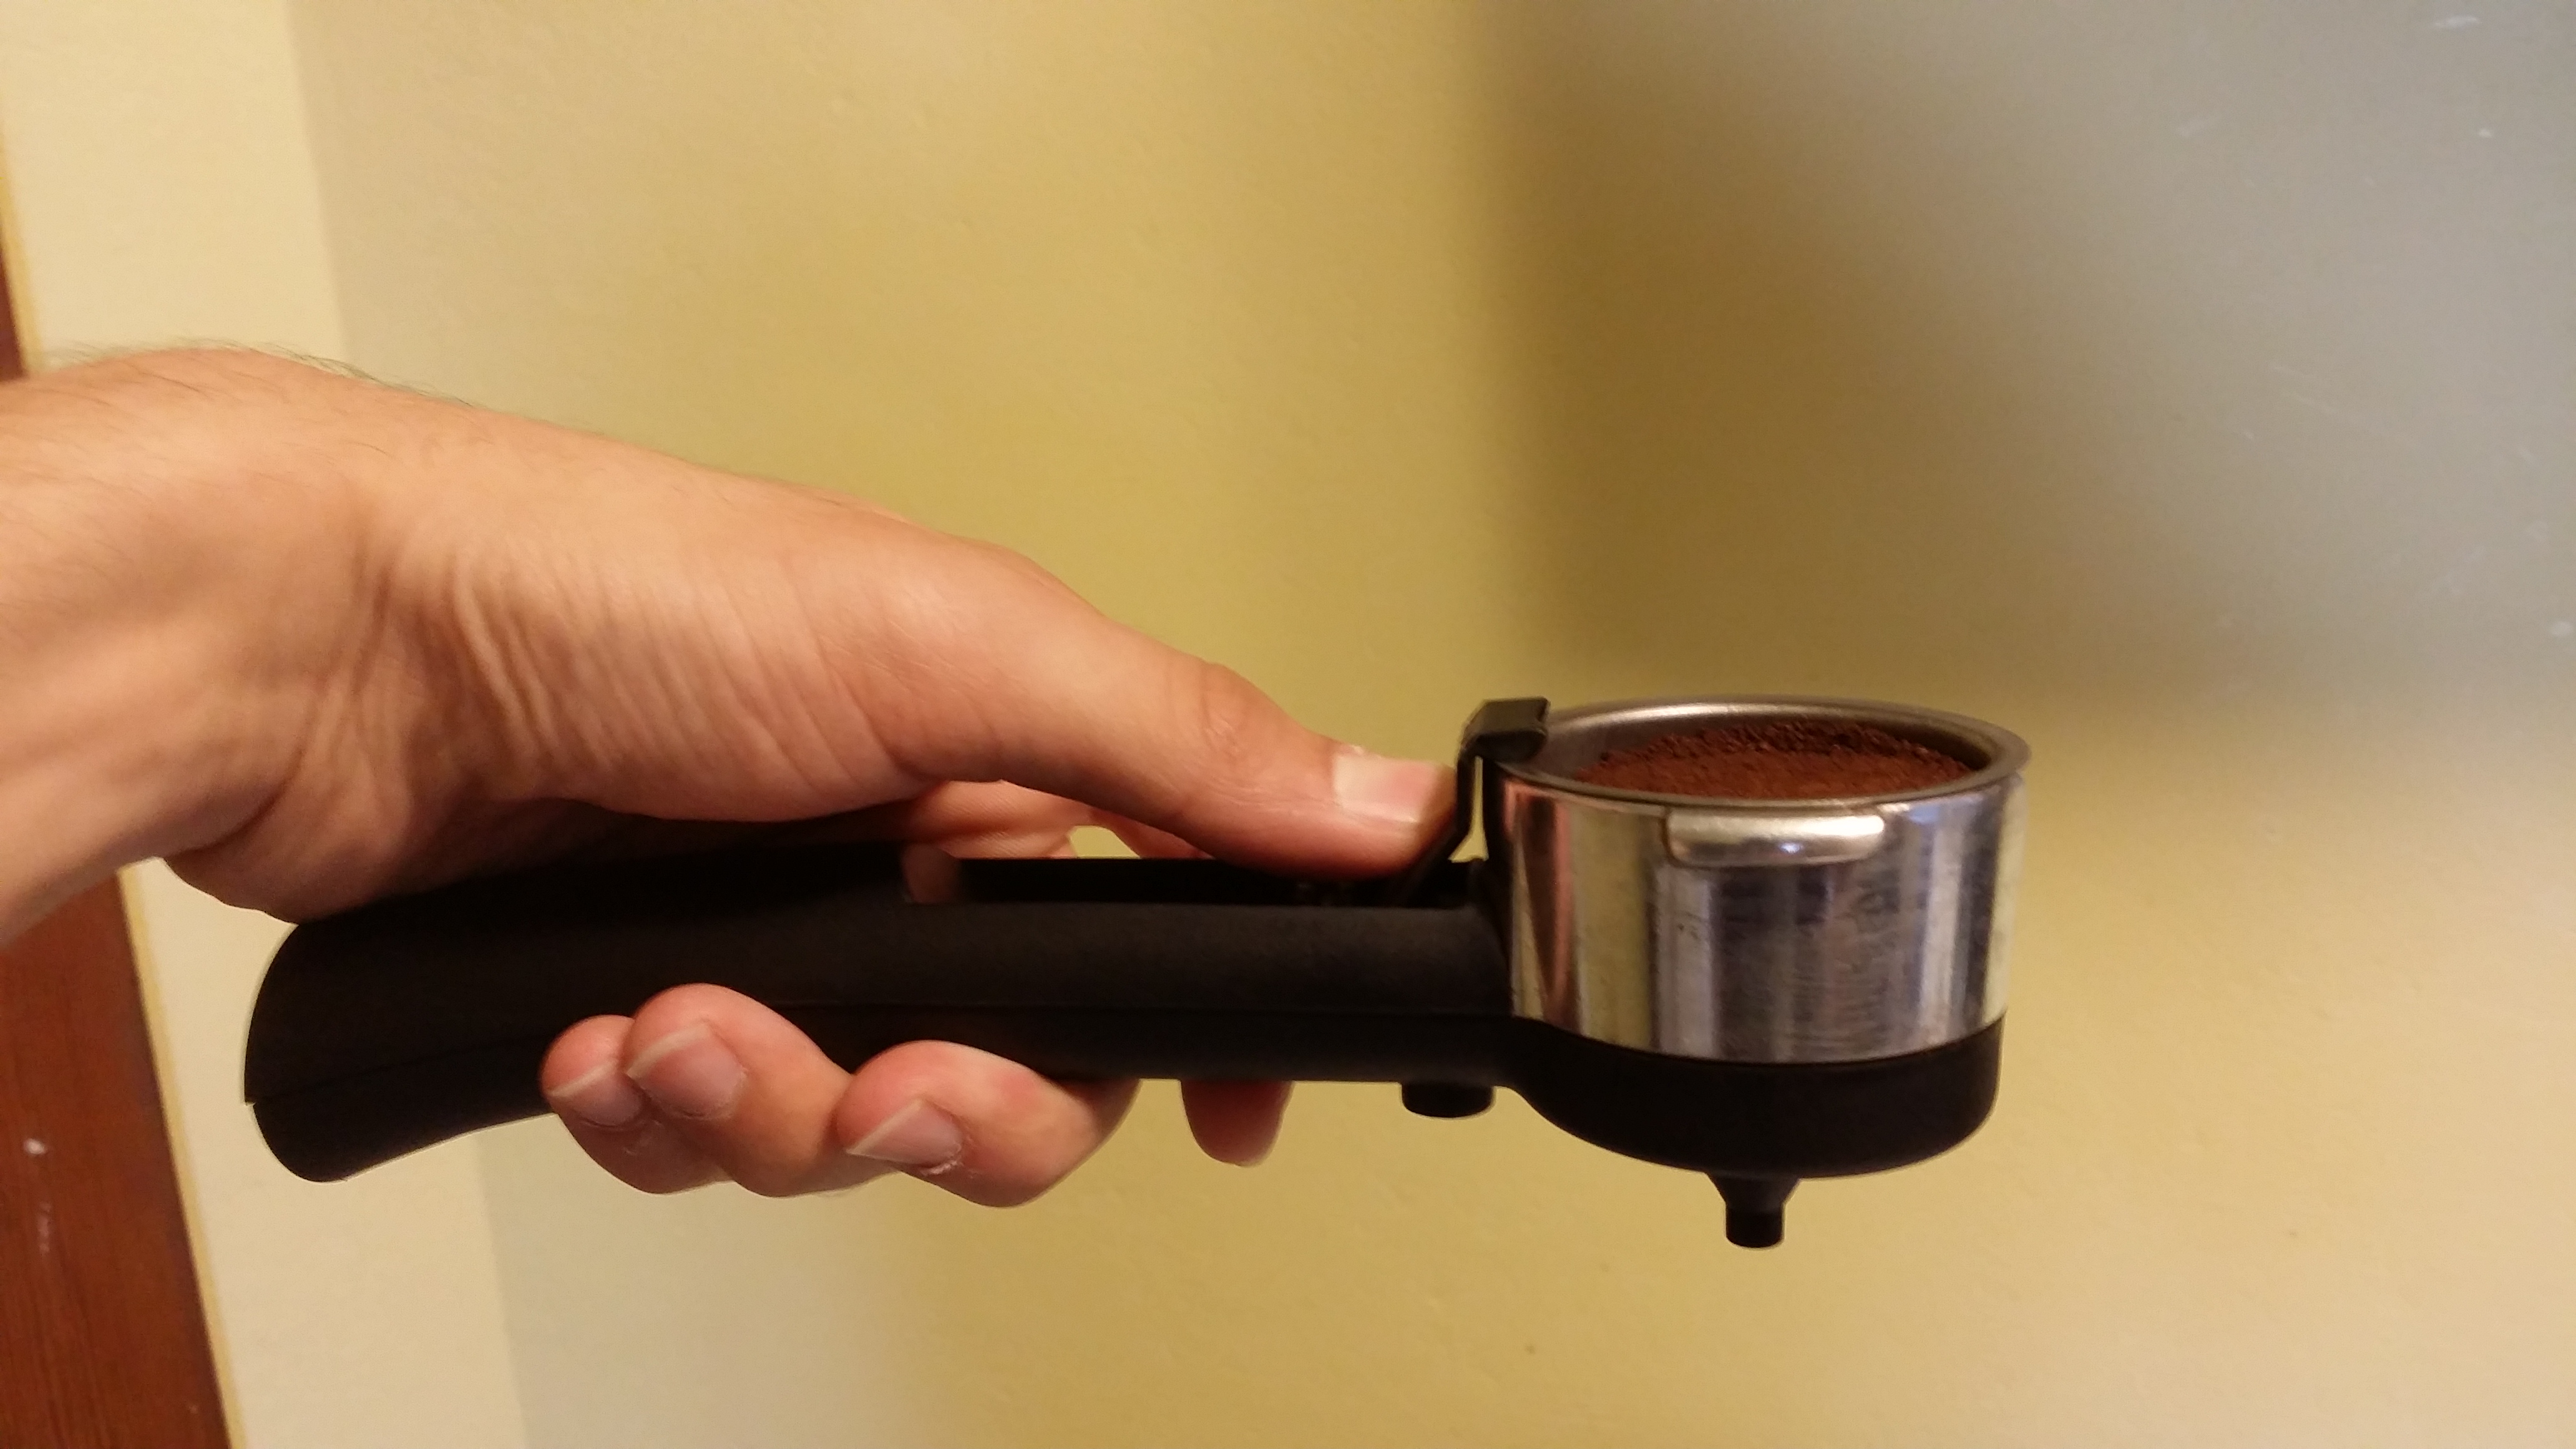
*Use caution in the following steps, elements are HOT*
- Remove handle by twisting it to your left.
- Use black lever to hold bowl in place
- To remove most coffee grounds: tap bowl into provided container to remove used coffee grounds, rinse with water if desired.
Continue to next segment “Milk Frothing”
Milk Frothing (1/2)
-
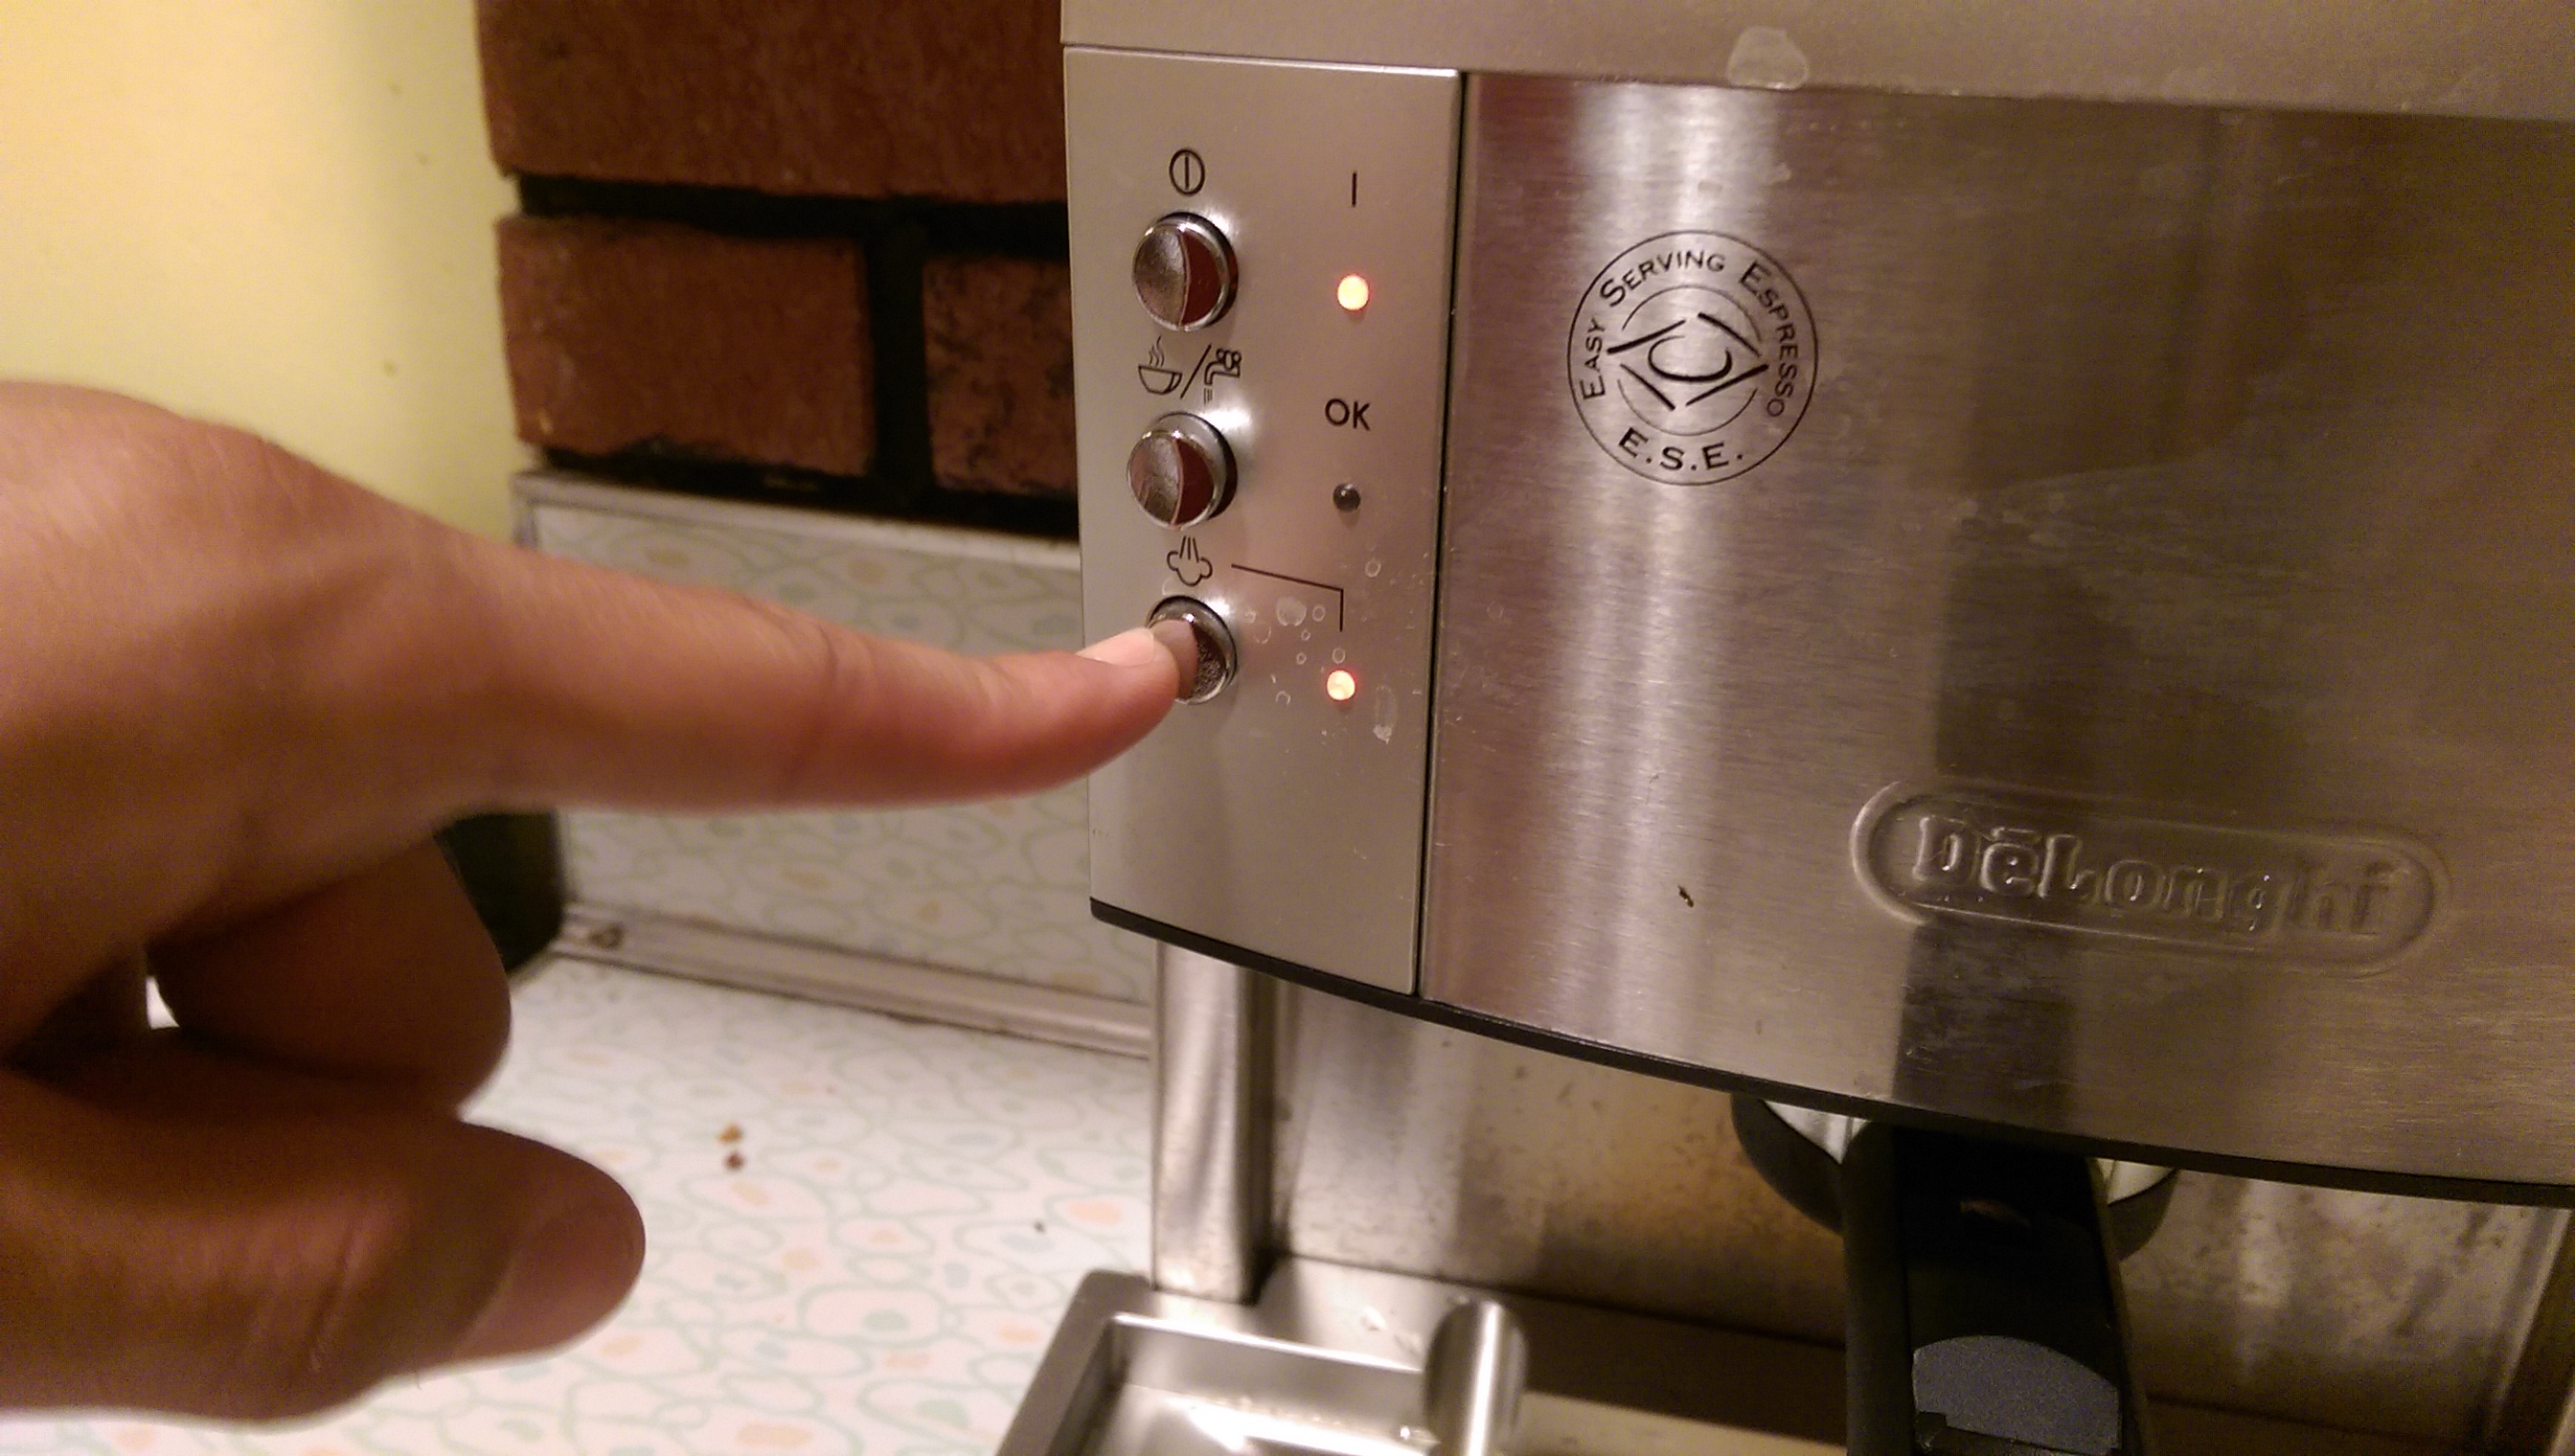
Push bottom most button to begin heating frother
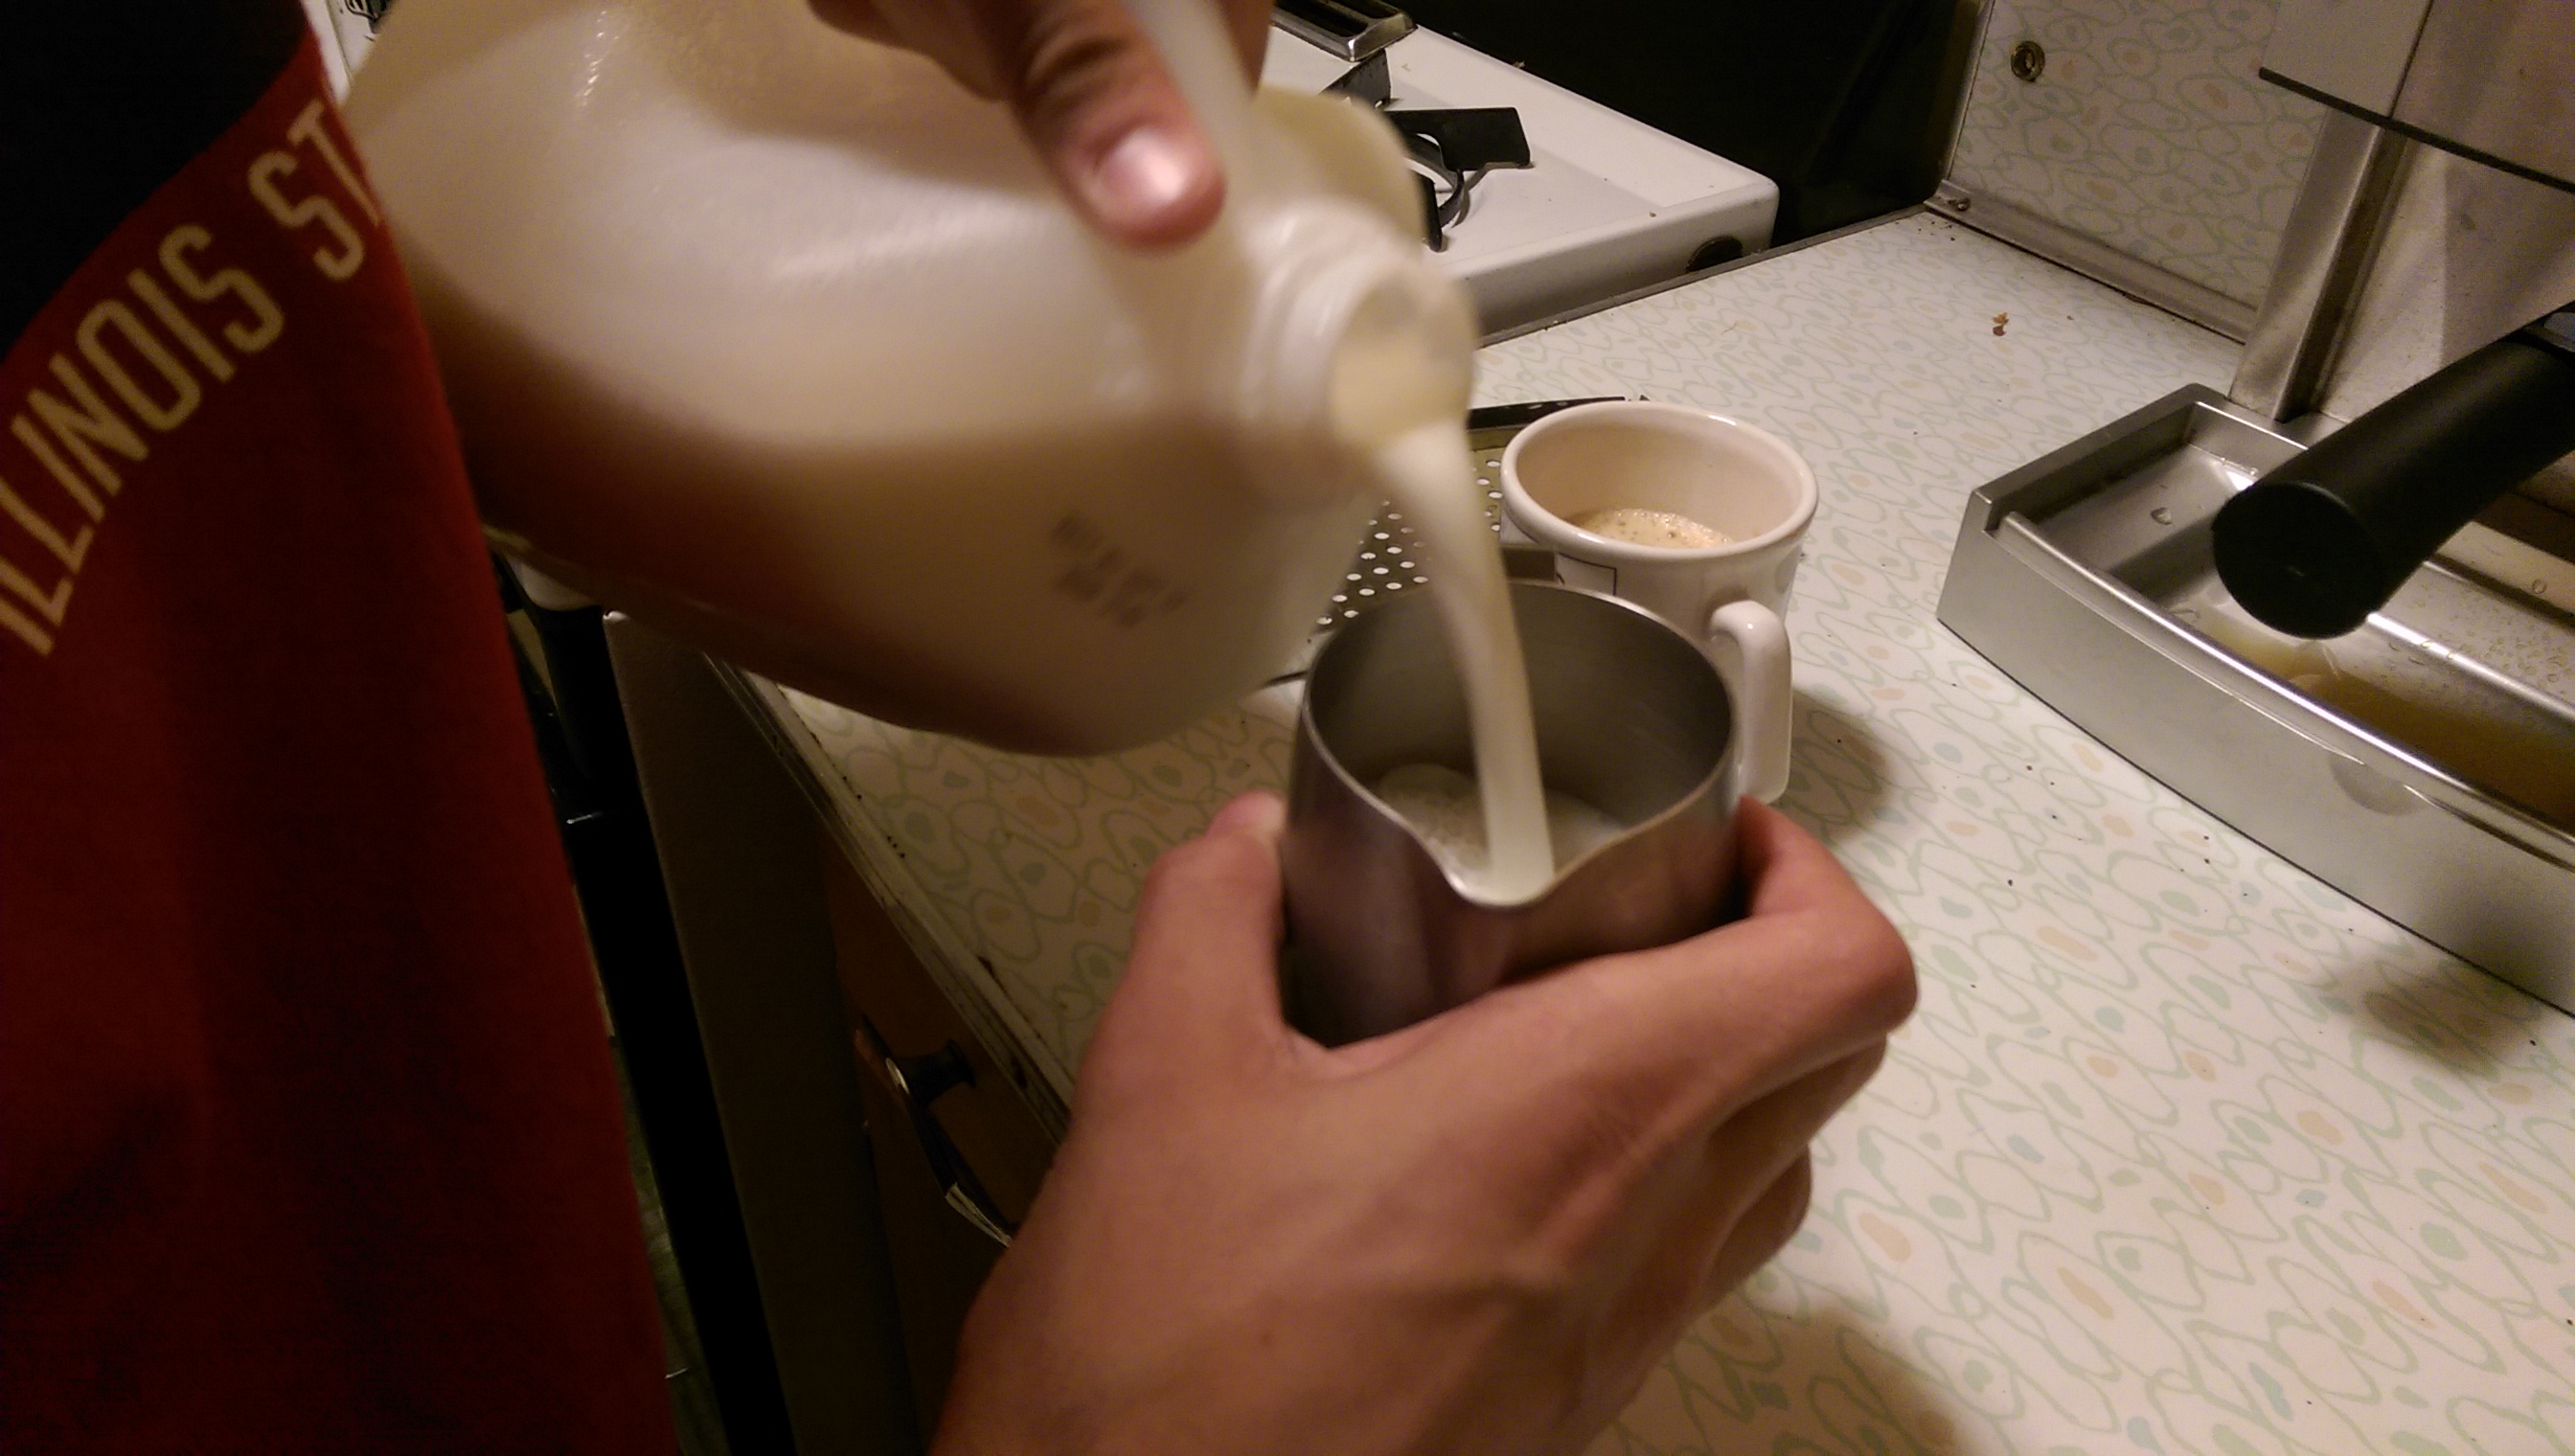
- Retrieve milk and froth kettle
-
Fill the froth kettle ⅓ full
-
Place filled froth kettle under the frothing nozzle
-
Plunge nozzle into kettle of milk
*Use caution, hold handle without touching the wall of the kettle as it will get hot*
-
Pull lever down all the way
- Frothing will begin immediately
Milk Frothing (2/2)
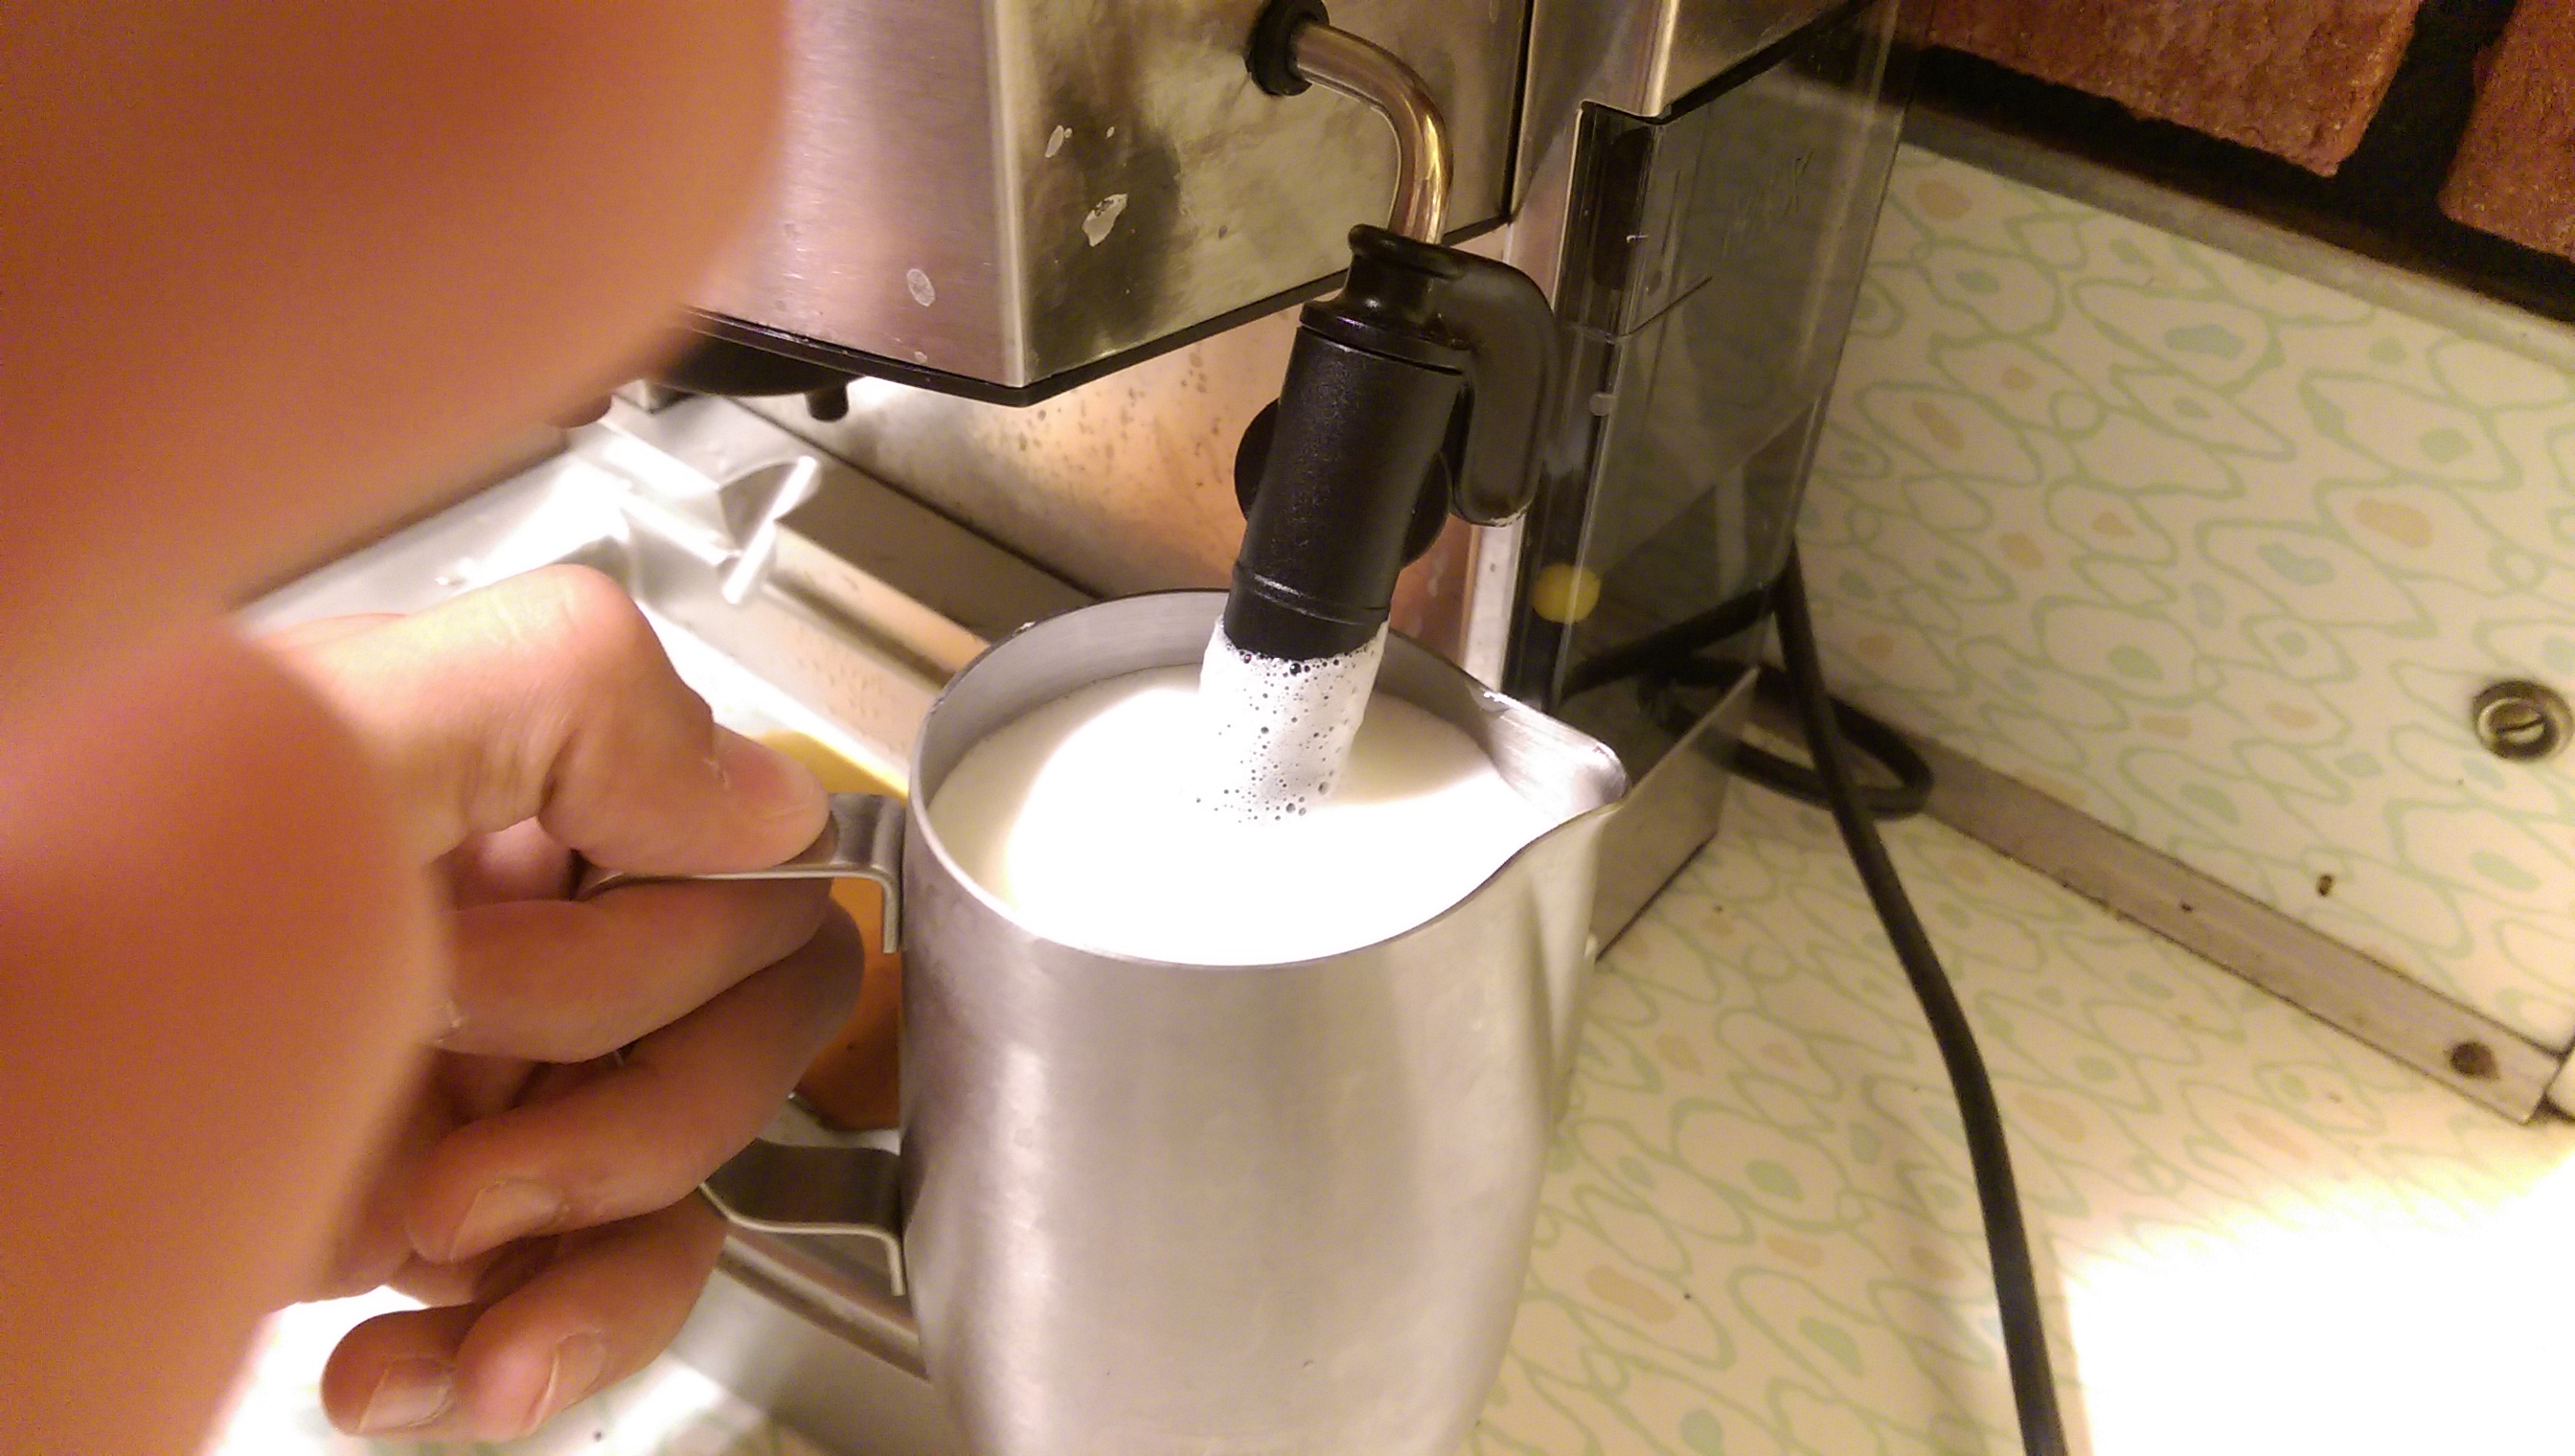
- Wait as milk is steamed and steamed milk will become frothed
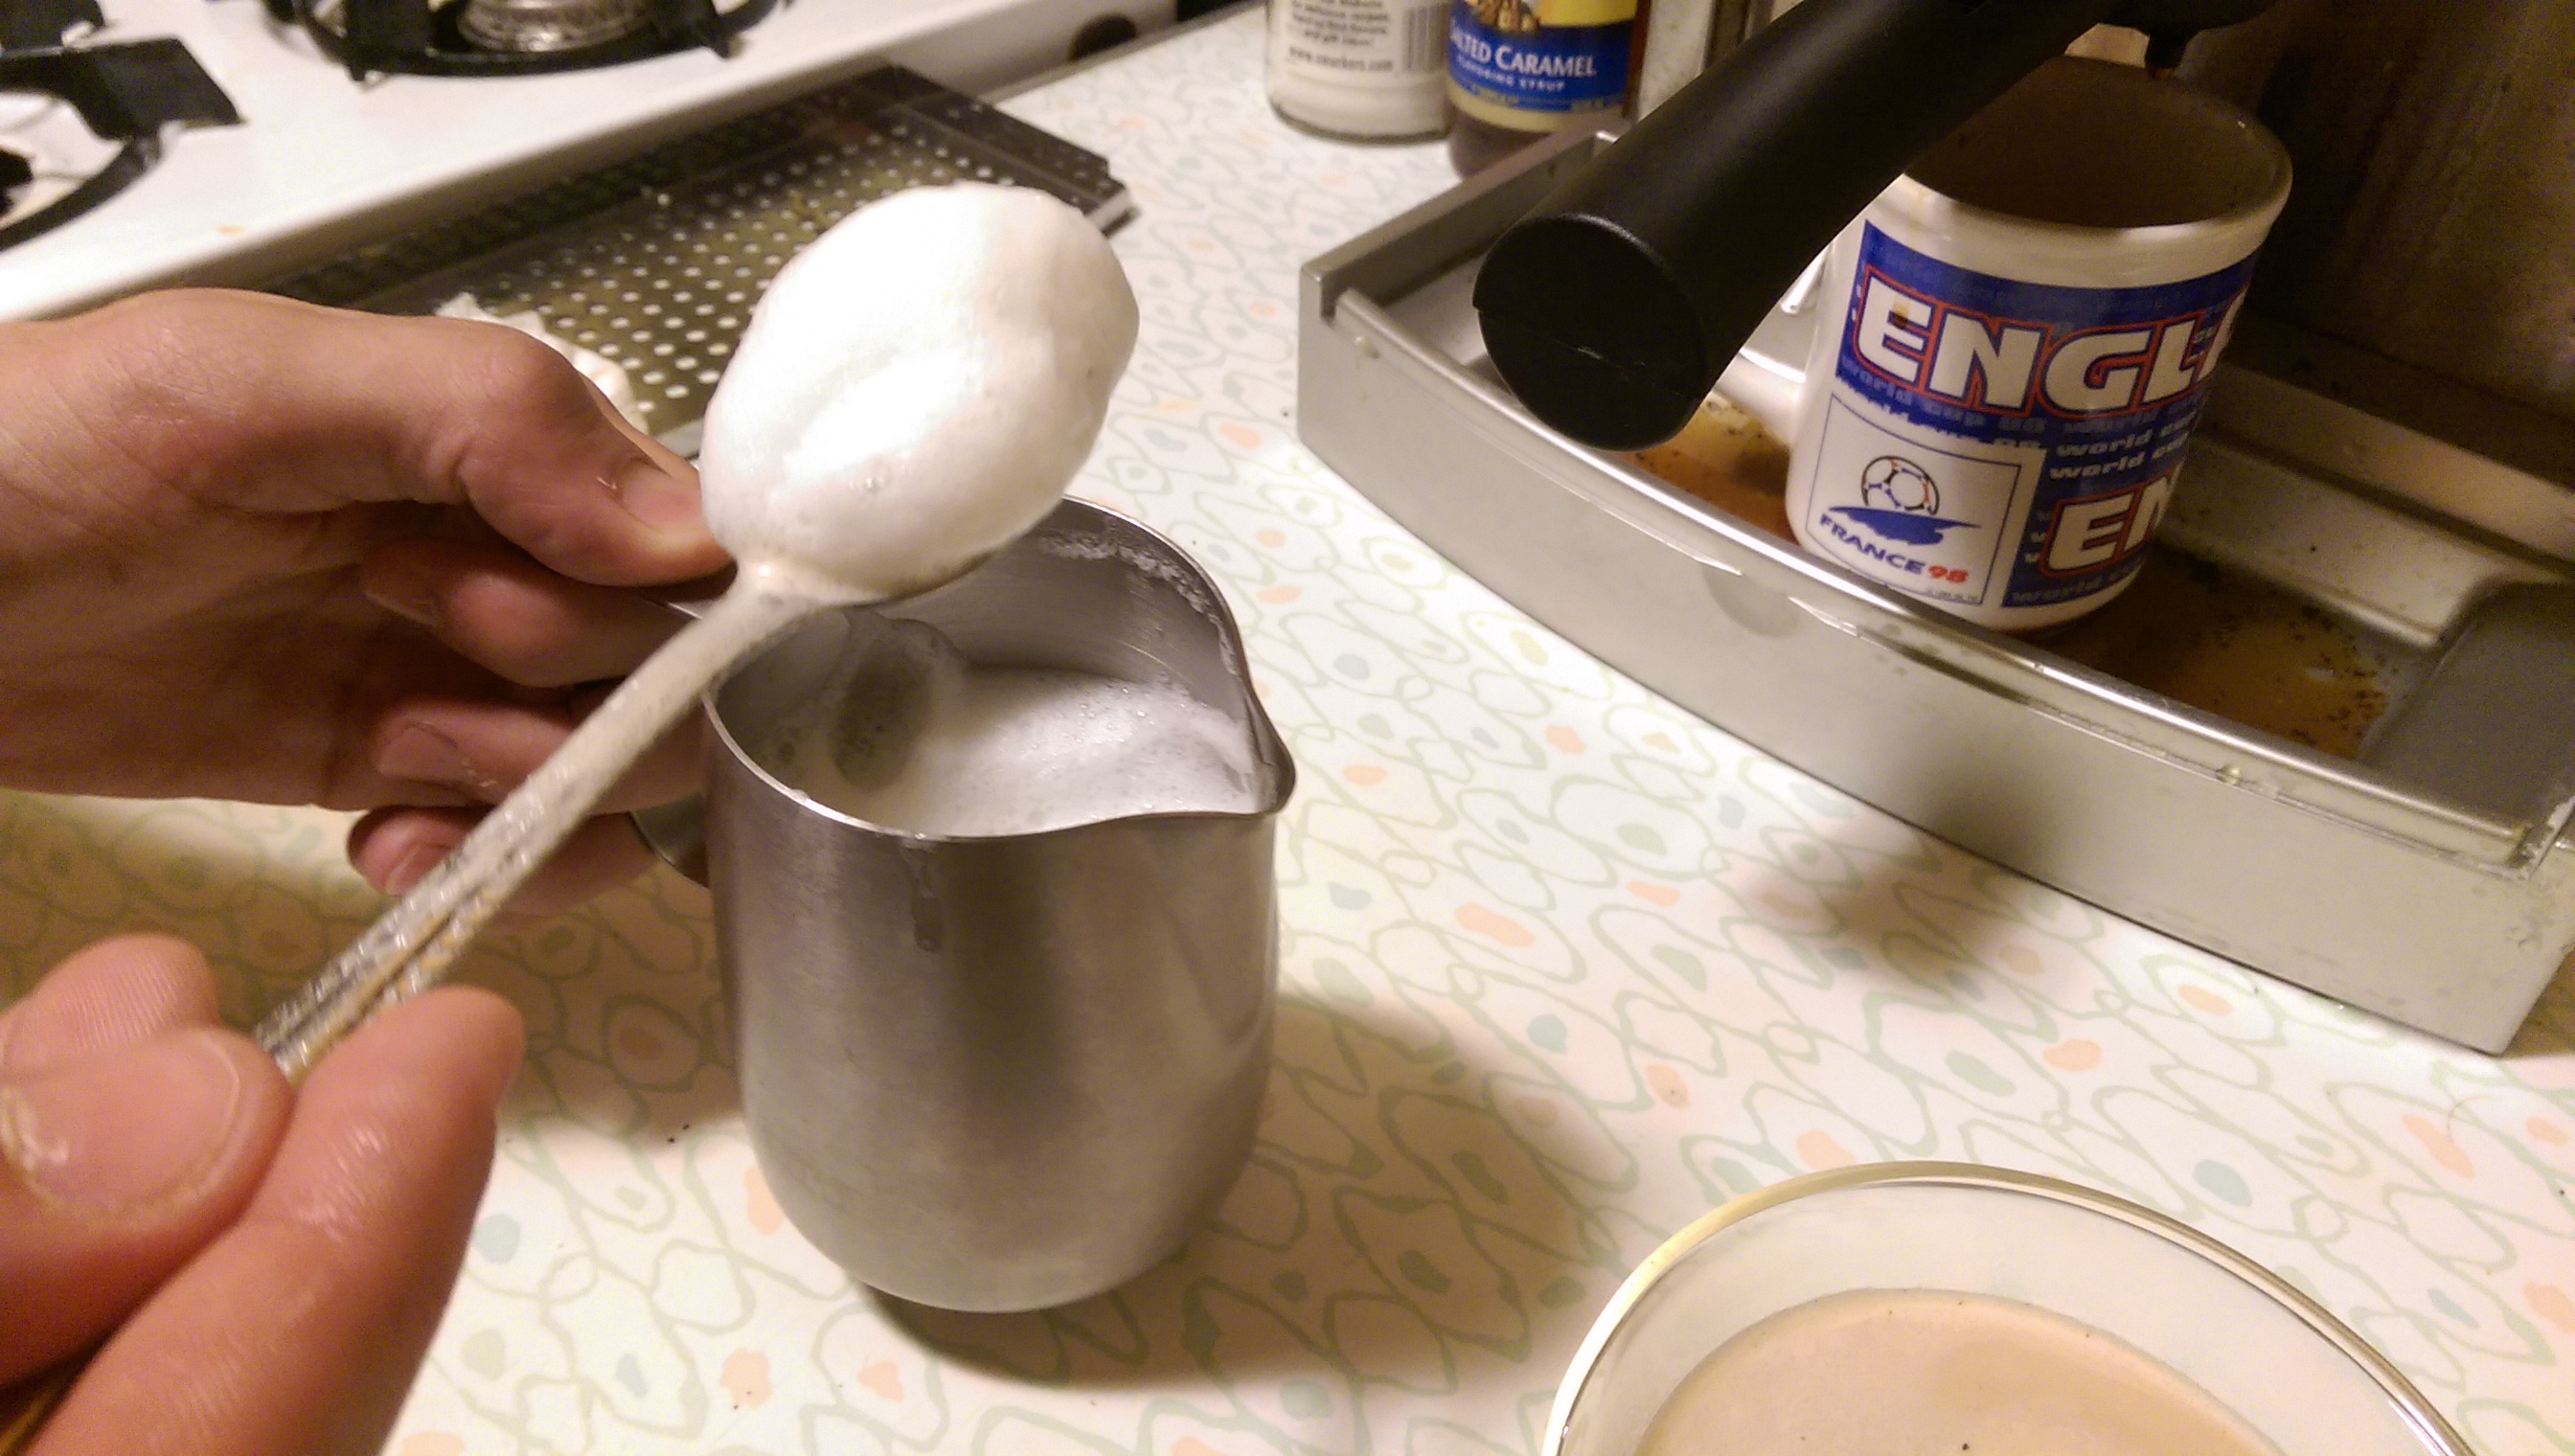
- Frothed milk will appear foamy at the top
- Let foam rise to ¾ cup (photo)
2. Return lever to original position
Cappuccino Crafting
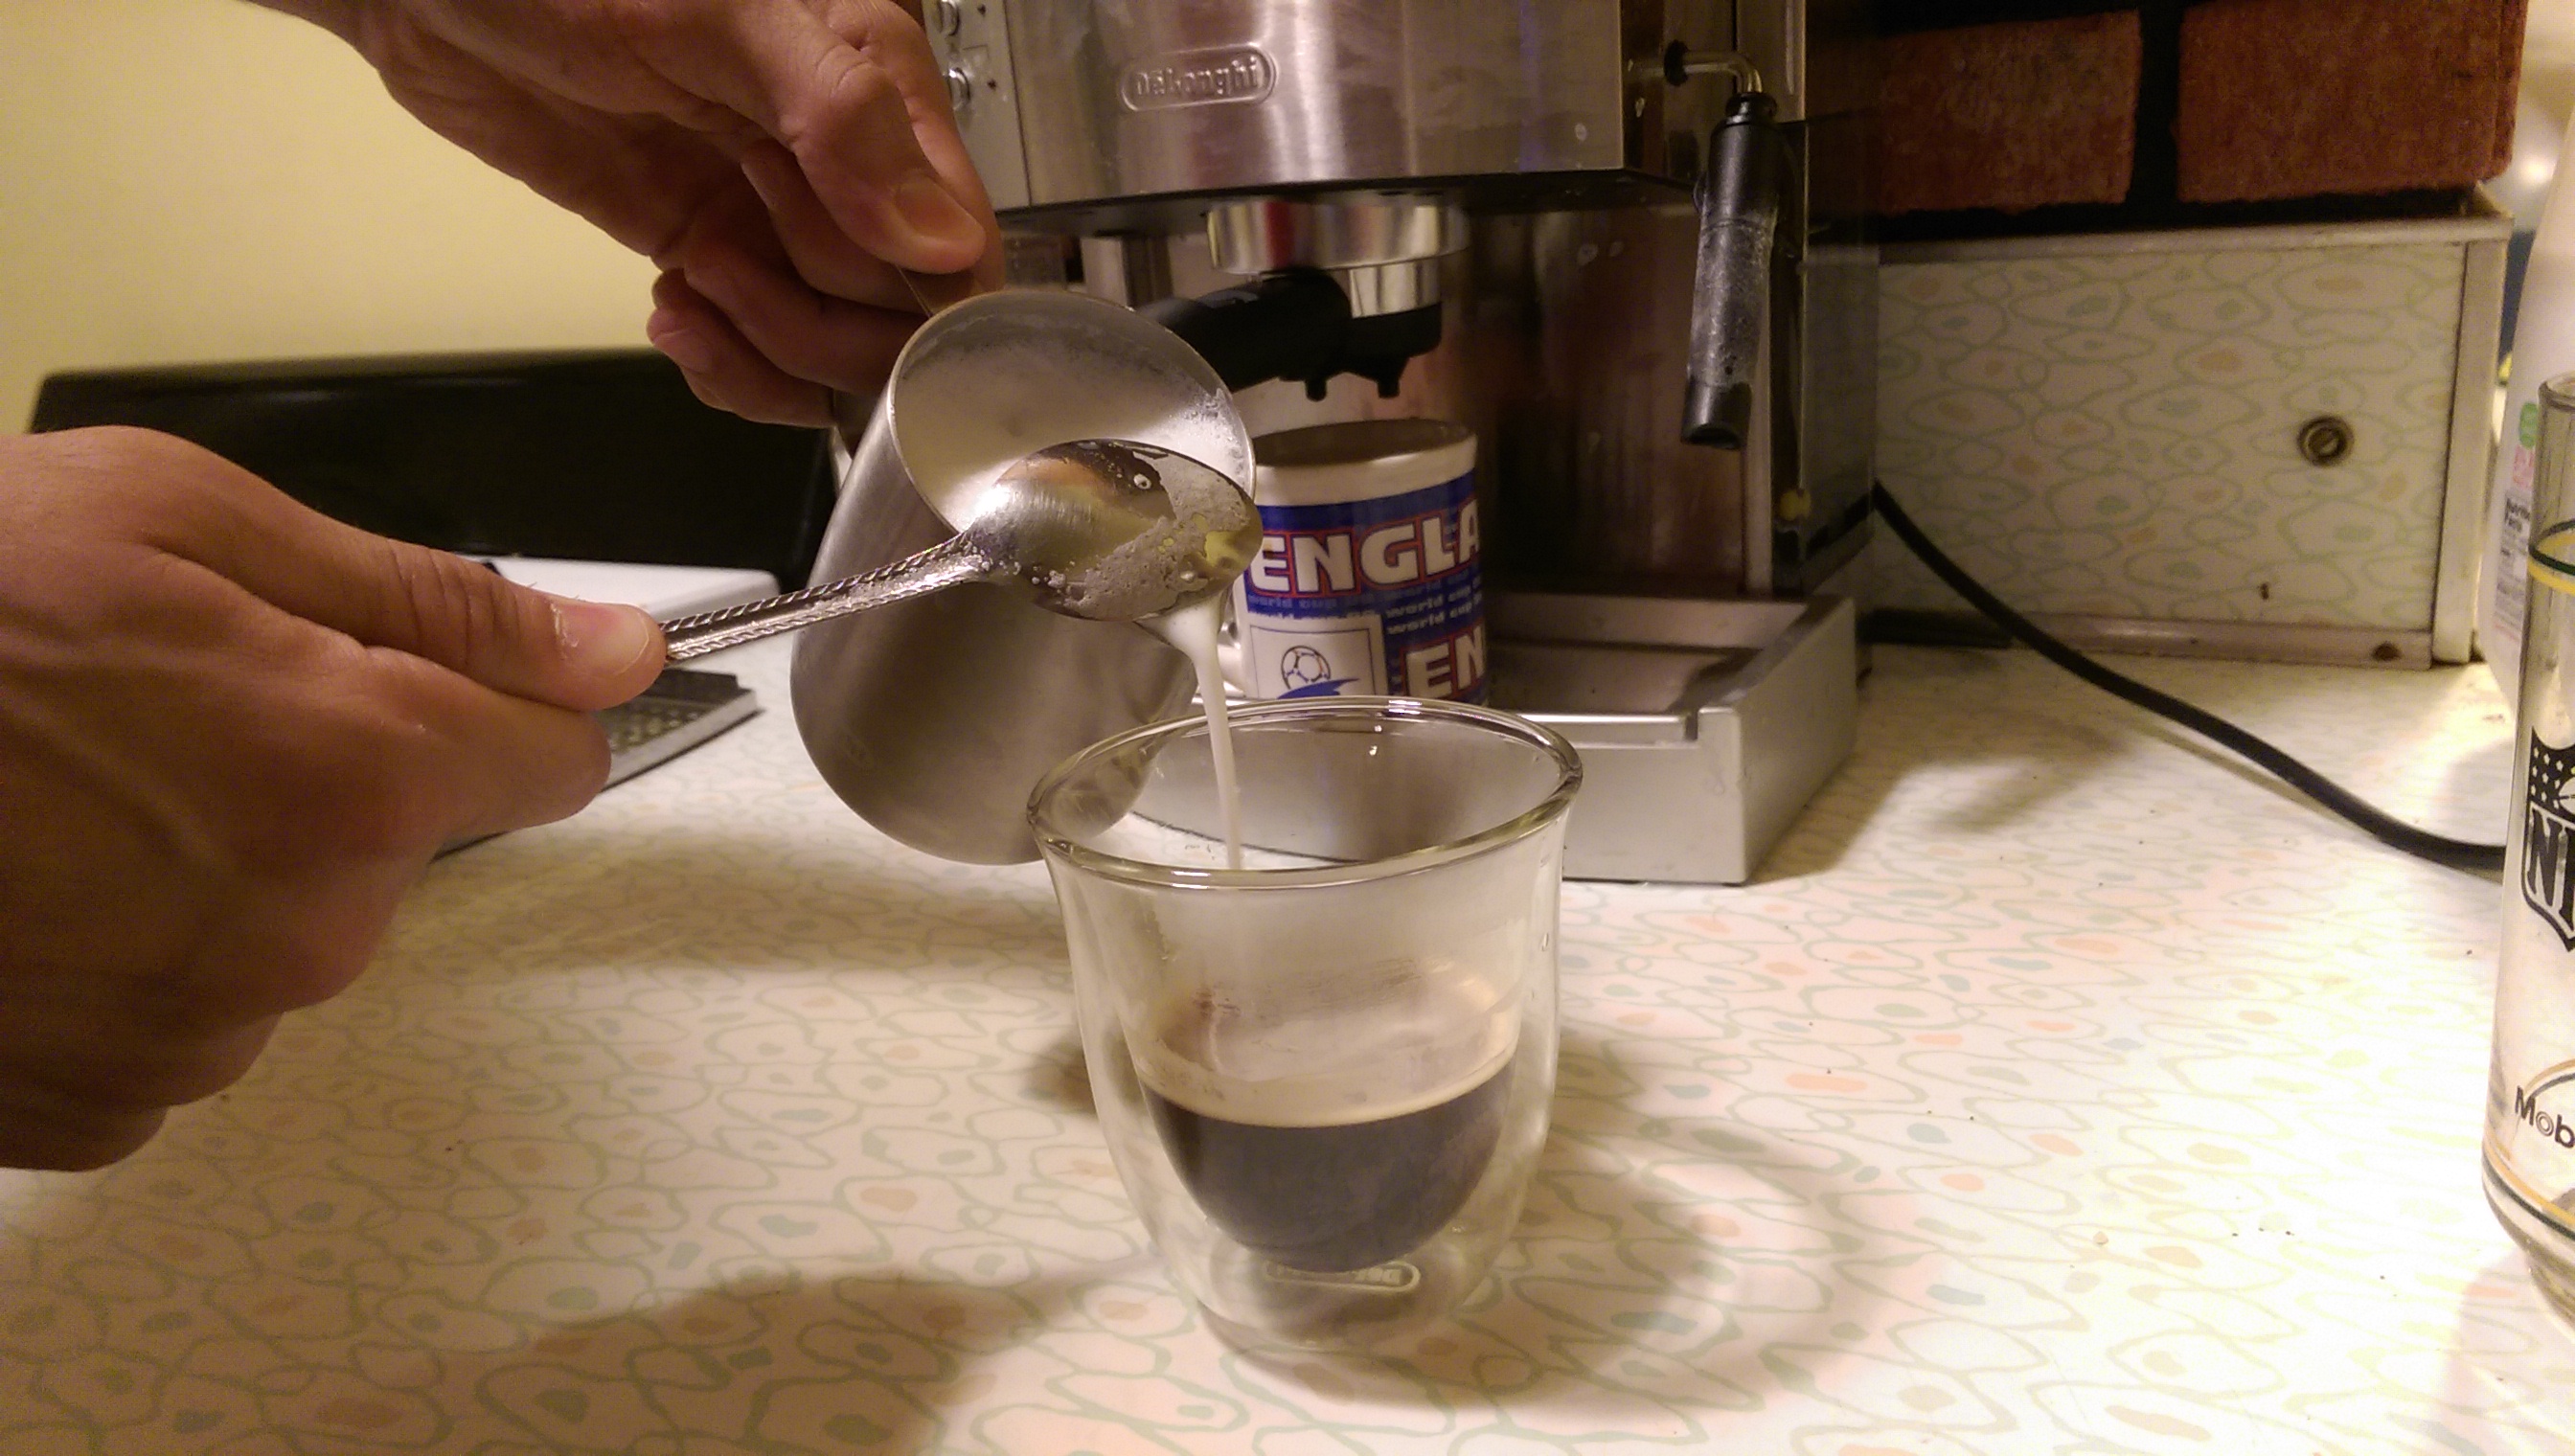
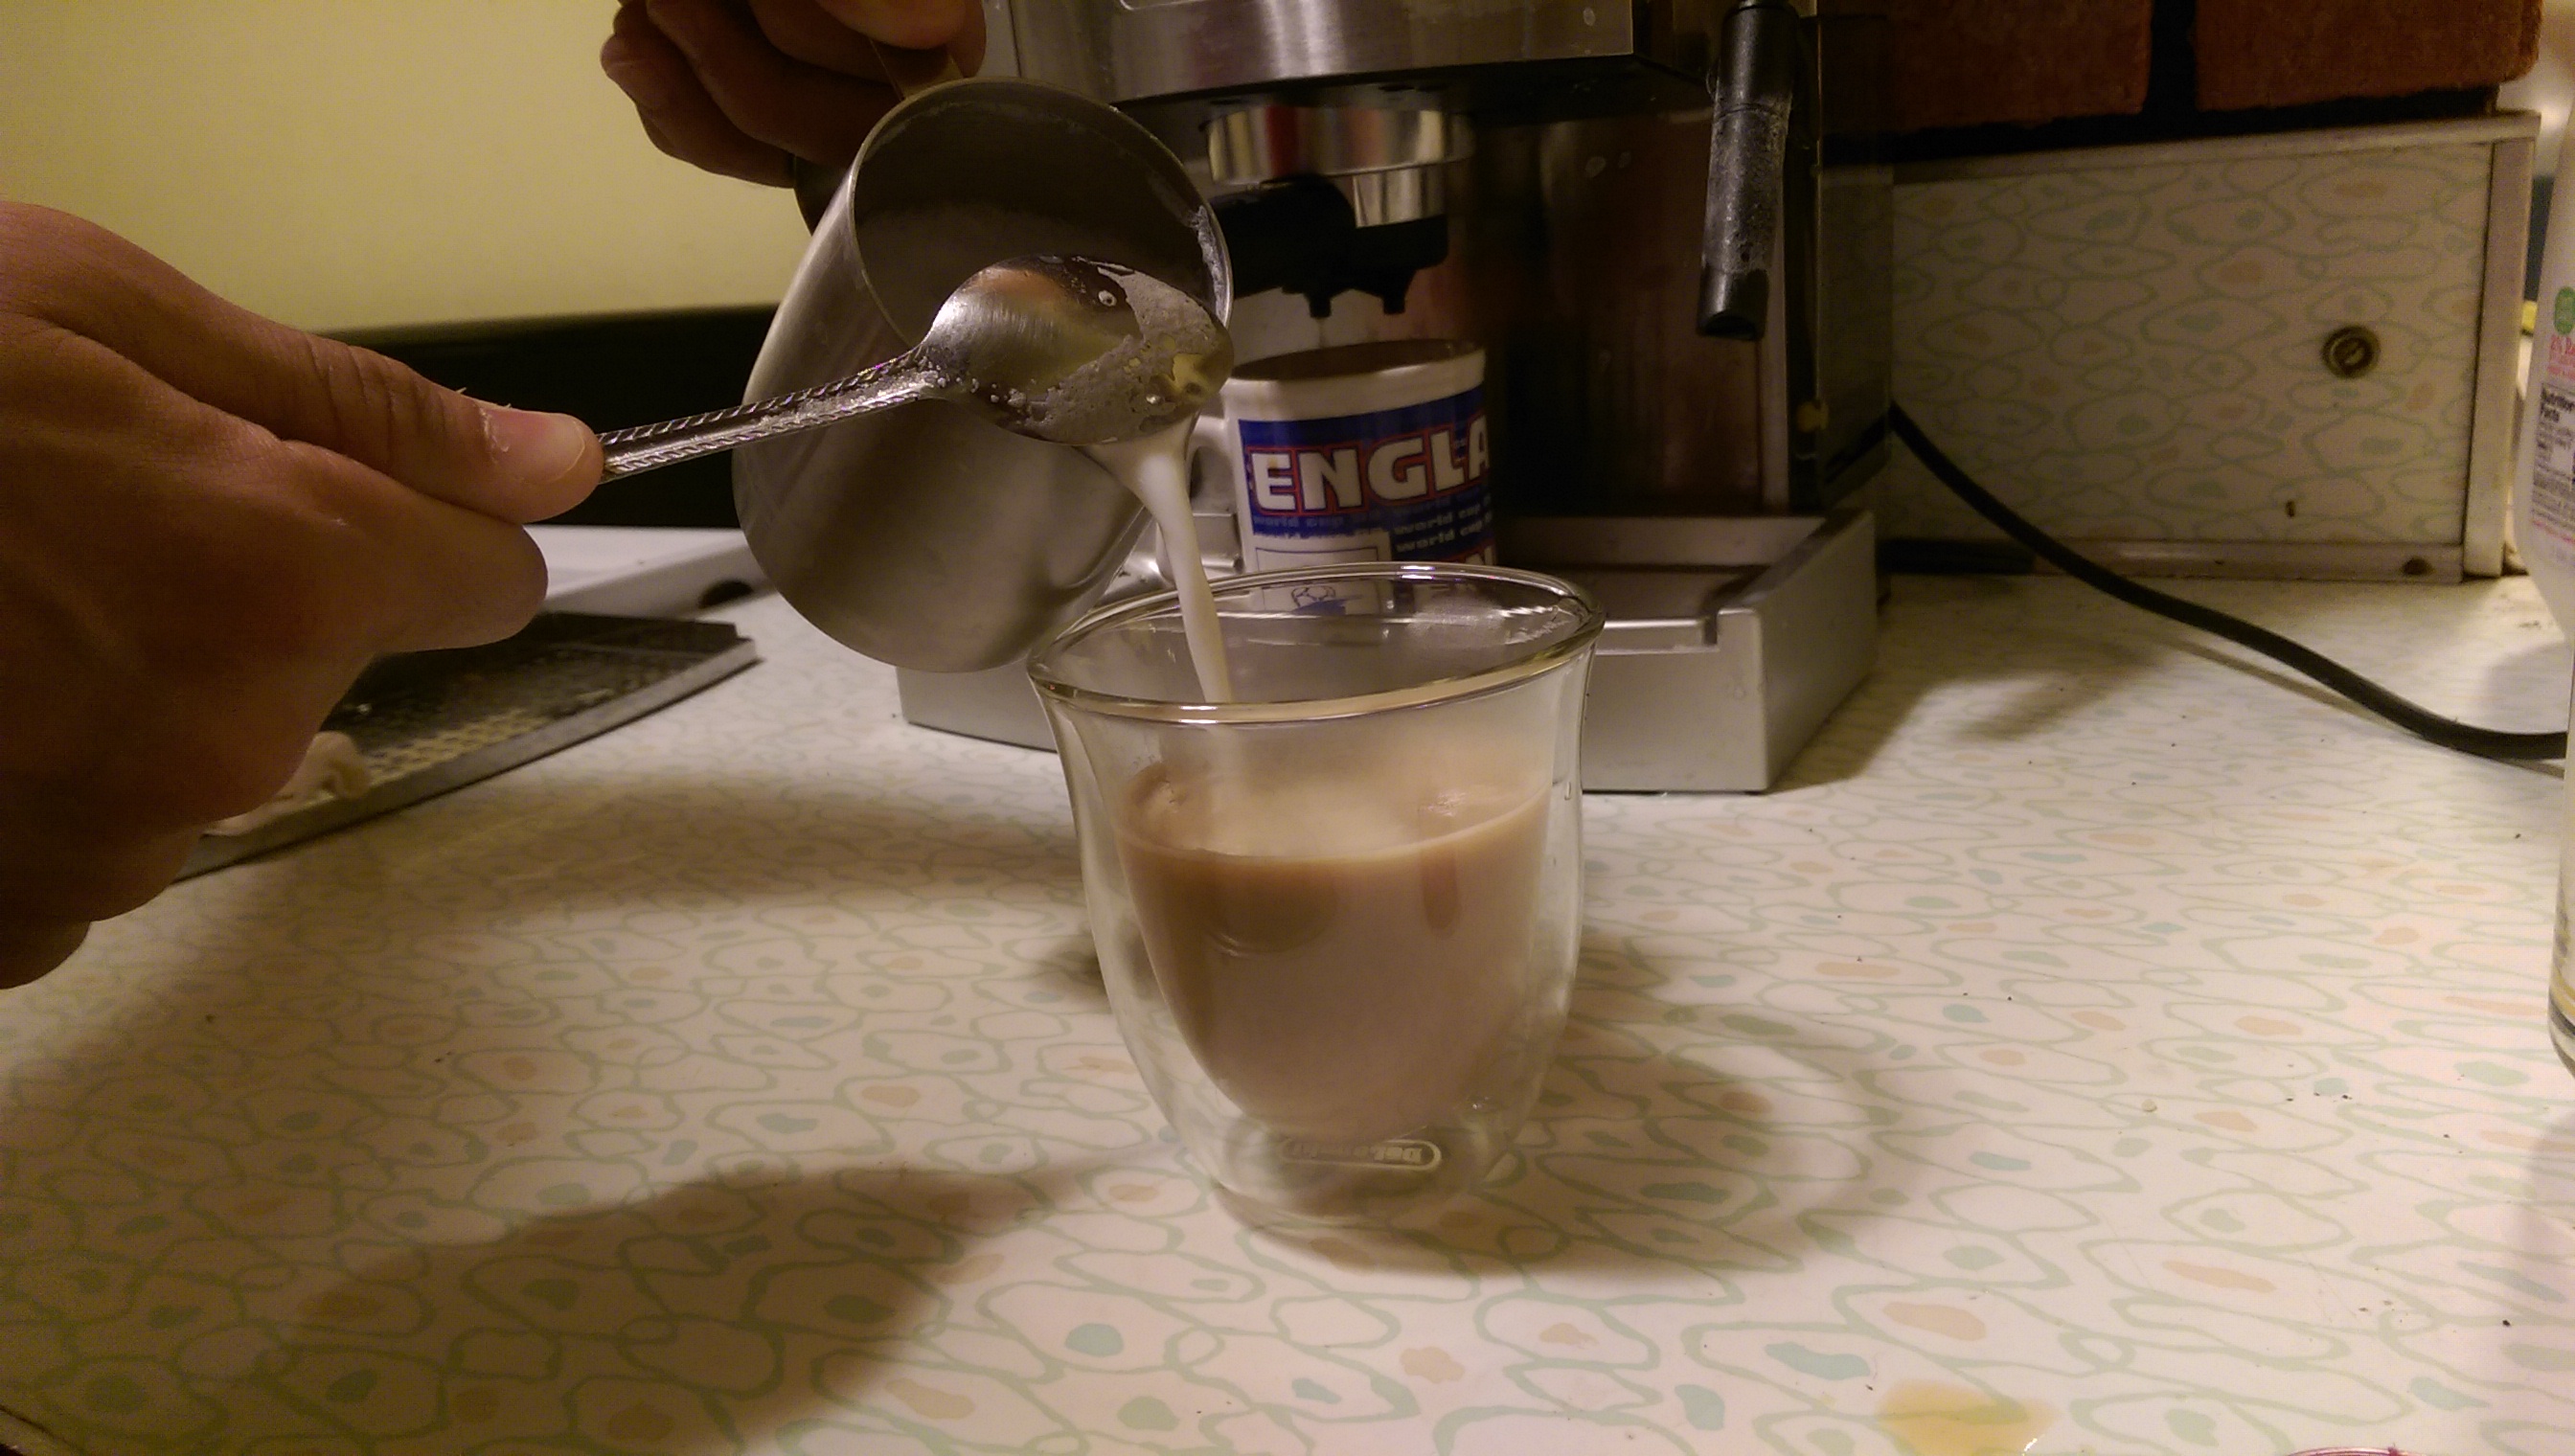
- Use spoon to pour steamed milk into your espresso shot
-
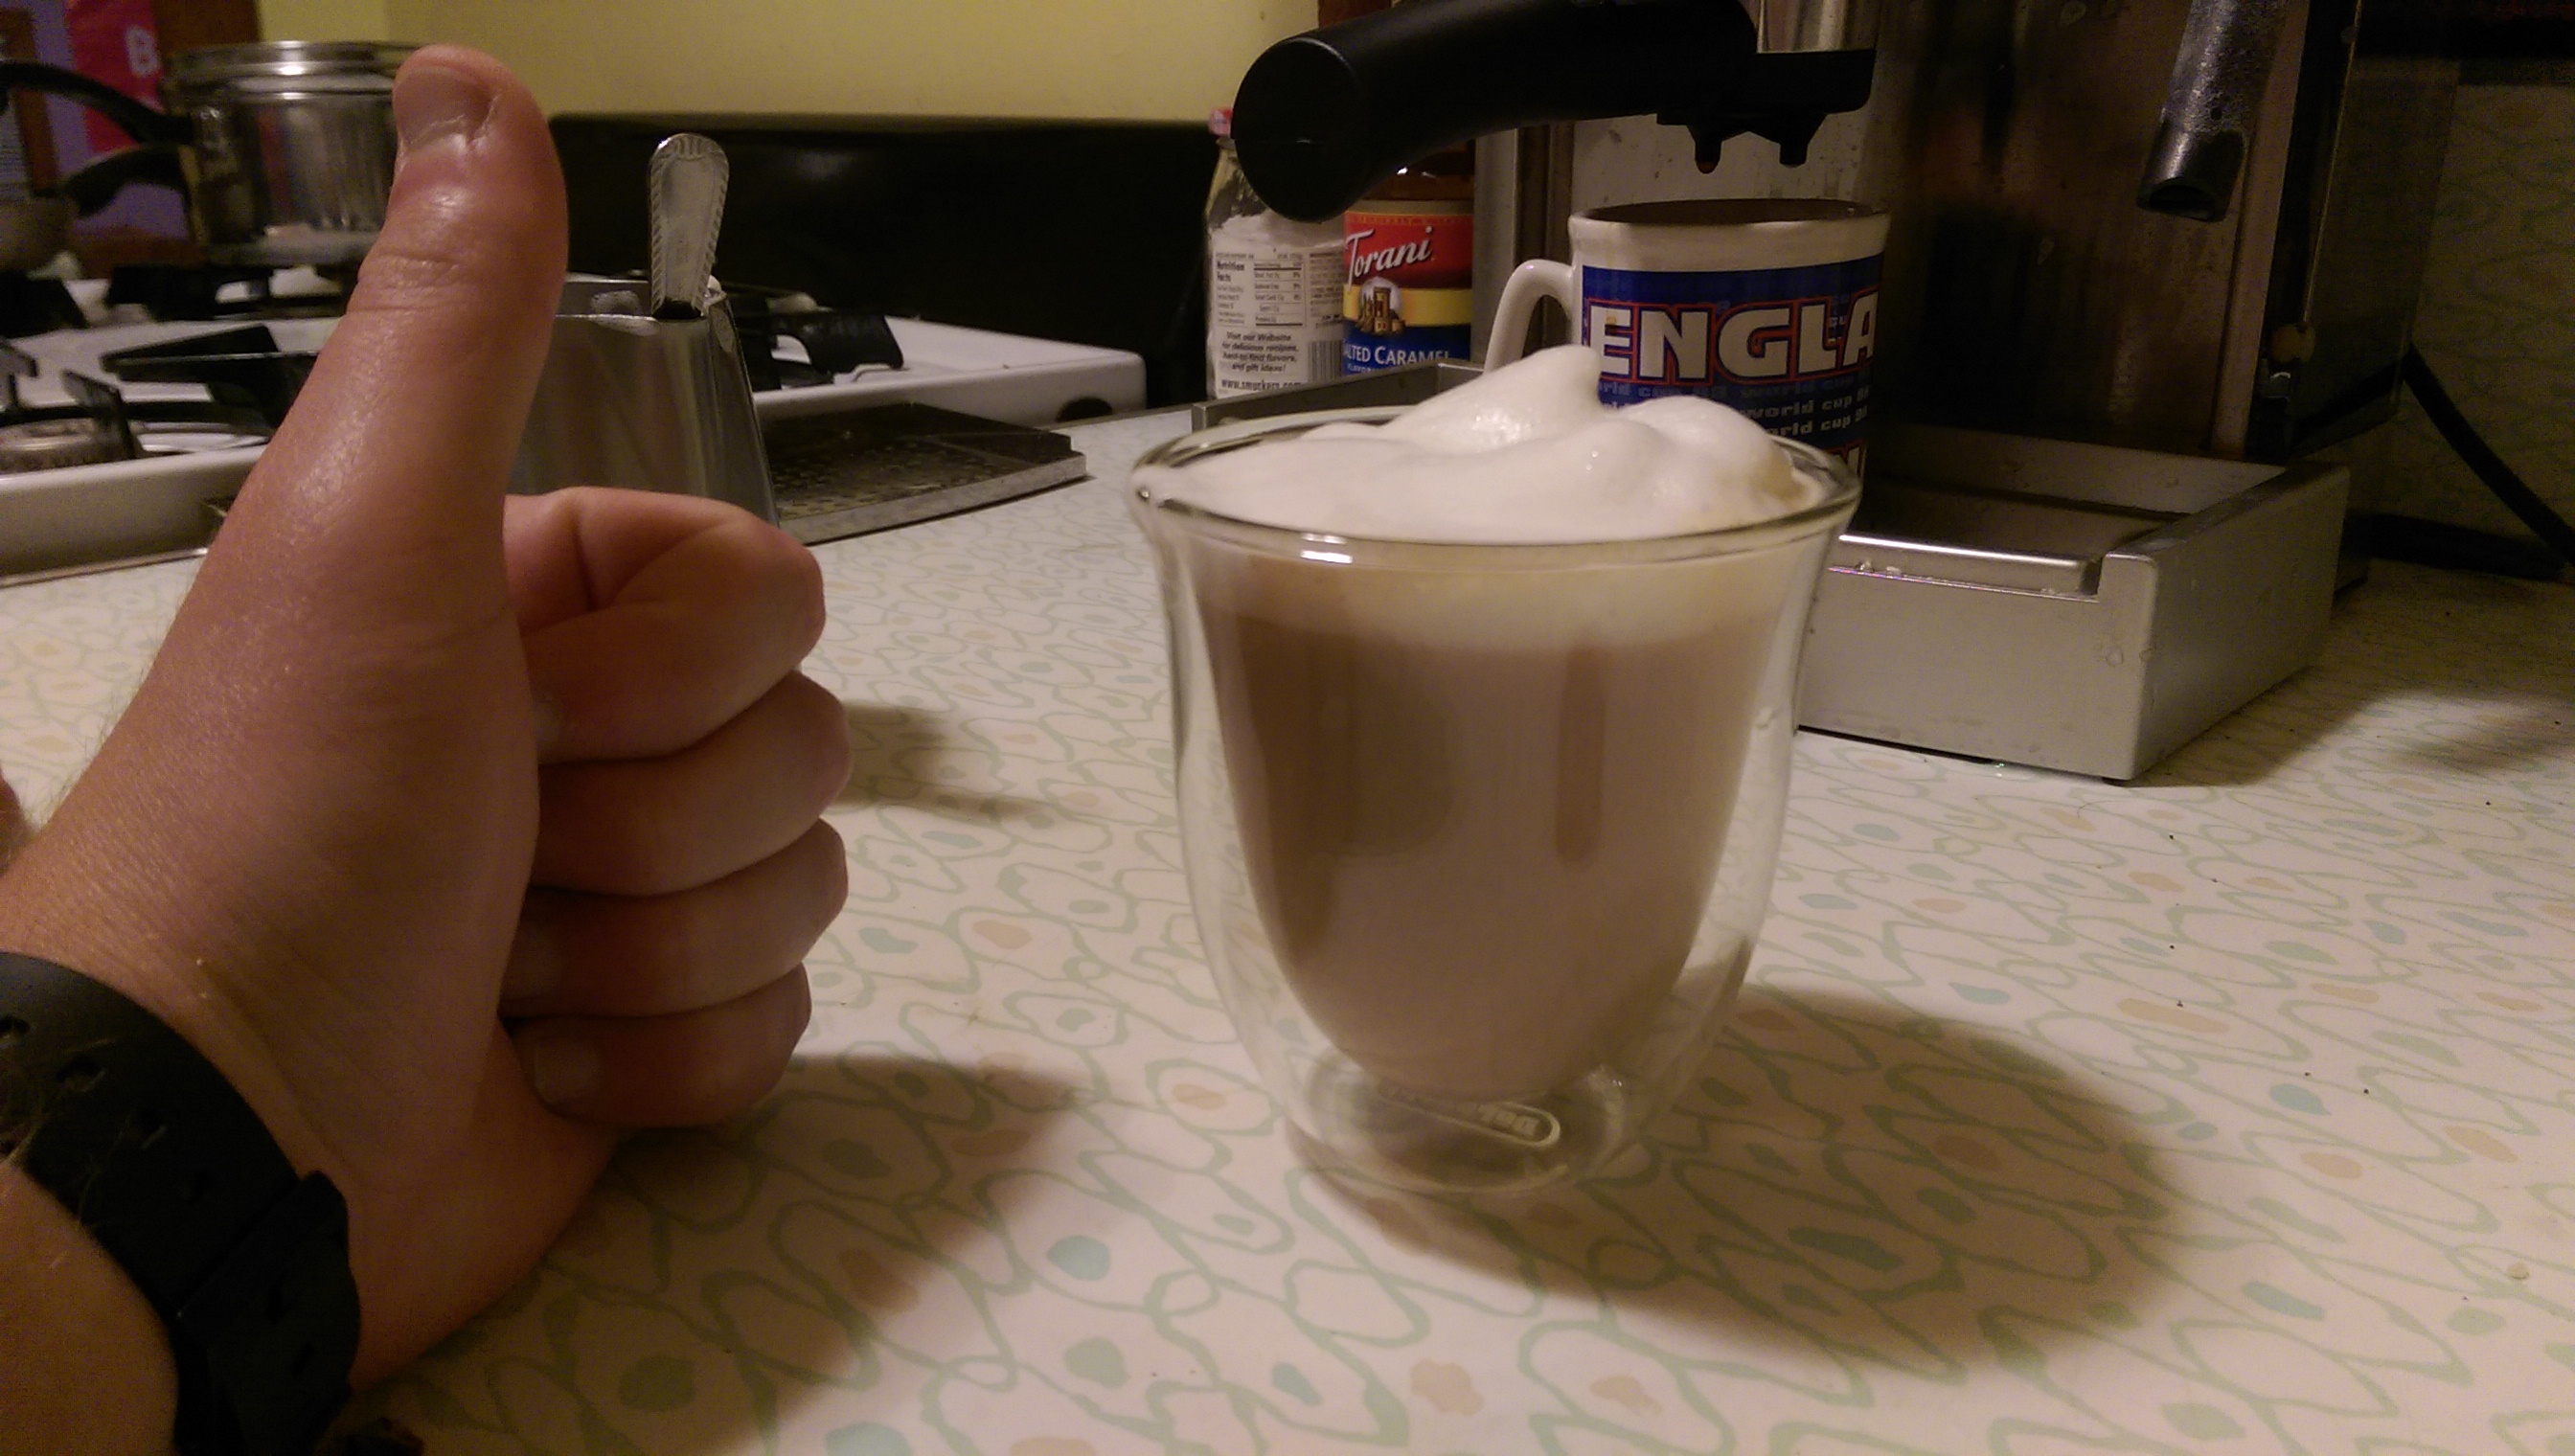
Pour foam over top of espresso and steamed milk
- Enjoy!