Creating a 3d Printed Tactical Flashlight Mount for the Tippman 98 Custom
by The Cartographer in Workshop > 3D Printing
2696 Views, 6 Favorites, 0 Comments
Creating a 3d Printed Tactical Flashlight Mount for the Tippman 98 Custom
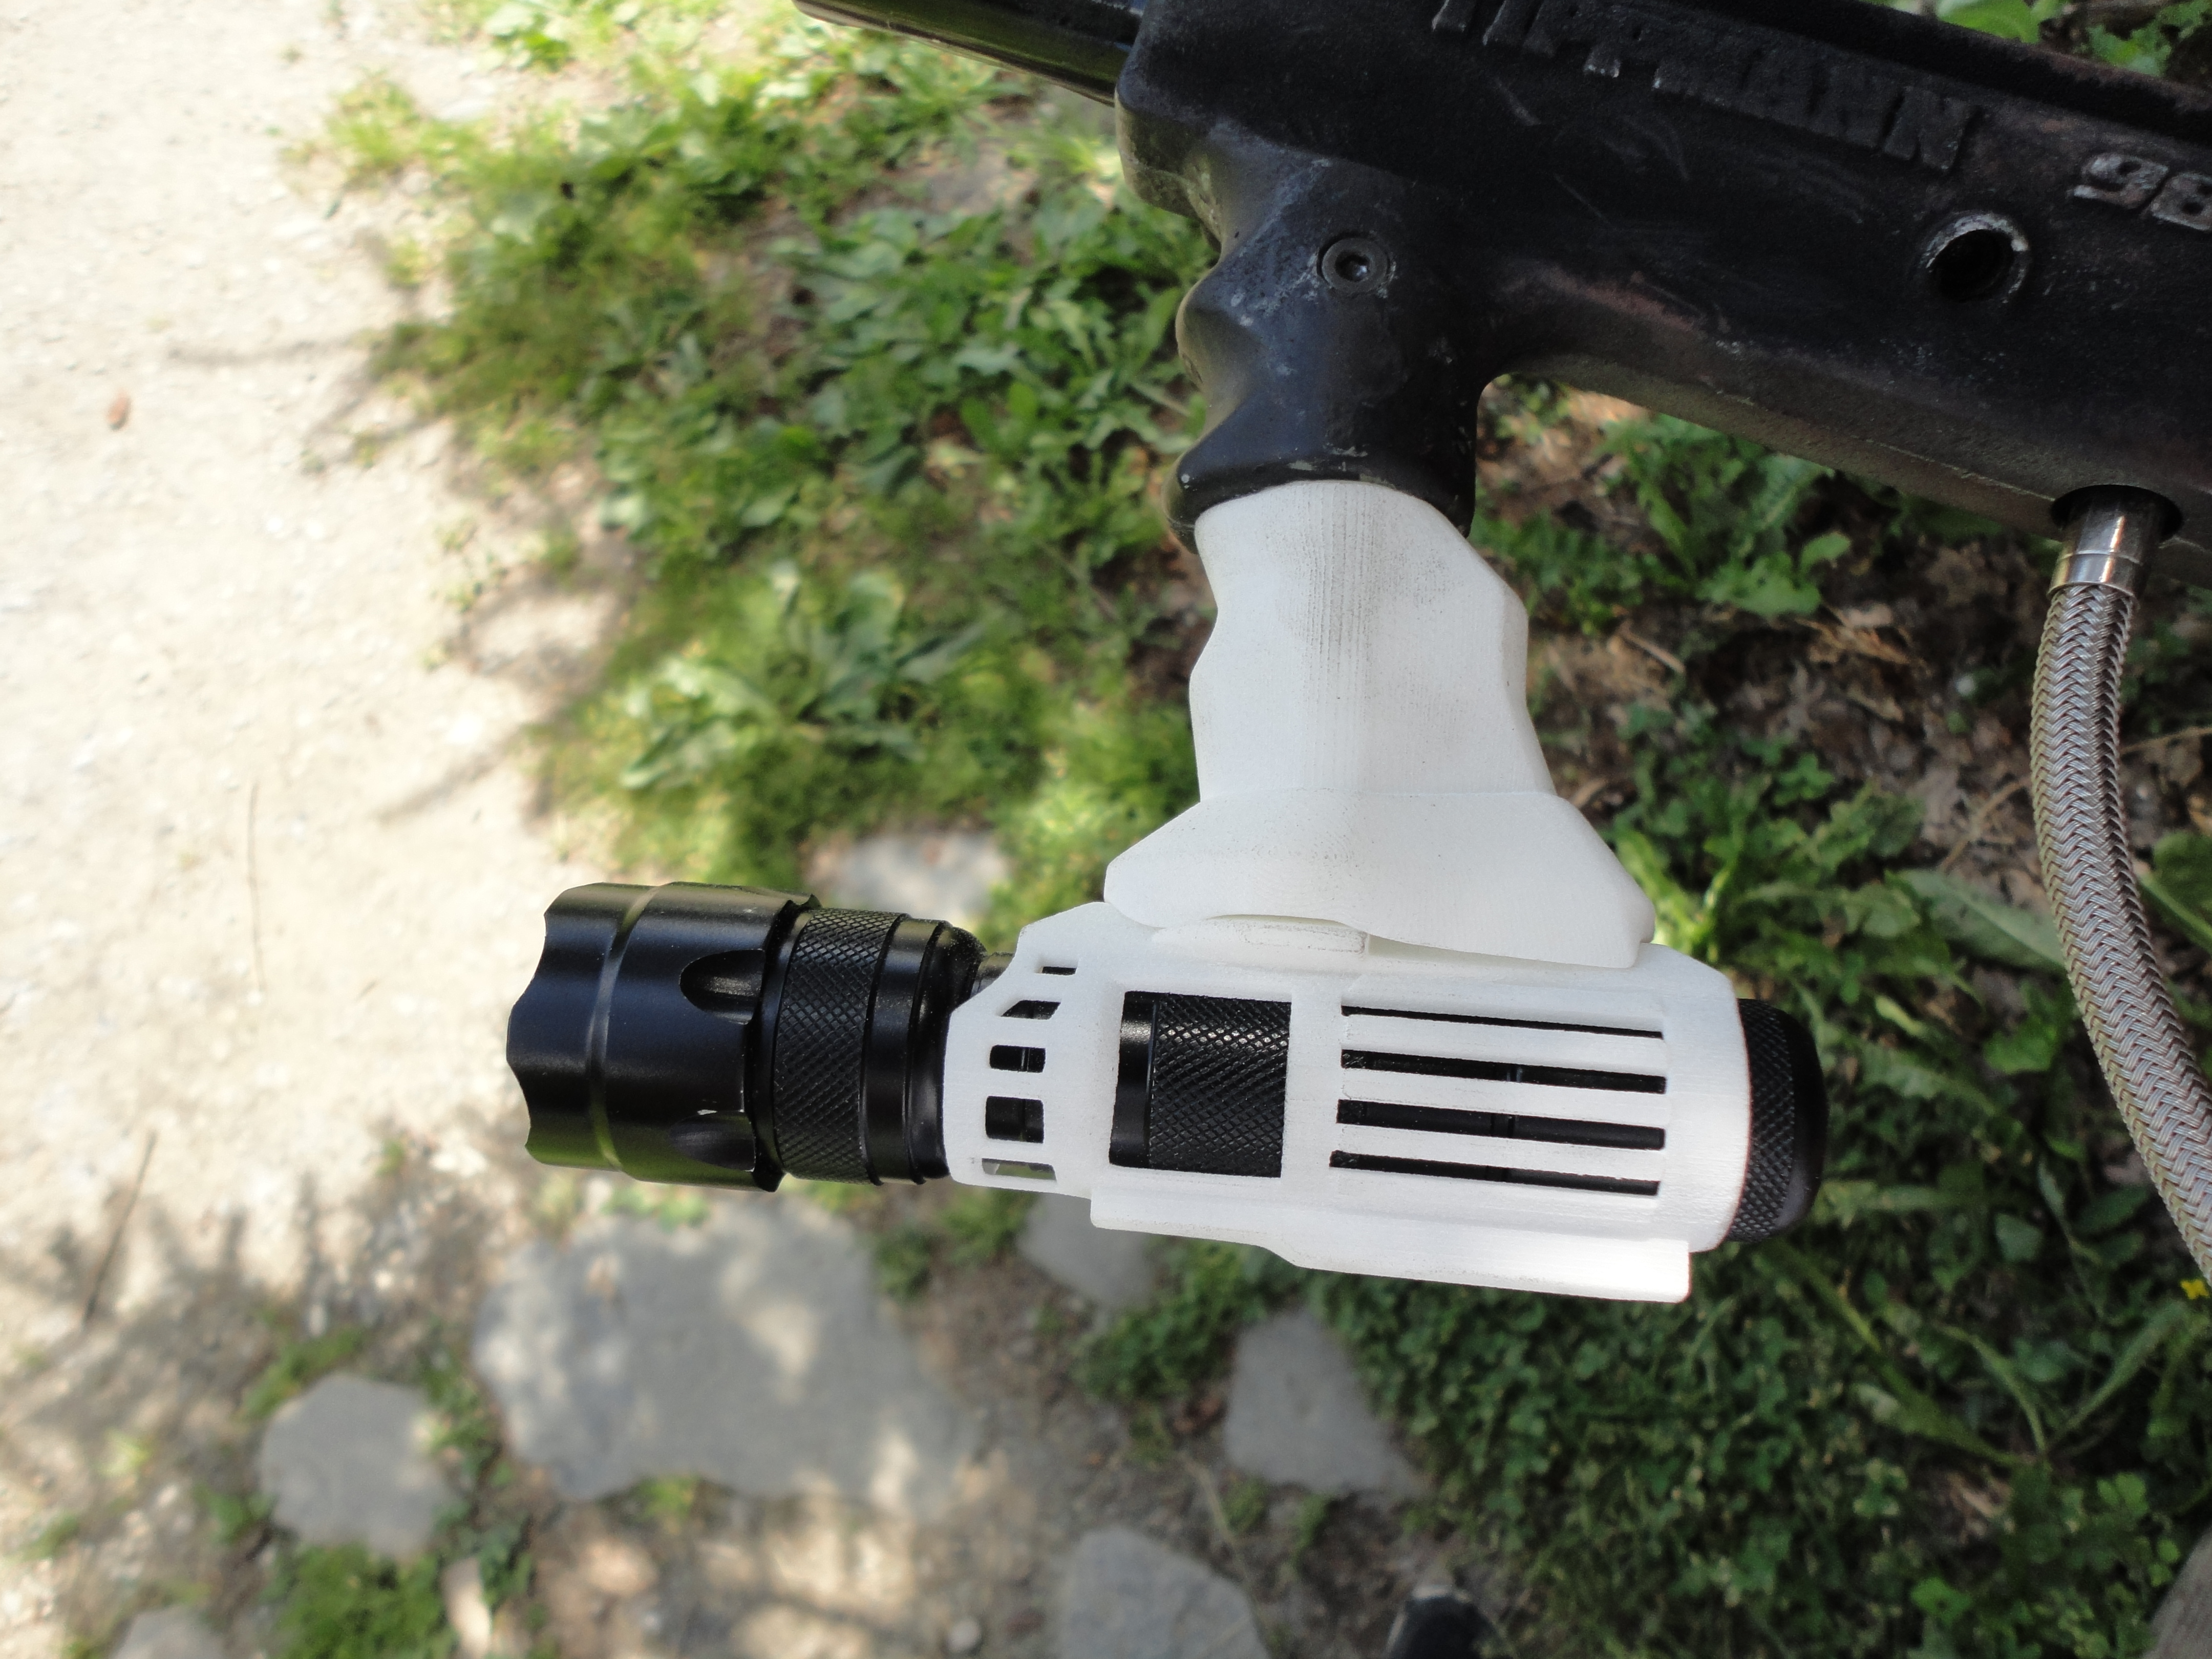
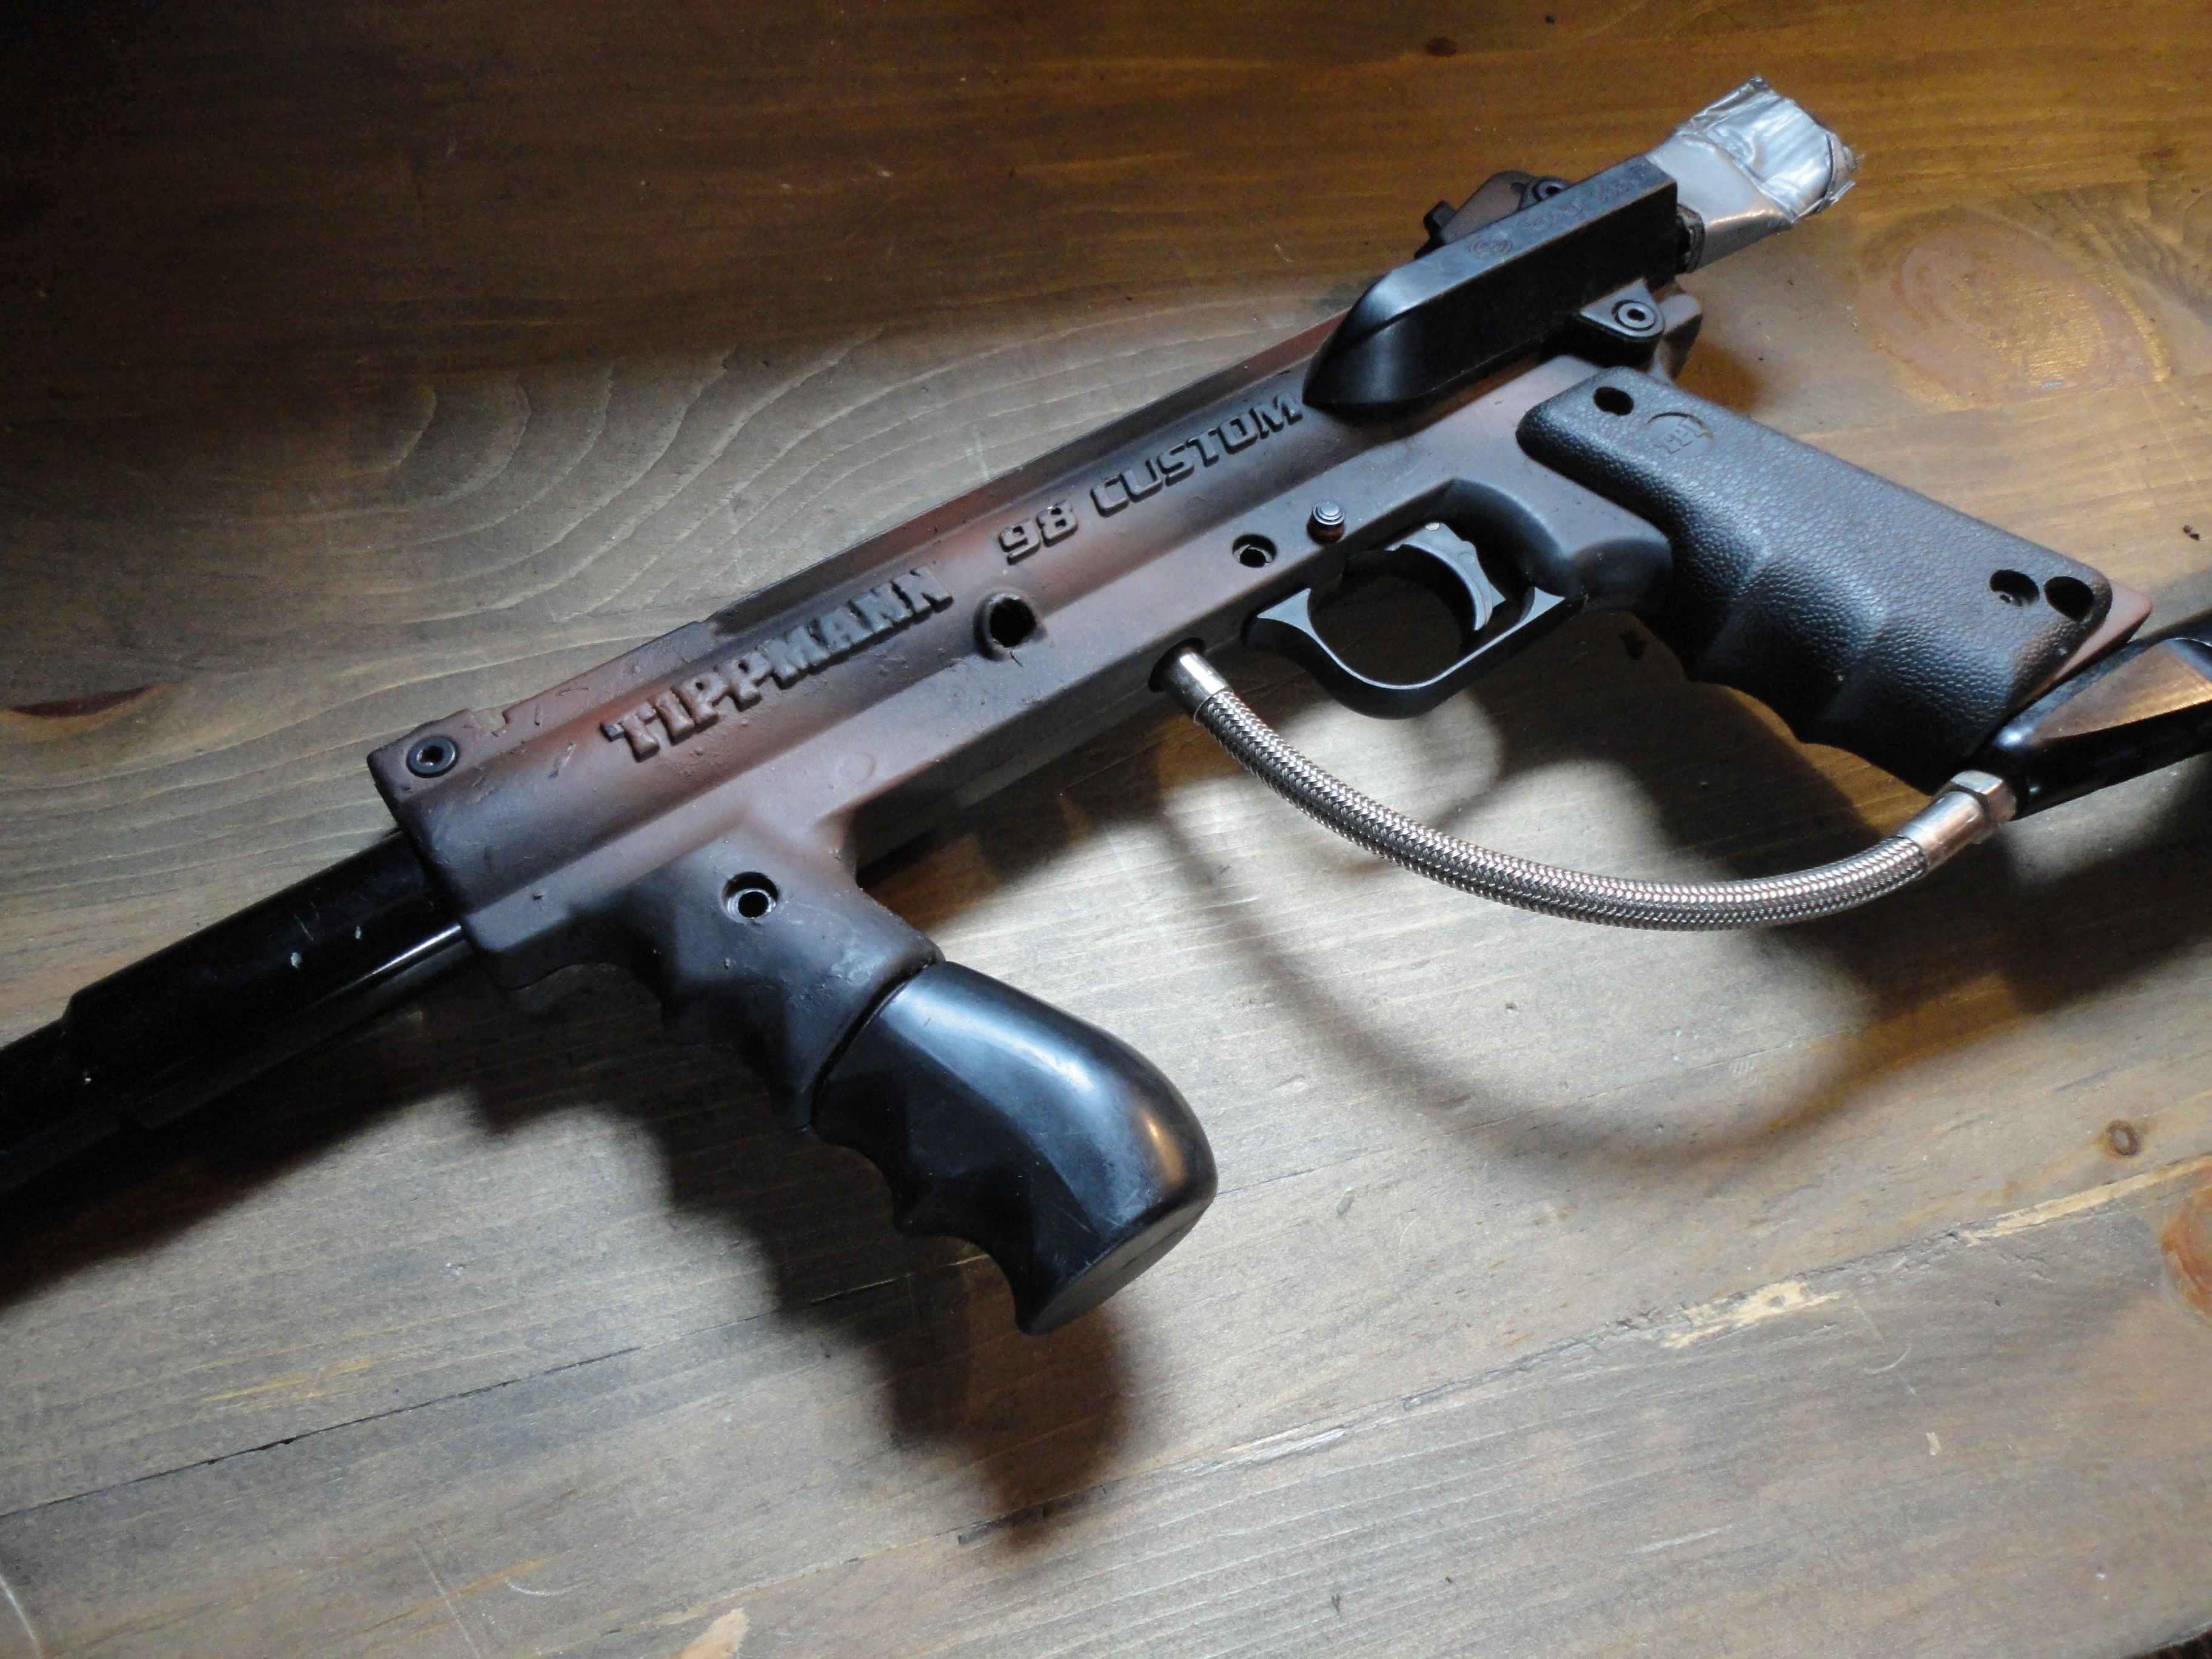
In this instructable I'll give you the rundown on how to create a tangible object via a 3d modeling program.
Setting Measurements
If you haven't already it would behoove you to learn a 3d modeling program, I will be using blender for this creation.
> First you need to make sure that the programs coordinates are using the metric system to allow an easier flow from idea to physical object. This can be done by selecting the option in blender from the picture shown. If you do not see whats in the picture make sure that a properties panel is open and make sure that you have selected the Scenes tab. Making sure you do this at the beginning of the project will save you a lot of unnecessary hassle later on.
> First you need to make sure that the programs coordinates are using the metric system to allow an easier flow from idea to physical object. This can be done by selecting the option in blender from the picture shown. If you do not see whats in the picture make sure that a properties panel is open and make sure that you have selected the Scenes tab. Making sure you do this at the beginning of the project will save you a lot of unnecessary hassle later on.
Downloads
Obtaining Measurements
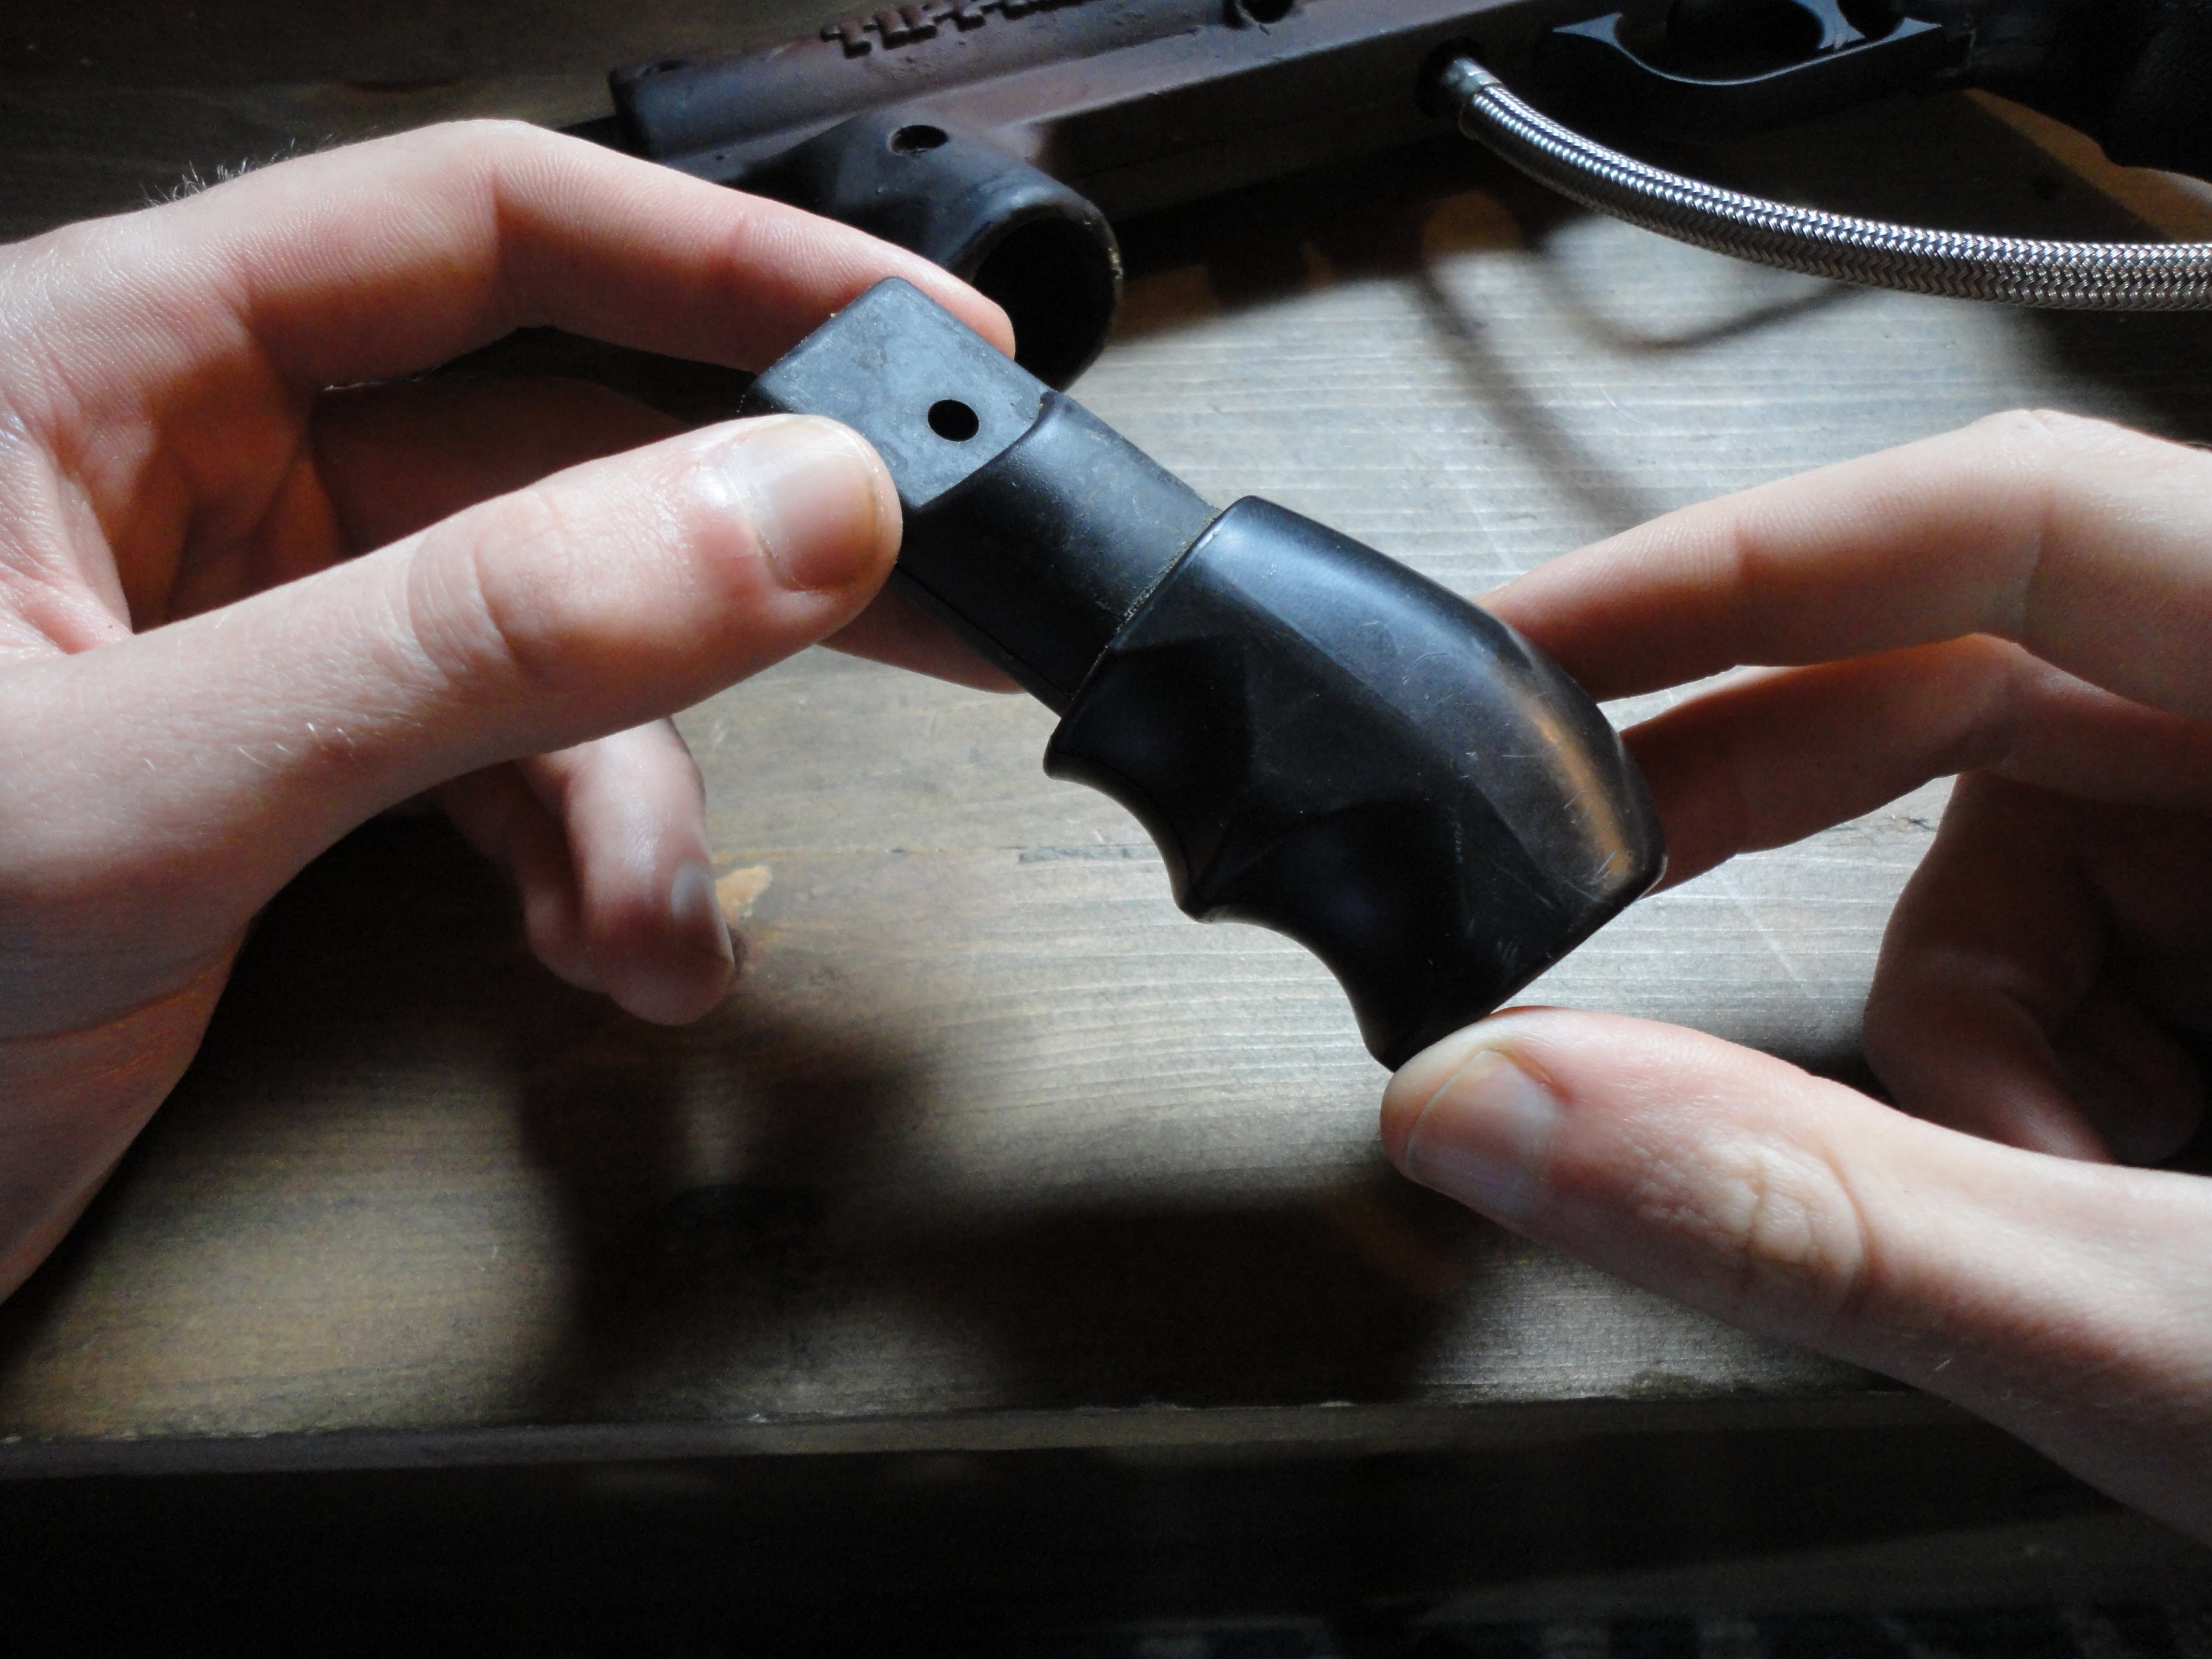
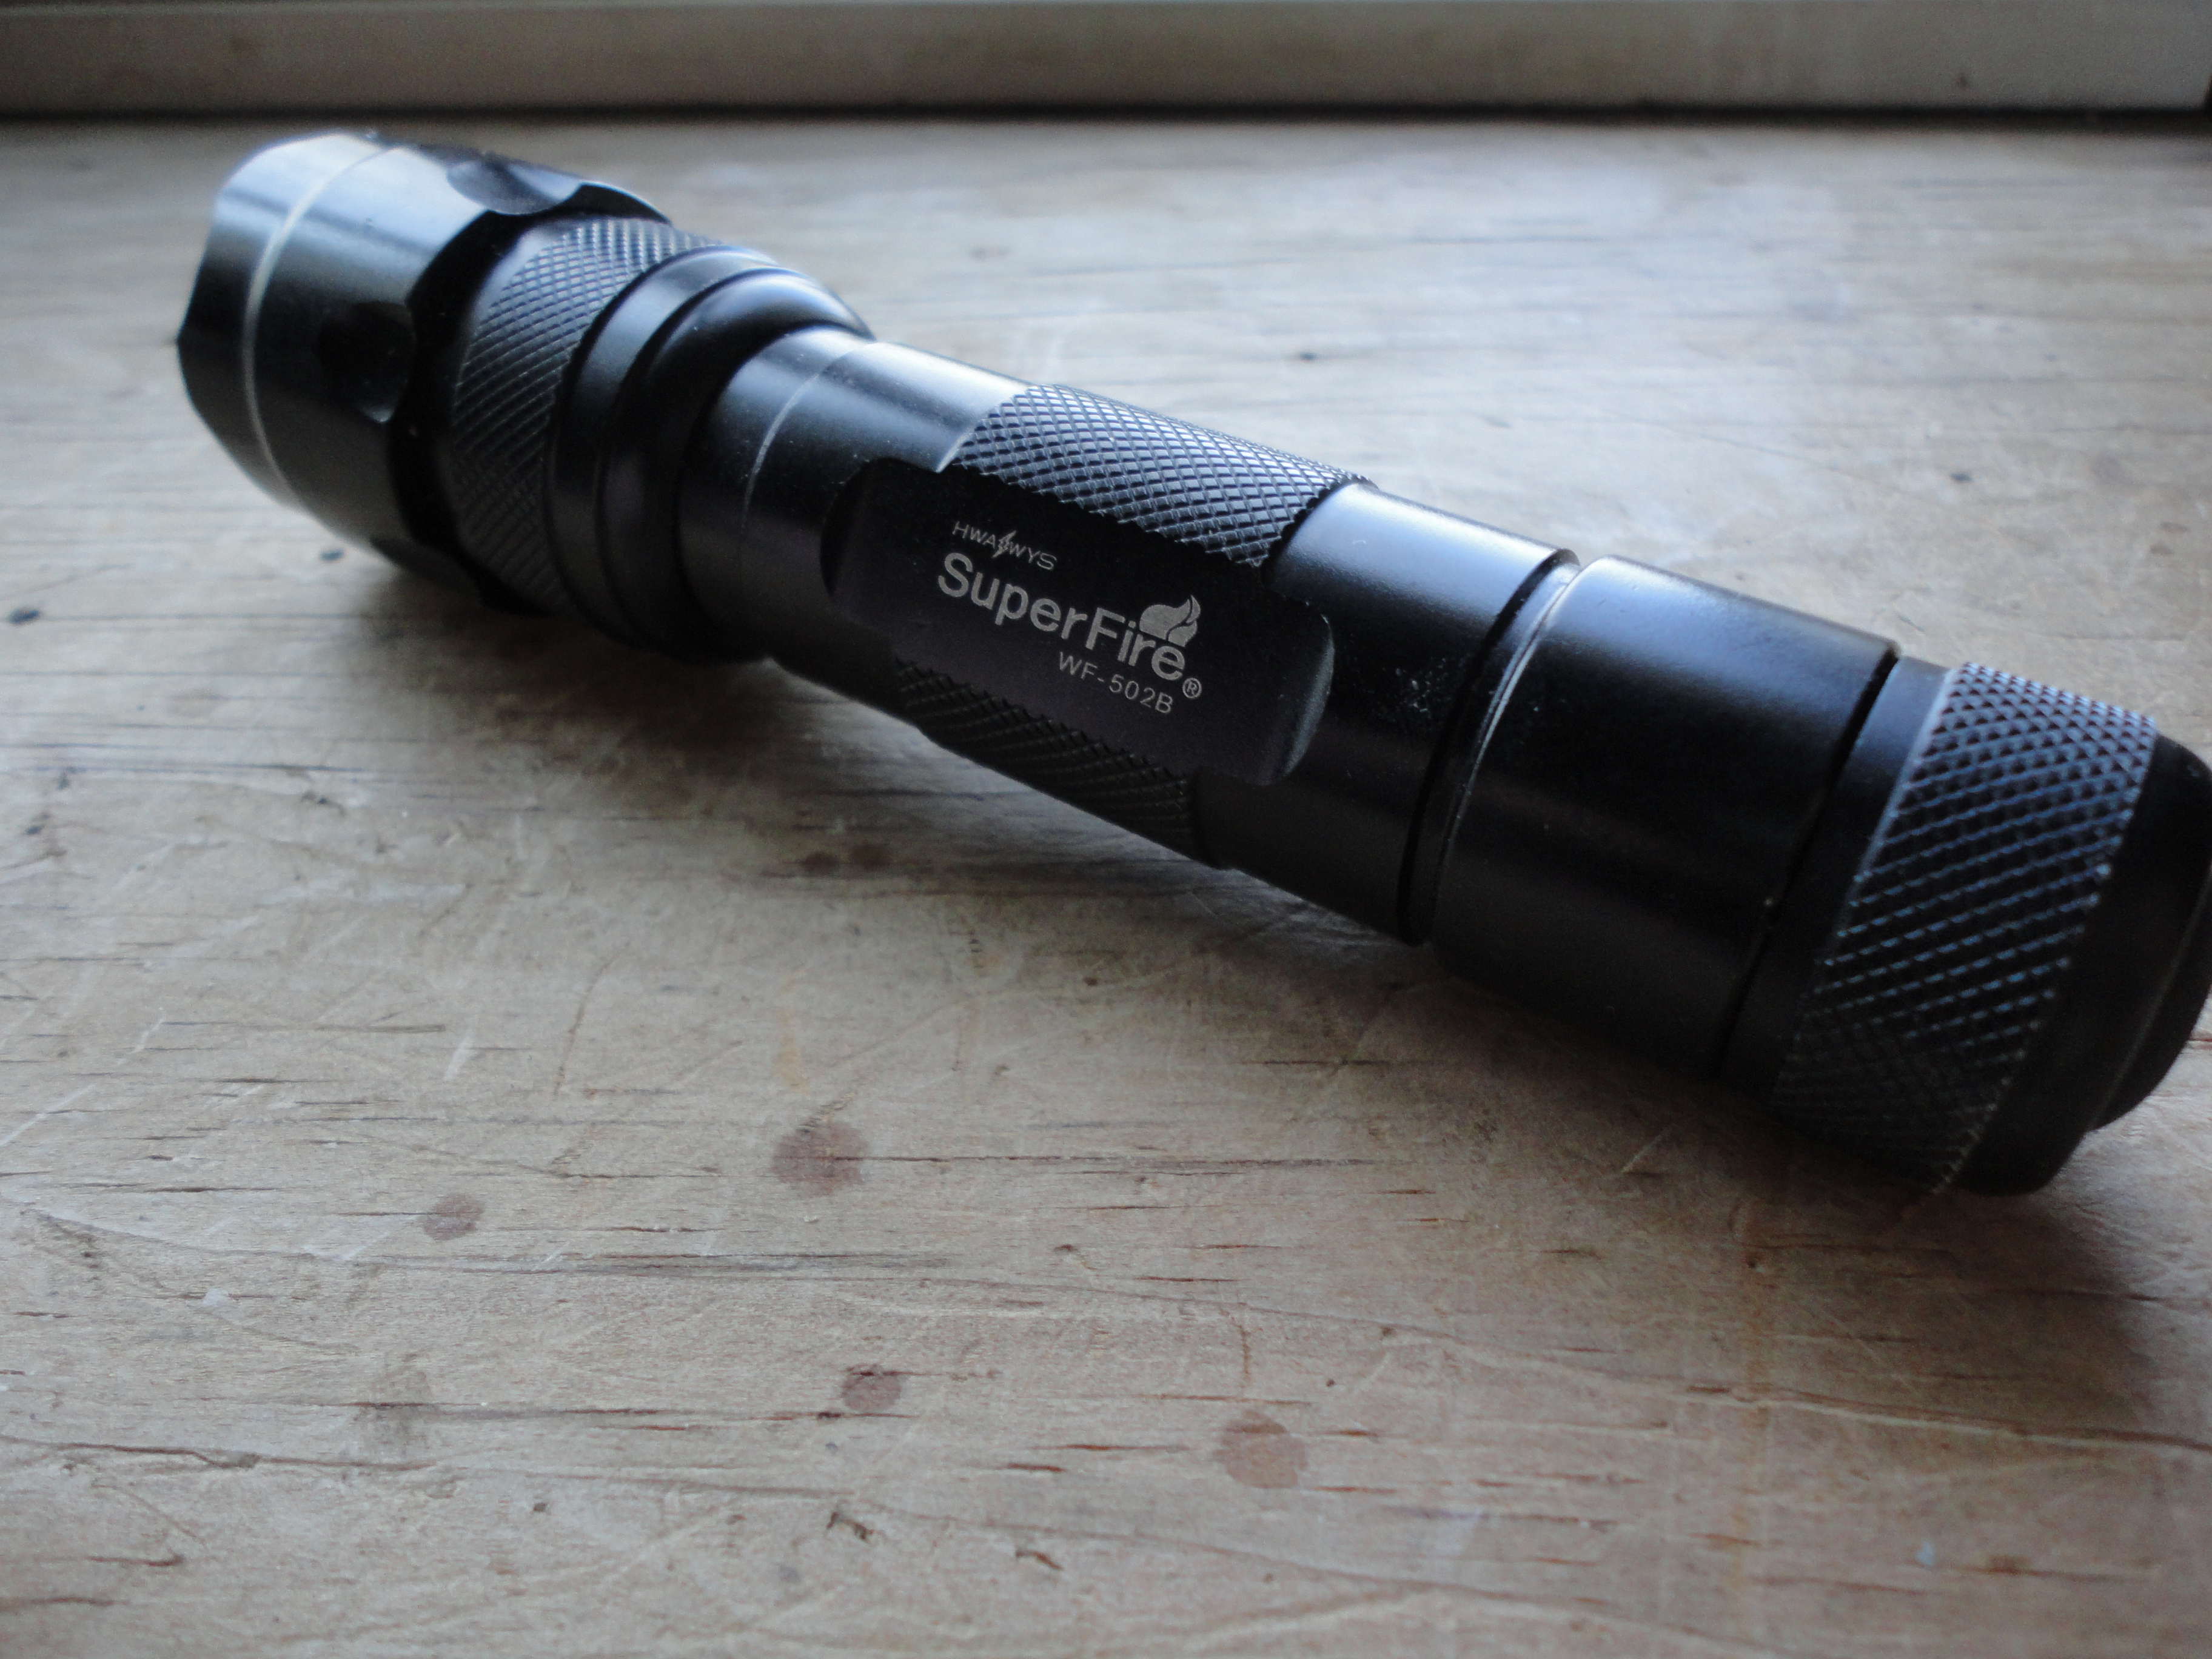
Next you will need measurements of the part in question, that part is called front grip according to the schematic , and you will also need a tape measure of the metric variety.
> If you have a Tippmann 98 Custom and are following along you will need a 1/8 sized allen wrench.
The measurements have already be obtained with a tape measure and the rough model of the front grip and flashlight are in the blend file below. You can use these as guidelines towards building your own mount.
Downloads
Basics
> This part is slow, tedious and methodical, if you decide to start from scratch, but you want to make sure to get it right the first time so you don't have to do it again.
> You are going to want to delete the original cube as well as the camera and light because we will not be needing them and I prefer to work with a clear slate, and you could always add them again later. This can be done by highlighting the objects ((A twice) or (right clicking the mouse)) then pressing X then selecting yes on the popup. If using the file from the previous step this has already been done.
> You will then create a plane (Shift A, select plane) and check the box that says align to view (T button to get Object Tools menu to appear in the 3d View), it should be near the bottom of the menu. But before that you should decide what view you want to work with, this can be done with the number pad numbers.
> #1 = Front View Ctrl,#1 = Rear View
#2= Down Spherical Ctrl, #2 = Down Scroll
#3= Right View Ctrl, #3 = Left View
#4 = Right Spherical Ctrl, #4 = Right Scroll
#5 = Toggles Orthographic View/Perspective View
#6 =Left Spherical Ctrl, #6 = Left Scroll
#7 = Top View Ctrl, #7 = Bottom View
#8 = Up Spherical Ctrl, #8 = Up Scroll
#9 = Does nothing
Some other important buttons on the Num Pad are + and - for zooming in and out of the 3d viewport, the . key to center the object selected, and the 0 key once you start working with cameras.
> I decided to work in Top View.
Downloads
The Design
>Next thing I did was to center the cursor by pressing Shift C and adding a cube by pressing Shift A and selecting add cube.
>Then I scaled it to fit the width of the previously modeled grip by pressing S and moving the mouse accordingly
>Then I went into front view Num pad 1 and scaled it on the X axis by pressing S then X which locks the scaling to the X axis
>Next went into edit mode Tab button, changed the view to x-ray, Z button, then selected the bottom vertexes with the box select tool B button, then take those vertexes and move them to the top portion of the flashlight.
>Next I went back into object mode, hit A to deselect the object we were just working on and added a plane, which then I aligned to view and scaled with the S button so I could see it.
>Next I went into edit mode and selected the two vertexes to the left and moved them to the right of the cube we were last working on.
>Then I took the two vertexes that are above the X axis and moved them on it.
>Next I took the two vertexes to the left and moved them closer to the ones on the right.
>Then I hit the A button to select all of the vertexes and moved them over to fit inside the grip, this can be done by pressing G then X
>I then added a mirror modifier to reflect all the vertexes across the X axis, this can be found in the Properties menu, I you cant see it try pressing Shift Spacebar to exit full screen 3d view mode.
>Next go to side view 3 and center the model . button on number pad, move the vertexes all the way to the right and extrude all of them by pressing E and aligning to the Y axis if it isn't already press the Y key. Make sure to extrude it to the beginning of the hole, once in the center of it, then again on the oppiste side, then once more at the very end of the grip.
>Next you want to select the bottom row of vertexes and continue to extrude them down keeping in mind that the style used to keep the flash light held firmly in place is an I in U sort of thing. Where I is inside of U holding down firmly the flashlight with the bottom of I and the trough of U, and the upper sides of U will be connected to the upper part of I with the allen screw that was originally taken out from the gun.
> To ensure that the flashlight fits snugly id suggest taking the vertexes from the flashlight model, ones at the front and back, selecting them one at a time alt right click, duplicating them Shift D, then separating them with the P key, exiting to Object move Tab key, then selecting both the circle of vertexes you just created and the U frame and clicking ctrl J to join both objects together as a congruent mesh. Then you will want to merge certain vertexes together by clicking the alt M key and choosing the right action.
Downloads
Tips
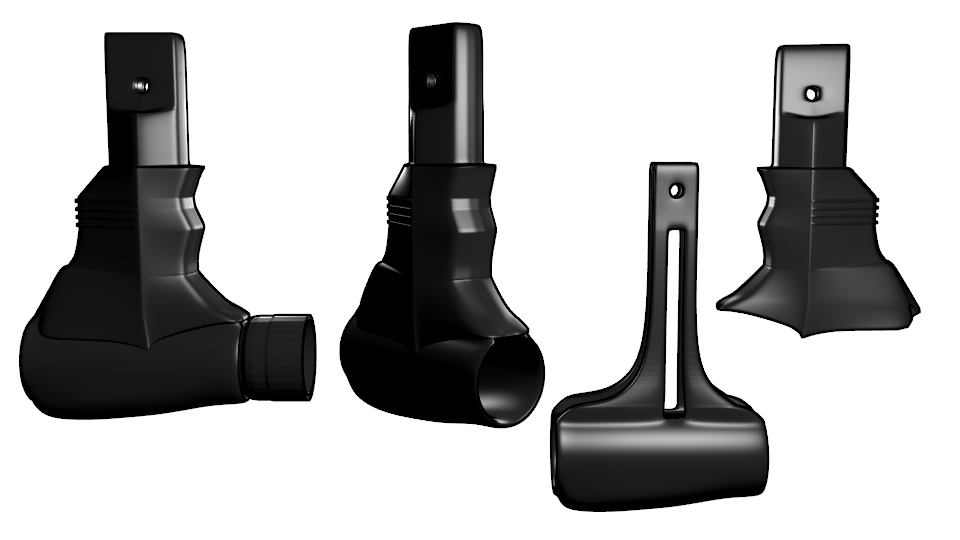
>Working with the entire mesh can get very confusing and might cause your brain to explode, to avoid this I'd suggest hiding the vertexes that you are not working with to make things much easier. You can hide vertexes by selecting them and then selecting the H key, this can be reversed by clicking alt H key.
>Keep in mind as your modeling that plastic gets expensive and that its best to keep whatever you're modeling to the thinnest that it can be while still being structurally sound. This of course will directly carry over to professionally designing things for the mass market.
>Sometimes its best to erase everything and start from scratch, especially when your mesh starts to get over complicated and there's no hope in trying to fix it. This can also be eliminated if you saved throughout your modeling process at key points, as in "version 1", "version 1.1", so on and so forth.
>Don't forget the overall goal of whatever your modeling, and remember that you can always take a break and come back to your model with a fresh head rather than trying to pound through it in frustration.
Final Version
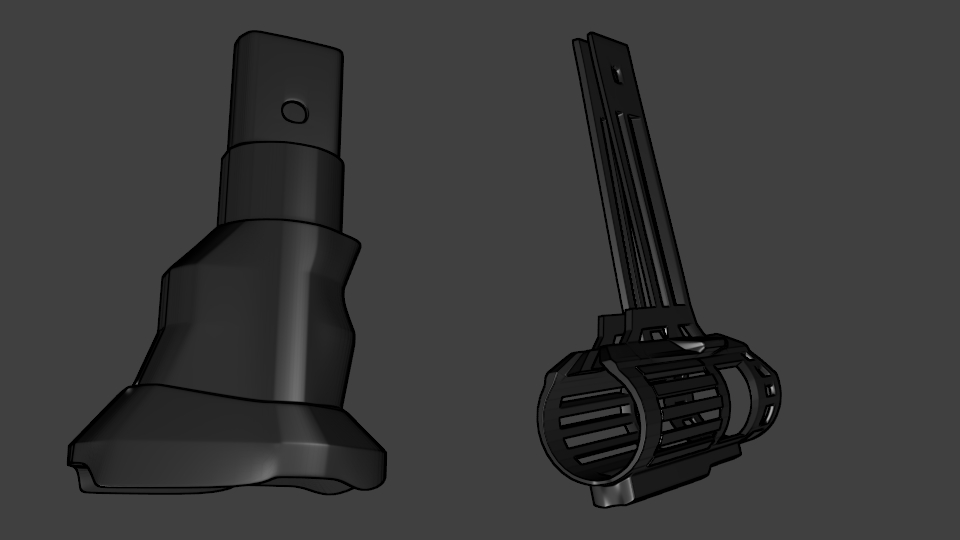
The photo attached is the final version of the mount. The handle has been made completely hollow to reduce cost and the part that holds the flashlight has been exfoliated with holes to do more of the same. I've also taken the liberty to attach the blend file so you can look at it. And if you do deiced to print it you need to scale both by a factor of 1000 and use mm as an option in the printing services options. I'd suggest using Ponoko, they've been very nice.
I will also upload photos when it arrives.
I will also upload photos when it arrives.