Creating a 2D Animation: Wings of Freedom
by Betaaj Baadshah in Design > Digital Graphics
147 Views, 1 Favorites, 0 Comments
Creating a 2D Animation: Wings of Freedom

Creating a 2D animation can be a rewarding experience, allowing you to bring your artistic vision to life. In this tutorial, you'll learn how to animate a hand sketch freeing a bird, which then takes flight into the sky. We'll be using Brush Ninja, a versatile online animation tool, to achieve this.
Supplies

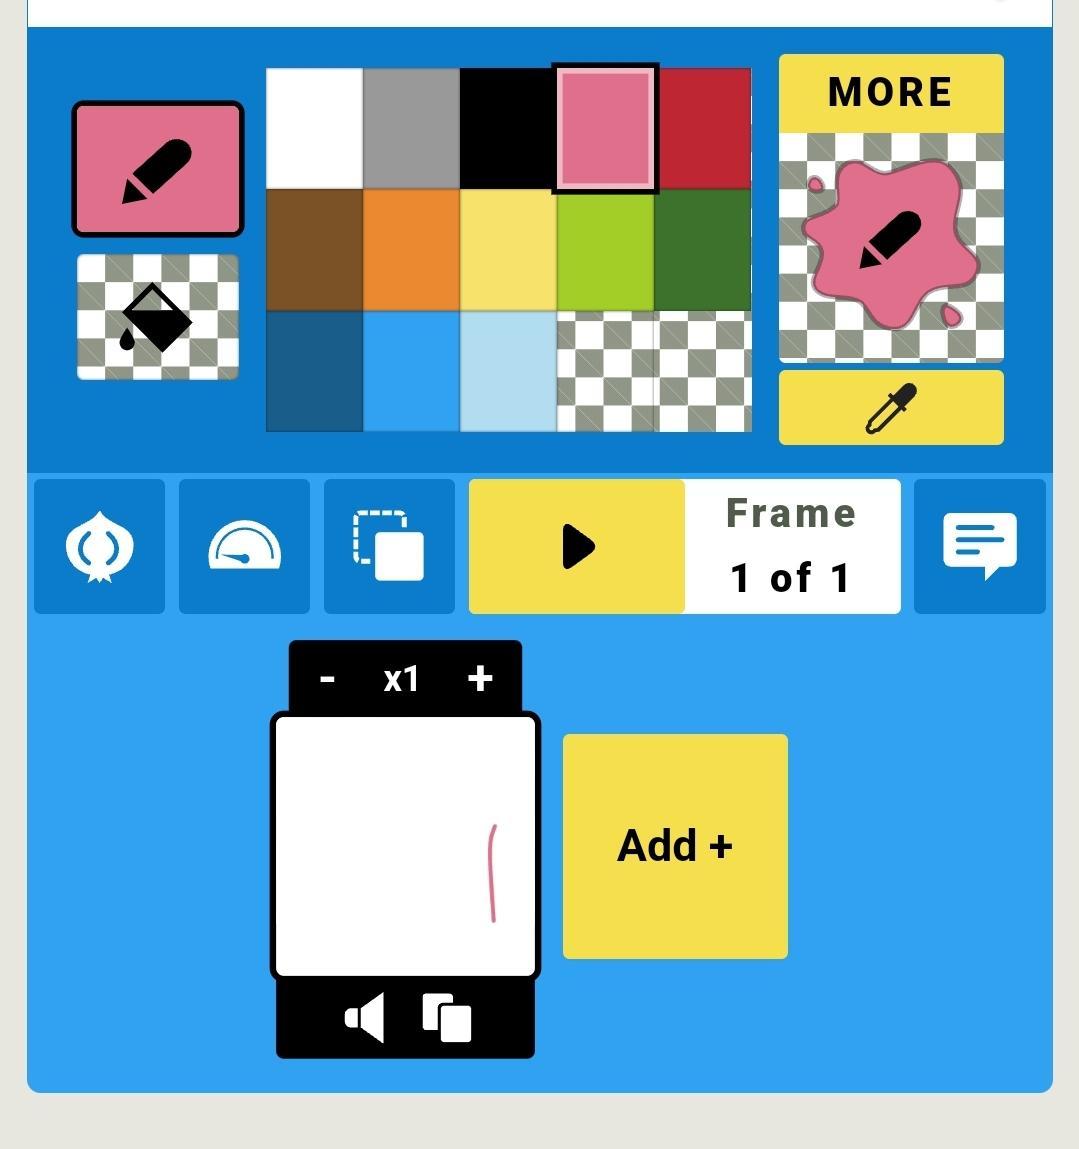
Supplies Needed:
- A computer or tablet with internet access.
- A web browser (Chrome, Firefox, etc.)
- Brush Ninja : An online animation tool.
- A stylus or mouse (optional but helpful)
Crafting Your Digital Canvas
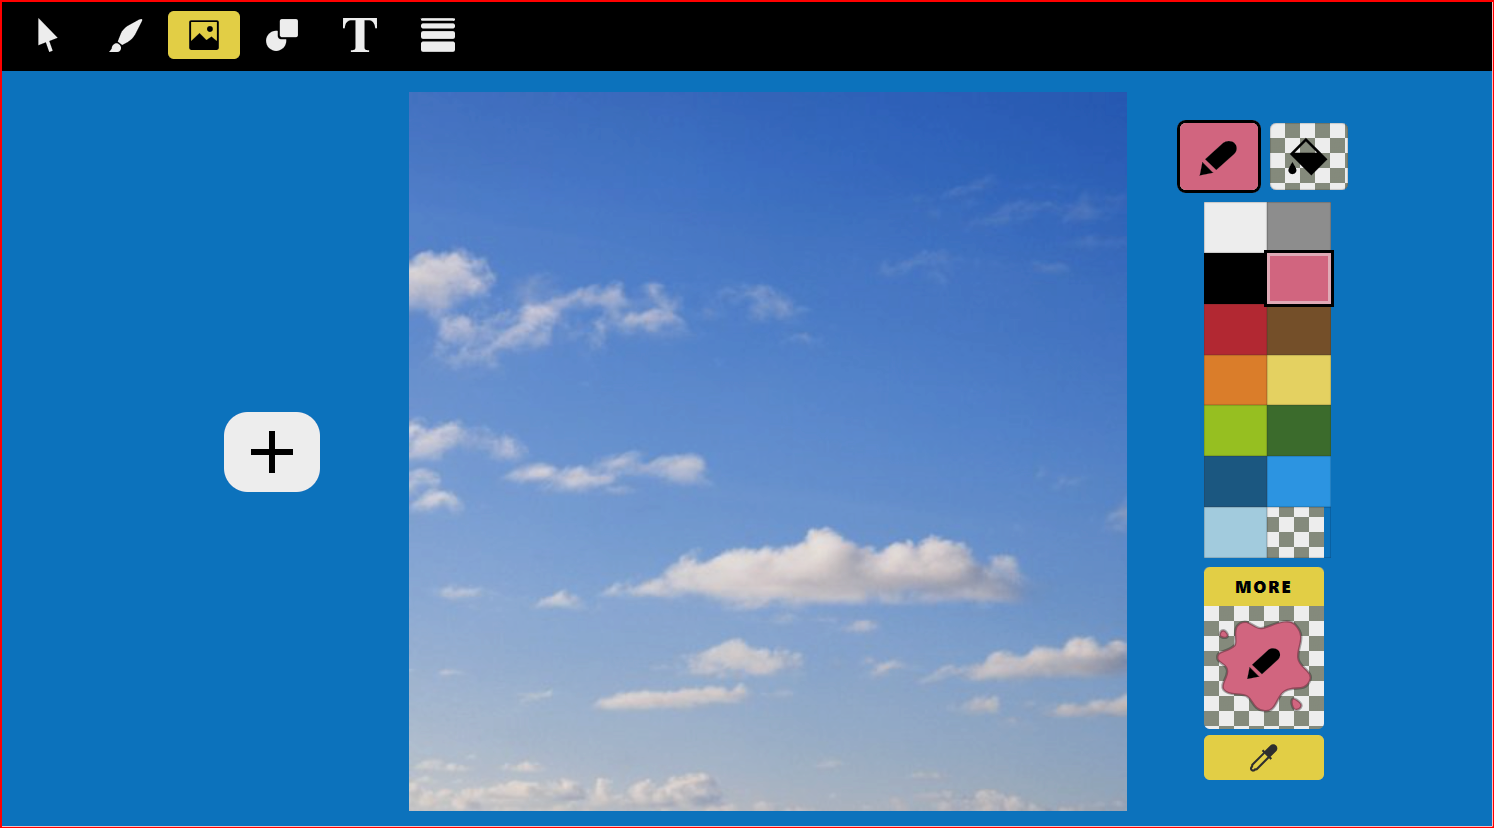
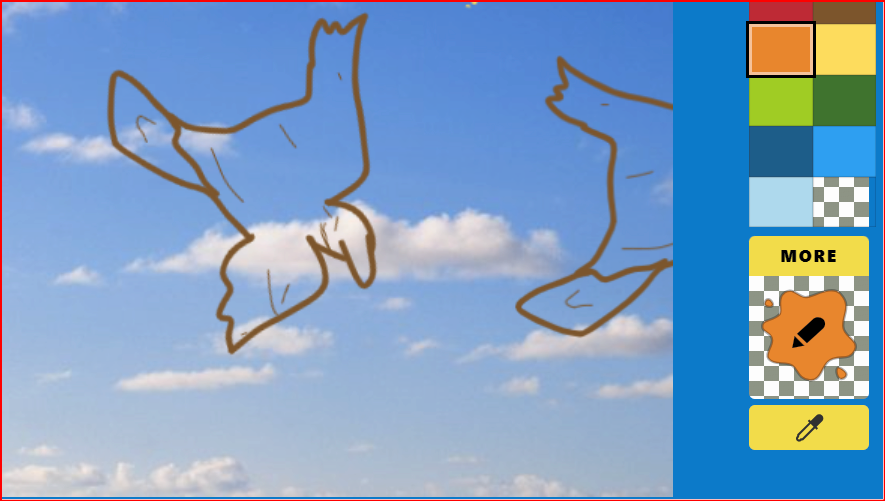
- Open your web browser and navigate to Brush Ninja.
- Click on the "Create" button to start a new animation project.
- Familiarize yourself with the Brush Ninja interface, including the drawing tools, layers, and frame management.
Sketching the Helping Hand

Drawing the Hand that Sets the Bird Free:
- Select the brush tool and choose your desired brush size and color.
- Begin sketching the hand on the first frame. Focus on the outline and basic shape.
- Use the onion skinning feature to see a faint outline of the previous frame as you refine your sketch.
Animating the Hand’s Movement
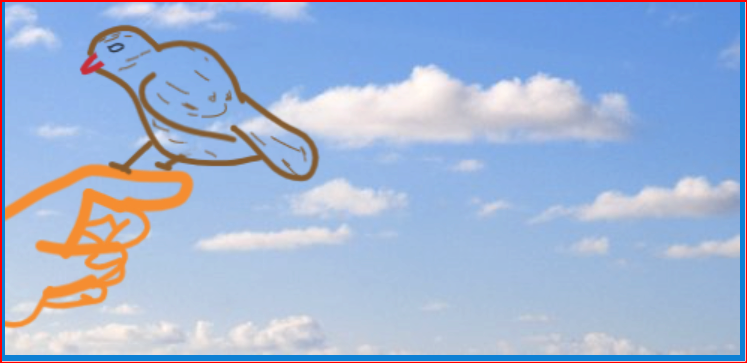
- Create a new frame and slightly adjust the position of the hand to simulate movement.
- Continue this process for several frames until the bird takes off.
- Use layers to keep the hand and bird separate for easier editing.
The Bird Takes Flight
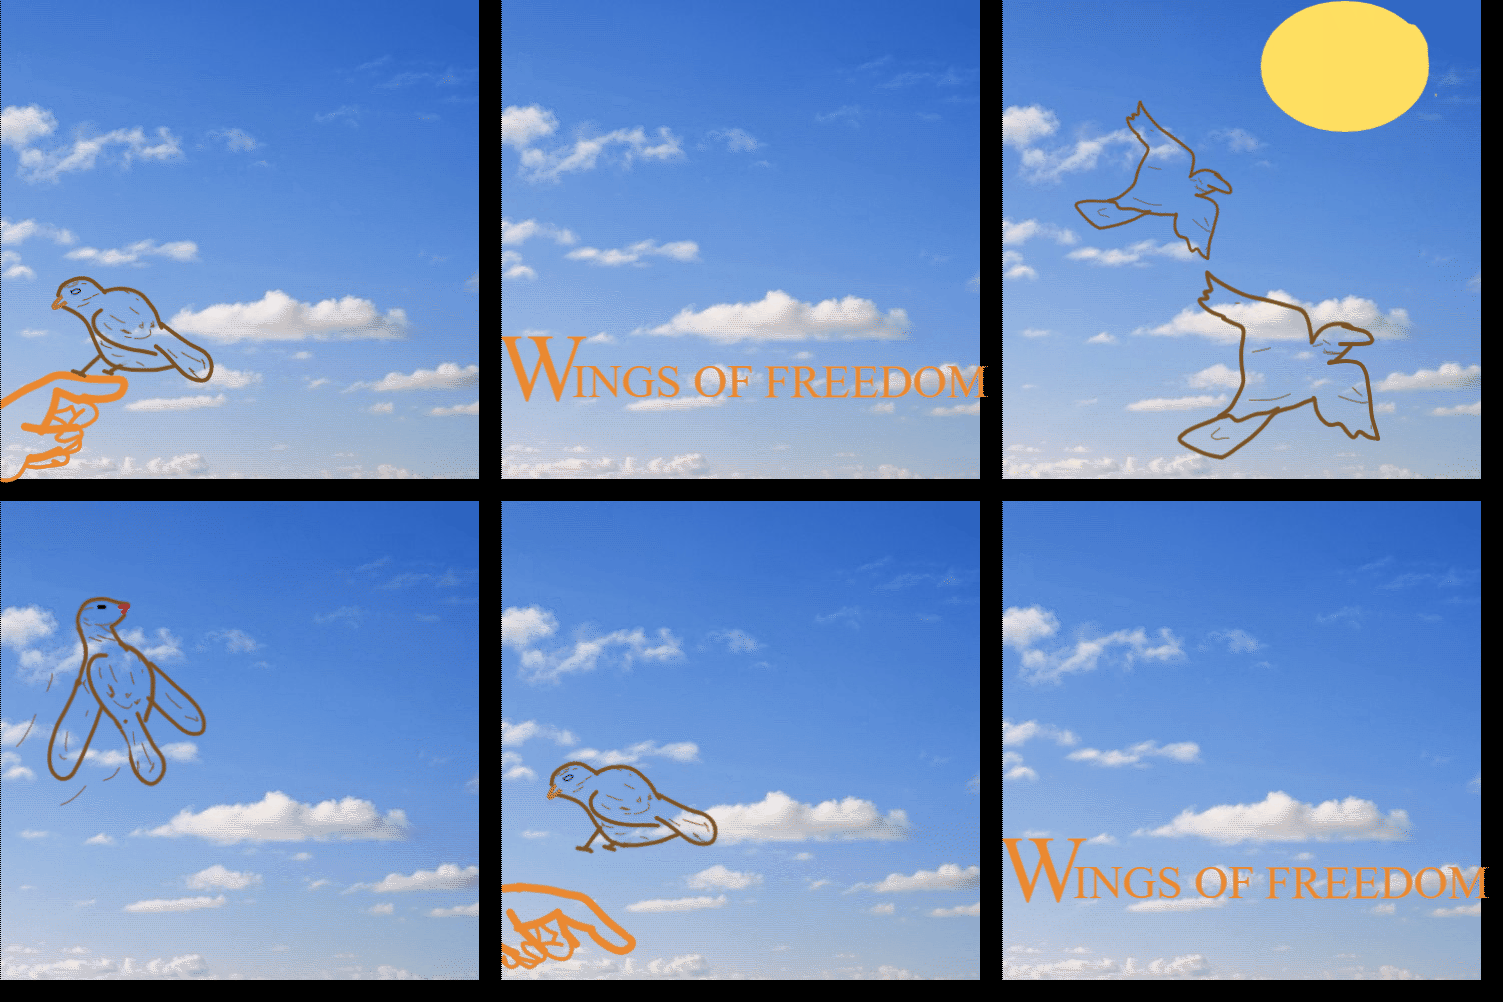
Animating the Bird’s Journey to Freedom:
- Start sketching the bird's movements as it begins to fly.
- Gradually open the bird's wings and adjust its position in each new frame to show it taking off.
- Pay attention to the motion and make sure the transitions between frames are smooth
Finalize and Export Your Animation
Exporting Your Masterpiece:
- Review your animation by playing it back and making any necessary adjustments.
- Once you're satisfied, click on the "Export" button to save your animation as a GIF or video file.
- Share your completed animation with friends, family, or on social media!