Creating Ready to Print Heart Models in SelfCAD
by Sammy50 in Workshop > 3D Printing
350 Views, 0 Favorites, 0 Comments
Creating Ready to Print Heart Models in SelfCAD
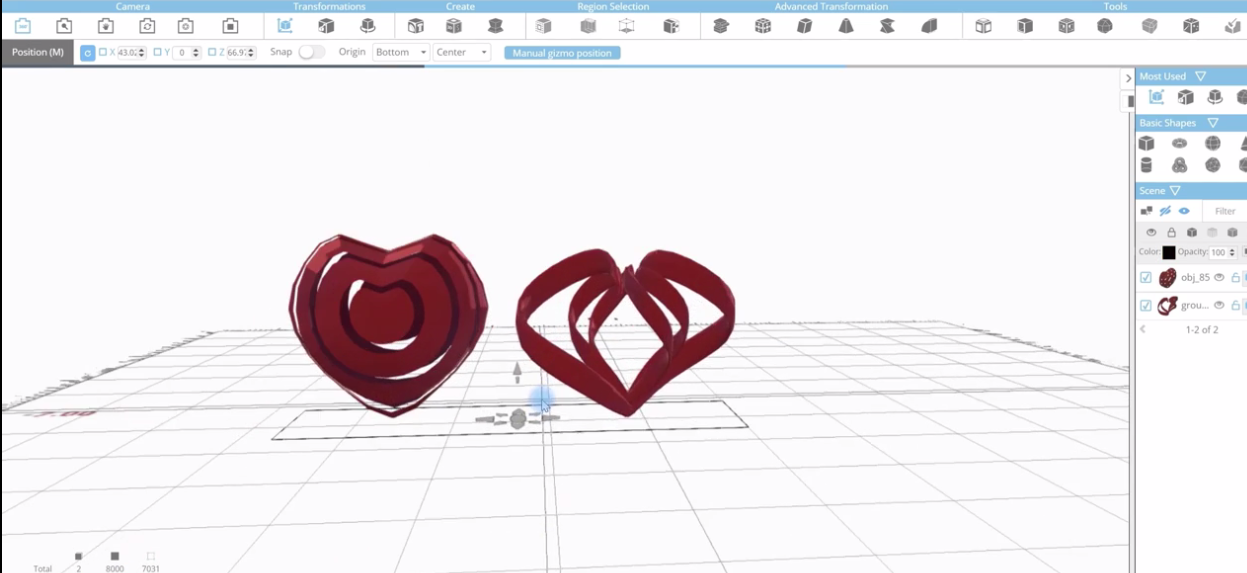
In this tutorial, I am going to show you how to create a 3D-Printable Heart Model in SelfCAD.
To begin, sign up to SelfCAD here www.selfcad.com for a 30-day free account.
Contact SelfCAD at support@selfcad.com in order to set up an account for you.
Start Modeling
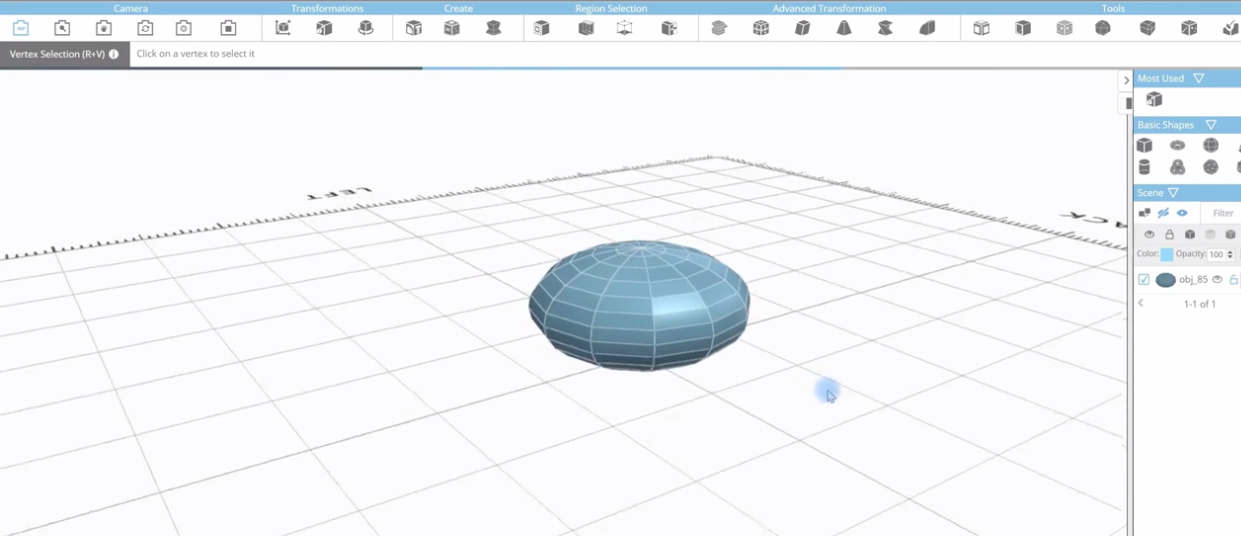
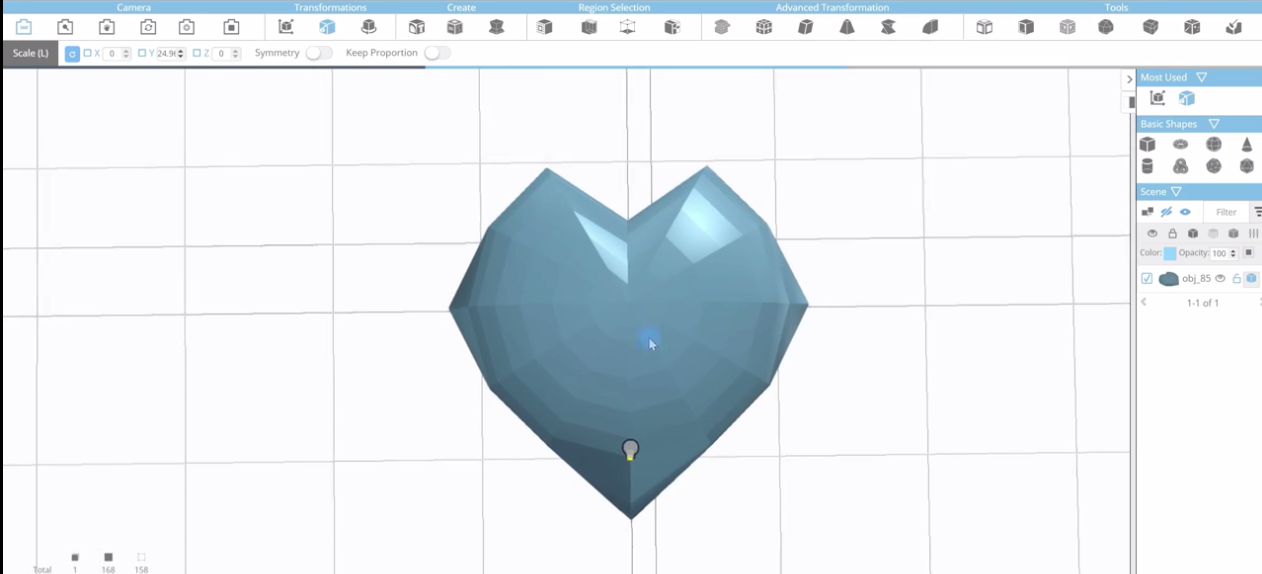
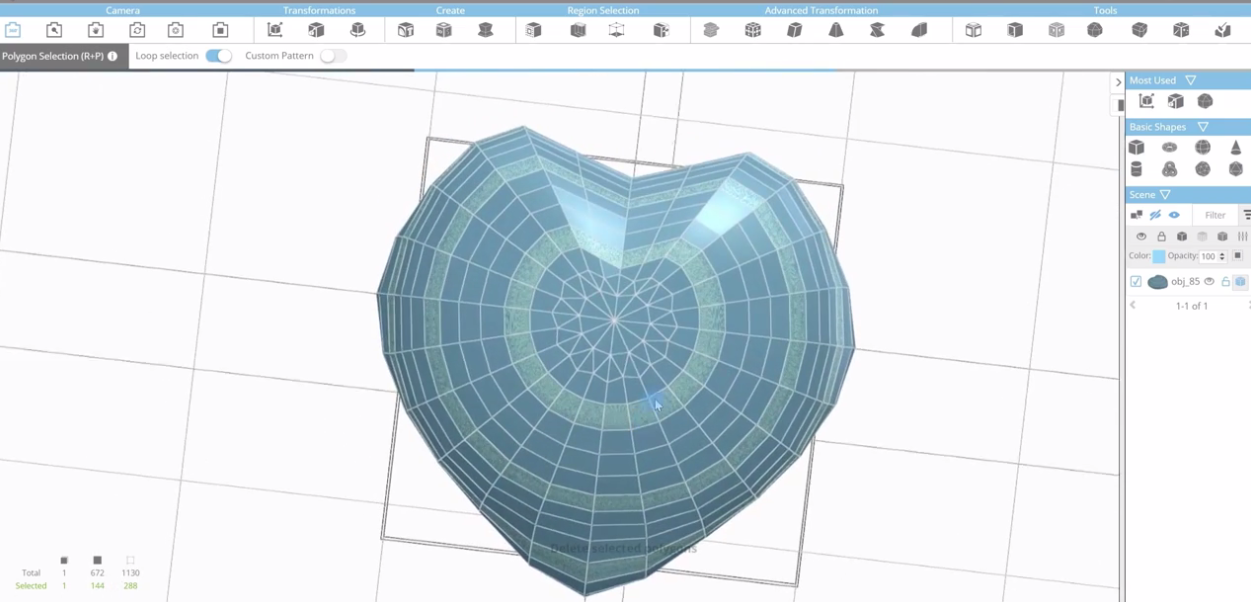
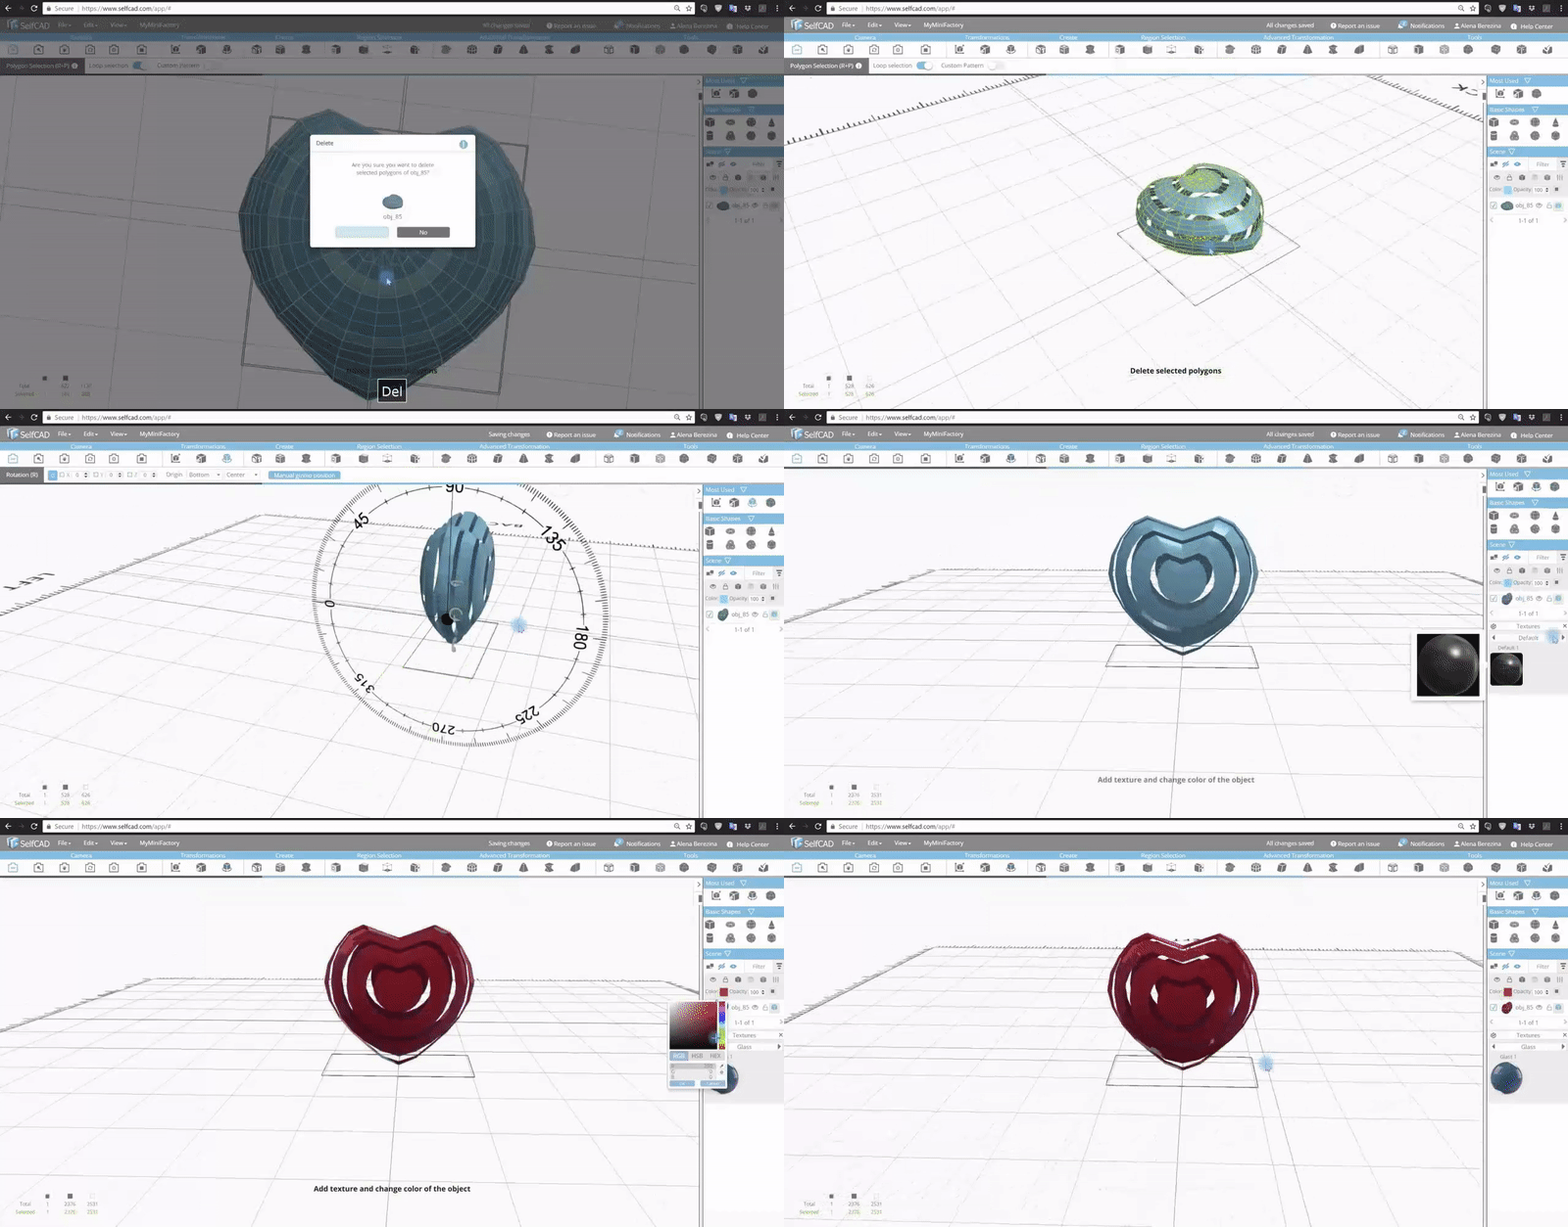
- To begin, select the sphere from the basic shapes.
- Set the Hozorintal and vertical segment 12 and 14 respectively and set radius 50 then finalize the shape.
- Squeeze the sphere using the Scale tool to be as shown in the first image above.
- Select the vertices on the sides of the sphere using the Vertex selection tool.
- Using the move and scale tools, move the selected vertices, do the same in all the vertices until you achieve heart shape.
- Select the Round object tool from the tools section in order to increase the number polygons. Set the smoothness to 3 and click apply.
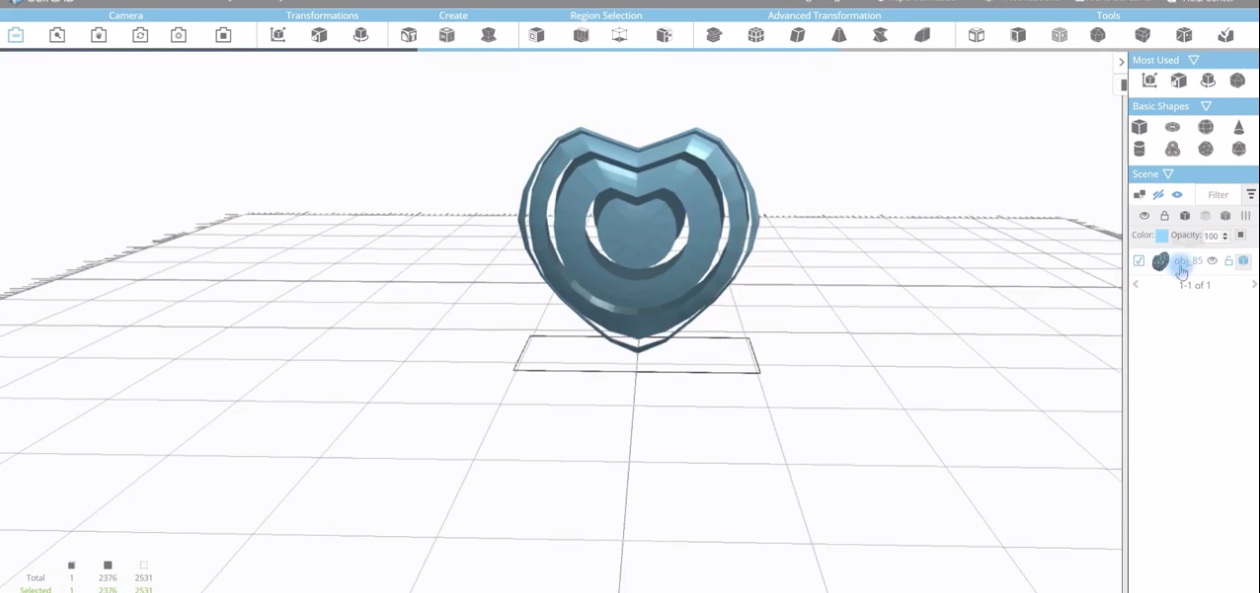
- Select the polygon selection tool and turn the loop selection ON. Select the regions around the heart model and delete the selected regions and you will have the image shown in the fifth position above.
- Change the color to red from the color section.
Creating the Heart Model Using Spiral Tool
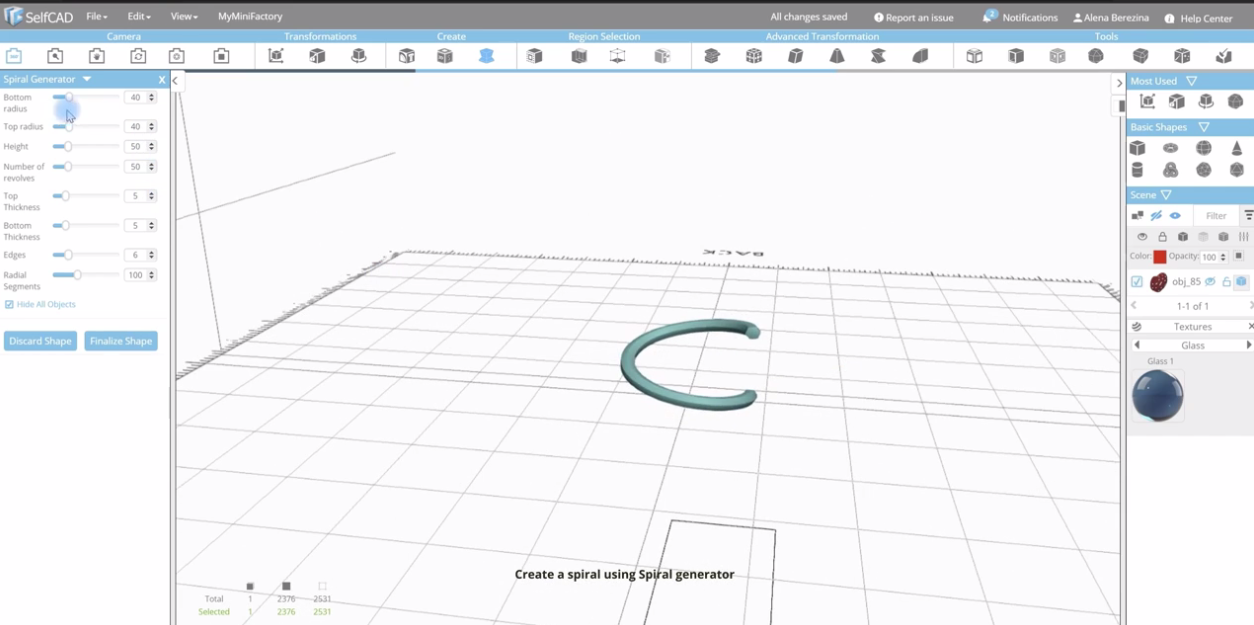
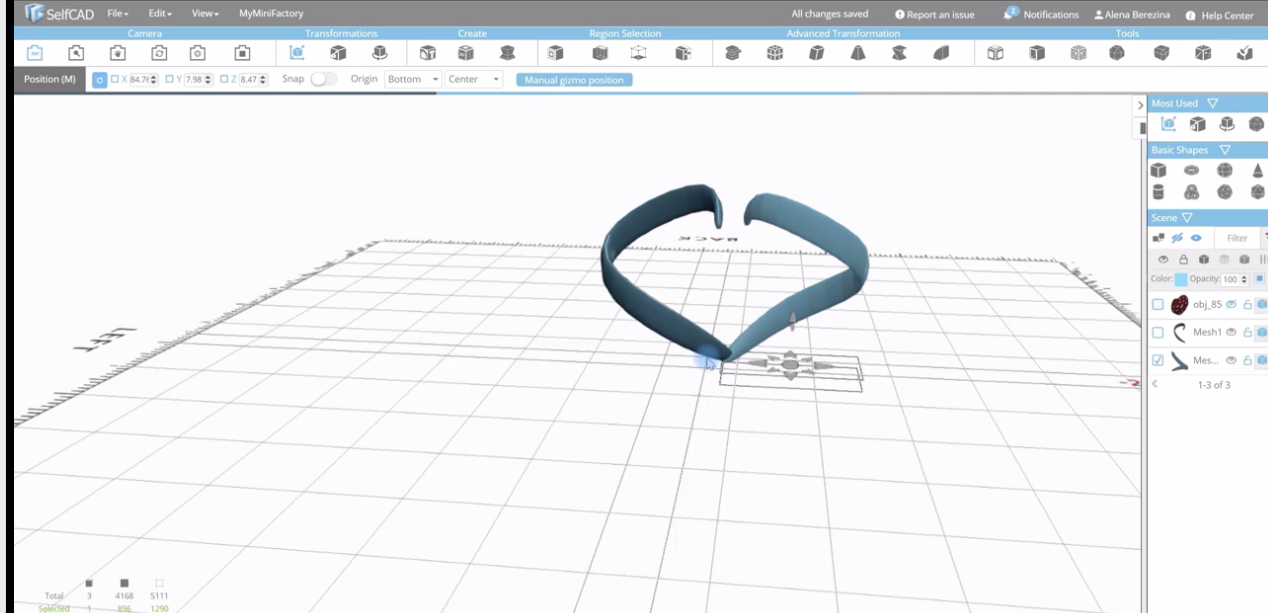
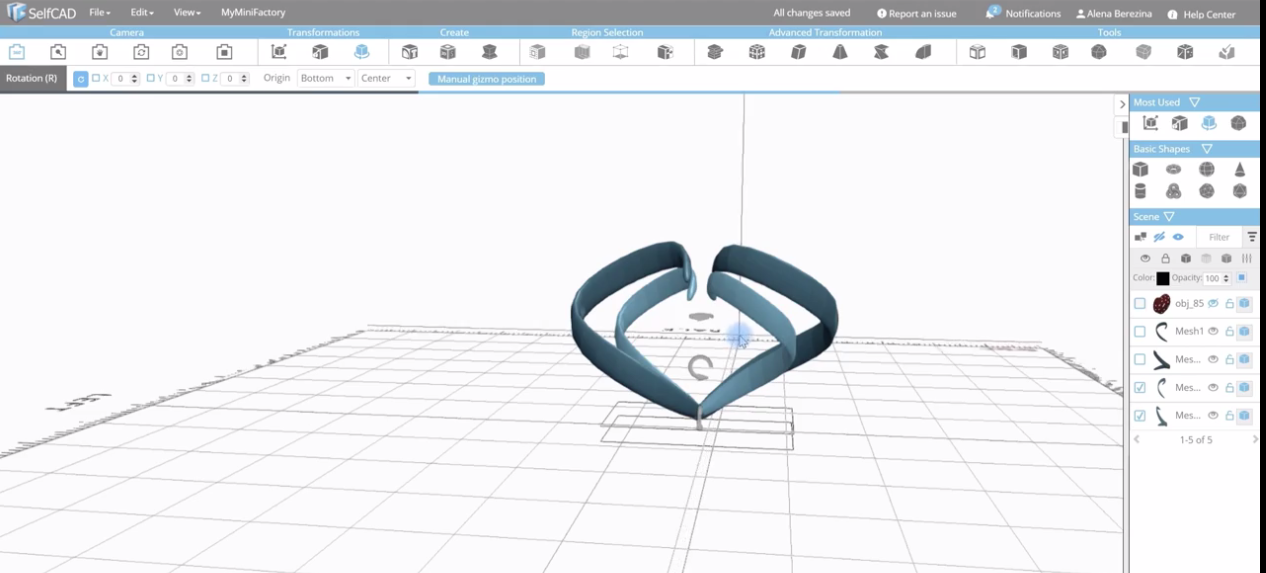
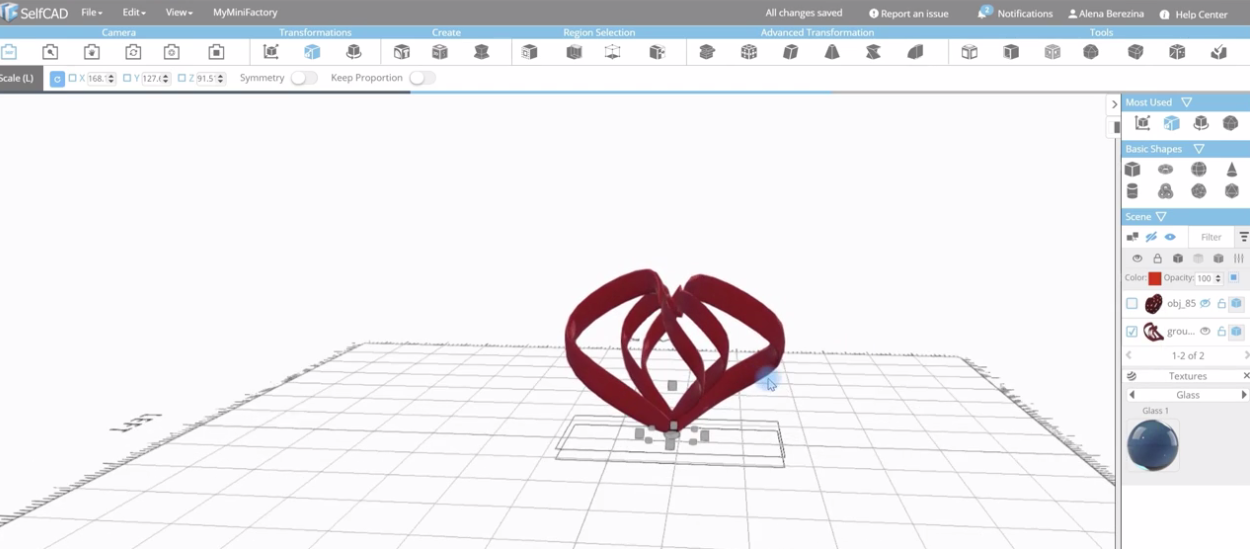
- Create a spiral using the Spiral generator from create section.
- Set the bottom radius to 58, top radius 47, and all edges to 5 and click Finalize the shape.
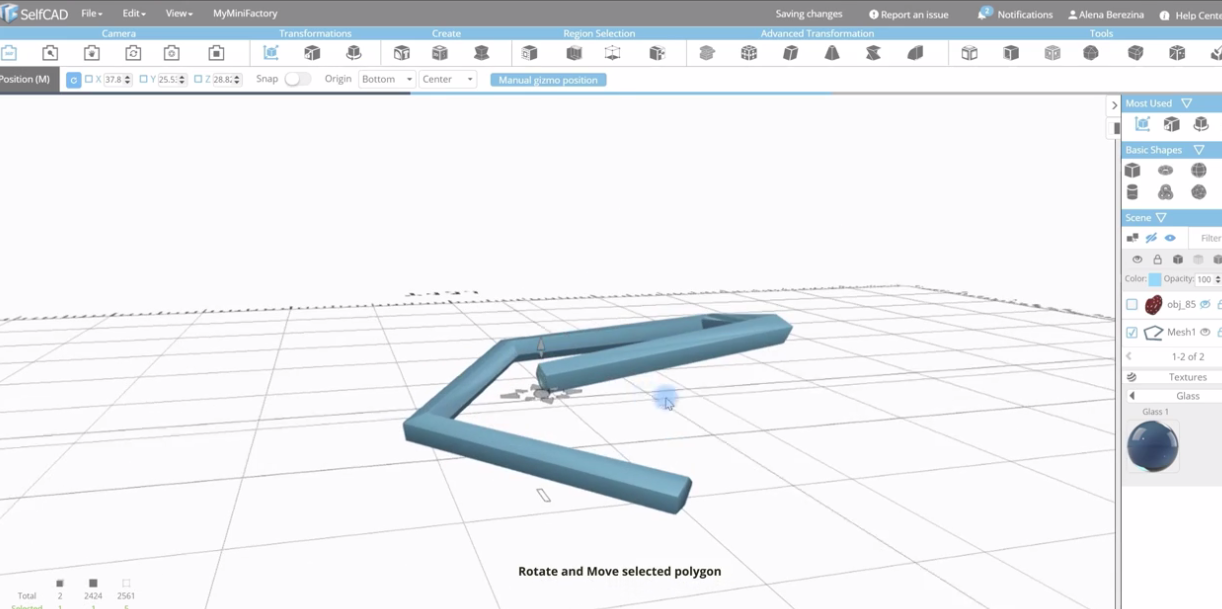
- Select the edge of the spiral using polygon selection.
- Rotate and move the selected sections to be as shown in the second image above.
- Use the Taper and Scale tools to create a heart model.
- Select the ends of the shape using polygon Selection tool. Select the Round corners tool to use to smooth the object.
- Create a copy of the object using clicking CTRL+C and move and scale the new object using Move and Scale tools.
- Create another copy of the object and use the rotation and scale tools to align the model in the middle of the other model.
- Select the Stitch and Scoop tool from the Tools section and use to Stitch the two shapes.
- Create another copy of the small shape and align it in the middle of the other model and group all the objects.
- Add color and Texture to the model.