Creating Guardians of the City Locater
by rodrc040 in Circuits > Websites
709 Views, 0 Favorites, 0 Comments
Creating Guardians of the City Locater
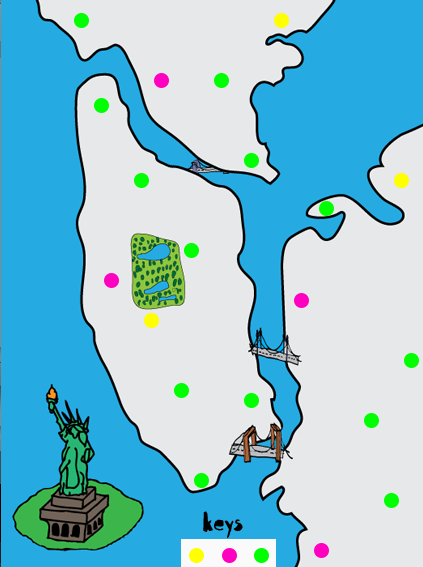
This tutorial will explain the process taken to add a Guardian Locater Map onto the Guardians of the City website. This locater is used to aid people in the Guardian Scavenger Hunt.
First step is to draw out the illustration of the map with paper and marker
Take the finished drawing and scan to computer.
Open Adobe Illustrator and insert drawing of map into the file
Vectorize the drawing and add color according to personal style
When finished chose file, save for web and devices, select png_24 and save. Create folder to keep all Guardians of the City files in and save file with the name Map.
Take images of Guardians and open Adobe Photoshop. Chose background eraser and clear out the background from around the image of the guardian. When finished save for web and devices and chose png_24. Save in same folder as map.
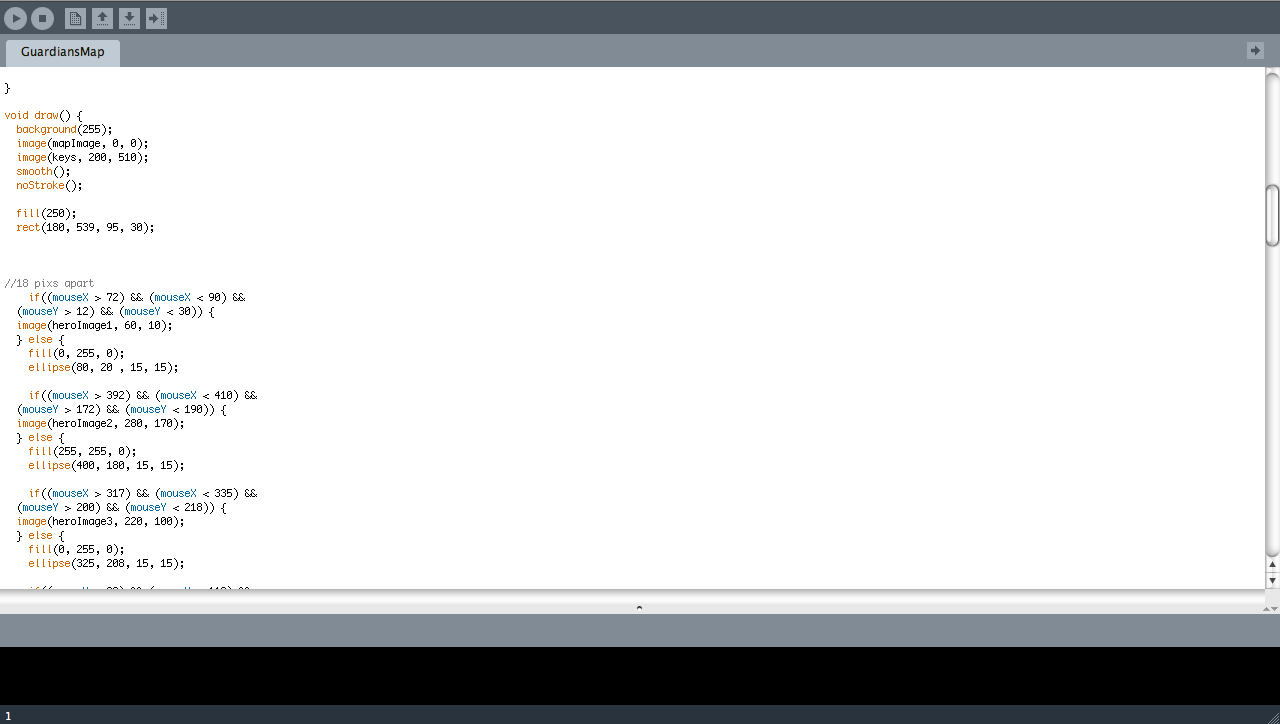
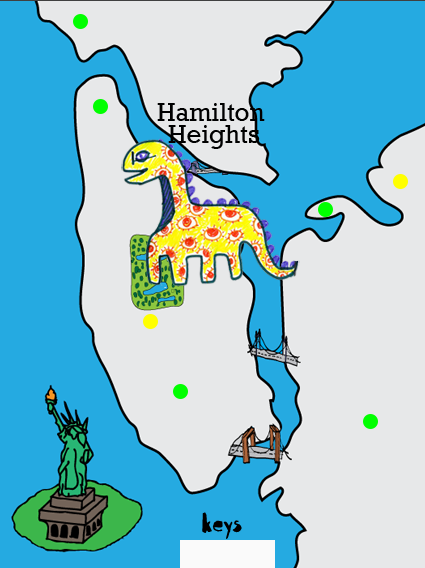
Open processing program and specify the size of the file. The size should be the same as the map. Write code for place holders where images would pop up from and insert hover over code to to complete pop up effect.
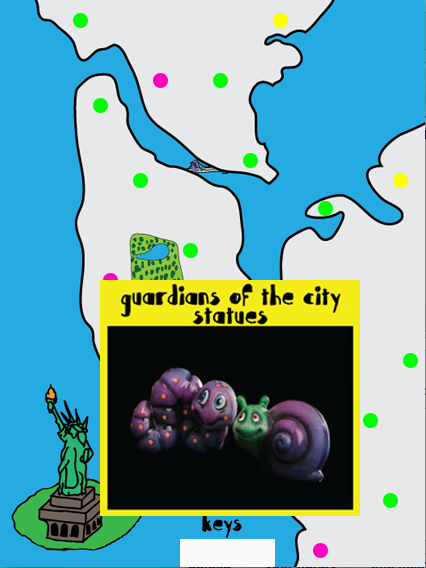
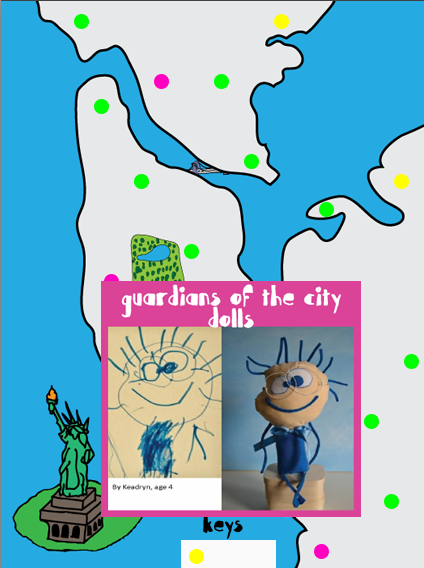
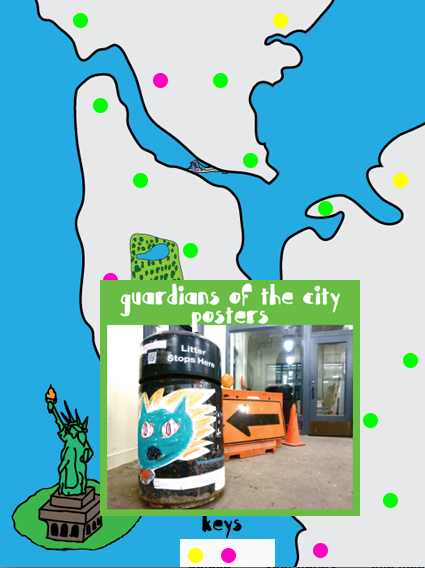
Create a key so that the user could know the reason for each different color of ellipses. In this case yellow means statues, pink means dolls, and green means posters that are placed around the city.
Export file to create the processing file into a java file with a folder that will automatically create a html file so that it could be inserted into the web.
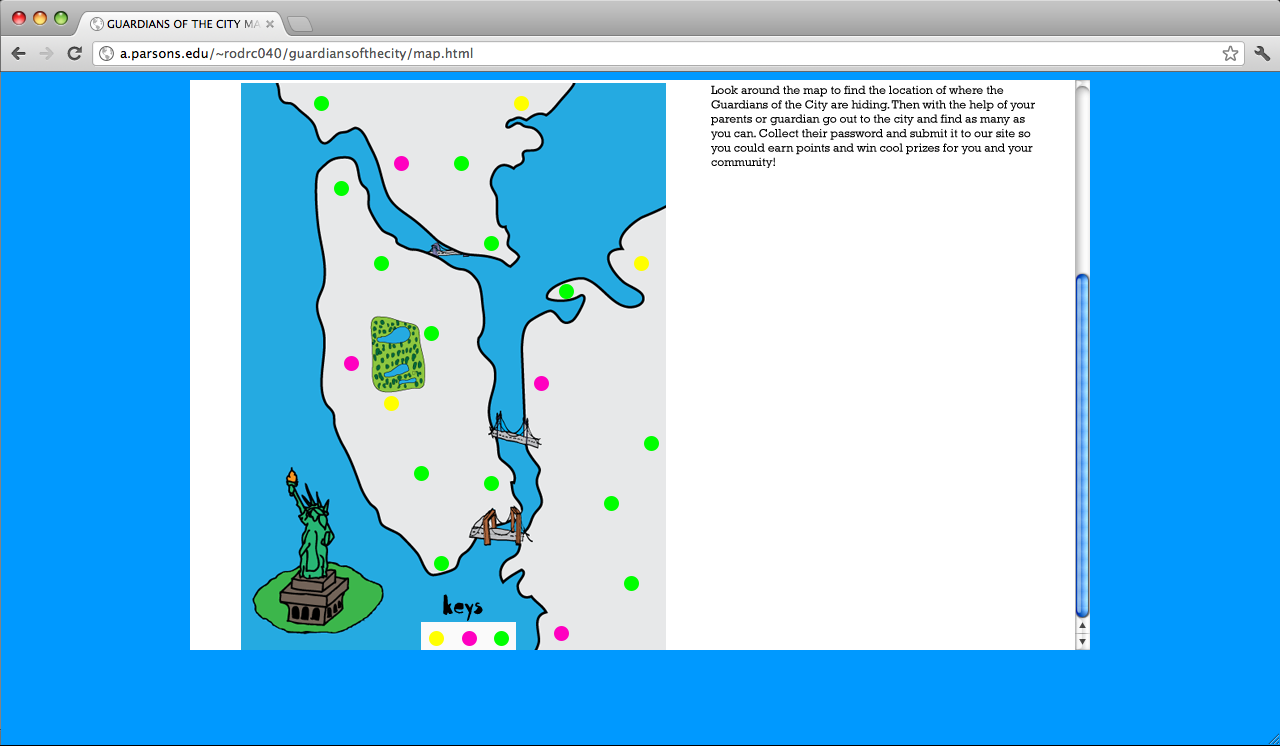
Insert you html file into your website after customizing it to the rest of your website. Make sure everything is working properly and then you are all done.