Creating Custom Gift Wrap
by mactothefuture in Living > Holidays
6831 Views, 33 Favorites, 0 Comments
Creating Custom Gift Wrap
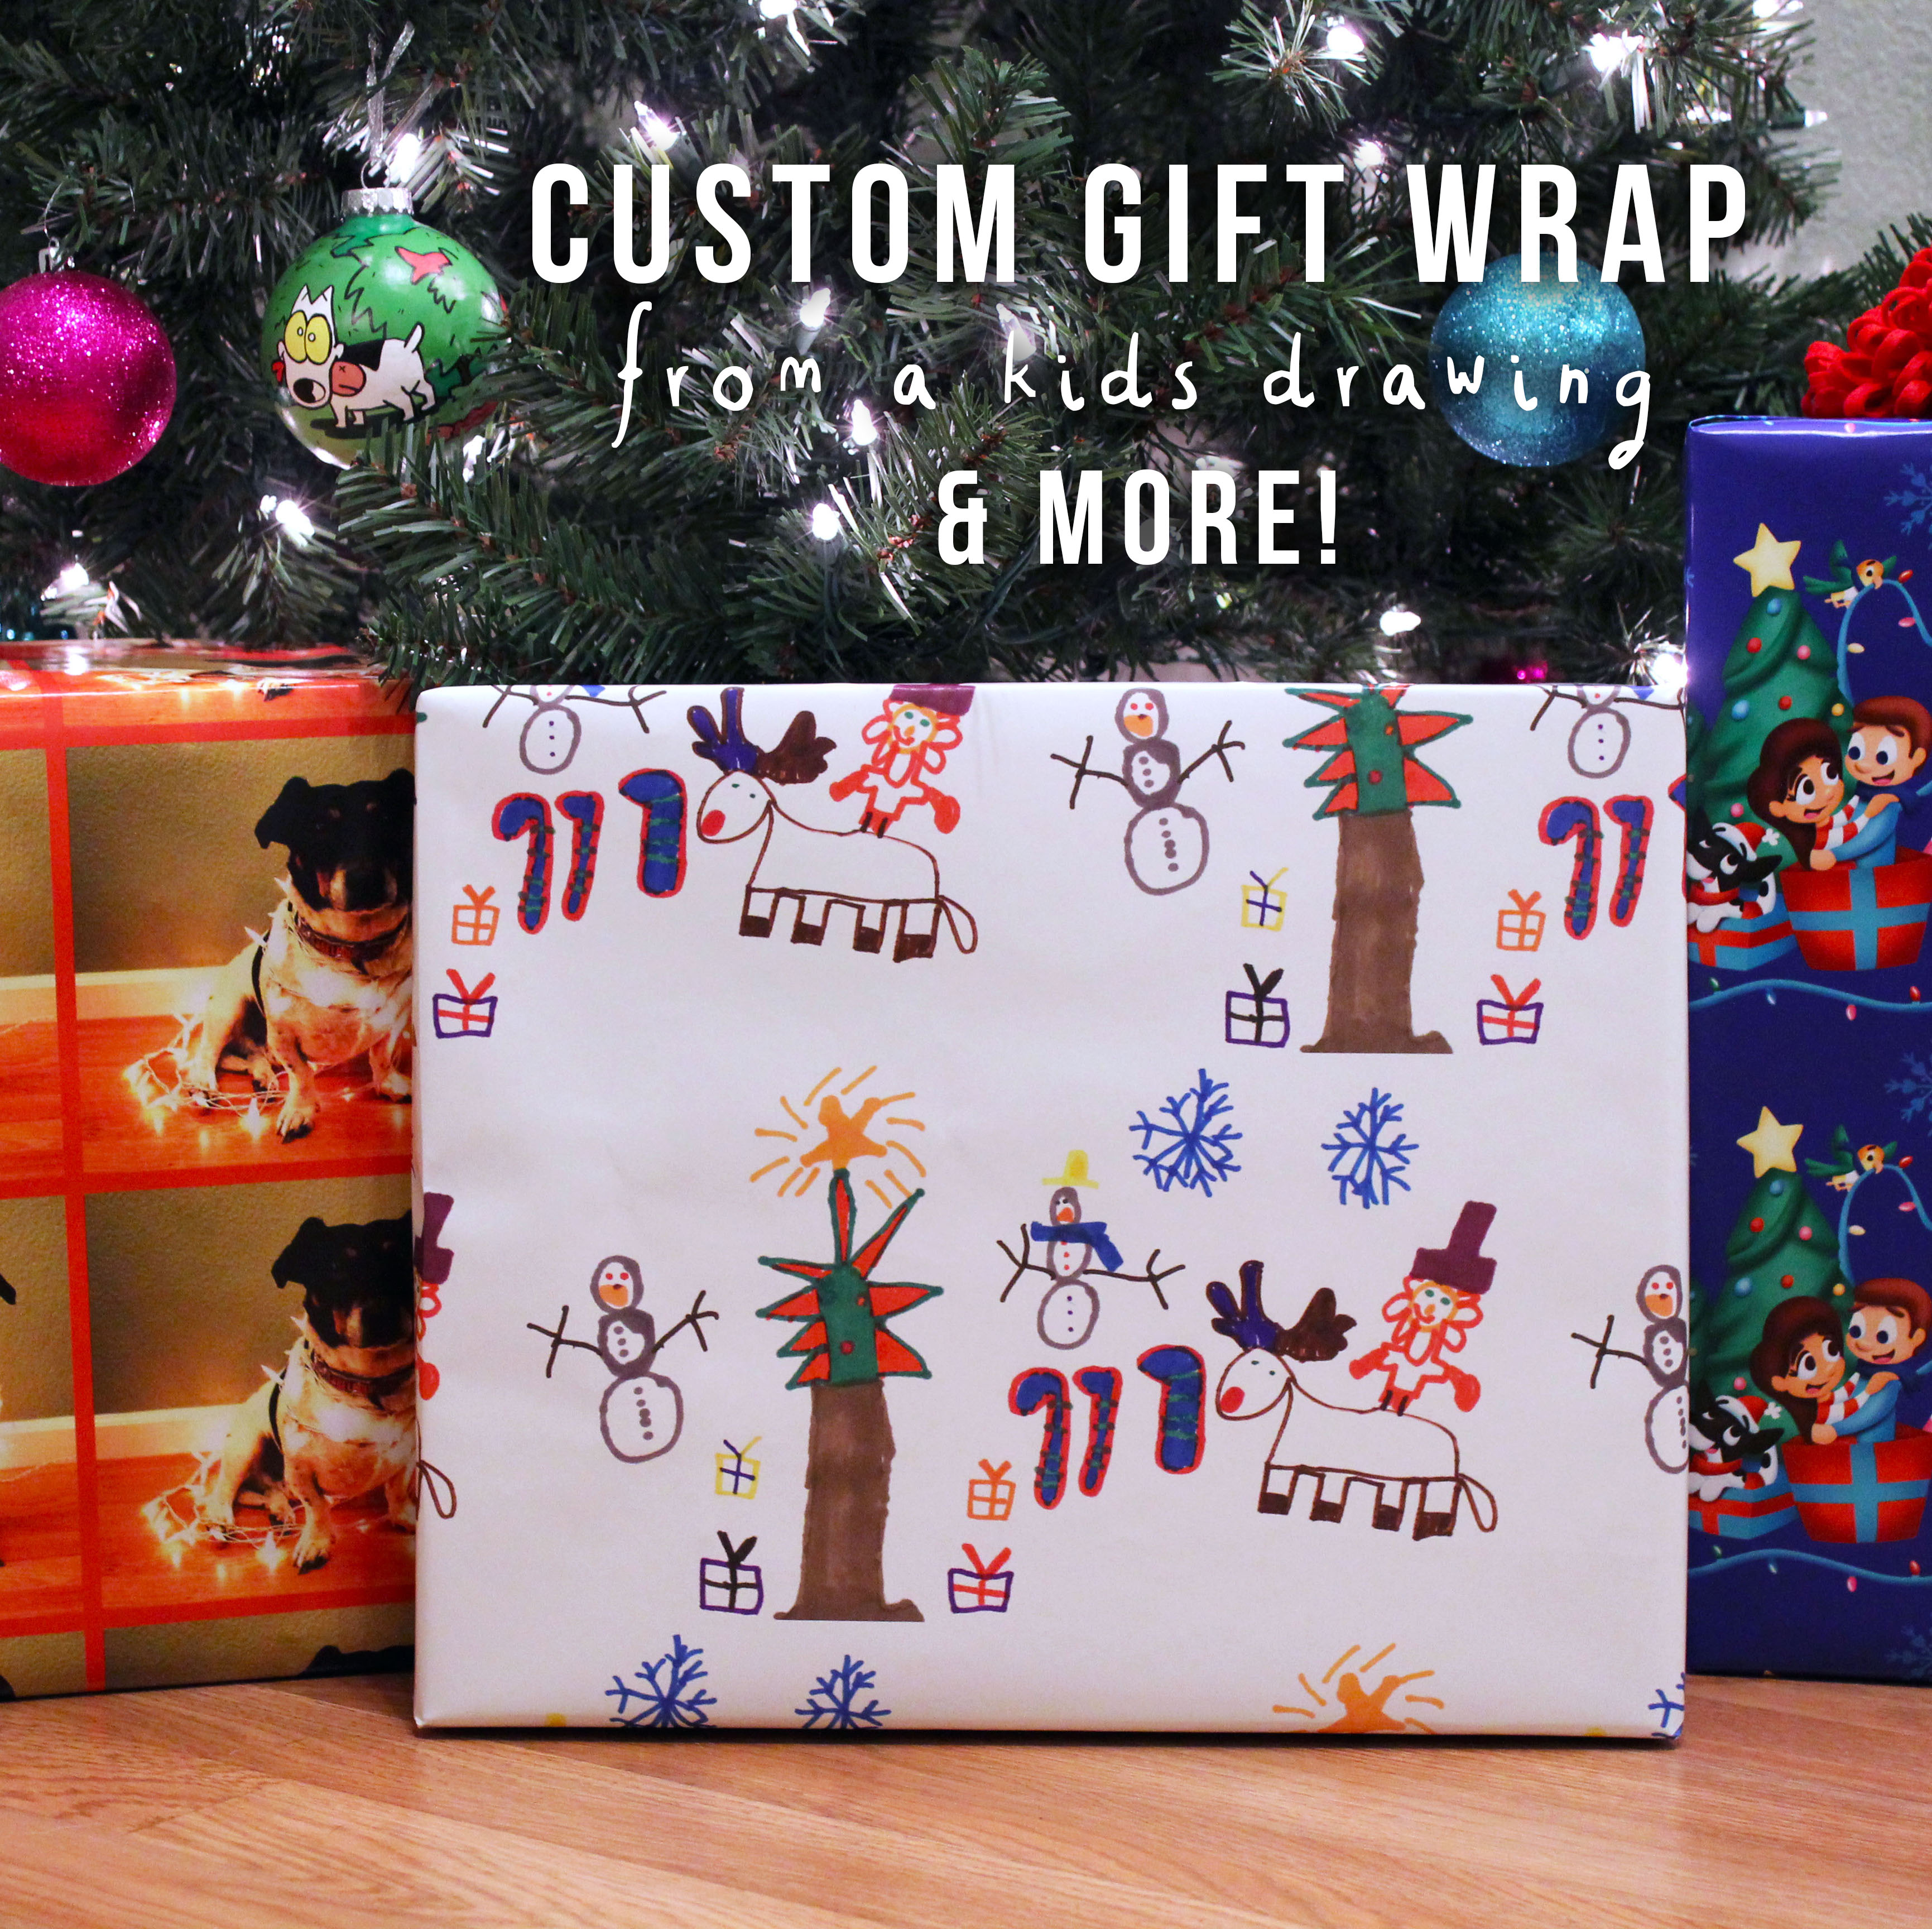
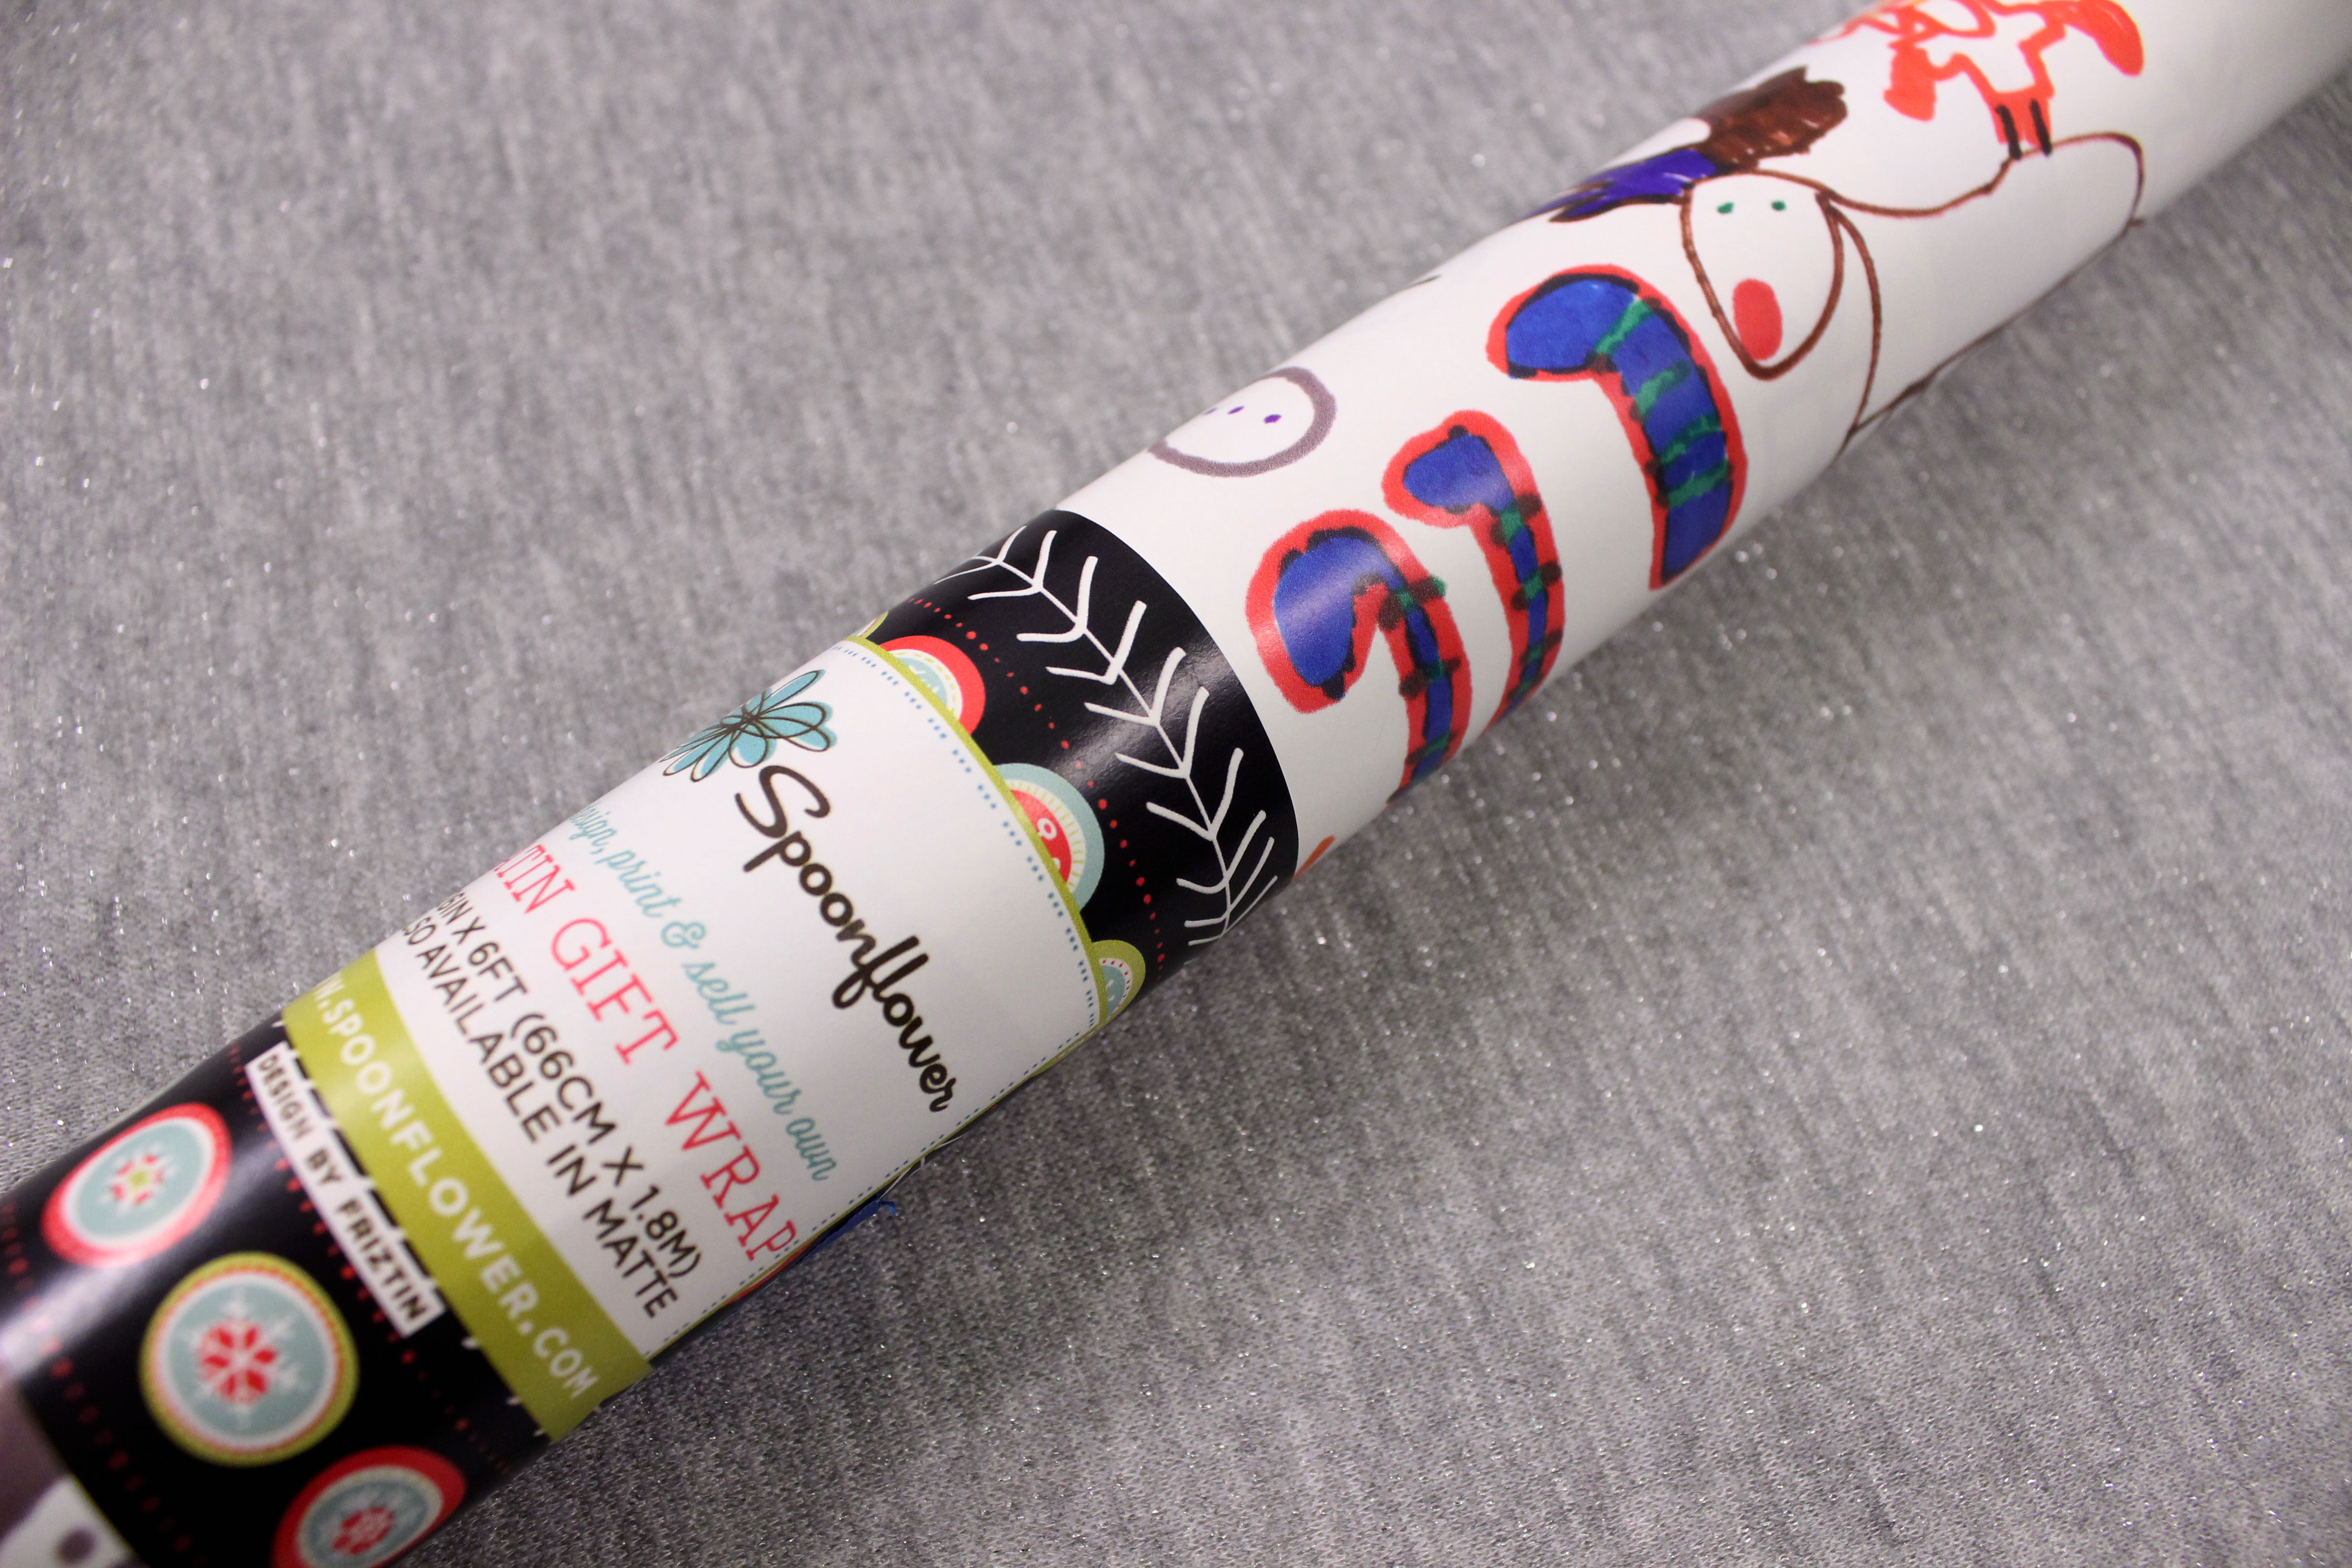
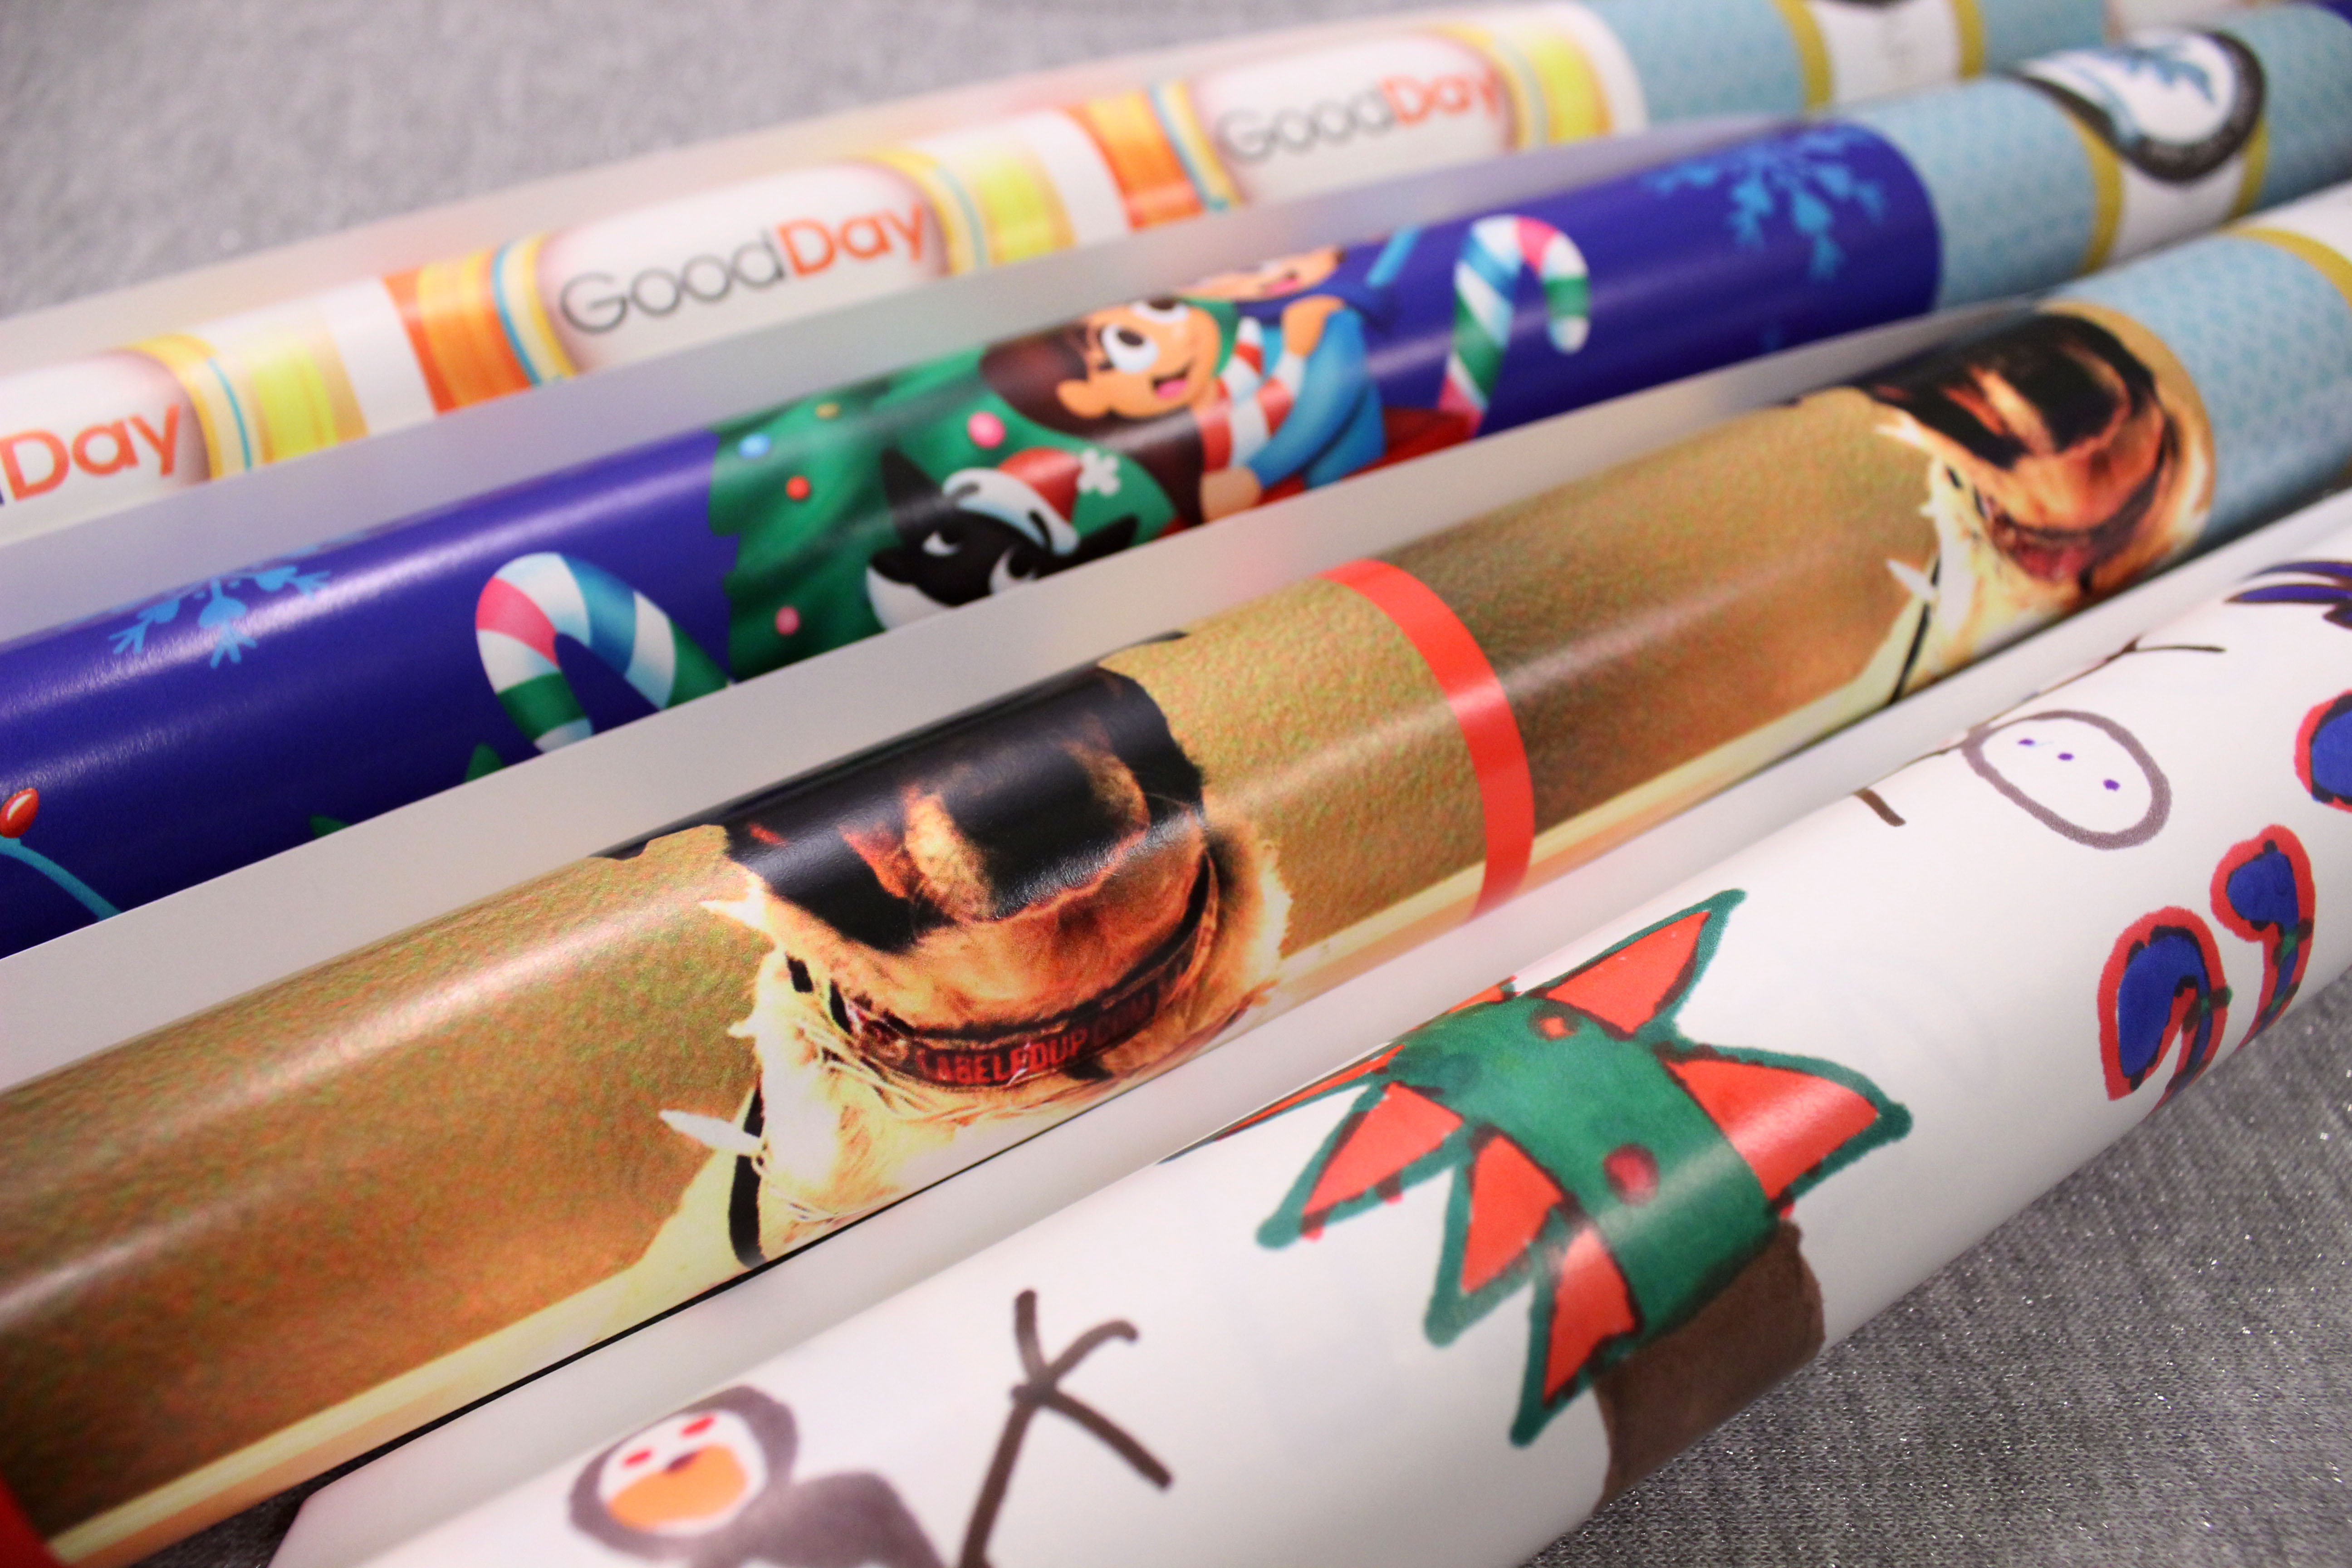
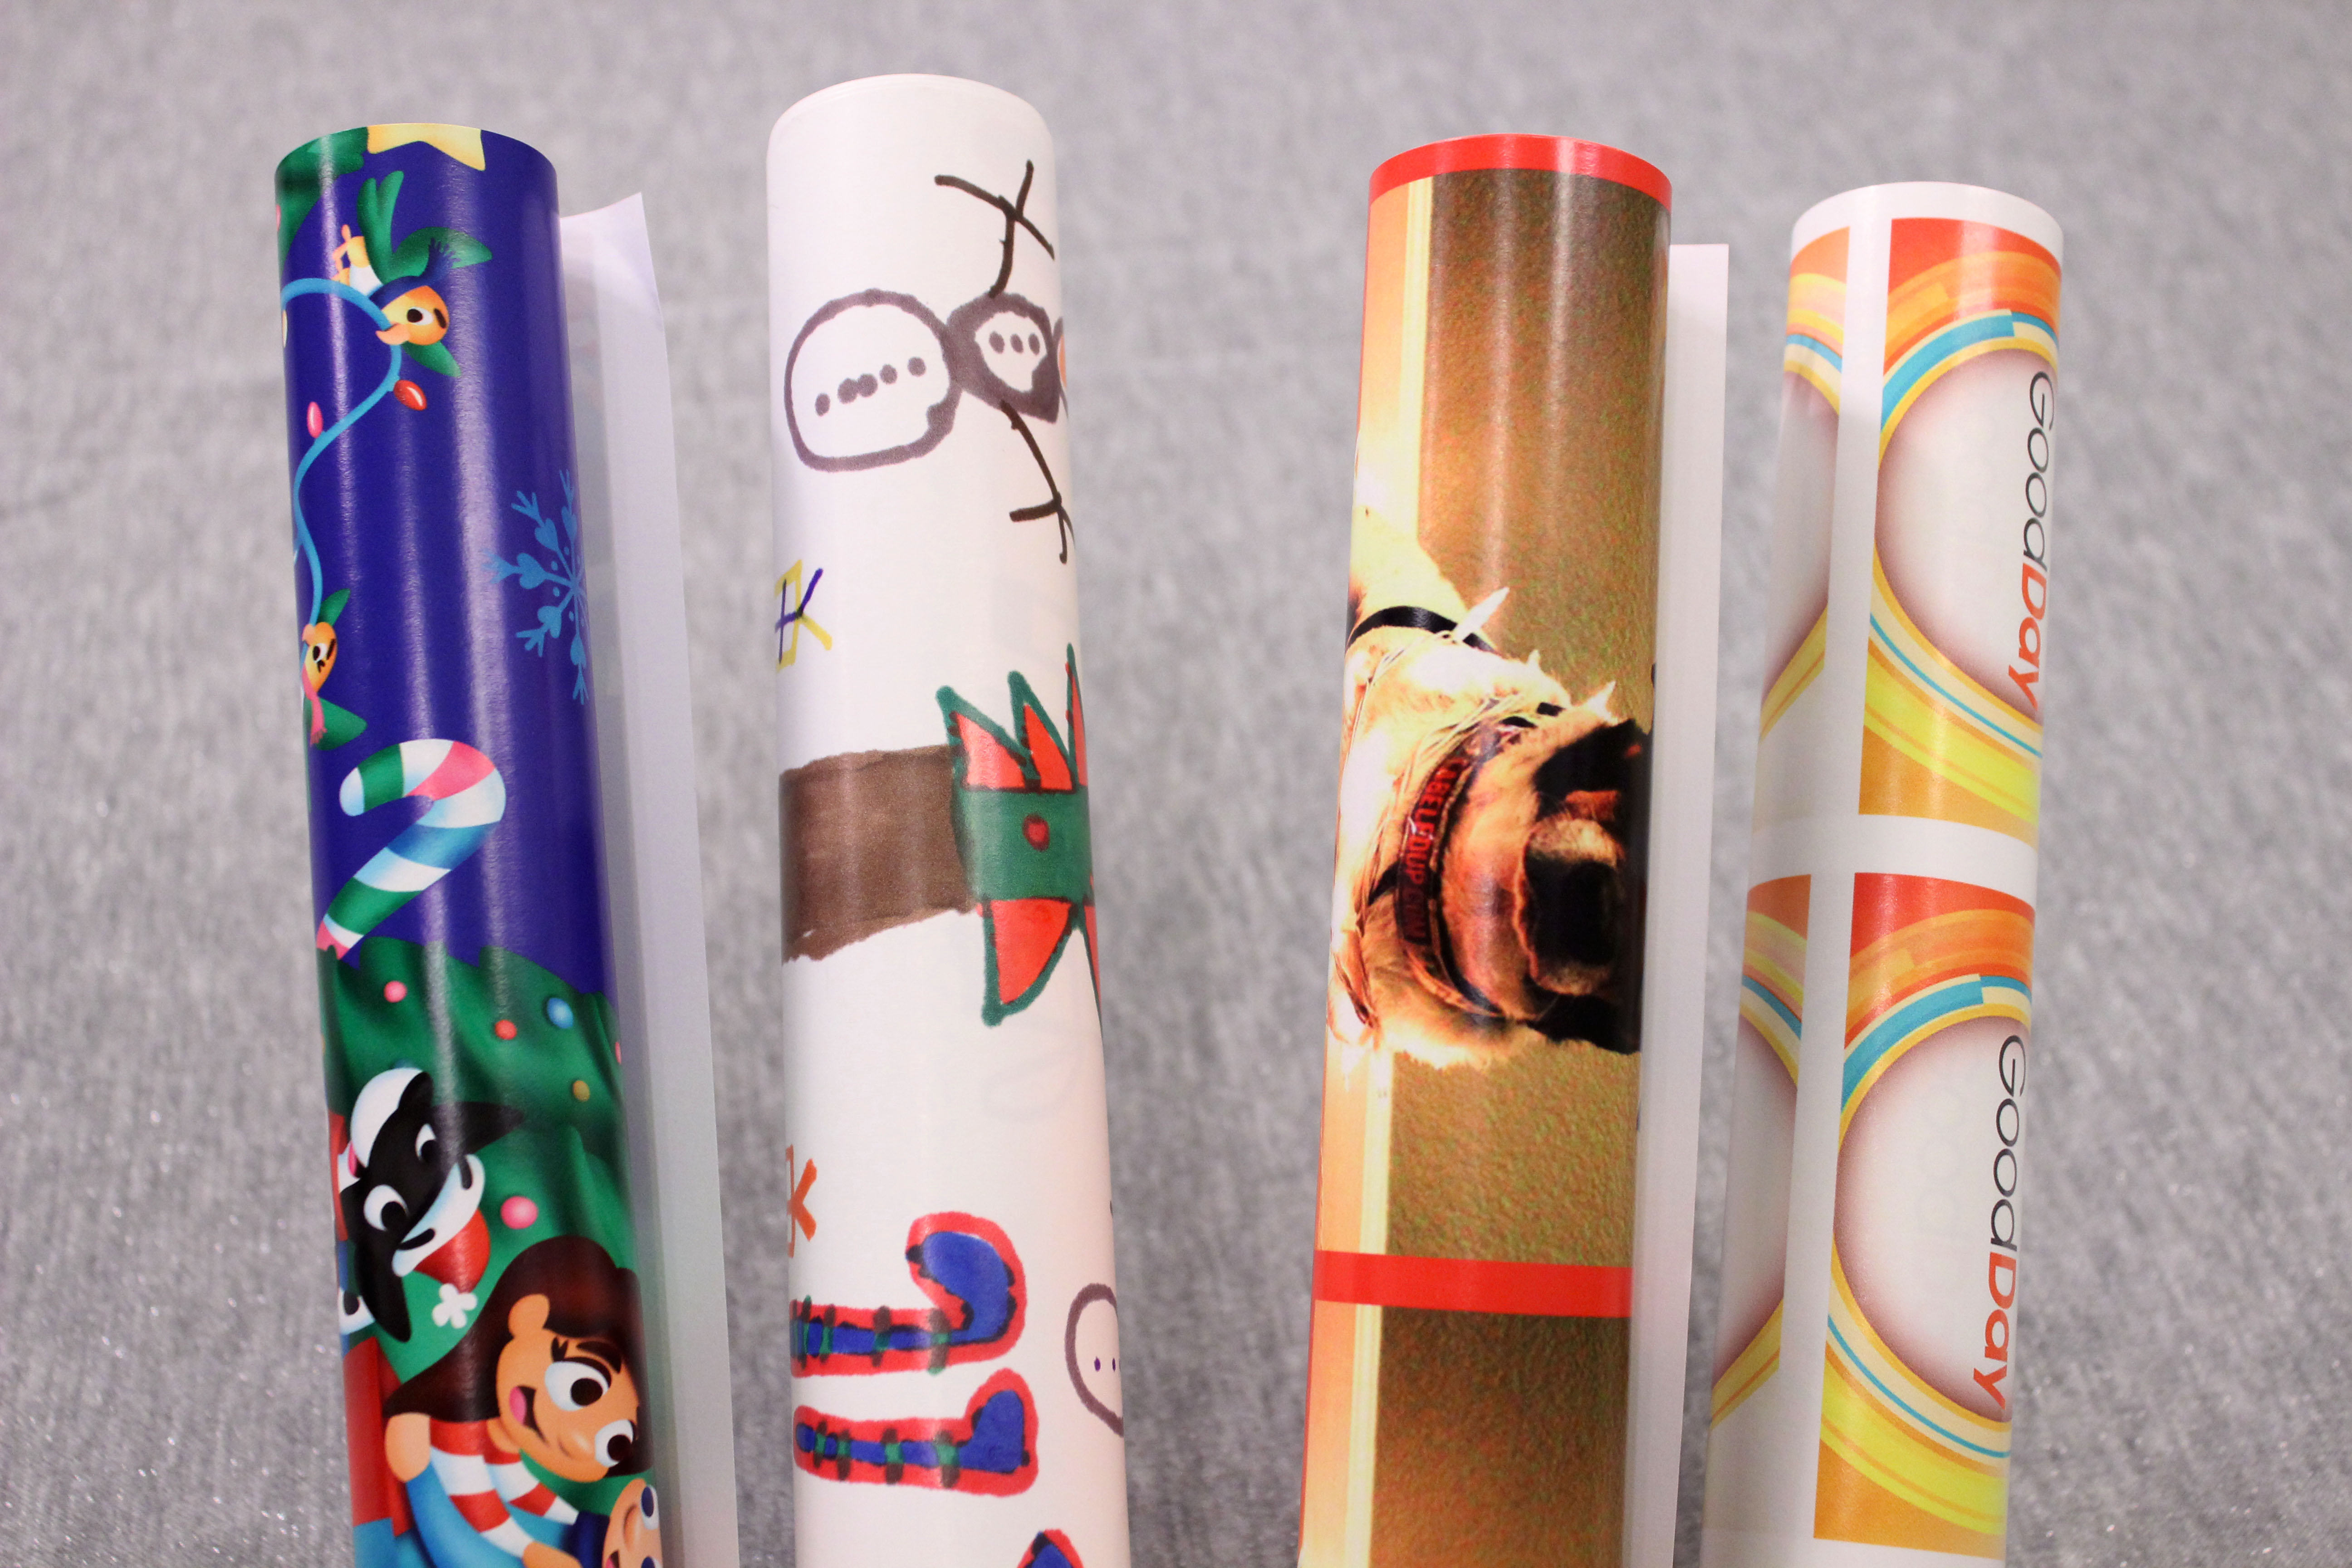
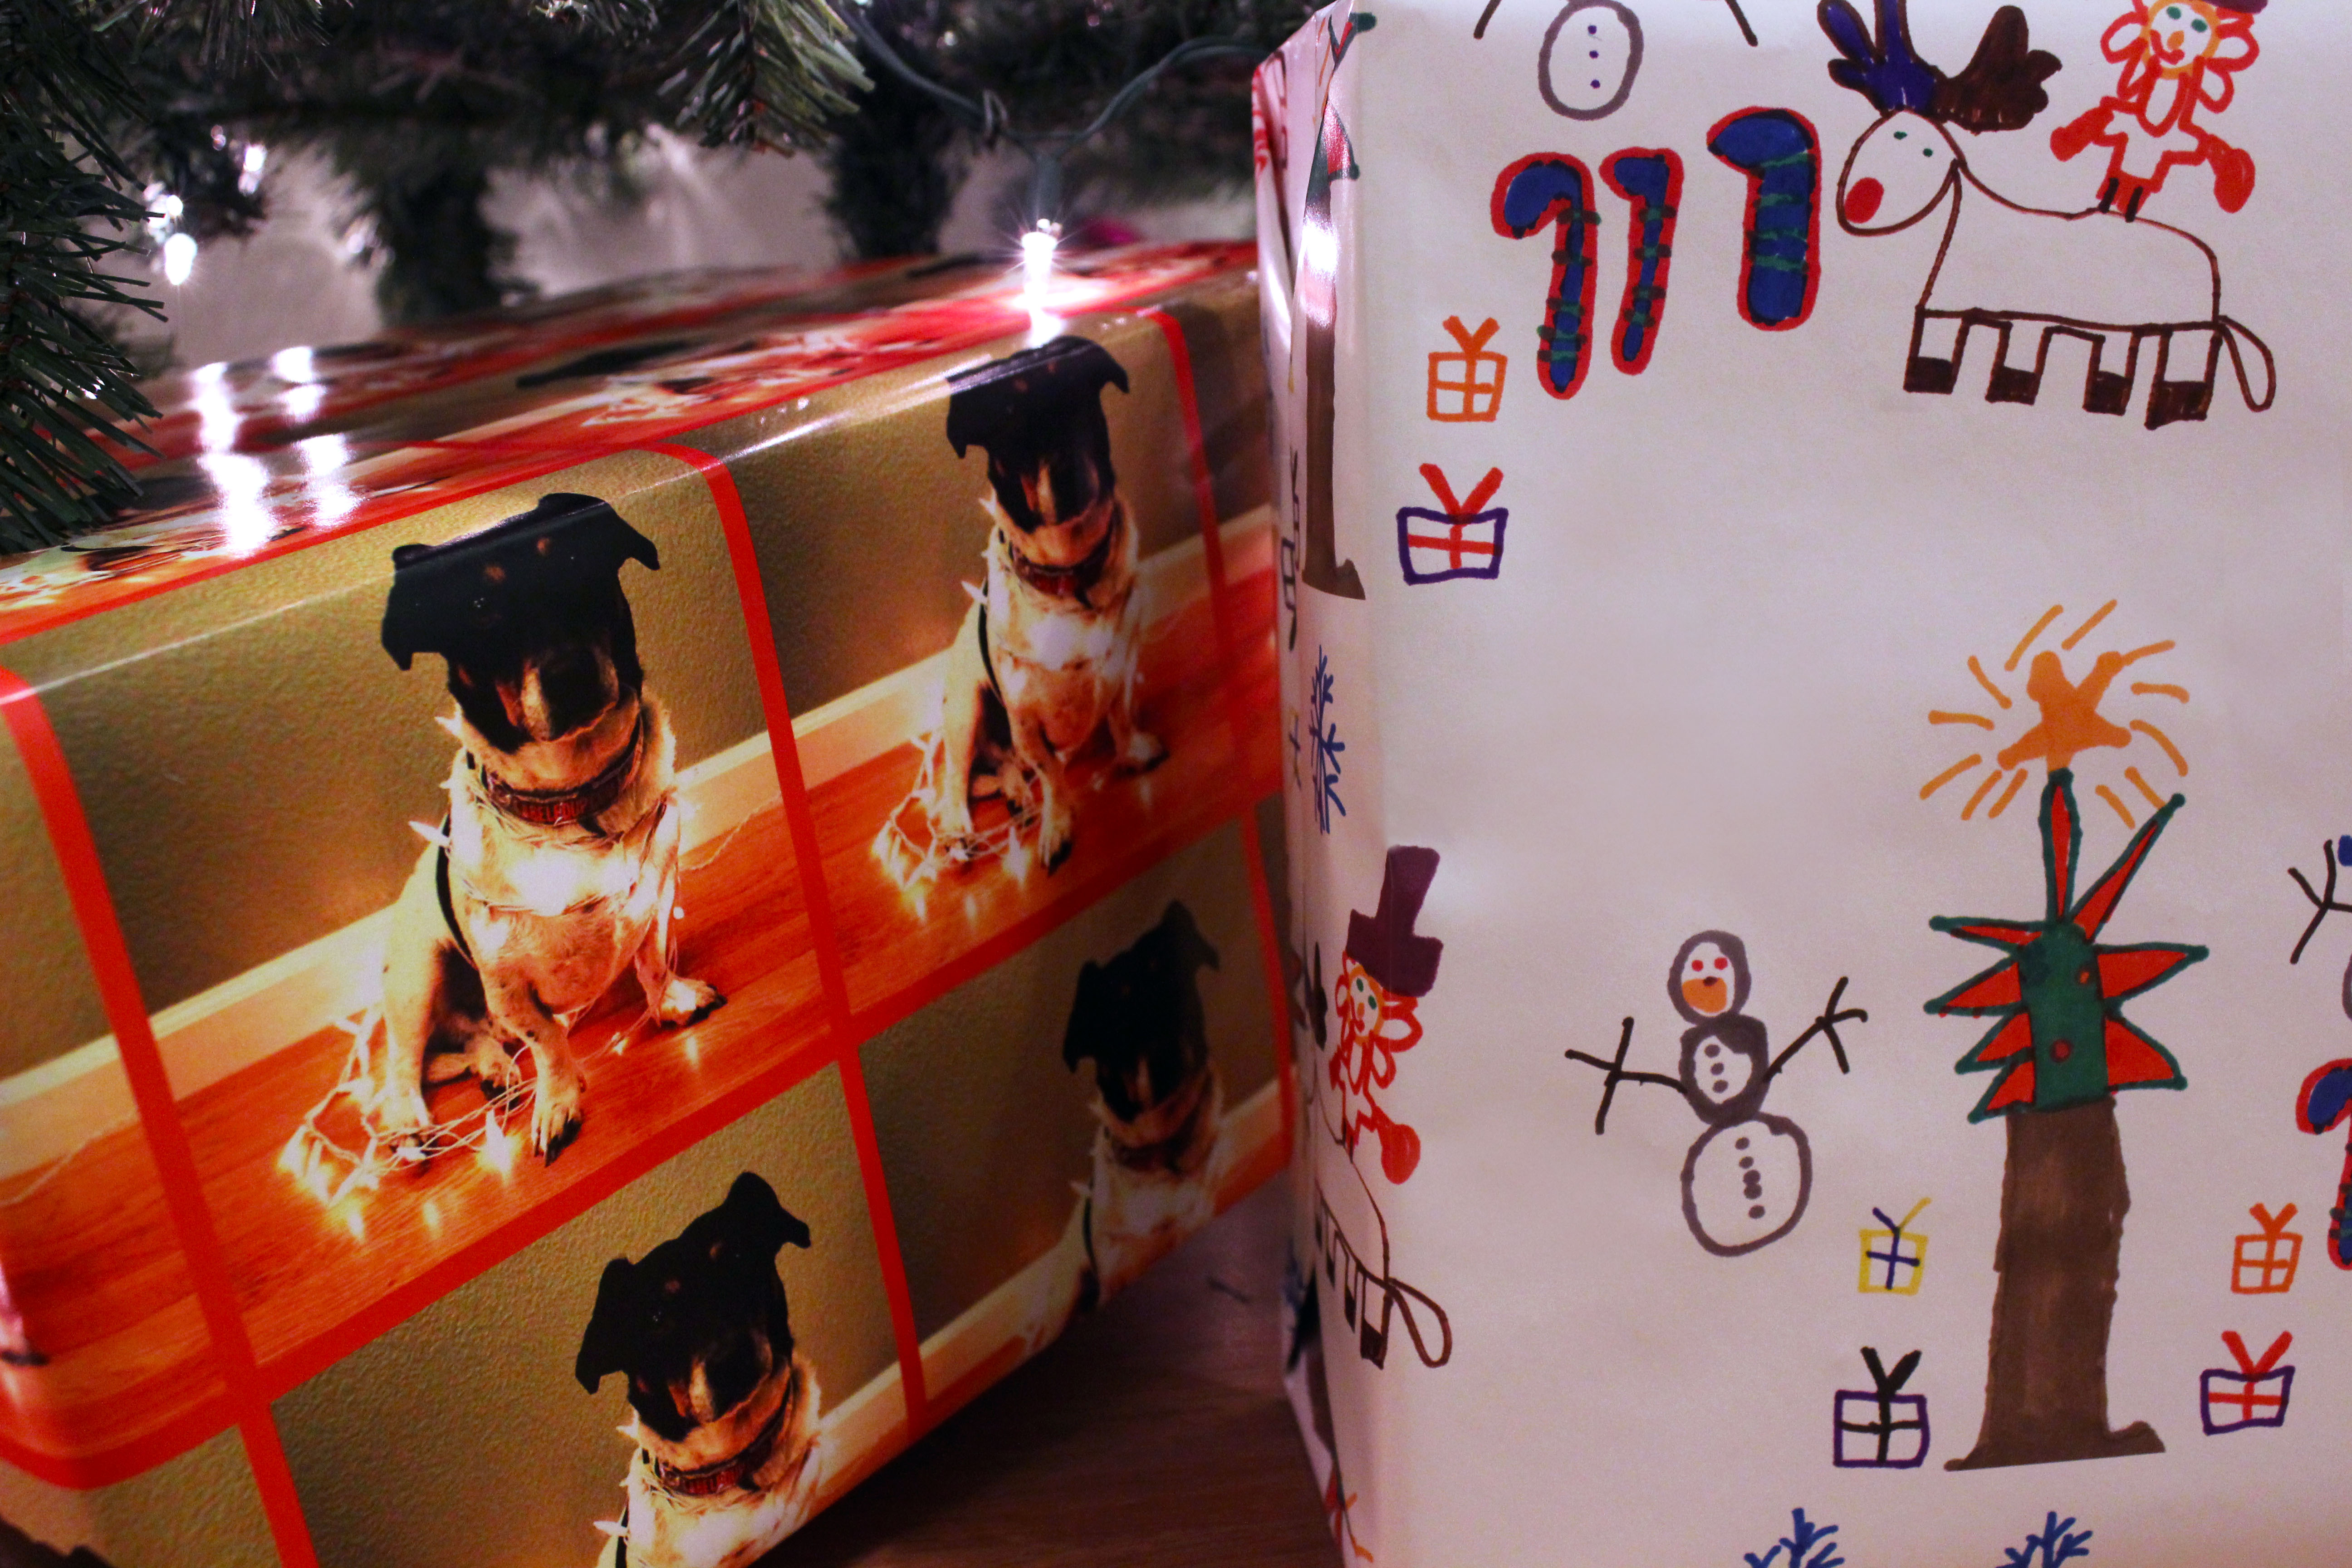
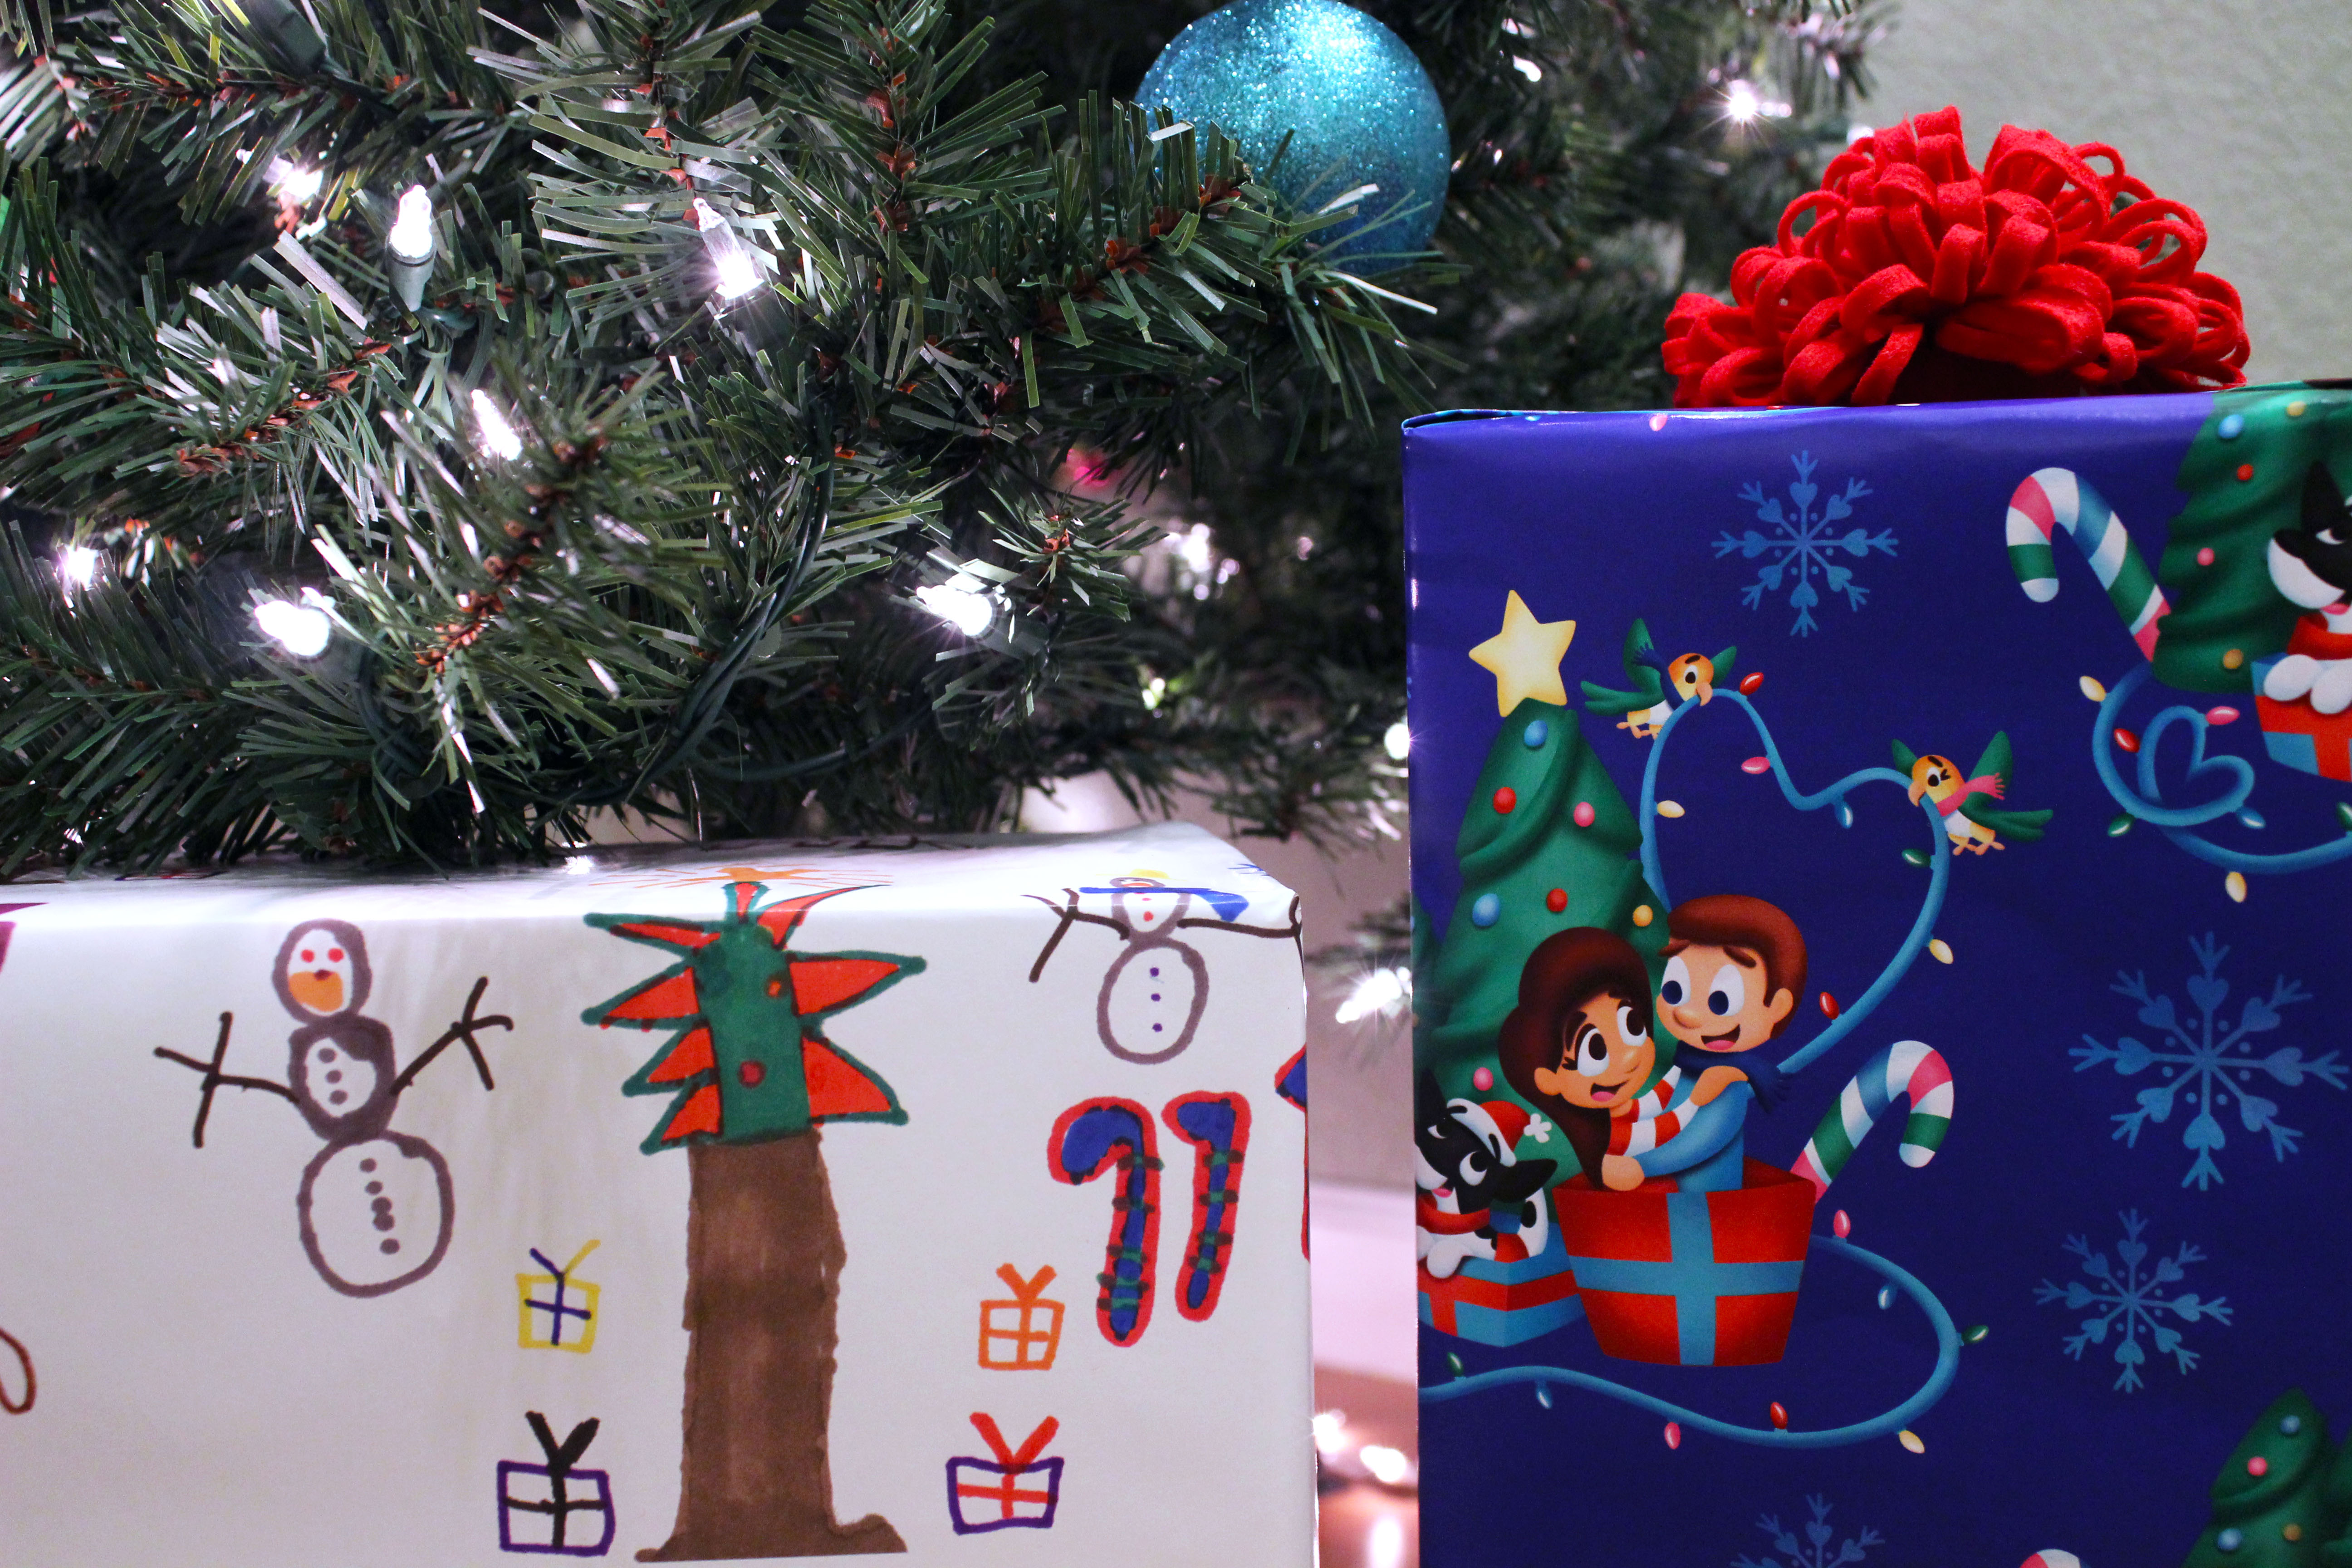
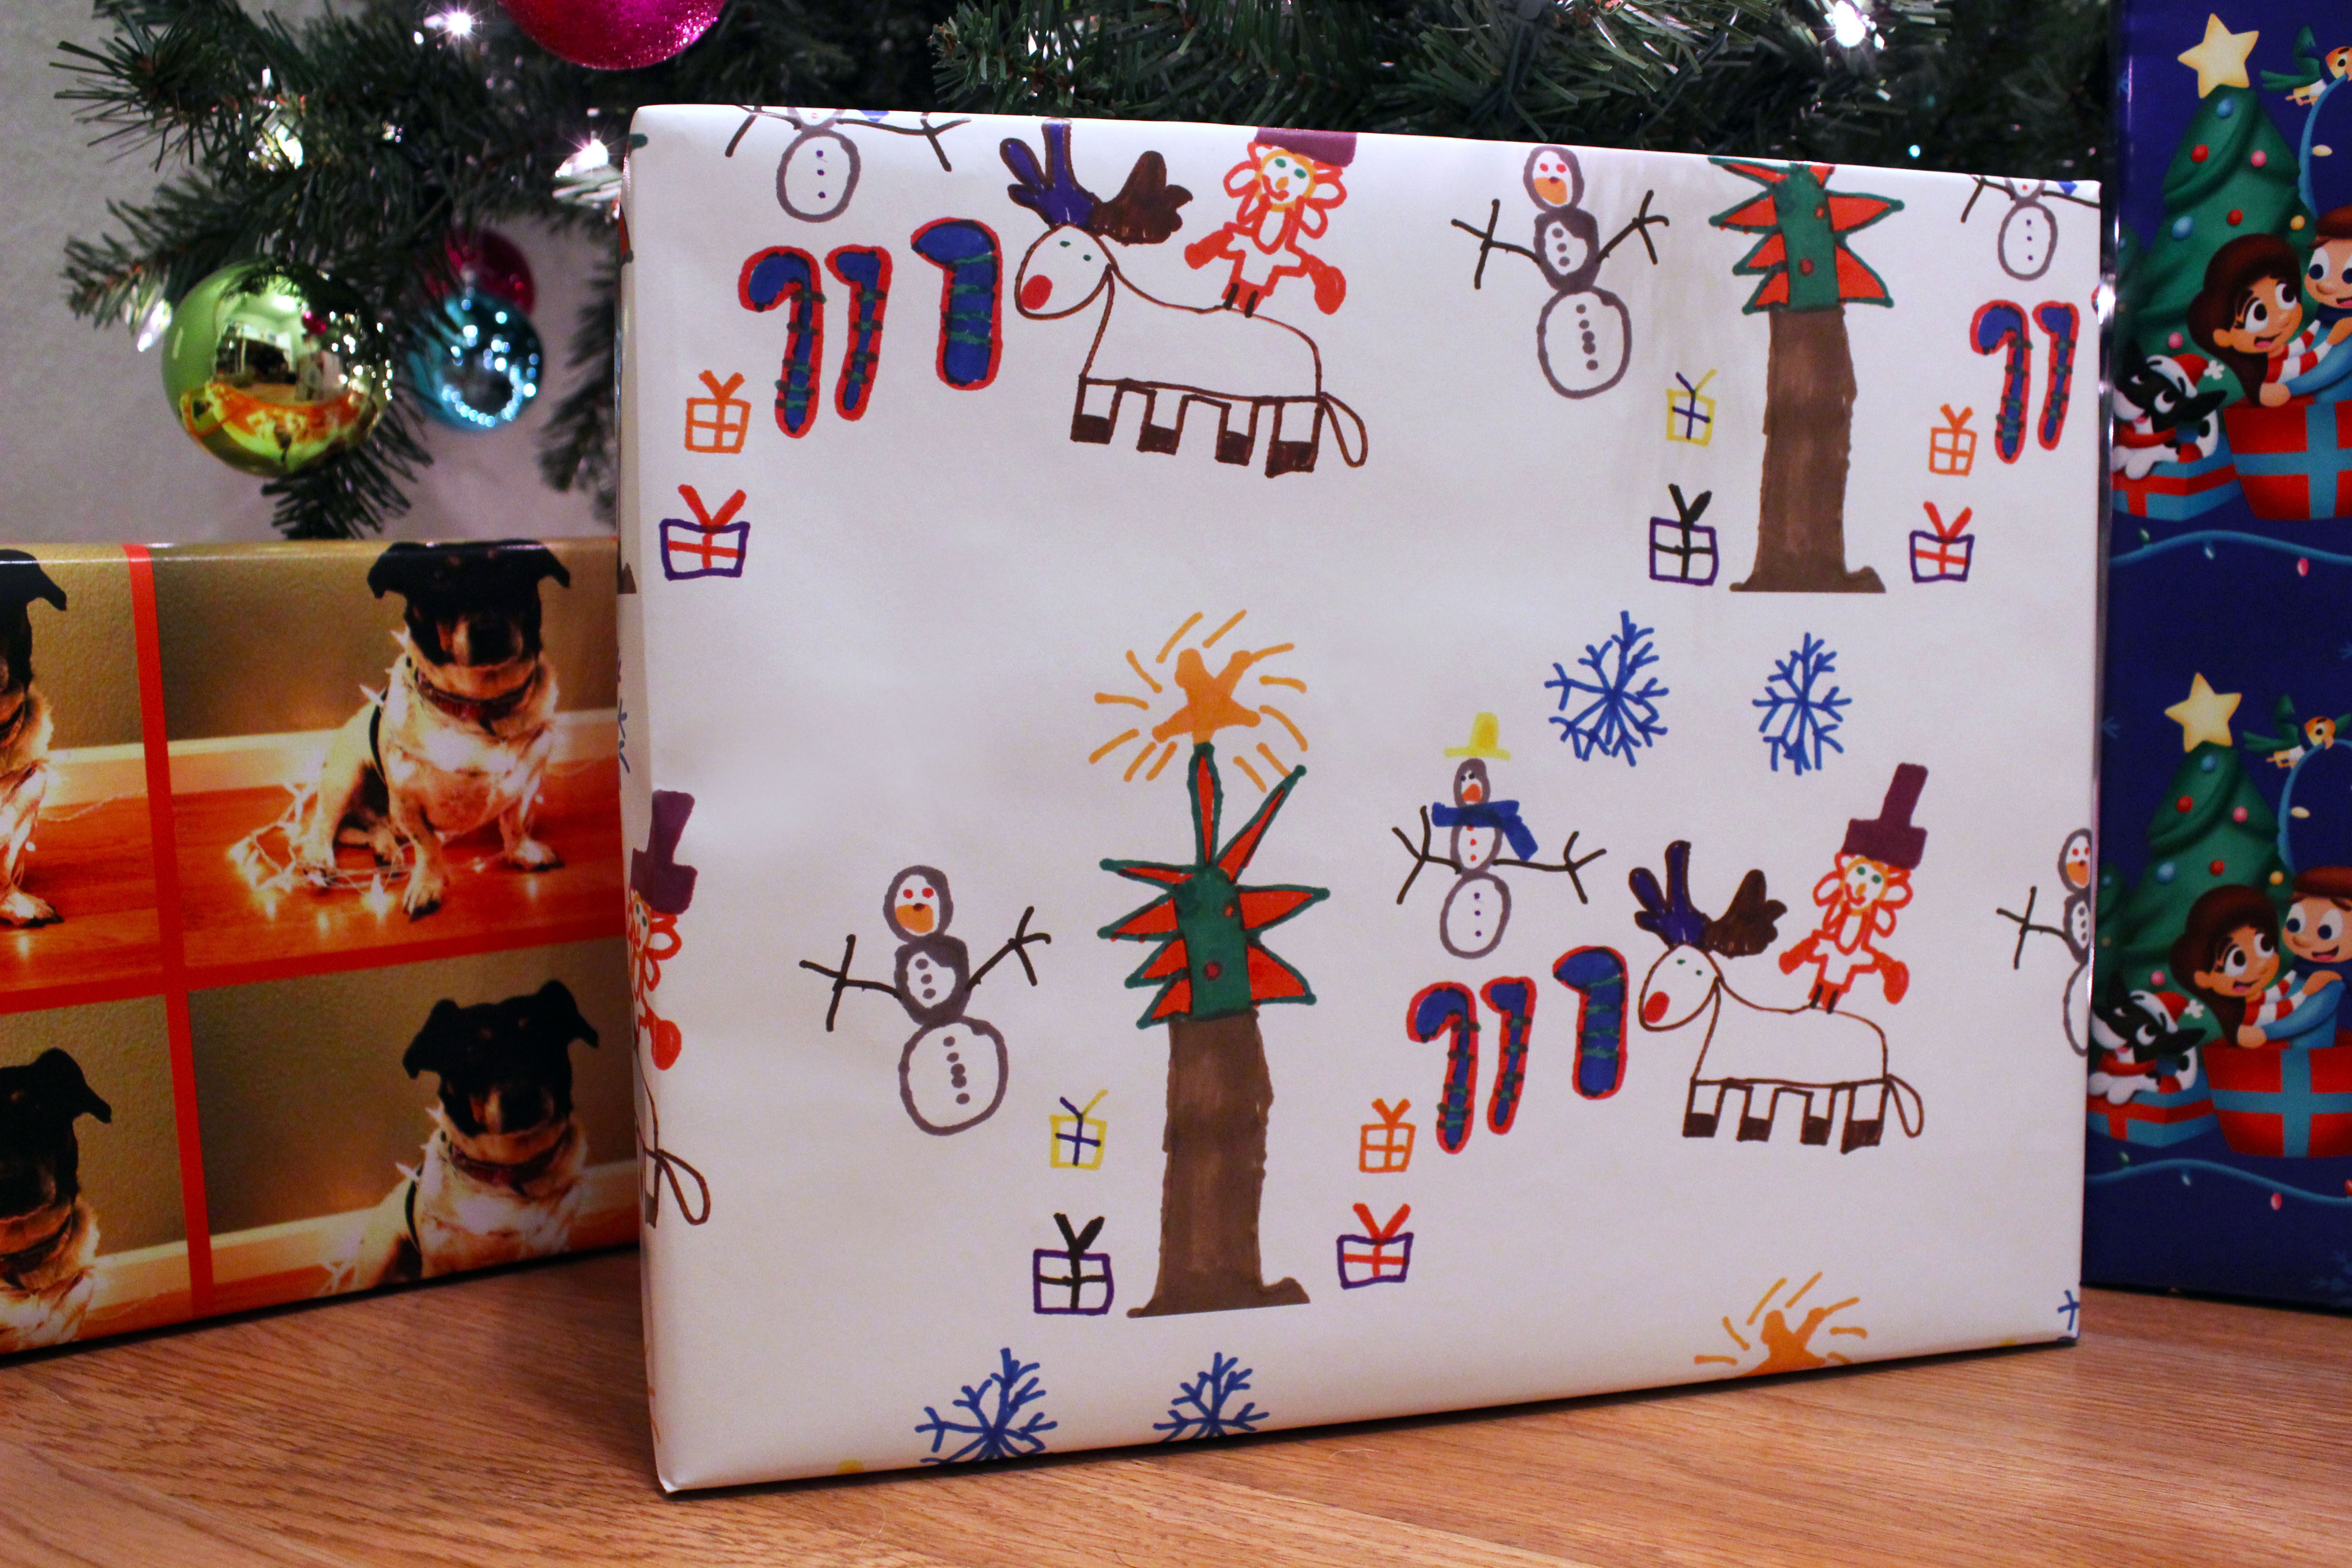
You don't have to be gifted to create custom gift wrap! ; )
I made this tutorial to share my experience using Spoonflower to create some really awesome custom gift wrap, I hope you find it useful to see the process from start to finish!
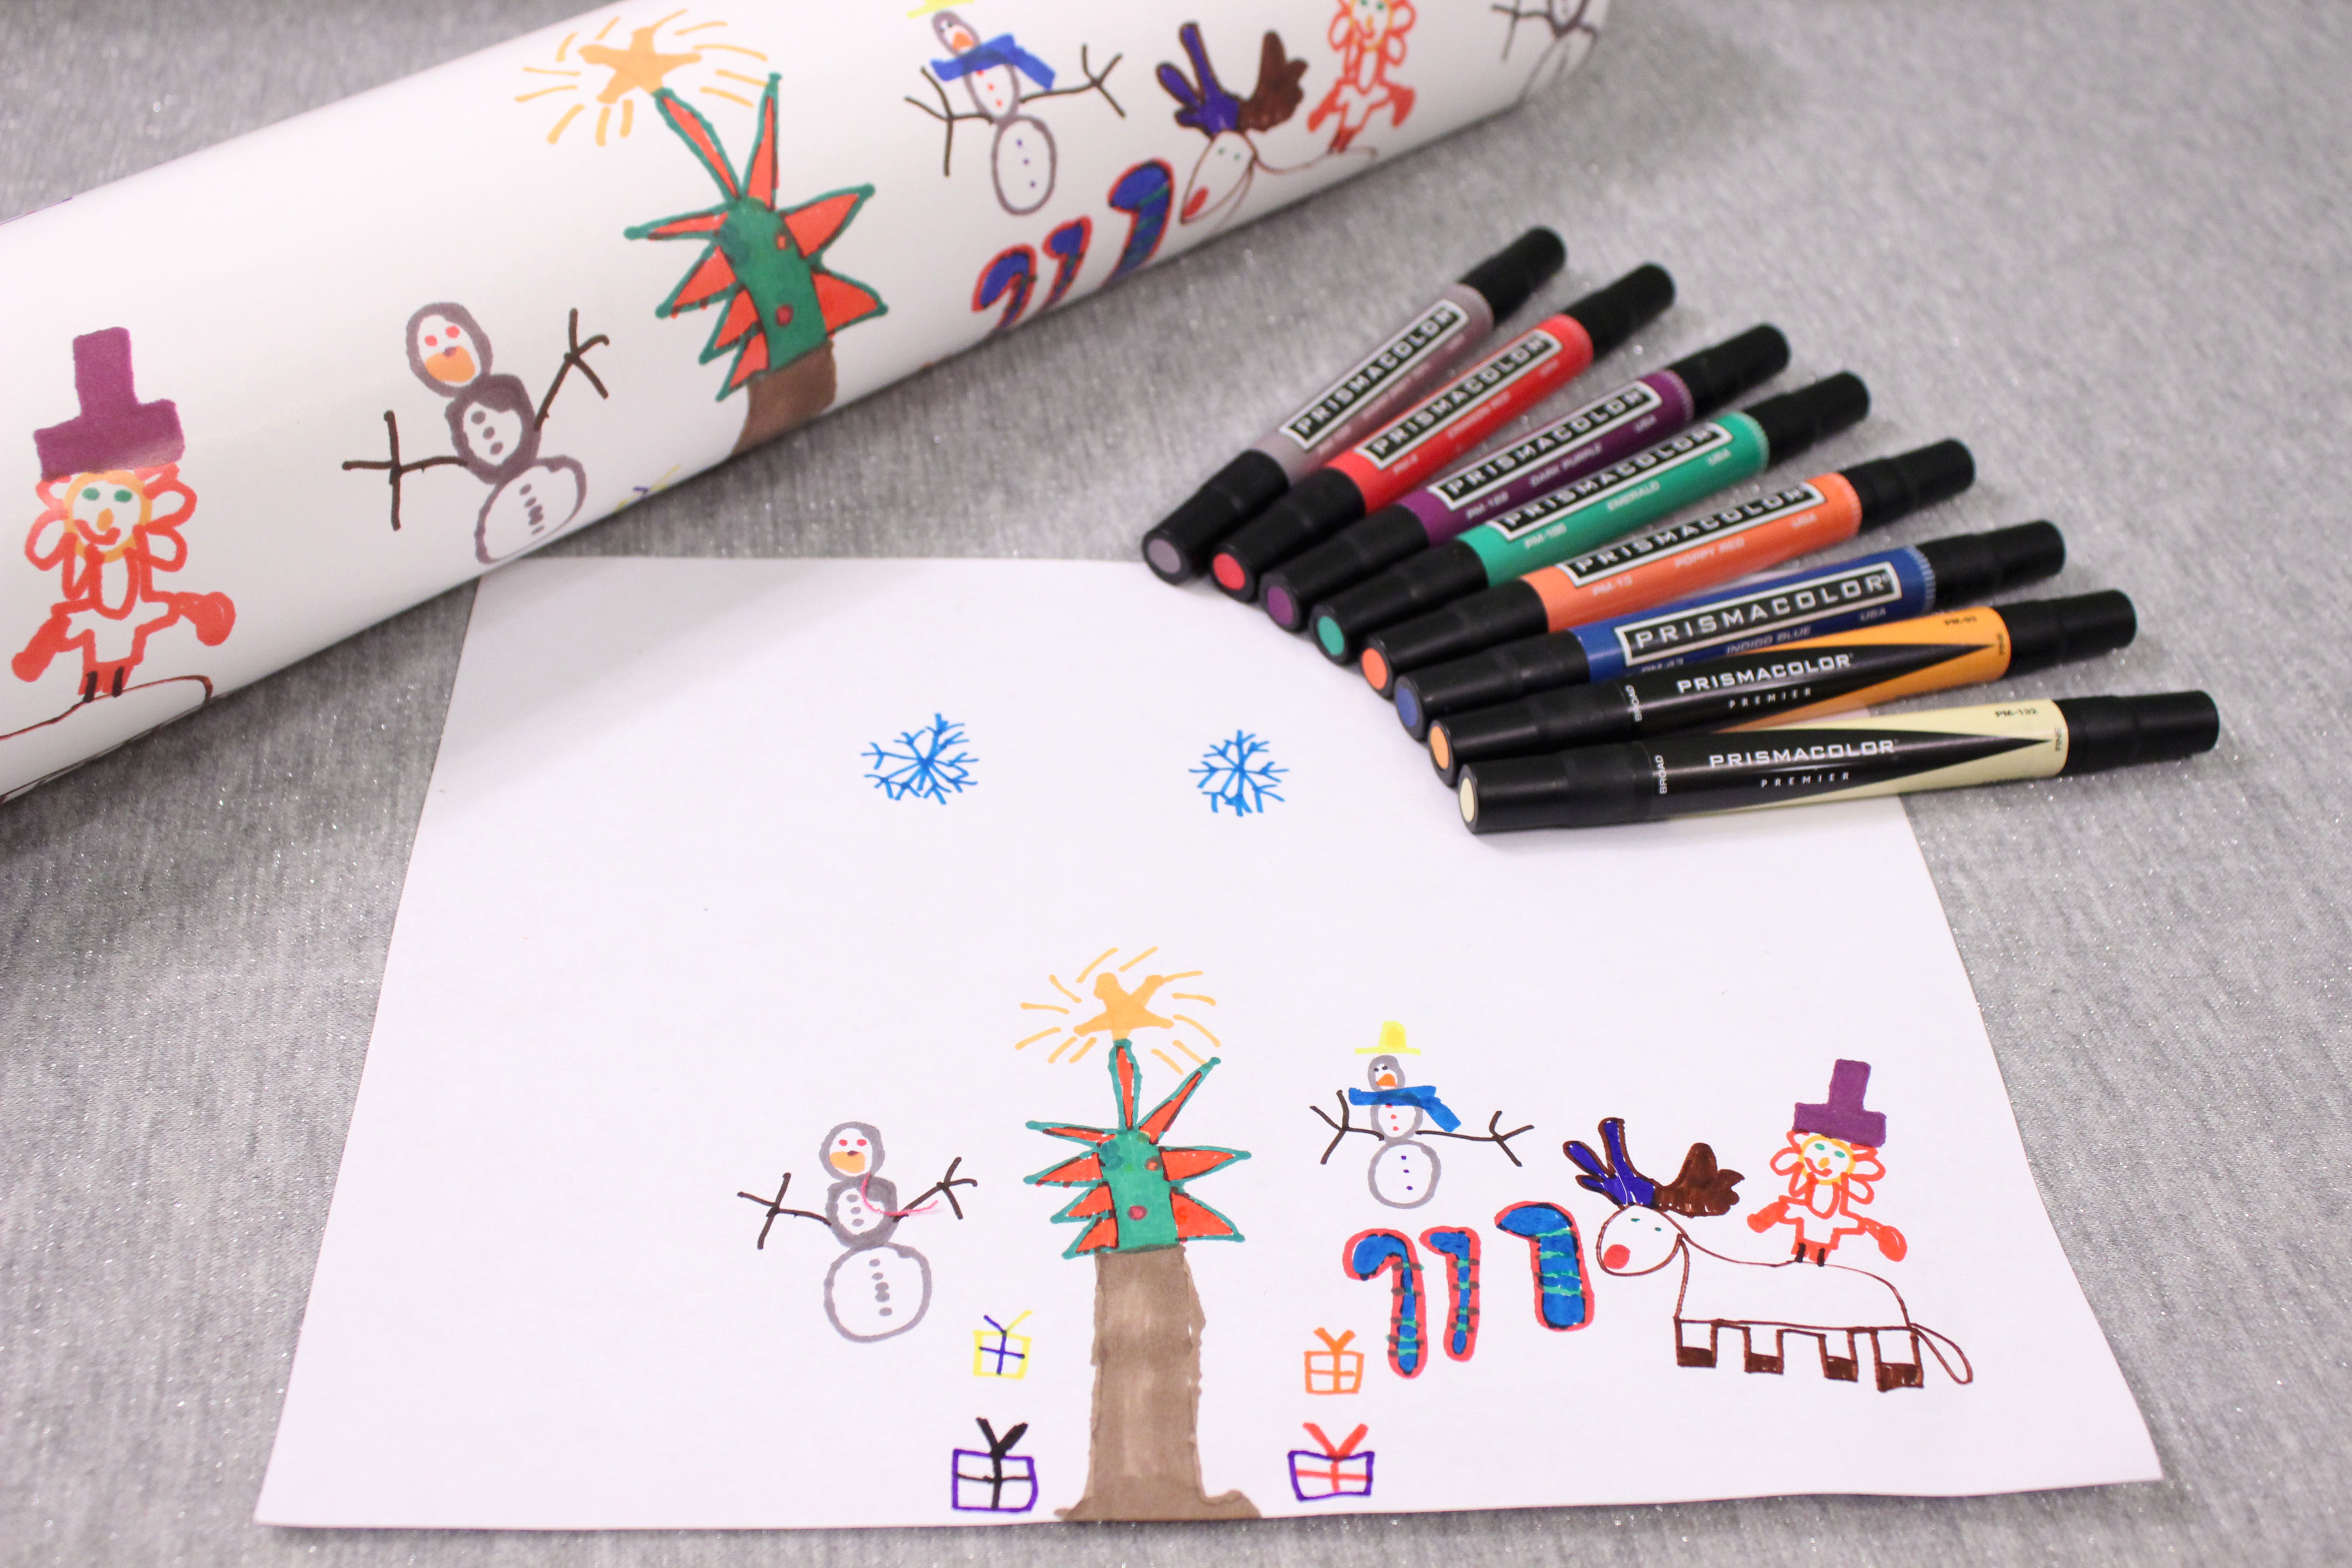
In this tutorial I will be showing all of the steps I took to create custom gift wrap from a kids drawing : ) **(courtesy of my 6 year old nephew)**
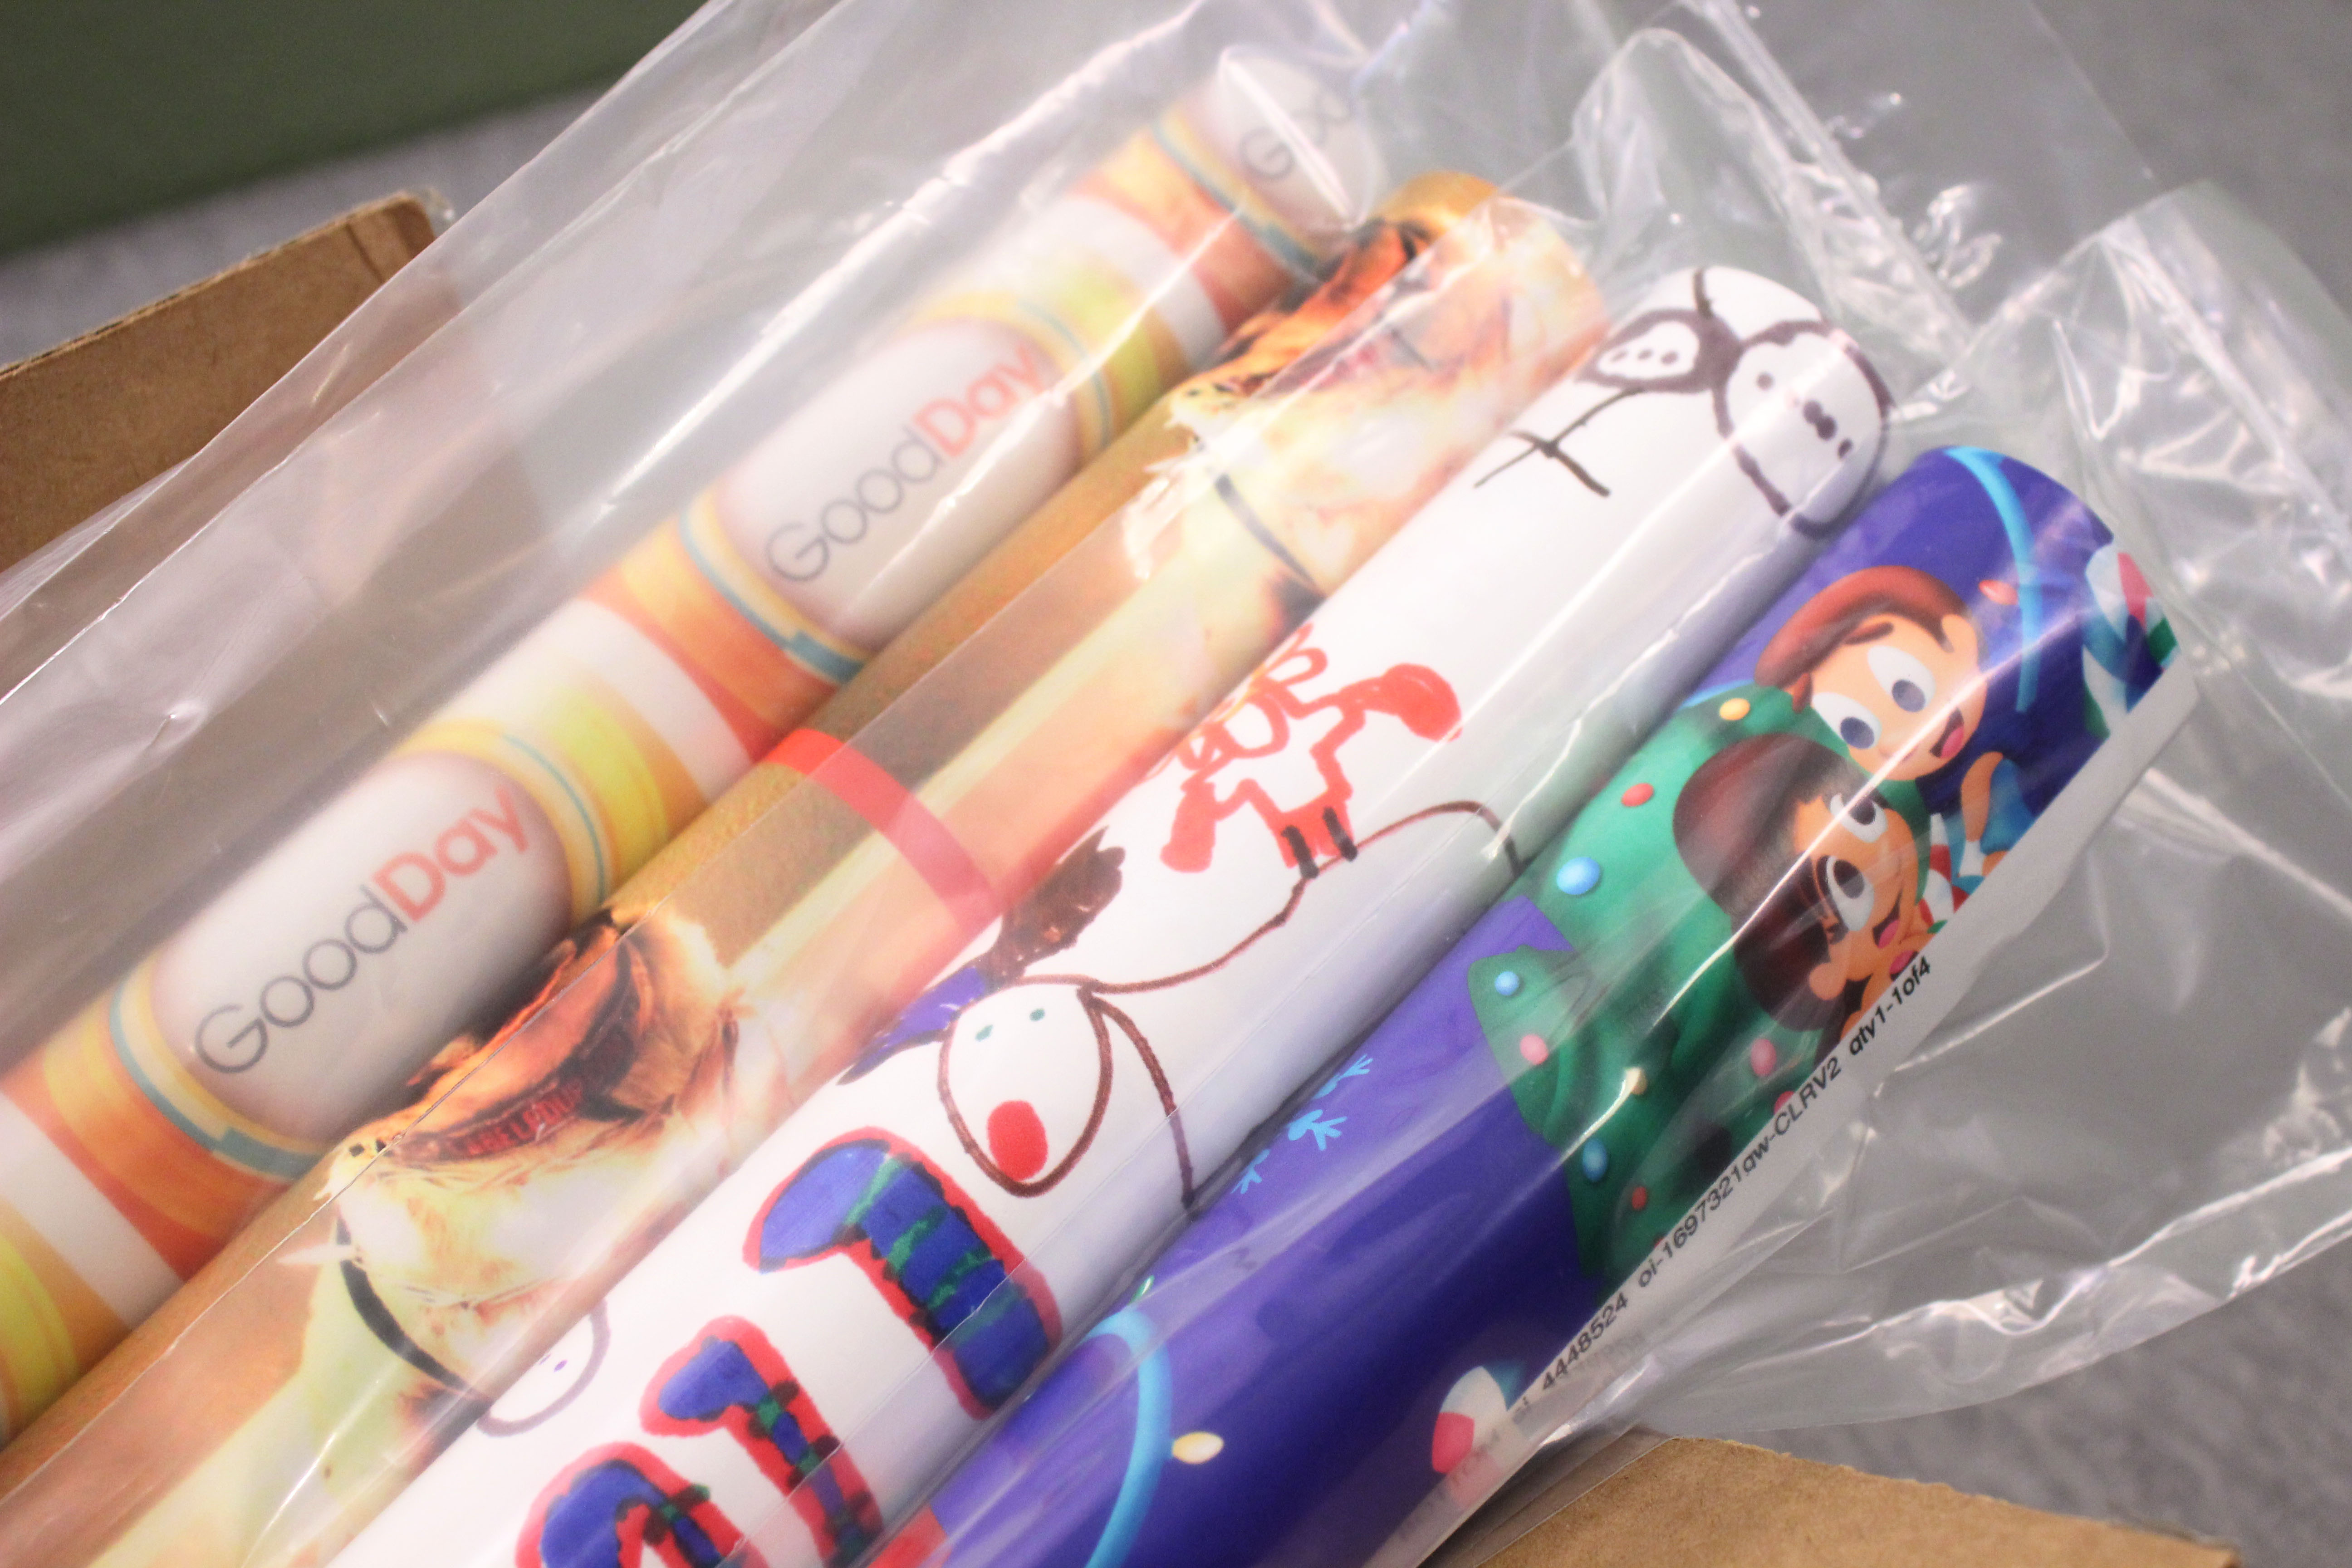
There are so many possibilities when creating your own custom gift wrap, so the design is completely up to you! The steps included are specifically for creating custom gift wrap from a kids drawing so depending on your design you may or may not need to incorporate all of them. I have also included some photos of additional gift wrap I created including photo gift wrap, my own illustrations, and a business logo.
These designs were created for Christmas but custom gift wrap is great for any special occasion! Birthdays, Anniversary's, Graduation etc.!
Hope you enjoy!
Create Your Design
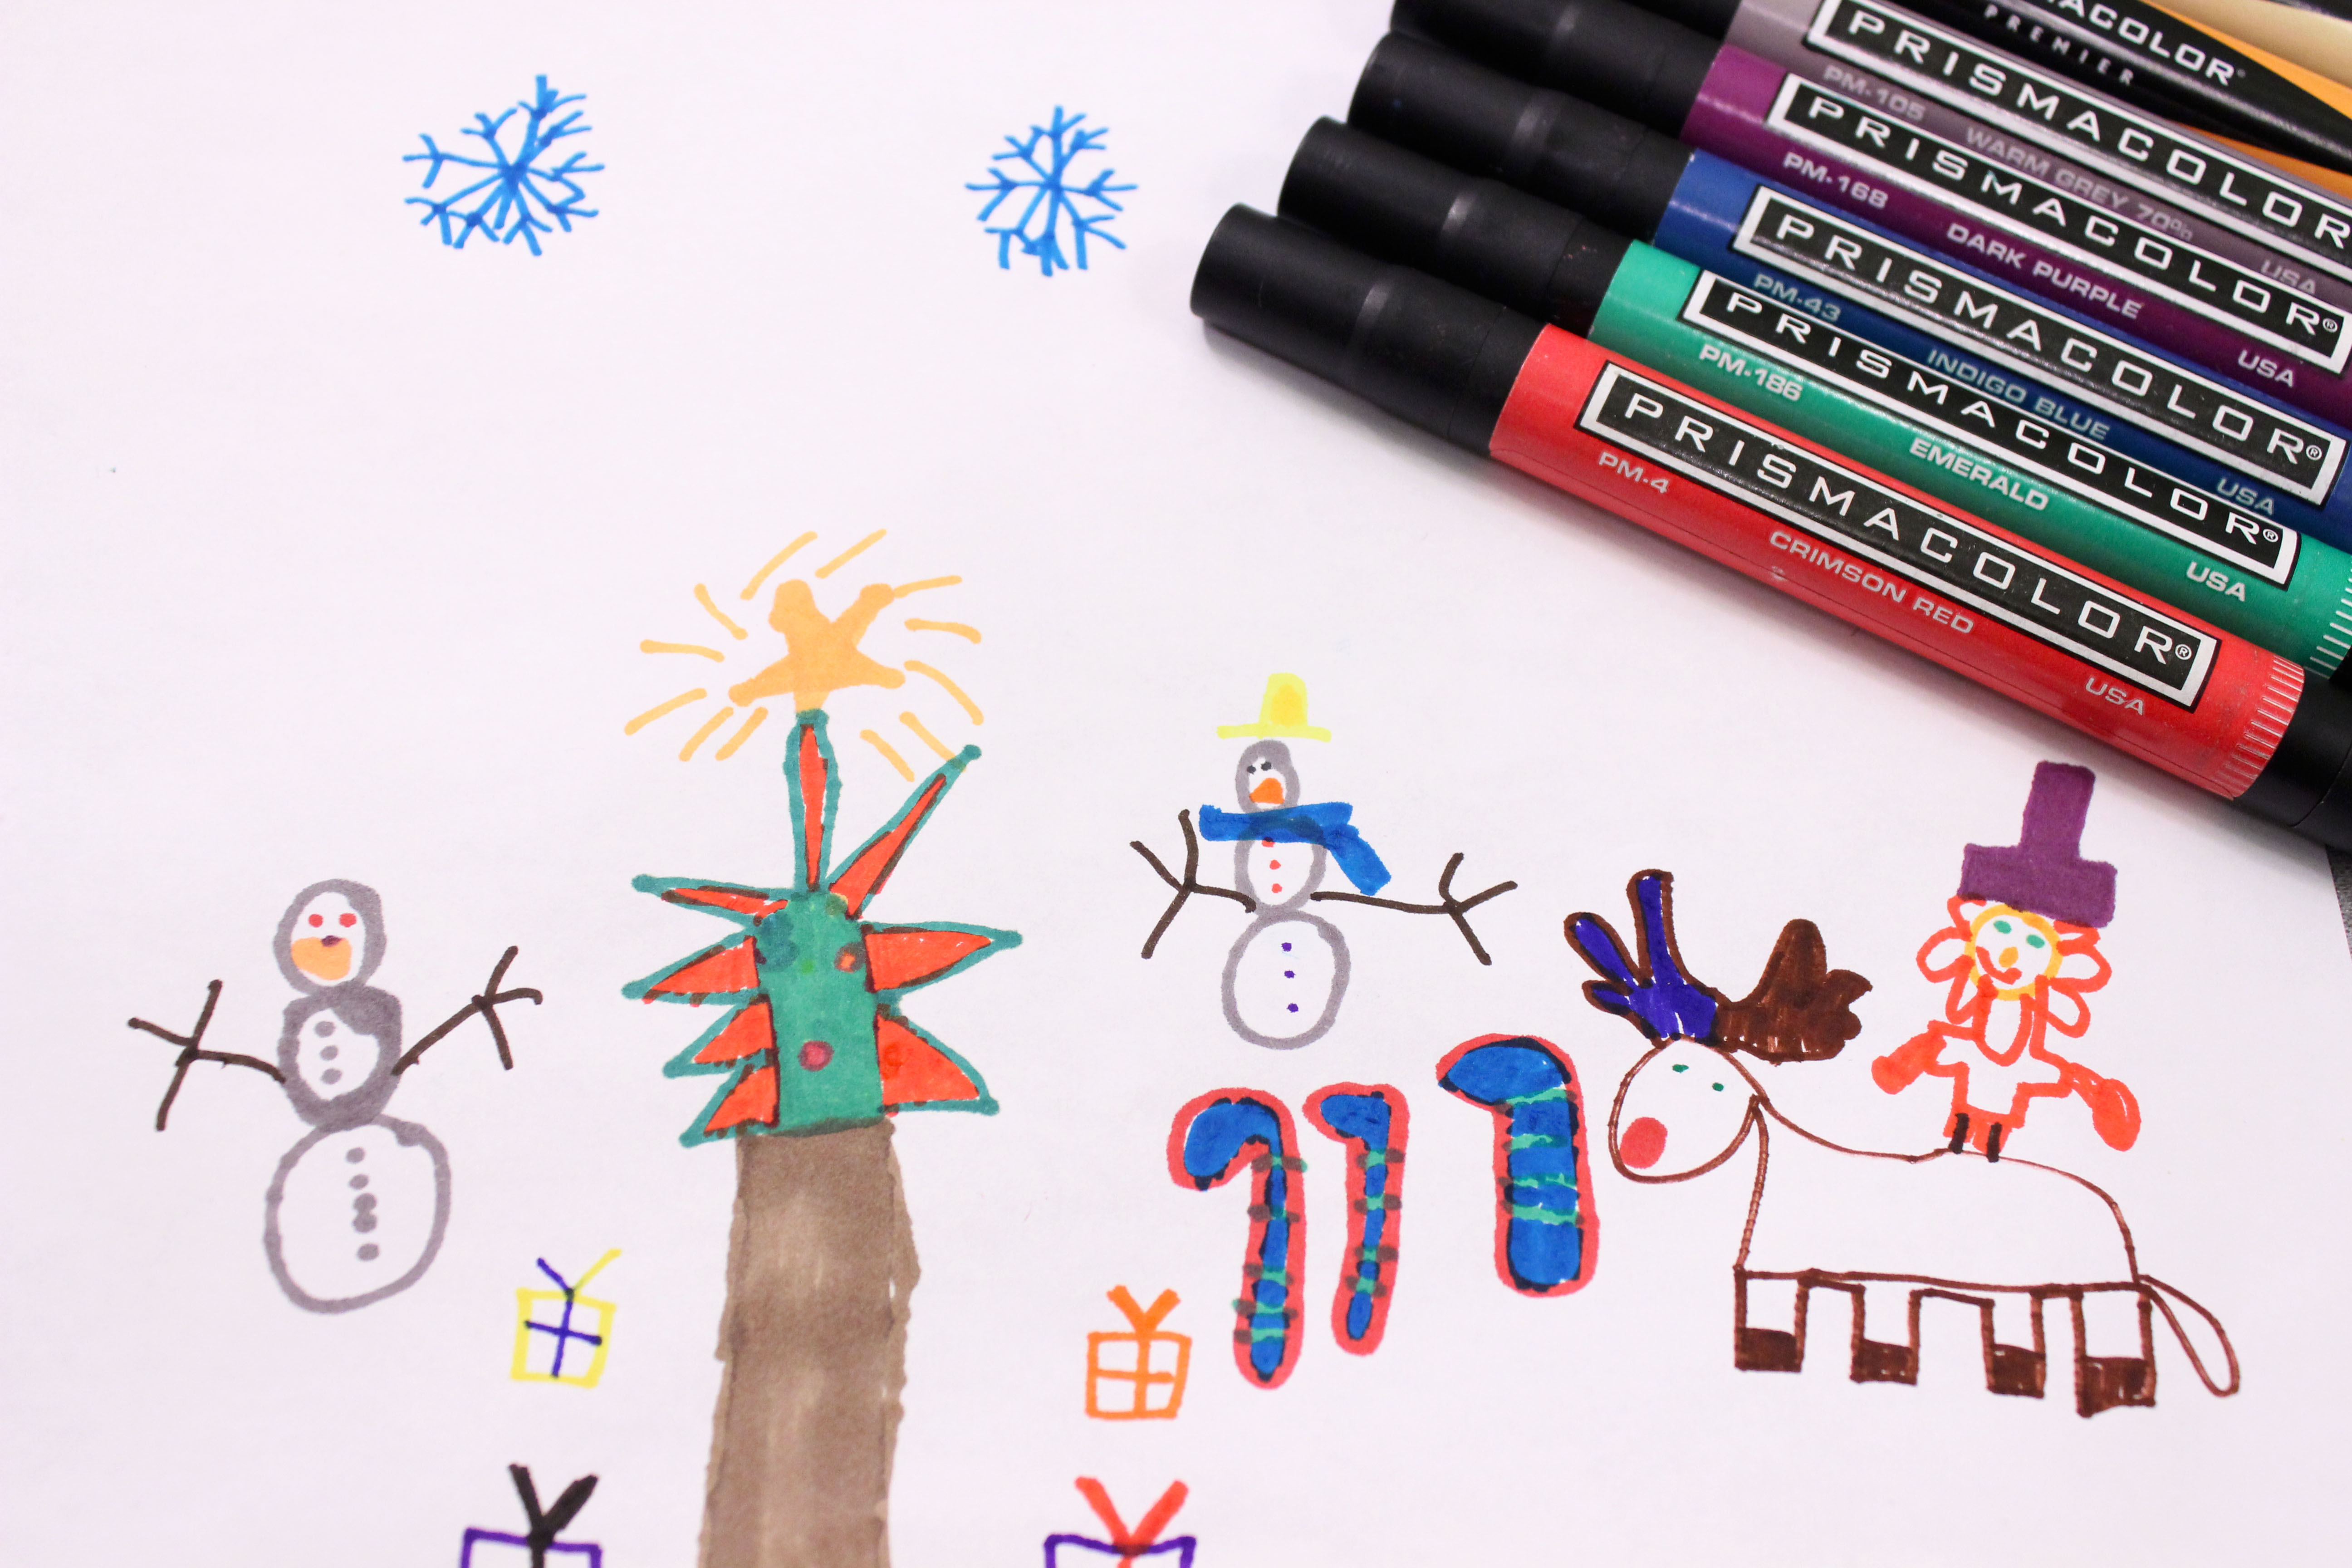
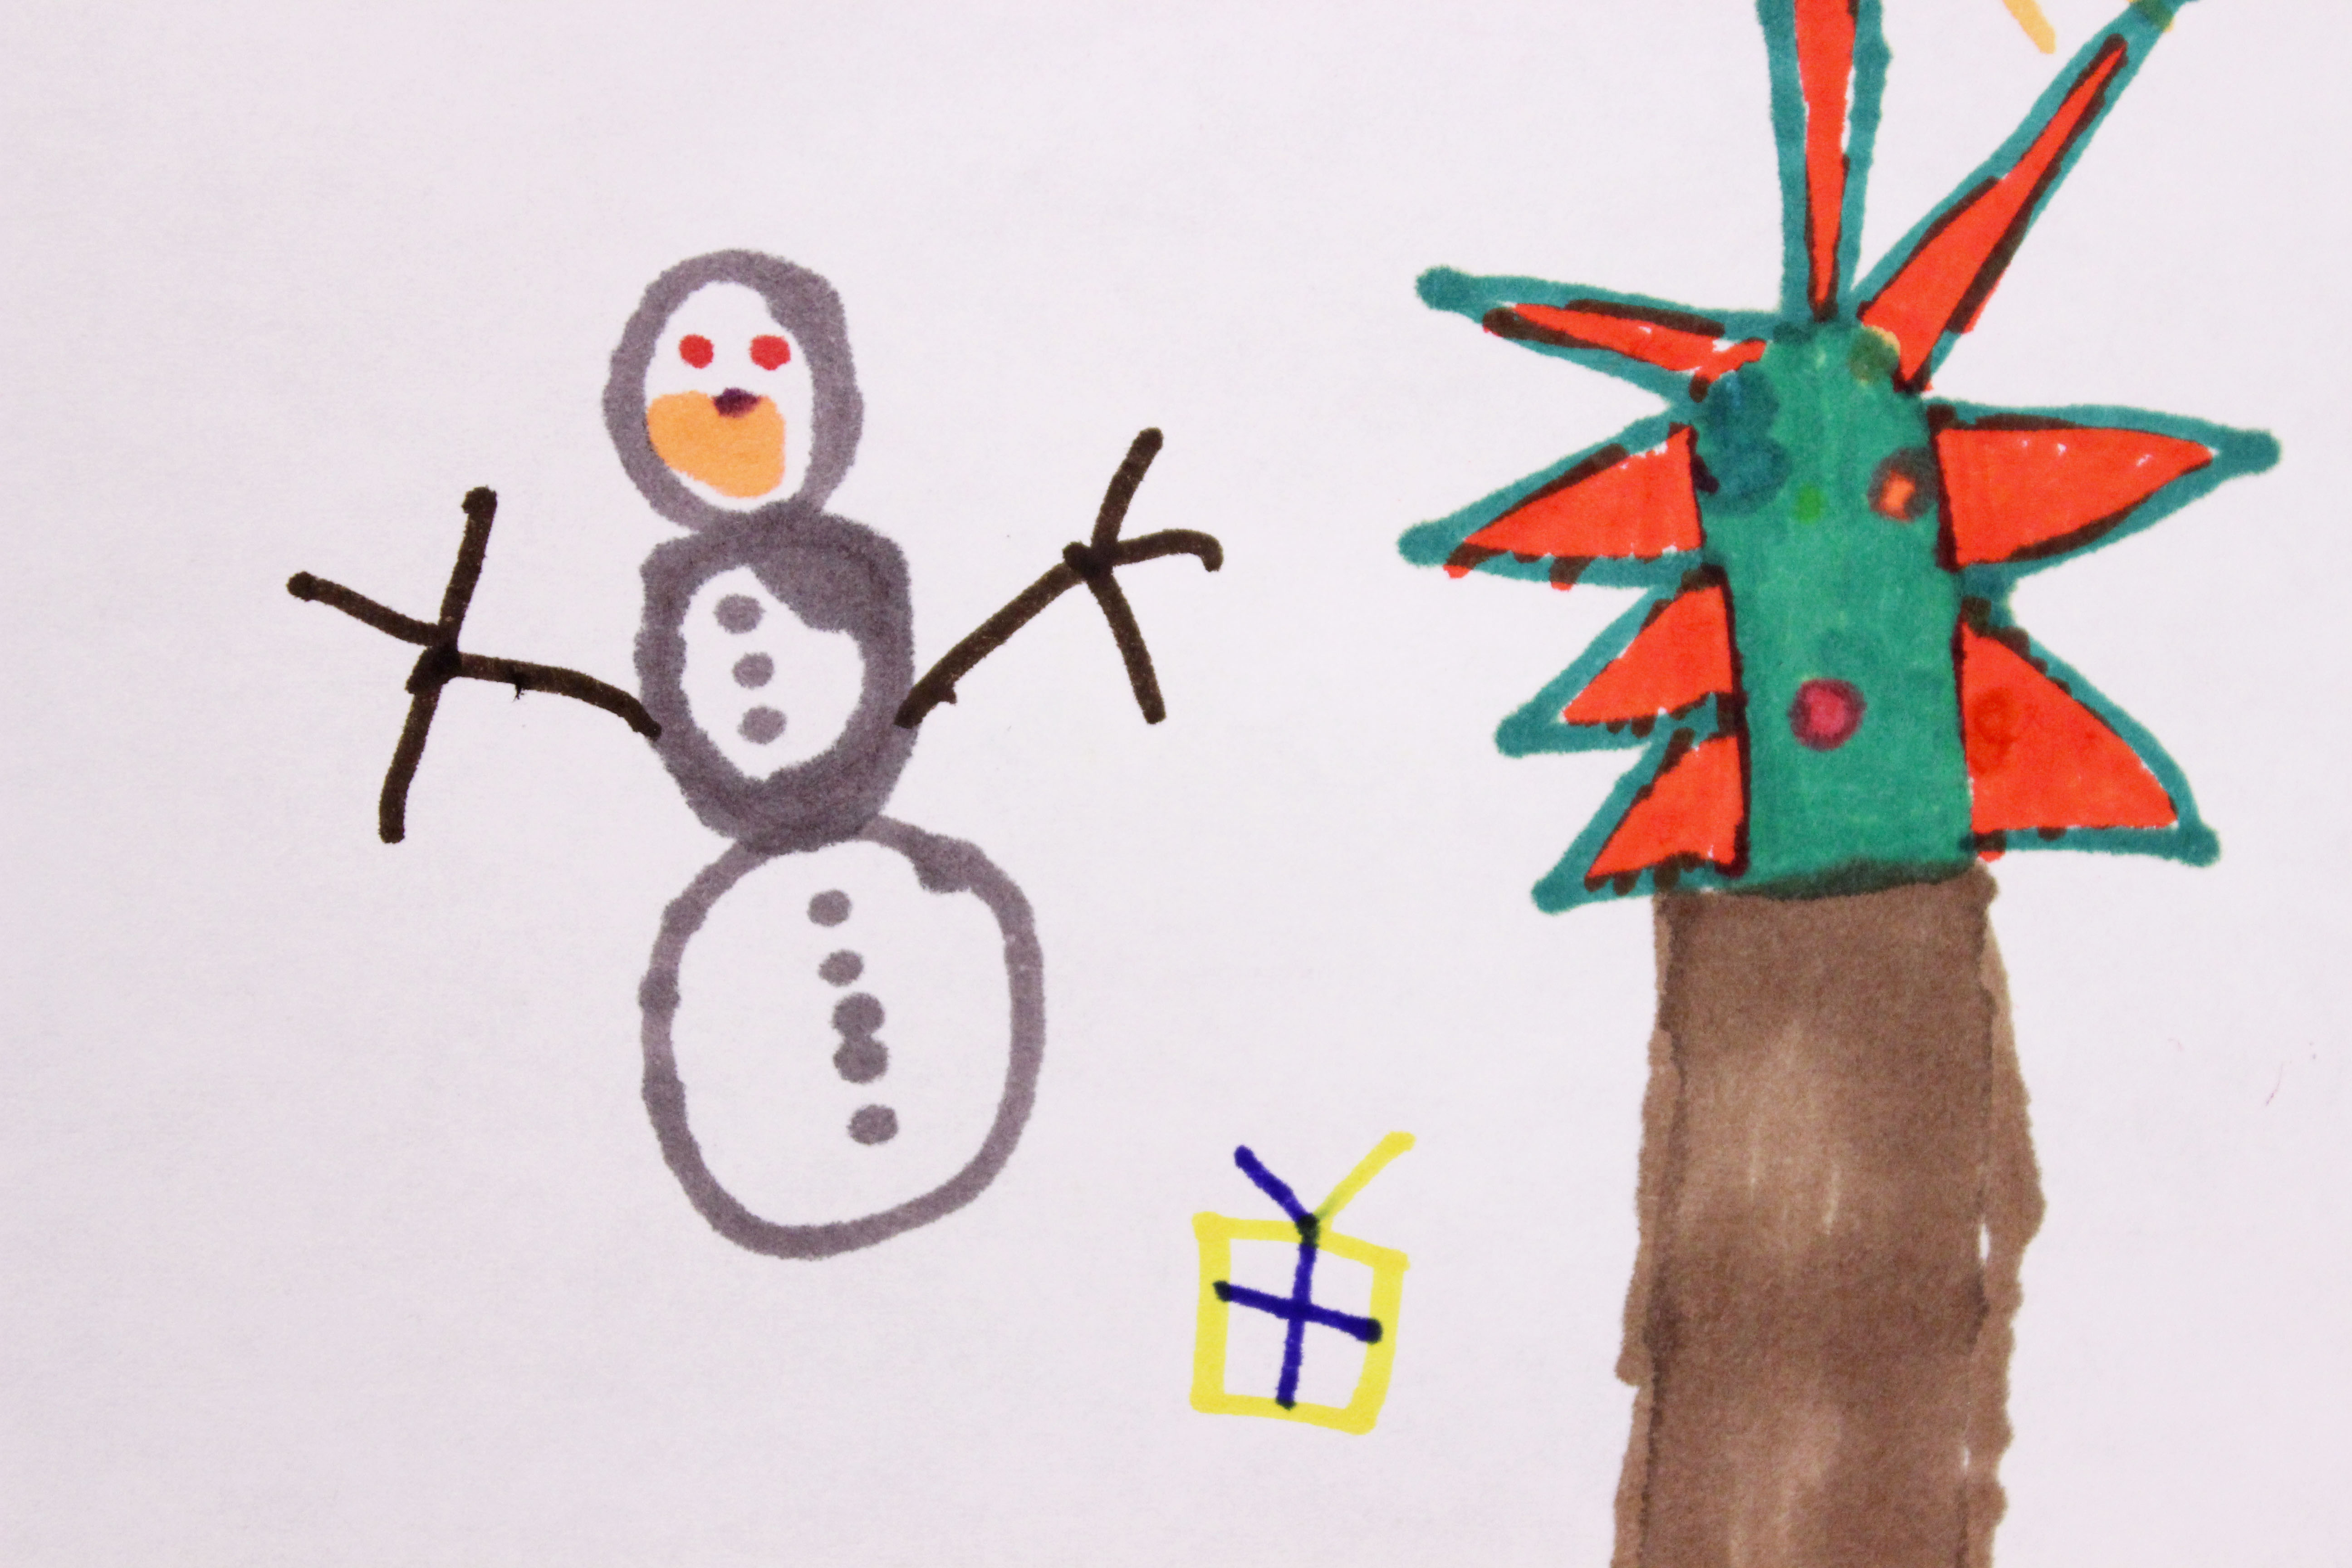
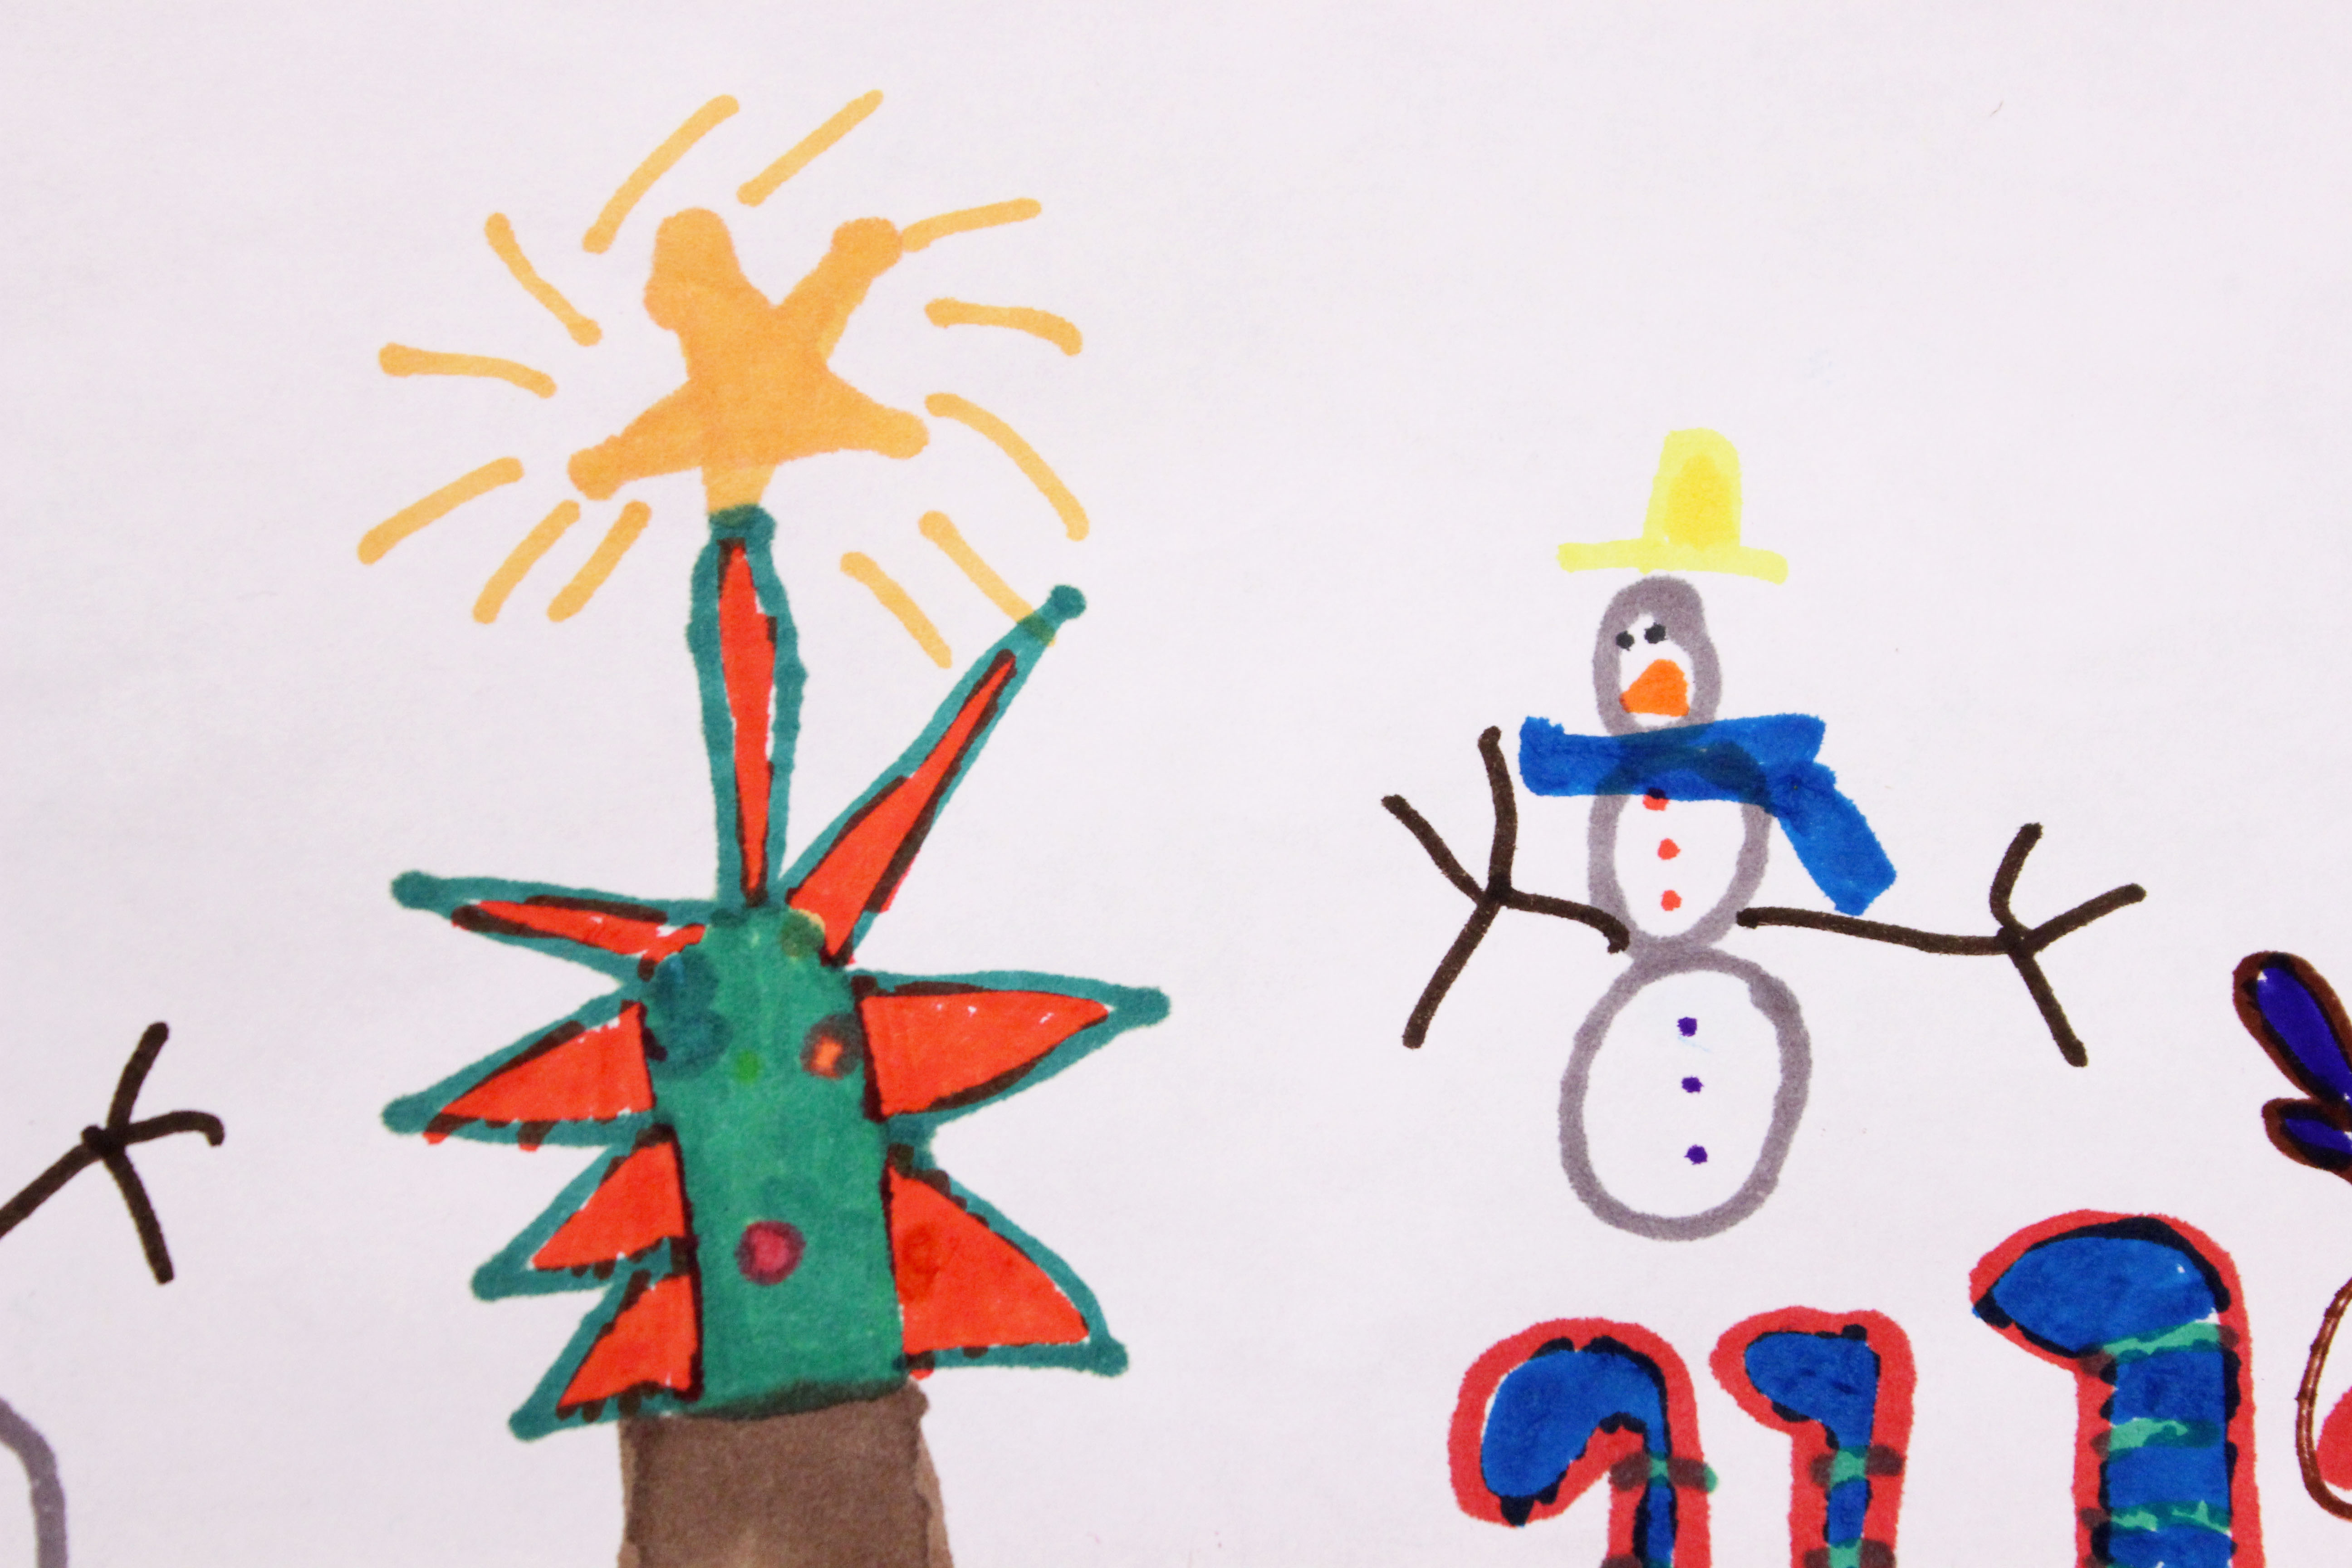
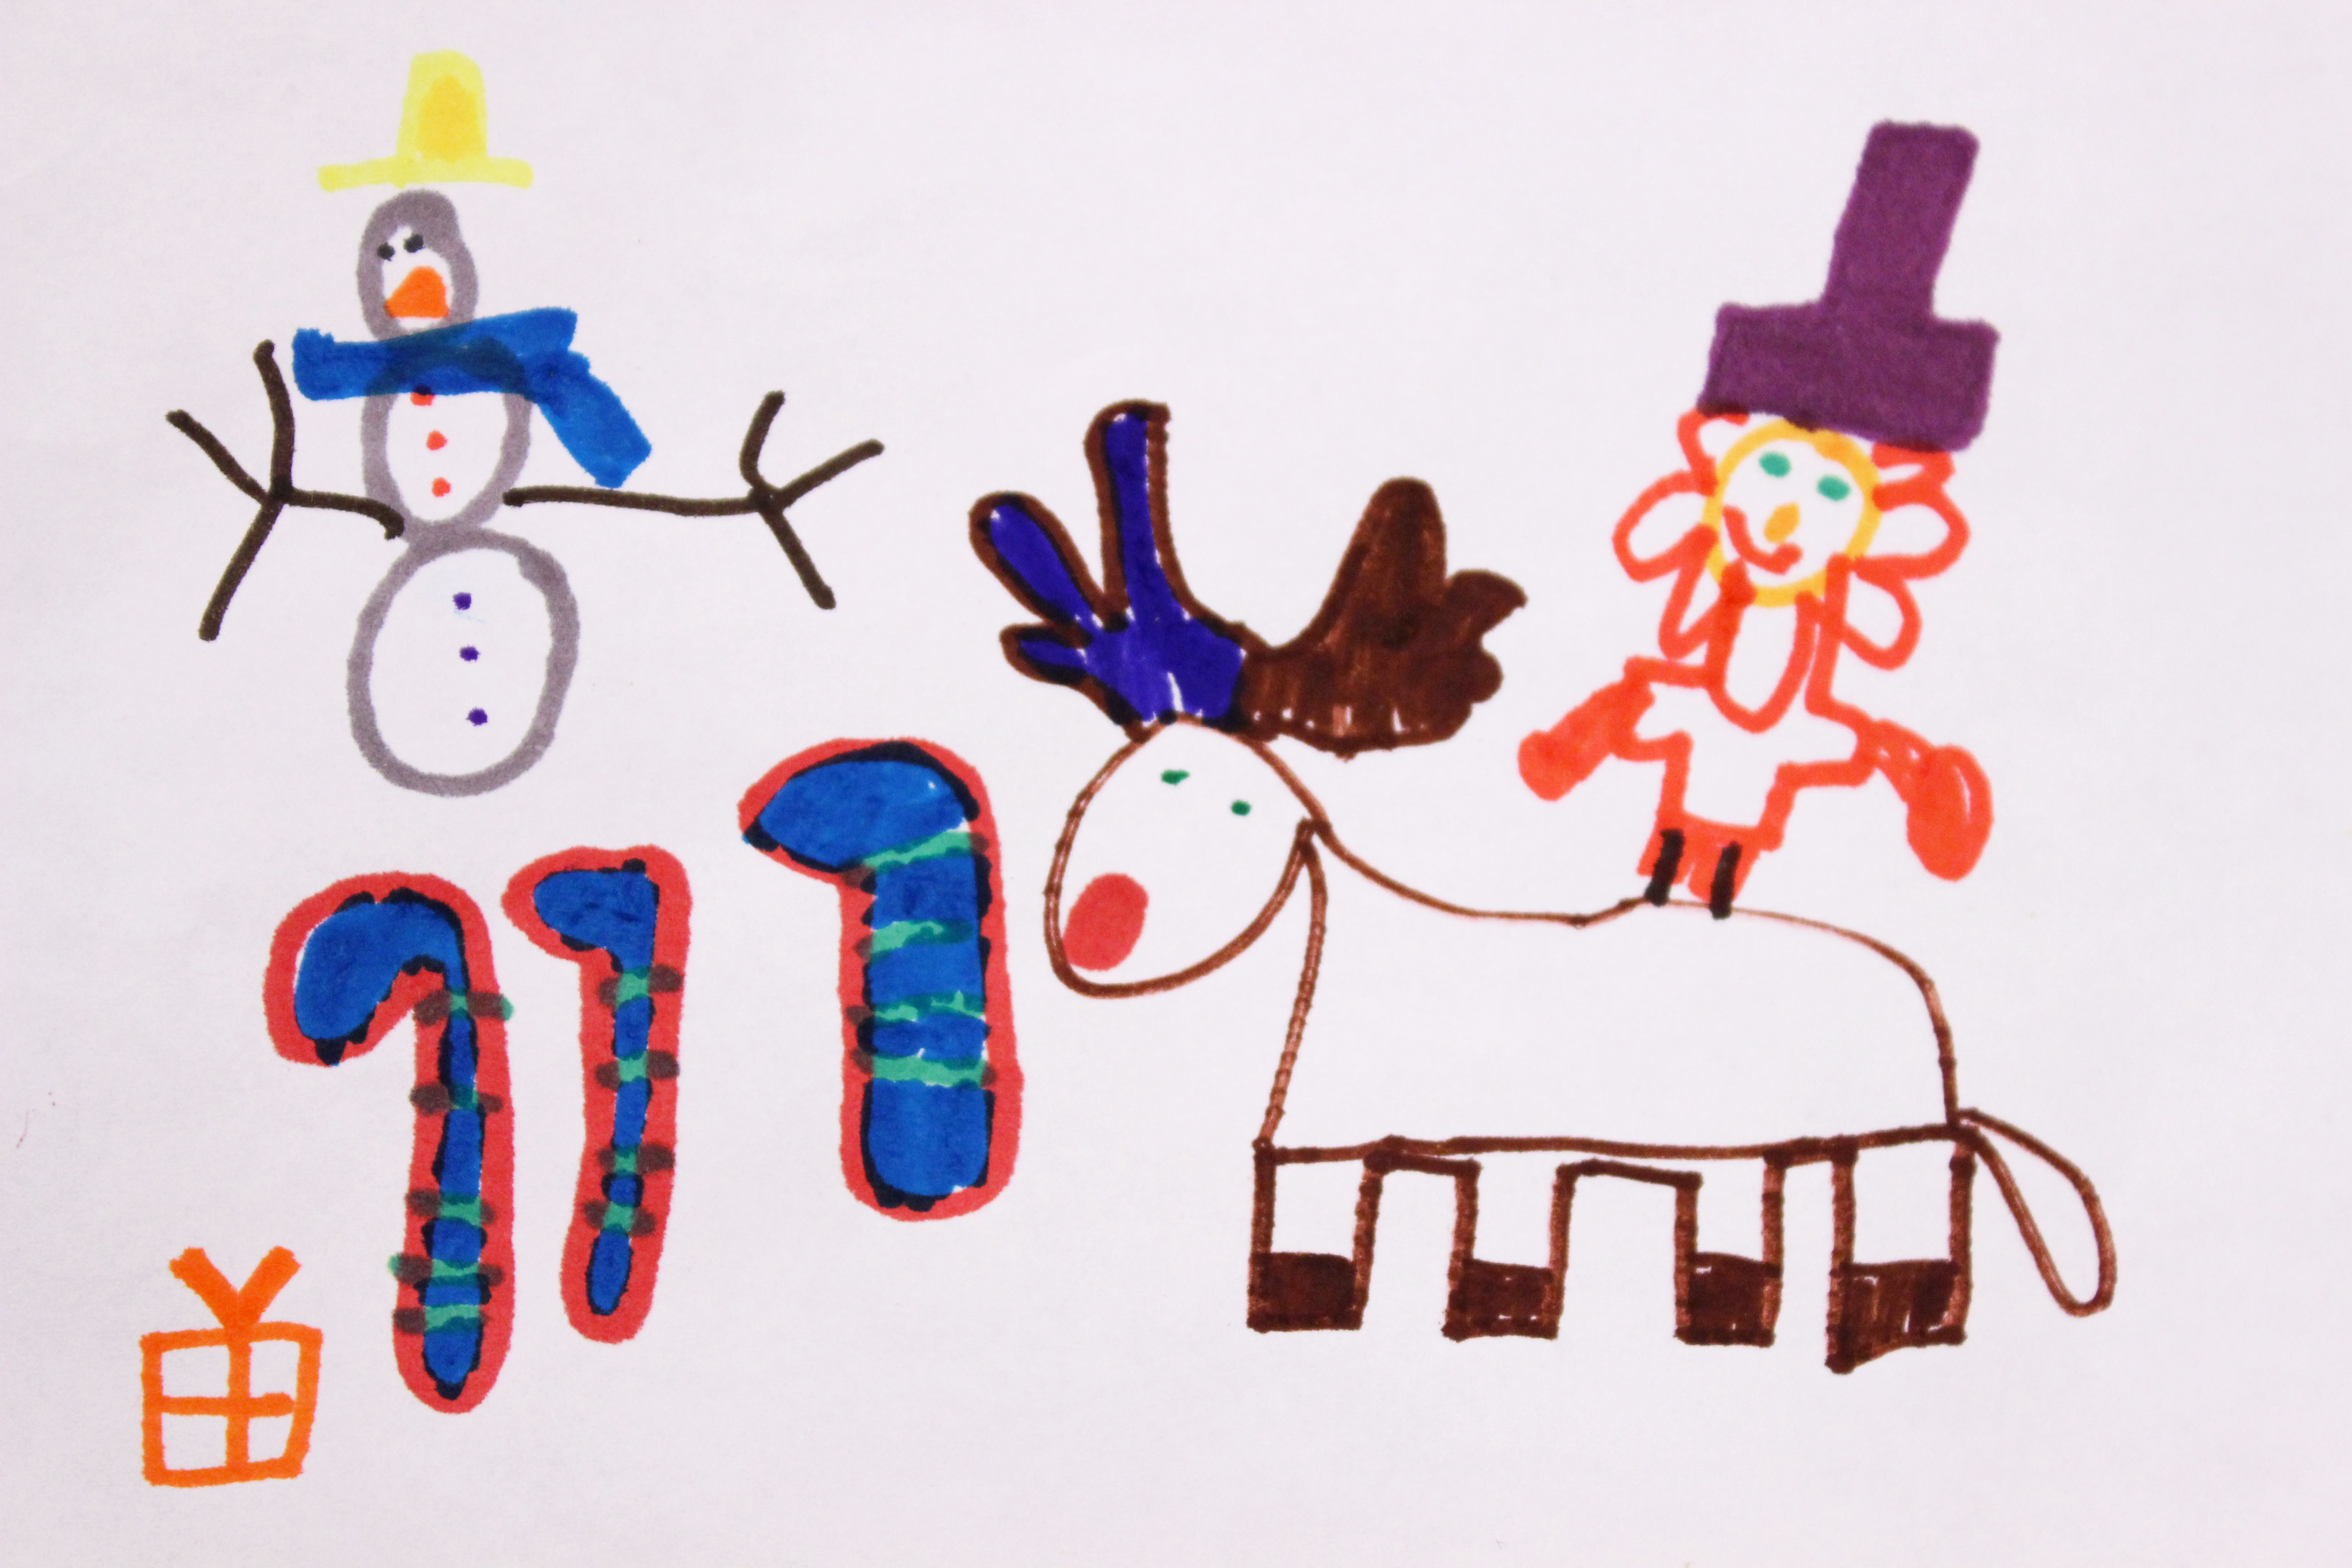
*Materials of your choice*
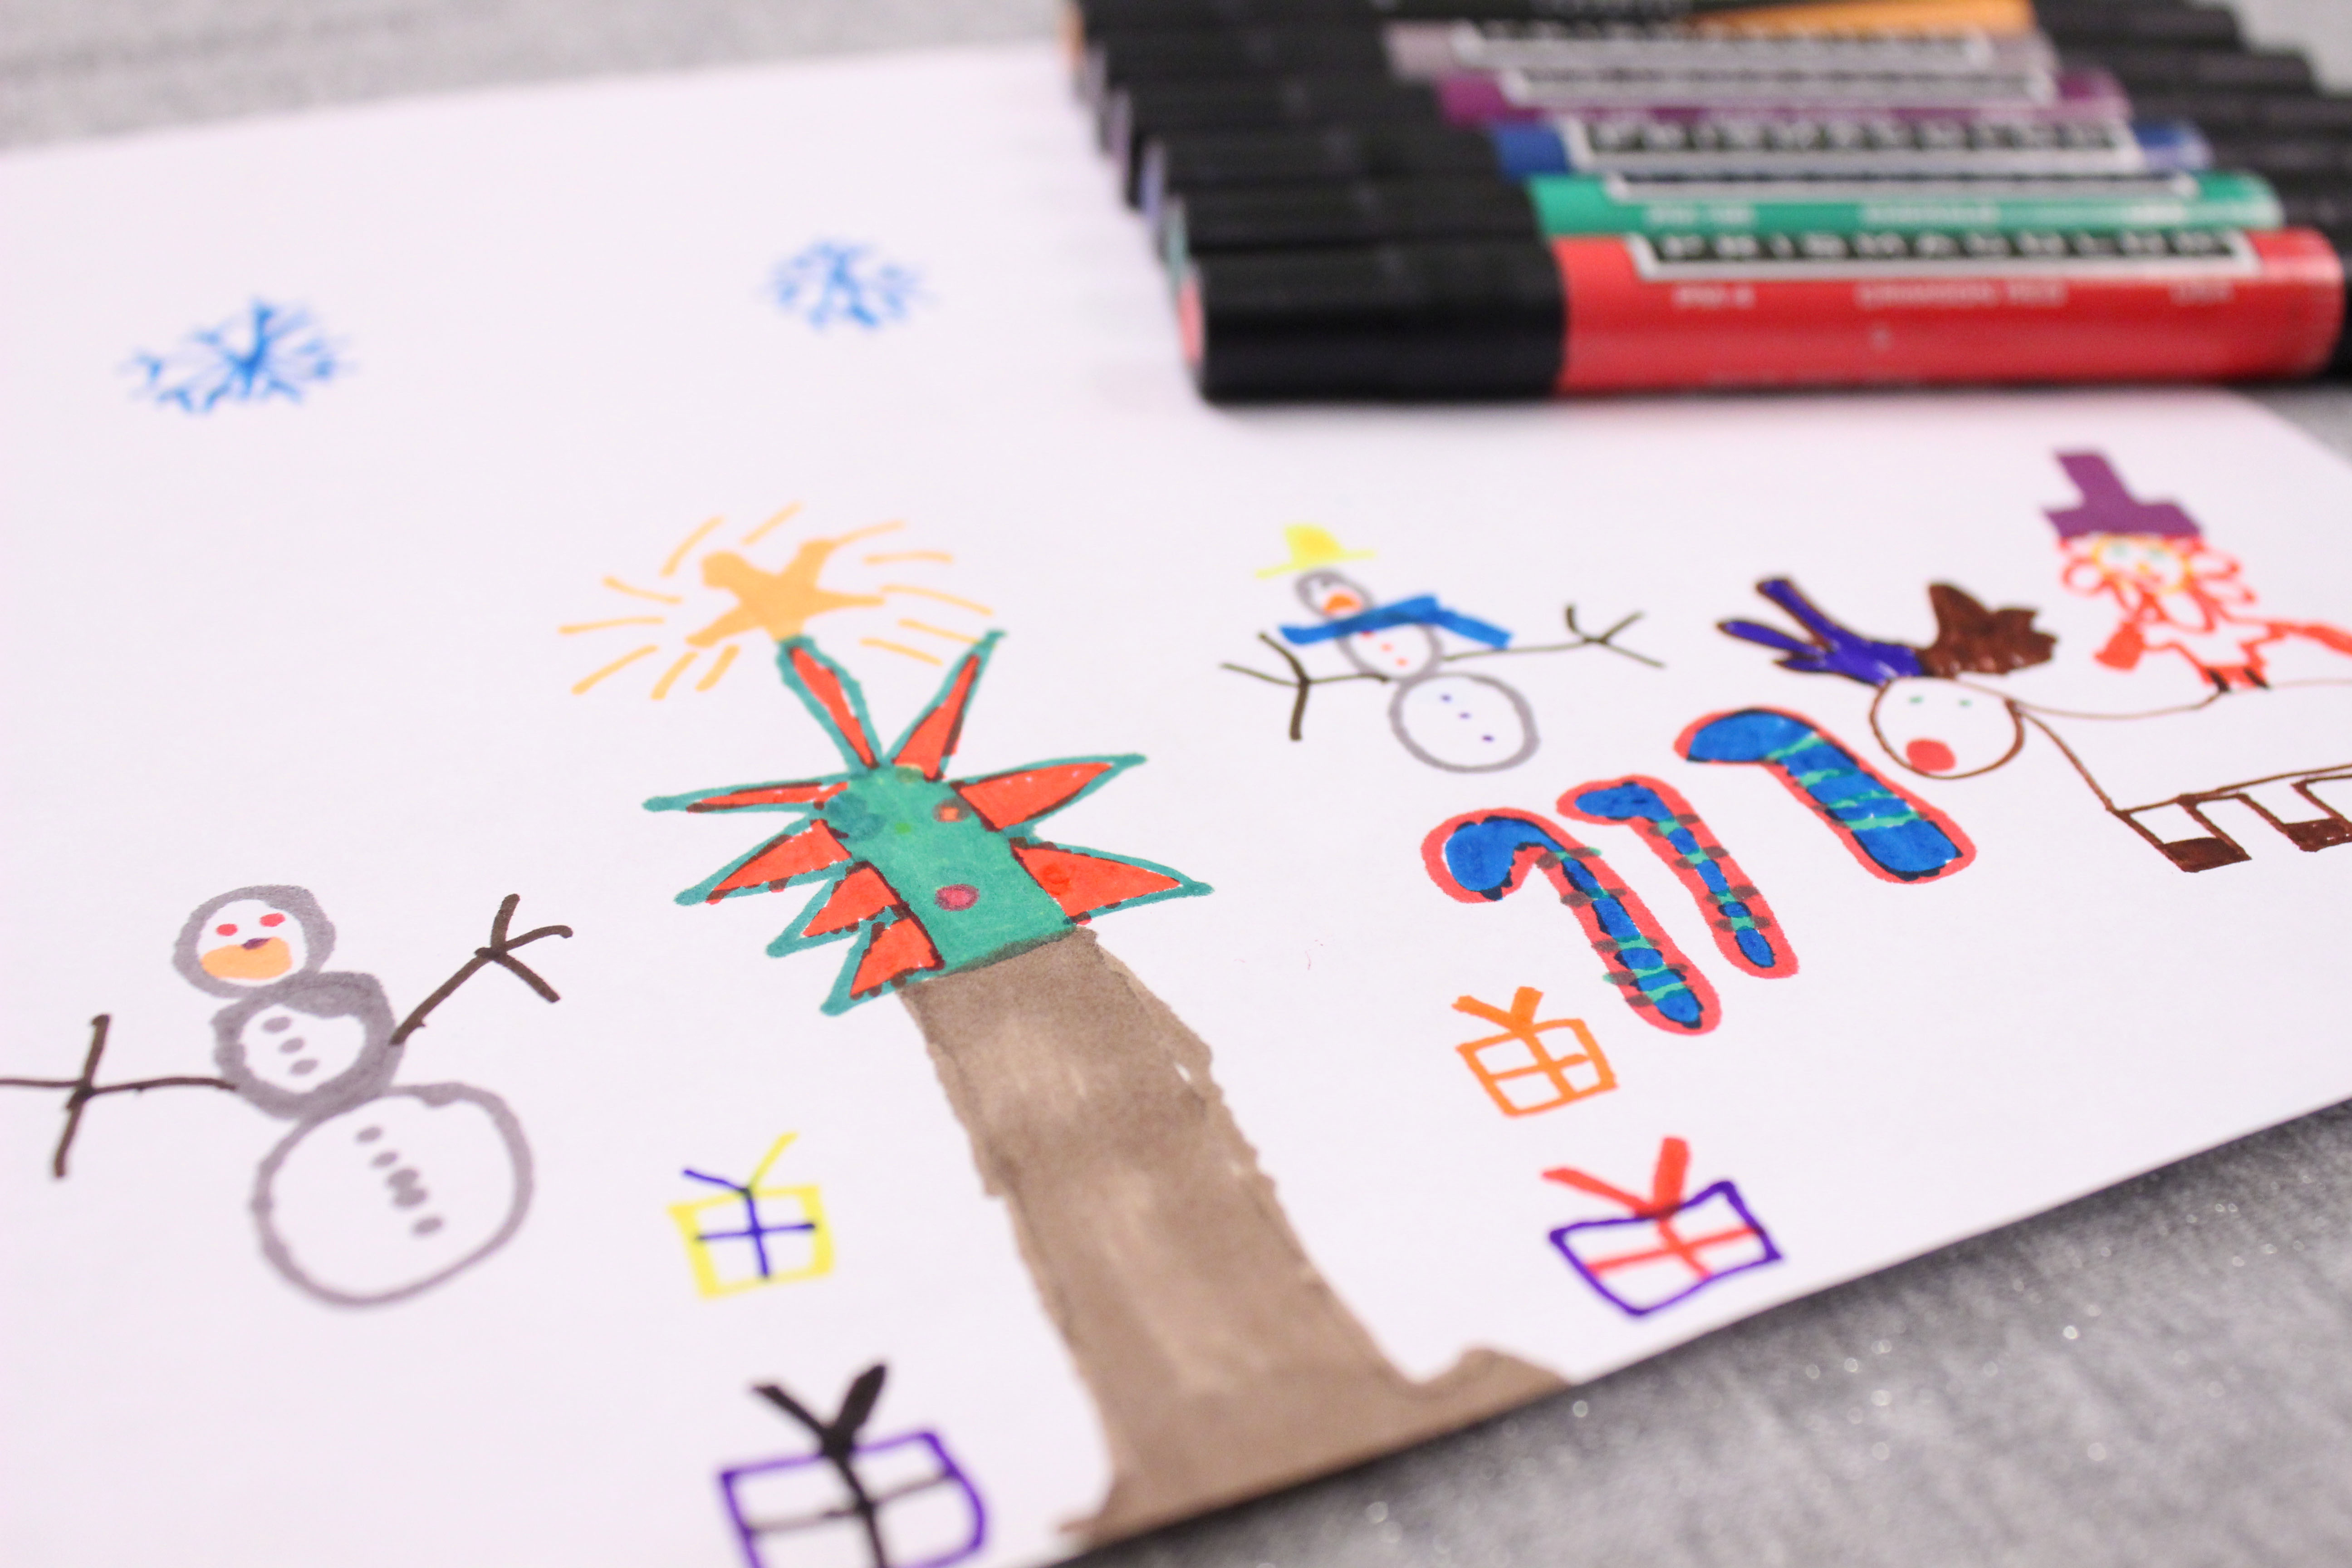
For this kids drawing wrapping paper my nephew used markers and white printer paper.
Notes:
*If you are scanning a drawing into the computer try to avoid creasing the paper to keep the background as clean as possible.
*Another option would be to have your child draw a picture using a paint program on the computer.
Create the Print
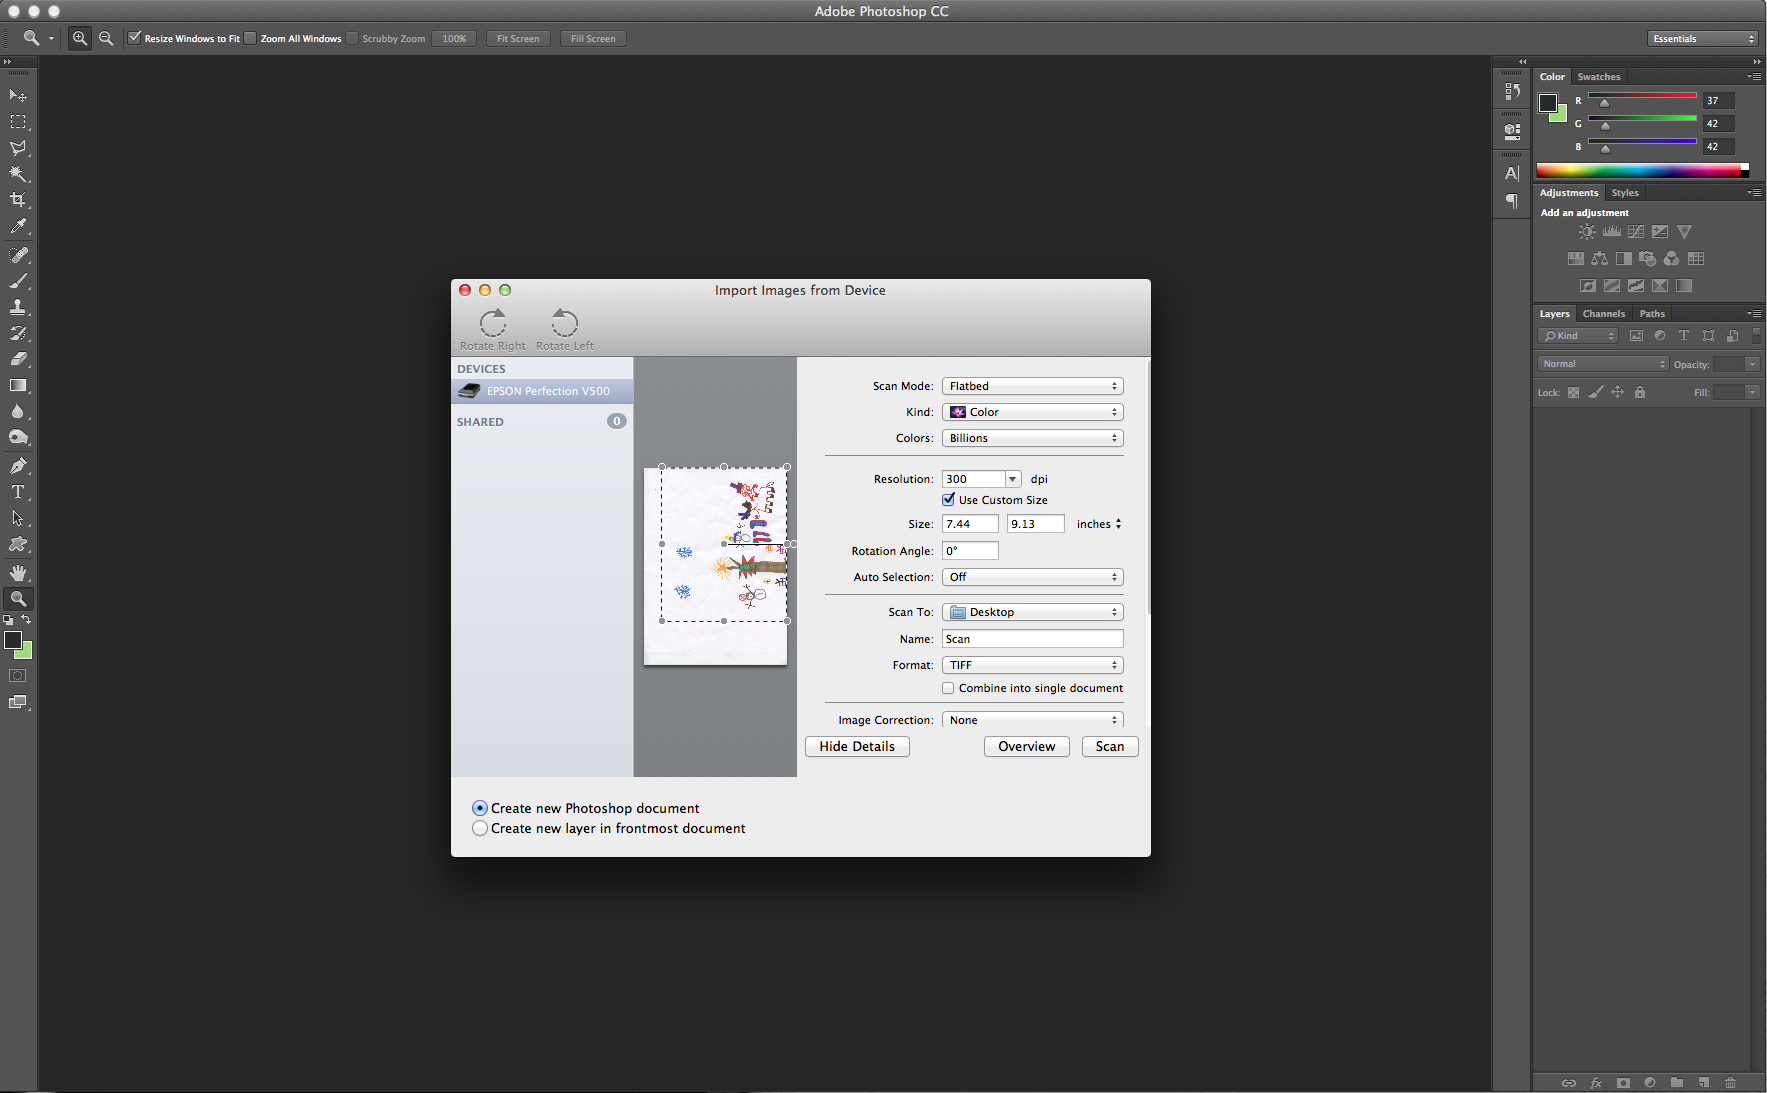
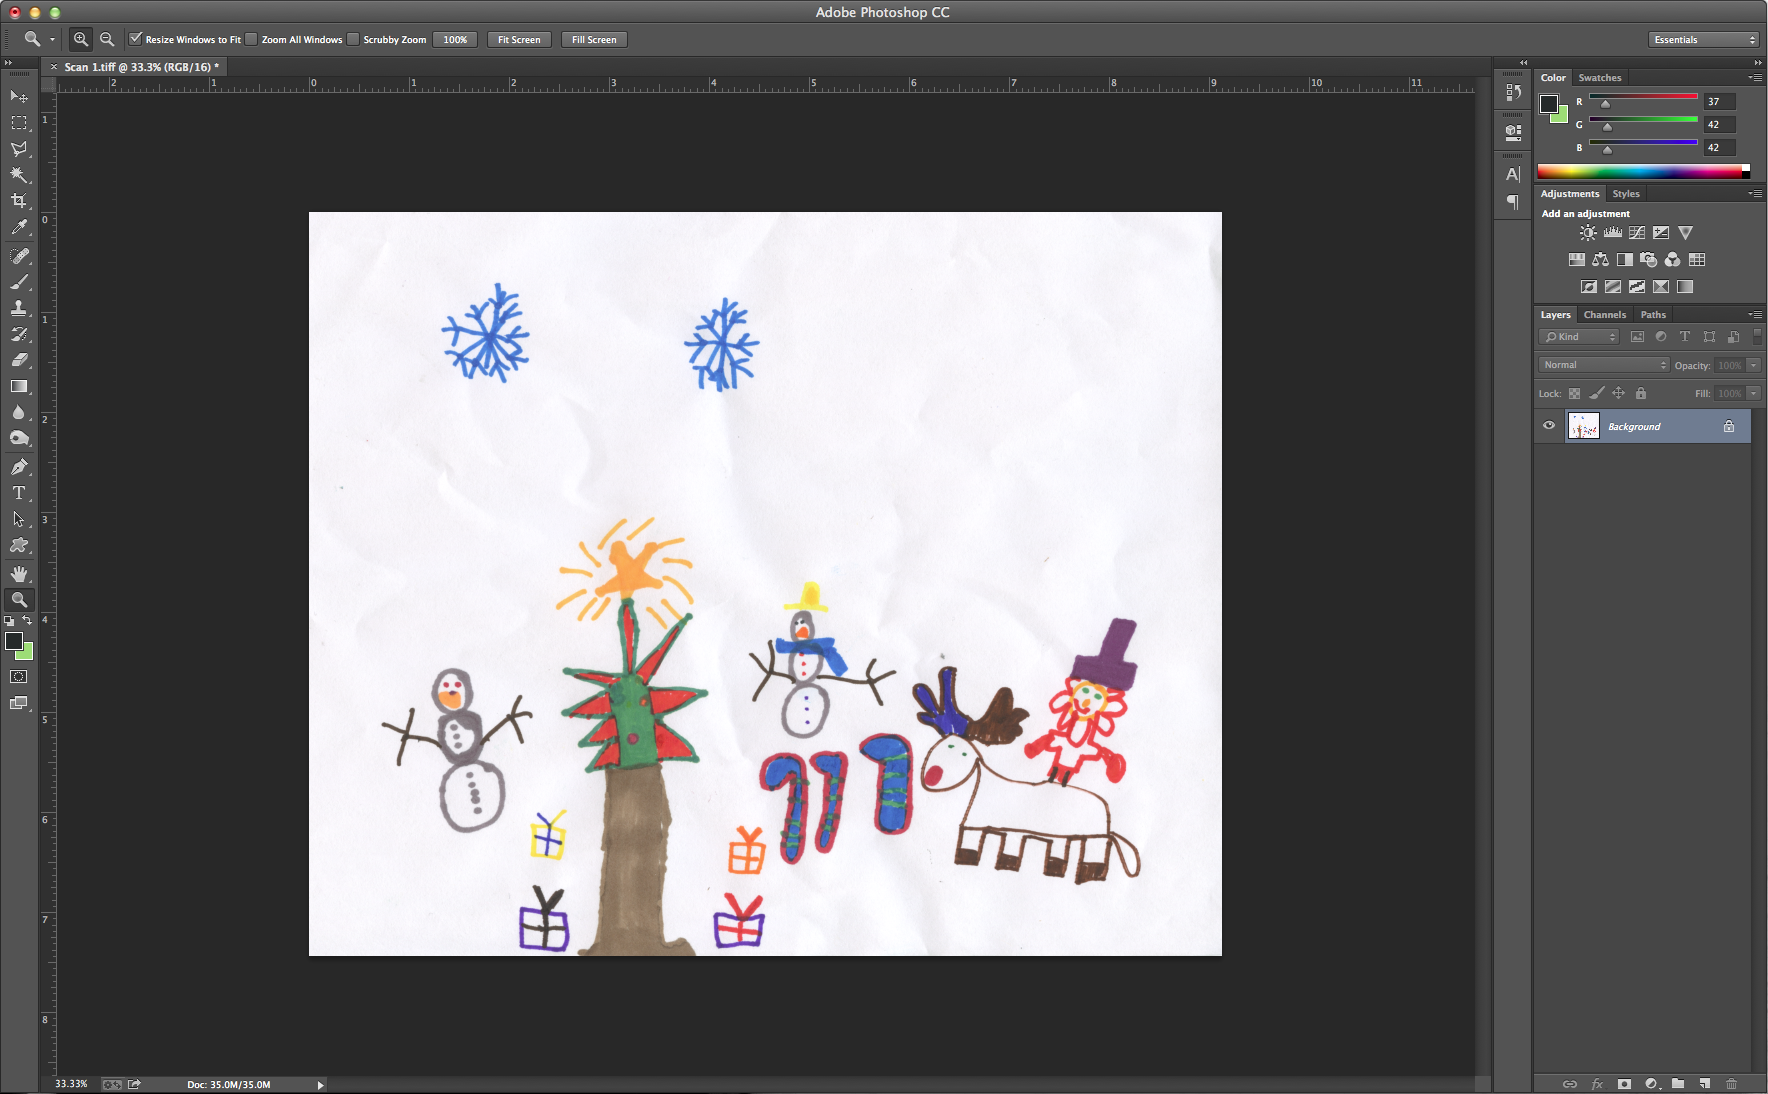
**This tutorial shows to process of scanning a kids drawing into the computer to create a pattern/print. You do not need to go through these steps if you already have a design or are using a photo.**
Supplies:
Tools:
- Computer (I'm using a Mac)
- Scanner
- Photoshop ( you can download a free 30 Day trial from www.adobe.com and they also offer pay by the month plans if you want to test it out)
Materials:
- Kids Drawing
In this tutorial I will be using Photoshop to create my pattern.
The first step is to scan your drawing into the computer. I keep my resolution/dpi at 300 to avoid pixelation.
Rotate layout if necessary.
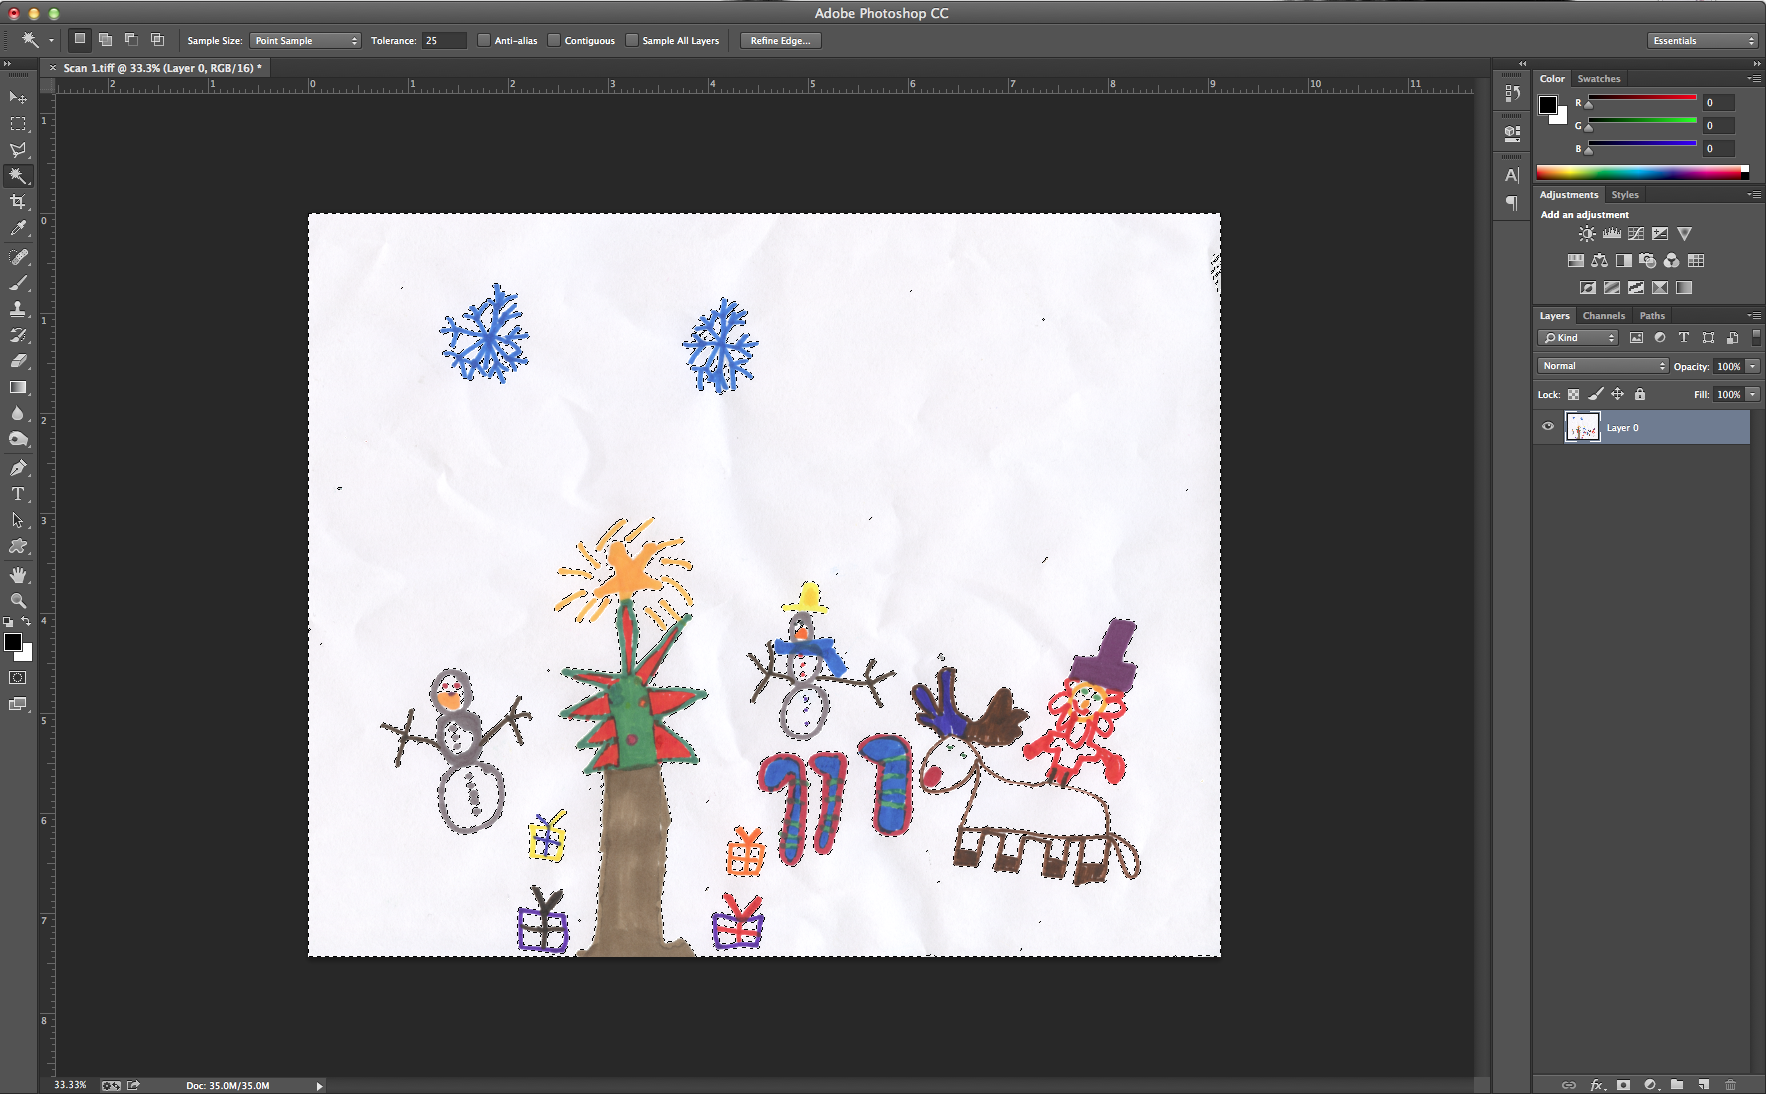
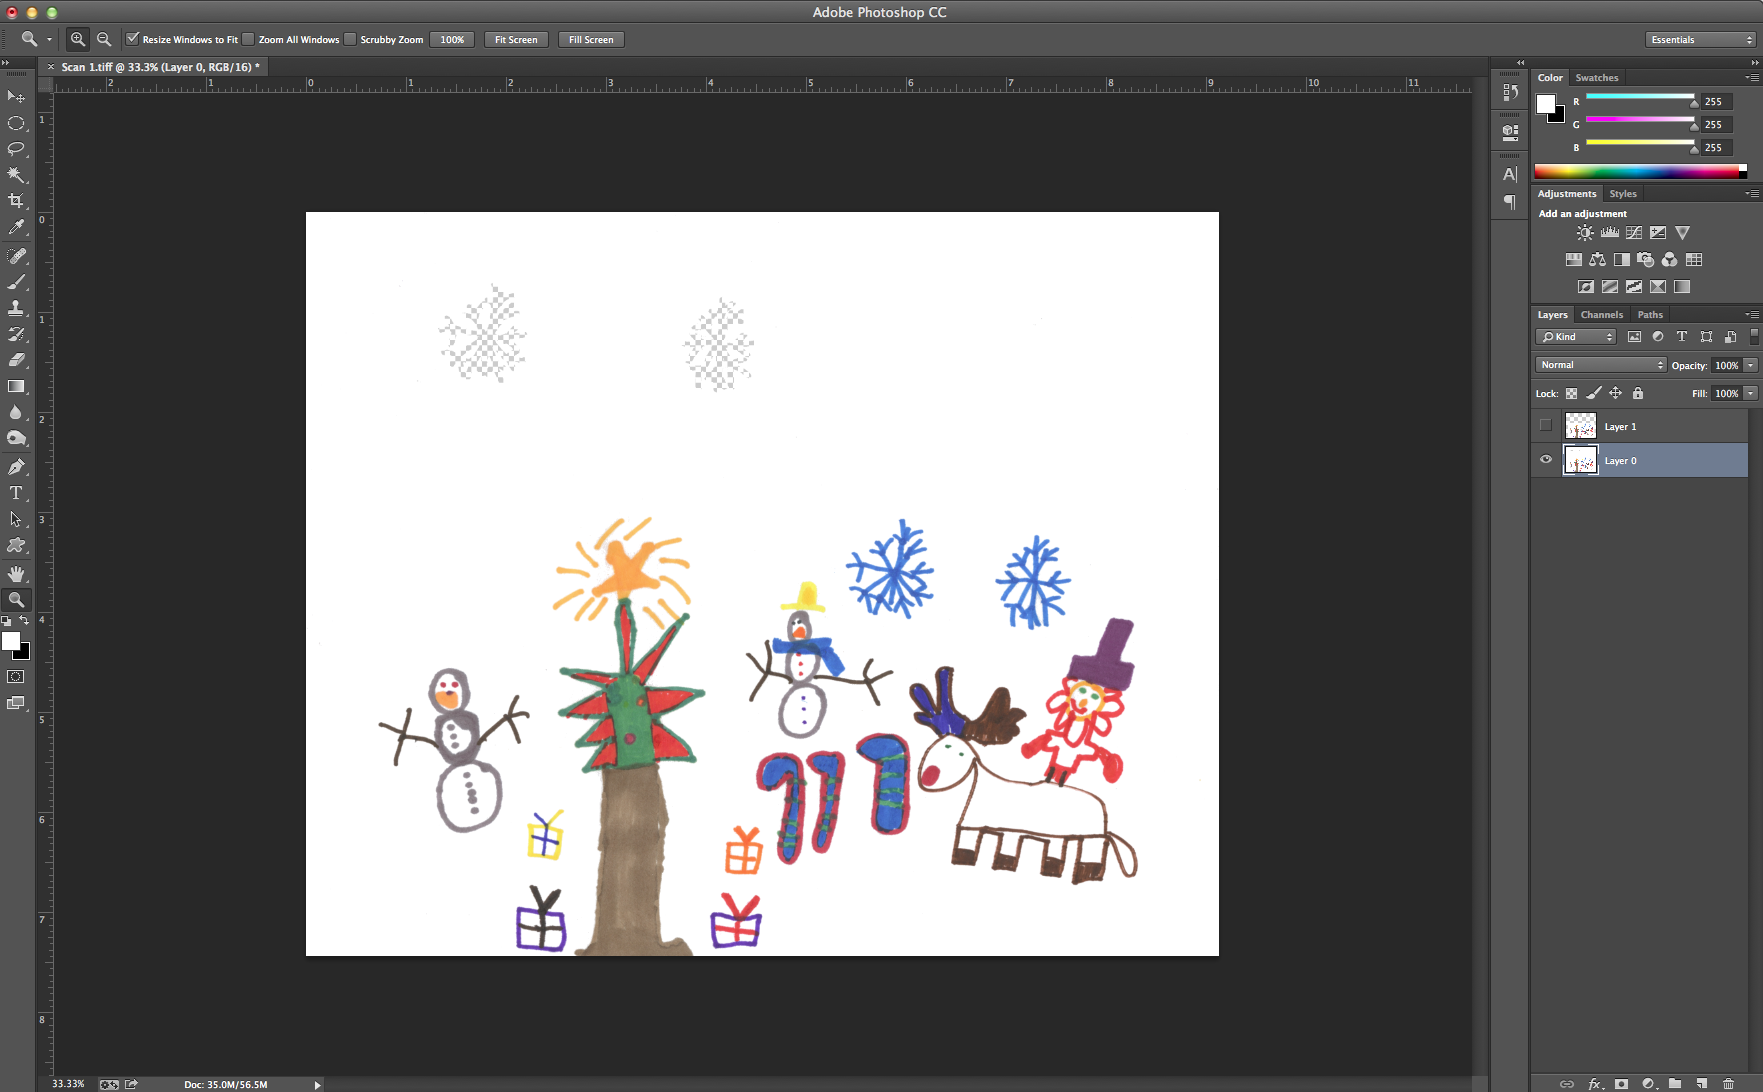
The drawing I used had a lot of wrinkles in the paper, so the next step was to create a pure white background.
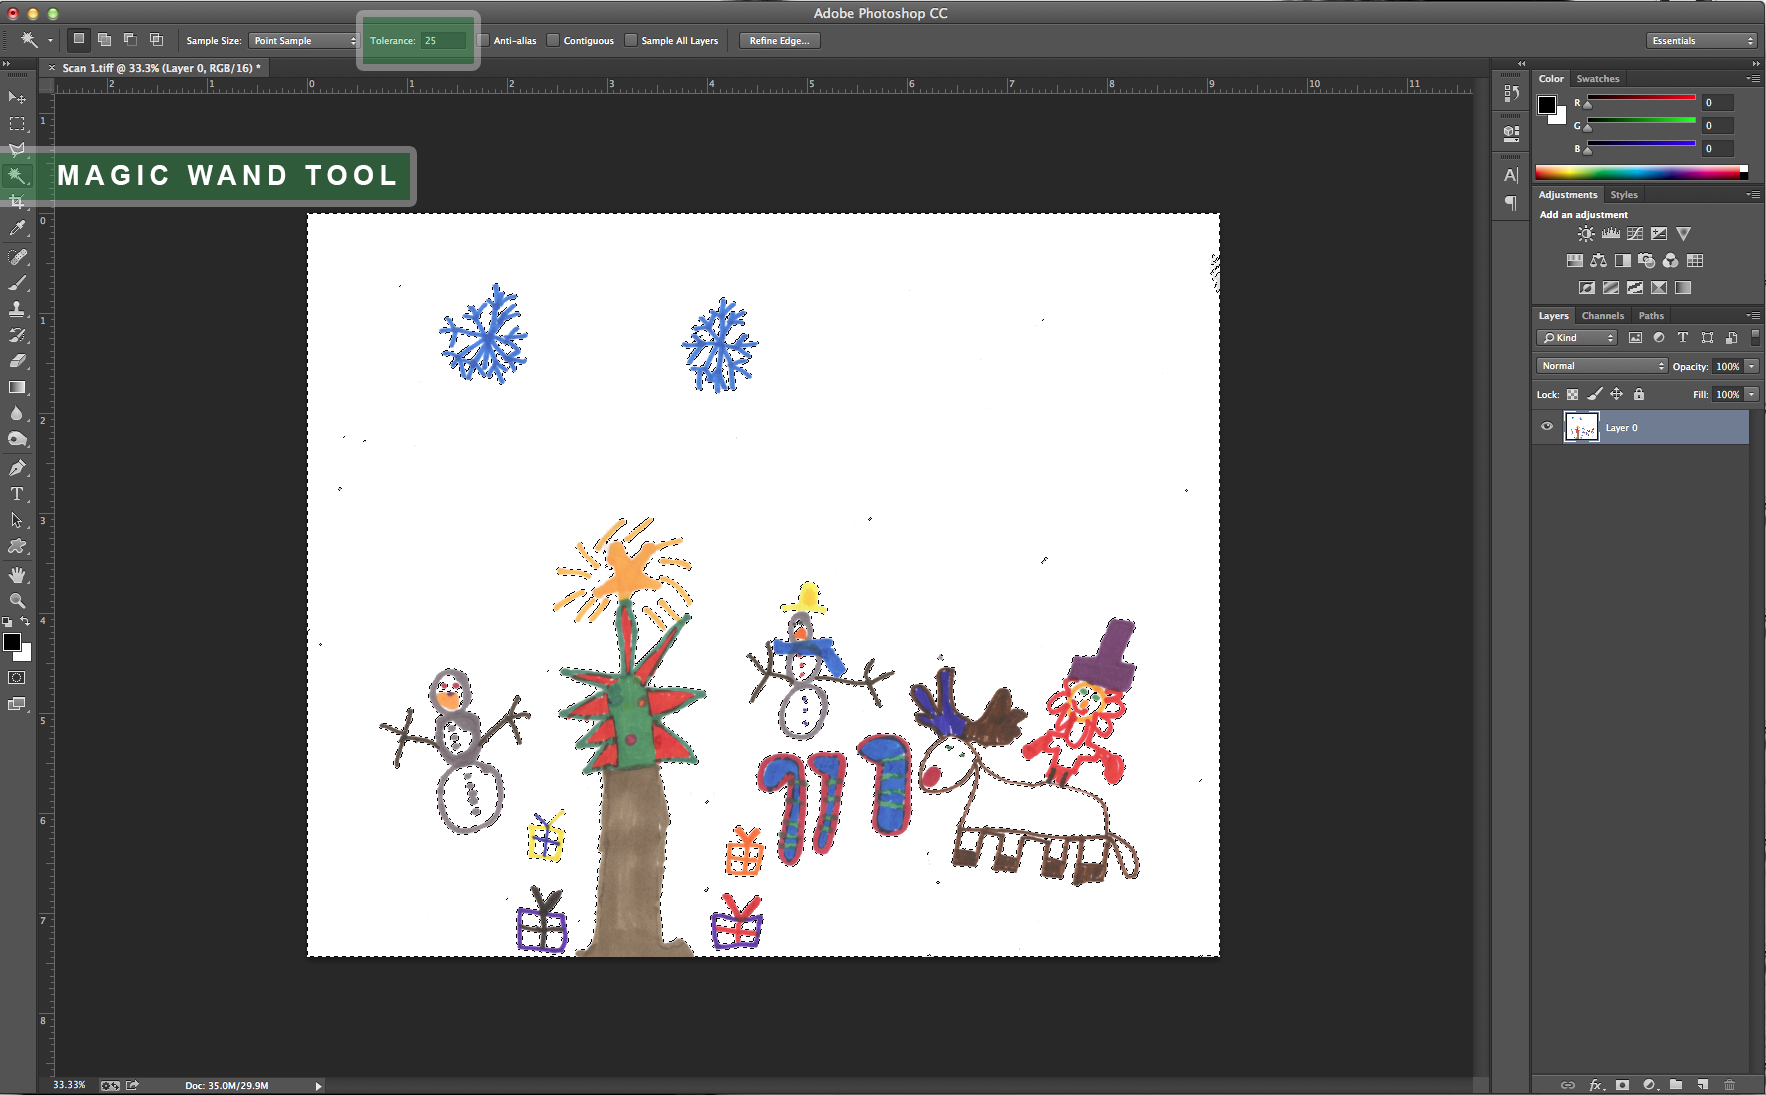
I used the wand tool (shortcut = w) with a tolerance of 25 to select the white background. These settings did a great job at selecting only the background and not the drawing, you want to preserve the drawing as much as possible.
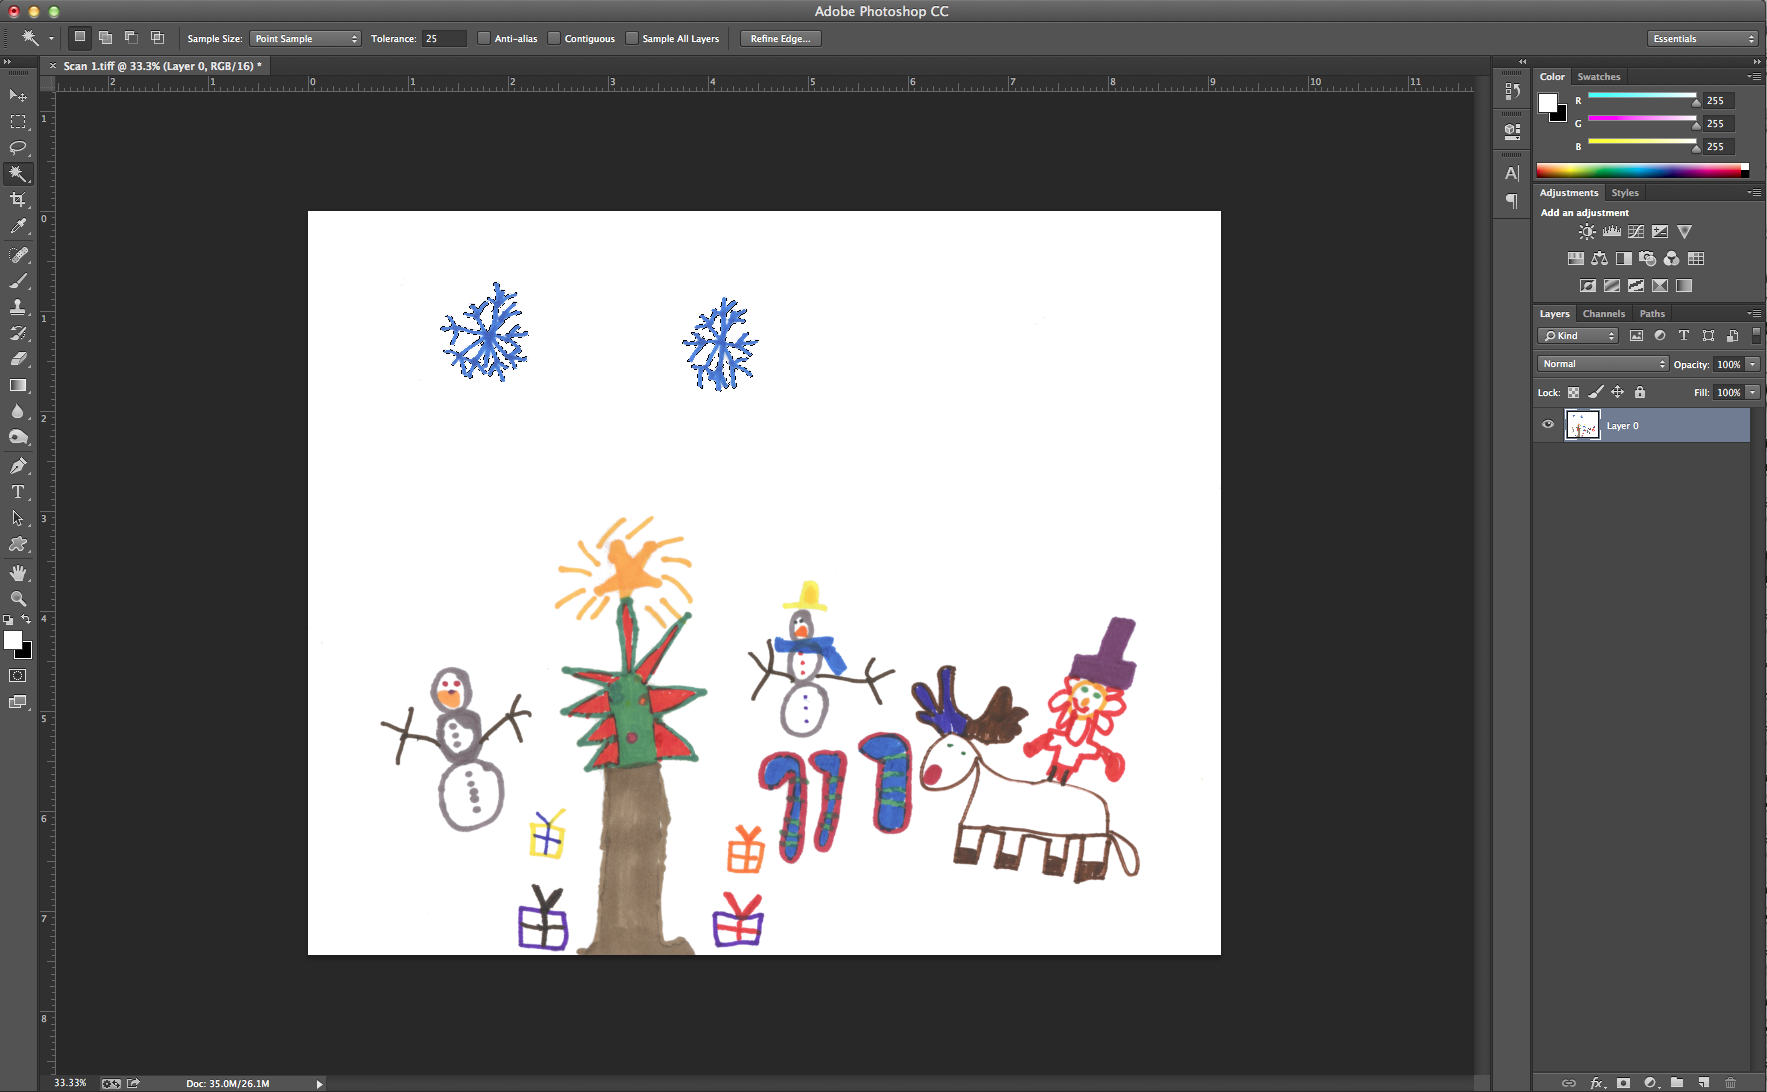
Then fill your selection with white (shortcut = alt+delete to fill with foreground color).
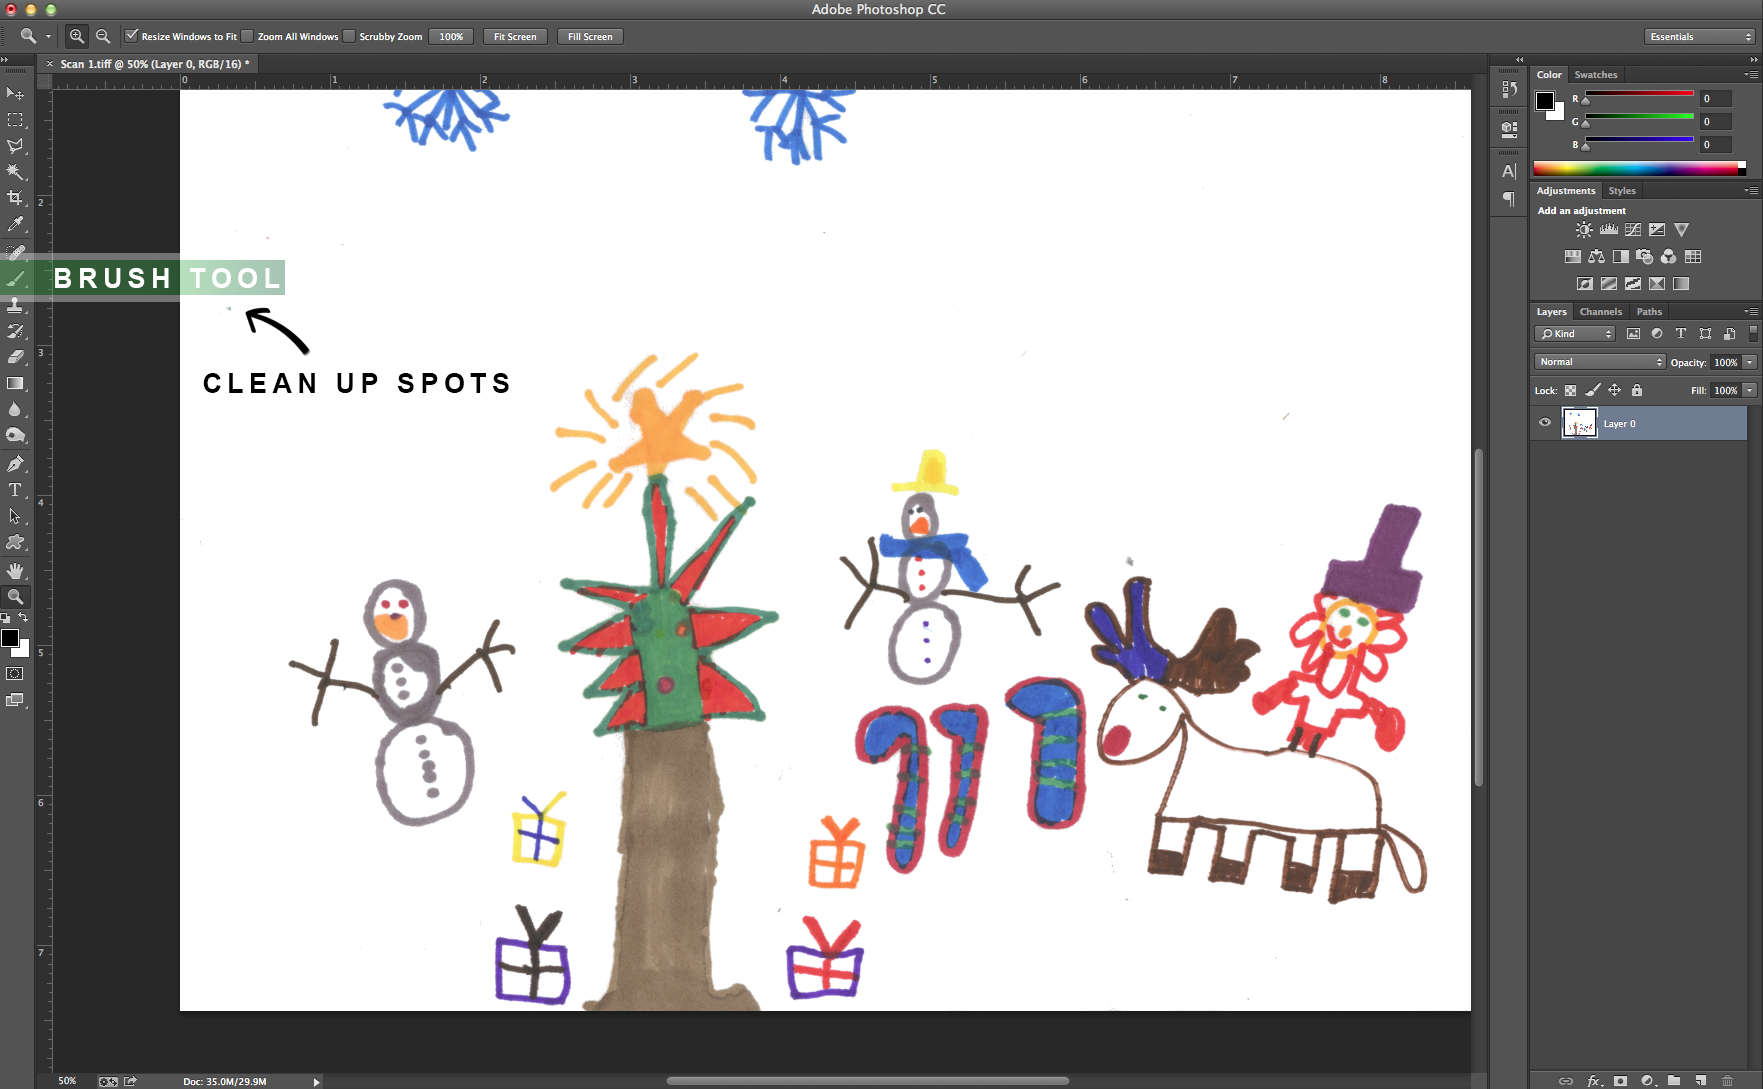
If there are still any unwanted spots, you can clean them up with white using the brush tool (shortcut = b) .
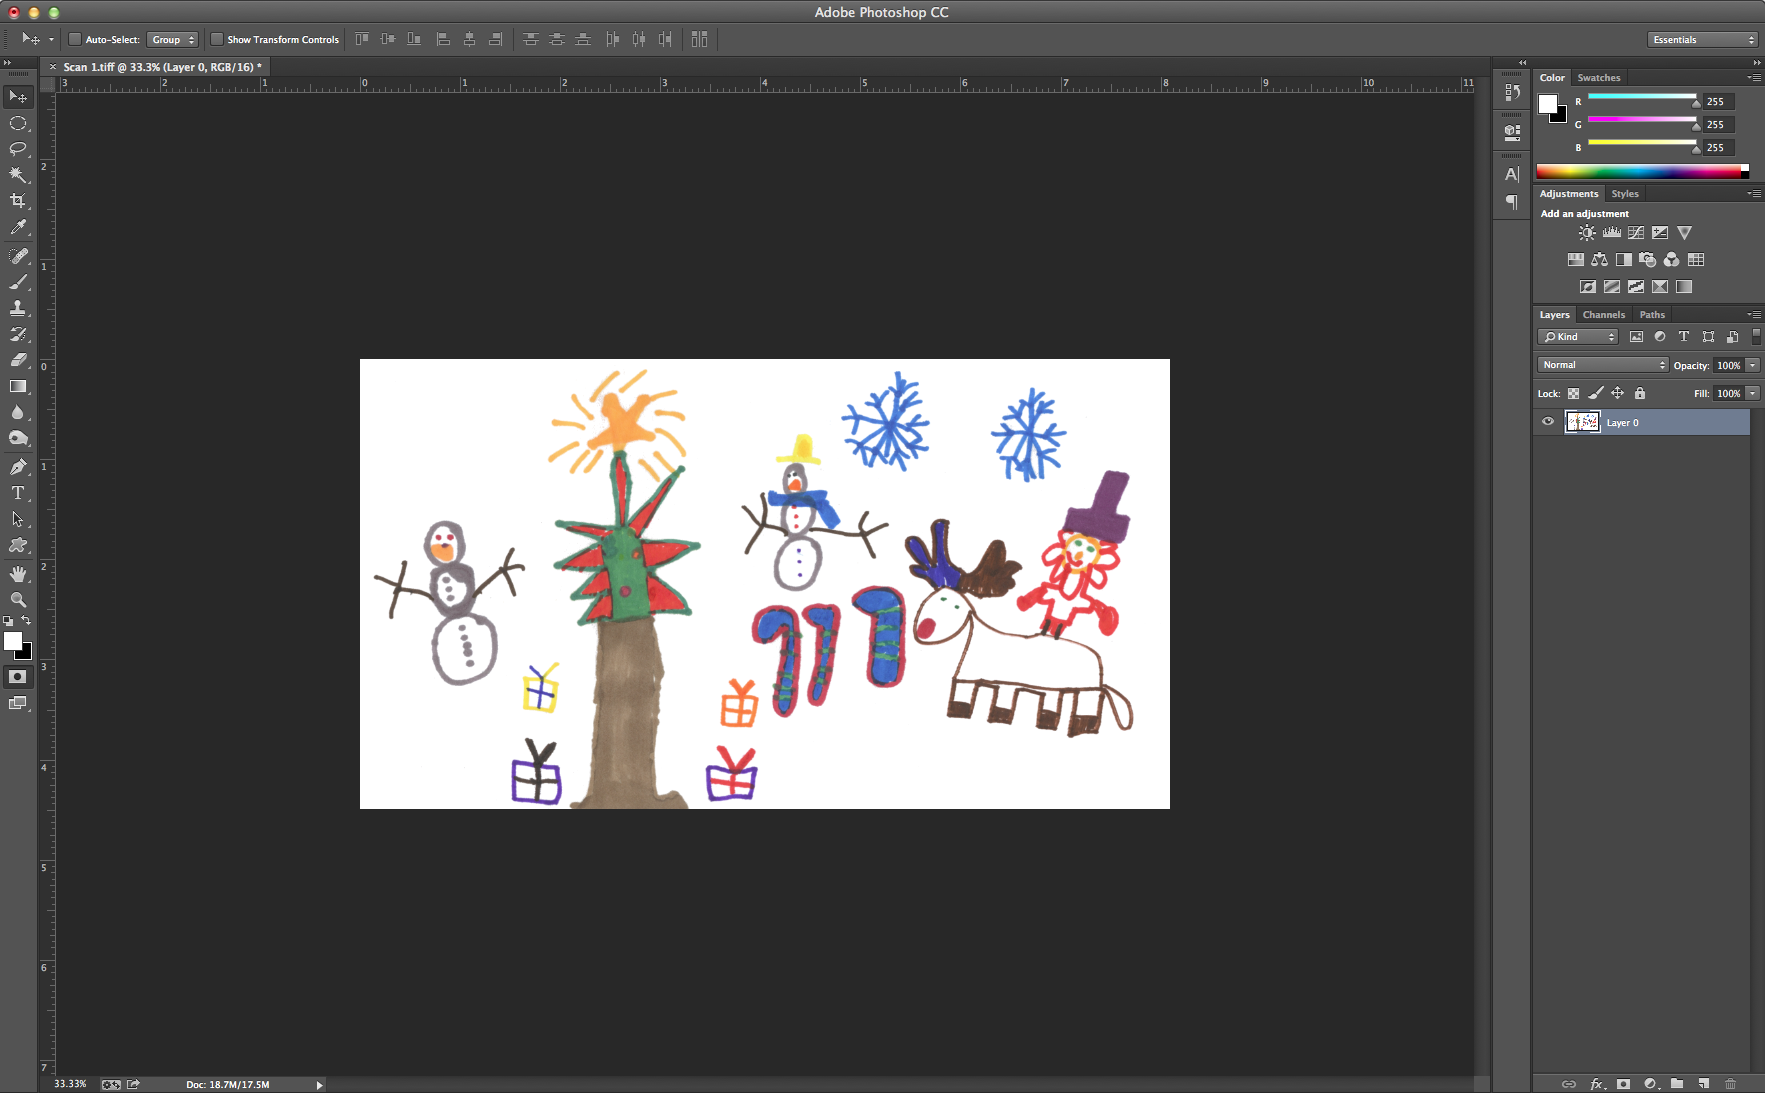
To reduce the amount of white empty space, you want to keep the images as tight as possible. In this drawing there are 2 snowflakes that are too far out but I still wanted to keep them so I moved them in a bit closer. I traced around the snowflakes using the lasso tool (shortcut = L) and moved them closer in. ** To avoid this step, you can have your kid draw everything close together, depending on how old they are and if they are in the mood to cooperate : ) **
Once your design is tight and you like the layout you can crop down the size to further remove any empty space. I used the crop tool (shortcut = c)
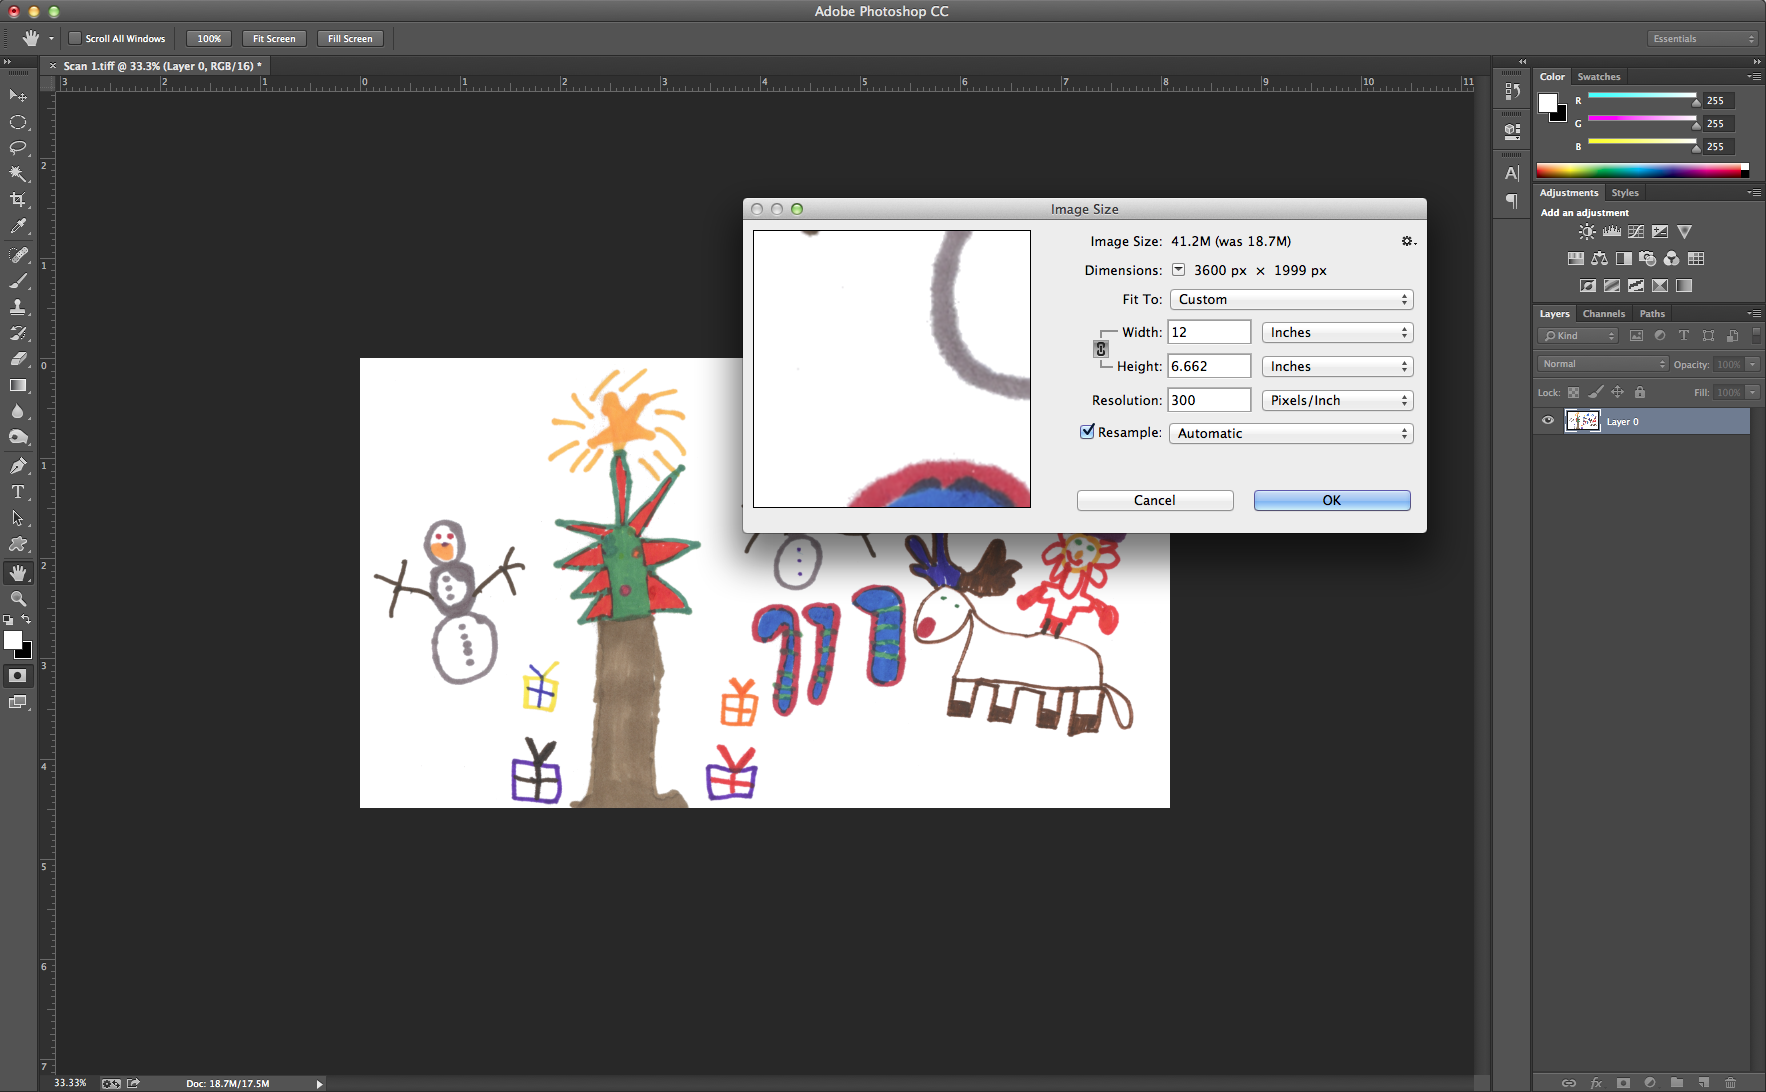
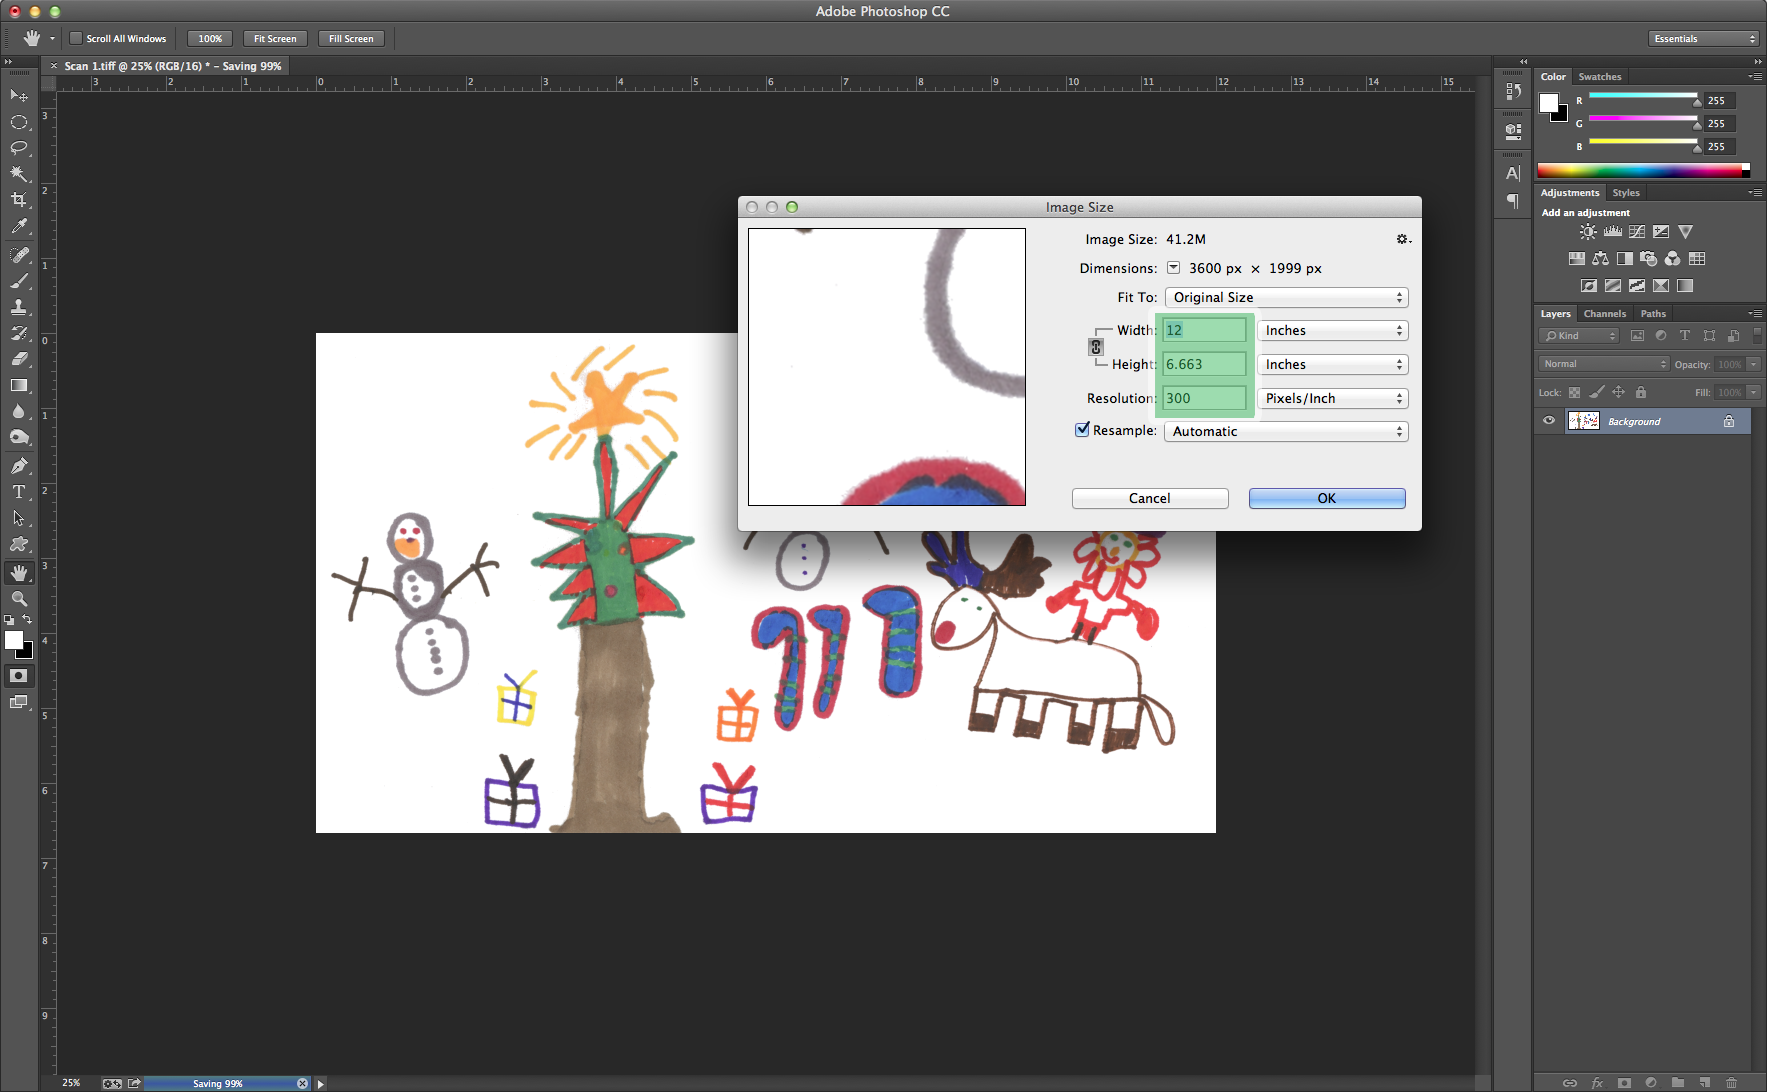
Next you can adjust the size if necessary, I increased the size to create a bigger print. My final size was 12" X 6.662".
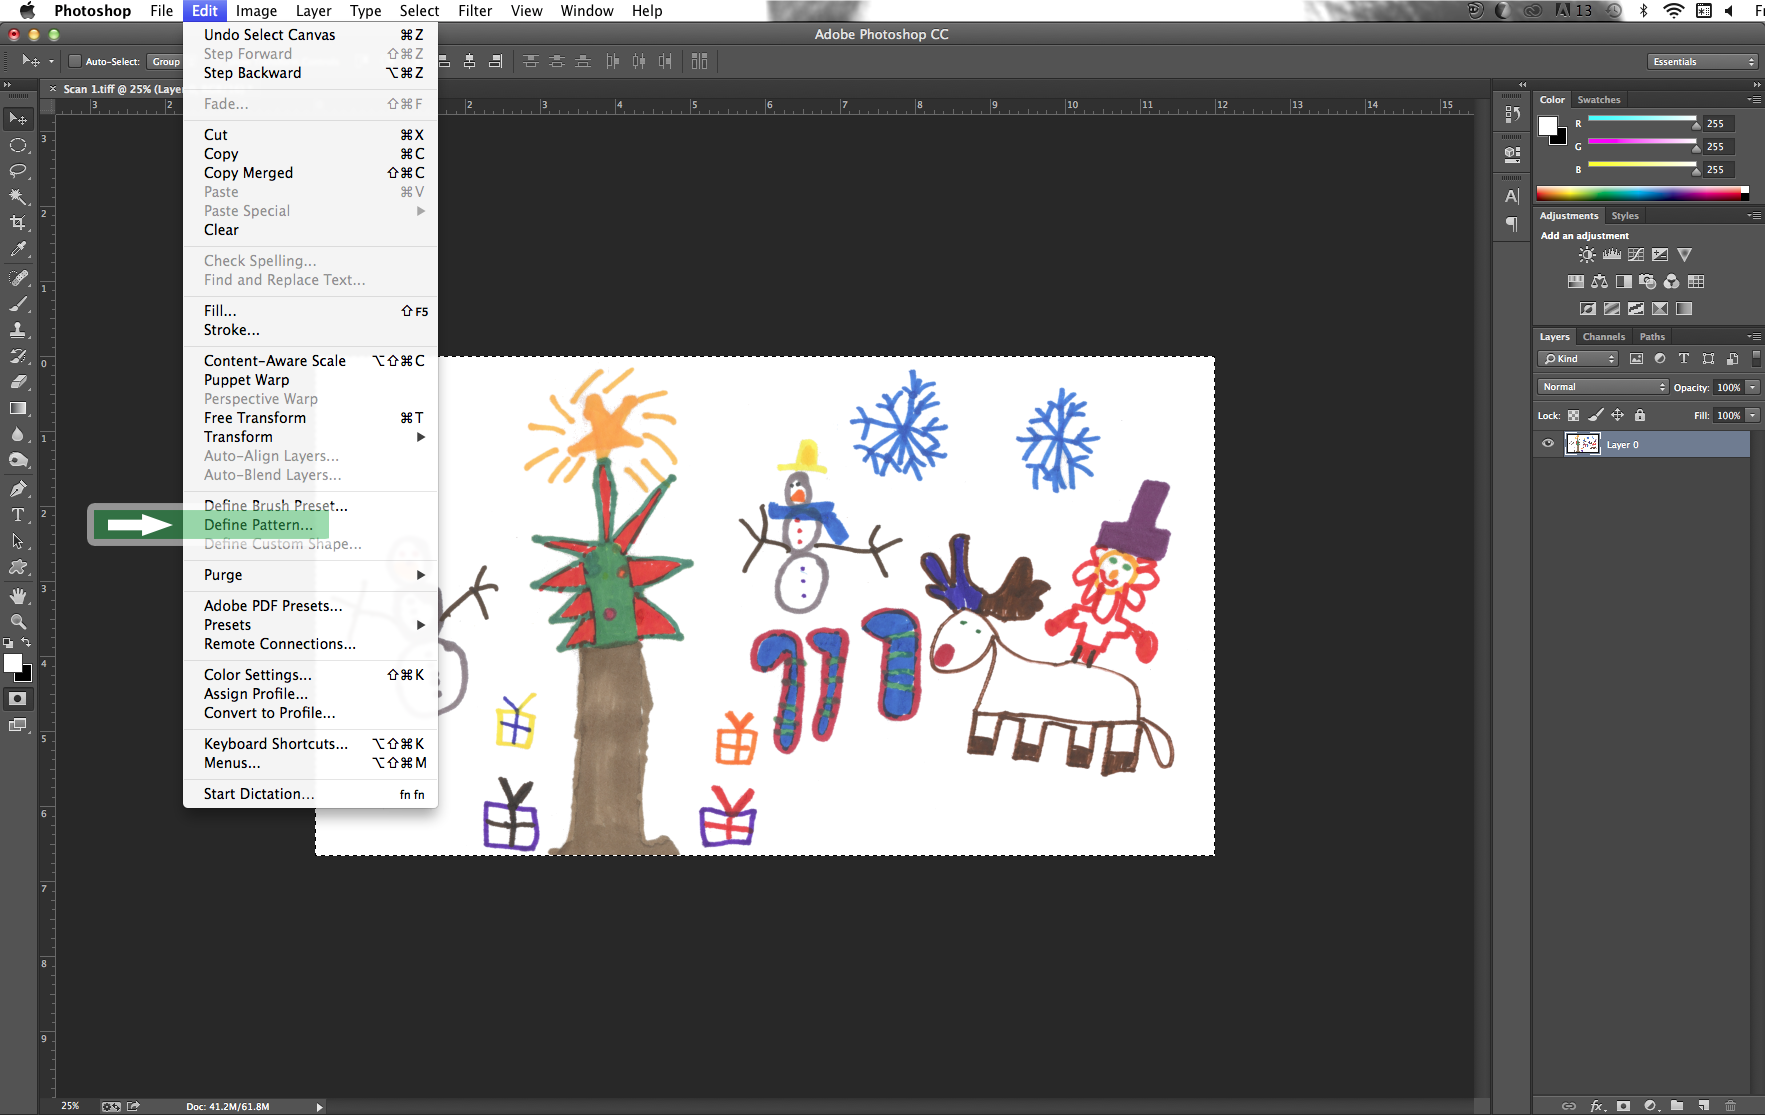
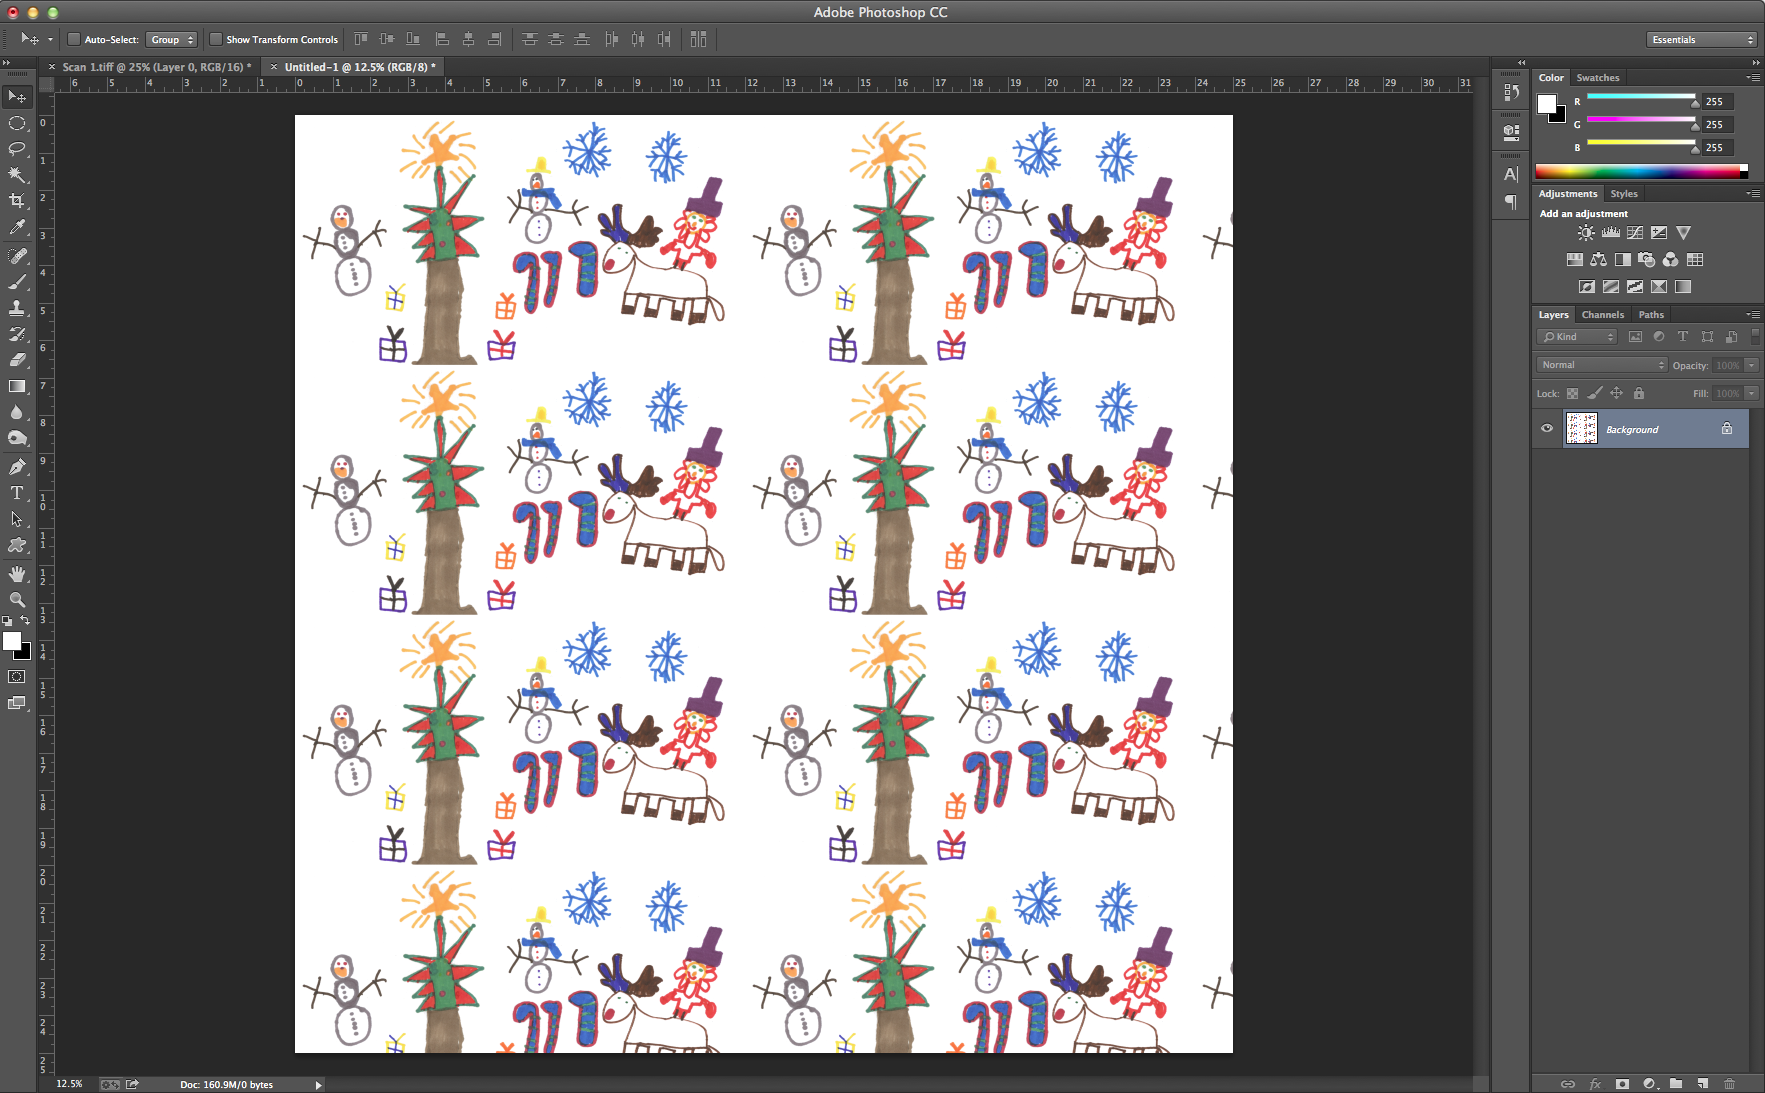
I like to test out my prints to see how they look. To test out your print, select your entire image, you can use the rectangular marquee tool (shortcut = m) or use the shortcut command+a to select all.
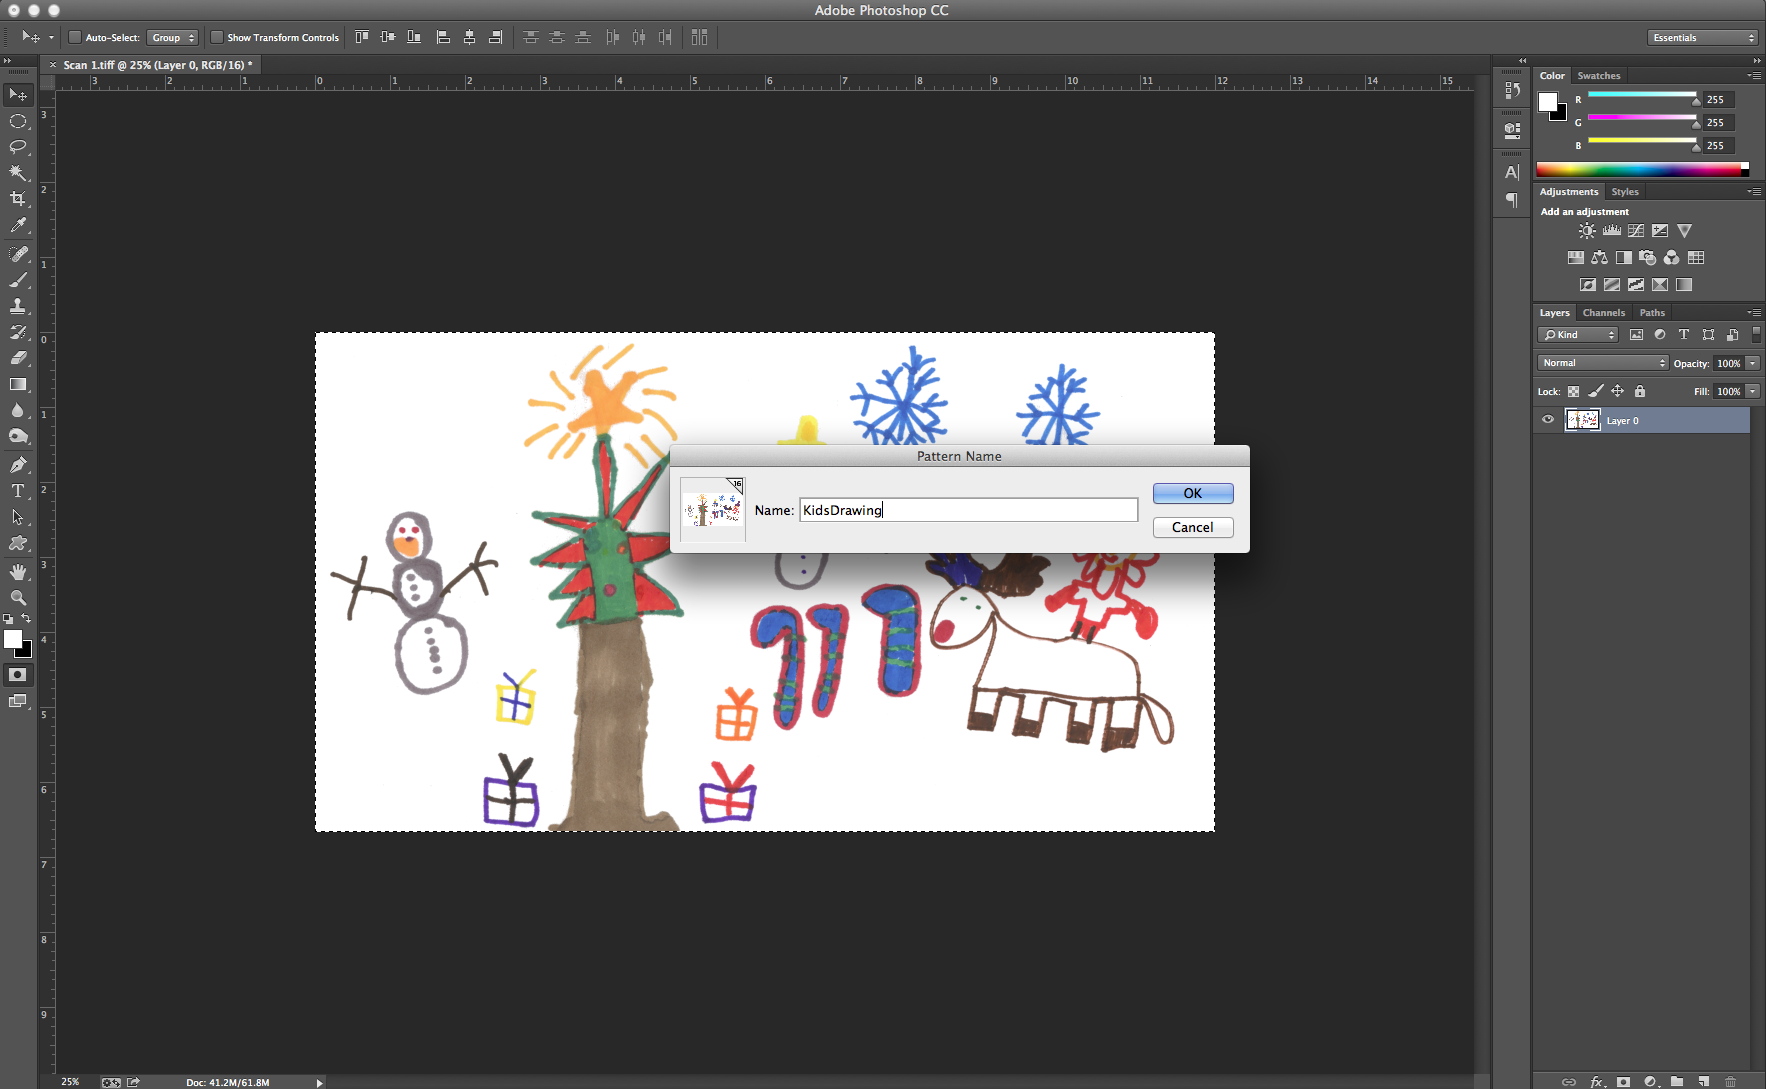
Once your image is selected go to edit, then define pattern. You can also name your pattern to keep things organized.
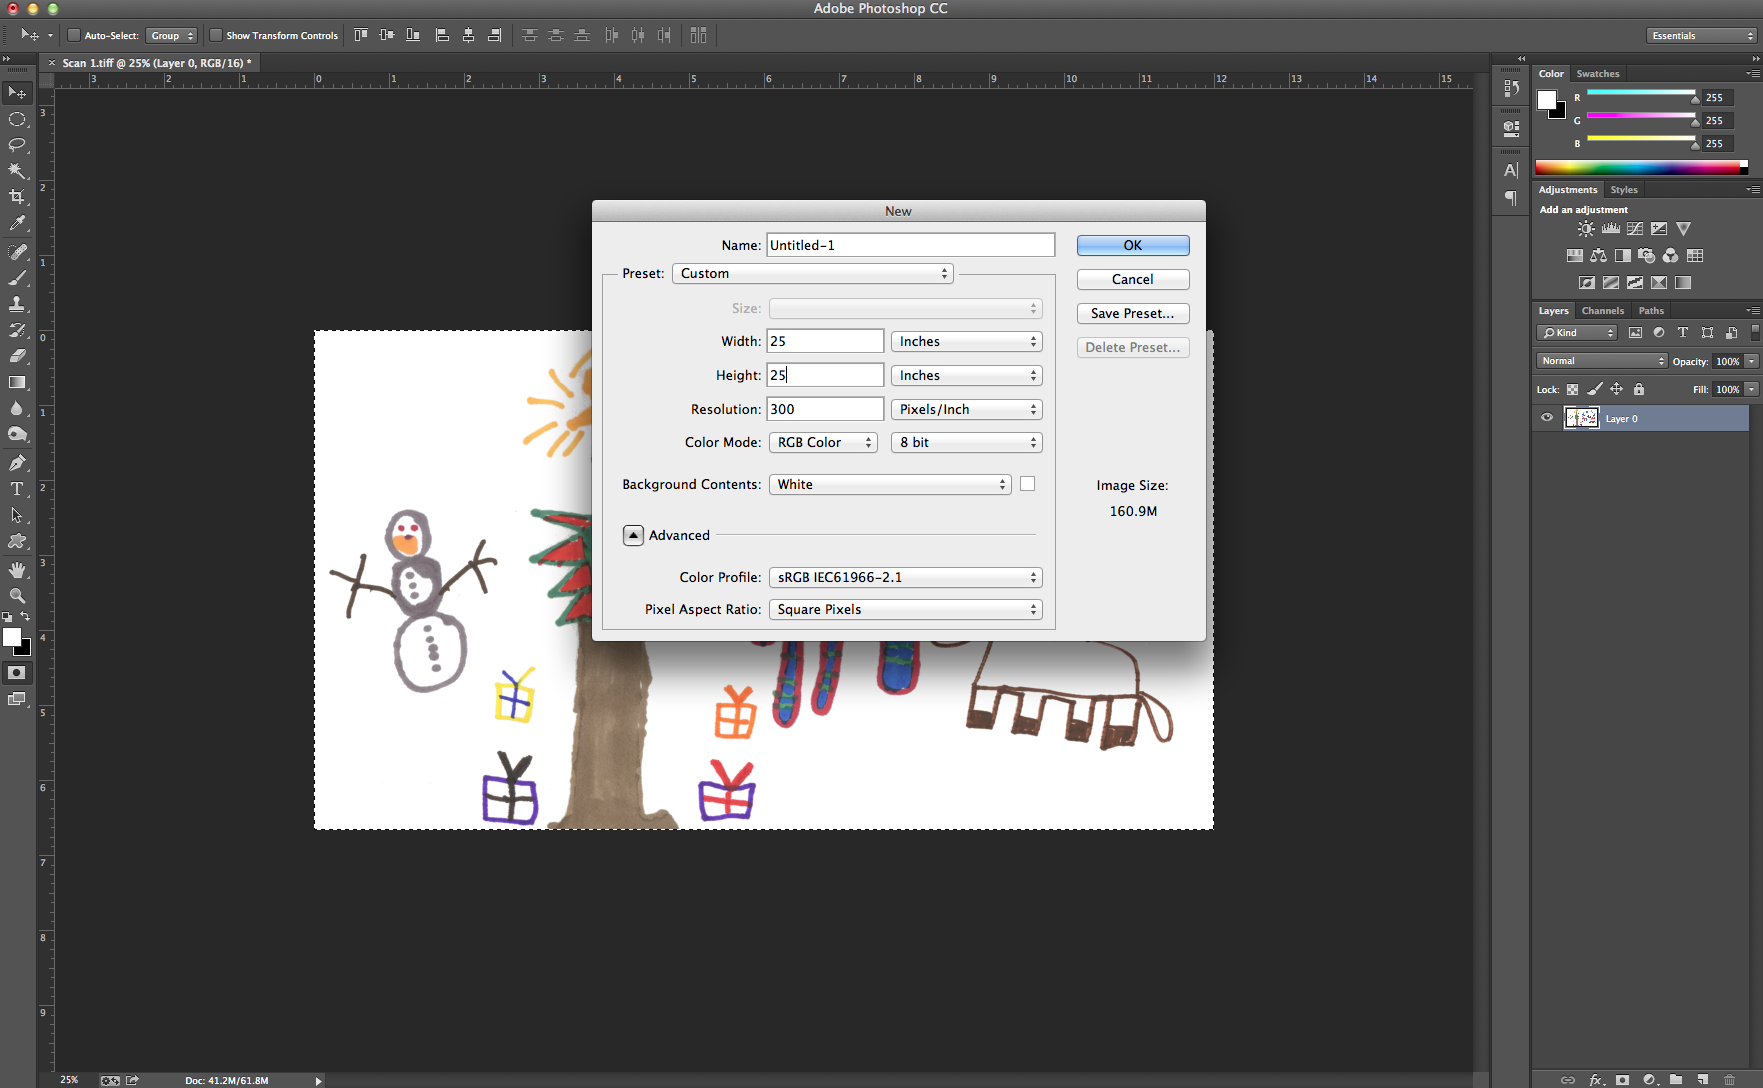
Next create a new document that is a few times larger than your print, I created mine at 25" X 25" . You want it pretty big so you can see how your design will repeat out.
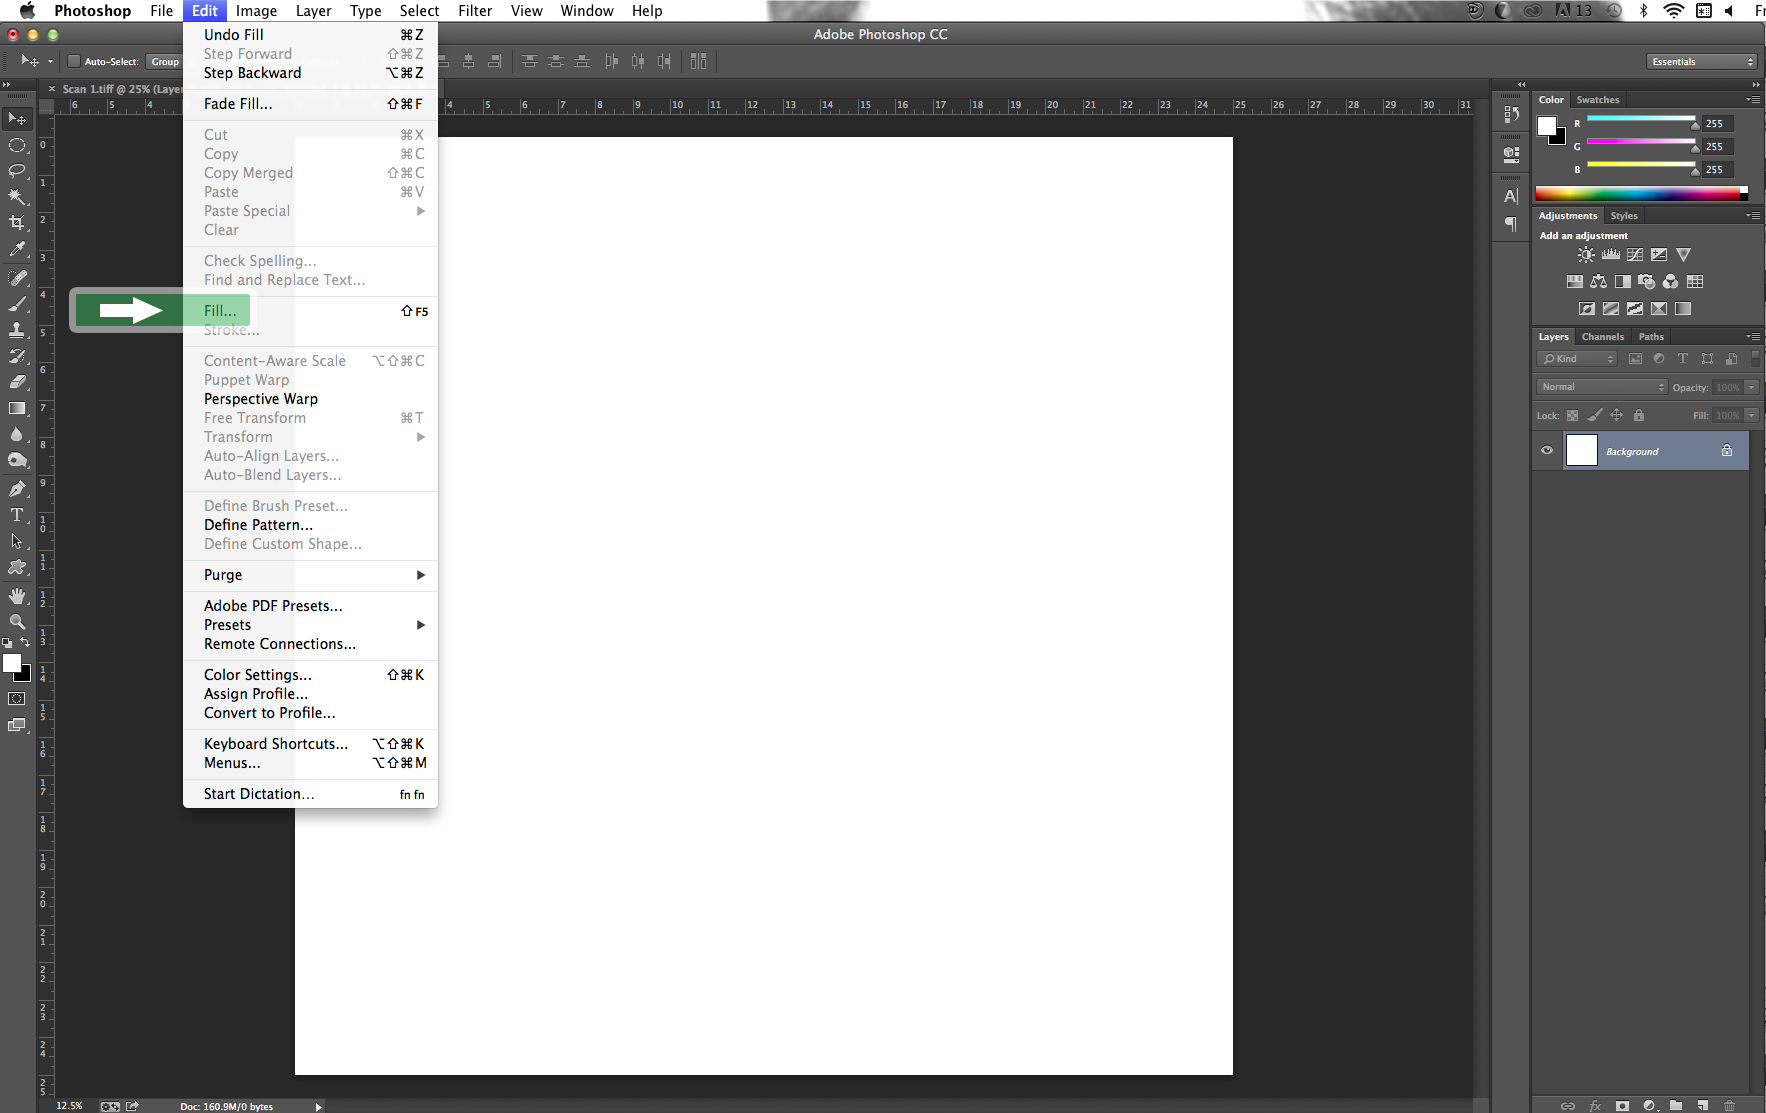
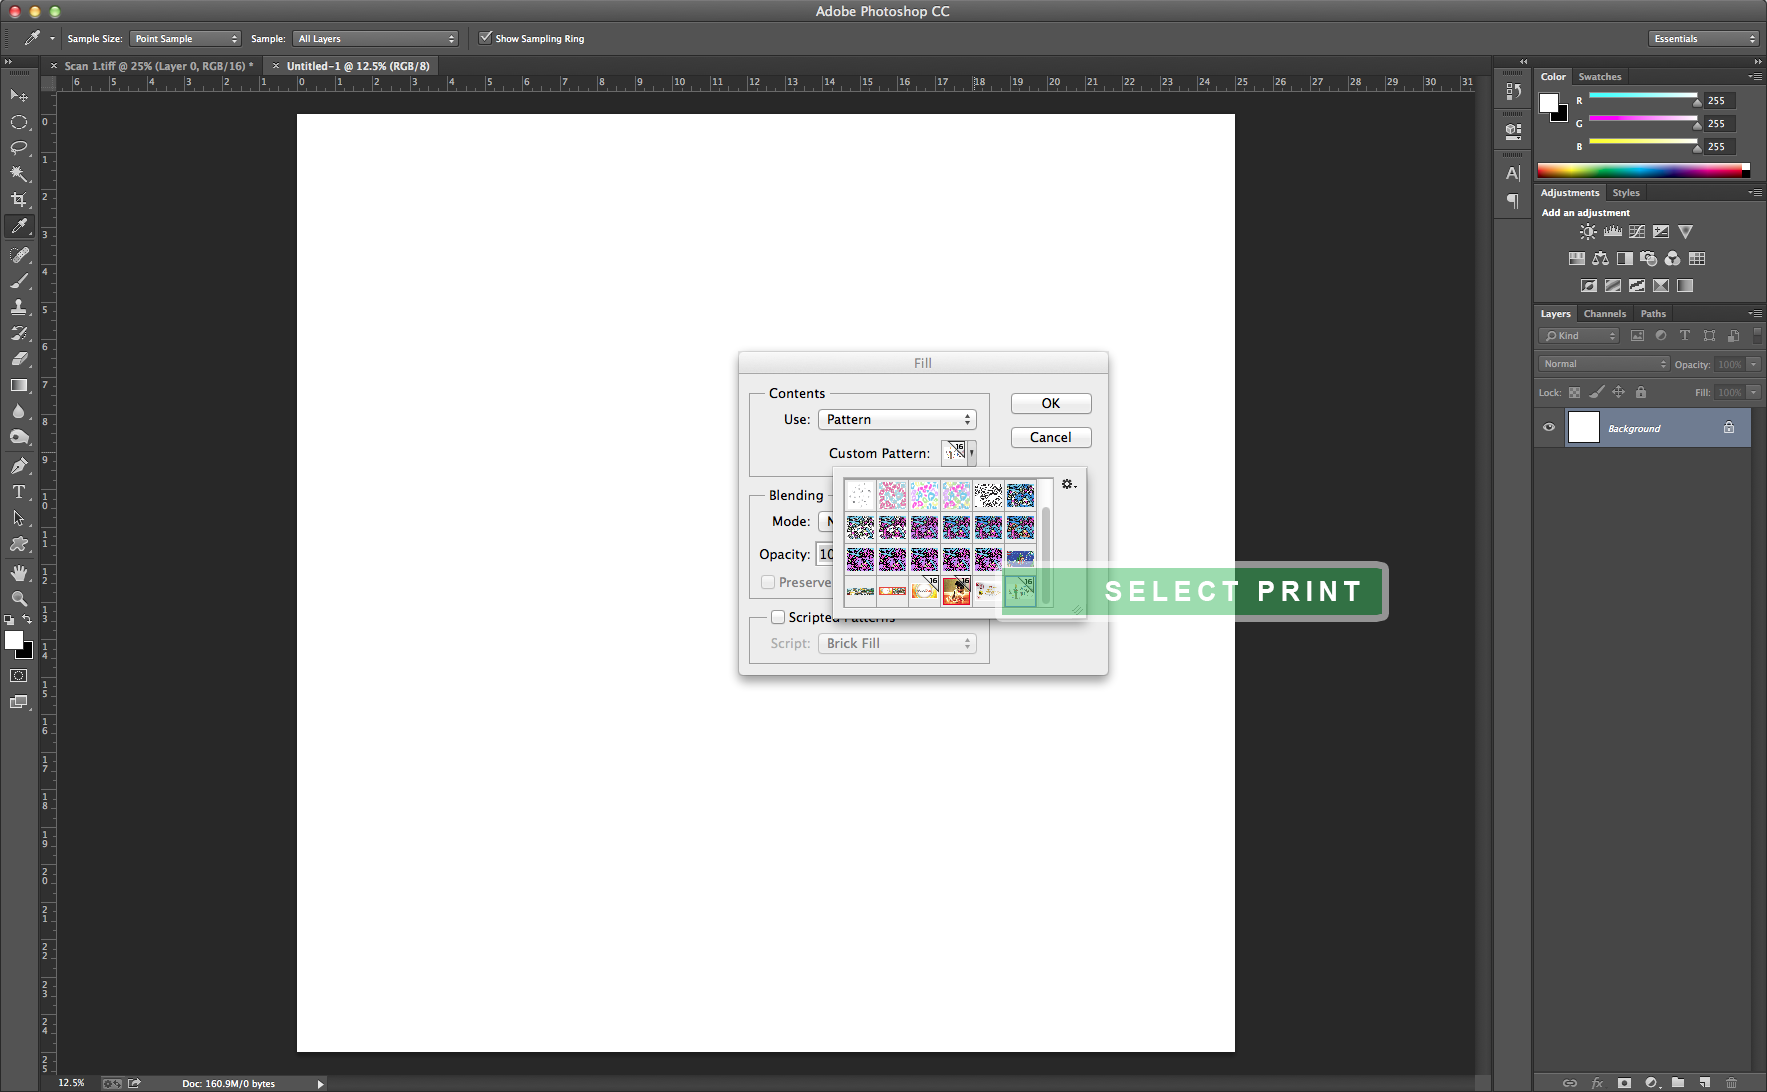
Then fill your new document with your pattern. Got to file, then fill and select your pattern. Or use the shortcut shift + delete and select your pattern.
This will give you a preview of your design. **Spoonflower will also have a few layout/repeat choices for your pattern**
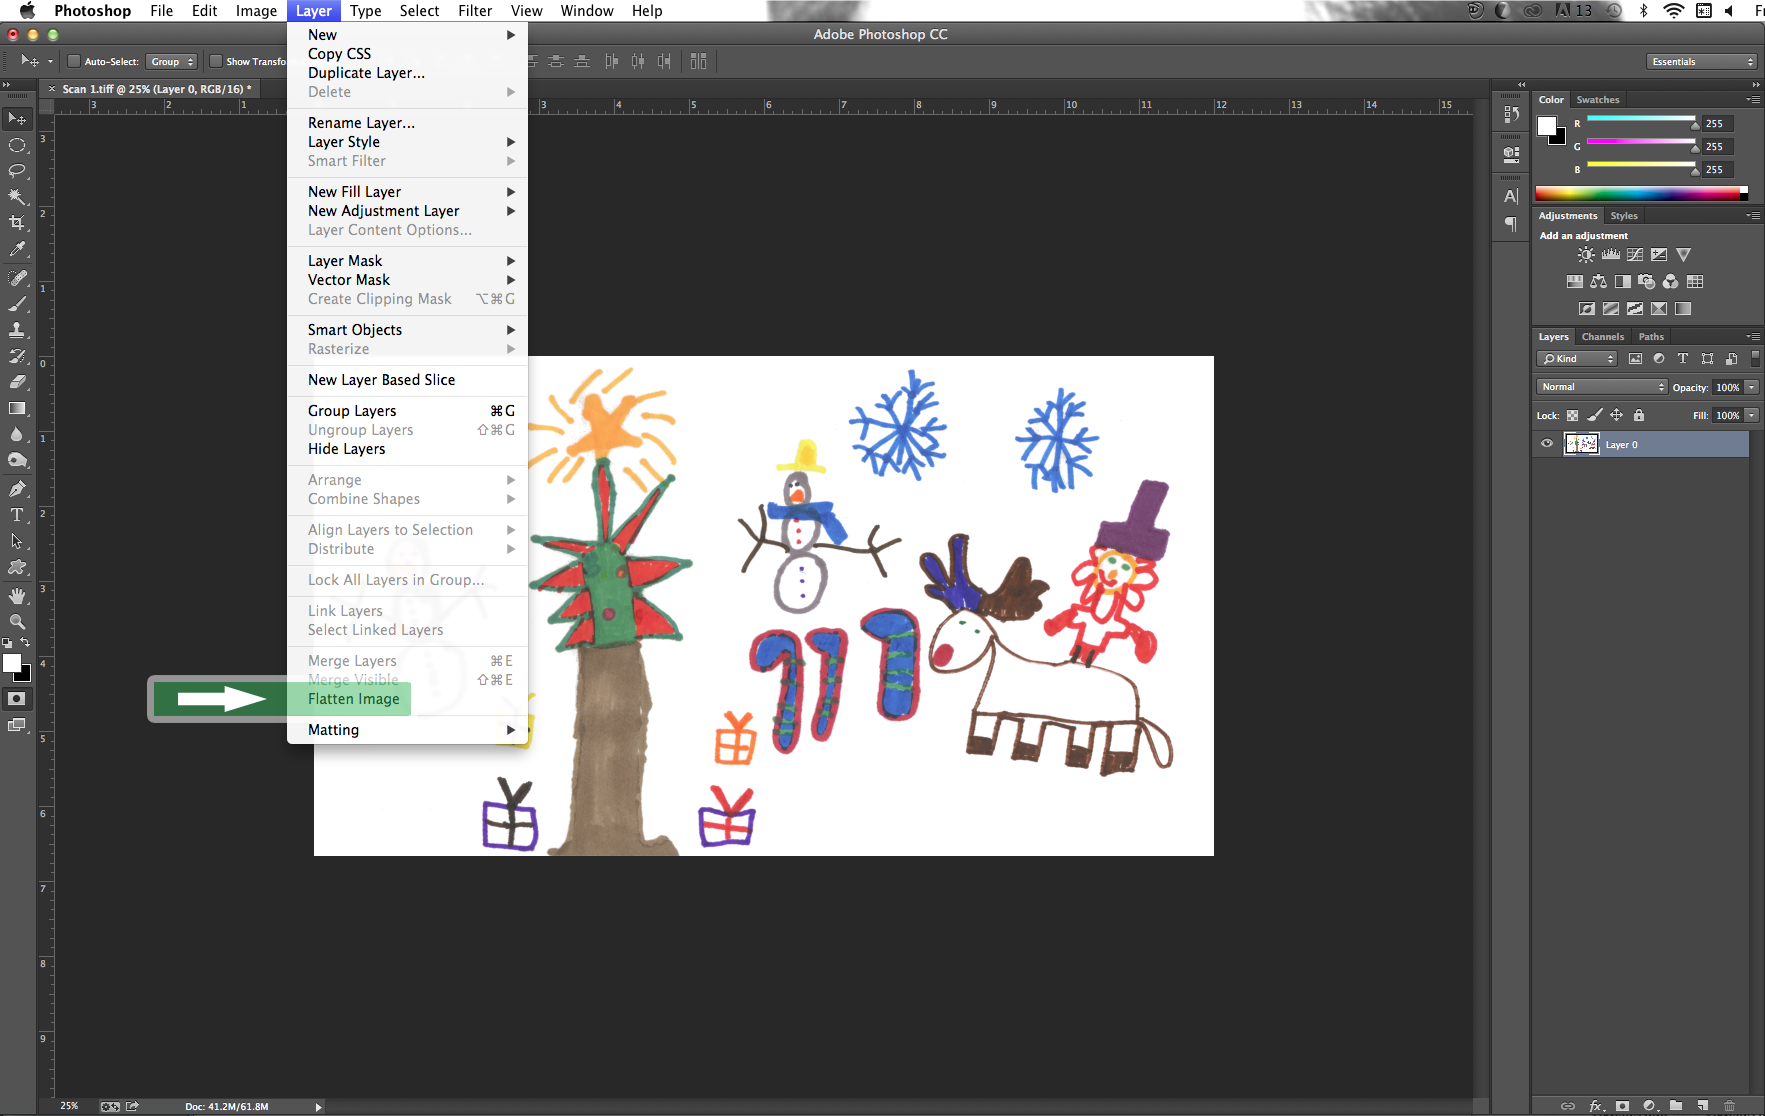
Once your design is complete, flatten your image (If it is not already flat) Go to layer, then select flatten image.
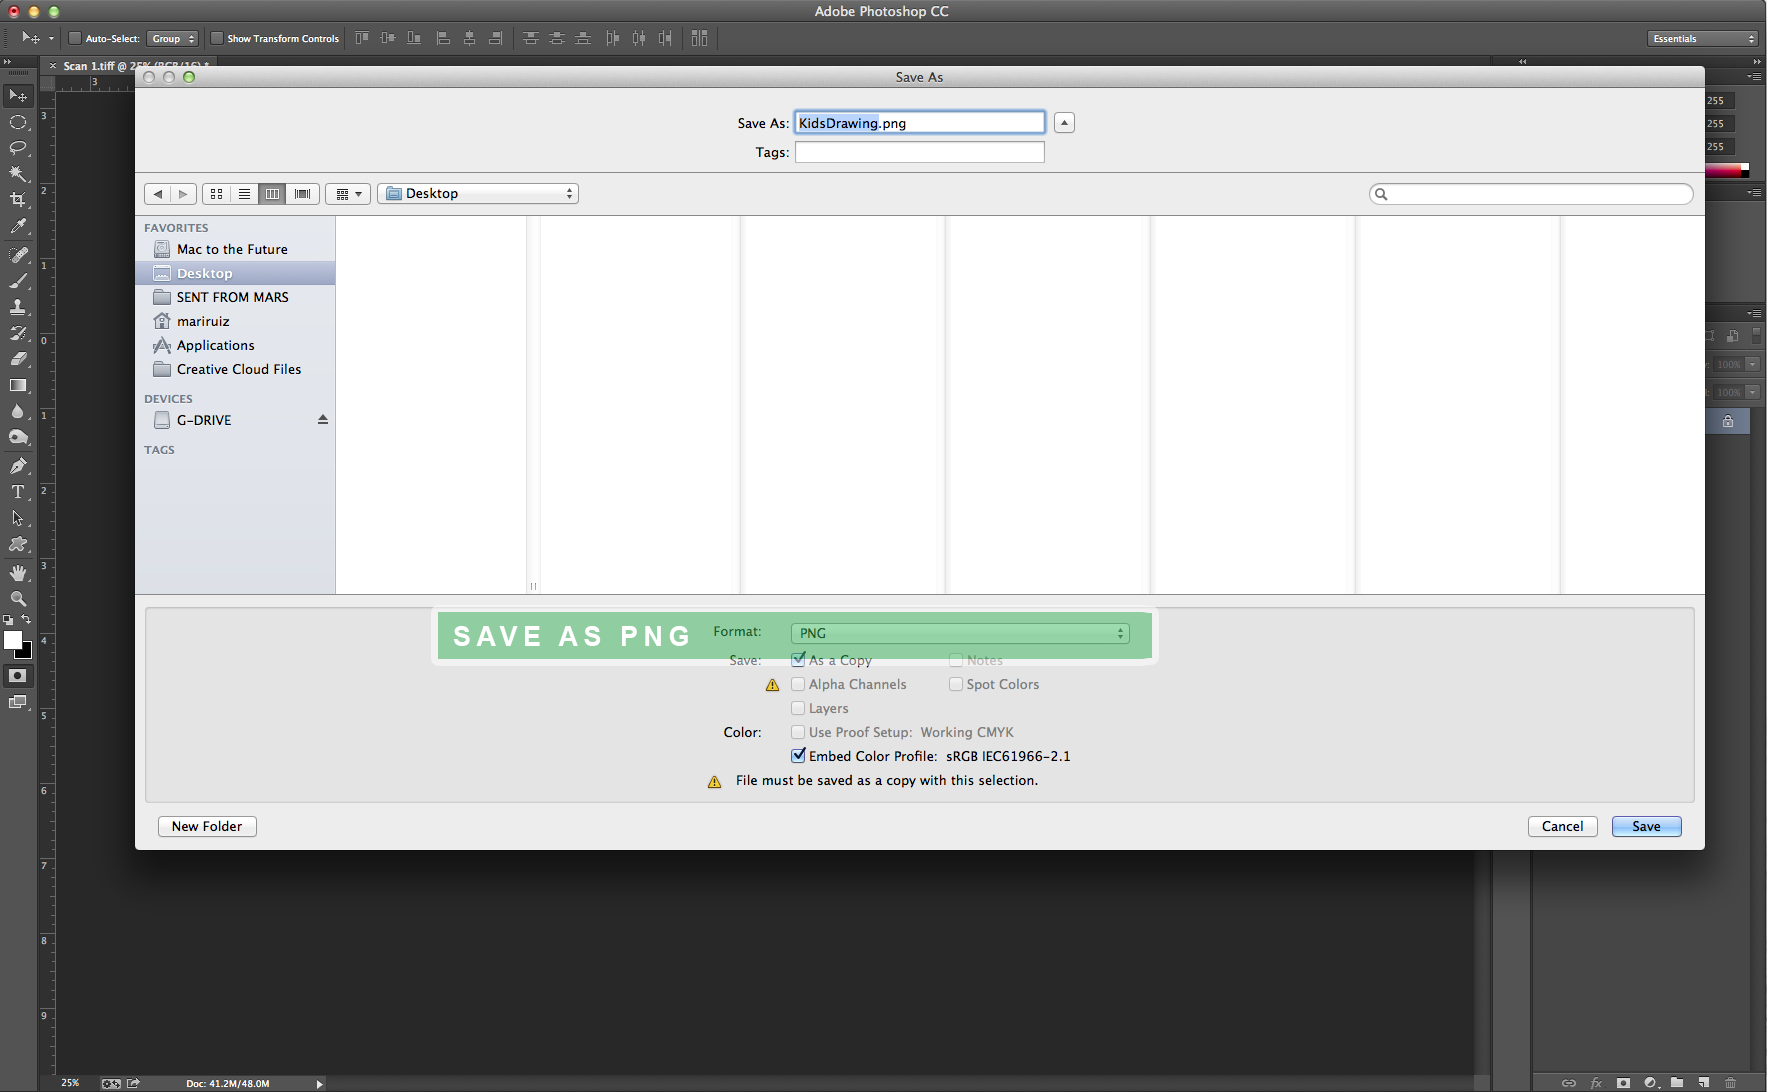
The last thing you need to do is save your design. Go to file, save as and save as a PNG. There are a few more file types you can use on Spoonflower but I like to use a PNG, it gives a clear picture without pixelation.
Upload to Spoonflower
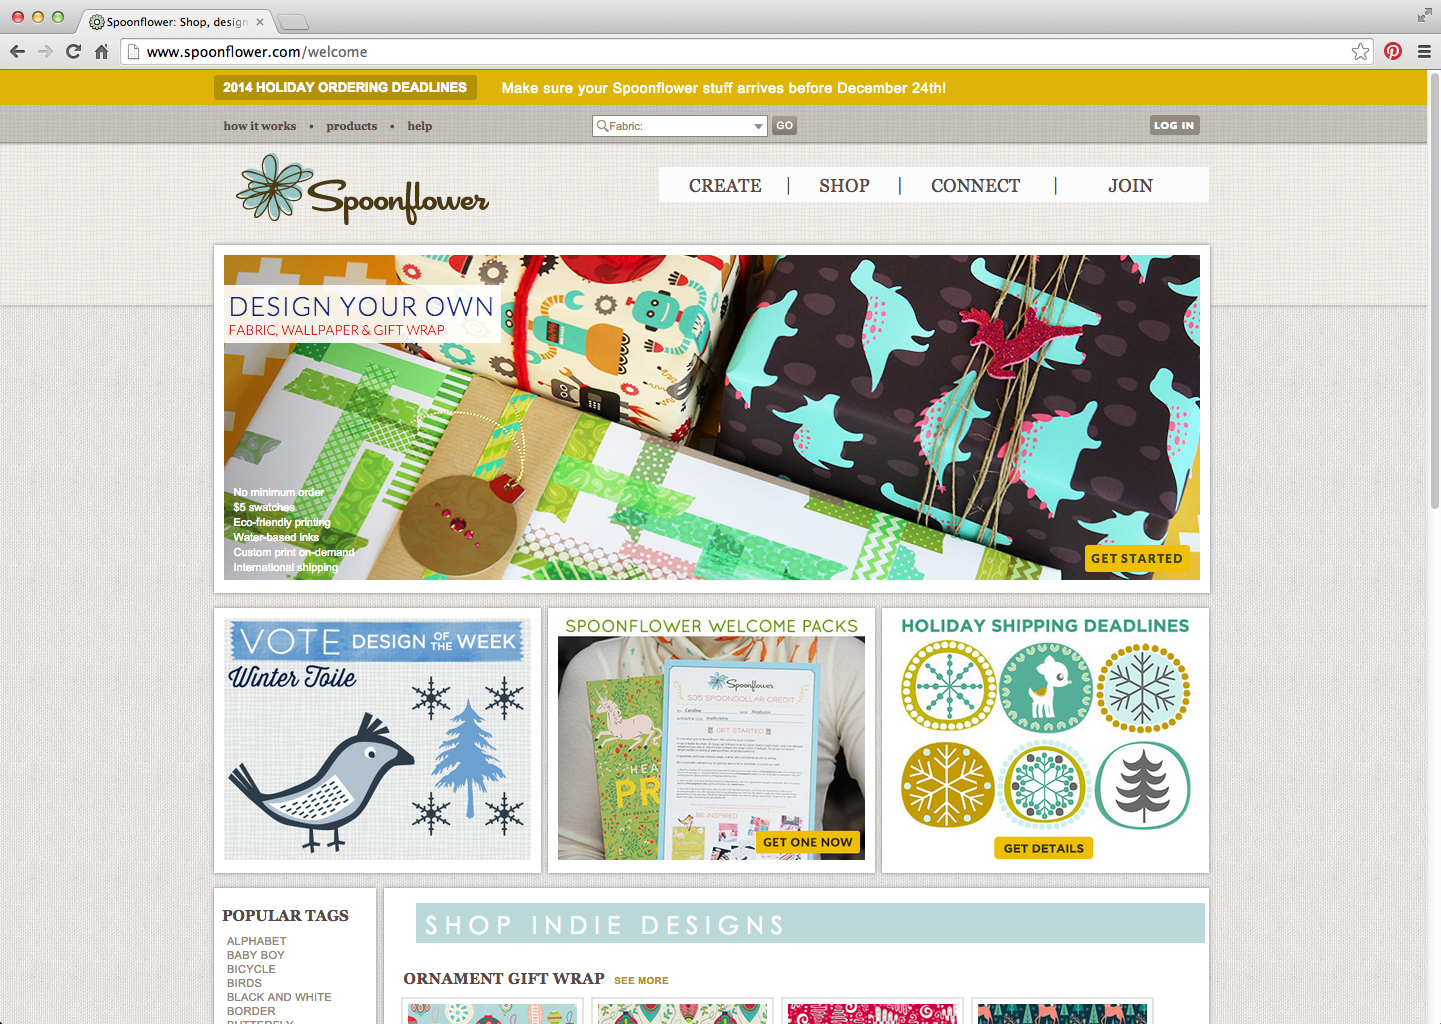
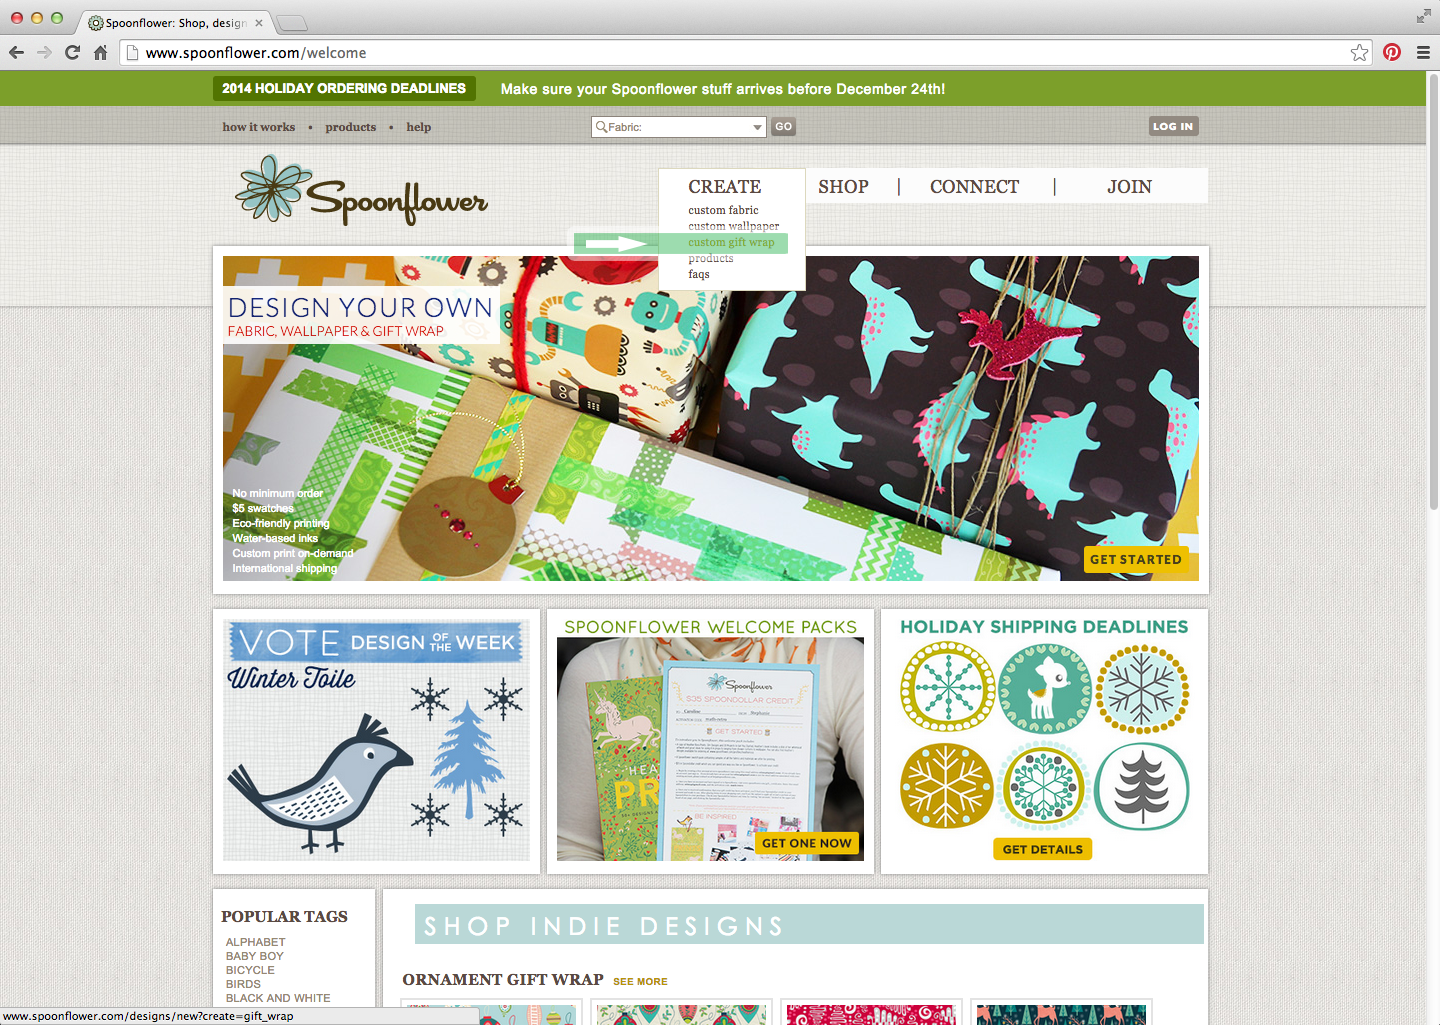
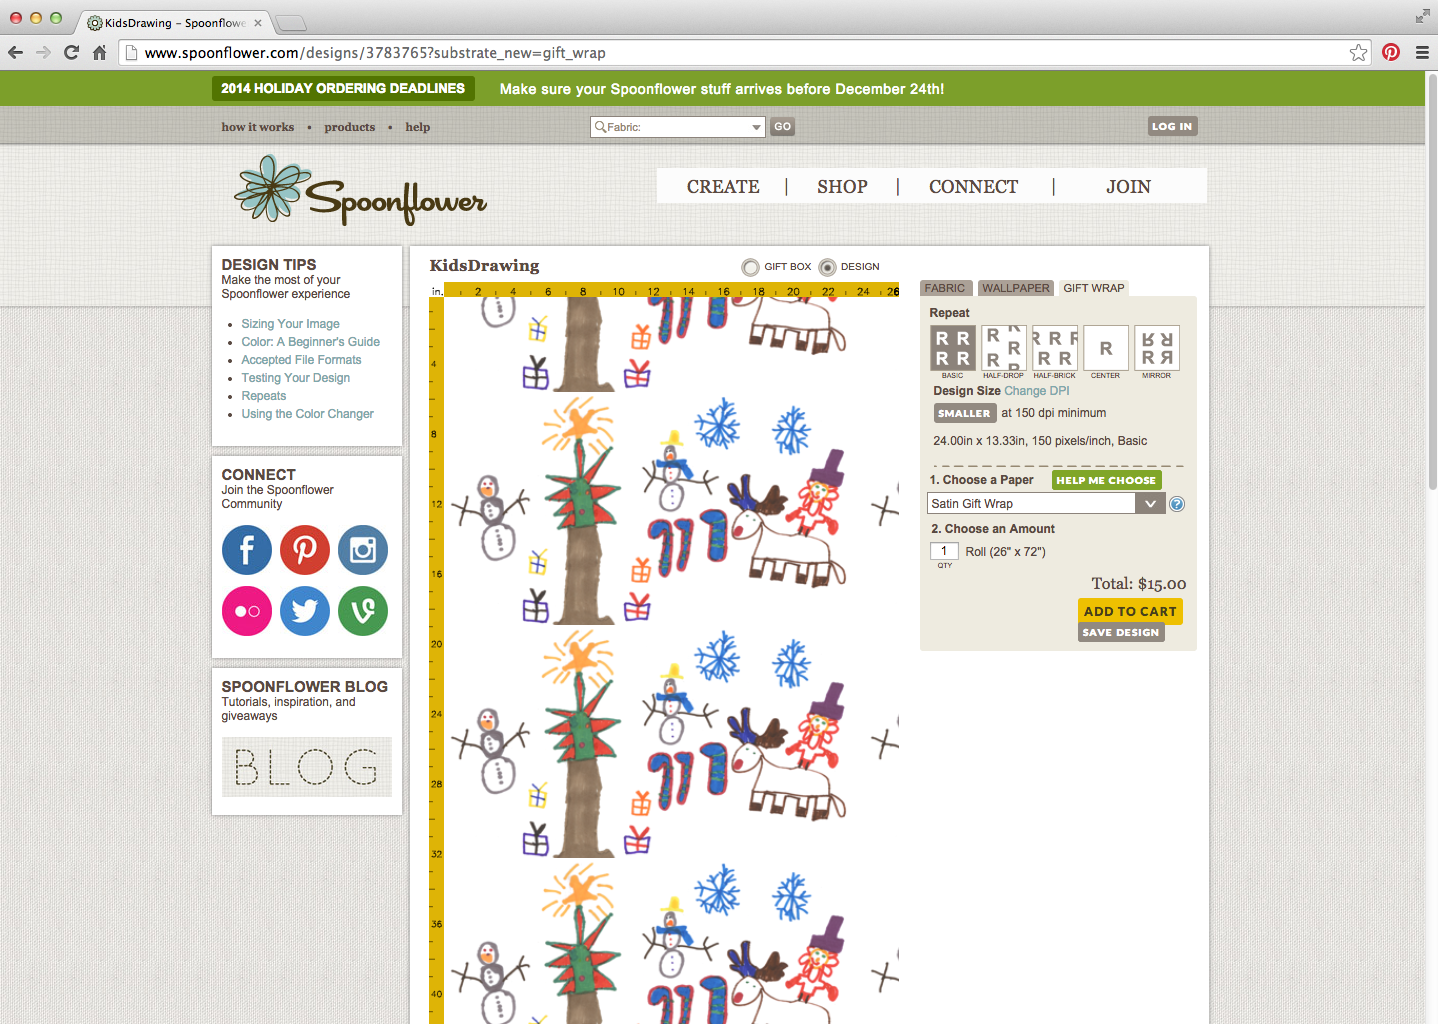
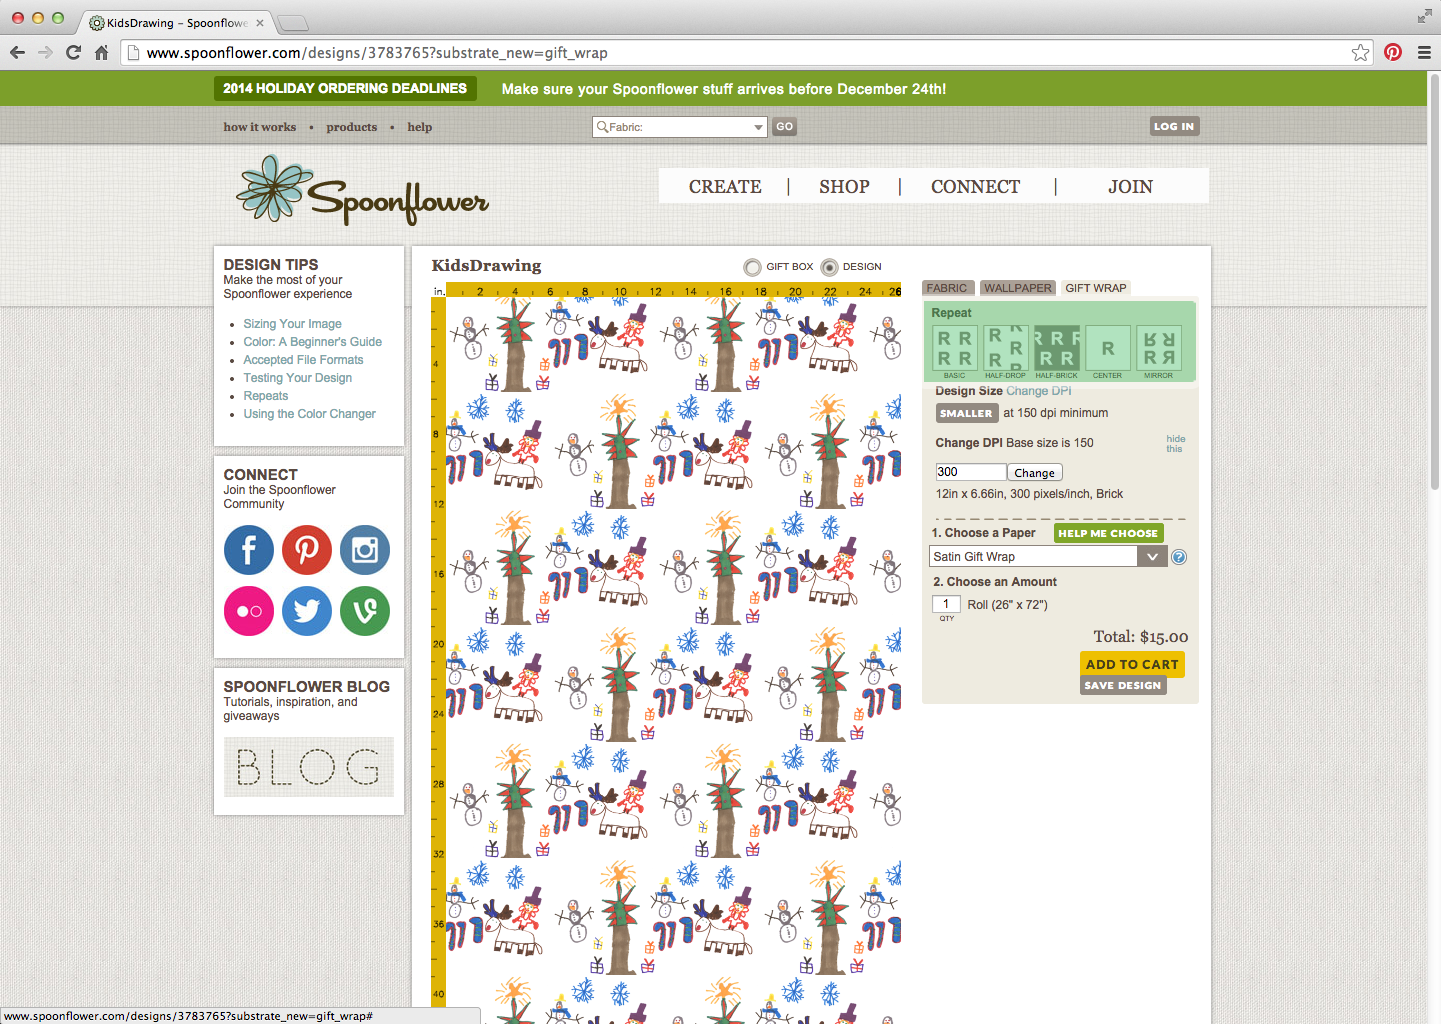
Now that you have your design, the next step is to create your order on www.spoonflower.com
Once your on there website you want to go up to the top and select Create and choose custom gift wrap. *you can also choose to create your own custom wall paper or fabric as well!*
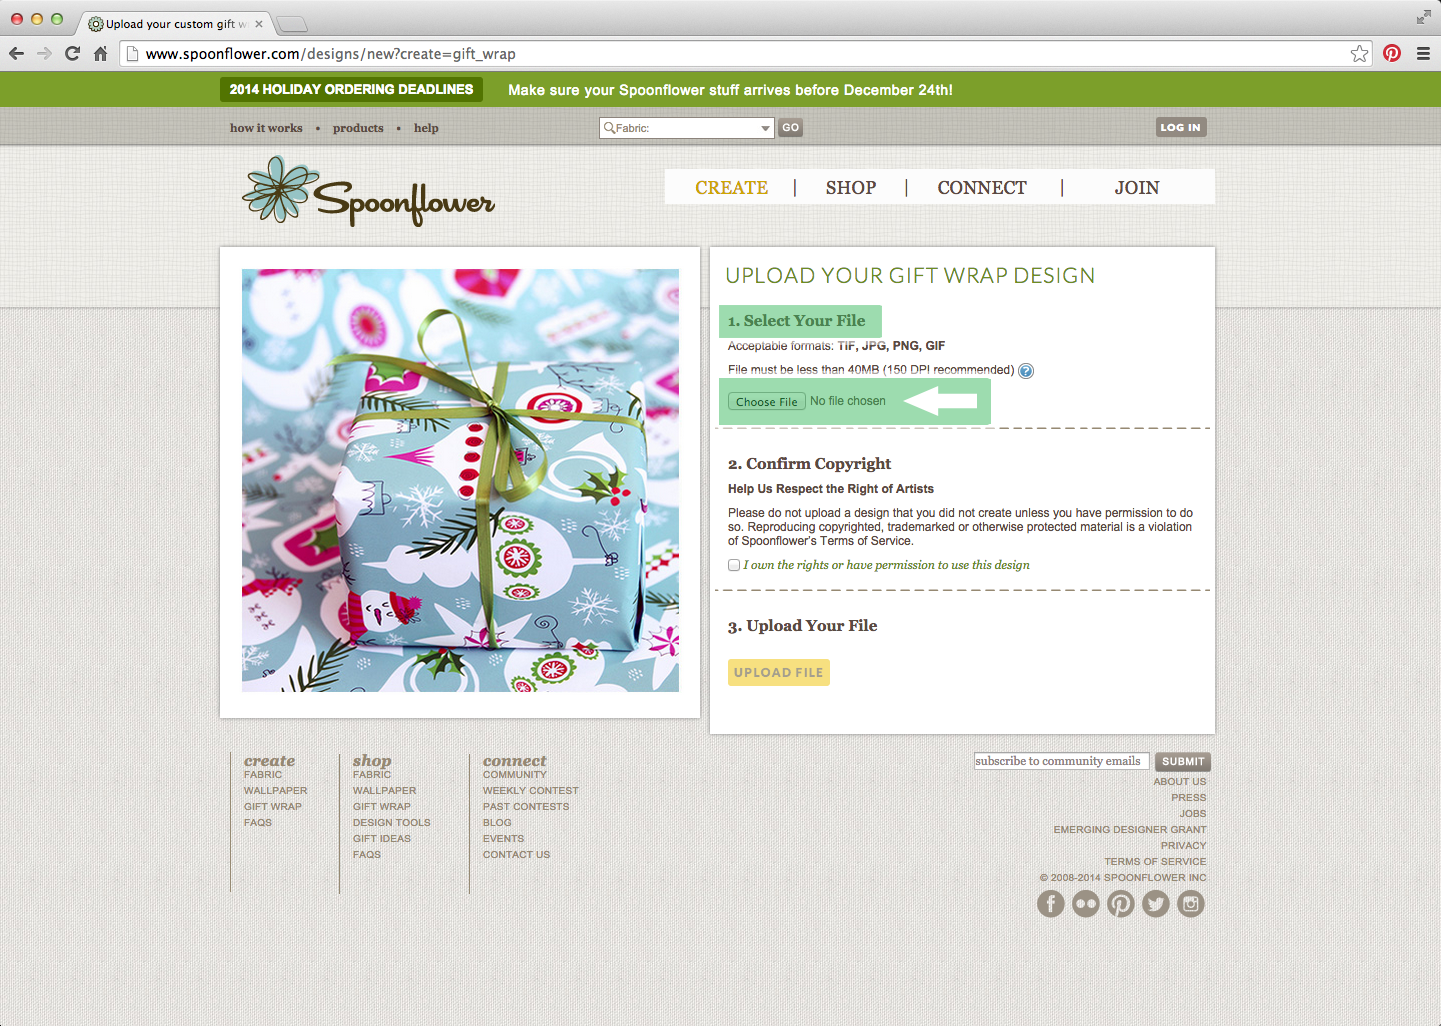
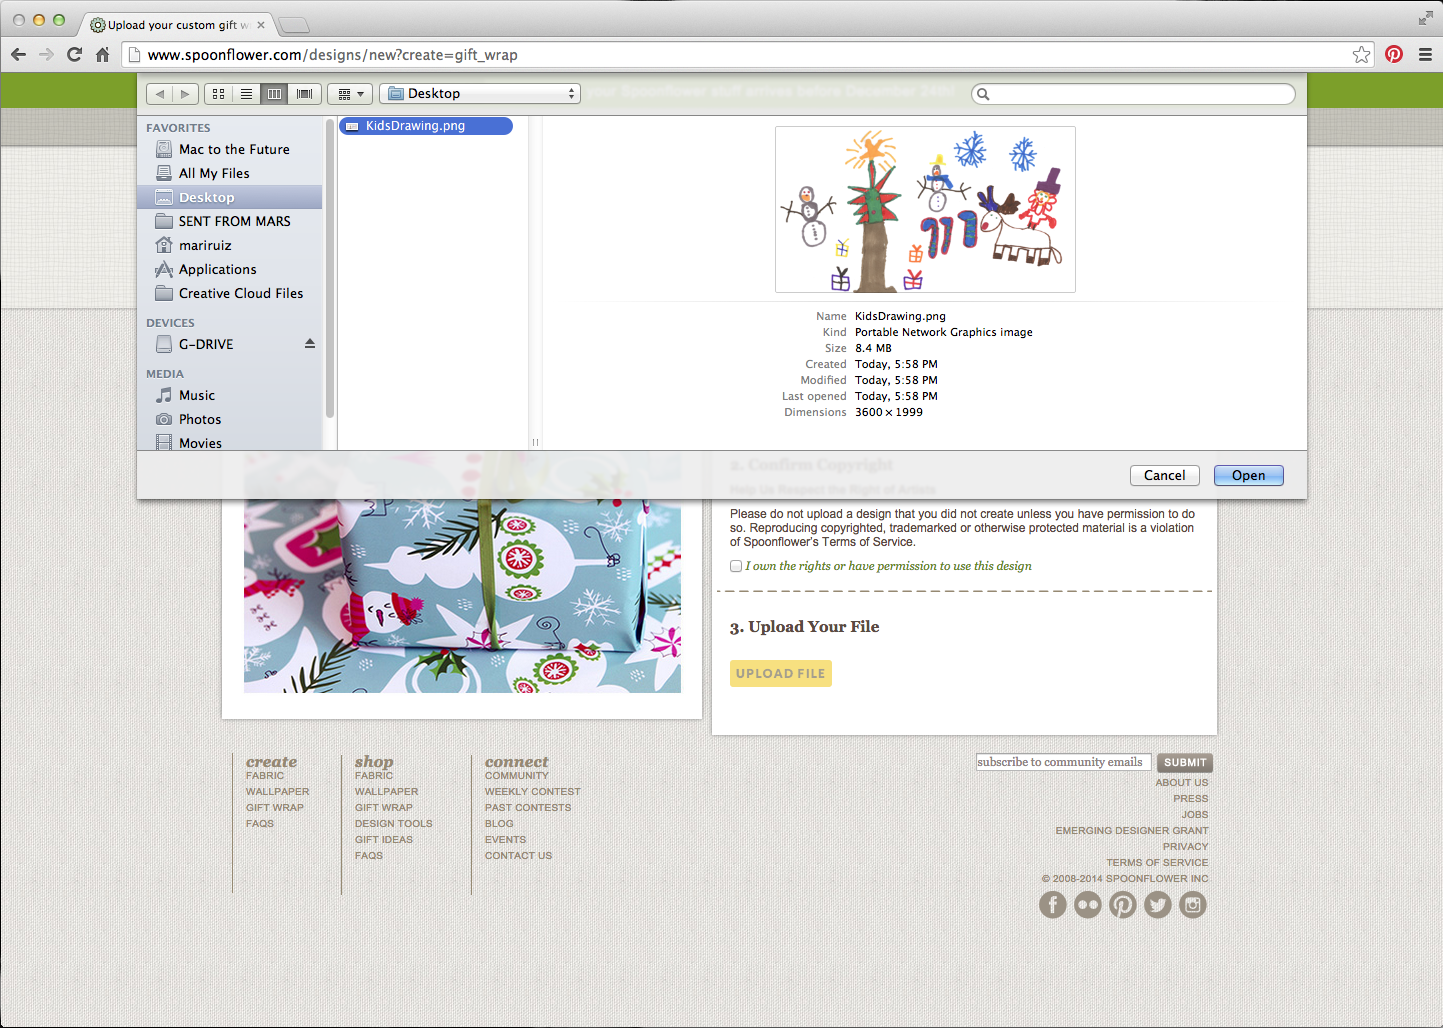
Next select your file from where you saved it on your computer.
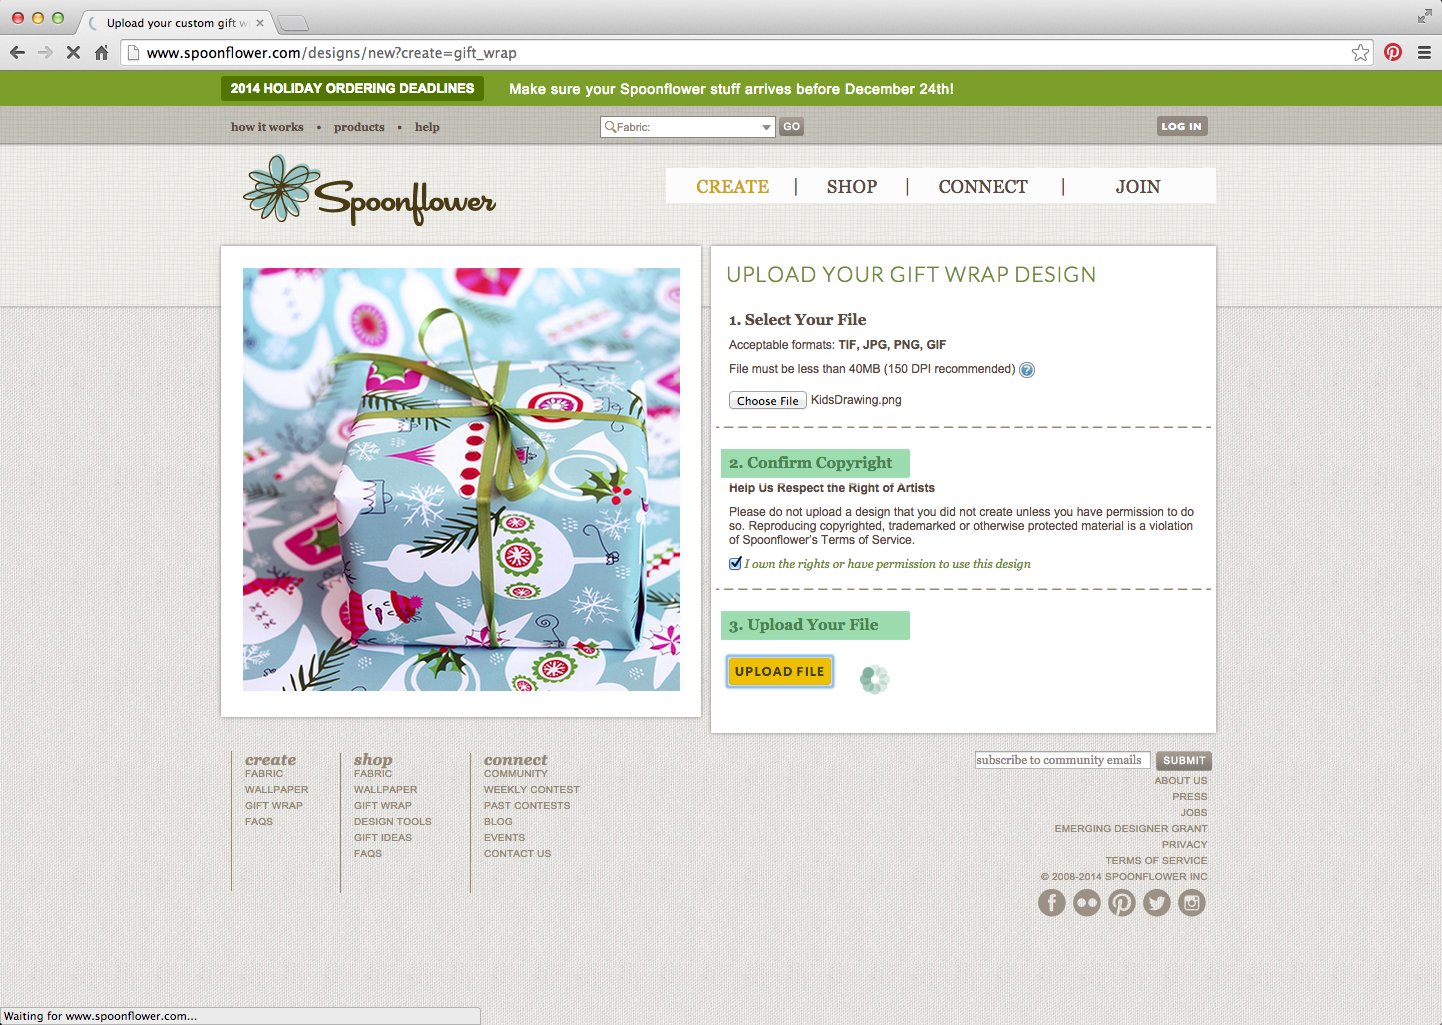
Then confirm the copyright and upload your file.
Now you will see your design as it will appear on your gift wrap roll.
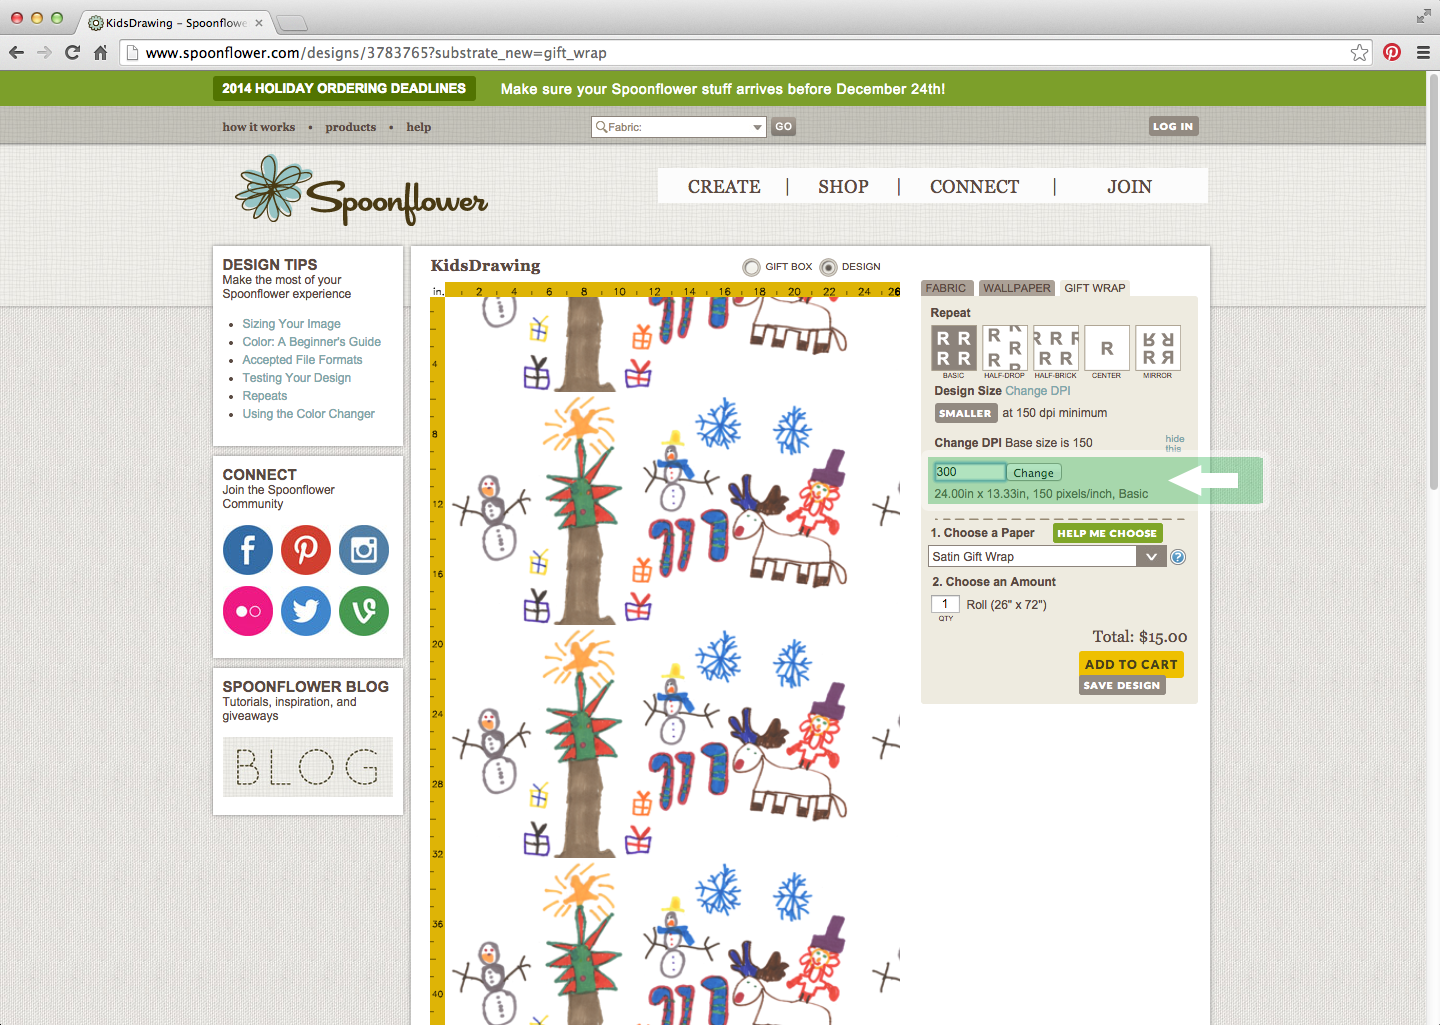
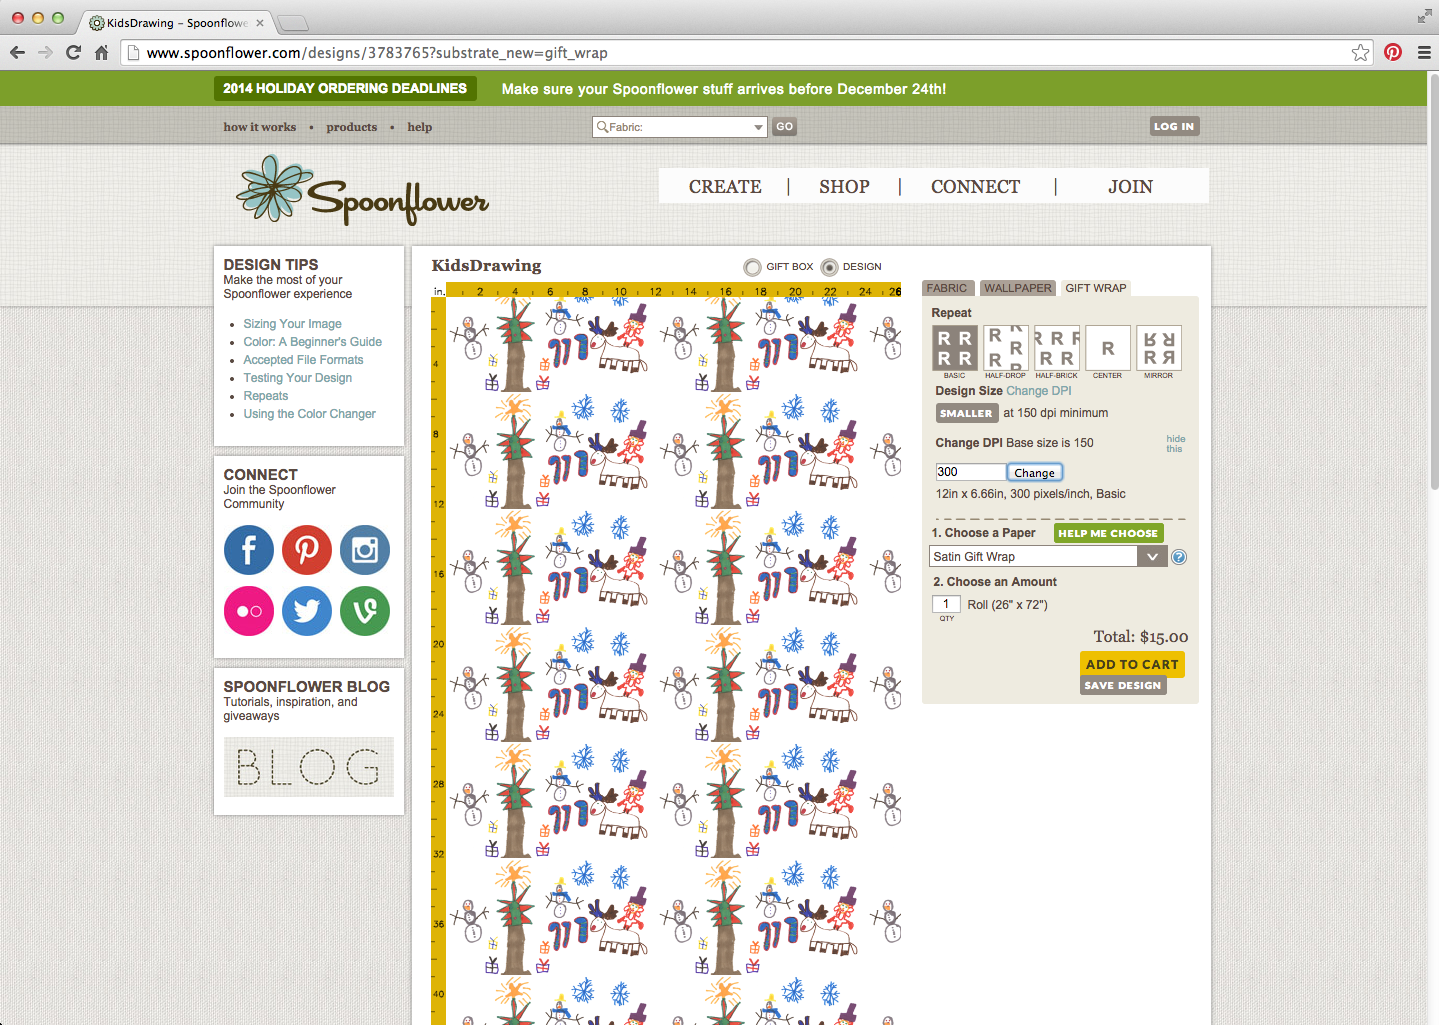
Make sure to check the size of your design. By default Spoonflower uploads files in 150 dpi/resolution and it will state the size in inches right below the dpi section. I created my kids drawing print using 300 dpi/resolution so I needed to adjust this part. To check your image size in photoshop, go to image then select image size and you can see the width/height/resolution. To change your dpi on Spoonflower, select Change DPI (right next to design size) and enter your dpi size. *You can see the size difference in the pics.*
Once your size is right you can play around with the different repeat options. These will change the layout of your design. I used the Half-Brick option.
To complete your gift wrap, select your type of paper, satin or matte. Then select your amount and complete your order!
From here you just need to wait patiently to receive your paper!
Wrap and Enjoy!
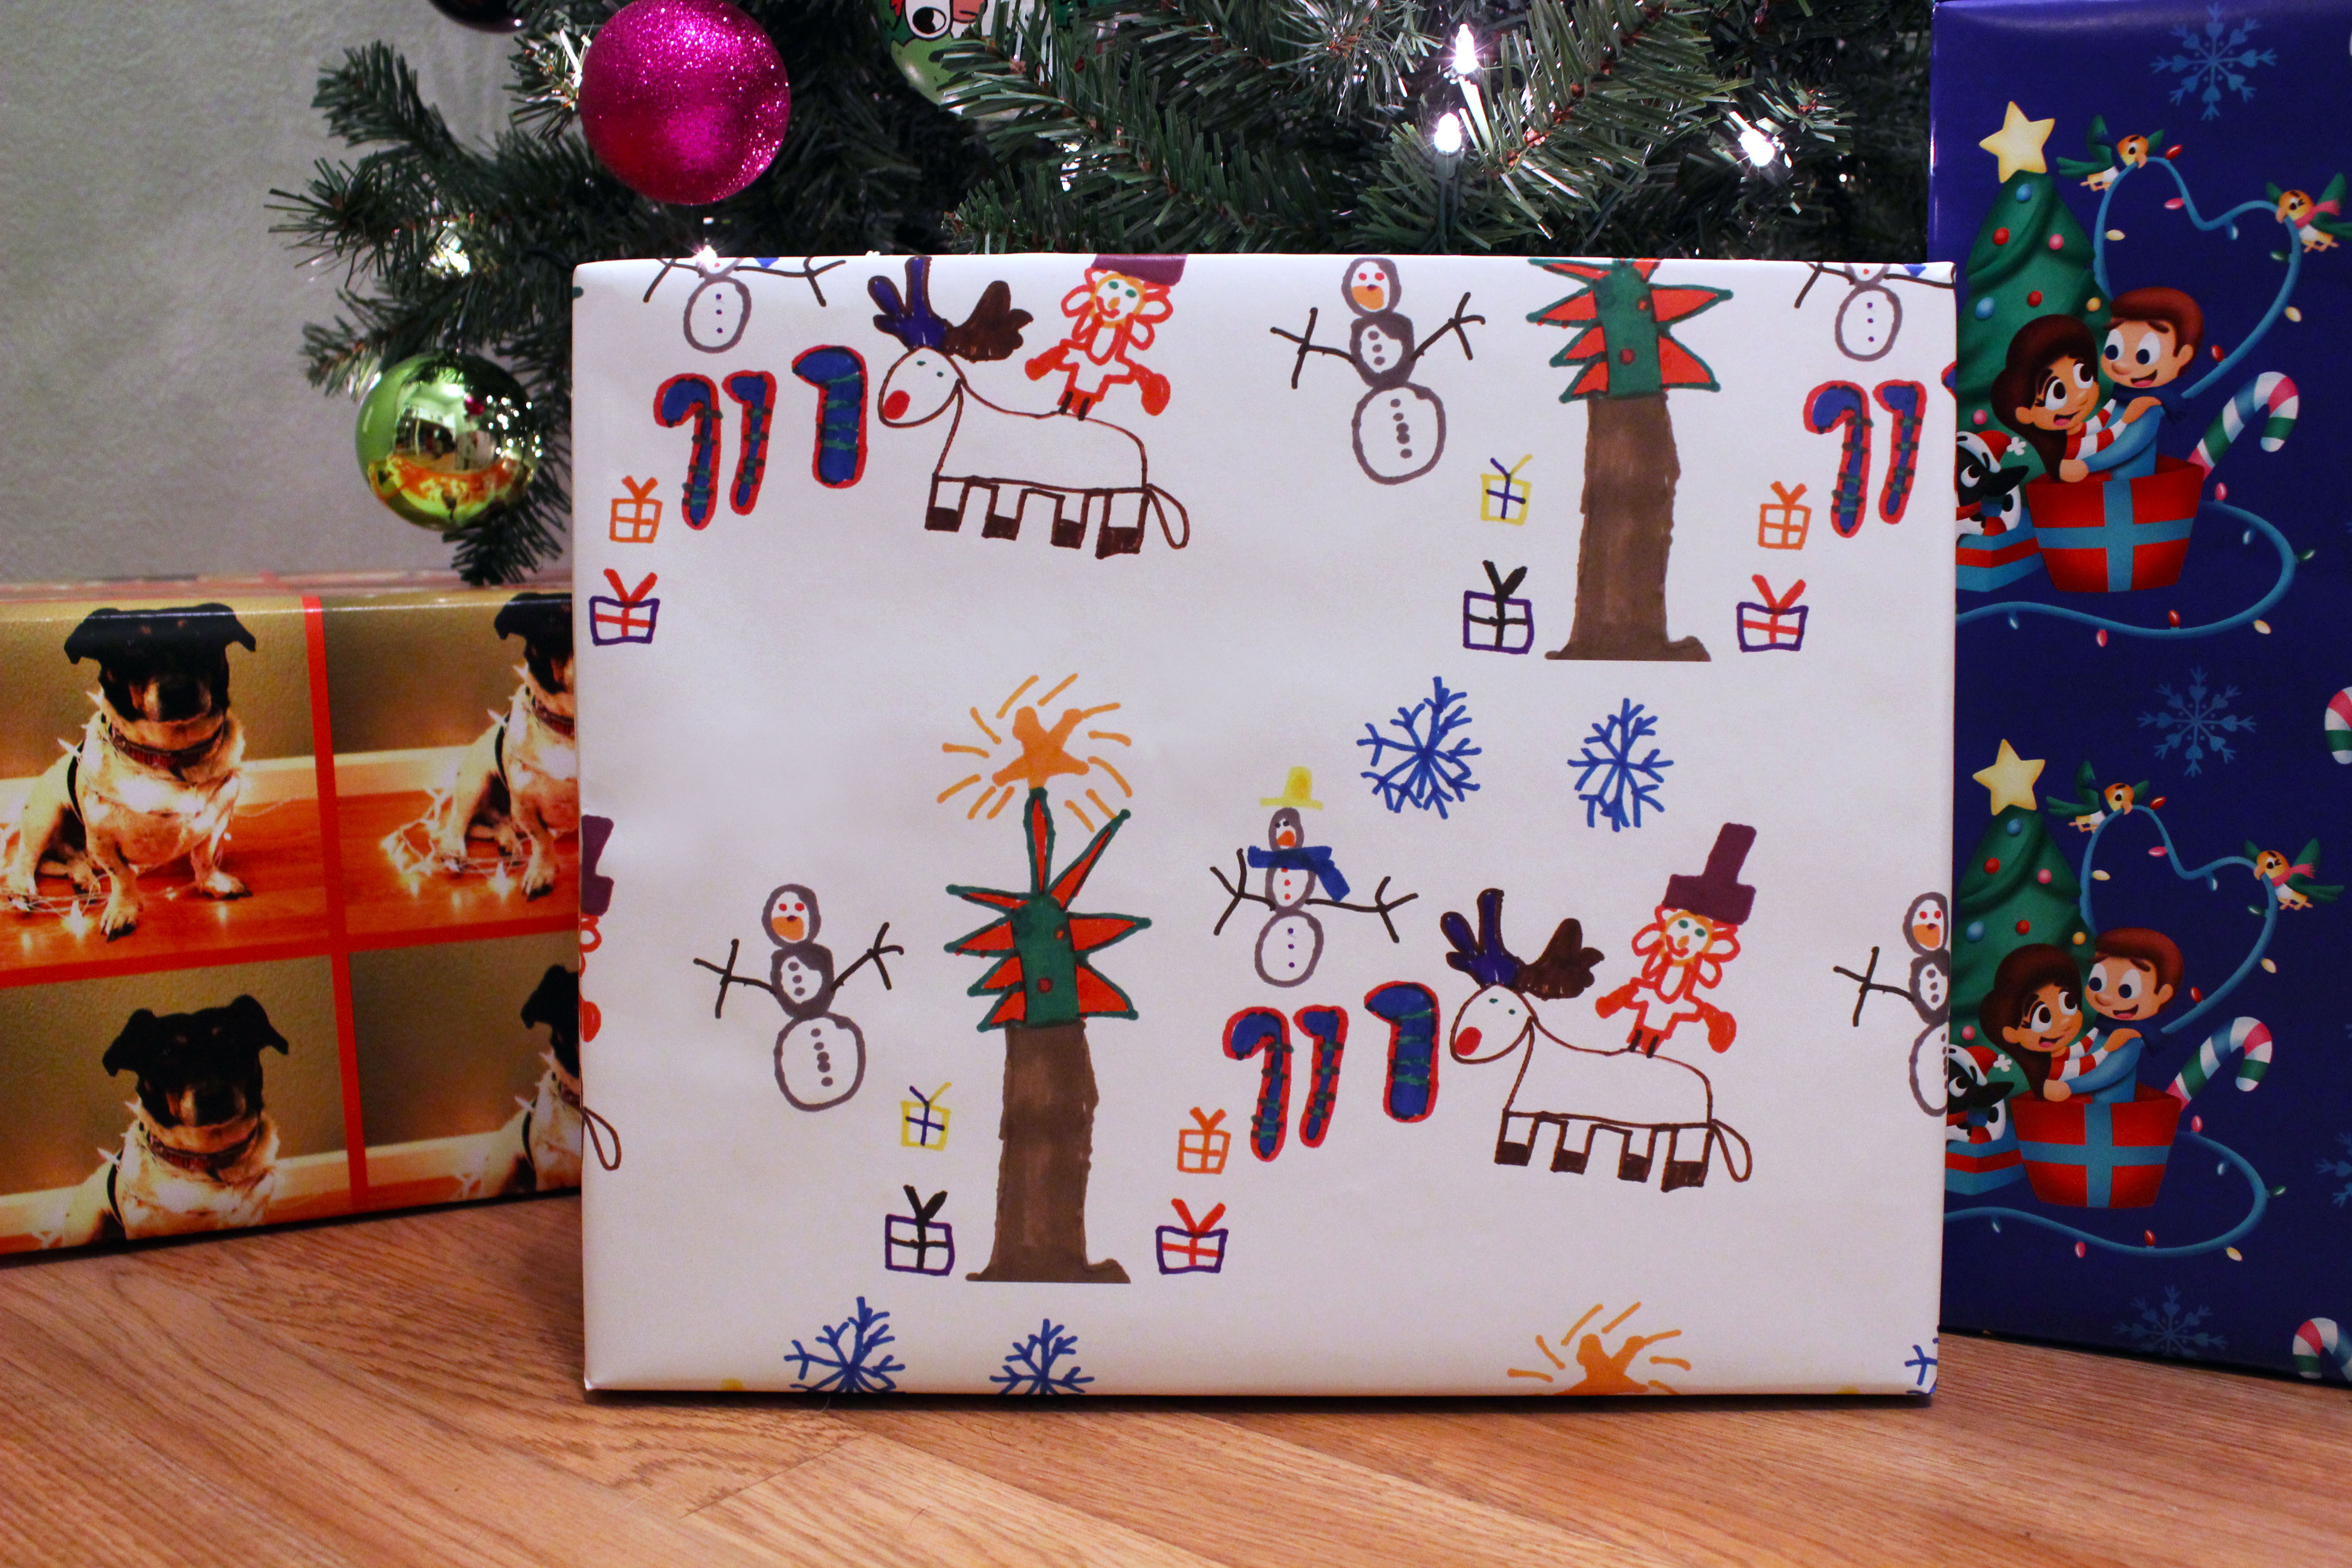
That wraps it up! Now you can give some custom gifts to someone special!
These are just a few ideas for creating your custom gift wrap, but the cool part is you can choose any design you want!