Creating Character Busts in Sculptris
by Nikkisaurus in Circuits > Art
5542 Views, 38 Favorites, 0 Comments
Creating Character Busts in Sculptris
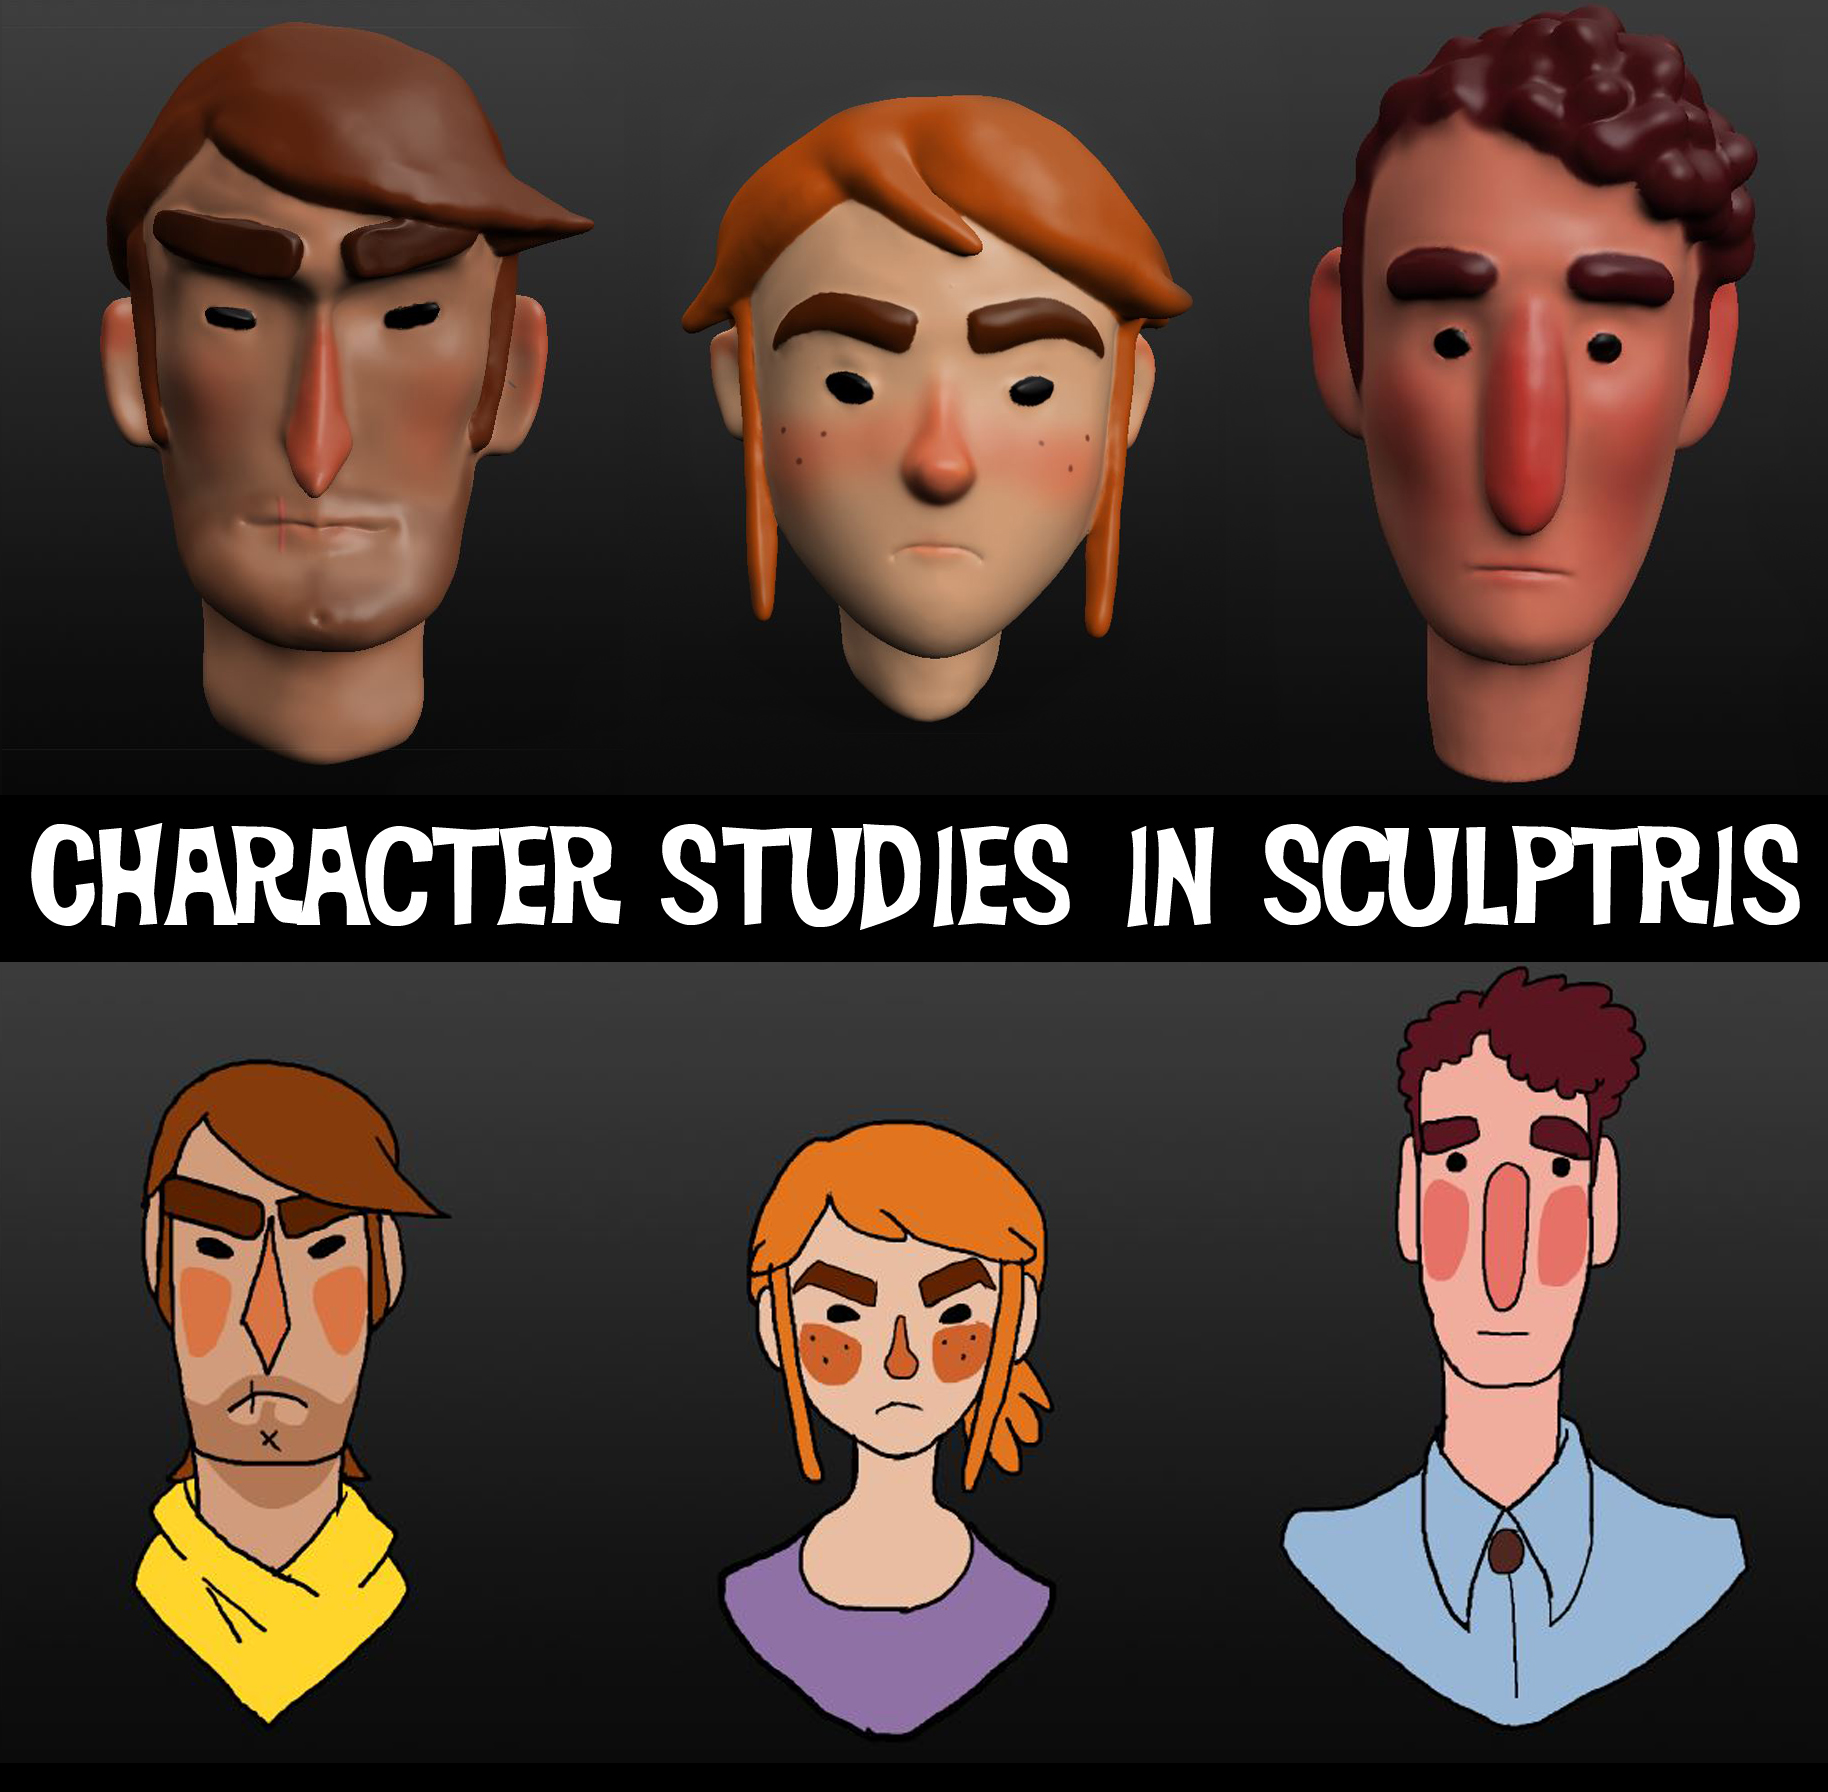
Whether art is your career, a hobby, or something you tried and promptly decided was too frustrating (I feel you there man), we've all been there: You've drawn something, and goshdarndit, you'll be danged if you can't recreate it. Which might not be a problem to some people, but for those who need to stay on model (keep a character or thing looking the same continuously), be it for a comic, animation, or what ever else tickles your creative fancy, using a simple program like Sculptris can mean a world of difference. Once you've sculpted a bust, you can turn it at any angle, and BOOM SHAZOOM, you've got a reference that will always be on model.
First off let me sing some praise for this sweet software. Made by the same guys that made Zbrush, another awesome, but slightly more advanced 3D sculpting program, Sculptris uses instinctively simple tools and a clean design layout to make even the freshest little soon-to-be sculpt-master comfortable. It won't take long for you to get a feel for how things work, and learning the ropes doesn't even feel like work, because it's so fun to goof around with the settings and tools. It's also safe, don't worry about any kind of malware or viruses. Plus--seriously, this is important, or else I wouldn't bold it, this ain't no hopscotch, I DON'T PLAY NO GAMES--it's 100% free. As in download, install, badaboom, badabing, you're ready to go. Instant Michelangelo. The link to the site is here: http://pixologic.com/sculptris/ . There you can download the full program for no cost to you, and learn all about some of the tools and functions in the program I won't get around to covering in this Instructable. Also check out the other artist's work. They're totally sold-their-soul good.
Before we start sculpting though, it's a good idea to have 2D sketches of your character, from a variety of angles, just as a starting point. If you just want to make it up as you go, that's fine too!
So TL;DR
In this Inscrutable I will show you:
-The ins and outs of the main tools and functions in Sculptris
and
-How to use these tools to create a 3D model of a 2D character
The Best Thing a Girl Can Be, a Beautiful Little Tool
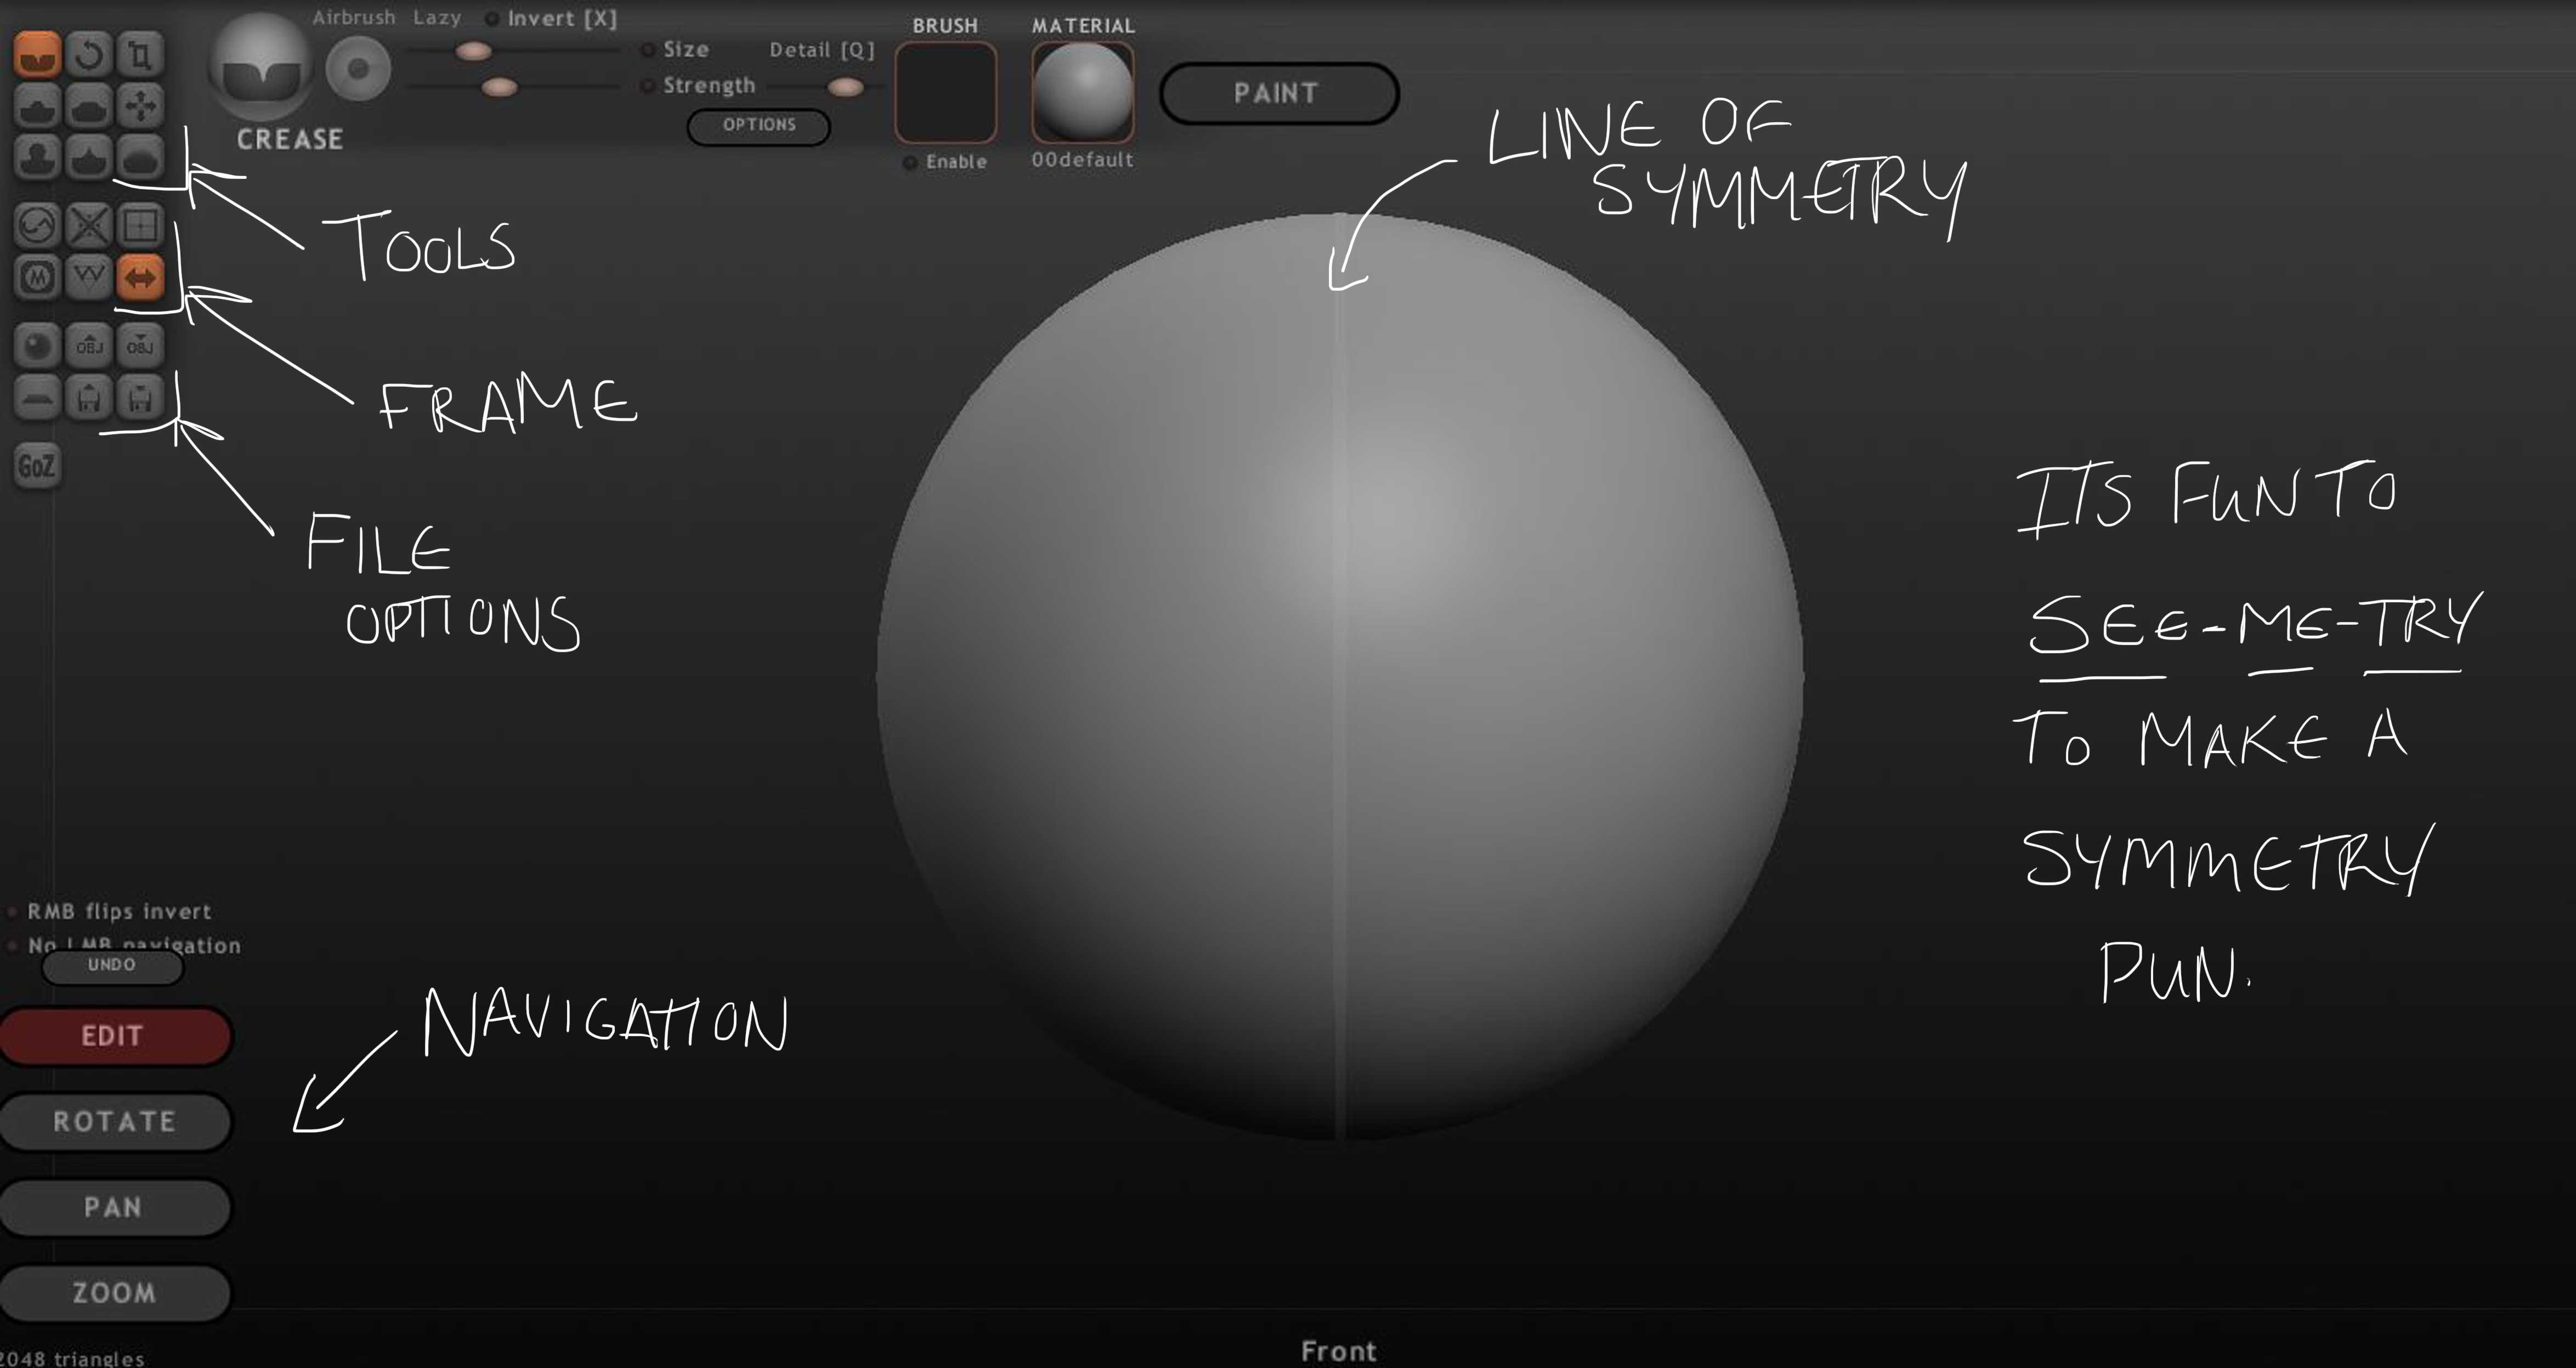
Once it's started up, after downloading and installation, Sculptris will open to a generic grey sphere. Now, don't get overwhelmed by all those tools and buttons and sliders staring you right in the face, they're actually quite simple. In the first image I've added, I've made a labeled version of what you see when you launch Sculptris.
Along the top left side of the window are your tools, frame options, and file options. Towards the bottom on the left are your navigational options, as well as the undo button (but Ctrl+Z works just as well if that's what you're used to). Along the top of the window is the brush and material settings. You may notice a semitransparent white line down the middle of your sphere. This is the line of symmetry, meaning whatever changes you make to one side of the sculpture is duplicated symmetrically on the other. You can turn symmetry on and off using the button in the frame options.
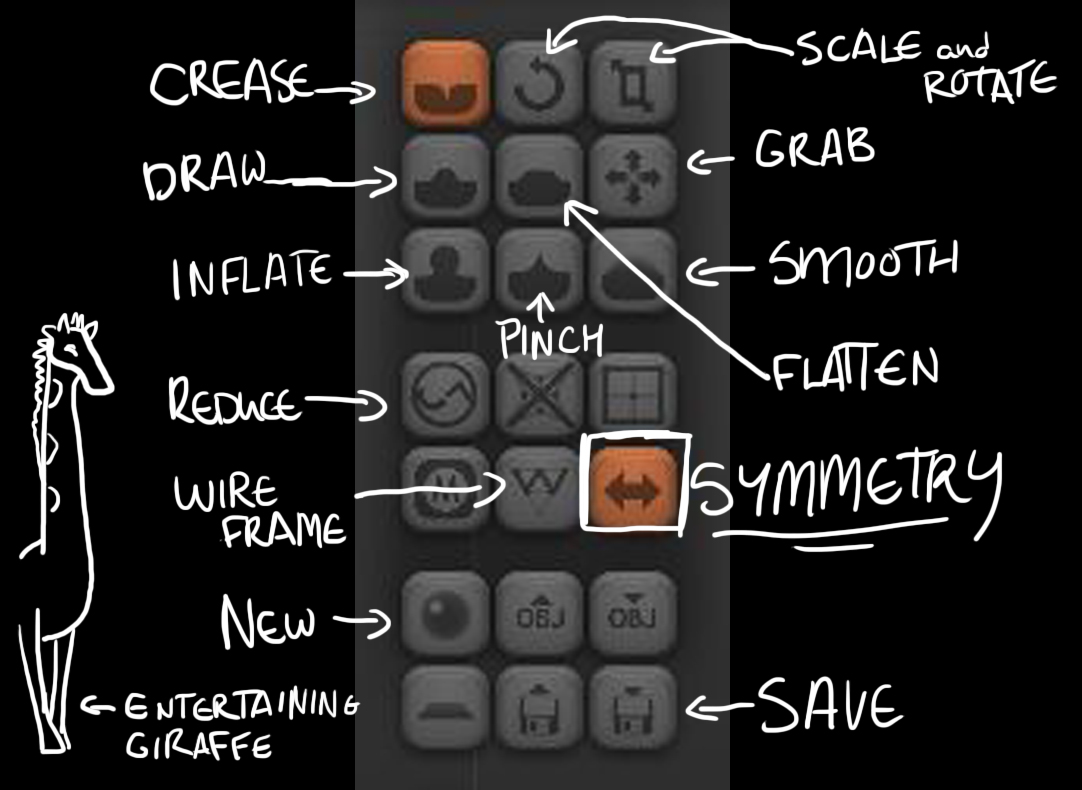
I've also included an image with the more important tools labeled for you. Starting in the top left corner of the tools, there's Crease, which pushes a line into your sculpture. Next to that are Scale and Rotate, which are pretty self explanatory; click and drag parts of your sculpture to make them larger or smaller, or to twist them. The next row down starts with Draw, which creates a raised ridge. Beside that is Flatten, which, like it's name, flattens the surface of your sculpture where you need it. Then there is Grab, which is my personal favourite tool. Grab pulls or pushes certain aspects of your sculpture to change it's shape. The last row of tools include Inflate, which creates a bulge on your sculpture; Pinch, which sharpens and, once again, like it's name, pinches your sculpture; and lastly, Smooth, which gets rid of imperfections you don't want.
Like I said, the program is made to be easy to understand, so most of the tools are instinctively simple to use. Once you goof around with them a little, you'll get a feel for them right away. It's more of a doing than seeing process to hone your Sculptris skills.
Under the tools are the frame options, which I won't go too far into. Starting out, the most important to know are the Reduce Brush, and Wireframe. If you click Reduce Brush, Wireframe will automatically turn on. Now this is important! What makes Sculptris so easy to use is that you don't have to worry about programing or any of that jazz; so what happens is every time you edit your sculpture, you create triangles. These are thousands of little planes that make up your shape--the more triangles you have, the more detailed your sculpture. Sometimes though, you can create too many by working over your sculpture too much, so the best thing to do is break out the Reduce Brush every once in a while and get rid of some of those extra triangles. Your sculpture won't change all that much, and you can continue working without worrying about the program crashing. If you ever just want to check the amount of triangles you have, look at the bottom left of the window. Turning on Wireframe will show you exactly where they all are. Next to that is Symmetry as well, which you can toggle on and off to create your sculpture (but don't forget, turning symmetry off and then back on will get rid of all asymmetrical parts of your work!).
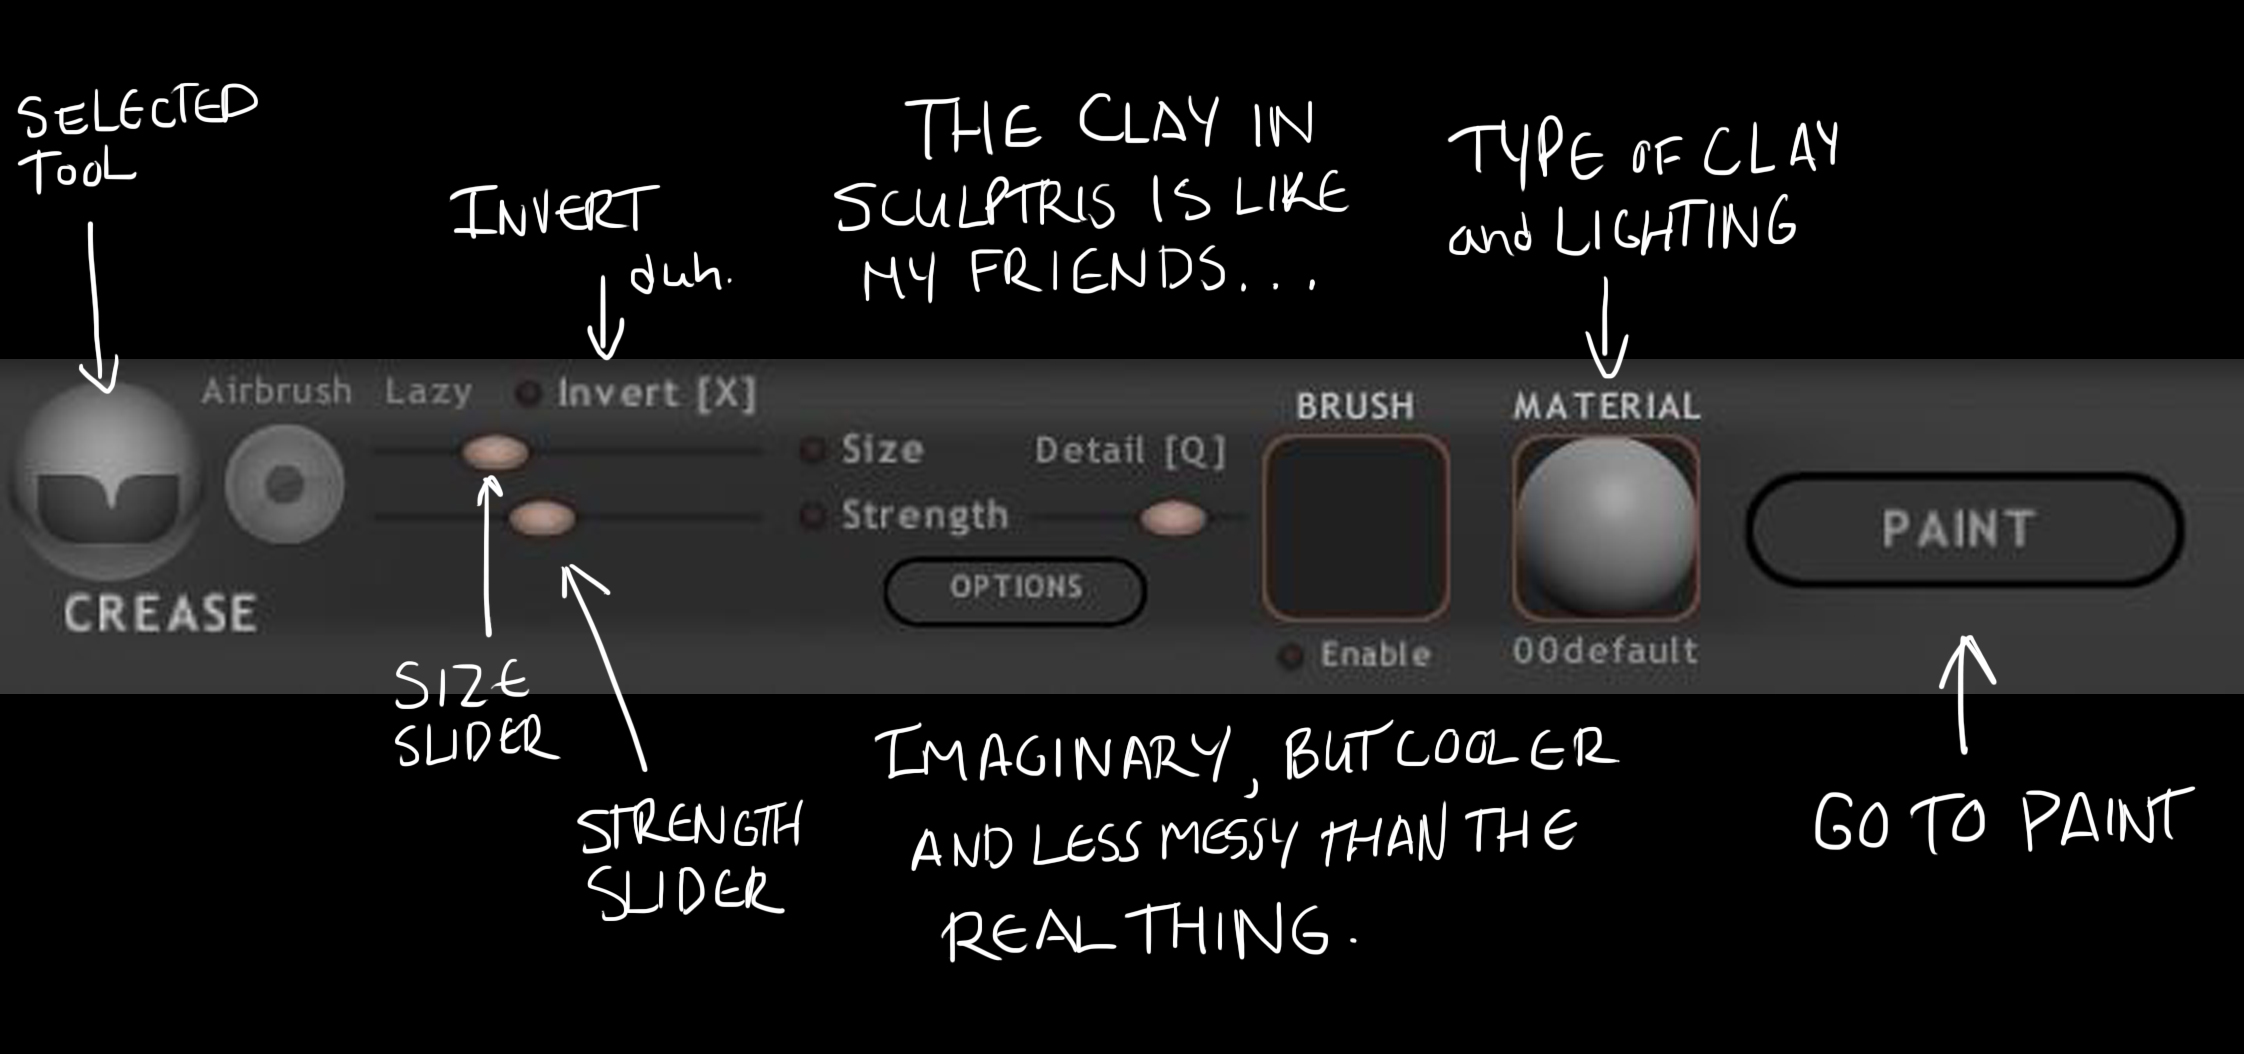
I'll briefly go into the Brush and Material settings. When you select the brush you want to use, it will show up in the circle next to the Tools. In my photo, I have Crease selected. In the sliders next to this circle you can adjust brush size and strength. Further to the right, you'll see a ball of clay, which you can click on to drop down a menu where you can select the type of clay you want to use, which will also change the lighting of your sculpture. We'll get into the Paint button later.
Lastly you'll see the File options. This is where you can choose to save your sculpture, open something you've already been working on, create a new sculpture, etc.
I've included a link to a 'Cheat Sheet' with everything you could want to know about the tools and commands in Sculptris.
http://members.casema.nl/jw.v.dronkelaar/sculptris...
IF YOU MADE IT THIS FAR, PLEASE HANG IN THERE, THIS NEXT PART IS SUPER FUN AND EASY!
No Pain(t) No Gain(...t)
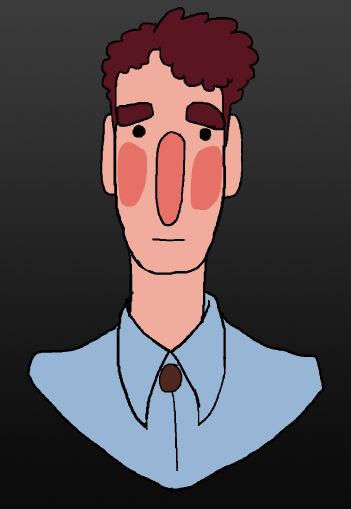
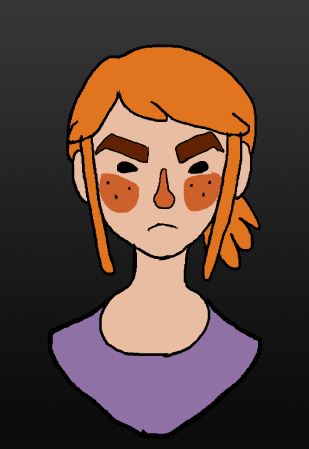
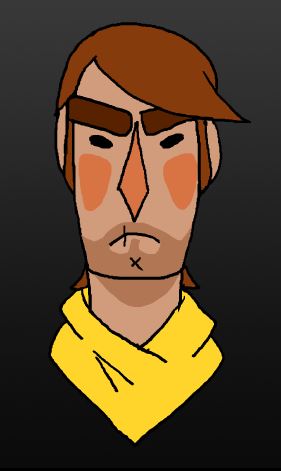
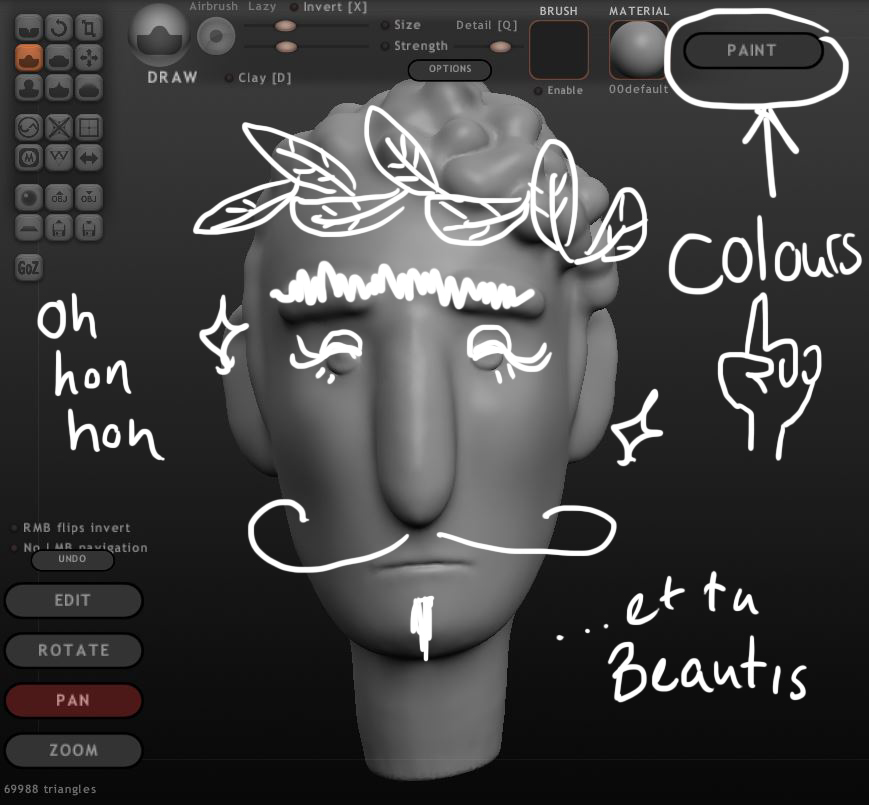

So now that you have a nice little sculpture you've been working so hard on, it's time to give that baby a little TLC (Totally Lots of Colours).
I've shown some drawings that I used as reference to make my sculptures. The shy looking fellow in blue is Felix, the ornery gal in purple is Gemma, and the badass in yellow is Bo. I made a nice sculpture of Felix's head, and now I'm going to go into Paint to give him some life! So just click the big PAINT button and let's get started!
You can choose the resolution of your sculpture once you go into Paint. Just like in any digital program, the higher the resolution the more pixels you can have, ergo more detail. Once your sculpture is done mapping, you'll be brought to a new set of tools and sliders, and your sculpture will be checkered, much like the background of a PSD in Photoshop. This next part is pretty simple. The only tools you really need to worry about right now are Paintbrush and Fill. With the sliders to the right of these, you can adjust the size of your brush, strength (or opacity), and hardness/sharpness. When you click the coloured circles, a colour wheel will come up for you to choose your desired colour. When the Fill tool is selected, you can just click your sculpture and the entire thing will become the colour you have chosen. Once again, that Cheat Sheet will give you a lot of information, so keep it open!
Just colour directly onto your sculpture and soon you'll have a beautiful masterpiece.
Please, Sir, May I Sculpt Some More?
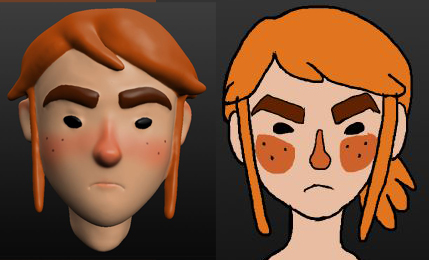
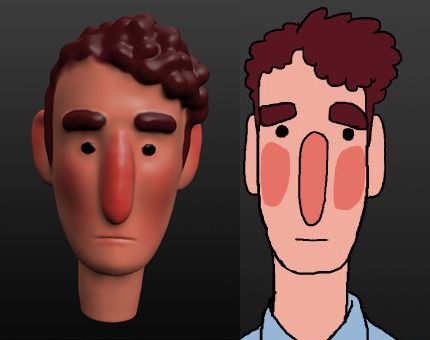
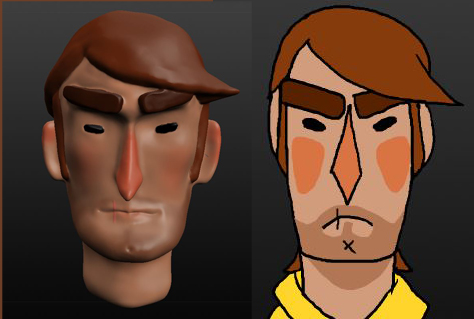
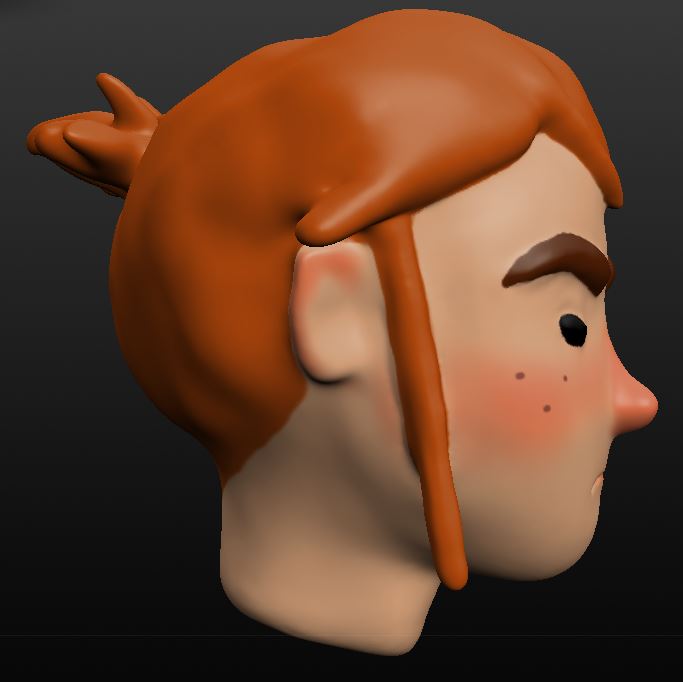
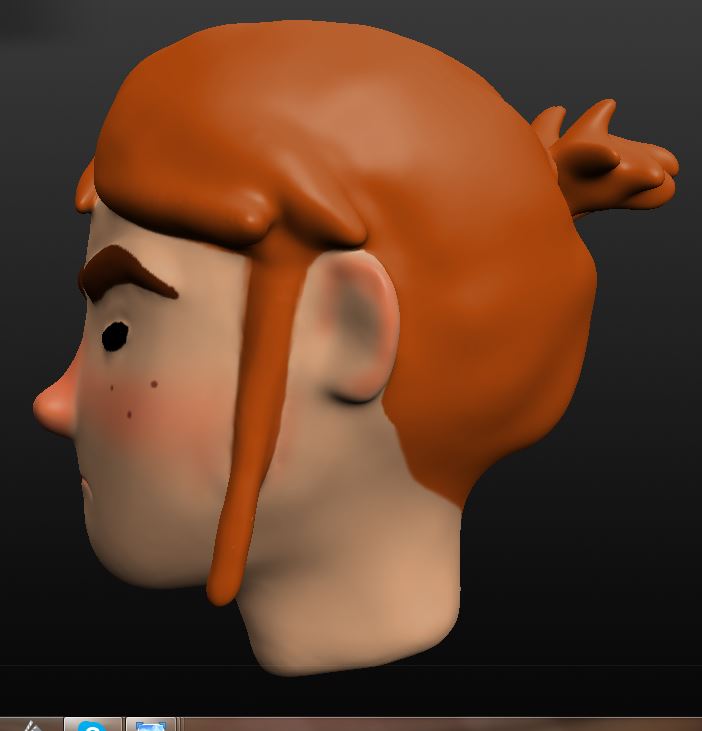
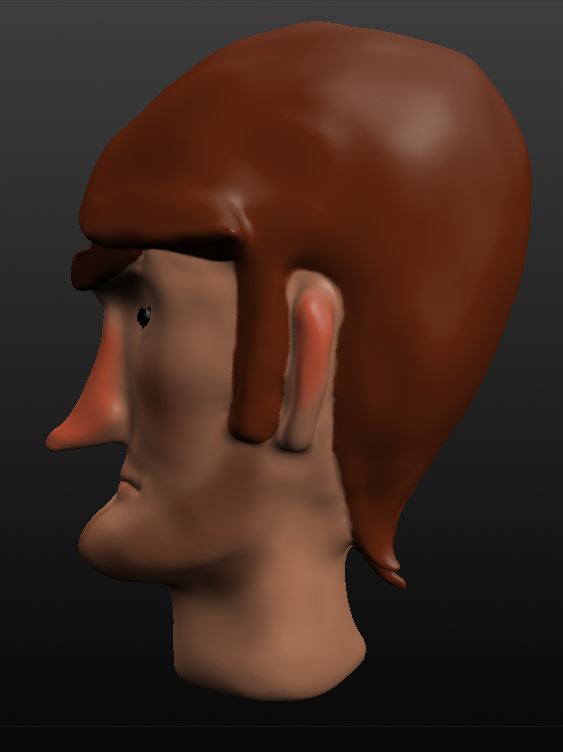
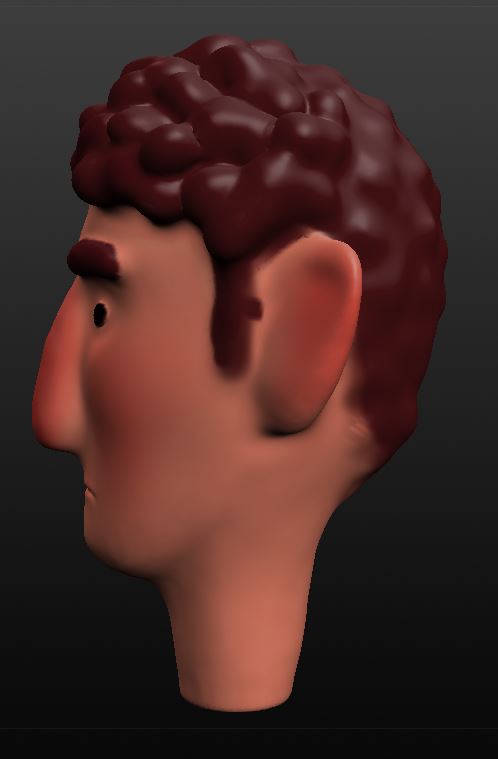
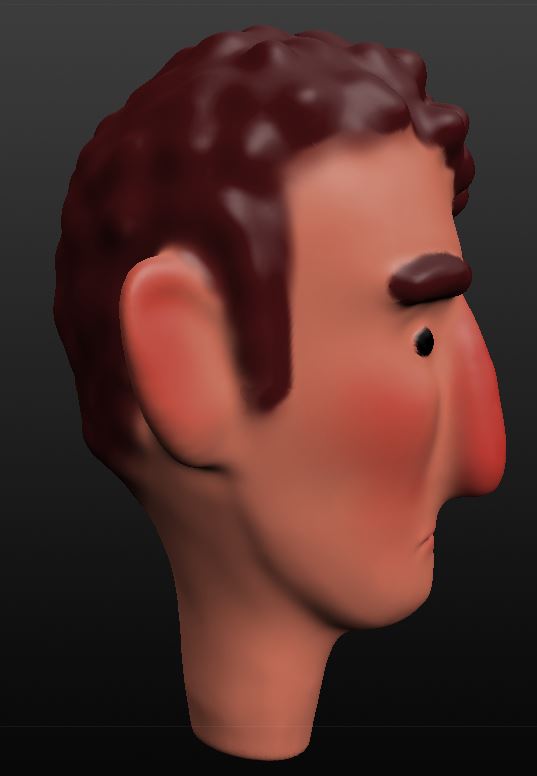
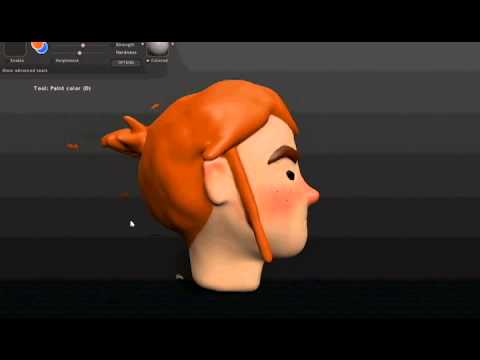
Yes Oliver. Yes you may. Now that you've learned the ups, downs, and sideways' (get it, 3D), you can continue to improve your Sculptris skills! Here you can see my final results. They're in no way perfect, but are at least close representations of my characters that I can use to reference from whenever I want now. Sculptris is a great program to let your imagination go wild and make all kinds of cool creations.
Feel free to message me if you have any questions or are having any problems with Sculptris! I hope you have as much fun playing around with this cool little program as I did!