Create Your Own Smart Light Using TinyDuino
by andrea.reginato in Circuits > Remote Control
3338 Views, 29 Favorites, 0 Comments
Create Your Own Smart Light Using TinyDuino
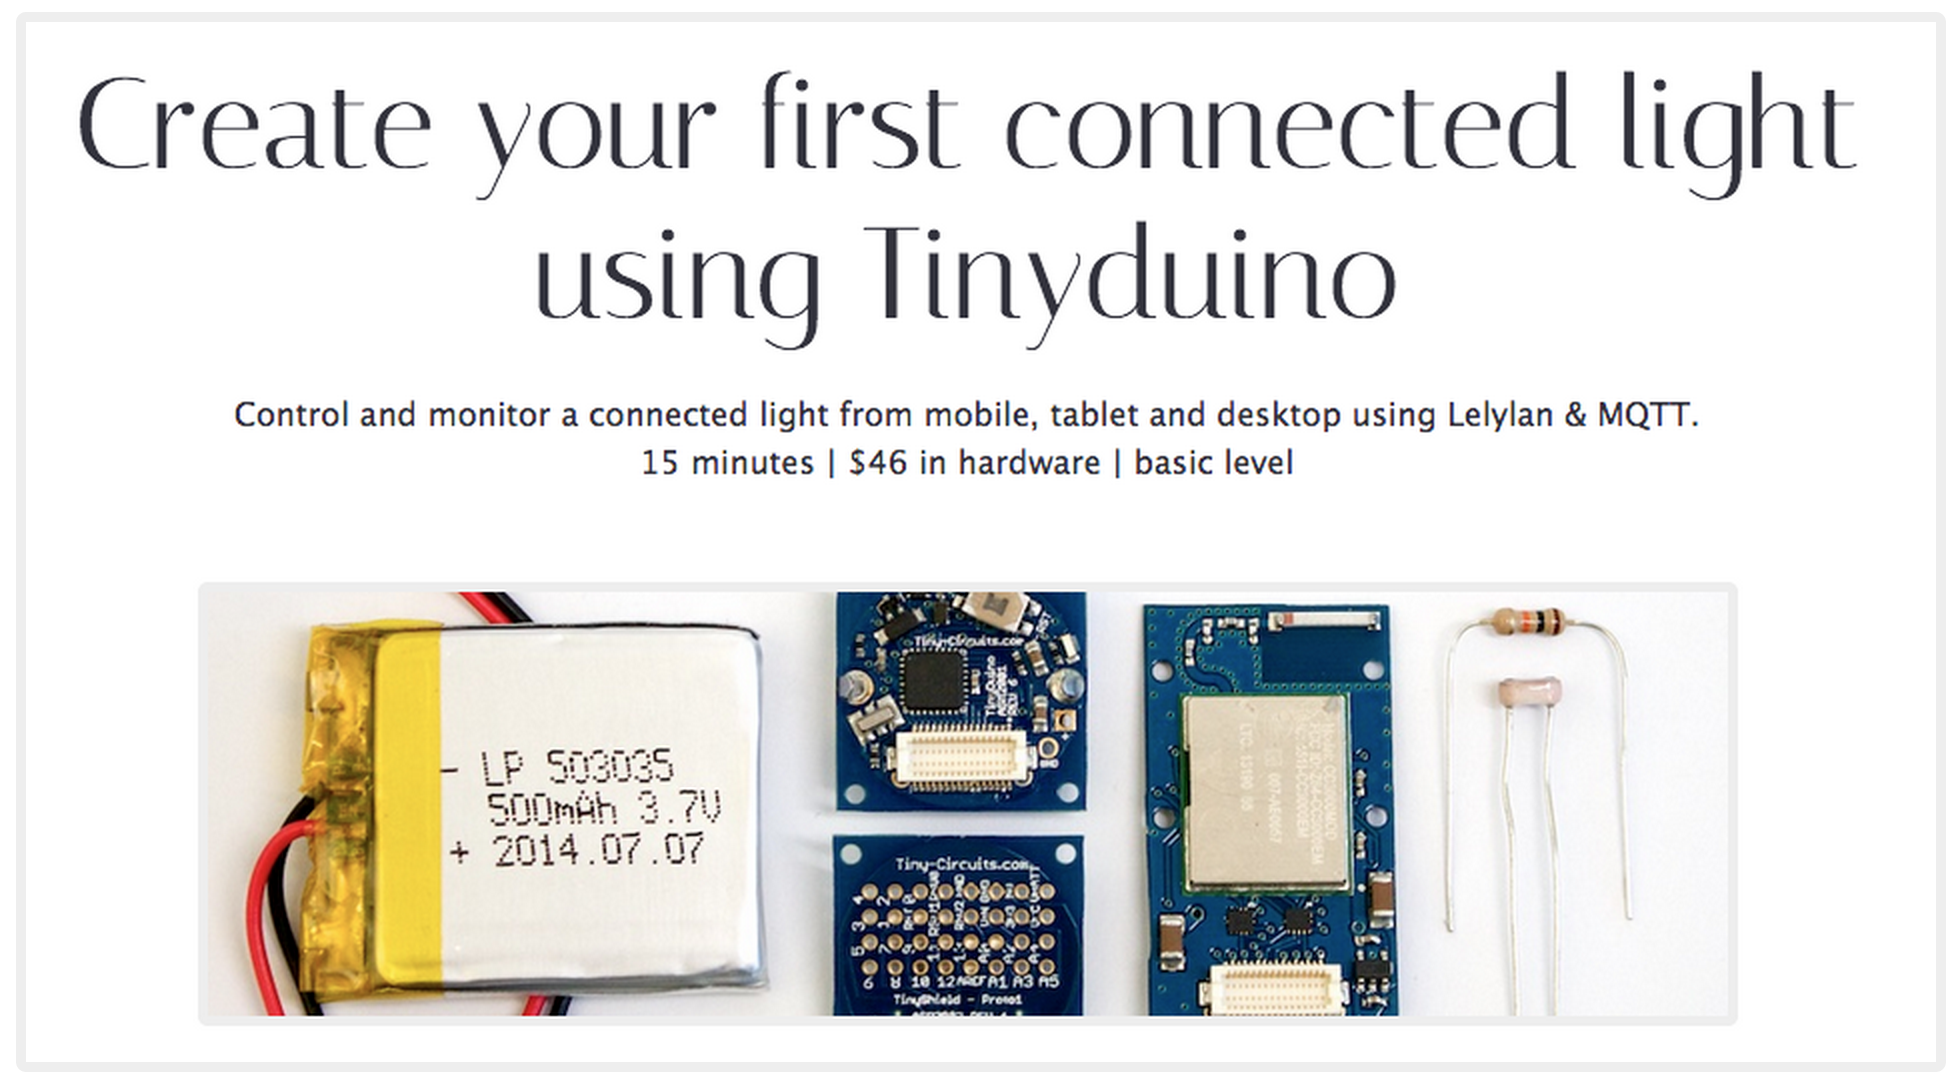
Create your own smart light using TinyDuino. Learn how to control and monitor your lights from mobile, tablet and desktop in 15 minutes. $101 in hardware. Entry level.
Hardware
To complete this tutorial you need the following components.
- 1 Tinyduino starter kit | Tiny Circuits | $39.95
- 1 Tiny Shield WiFi | Tiny Circuits | $59.95
- 1 Push button | Component packs | $0.35
- 1 Led | Component packs | $0.35
- 2 110K Ohm resistor | Resistor kit | $0.52
Software
To program your Tinyduino you need to install the Arduino IDE and the following libraries (if you do not know how to install a library checkout this tutorial).
CC3000 WiFi | This is a library for the Adafruit CC3000 WiFi Breakouts. Designed specifically to work with the Adafruit CC3000 Breakout, it works perfectly with TinyDuino WiFi shield.
PubSubClient | This is a fork of the original PubSubClient that works with the AdaFruit CC3000 breakout board (and TinyDuino WiFi shield), setting the max packet size to 256 bytes (needed for Lelylan to work).
Before uploading your sketch set the following configurations through the Arduino IDE.
- Tools > Board - Arduino Pro or Pro Mini
- Tools > Processor - ATmega328 (3.3V, 8MHz)
Hardware Setup
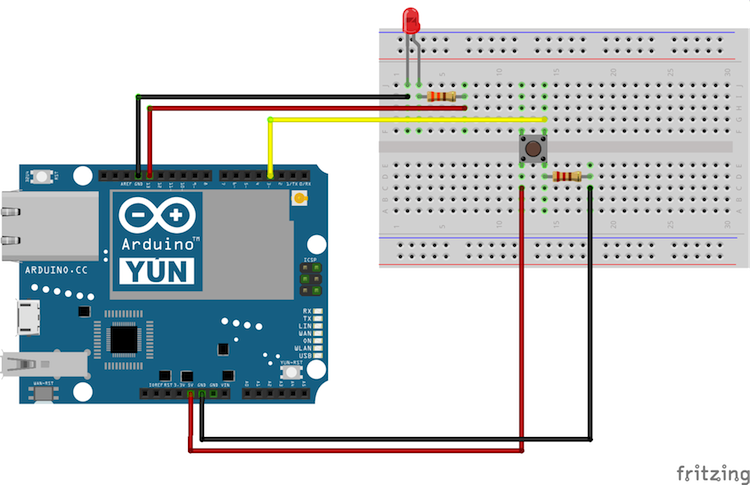
This schema represents the led, resistor and pushbutton setup. With this setup each time you press the button, the LED is turned on and off.
Software Setup
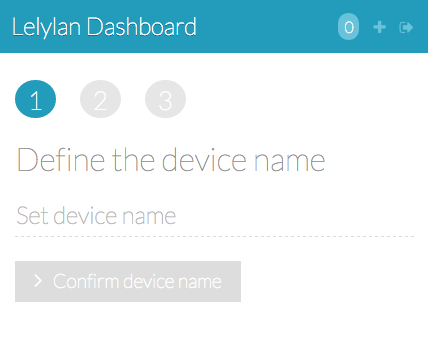
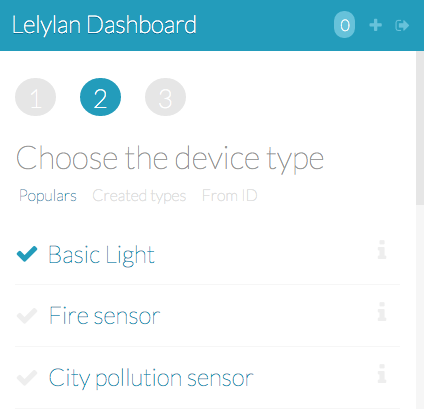
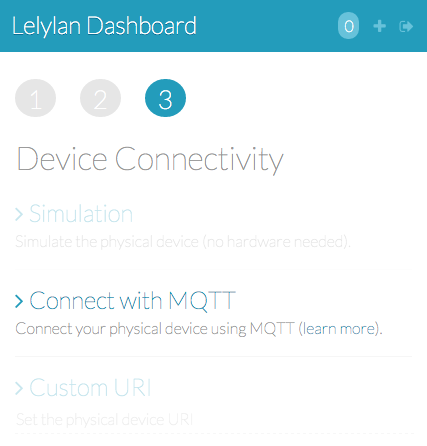
Open Lelylan Dashboard and create a new device by following 3 simple steps (if you are new to Lelylan, you can sign up for free).
1) Set a meaningful name (e.g. bedroom light).
2) Choose the device type. For this tutorial choose Basic Light. What is a type? A type defines what a device is by defining its properties, functions and statuses. For this tutorial you do not need to now more about.
3) Choose "Connect with MQTT" as connectivity option. In this tutorial we'll use MQTT, a publish subscribe protocol for the Internet of Things.
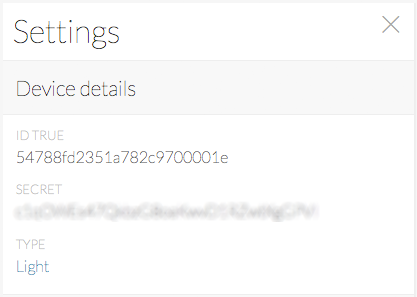
4) Get the Device ID and Device Secret. Once the device is created, click the settings link (placed under the device name) and get the device ID and device secret. You'll need them in the next section.
Code
Once the (virtual) device is defined on Lelylan you need to make it communicate with the Tinyduino. Copy the sketch below and change the WiFi (WLAN_SSID and WLAN_PASS) and device credentials (deviceId, deviceSecret, outTopic, inTopic and clientId). It will not take more than one minute.
You Are Done
Access Lelylan Dashboard and control your connected light from mobile, tablet and desktop. If any problem occours, let @lelylan know.