Create a Movie From Stop Motion Frames in Final Cut Pro X
by hzimmerman in Circuits > Art
44597 Views, 16 Favorites, 0 Comments
Create a Movie From Stop Motion Frames in Final Cut Pro X

So you have a bunch of frames, but they should become a movie in your Final Cut Pro X timeline. How to do this easily and in a robust fashion?
Create a New Project
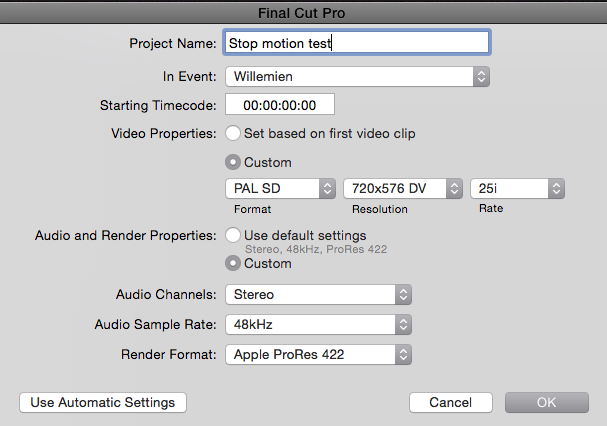
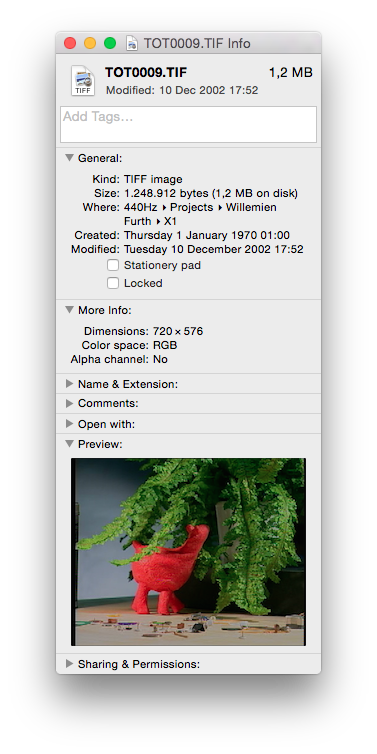
Choose File - New - Project... from the menu. In the dialog that appears (see image) enter the correct dimensions of your still frames. In this example, all the still frames were PAL SD 720 x 576 frames. Your still images might be of a different resolution. When in doubt, select one of your frames in the OSX Finder and hit Command I (for Information). In the dialog that opens, you can see the resolution of the image.
Import Your Images
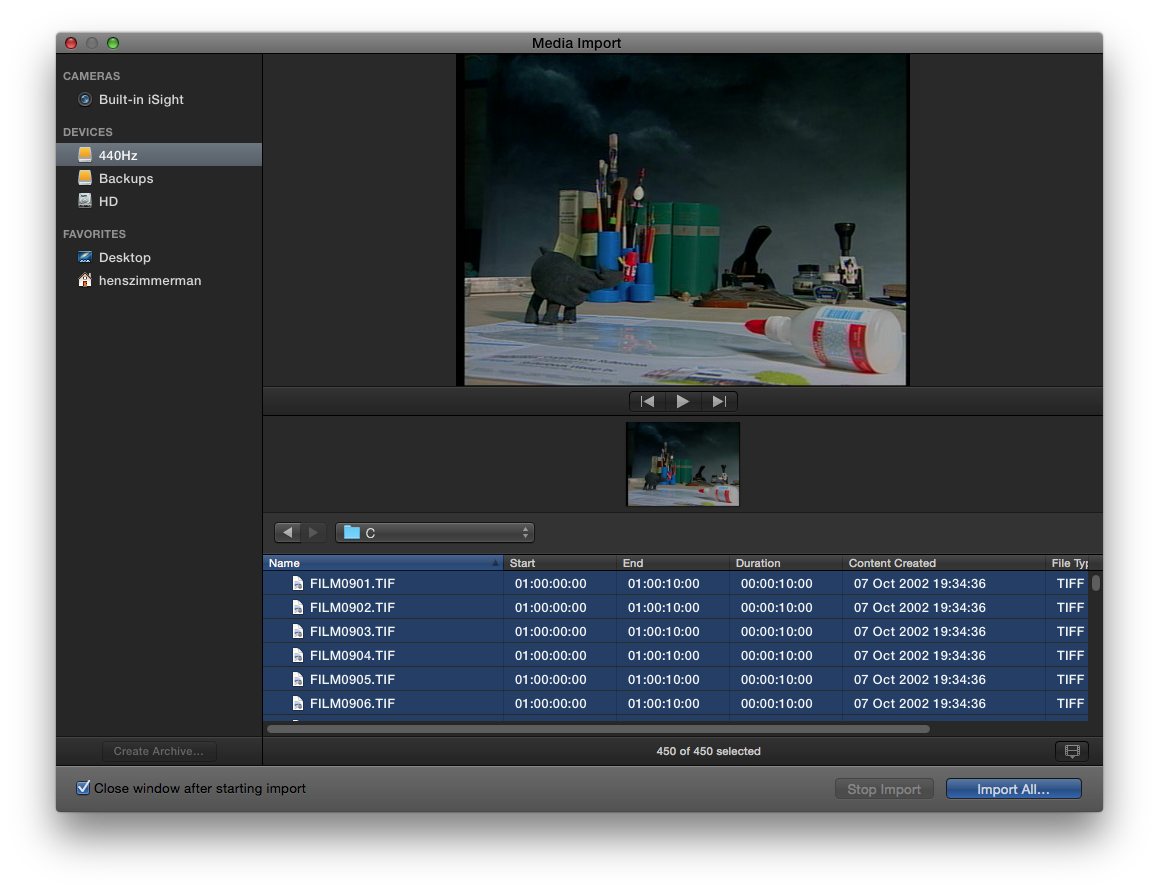
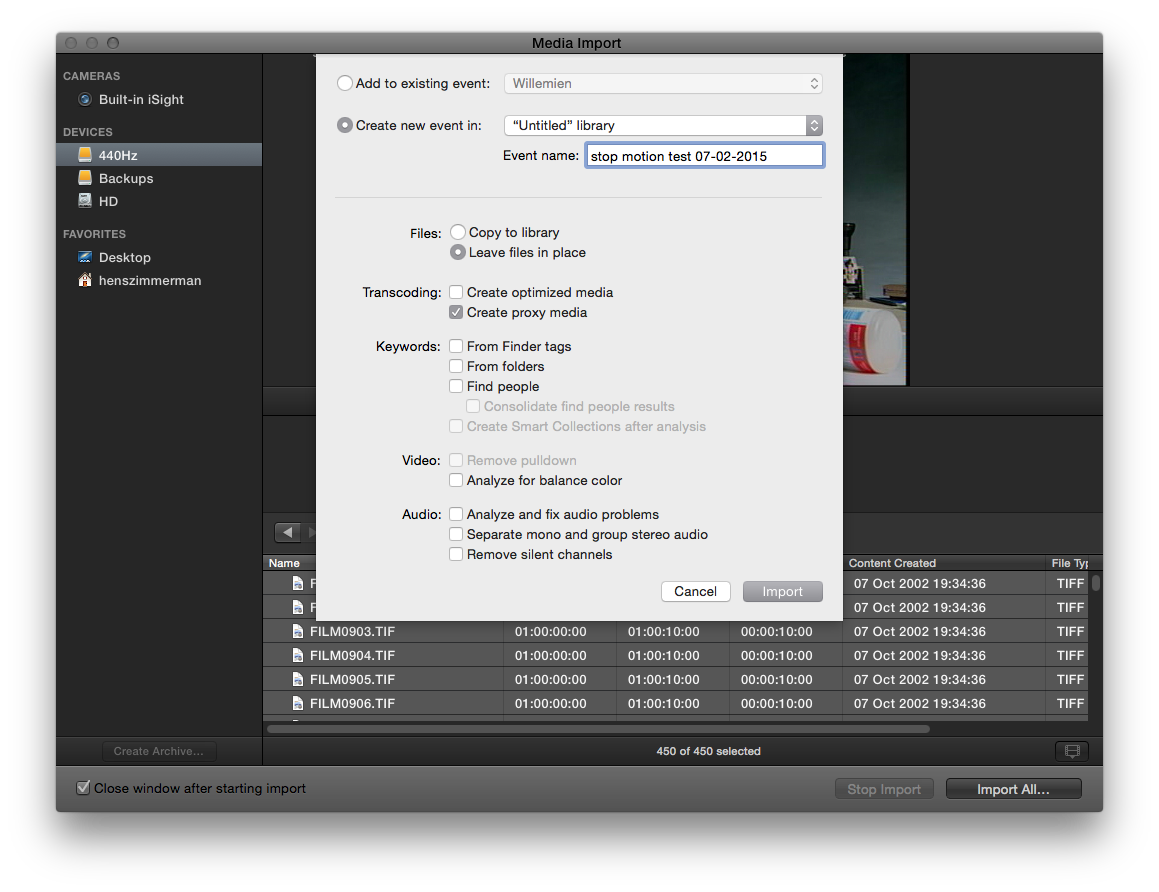
Import your still frame images to an event of your choosing. This can be a new dedicated event for this occasion or an existing event. There is no need to analyse the images. It is okay to use proxy media for faster processing. Make sure you select all your images and import them. This might take a while!
Select All Images in the Browser
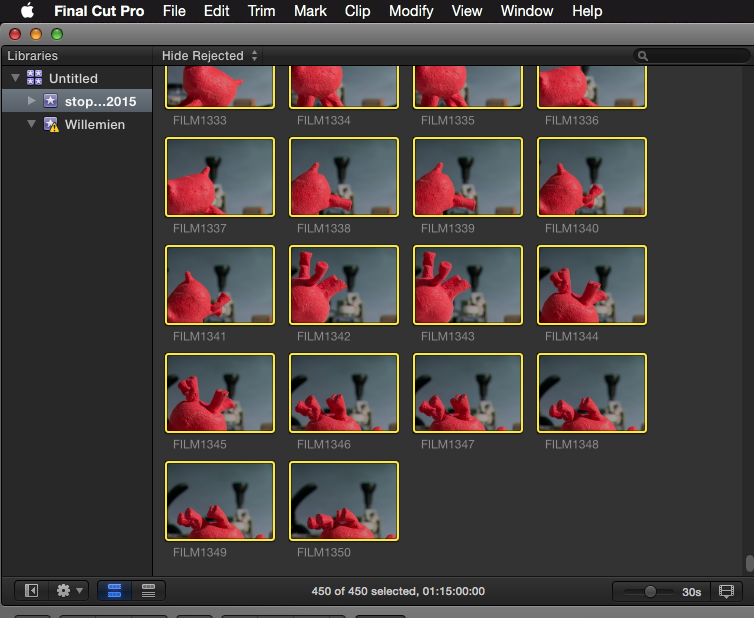
Select all images in the browser (Command A). They will all be yellow now, as you can see in the screen shot in this step.
Add the Images to Your Timeline, But Watch Out...!

Now is the time to do an overwrite edit of all your images in the timeline. But resist the temptation to drag the selected frames into the timeline, because this can get quite a lengthy operation. Dragging the frames into the timeline might work, but it could also result in a "beachball" and your mouse pointer hanging around somewhere between states.
So, far easier: with all the still frames selected, press D
Yes, simply pressing "D" will do an overwrite edit with the current selection. Then, after a while, all the images are inserted into your FCPX timeline. Great, but they are all several frames long. In the next step you will see how to fix this easily.
Select the Images As They Are Inserted Into the Timeline

Click once in the timeline, where your still images are now visible and select them all, simply by pressing Command A.
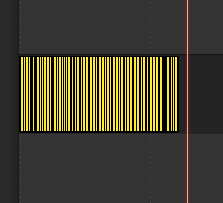
As you can see in the images, all the frames in the timeline now also get a yellow outline. There is no reason to zoom in or out. The problem is that, as a default, all still frame images are 2 seconds long. So this would result in a very lengthy movie that doesn't animate as desired. So we need to make all the images exactly 1 frame long in one fell swoop. All will be clear in the next steps!
Set the Length of Every Image to Exactly 1 Frame
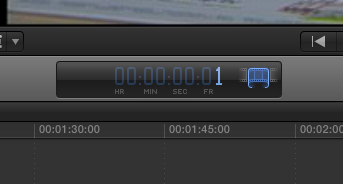
With all the images selected in the timeline press in exactly the following order:
- Control D
- 1
- Enter
After a short while, you will end up with the images all squashed together in the timeline, where every image lasts exactly 1 frame.
Render Your Movie
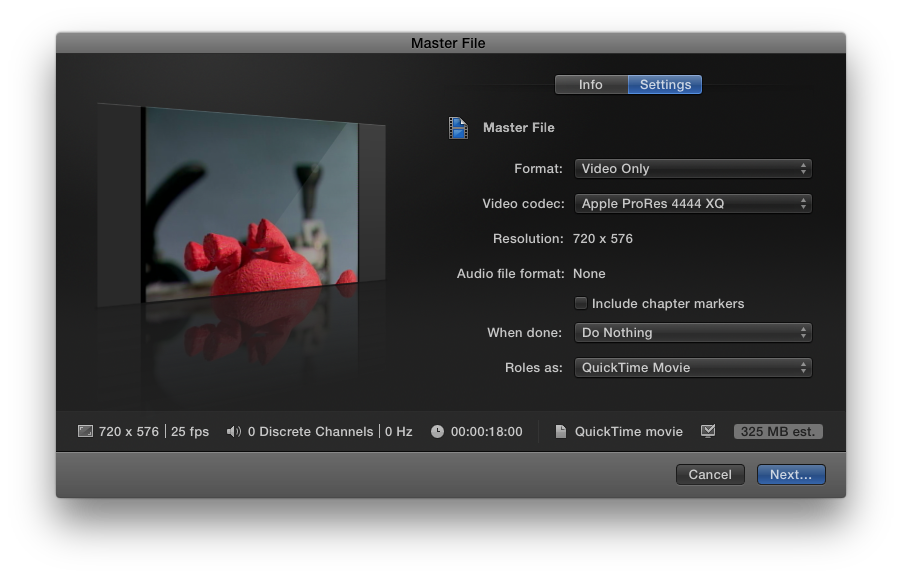
All these 1 frame images edited together are rather unwieldy to work with, so it might be a good idea to render the sequence out to a new file. If this stop motion sequence is part of a project that still needs editing, it's a wise choice to choose an in-between video format such as MPEG IMX (50 Mbps) or Apple ProRes 4444 XQ. Simply render this file out using the menu command
File - Share - Master file (default)...
In the dialog that opens, be sure to set Format to Video Only, as there is no audio in this stop motion sequence.
Happy stop motioning!