Create a Site Toporaphic Model Using a Laser Cutter
by adamr88 in Workshop > Science
17805 Views, 92 Favorites, 0 Comments
Create a Site Toporaphic Model Using a Laser Cutter
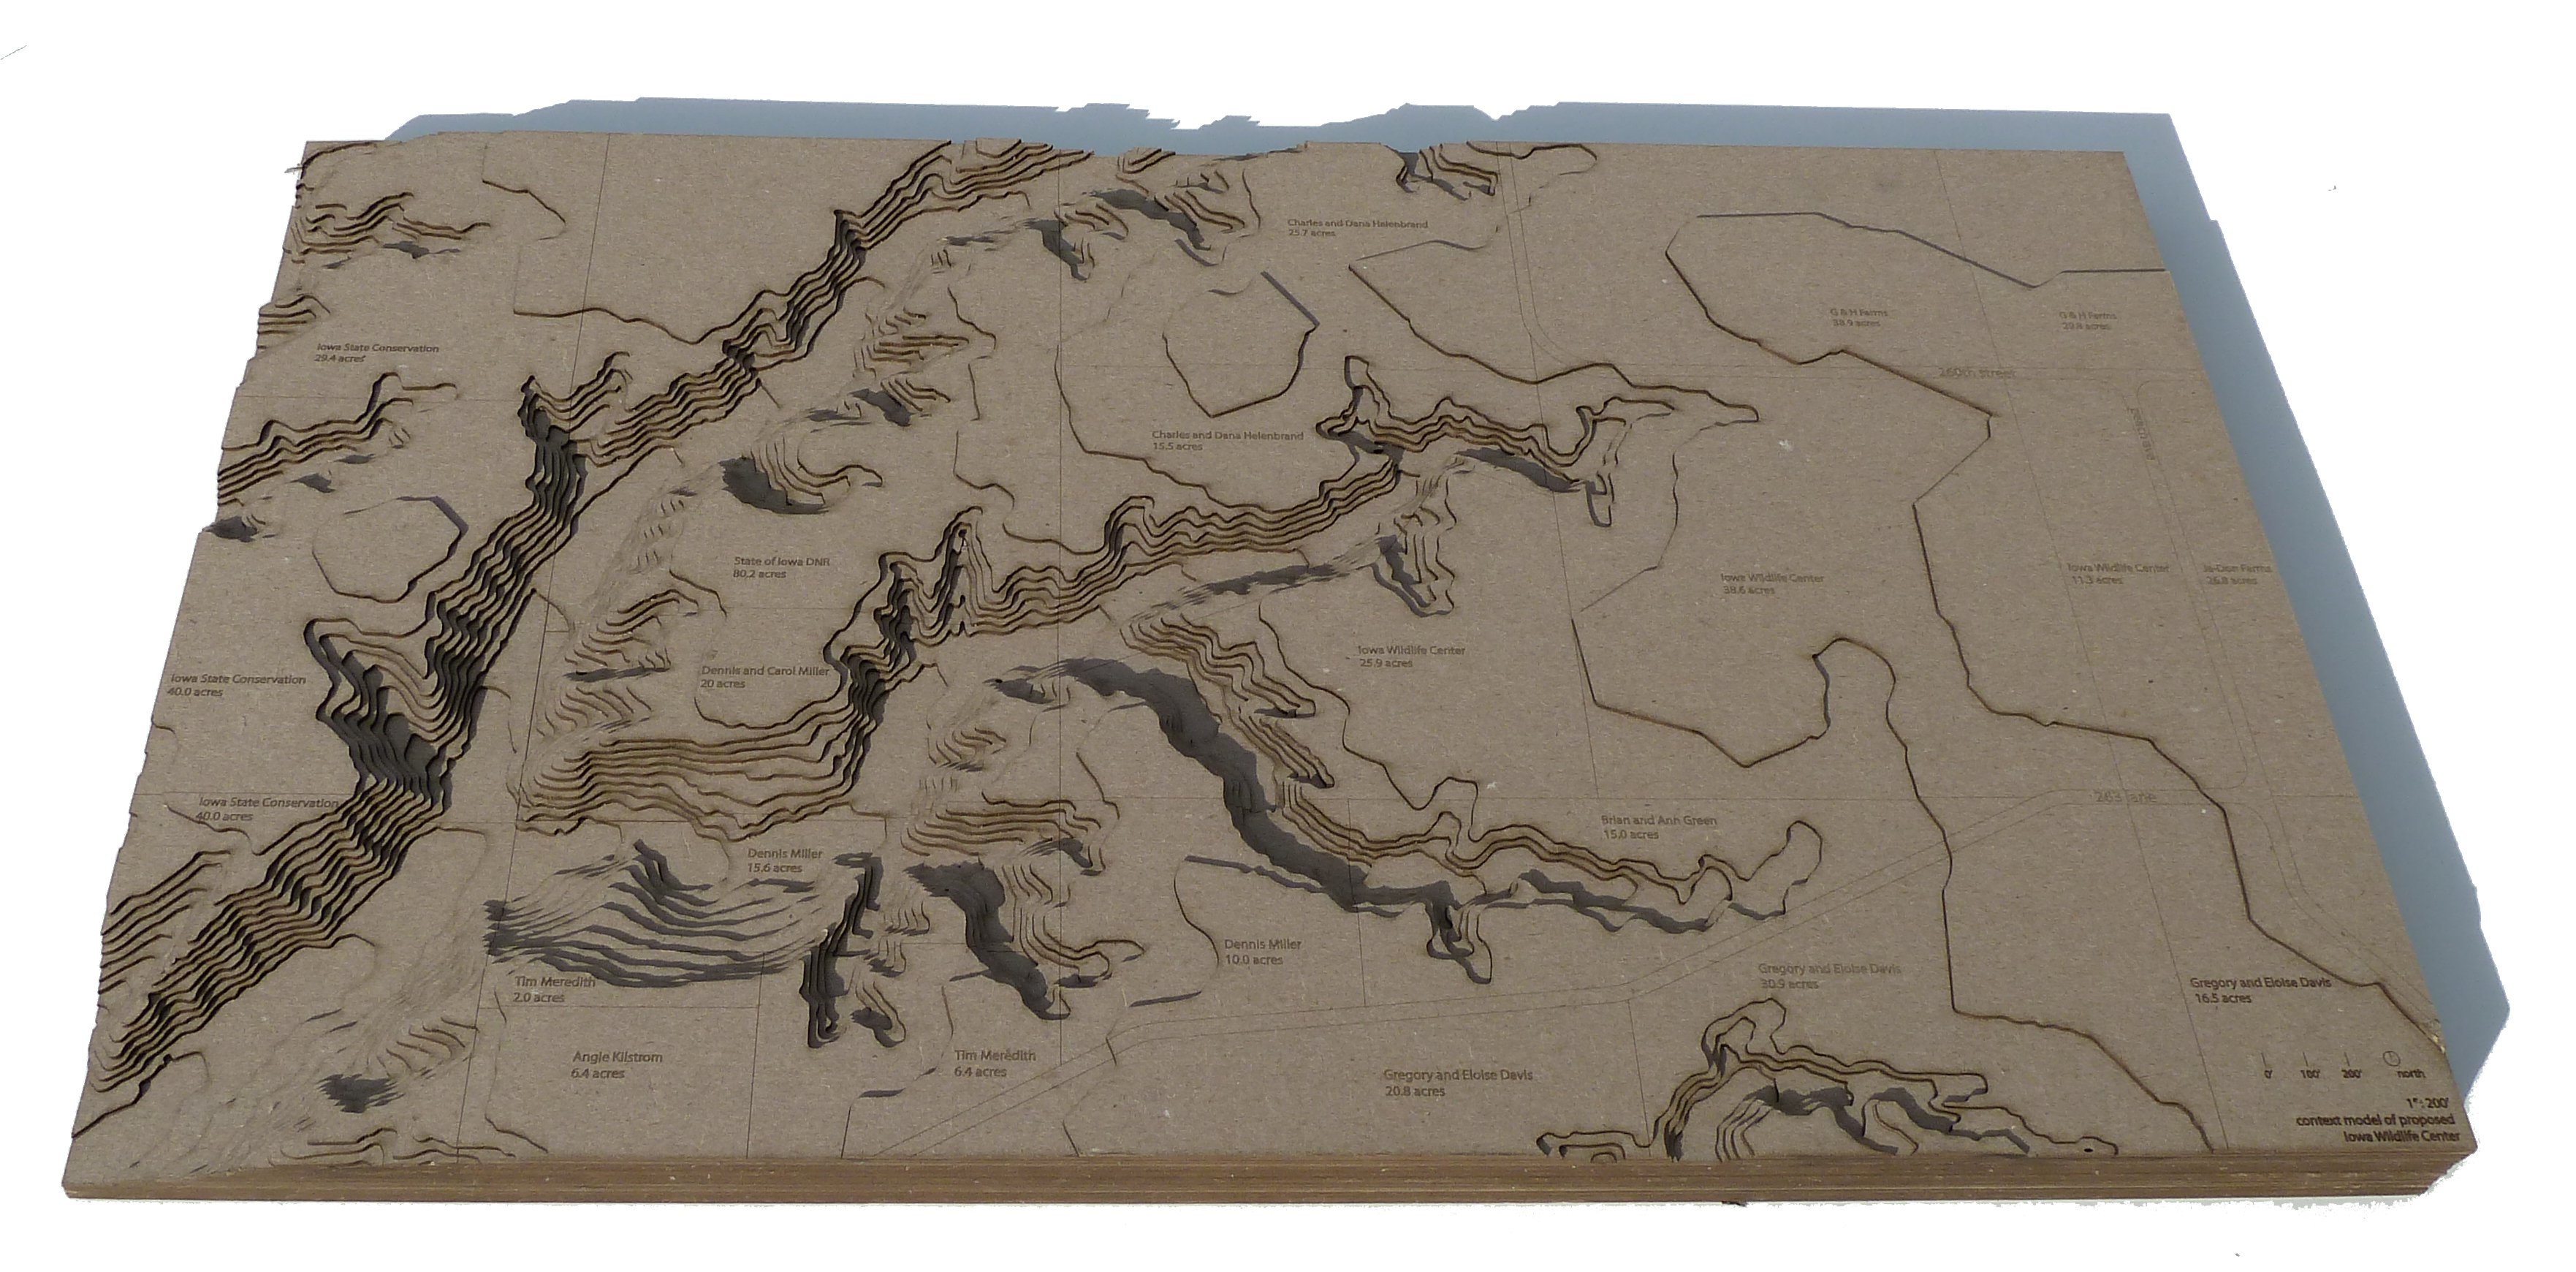
By using the following computer based software:
• Arcmap (only necessary if contour drawing is not giverN0
• Rhino 3d (to create cut file)
• Adobe Illustrator (to send to laser cutter
By using software programs are ones that one is most likely familiar with, along with the following steps it is easy to create a model.
1. Gather data may be given or use arcmap (1.5hrs if needed)
2. Convert data into cut file (2.5 hrs)
3. Cut model on laser cutter (1.5 hrs)
4. Assemble model (1.5 hrs)
7 hours is the total time needed to create model (based on a 18” x 24” model with approximately 30 layers)
Gathering Surface Data
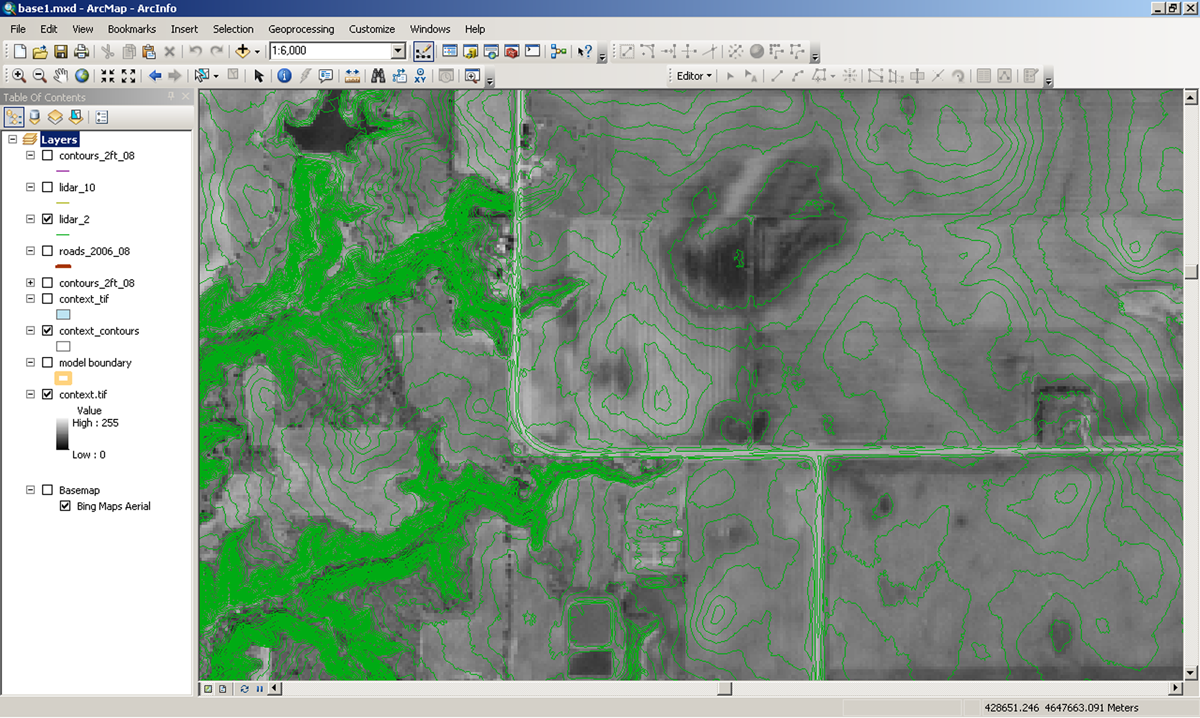
Note: If you already have your contour drawing from another source you can move on to step 2
Surface data can be gathered from a number of sources available to the general public. The easiest type of data to work with is in the form of contour data, were individual lines represent various breaks in the surface topography, creating essentially a series of steps, depicting formation.
Typically when locating data for a site within the state of Iowa, it is available as a GIS file, which can then be opened in any software such as arcmap or a similar software package. Once you have loaded the data for the correct site you can then export the data into a autocad file that can then be used to begin assigning elevations to the data to create a 3 dimensional depiction.
1. Find and load data into arcmap, using gis files.
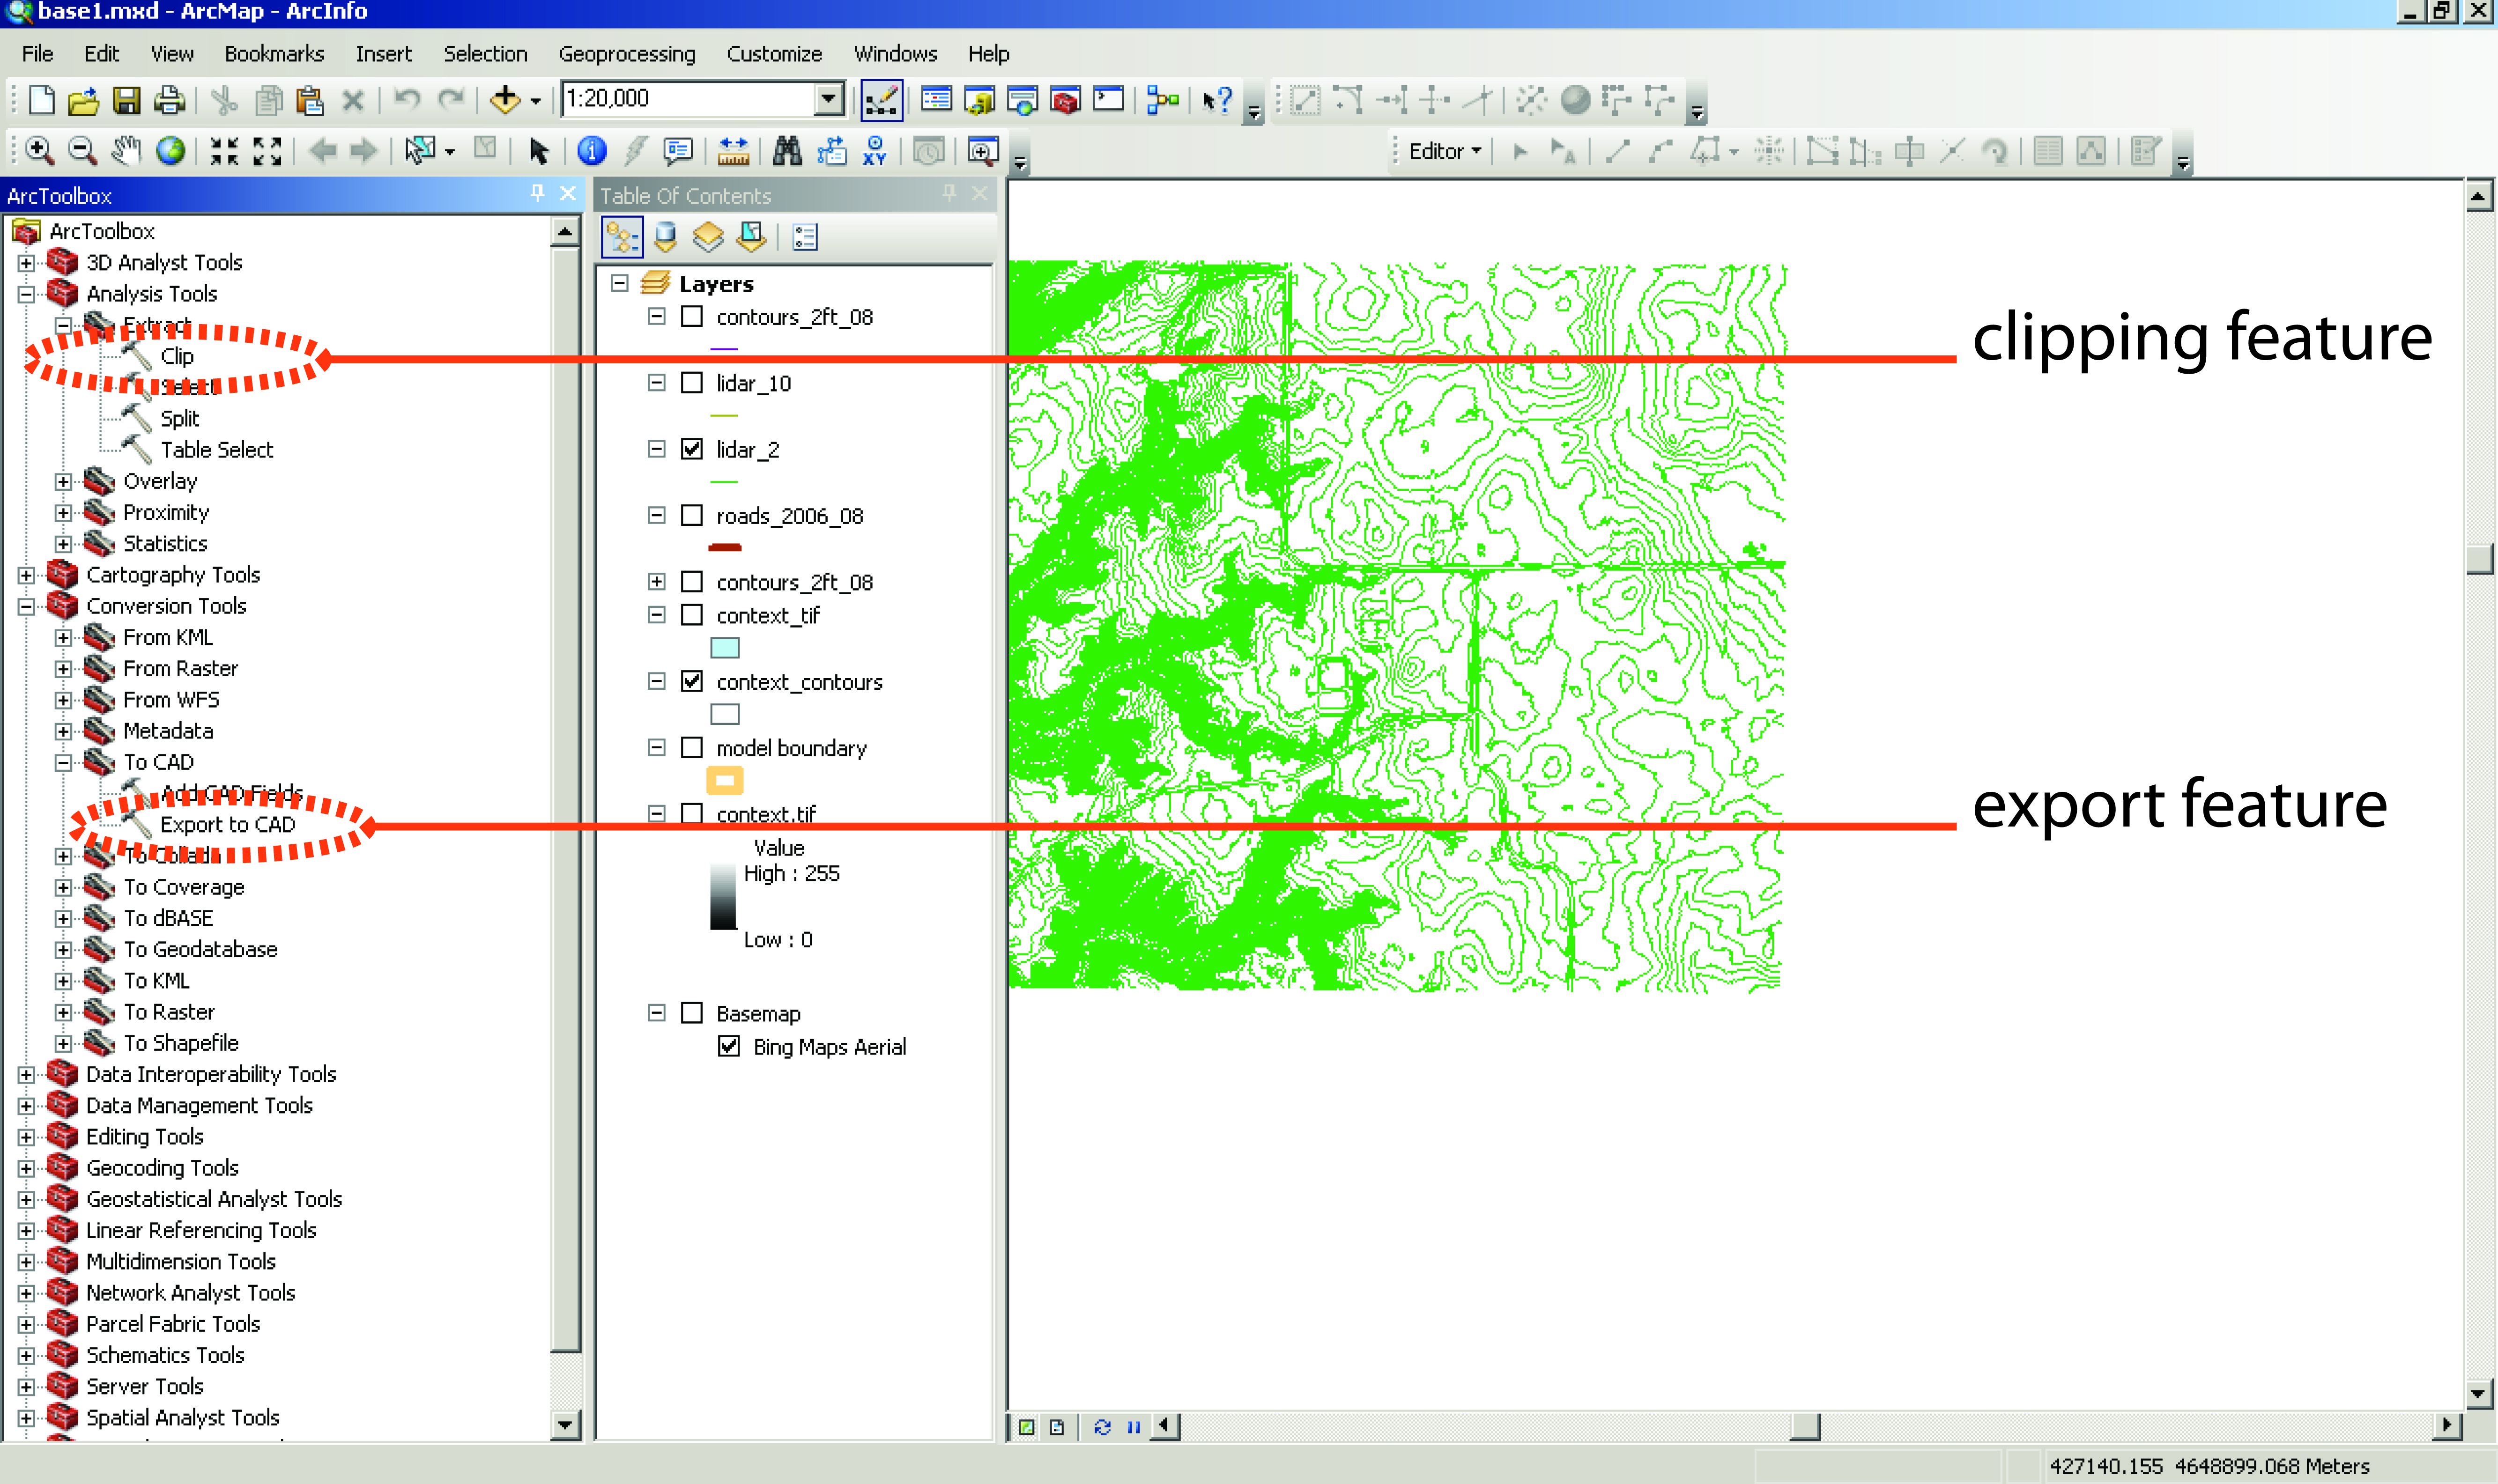
2. Clip data to necessary limits (located in spatial analysis toolbox)
3. Export data to cad (dwg file)
Hint: Most states have the data available for the "Department of Natural Resources"
Preparing Cut File by Creating the Model's Wireframe
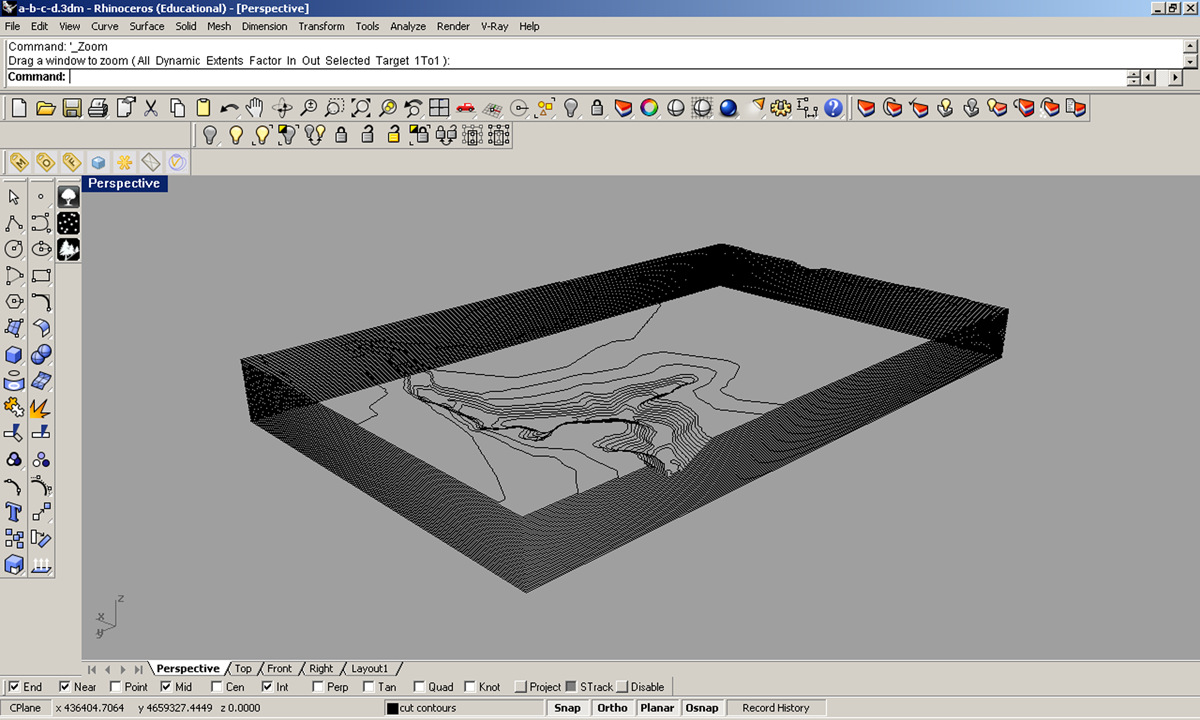
Once you have imported that data into another cad based that you are comfortable to work in a three dimensional platform, you can begin to move each contour to the to the correct elevation relative to the other contours. This will create a wireframe view of the model that you will fabricate. Once each contour is at the correct elevation you can also add a bounding box that will start and end at the contour line, running around the perimeter of the model.
These guides that are placed around the perimeter of the model as shown in the illustration will act to define the cutting edge of the model so each layer can easily be fabricated.
Steps:
1. Select first level contours, then using move command move to correct elevation. For example if you select the 800' contour move to 800'.
2. Draw one bounding depending on the size of the model and copy to all layers.
3. Export each layer to be cut as into a illustrator file.
Hint: the number of illustrator files you will have depends on the amount of layers in you model. If your model will have 35 layers, then you will have 35 illustrator files.
Laser Cutter Preperation
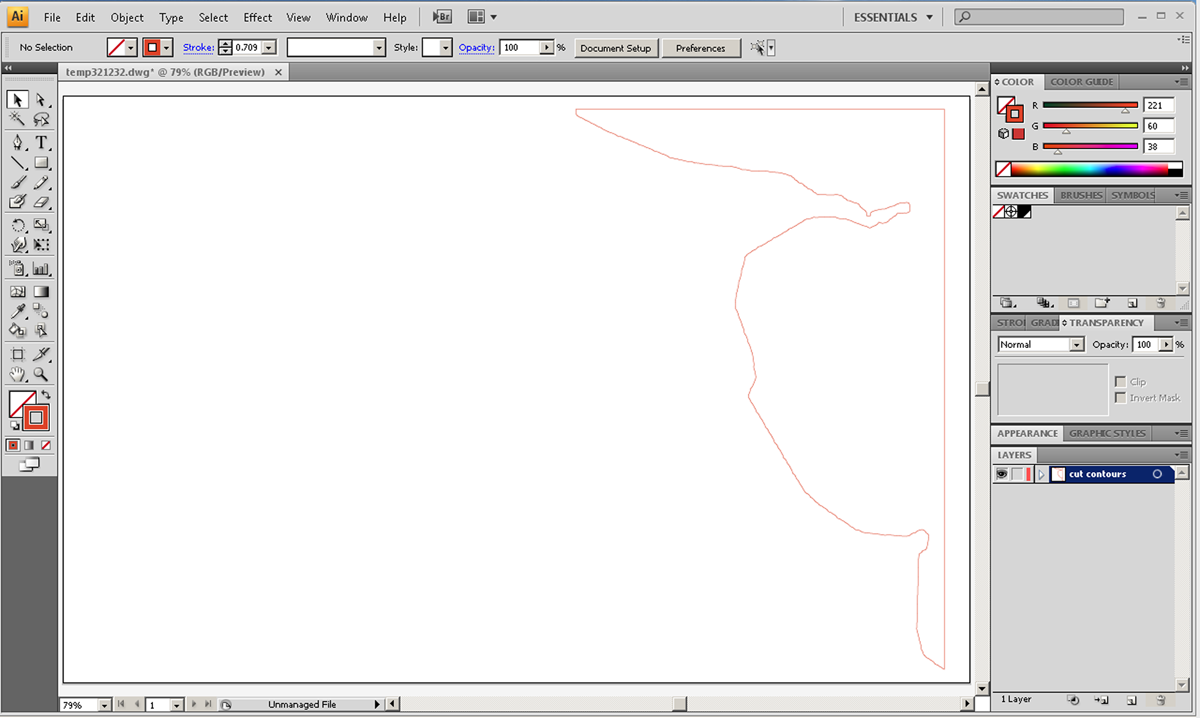
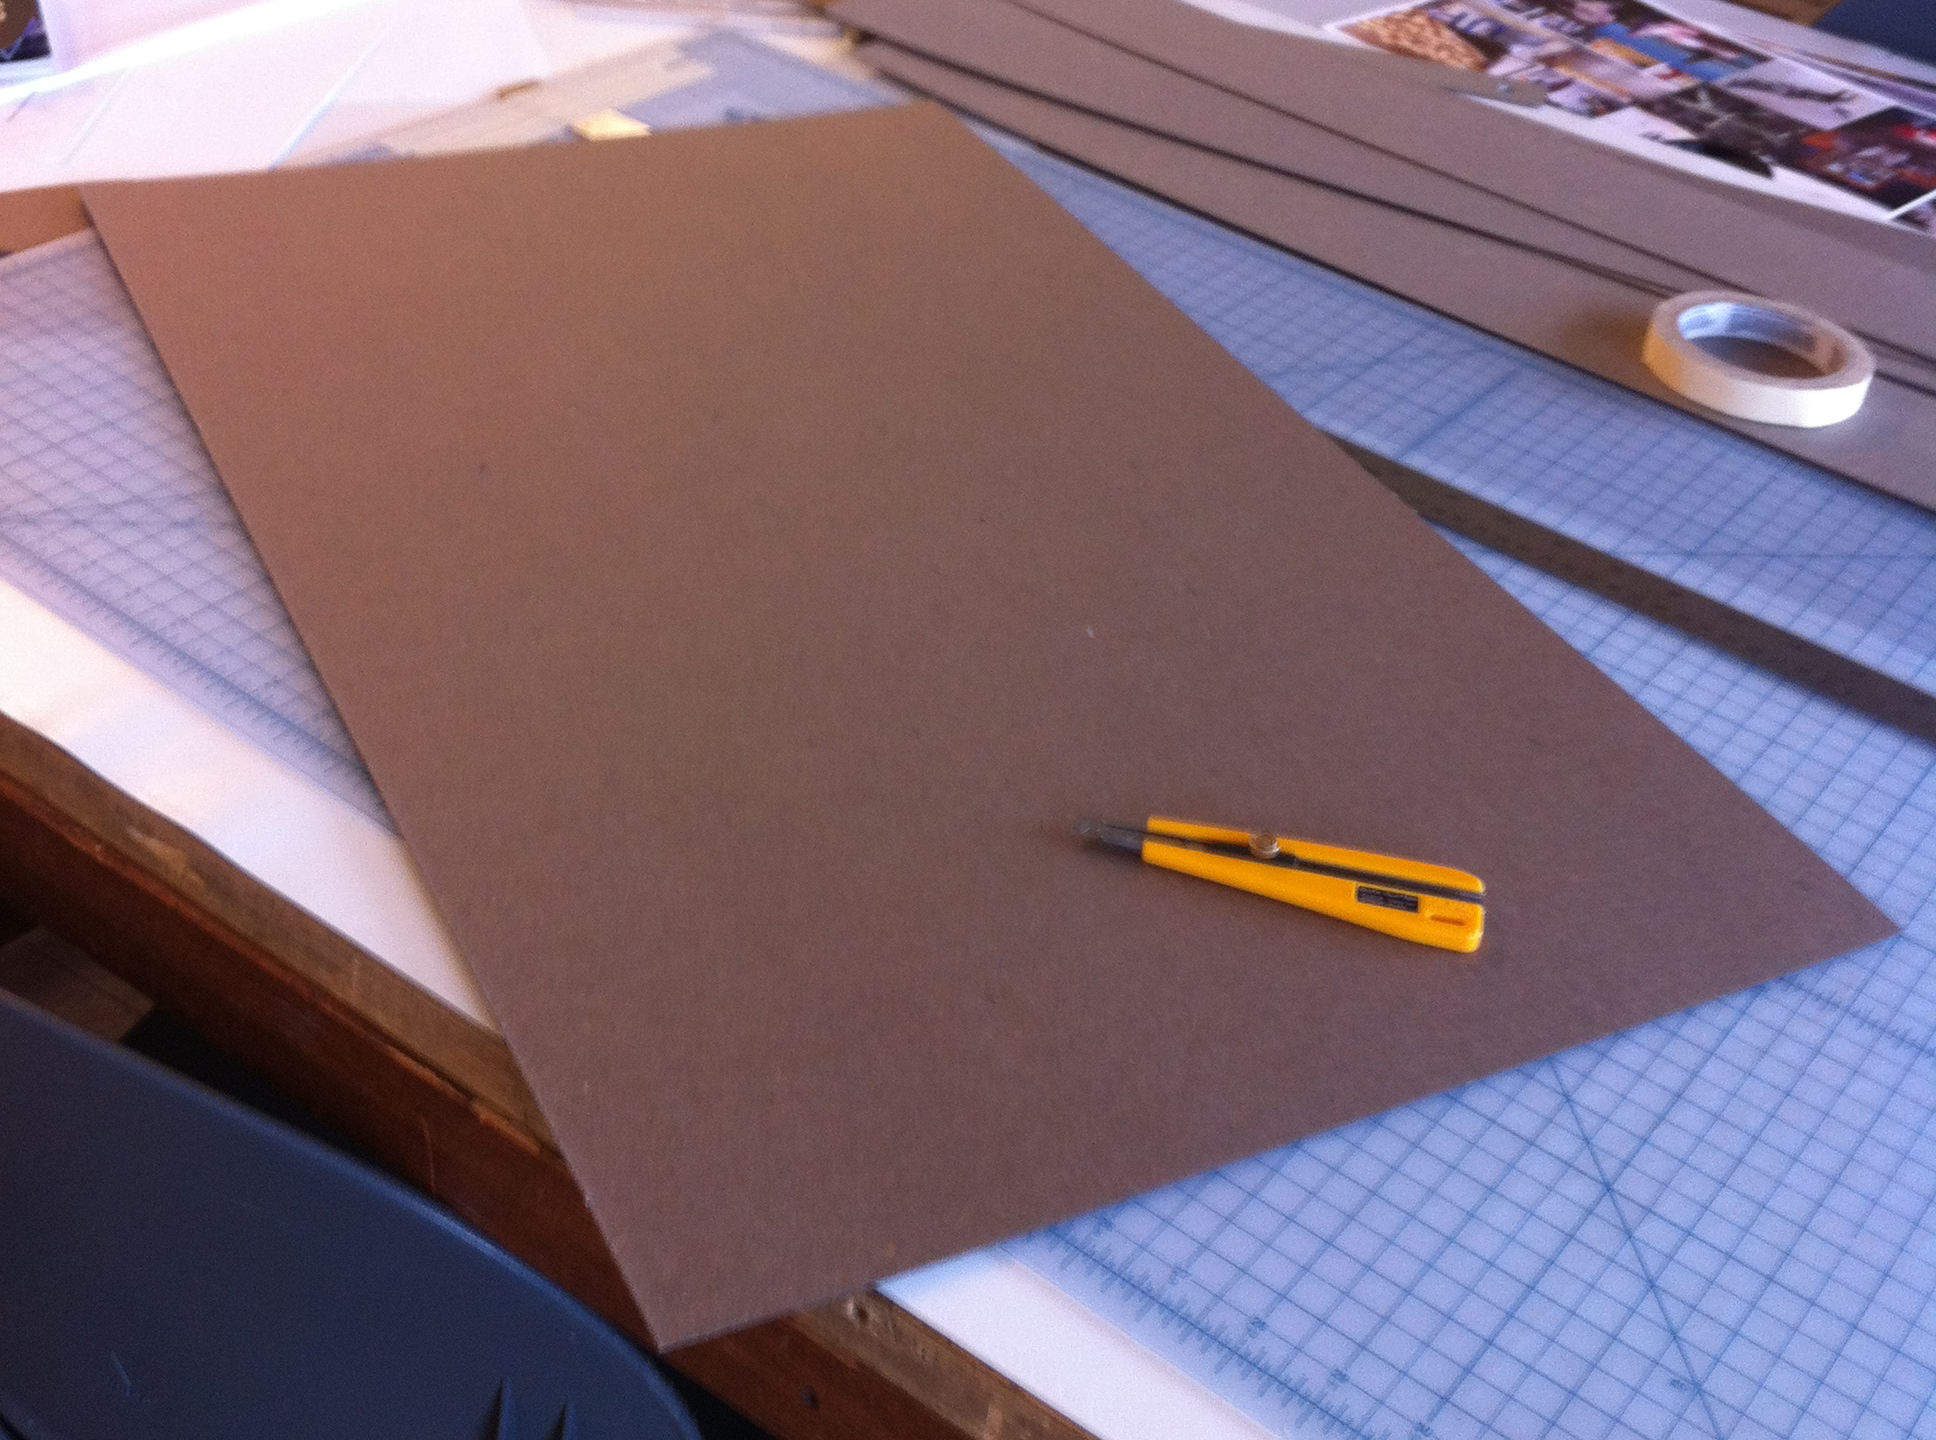
Steps:
1. Locate the necessary quantity of materials necessary.
2. Open the first file that you wish to cut.
Laser Cut Model Pieces
![IMG_0623[1].JPG](/proxy/?url=https://content.instructables.com/F28/1UGD/GU8MZI9N/F281UGDGU8MZI9N.jpg&filename=IMG_0623[1].JPG)
Preparation: Cut each layer of material to correct size, for laser cutting before beginning steps
Danger: The material in the laser cutter may catch on fire if operated improperly.
1. Follow the instructions of the laser cutter that you are using
2. Check each layer in sequence for the bottom to the top.
Hint: Check for errors by assembling the model in process rather than till you are finished cutting
Assembly
![IMG_0619[1].JPG](/proxy/?url=https://content.instructables.com/FHF/NZFT/GU63Y2M9/FHFNZFTGU63Y2M9.jpg&filename=IMG_0619[1].JPG)
![IMG_0618[1].JPG](/proxy/?url=https://content.instructables.com/FQS/A1FB/GU8S6HPK/FQSA1FBGU8S6HPK.jpg&filename=IMG_0618[1].JPG)
The final process is to glue the model’s layers together.
Hint: Elmer’s glue will be most effective
1. Apply glue to bottom layer
2. Press against previous layer
Congratulations, you have just create a topographic model that accurately depicts a real world site. By using the skills that you have just leaned you can build basic models for computer files.