Create a Set of Rainbow Pencils in 10 Mins Using Fusion 360
by alamtania in Design > Software
2188 Views, 7 Favorites, 0 Comments
Create a Set of Rainbow Pencils in 10 Mins Using Fusion 360
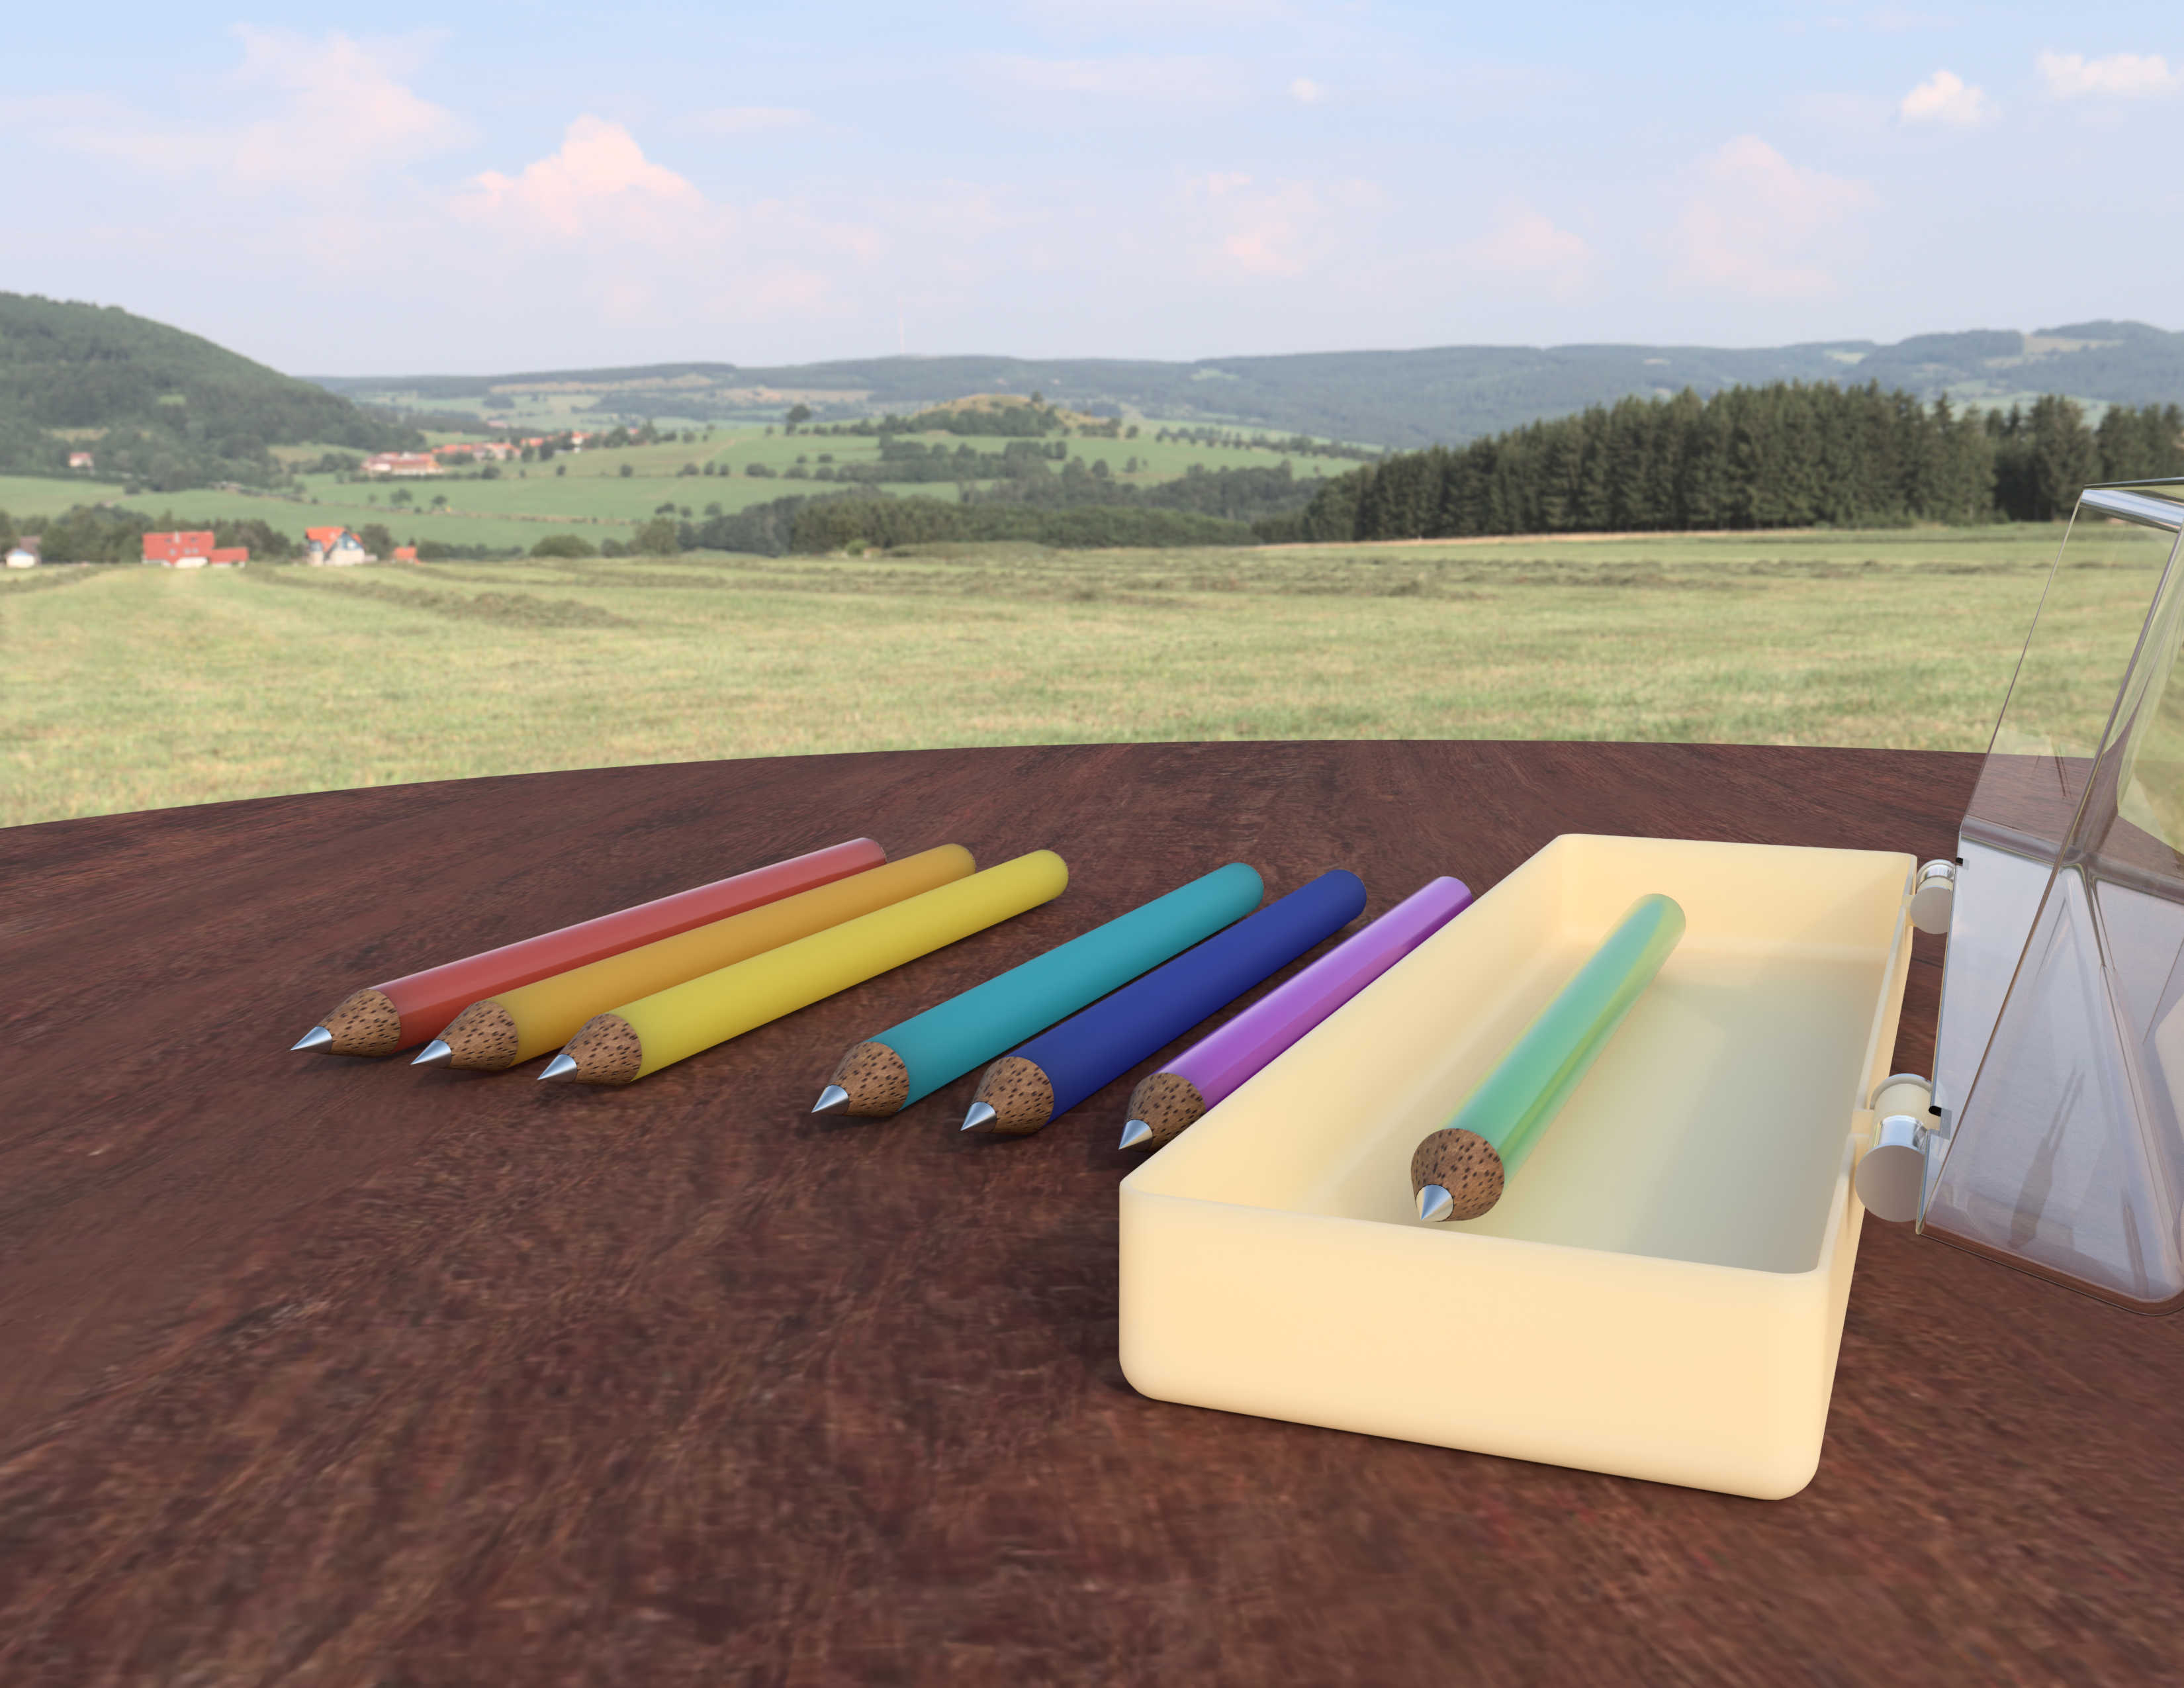
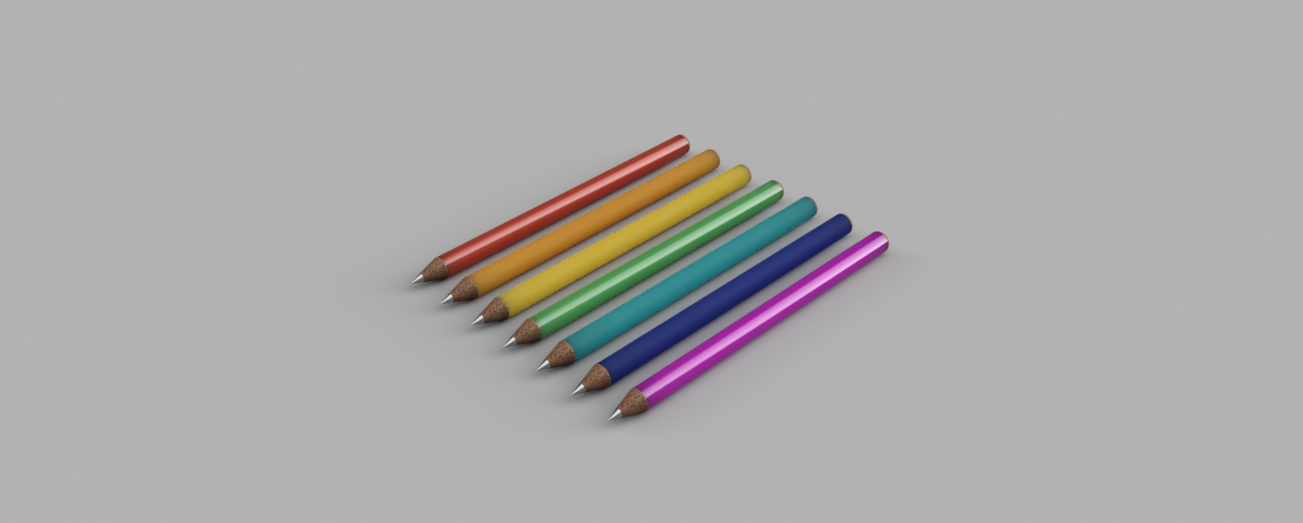
After my pencil box project, this is the first thing I could think of! Pencils! This is the most common stuff, students have. Or should I say, they need!
I assure you, this is not going to take more than 10 mins. This project is for Fusion 360 beginners, to give them a feel of how they can use CAD and the software in their everyday life.
Software required:
Fusion 360 by Autodesk
Pre-requisites:
Although the Instructables is meant to be for beginners, it is recommended to have some basic knowledge of the software.
Lessons recommended:
Fusion 360 class (Lessons: 1-5 and 9)
Make a Pencil Body
.png)
.png)
.png)
.png)
.png)
.png)
.png)
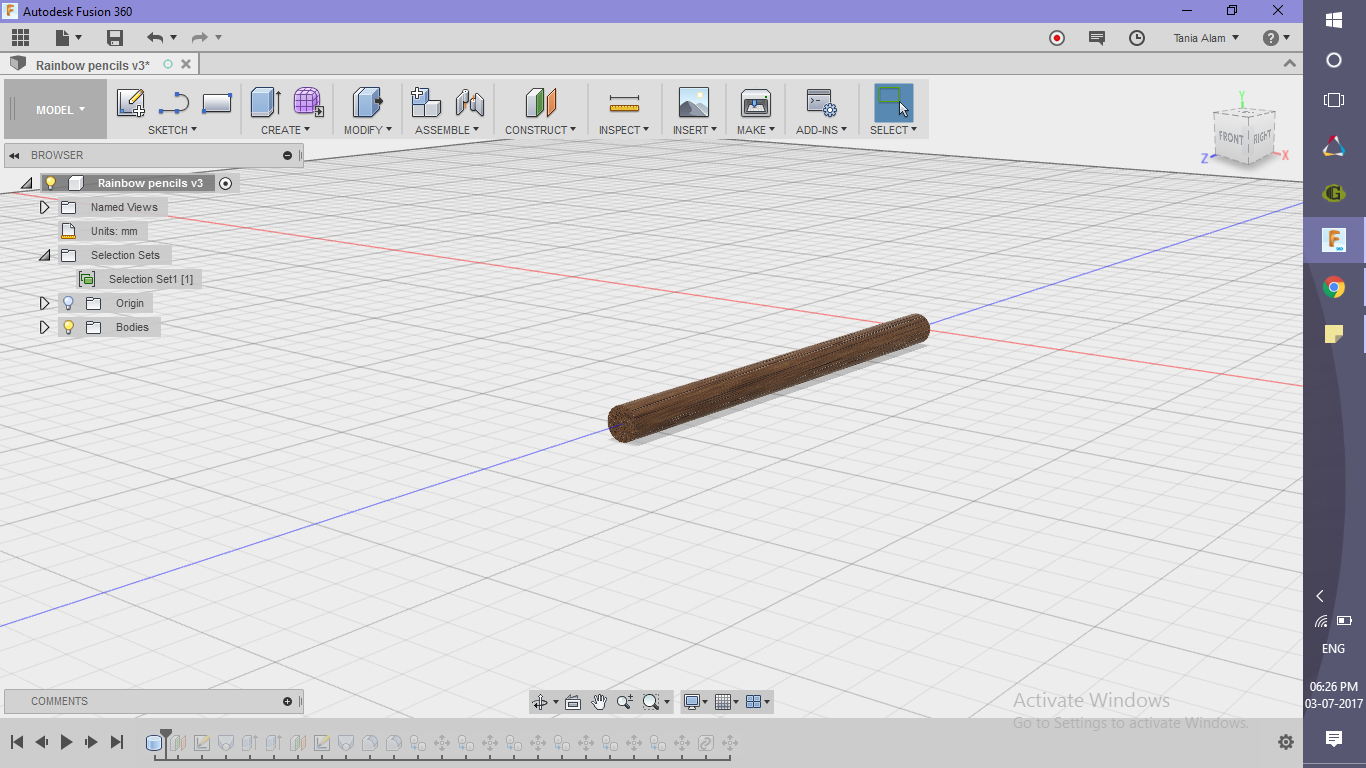
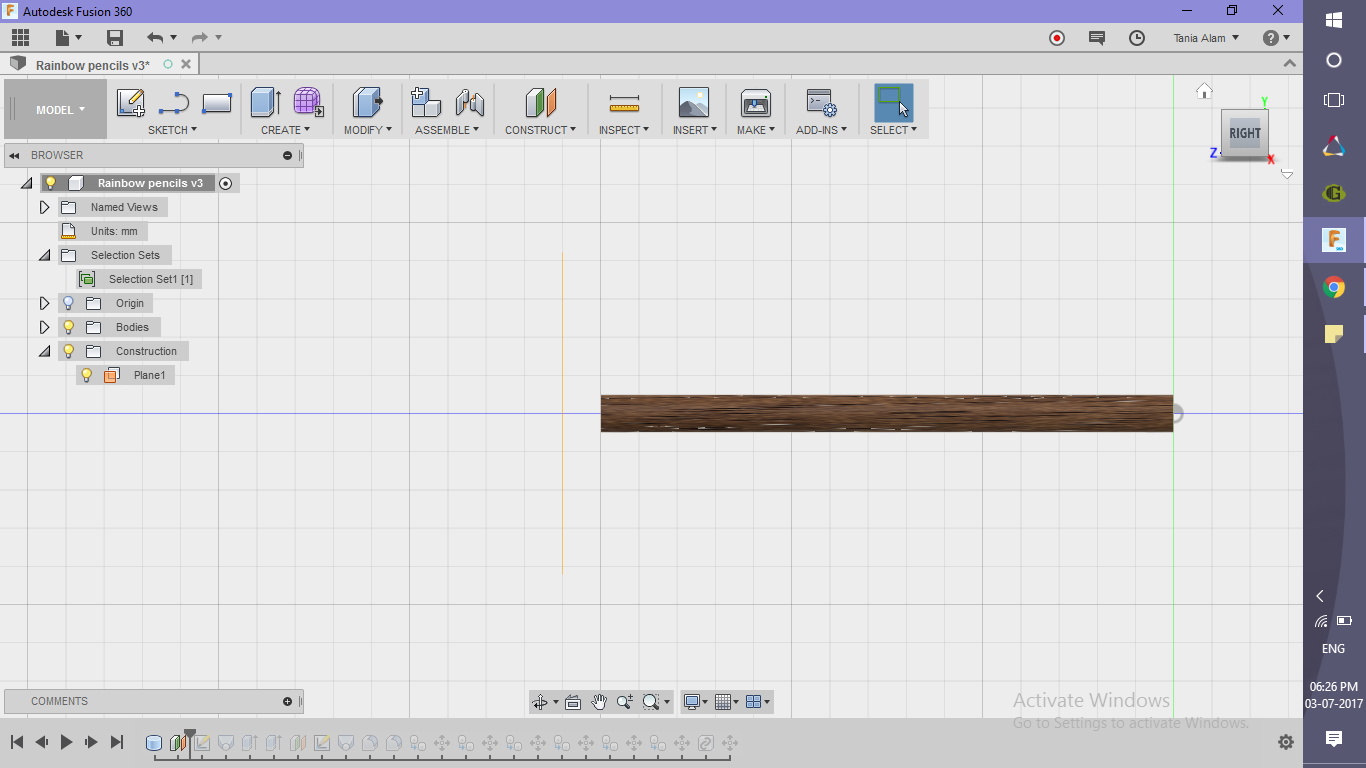
- Create a cylinder
- Go to "Create" Tab
- Click on "Cylinder" option
- Choose a sketch plane as asked
- Input the diameter (10 mm)
- Input the height (100 mm)
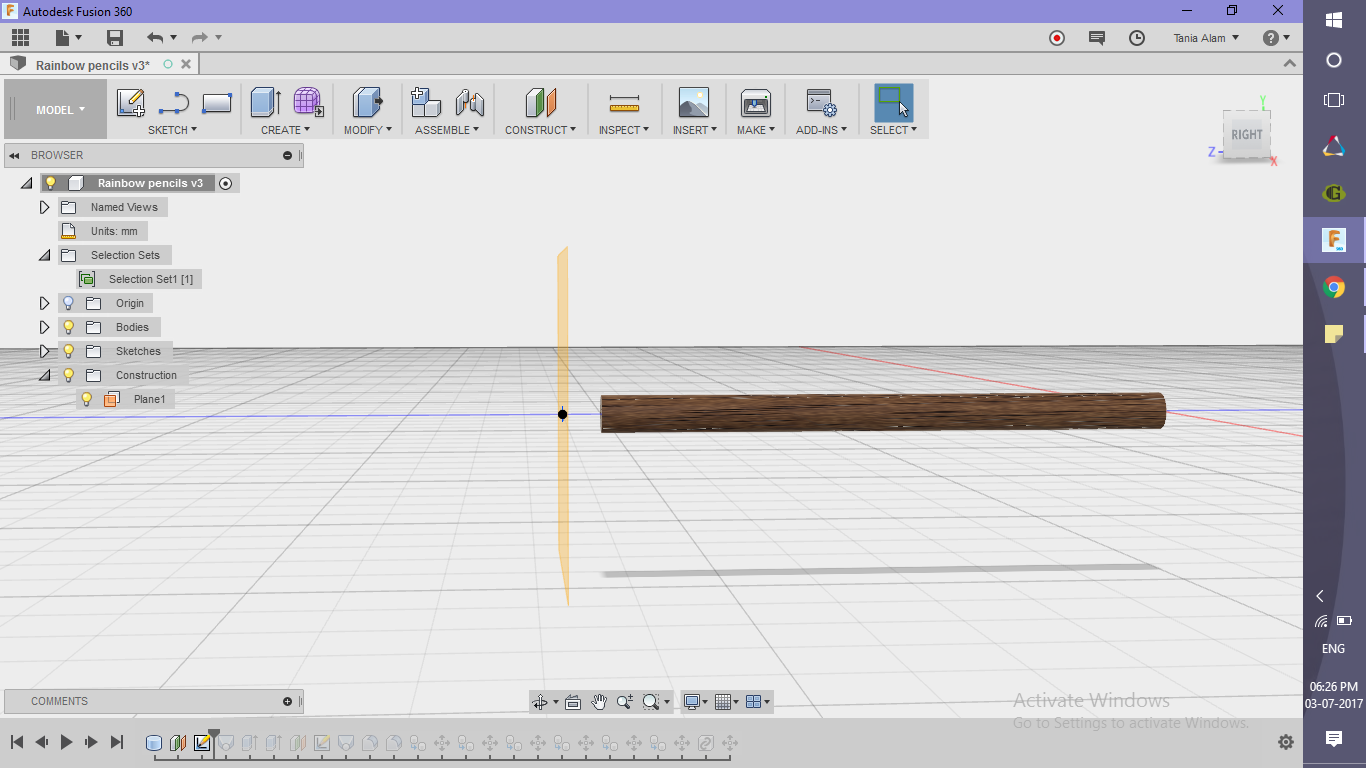
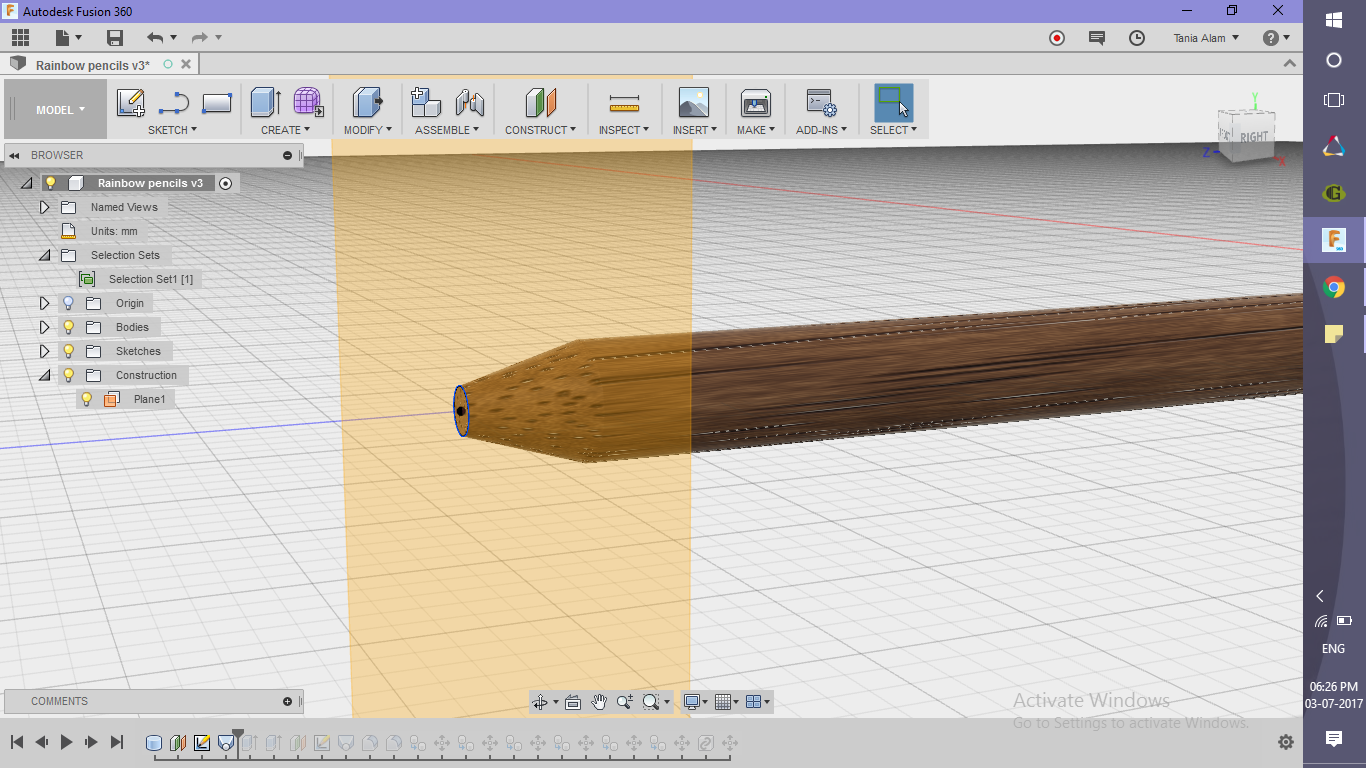
- Create the mouth
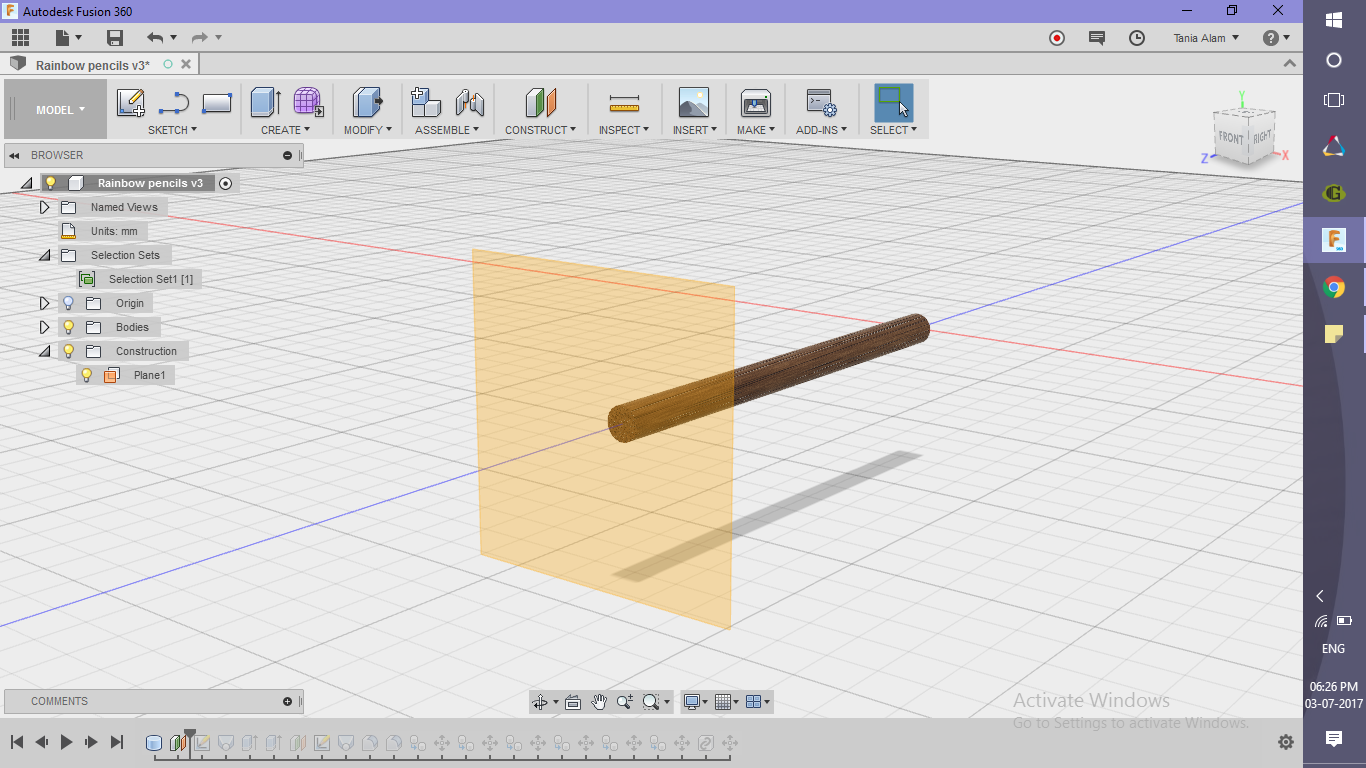
- Go to "Construct" tab
- Click on "Offset plane"
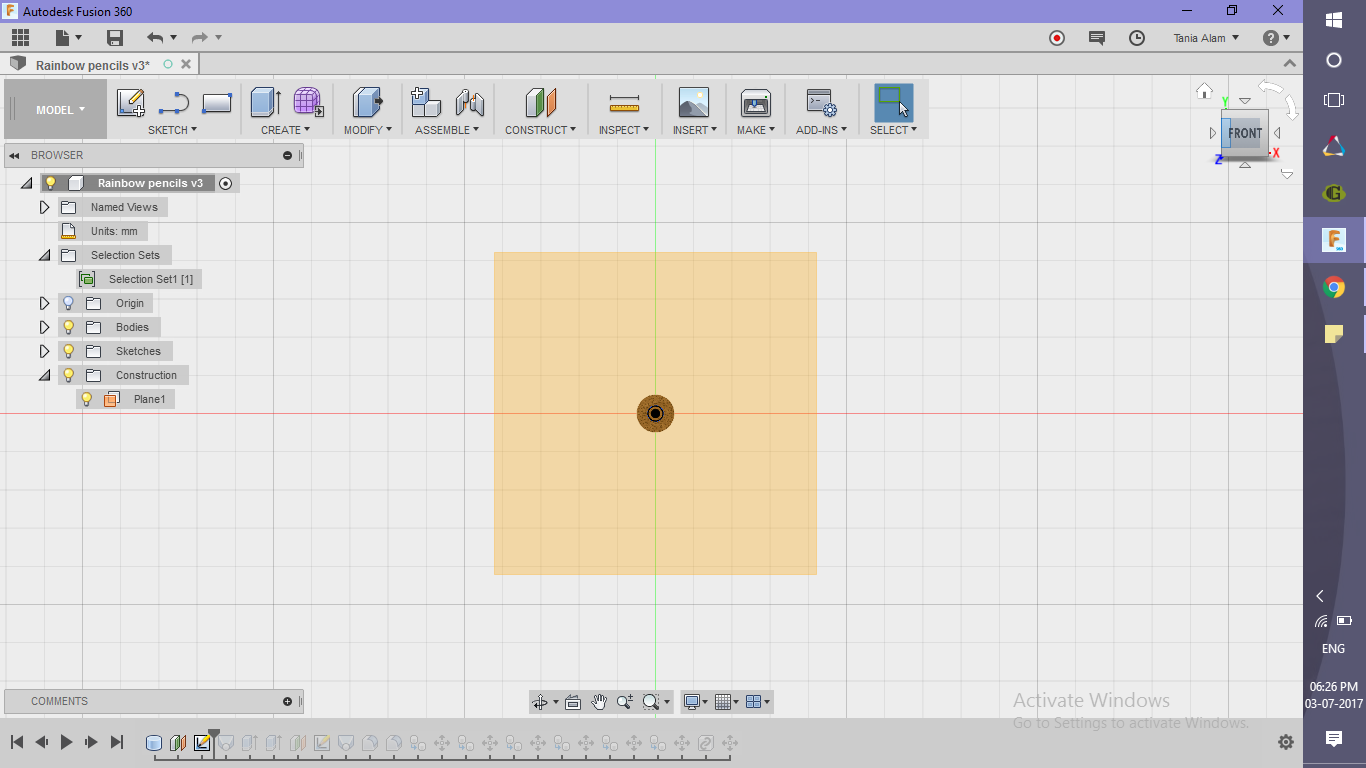
- Create a circle (of a smaller diameter) on this plane
- Go to "Create" Tab
- Choose "loft"
- Select this circle as profile 1
- Select the top surface of the cylinder as profile 2
- Extrude this circle throughout the length of the pencil to create the hollow cylindrical space.
Make Pencil Nib
.png)
.png)
.png)
.png)
.png)
.png)
.png)
.png)
.png)
.png)
.png)
.png)
.png)
.png)
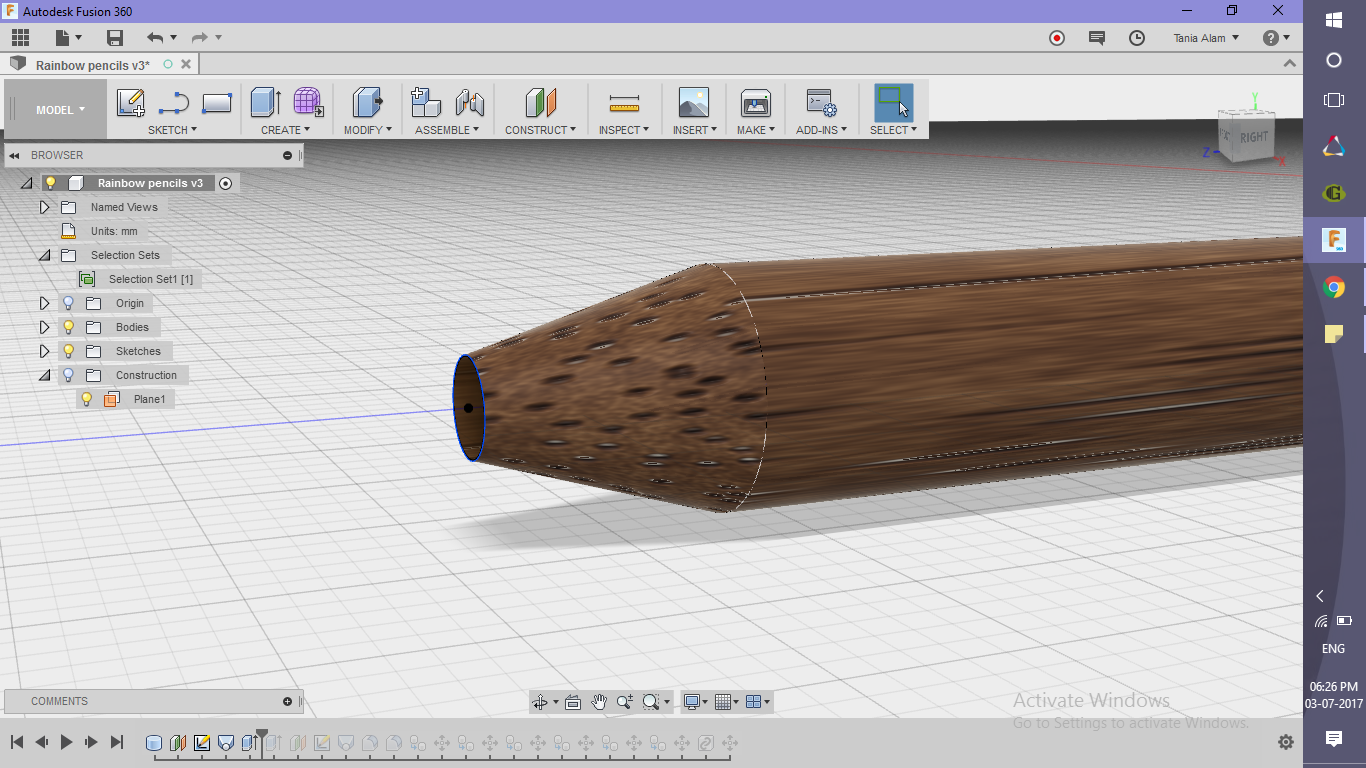
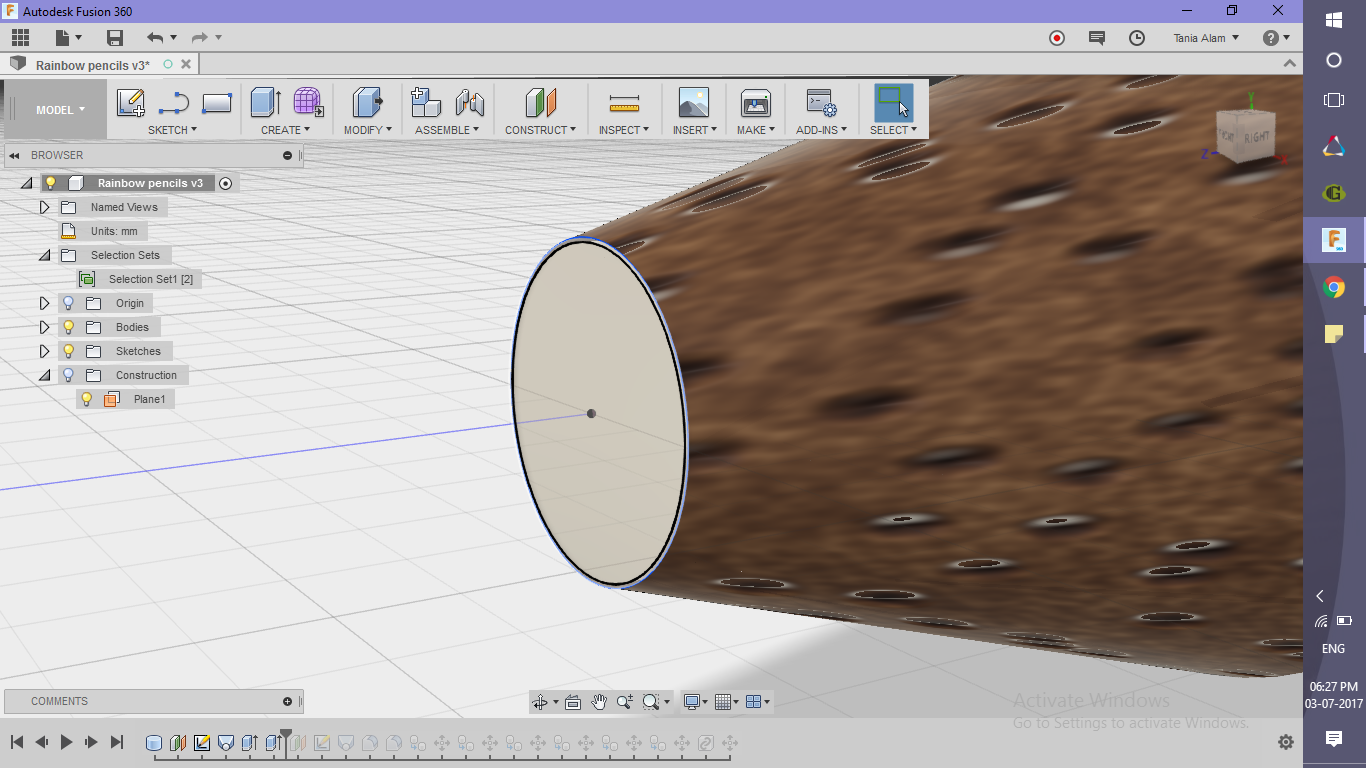
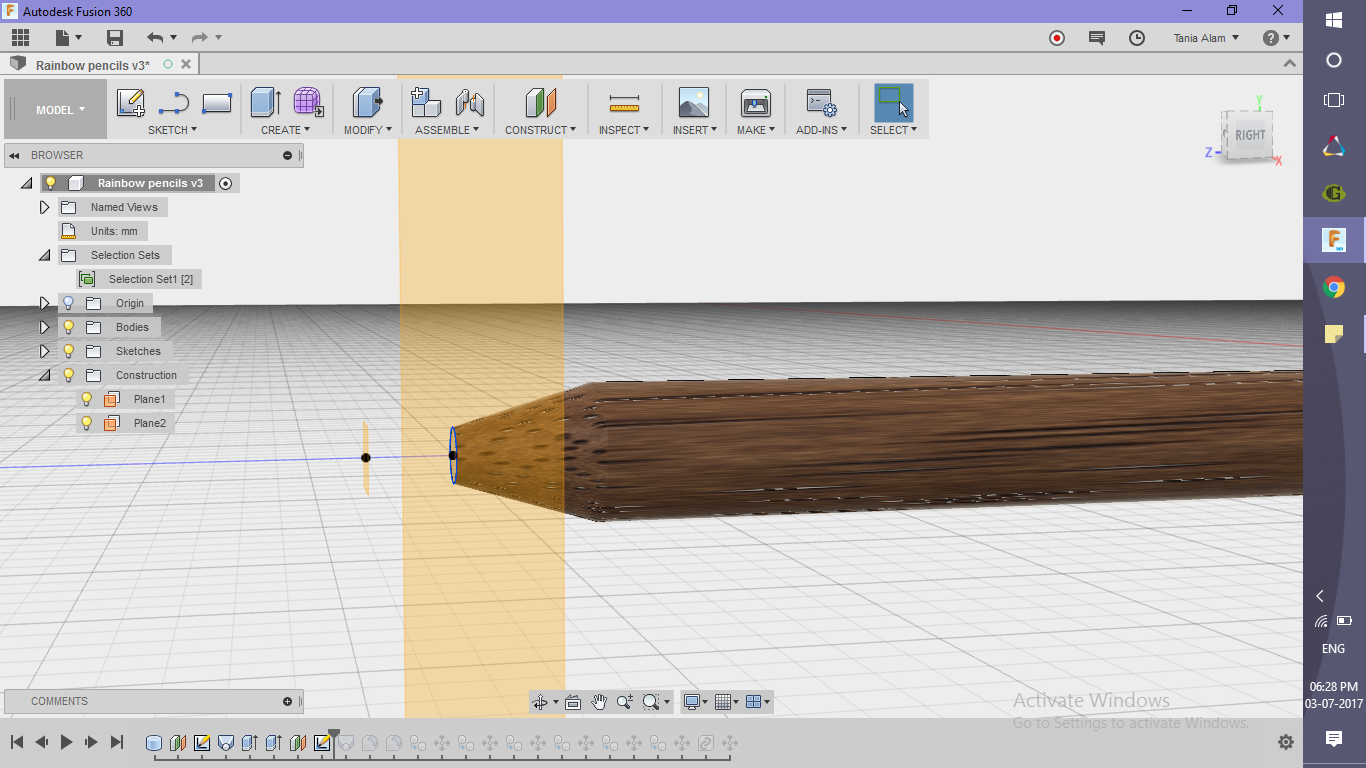
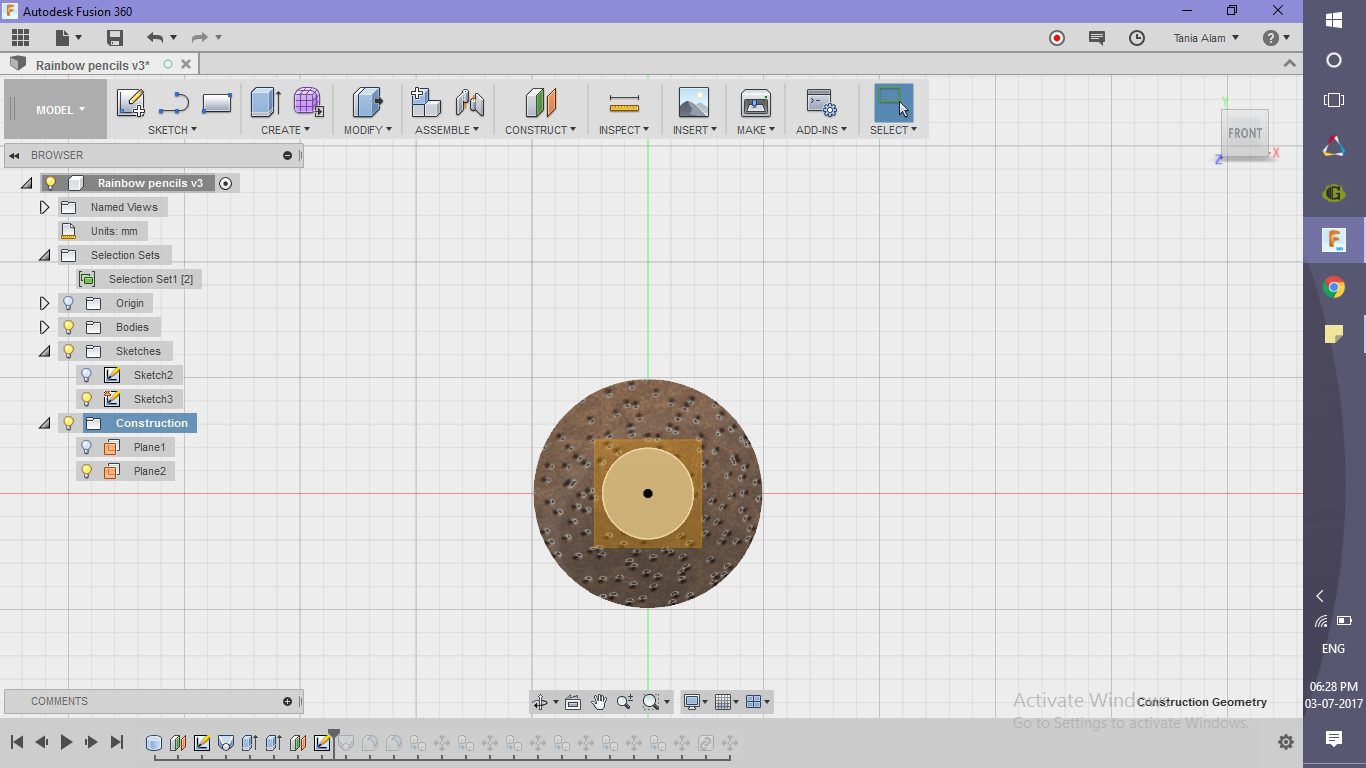
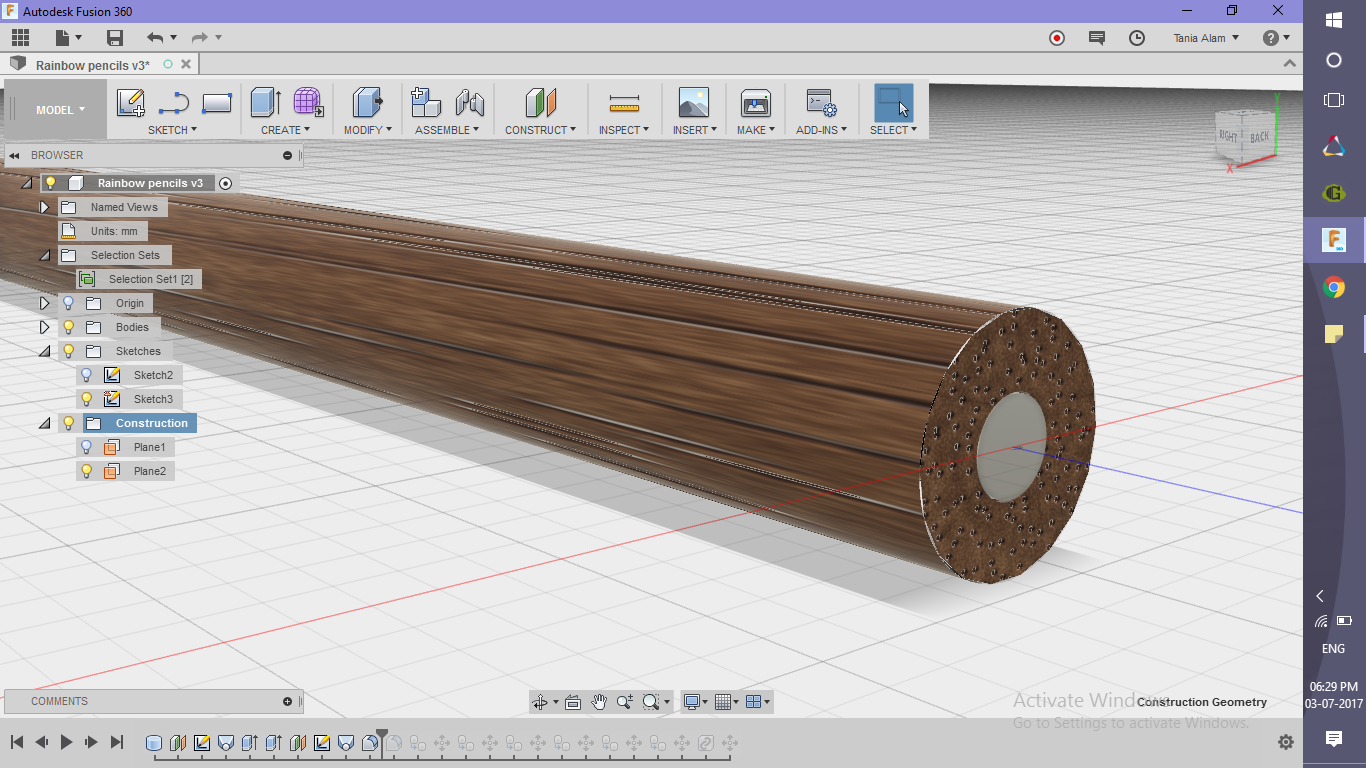
- Create the cylindrical part
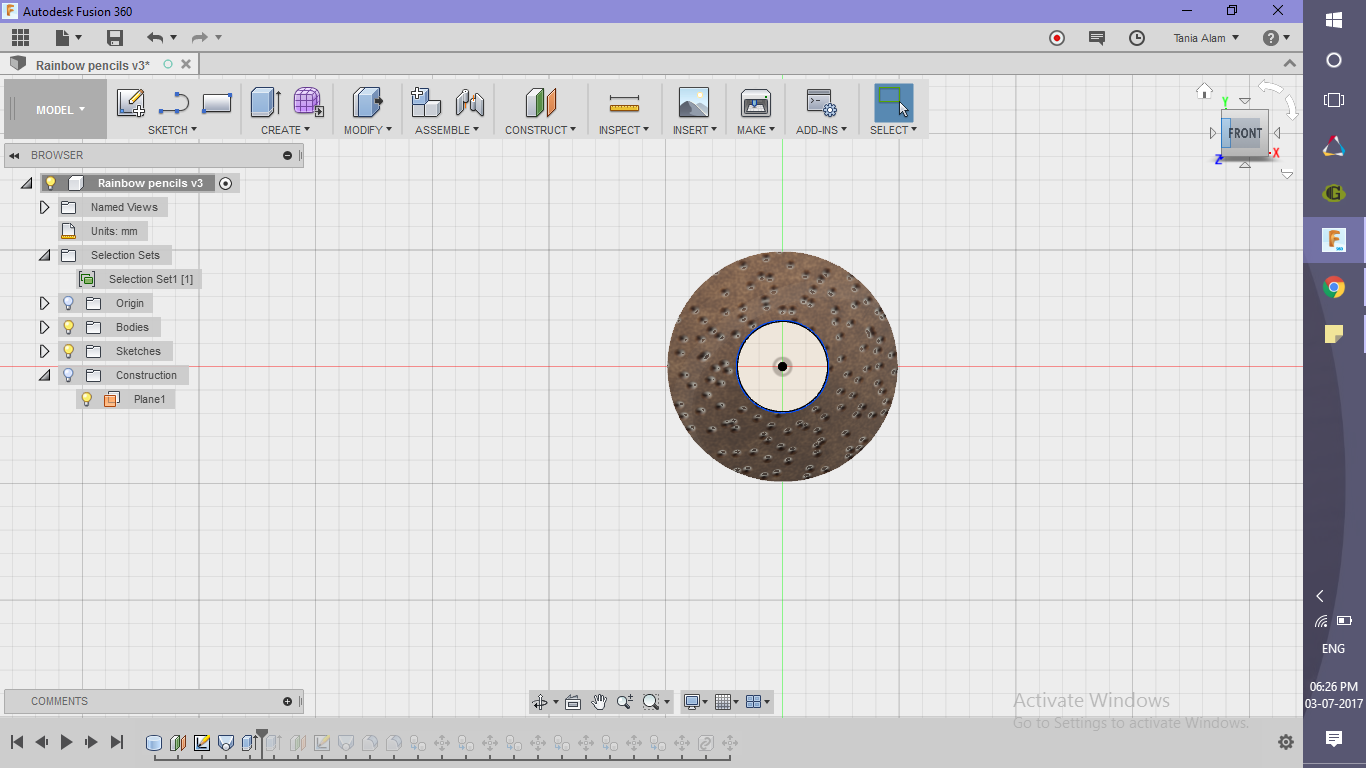
- Right-click on the last sketch in the browser and choose "Edit Sketch"
- Offset the previous circle by 0.5mm inside
- Extrude the circle along the whole length of the pencil
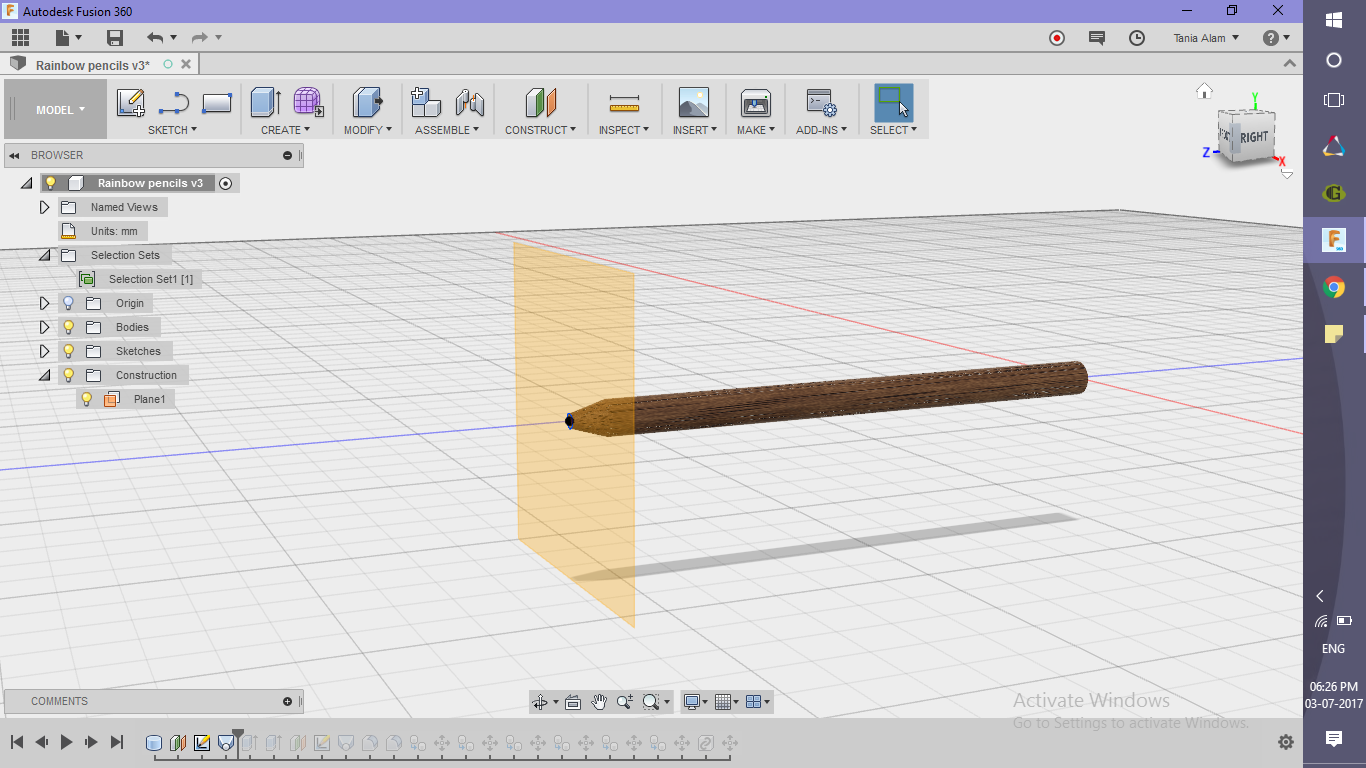
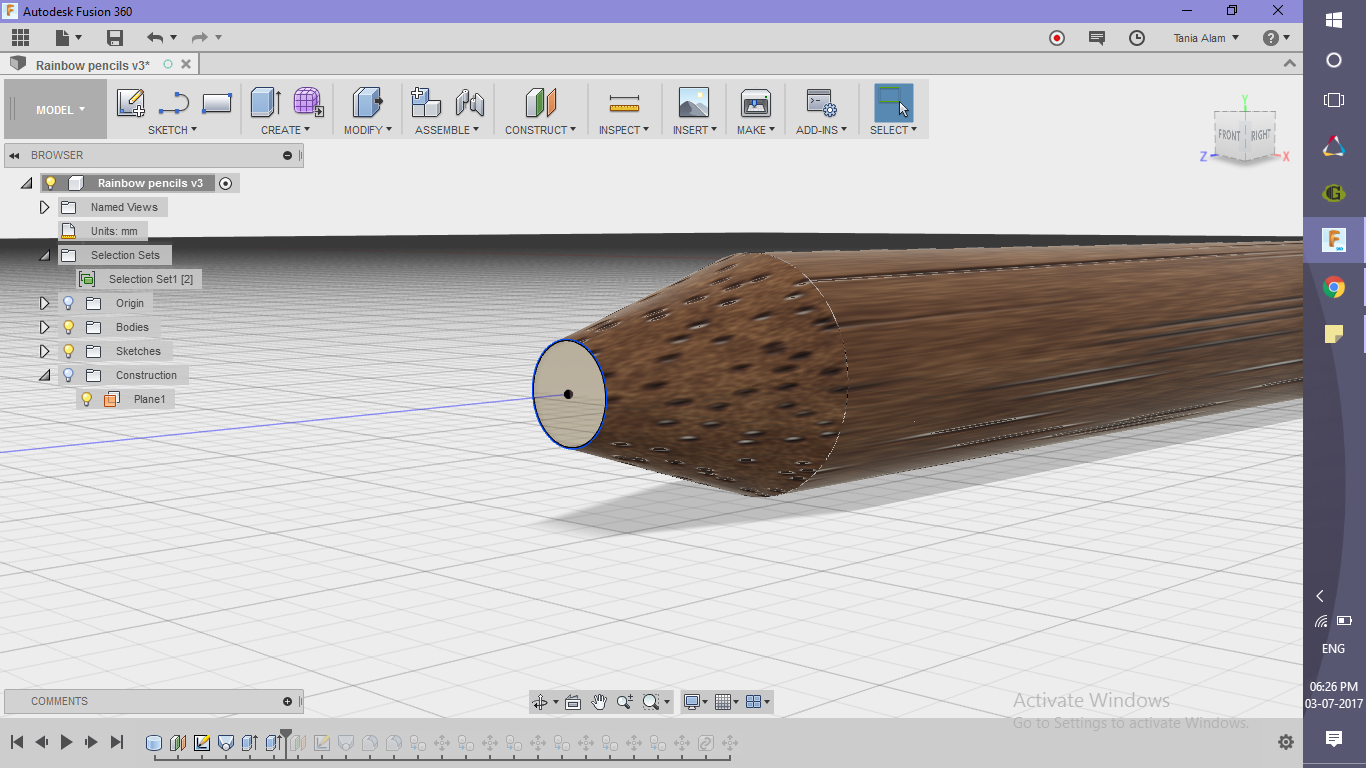
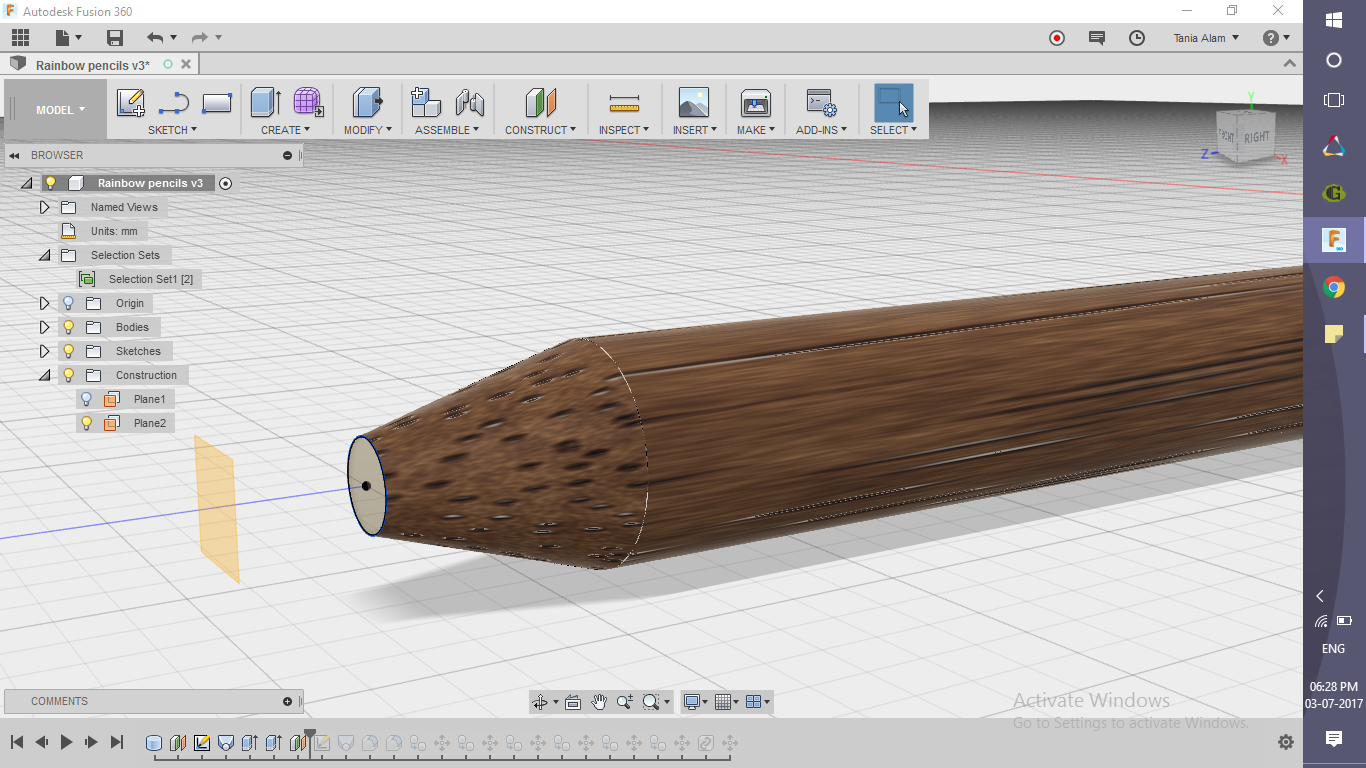
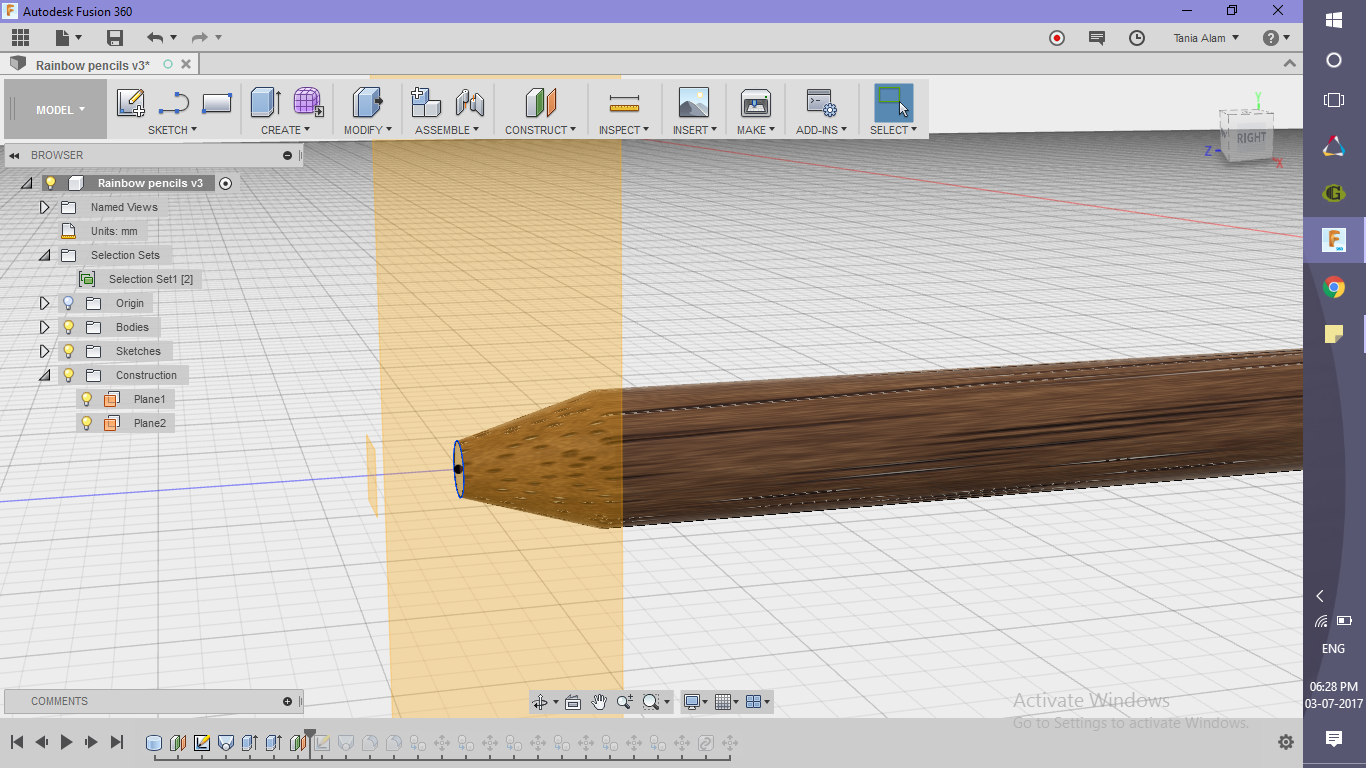
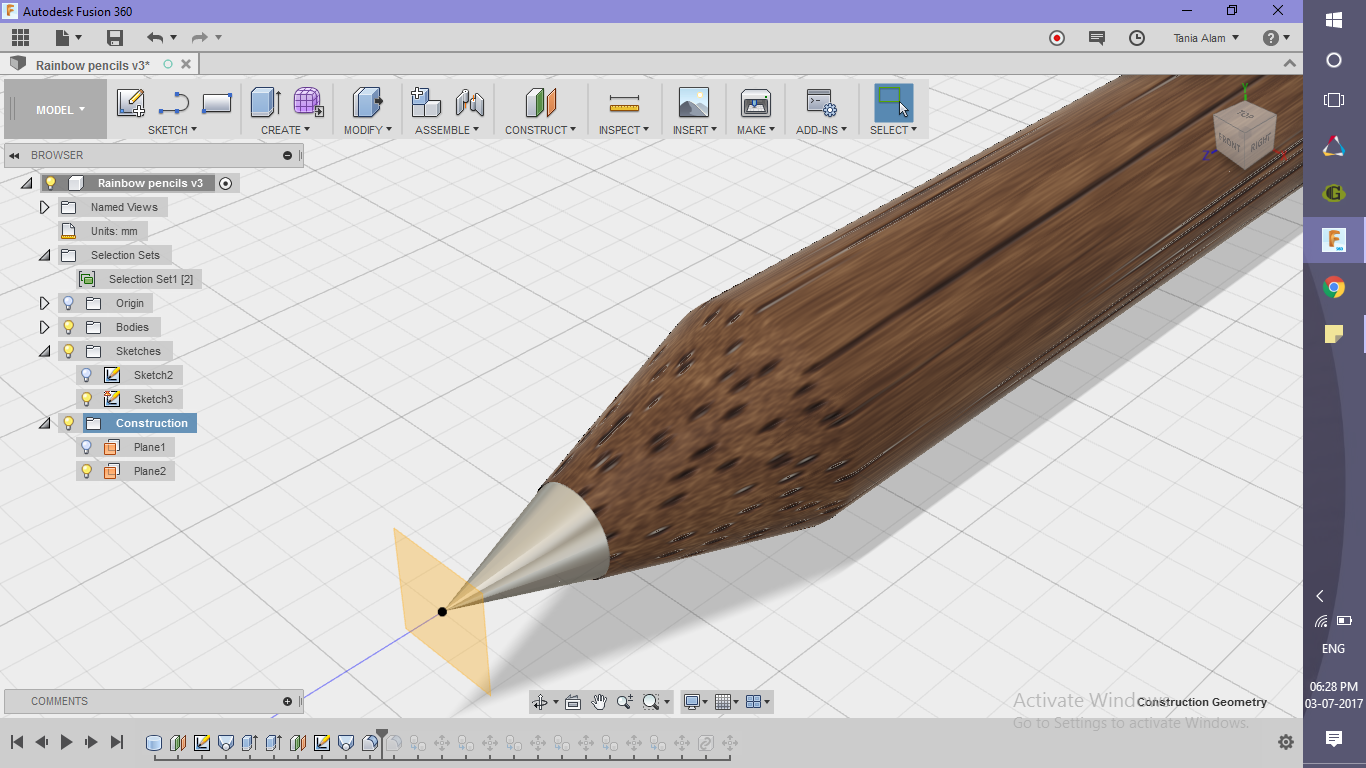
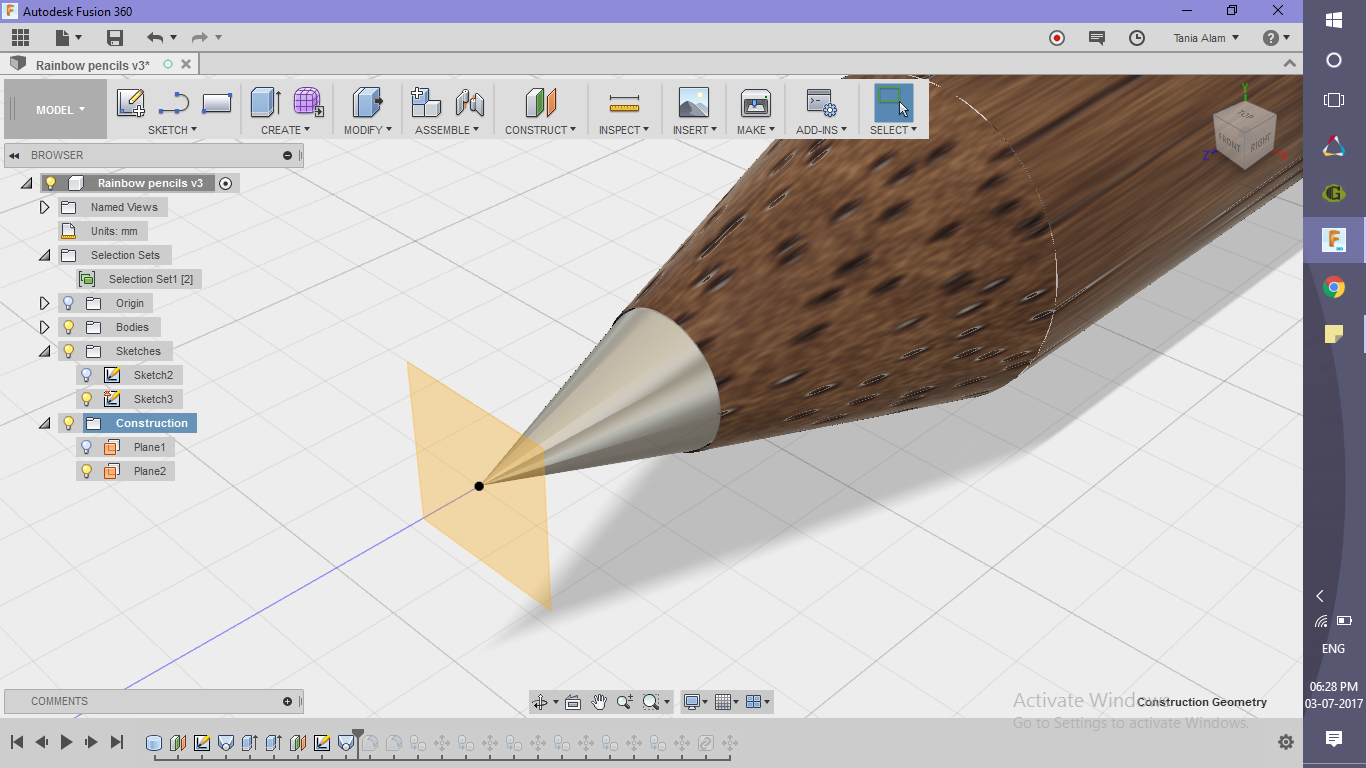
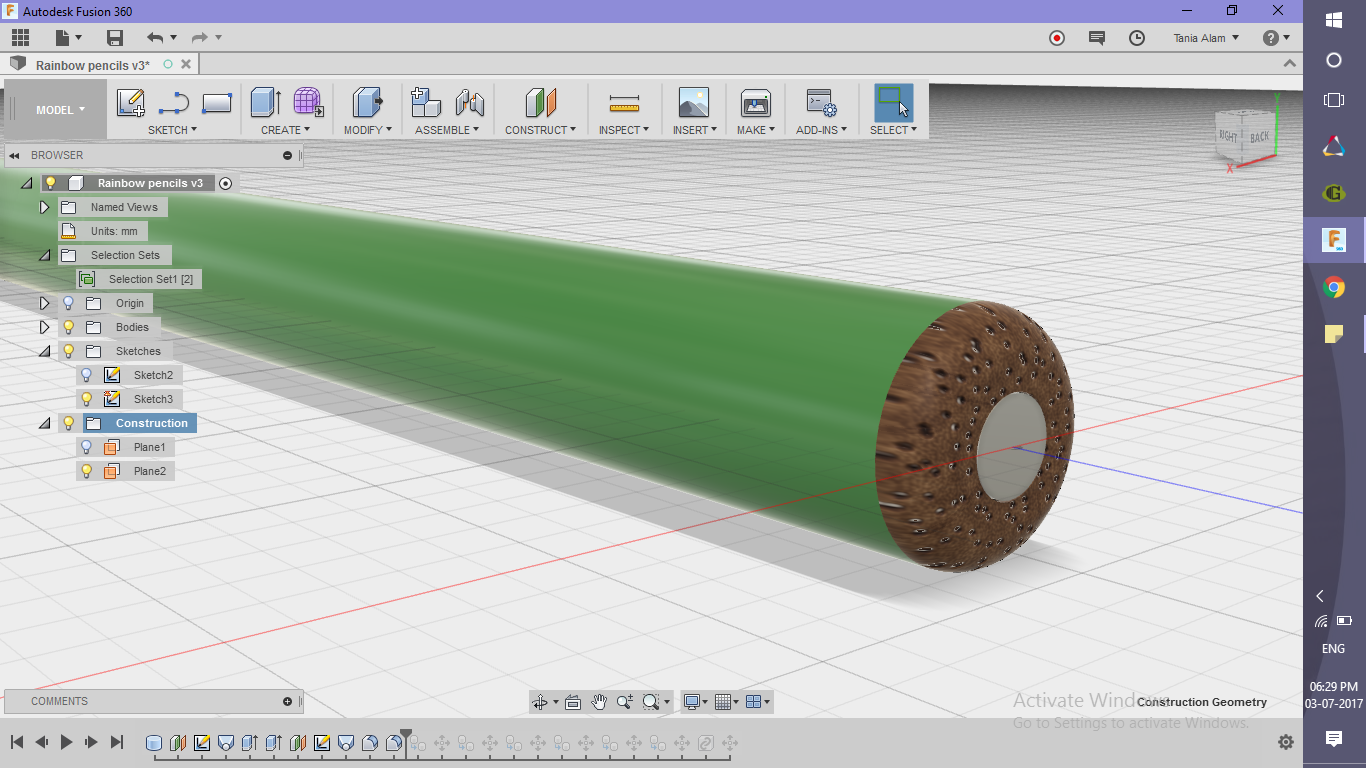
- Create the sharpened part
- Go to "Construct" tab
- Click on "Offset plane"
- Locate a point (on the axis of the cylinder)
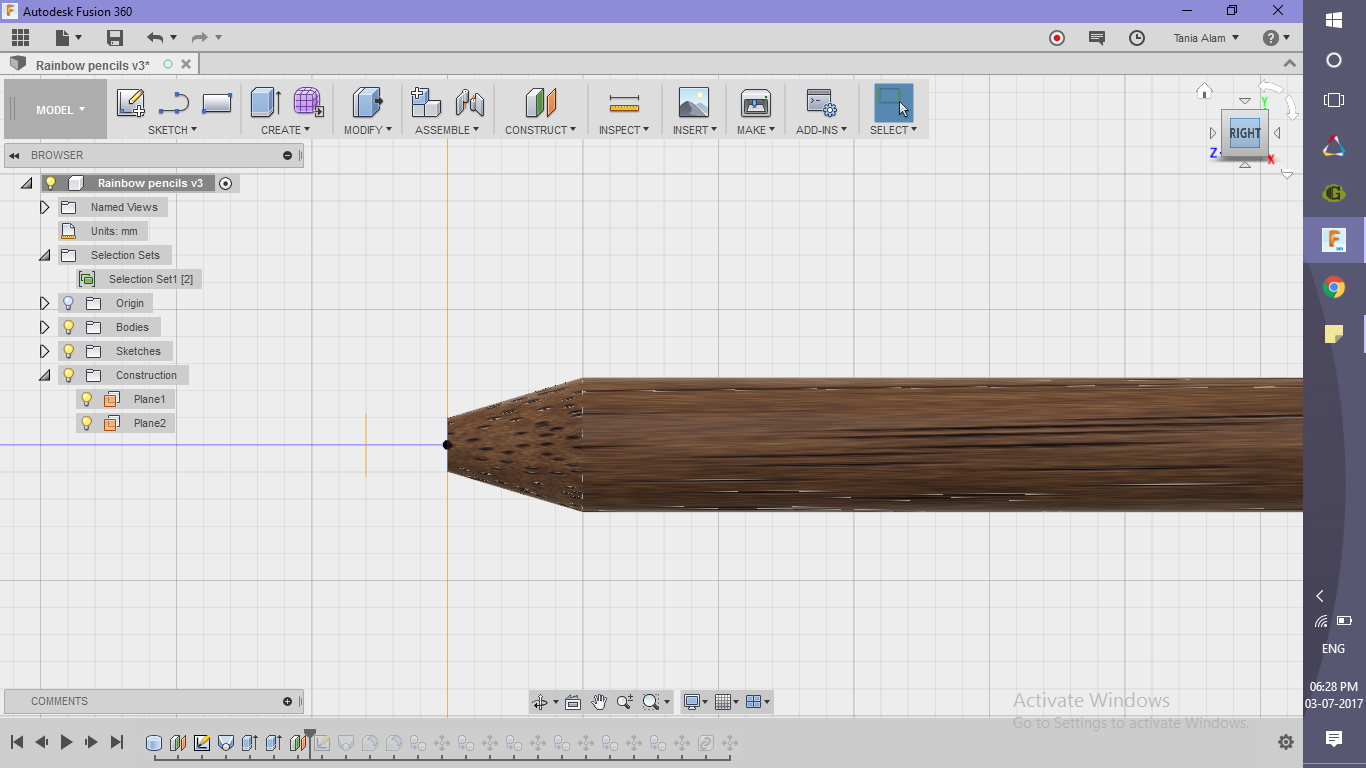
- Go to "Create" Tab
- Choose "loft"
- Select this point as profile 1
- Select the top surface of the inner cylinder as profile 2
- Join the feature with the previous cylinder
Create 6 Copies of the Model
.png)
.png)
.png)
.png)
.png)
.png)
.png)
.png)
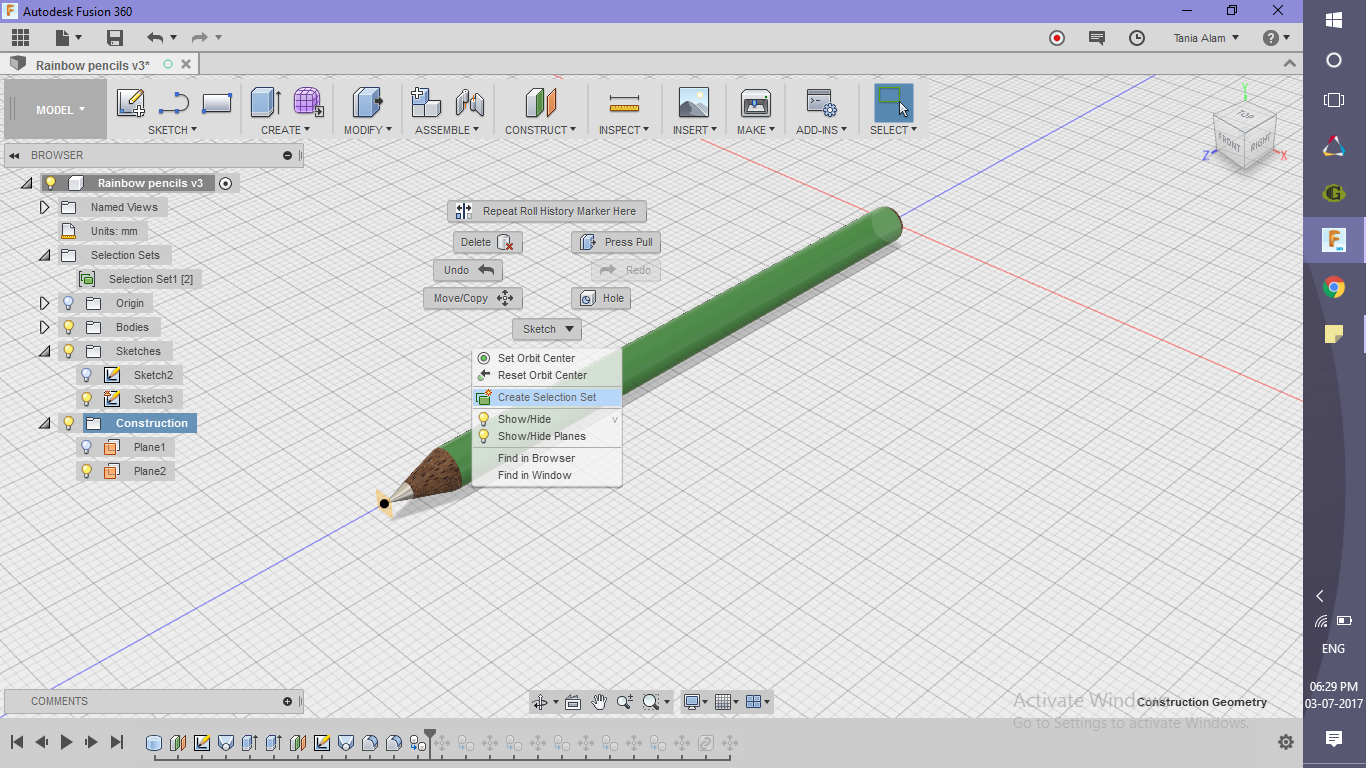
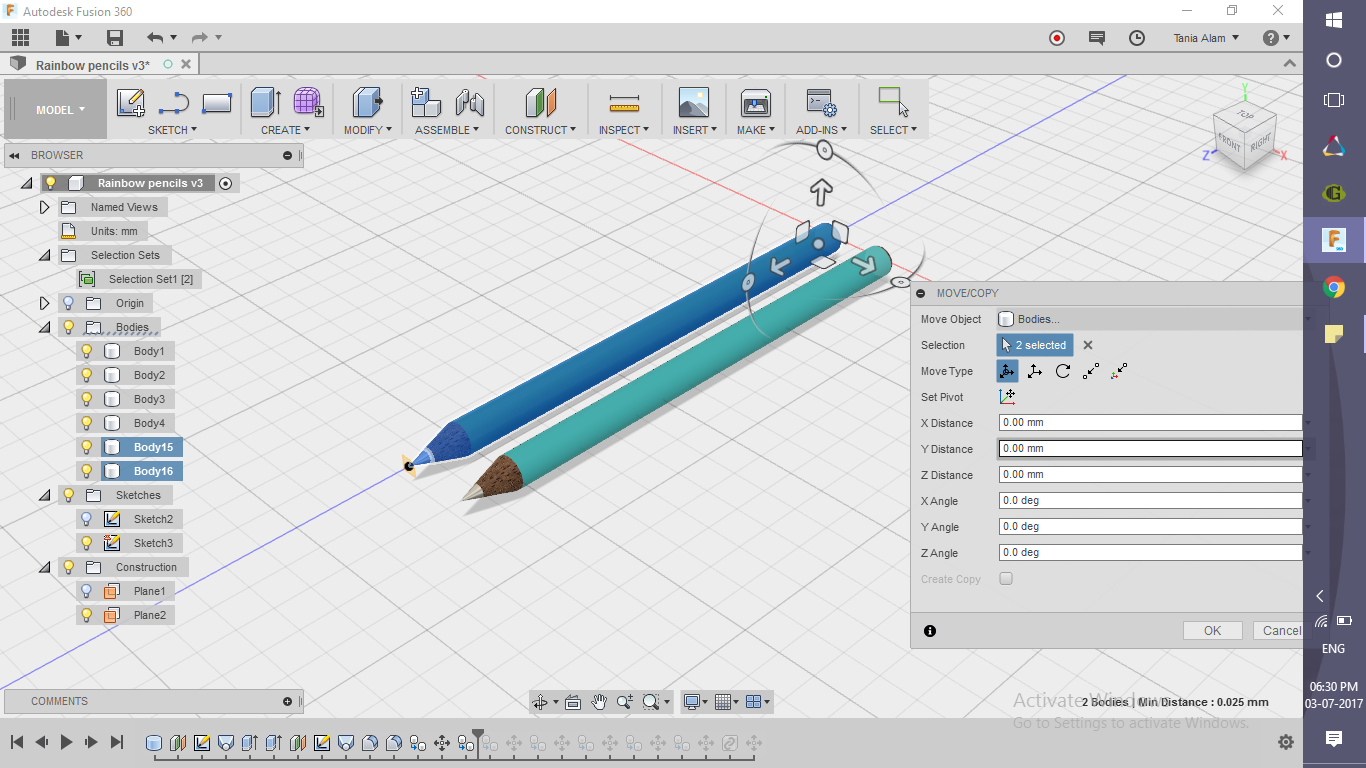
- Create selection set
- Right-click anywhere in the workspace
- Choose "Create Selection set"
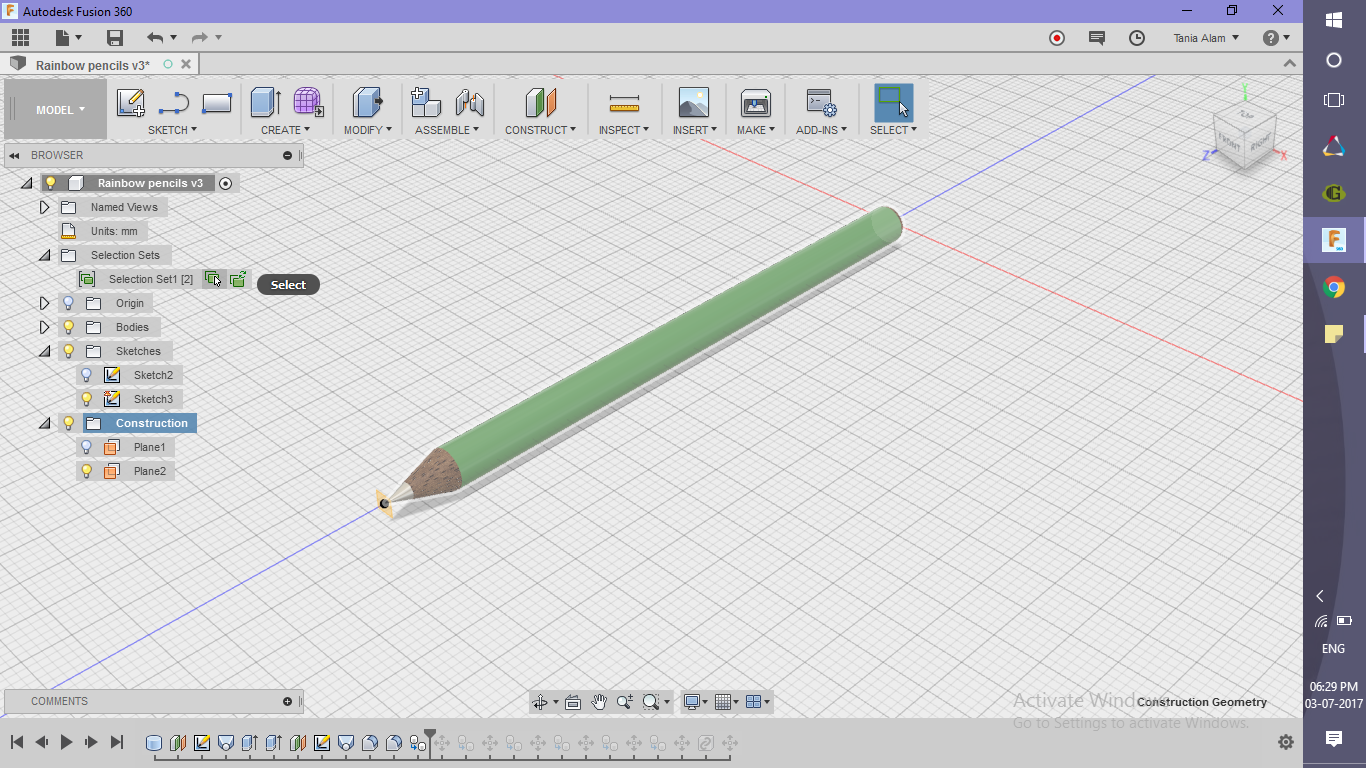
- Right-click on the Selection set menu added to the browser to create a new set
- Use Ctrl key to select the two bodies and add to the new set
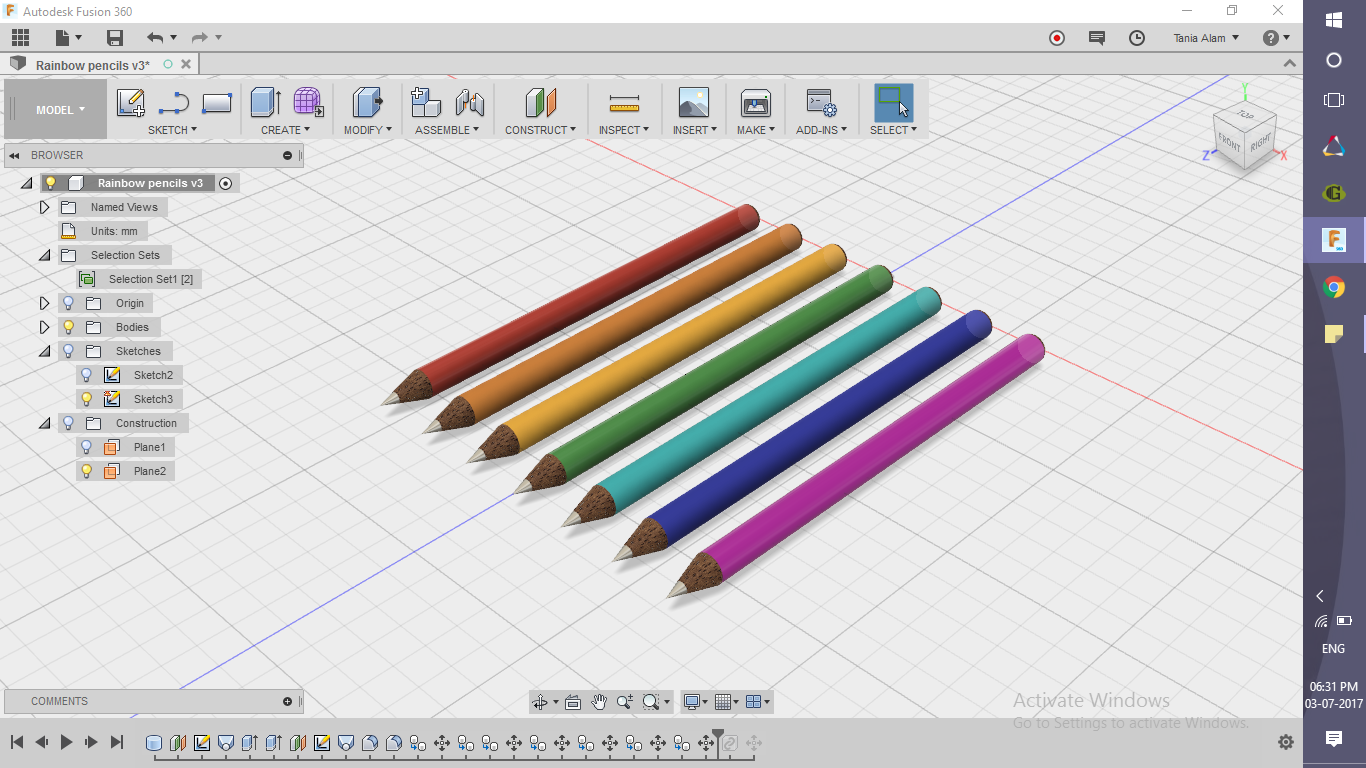
- Creating similar bodies
- Right click on this selection set
- Click on "Copy" and then "Paste"
- Position the set accordingly
- Repeat the steps again till you get 7 pencils in total
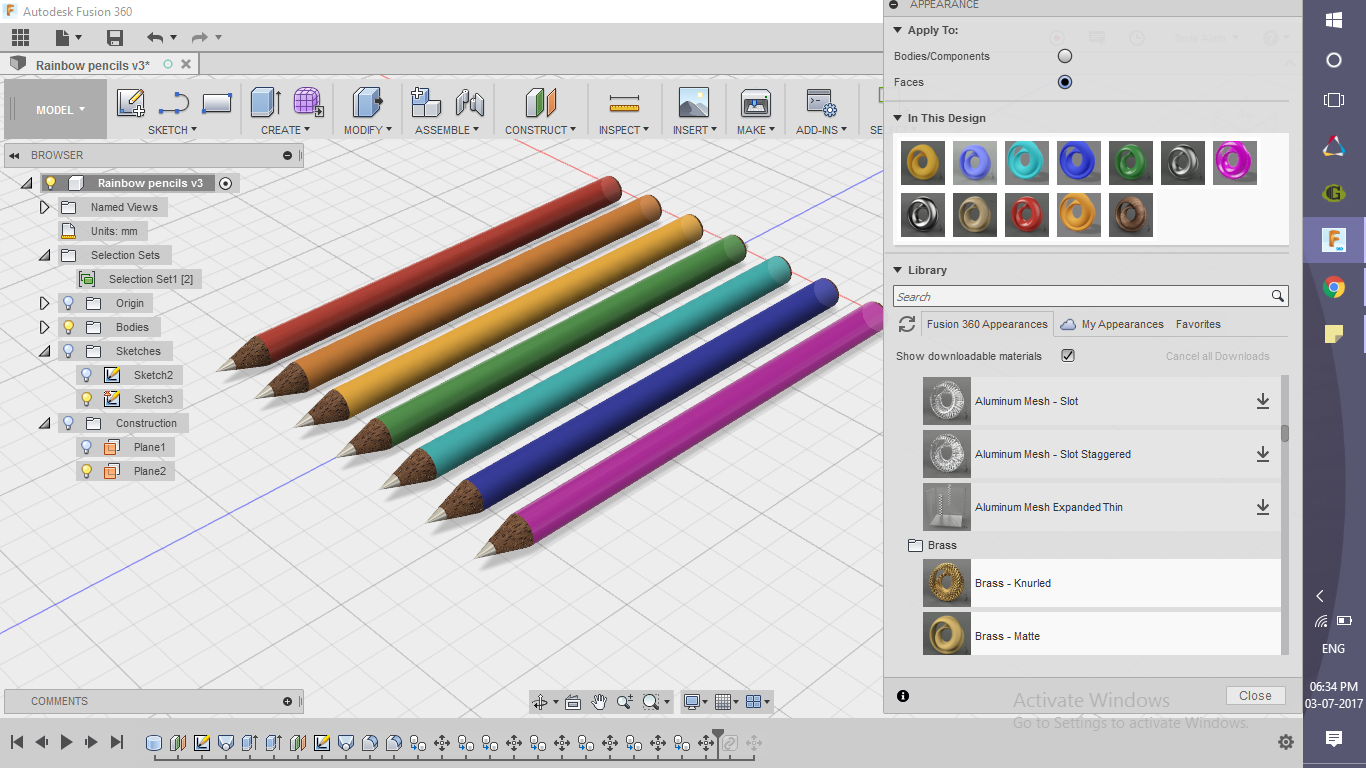
- Add the same materials for the nibs and the pencils
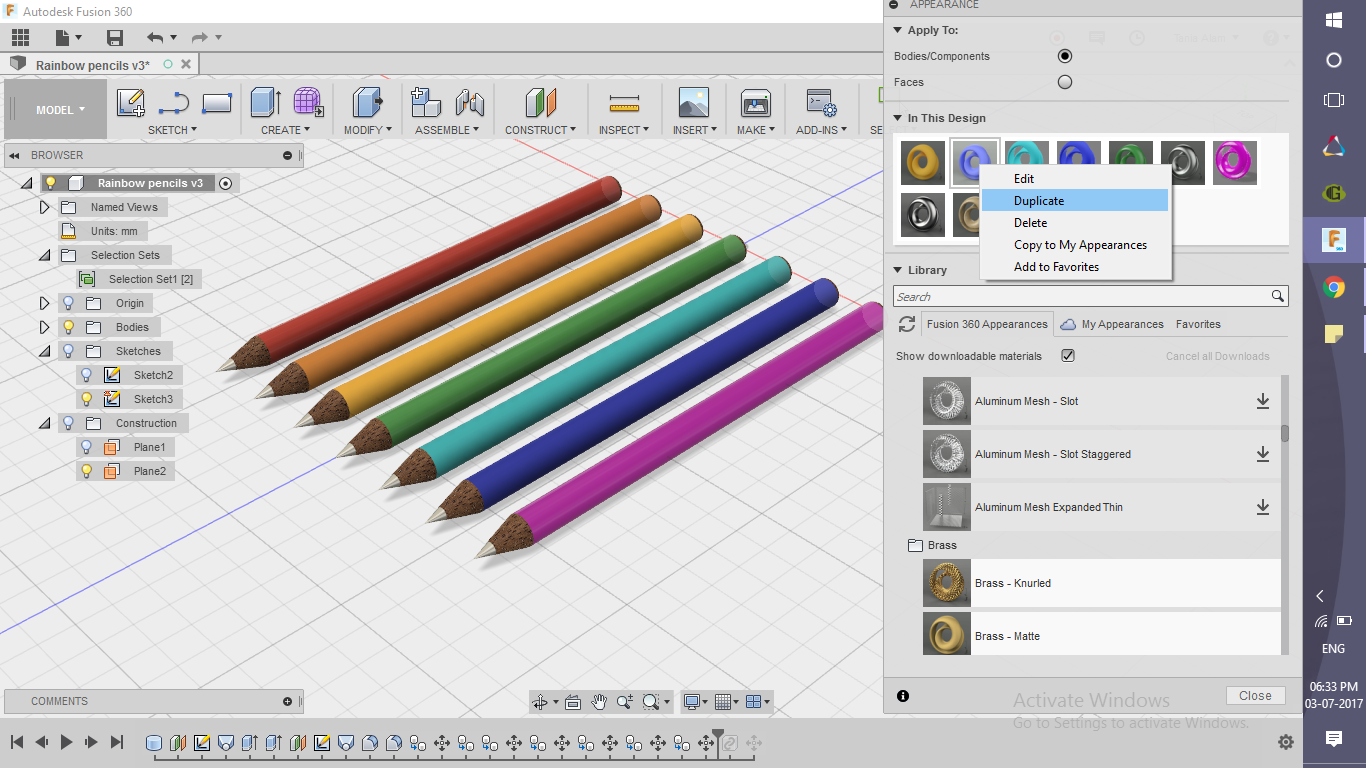
- Add 7 different colors to the outer surfaces of the cylinders
- Some colors are there by default, other need to be edited
- Right click on the parent color
- Select Duplicate
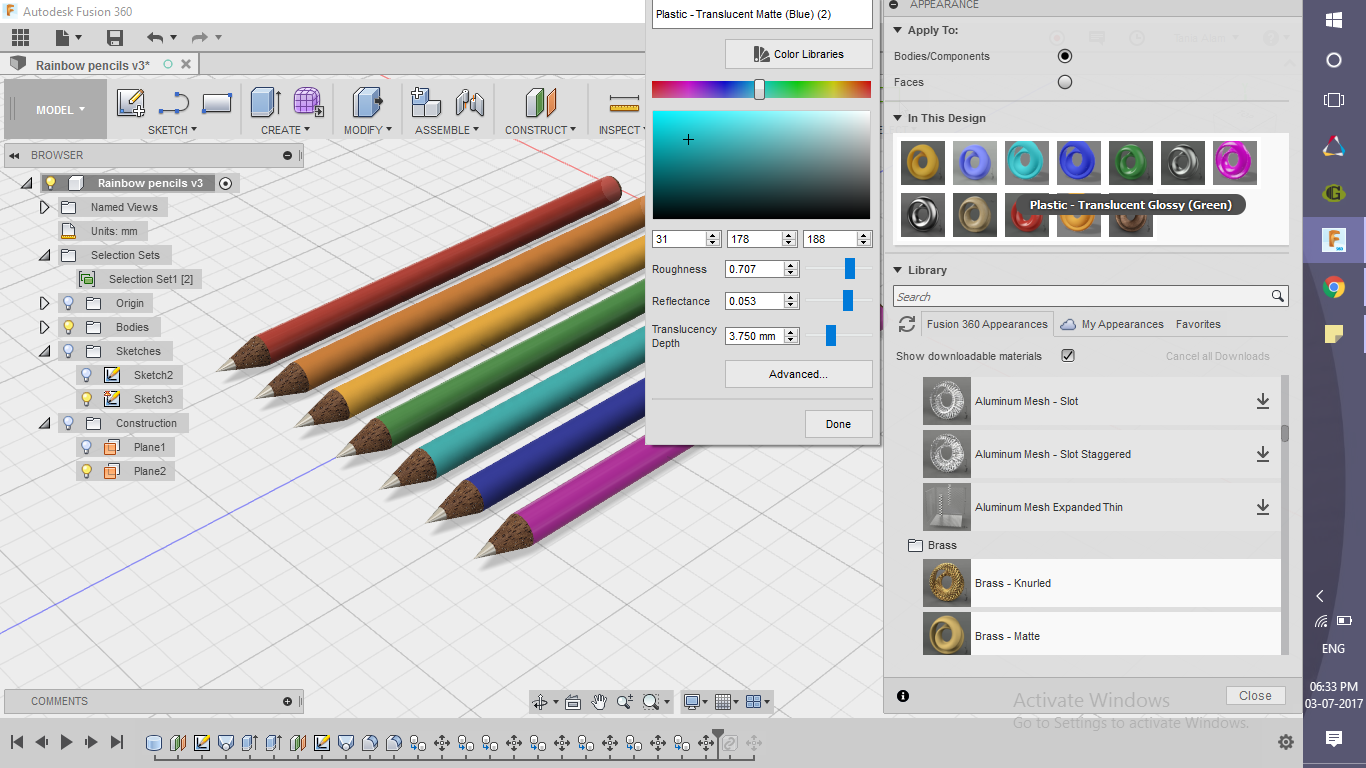
- Right click on this copy
- Select Edit
- Choose a suitable color either by moving the mark or entering RGB values
Add Some Advanced Settings (optional)
.png)
.png)
.png)
.png)
.png)
.png)
.png)
Save the file before getting into this step to start your basic renderings.
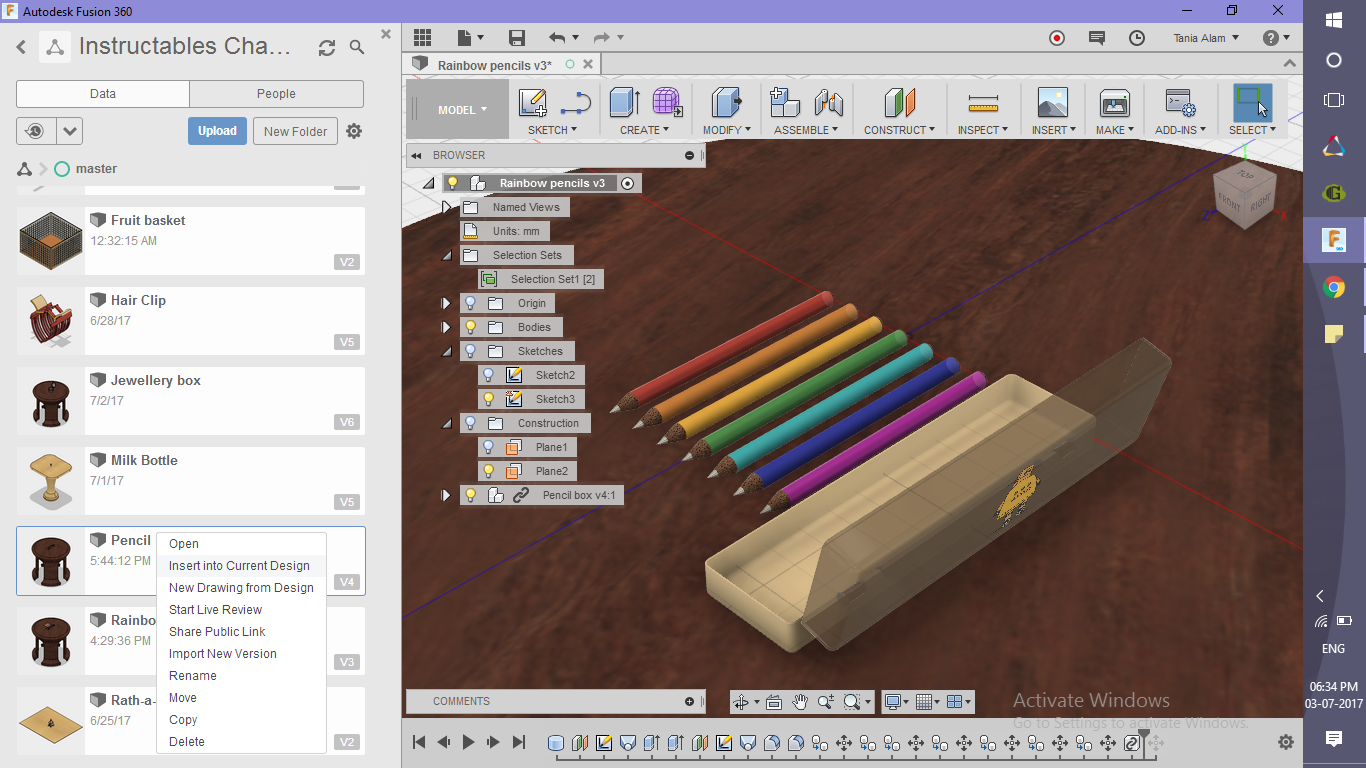
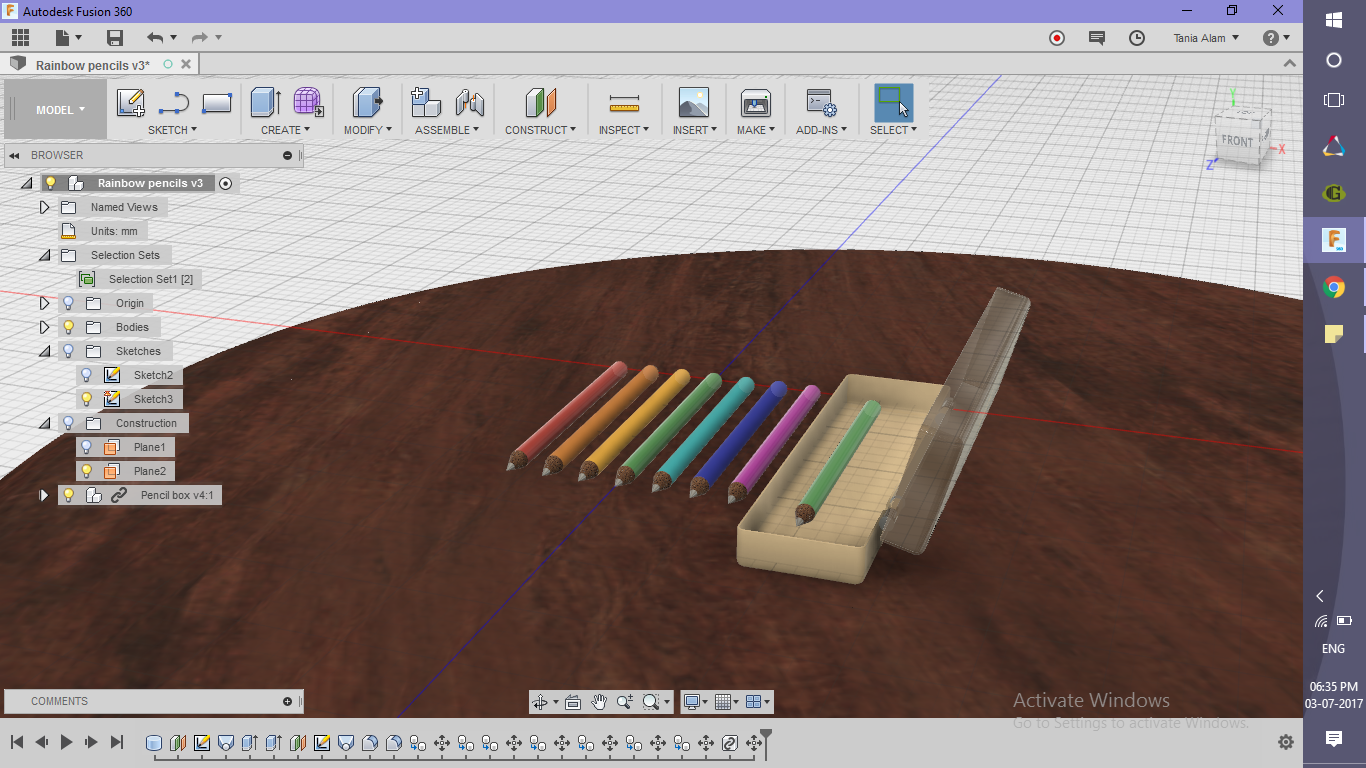
Importing the pencil box project:
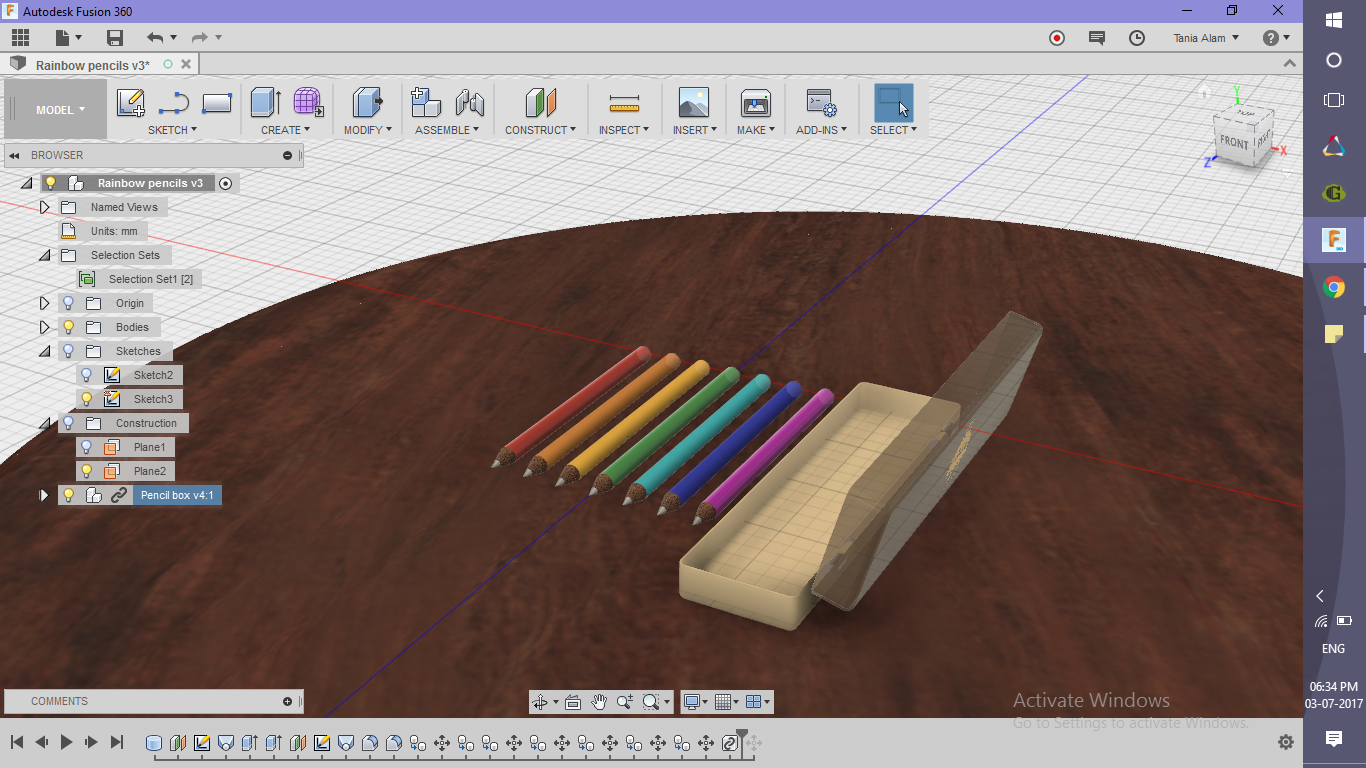
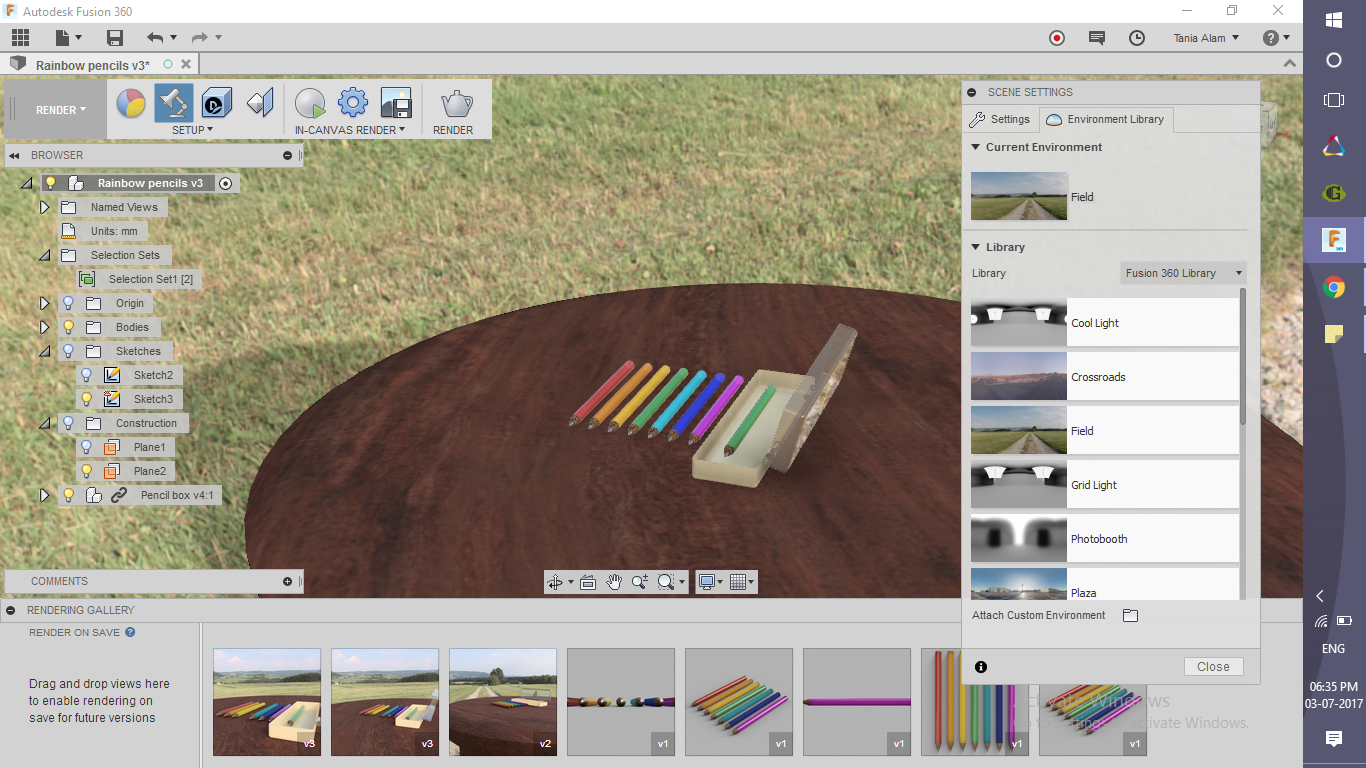
This step is for those who have done my pencil project . They need to import it into the current design and position is accordingly. Change the scene settings, choose "Environment" option and drag and drop the "Field" theme. At last, they need to go to the Render Workspace and get a rendering.
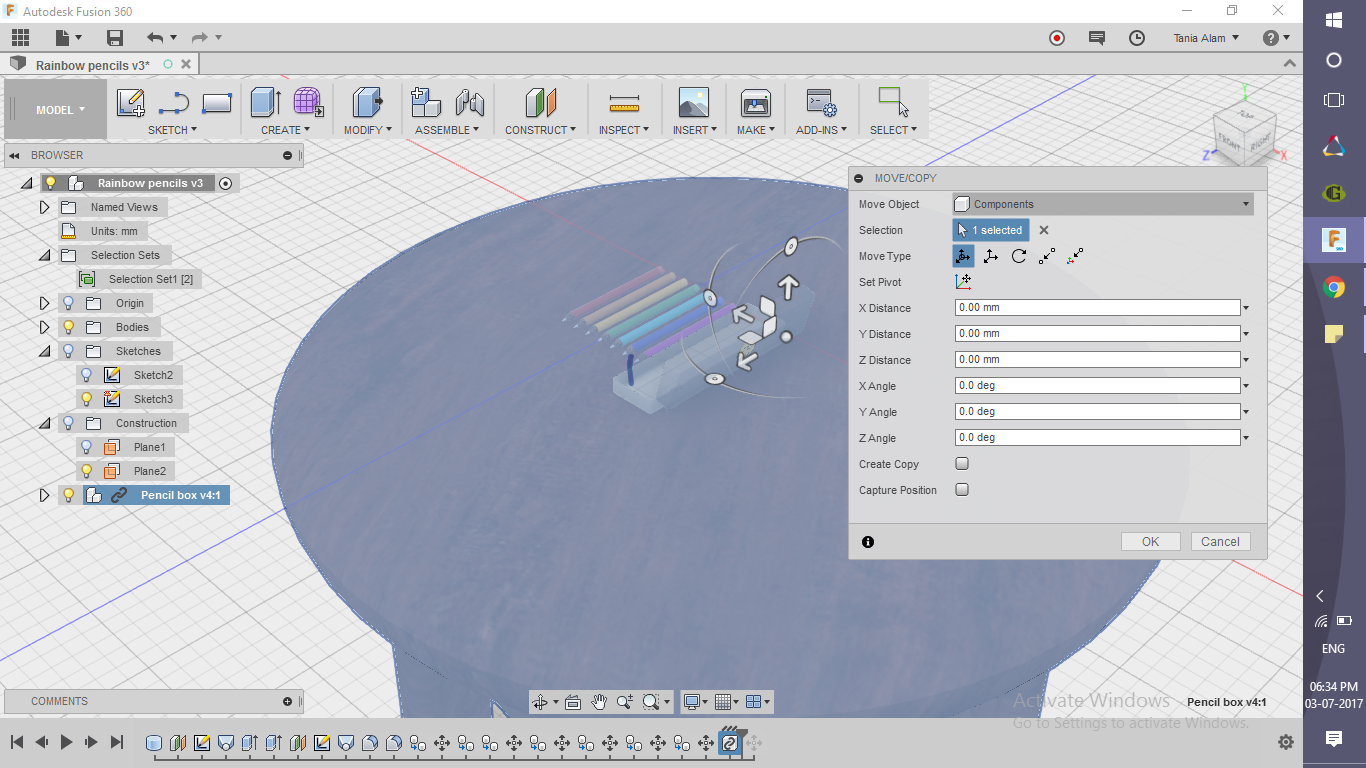
Putting a pencil inside the box:
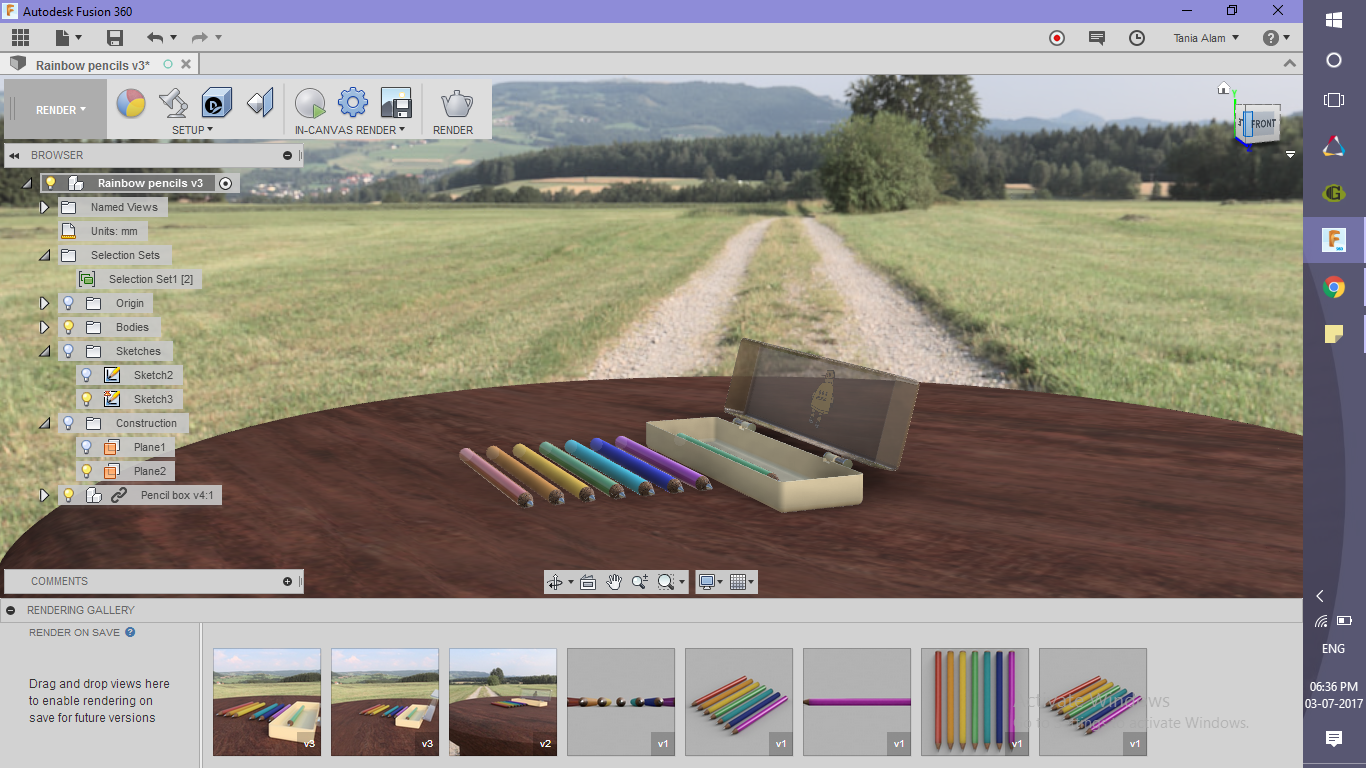
This step is for those who have completed the above step. They need to move their selection set inside the pencil box. At last, they need to go to the Render Workspace and get a rendering.
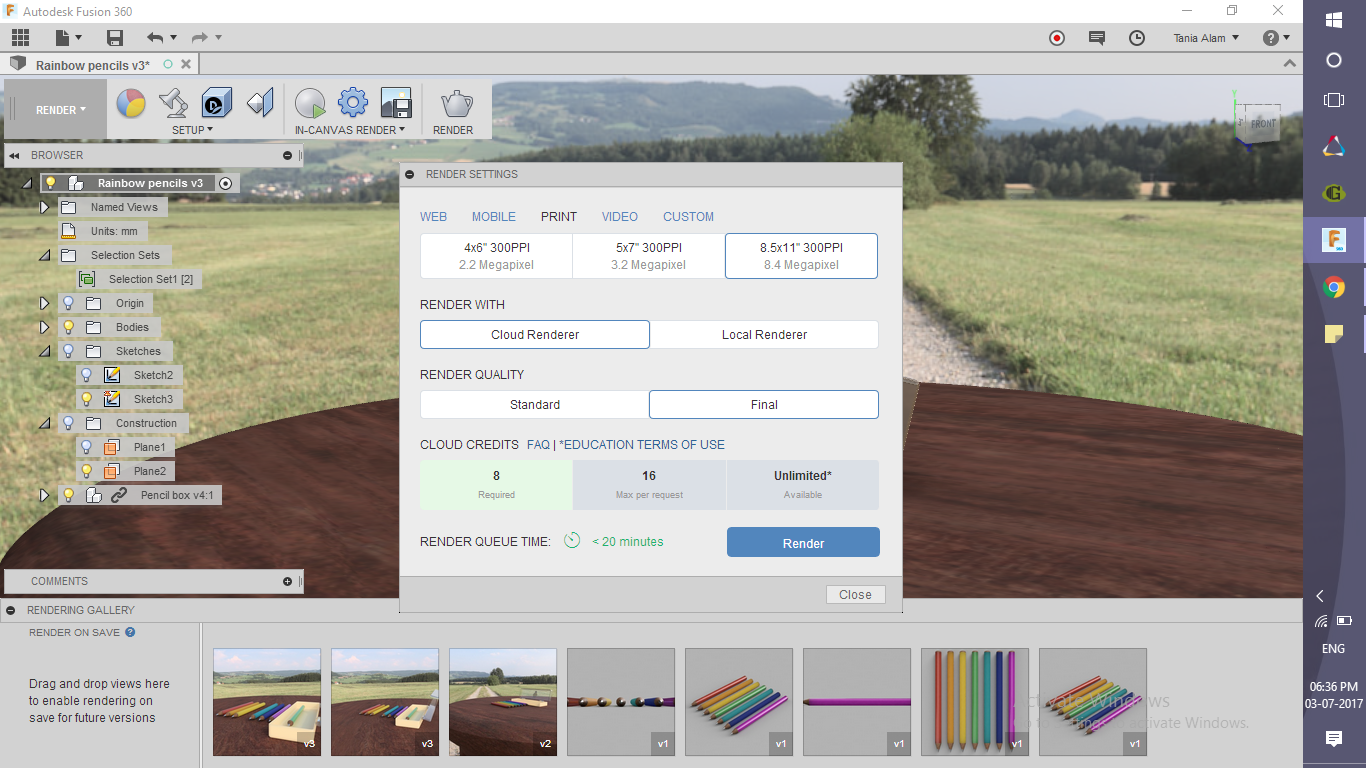
Get the Renderings!
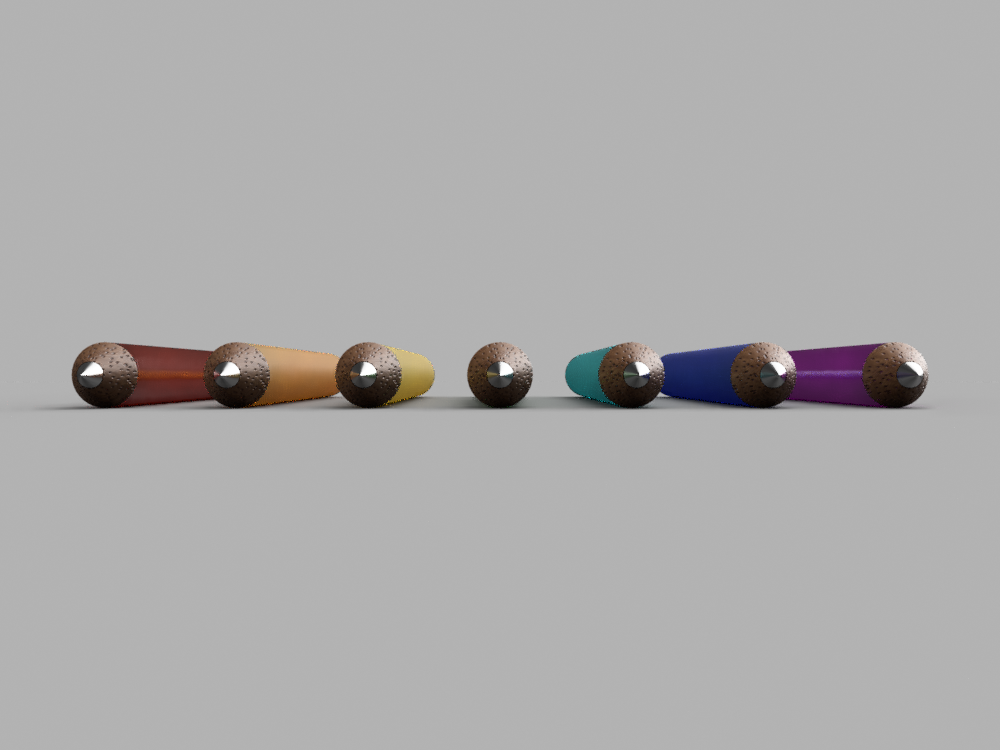
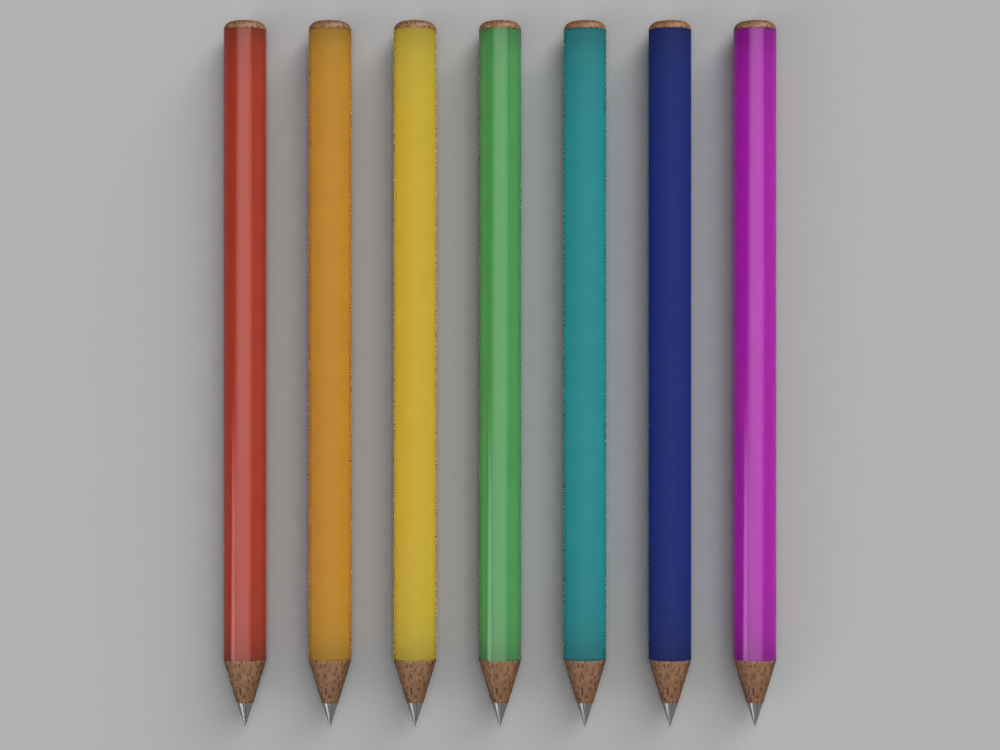
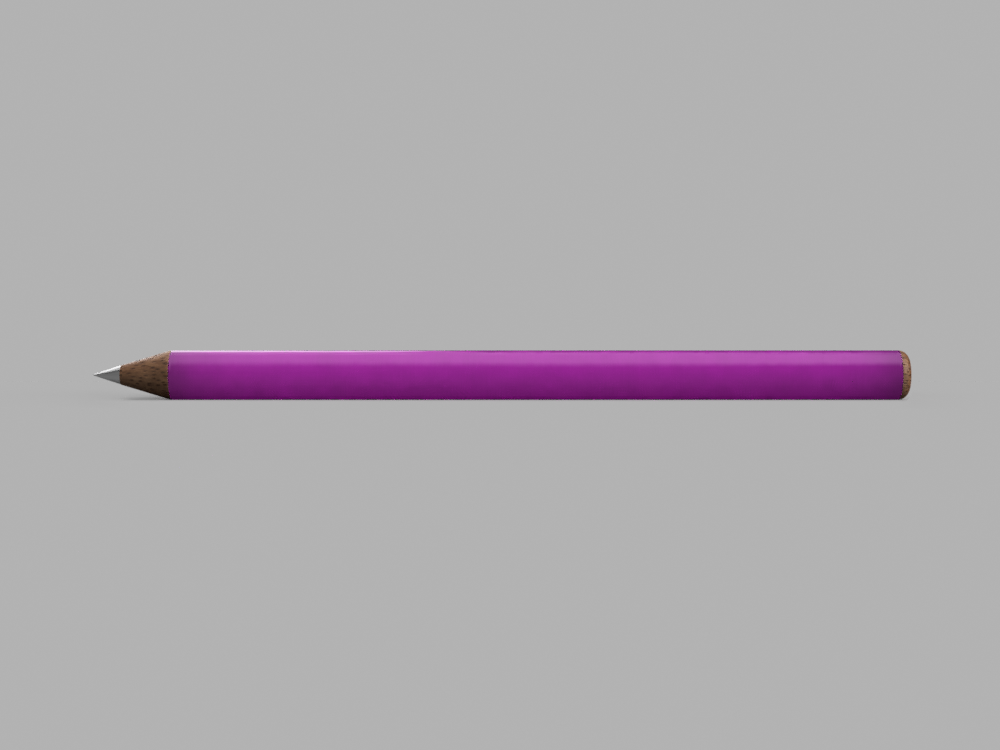
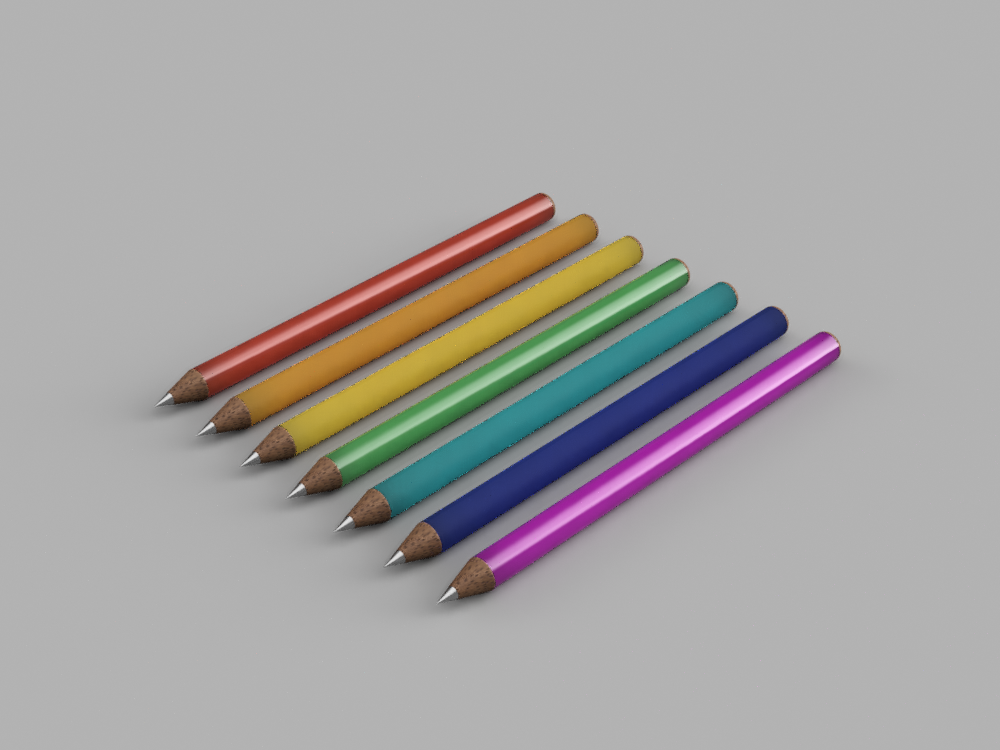
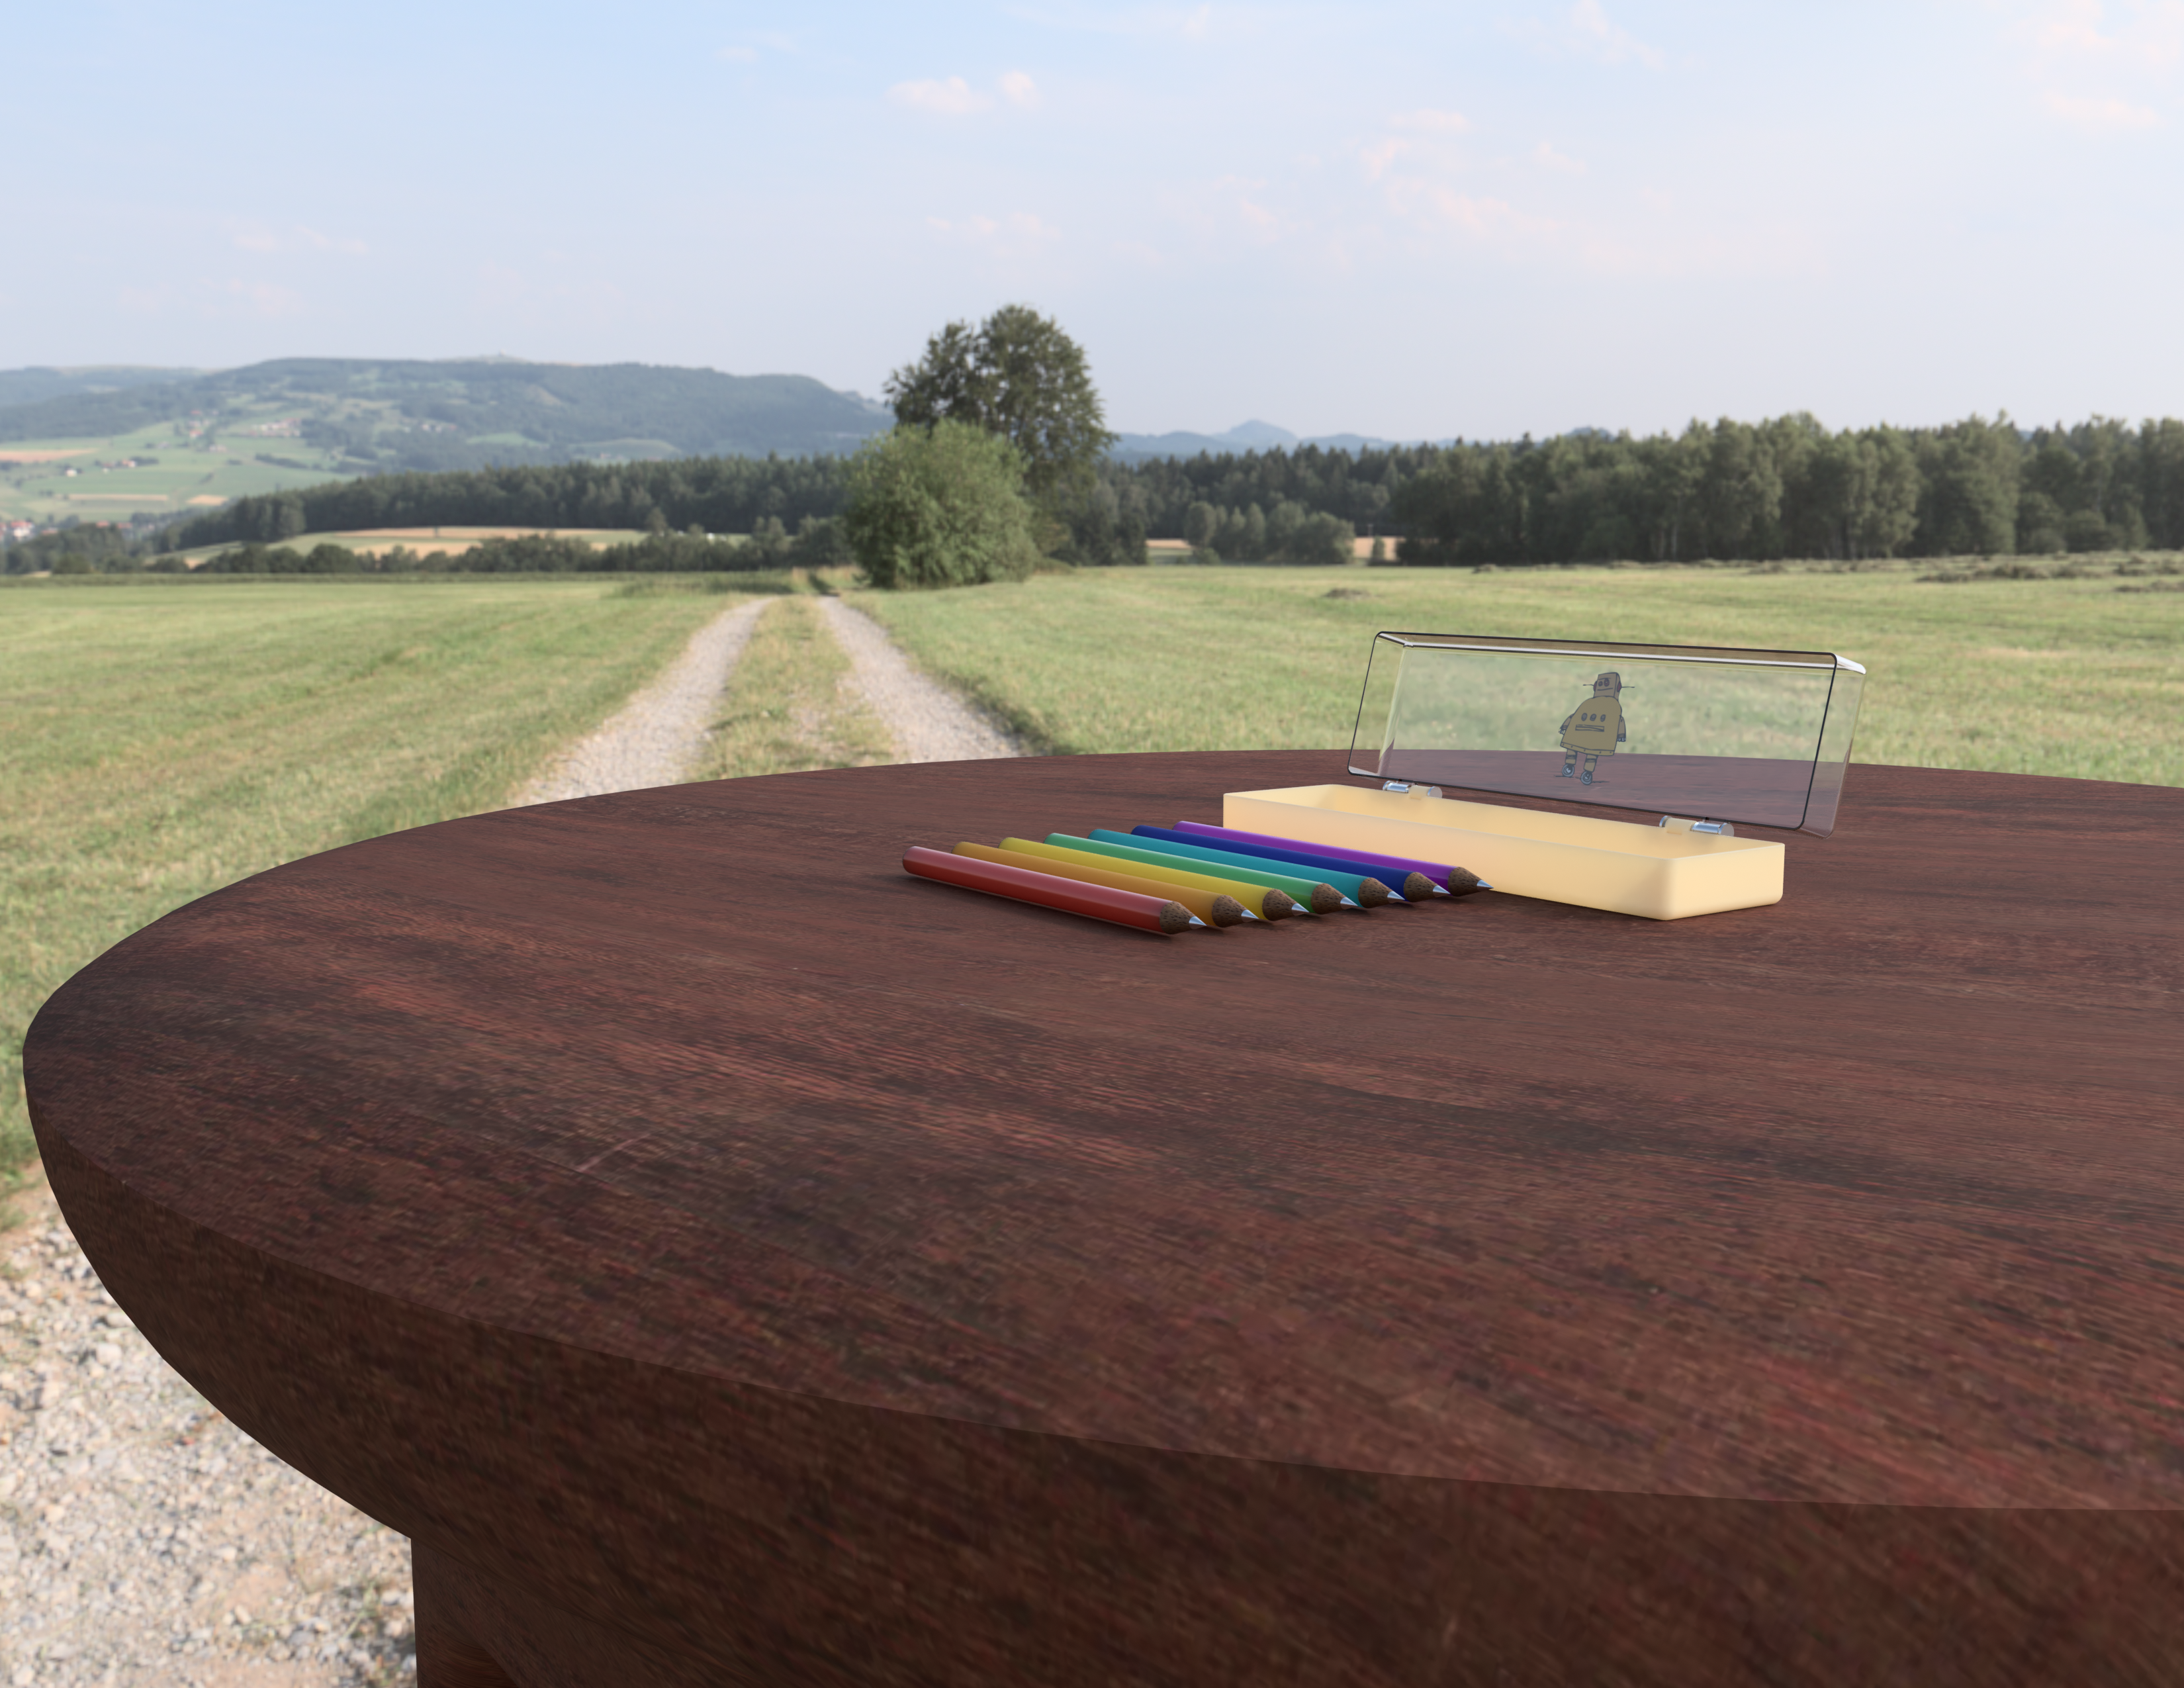
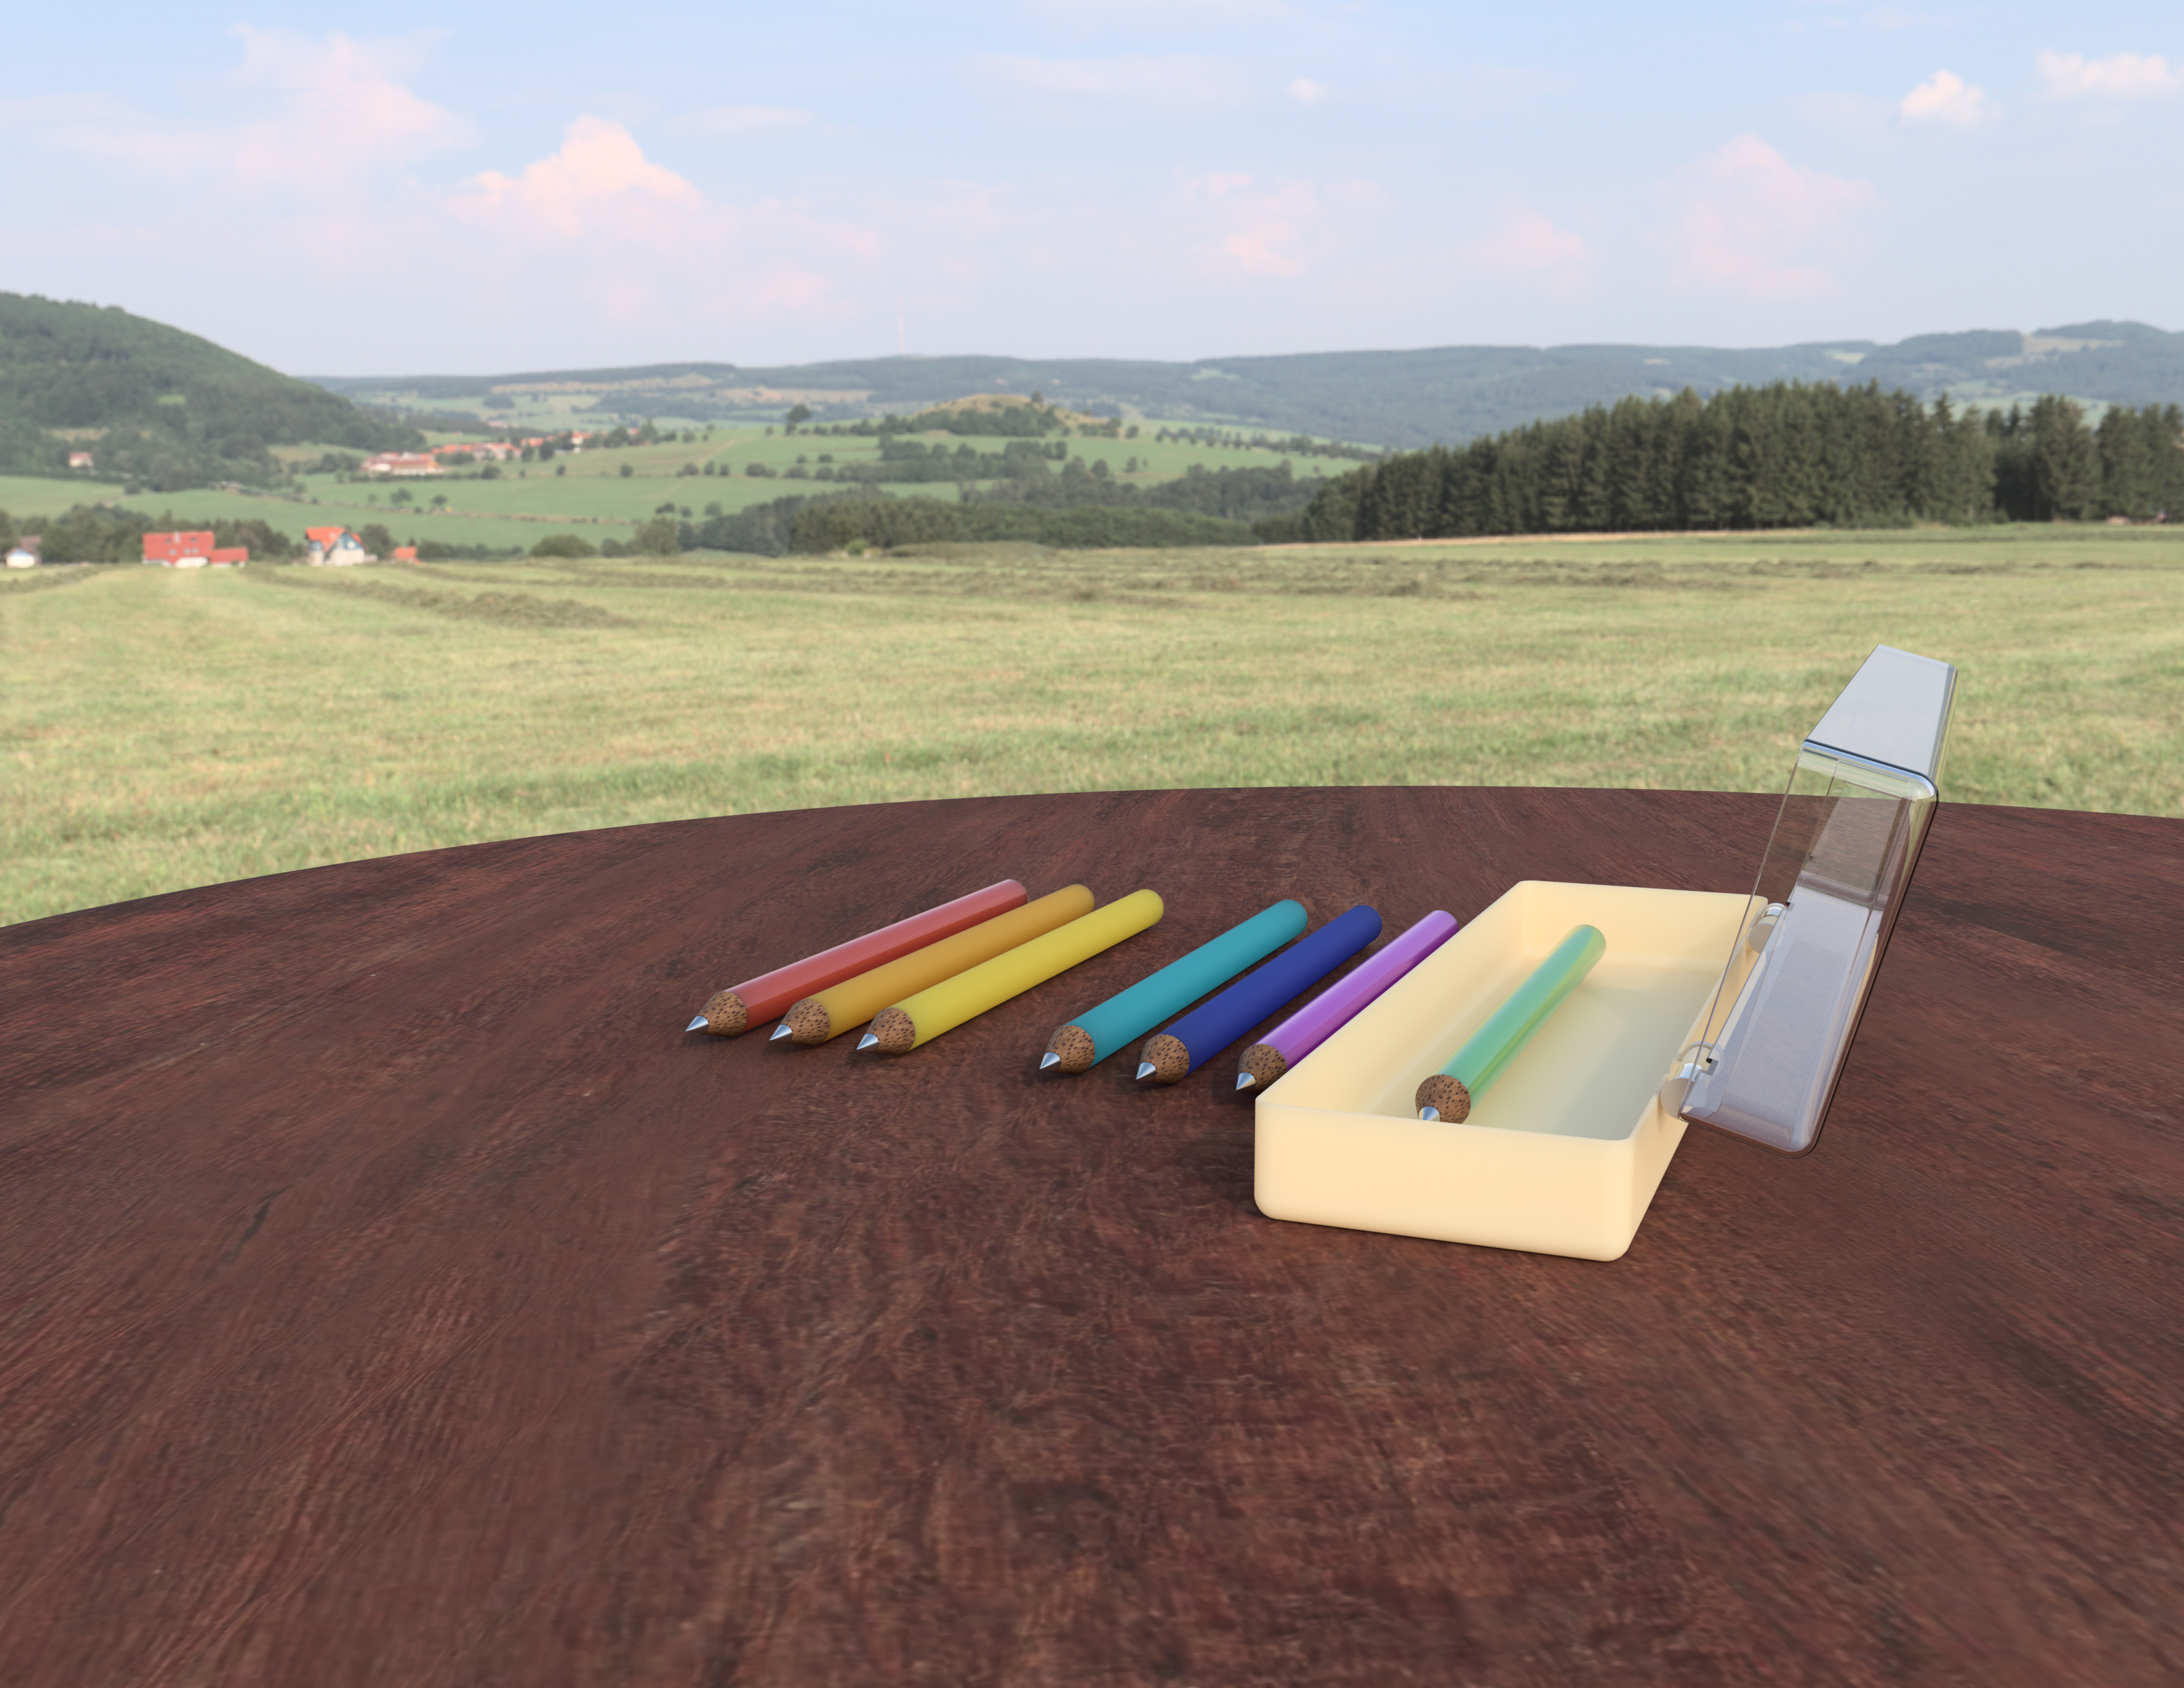
If you have saved the file, you'll get four basic renderings of the home, front, top and right side views. If you have completed the advanced steps too, you'll get two more renderings.
Also, if you worked so hard making this, share your renderings here using the "I Made It" button and let everyone know!