Create a Mumble Server at Kano OS (Raspbian) - Raspberry Pi
by Tsartsanis in Circuits > Raspberry Pi
2241 Views, 4 Favorites, 0 Comments
Create a Mumble Server at Kano OS (Raspbian) - Raspberry Pi
Hello everybody.
The purpose of this instructable is to help you create a Mumble server to Kano OS. "Mumble is an open source, low-latency, high quality voice chat software primarily intended for use while gaming and beyond". With this server you could stay in touch and communicate inside your local network with your kids through Kano OS & Raspberry PI. It is a great way to play with your kids. Lets start
Kano Os - the Operating System
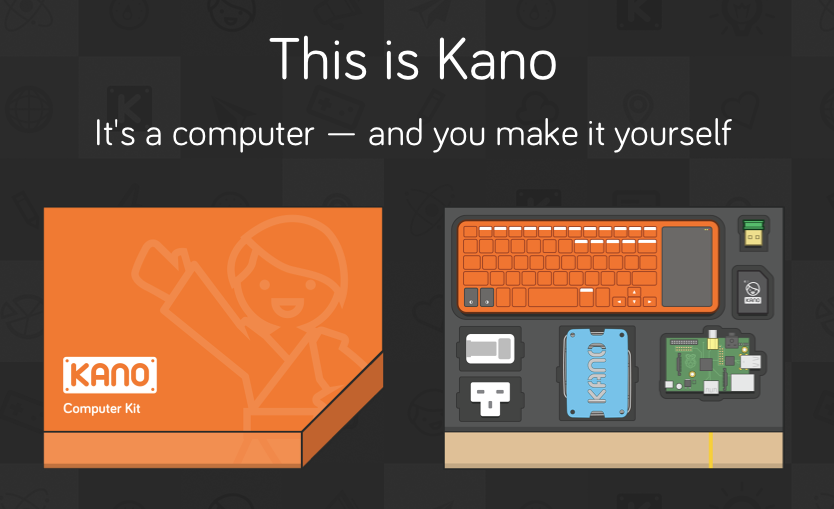
Kano OS is actually a Raspbian image but with an interface suitable for kids. There are 2 ways that you can get it.
1.The first one is to buy a full package . This package includes a Raspberry Pi 2b, books, diy speaker, keyboard, an sdcard preloaded with Kano OS, case, stickers, cables and a wifi dongle.
According to Kano website"Kano is a computer anyone can make. Our mission is to give young people – and the young at heart – a simple, fun way to make and play with technology, and take control of the world around them." Buy a Kano kit
2. The second one is to download free the OS from their website, write it to a sdcard and use it with your Raspberry Pi. That's what i done. Download Kano OS for Raspberry Pi
Update Your OS

Ok this is the easy part. You can update your OS with 3 ways:
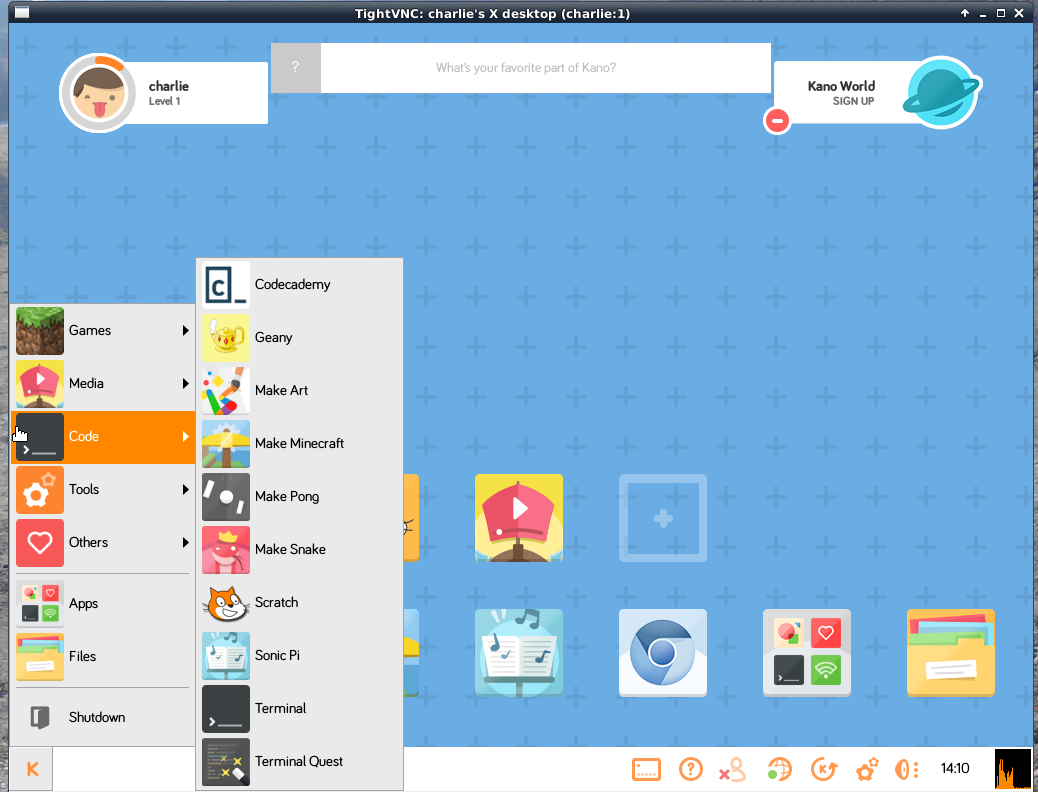
1.Through the terminal. At your left side of your screen there is a big K. Hit it, then go to Code and hit the Terminal. Then as all the Raspbian images type sudo apt-get update and then sudo apt get upgrade. The superuser pass if you haven't change it is kano. Install all the necessary updates.
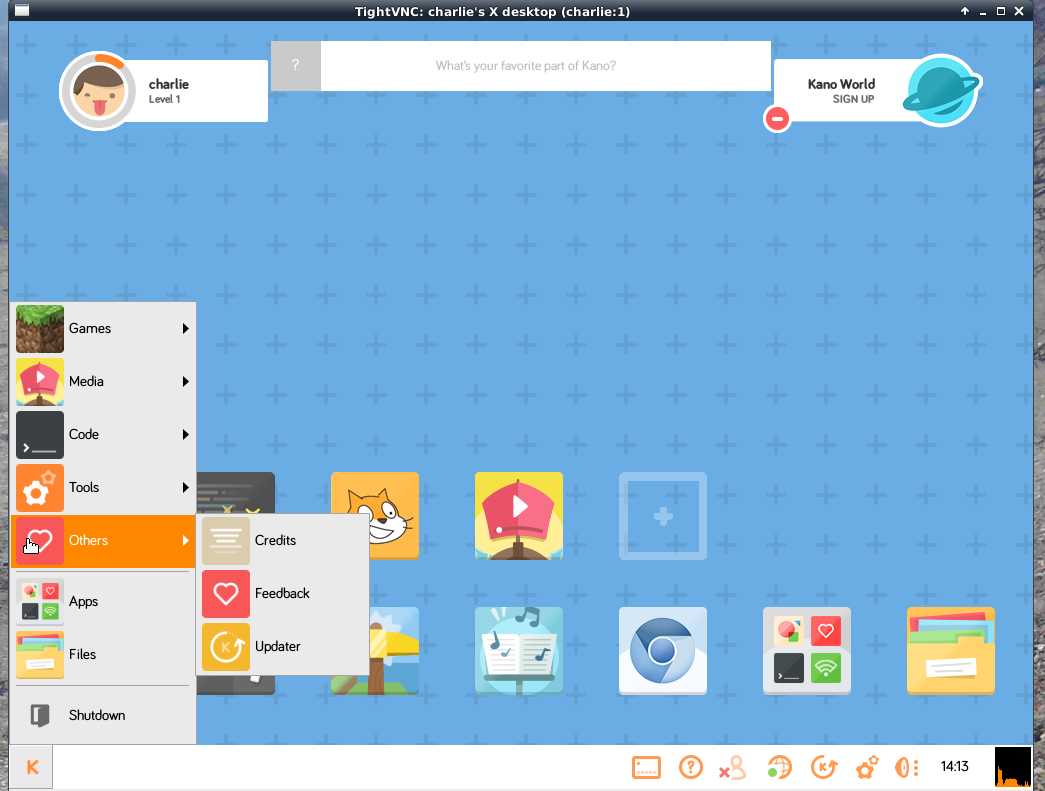
2.Through the Updater. Again go to the left of your screen and hit the K. Go to Others and hit Updater. If your system is up to date nothing will happen. If it isn't, a window will open which will notify your with the updates. Install them.
3.Through the Updater from the task bar. This is the same with the Updater but from the task bar button. (the one between the Internet status button and the Kano setting button).Ok now our Kano OS is up to date.
Install Mumble Server & Mumble Client
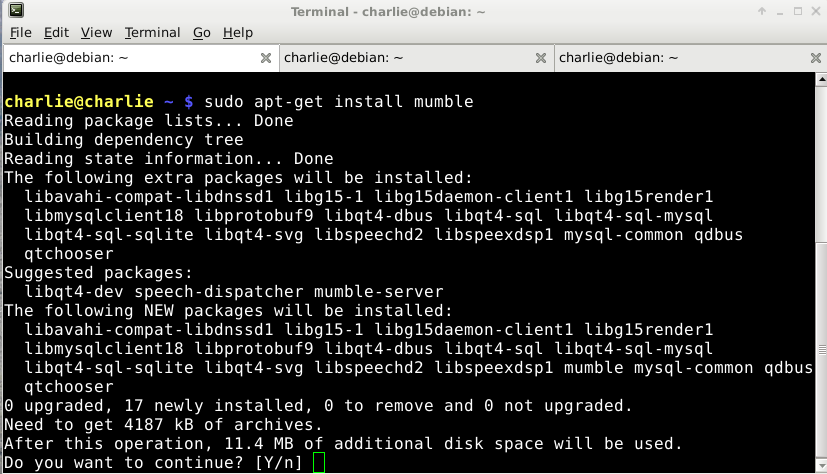
Ok we have our system up to date & we must first install Mumble server and then Mumble client.
Install Mumble server:
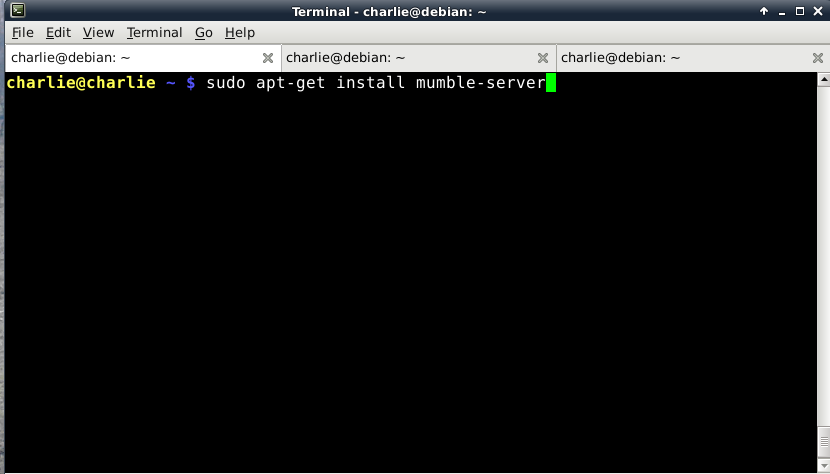
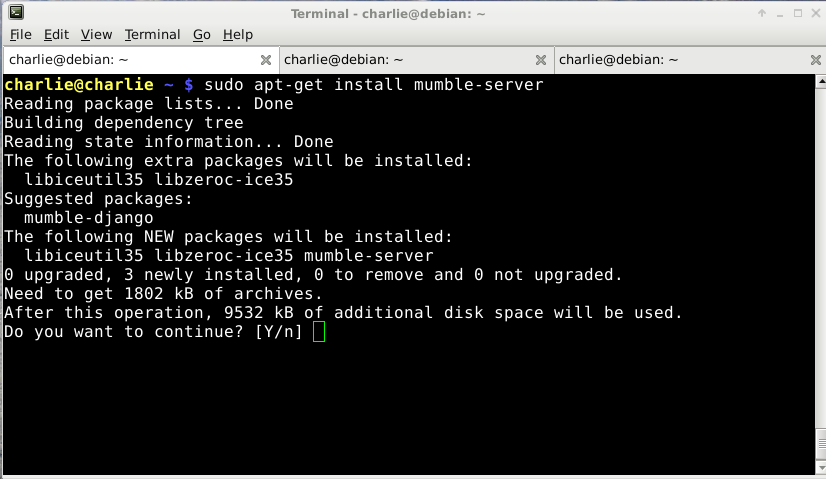
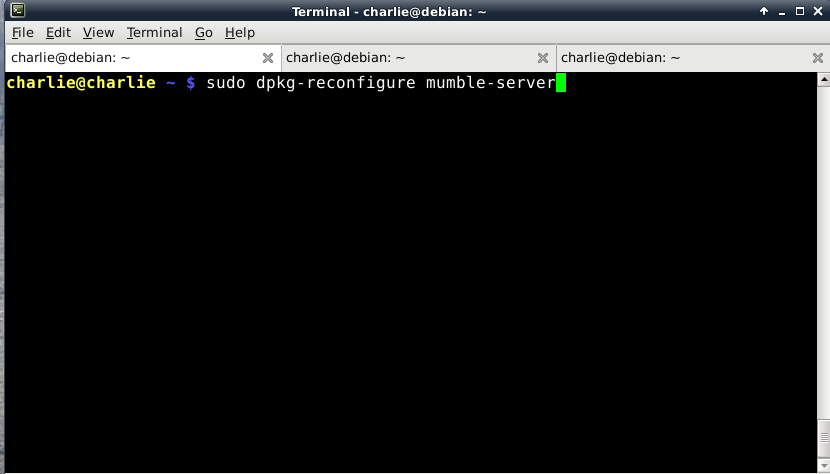
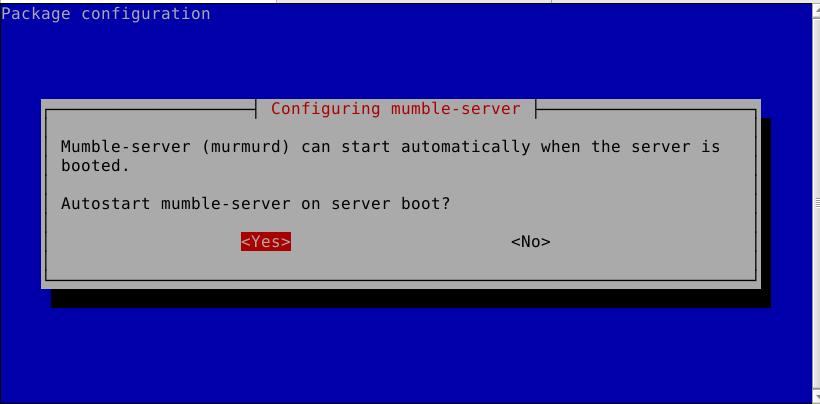
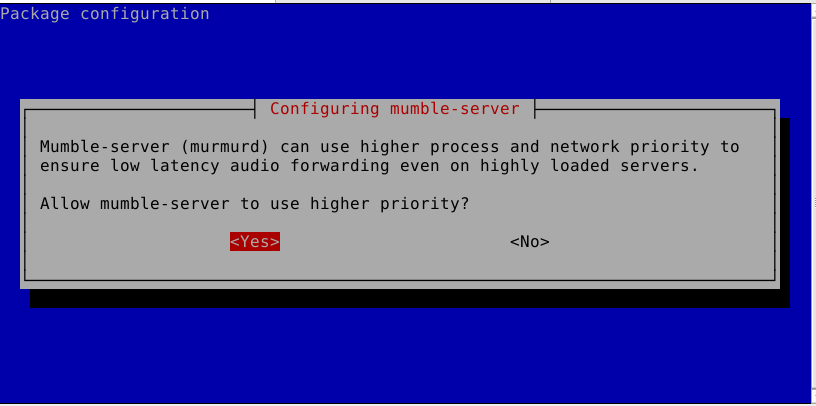
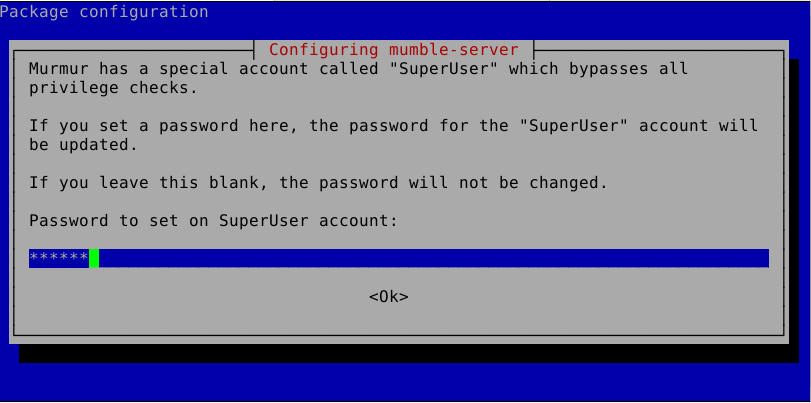
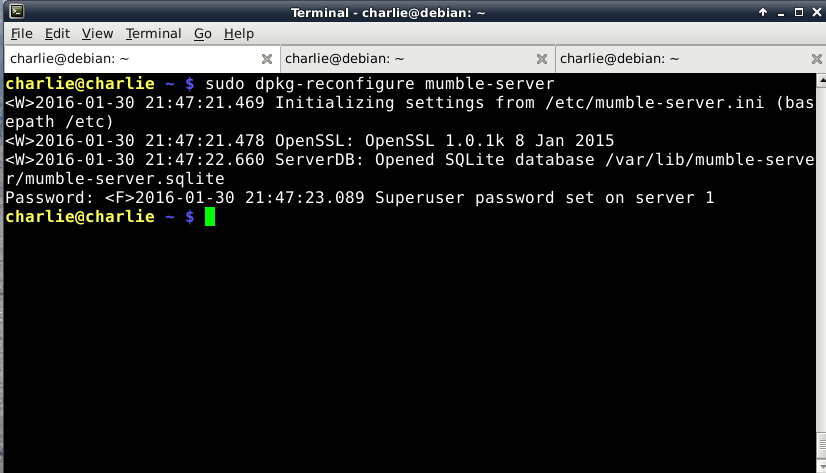
Open a terminal and type the command: sudo apt-get install mumble-server, accept with a yes or enter and the installation will start. After the installation we have to configure the server. At the same terminal type the command: sudo dpkg-reconfigure mumble-server. Set the server as below:
- Autostart mumble-server on server boot? - YES
- Allow mumble-server to use higher priority? - YES
- Set the password for the SuperUser account of your server
Click ok and you will see a couple of lines to your terminal. Now the server is up and running.
Install Mumble client:
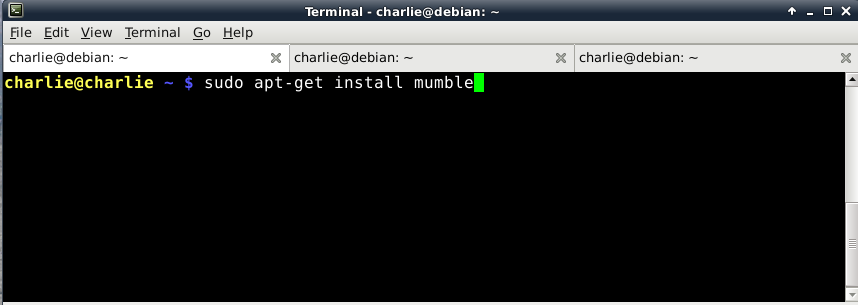
Open a terminal and type the command: sudo apt-get install mumble. Thats it after a while the installation will finish and you will have both Mumble server & client installed. Lets continue configuring the client.
Configure Mumble Client
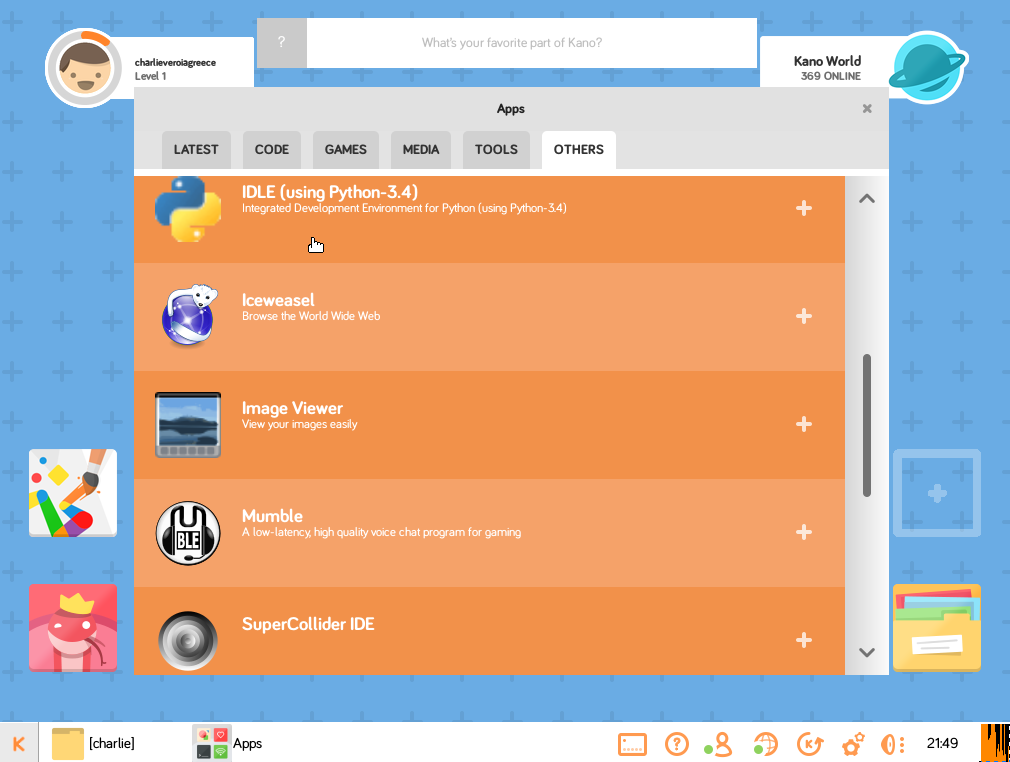
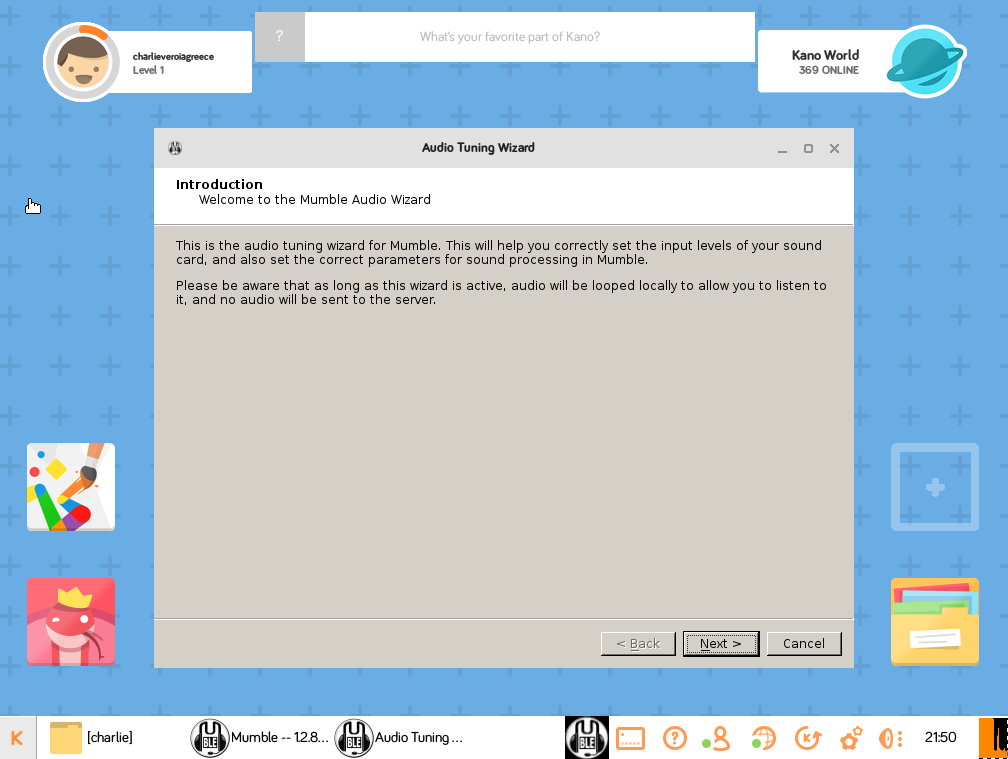
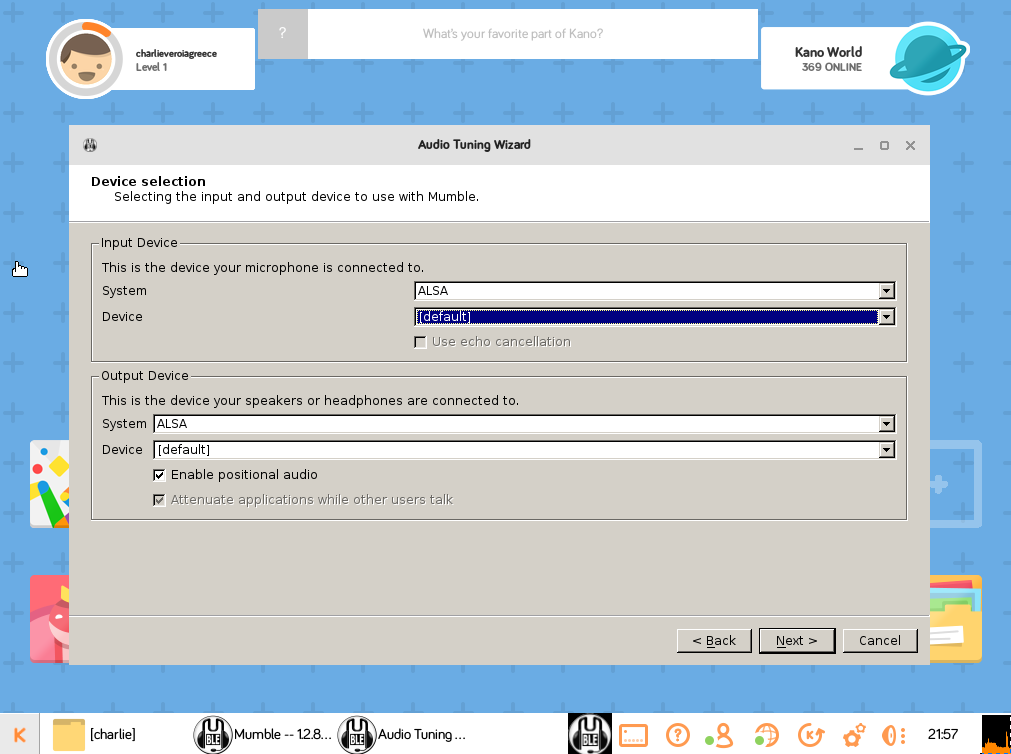
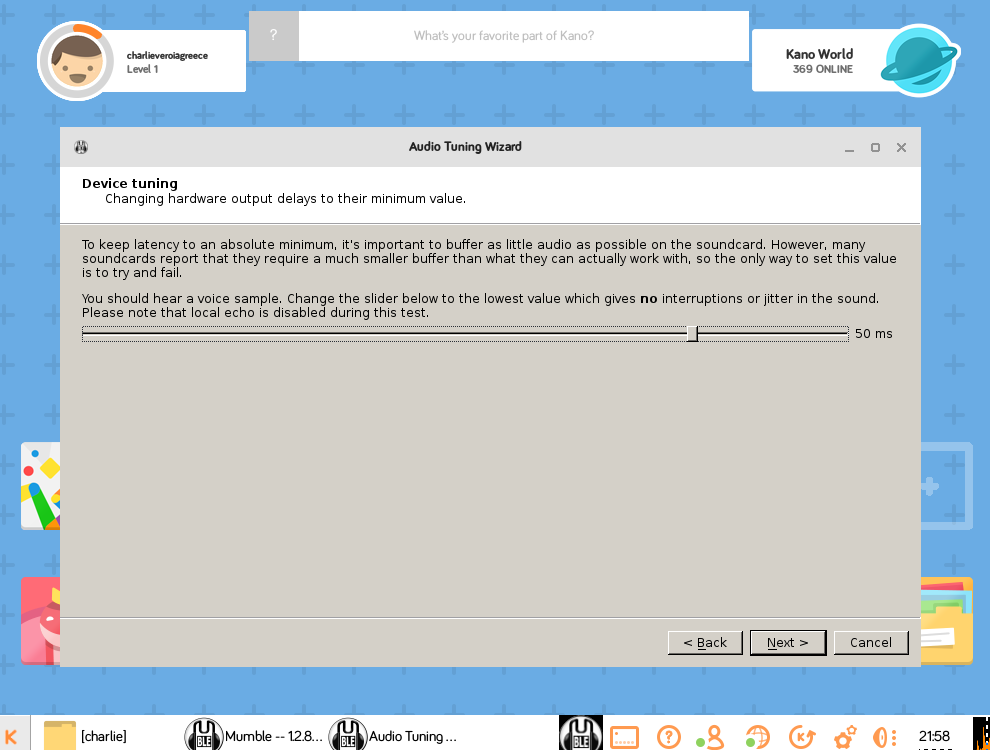
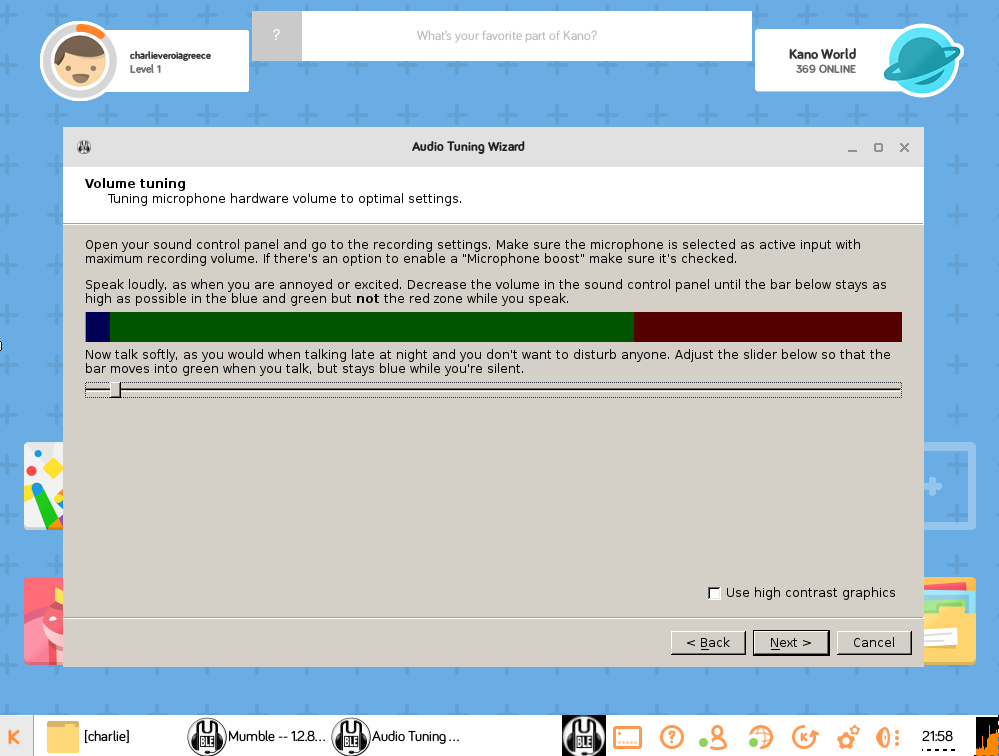
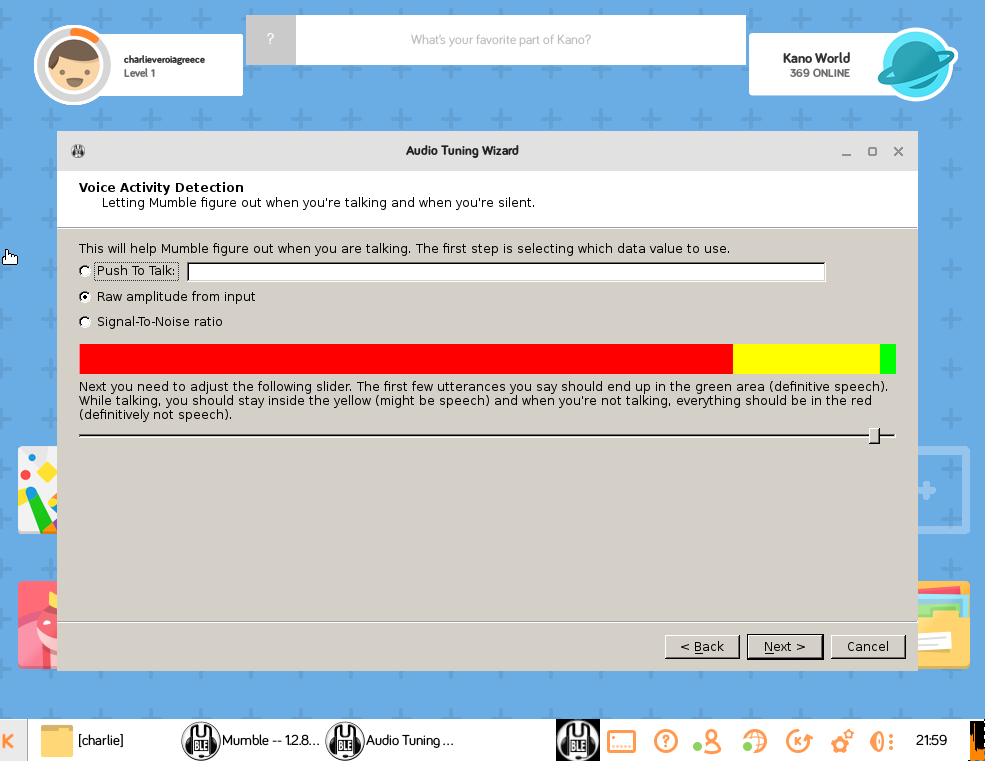
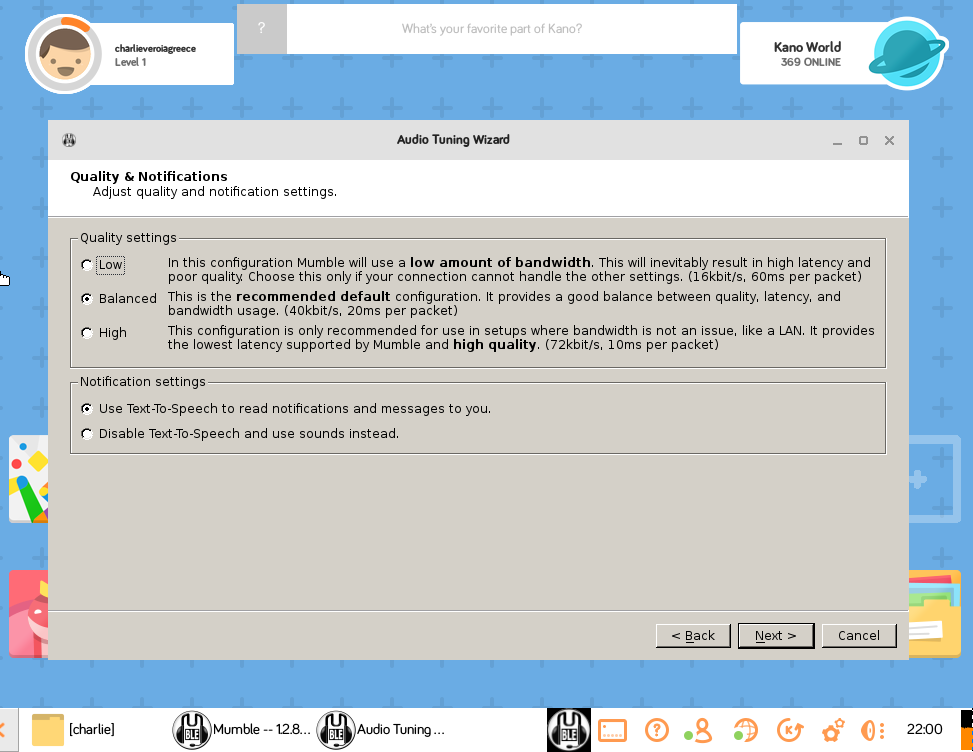
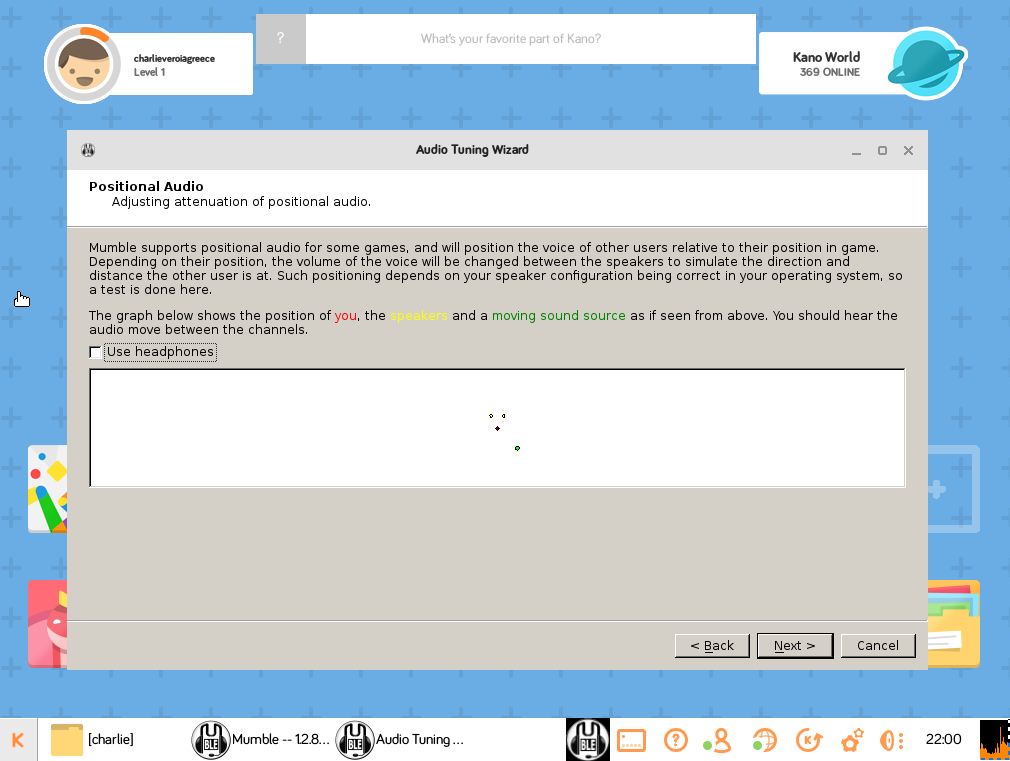
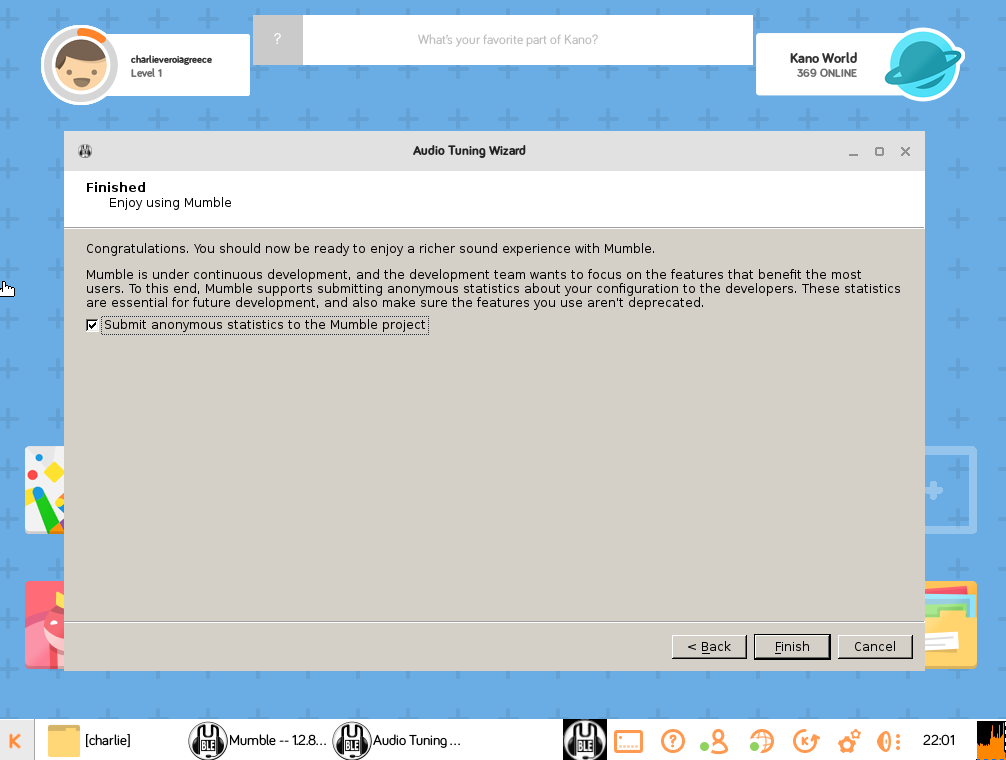
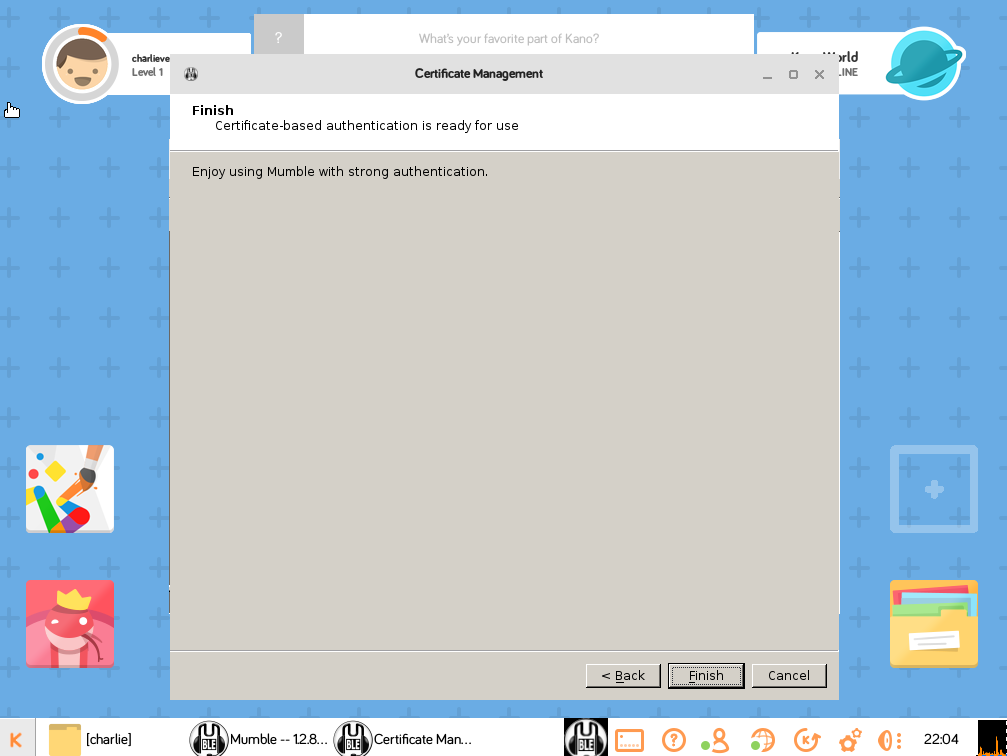
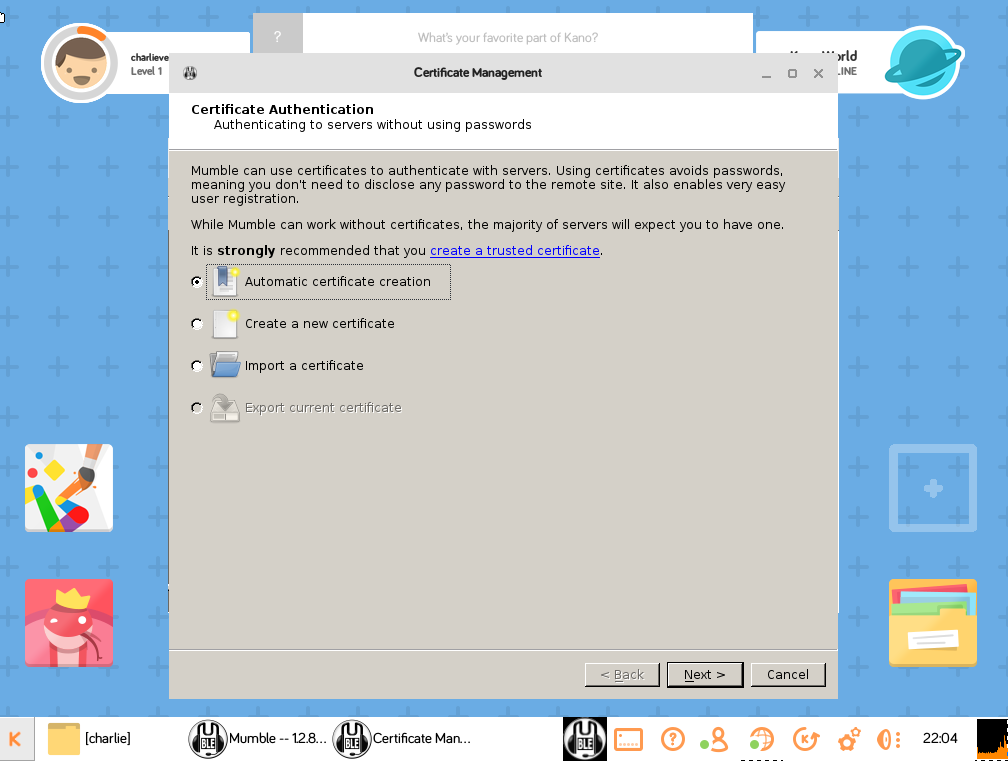
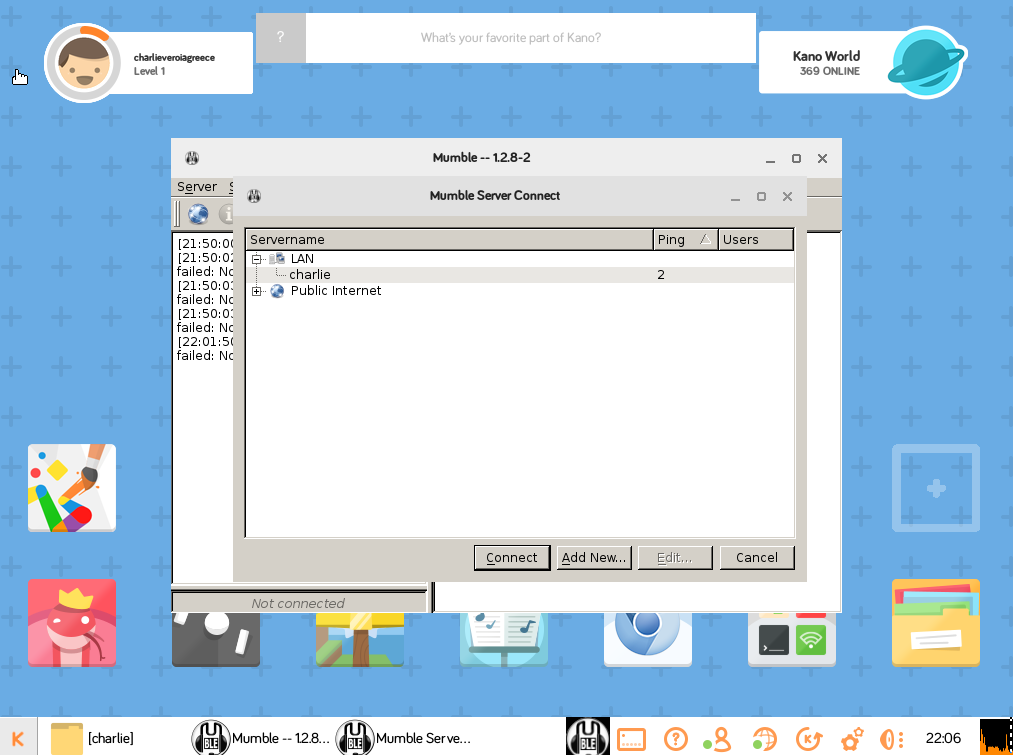
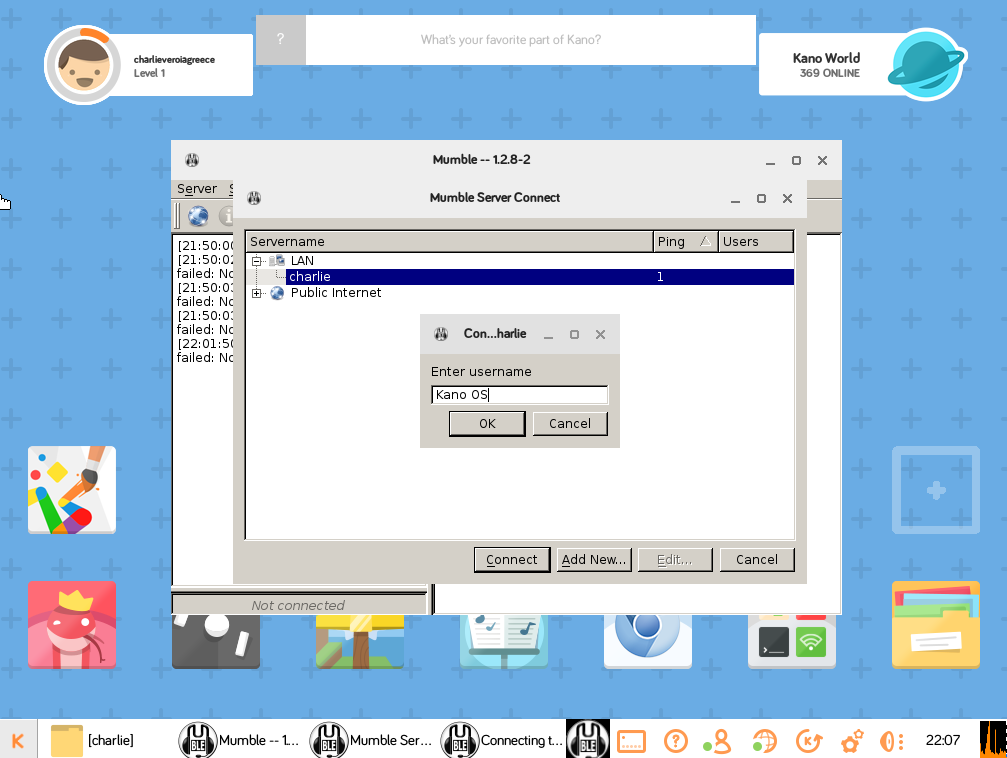
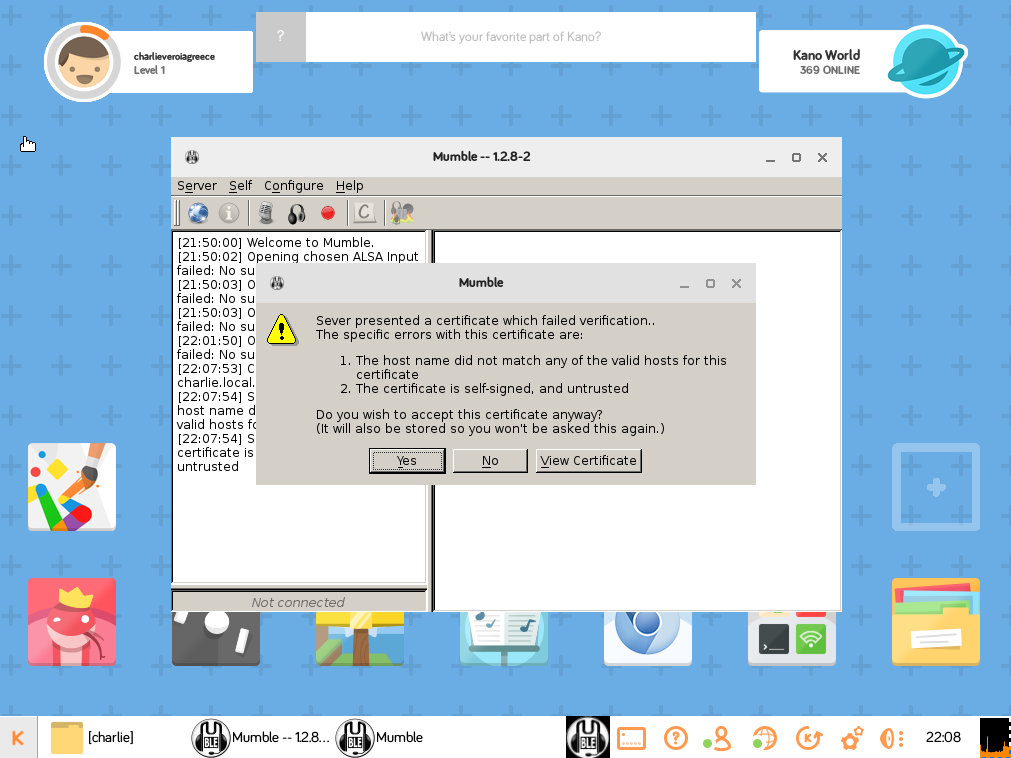
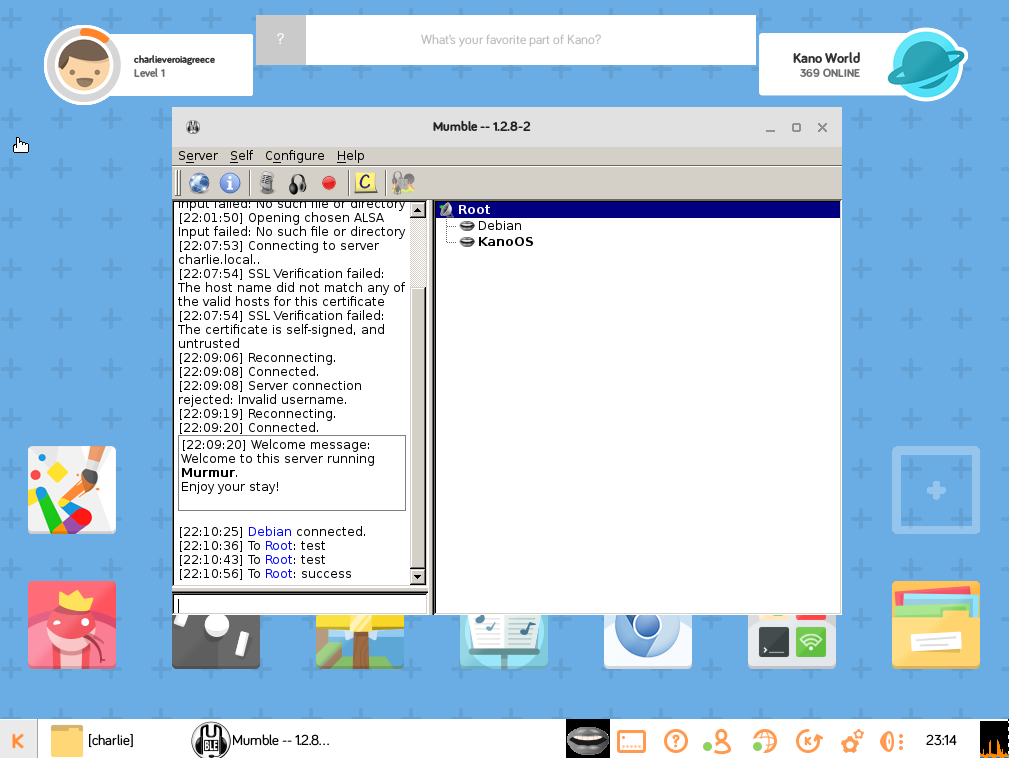
Ok in this step you have to connect a usb microphone to your Raspberry Pi in order to be able to speak with your kids through the server. If you don't have a usb microphone, maybe a web camera with a microphone can do the job or you can use Mumble only for chat.
Open the Apps and choose Mumble. A wizard will start and you have to answer about the audio and microphone settings. Which devices you should use, the level of the audio and microphone, if you want to submit statistics to Mumble project etc. Answer according to your settings.
Then you will be asked about Certificate Authentication & you have 3 options:
- Automatic certificate creation - Choose that one
- Create a new certification
- Import a certificate
That's it. You are finished and you can connect now to the server. Because you are running the wizard to Raspberry Pi where the server is, the client will automatically find the server. Click on it, click ok, enter a username and click Yes to accept the server certificate.
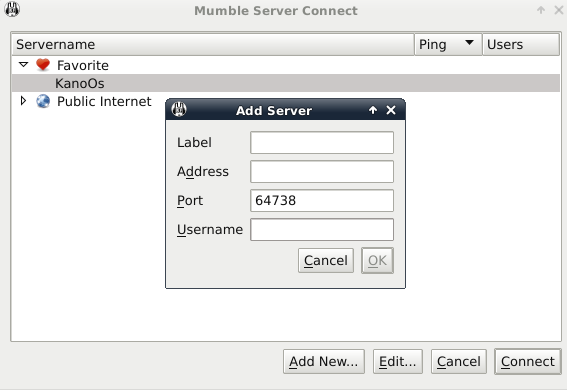
Go now to another pc to your local system and install Mumble client, run the wizard and set the local server from Server --> Connect --> Add New.. --> and give a name, ip address and a user name.
This is a funny a great way to interact and play with your kids and Raspberry PI.
Have fun and check also my other instructables about Kano OS: