Create a Minecraft Bedrock Server
by alexposcher in Circuits > Computers
23 Views, 0 Favorites, 0 Comments
Create a Minecraft Bedrock Server
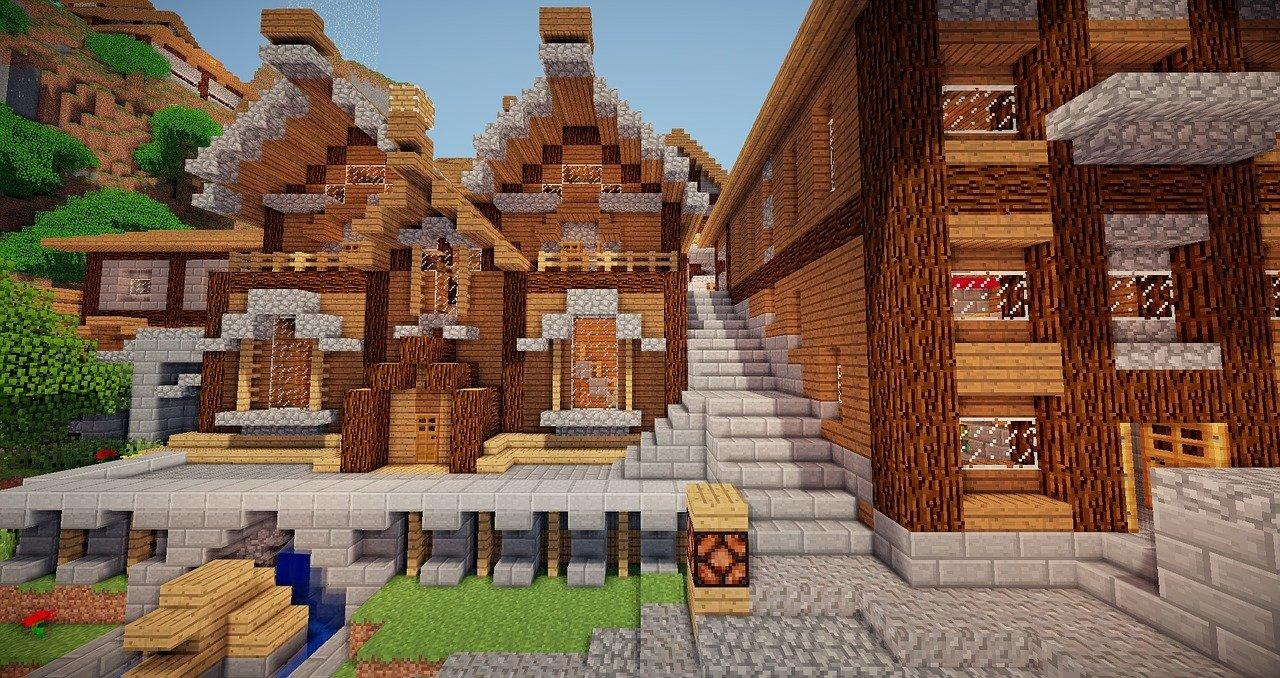
Have you ever dreamed of playing Minecraft with your friends on your own server? No matter if they have an Xbox, a PlayStation, a PC or a Smartphone? With this guide you can make your dream come true.
If you want to be the boss of your own minecraft server and you want to control, who's allowed to play and who not this guide will totally be worth it. You can install all the mods and all plugins you like and use them as you want.
I am going to show you how to create and install a Minecraft Bedrock Server for you and your friends.
With the code 61887-a-1576 you save 20% on your Minecraft Server :)
Choose a Server
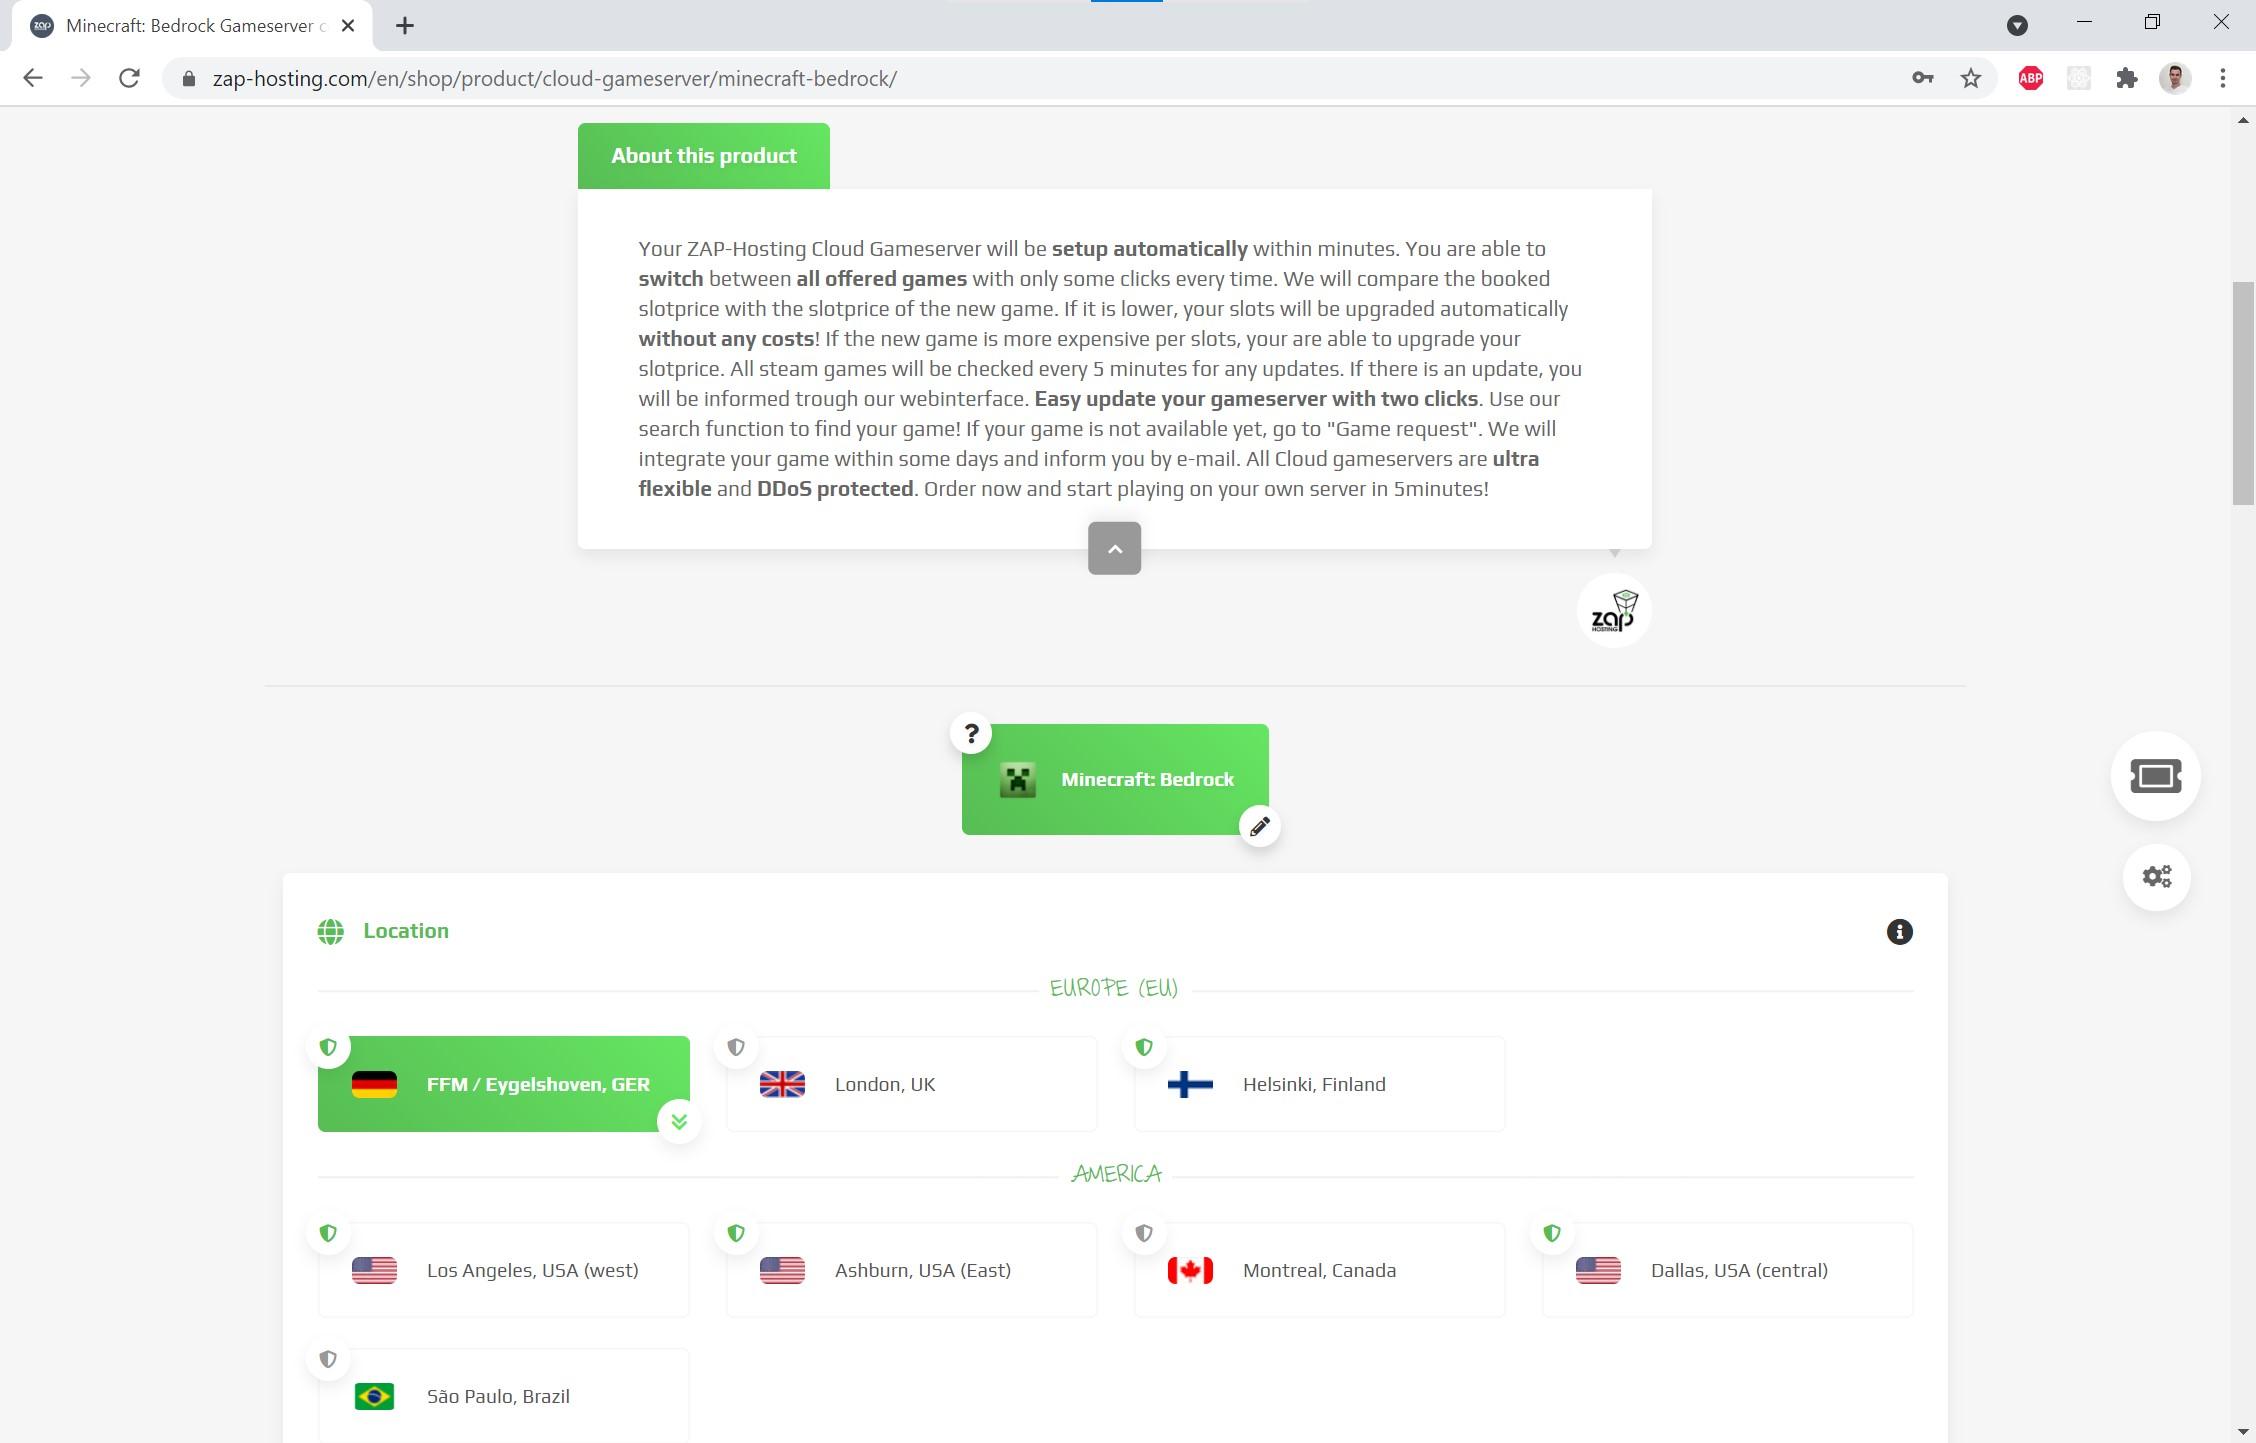
First of all, go to https://zap-hosting.com/psrMinecraftBedrock and wait until the page loaded. You will see some options.
Zap Hosting is in my opinion the best Minecraft Server Hoster. It always works great and you never have problems. If you need help with something they are always here for you.
You also can switch games anytime you like with just some clicks and no additional costs.
Configure Your Server
.jpg)
You are already getting closer to your legendary Minecraft Server. Now we have to configure it.
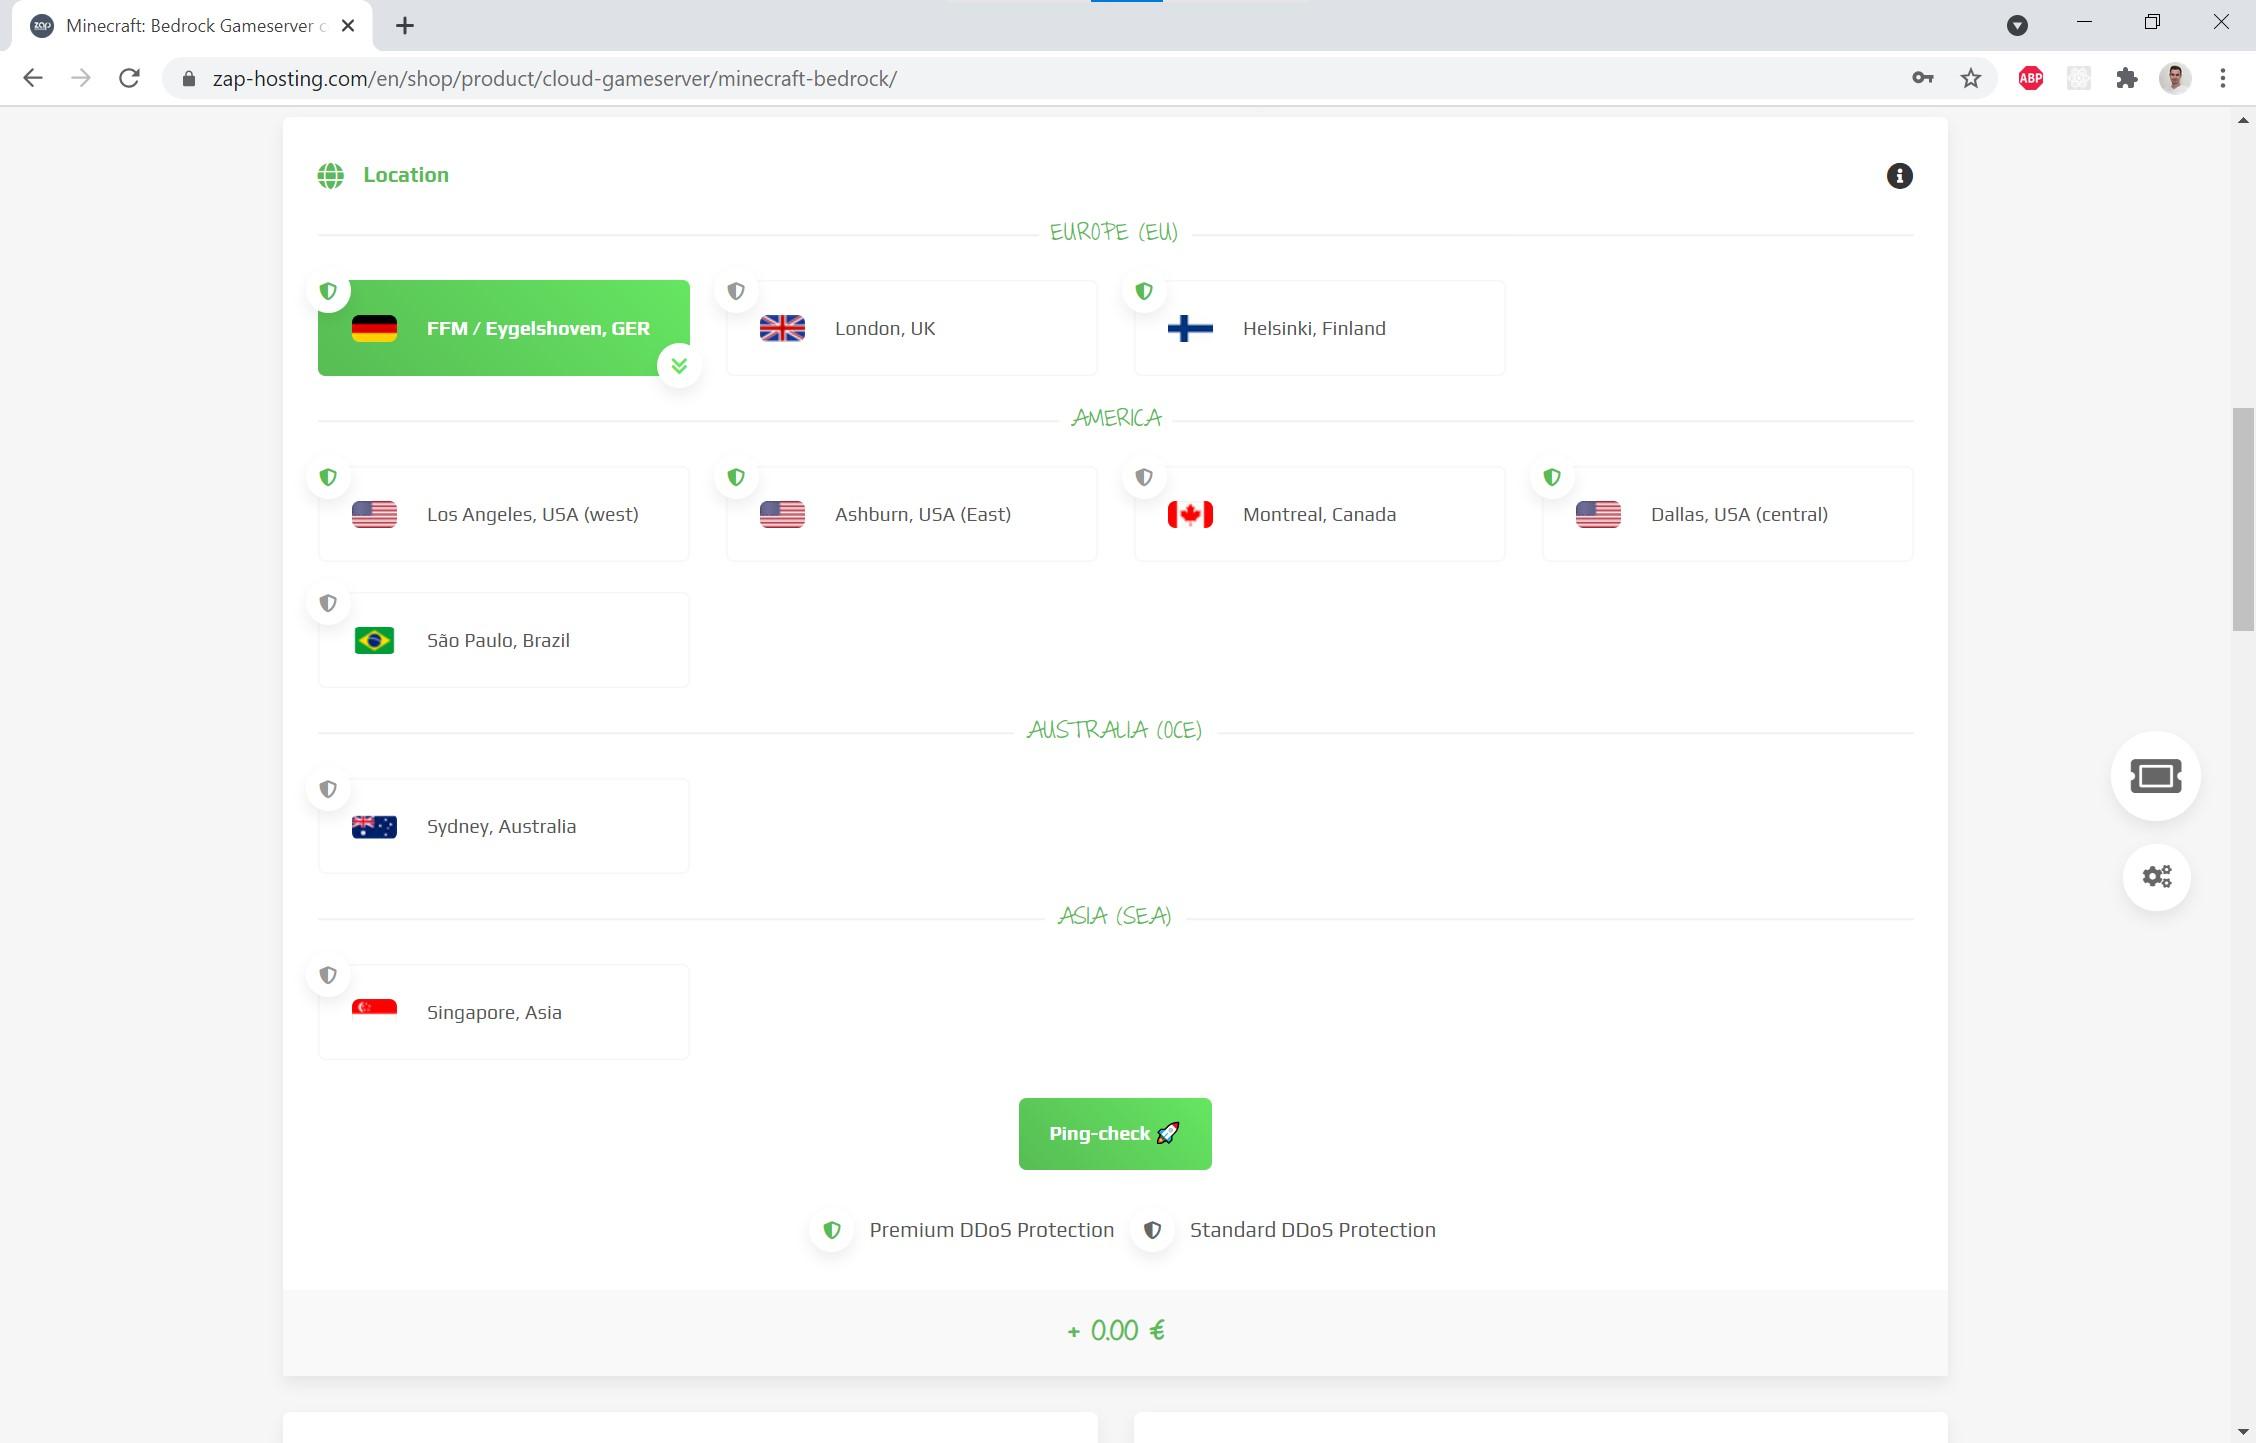
1. First of all you have to choose a location (Image 1). Choose the location which is closest to you. In my case it is Germany (FFM / Eygelshoven, GER)
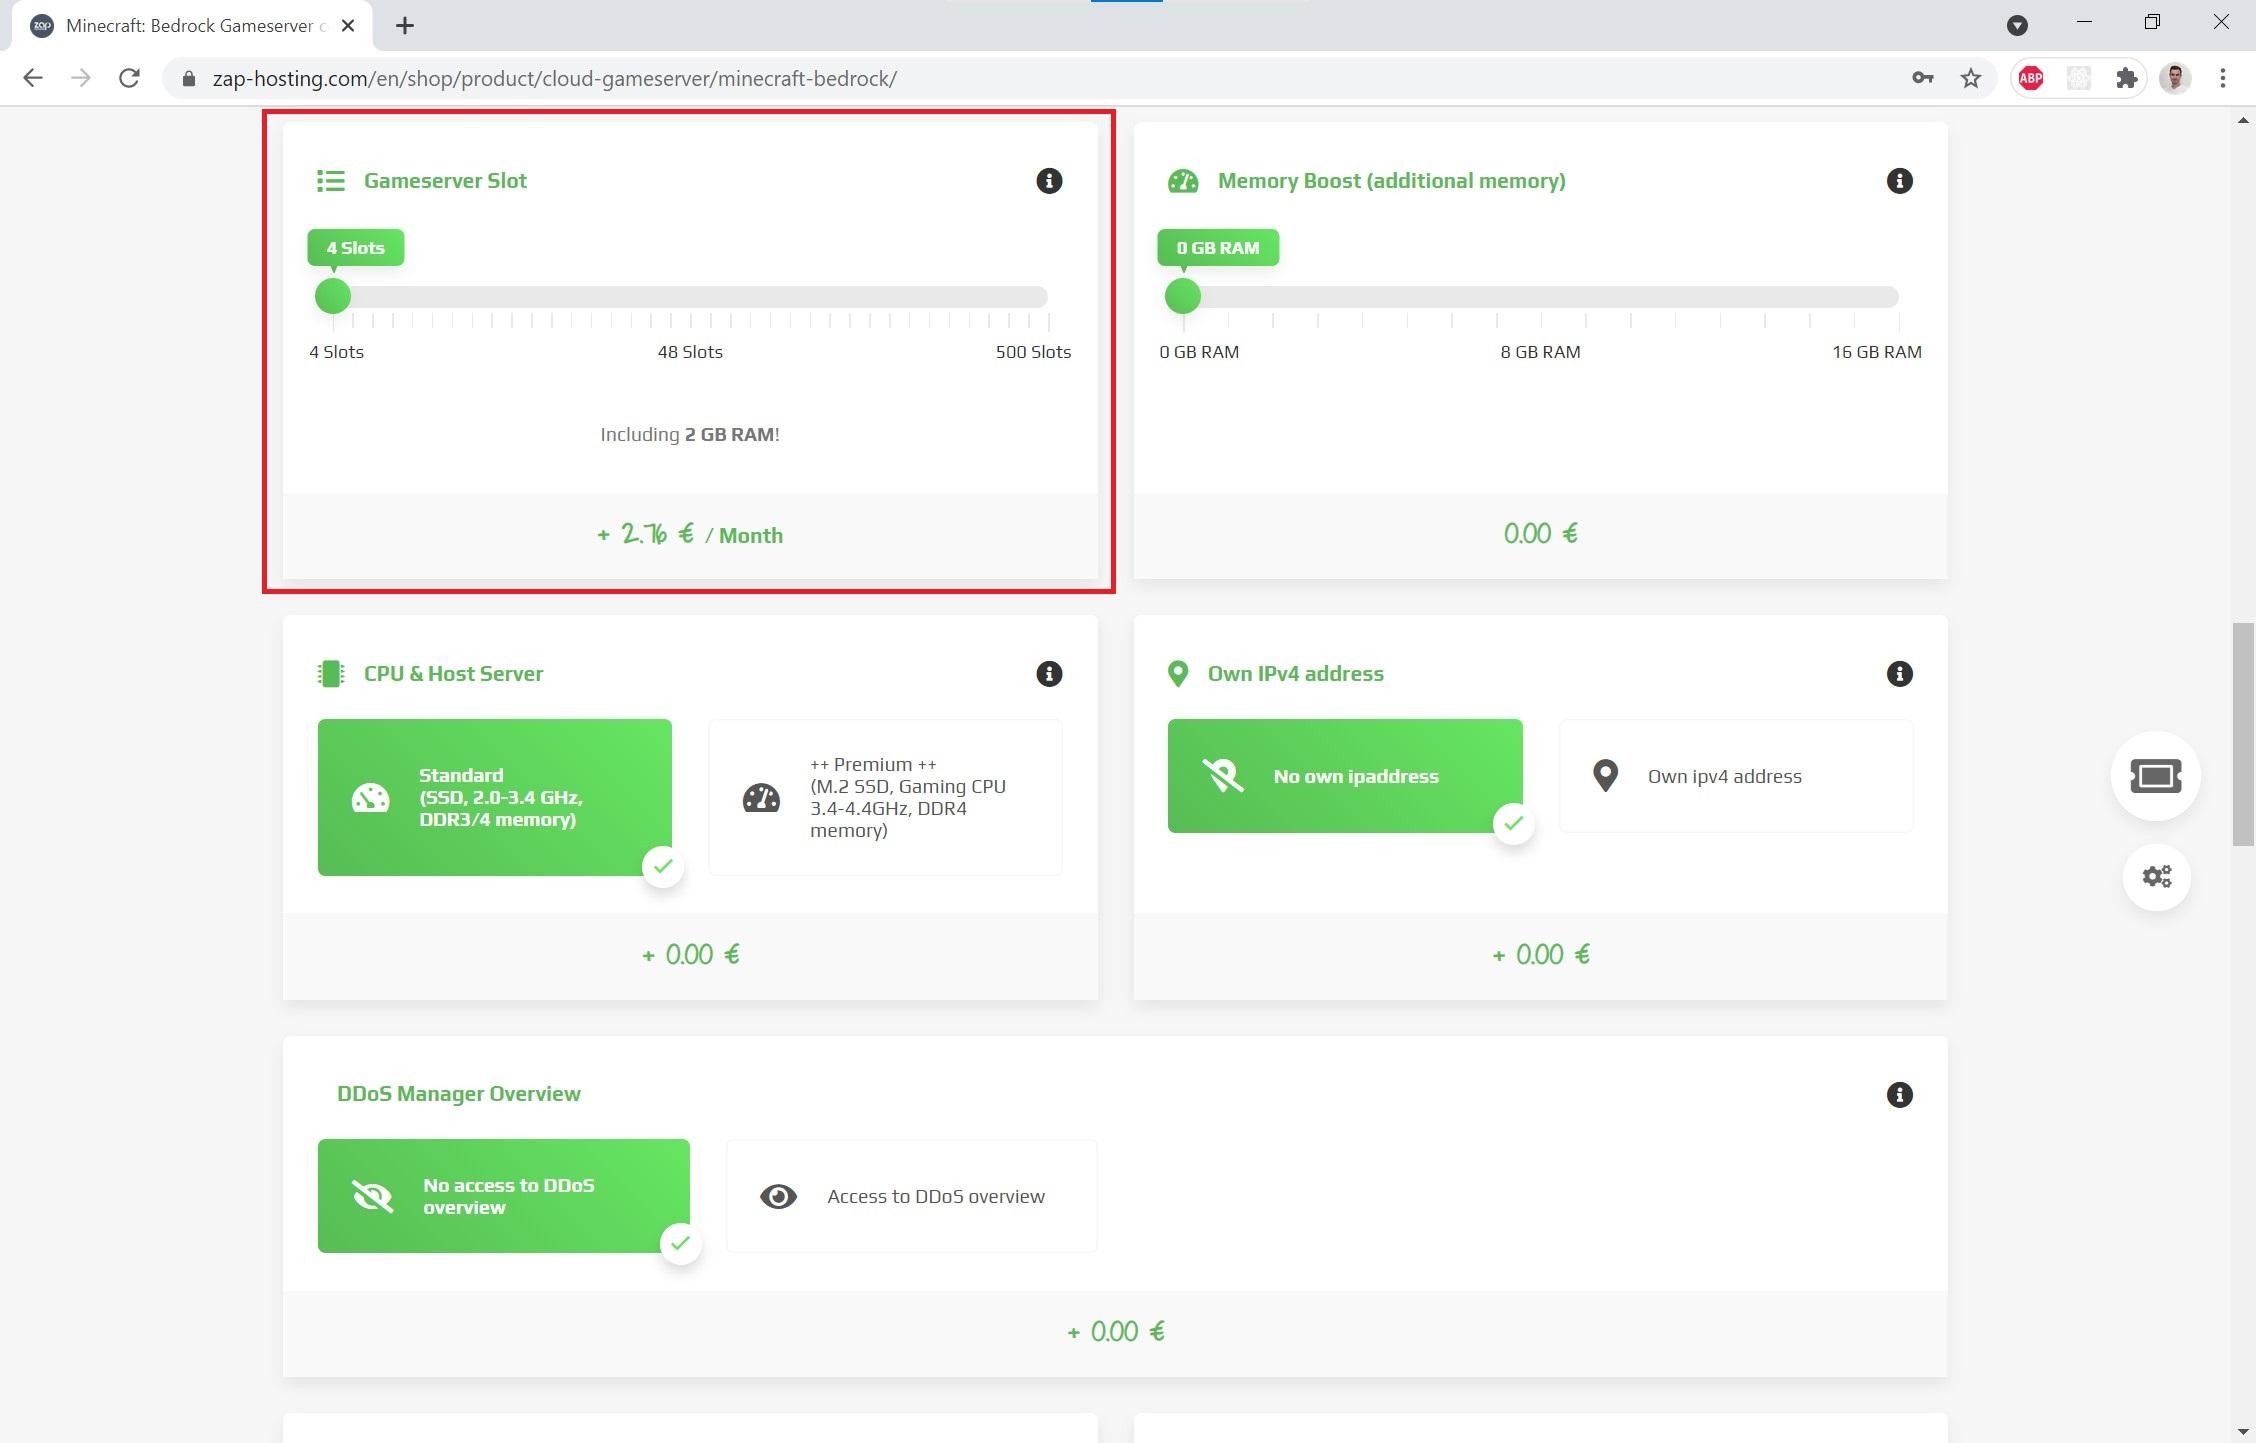
2. Choose a slot size (Image 2). This depends on how many friends you want to play with. For example if you want to play with 8 friends, you need 8 slots.
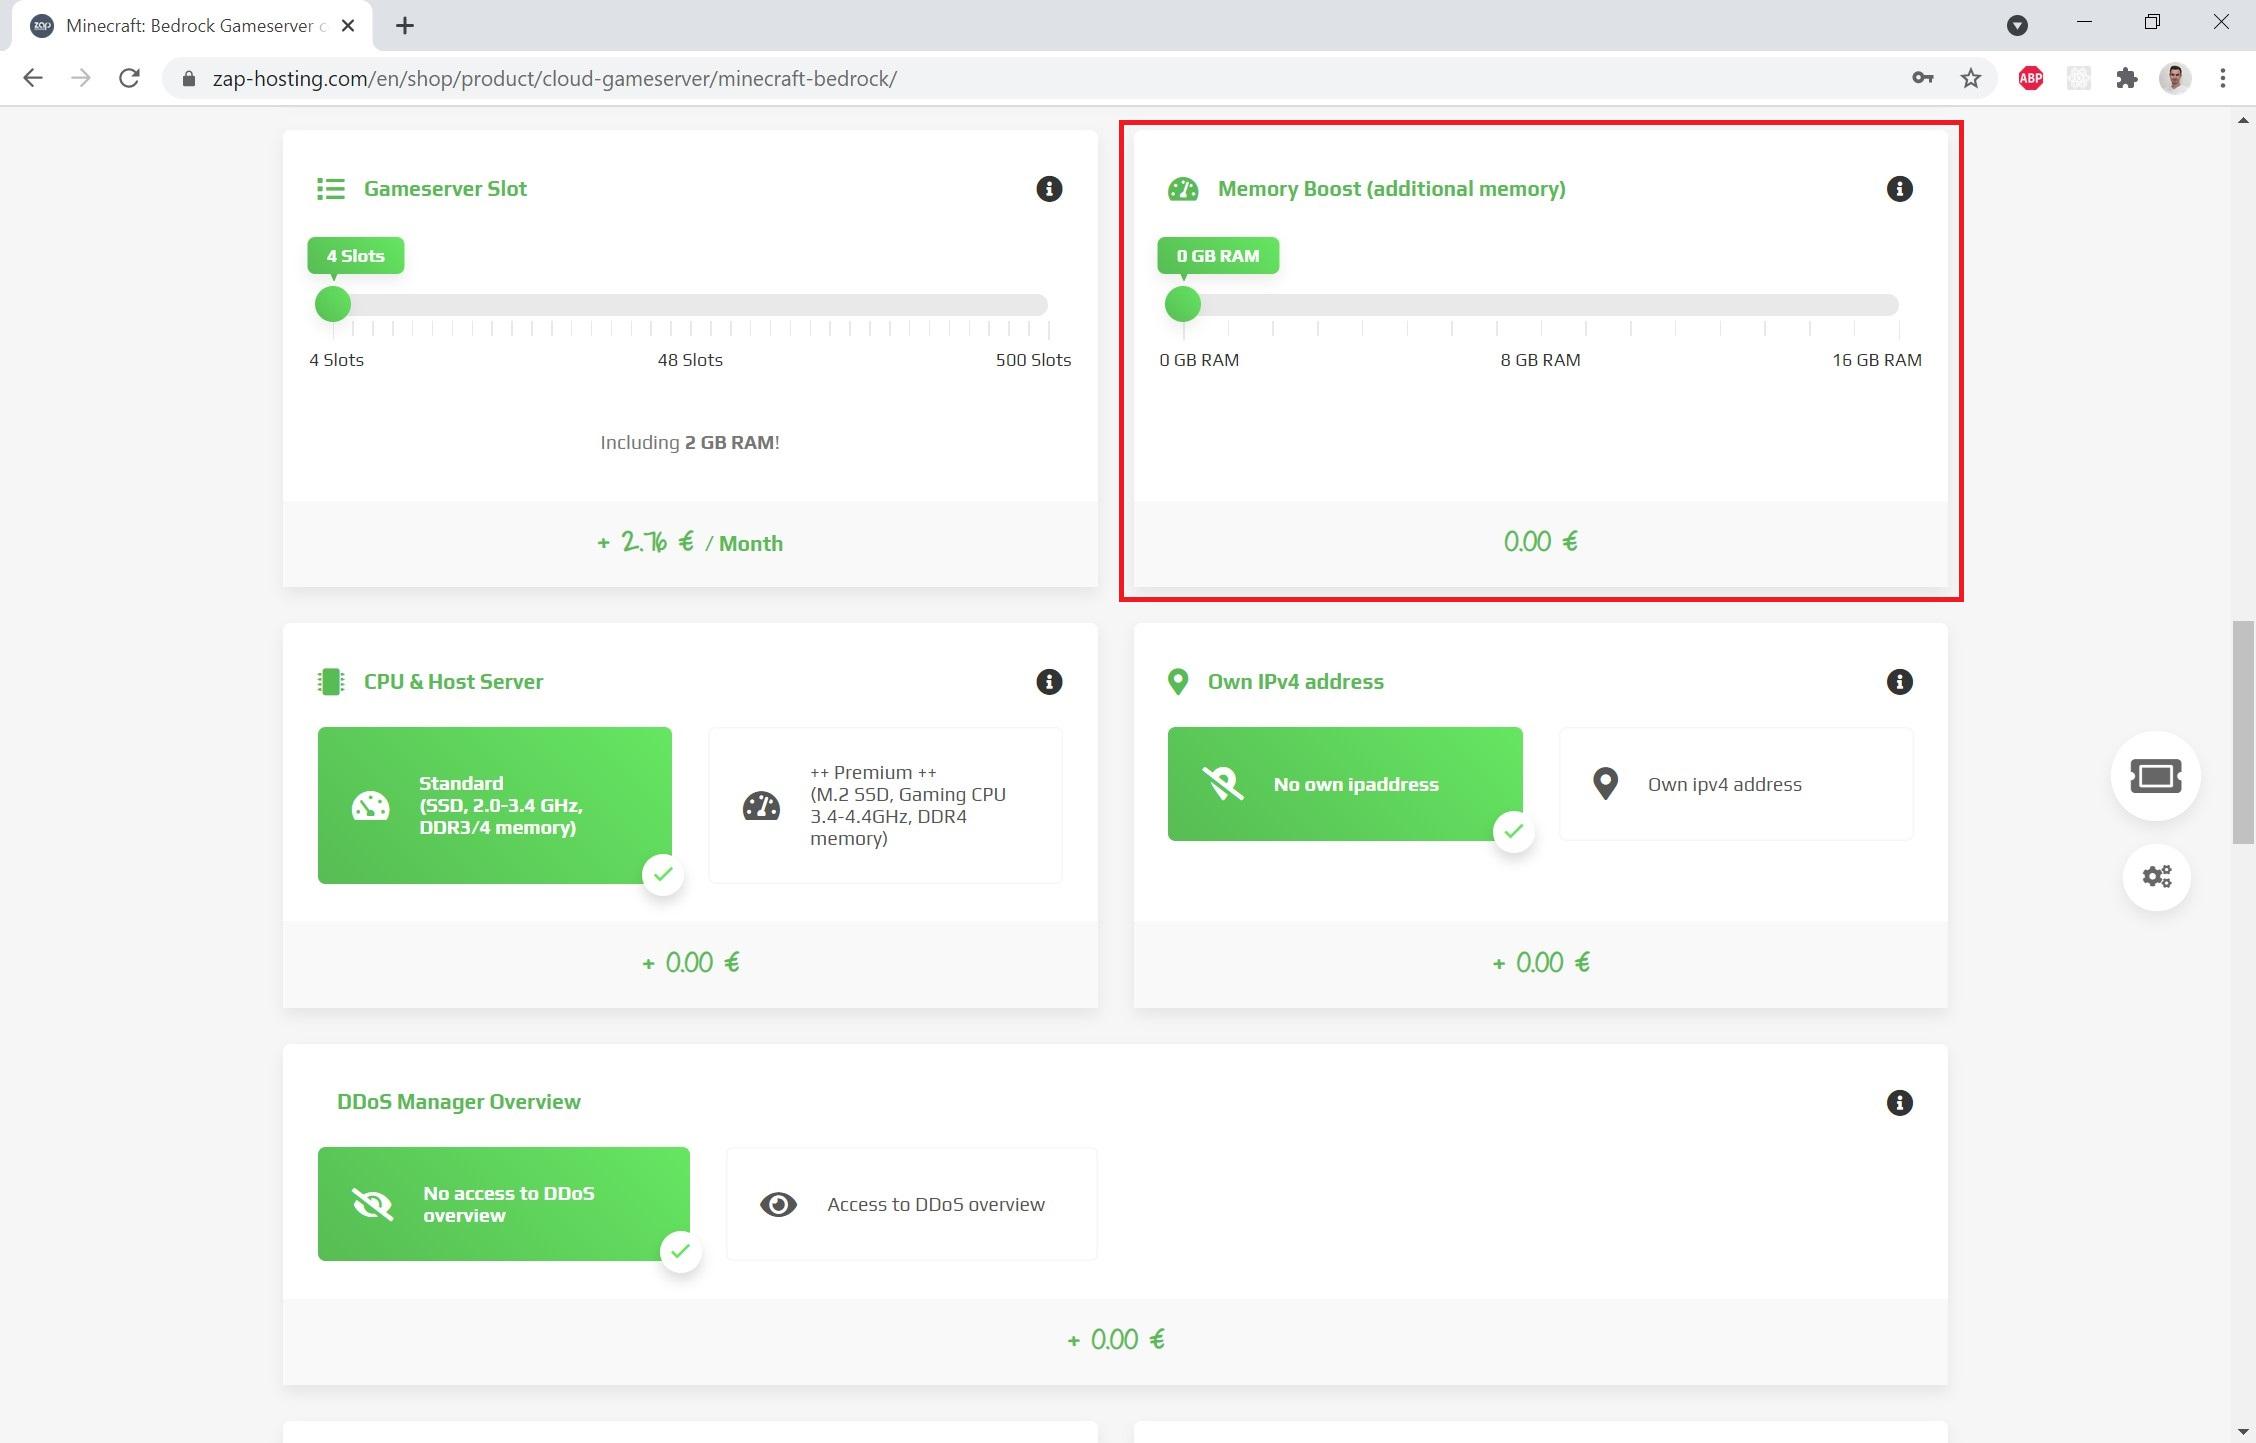
3. Choose memory size (Image 3). Depending on how large your Minecraft world is going to be and how many players you are you need memory. Personally I recommend 3-4GB RAM to be on the save side. If you think you need more, you can set up to 16GBs of RAM.
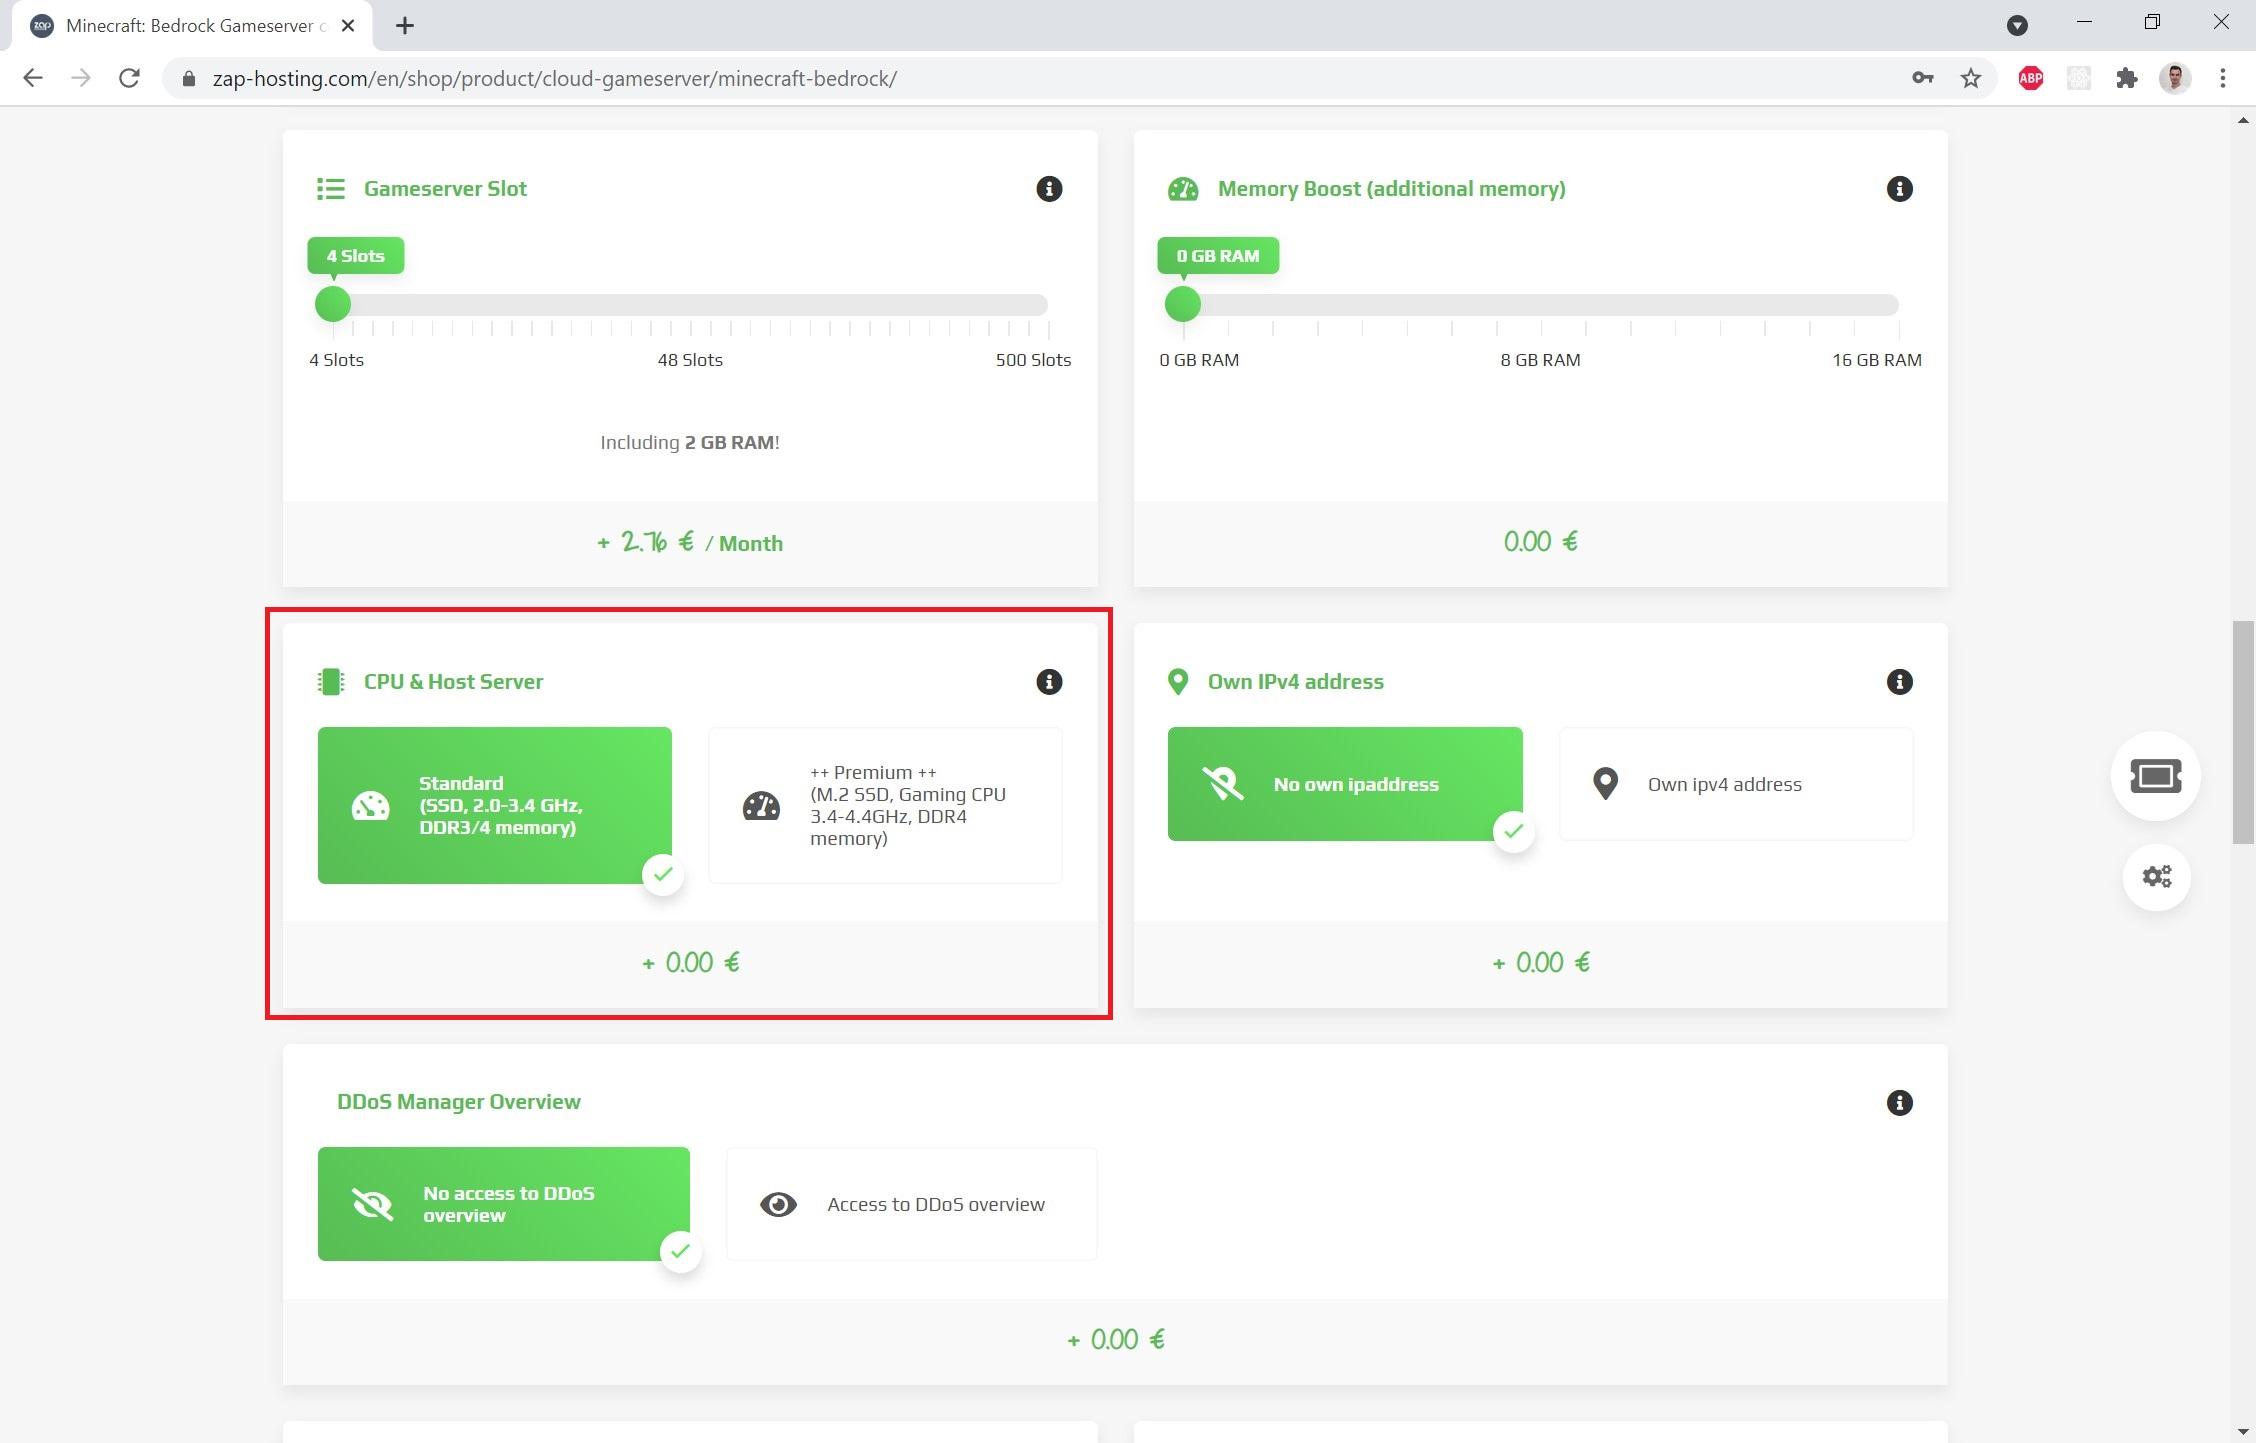
4. Choose a CPU (Image 4). Usually the standard CPU should be enough, but if you need a better gaming experience, using the premium CPU will be helpful.
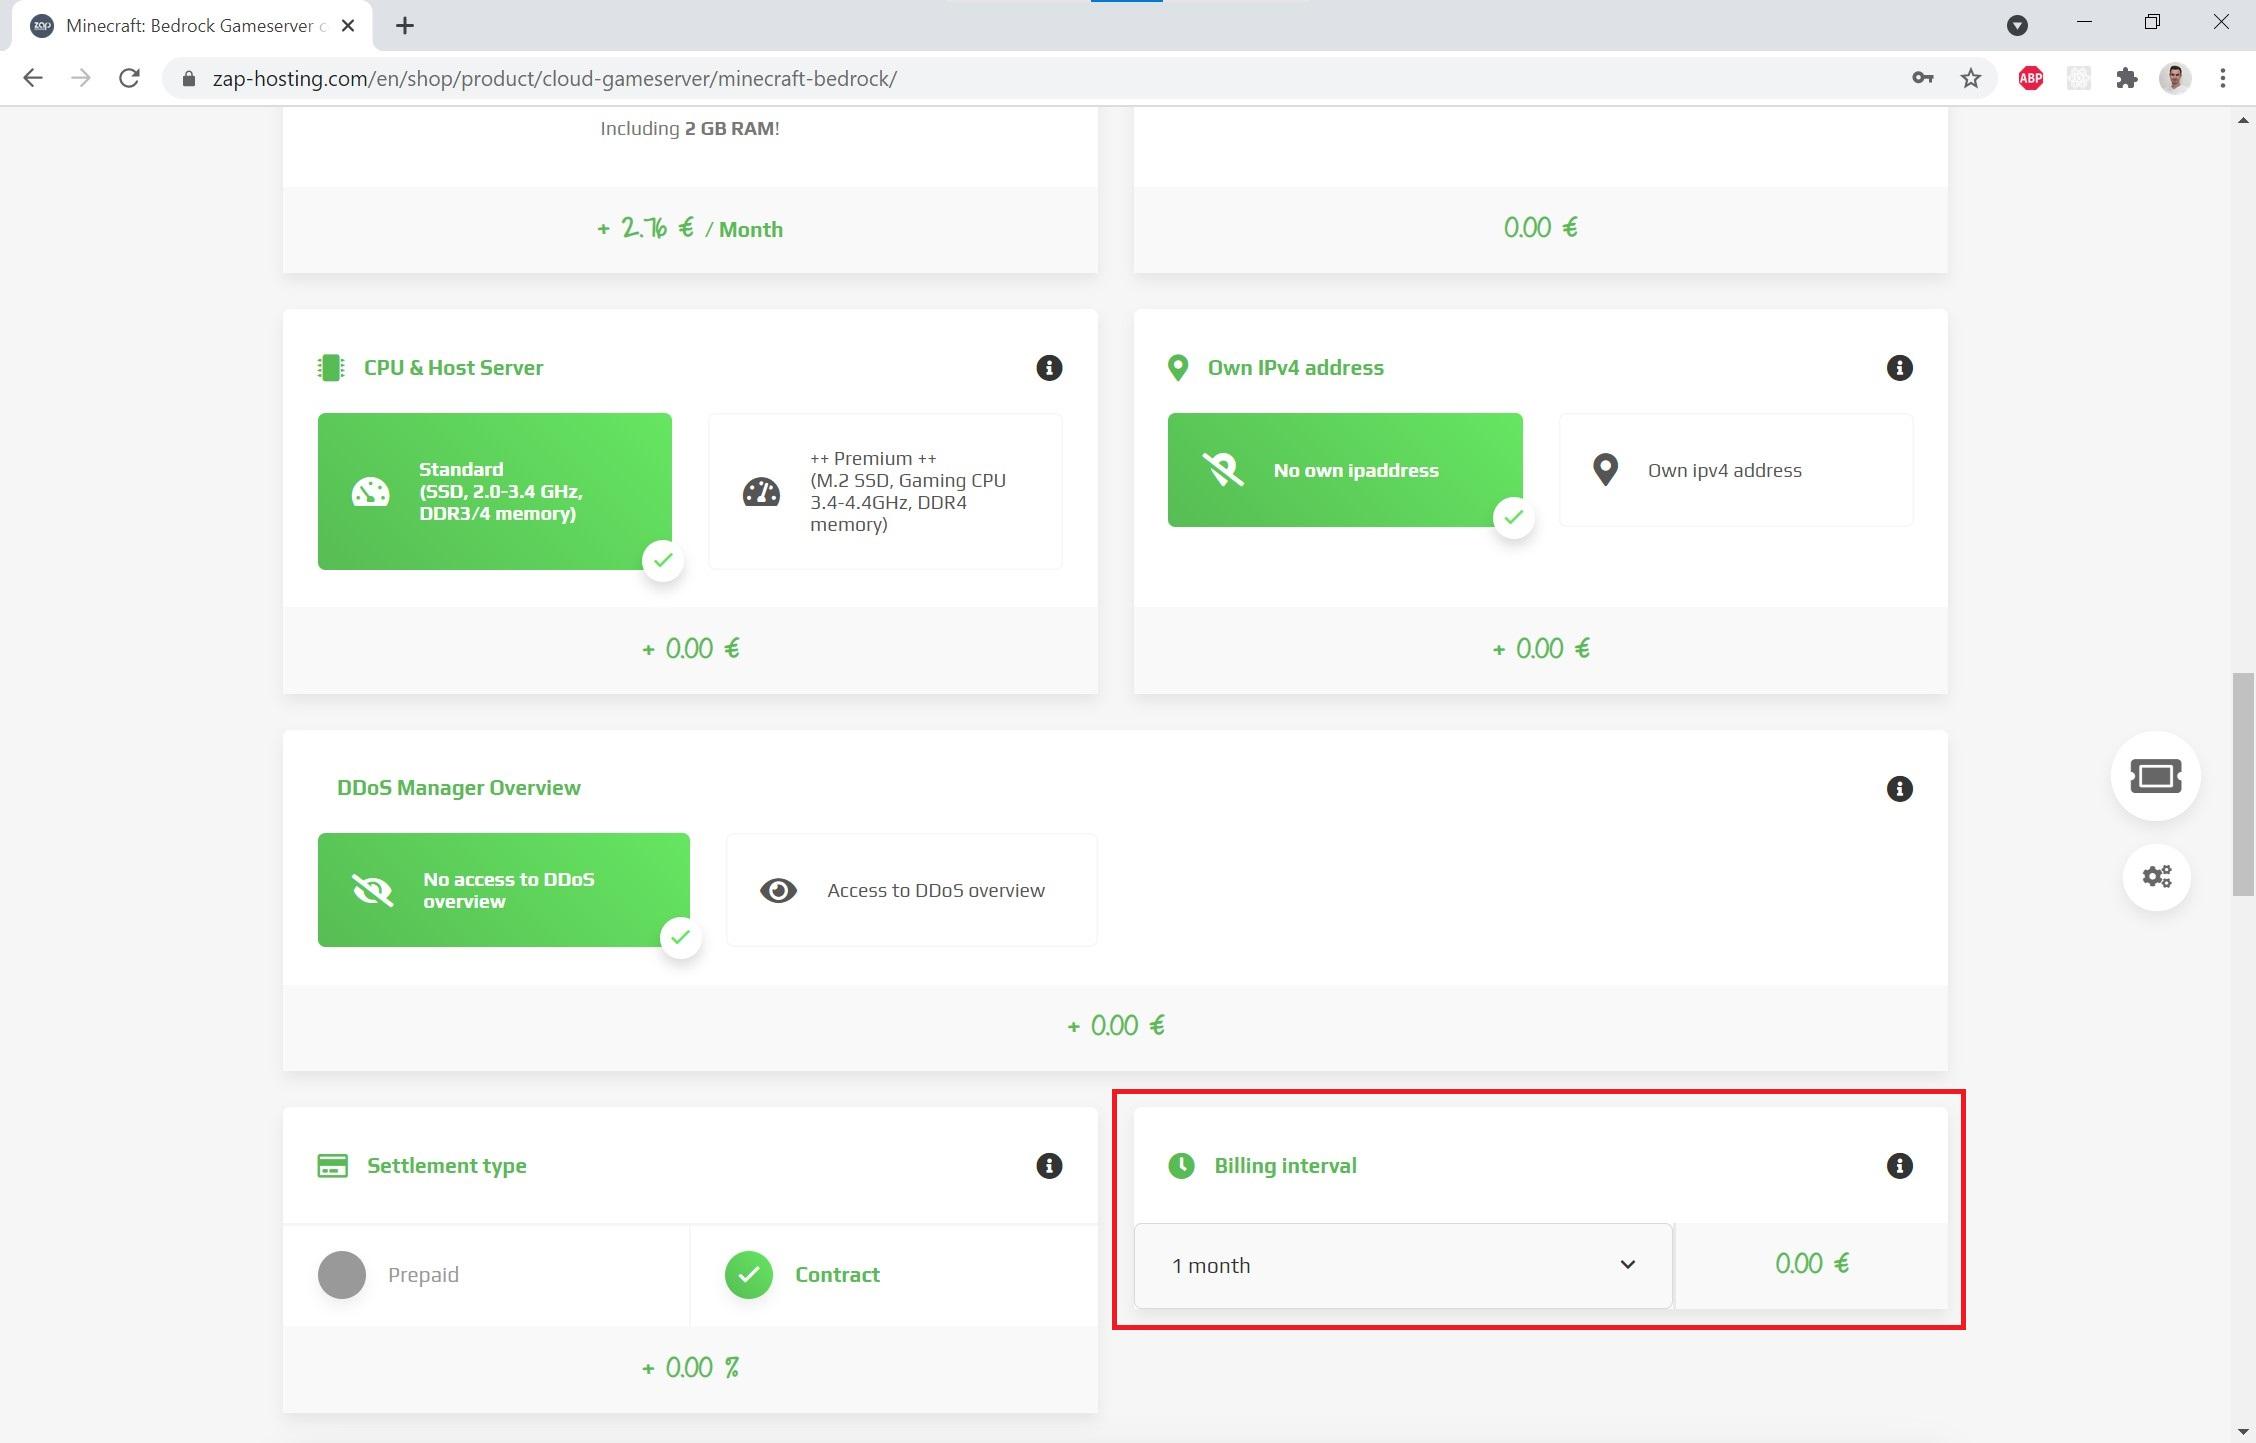
5. Select a billing interval (Image 5). Depending on how long you want your server you can choose an interval. If you think you will need it 5 years you will save 40% of the costs. But if you don't know how long you need it you can pay monthly.
Buy Your Configured Server
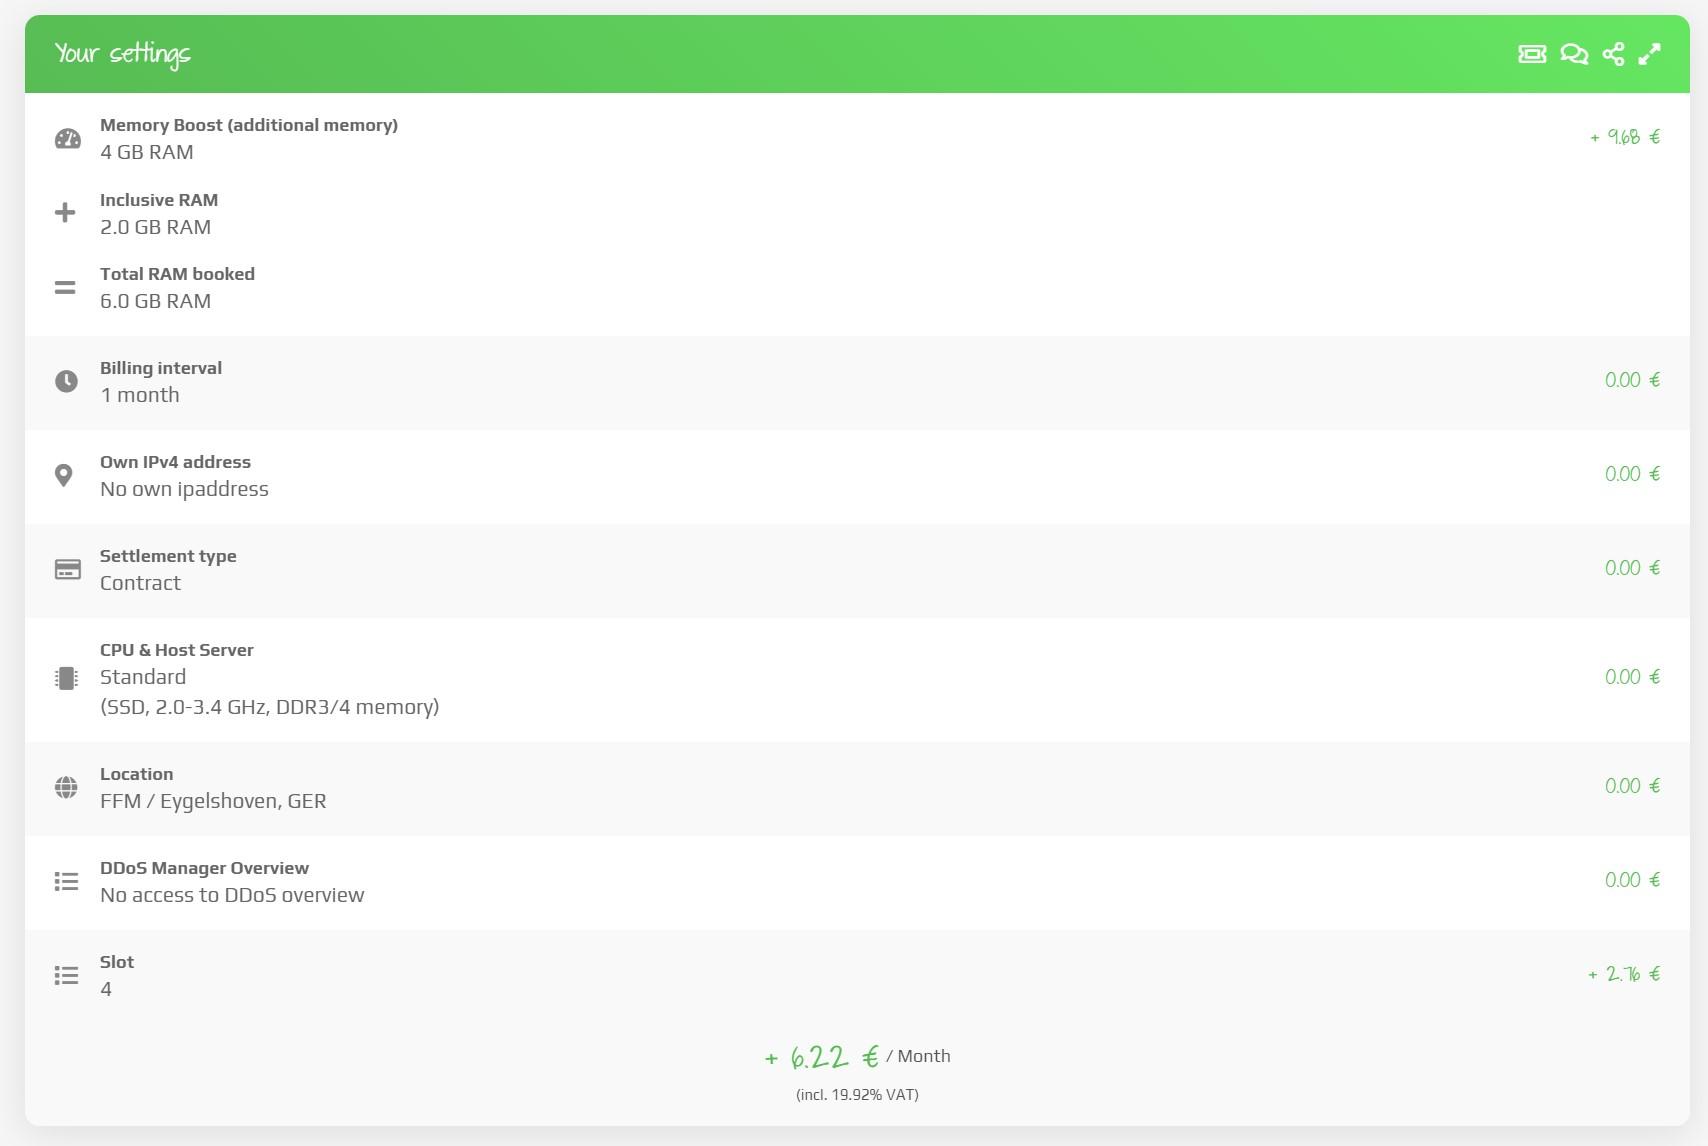
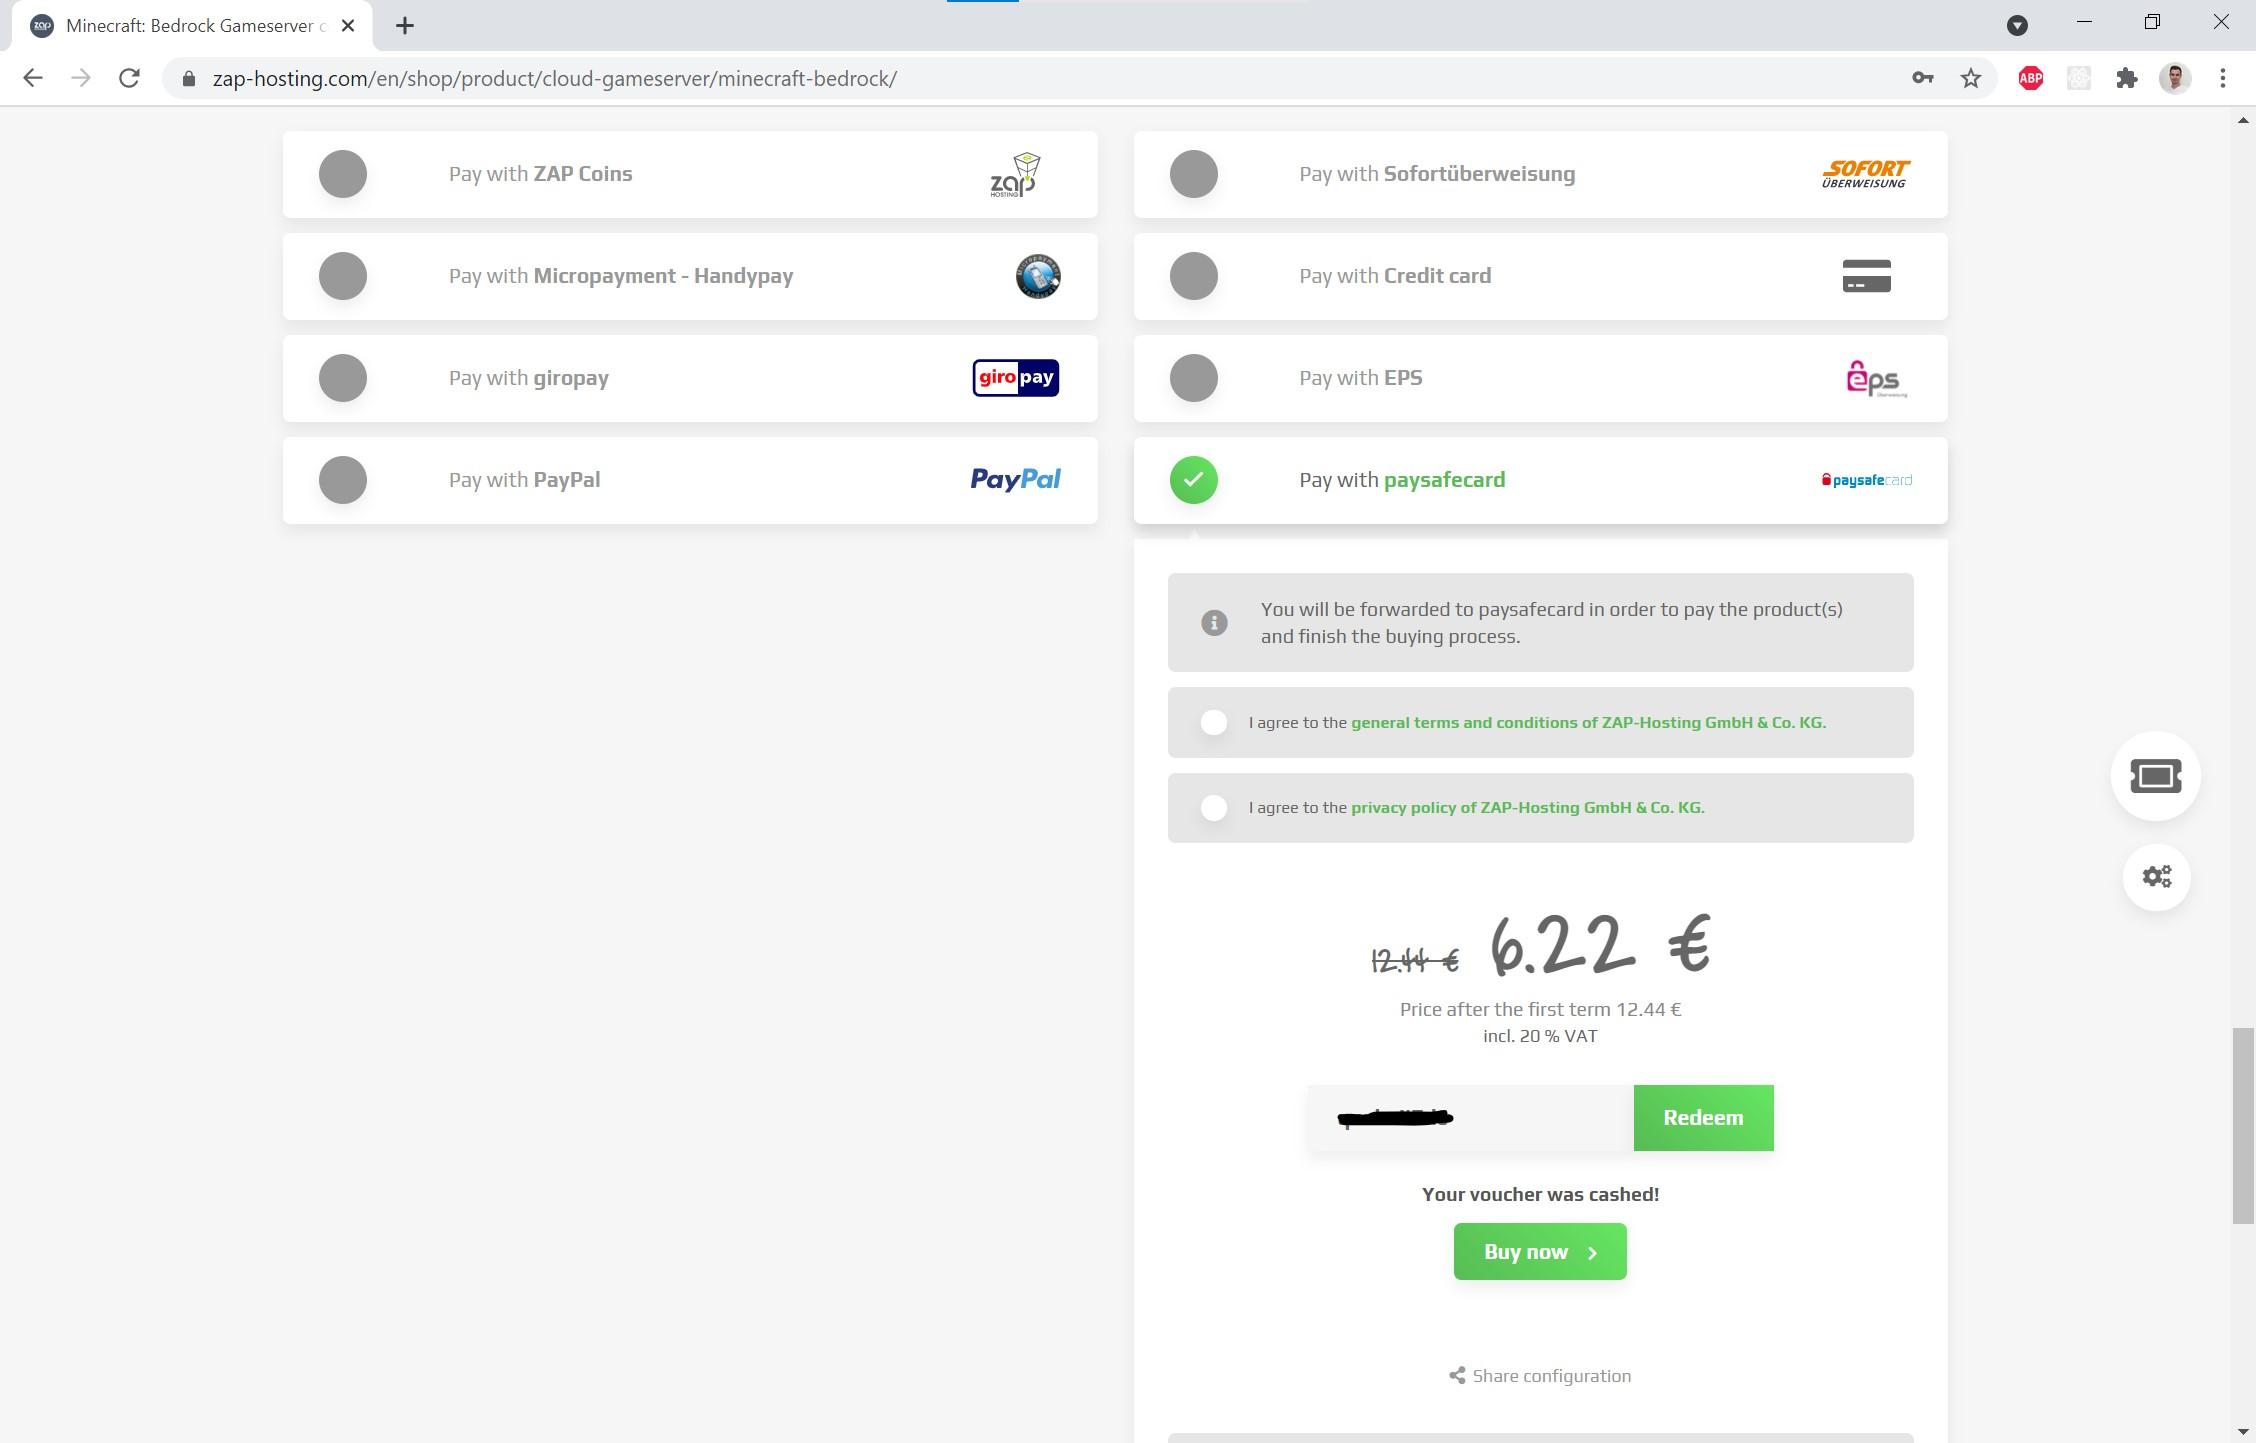
After configuring your server, you will see a summary of your configuration and the costs. It is very cheap for the good quality you have.
The last step is to select a payment method. You can use paysafecard, Paypal, Credit Card, Bitcoin and so on.
When you selected the payment option you can redeem a voucher code. With the code 61887-a-1576 you can save 20% on your server every billing interval. After redeeming the code and selecting the payment method, click on buy now.
Congrats! You now have your own Minecraft Server :D
Your server is now automatically setted up.
Have Fun Playing
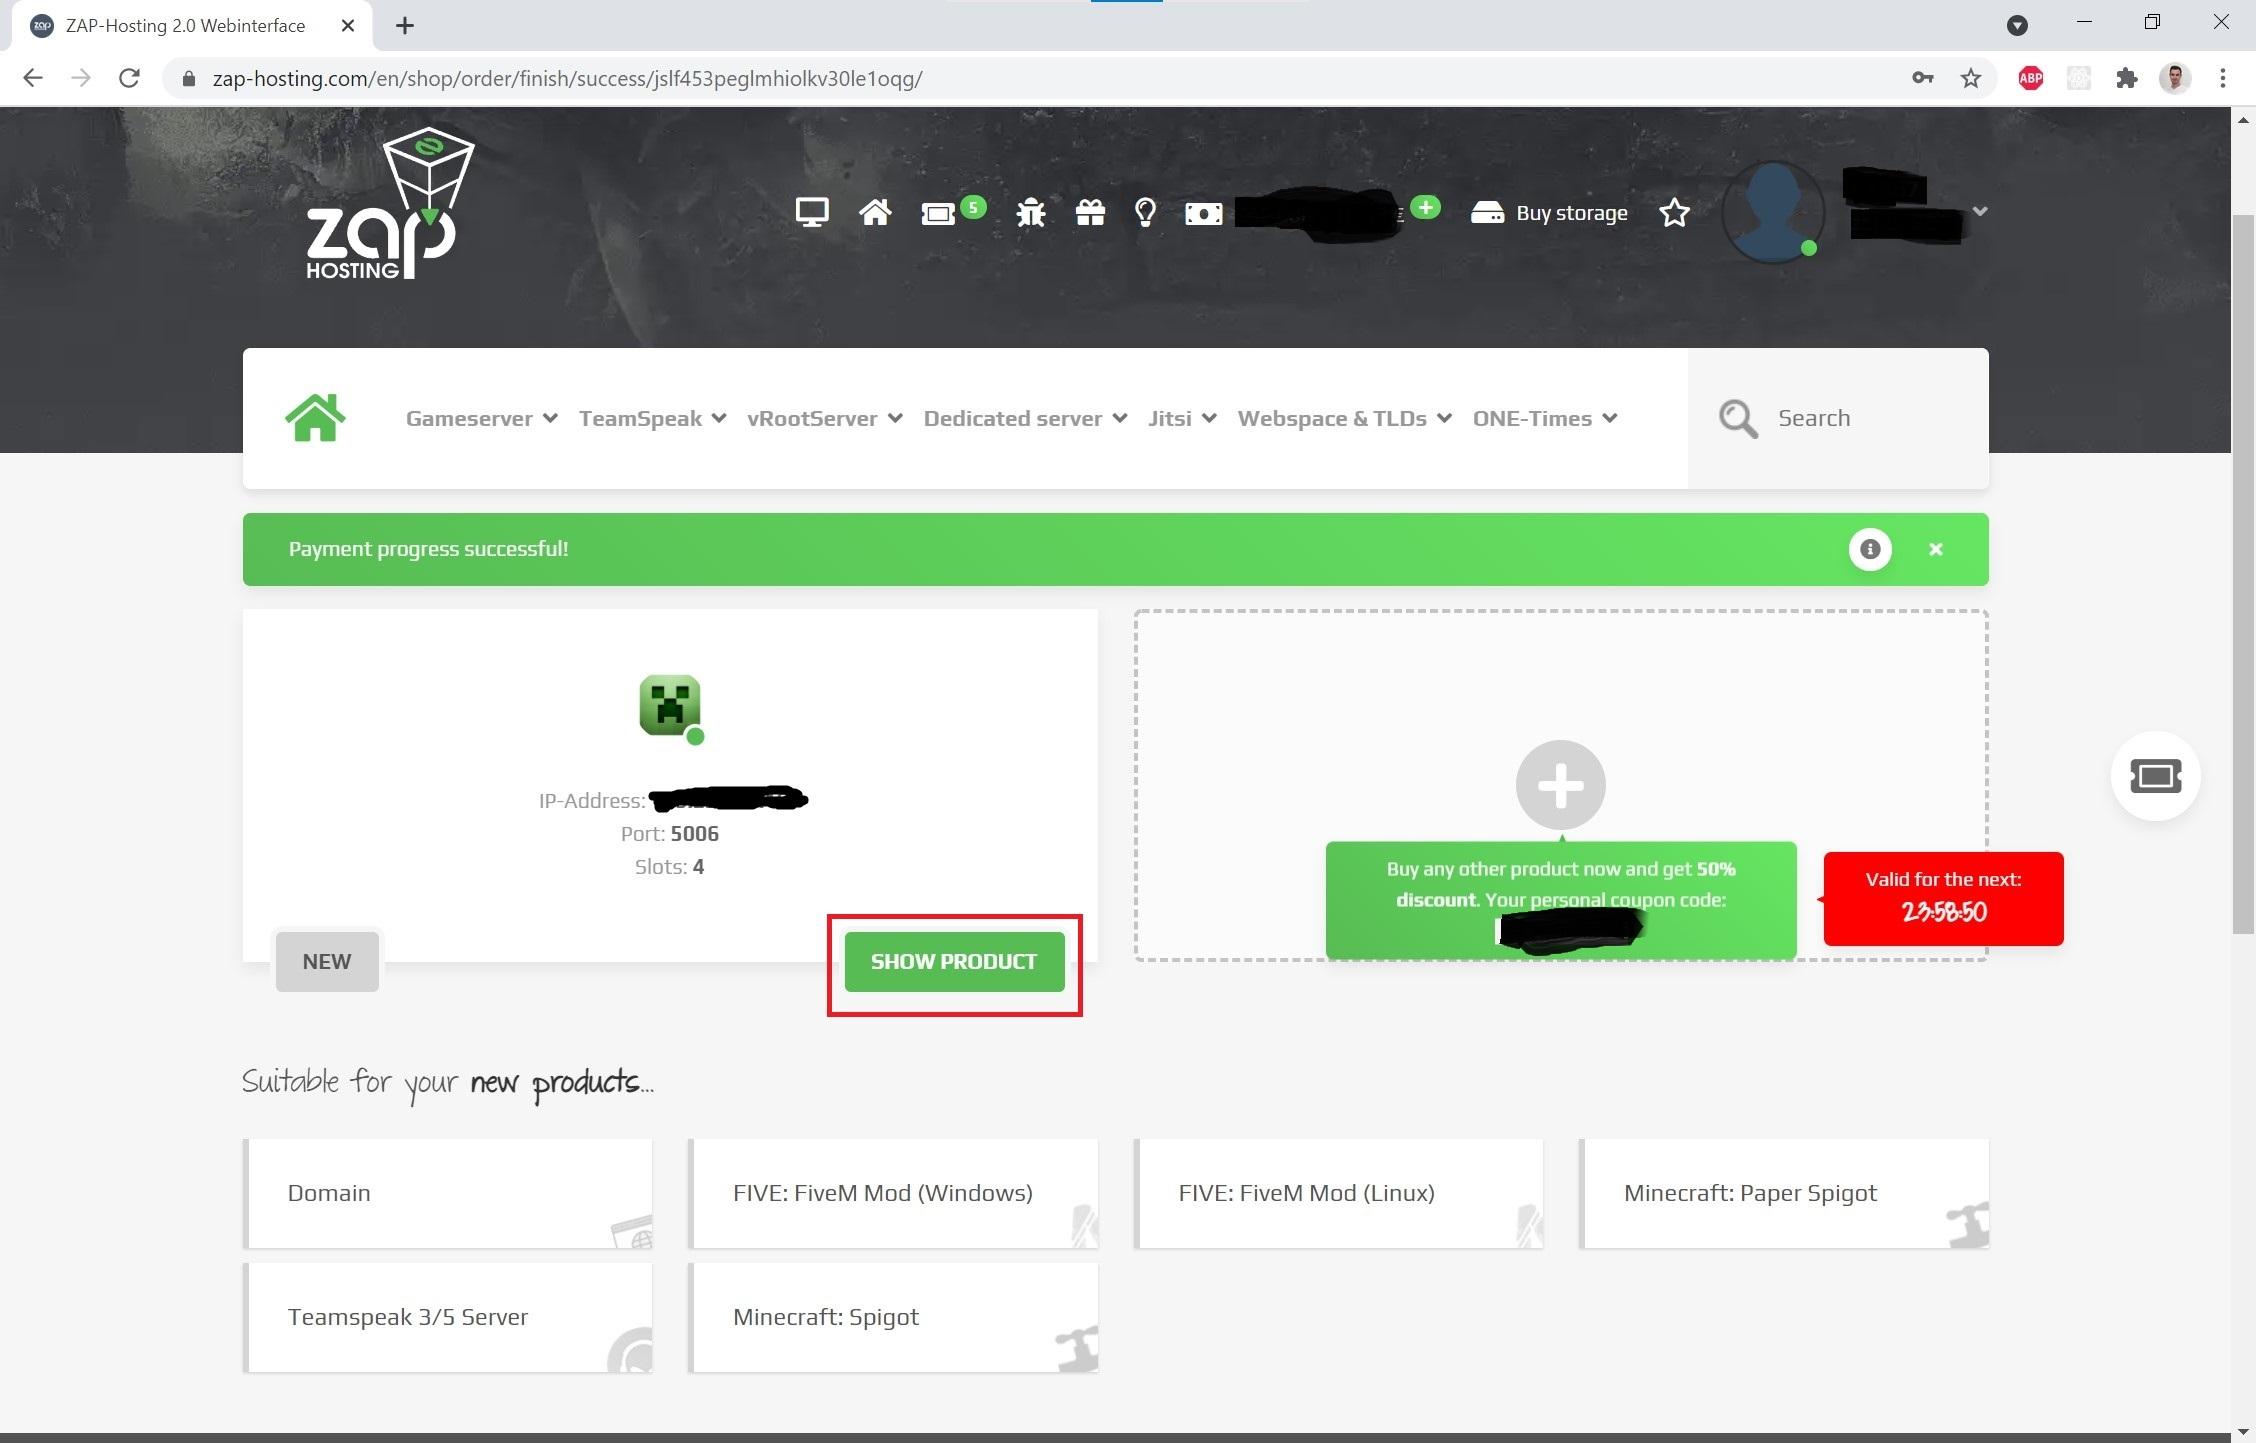
After clicking on SHOW PRODUCT you will see a dasboard of your server. Under Settings>Configs you can edit the config file for minecraft, to set the difficulty and other important settings. To upload your own world you can use the FTP-Browser.
With the following link you can get more information and help about the Zap Hosting Minecraft Server:
https://zap-hosting.com/guides/docs/en/minecraft_c...
If you have more questions, don't hesitate to contact me. I am always here to help :)
Happy playing!