Create a Google API Console Project, Client ID and Client Secret.
by go4serg in Circuits > Software
127 Views, 0 Favorites, 0 Comments
Create a Google API Console Project, Client ID and Client Secret.
Here's how to create Google API Console project, client ID and client Secret.
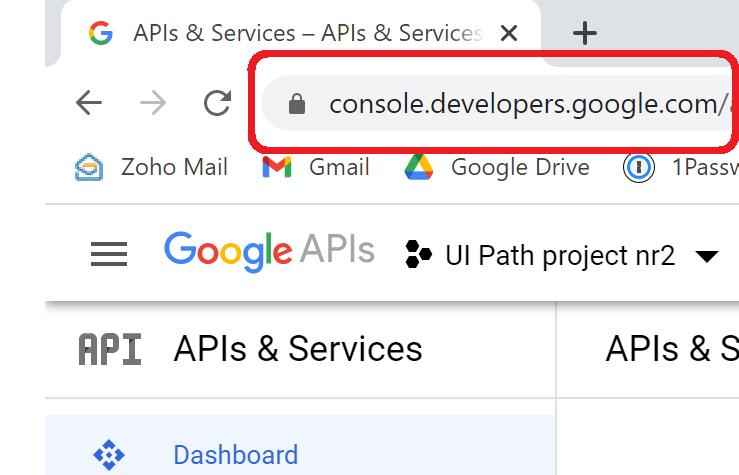
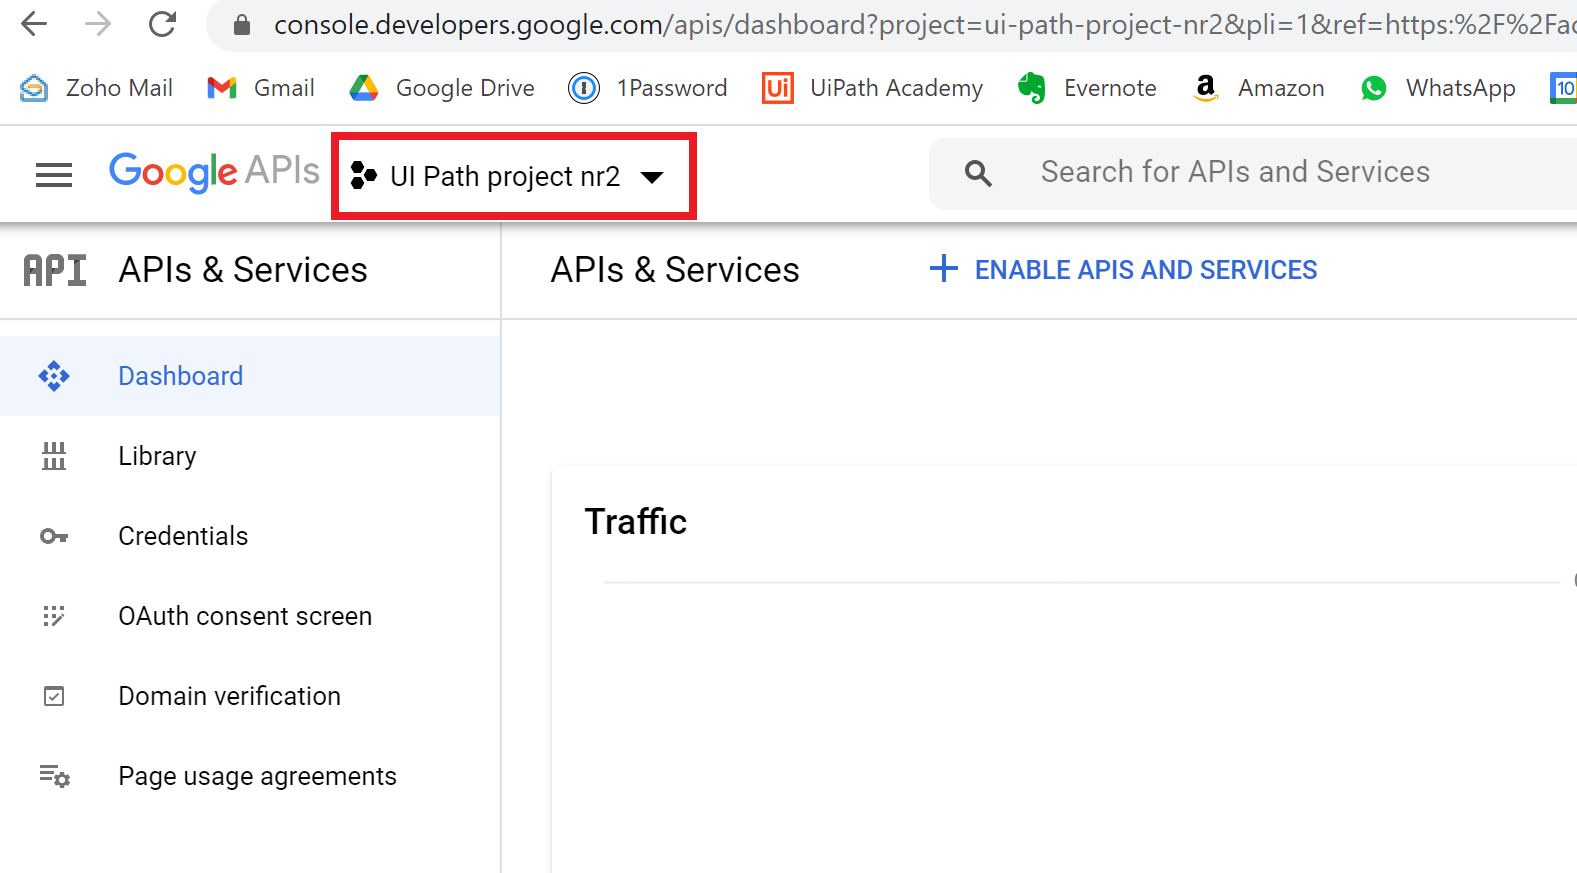
Go to Https://console.developers.google.com
Select a Project
New Project

Enter Your Project Name and Hit Create

OAuth Consent Screen -> External -> Create

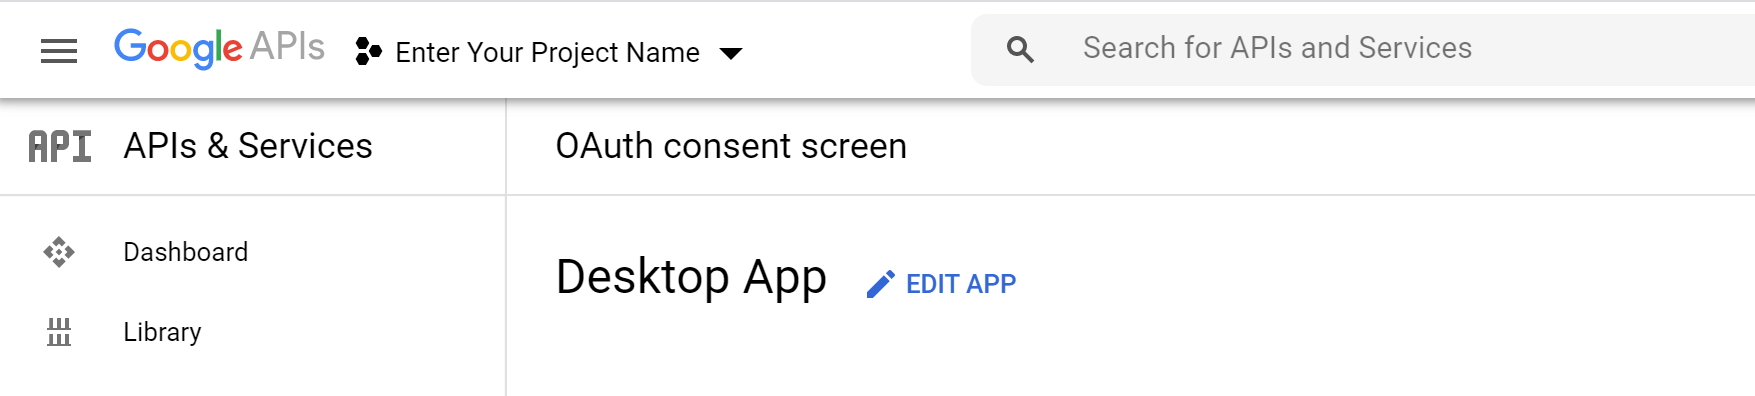
Give Your App a Name -> Enter Support Email -> Scroll Down

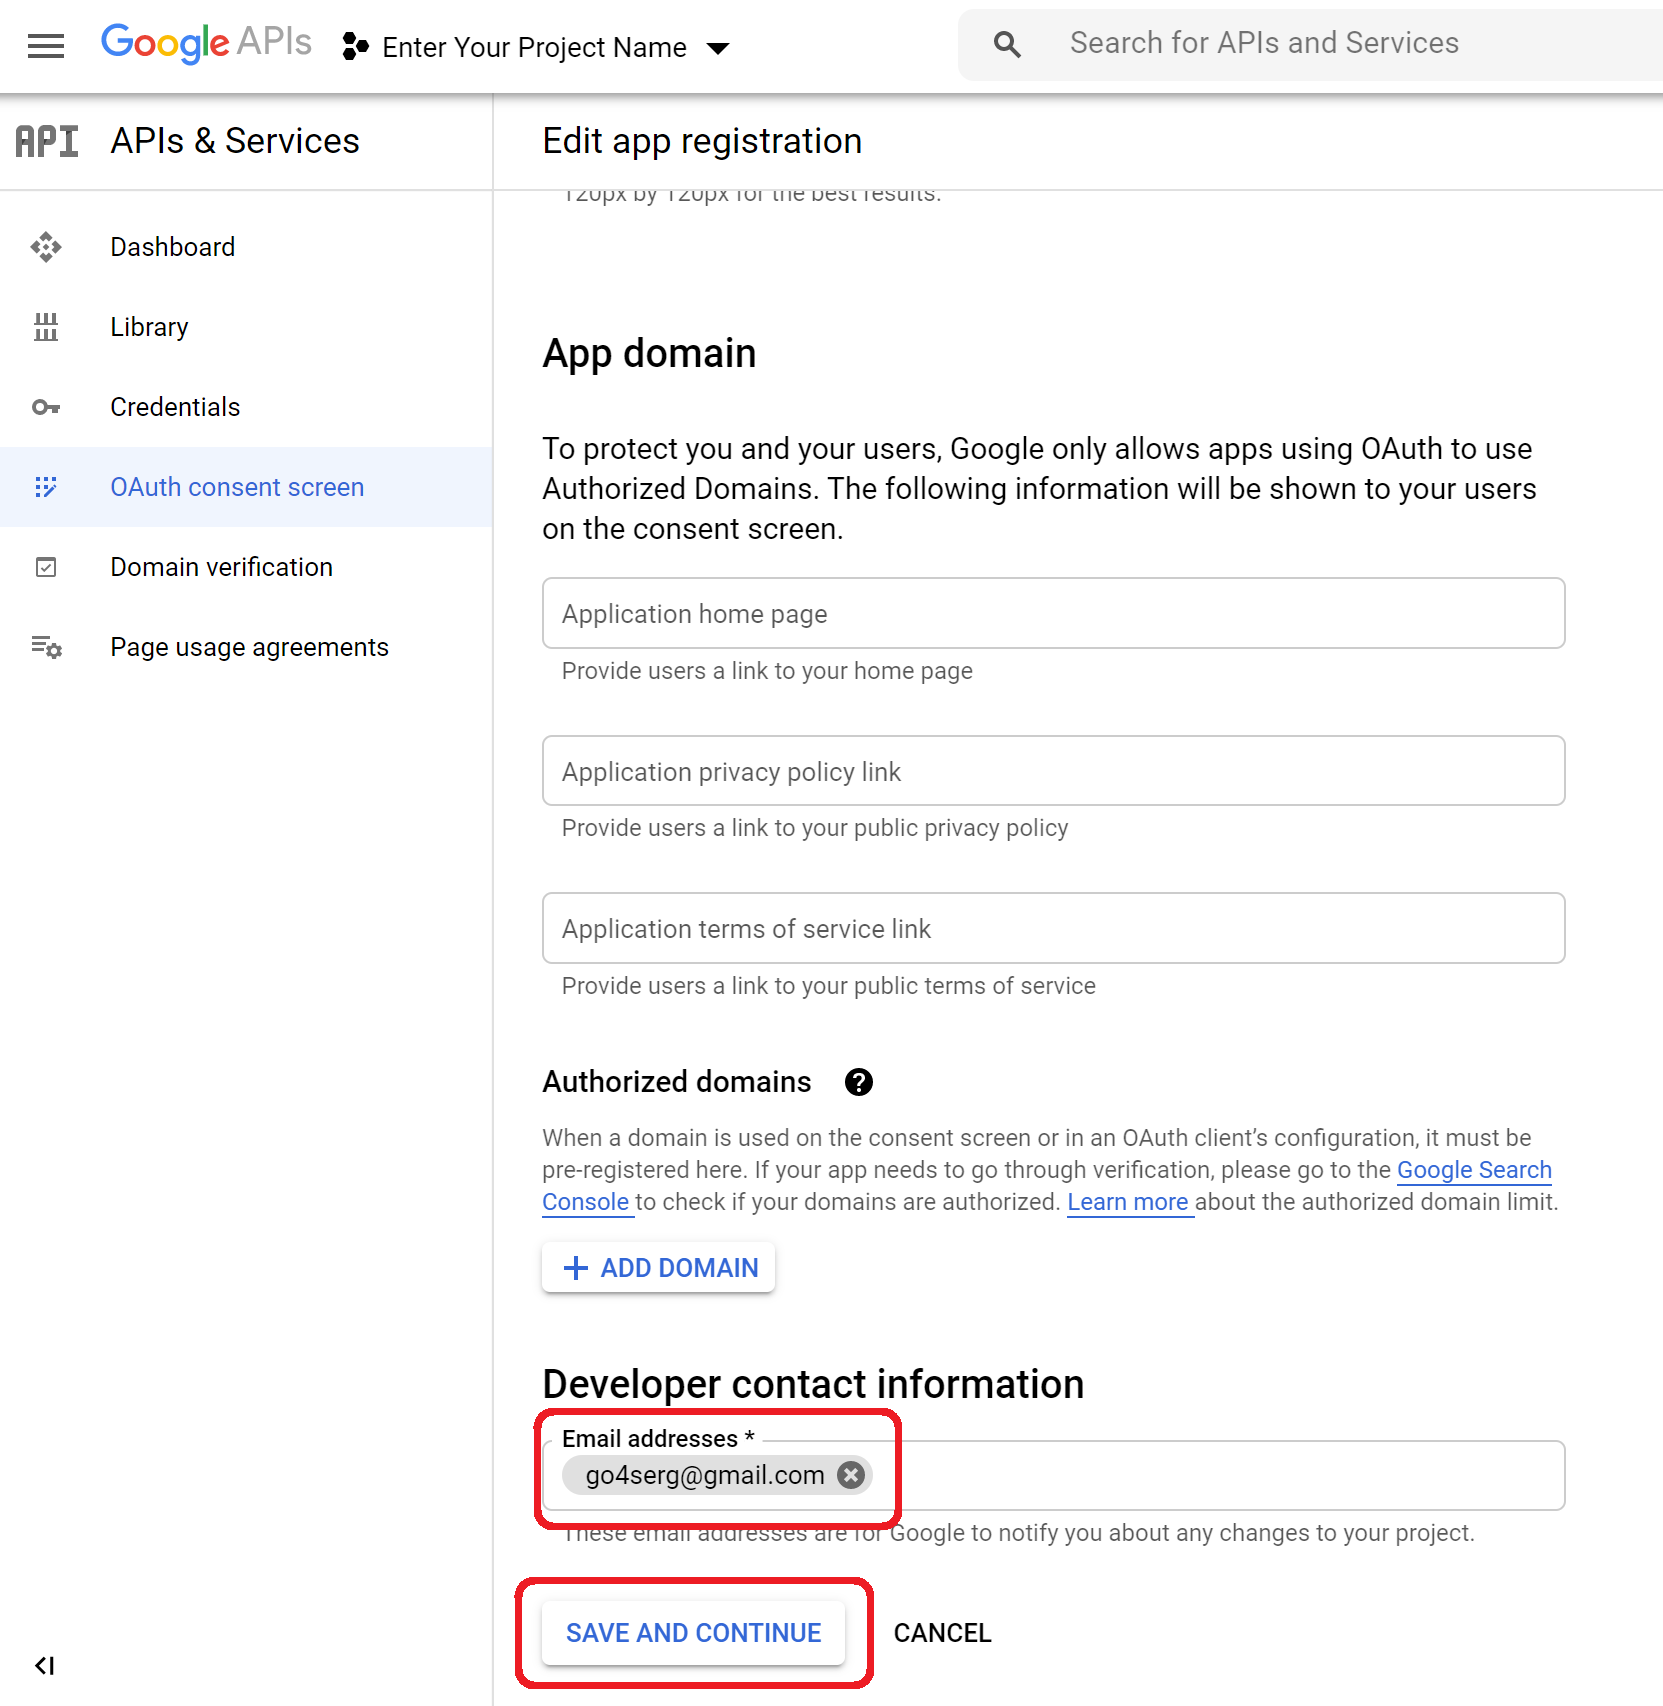
Enter Developer Email -> Save and Continue
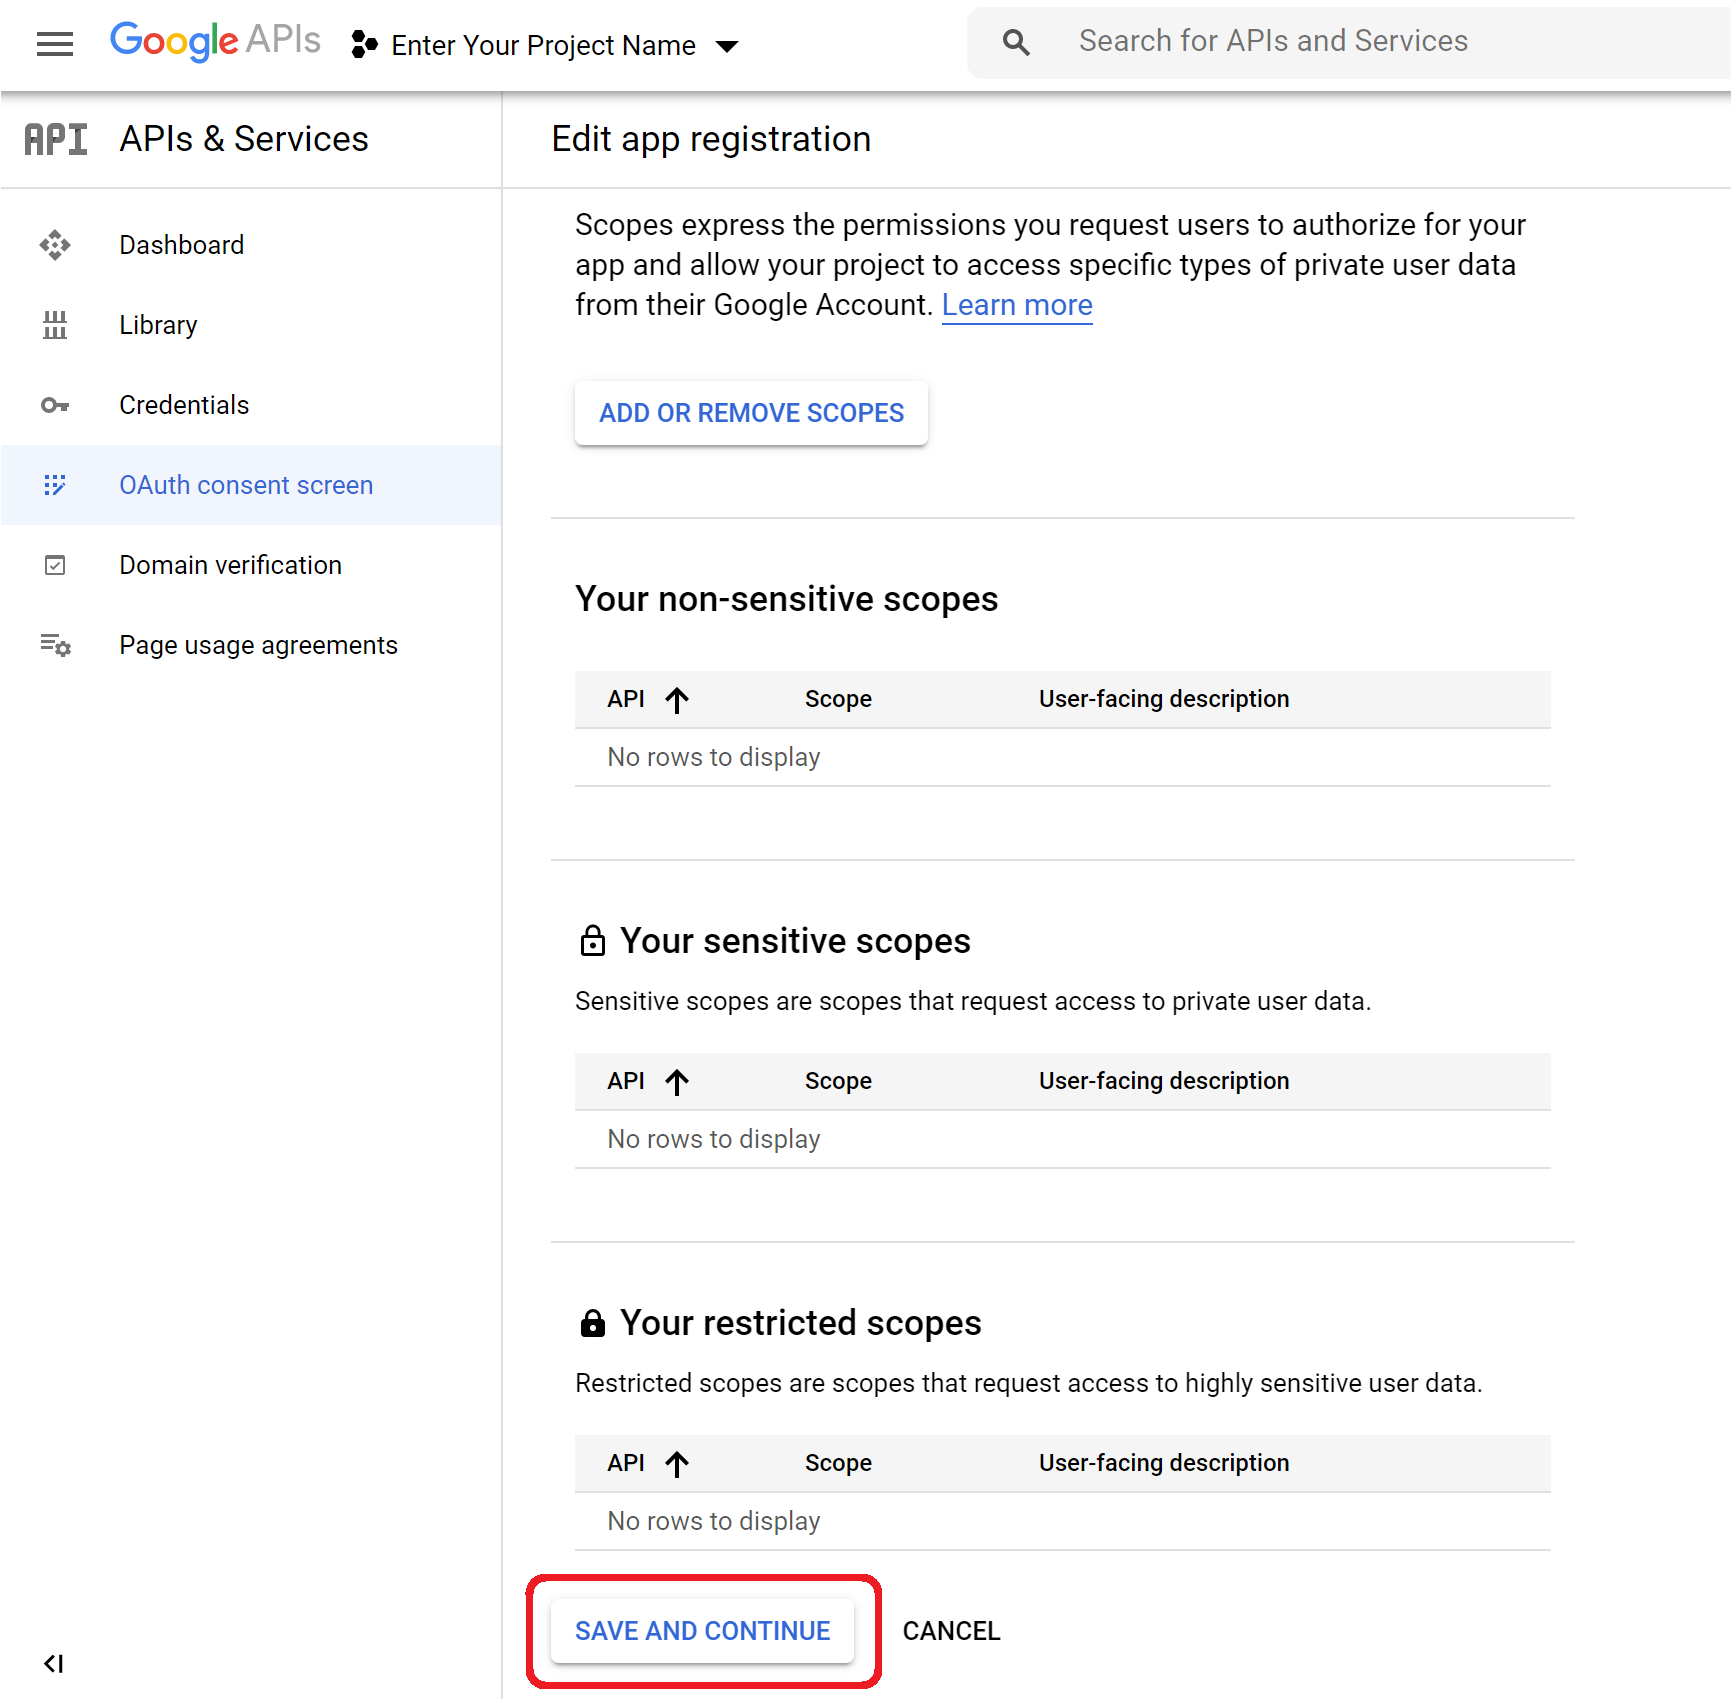
Save and Continue
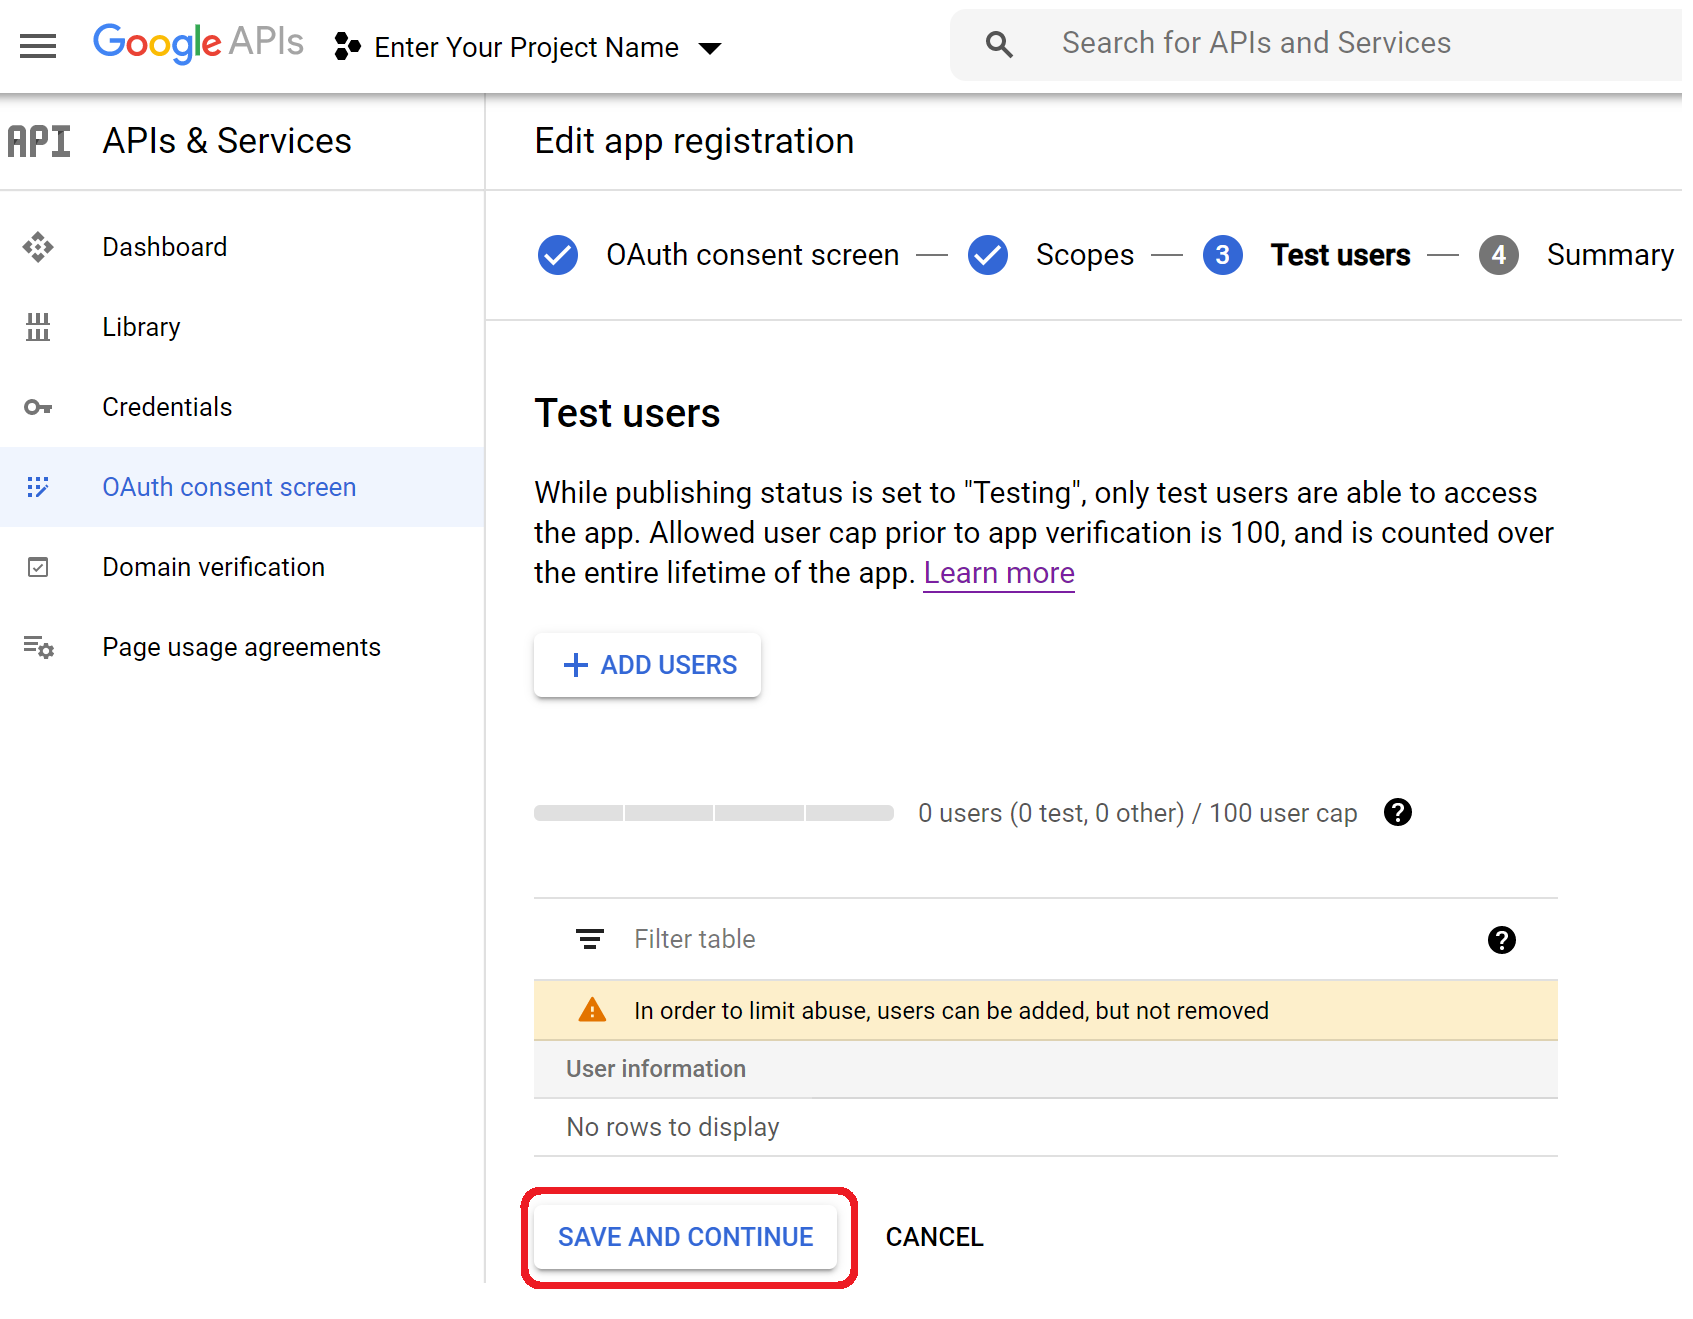
Save and Continue
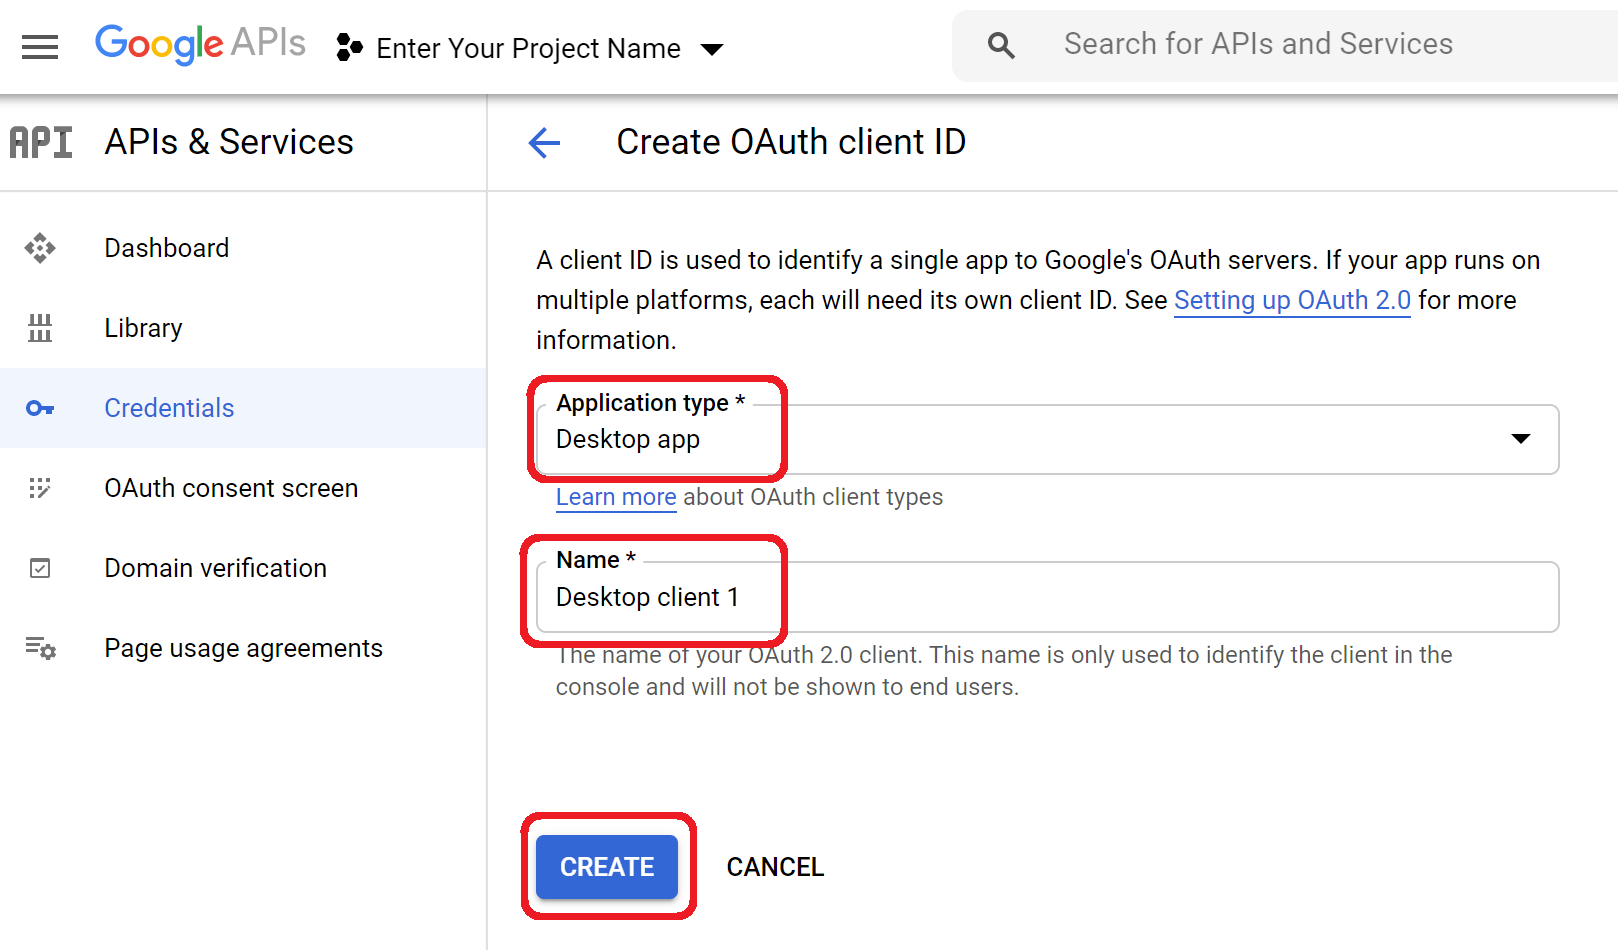
Credentials -> Create Credentials -> OAuth Client ID

Application Type -> Desktop App -> Give It a Name -> Create
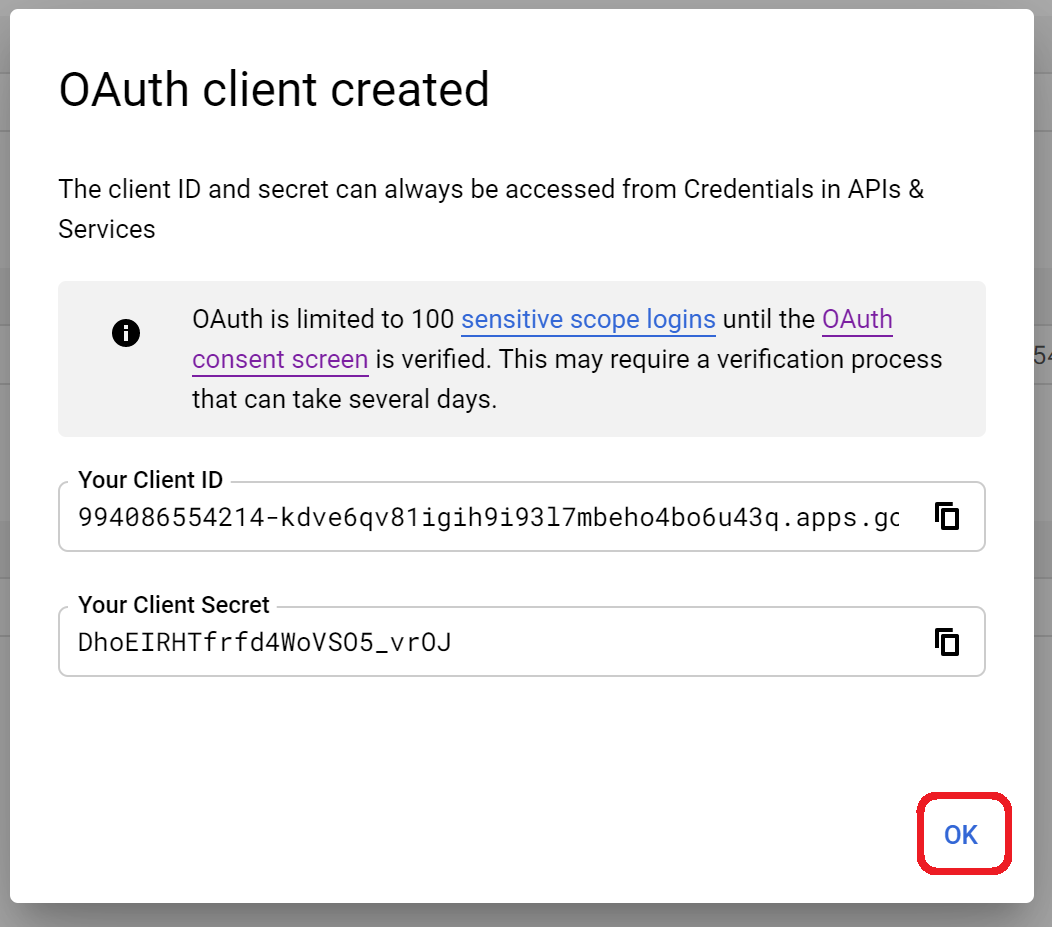
Hit OK -> You Are Not Done Yet
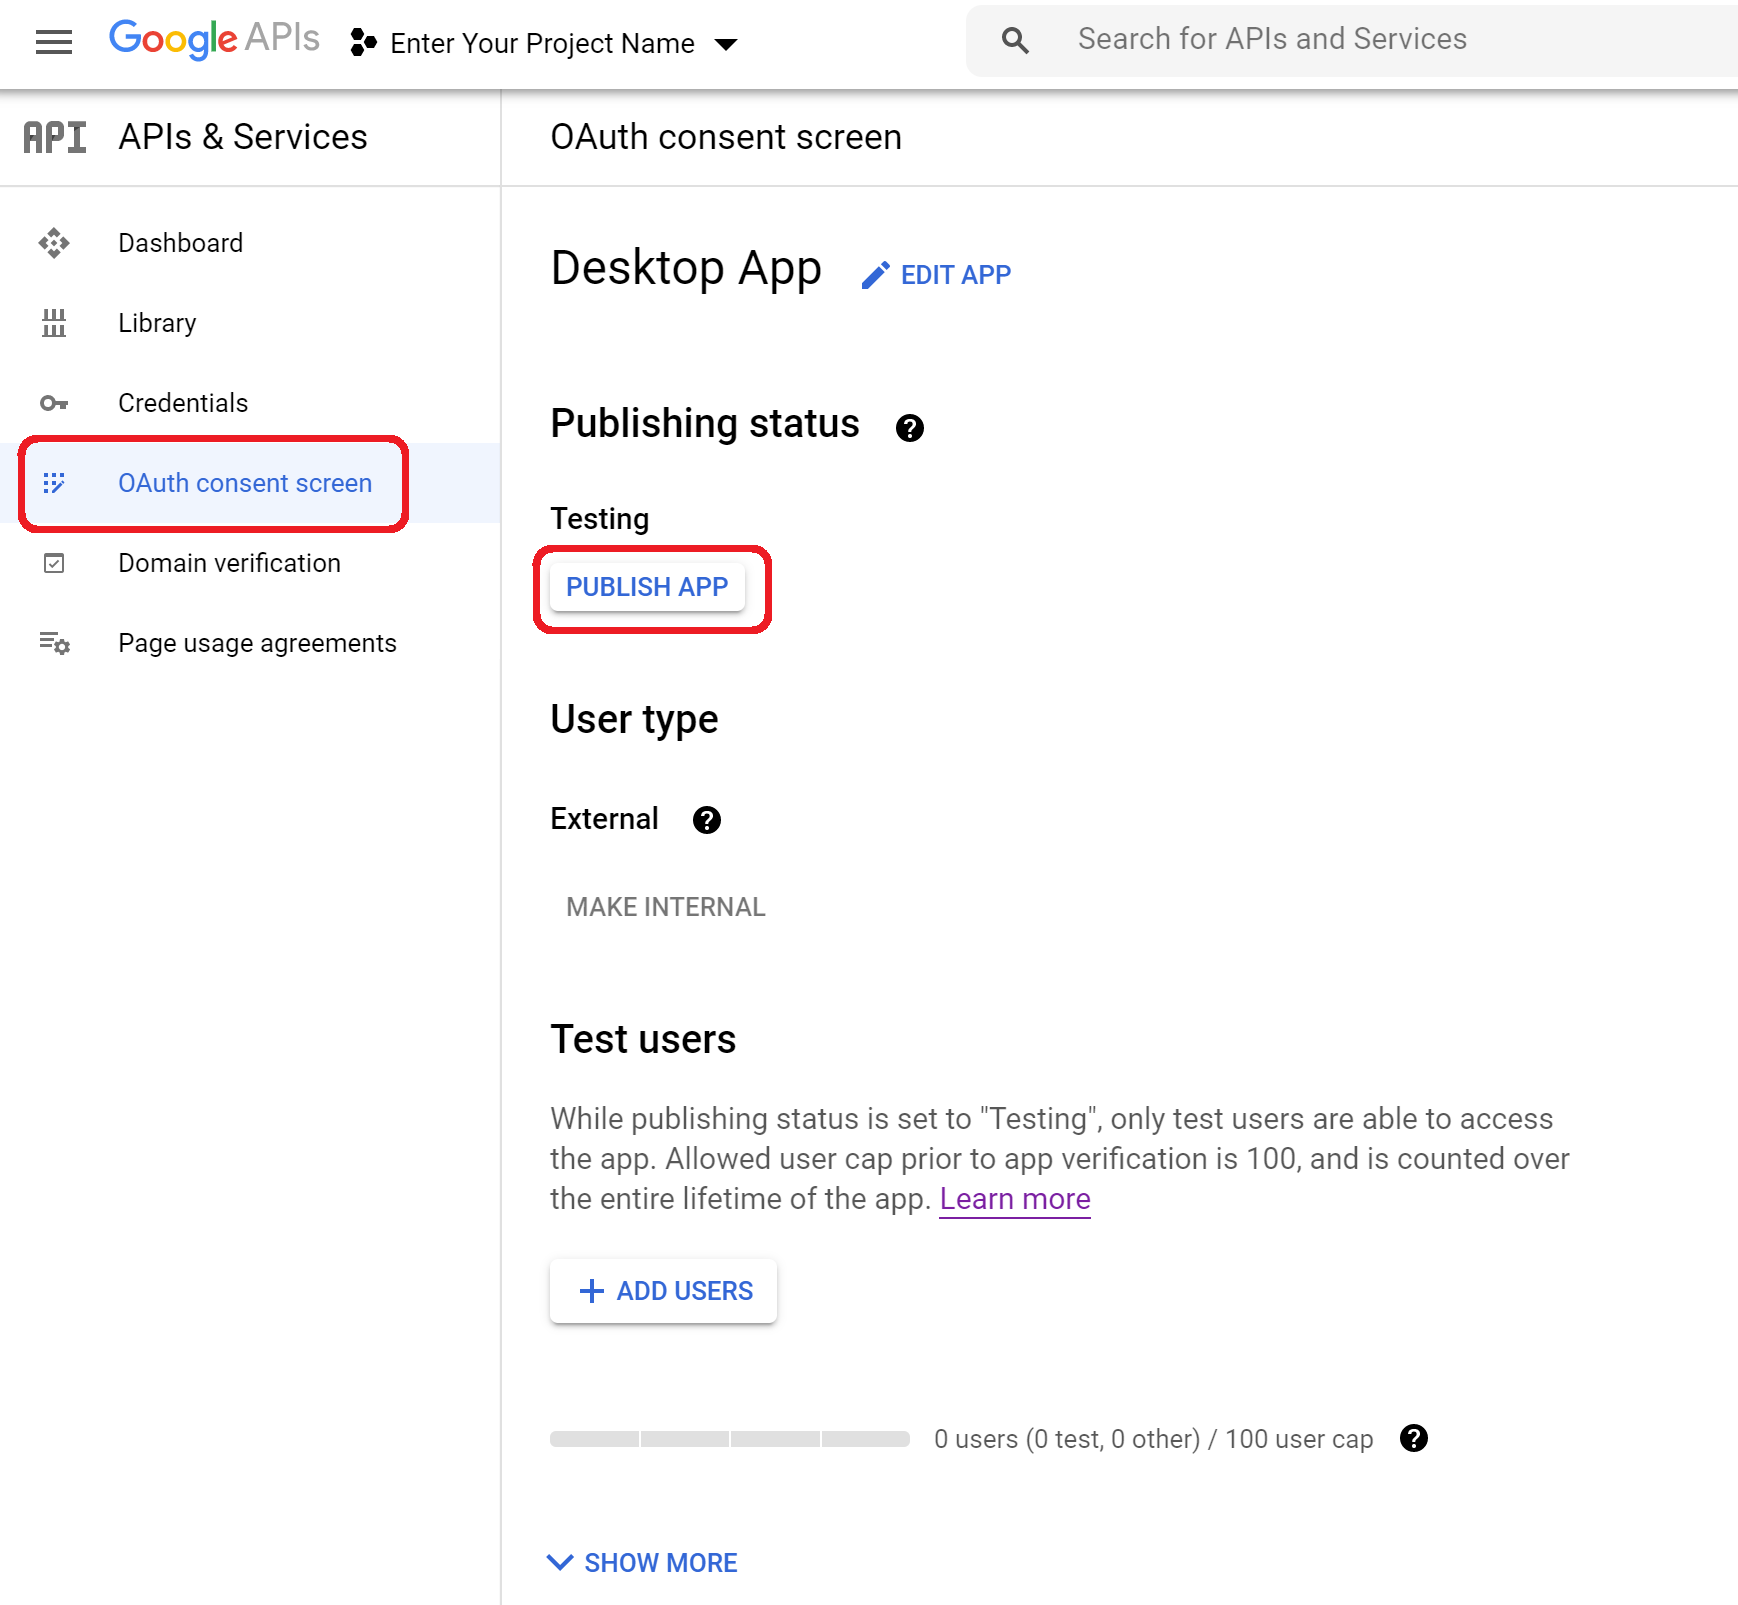
OAuth Consent Screen -> Publish App
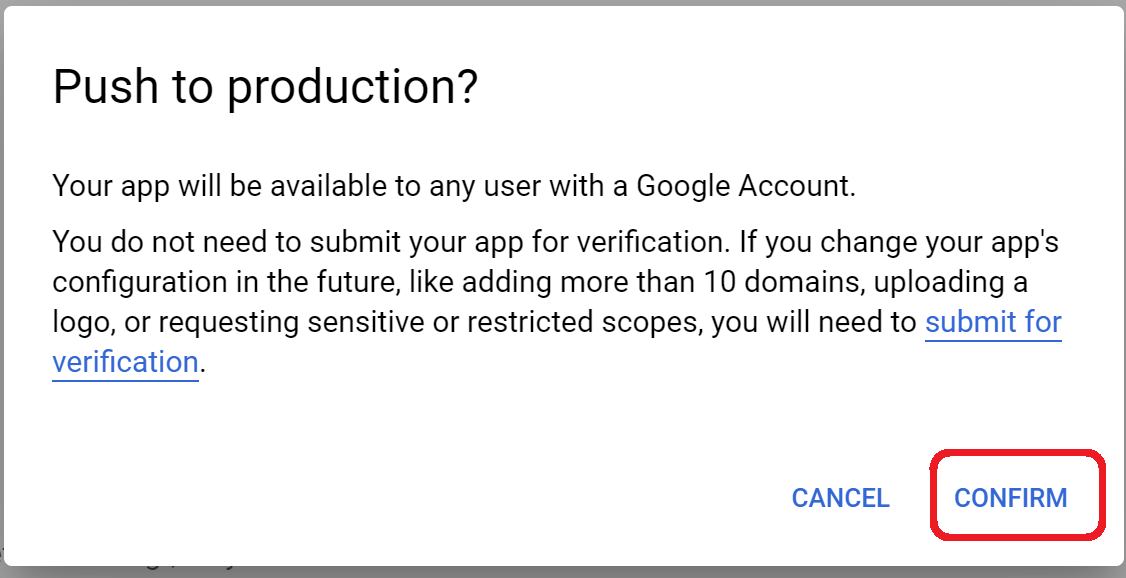
Confirm
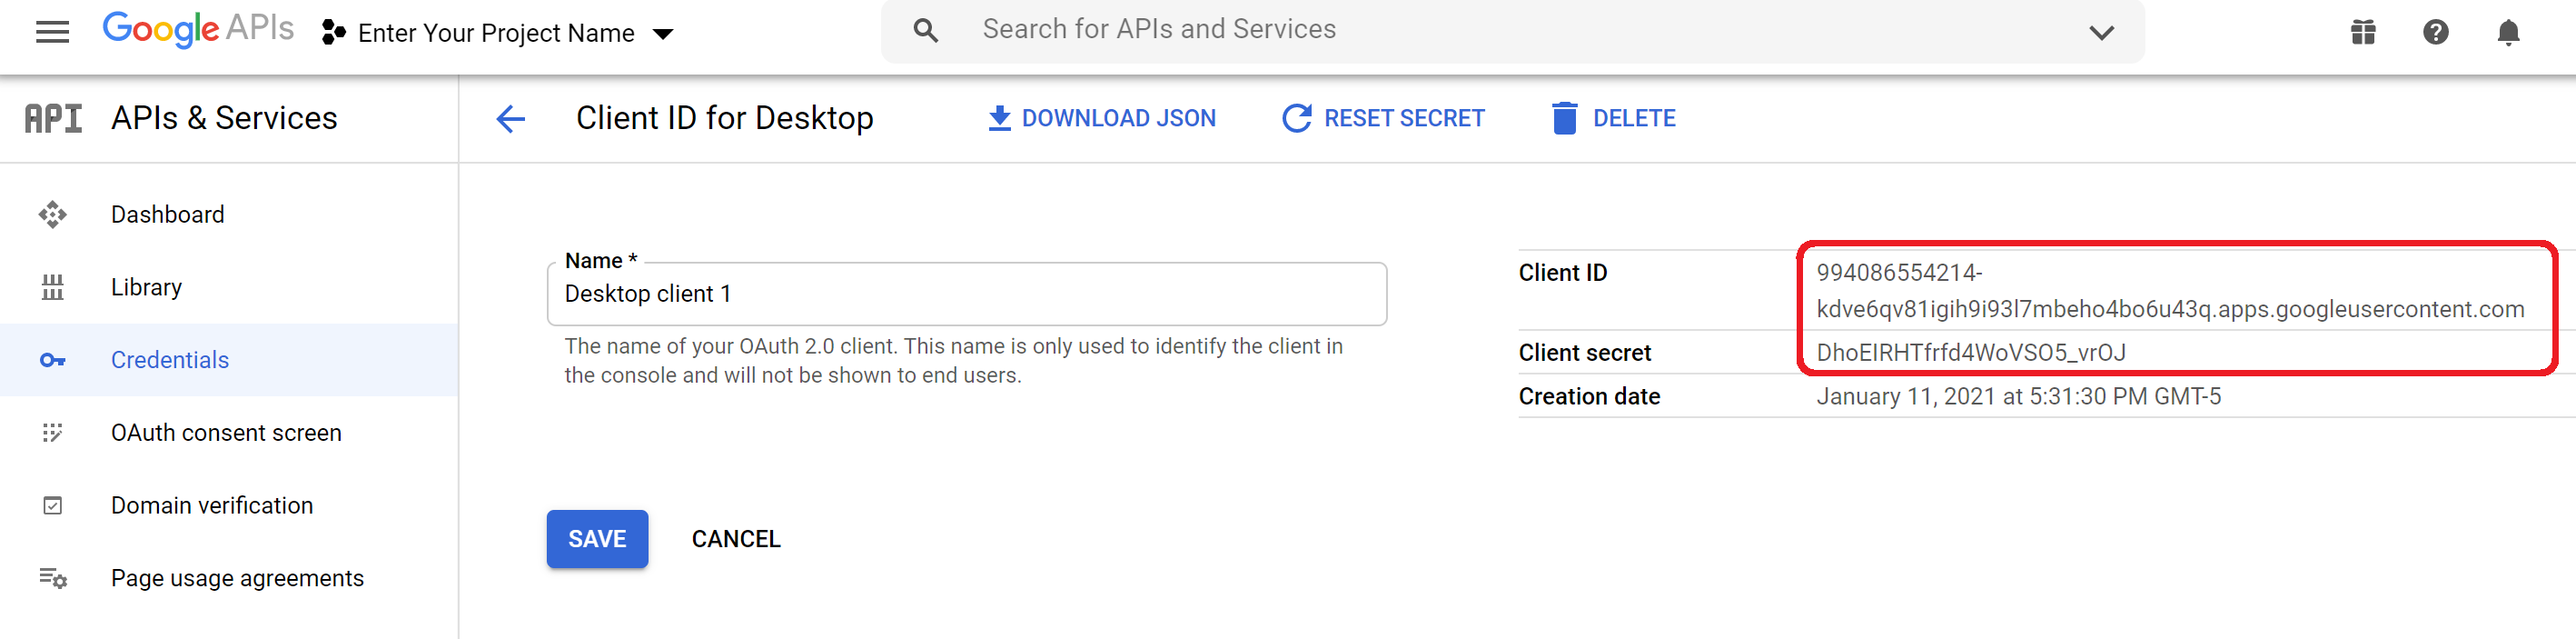
Credentials -> Click on Your Client Name
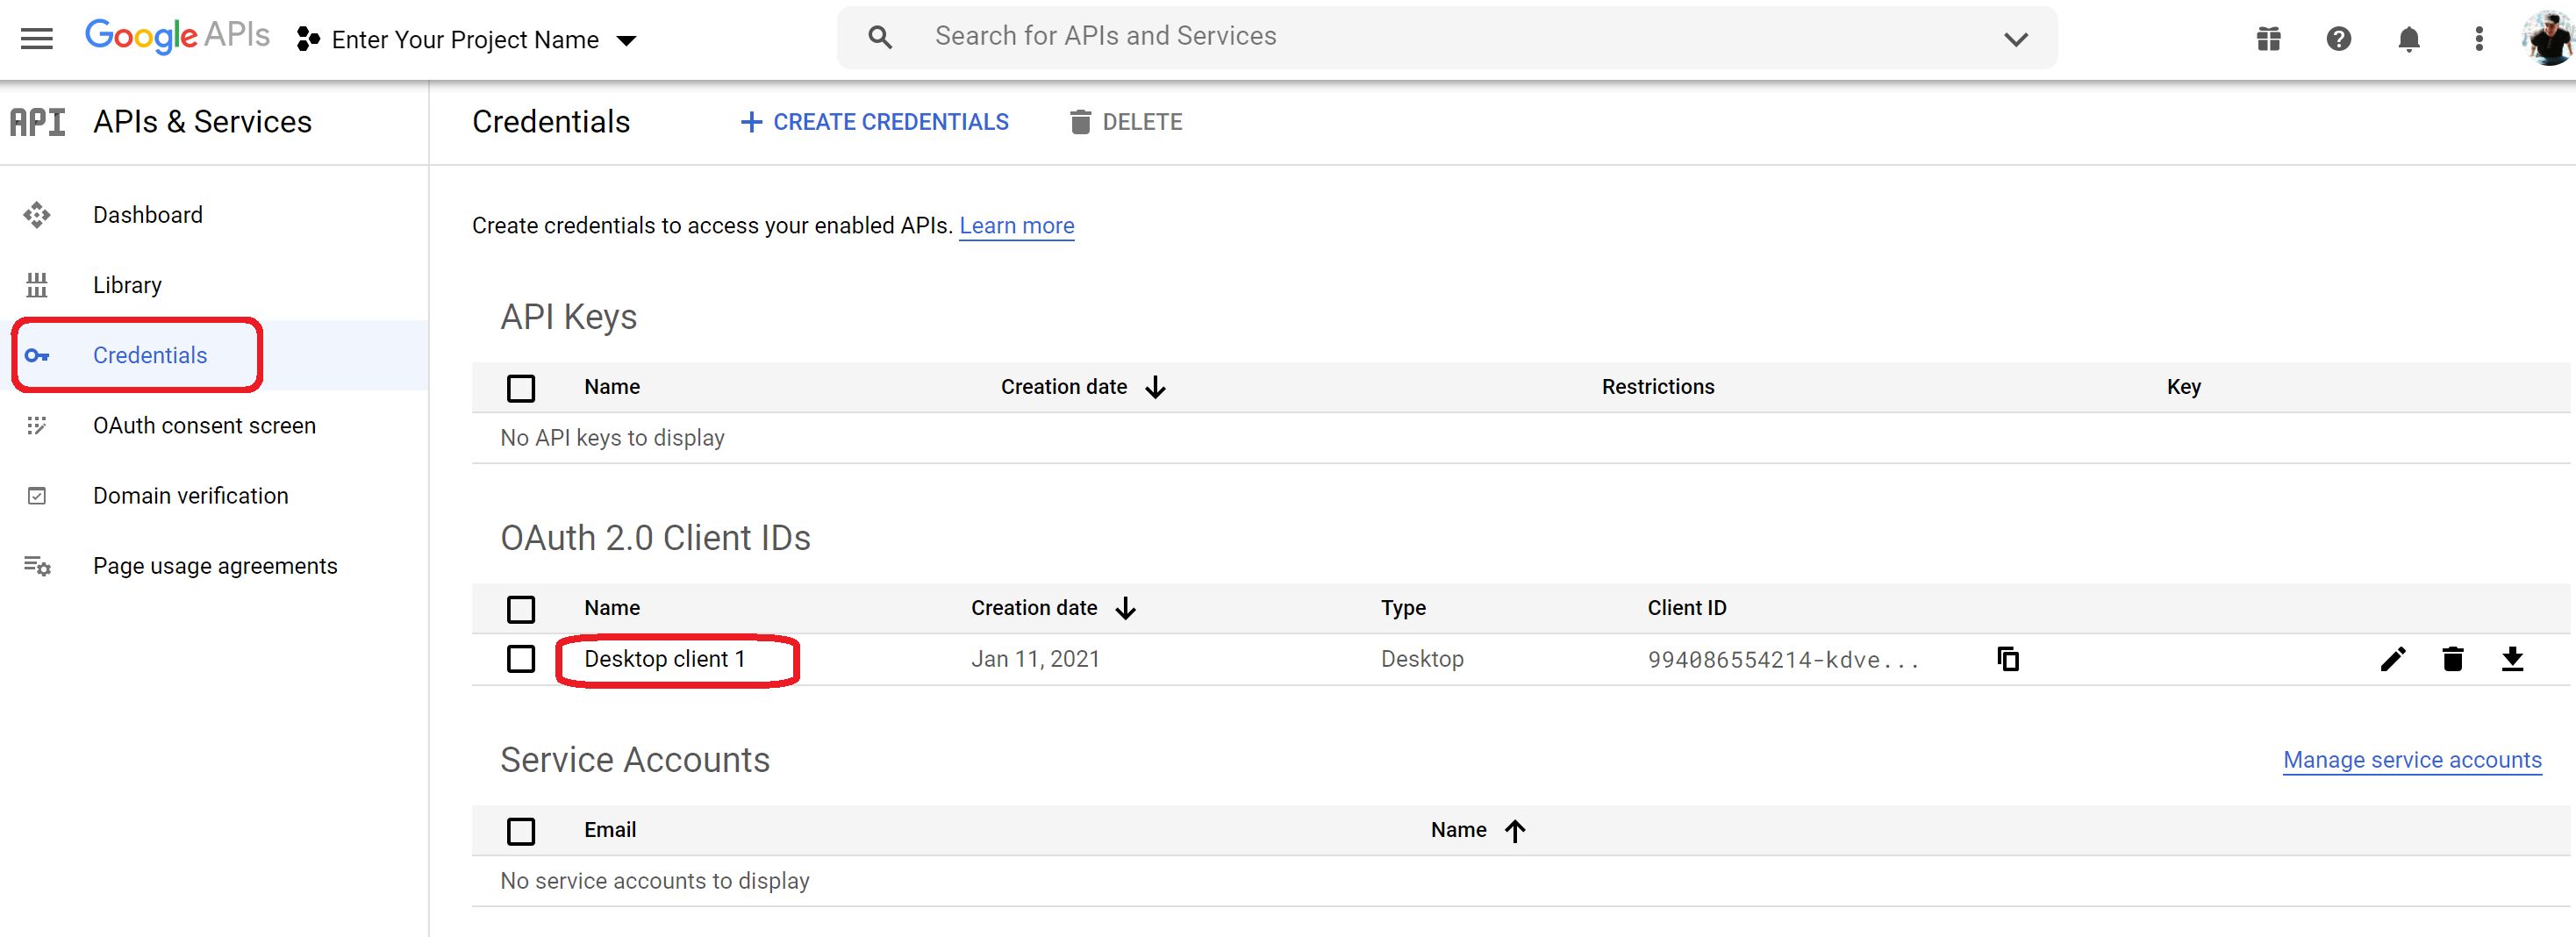
There You Go