Create a Basic Webpage Using HTML and CSS
by mdhillo22 in Design > Websites
250 Views, 3 Favorites, 0 Comments
Create a Basic Webpage Using HTML and CSS
Welcome! If you are interested in coding and/or want to expand your coding skills, keep reading! We are going to be creating a simple webpage using HTML and CSS. HTML (Hyper Text Markup Language) is used to structure a webpage and CSS (Cascading Style Sheets) is used to style a webpage. The estimated time to complete this instruction set is around 10-15 minutes. We will go step by step to ensure a successful end product.
Supplies

You will need to download a Text/Code editor. There are many you can use but I recommend Visual Studio Code because it is both free and beginner friendly!
Use this link to download: Visual Studio Code - Code Editing. Redefined
Create New Folder on Desktop
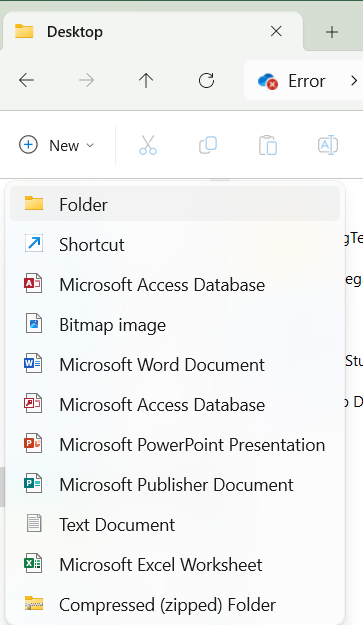

Before we code anything, open the files app and create a new folder on your desktop. Name it “Webpage” or anything you’d like. We will use this folder to save the html and css files along with any images we will add to the web page.
Create New HTML File
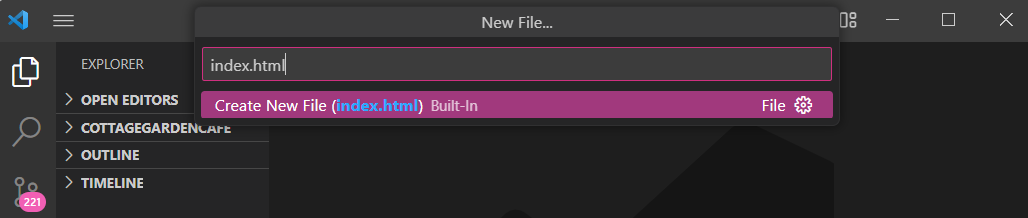
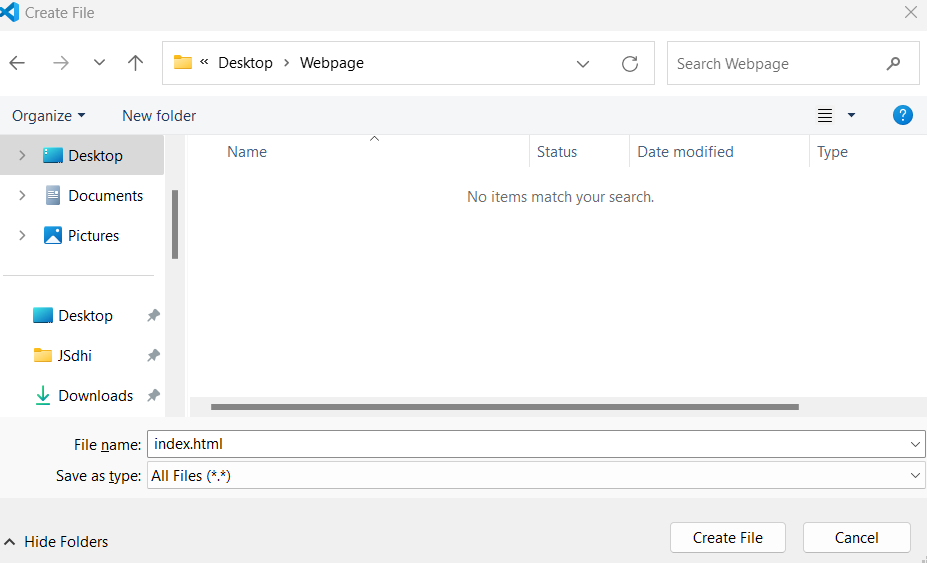
Open Visual Studio Code and make a new html file and name it index.html. Save this file to the Webpage folder.
Create Header Section
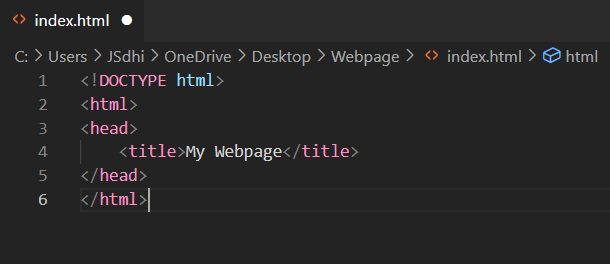
First, declare the document type by writing <!DOCTYPE html> and next write the <html></html> tags, which represent the root of the document. Inside of the html tags, we will create a header section using the <head></head> tags. Inside of the header tags, write the <title></title> tags. Write the title of your webpage inside of the title tags. Make it something simple, such as “My Webpage”.
Create Body Section
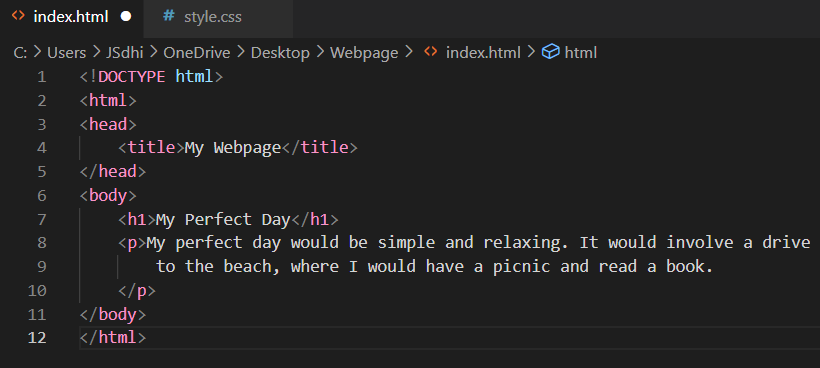
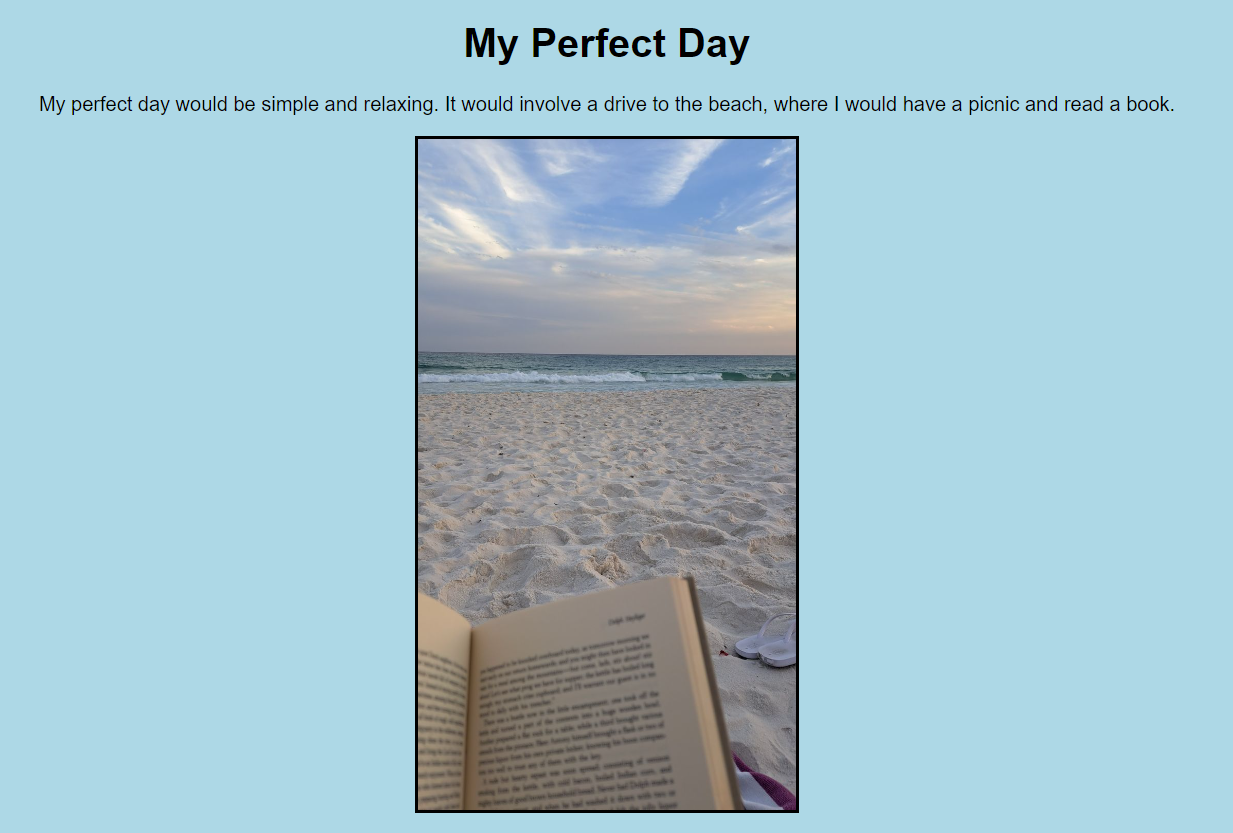
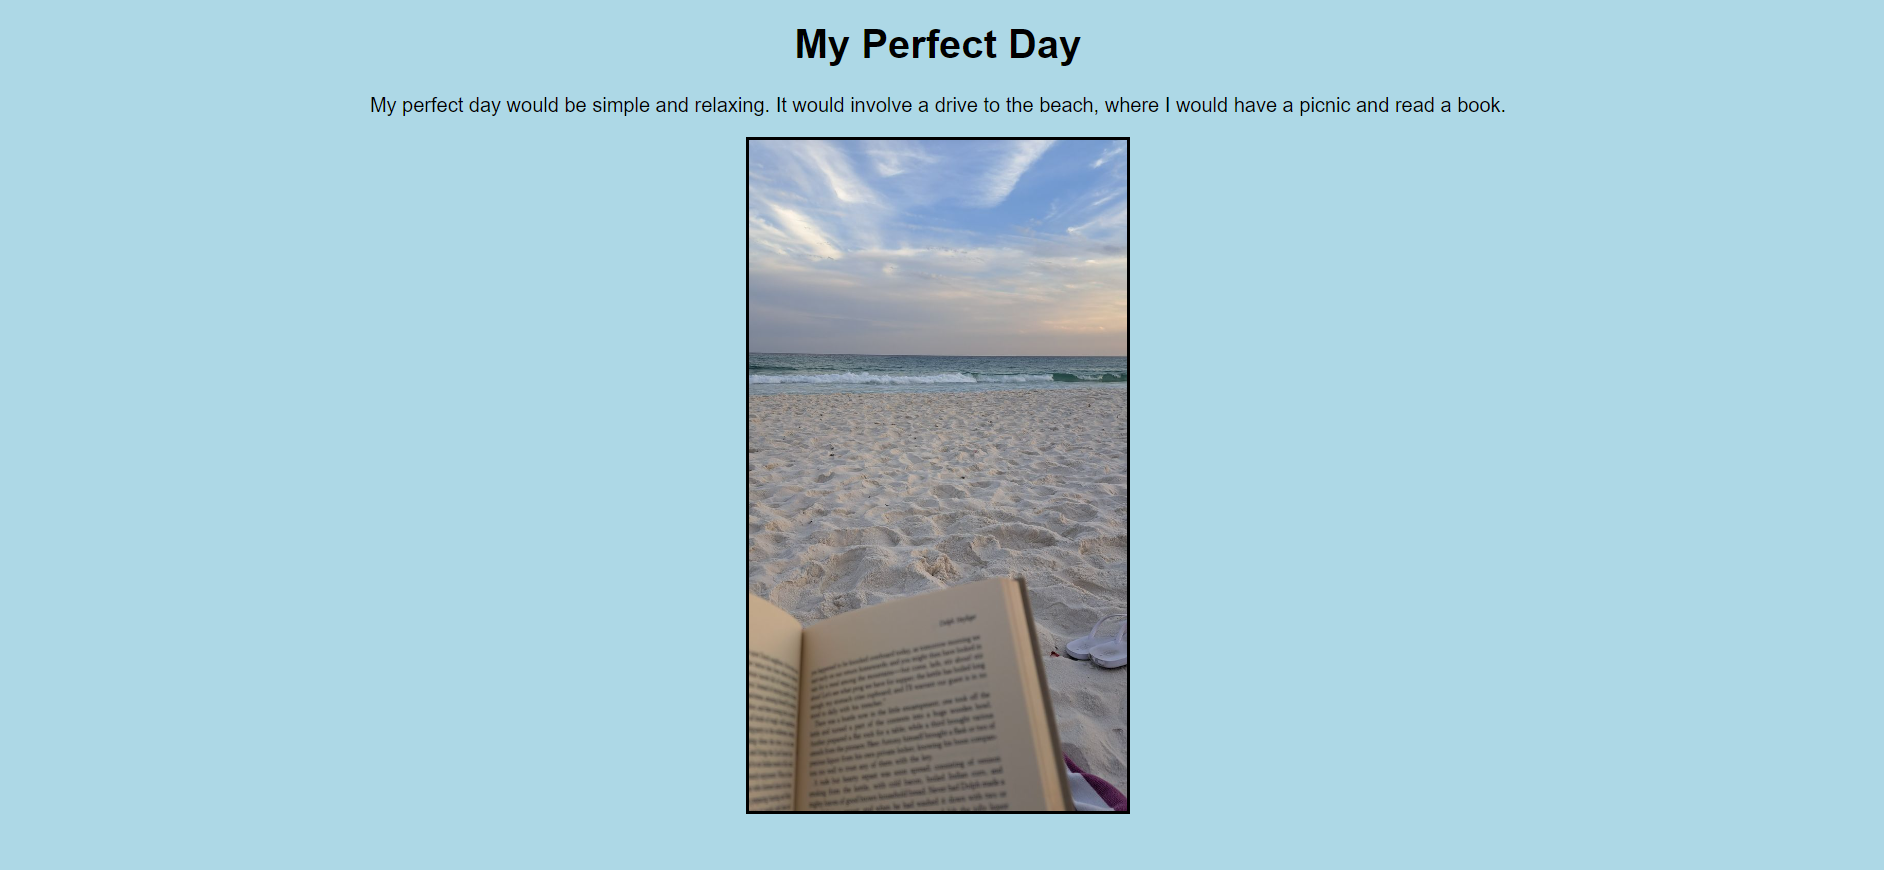
Create a body section after the header using <body></body>. Use <h1></h> inside of the body to write a heading. I am going to write “My Perfect Day” but you can choose whatever you’d like. After the heading, use the paragraph tags <p></p> to write about your heading topic.
Inserting an Image
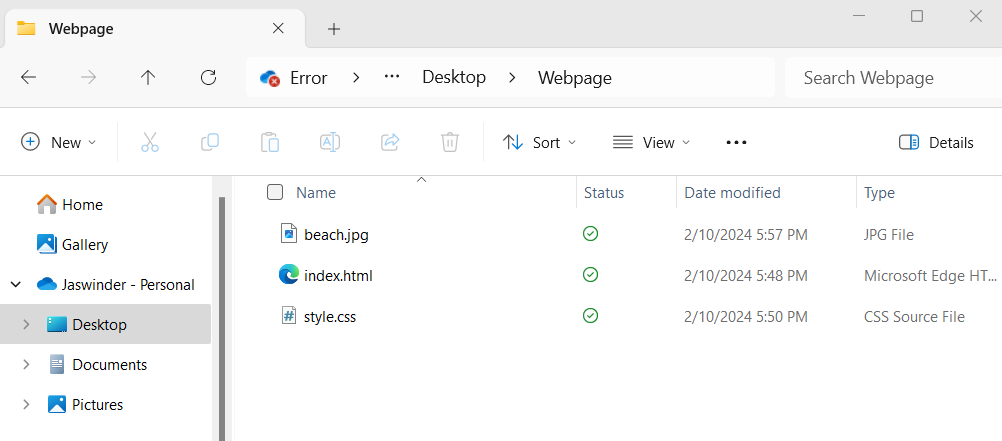
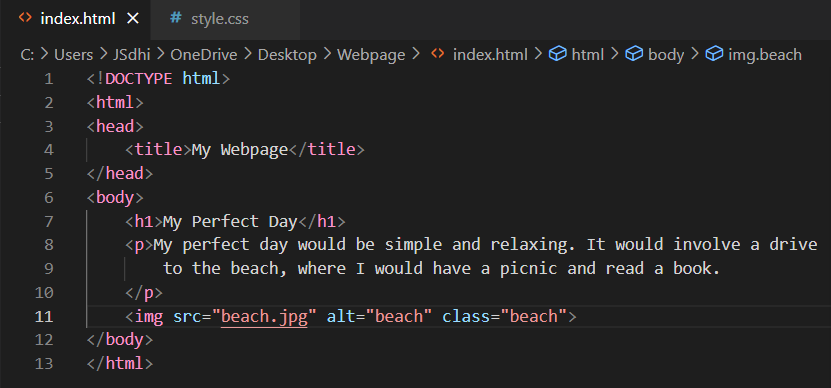
Download any image you want from the internet that is relevant to your topic and save it to the Webpage folder.
In your html file, write <img src="" alt="" class=""> after the </p> tag. The first quotation asks for the image file name (e.g. beach.jpg), the second asks for an alternate text if the image does not appear (e.g. beach), and the third asks for the name of the css class for your image. The third quotation is basically going to be the name of your image file (e.g. beach).
Create New CSS File

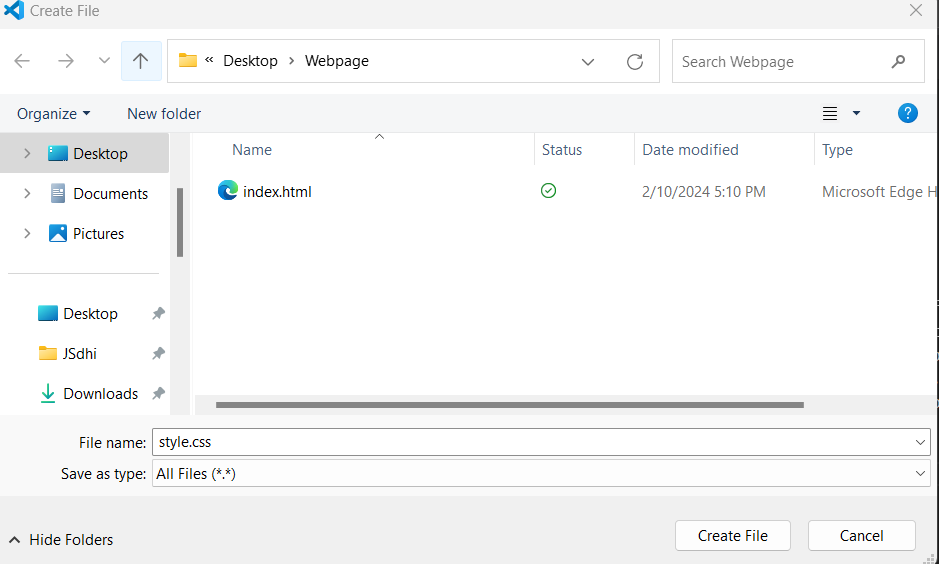
Make a new css file and name it style.css. Save this file to the Webpage folder.
CSS Class for Image
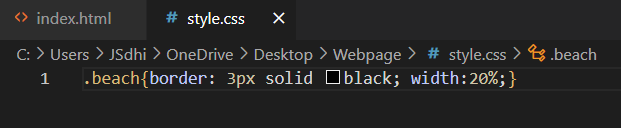
We will create a class in the css file for styling the image we added to our html file. We will do this by writing the name of our image file, so for my beach.jpg image I will write .beach{}. Inside of the brackets, write {border: 3px solid black; width:20%;}. You can alter the numbers and colors however you’d like in order to suit a style that works for your image and webpage.
CSS Class for Body

Create another class in the css file to style the body section. We will write body{} and write inside of the brackets {background-color:lightblue; font-family:Arial; text-align:center;}. You can alter the background color and font family however you’d like.
Connect HTML and CSS Files
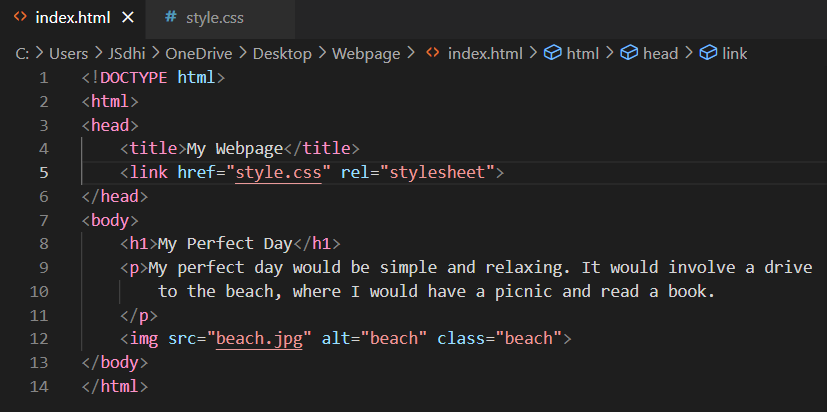
We are now going to connect the css file to the html file. Before the </head> tag, write <link href=”style.css” rel=”stylesheet”>
View Your Webpage
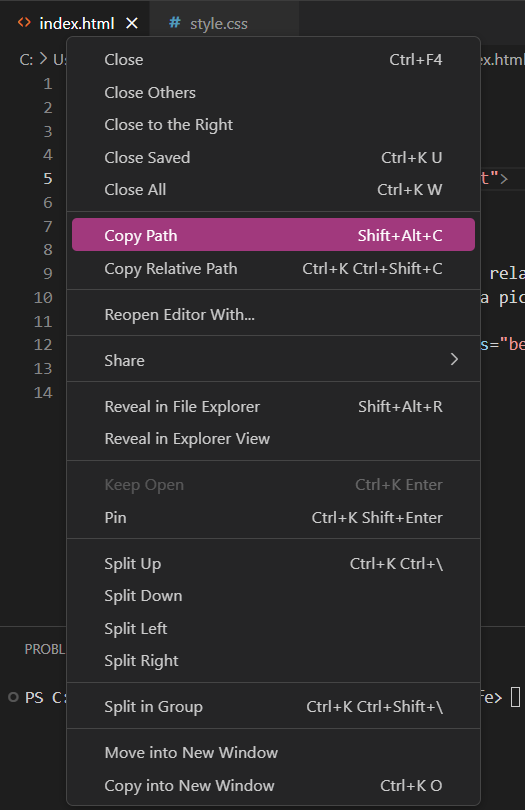

In order to view your web page on a browser (e.g. Google Chrome), copy the path of your html file and paste it onto a new tab. If you don’t like the way something looks, you can always fix it by editing your html and css files, saving them, and then refreshing the browser tab. If your webpage does not resemble your code in any way, double check both your html and css files for typo errors. Comparing your code to mine may also help you search for errors.
Congratulations, you’ve created a web page!! I hope you were able to learn something new while using this instruction set. Continue practicing your coding skills and if you ever run into any errors, a few Google searches may help you get back on track (Stack Overflow is also a great resource). Good luck on your coding journey!