Create Your Own Customized Jug in Fusion 360
by alamtania in Design > Software
1611 Views, 7 Favorites, 0 Comments
Create Your Own Customized Jug in Fusion 360
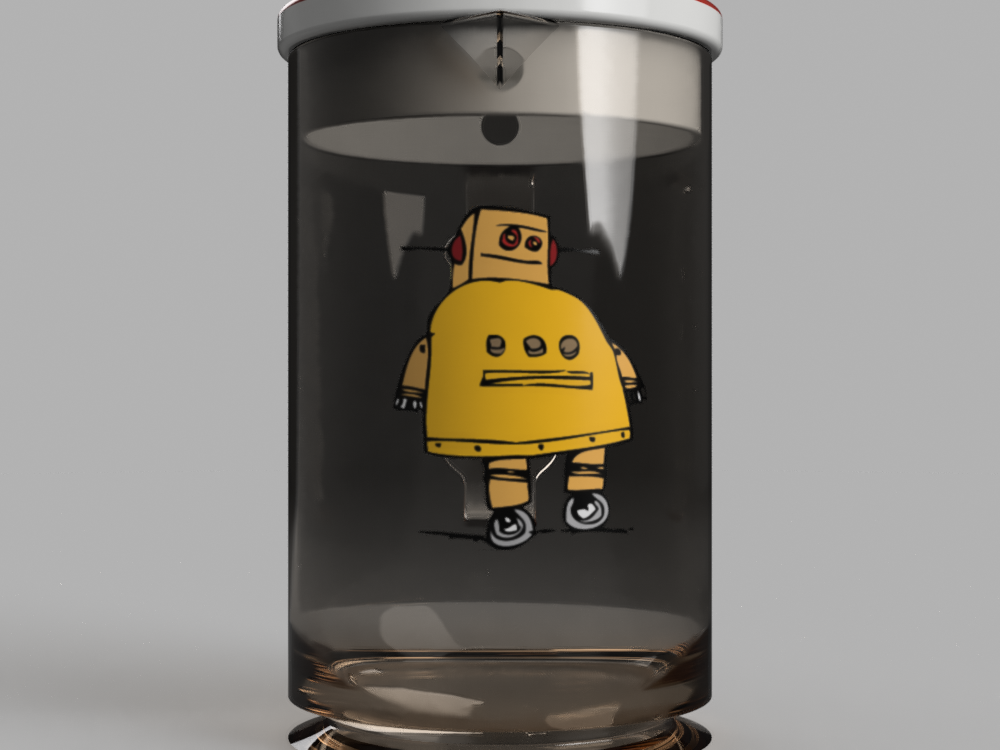
This project is in reference to a previous project on jugs. If you are a beginner in Fusion 360 consider this project first.
I've also added a video which is again made in Fusion 360. I don't think you need to know how a jug works! But I wanted to let you know that we can make these videos using Fusion 360 :)
Make the Body
.png)
.png)
.png)
.png)
.png)
.png)
.png)
.png)
.png)
.png)
.png)
.png)
.png)
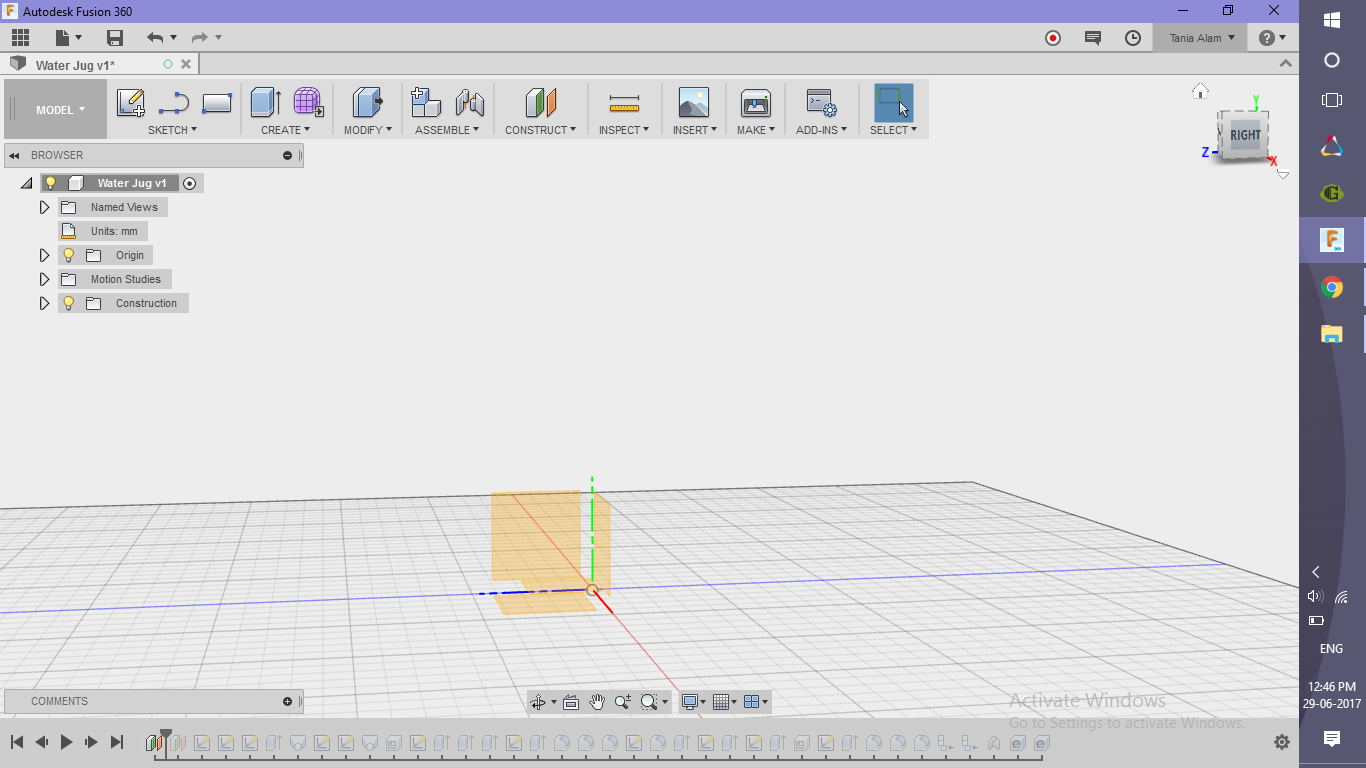
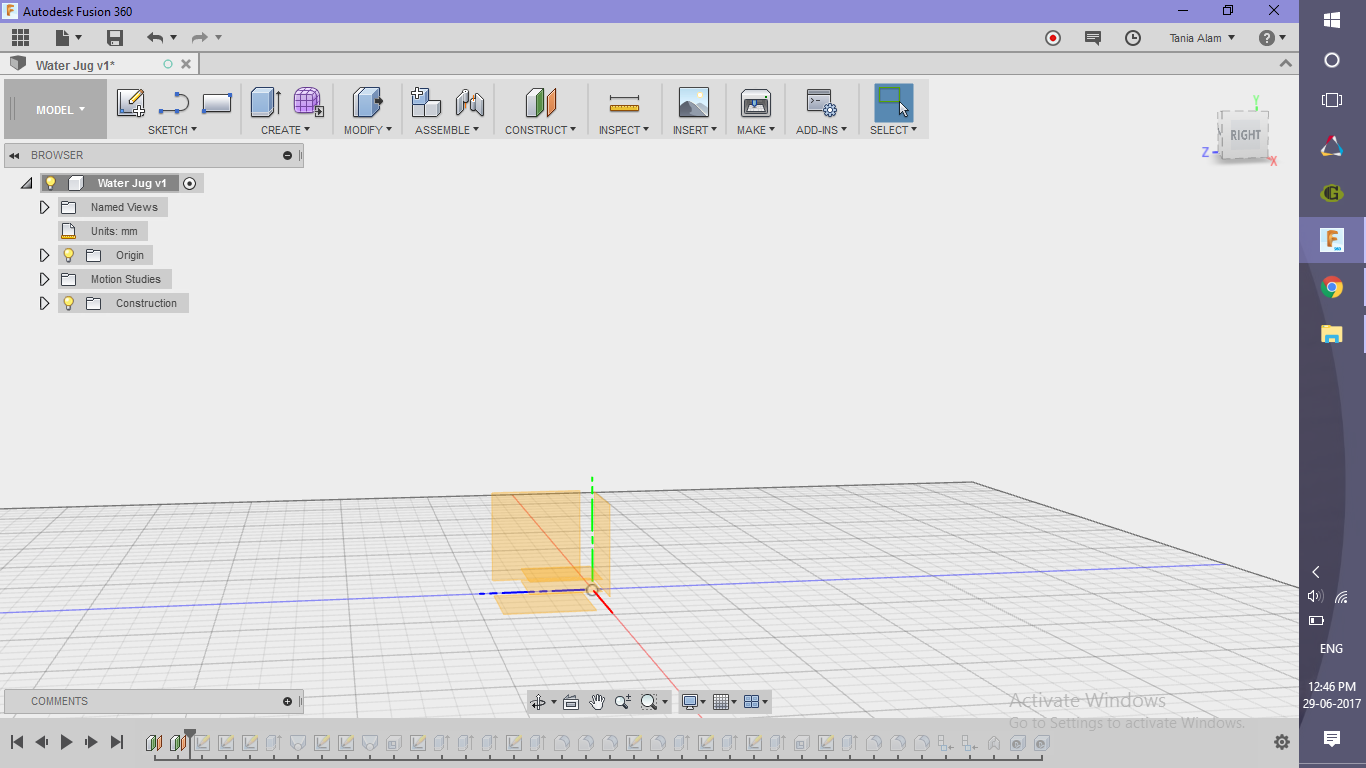
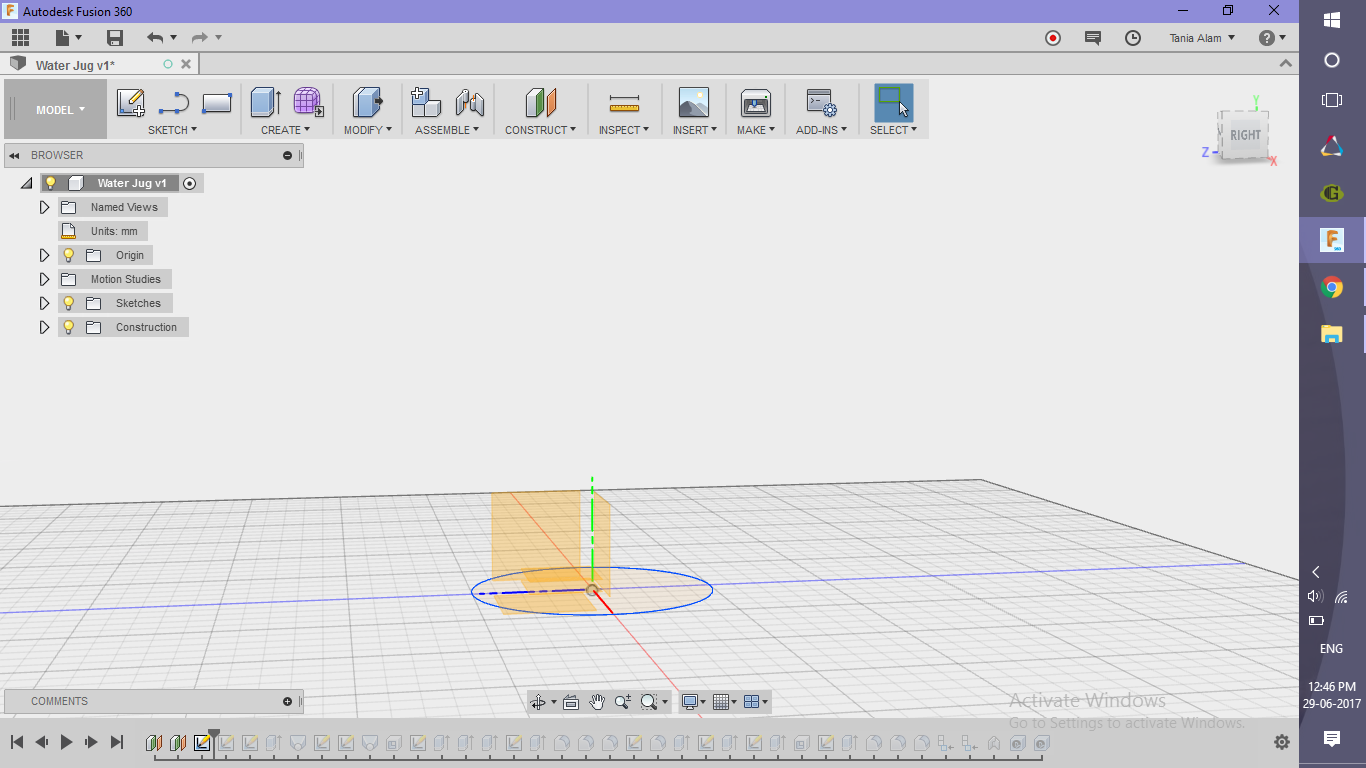
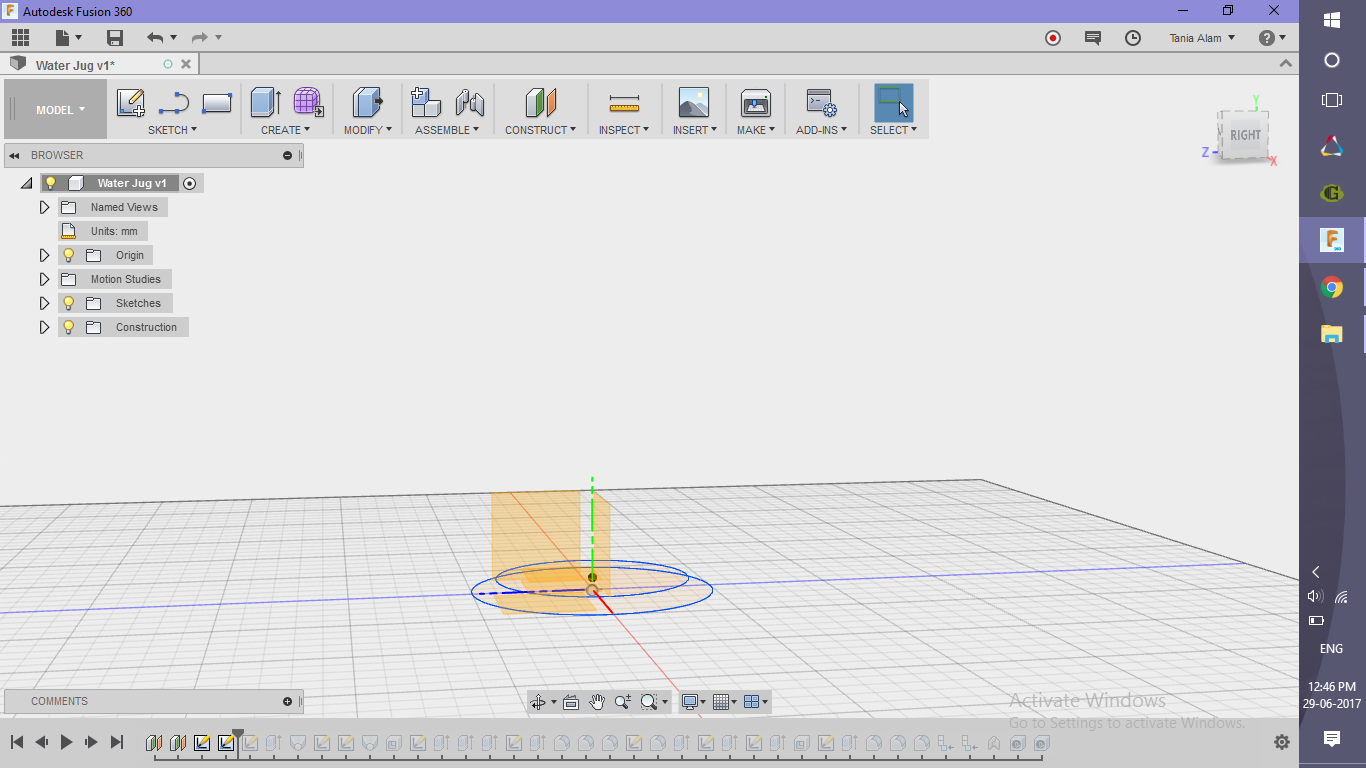
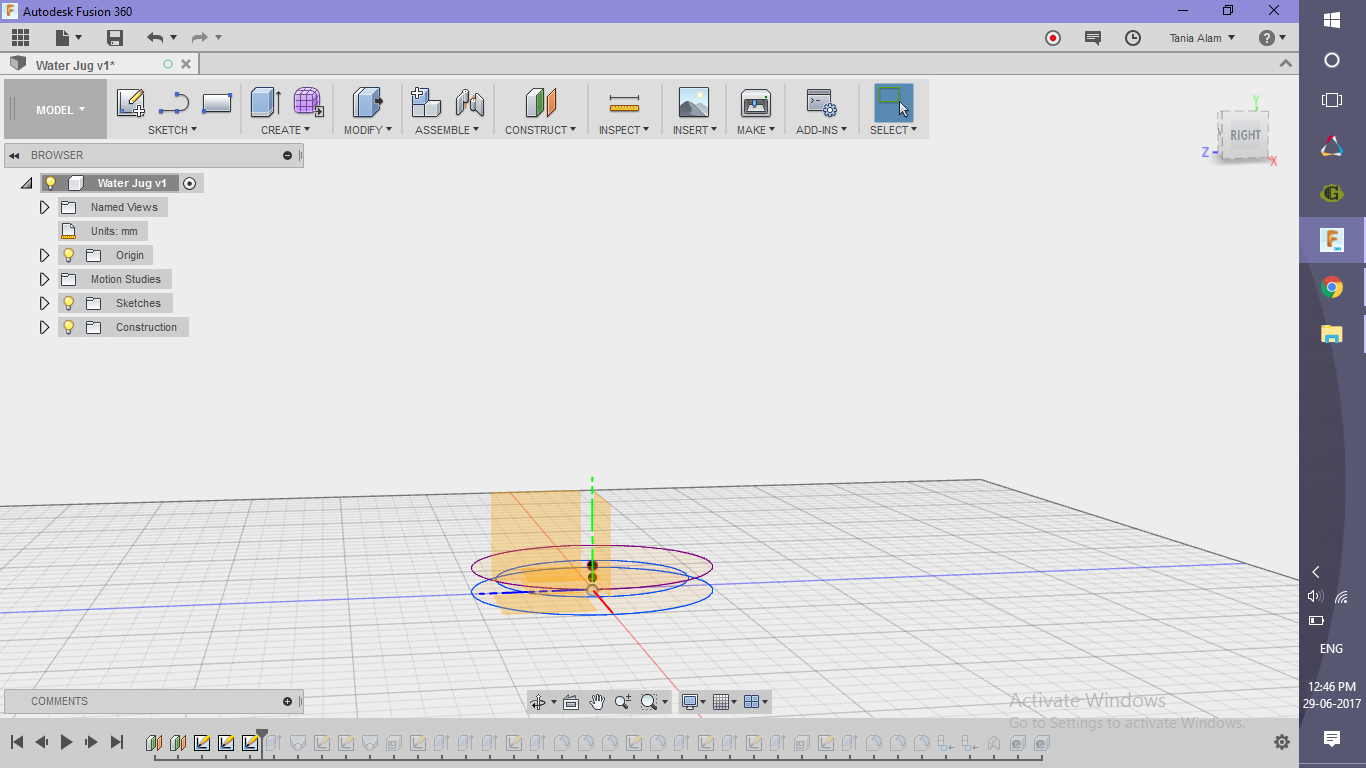
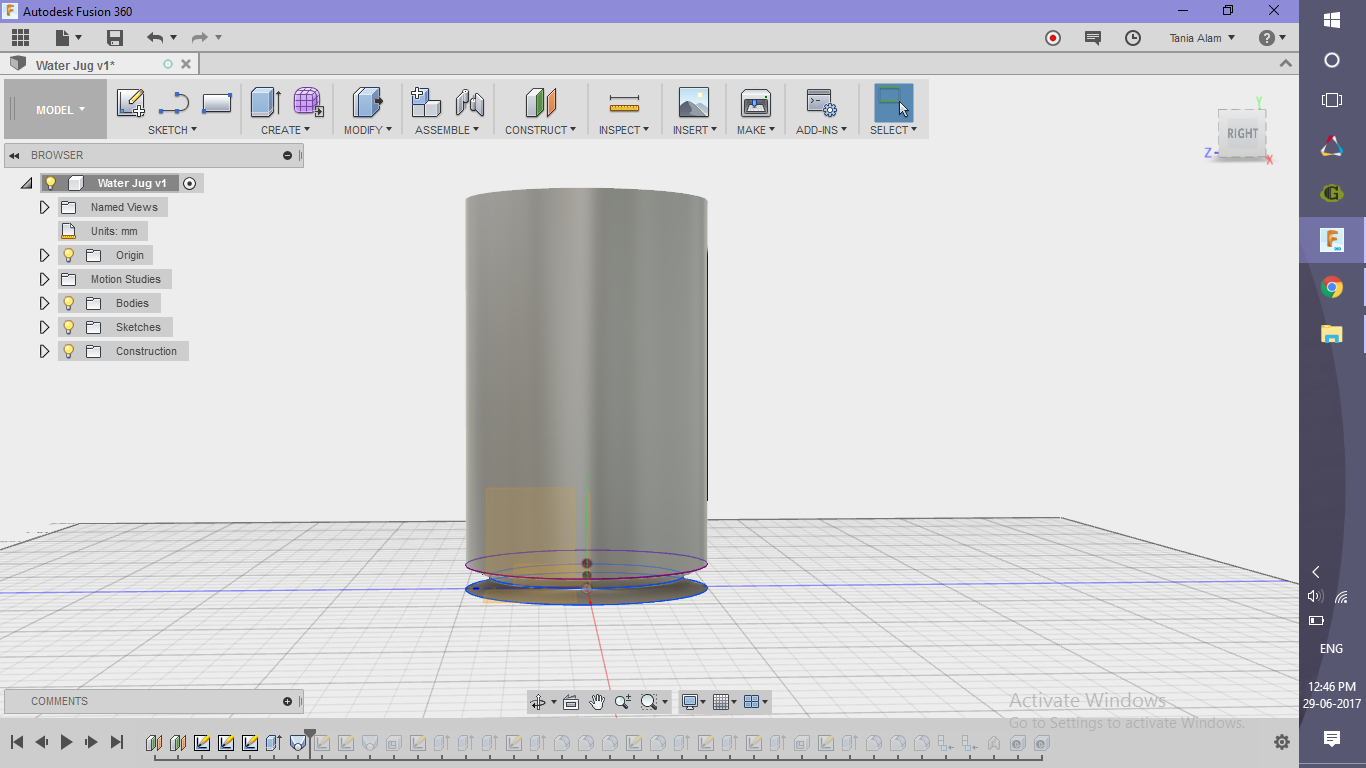
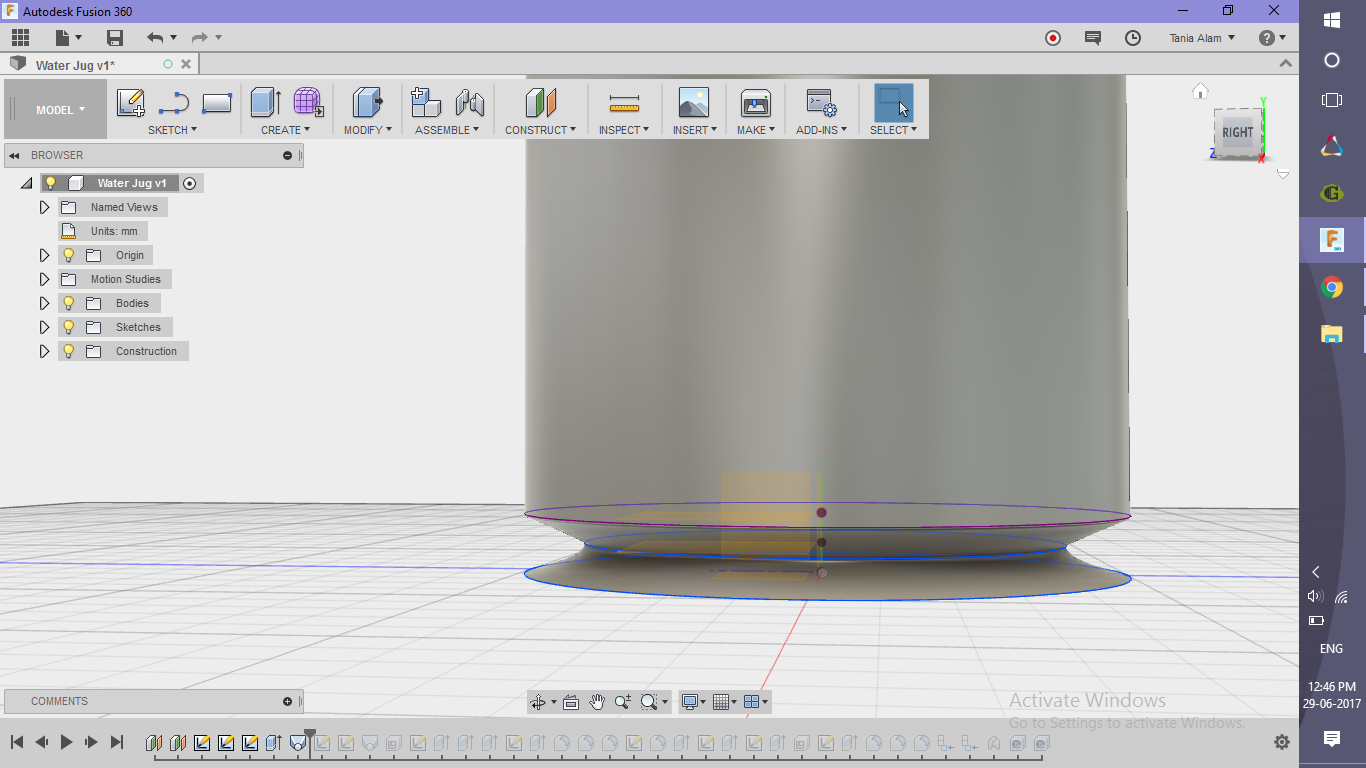
- Create some offset planes
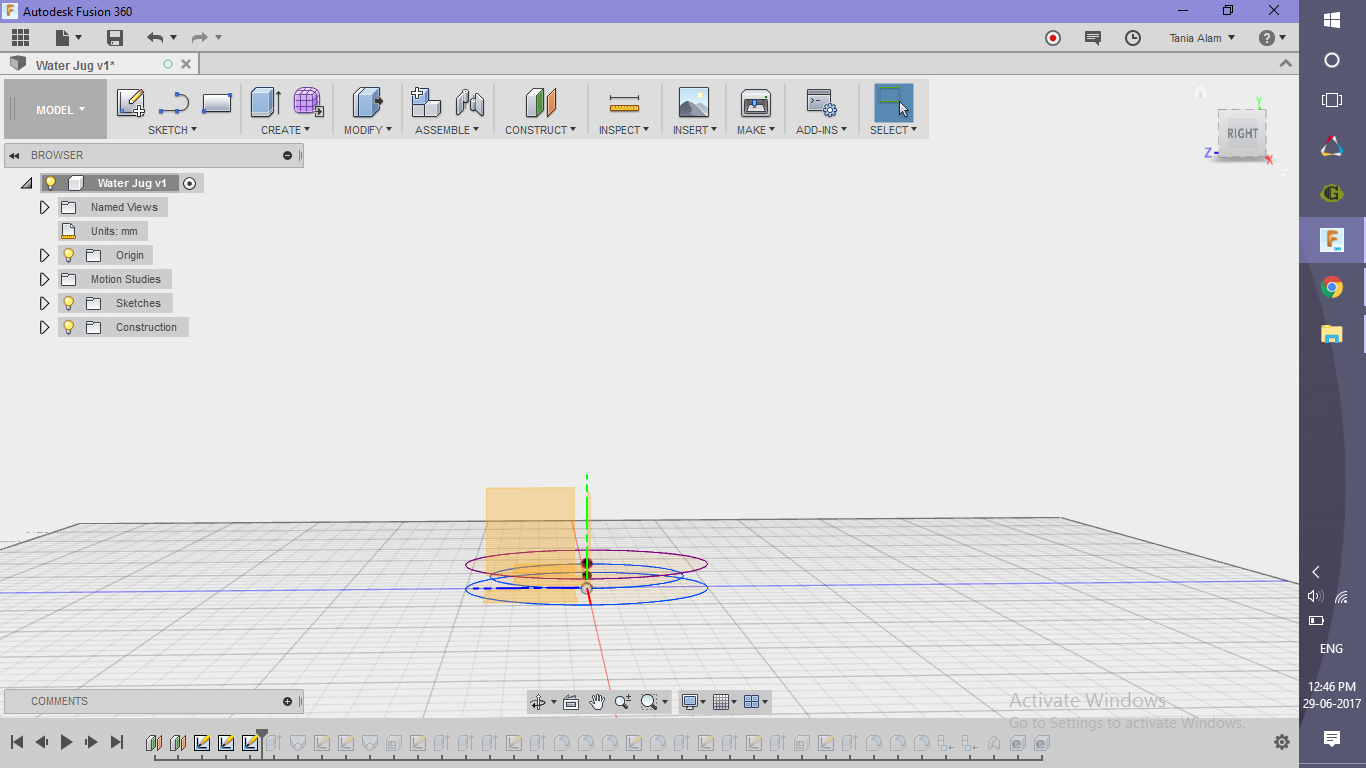
- Sketch some circles of varying diameters (one on each plane)
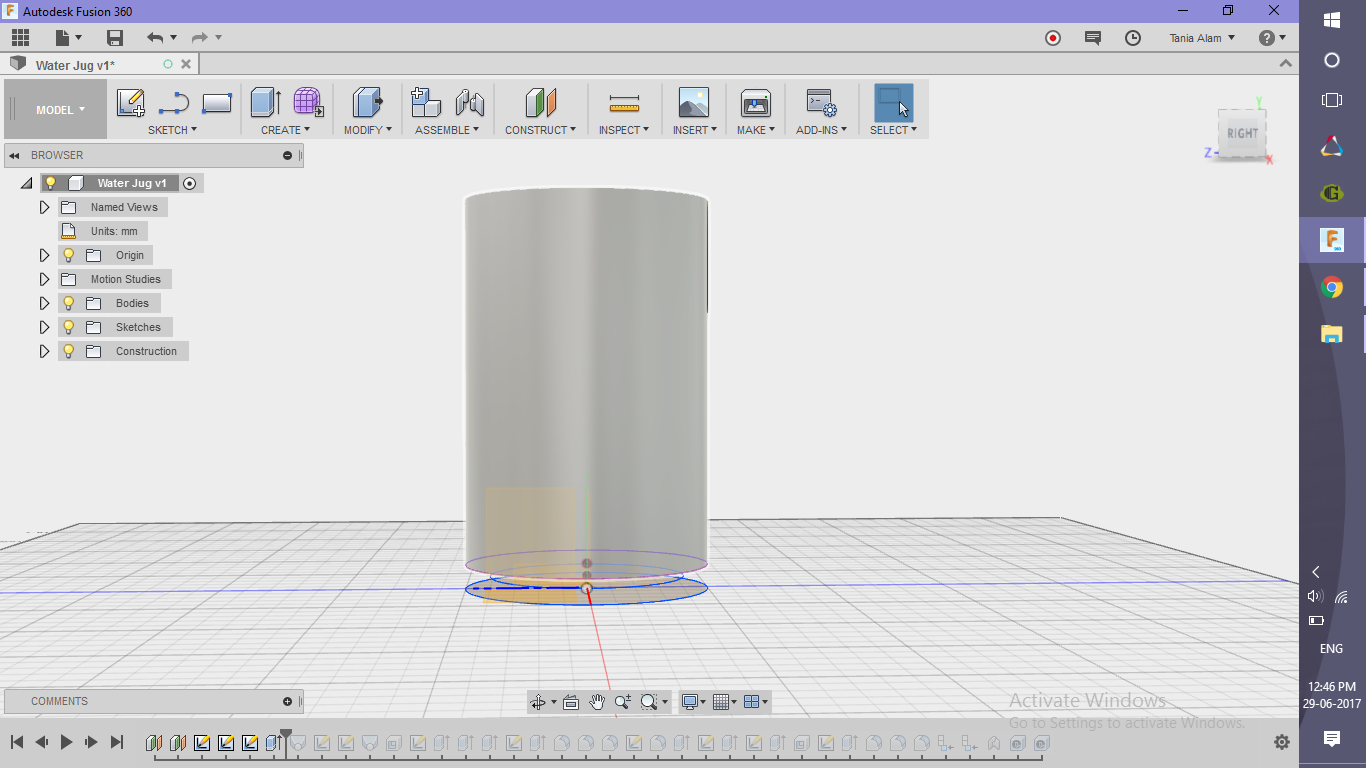
- Make a cylinder extruding the uppermost circle
- Use loft to create the base of the jug
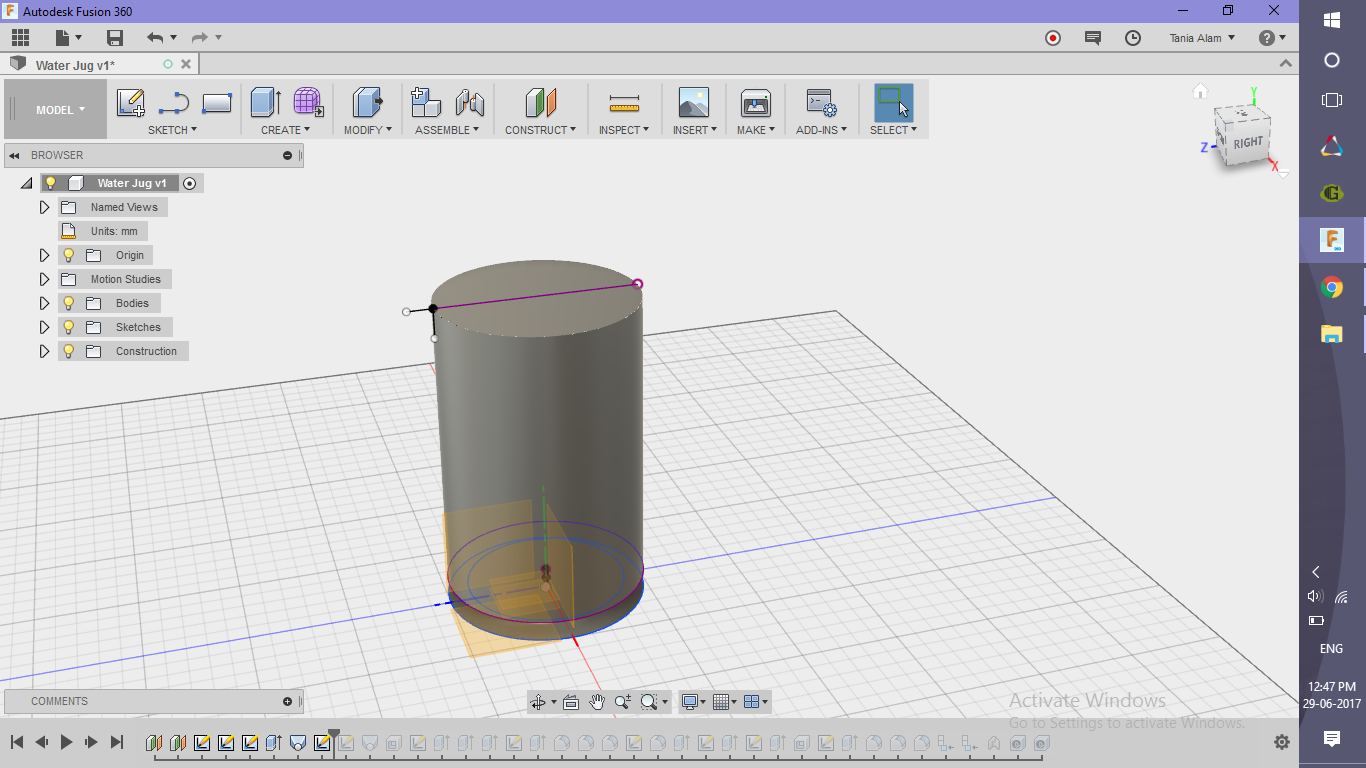
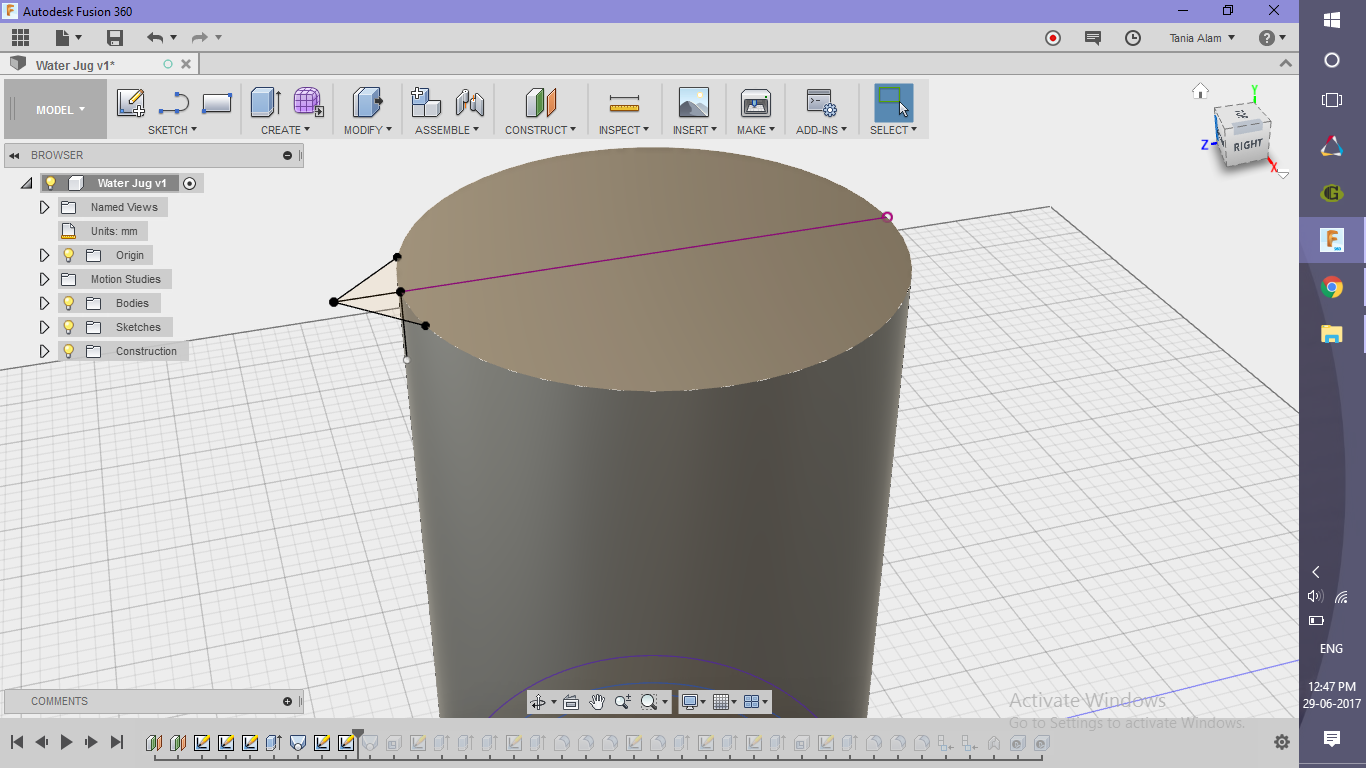
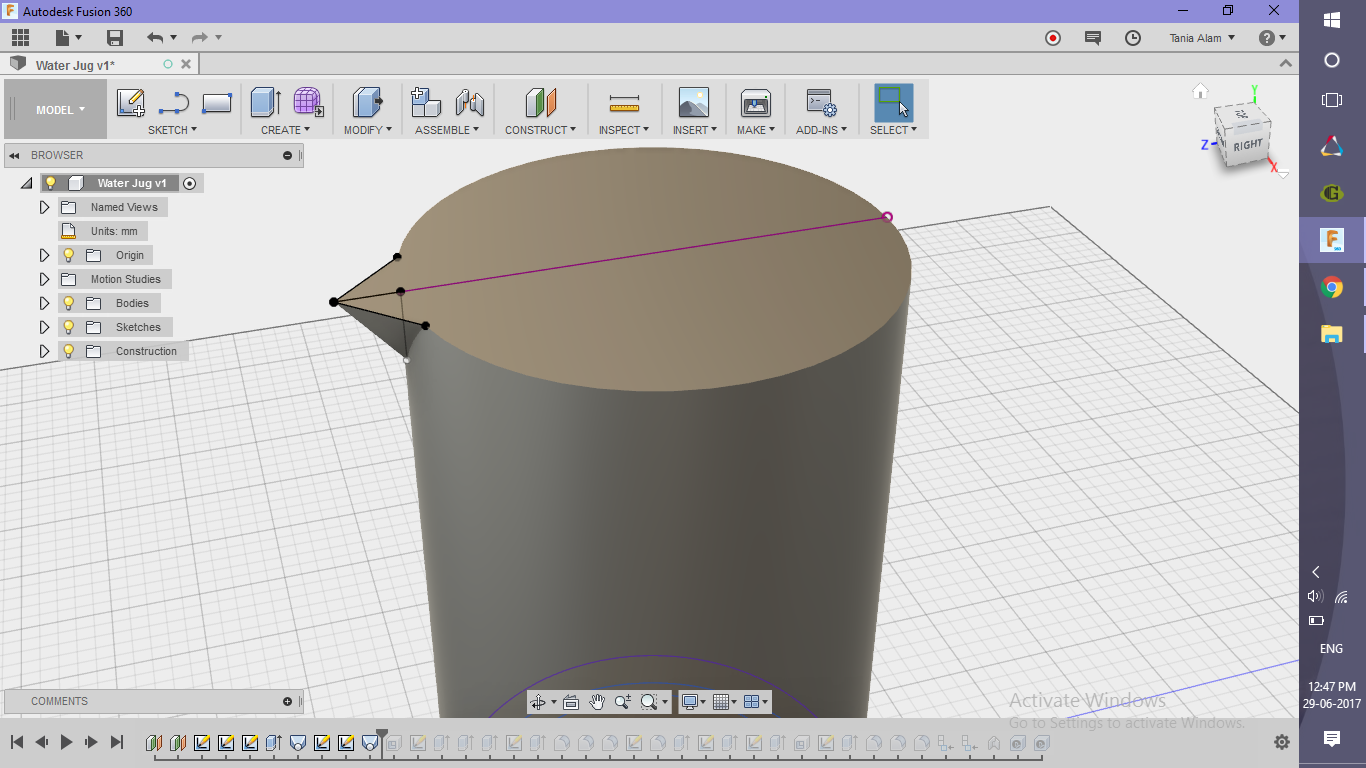
- Sketch the profiles of the mouth on lateral side and top face
- Use Loft command to make the mouth
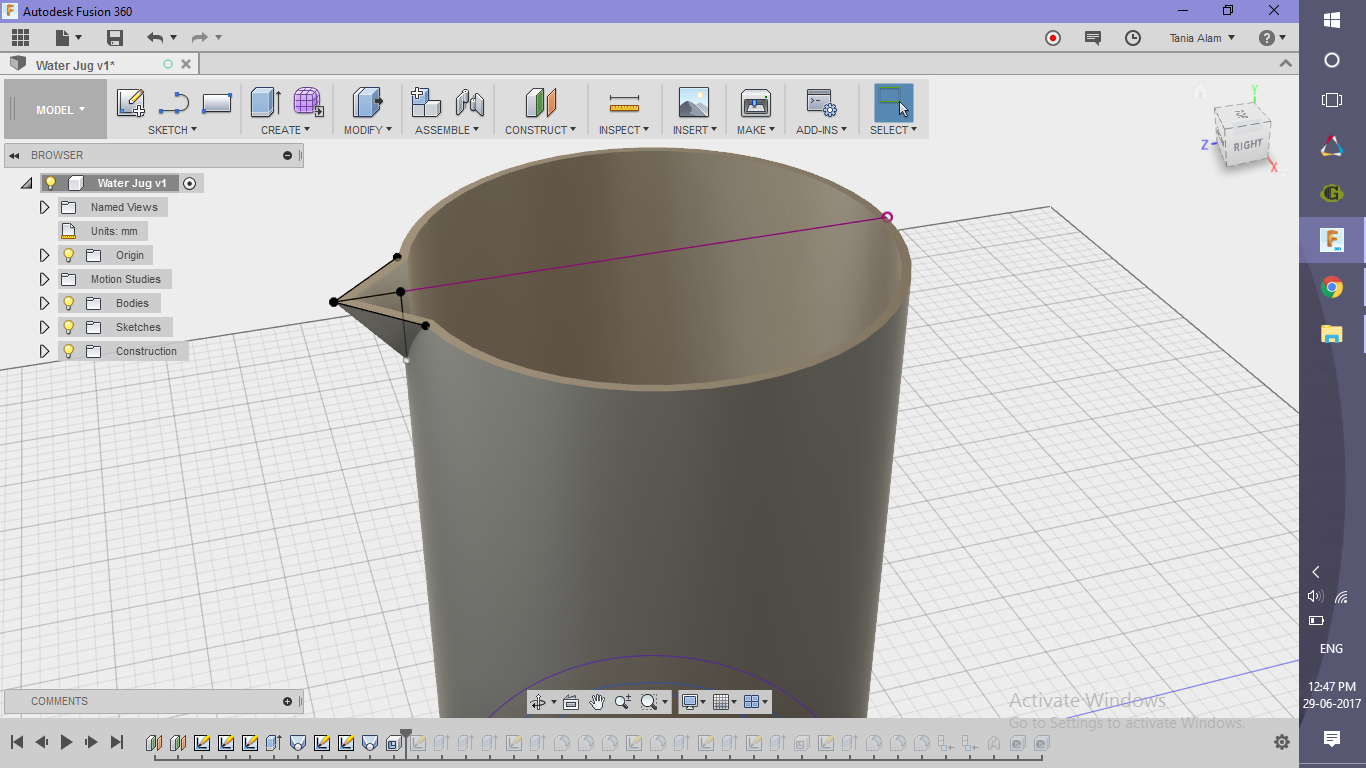
- Use Shell command to create the hollow jug
Make the Handle
.png)
.png)
.png)
.png)
.png)
.png)
.png)
.png)
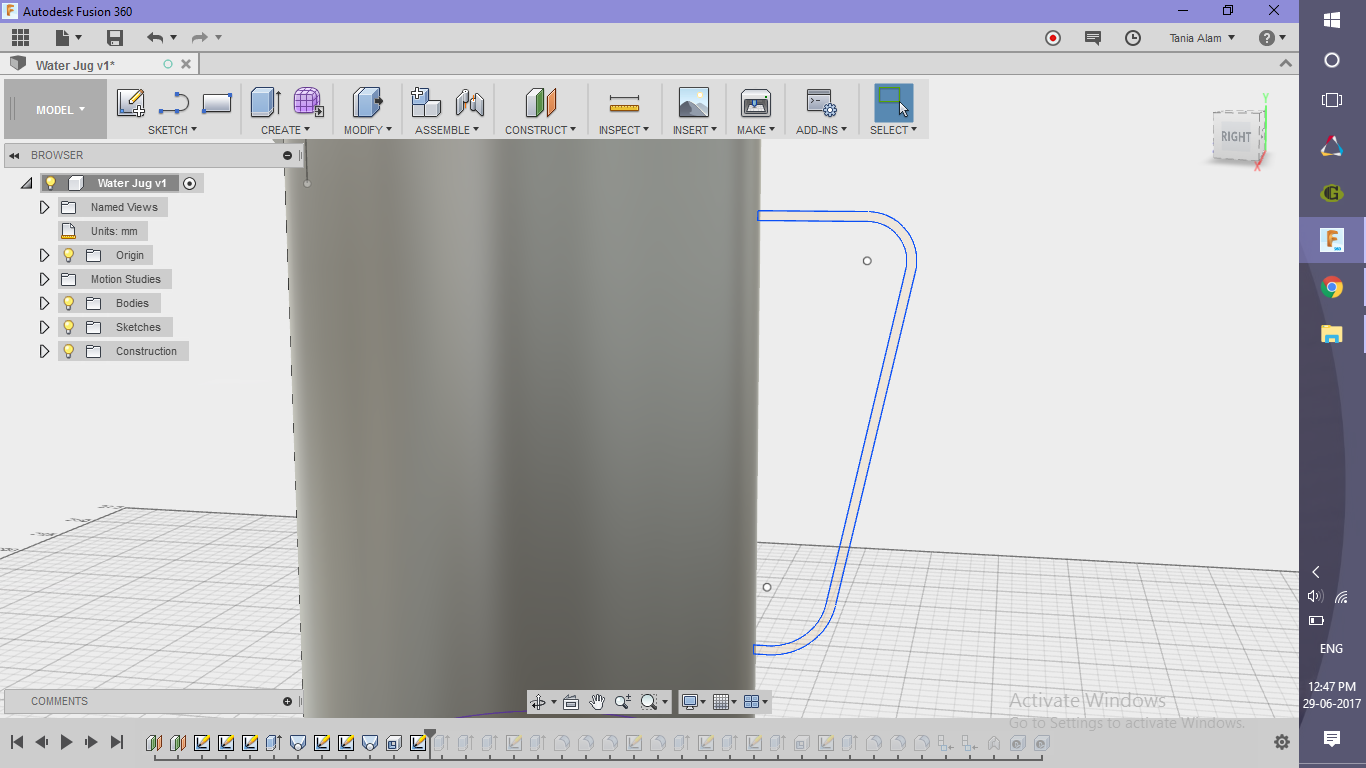
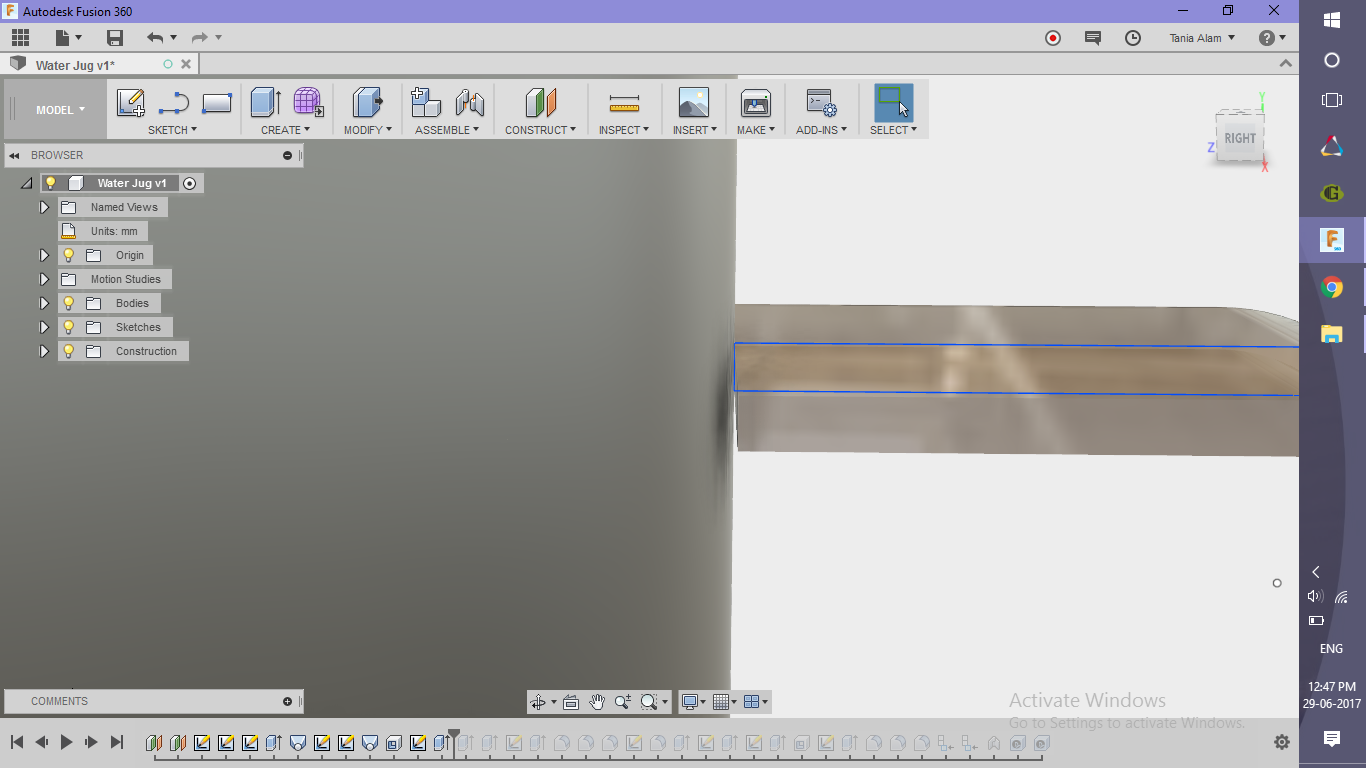
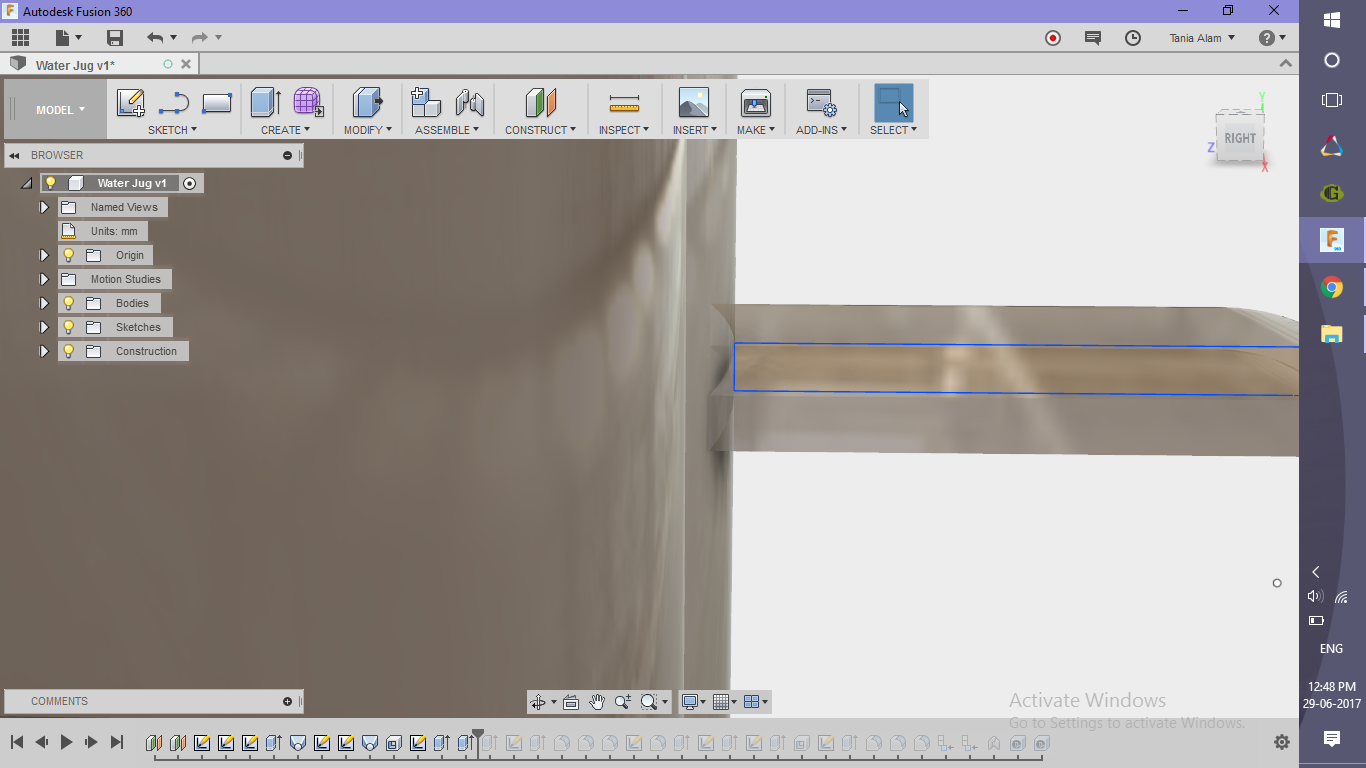
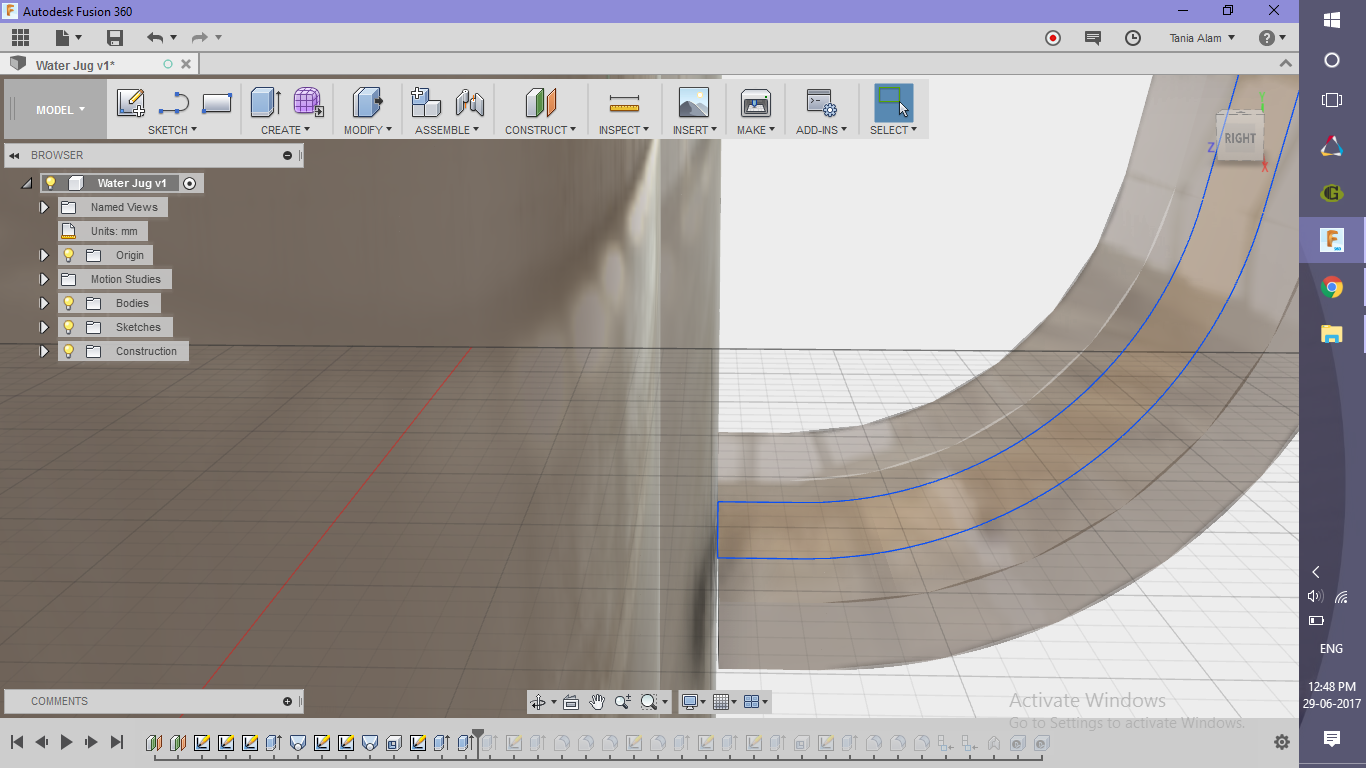
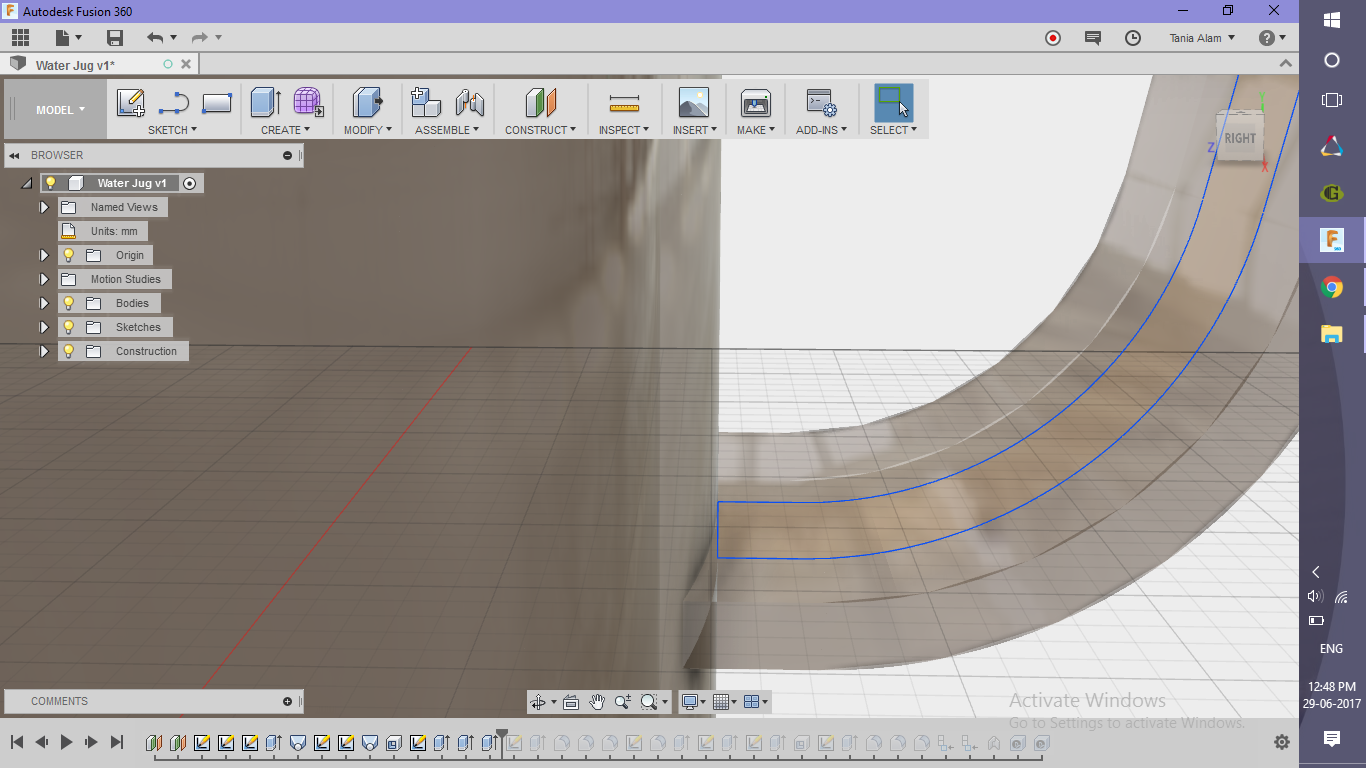
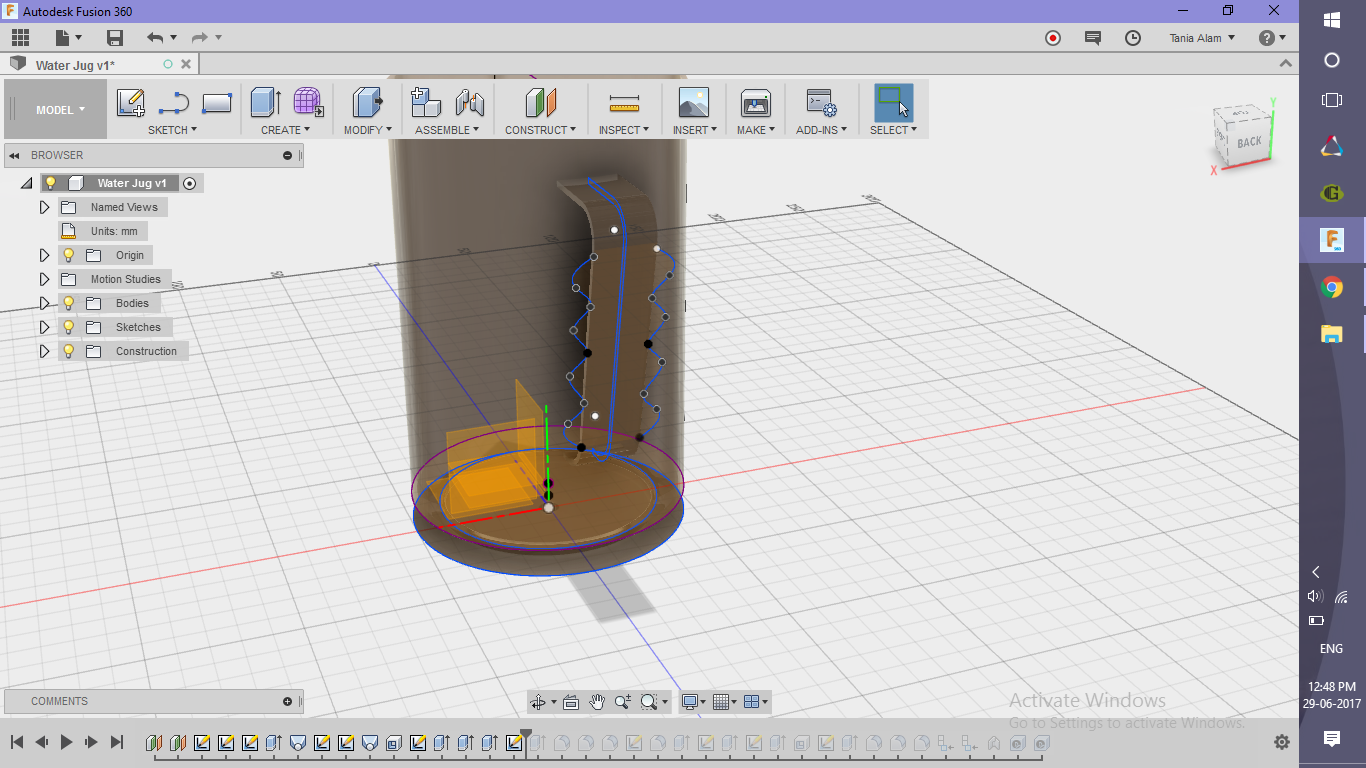
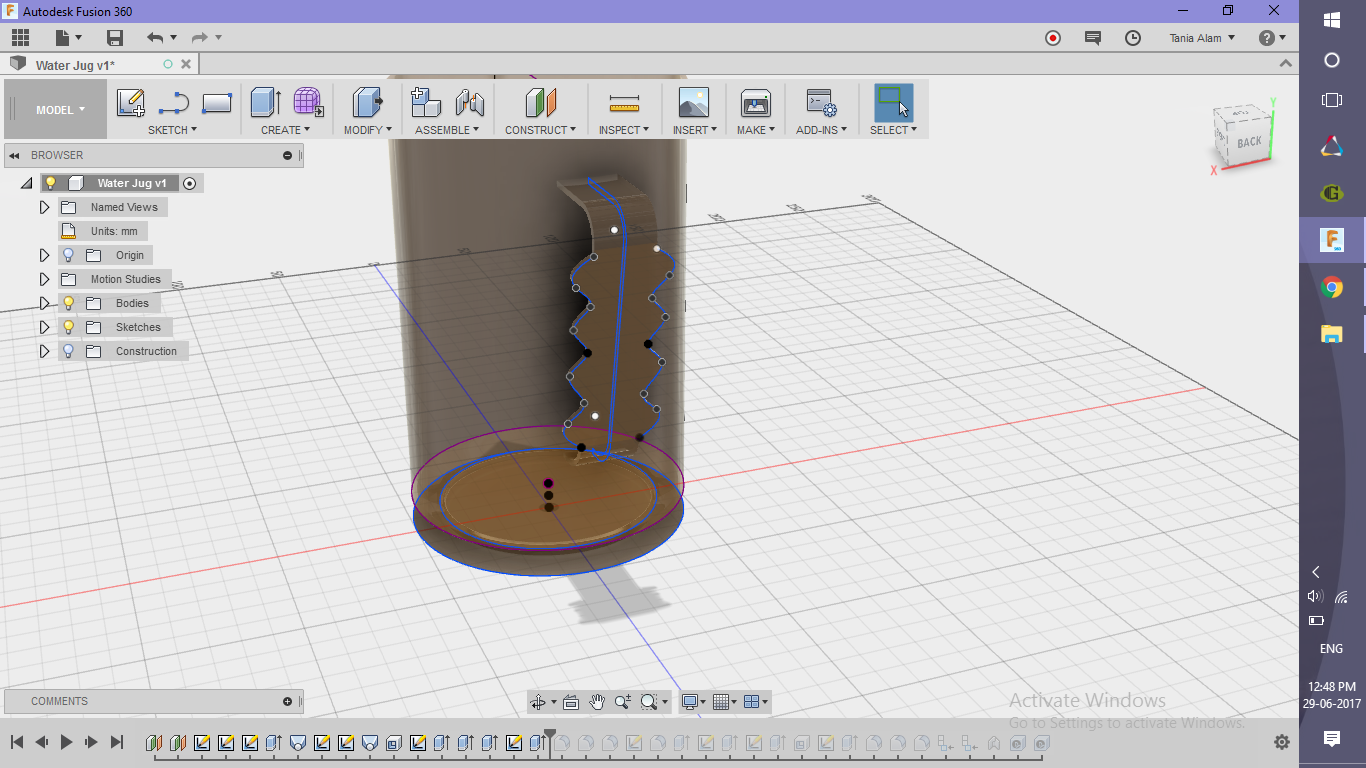
- Sketch the handle profile on the lateral side
- Offset the profile by 3-5mm
- Close the profile
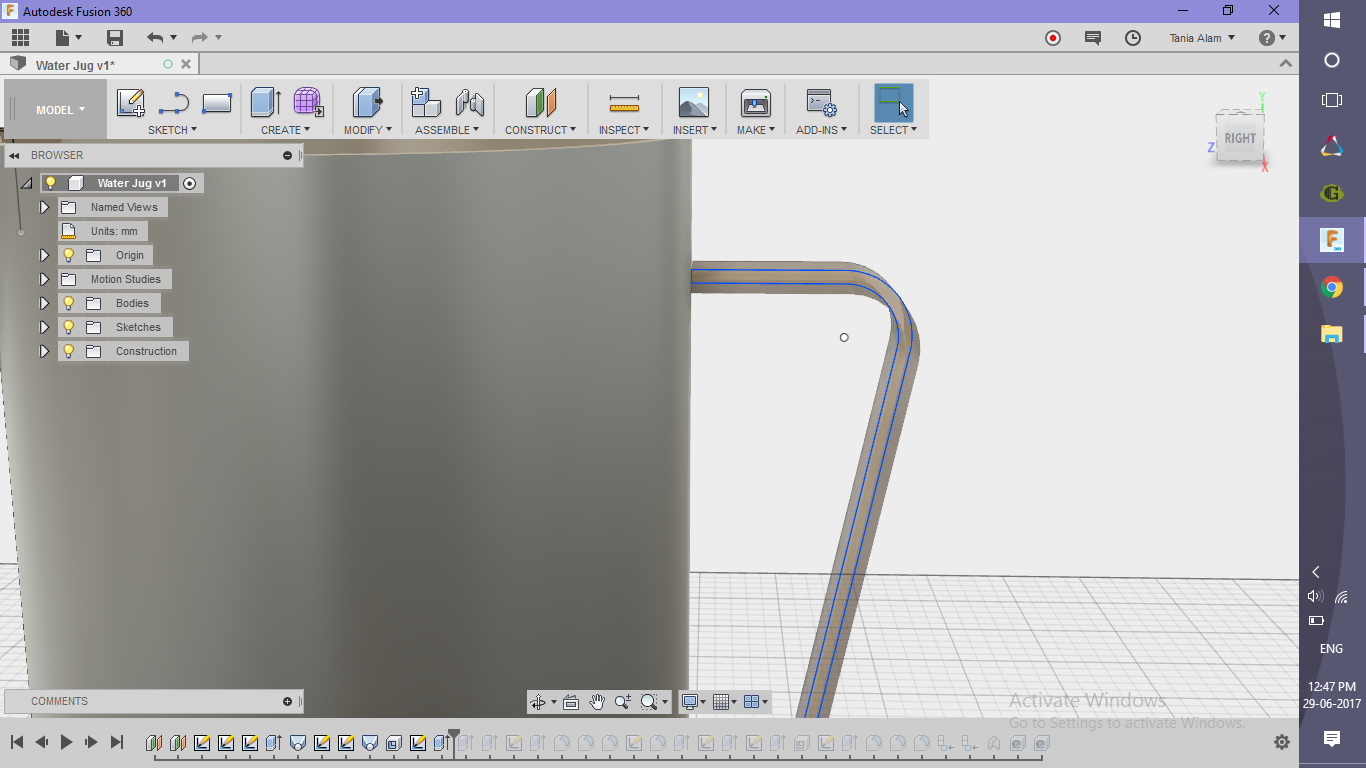
- Extrude it to some distance using "Symmetric" option
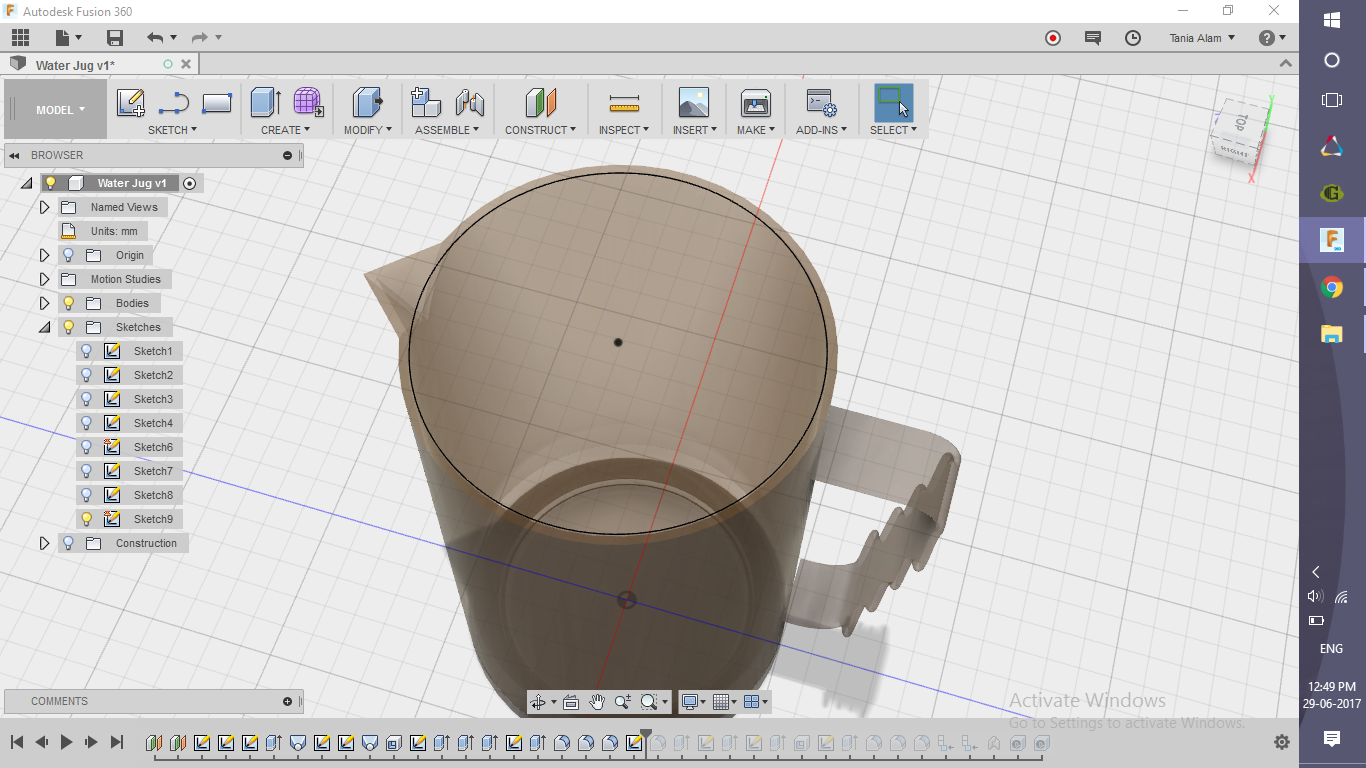
- Extrude the end faces of the handle using "To Object" command and selecting the jug body as the object
- Create some sketch on the lateral face of the handle and extrude them too
Make the Lid
.png)
.png)
.png)
.png)
.png)
.png)
.png)
.png)
.png)
.png)
.png)
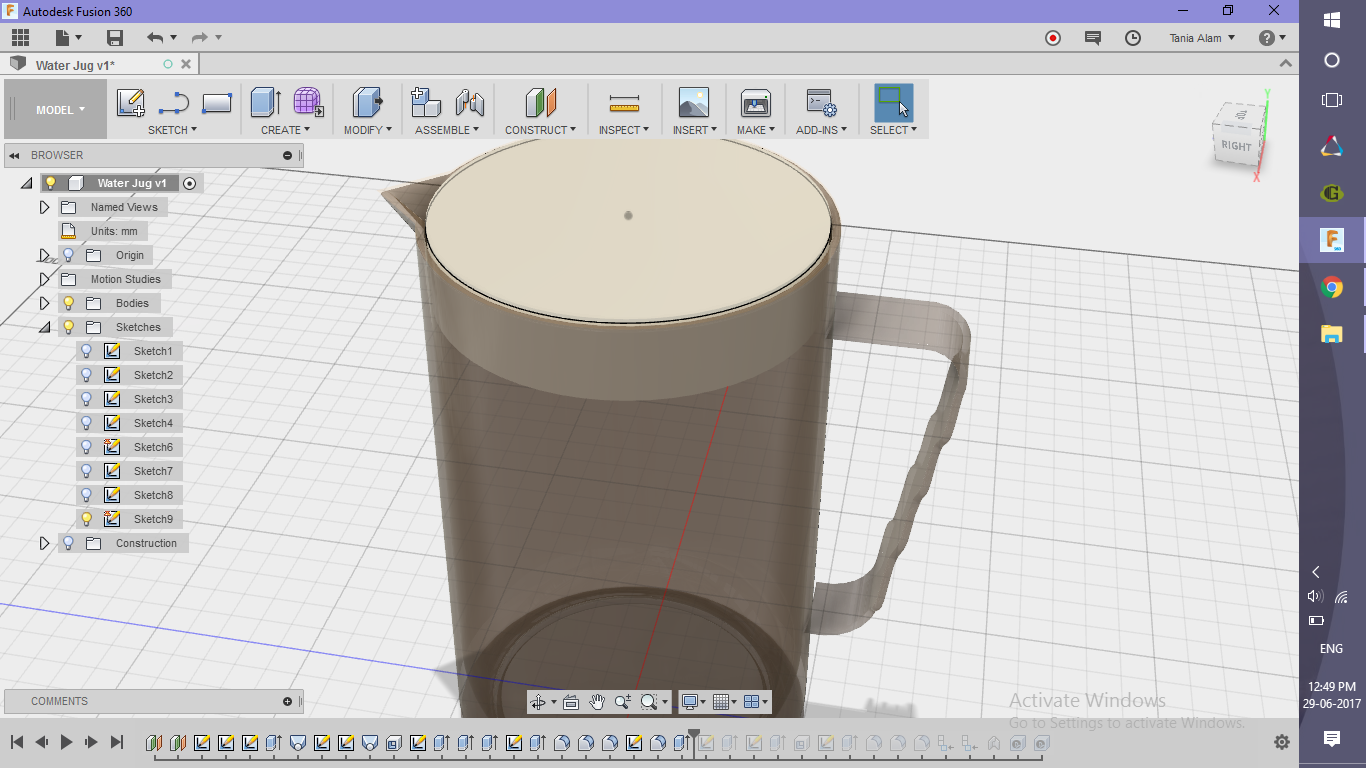
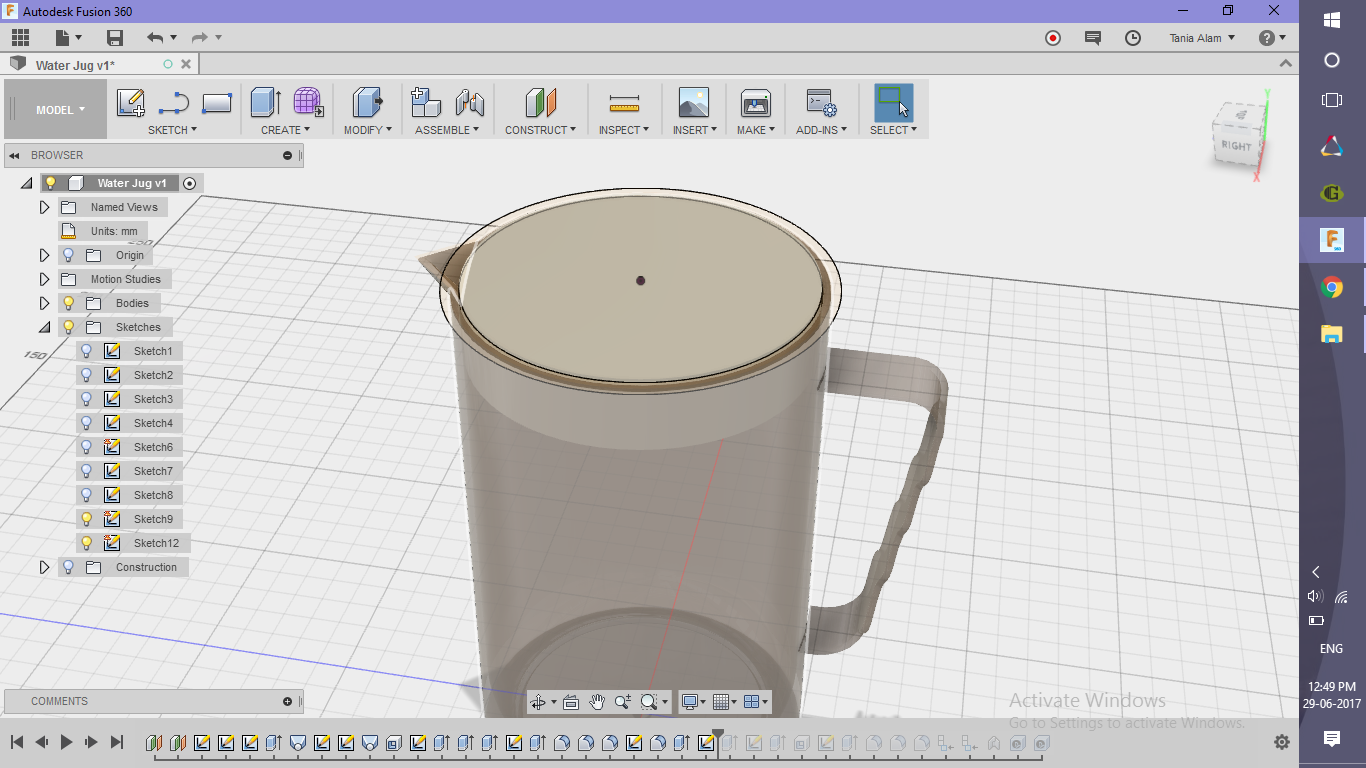
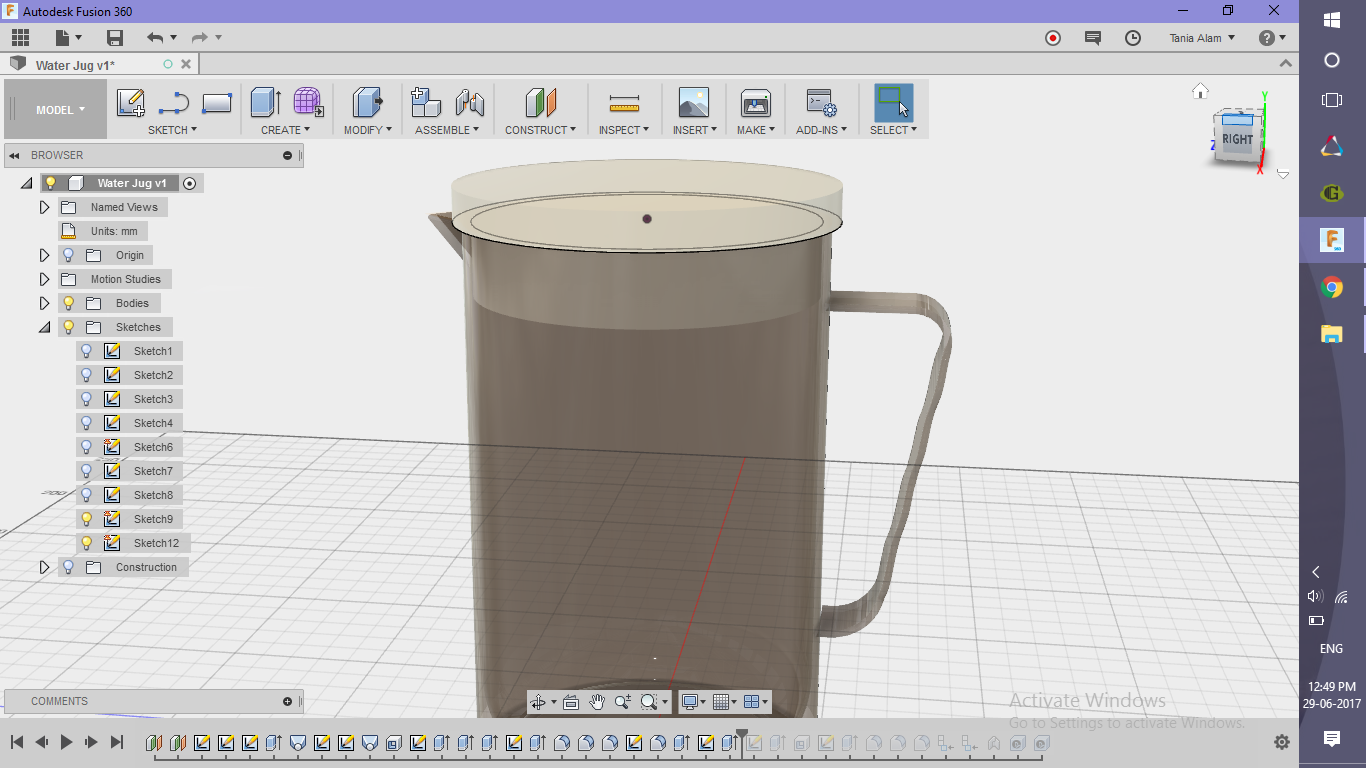
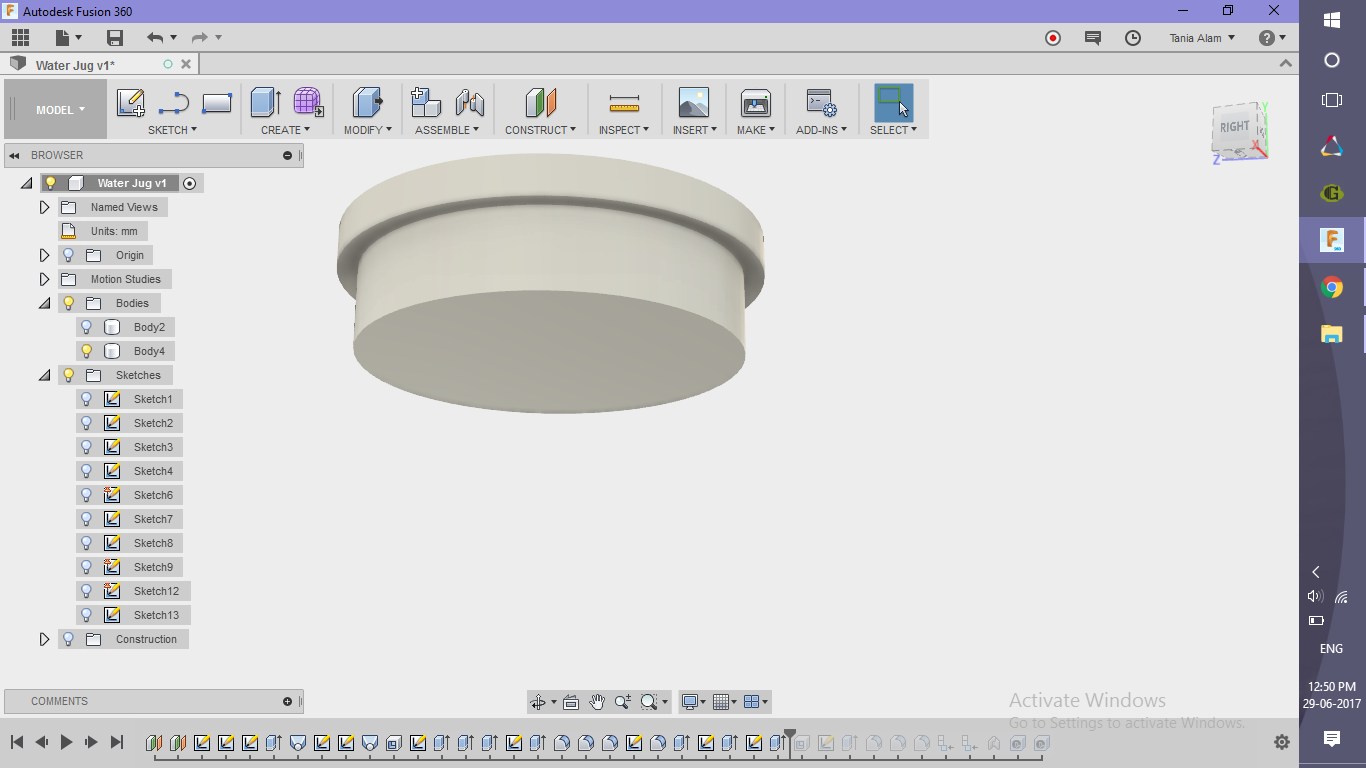
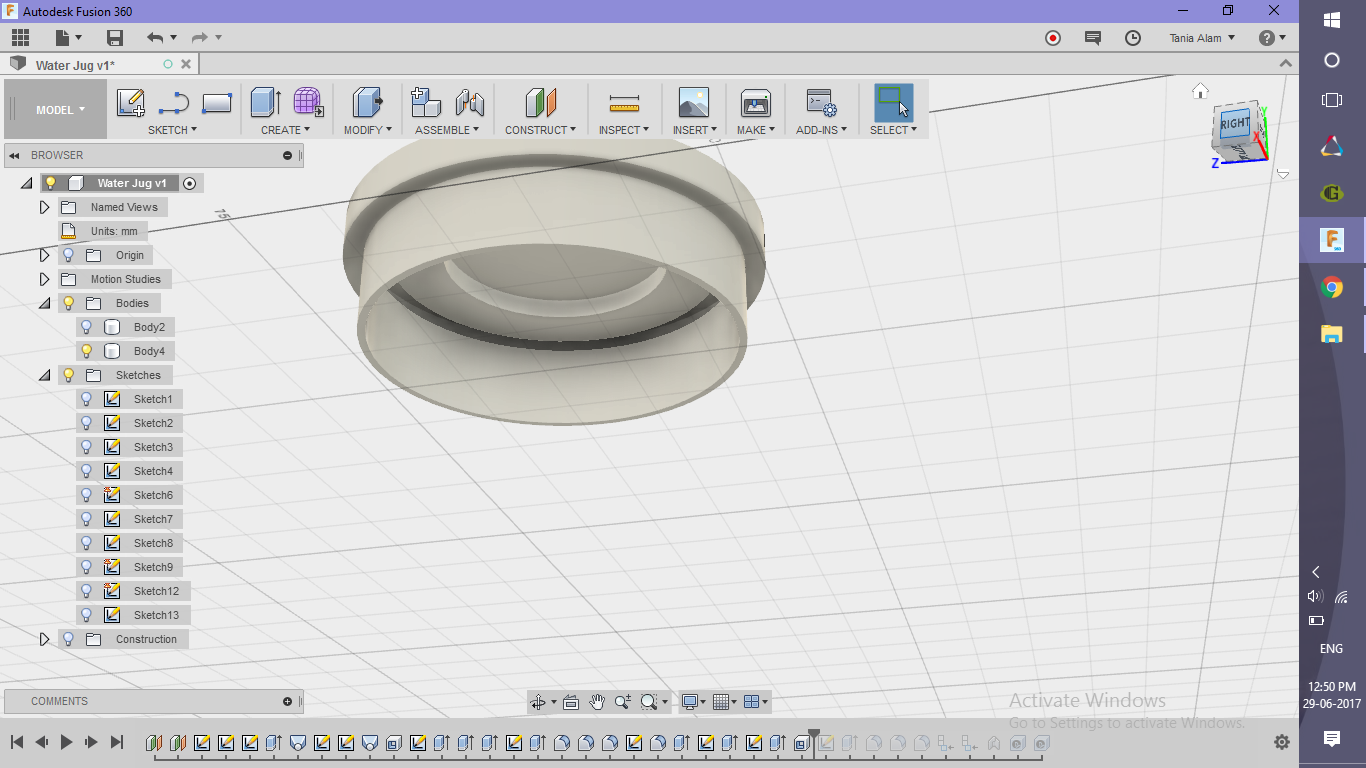
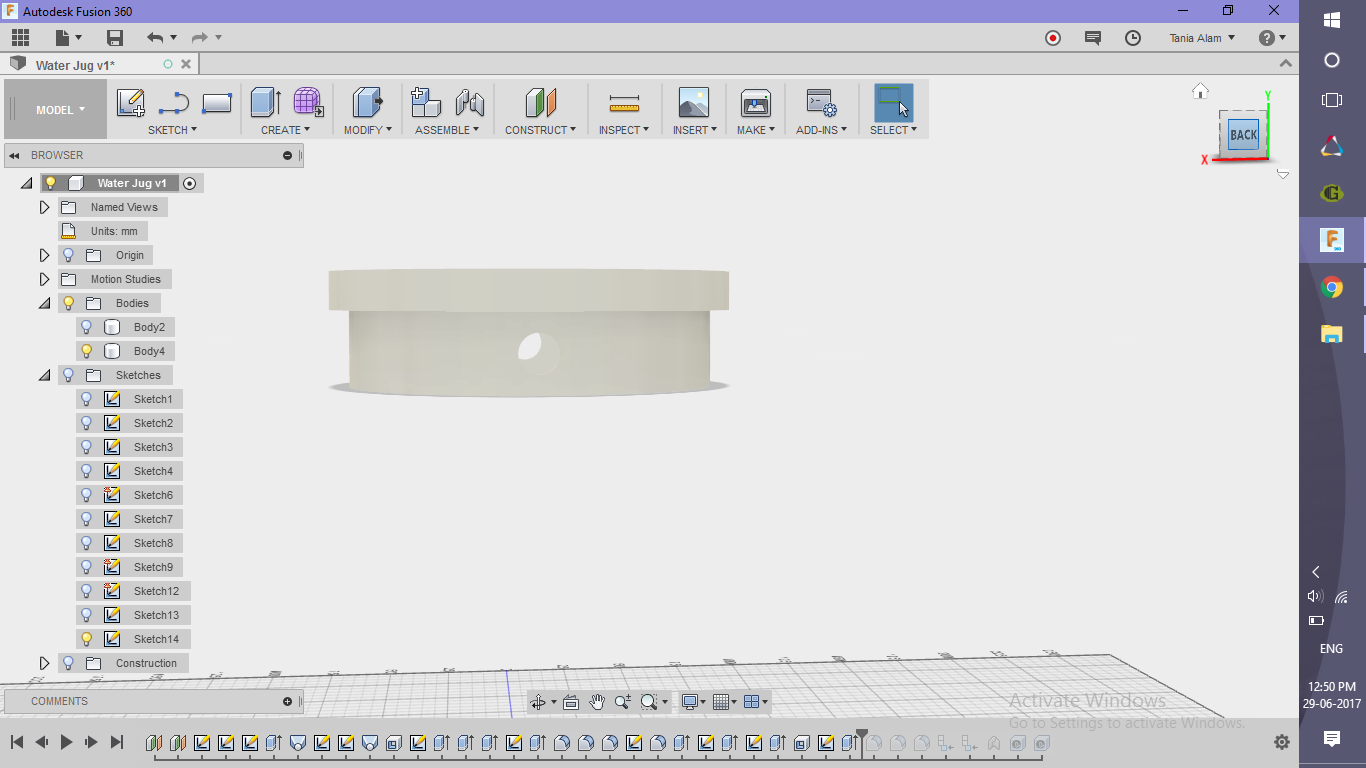
- Sketch the outer circle of the lid on the top plane
- Extrude the profile to some distance (20 to 30 mm) below and also a very small distance (0.5 mm) above for the clearance
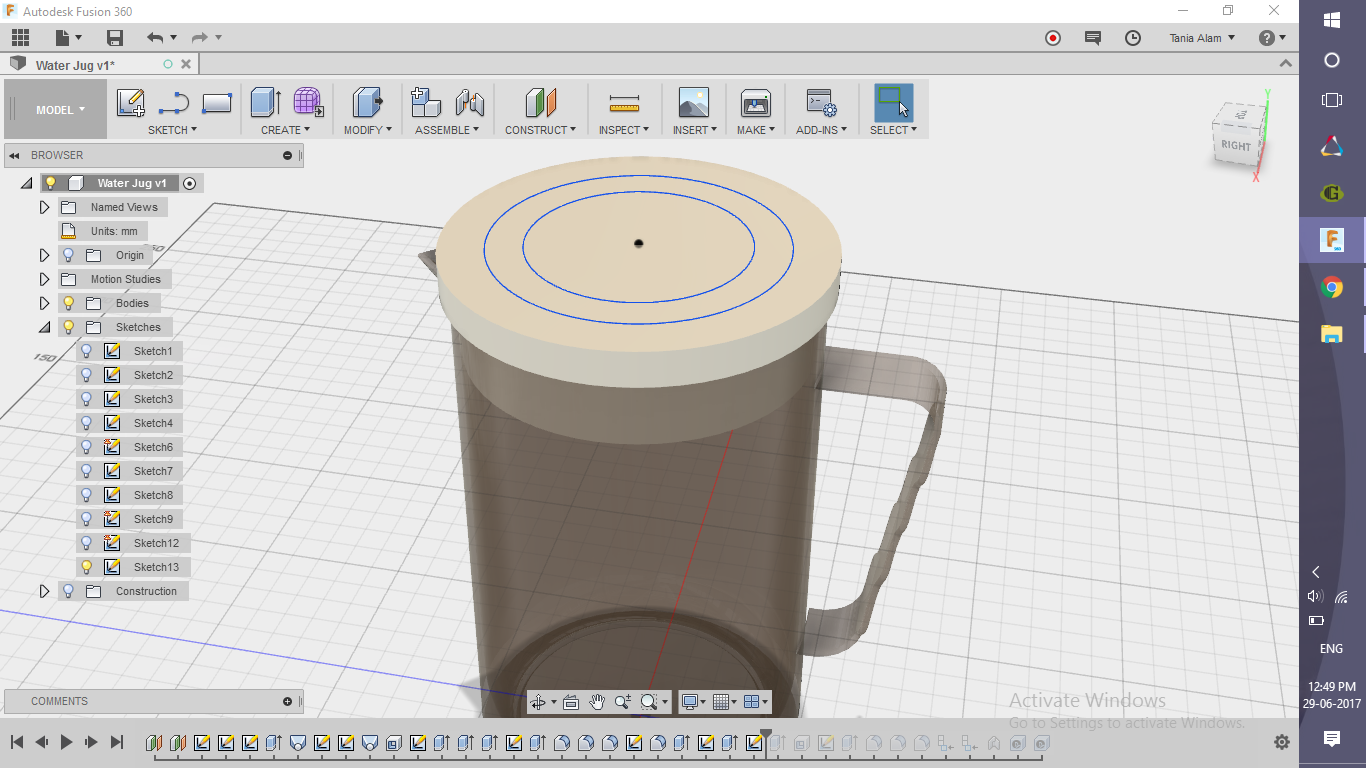
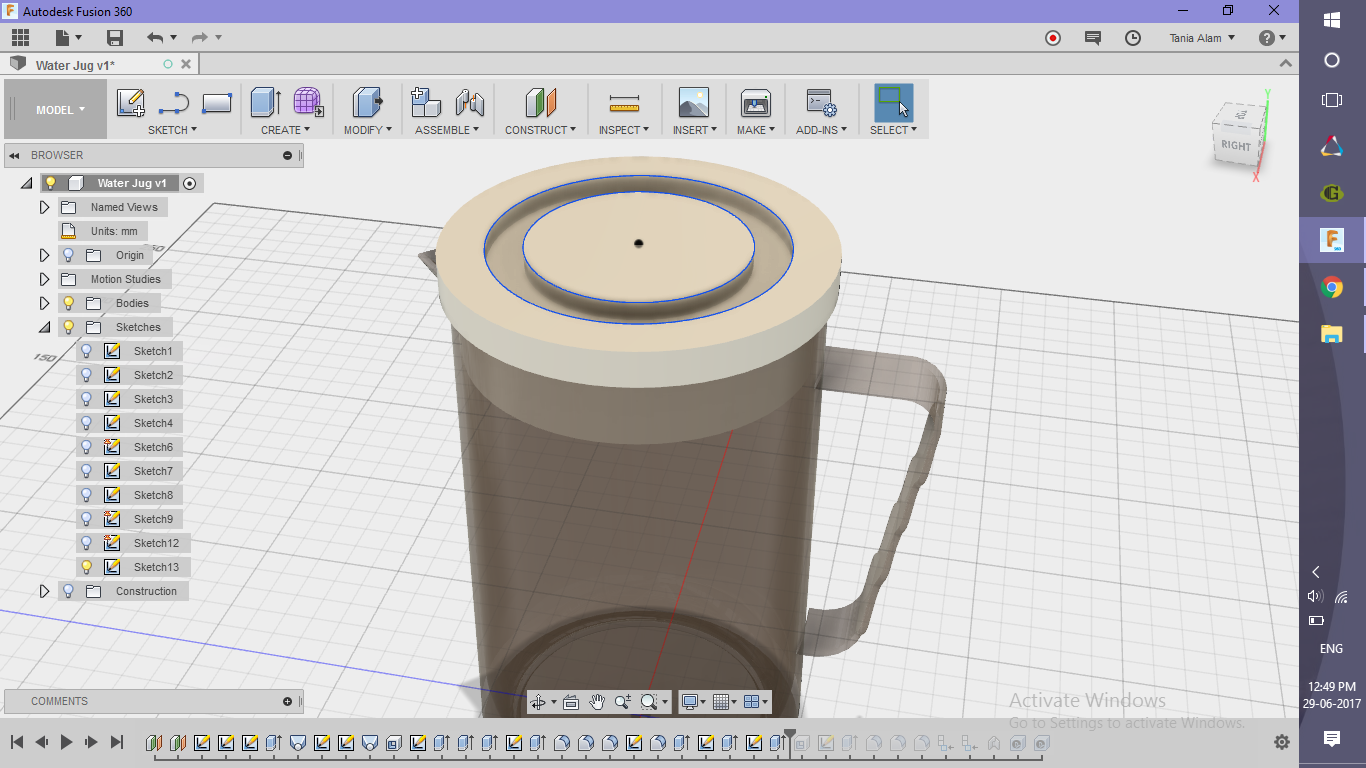
- Create some more shapes on the top of the lid
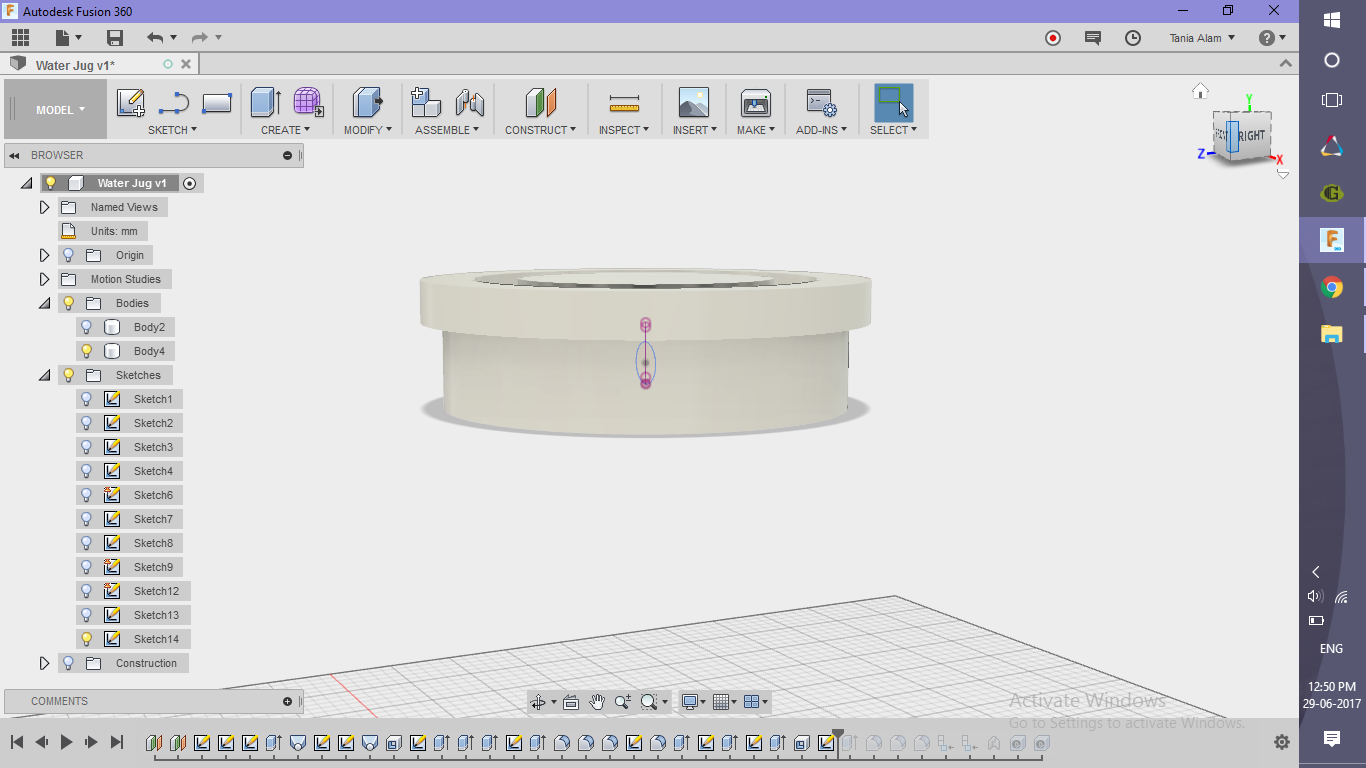
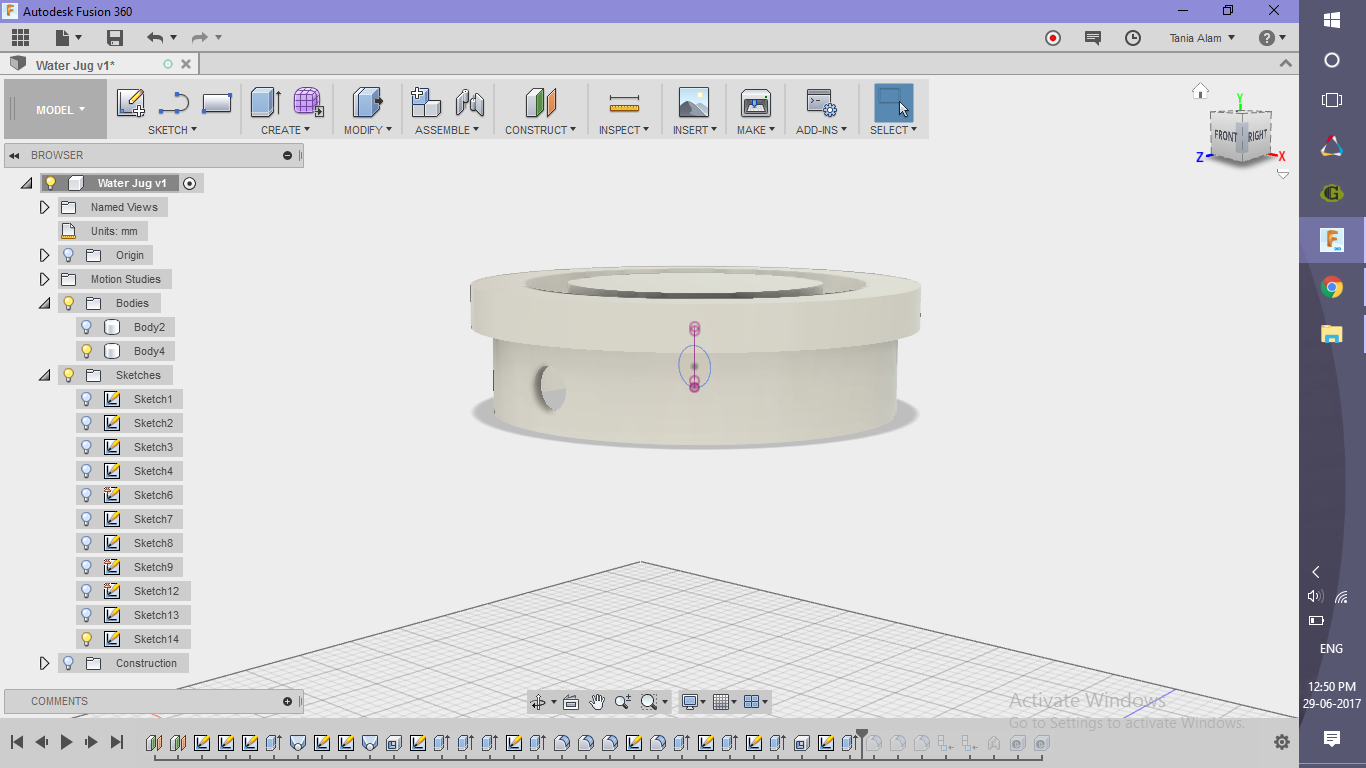
- Sketch a circle at the two ends and extrude ousing "Symmetric" to cut the lid for the opening
Add Some Finishing
.png)
.png)
.png)


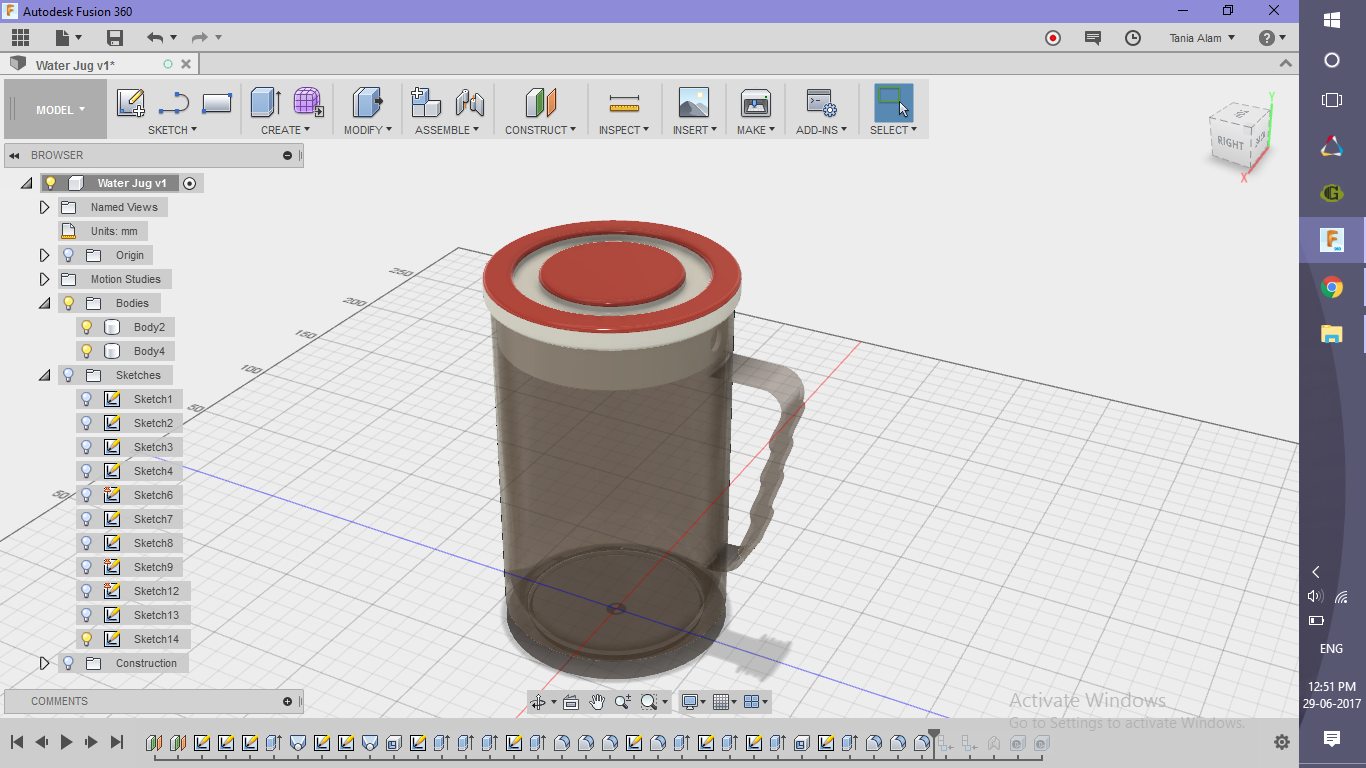
- Add some fillets to the bodies
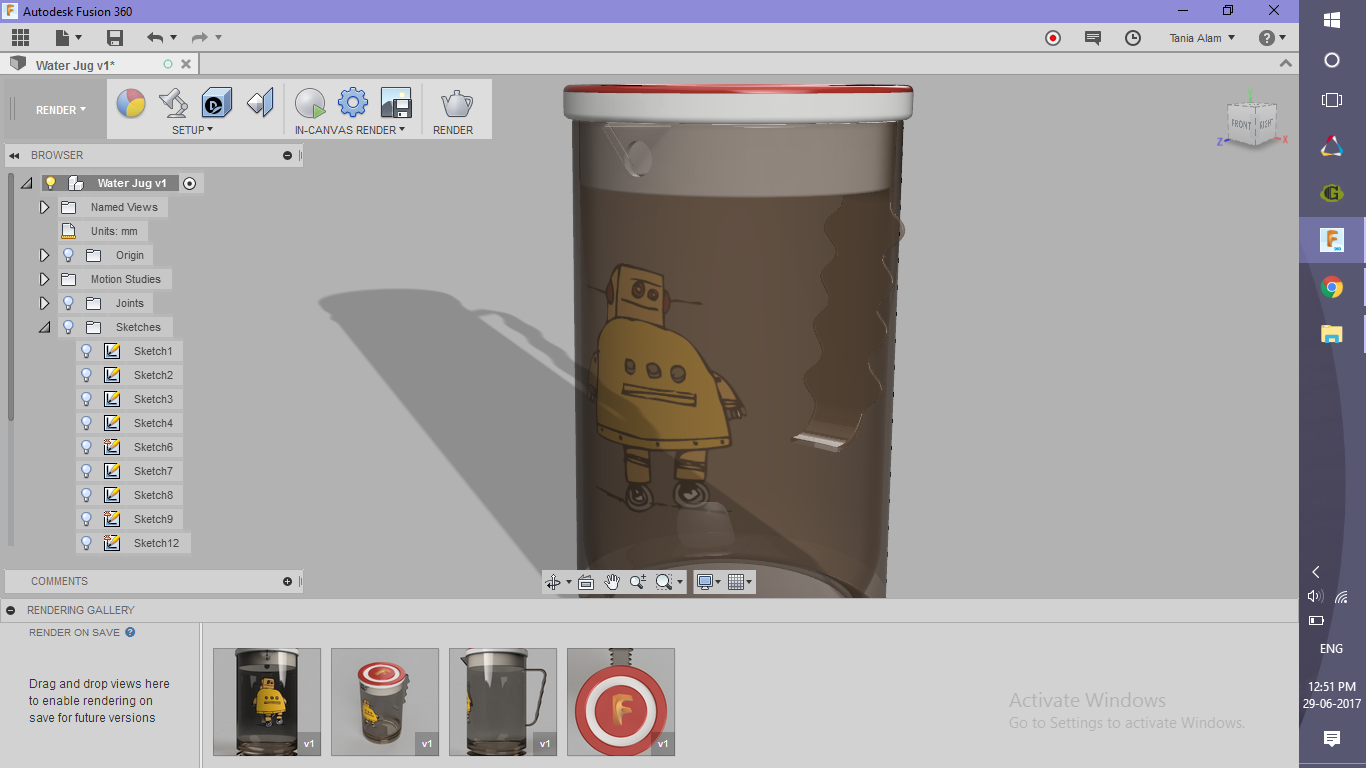
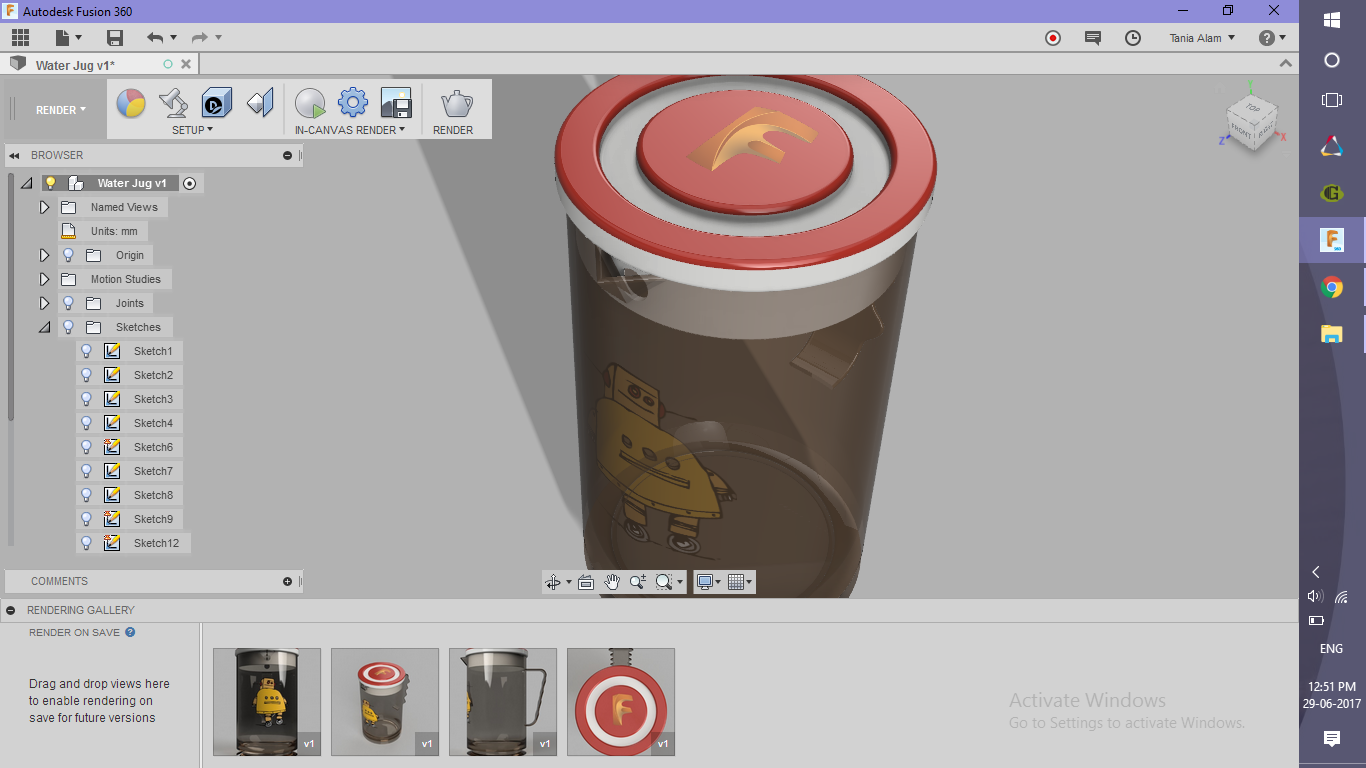
- Add some decals in the Render workspace to make it look even better
I've added an Instructable logo on the lateral side and a Fusion logo on the top surface. Get the image files below. You can use any other logo you wish, but make sure they have a transparent background to make them look good!
Make It Work (optional)
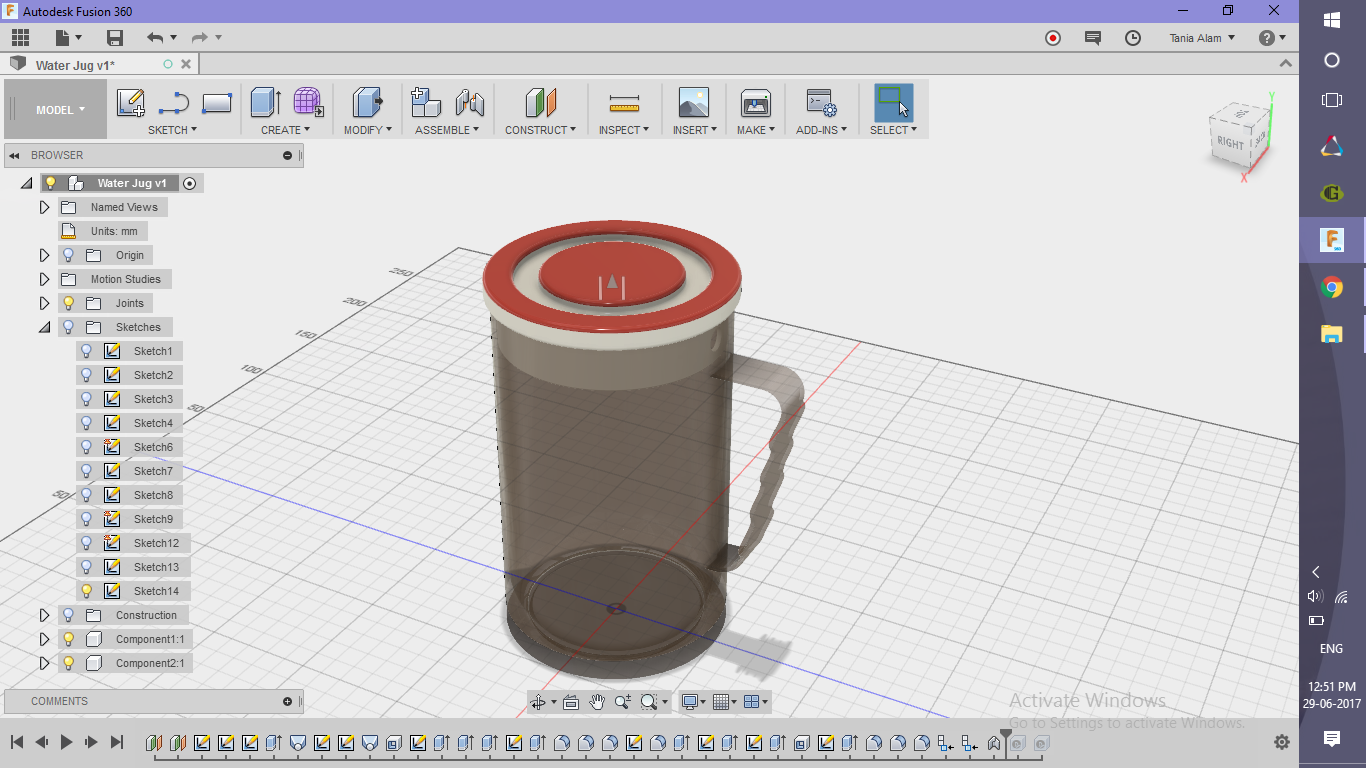.png)
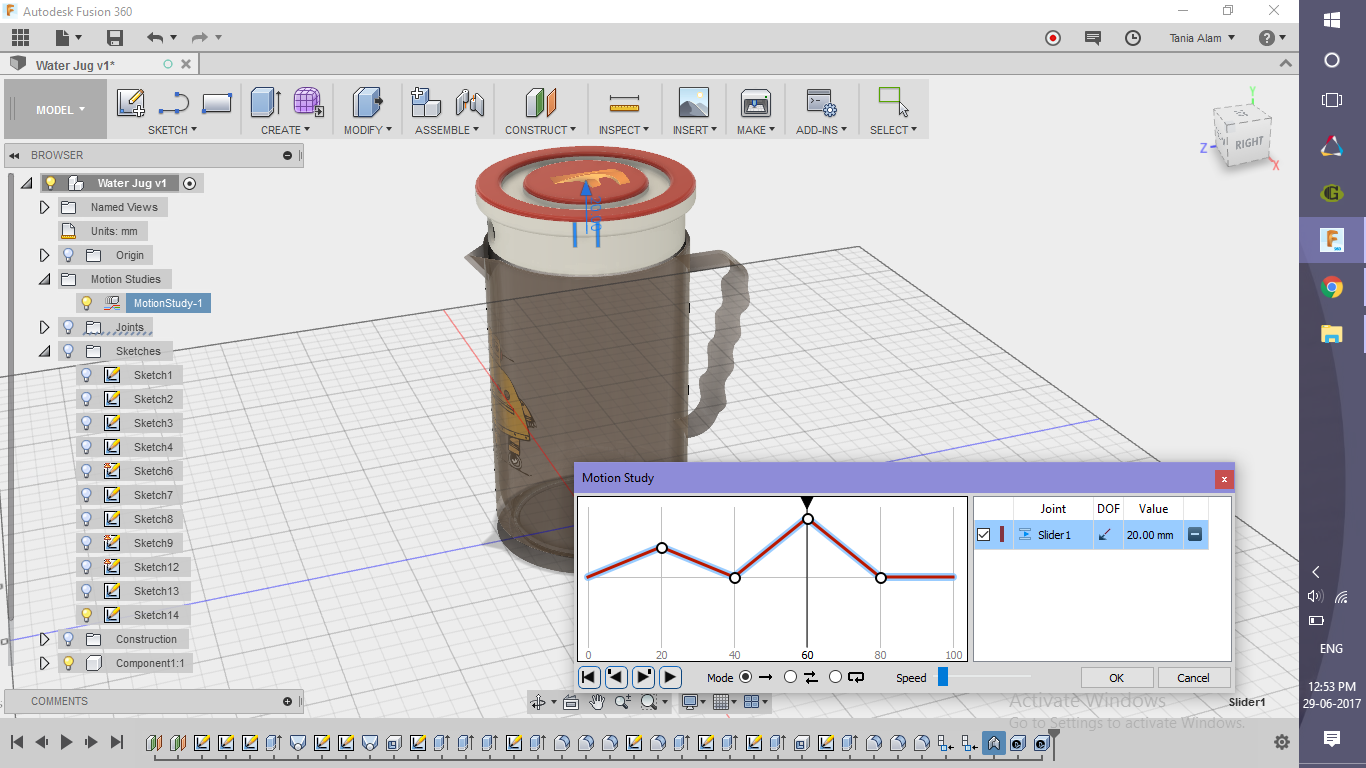.png)
Create components from the two bodiesAdd a "Slider" Joint between the lid and the jug body
Create a motion study
Get the Renderings!
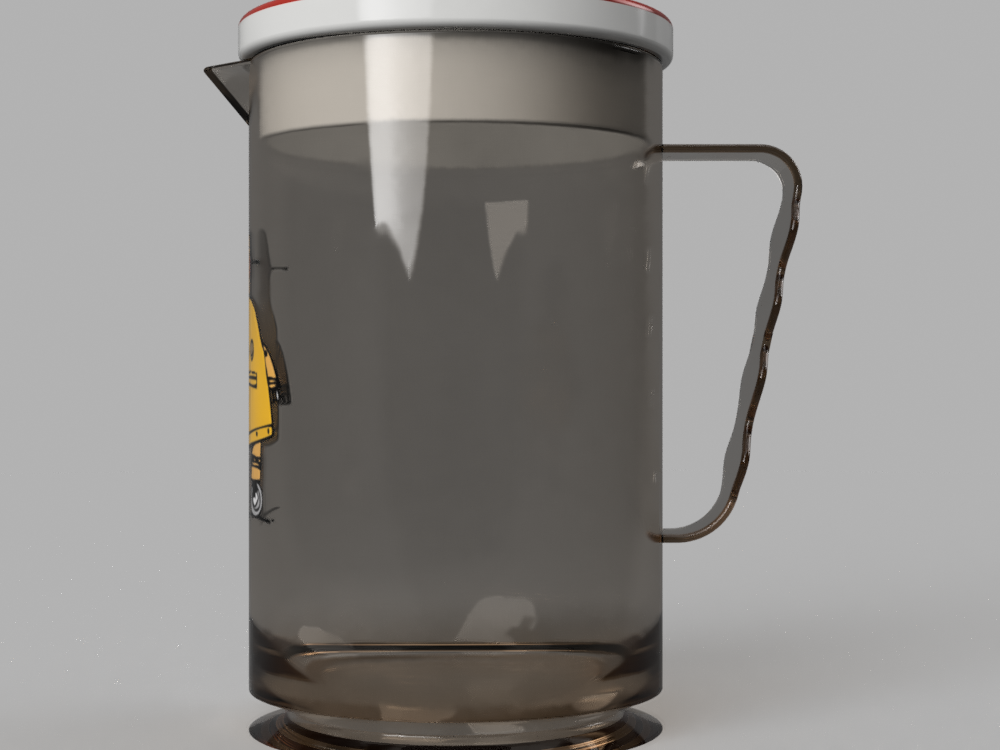
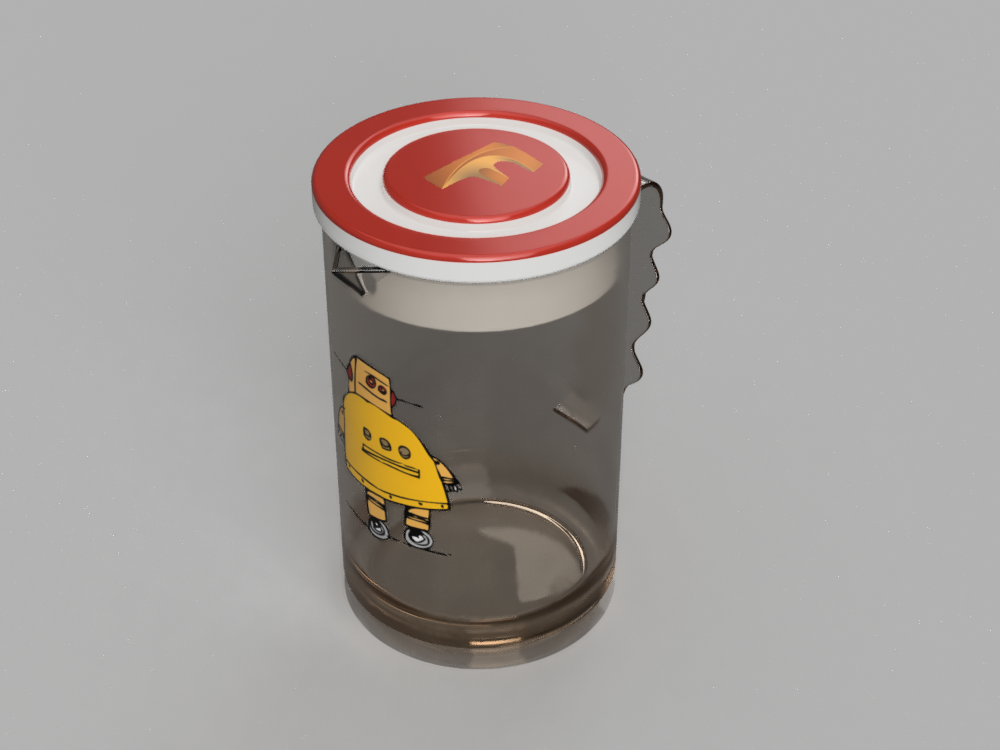

Once you save the file, rendering will start automatically. If you have created the motion study, choose a view and render it as the motion study.
Please share your rendering here using the "I Made It" button. I'm eager to see those!