Create Your Own Art With Duct Tape
by 23tiklassen in Craft > Duct Tape
448 Views, 5 Favorites, 0 Comments
Create Your Own Art With Duct Tape
.jpeg)
.jpeg)
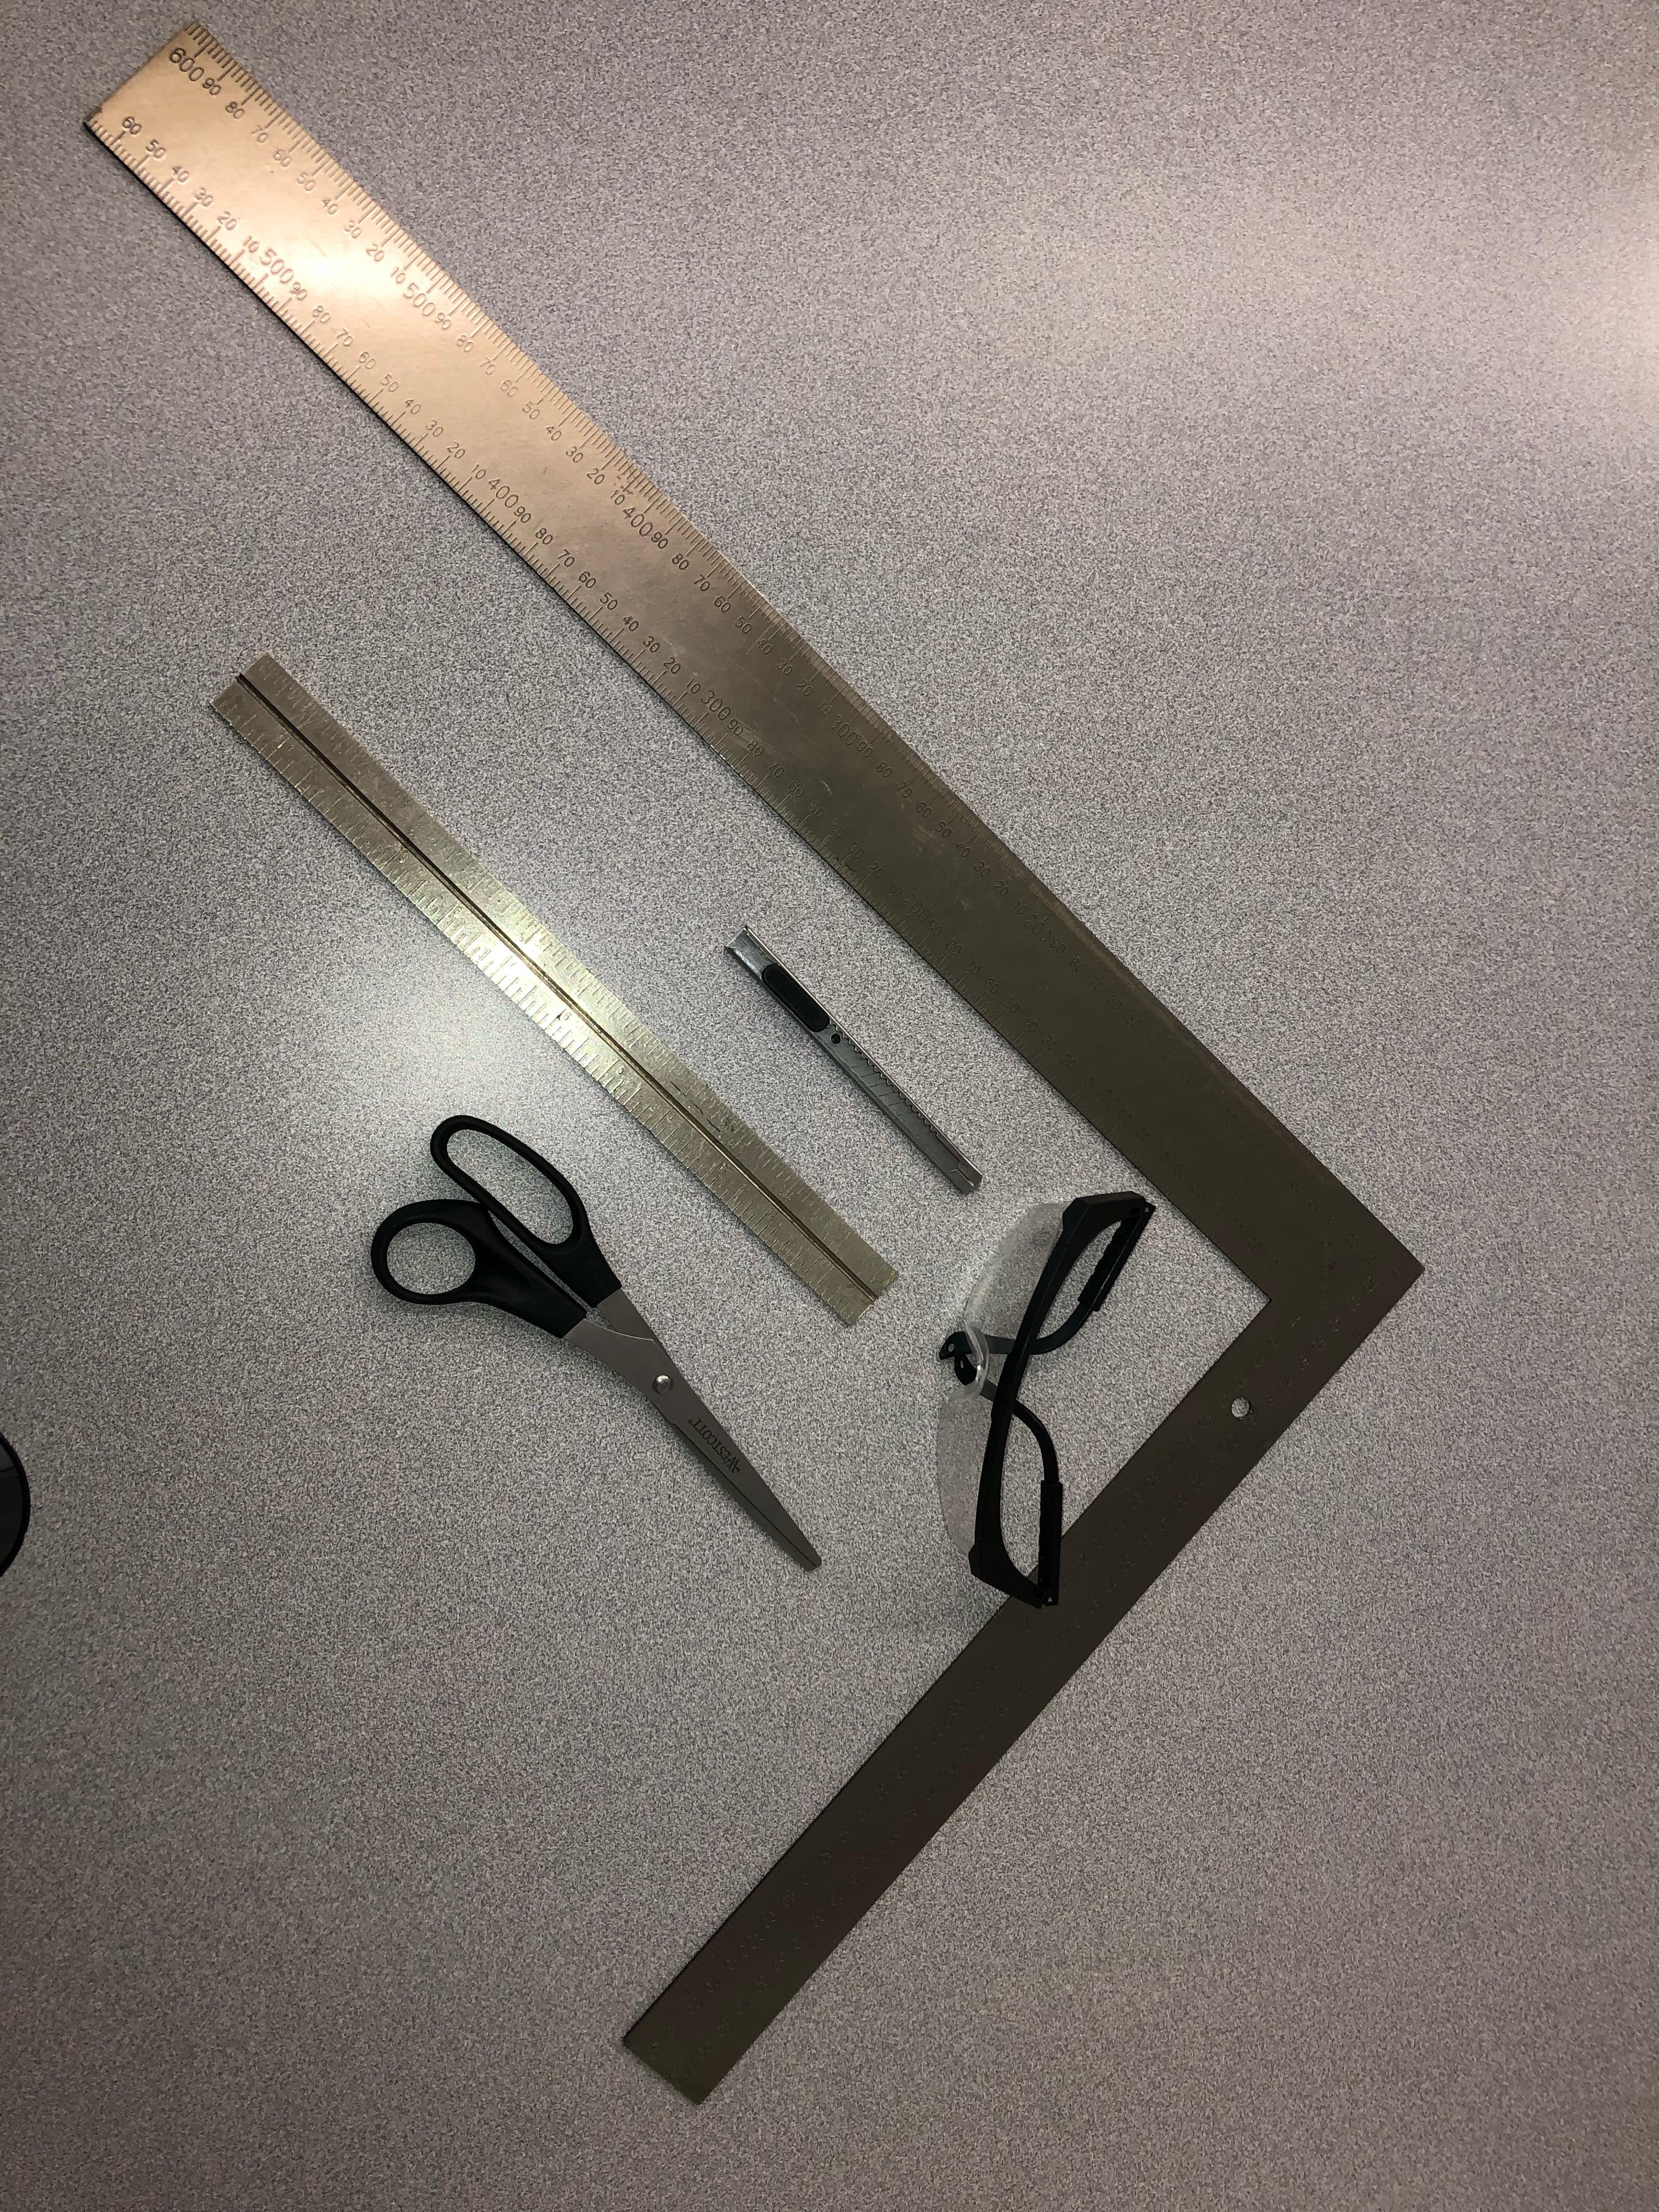
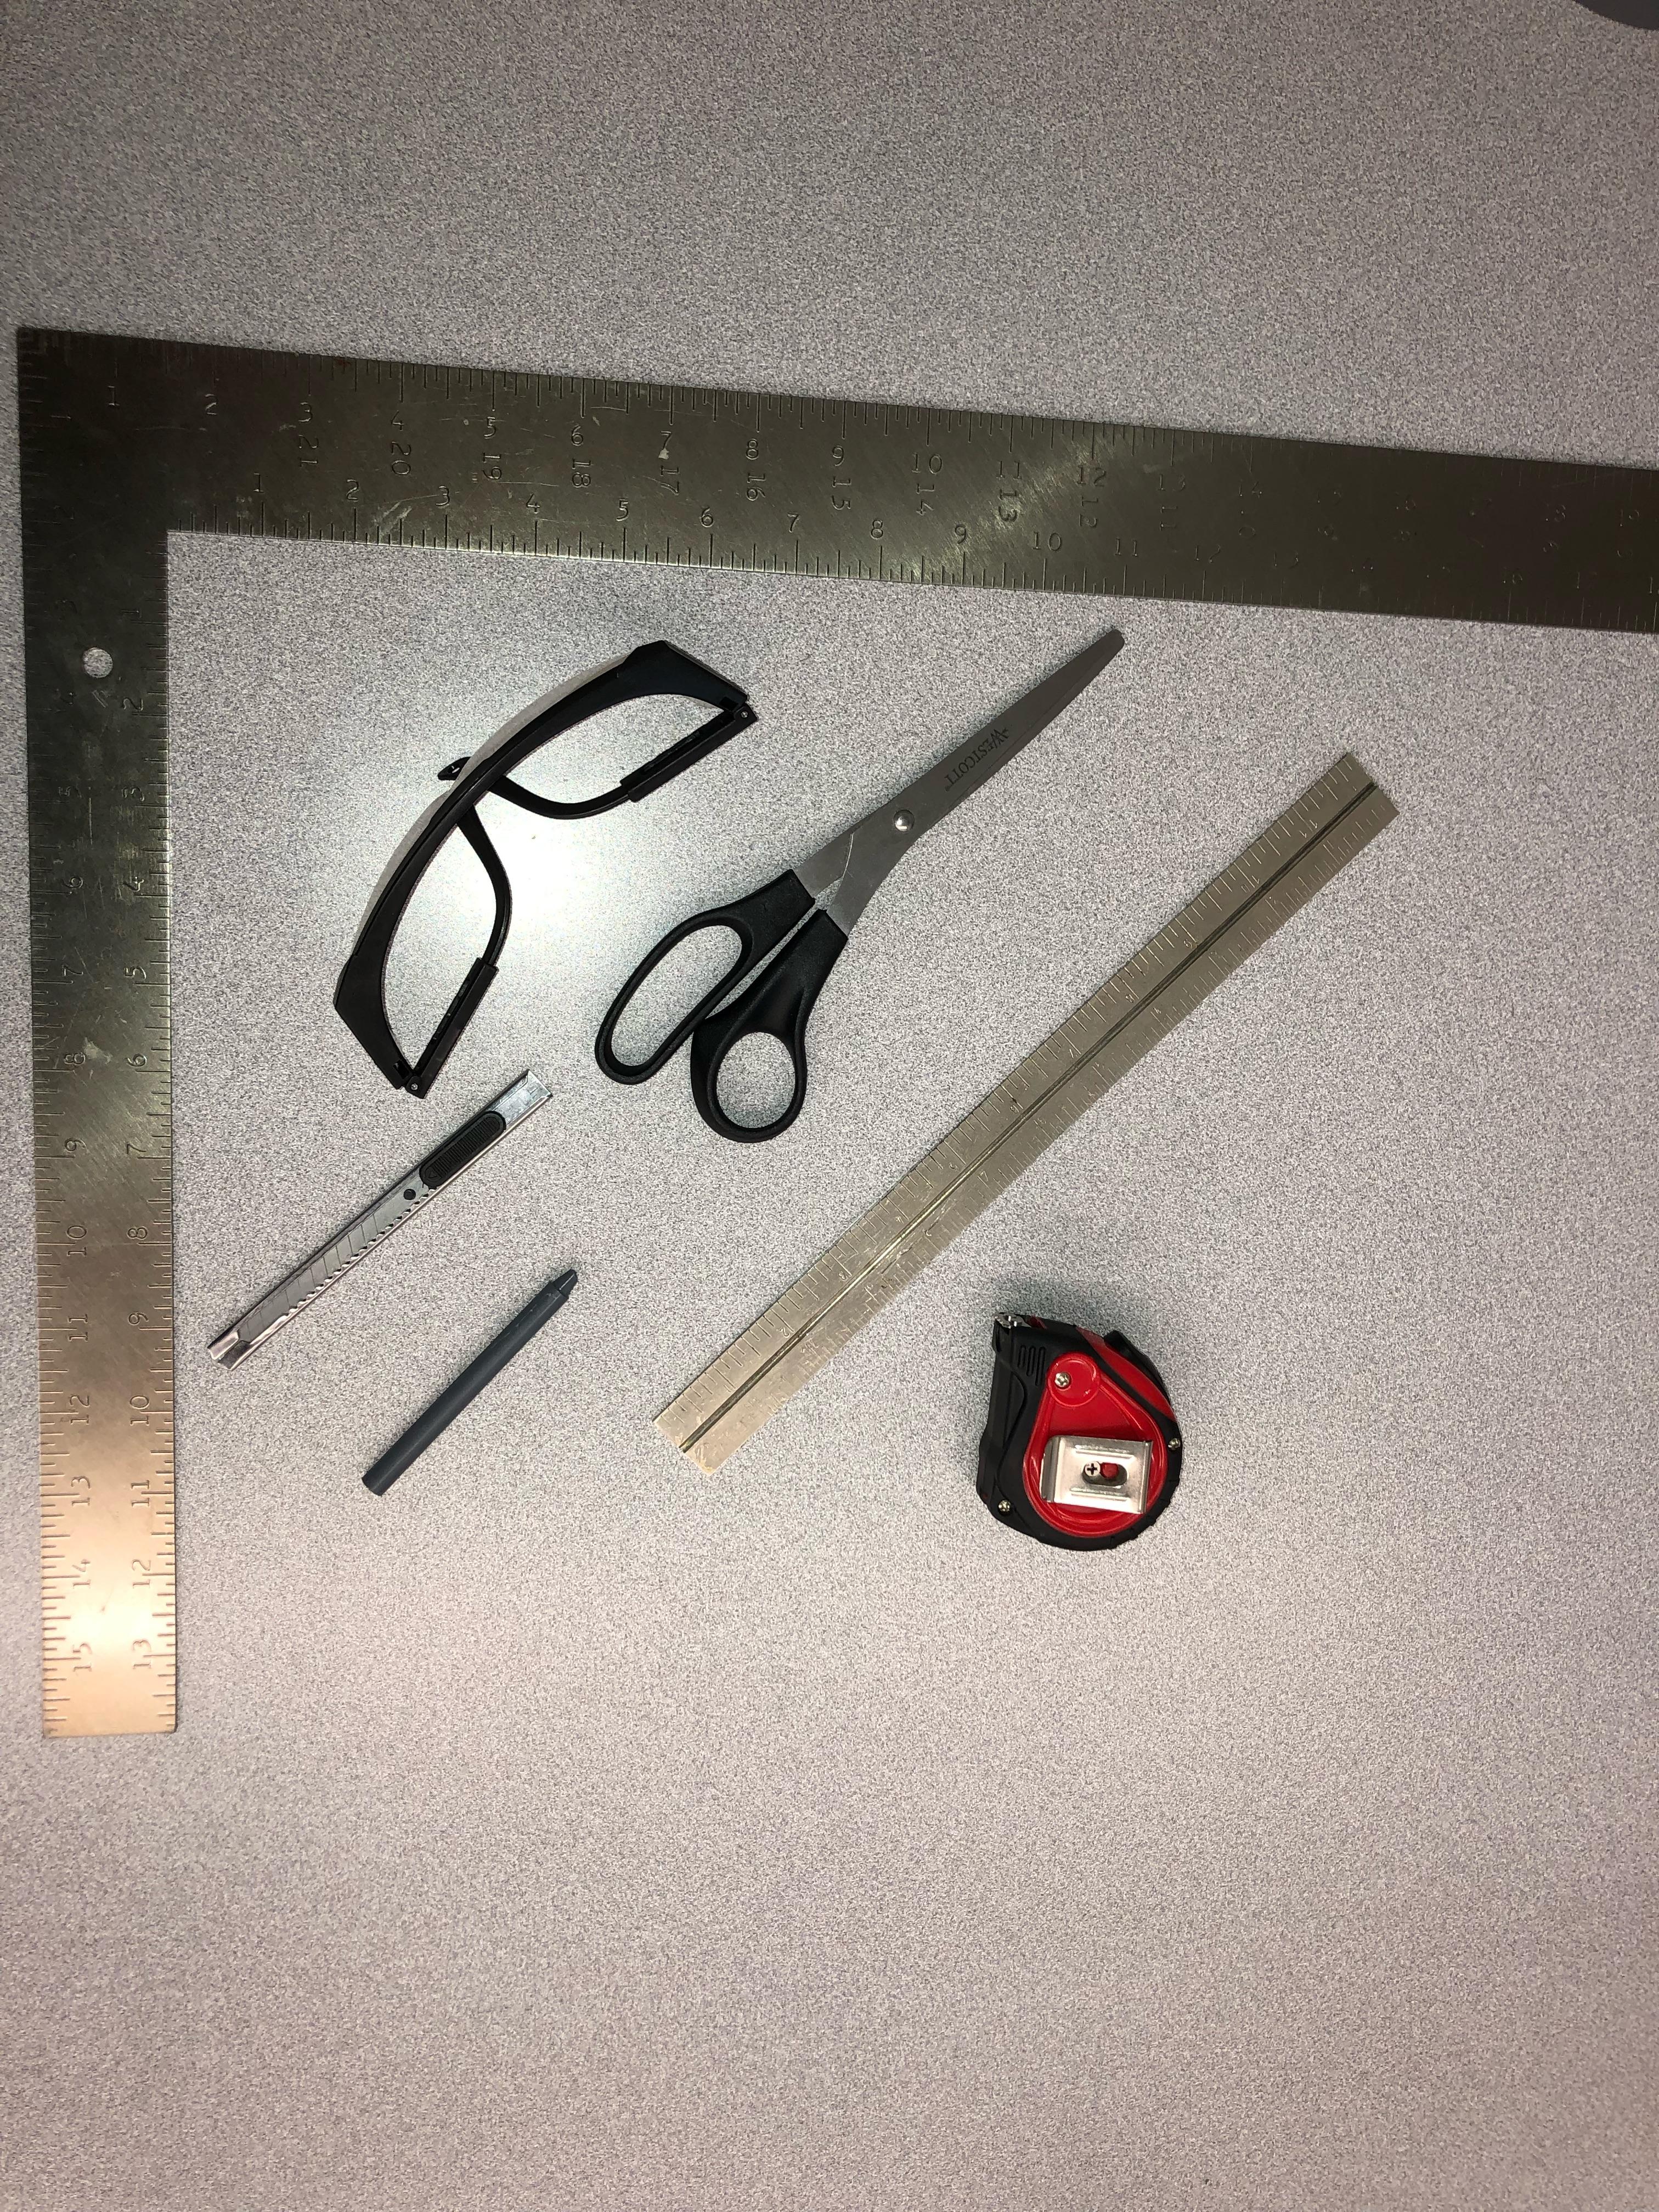
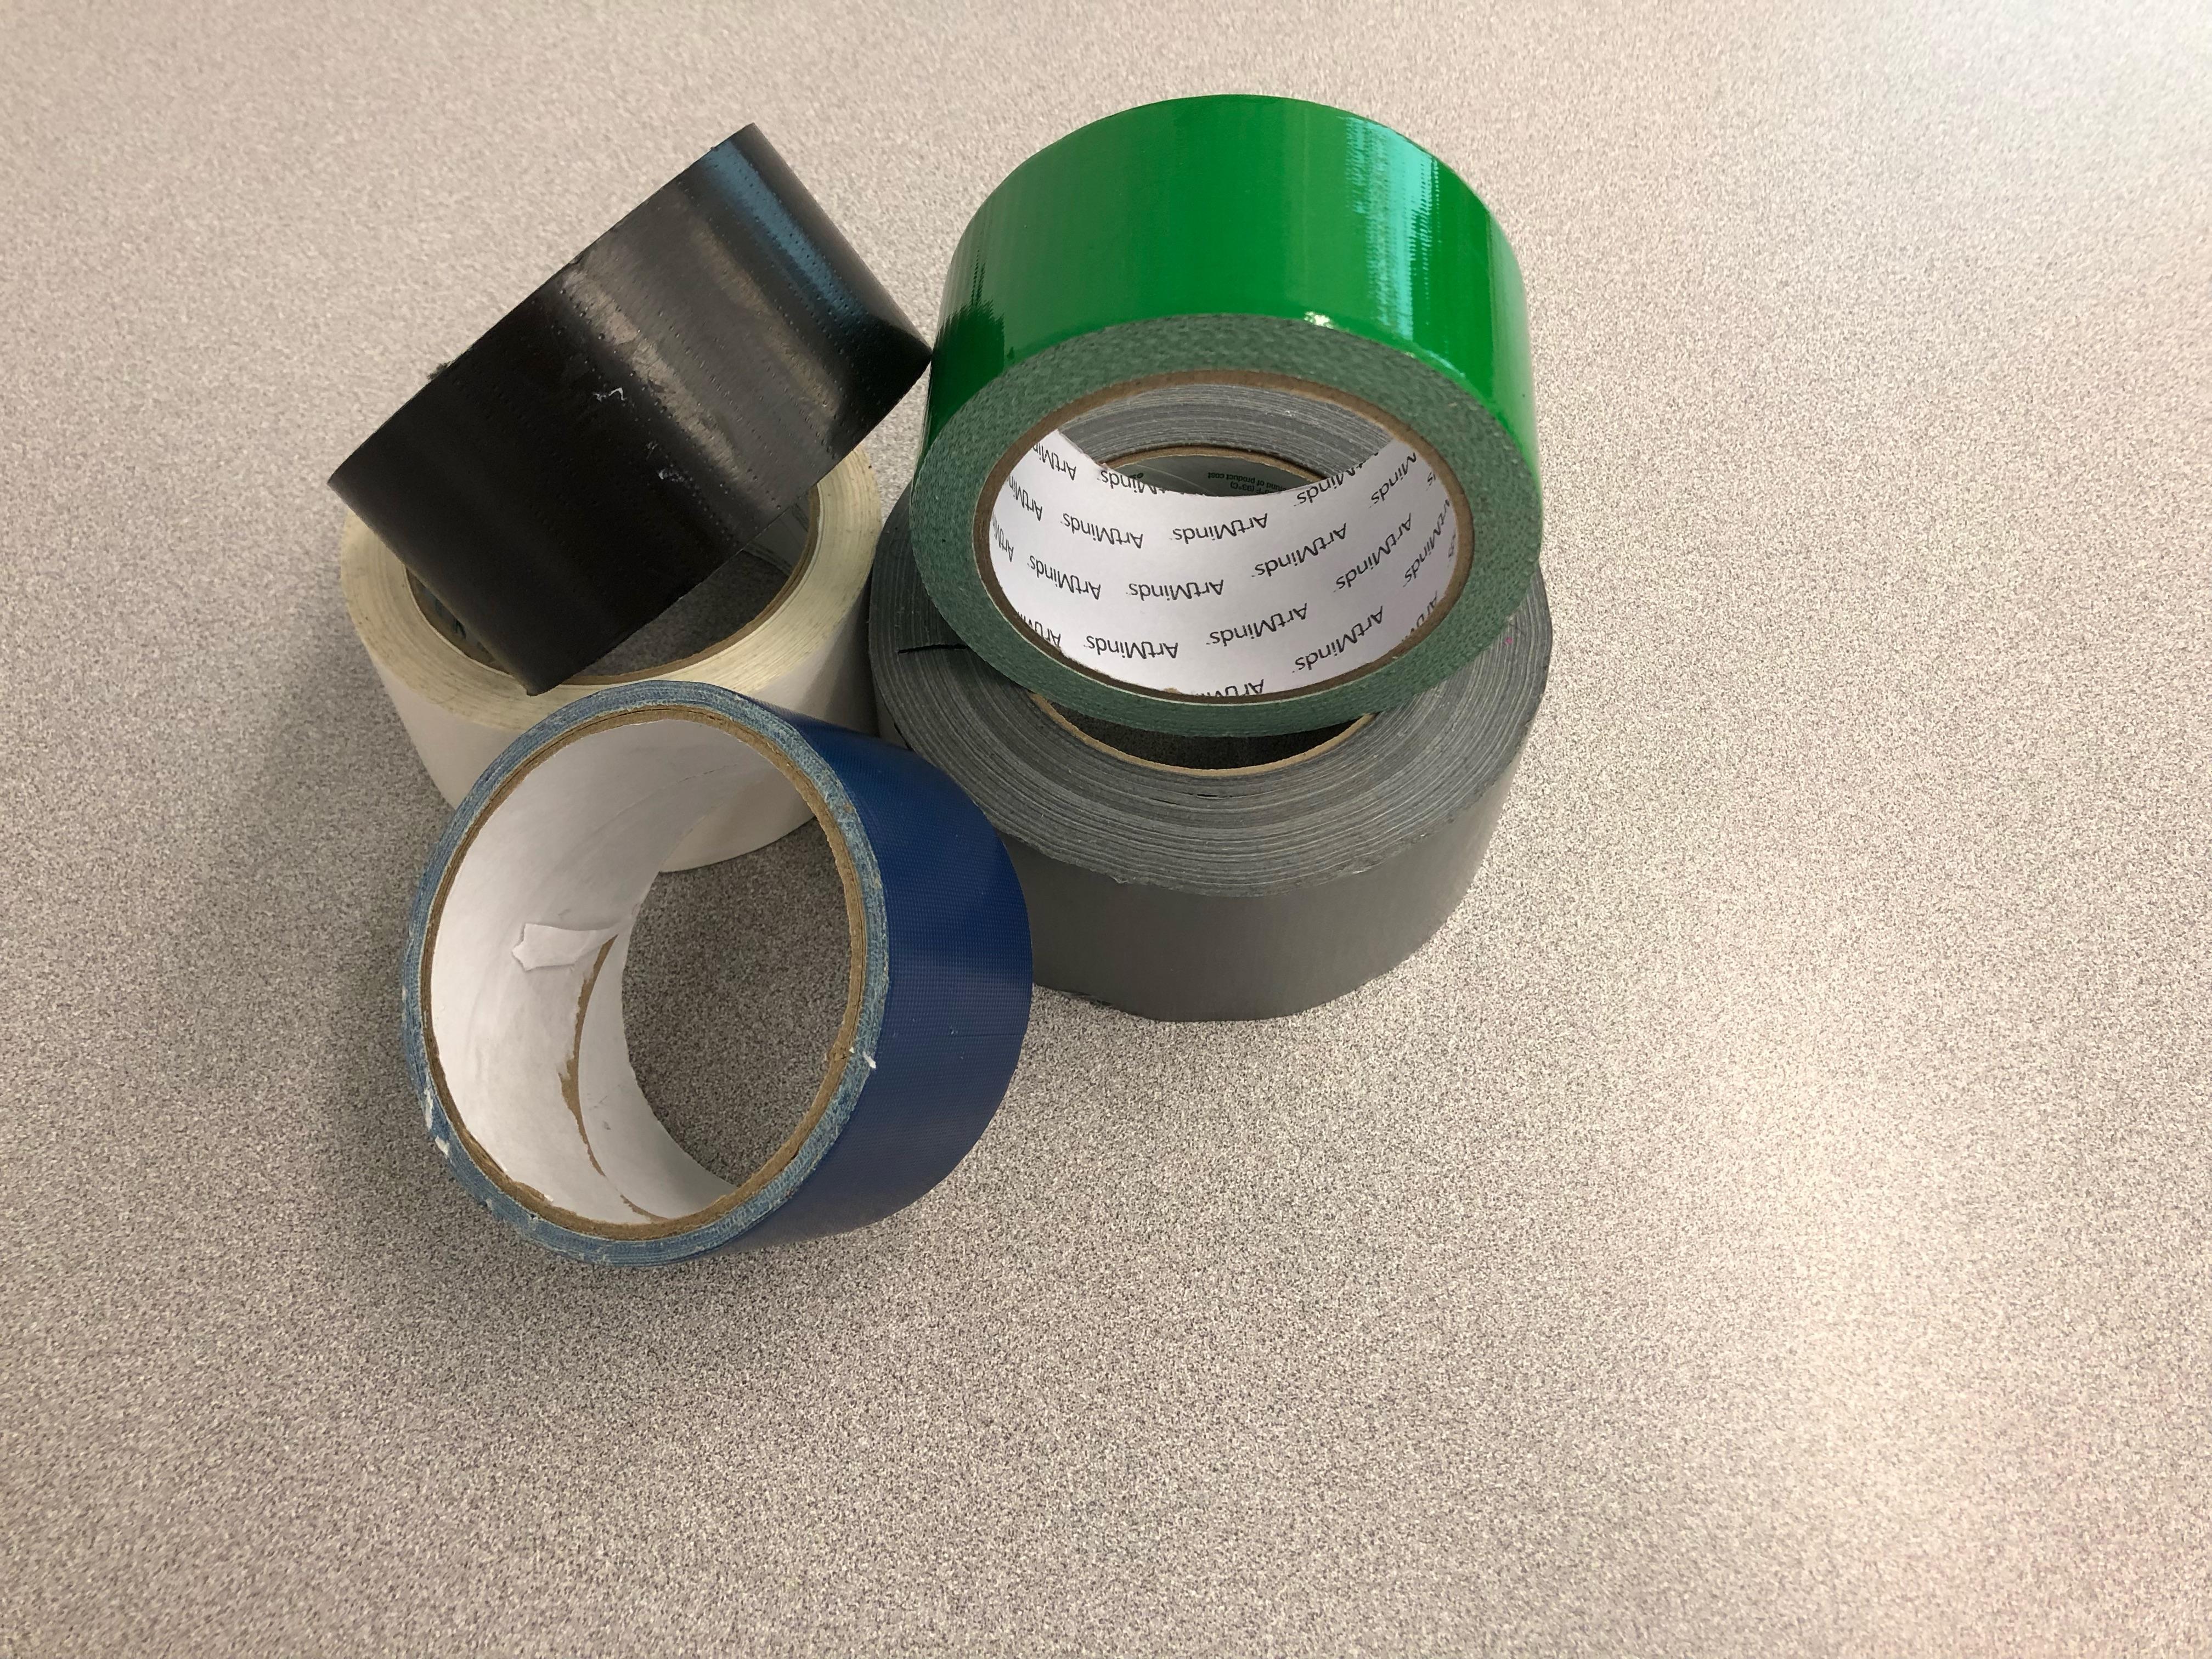
You will need, scissors, a ruler, duct tape, a knife, safety glasses, measuring tape and anything else that you think you'll need for this project.
In this project you will be creating a type of duct tape art, rather it's for decoration, a pass time, or just art work. Here is a simple how to, instructable and how to create your own duct tape art masterpiece.
Step 1:
![_[IMG_0708] (imported)-5.0 (Indexed color 8-bit gamma integer, Display P3, 1 layer) 3024x2589 – GIMP 2021-11-05 9_57_27 AM.png](/proxy/?url=https://content.instructables.com/F1C/9OIB/KWOYYX03/F1C9OIBKWOYYX03.png&filename=_[IMG_0708] (imported)-5.0 (Indexed color 8-bit gamma integer, Display P3, 1 layer) 3024x2589 – GIMP 2021-11-05 9_57_27 AM.png)
-Start off by finding any image of your choice. I suggest not choosing an overly complicated image since that will make the process harder and longer, but the choice is yours.
Step: 2 Photo Editor
.png)
![_[Untitled]-3.0 (Grayscale 8-bit gamma integer, GIMP built-in D65 Grayscale with sRGB TRC, 1 layer) 3024x2589 – GIMP 2021-11-09 9_24_53 AM.png](/proxy/?url=https://content.instructables.com/FR6/K2LY/KWOYYWZ9/FR6K2LYKWOYYWZ9.png&filename=_[Untitled]-3.0 (Grayscale 8-bit gamma integer, GIMP built-in D65 Grayscale with sRGB TRC, 1 layer) 3024x2589 – GIMP 2021-11-09 9_24_53 AM.png)
![_[Untitled]-3.0 (Indexed color 8-bit gamma integer, GIMP built-in sRGB, 1 layer) 3024x2589 – GIMP 2021-11-09 9_53_05 AM.png](/proxy/?url=https://content.instructables.com/FFG/WE8D/KWOYYX04/FFGWE8DKWOYYX04.png&filename=_[Untitled]-3.0 (Indexed color 8-bit gamma integer, GIMP built-in sRGB, 1 layer) 3024x2589 – GIMP 2021-11-09 9_53_05 AM.png)
Step 2)
-Use a photo editor program to simplify your colors. Here I used Gimp https://www.gimp.org/ and altered the image to the amount of colours that I was comfortable using. For example, if you are prepared to use 10 different shades of duct tape, chose ‘10’ as your # Number of Colors. Start off by going to Image-Mode-Indexed-Generate Optimum Palette- # Number Of Colors
If there is something you do not like about how the photo turned out, try experimenting with it a bit or editing the photo yourself.
These are some of the photos I took. I chose to do the first one with only 2 colors. You can choose as many colors as you like.
Step:3
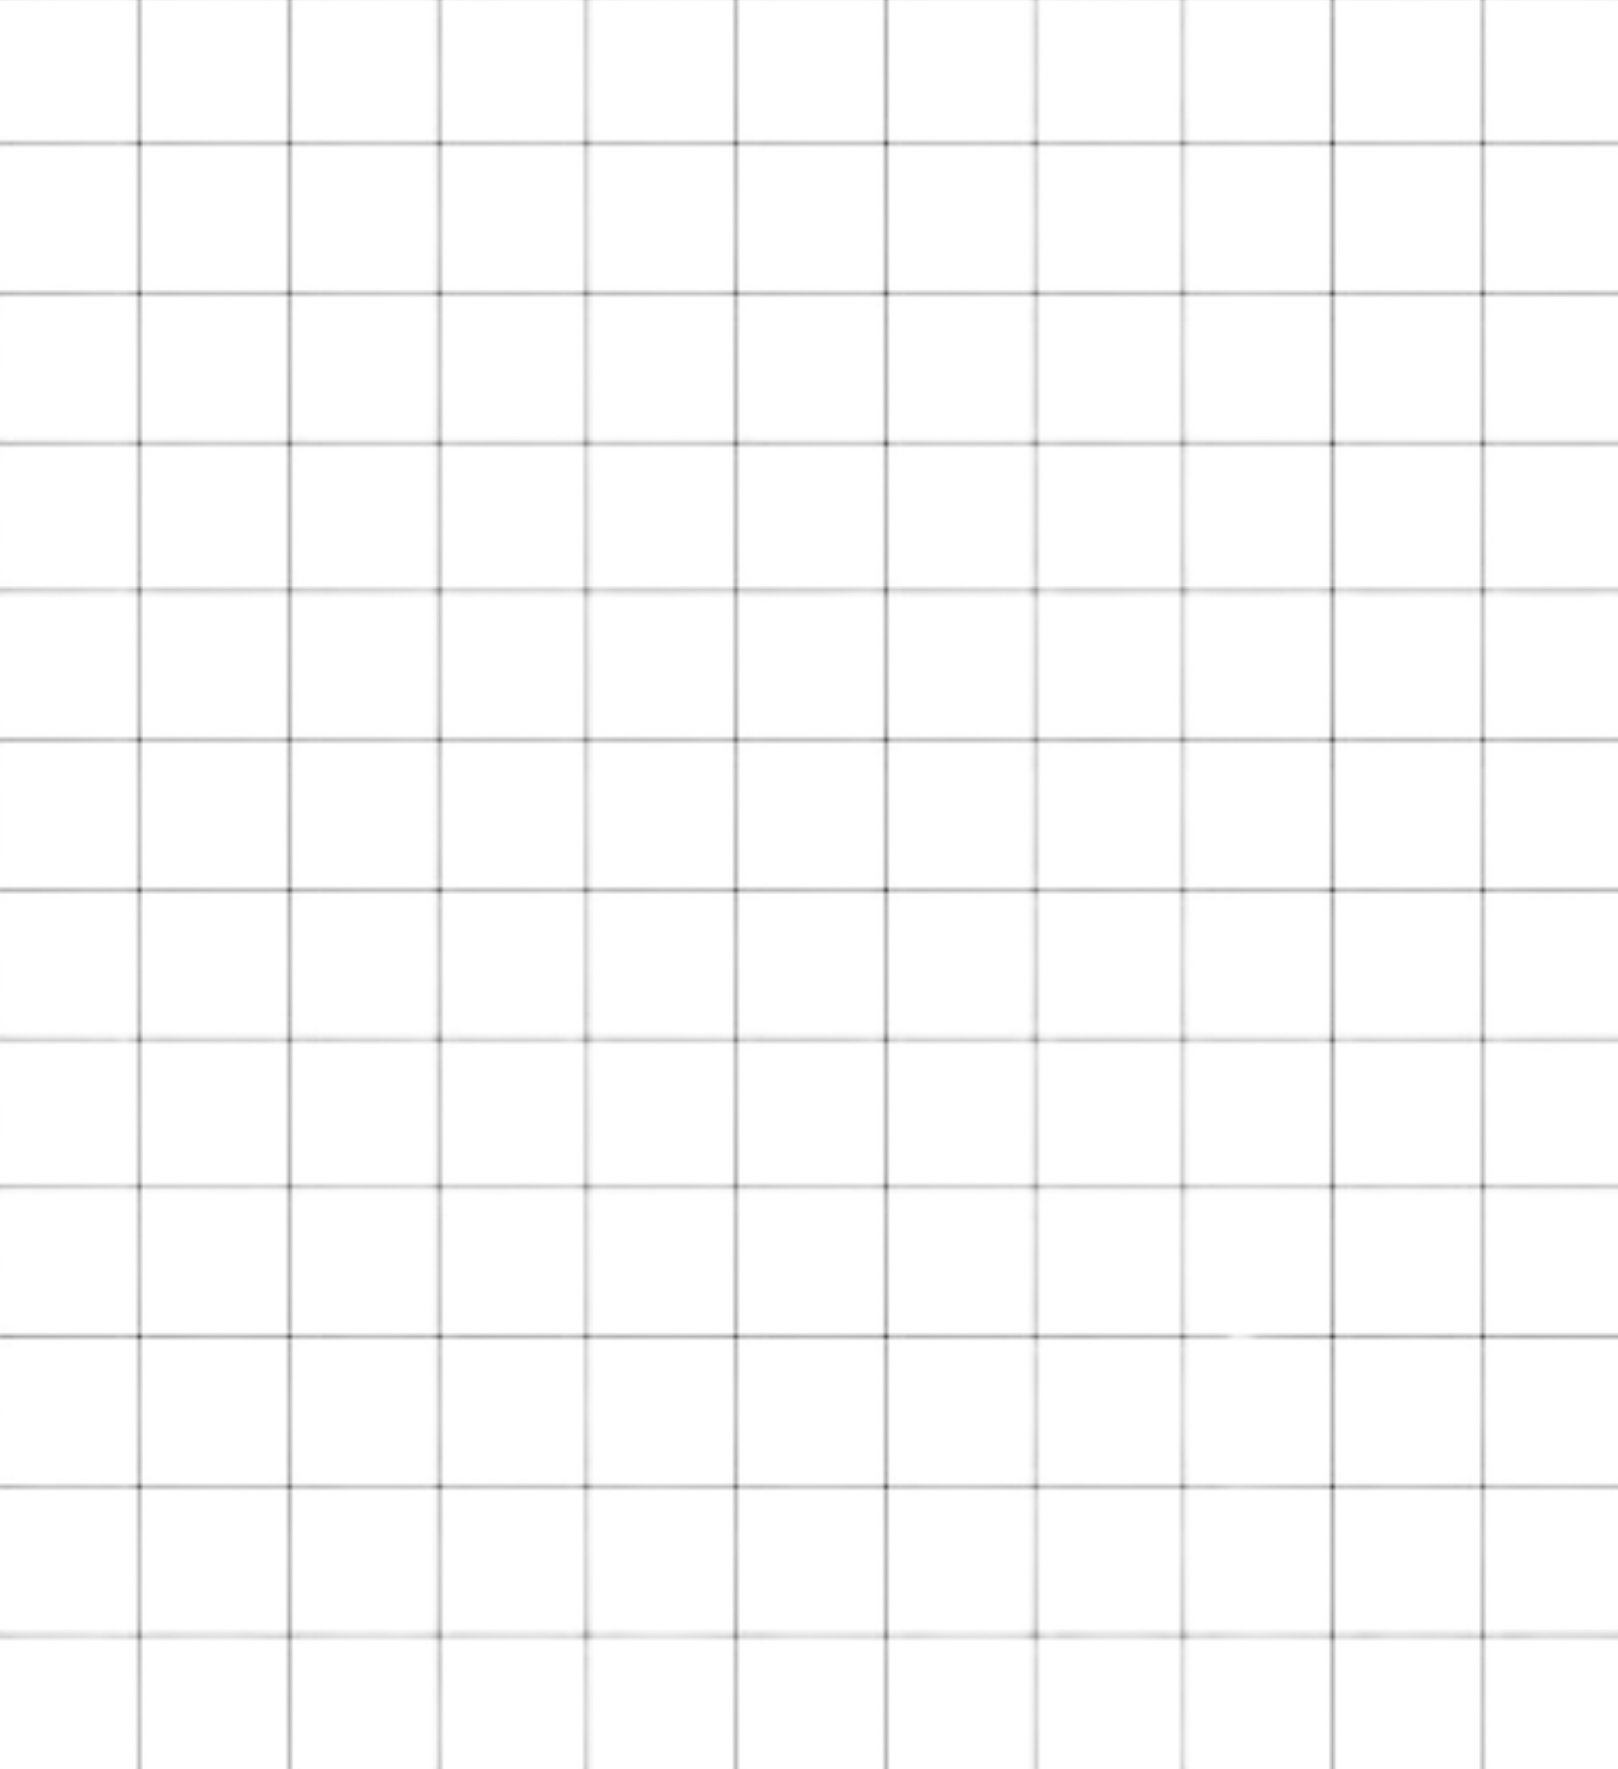
-Grab a grid and measure the length and width of your duct tape and then apply those same measurements to the grid.
Filter - Render - Pattern - Grid - line width/height = 1 - Width/Height
Background
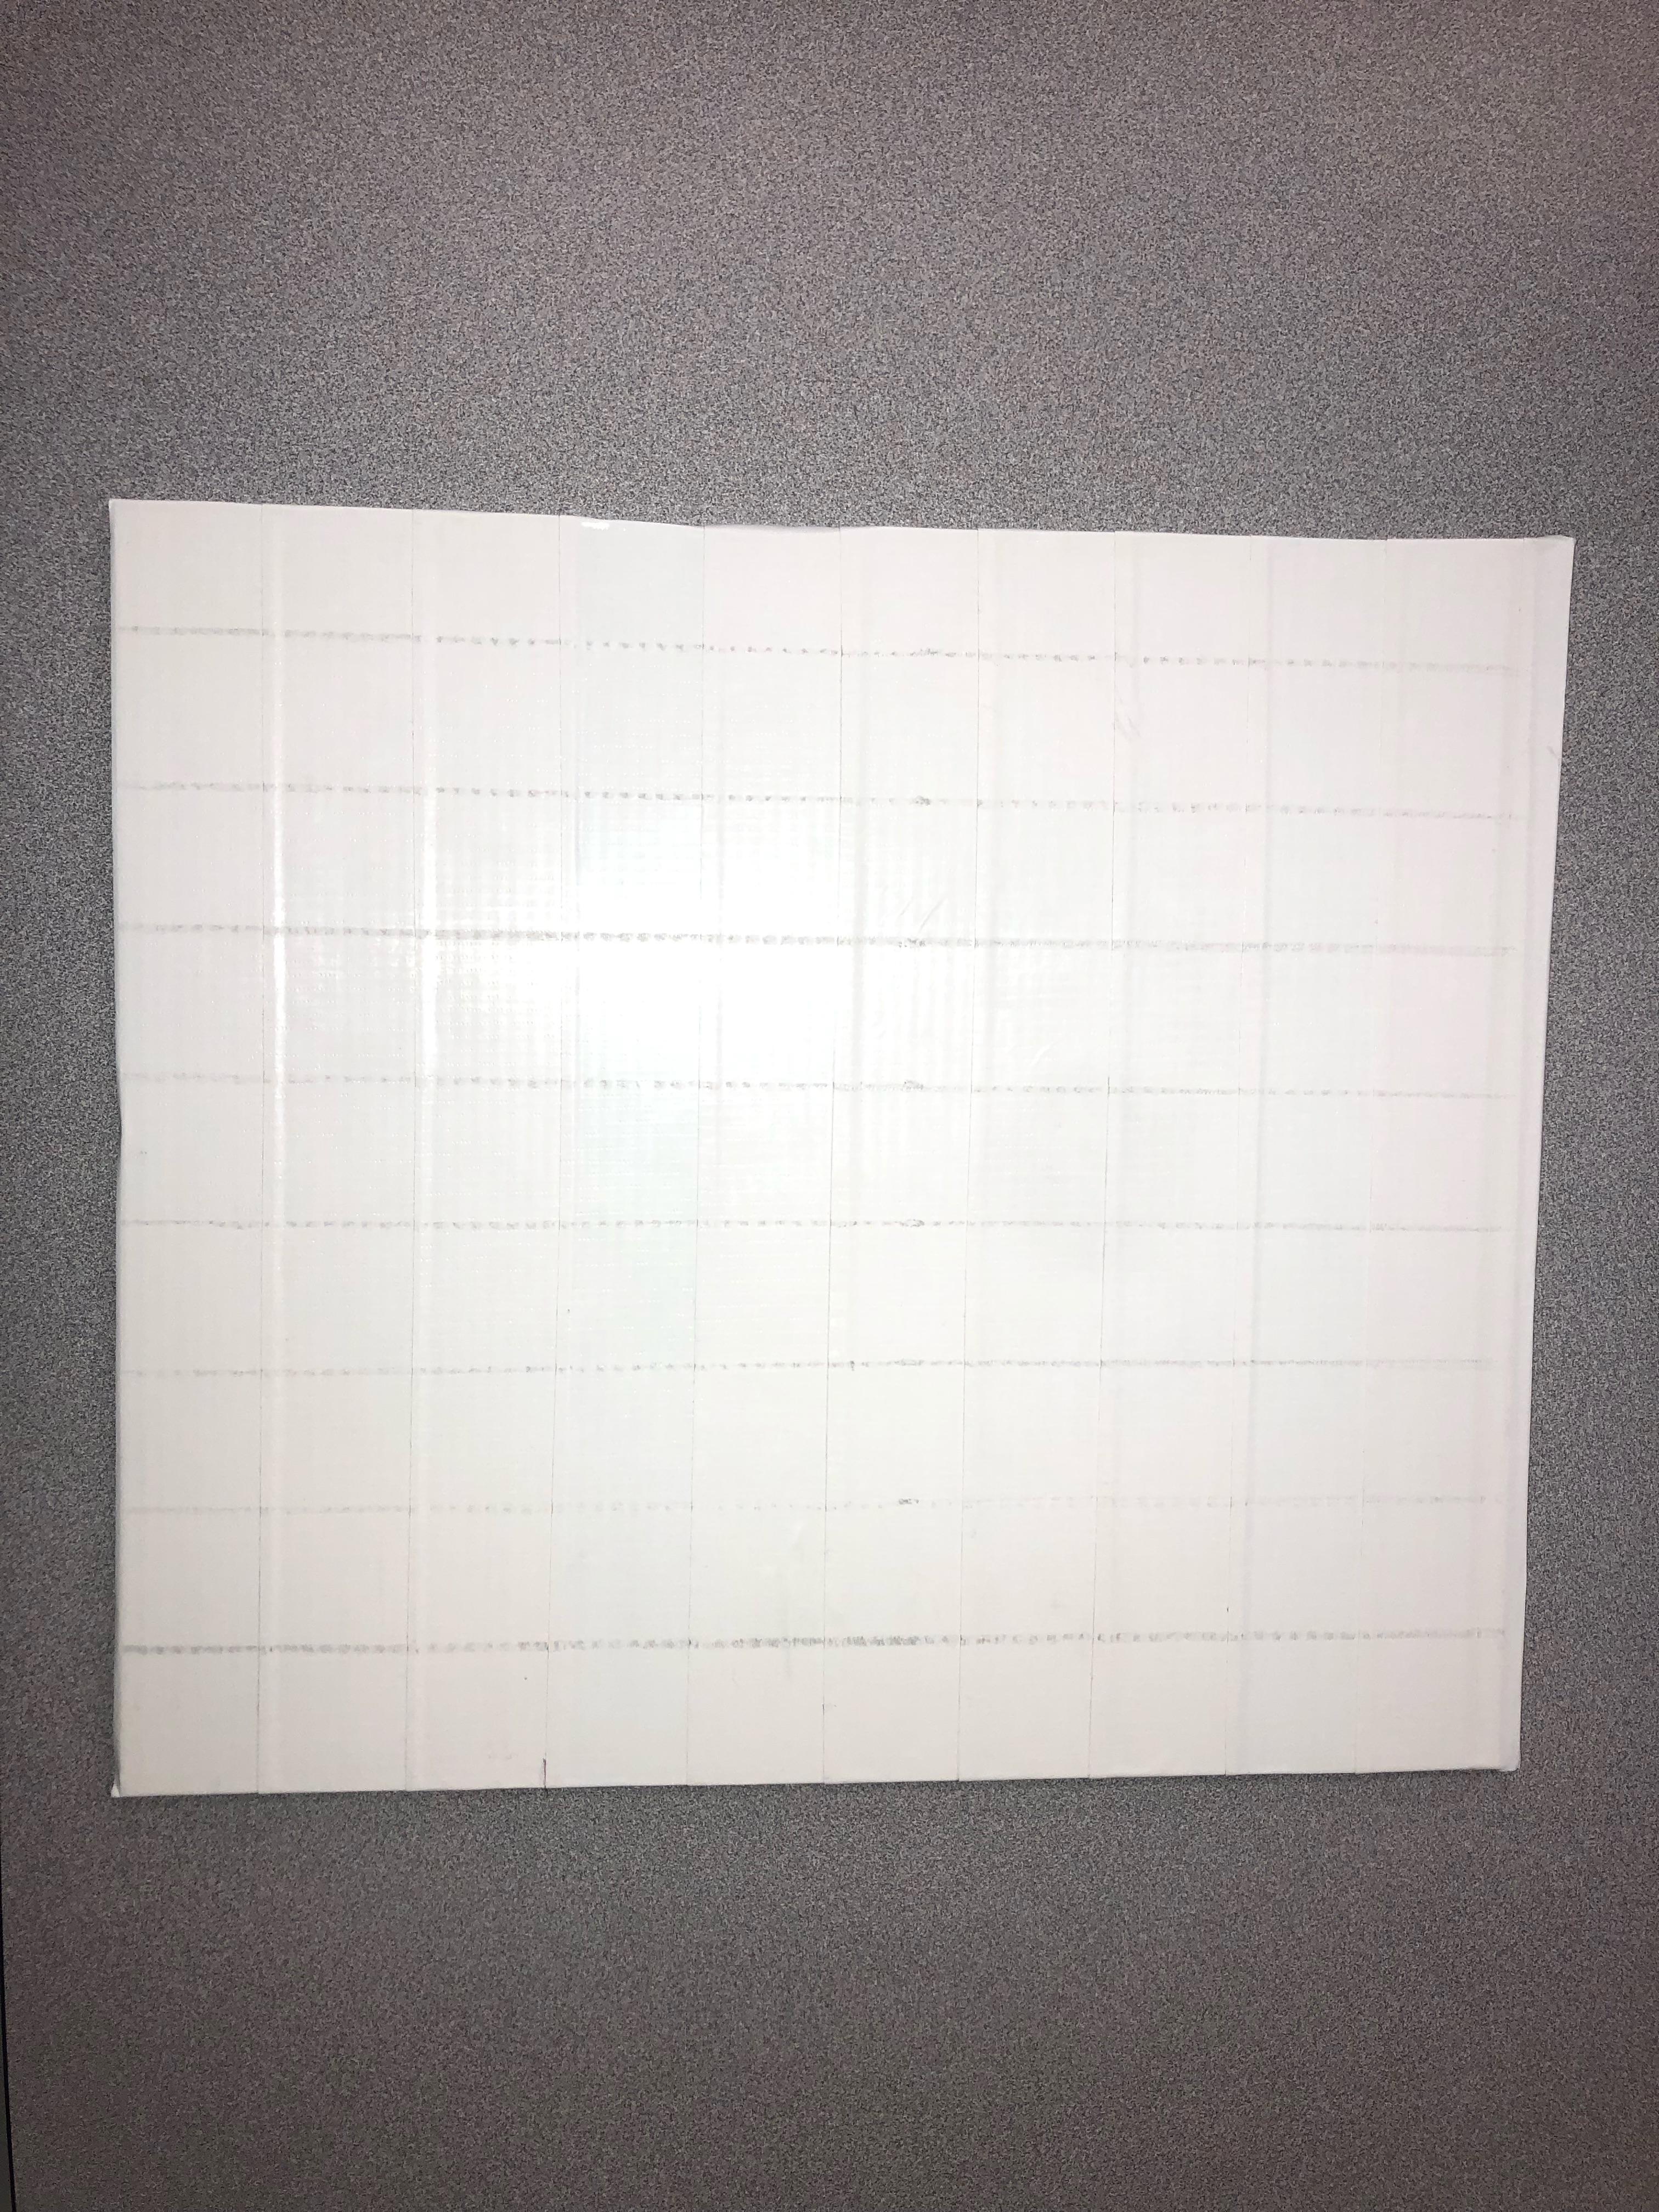
Step 5)
-Start placing down your duct tape of your main background going in one direction.
Step 6: Colors
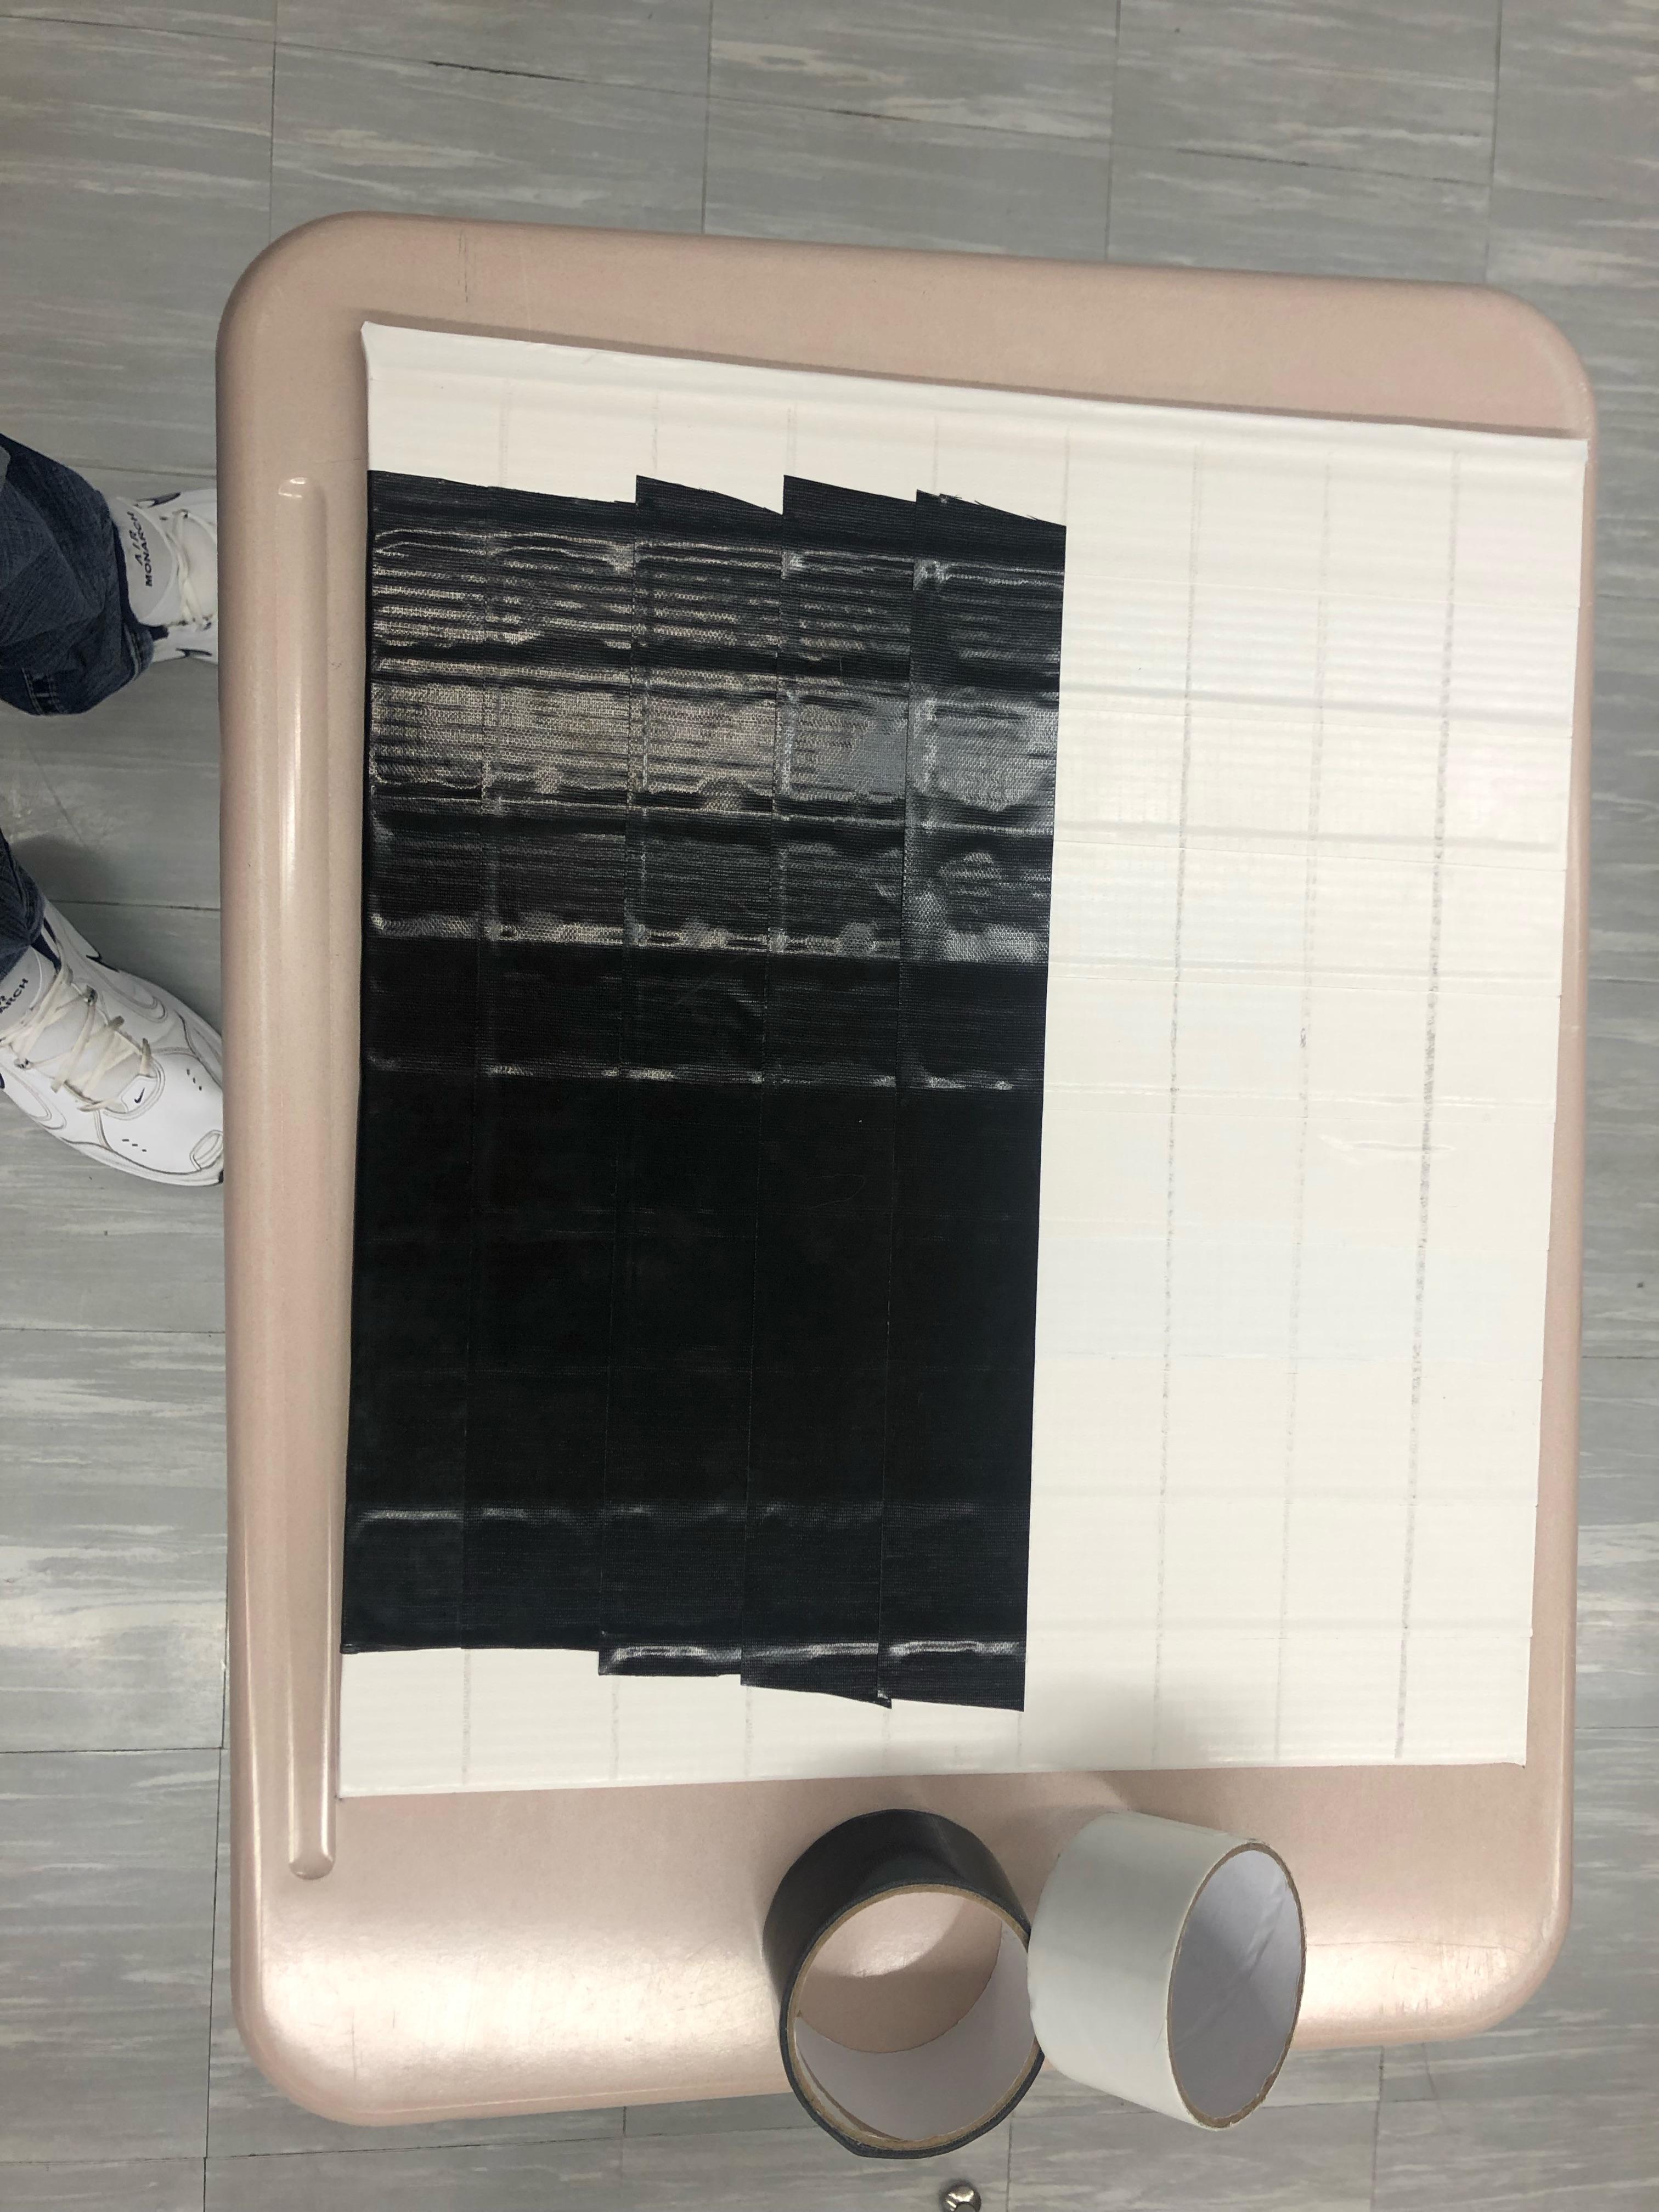.jpeg)
-Start placing down your other colors of duct tape going in the opposite direction to form out your image, be sure to cut out the required shape you need for that square before permanently applying it.
Step 6: Shaping
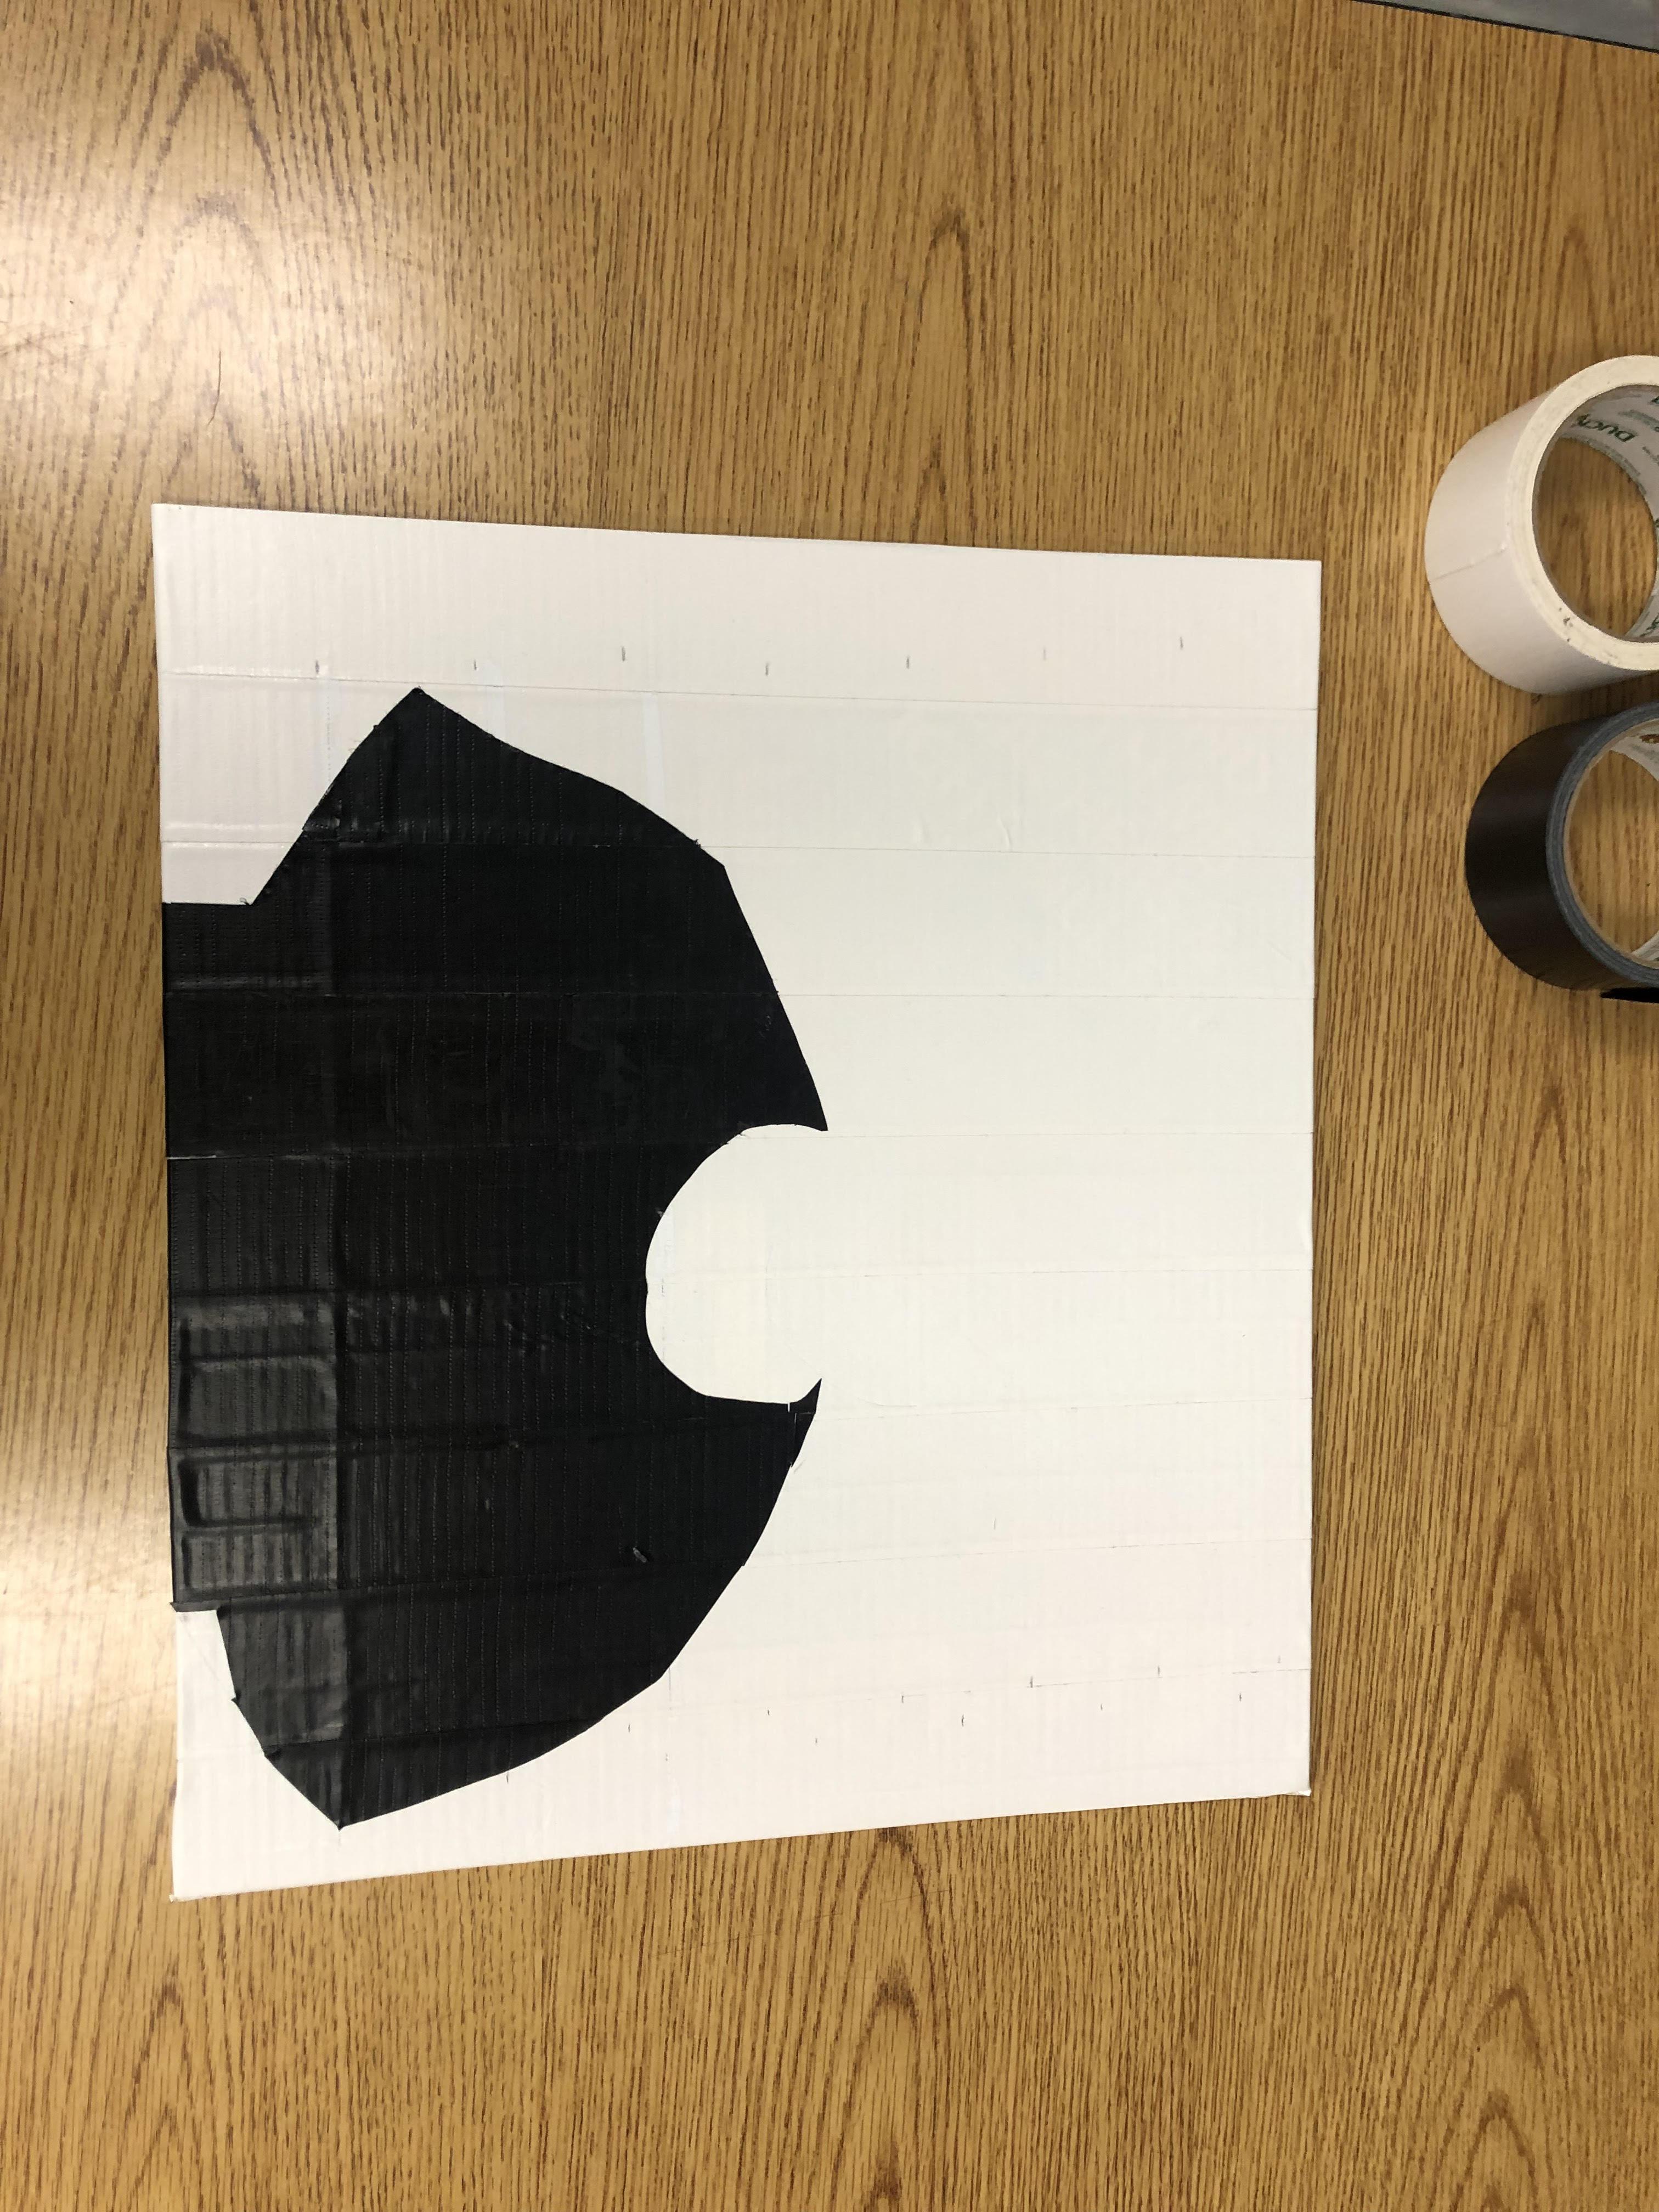
-Continue to layer your duct tape going from bigger layers to smaller ones till you finish. And cutting out your edges compared to your image.
Step 7: Finishing Touches
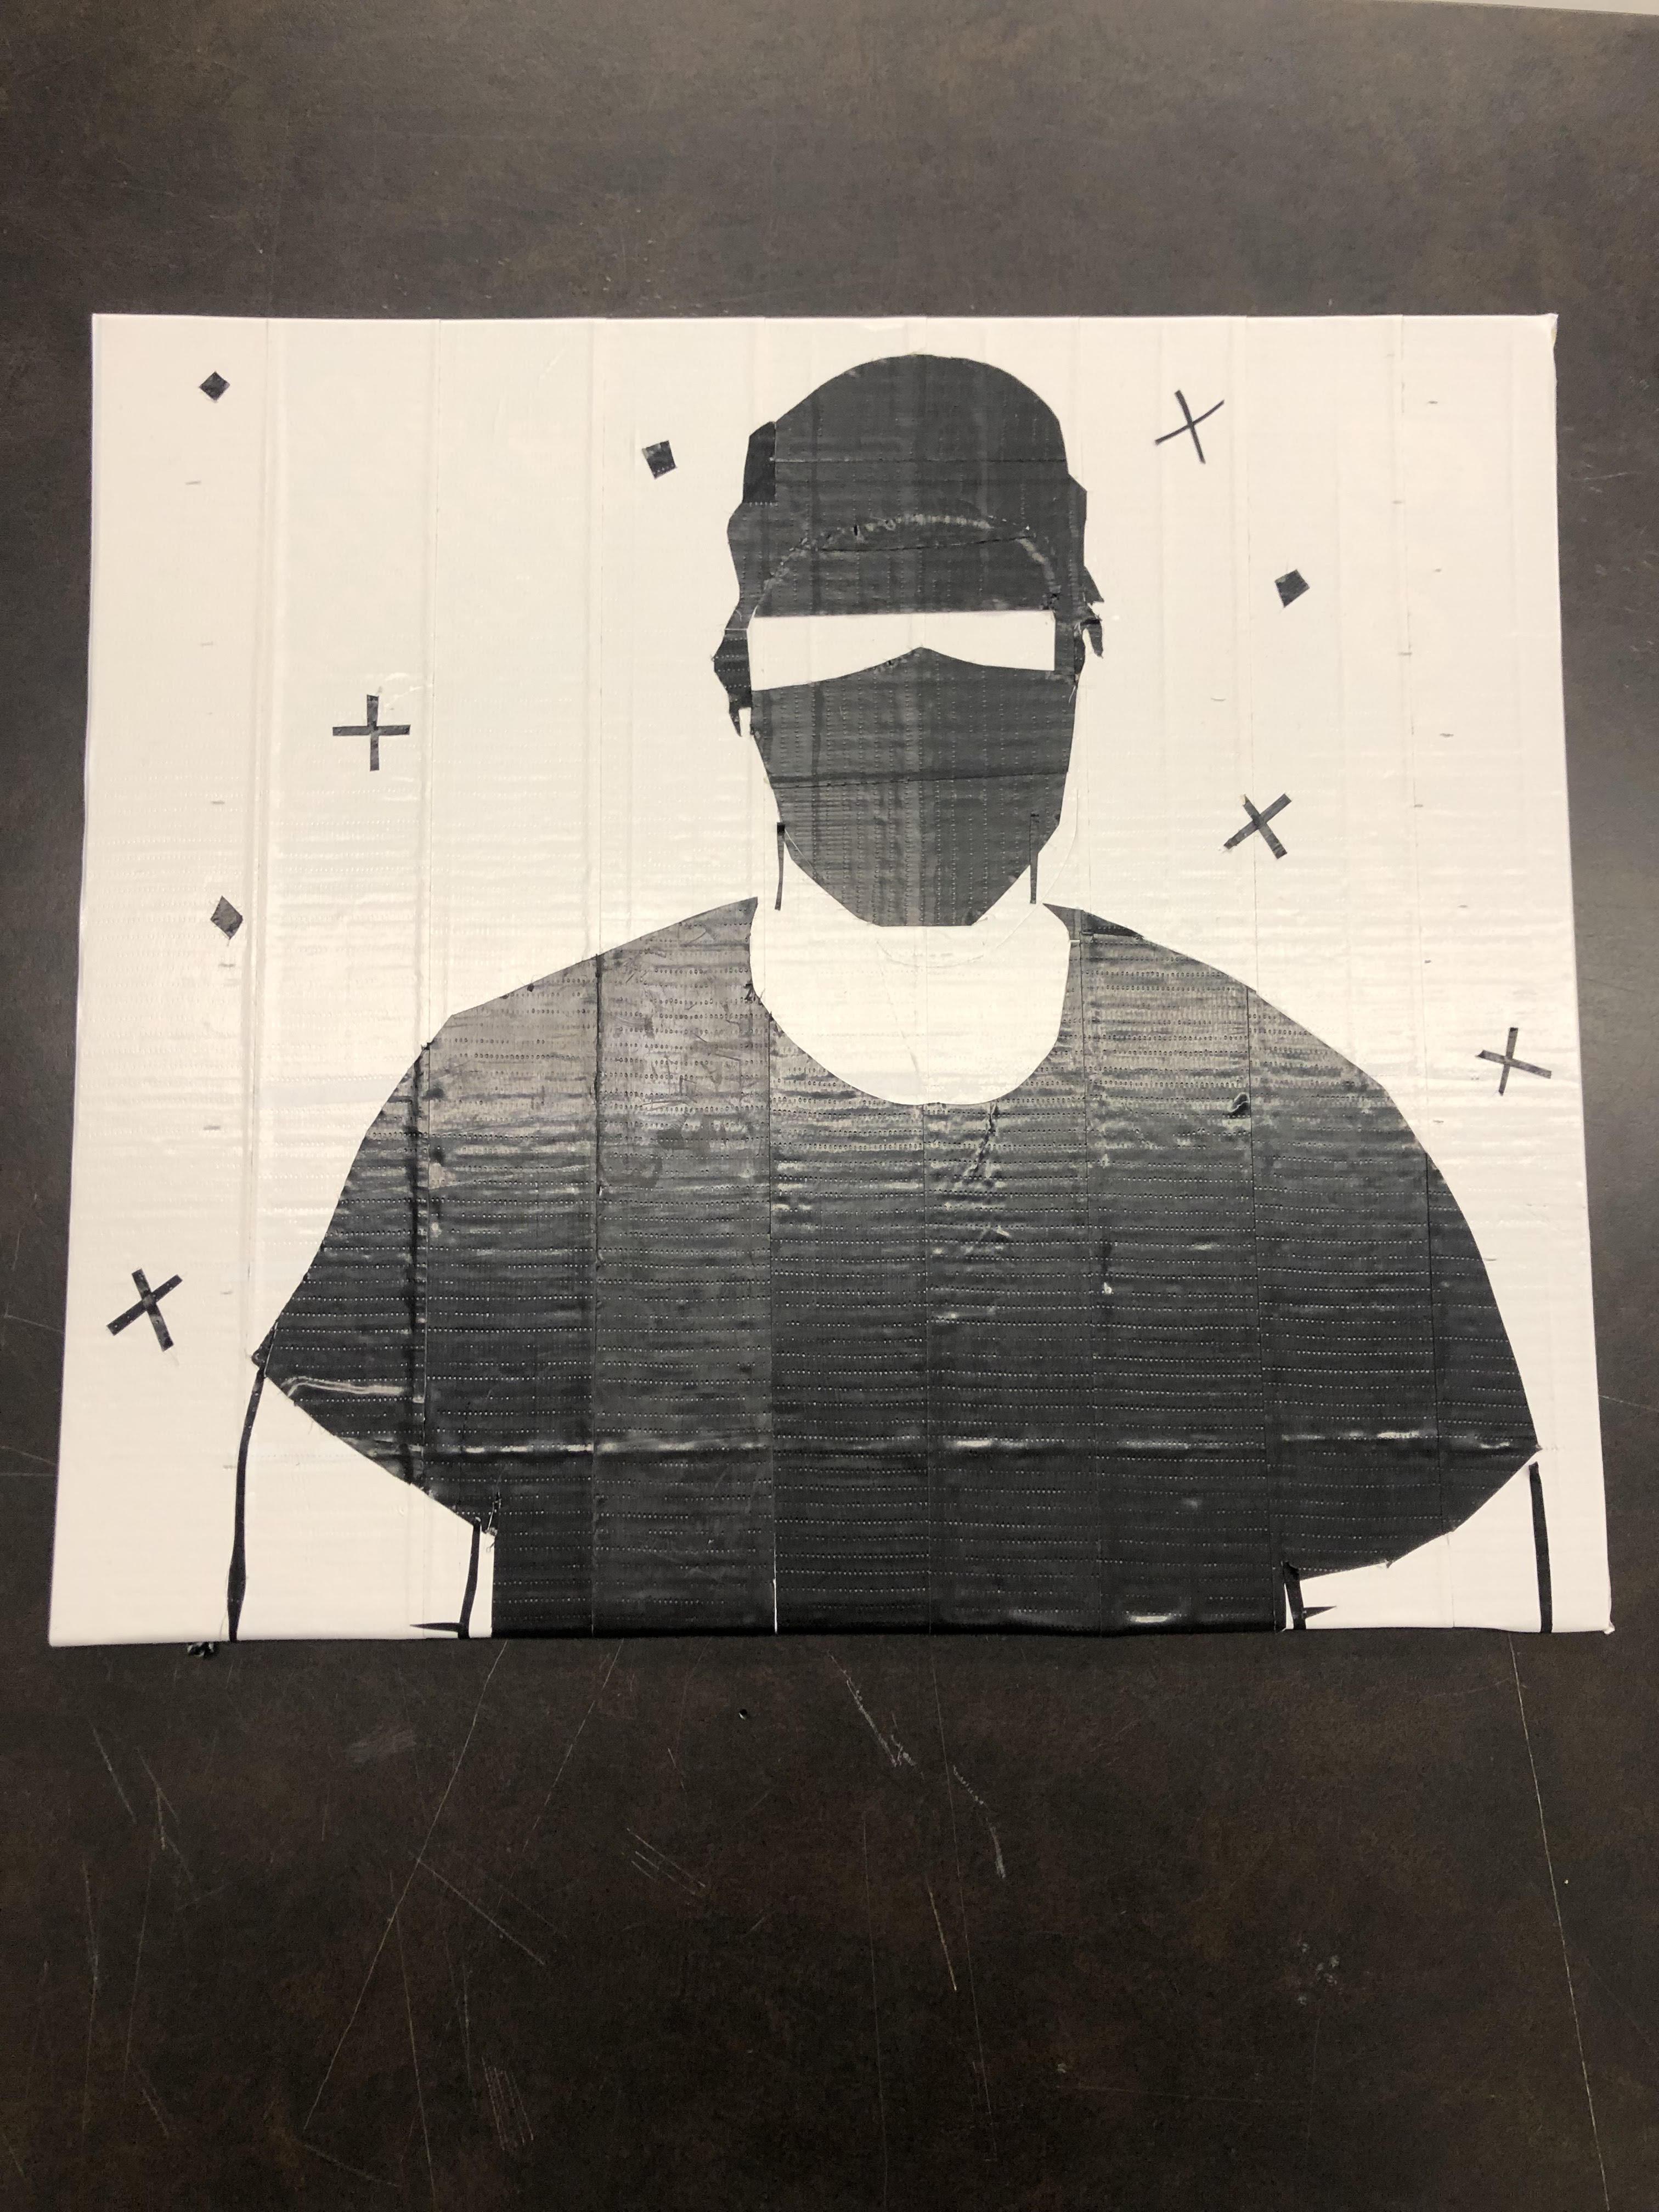
Continue cutting out the edges and doing details, as well as adding a few things our your choice to add onto it.
Side Note- If some details are too difficult to do then, be a bit creative and try to substitute the area that is harder to do.
Step 8: Finish Product
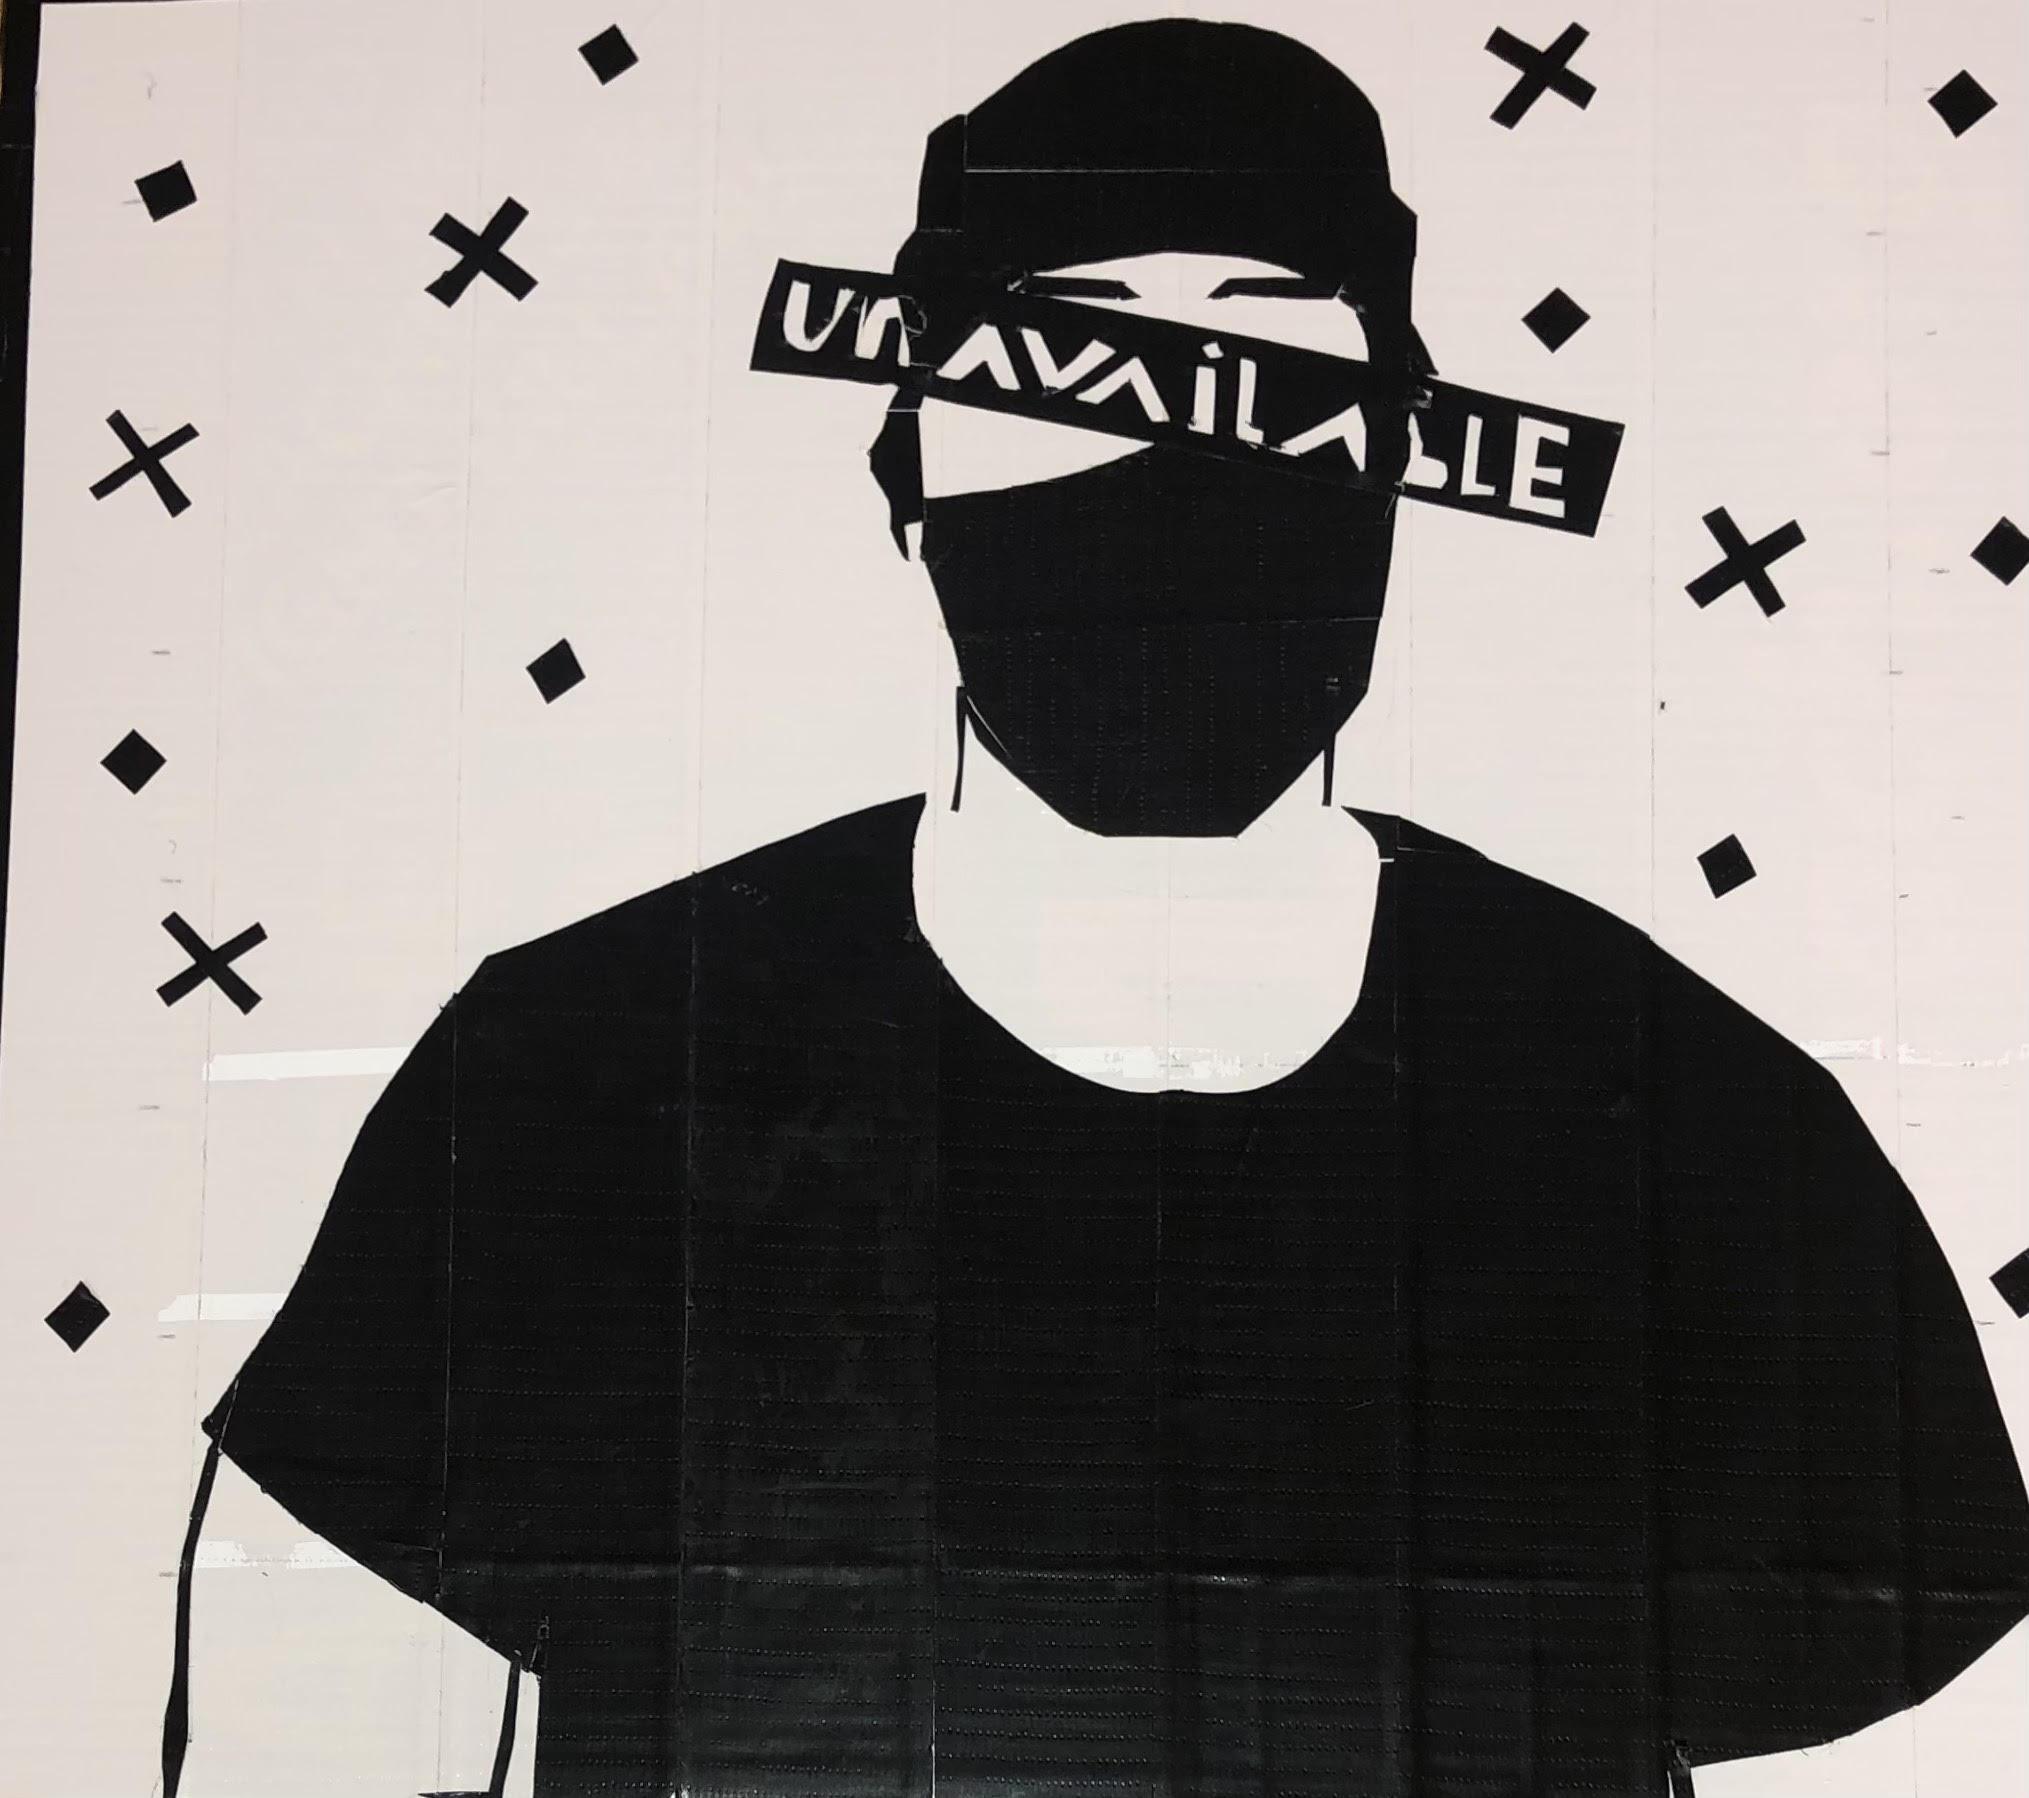
You are done, after adding whatever else you'd like.