Create Your First Racing Game
by ahmnouira in Circuits > Computers
13688 Views, 4 Favorites, 0 Comments
Create Your First Racing Game
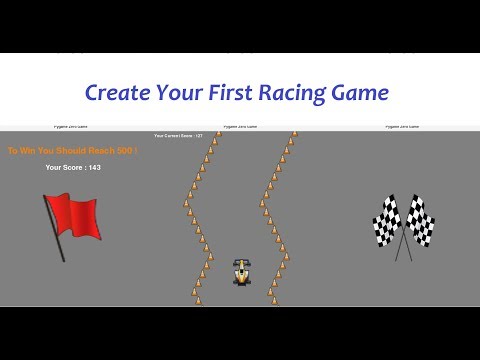
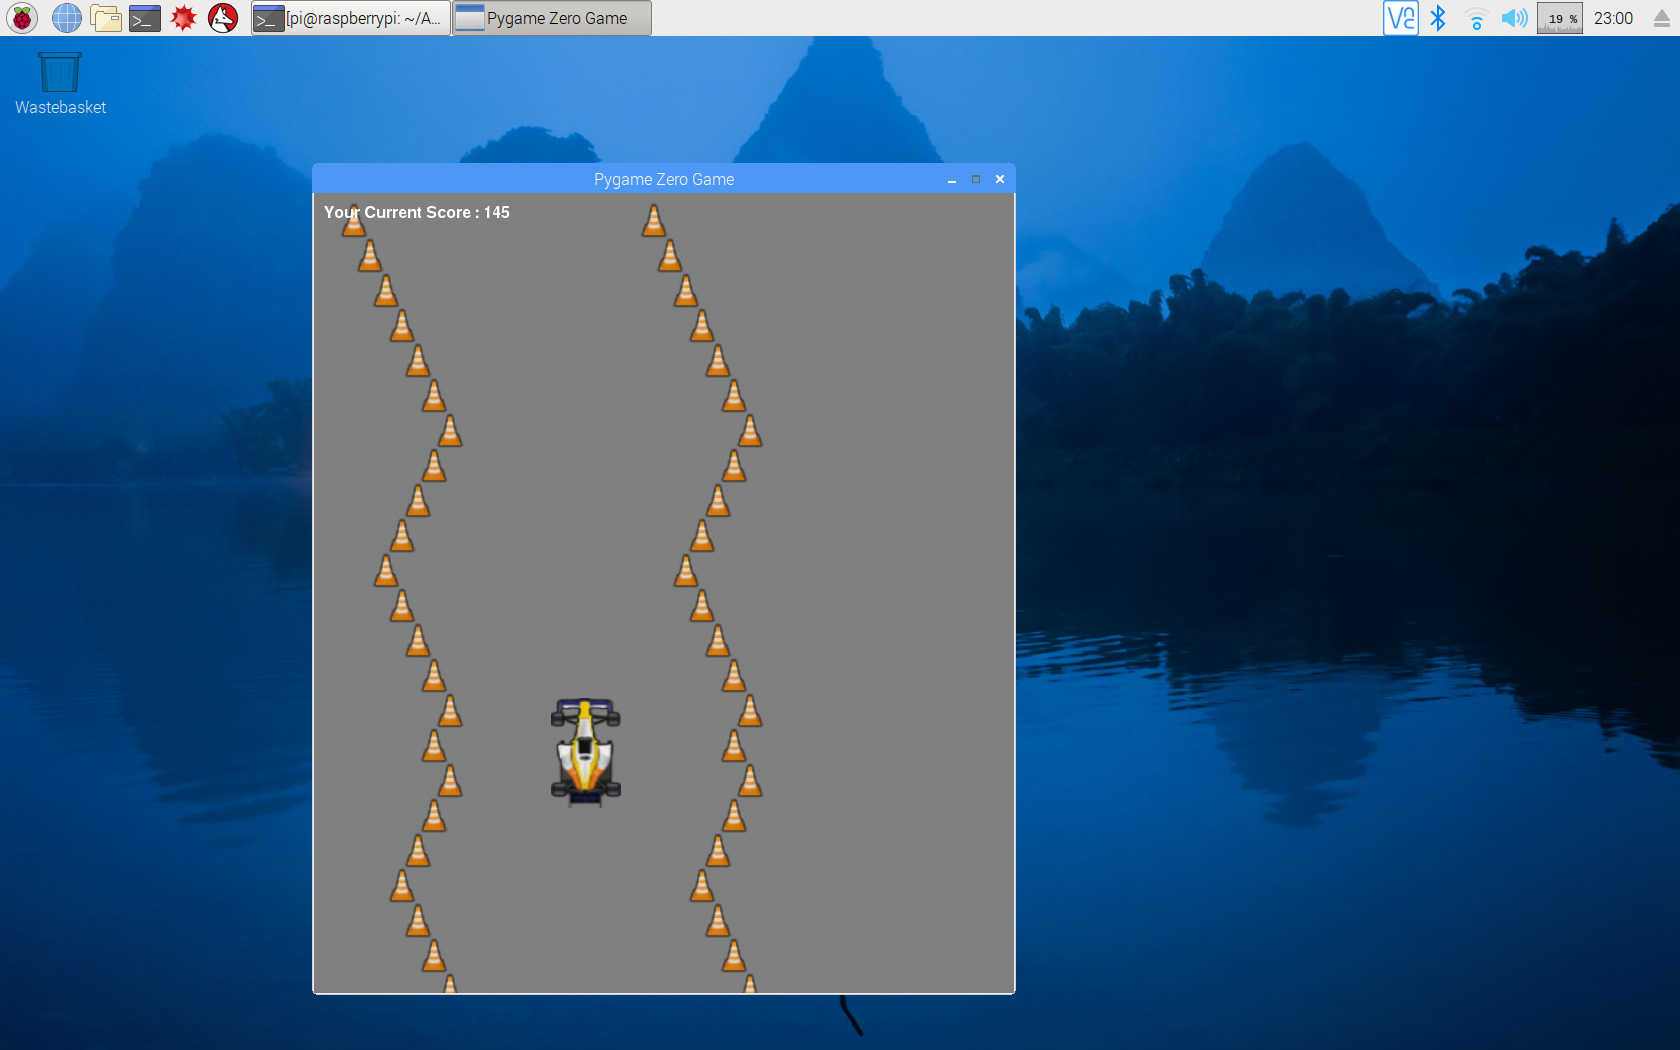
If you’ve done some Python coding and wanted to write a game you may have across Pygame Zero.
In this tutorial we 'll be writing a simple racing game.
The Broad Overview
The Pygame module adds many functions that help you to write games in Python.
Pygame Zero goes one step further to let you skip over the cumbersome process of making all those game loops and setting up your program structure.
Pygame Zero is a great choice for anyone who wants to start writing computer games on the Raspberry Pi or any Linux machine.
You’ll Need :
- Machine that runs Linux OS
- Editor to write python program
- Keyboard
- Some imagination
Files:
Prerequisites
First I will using my laptop with Ubuntu 18.04 OS. Then we will run the game on Raspberry Pi in step 8.
Before continuing with this tutorial, make sure you are logged in as a user with sudo privileges.
Installing pip for Python 3
Start by updating the package list using the following command:
sudo apt update
Use the following command to install pip for Python 3:
sudo apt install python3-pip
verify the installation by checking the pip version:
pip3 --version
Installing Pygame Zero
pip3 install pgzero --user
This will also install Pygame. Pre-compiled Pygame packages
So the first step in your journey will be to open the Python 3 IDLE or your favorite python editor.
"Hello World" in Pygame Zero
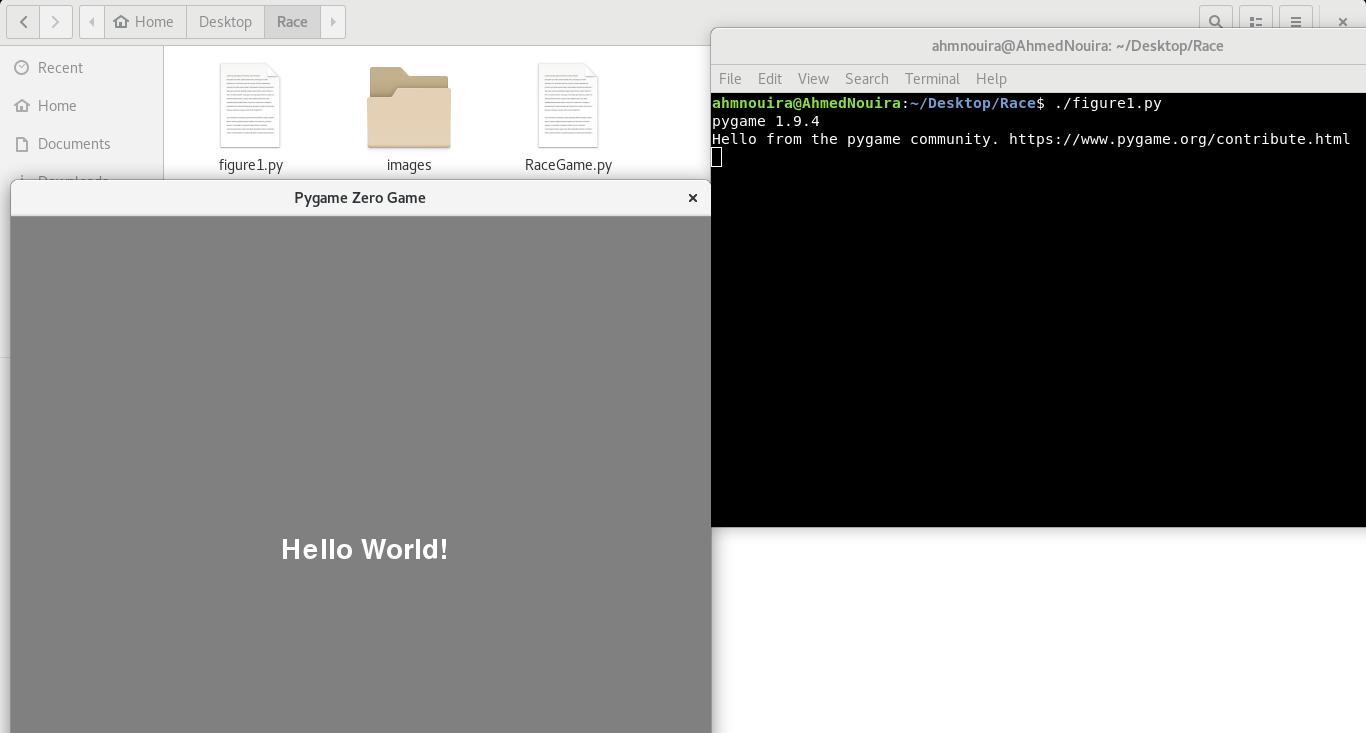
By default, the Pygame Zero window opens at the size of 800 pixels wide by 600 pixels high. You can customize
the size of your window,there are two predinied variables you can set, if you include WIDTH = 700 HIGH = 800.
Pygame zero provides predefined functions to handle the game loop normally performs :
The draw() Function
We can write this function into our program the same as we would normally define a function in Python.
Pygame Zero follows the same formatting rules as Python, so you will need to take care to indent your code correctly.
#!/usr/bin/python3	# set the interpreter
import pgzrun		# import pgzero module
WIDTH = 700 		# width of the window
HEIGHT = 800		# height of the window
def draw():             # pygame zero draw function
	screen.fill((128, 128, 128))	# fill the screen with RGB colour
	screen.draw.text("Hello World!", (270, 320) , # draw "Hello World!"
	color = (255, 255, 255) , fontsize = 40)

pgzrun.go()
First of all you need to save your program file and give it a name.
Then open a Terminal window, go to your file location and type :
./<your-file-name>.py
Drawing Your Actor
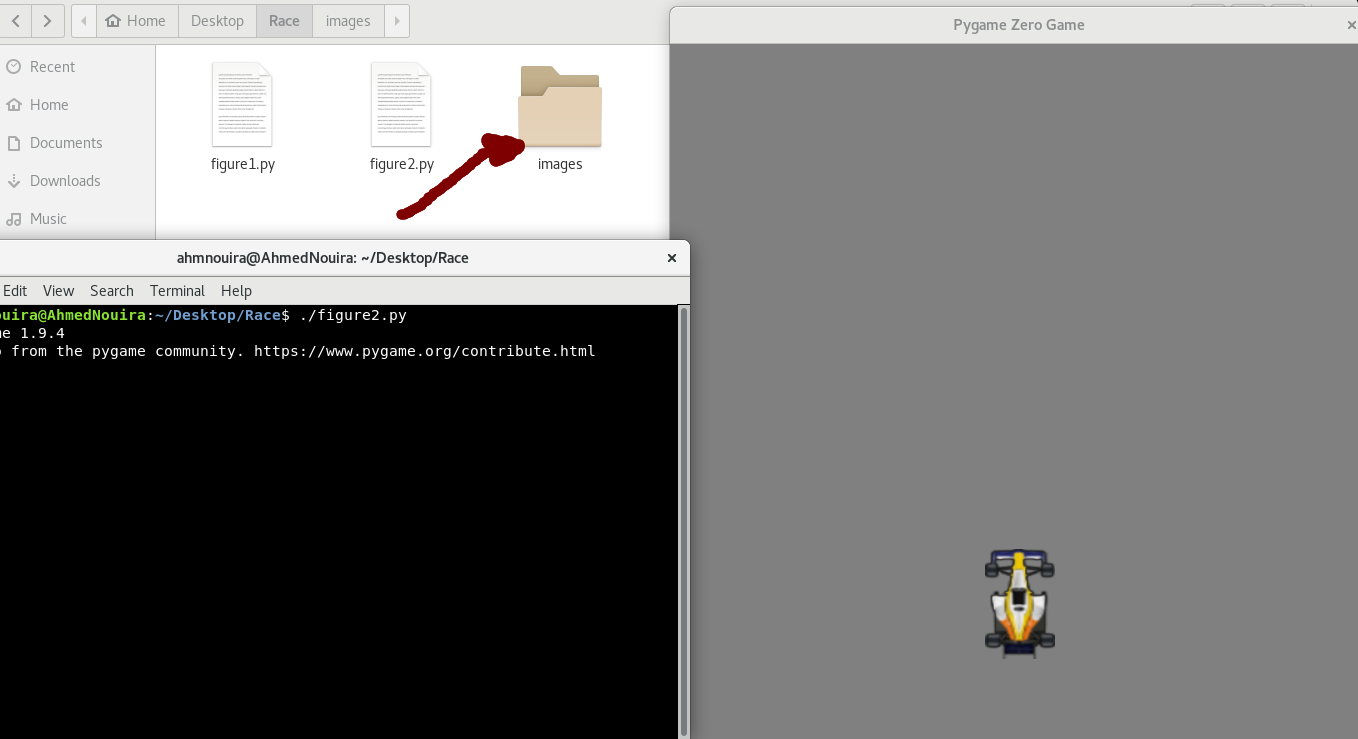
Now that we have our stage set, we can create our Actors, they are dynamic objects in Pygame Zero.
We can load an Actor by typing in the top of the program:
car = Actor("racecar")In Pygame Zero our images need to be stored in a directory called images , next to our program file.
So our Actor would be looking for an image file in the images folder called racecar.png. It could be a GIF or a JPG file, but it is recommended that your images are PNG files as that file type provides good-quality images with transparencies.
You can set its position on the screen by typing :
car.pos = 350, 560
After that in our draw() function we can type
car.draw() # draw our race car at its defined position
The full program will be like this :
#!/usr/bin/python3
import pgzrun
WIDTH = 700         # width of the window
HEIGHT = 800        # height of the window
car = Actor("racecar")
car.pos = 350, 560
def draw():             # pygame zero draw function
    screen.fill((128, 128, 128))    # fill the screen with
    car.draw()

pgzrun.go()
Test your program to make sure this is working.
Control the Actor
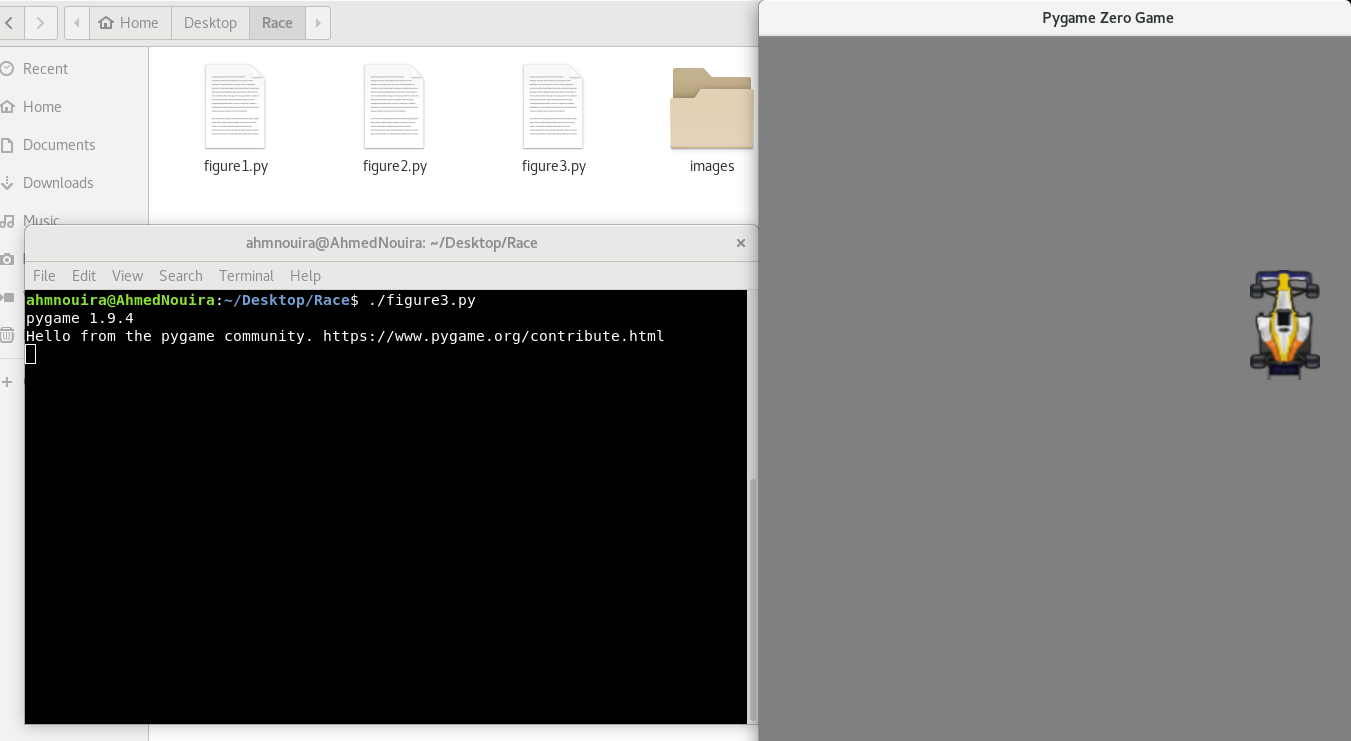
Once we have our car drawing on the screen, the next stage is to enable the player to move it.
We can do this with key presses. We can read the state of these keys inside another predefined function called update().
The update() Function
This function is continually checked while the game is running.
We need to write some code to detect key presses of arrow keys and also to do something about it.
So we will add this function to our program
def update():
	if keyboard.left : car.x -=2
	if keyboard.right : car.x +=2
	if keyboard.up : car.y -=2
	if keyboard.down : car.y +=2
These lines of code will move the car Actor left, right, forward and backward.
Building the Track
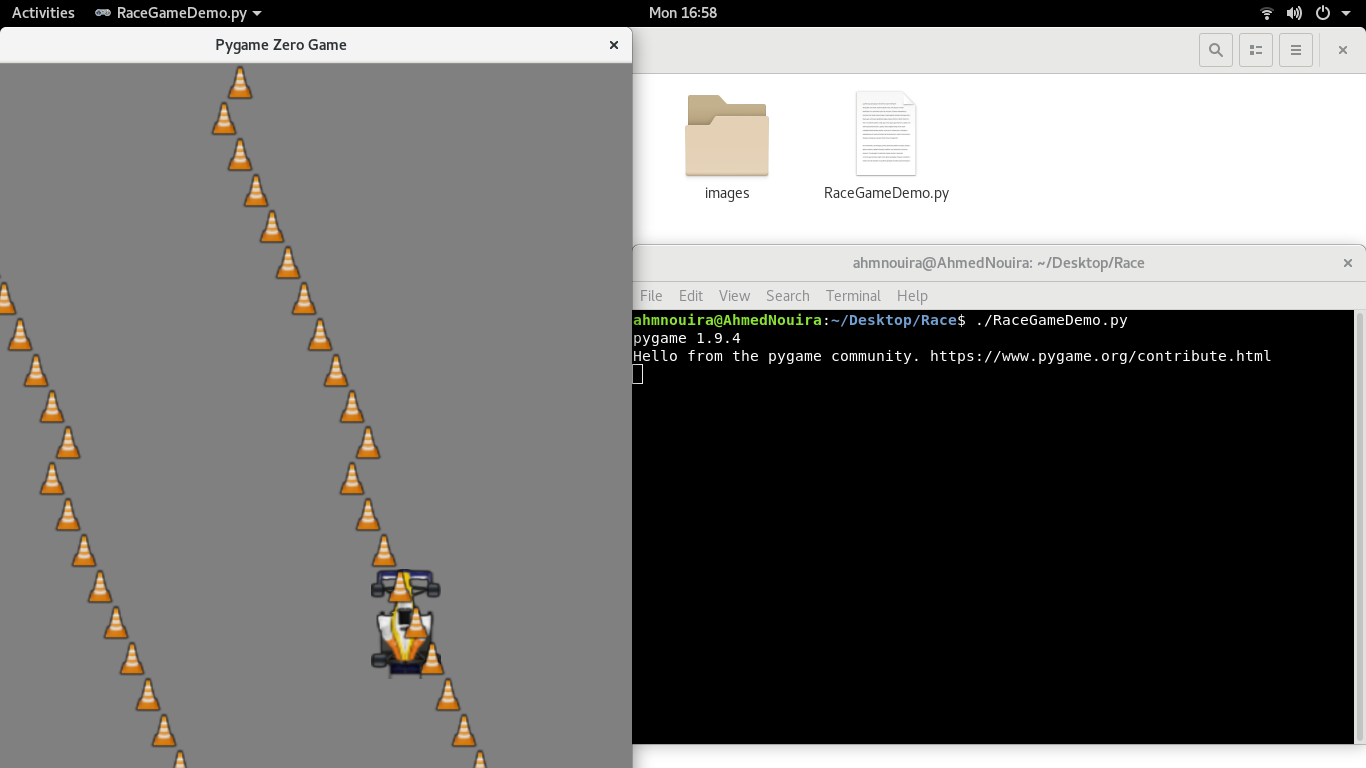
Now that we have a car that we can steer, we need a track for it to drive on.
We are going to build our track out of Actors, one row at a time. We will need to make some lists to keep track of the Actors we create.
We will also need to set up a few more variables for the track.
Then let's make a new function called makeTrack(), The function will add one track Actor on the left and one the right, both using the image bare.png in our images folder.
trackLeft = [] 		# list to store left barries
trackRight = [] 	# list to store right barries
trackCount = 0		# count the number of barries
trackPosition = 350
trackWidth = 150	# width between left and right barries

def makeTrack():                    # function to make one barrie at the left and right
    global trackCount, trackLeft, trackRight, trackPosition, trackWidth
    trackLeft.append(Actor("bare", pos = (trackPosition-trackWidth, 0)))
    trackRight.append(Actor("bare", pos = (trackPosition + trackWidth, 0)))
    trackCount +=1
The next thing that we need to do is to move the sections of track down the screen towards the car.
Let’s write a new function called updateTrack(), This function updates where the track blocks will appear.
The track pieces are created by random numbers so each play is different.
trackDriction = False
SPEED = 4				# sets the speed of the game
from random import randint  		# import the randint class from random module

def updateTrack():
 global trackCount, trackPosition, trackDirection, trackWidth,SPEED
    b = 0
    while b < len(trackLeft):
        trackLeft[b].y += SPEED
        trackRight[b].y += SPEED
        b += 1
    if trackLeft[len(trackLeft)-1].y > 32:
        if trackDirection == False: trackPosition += 16
        if trackDirection == True:  trackPosition -= 16
        if randint(0,4) == 1:   trackDirection = not trackDirection
        if trackPosition > 700 - trackWidth:
            trackDirection = True
        if trackPosition < trackWidth:
            trackDirection = False
        makeTrack() # create a new track at the top of the screen
Please refer to the zip file below named "RaceGameDemo".
If we run our code at the moment, we should see a track snaking down towards the car. The only problem is that we can move the car over the track barriers and we want to keep the car inside them with some collision detection.
Downloads
Car Crash
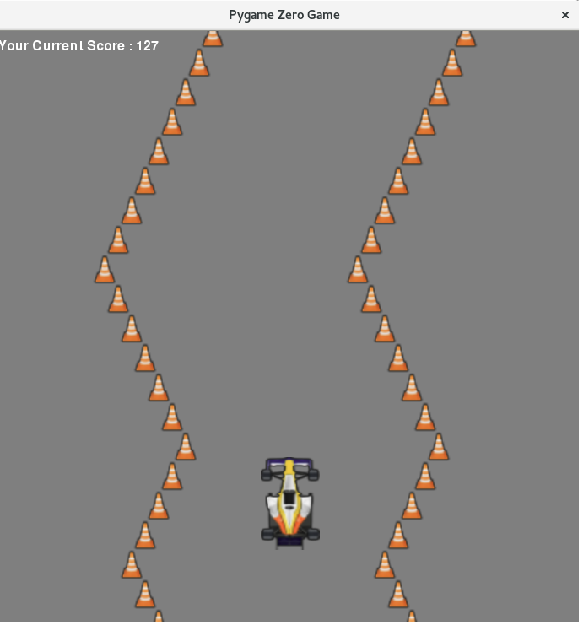
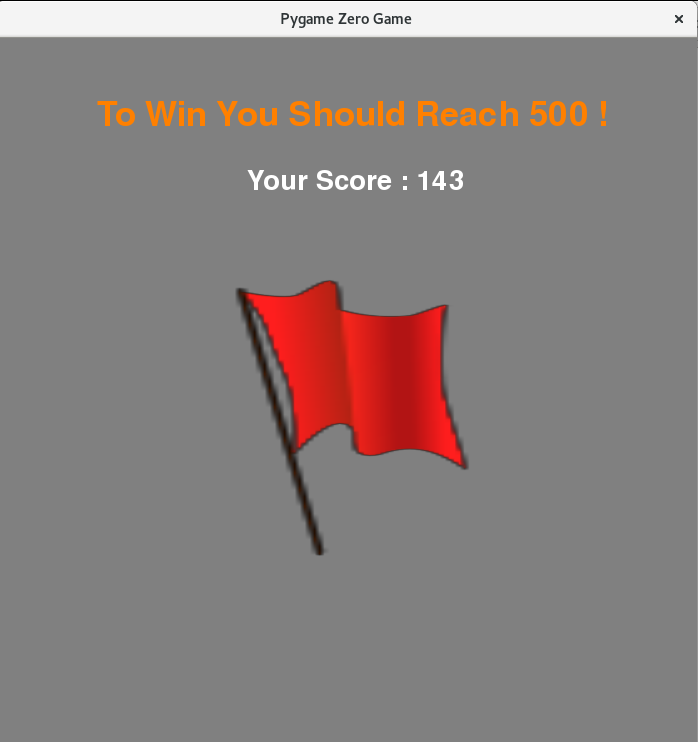
We need to make sure that our car doesn’t touch the track Actors.
we may as well test for collisions using the method colliderect() in our updateTrack() function.
In this game we will have three different states to the game stored in our variable gameStatus :
- gameStatus == 0 # game is running
- gameStatus == 1 # car crash
- gameStatus == 2 # game finished
We will need to change our draw() function and our update() function to respond to the gameStatus variable.
Finishing touches
All we need to do now is to display something if gameStatus is set to 1 or 2, for example we should display a red
flag, if the car crashed. We can do that with the code below:
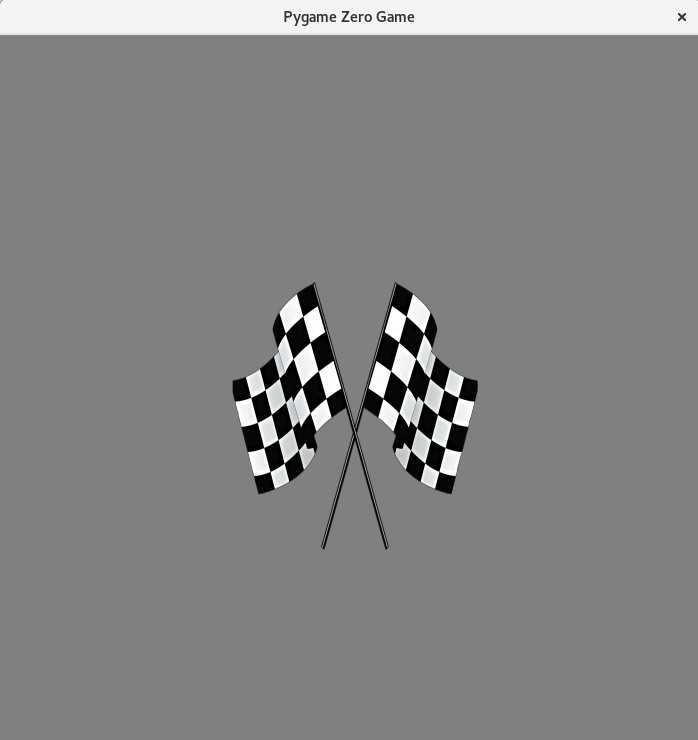
screen.blit("redflag", (230, 230))To see if the car has reached the finish, we should count how many track sections have been created and then perhaps when we get to 200, set gameStatus to 2.Then display the chequered flag :
screen.blit("finishflag", (230, 230))We will also display some text in the screen like the current score of the game.
Have a look at the full code listing to see how this all fits together.
Downloads
Run the Game on Raspberry Pi
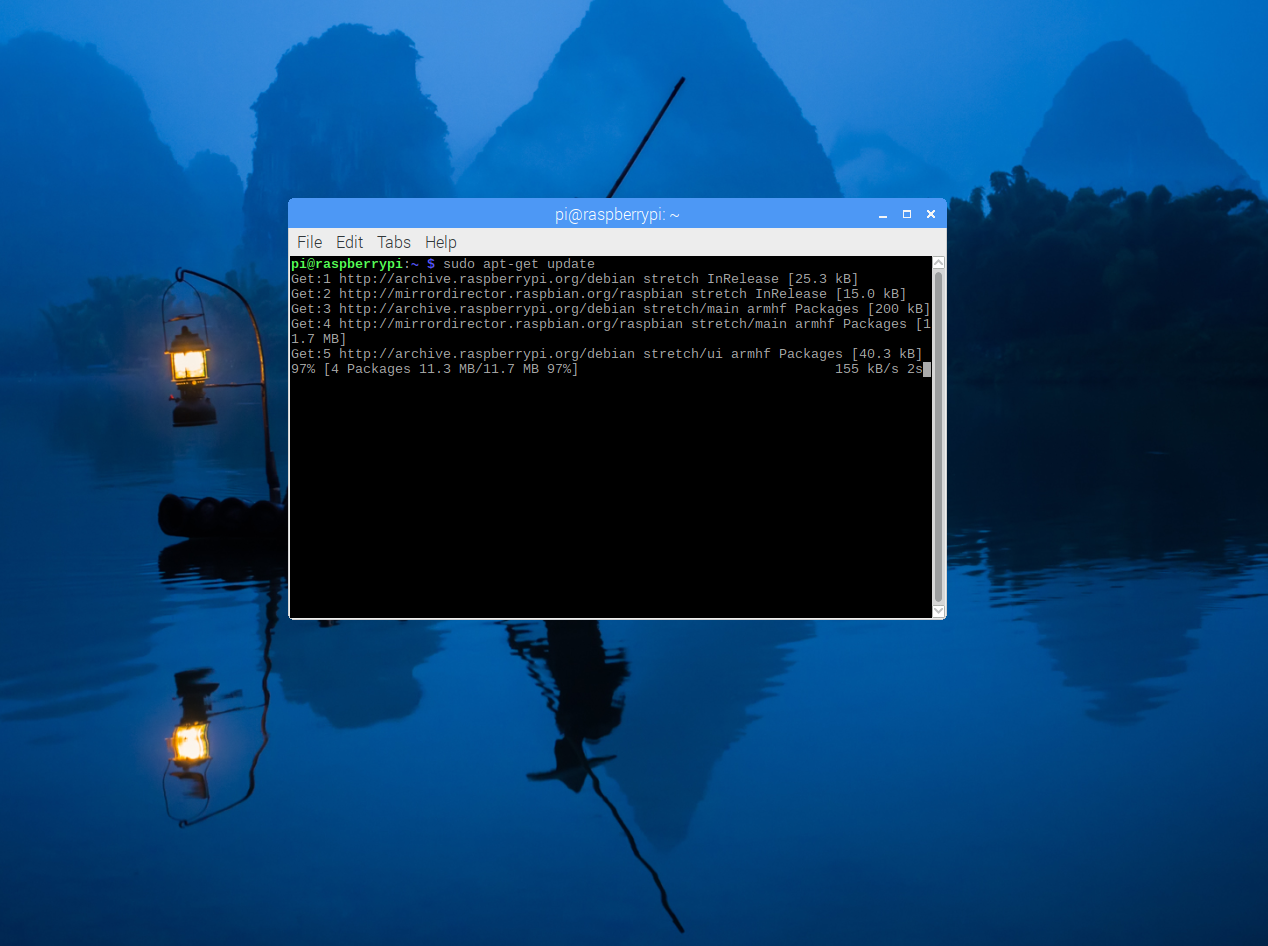
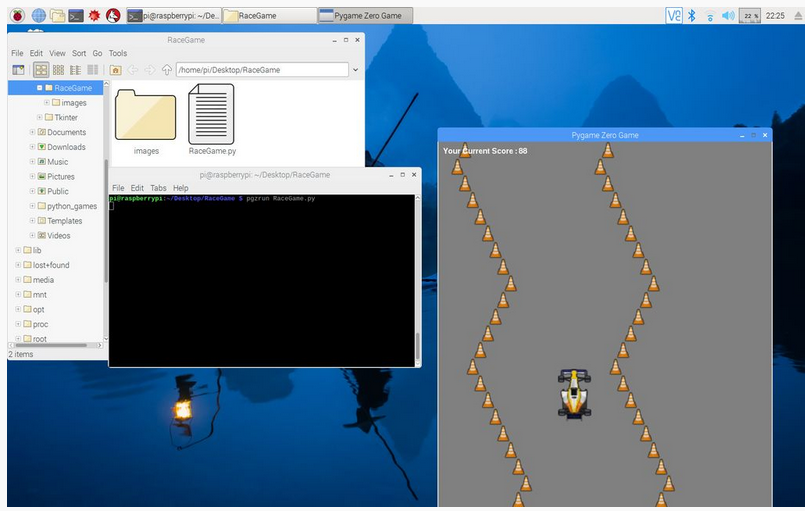
On Raspberry Pi pgzero has been installed by default since the release of Raspbian Jessie in September 2015.
Just update your Raspberry Pi by using the command :
sudo apt-get update
Go to your file location and type in the Terminal.
pgzrun <your-file-name>.py
Did You Win?
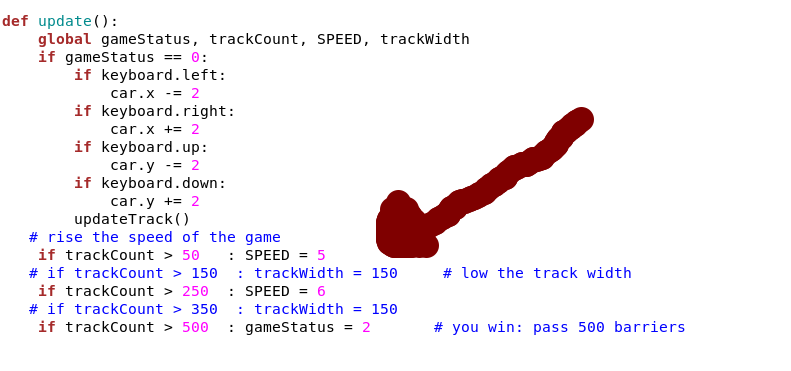
You can make the game easier or harder by changing the trackWidth variable to make the track a different width.You can change the value of SPEED to make the track move faster or slower.
Conclusion
Pygame Zero is a great choice for anyone who wants to start writing computer games.
If you have any question of course you can leave a comment.
To see more about my works please visit my channel :
Thanks for reading this instructable ^^ and have a nice day. See ya. Ahmed Nouira.