Create VPN on Your Raspberry Pi Device
by Francoix_Badreau in Circuits > Raspberry Pi
5972 Views, 121 Favorites, 0 Comments
Create VPN on Your Raspberry Pi Device

VPN or Virtual Private Network can help ordinary internet users stay a little bit more private while surfing the Net. It can also help professional software developers while working on their projects. And Raspberry Pi VPN connection, which is based on creating private network access on a Raspberry Pi device helps not only "hide" within the Net, but also stay thrifty and smart.
There different ways to create a VPN on Raspberry Pi, including either OpenVPN setup or porting PIA VPN for Linux with the help of x86 environment emulator.
Speaking about the first option, I personally, think that it's too complicated and long. You can simply google it and find the best and most detailed tutorial.
As to the second way, it is much faster and simpler. So, let's concentrate on this.
This will include 4 simple steps:
1. Emulator installation
2. Guest x86 system launch
3. Private Internet Access installation
4. VPN Set up.
In case you'll want to provide secure access to your system, don't forget to set up a VPN. It's essential to use any of the modern VPN solutions, like IVICY, for example. They've got a $3.99 monthly promotional plan currently available. I've caught the moment - it's the cheapest offer of that kind on the market.
Emulator Installation

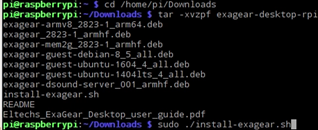
In this tutorial, I used ExaGear Desktop as an emulator. Unfortunately, they deprecated their services. So, this emulator is no longer available. Try to use QEMU instead - the general concept of instruction s highly likely be the same.
Guest X86 System Launch

Now, we need to start the emulator for it to create an x86 environment on your Raspberry Pi. The command is:
exagear
Check, if the environment is on:
arch
You should see "i686" in return.
Private Internet Access(PIA) Installation. Part 1

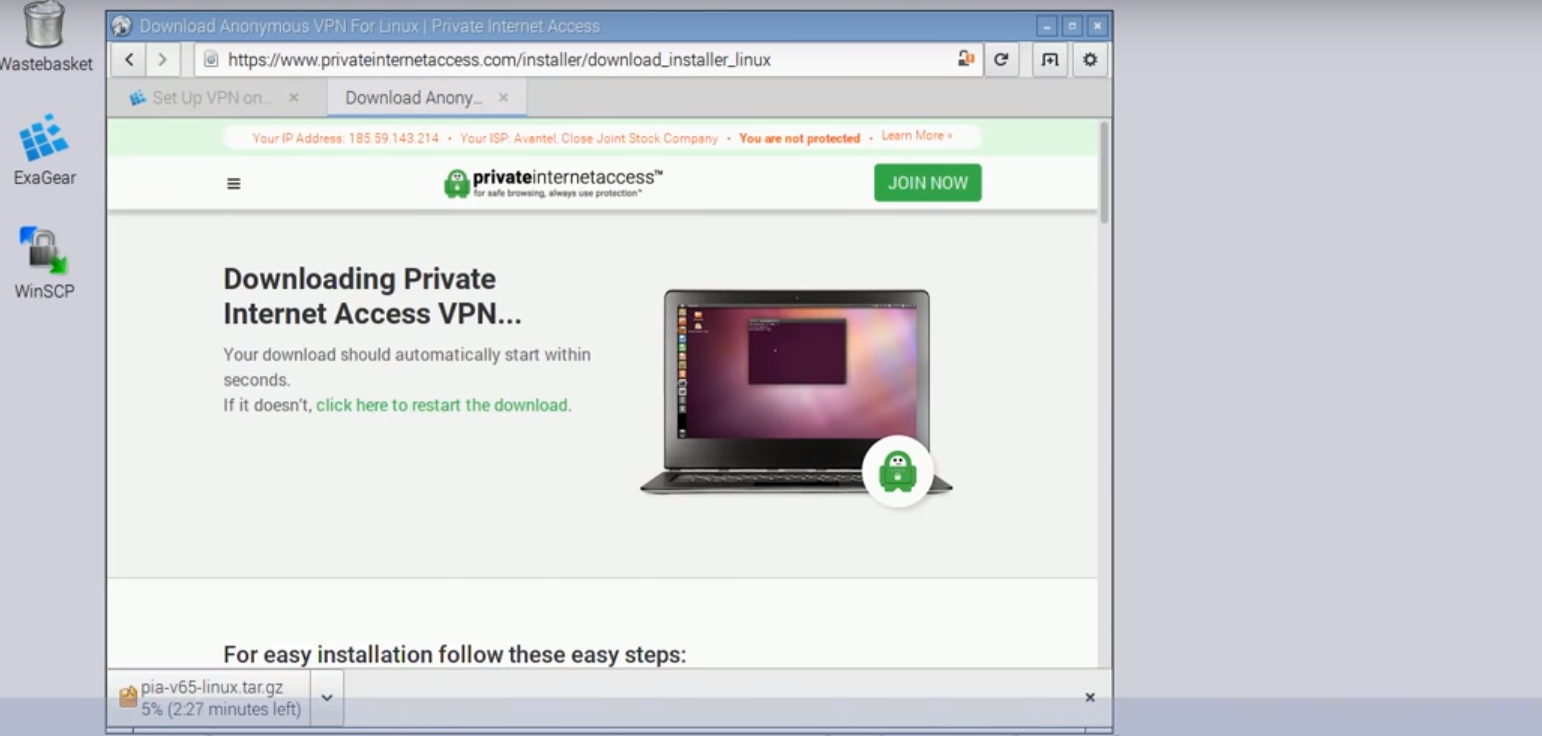
As the first part of the step of installation PIA on your Raspberry Pi you'll need to download installer for Linux from their official web-site. Simply follow the link: https://www.privateinternetaccess.com/installer/download_installer_linux - its' not an affiliate one and absolutely safe!
PIA Installation. Part 2

As usual, everything that you download to RPi is placed into "Downloads" derictory, so, dont forhet to do two important things before get to innstallation the PIA.
1. Go to "Downloads" folder:
cd home/pi/Downloads
2. Make sure that you're operating within x86 environment (remember this :"arch" command?)
Then, if everything is correct, you need to do the following operations:
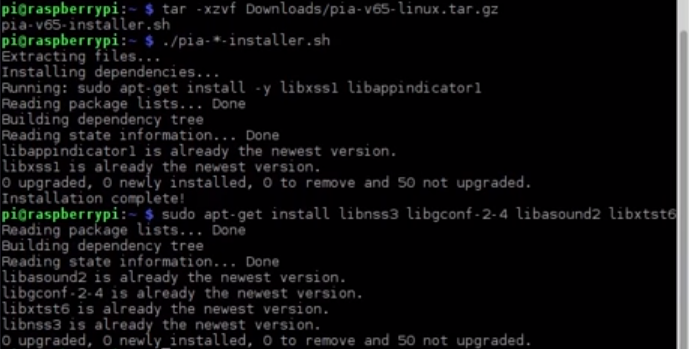
1. Unpack the downloaded archive:
tar -xzvf Downloads/pia-*-installer-linux.tar.gz
2. Launch the PIA installation manager:
./pia-*-installer-linux.sh
3. Download and set up the PIA libraries:
sudo apt-get install libnss3 libgconf-2-4 libasound2 libxtst6
VPN Set Up


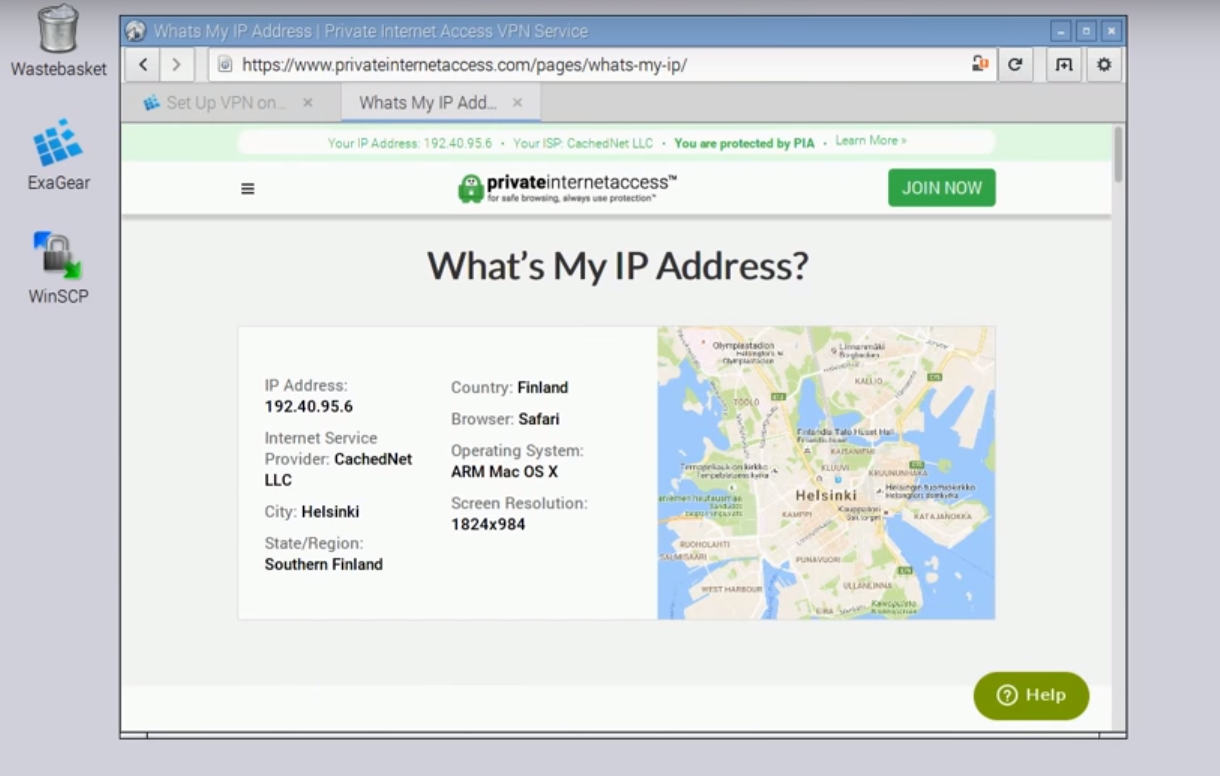
Now, you're all set and can set up VPN. As the final step, simply go to Menu - Other - Private Internet Access and set up VPN in the popping up Window.
That's it! You're almost invisible and unreachable within the world wide web! ;)