Create Low Poly Art From 3D Models
by Zincato in Craft > Digital Graphics
66050 Views, 75 Favorites, 0 Comments
Create Low Poly Art From 3D Models
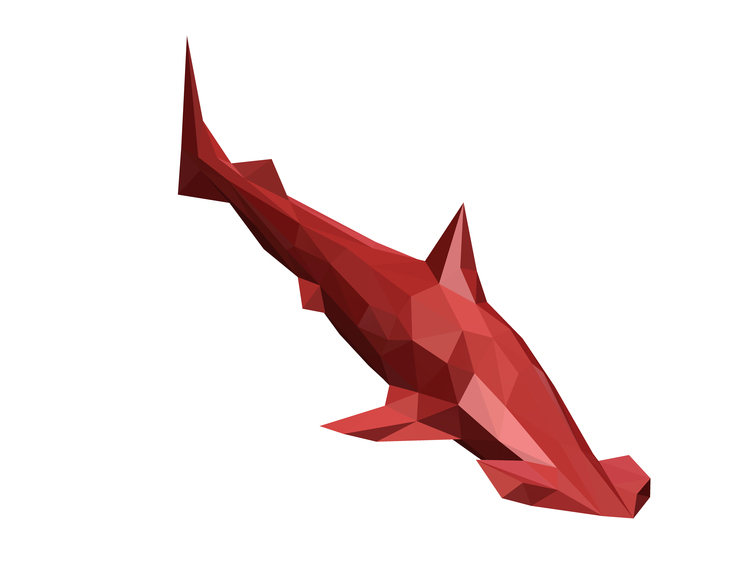
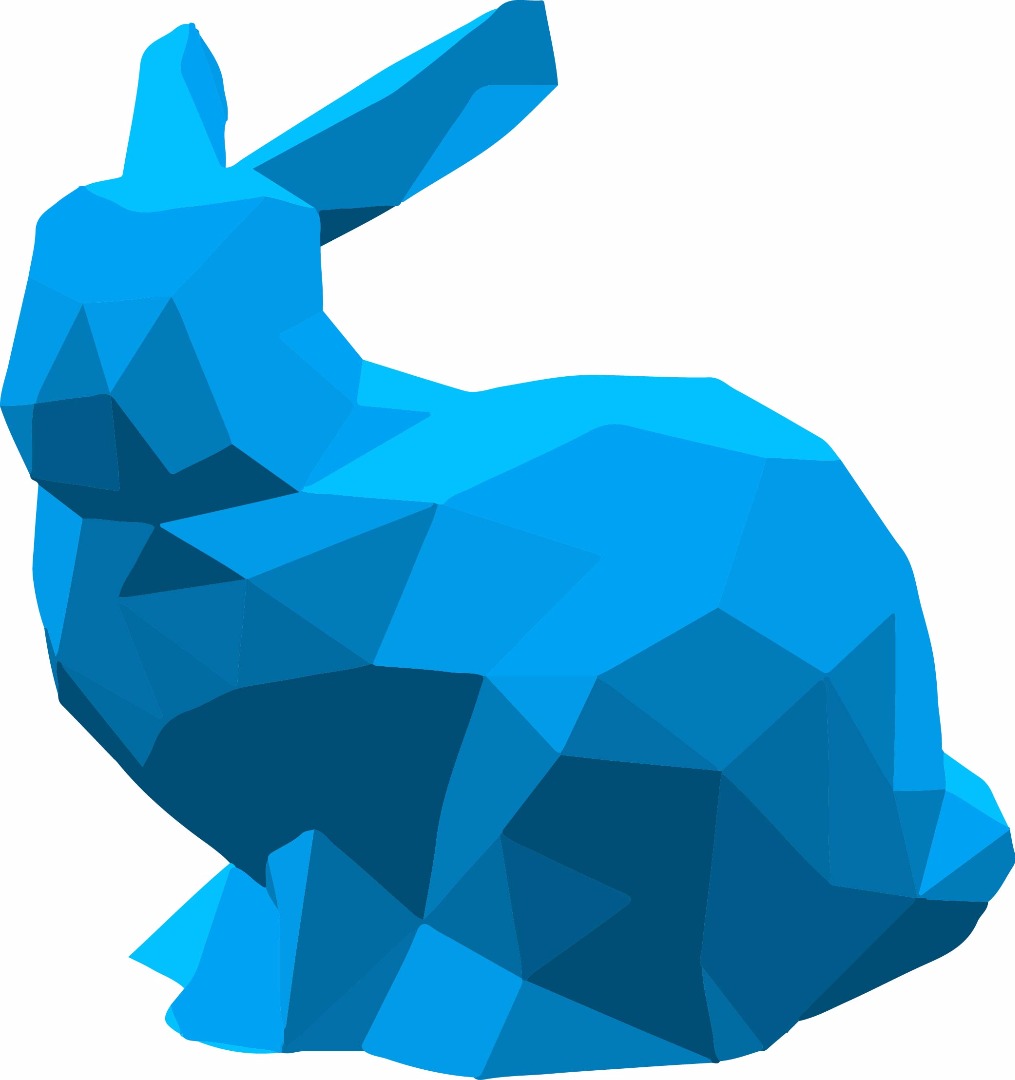
I have always had an interest in low poly art as well as 3D modeling. When using Meshmixer as a 3D printing tool, I realized that even if the low polygon geometry created wasn't always practical to 3D print, they would still make for cool graphical renderings. You can see the final low poly bunny I created for this tutorial above, as well as a hammerhead shark from a previous project.
A great benefit to this method of creating these low poly models is that the lighting environment in whatever rendering method you choose creates the appropriate shadows and highlights without needing to manually choose every panel of color. The idea is that even people with little to no experience in graphic design or 3D modeling can create fun low polygon style artwork!
Since this is intended to be a fun and easy trick to make some low effort low poly, I haven't utilized any specialized rendering software or graphic design tools. To "render" the final image, I'm simply using Autodesk Inventor, which is free for students. There are many options available to you if this is not a viable option. I've included links below to lists of free 3D modeling and rendering tools, many of which have the same or better capabilities; however, I will not be covering their usage in this tutorial.
https://en.wikipedia.org/wiki/List_of_3D_rendering...
https://en.wikipedia.org/wiki/List_of_3D_modeling_...
Process Summary
- Import geometry into Meshmixer
- Reduce polygon count in Meshmixer
- Export from Meshmixer
- Edit in CAD tool
- Render and save
- Optional - Vectorize your image!
Importing Your 3D Geometry
The first step is to choose the 3D geometry you wish to make into low poly art! There are several options for the source of your 3D model.
1) Create your own
The most fun method is to simply create your own 3D model! If you're not experienced with CAD or computer graphics, there are still some great options. Easy to learn tools like Tinkercad, 123D Design, or SketchUp are all great options for someone learned to 3D model.
2) Find a 3D model online
There are plenty of resources online for sharing and downloading 3D models. The two I'm most familiar with personally are Thingiverse and GrabCAD. There are thousands of models created by great users that you can use as the basis for our low poly art - just be sure to give credit to the creator of the model!
3) 3D scan it
While you may not have an expensive 3D scanner available to you, the 123D Catch app uses your smartphone or tablet to create 3D scans. Meshmixer also lets you import from the 123D Catch library so you can use geometry that other people have created.
To create the low poly aesthetic, we will be utilizing Meshmixer. You can also use similar apps like MeshLab if you prefer. After you have your 3D geometry selected, first make sure that it's in a compatible file format - STL or OBJ are the most common. Once you have Meshmixer downloaded, we can import our geometry.
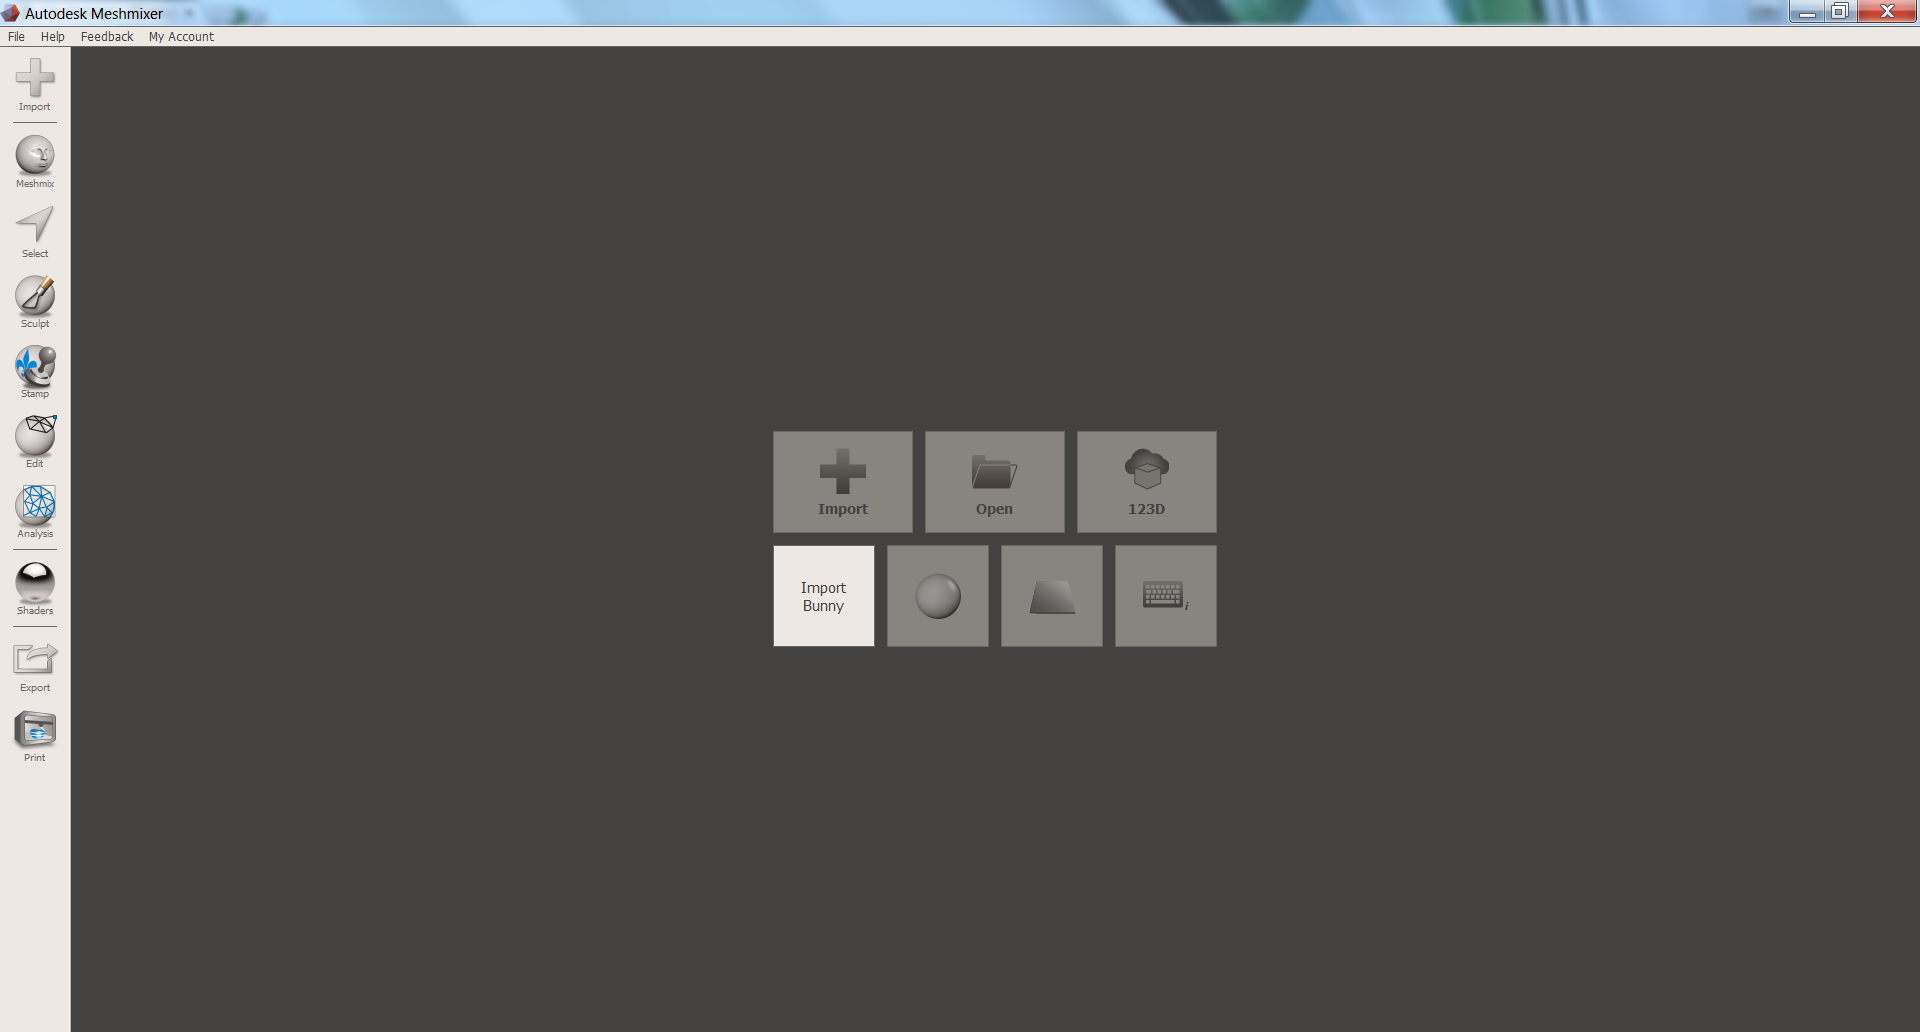
The image above shows the starting menu in Meshmixer. Use the import option to open up your STL or OBJ file. For the purposes of this demo, I'll use the Import Bunny option to import the Stanford bunny.
Polygon Reduction
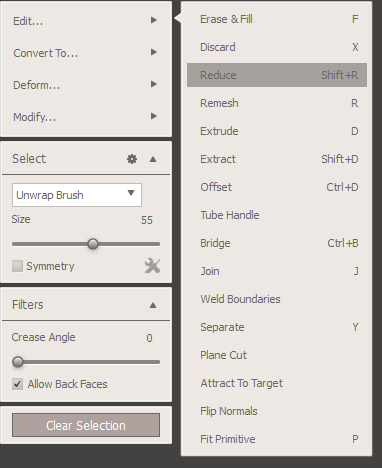
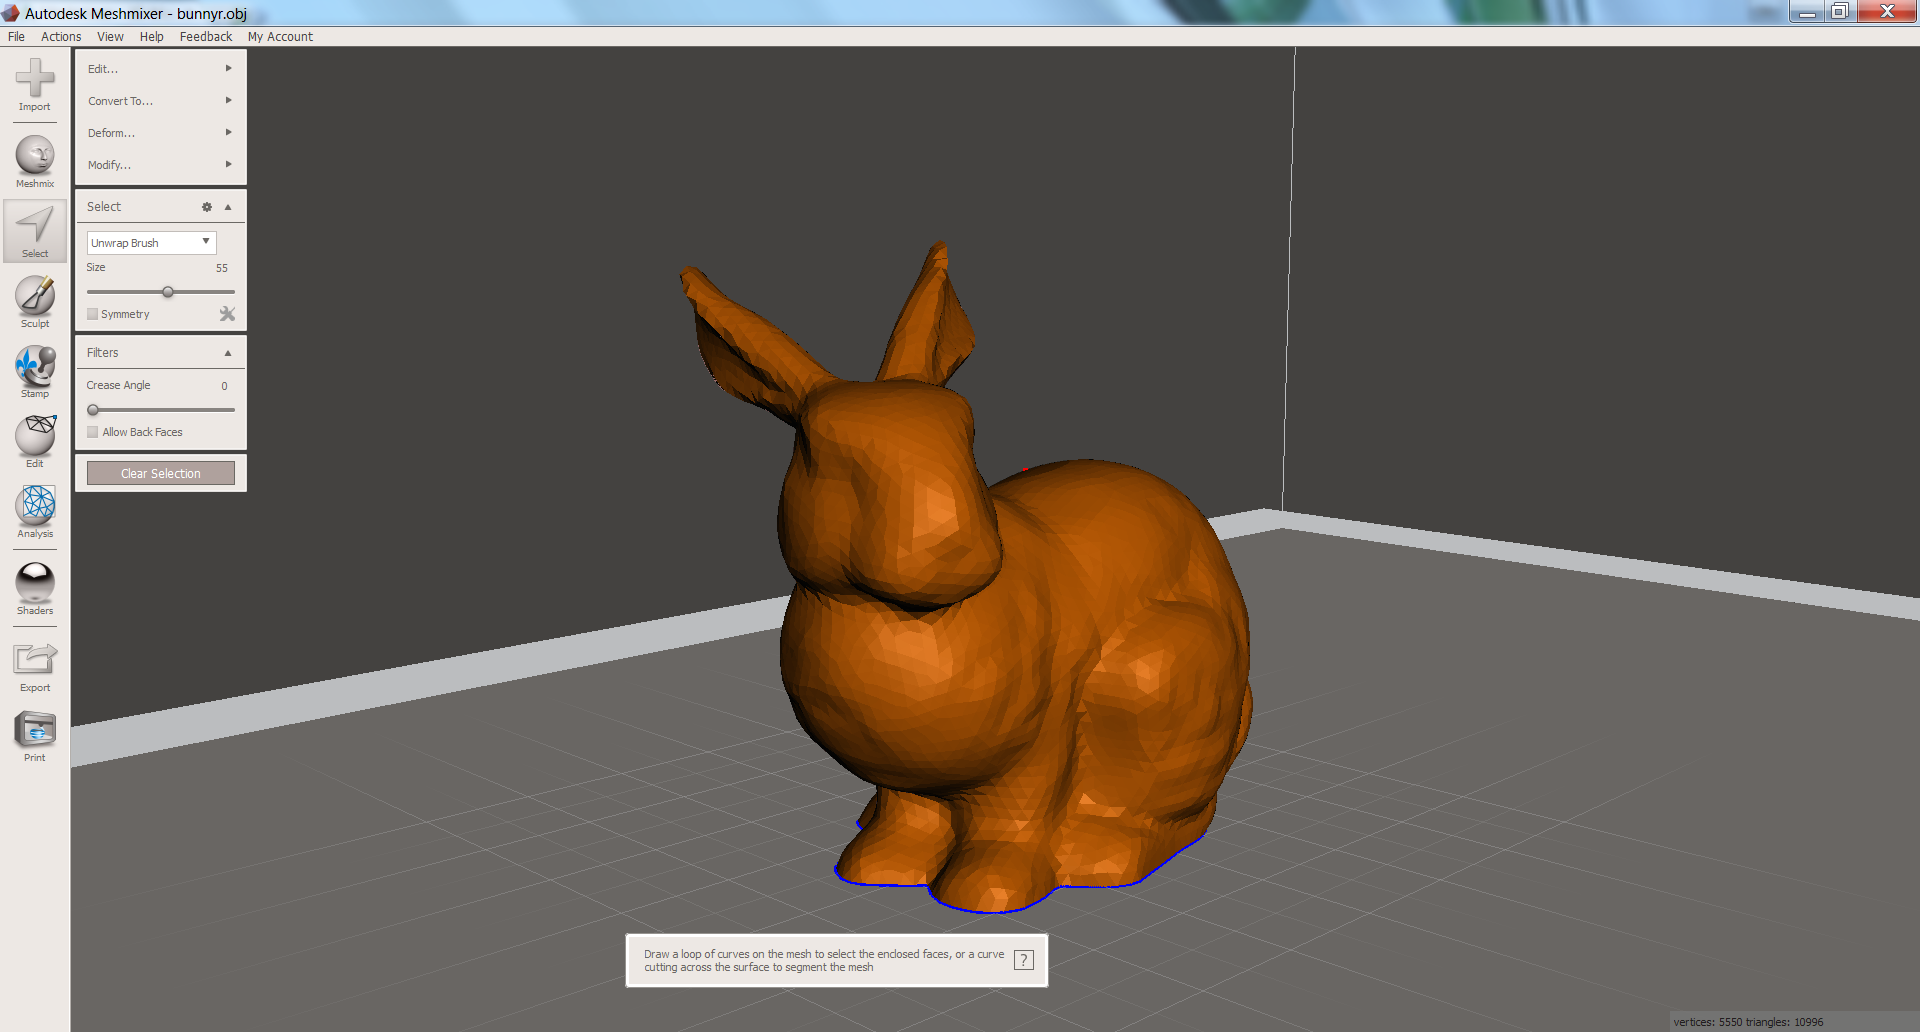
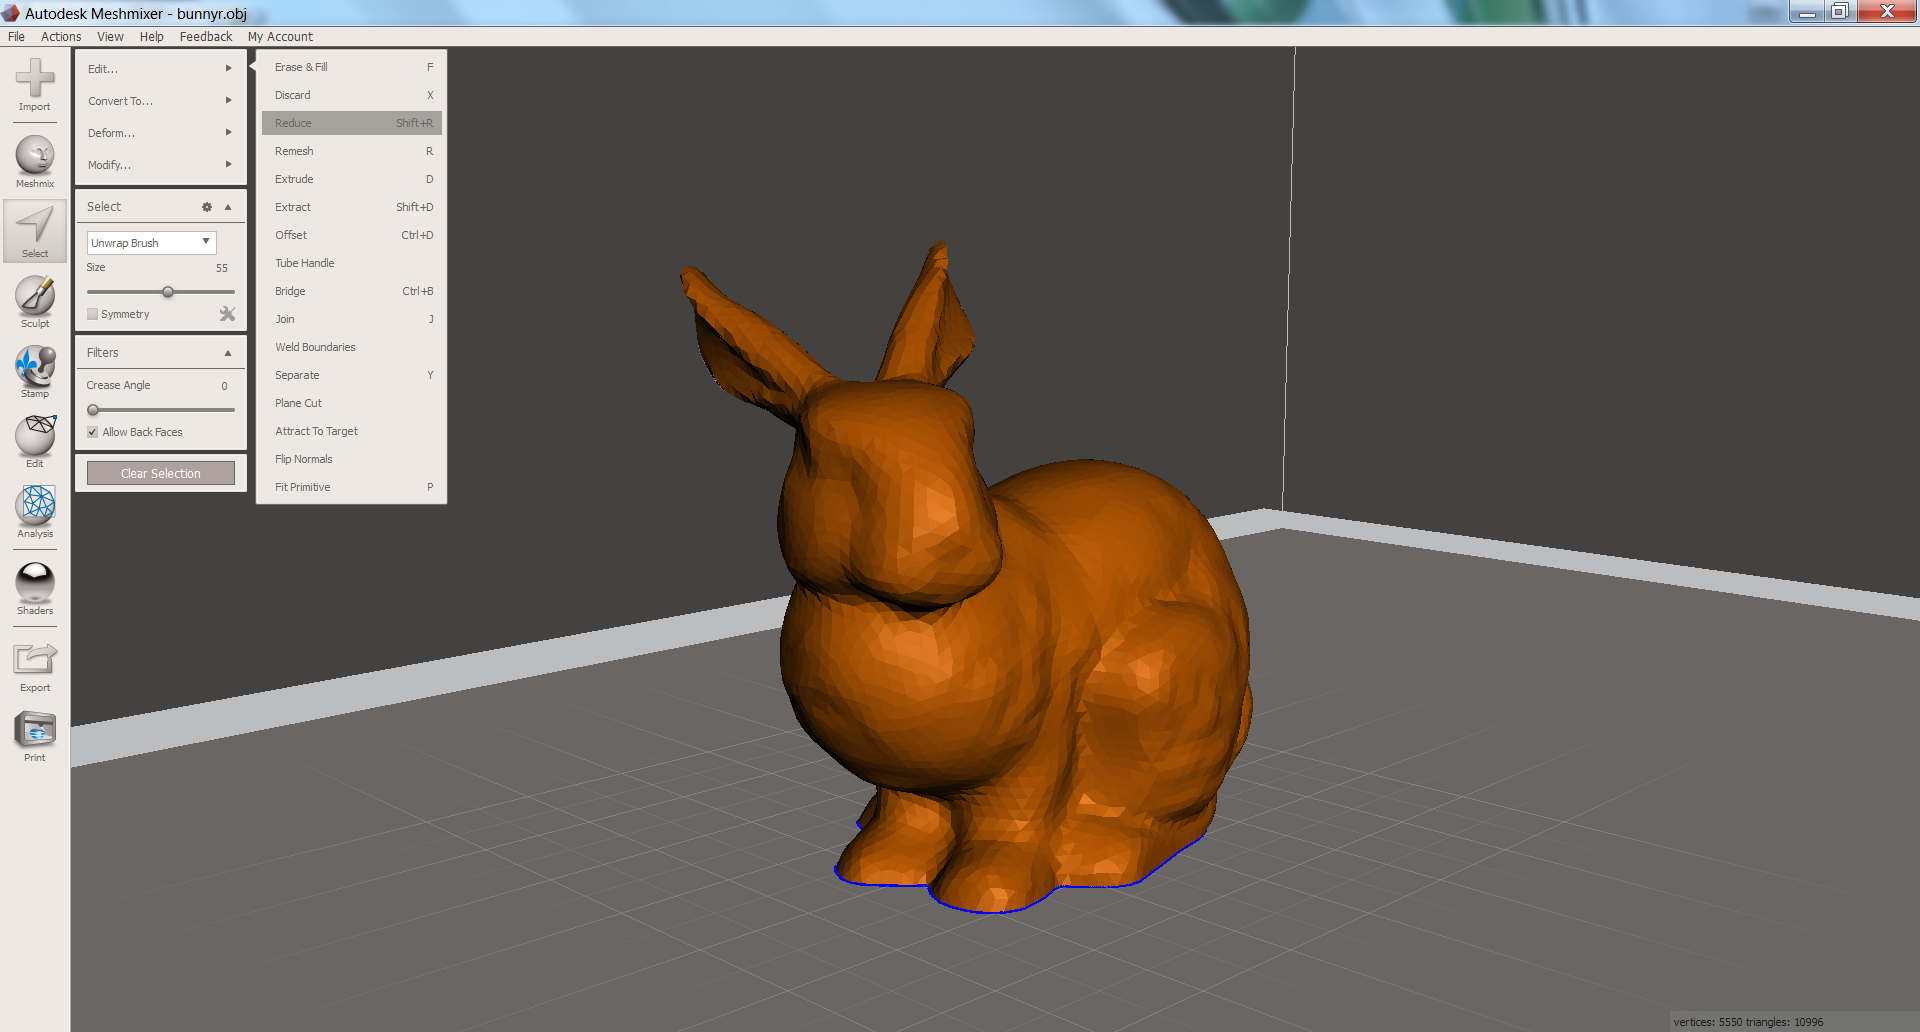
To access the polygon reduction tool, first select your entire geometry. The easiest way to do this is to simply use the keyboard shortcut CTRL+A. This will highlight your part and bring up a new menu of options on the left side of the workspace as seen in the images above.
The Reduce tool is located under the Edit option. You can also access this with the keyboard shortcut Shift+R or simply find it in the menu as shown.
Note: As the name Meshmixer indicates, this program is focused on mesh editing. The Reduce function essentially approximates the geometry of your 3D model while reducing the number of polygons in the mesh. This is traditionally used to reduce the quality of the mesh in order to reduce the file size and complexity, but has more recently been used as an aesthetic choice as well!
Fine Tuning With the Reduce Tool
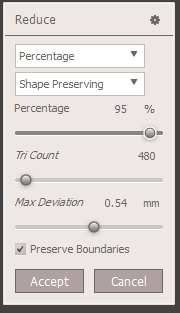
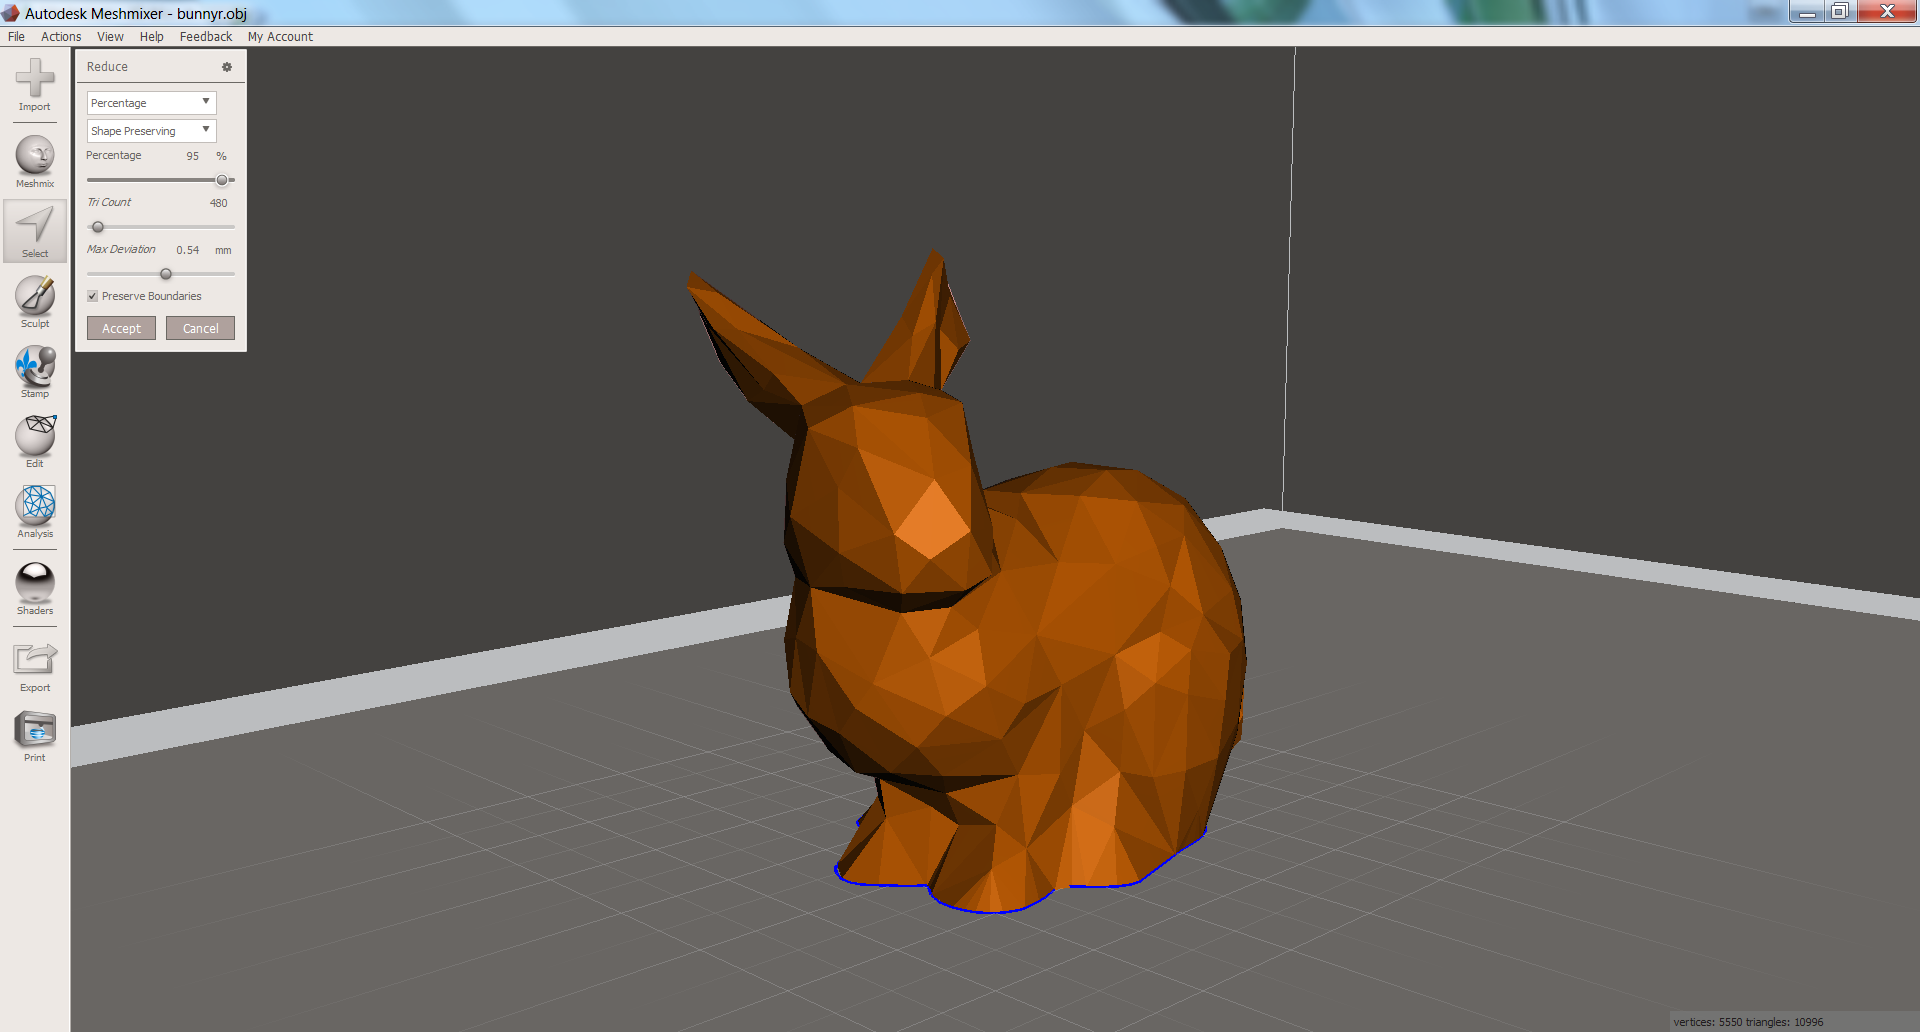
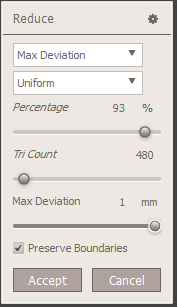
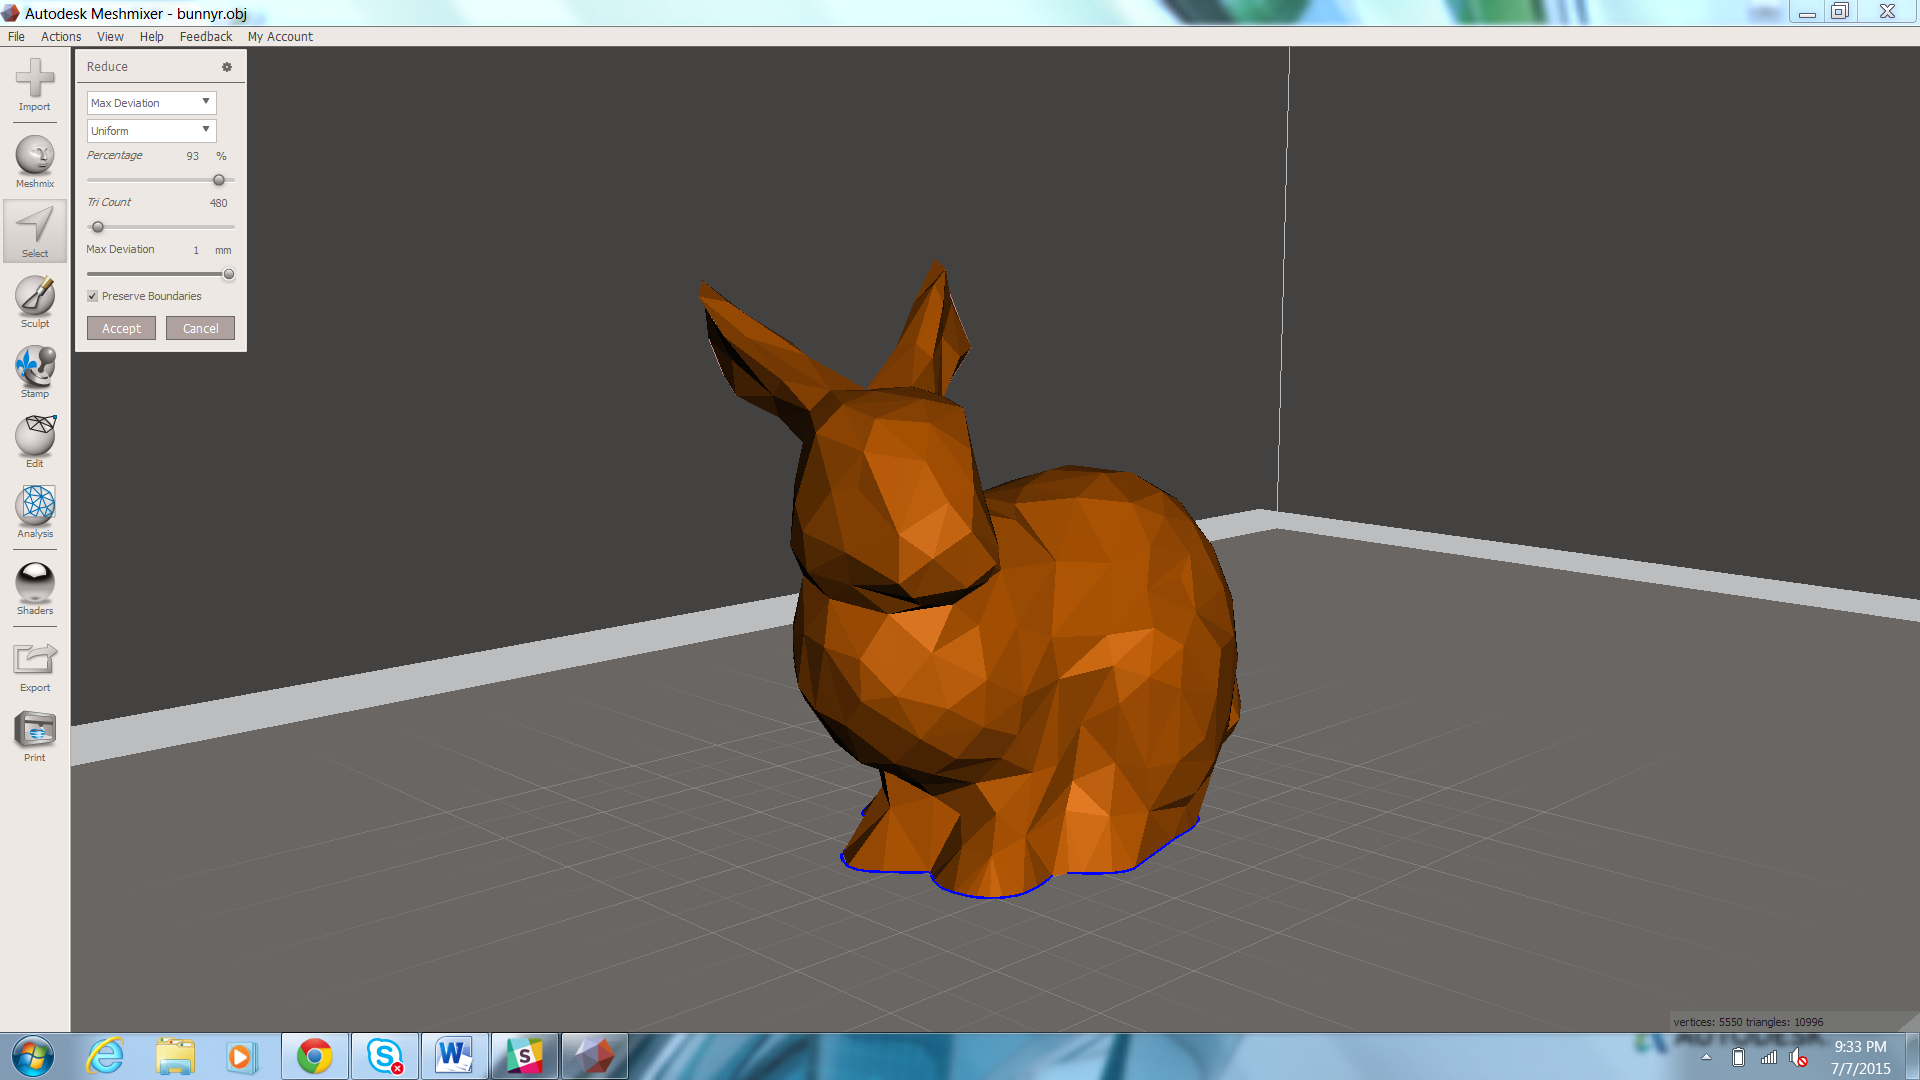
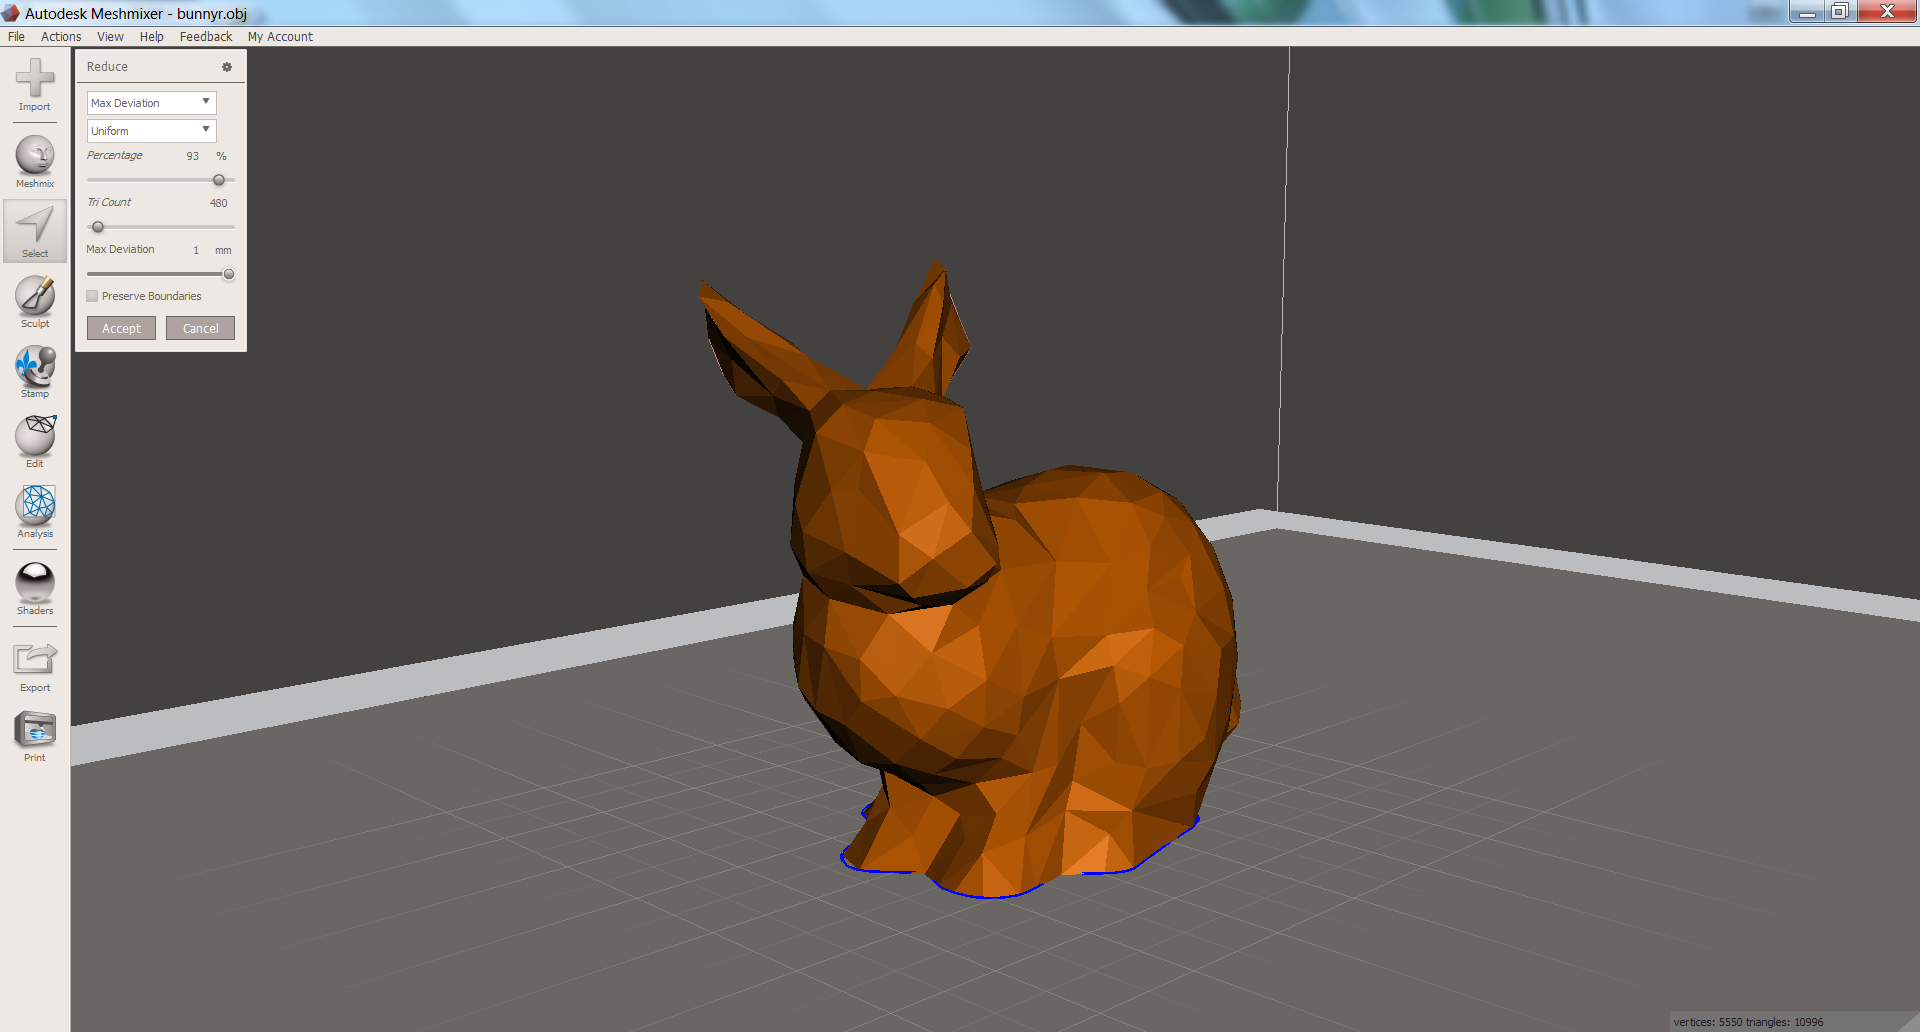
The Reduce tool has two primary preferences to adjust. The first option allows you to select one of three mesh reduction methods: Percentage, Triangle Budget, and Maximum Deviation. The options of Percentage and Triangle Budget are similar - they simply limit the number of triangles in the mesh to either a percentage of the original triangle count, or limit it to an arbitrary value. Meshmixer then attempts to recreate the geometry with these new limitations. My preferred option is Maximum Deviation. This allows you to set a maximum value that the reduced geometry can vary from the original geometry.
For these settings, simply use the sliders to adjust the parameters until you create the desired look. You can also type in a specific value.
The next preference has two options: Uniform or Shape Preserving. These options are fairly self explanatory - I tend to prefer the Shape Preserving option but any combination of these options will work. It is chiefly a matter of aesthetic preference and what the end result looks like. The actual properties of the resulting mesh are unimportant since this is simply being used for a graphic design application!
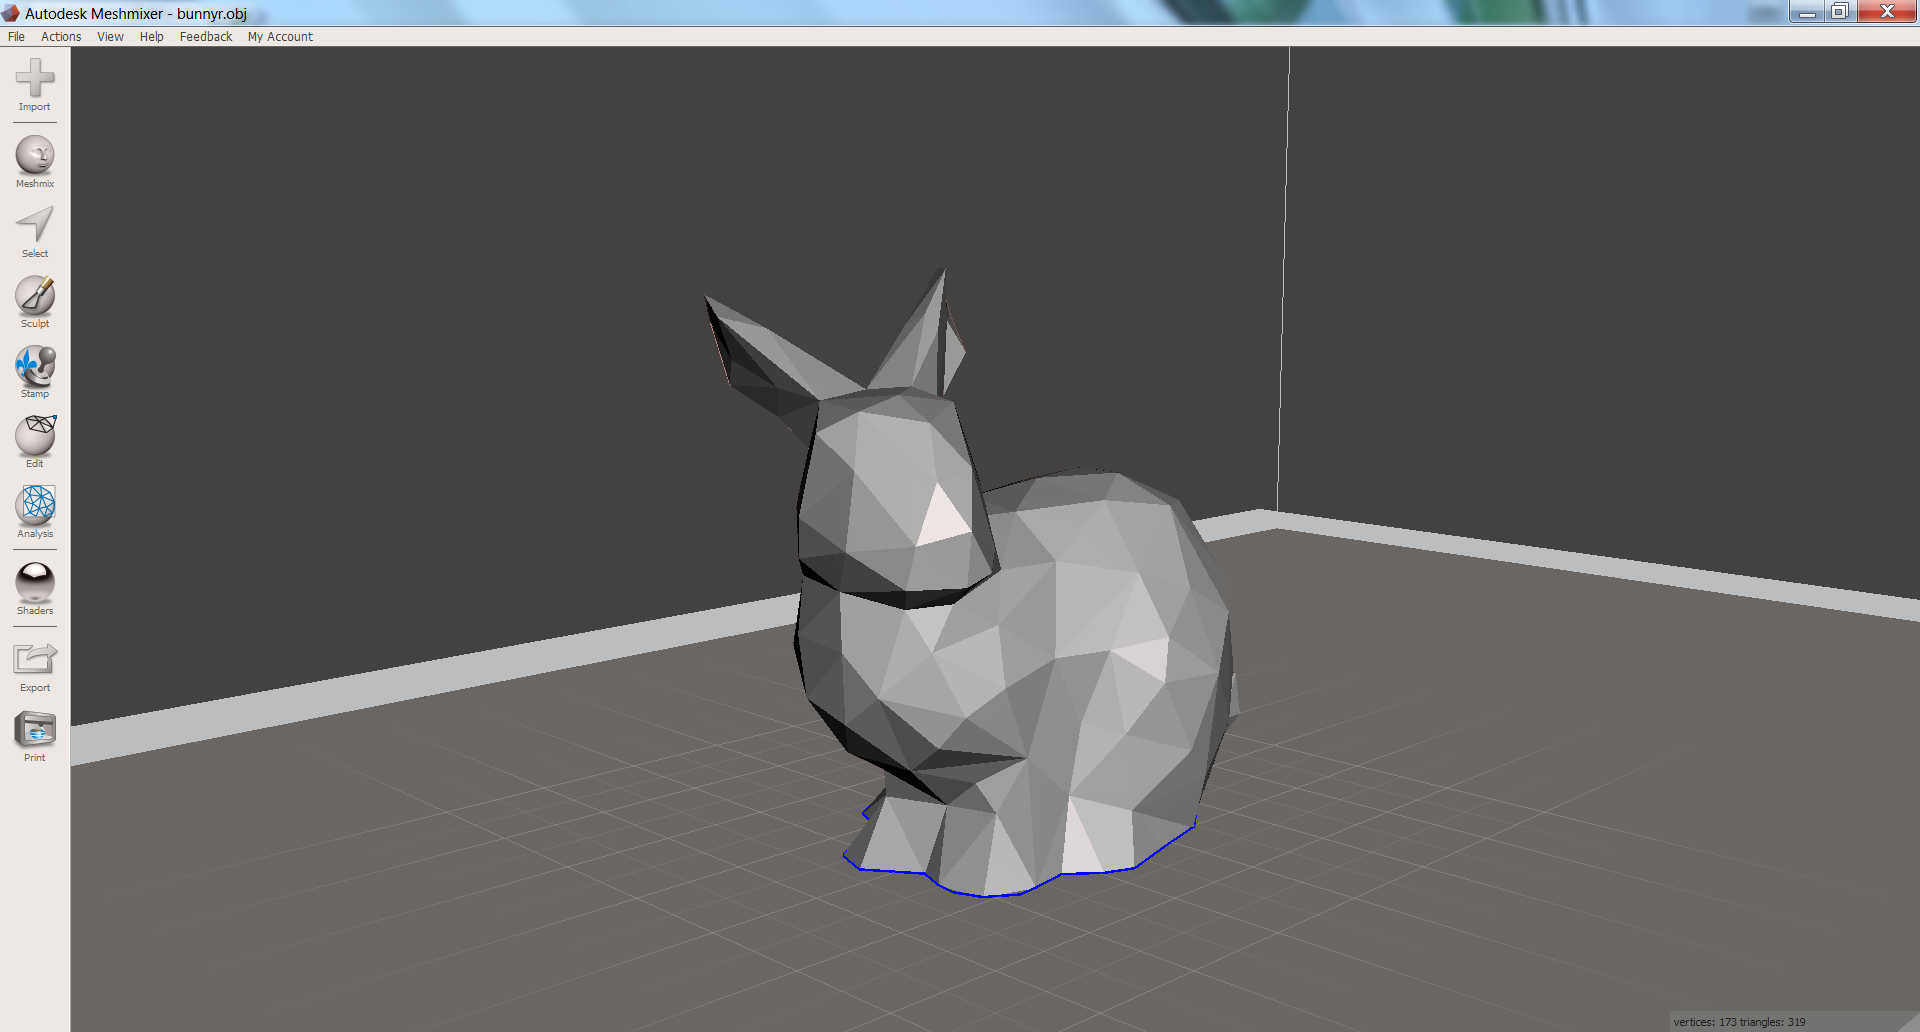
An important option to note is the check box denoting whether or not to Preserve Boundaries. Most often, you will NOT want to preserve boundaries - this limits how Meshhmixer will reduce the mesh at the boundaries and will often create an uneven look near the edges. For example, we can see in the images above that there are still a large number of polygons near the rabbit's feet before we uncheck the boundary preservation.
In the example above, I actually use the Reduce a second time in order to further reduce the polygon count. The fewer shapes, the more prominent the low poly aesthetic will be!
Exporting and Importing
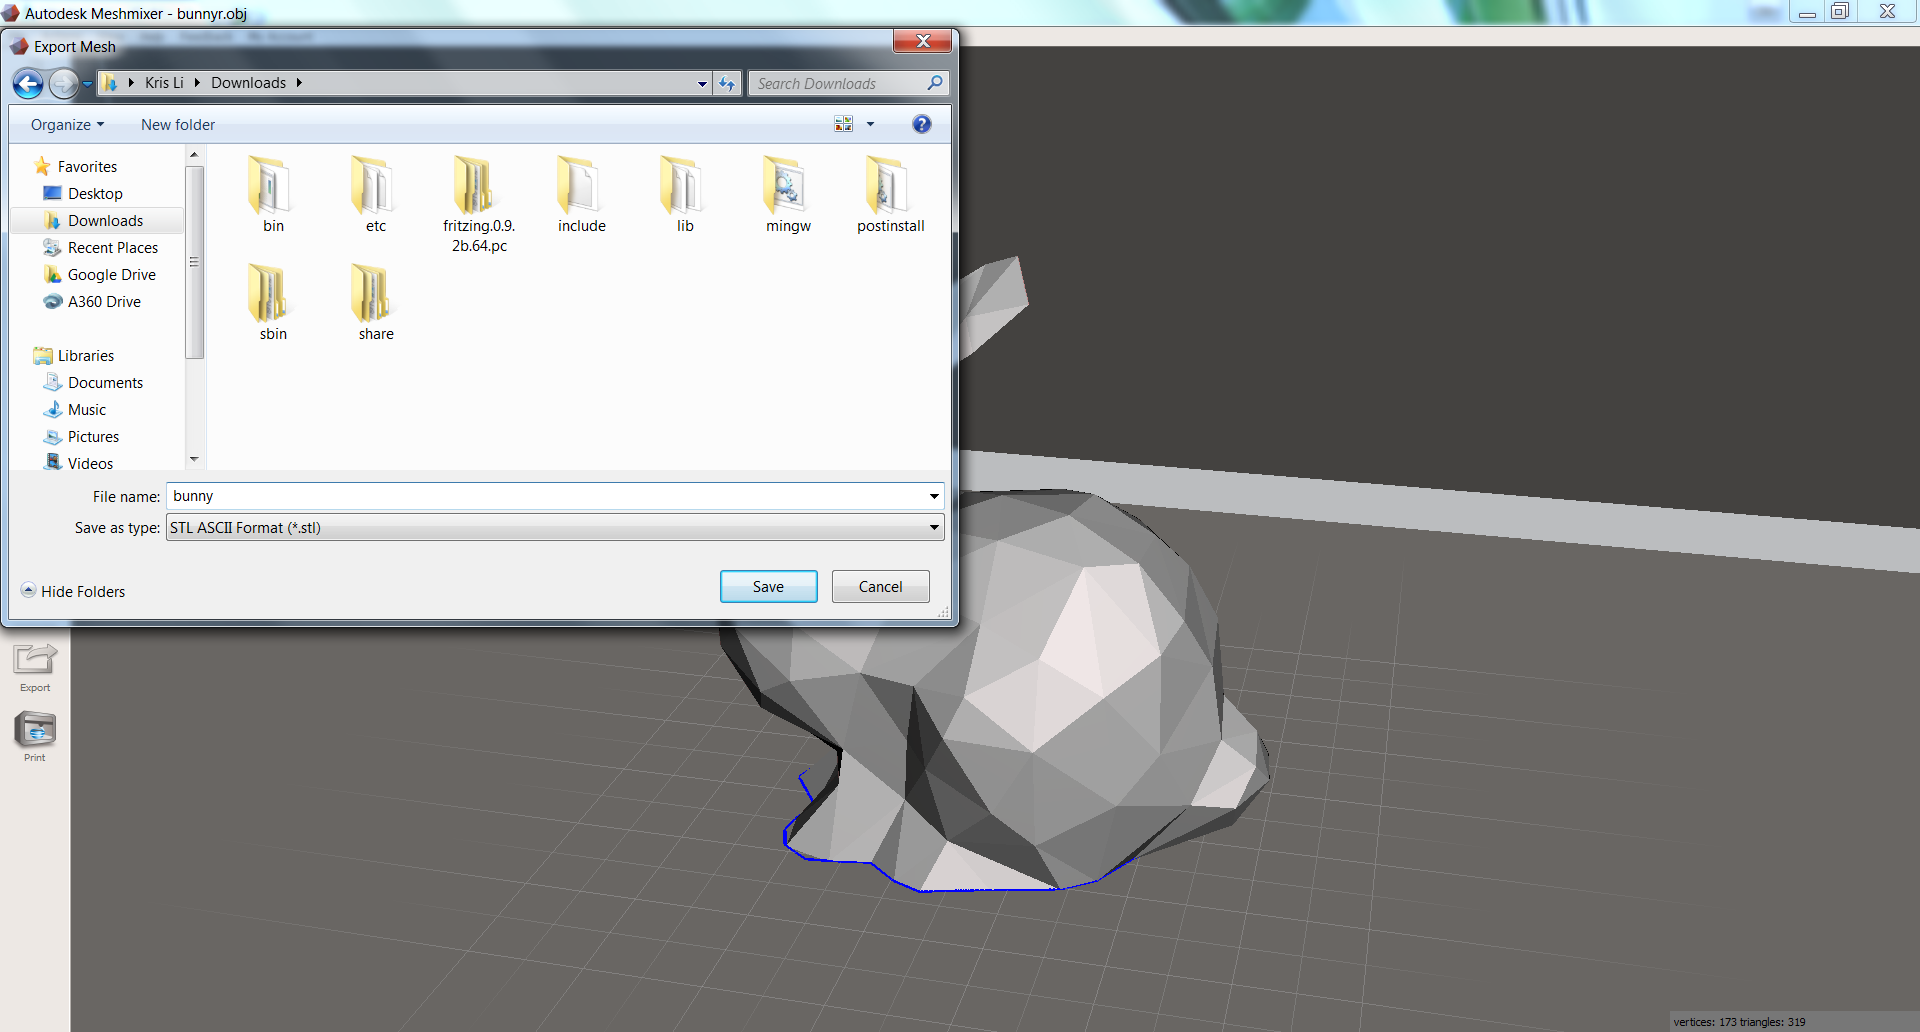
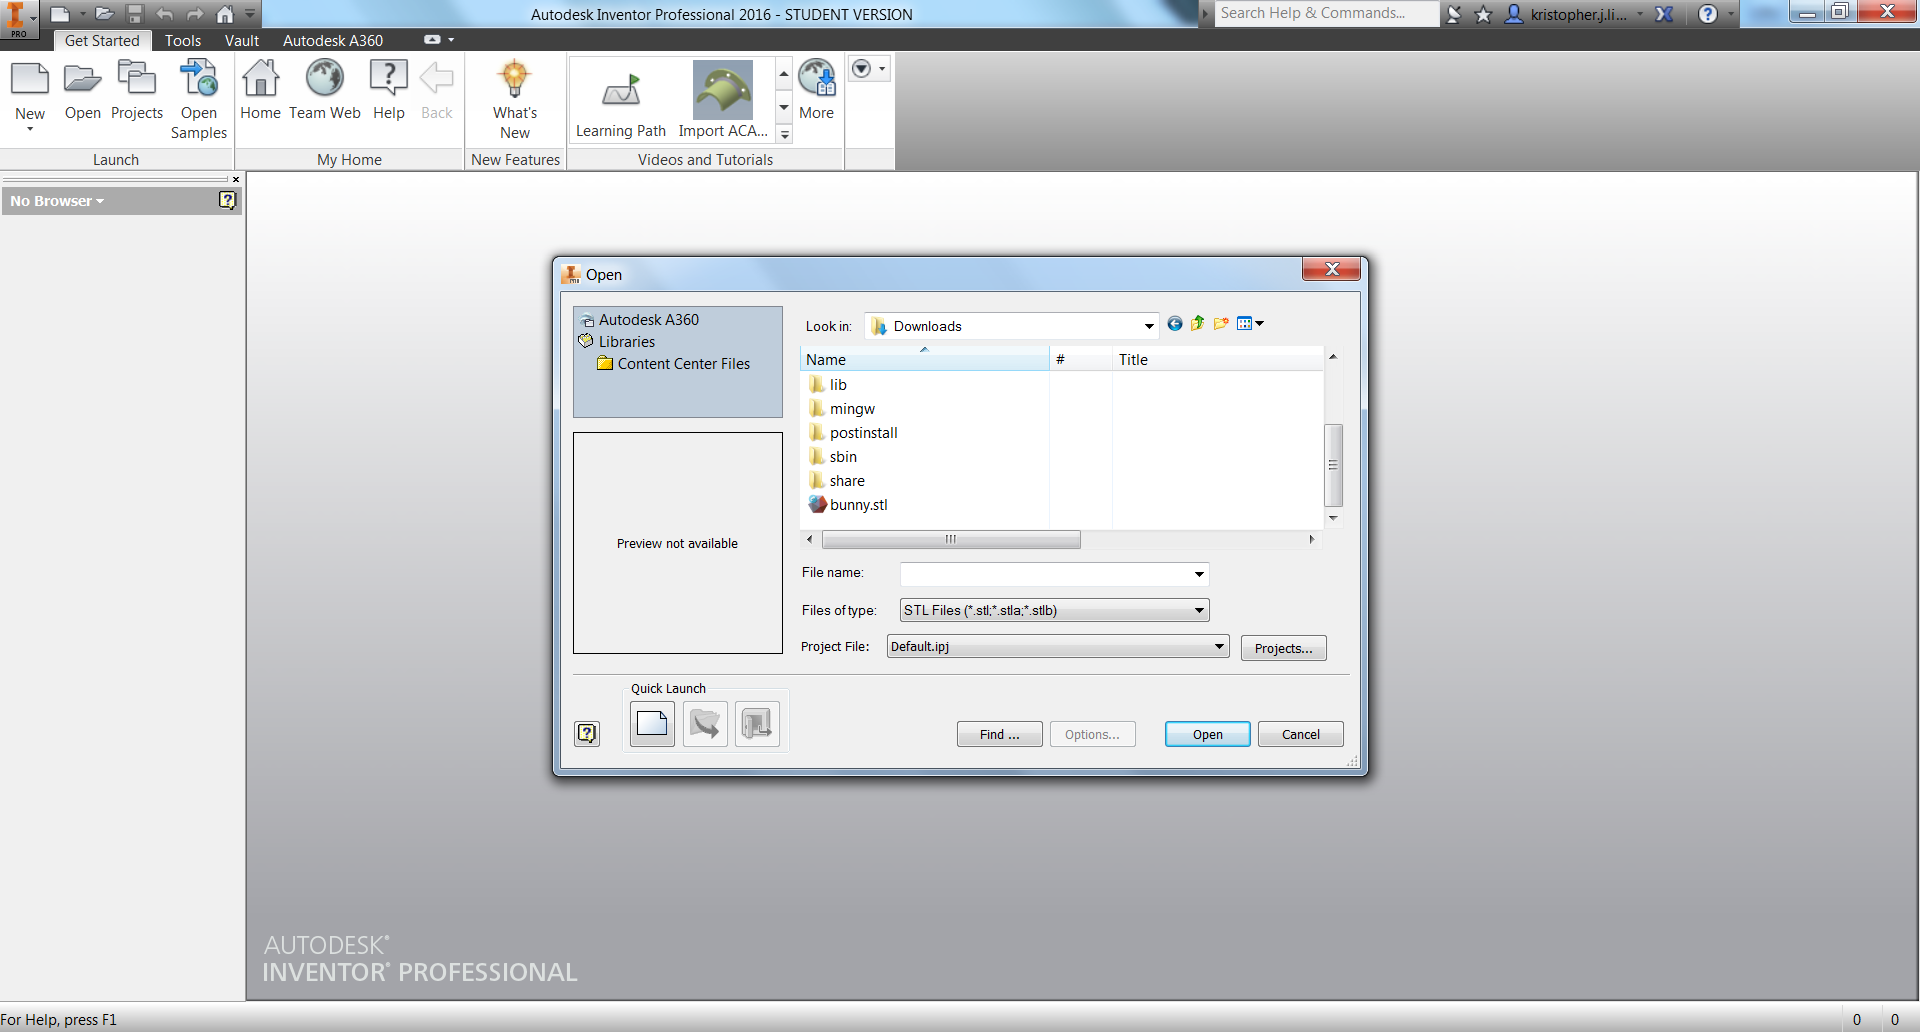
Now it's time to export the model. We have the desired geometry, but Meshmixer doesn't have the lighting and environment adjustments that I like. You can turn off most of the background images and adjust the object color, but the lack of fine tuning and image export options prompted me to use another tool.
The first step is to export the geometry. This option can be found under File > Export. Alternatively, you can use the keyboard shortcut CTRL + E.
There are several options you can use for the file format - for the purposes of this tutorial we will choose to export as an STL. Choose a file name and finish exporting your file.
To "render" the final image, I will be using Autodesk Inventor. I have also previously used SolidWorks. Note that there are a plethora of options on how to proceed from here, so feel free to use whatever is available to you or what you are familiar with. Neither Inventor or SolidWorks are the best options here, but they serve the purpose for this quick and dirty art project. If you want a list of 3D modeling and rendering tools, see the intro page to this tutorial!
In Inventor, click the Open under the Launch tab. Under Files of Type, choose STL files. Navigate to your exported file and open it.
Editing the Environment
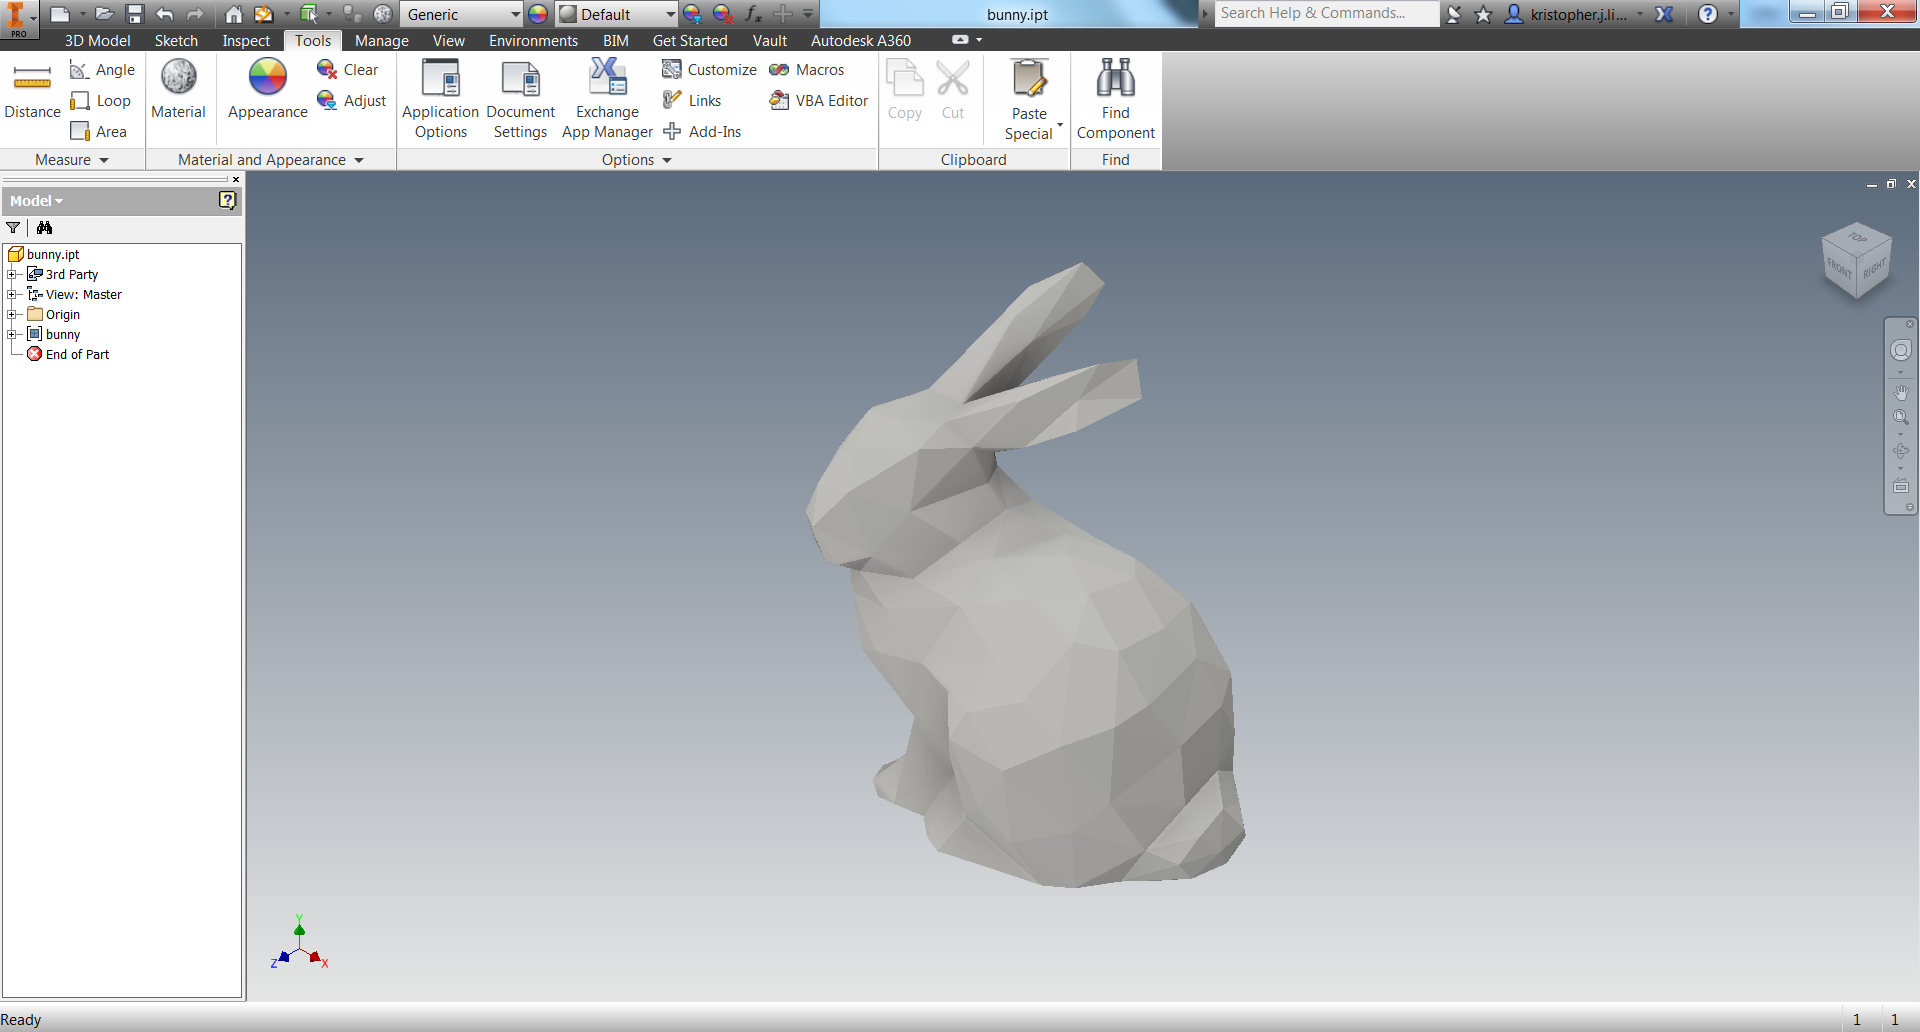
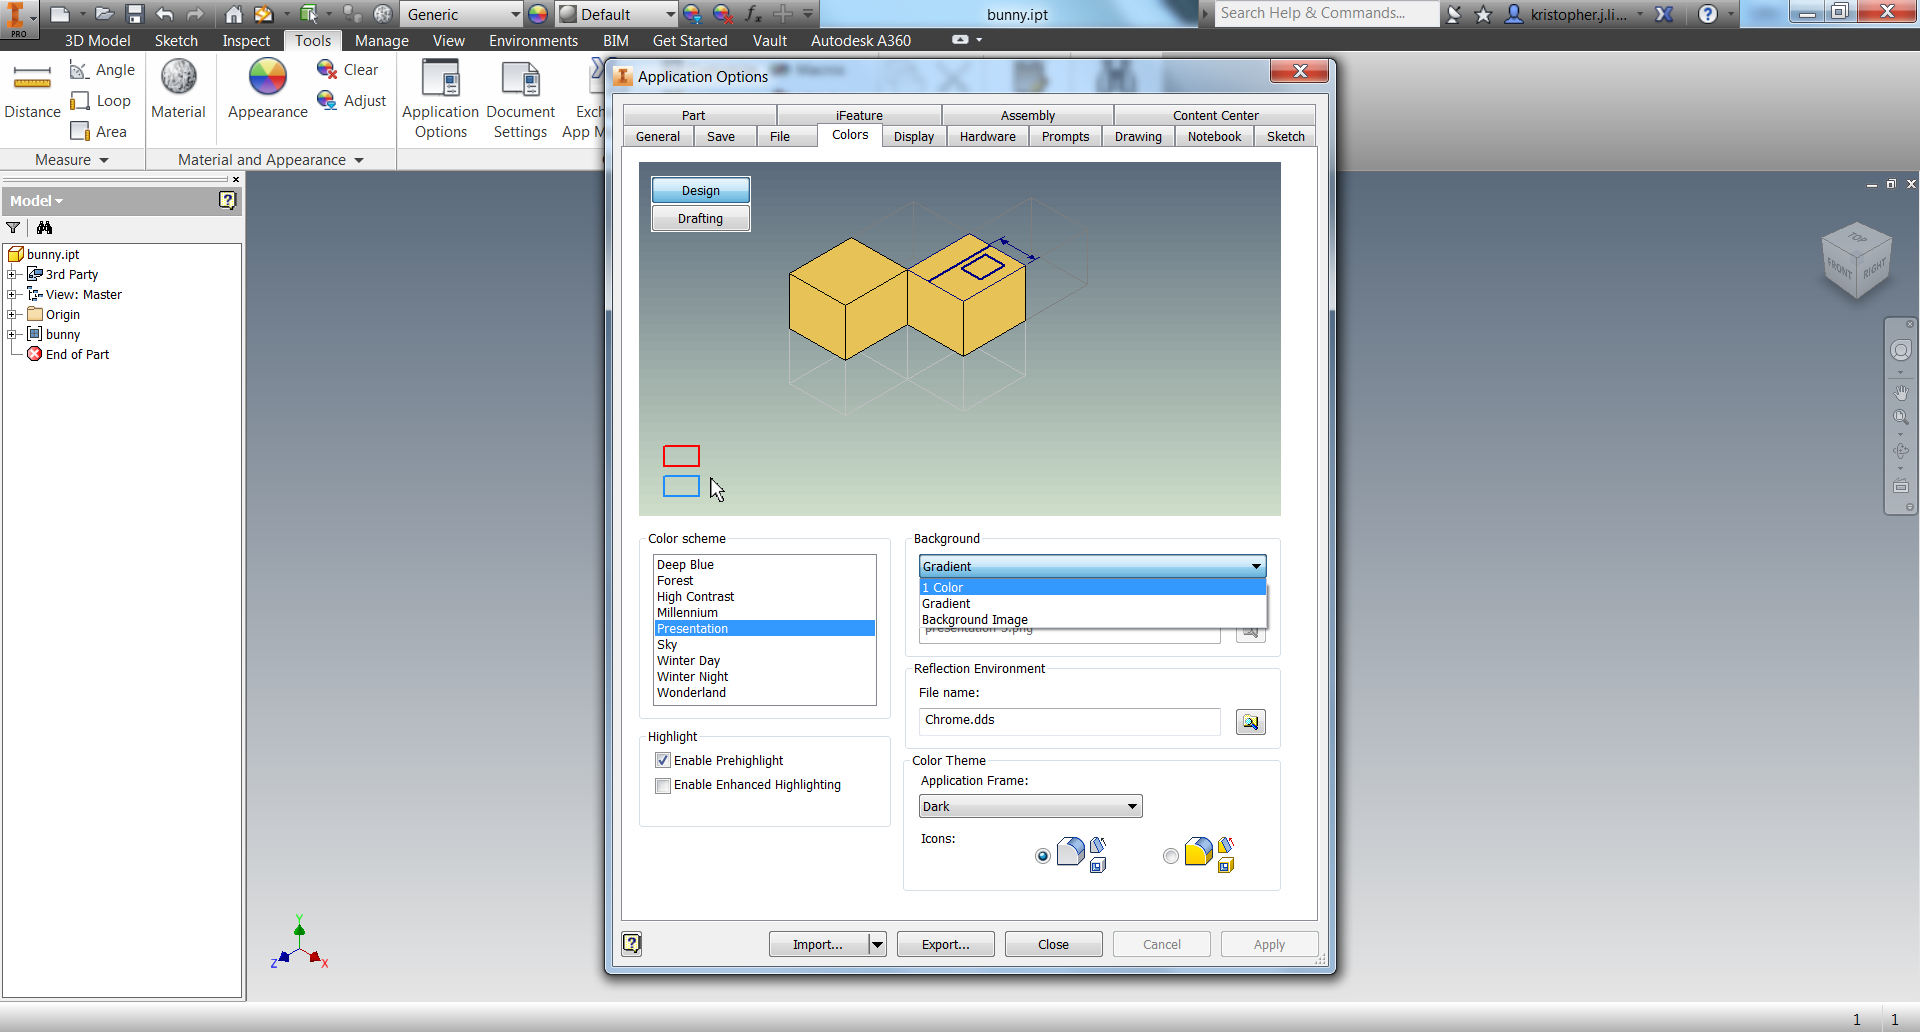
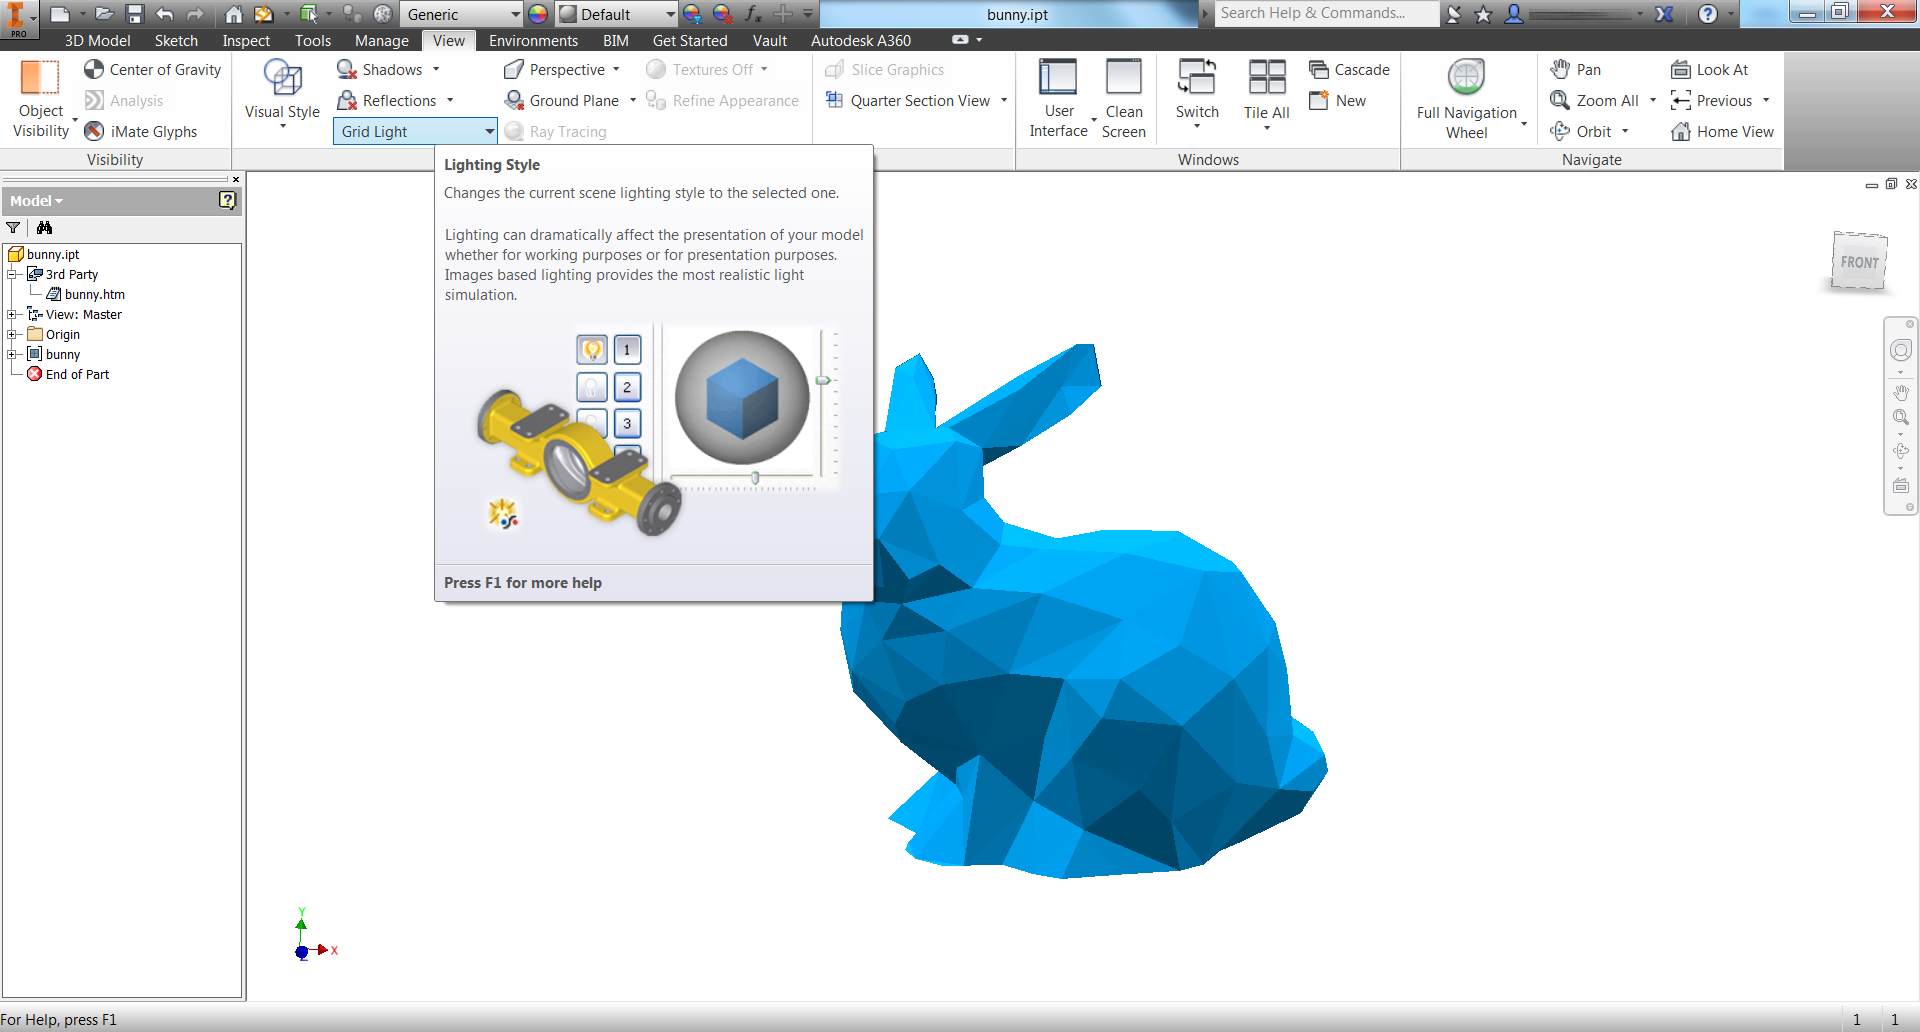
To make it easy to edit and use the final image, it is extremely helpful to make the background a single color. I like to make the background white but depending on your object color you'll probably want to choose a contrasting color.
To edit the workspace environment in Inventor, navigate to the Tools tab in the tool bar. Click Application Options to open the options window. From here, click on the Colors tab. We are then able to adjust the Color scheme and Background. For a white background, choose the Presentation color scheme and change the background to 1-color.
The environment background persists when we export the image, so if you find a background that you like, you can also use that. Using a pure white background makes editing the image much easier.
In order to highlight the correct panels to create a visually interesting final product, we want to adjust the lighting environment also. The lighting options can be found under the View tab. As seen in the last picture above, we can change the Lighting Style through the drop down menu. Feel free to play around with various styles to find what works best. The Grid Light option seemed to work well for me! Just be aware that some of the lighting styles also alter the environment and background.
Editing the Geometry Appearance
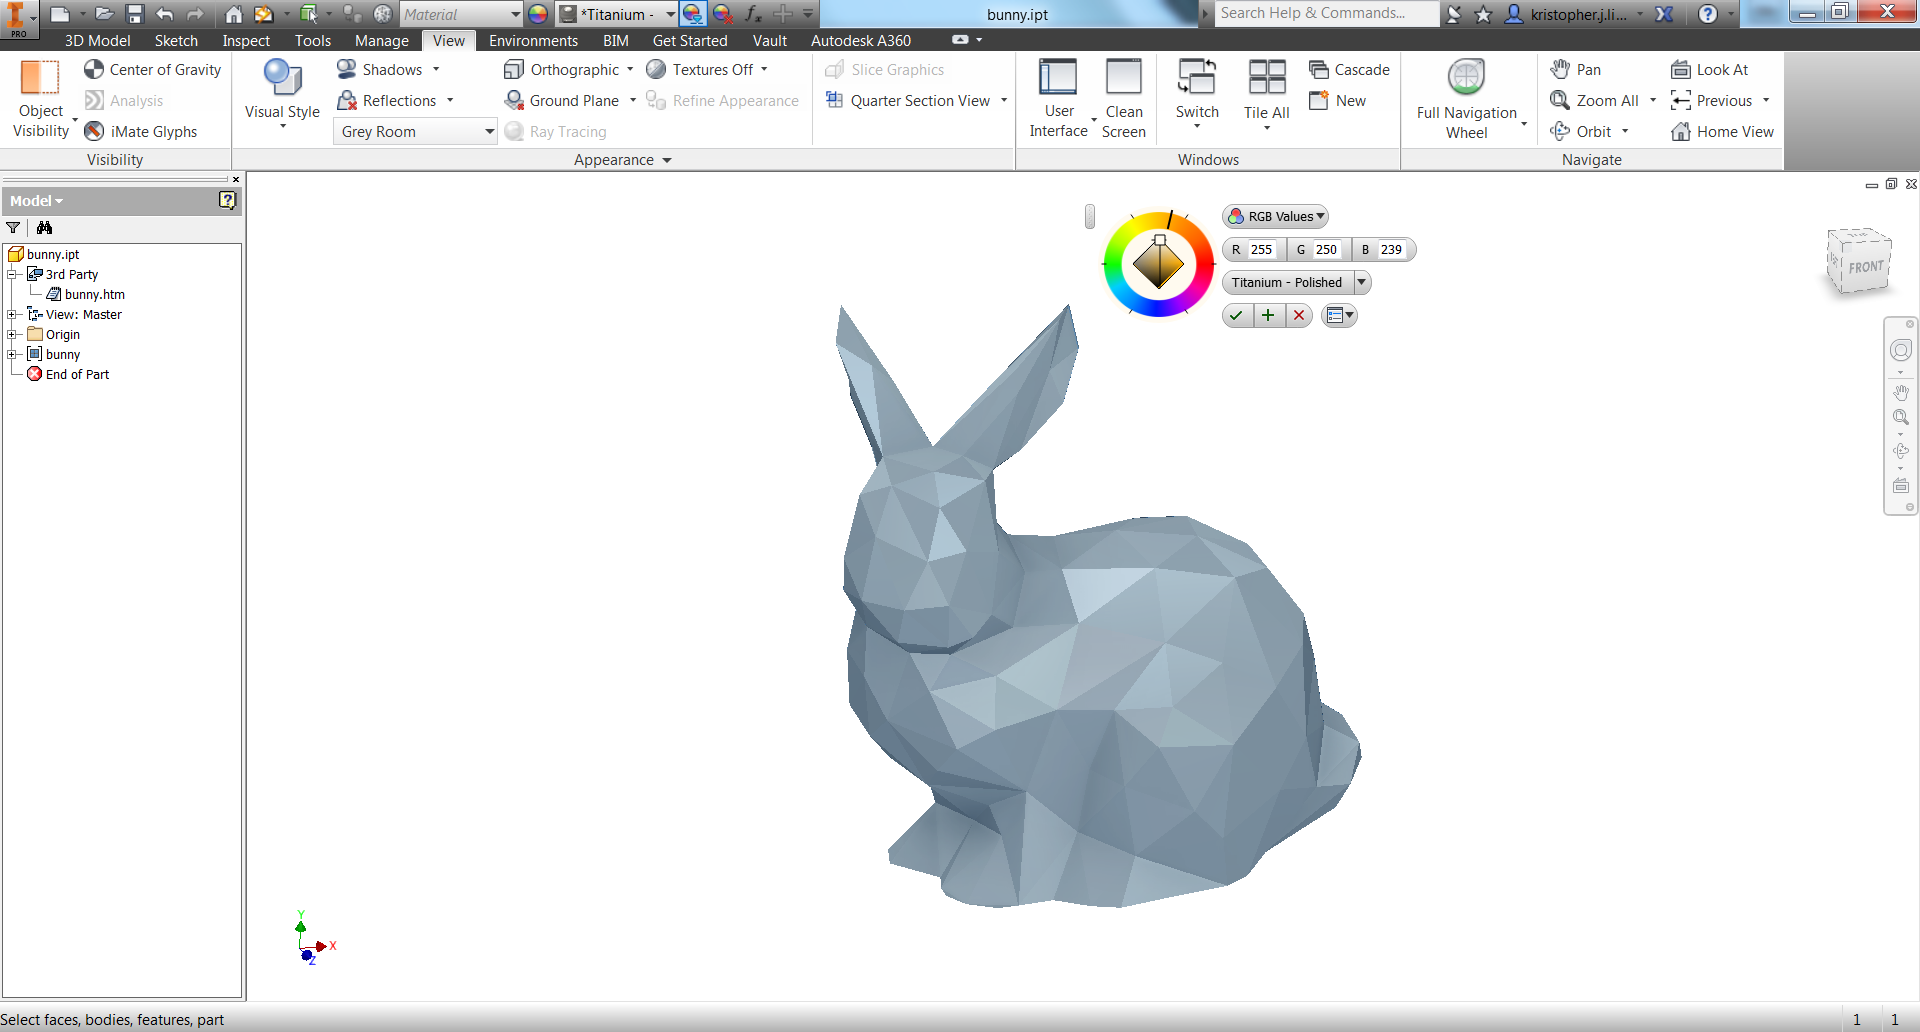
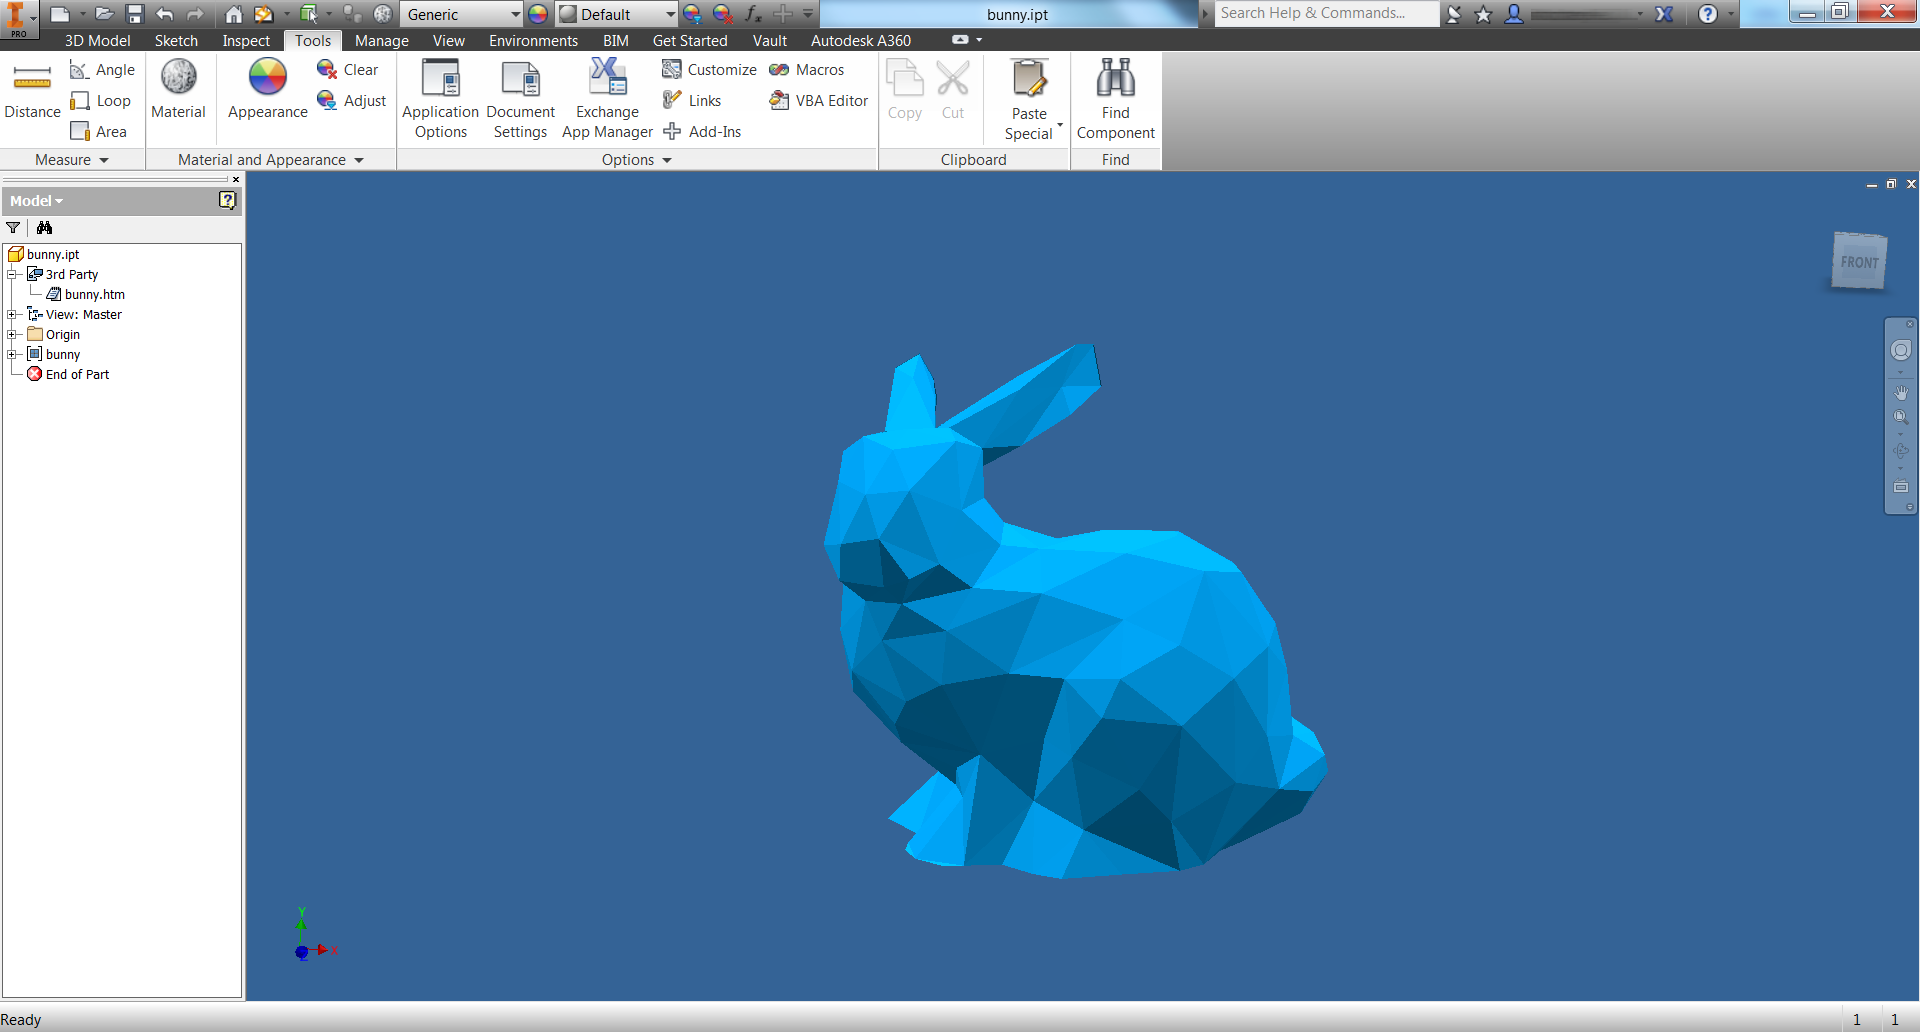
Now for the fun part! We can change the appearance of the part. To find the Appearance tool, we choose the Tools tab. Clicking on the color wheel brings up the Appearance selection tool. I chose polished titanium material for the reflective quality, and added a blue hue with the color wheel.
I played with potentially using a blue background here but eventually switched back to a white background for exporting!
Saving the Image
Voila! We have the final product ready to go. Position the geometry how you'd like it to look using the view tools at the right hand side of the work space. Once the view is set then we're ready to save. The easiest way is to simply print screen from here and you'll have a useable image.
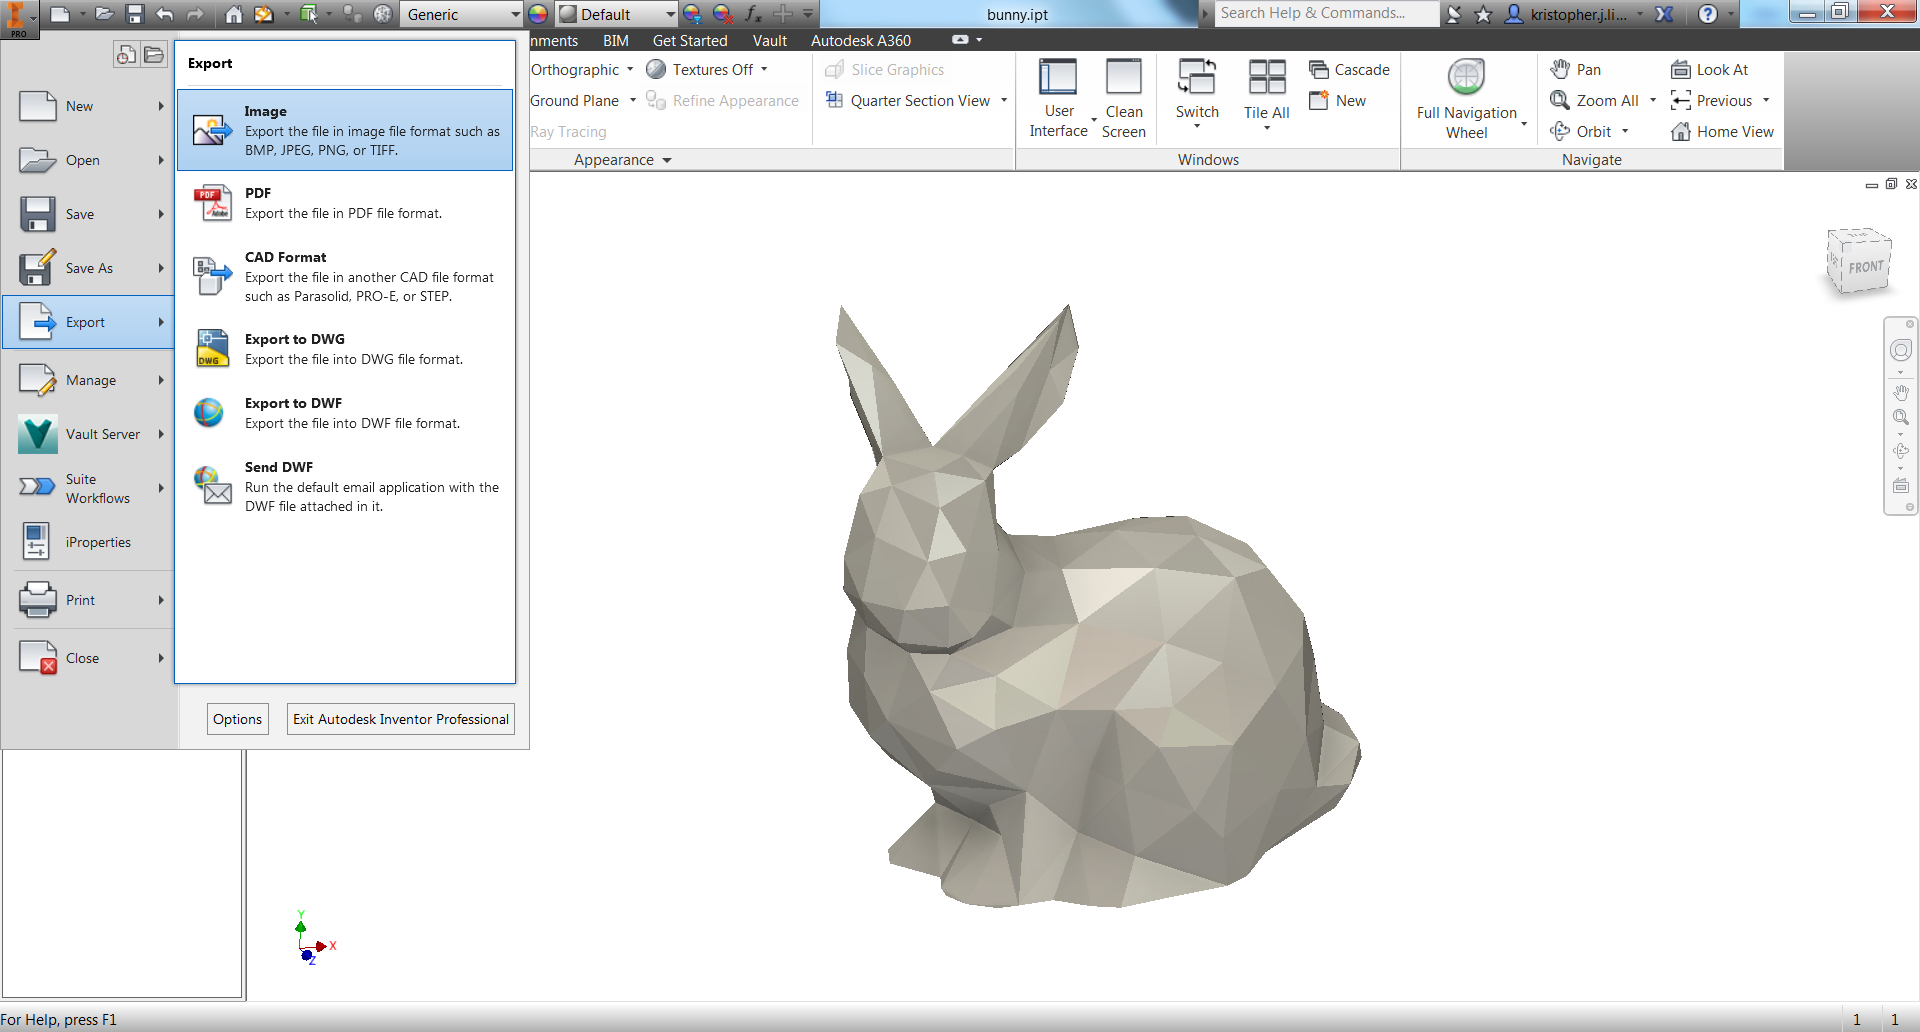
For higher quality, we can use Inventor's export function to export as an image! Click on the Inventor icon to bring up the File drop down menu and select Export. Under Export, choose Image. From here you are able to choose any image type and export your file.
Note: I took these screenshots slightly out of order, so this bunny isn't blue like my final picture! Sorry for any confusion this might cause.
Vectorize the Image (Optional)
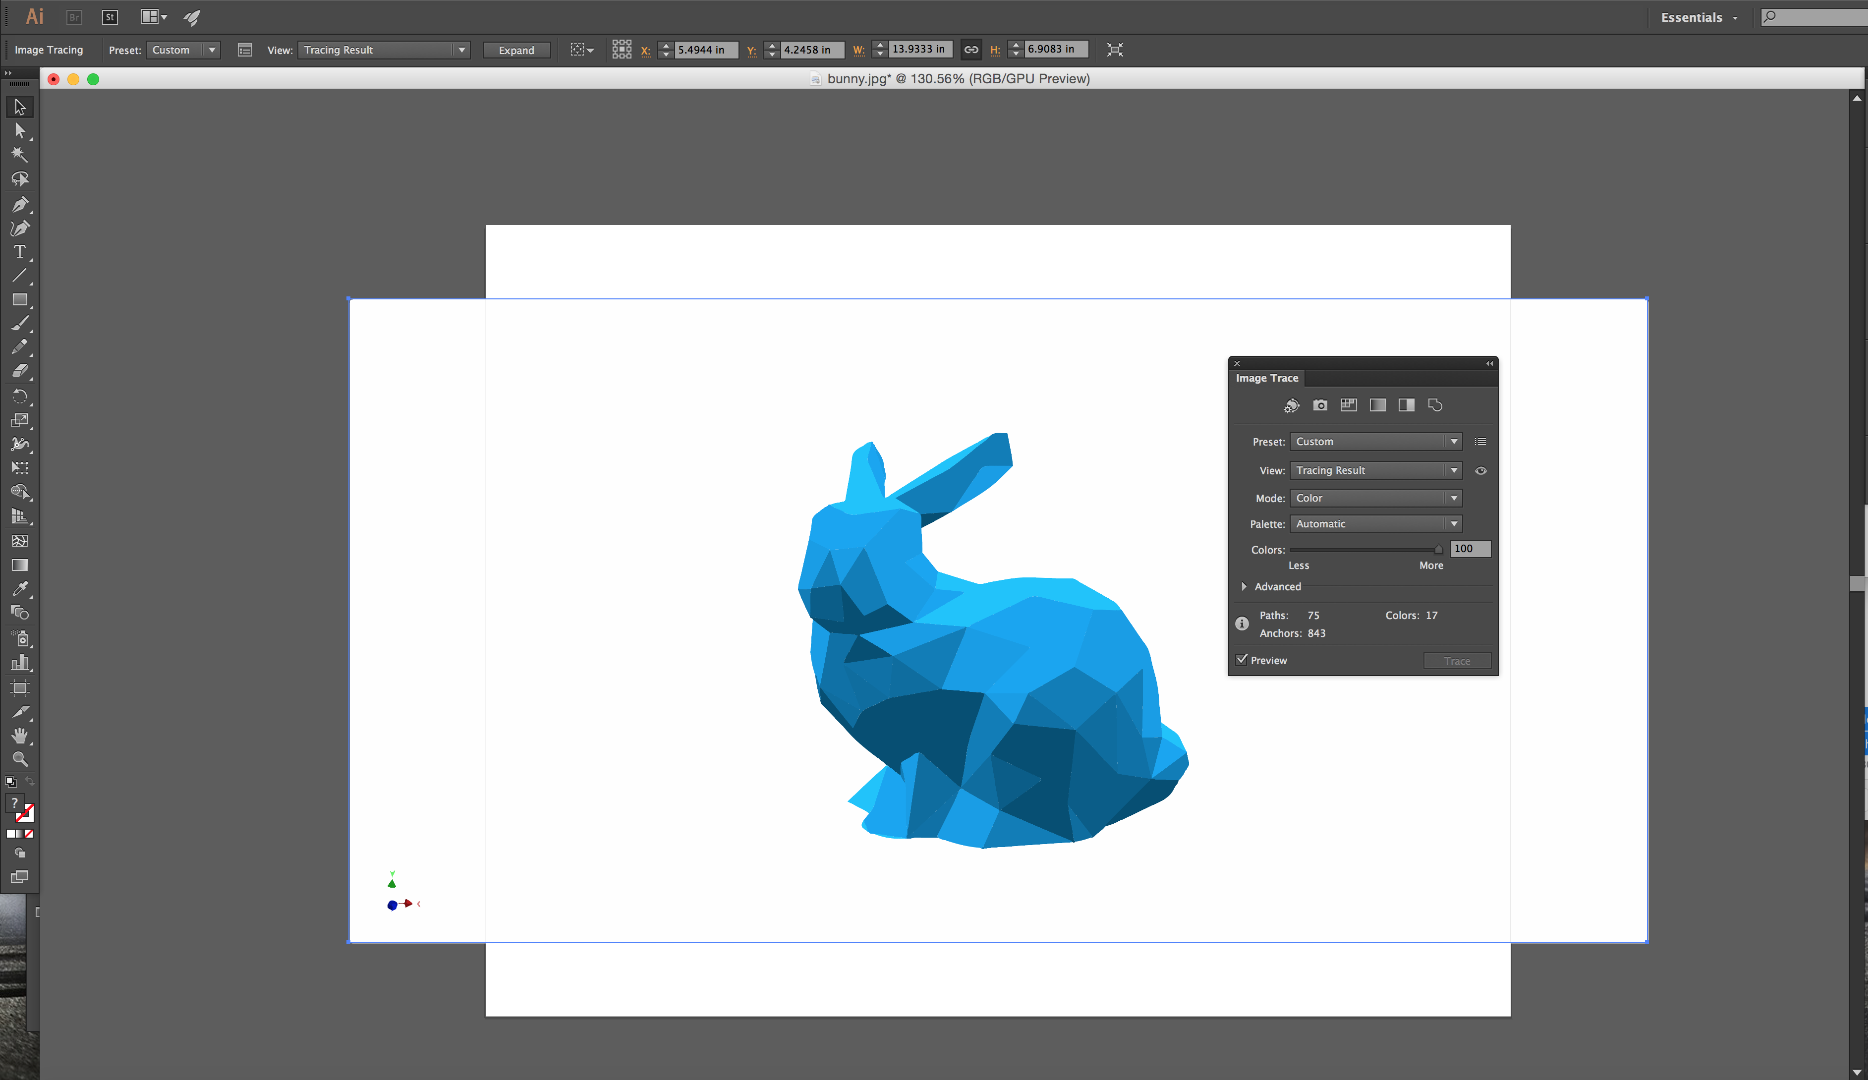
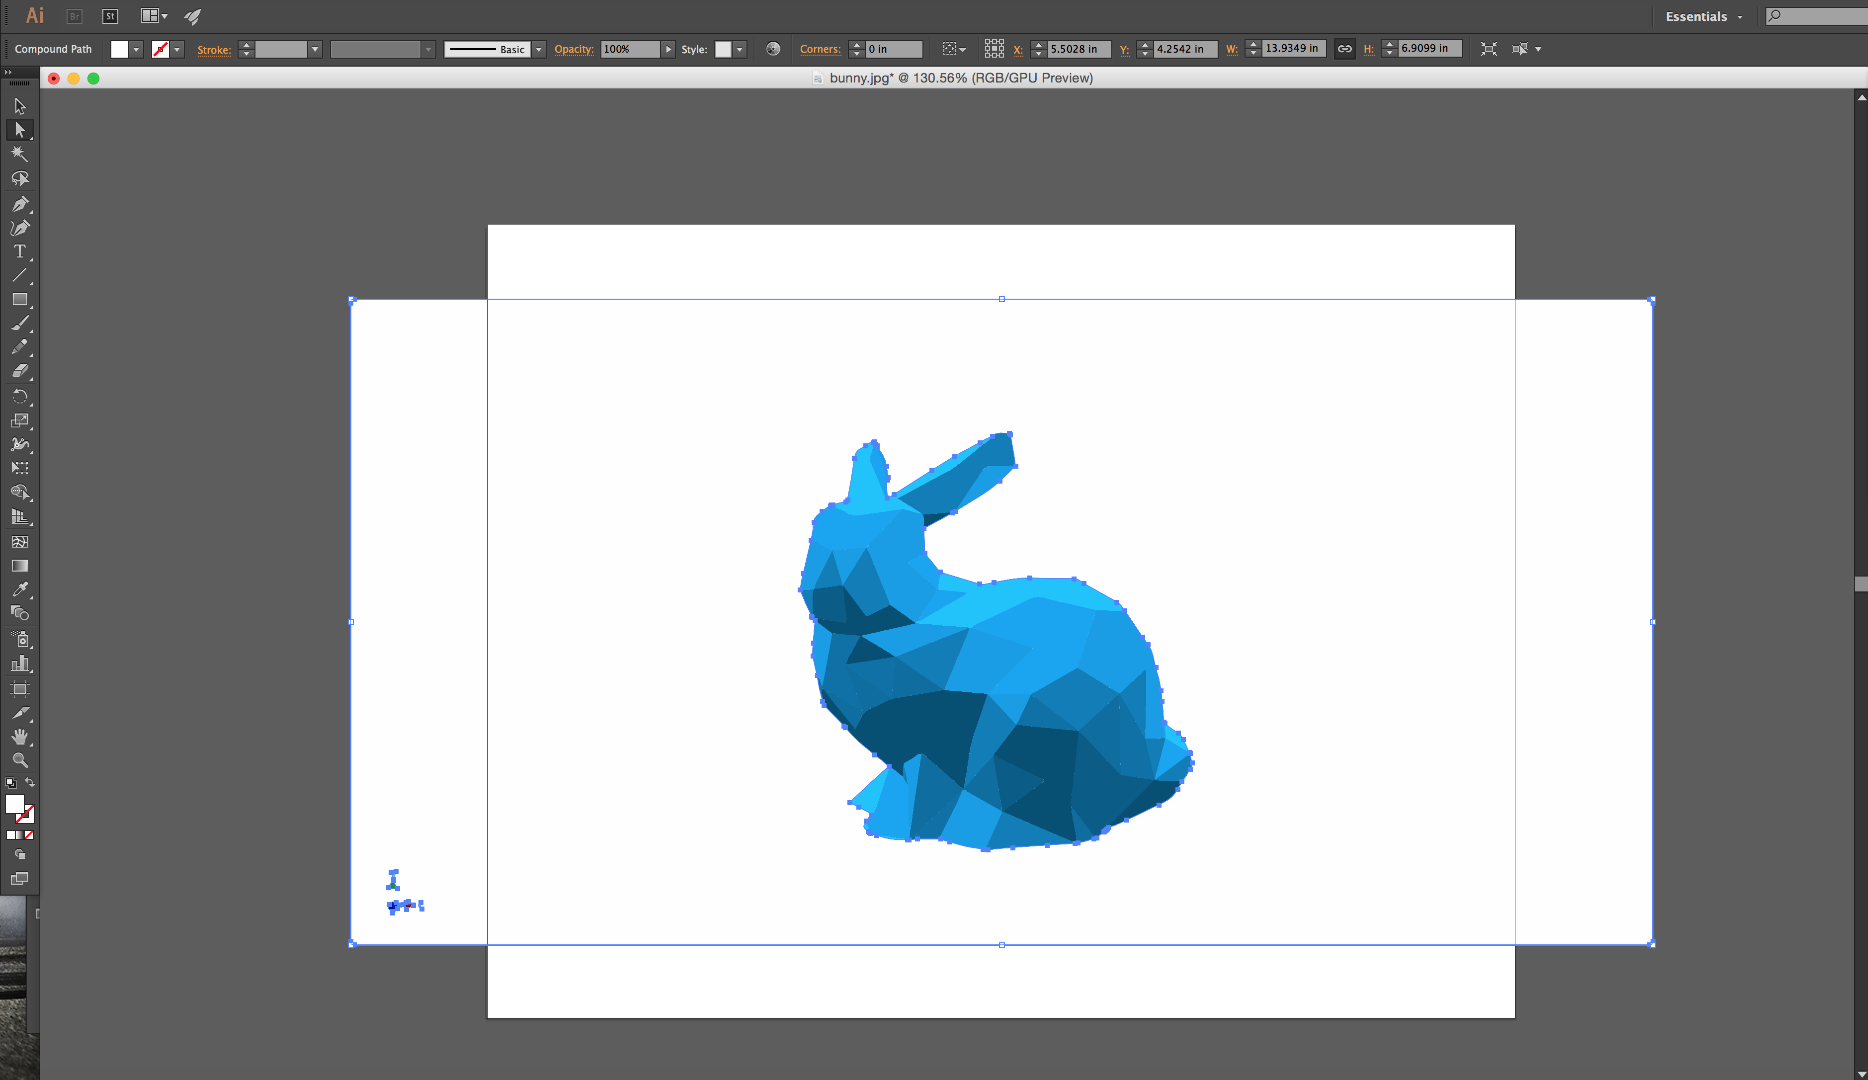
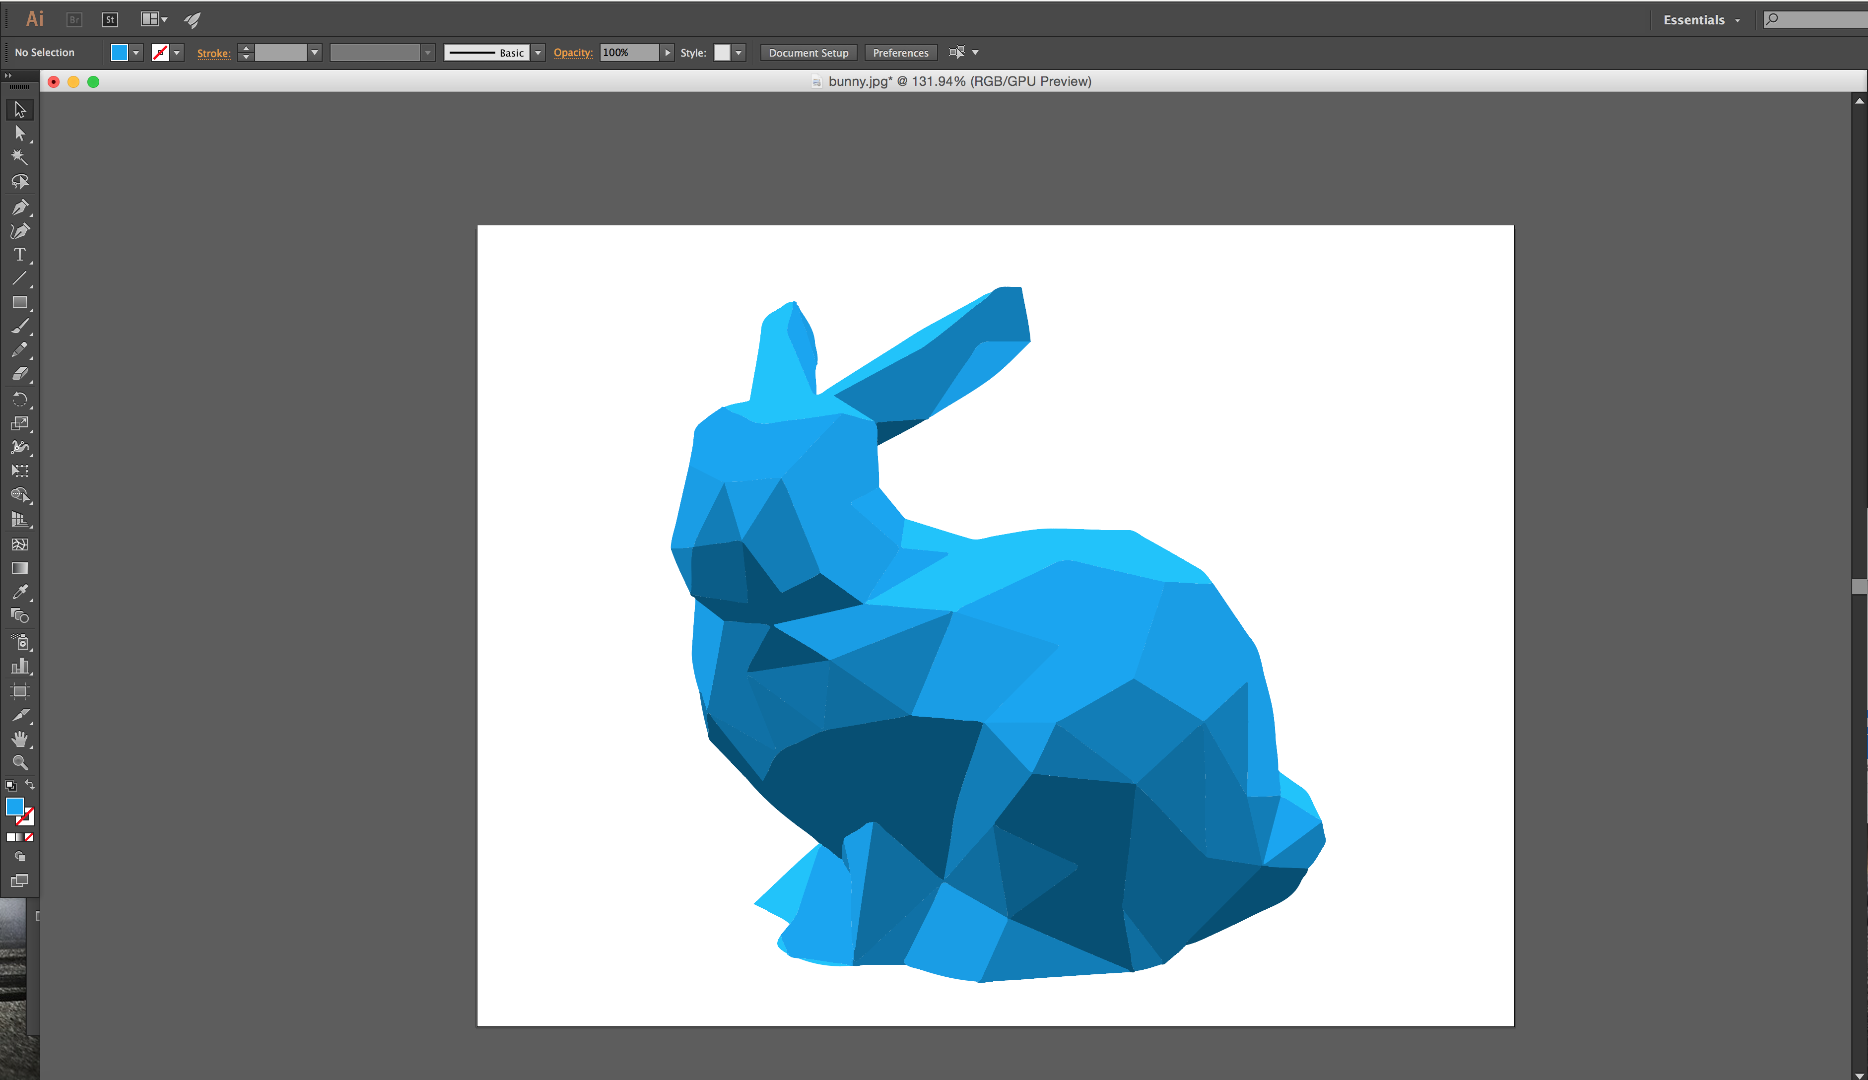
There are several things you can do with the final result. One great option is to vectorize the image! The low poly nature makes it very easy for a program like Adobe Illustrator to vectorize the image. This makes it easily editable and useable for other projects.
In Illustrator, open the image file that you previously saved. Selecting the image will bring up the Image Trace option in the tool bar. Click on the options panel (Image Trace Panel) to bring up extra options. For low poly images the 6 Colors or 16 Colors are a great starting place. When you achieve the desired result, click Expand to create the vector image! You can then use the Direct Selection Tool to remove the background image (simply click and delete) as well as the coordinate axis that is included with the exported image.
Fin


You're all done! This is intended to be a fun and quick way to create these low poly images. There maybe be many other ways to do similar things, but I hope you've enjoyed learning this method that I've described.
Have fun creating and sharing your low poly pictures!