Create Ink Splash Effect in GIMP | Photoshop Alternative
by paasadani in Design > Digital Graphics
9595 Views, 36 Favorites, 0 Comments
Create Ink Splash Effect in GIMP | Photoshop Alternative

Hi Everyone, In this article I'm gonna show you How to Create Ink Splash / Ink Splatter effect in GIMP
Note: GIMP is the perfect photo editing alternative for Photoshop. Hence you can try this same method in Photoshop as well.
Create a New Image in GIMP
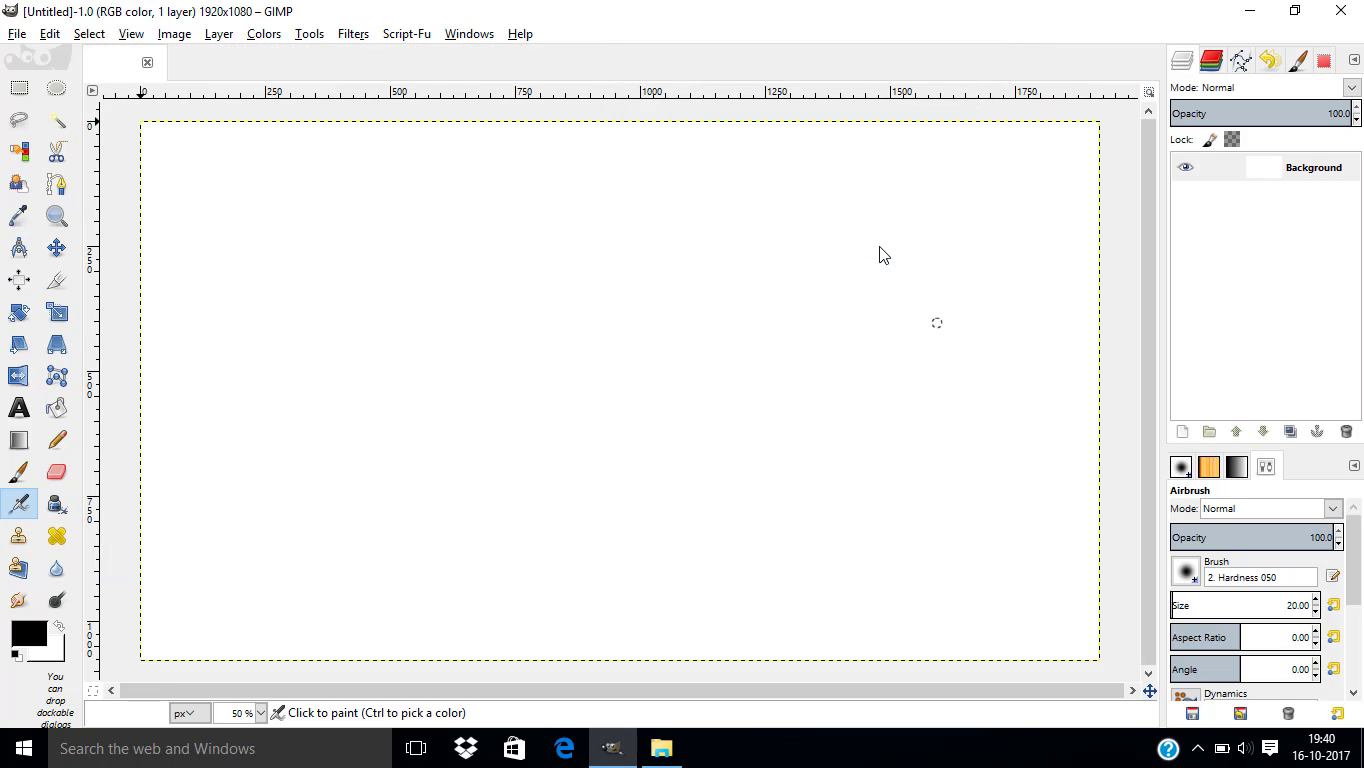
- Open GIMP
- Create a New Image from File - New
- Make the Width - 1920 px and Height - 1080 px
- Leave the Default Color (White)
Drag and Drop Your Subject Image
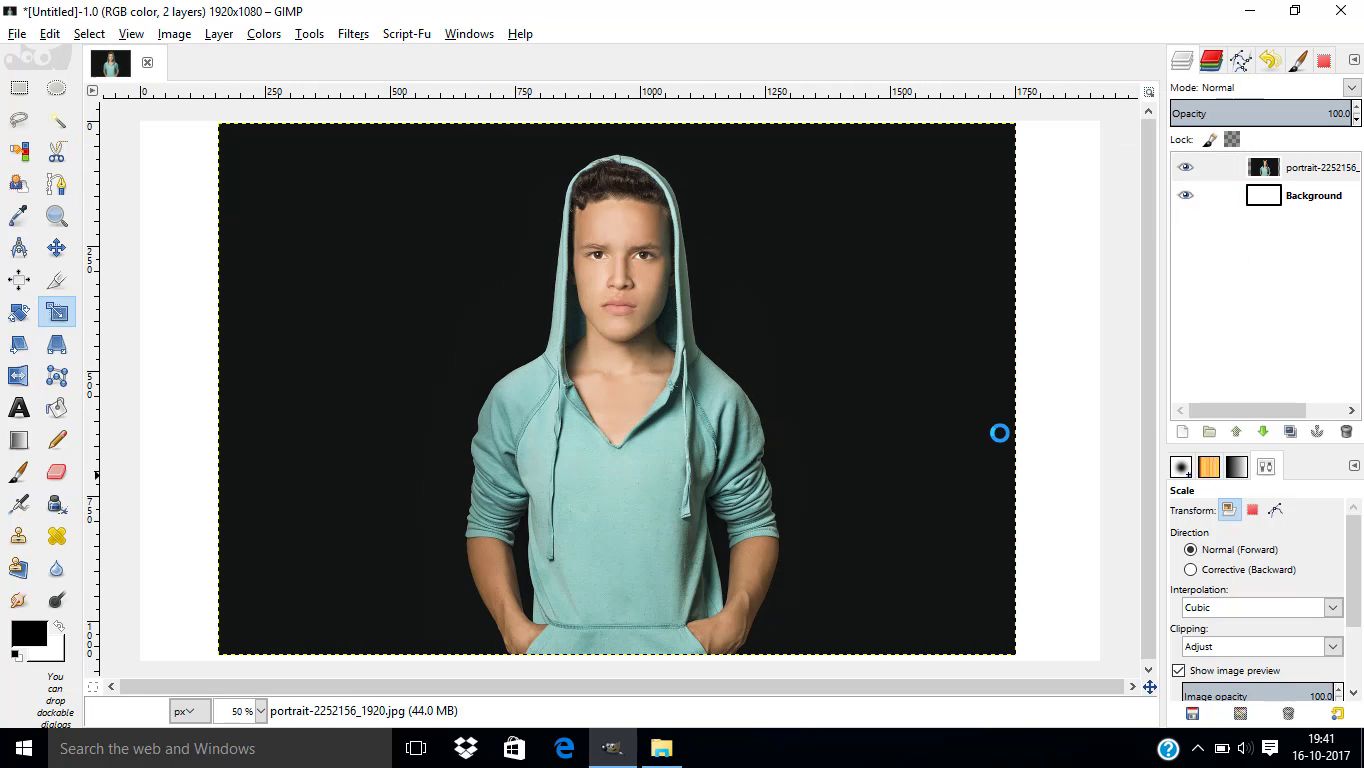
- Choose your Subject Image
- Drag and Drop it into GIMP
- Scale it to fit inside the Canvas using Scale Tool
Remove Background and Make It Transparent
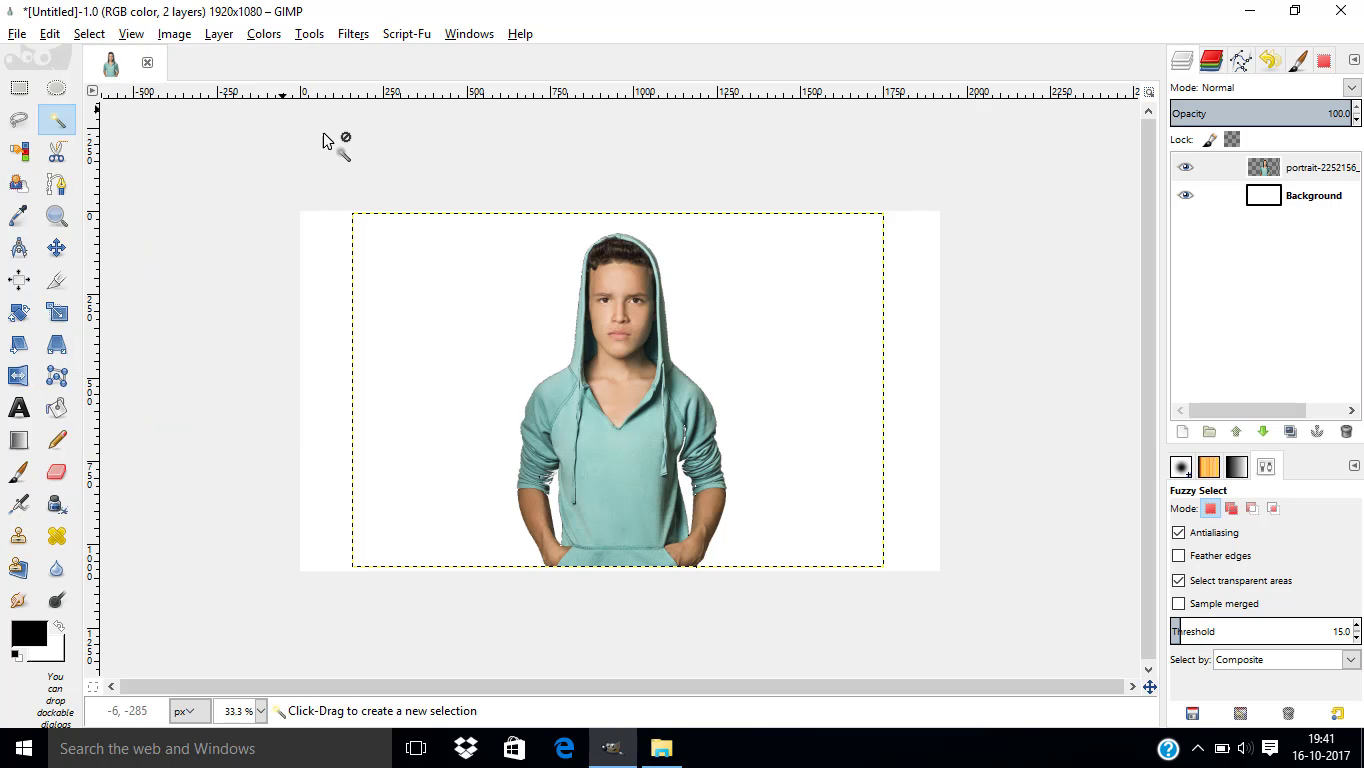
- Remove Background and Make it Transparent
There are many different methods to remove background using GIMP. Click Here for Some Methods
Desaturate
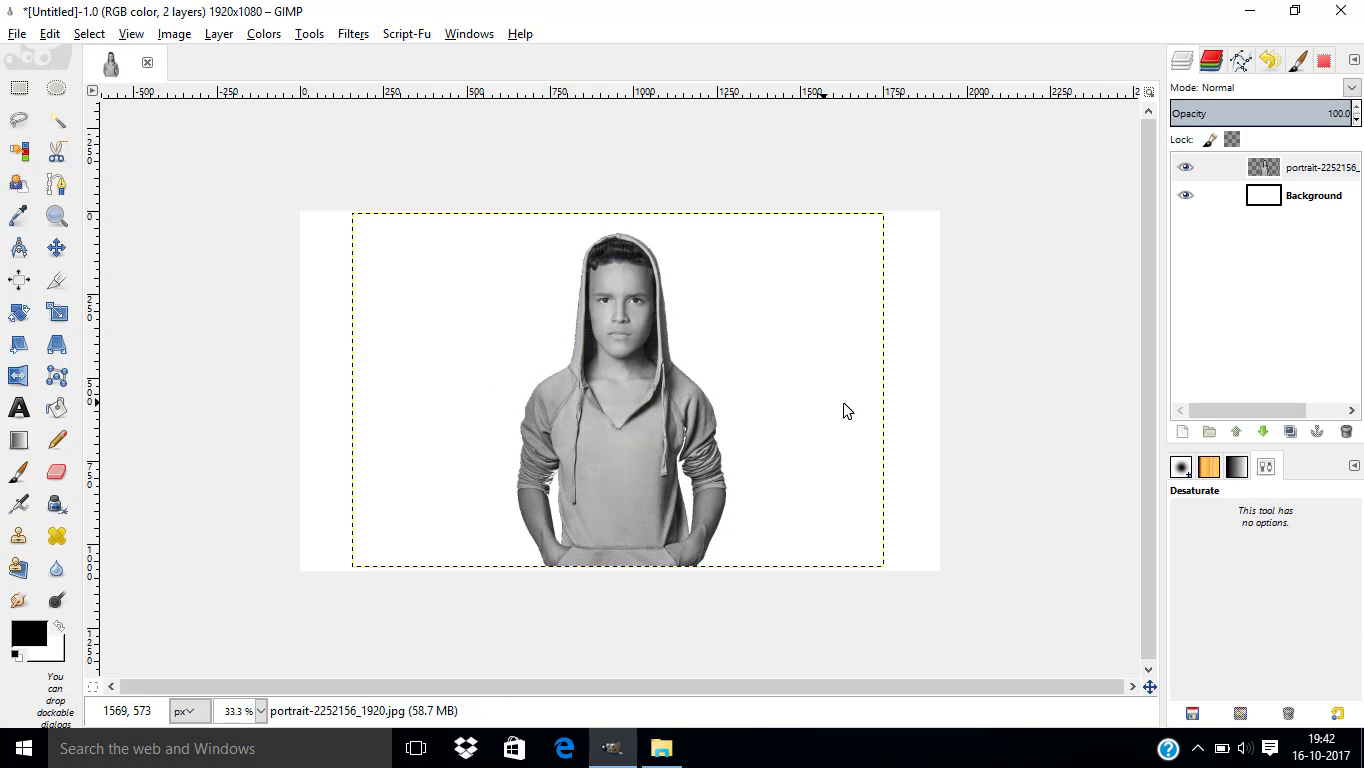
- Desaturate the Subject Layer to Make it Black and White
- Colors - Desaturate
Threshold
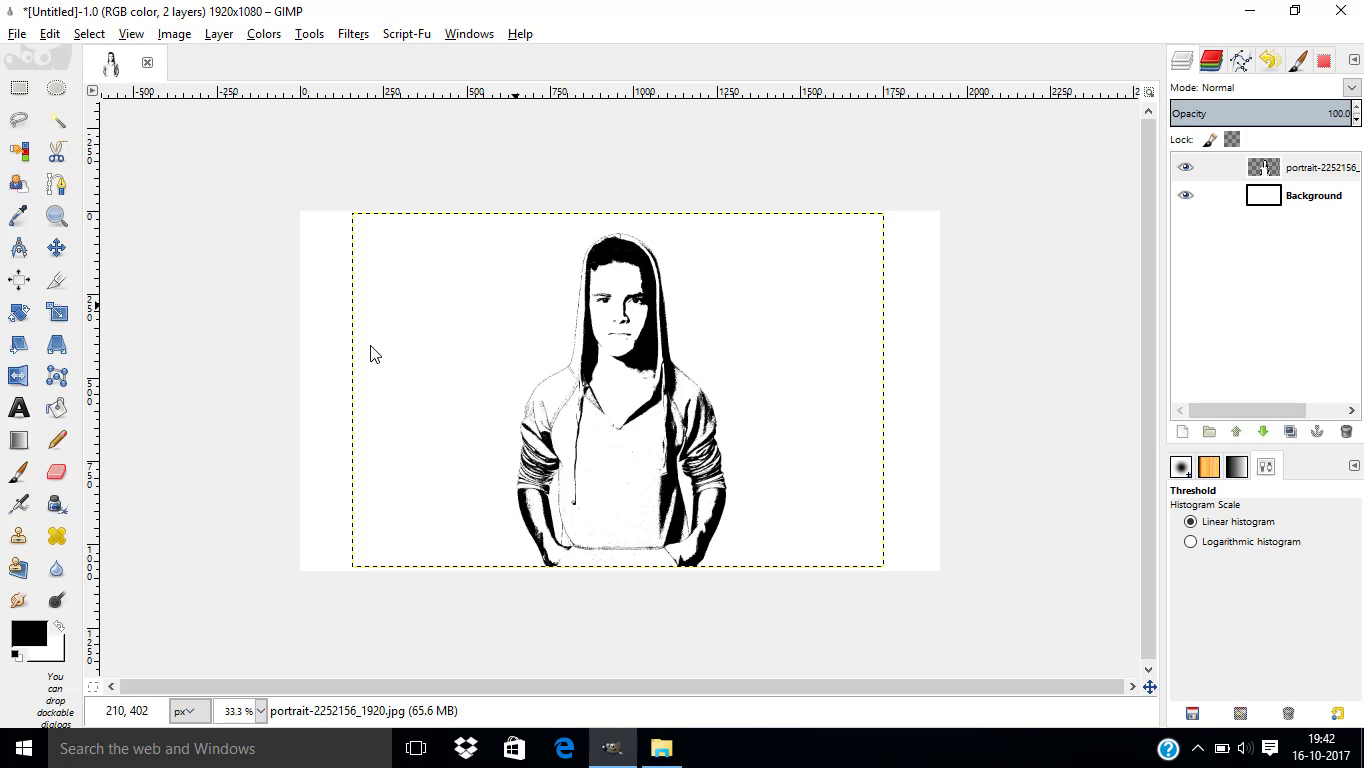
- Go to Colors - Threshold
- Change the Threshold Value to get the Good results
- Then hide the Subject Layer
Add the Ink Splatter Images
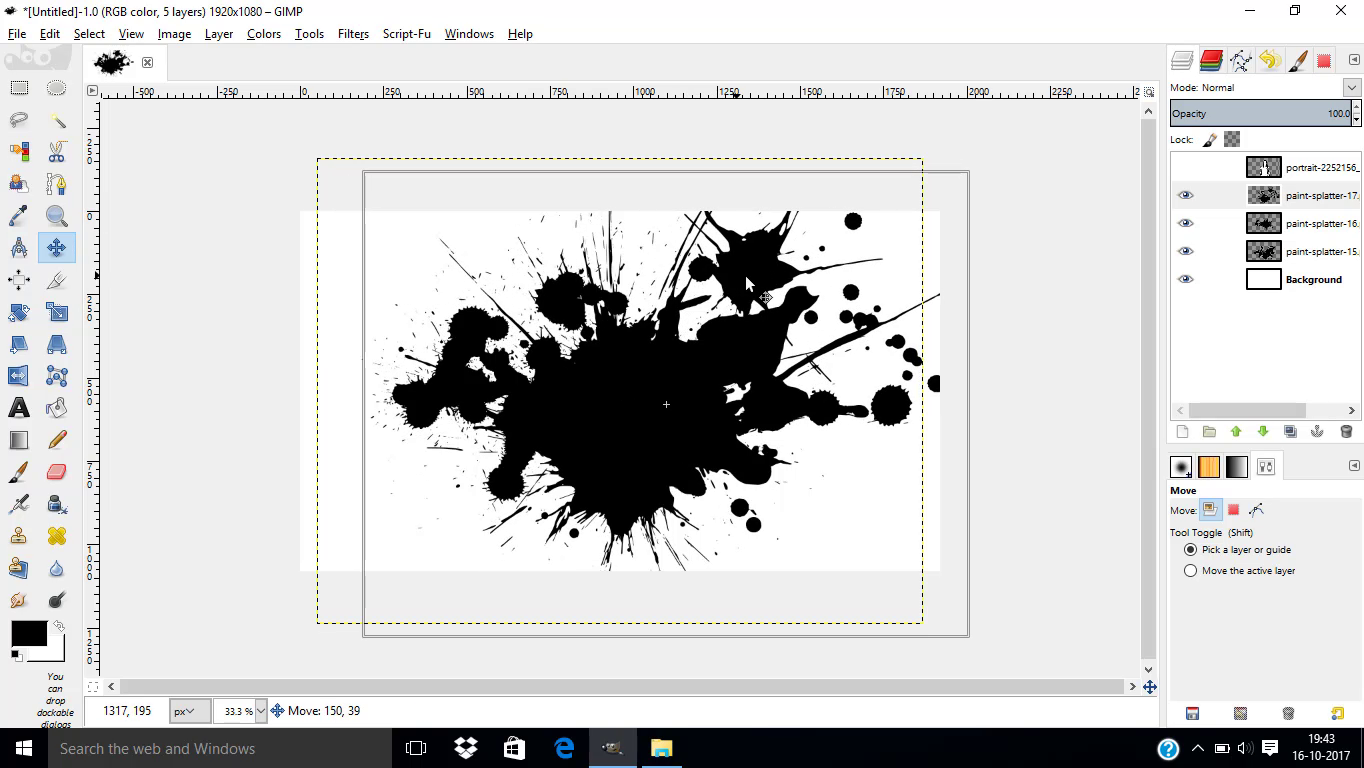
- Download Ink Splatter Images - http://www.onlygfx.com/18-paint-splatters-png-transparent/
- Drag and Drop inside the Gimp below the Subject layer
Position the Ink Splatter Images
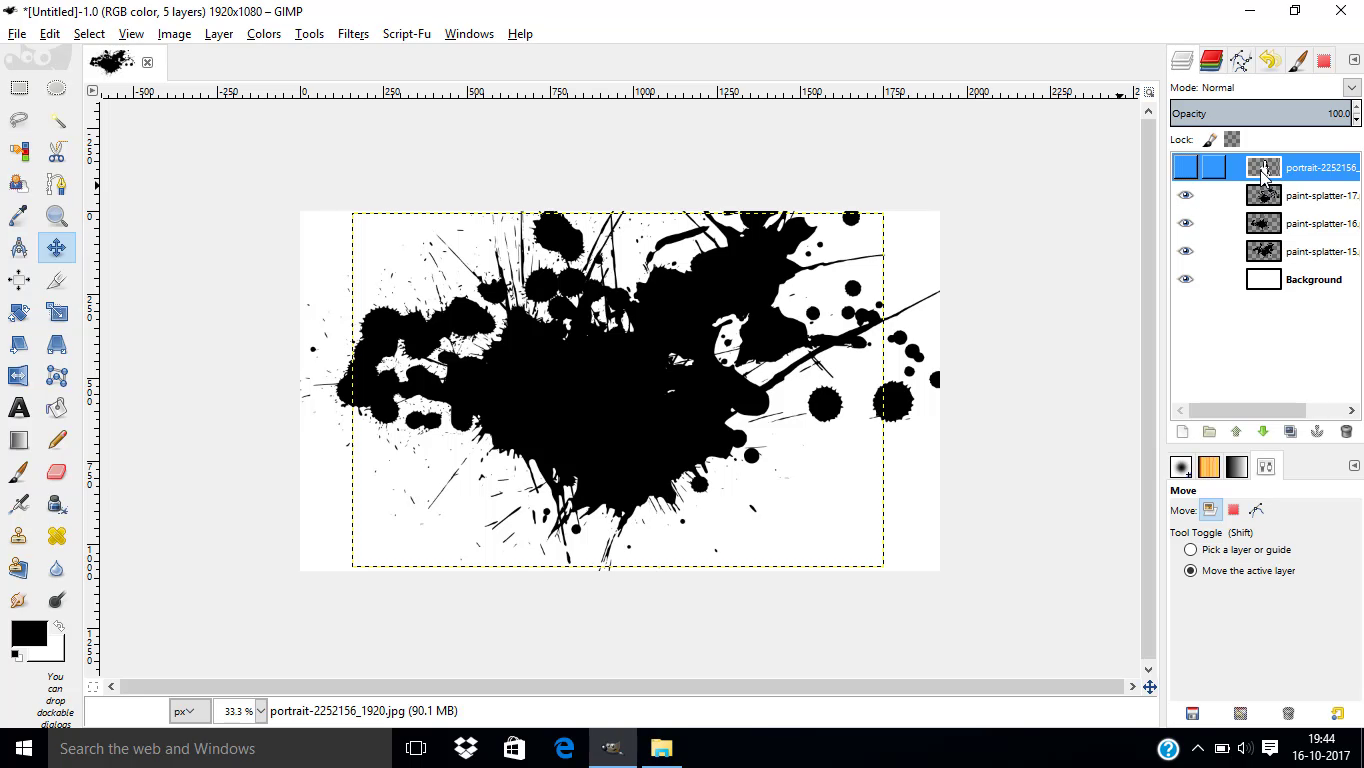
- Grab Move Tool
- And Position the Ink Splash images to get the better look
- You can also rotate, scale the images to get better results.
Change the Subject Layer's Mode to Lighten Only
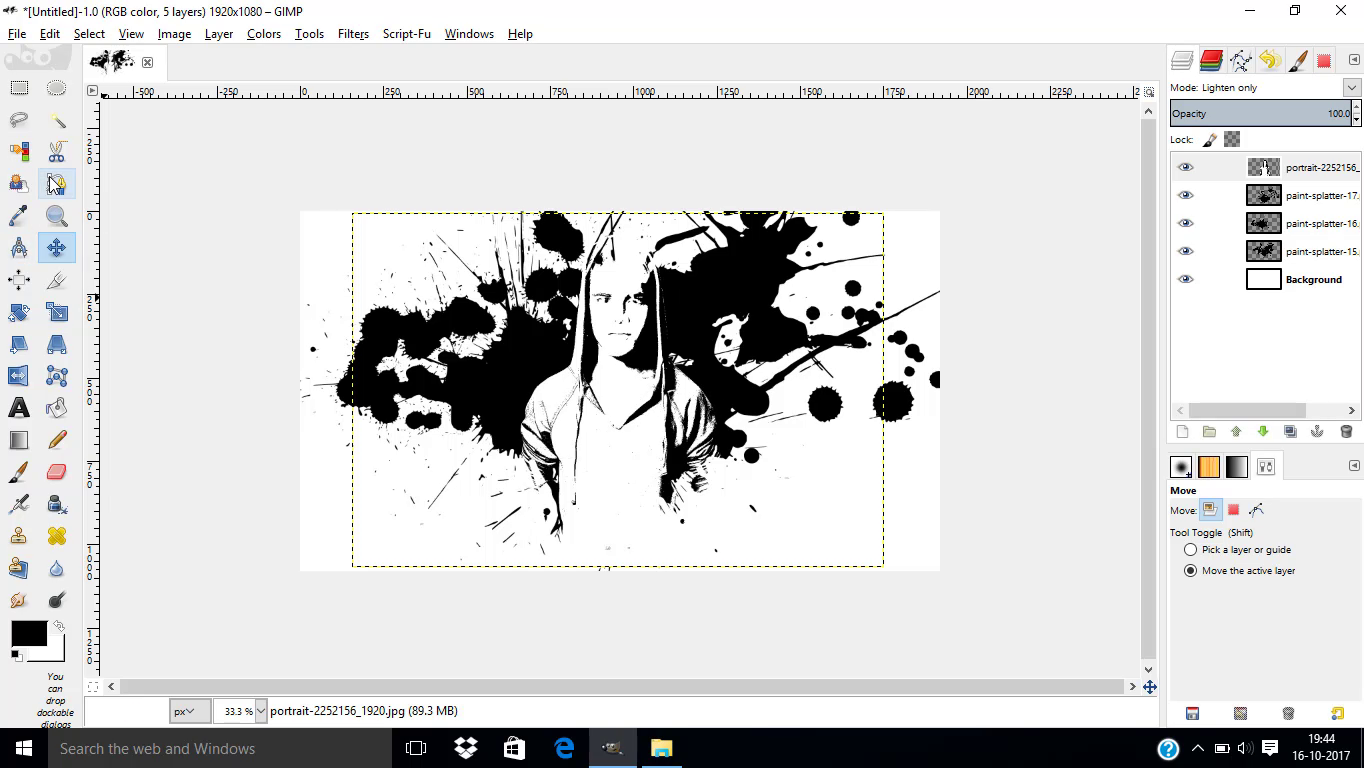
- Make the Subject layer visible again
- Change its Mode to Lighten Only
Scale the Subject Layer
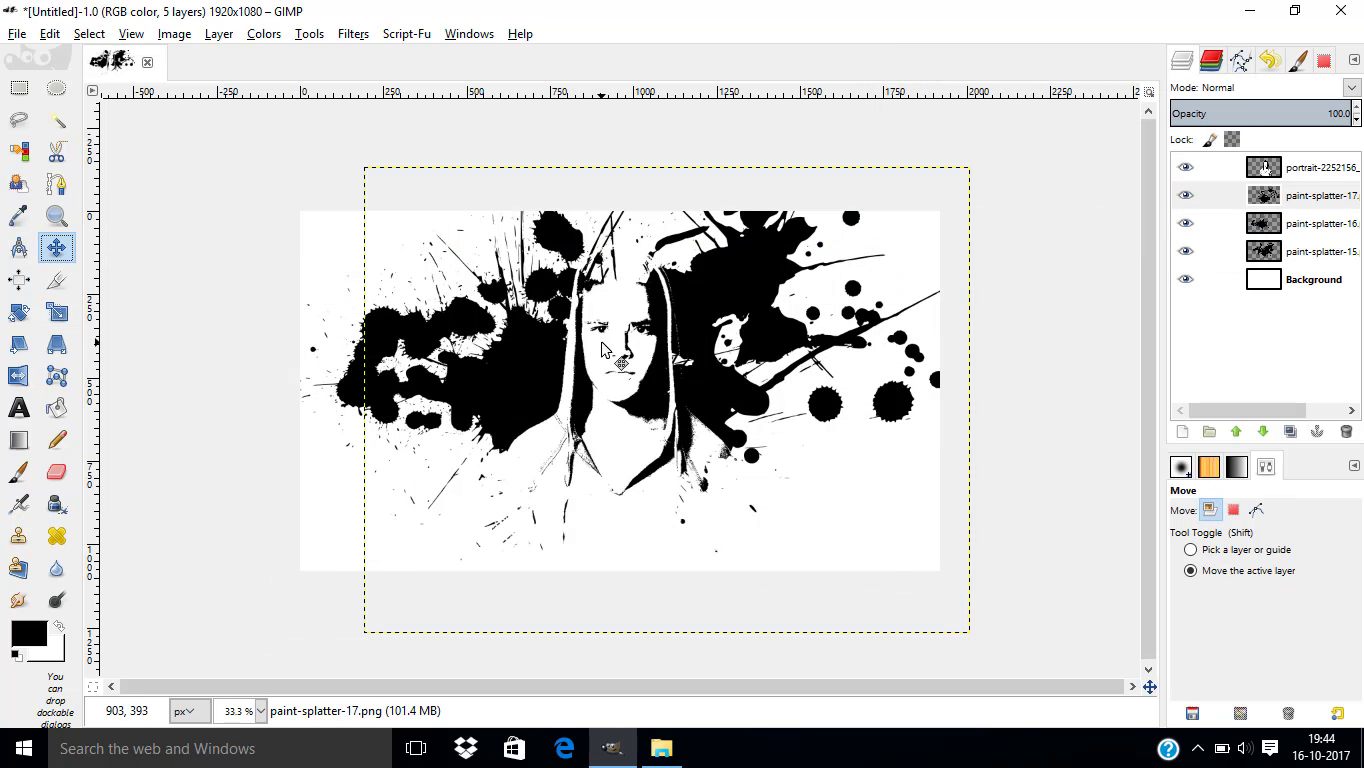
- Scale the Subject layer if you needed
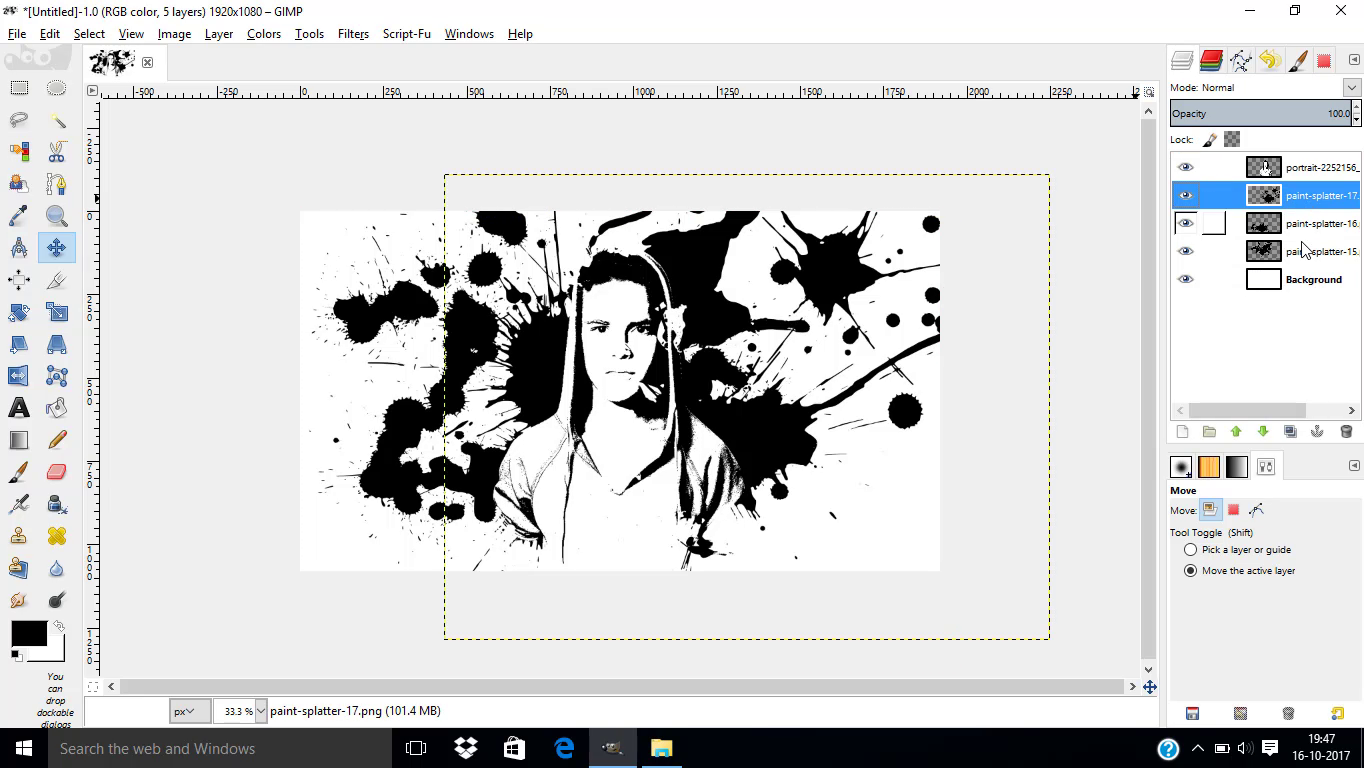
- Now again move the Ink splash layers to get the best results
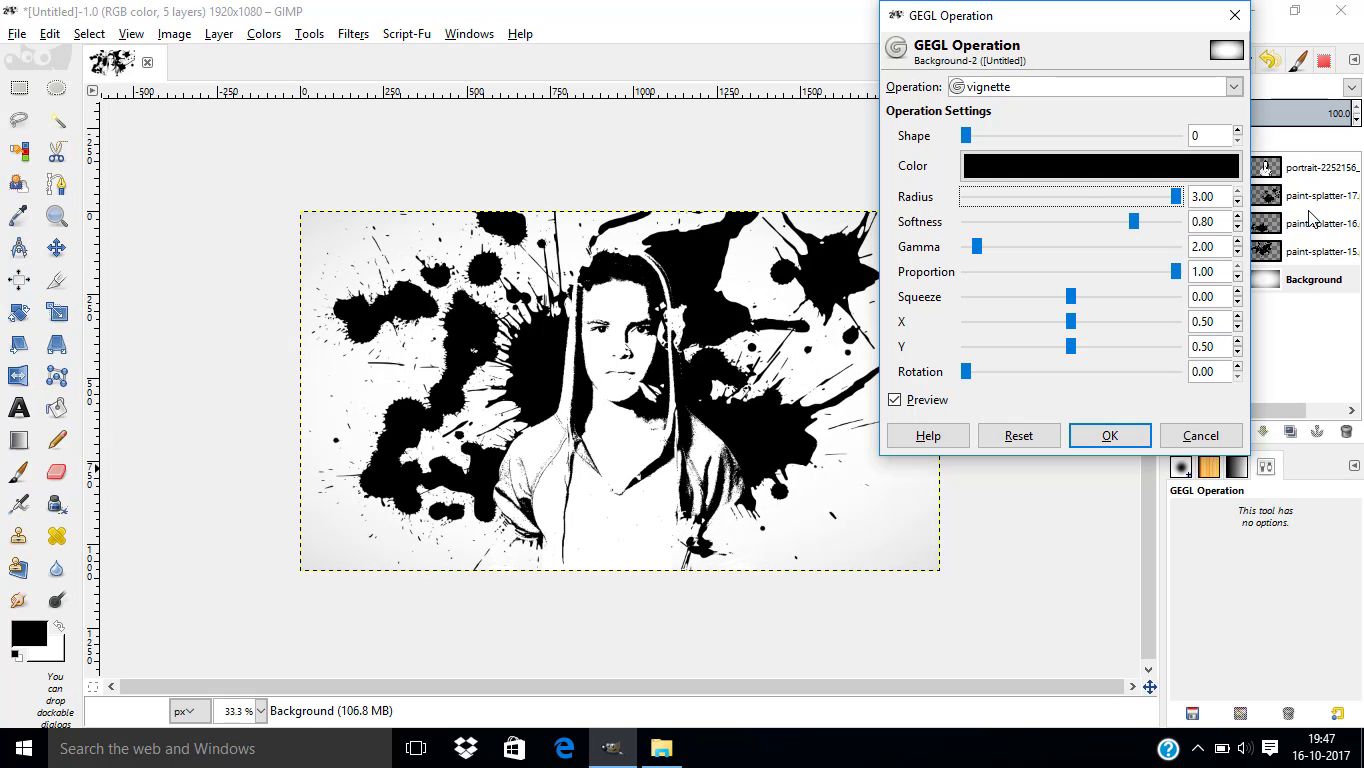
- Then make the background layer active again
- Go to Tools - GEGL Operation - Vignette
- Change the Radius to the Maximum
Conclusion
