Create 20 Megapixel Panoramic Pictures With an 8 Megapixel DSLR
by Gosse Adema in Circuits > Cameras
10495 Views, 77 Favorites, 0 Comments
Create 20 Megapixel Panoramic Pictures With an 8 Megapixel DSLR

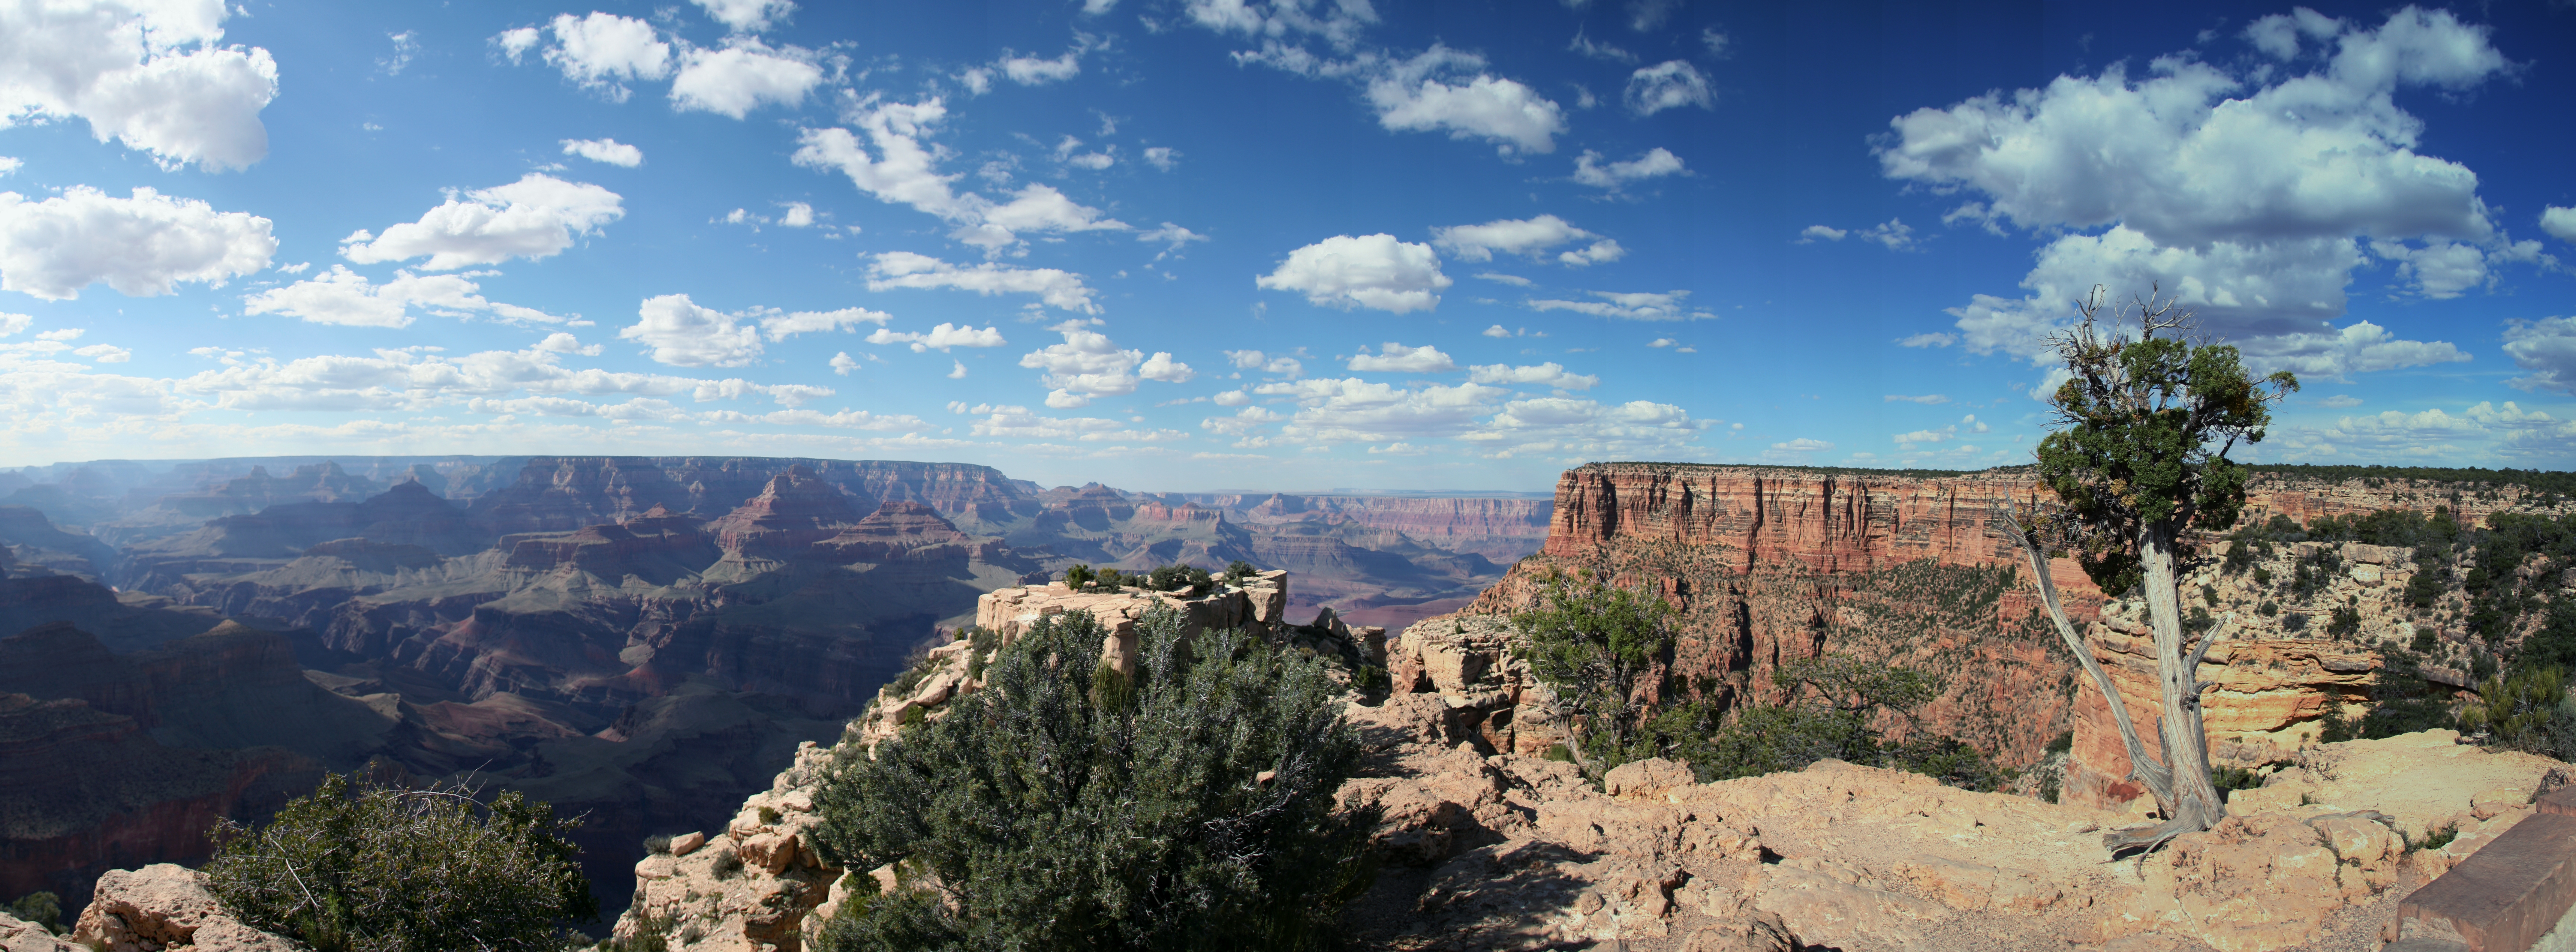
I own a Canon 350D (Digital Rebel XT) camera, which is already 10 years old. While not the latest model, the camera still works fine. Newer cameras have more options. But the photos, taken mostly during the vacations, are great. One of the drawbacks is the resolution of only 8 megapixel (compared to newer models). This gives a lower result when digital zooming. But after over thousands of pictures, the camera still works as it should.
The biggest advantage of a DSLR is the lack of shutter delay and the ability to change lenses. Normally I use a 17-70 Sigma Lens. But all pictures in this instructables are taken with a borrowed Sigma 18-200 lens with optical stabilisation. Therefore I could leave my Canon 70-300 lens at home during the vacation. This was required because we camped with a tent.
Because of the many national parks in the USA, we decided to make panoramic photos. Buying an additional new Canon 10-18 lens was an option, but required lens changing in a dusty (desert) environment. And adds an extra lens to carry during hiking.
That's why I started using this solution, with my current equipment. And made this instructable to share my experience and the pictures.
All full size panoramic photos, used in this instructable, are placed in a Flickr Album. The first image above is 9724x1988 pixels. The second image is 7927 x 2940 pixels.
Camera used:
- Canon 350D (8.0 MP CMOS: 3456×2304)
- Sigma 18-200 lens
- High speed (10x) memory card (8Gb)
Software used:
- Digital Photo Professional
- PTLens (only needed when using a non-canon lens)
- PhotoStitch Software (Arcsoft Panorama Maker
Upgrading from your Canon 350D software CD gives a discount.
Or start with a free trial version, to create your first panoramic pictures.)
Taking Pictures
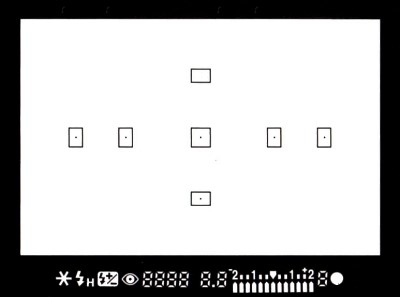


The Canon 350D camera has 7 AF Points (first image). You can use these points to determine where to take the next picture. Follow the following steps in preparation for a wide panoramic picture:
- Set the camera in RAW mode.
- Set the focus of the camera to a point in the landscape (press the shutter button, without taking a picture).
- Move the camera from left to right. Try to use a visible line in the landscape (often the horizon).
- Take the first picture, and remember the location of the first focus points on the right.
- Take the next picture on the remembered location.
- Repeat this until you have enough pictures for a panoramic photo (last image).
Or use the multi record mode:
- Set the camera in RAW mode.
- Set the camera in multi record mode.
- Set the focus of the camera on a point in the landscape (press the button, without taking a picture).
- Imagine a visible line in the landscape (often the horizon).
- Slowly move the camera from left to right (in 5 - 7 seconds). Without releasing the shutter button. The camera's speed is 3 images per second, giving 15 to 21 images.
Remarks:
Some examples I use have landscape photos. I found out that it's better to rotate the camera by 90 degrees, to create portrait photos. Landscape gives pictures which are up to 2304 pixels high. Portrait gives pictures up to 3456 pixels high.
It is possible to have people on the photos. They should stand still while taking pictures. Best results are with people on the first photo. Or manually alter the stitch points to source them from one picture.
No tripod or monopod is used while taking pictures. Using a tripod might give better results. Sometimes I used fences/rocks for support. Next time I would like to try a flexible tripod (which can be attached to fences).
Basic 2 Photo Stitch
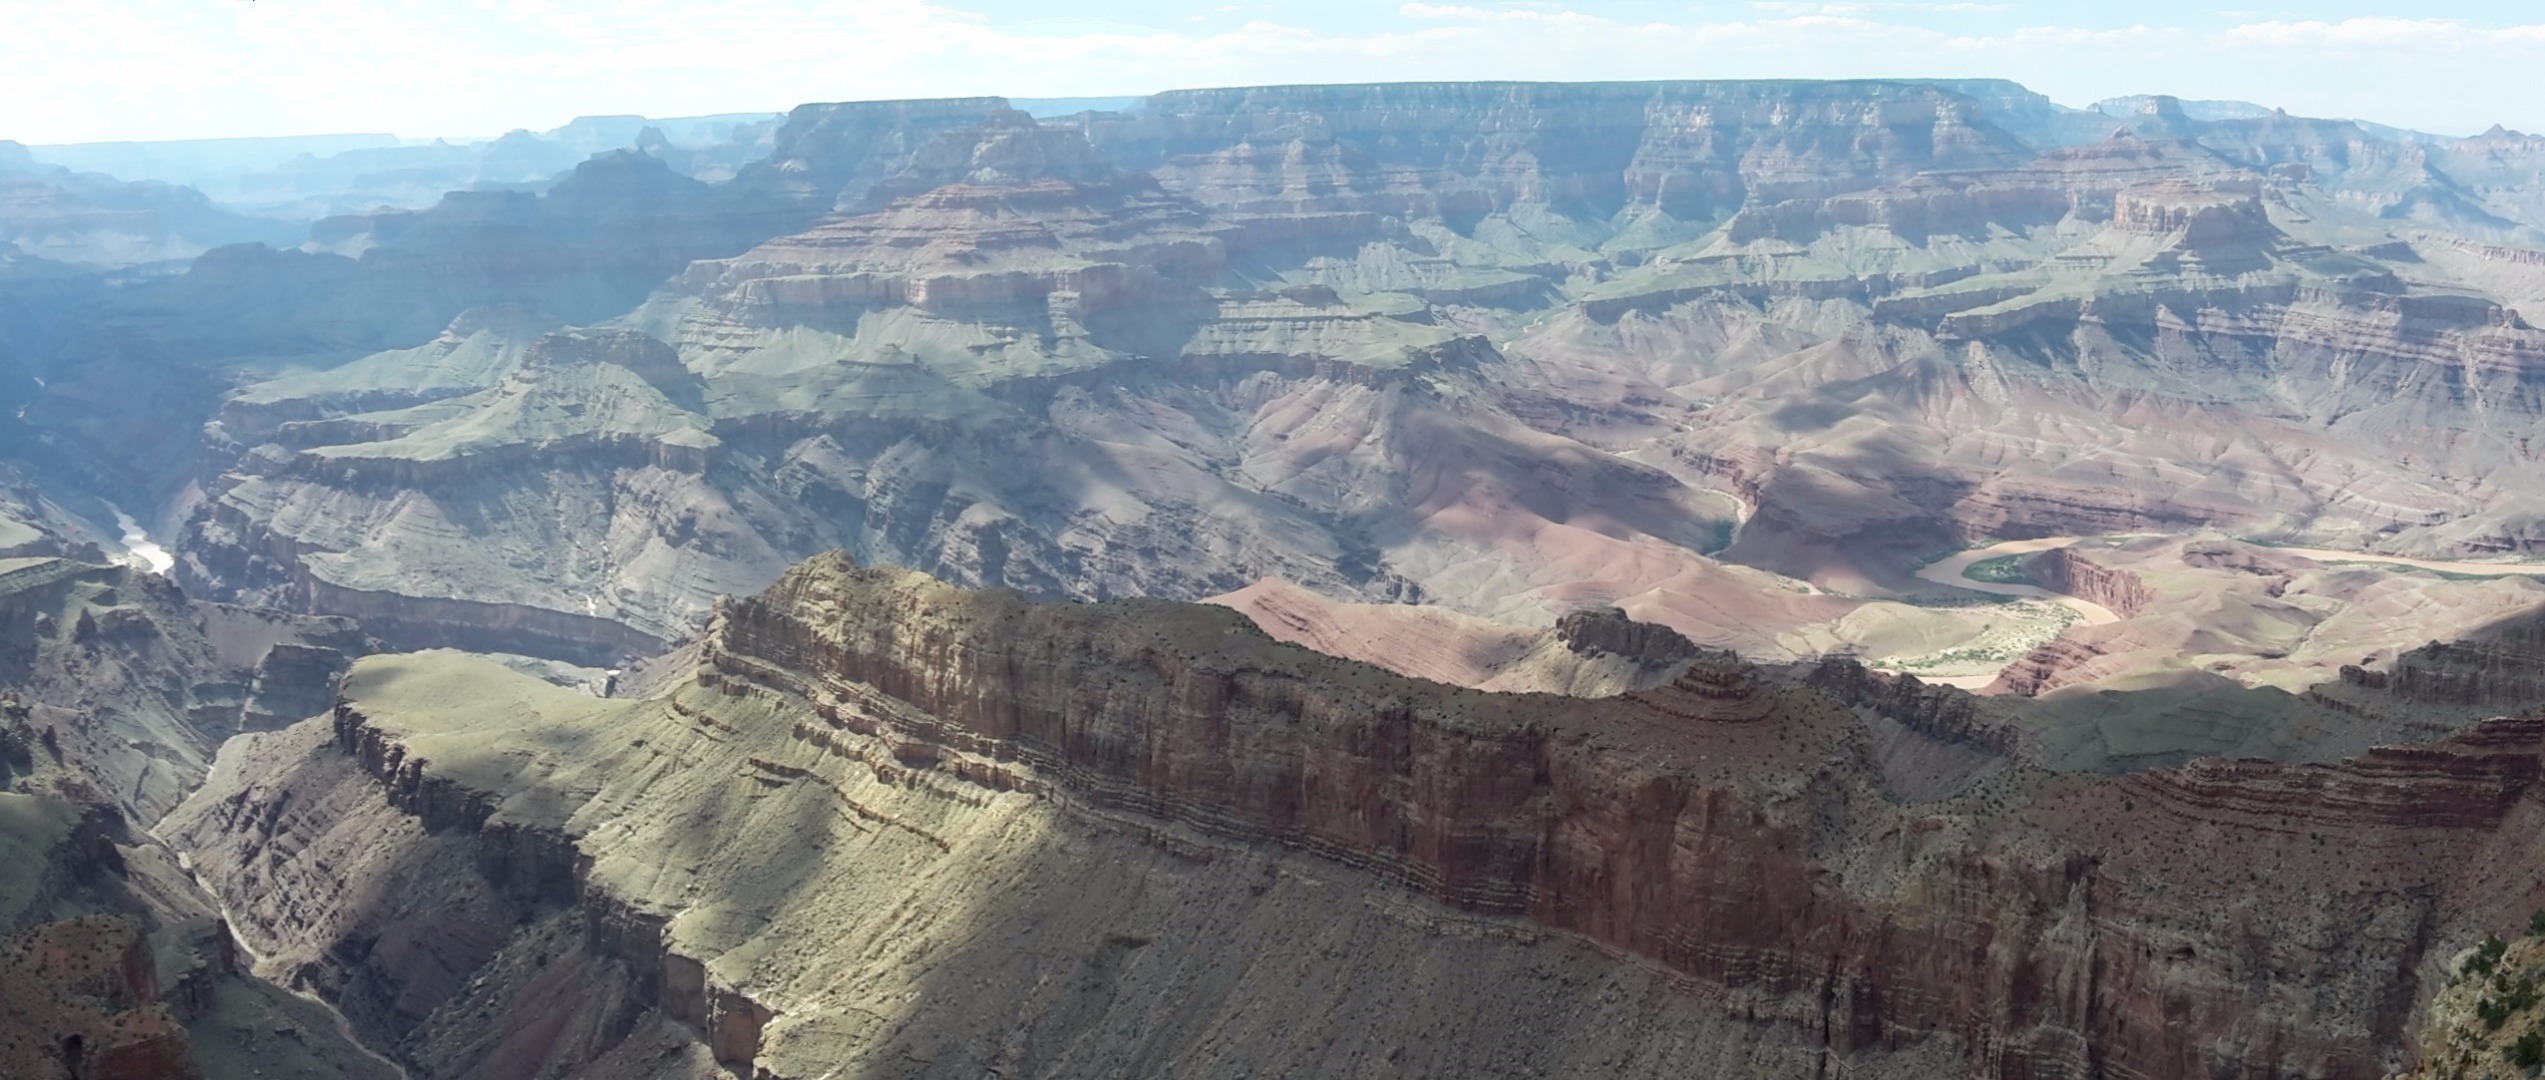
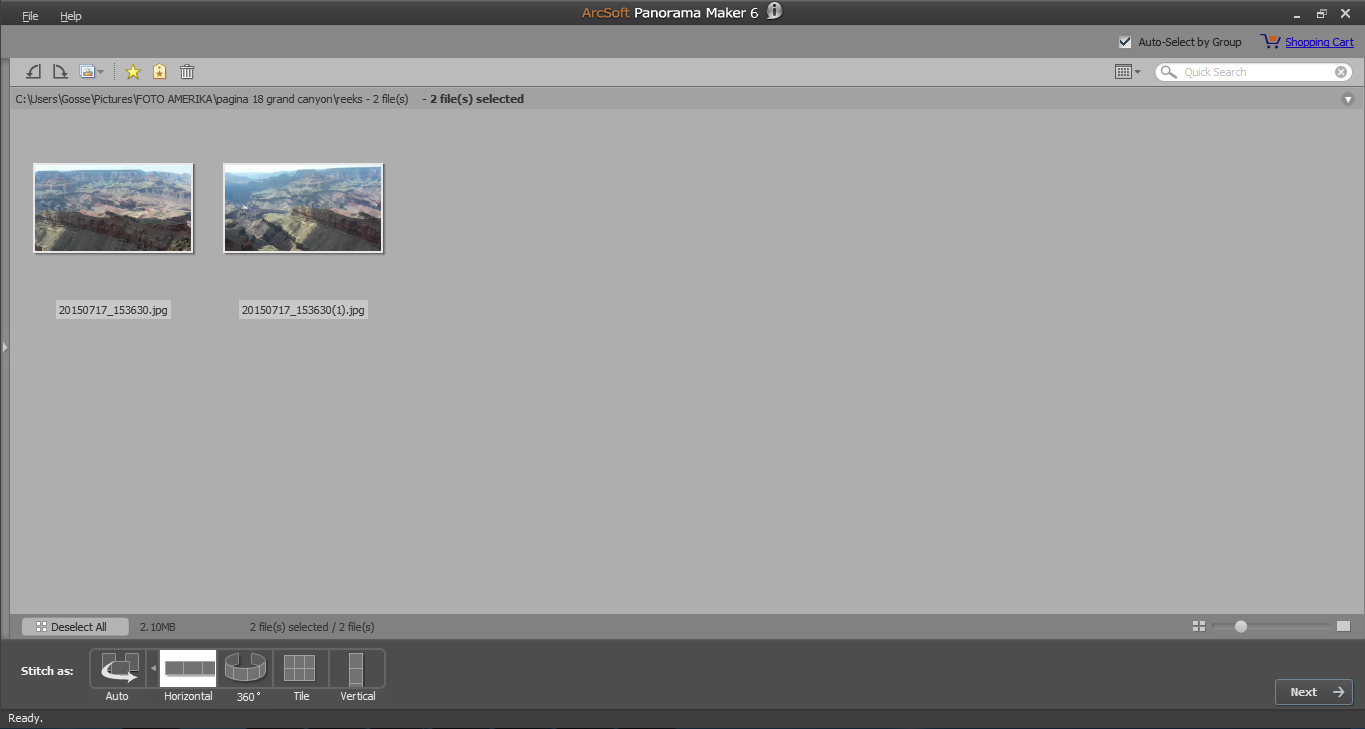
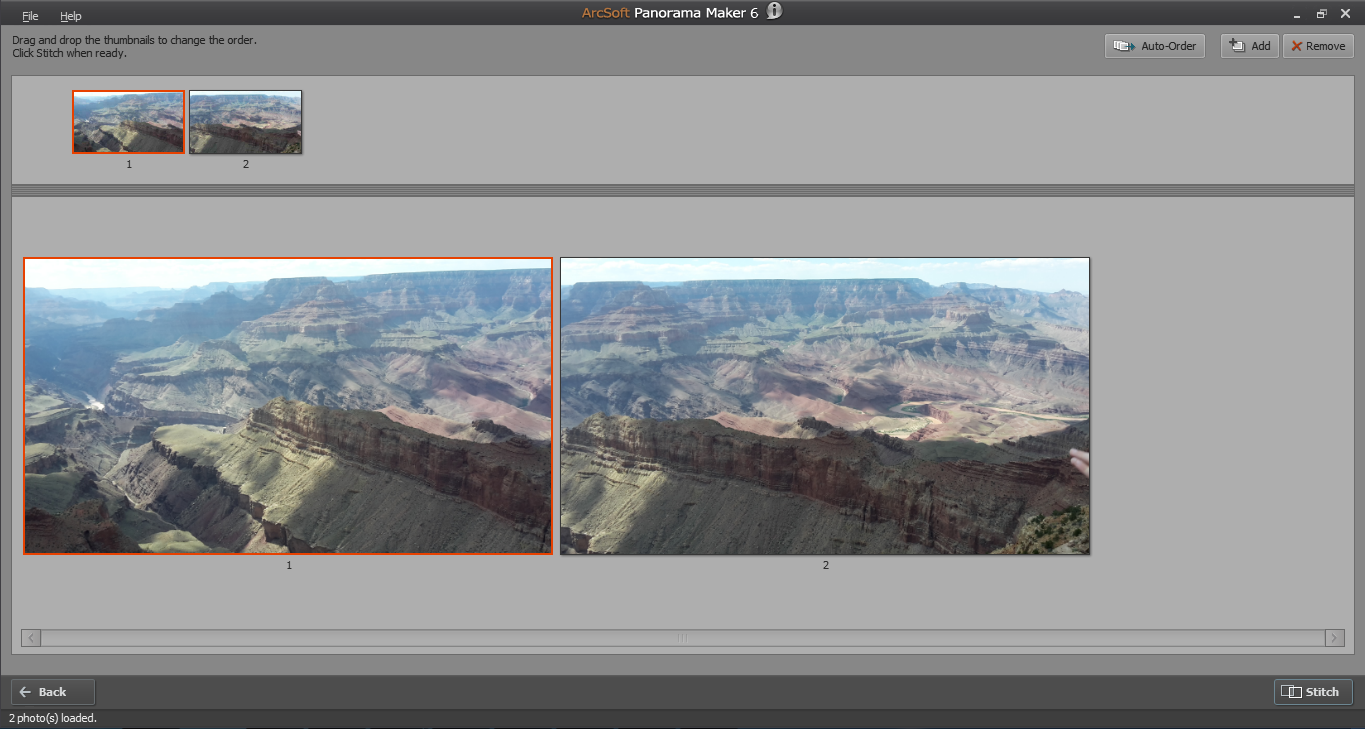
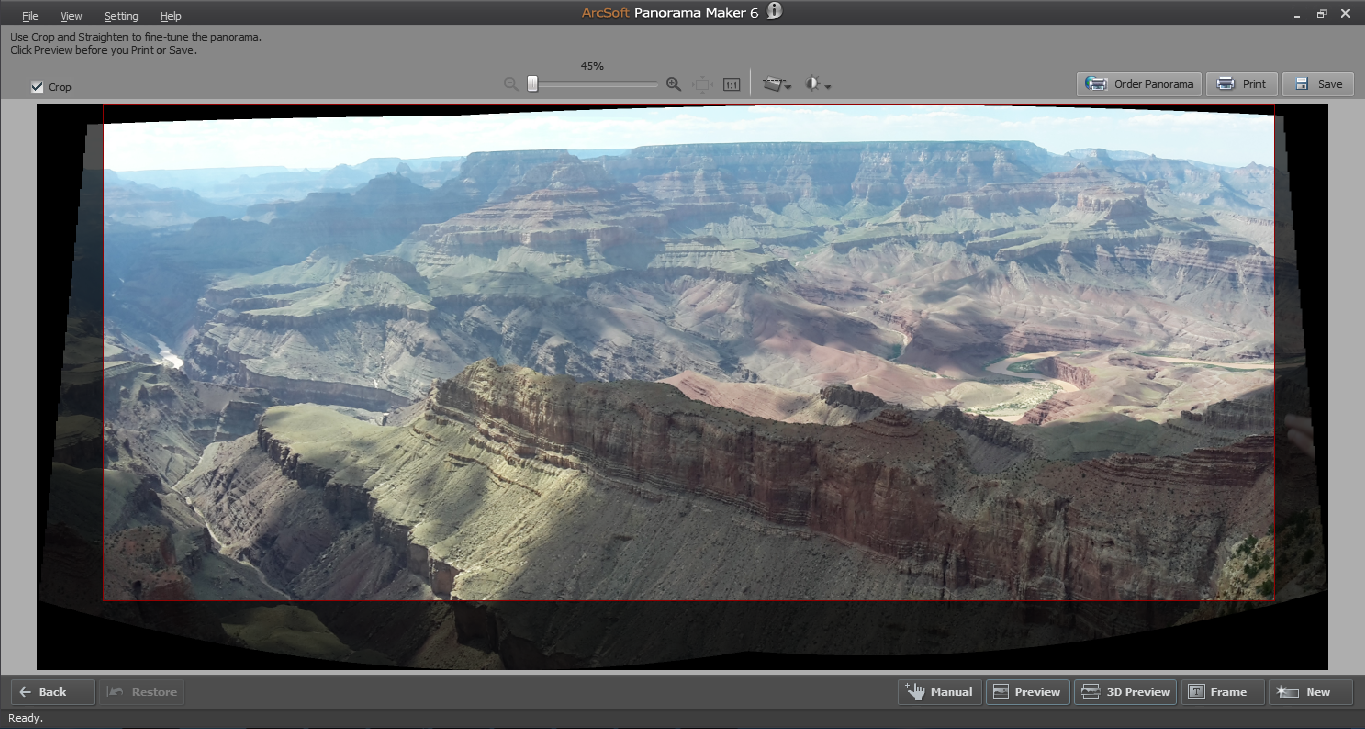
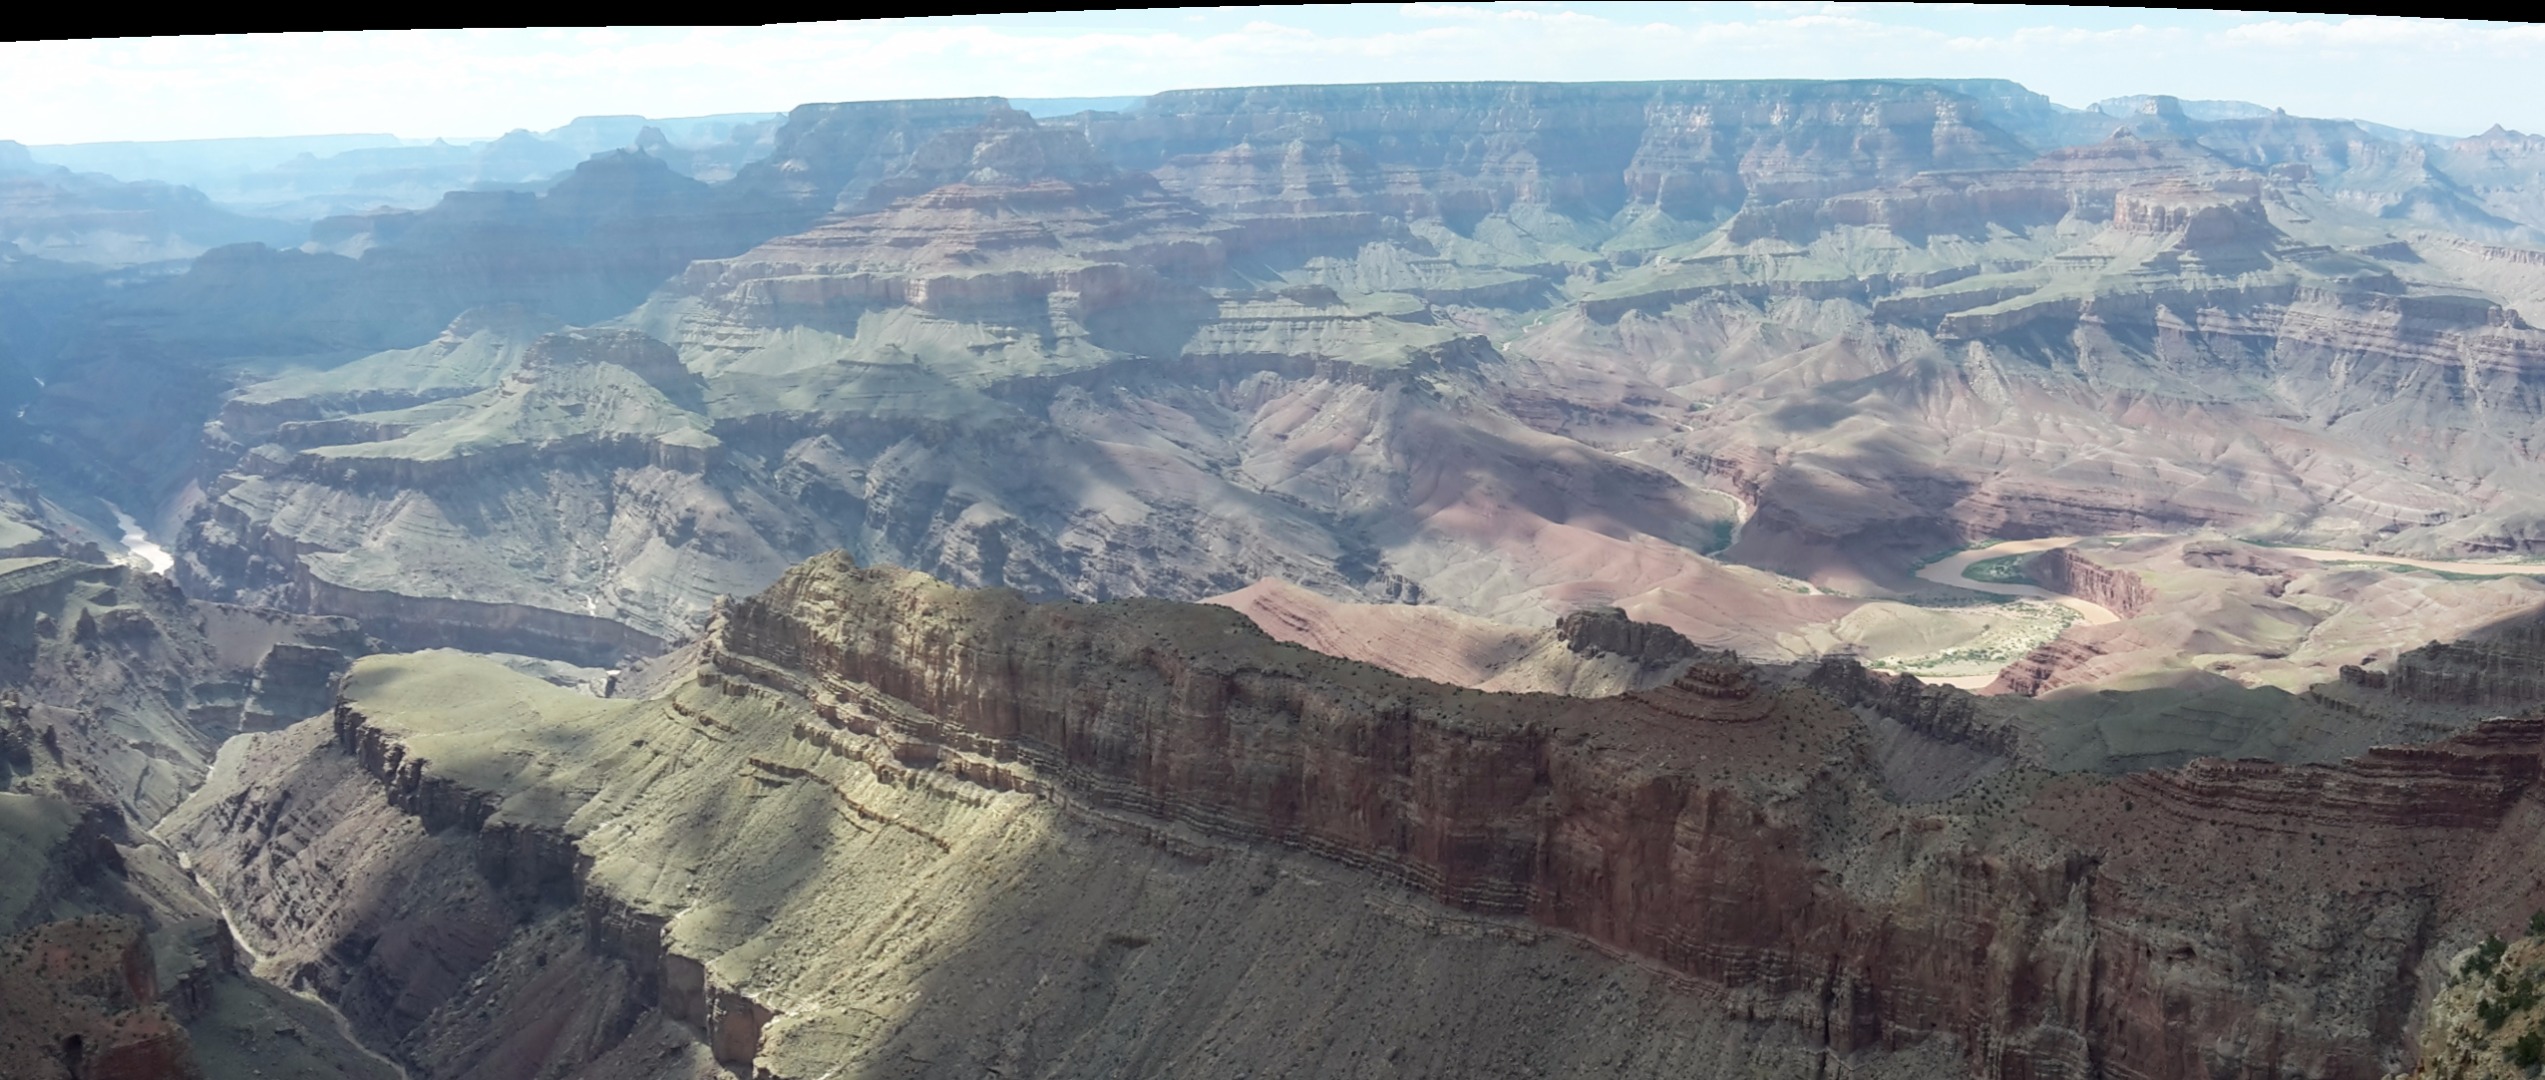
Use the with the camera supplied PhotoStitch software or any other PhotoStitch program. This software combines all photos to one large image. This will only work if there is enough similarity between the two pictures. The software recognises similar points in both images.
Select both images (The two pictures in this example were taken with a phone). Place them in the right order (if the software doesn't do this for you). And press the stitch button. Select the desired image from the result. If necessary the result can be altered by manually altering the stitch points.
This sounds easy, and it is easy. Let the software do the work for you!
30 Photo Stitch

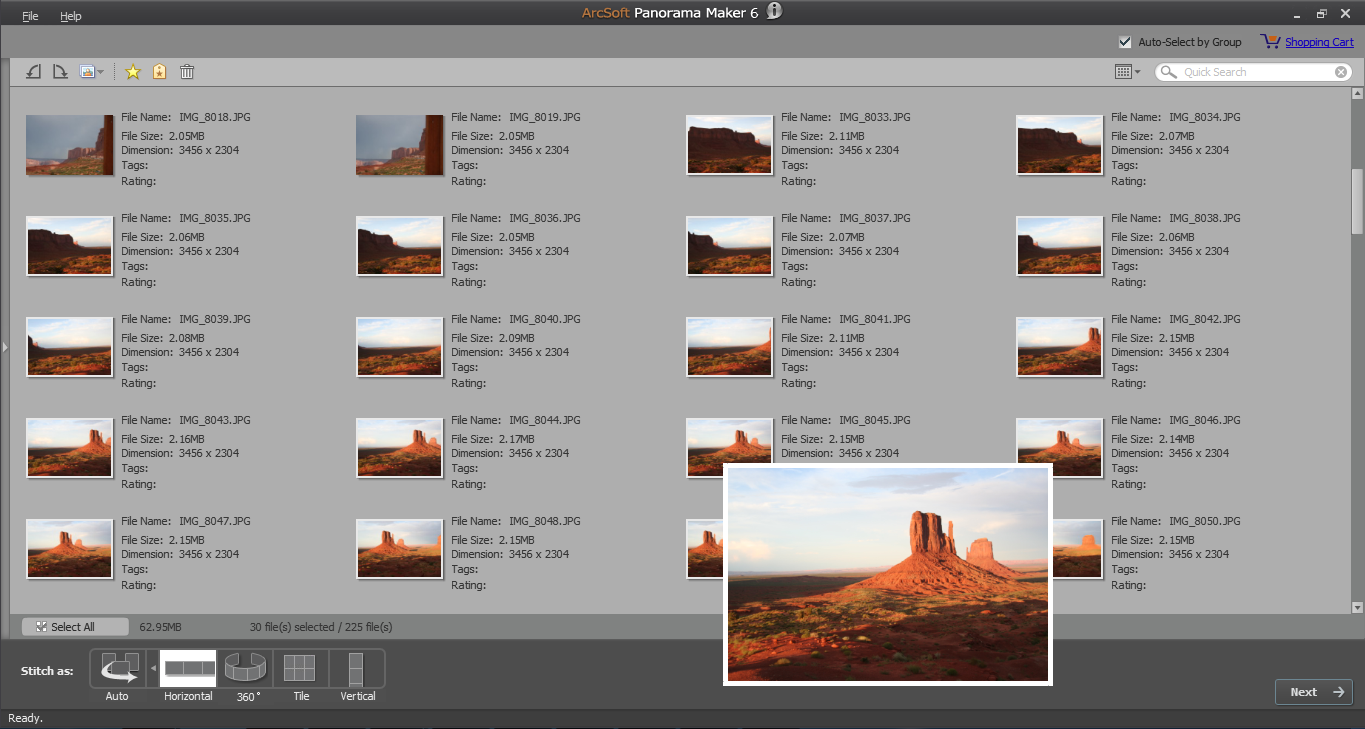
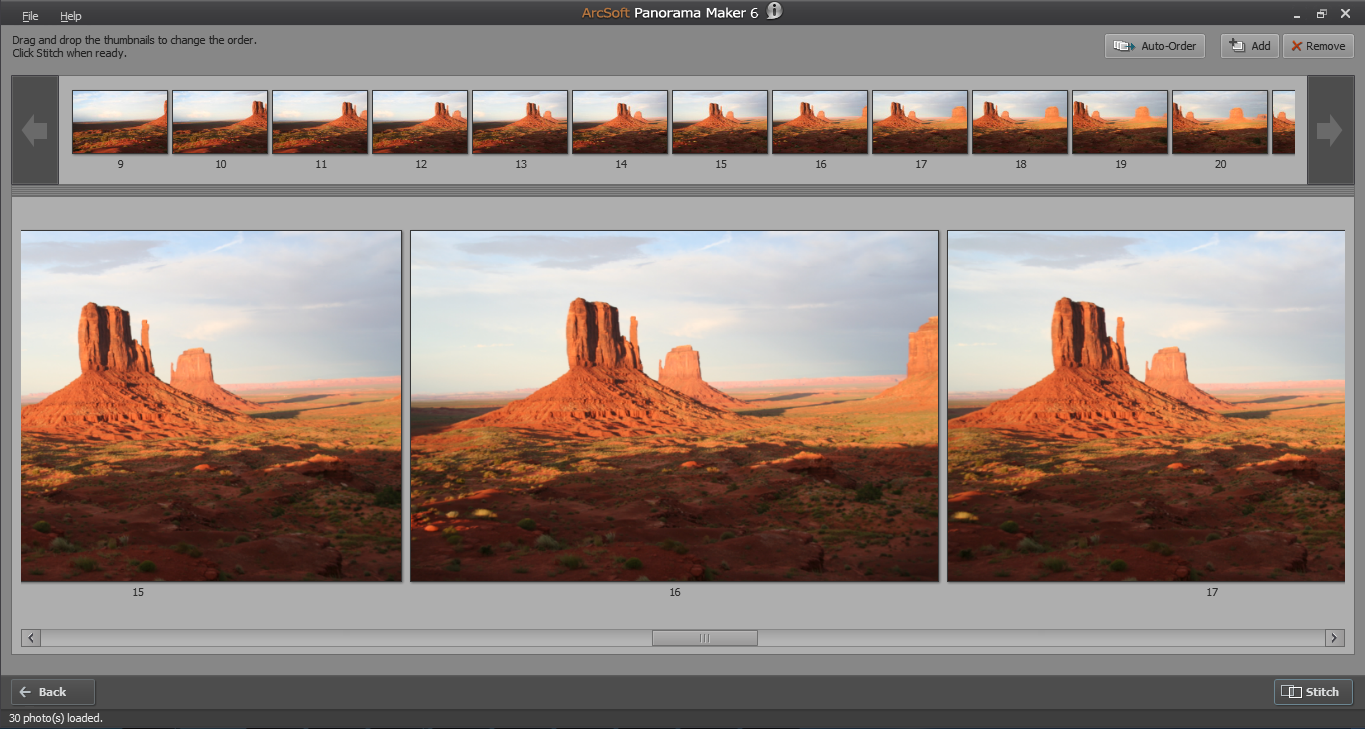
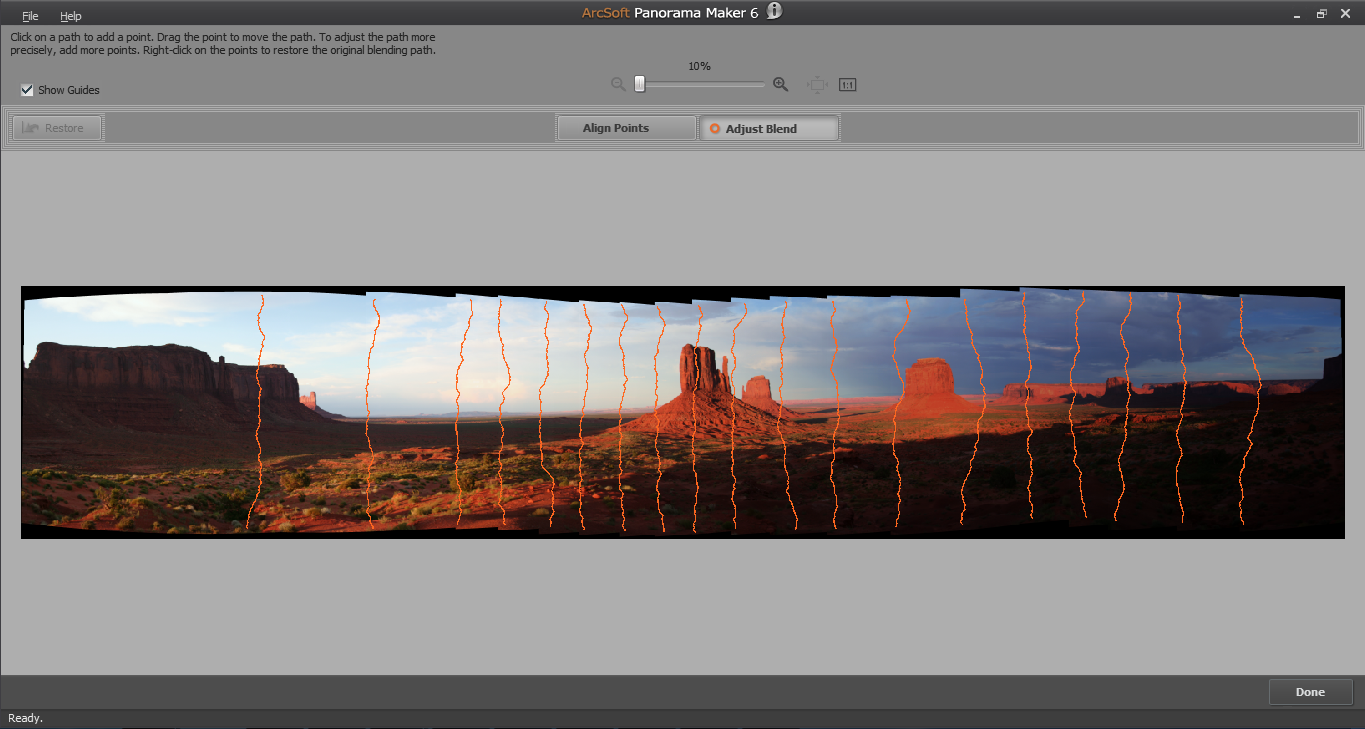
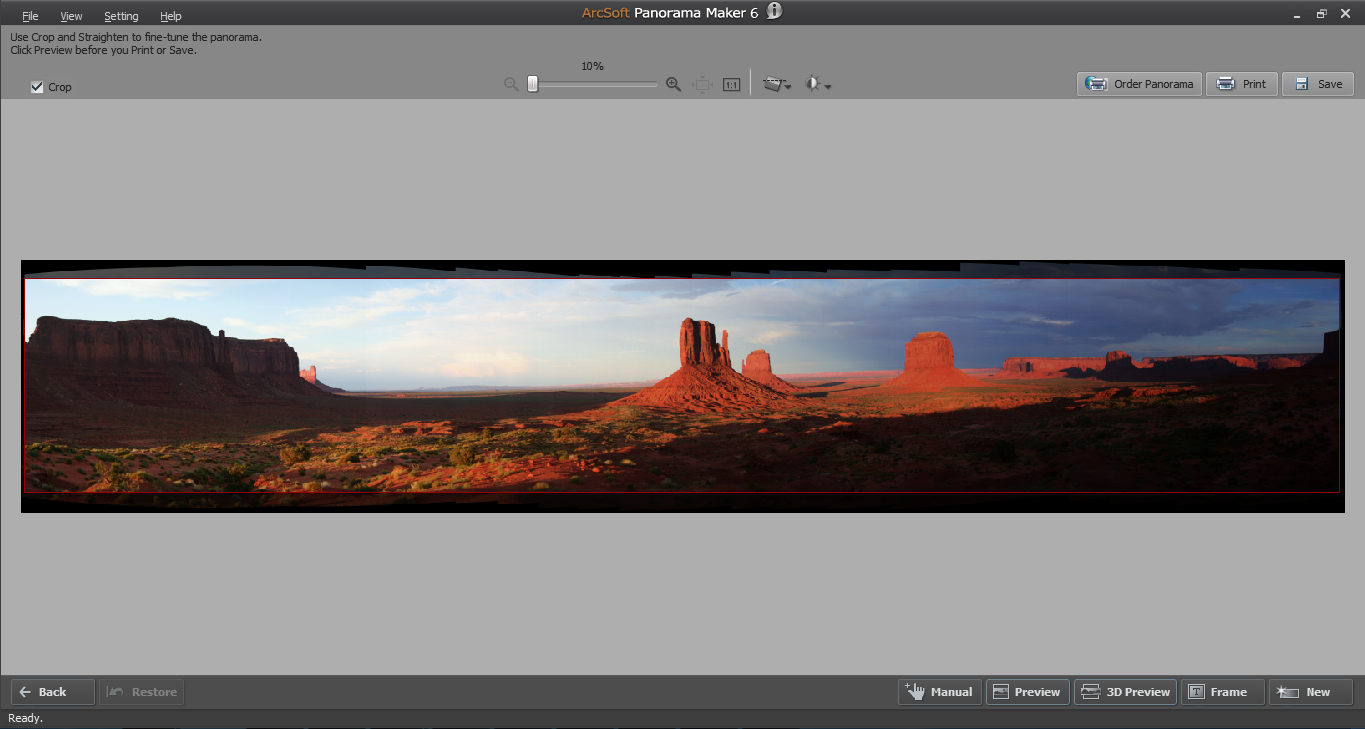
This is the same workflow as the two PhotoStitch. The only difference is the time it takes to stitch the photos.
The final picture size is about 12000 x 2000 pixels.
Download the "Monument Valley (all files)"-zipfile for all 30 images. Install the PhotoStitch software and try this yourself.
Downloads
Ultra Wide-angle Photo
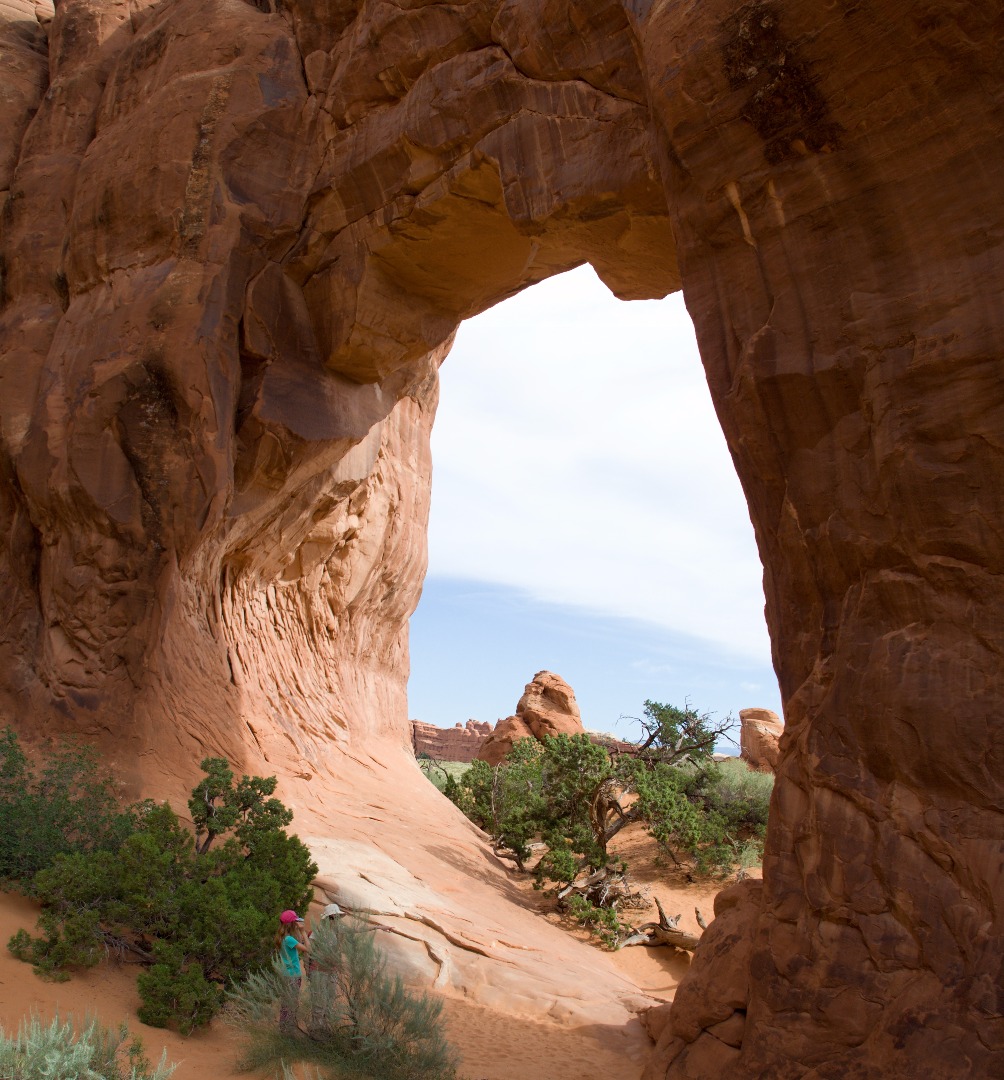
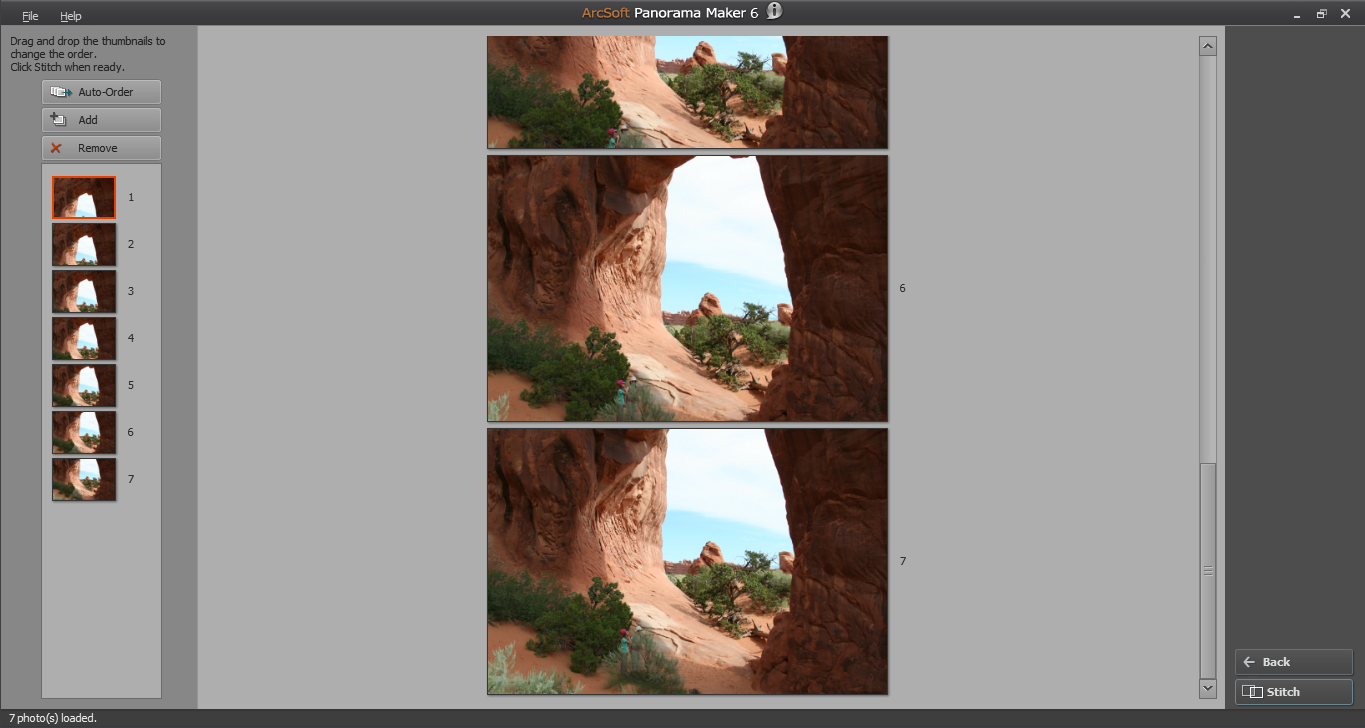
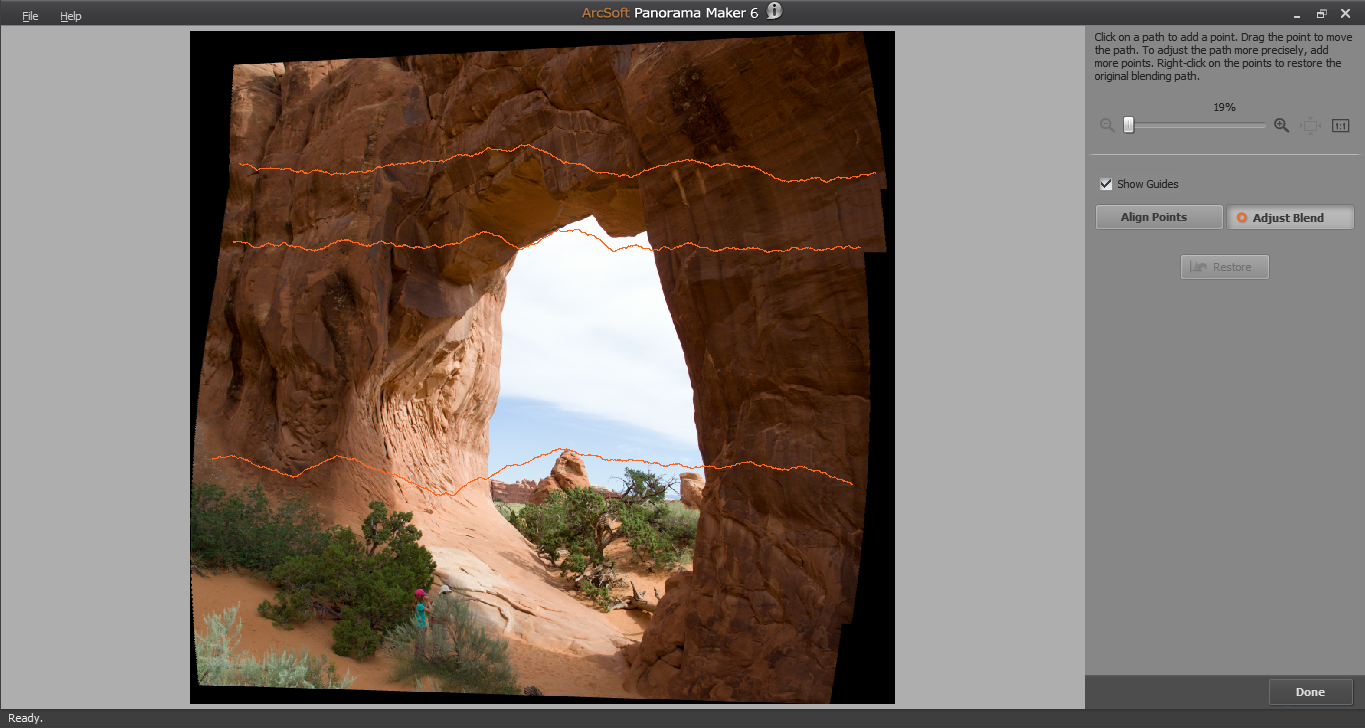
This picture couldn't be made, from this angle, without stitching. A greater distance would give other tourist on the picture.
As seen, it is possible to have people on the photos. They should stand still while taking pictures. Best results are with people on the first photo. Or manually alter the stitch points to source them from one picture.
Learn From Your Mistakes (Fisheye)

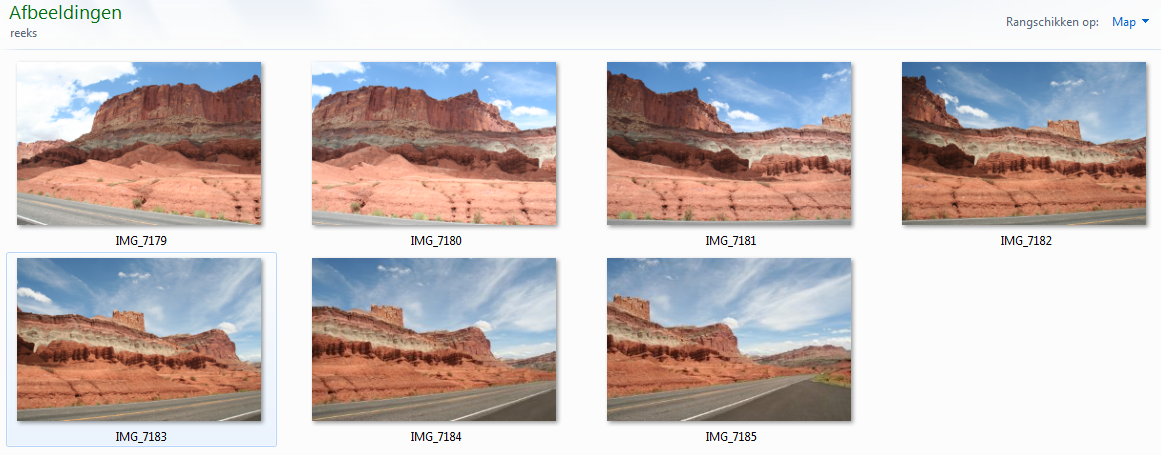
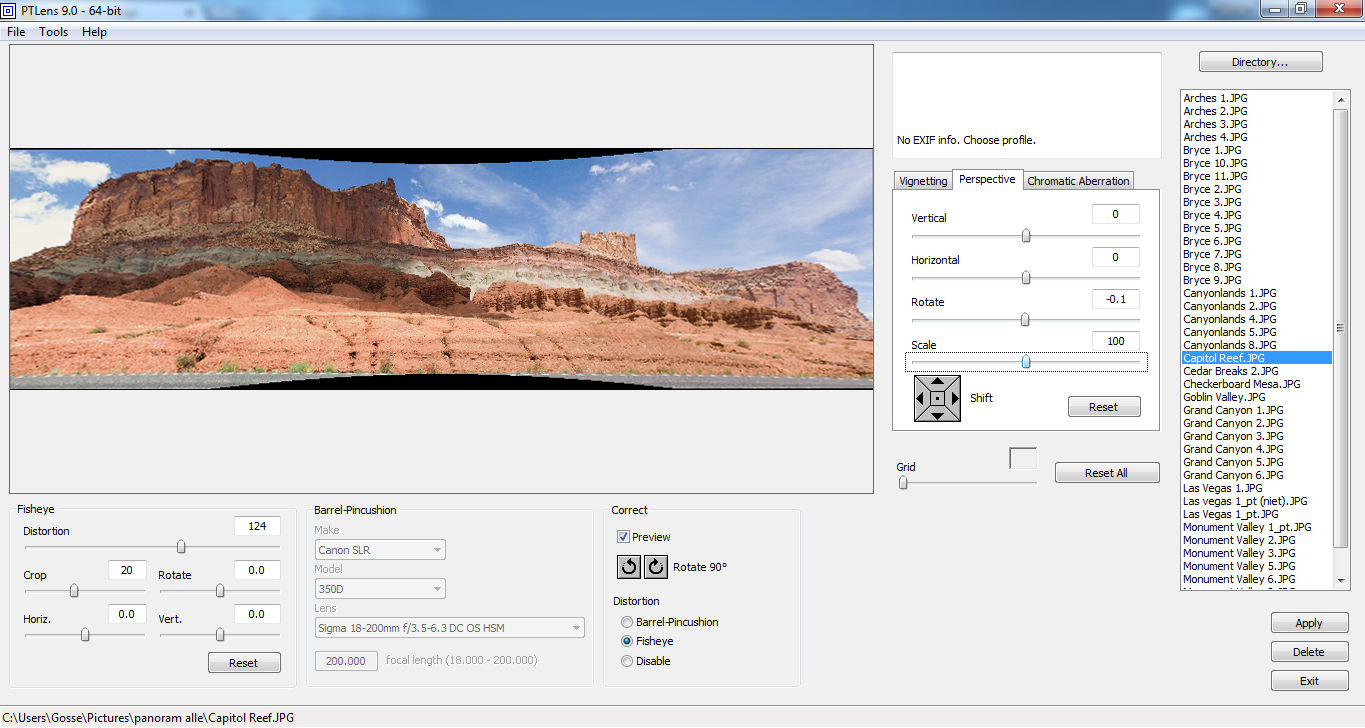


Creating wide panoramic photos at close distance will give a strong visual distortion. The stitched result (first image) looks like a photo taken with a fisheye lens. Software like PTLens allows fisheye correction, but narrows the image in the middle. The seven pictures of Capitol Reef don't have enough room to make this possible, without further editing.
Vertical lines and long distances don't give fisheye distortion. The last image, taken at the Valley of Fire State Park, doesn't need any fisheye correction.
Lessons learned:
- Avoid up close horizontal lines, to prevent fisheye distortion.
- Make pictures in portrait mode. Leave enough room below and above the subject. This gives enough room for fisheye correction.
Learn From Your Mistakes (Tilt-Shift)
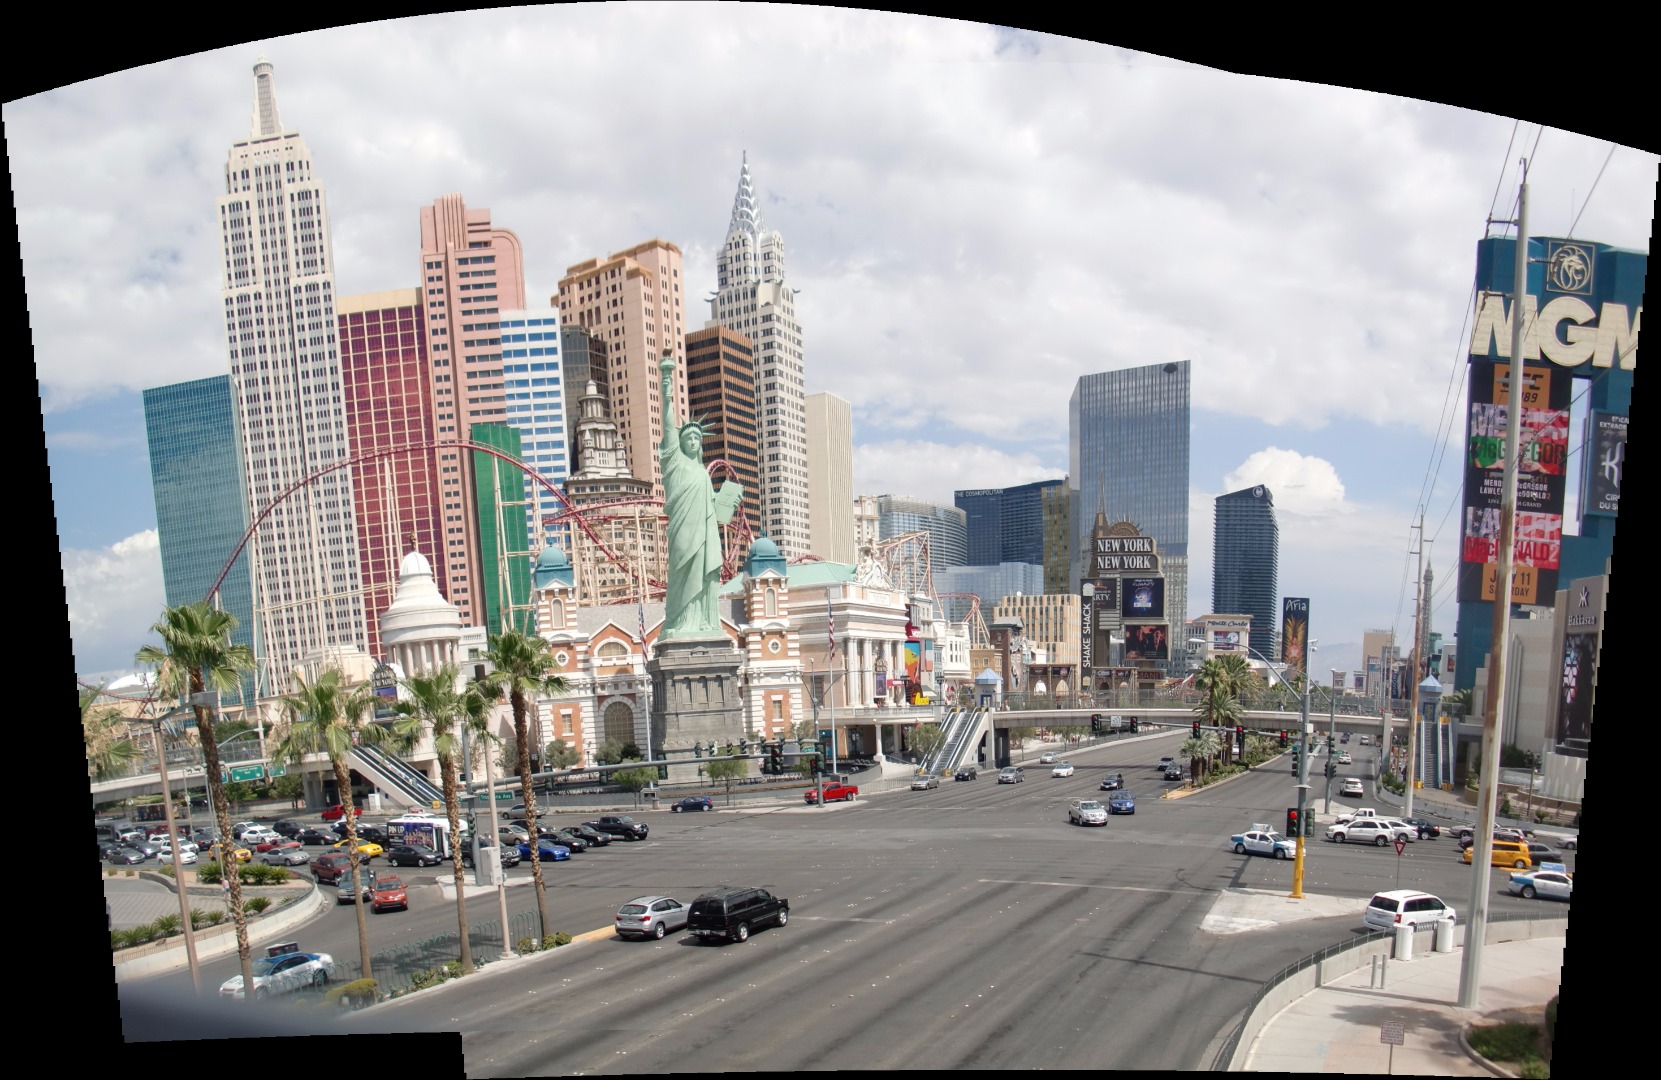
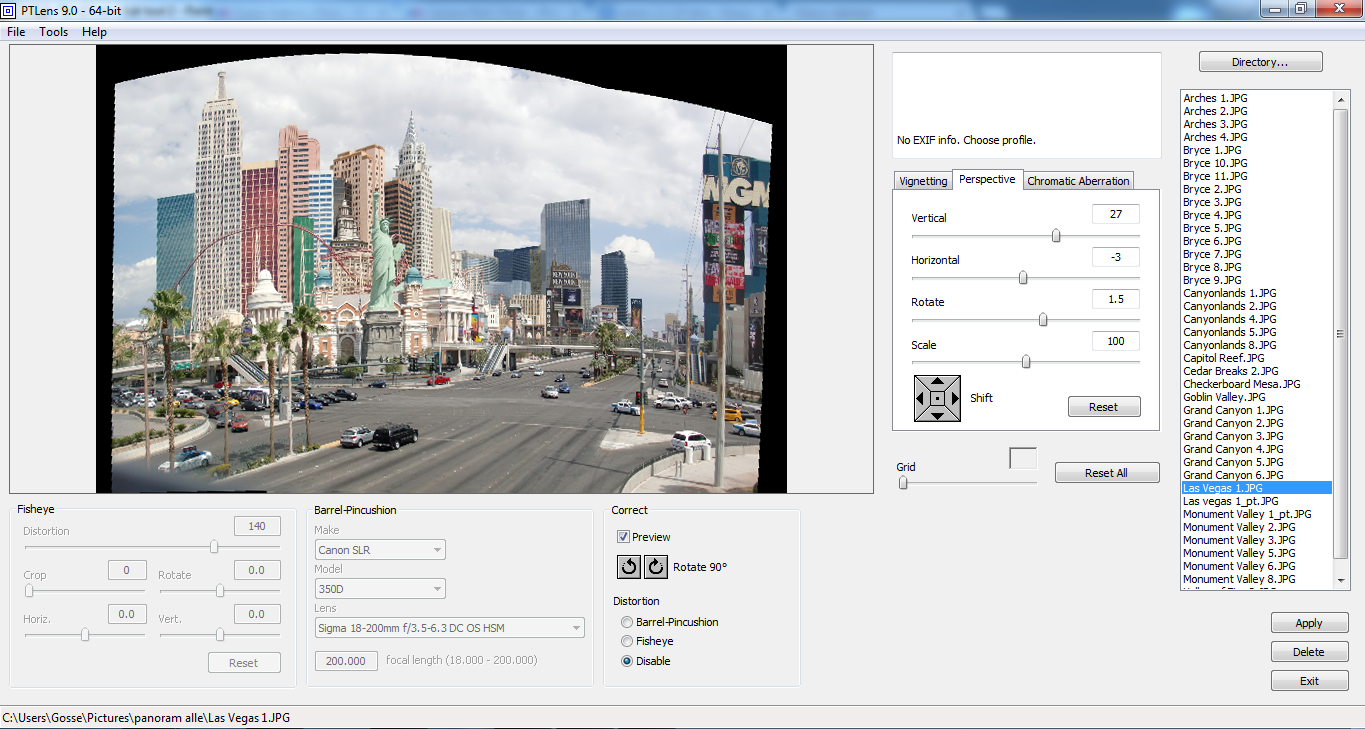
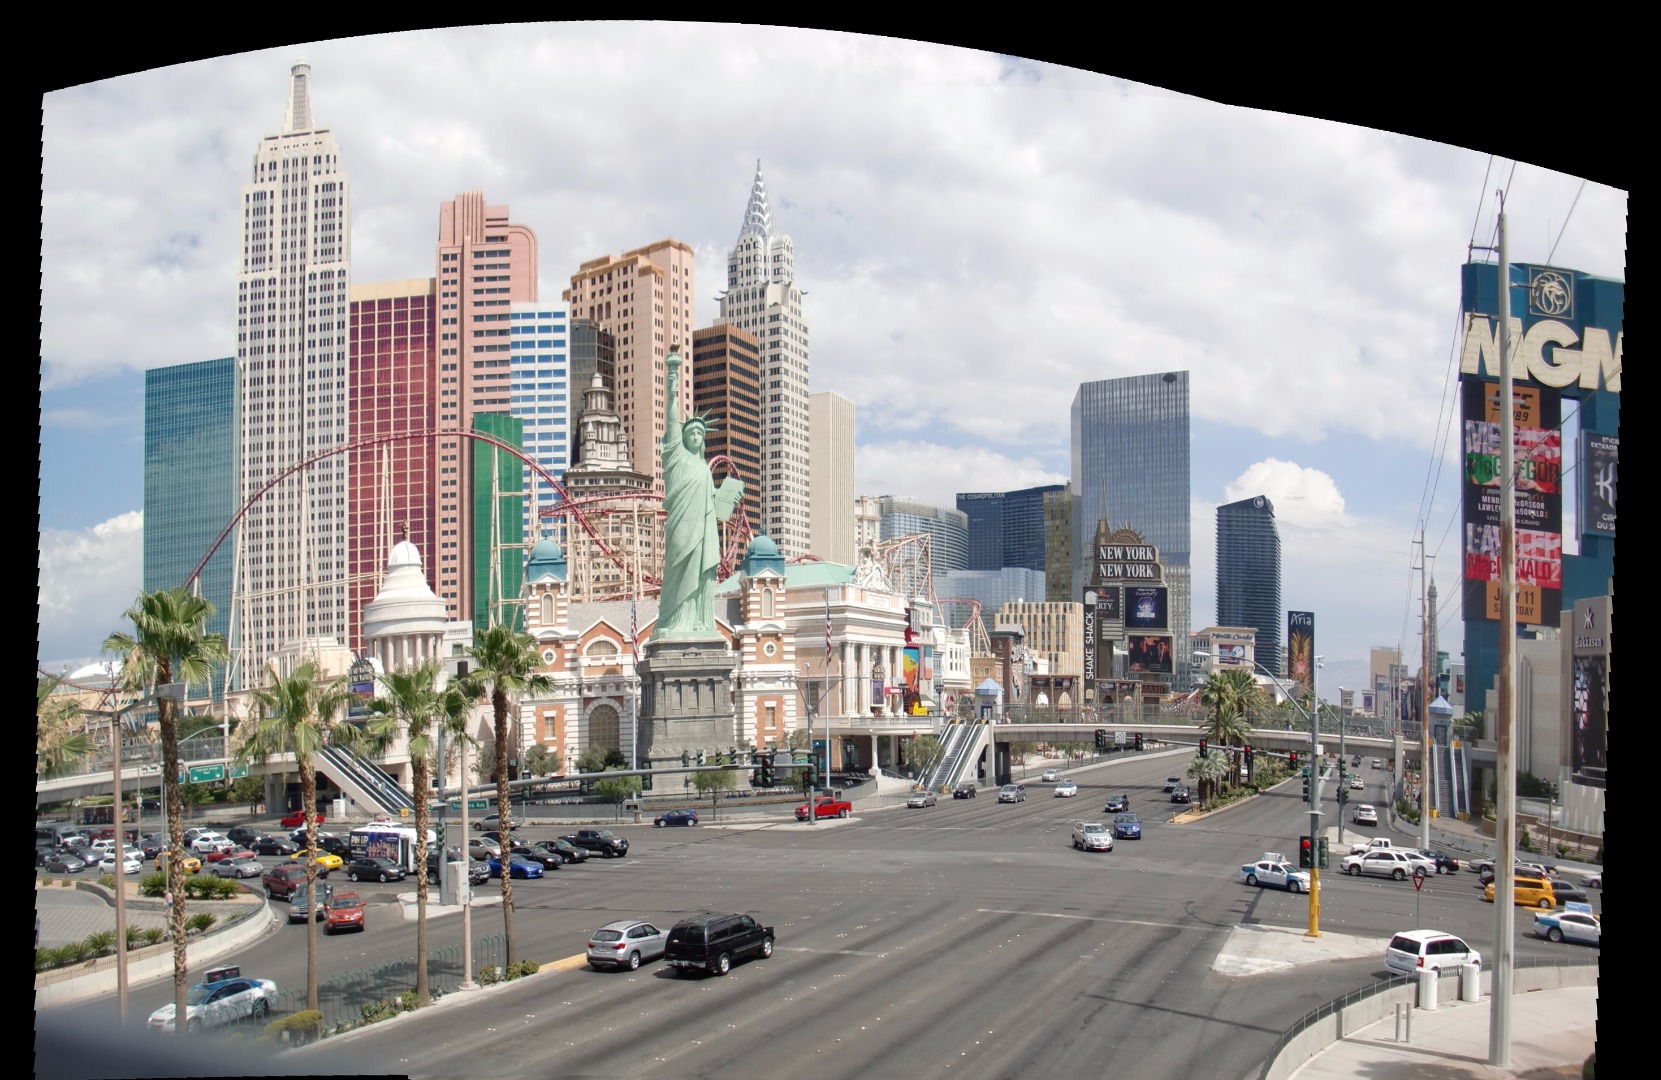
The two pictures used for this panorama are taken from a pedestrian bridge. The lens was looking downwards when taking these pictures. This resulted in perspective distortion.
At second, the right picture is taken lower than the left one. This gives a black area on the right side of the stitched picture.
Lessons learned:
- Keep your camera horizontal. This gives a better vertical perspective.
- It's better to take pictures in portrait mode. This gives more room above and below the buildings.
HDR Images
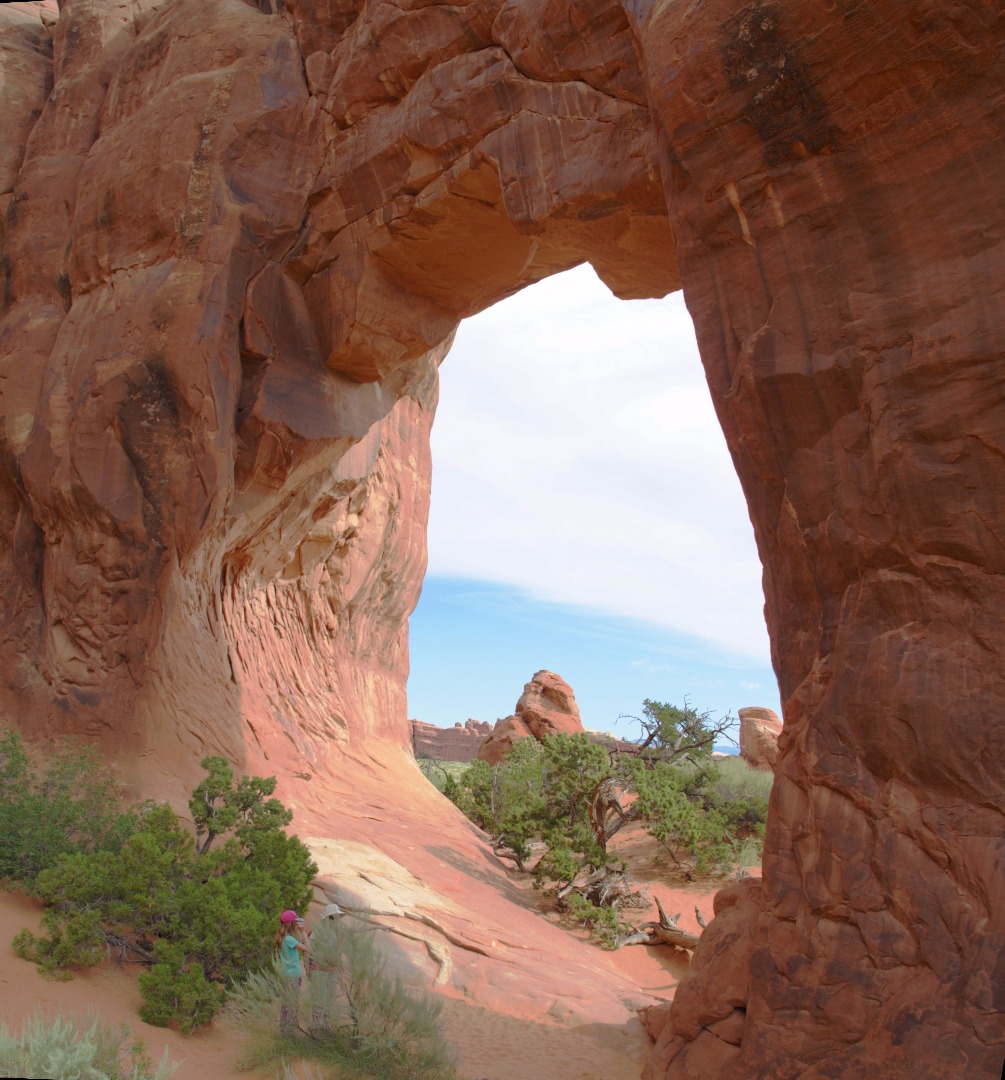
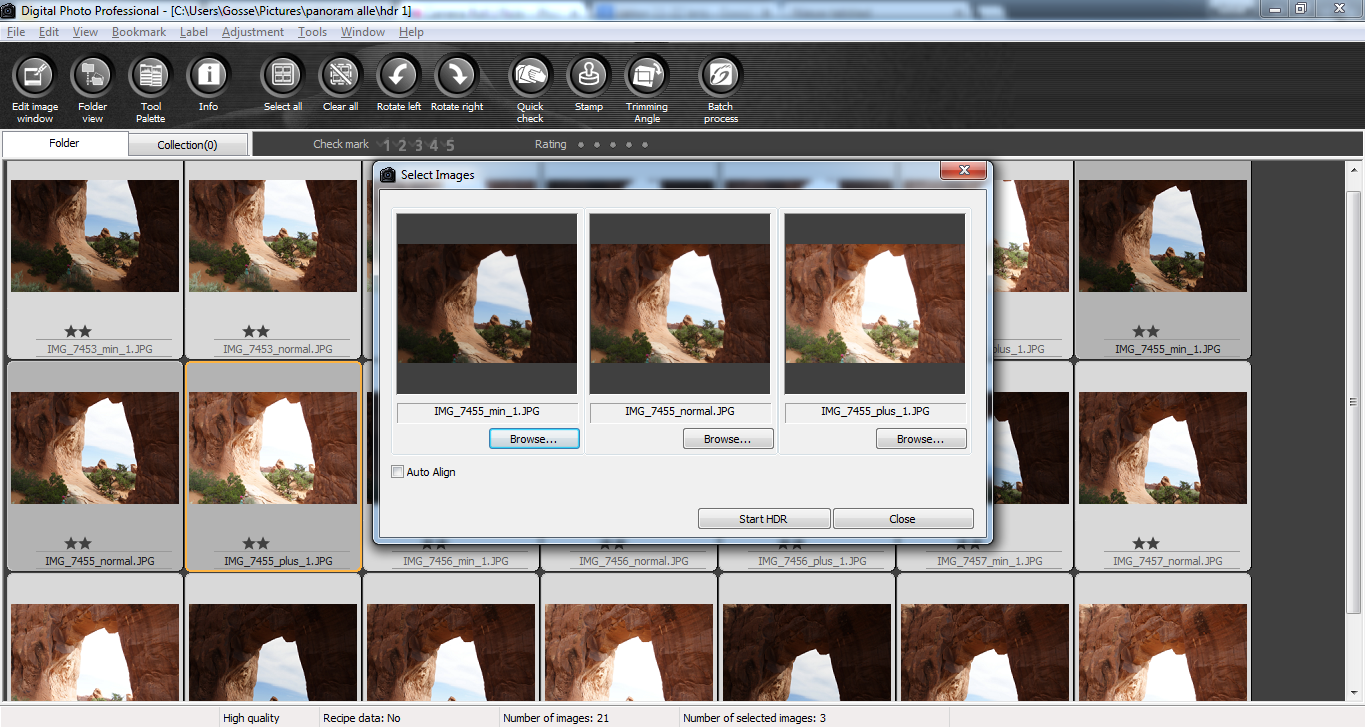
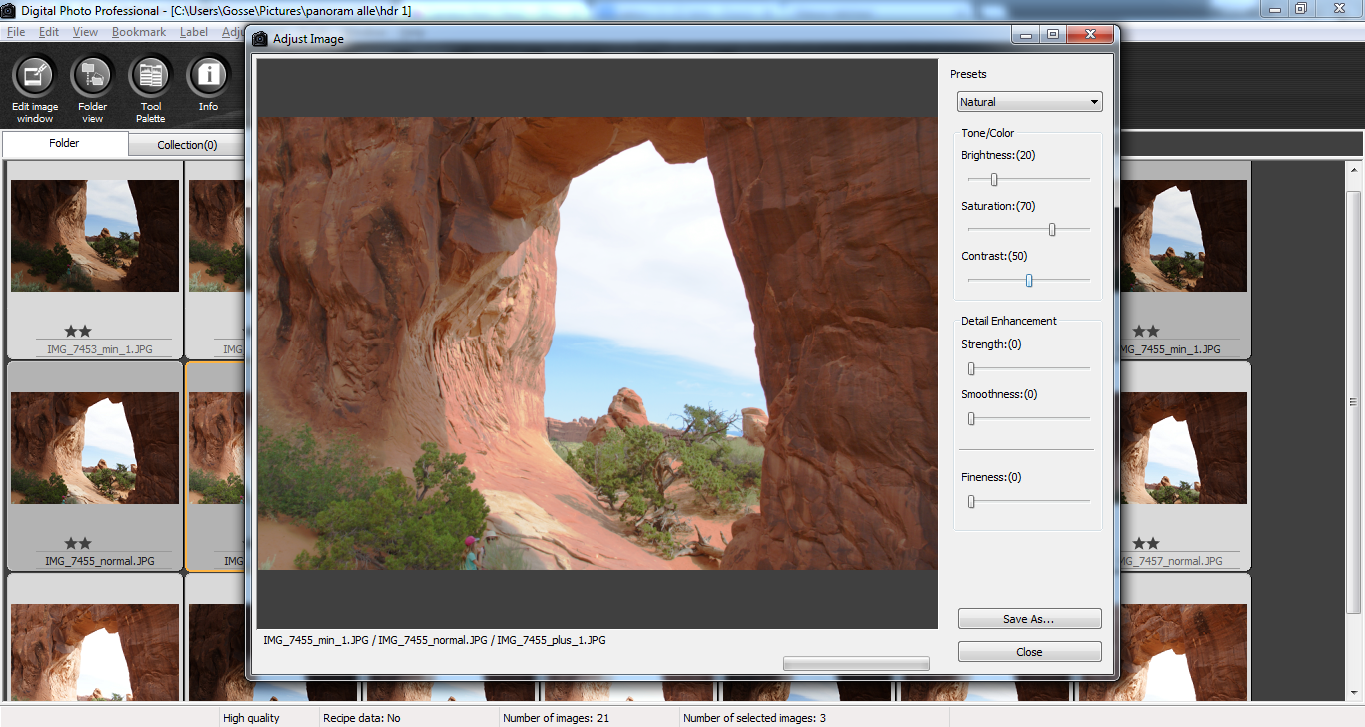
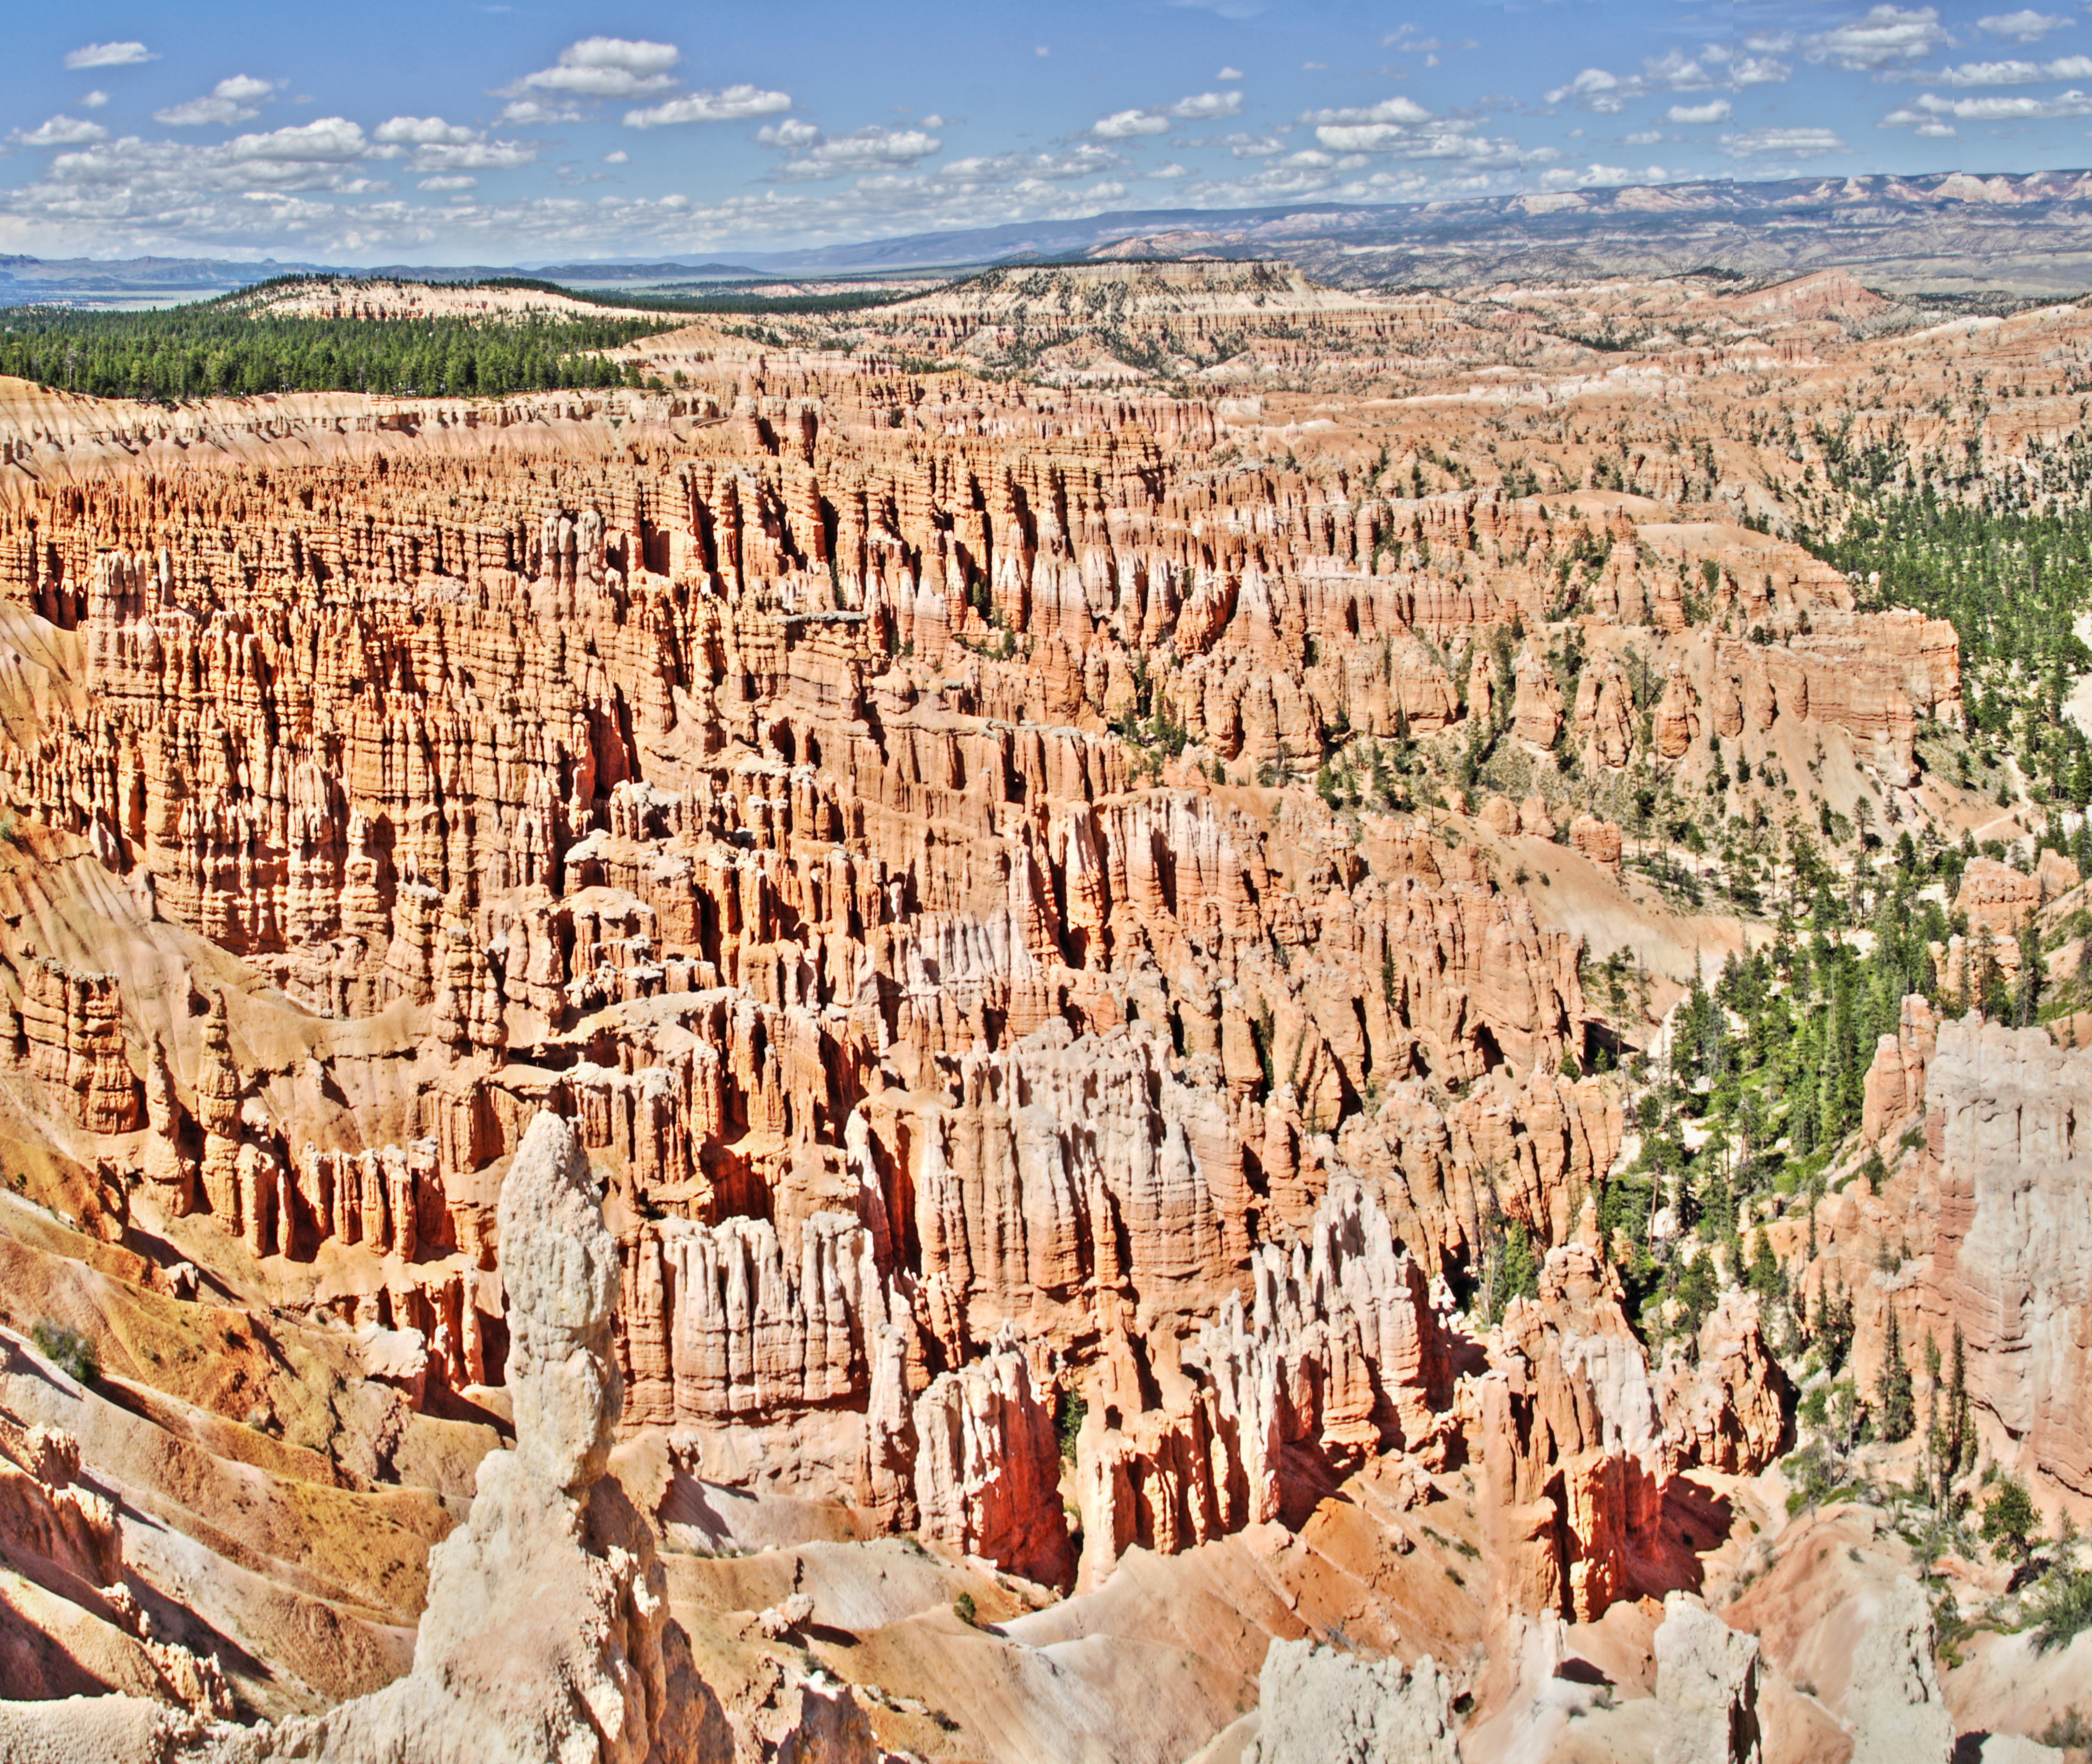
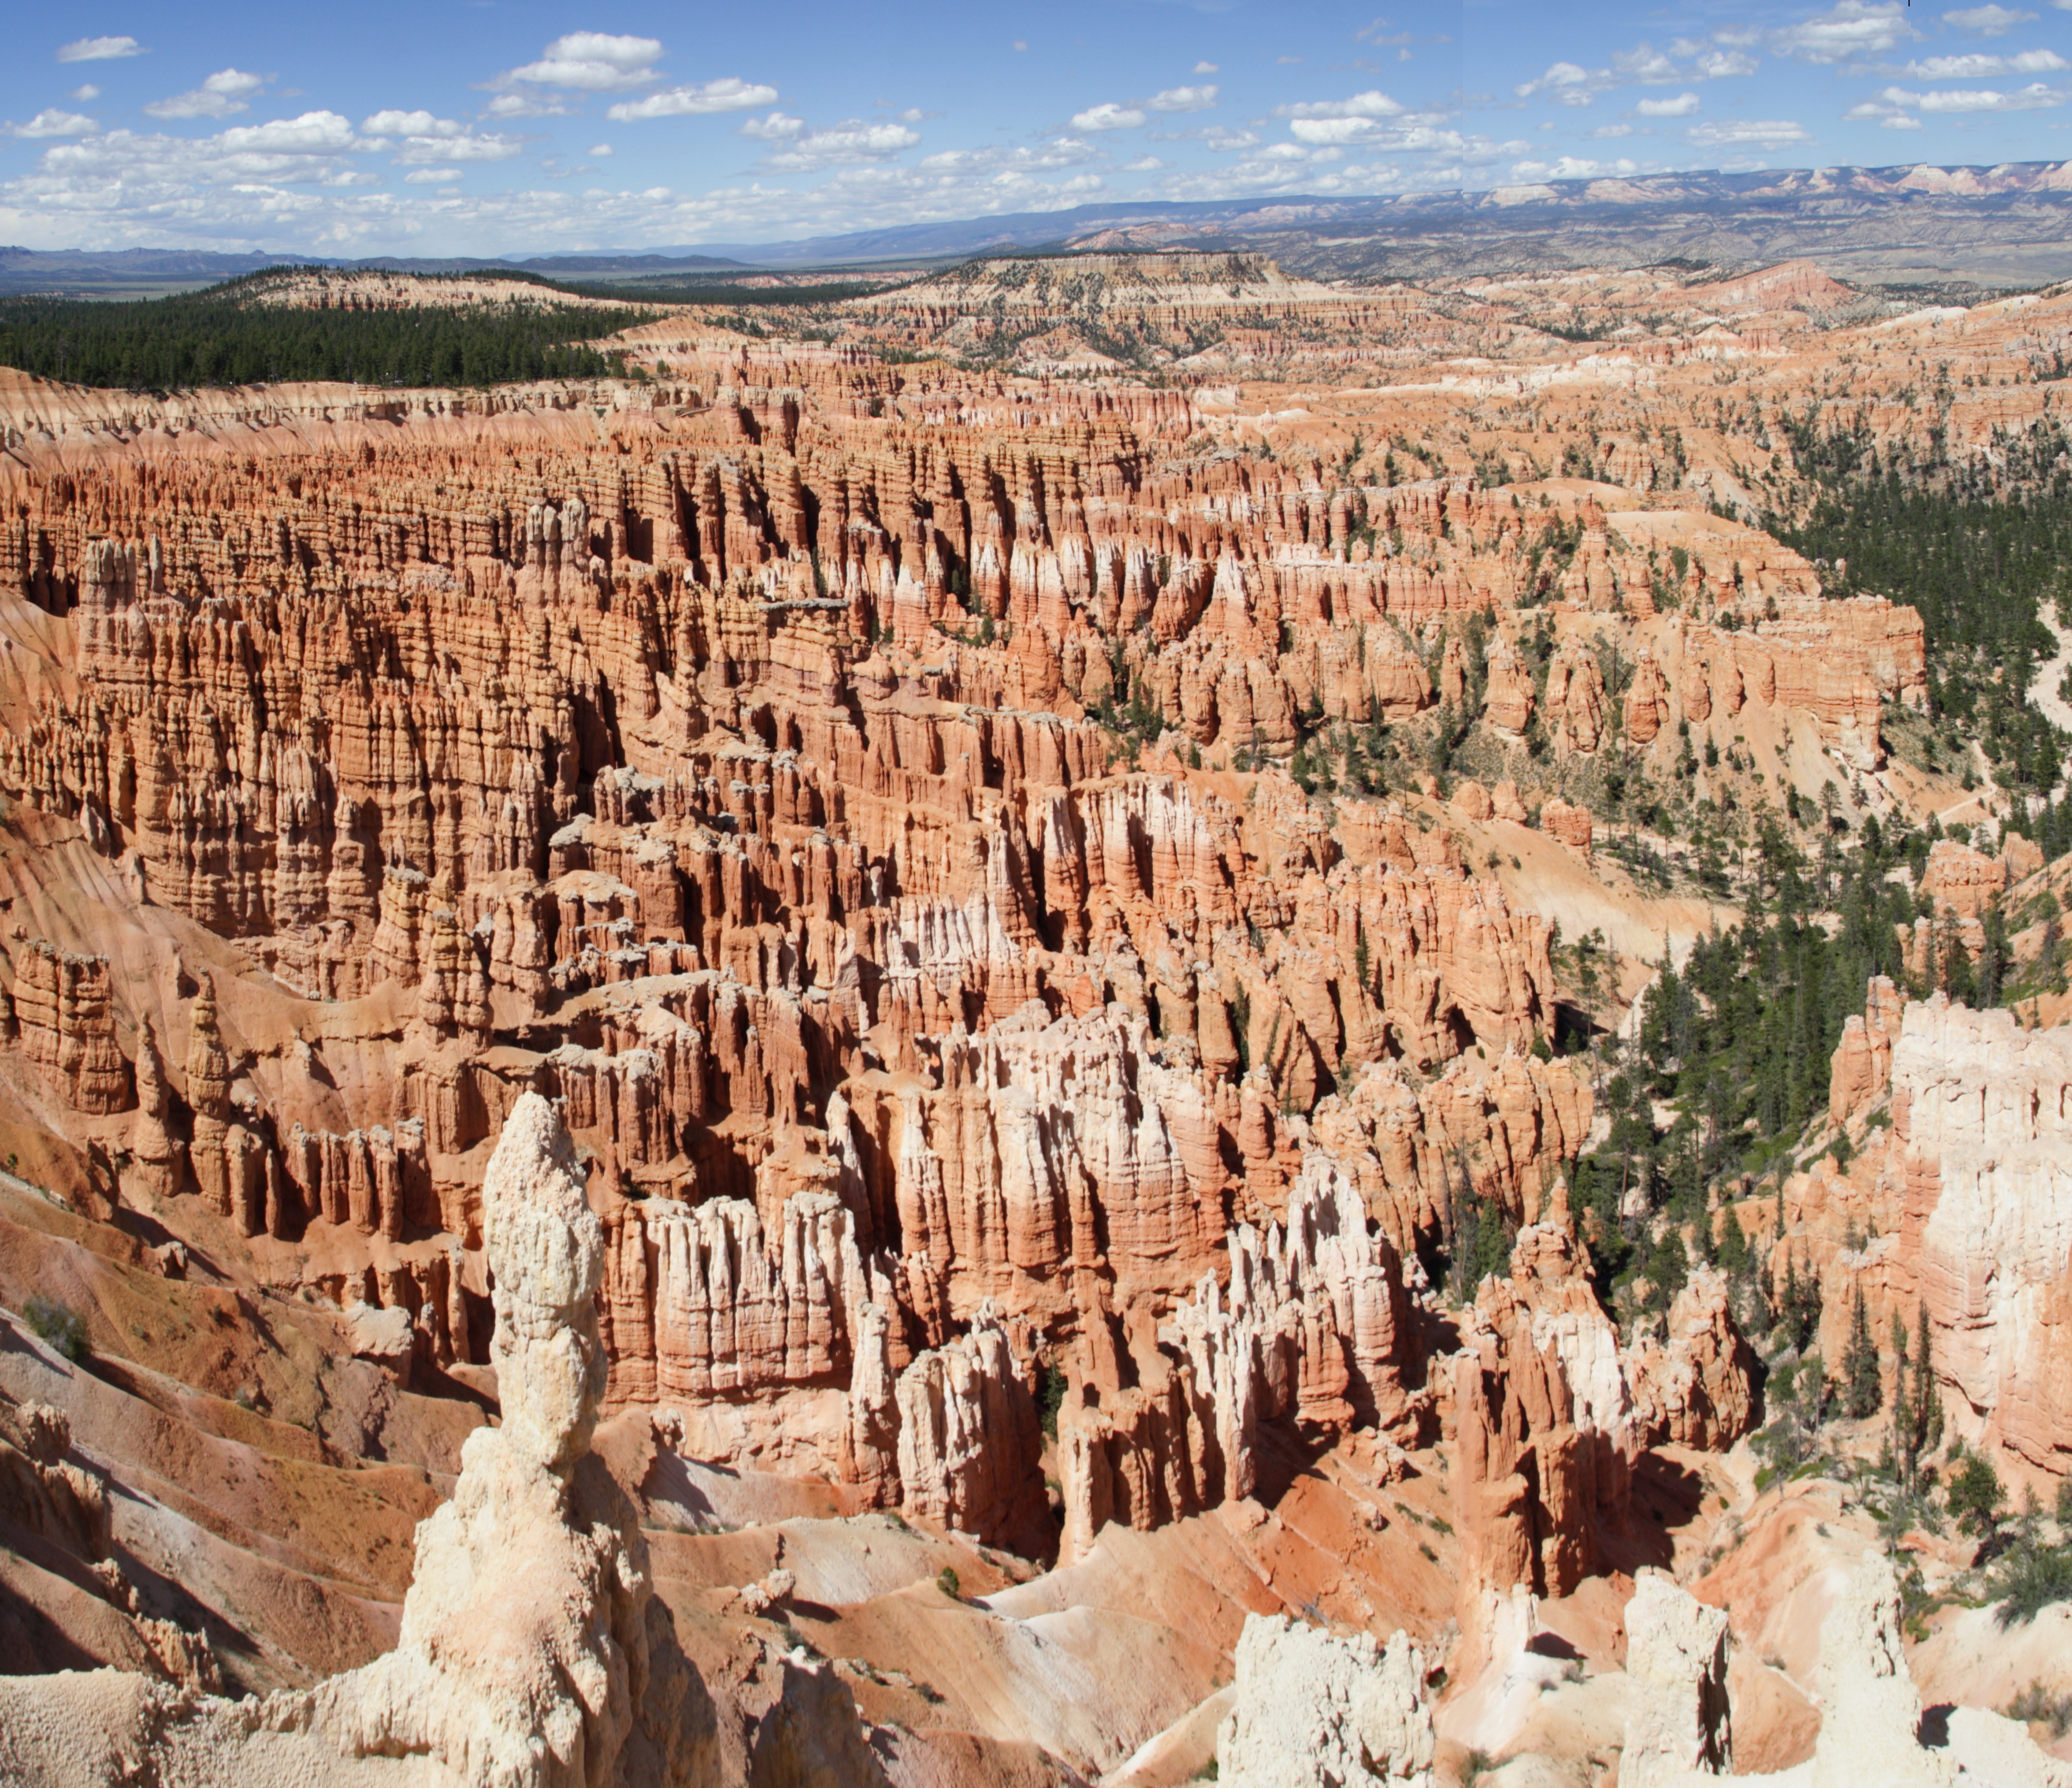
With the Digital Photo Profesional software (provided with the Canon 350D camera) it's posible to create HDR images. A High-dynamic-Range image is a picture with a greater dynamic range. This way details in a scene with a large contrast ratio are preserved. The best source for HDR images is a photo taken in the RAW camera format. These images have more color information than the default JPG images.
It is possible to use the stitched image as a source for a HDR image (some software reduces the resolution). Processing all RAW images before stitching gives a better result. Use the same HDR settings for all images.
Advanced Workflow
.JPG)
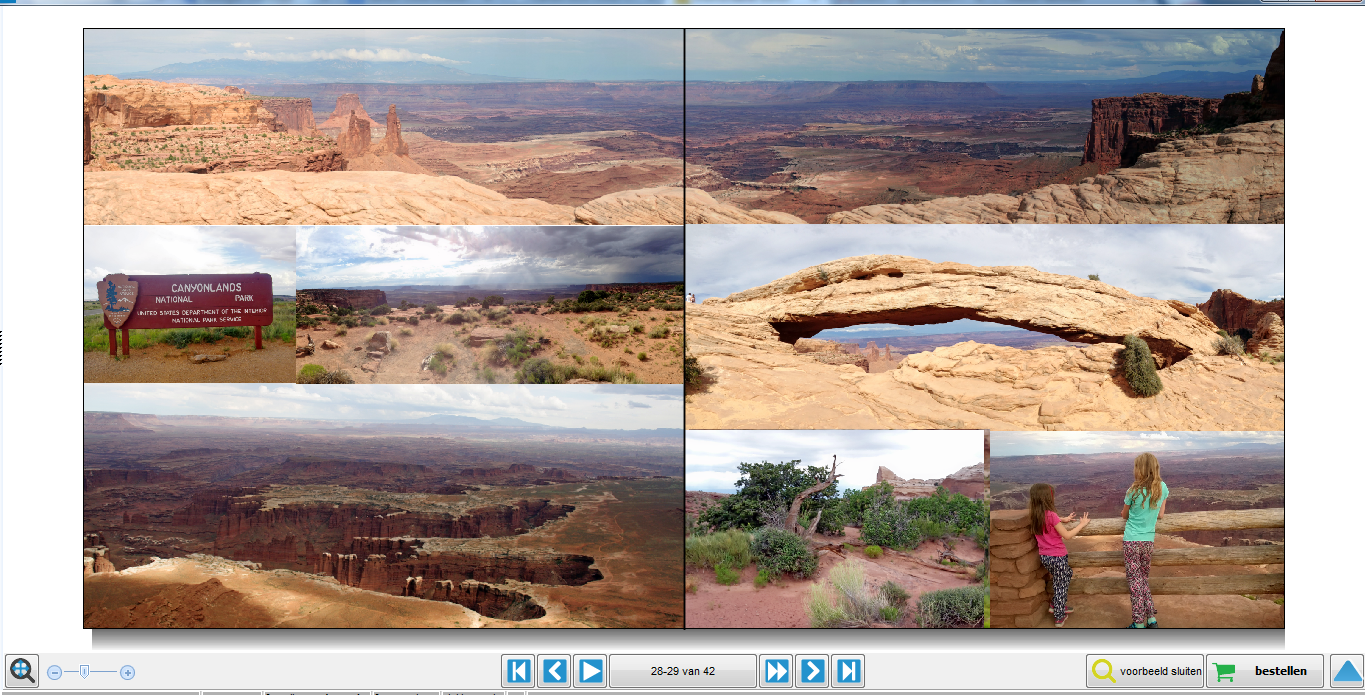
The next workflow will give the best results when stitching photos:
- Take all pictures in RAW format.
- Alter brightness and white balance for all pictures (using "Digital Photo Professional").
- Adjust the brightness for individual pictures. There is a visible line (on the left) in the first picture above. Adjust the image which causes this line.
- Lens adjustment for all pictures (PTLens or Digital Photo Professional).
- Stitch the pictures.
- Save at full size, including the black area.
- Fisheye, vertical and horizontal perspective adjustment.
- Sharpen the picture if needed.
- Trim the picture for the desired size.
Following these steps increases the quality of the stitched image. The images are used is a photo album of 30 x 30 centimeter (12 x 12 inch). Some images are even stretched at both pages. This is impossible with a cropped 8 megapixel photo.
More Panoramic Pictures
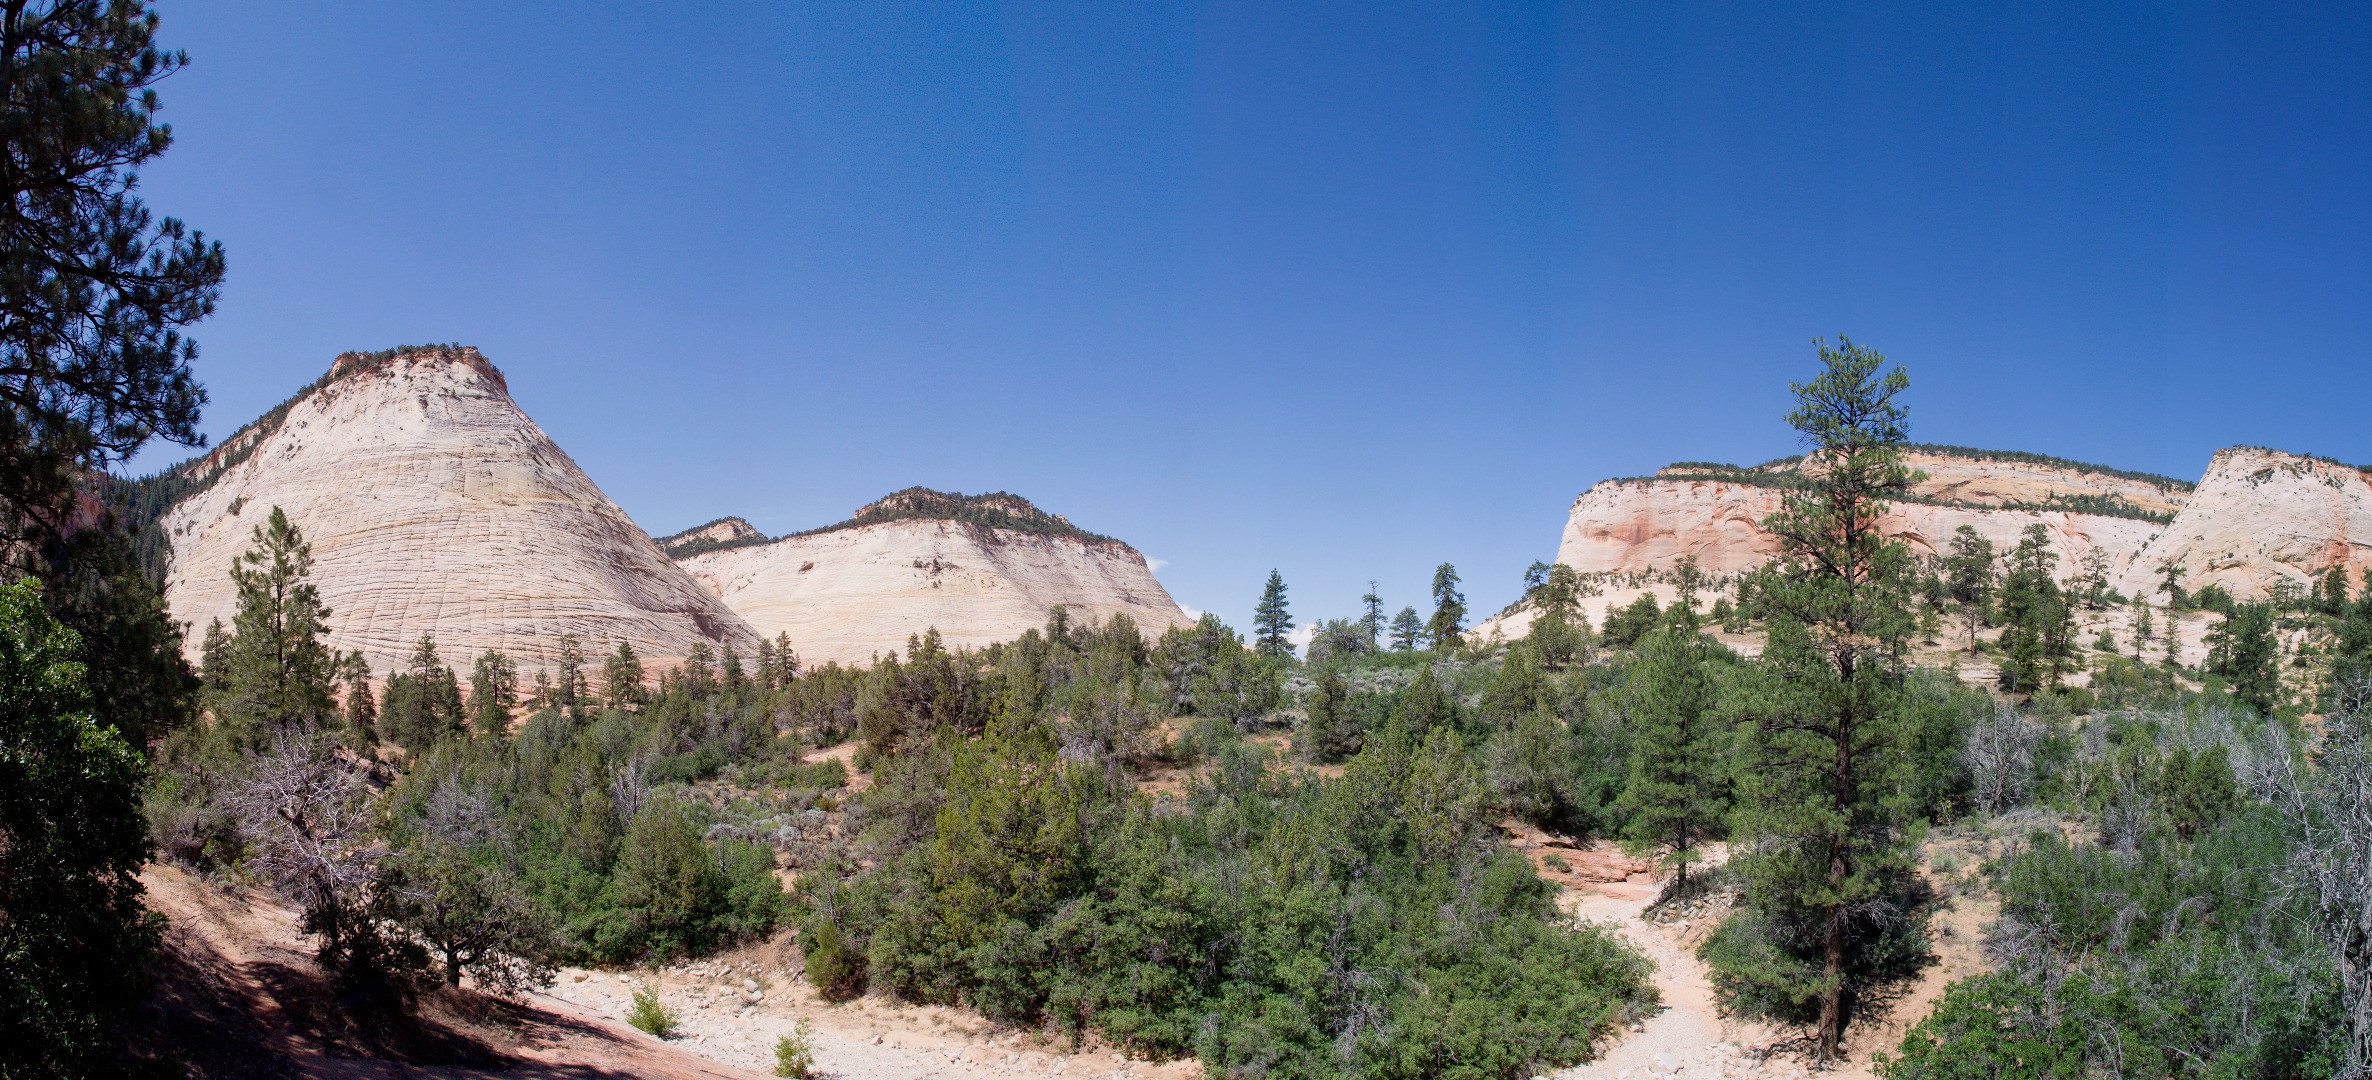
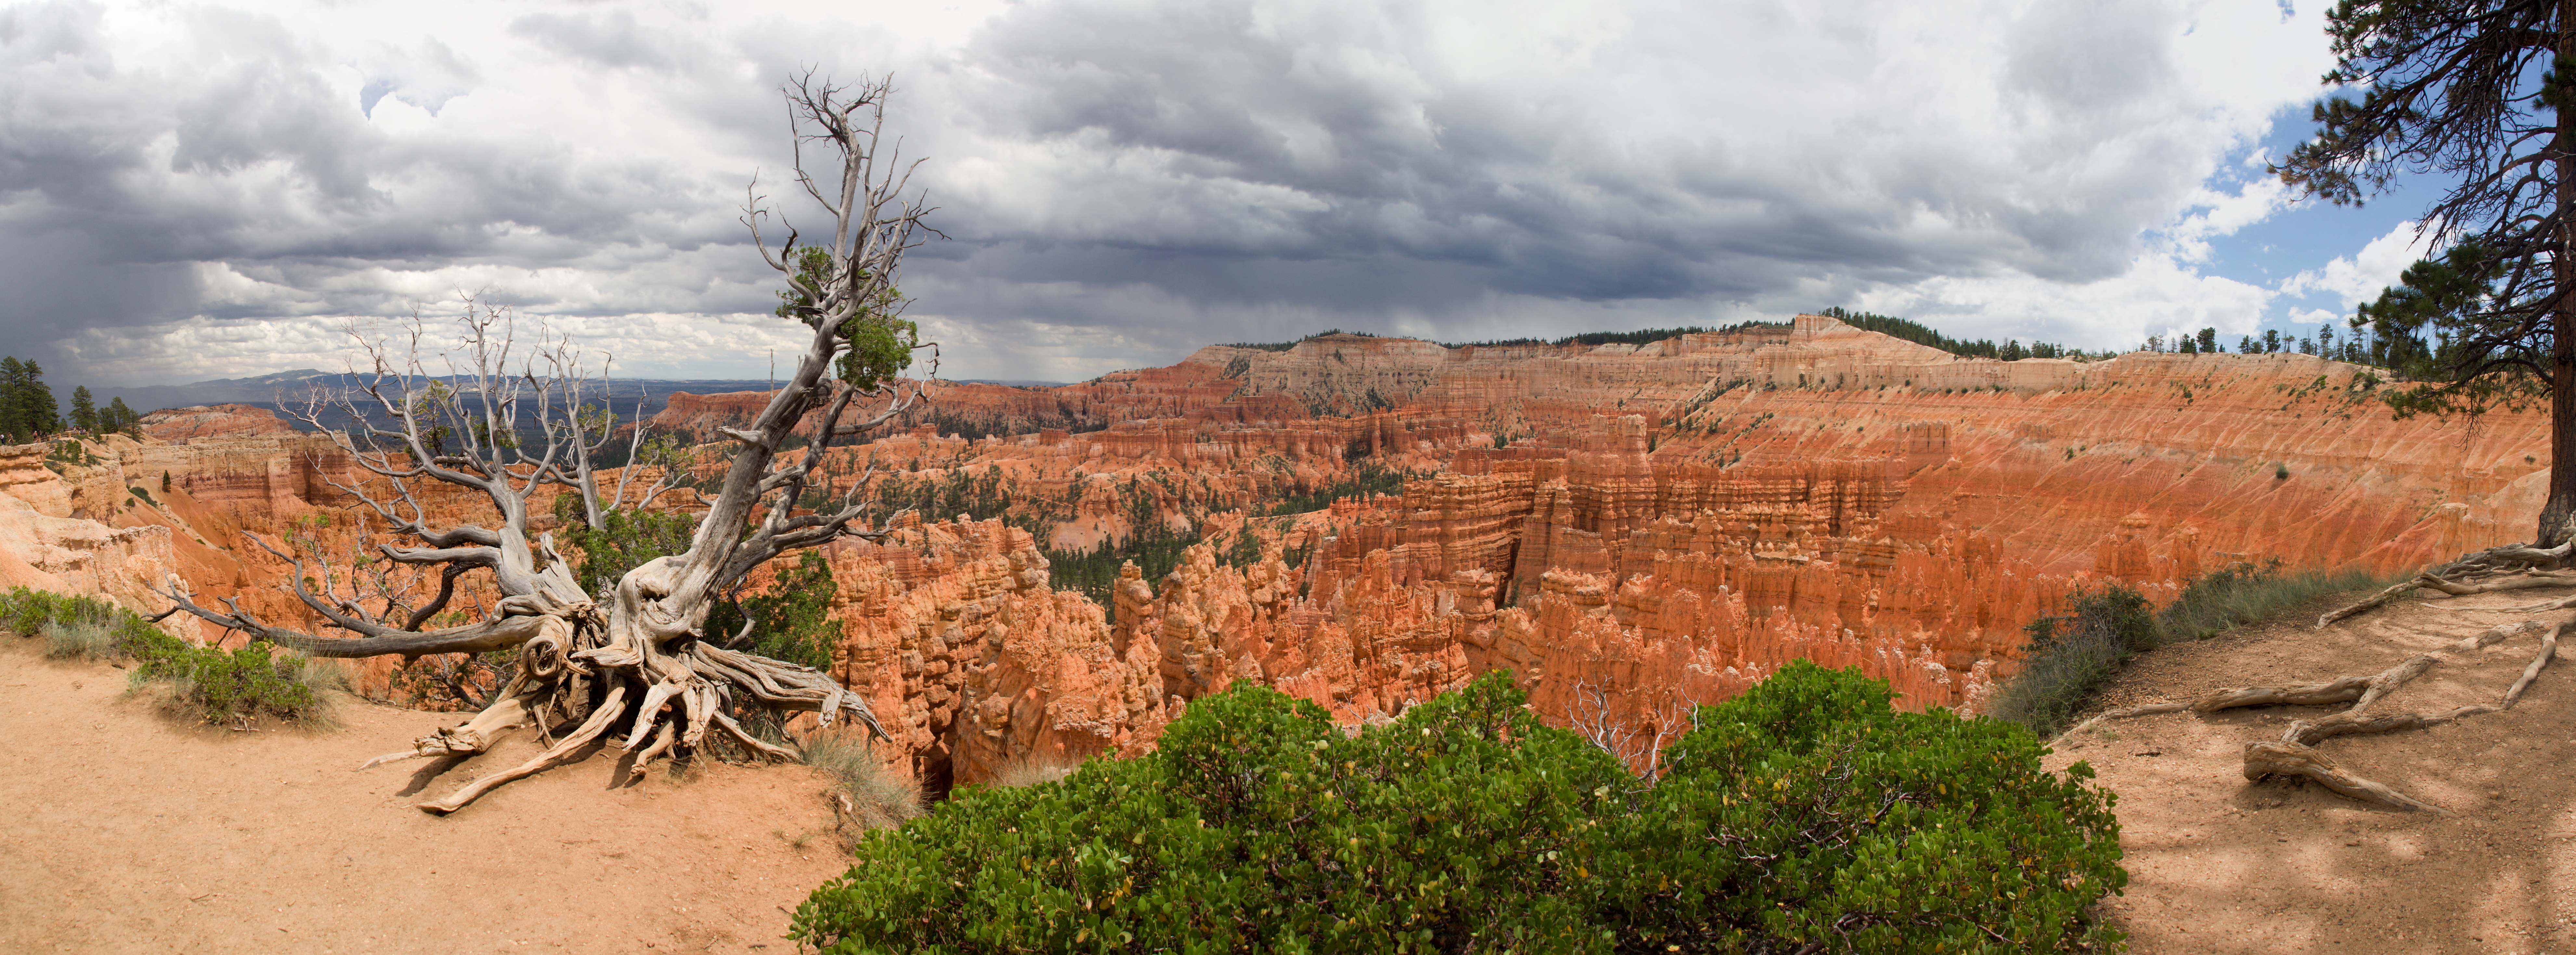
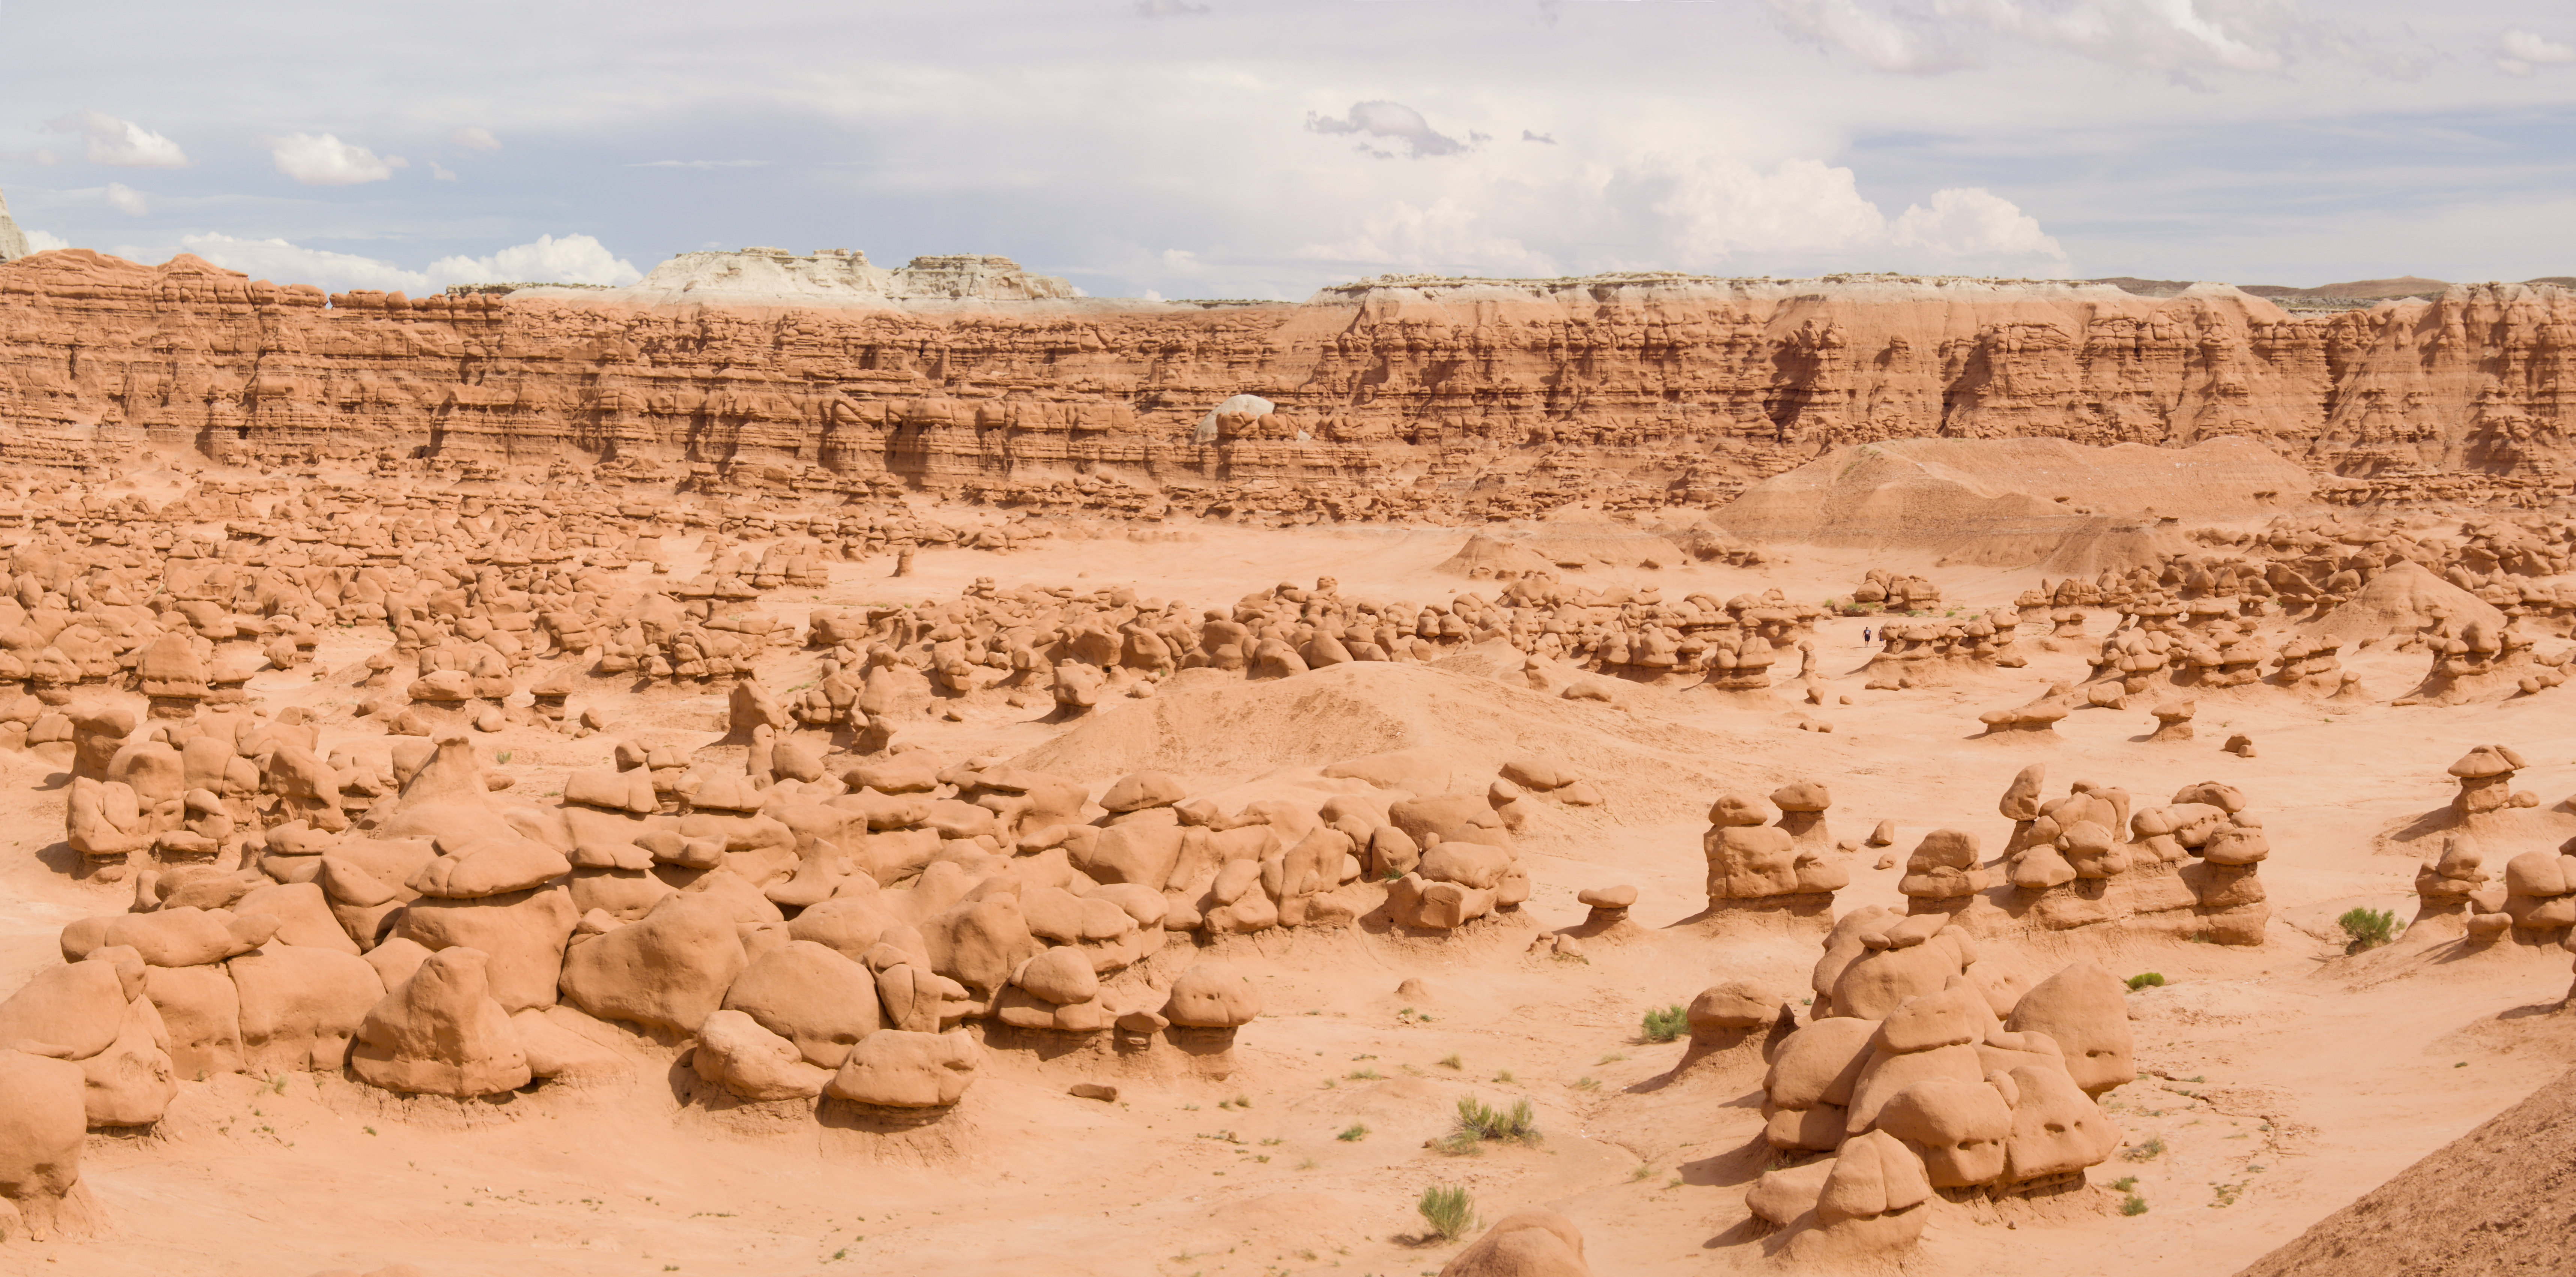
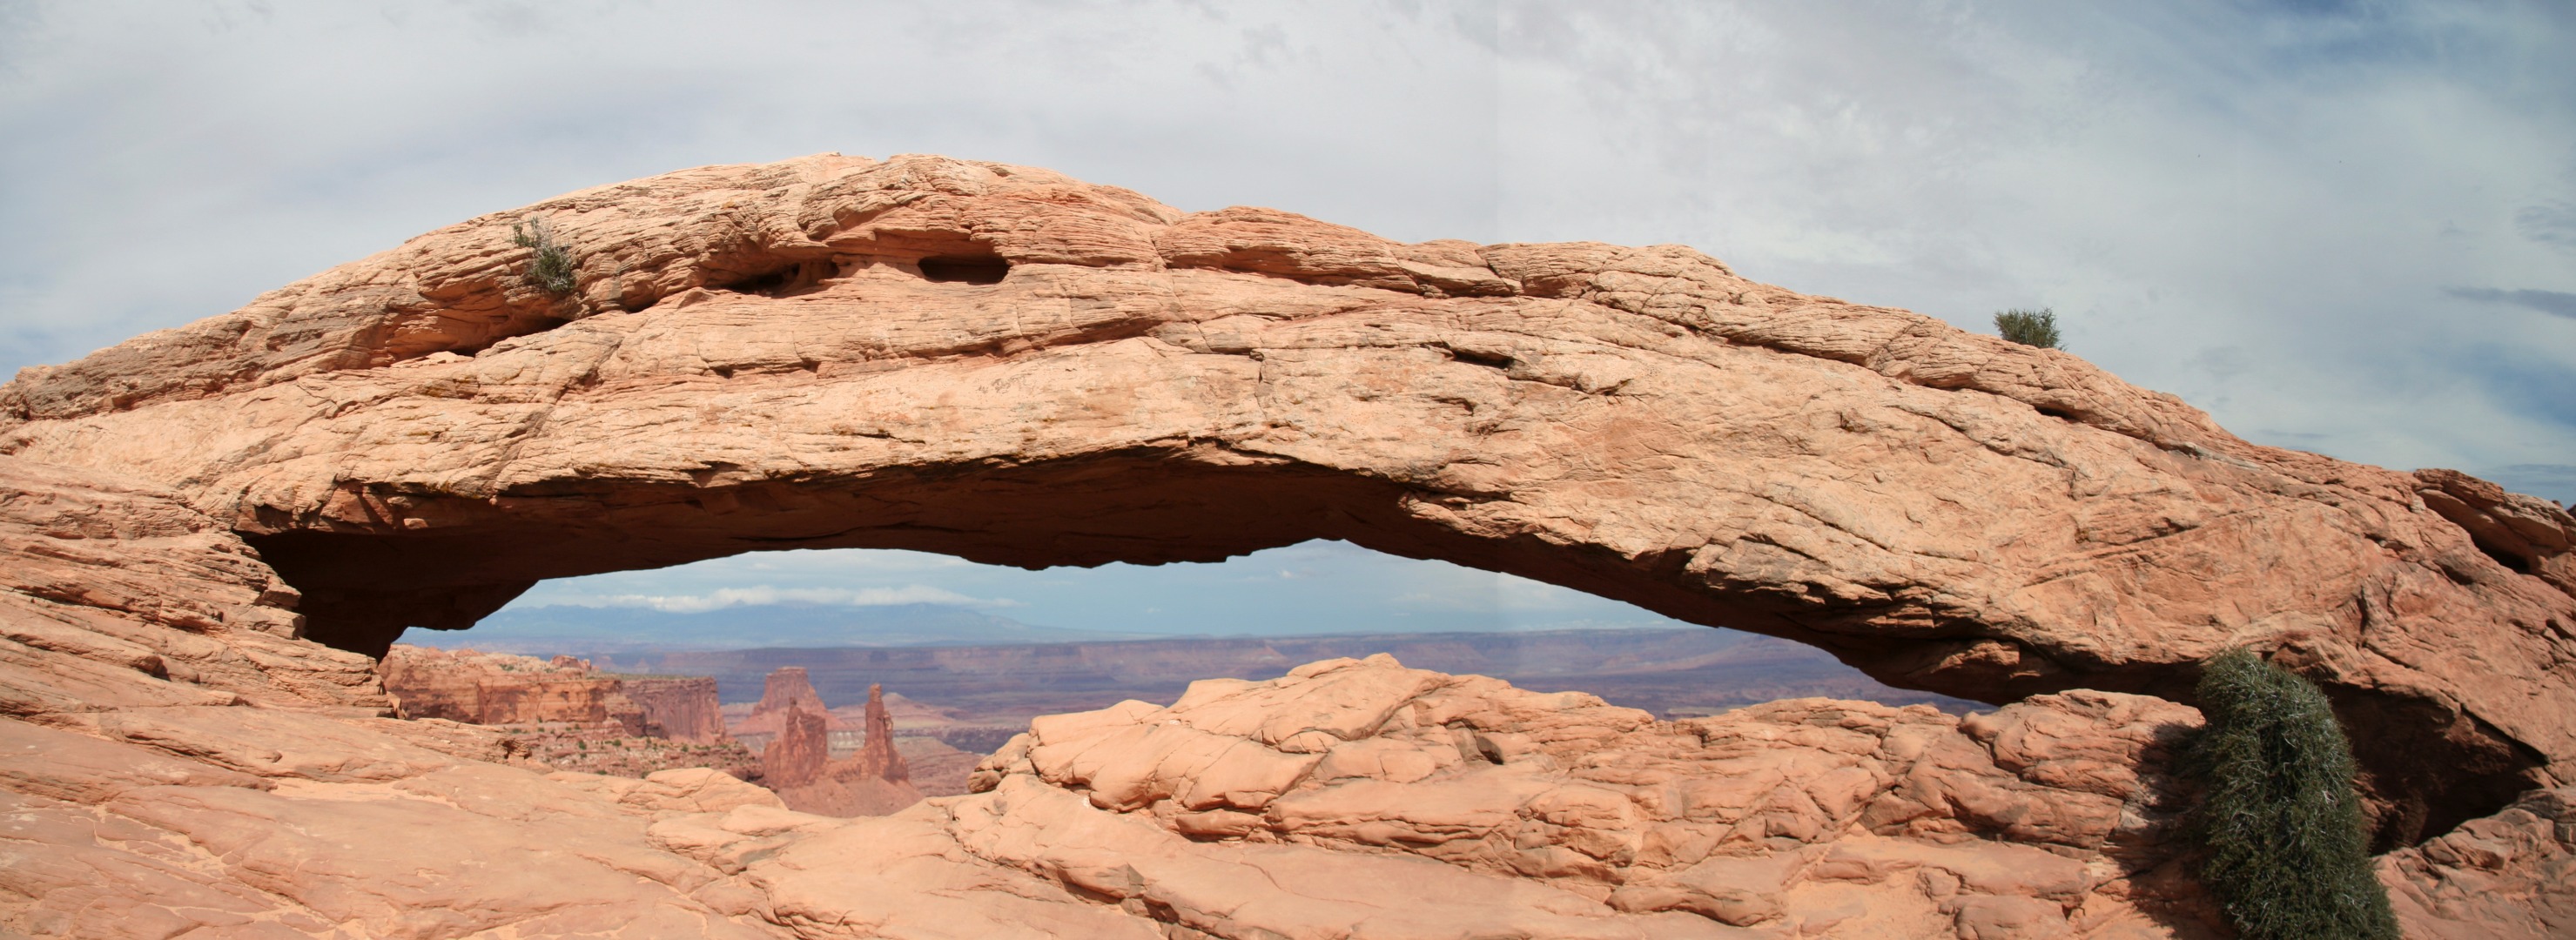
All full size panoramic photos used in this instructable, and more, are placed in a Flickr Album. Feel free to download and use them.