CrazyBump: Adding Detail to Your Blend Model
by StormyDoesVR in Circuits > Art
2743 Views, 9 Favorites, 0 Comments
CrazyBump: Adding Detail to Your Blend Model
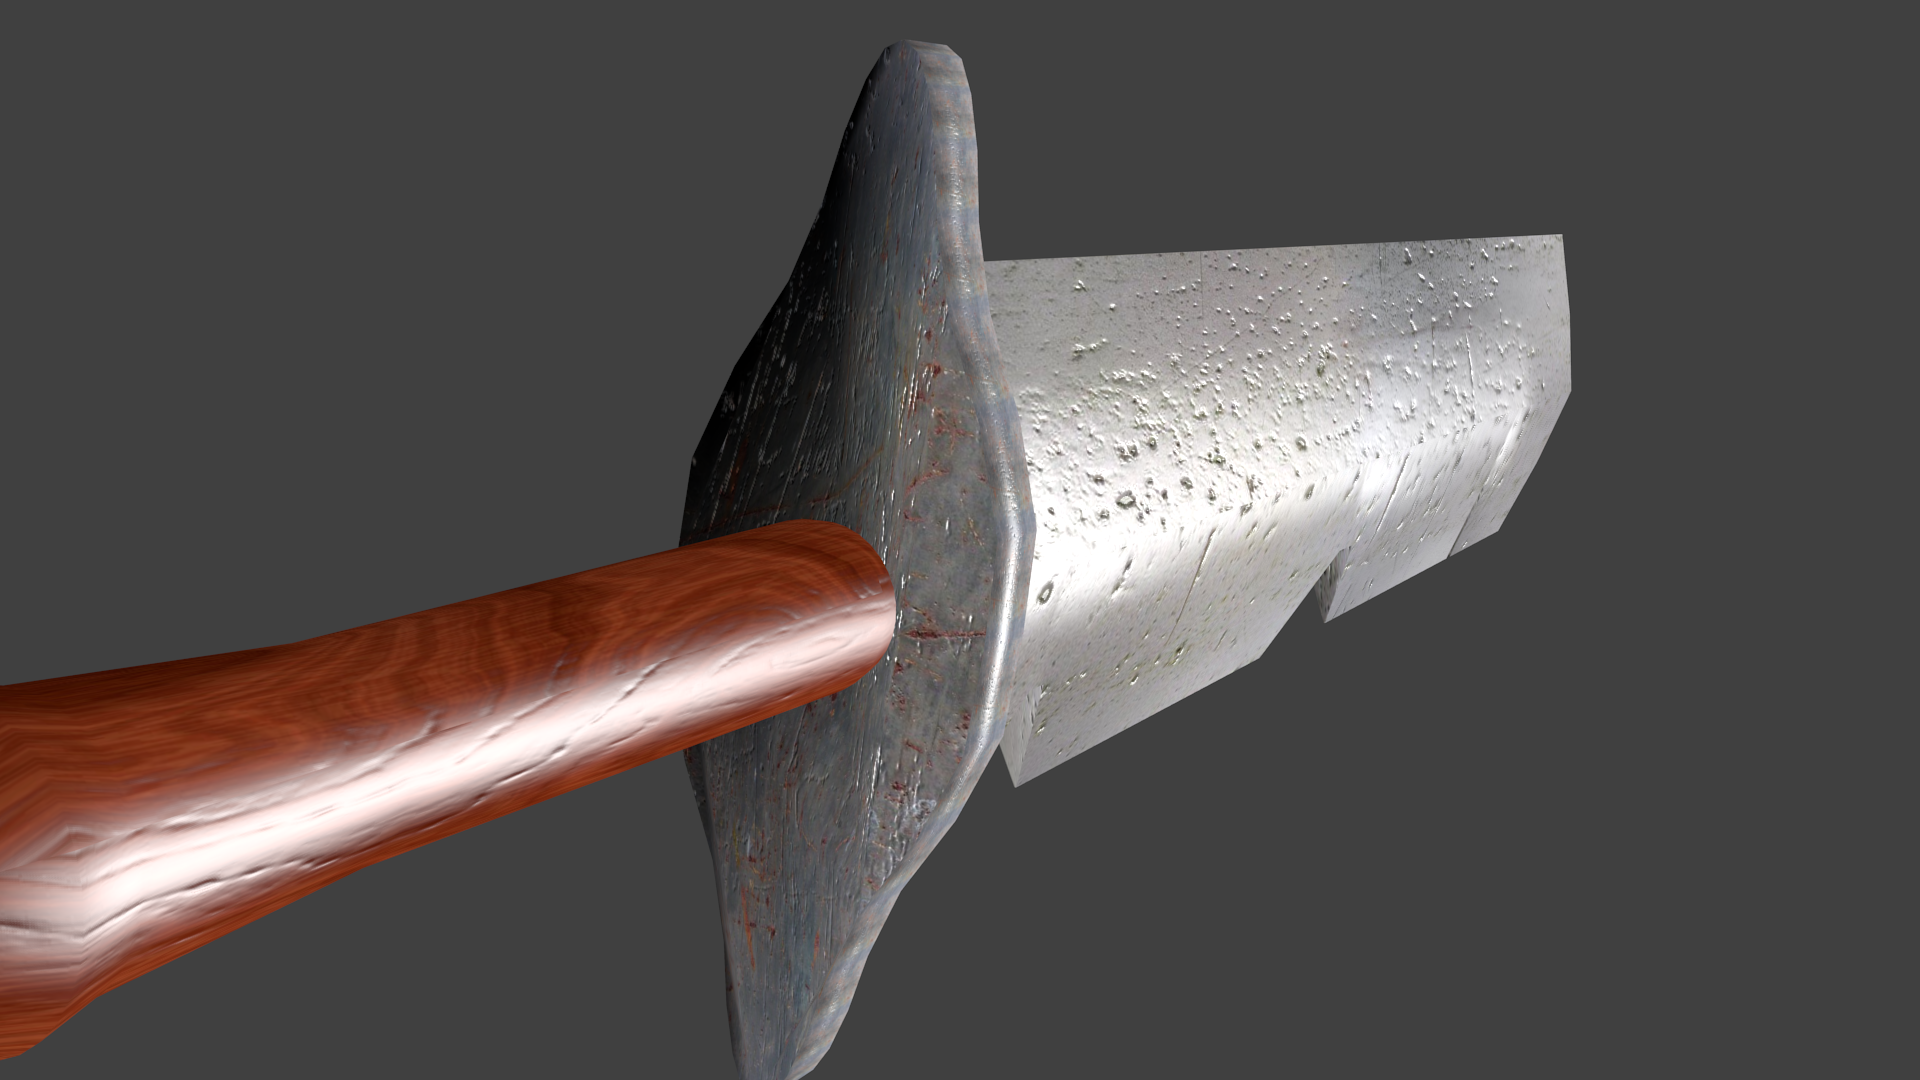
Ever thought that the models you made just seemed a little.... flat? That even though you painstakingly worked for hours to model an amazing item, character, or prop, it just didn't look real enough? Well today I'm here to show you how to use a very simple, but very intuitive program, called CrazyBump, to make your Blender models look amazing, in just a few short steps!
A Look at the Model
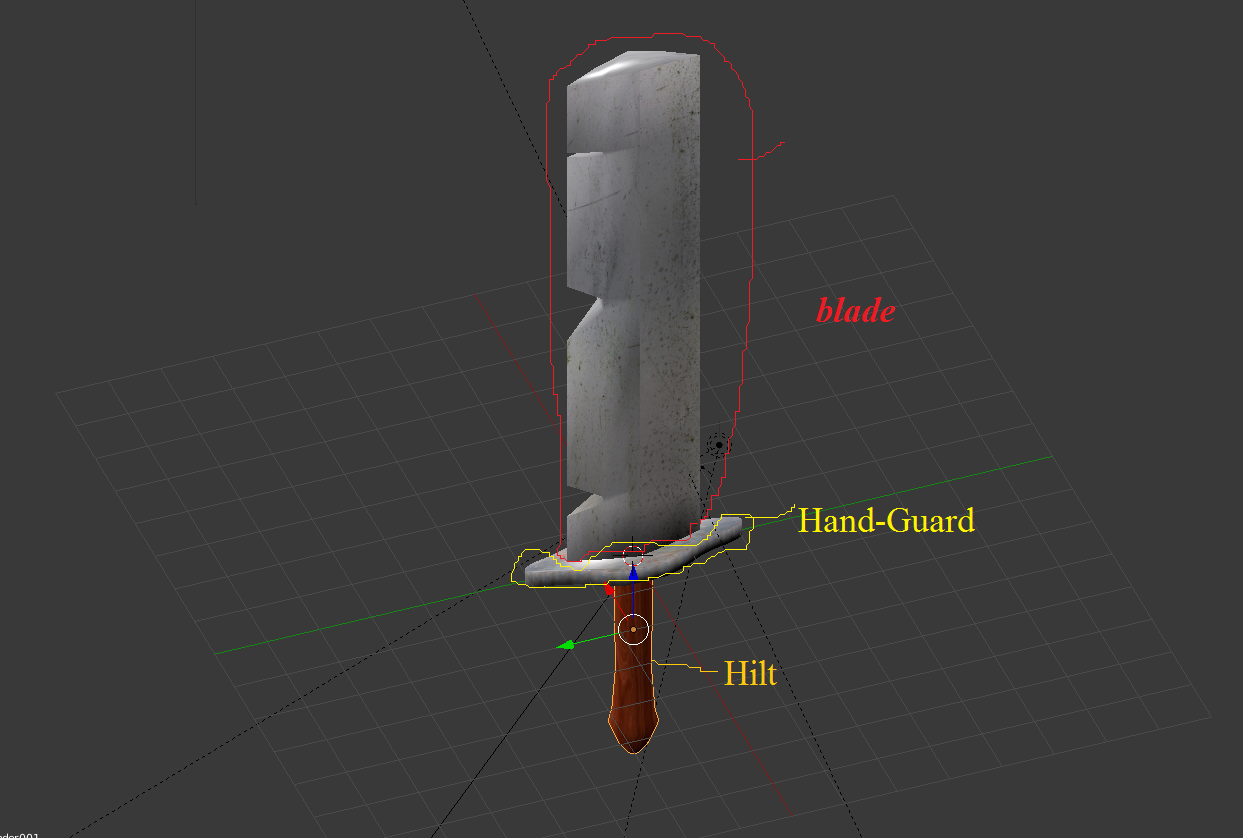
So here is a basic sword model I whipped up in Blender. It has three basic parts:
1) The Hilt: the "ergonomic" wooden handle. (teehee)
2) The Hand-Guard: the odd shaped piece on top of the hilt, and
3) The Blade: The long, rectangular piece of metal protruding out the top.
All three of these pieces have their own textures and UV maps, as well as meshes and the sort.
Here is a link to the model, in case you'd like to follow along.
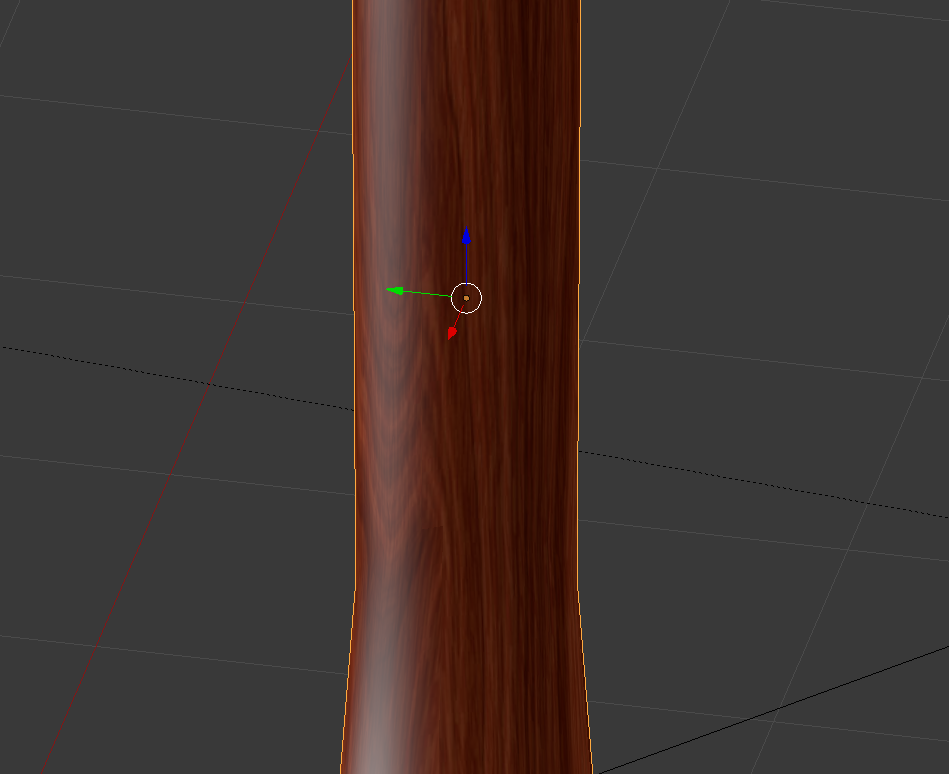
If you look at the Hilt (pic above) you can see that although the texture is wood, you can't see the light bouncing off the model in a way you wood expect it to bounce off. A real wooden hilt wood have (haha) small crevices and lines where the light would bounce in different directions, creating shadows and highlights. Same goes for the handguard and the blade. Unfortunately, you cannot quickly create these crevices in blender. It would require a lot of time and effort to make the meshes be shaped the way you want them too. That is where CrazyBump comes in -
Installing CrazyBump

CrazyBump is a fantastic tool. It does all the heavylifting for your normal and bump maps. What's a bump map you ask?
Per wikipedia, "Bump mapping is a technique in computer graphics for simulating bumps and wrinkles on the surface of an object." Essentially it fakes a more complex model by making the light bounce off of the texture of an object rather than just the object's surface.
Go to the link below to learn more interesting information about bump mapping! -
https://en.wikipedia.org/wiki/Bump_mapping
CrazyBump is a piece of software that allows you to input a texture (usually seamless) and it will calculate and create a whole bunch of new textures for you to use as normal maps, bump maps, etc. It can be downloaded from
Normally the personal cost is $99, but luckily they have a free trial when you download, which should be enough for us.
Go ahead and download it and install it, and then meet me in the next step.
Using CrazyBump
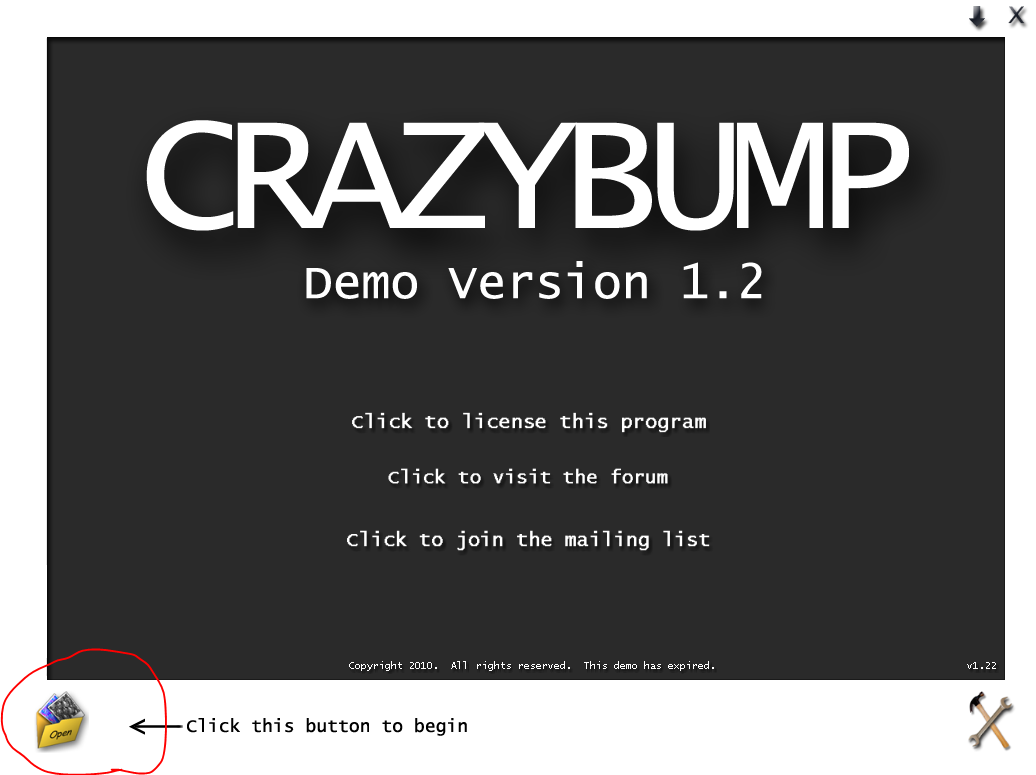
Alright, so you have CrazyBump installed. Great! Your modelling is about to get a whole lot easier!
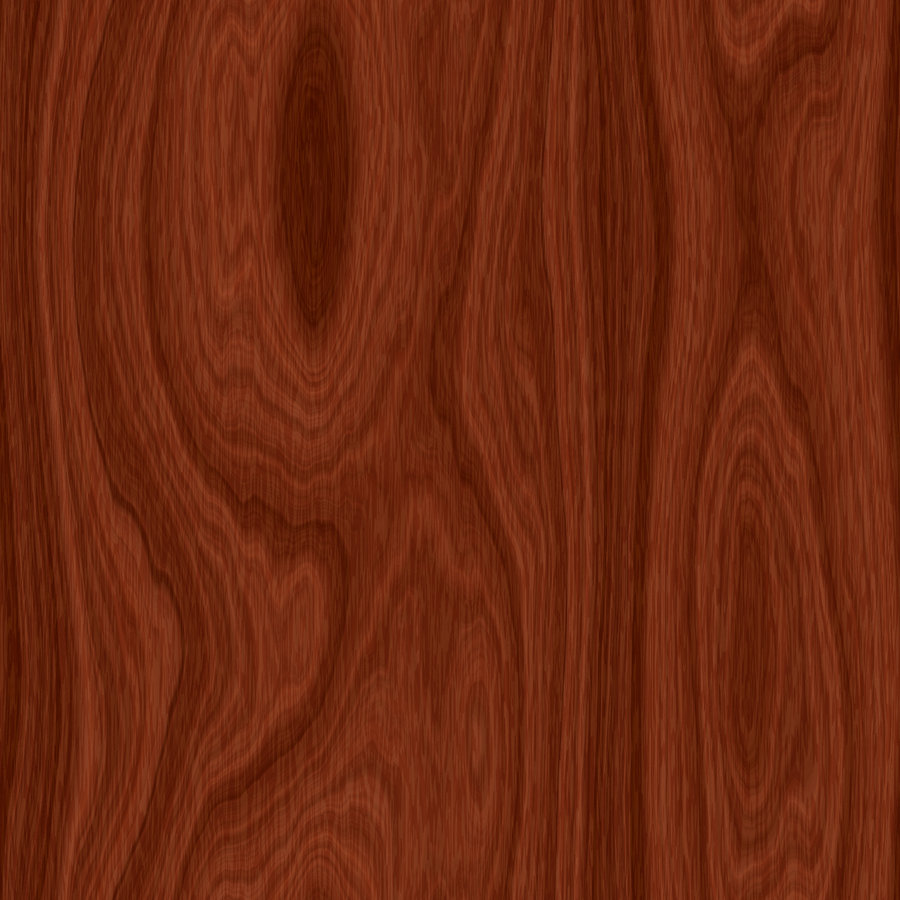
Right here I have the seamless texture that I used for the hilt of my sword. It was made by sweetsoulsister on Deviantart. Pretty cool!
Now, you can use this texture if you want, or you can use your own. Regardless, we have to calculate some bump maps for it. To do that, we have to hit the open button: (second pic above)
It will then tell you to either calculate a picture or input one. Select the "Open photograph from file" button.
Making Your Bump Map.
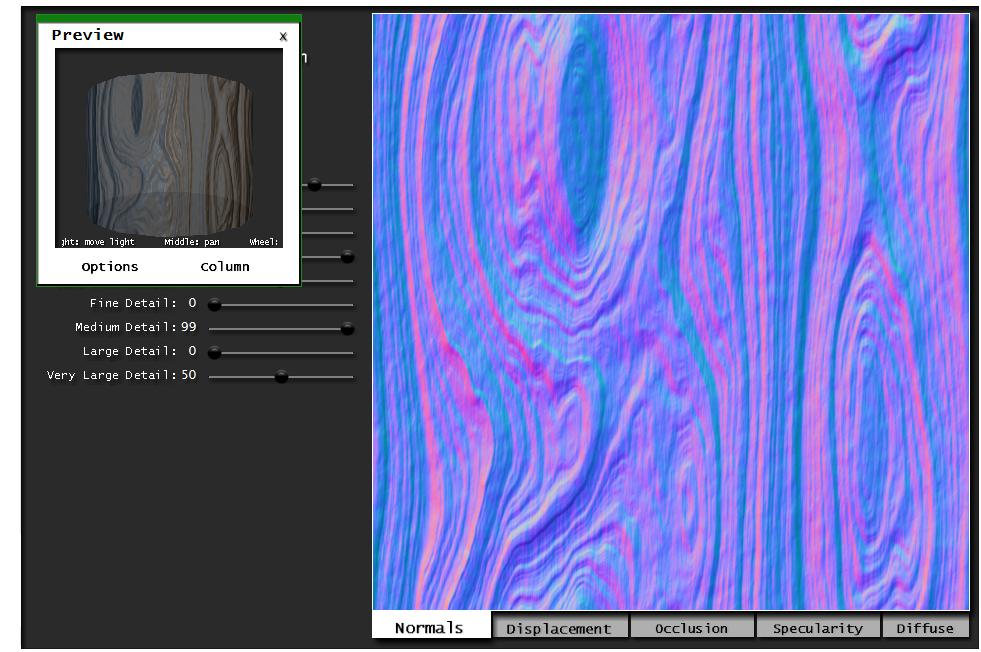
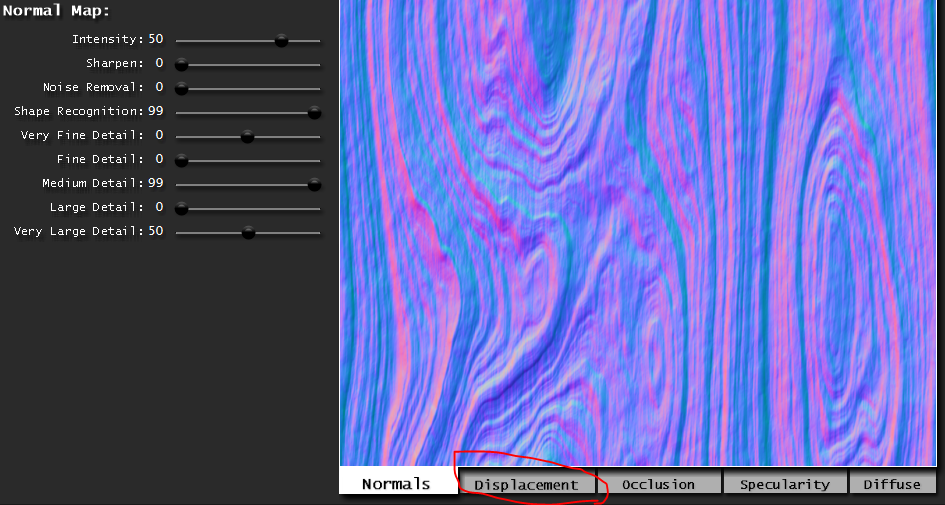
Once you find your desired texture, go ahead and click open. It should run some calculations, and then present you with two different black and white versions of the texture you imported. Choose whichever one best suits you and click it. It will then bring up the screen I showed above. The wooden texture kinda looks freaky, doesn't it? That's ok. We won't be using that texture today.
Go ahead and select the Displacement tab, as shown above.
Saving Your Bump Map.
Now, hit the Save button down at the bottom of the CrazyBump window, go to where you'd like to save it, name it, and hit SAVE. I named mine WOODDISP. Now, you are ready to add a bump map to your blend model!
So, let's transition back into Blender.
Adding the Bump Map.
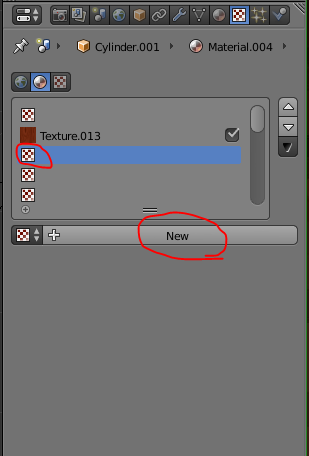
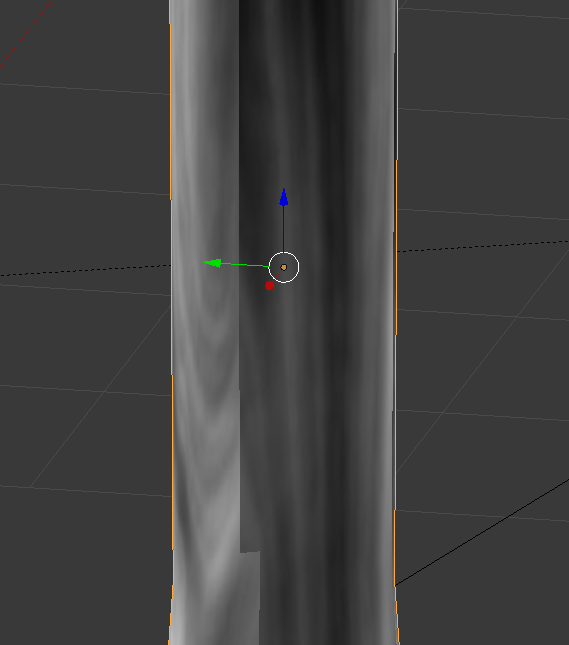
Now, back in Blender, select the hilt of your weapon. Over in the tools tab on the right side of the screen, select the tab with the textures (should be a checkered box).
We want to add a second texture to the same material as the wooden texture. To do so, click on one of the other checkered boxes in the list with your wood texture, and hit the new button.
A whole list of options should appear (you already know this if you added a previous texture). We want the texture to be an image, so if it isn't already selected, click the Type bar and click on the "Image or Movie" option.
Next, down in the image tool, click the "Open" button, navigate to your bump map, and open it!
Whoah! Your hilt looks weird now, doesn't it? Like it turned black and white! That's because we haven't made it act like a normal yet.
Enabling Your Bump Map.
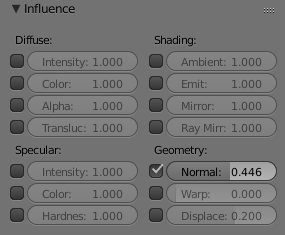
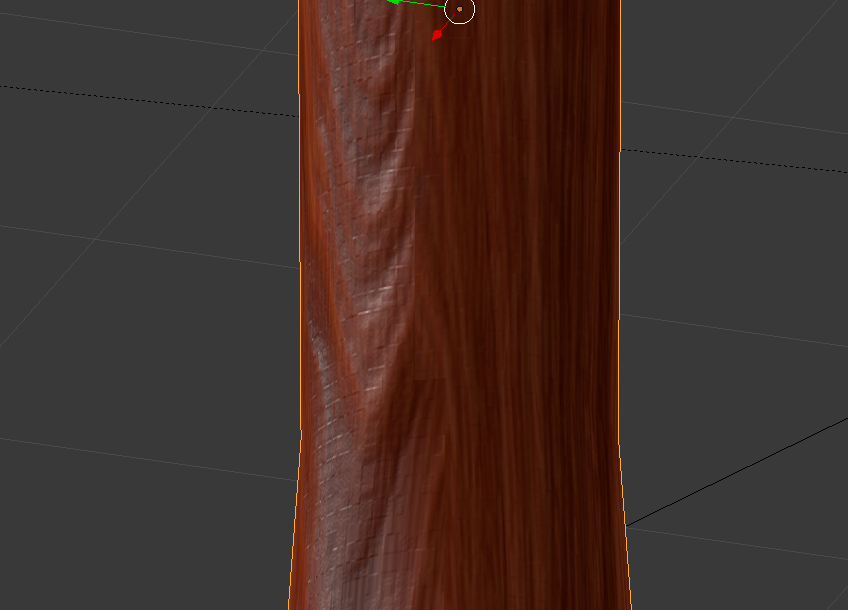
So, we imported the bump map, but now your hilt is messed up. This is the easy part.
In the tools tab, scroll down until you find the influence section. Is color turned on? Thought so. Turn it off by hitting the check mark.
Now your hilt is back to it's normal flat self. All you need to do to finish it, is hit the Normal button, to check it off.
BOOM! Right after you hit that normal button, you should see a drastic change in the lighting for your hilt! Now you should be able to see all the intricate grooves of the wood, metal, or whatever substance you used. There should be more realistic shadows, and now it looks slightly more realistic too!
Conclusion
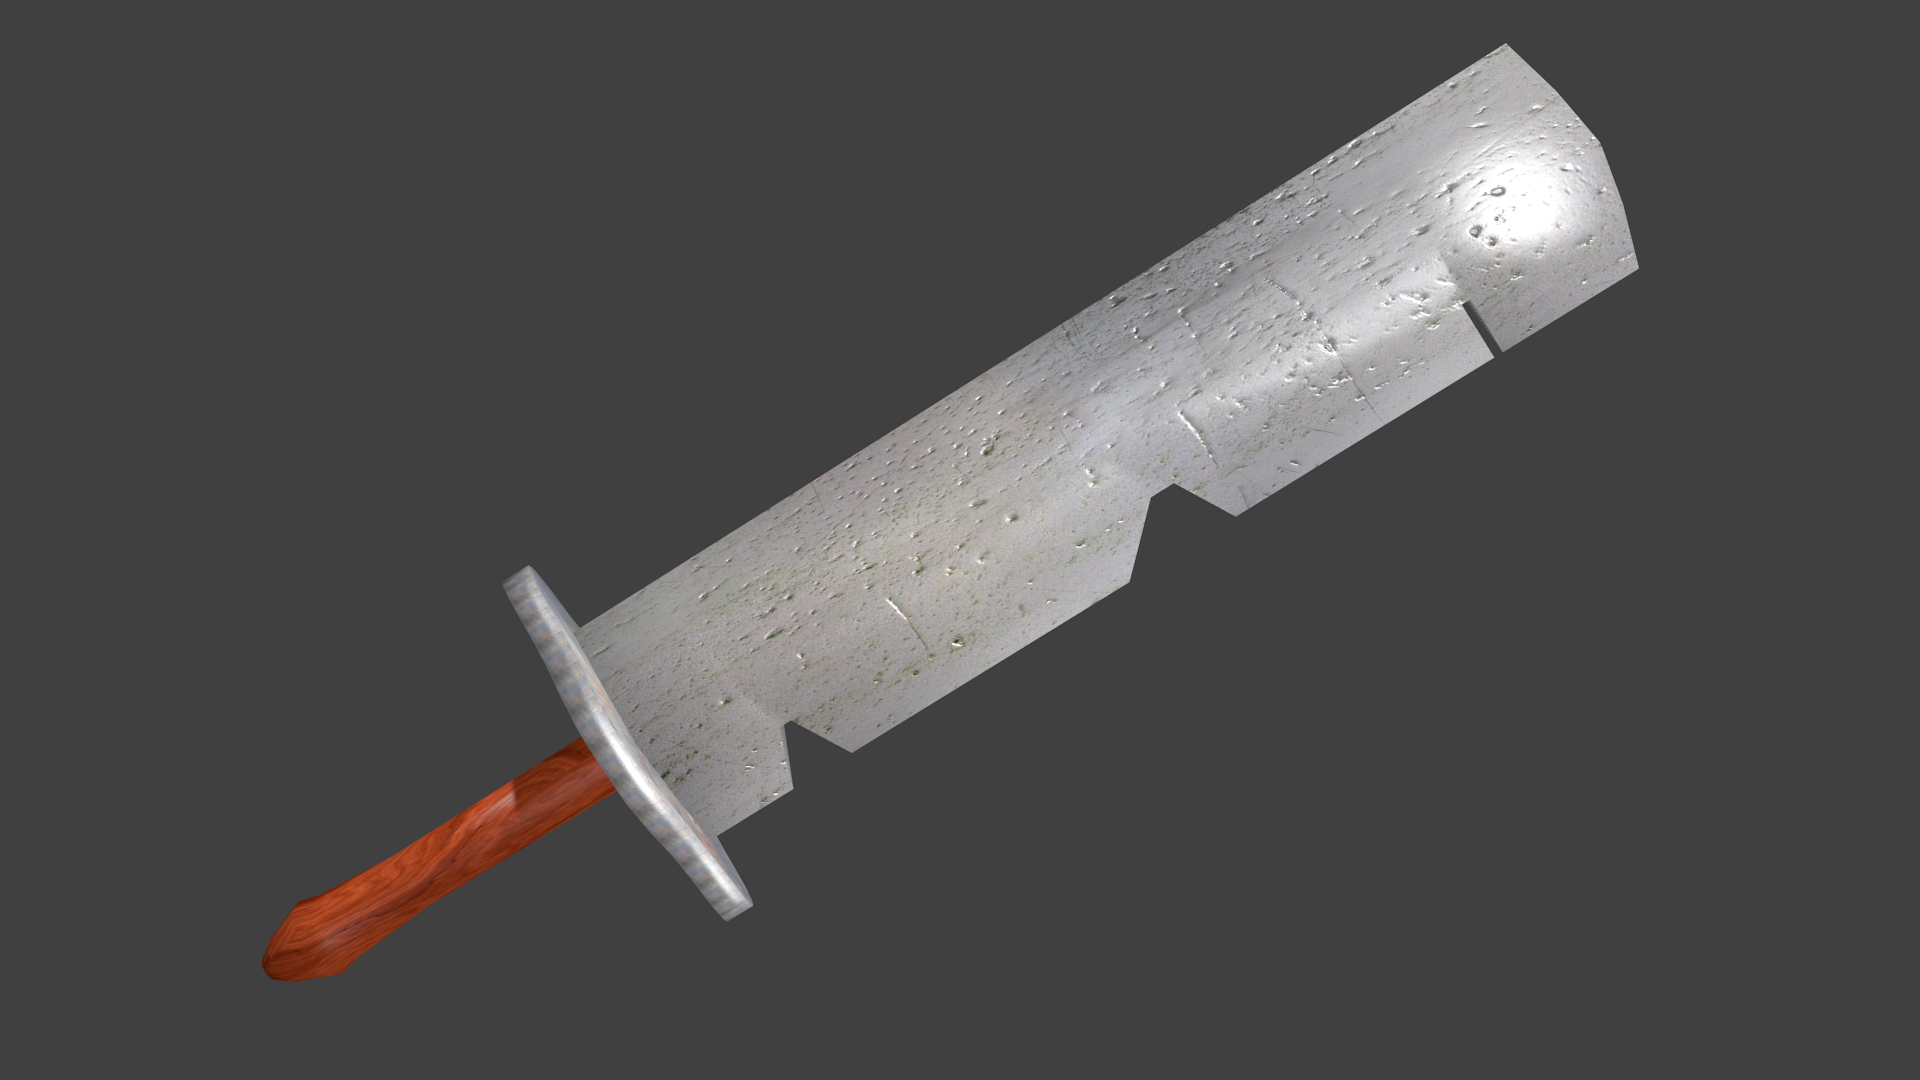
So, you can keep going, adding more Bump maps and experimenting with normal levels and lighting to get the perfect Blend Model. Who knew you could get such a great looking model in so few steps! Well, I hope I have been some help to you, have a great time with this new technique and Happy Blending!