Crash Detecting Helmet (using Cpx Board)
by leggless dinosor in Circuits > Wearables
99 Views, 3 Favorites, 0 Comments
Crash Detecting Helmet (using Cpx Board)

we will be creating a crash-detecting helmet powered by a cpx board.
Supplies
- Adafruit Circuit Playground Express (CPX)
- Accelerometer (integrated in CPX)
- Bicycle helmet
- USB cable for CPX
- Battery pack for CPX
- tape
- Hot glue gun or strong adhesive
Plan
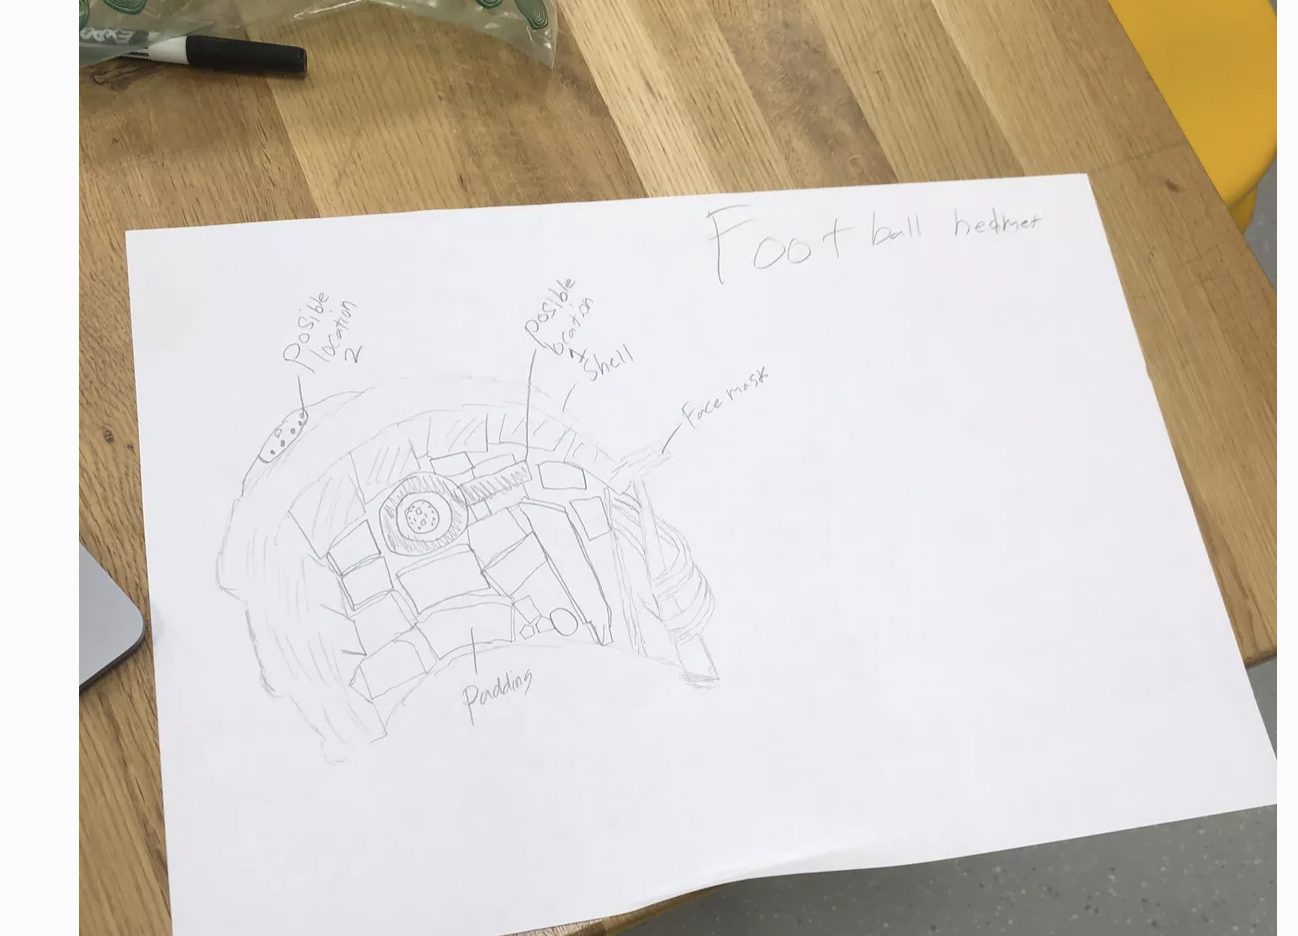
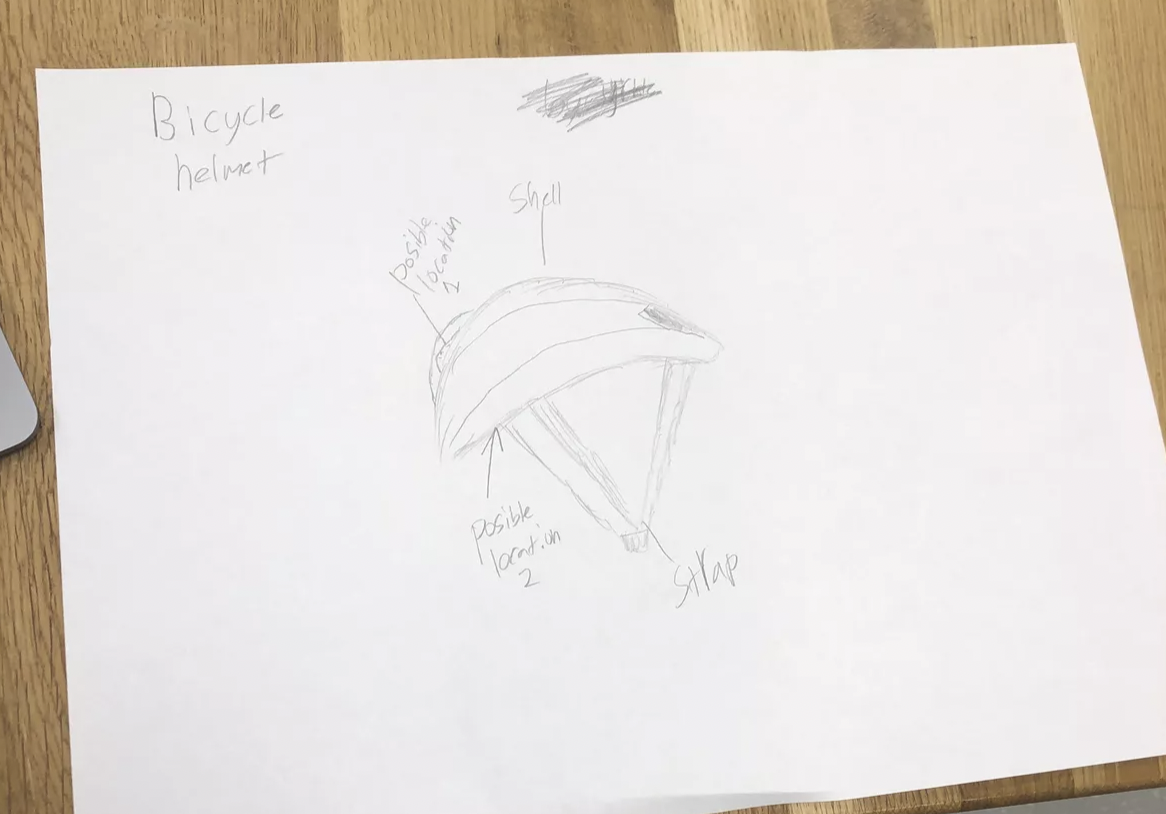
In the early stages, I decided to have two designs one for an American football helmet and one for a bicycle helmet. I decided on the latter option as it was easier for my time frame and less crucial that I get all of the calculations perfectly correct.
Prepare the Helmet:
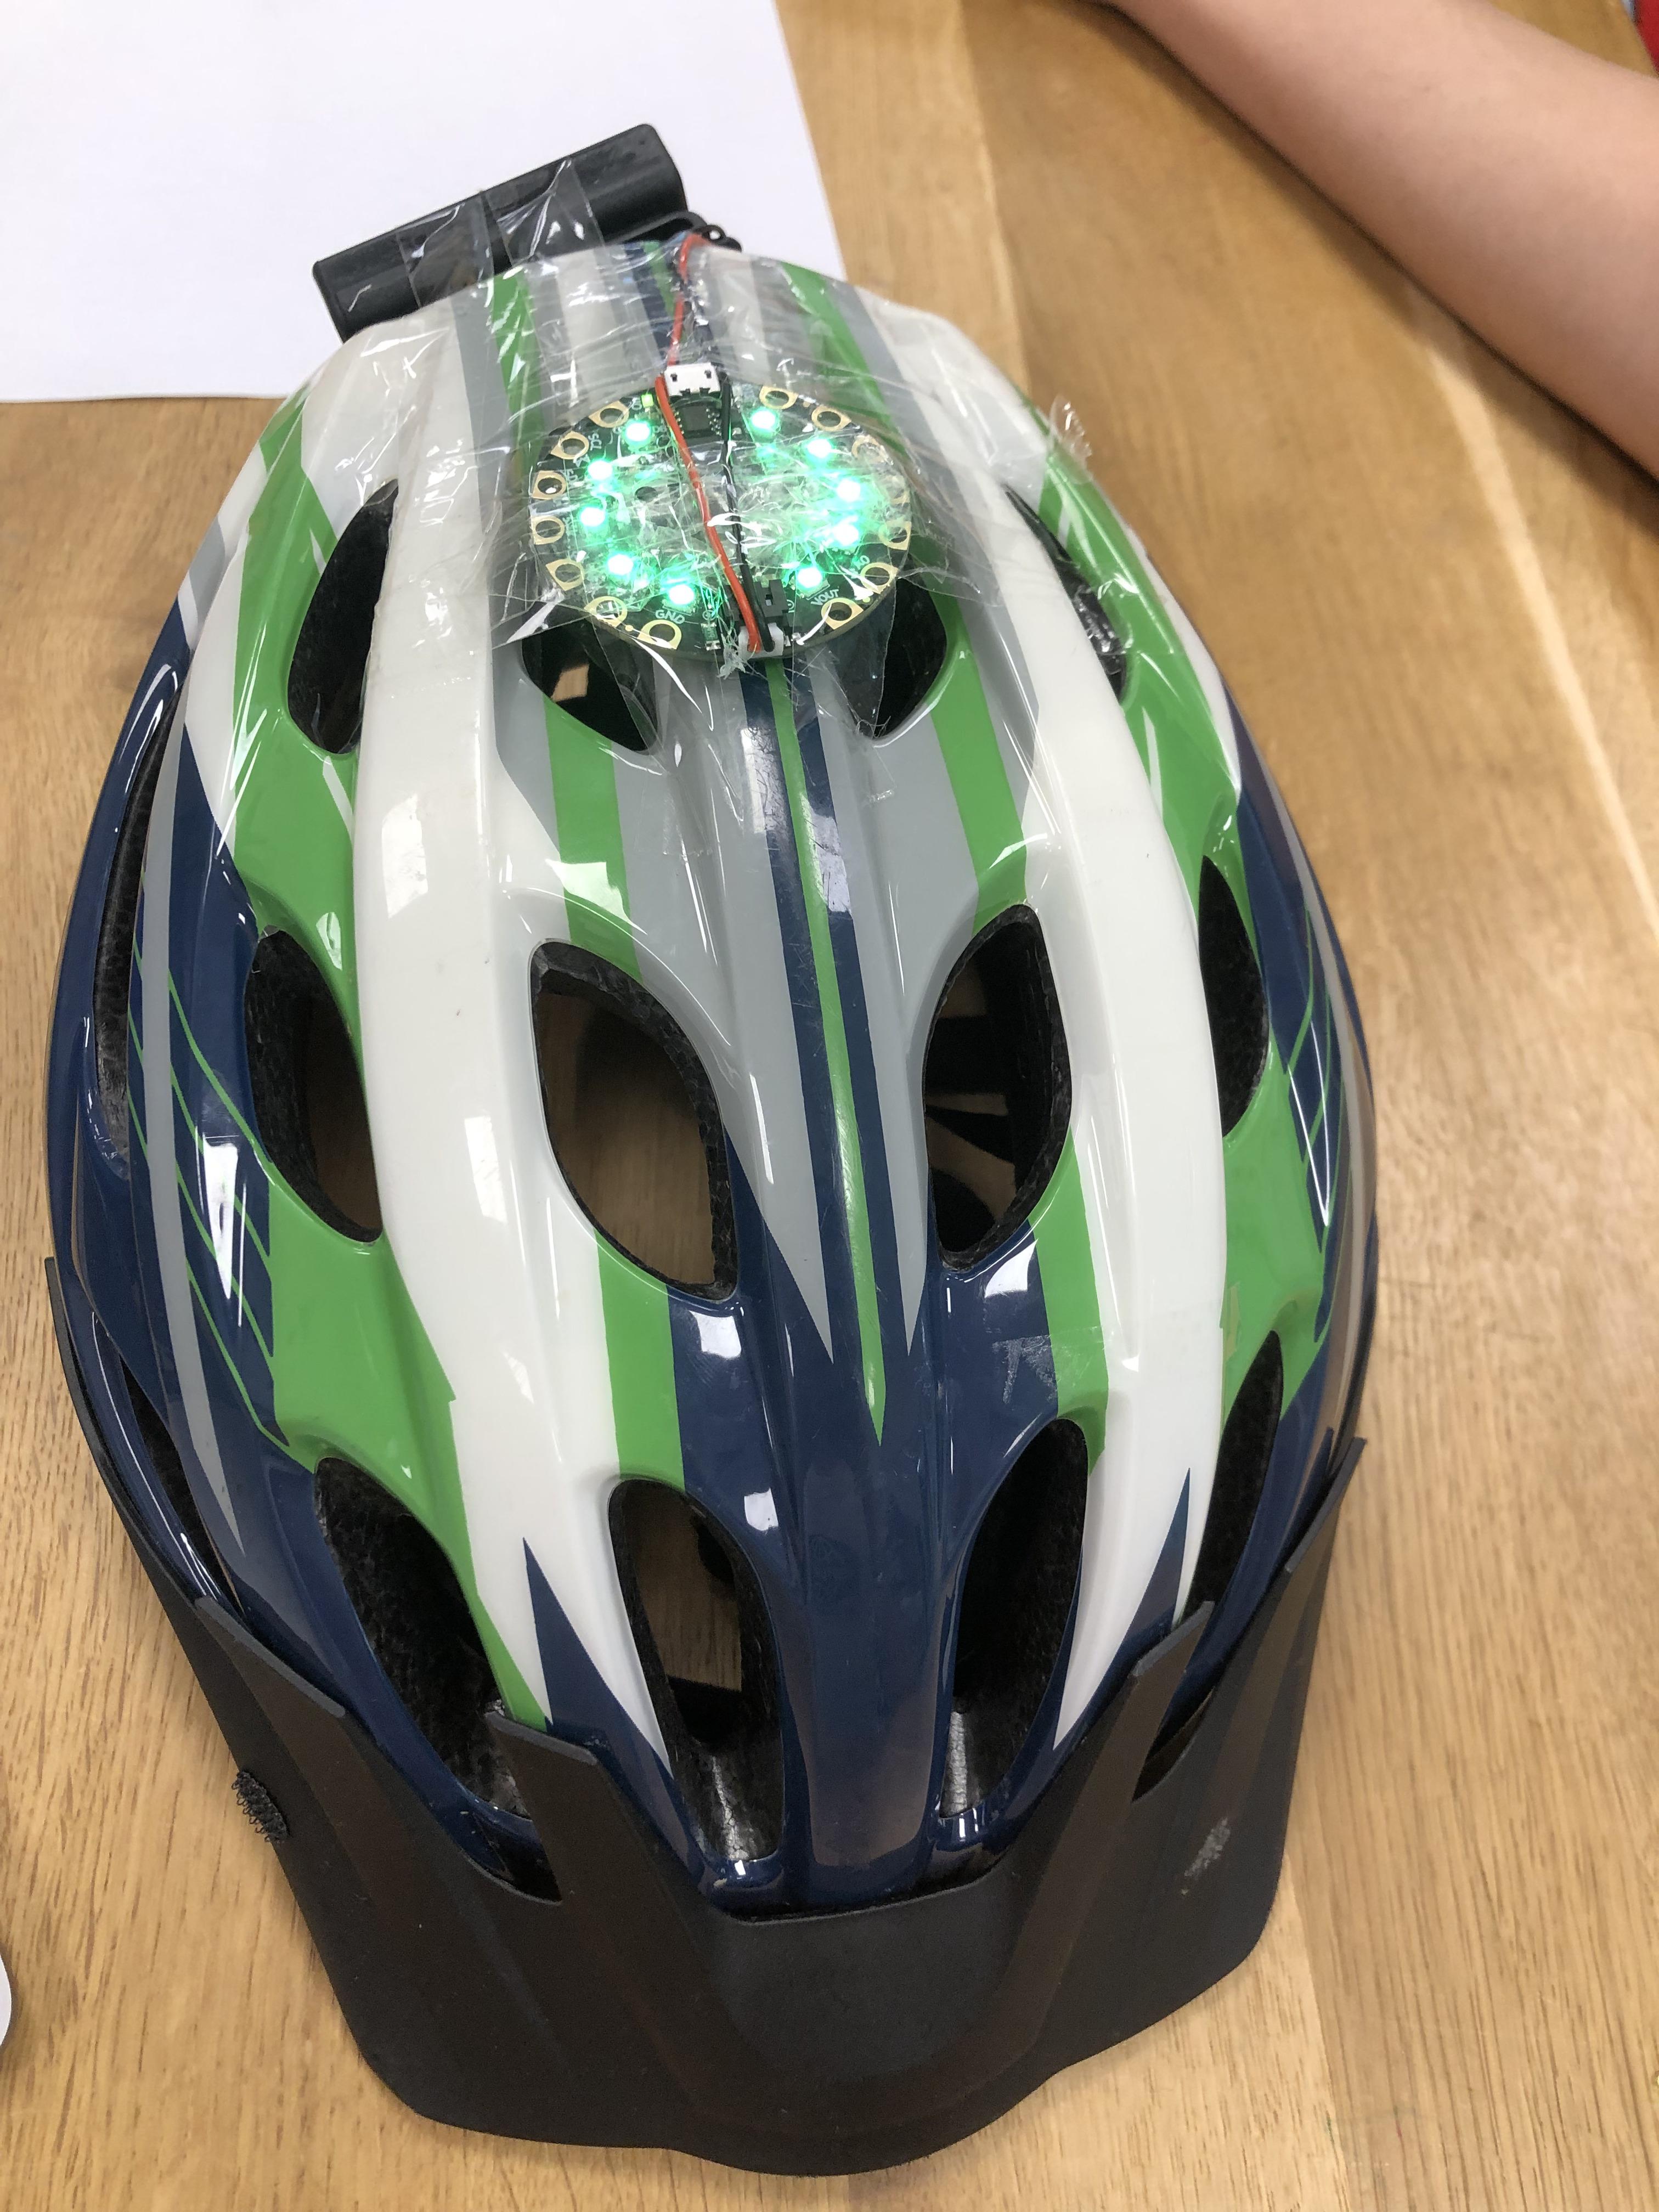
- Mount the CPX Board:
- Find a suitable spot inside the helmet to place the CPX board, ensuring it won't interfere with wearing the helmet.
- Use hook-and-loop fasteners (Velcro) or hot glue to secure the CPX board inside the helmet.
Connect the Battery Pack:
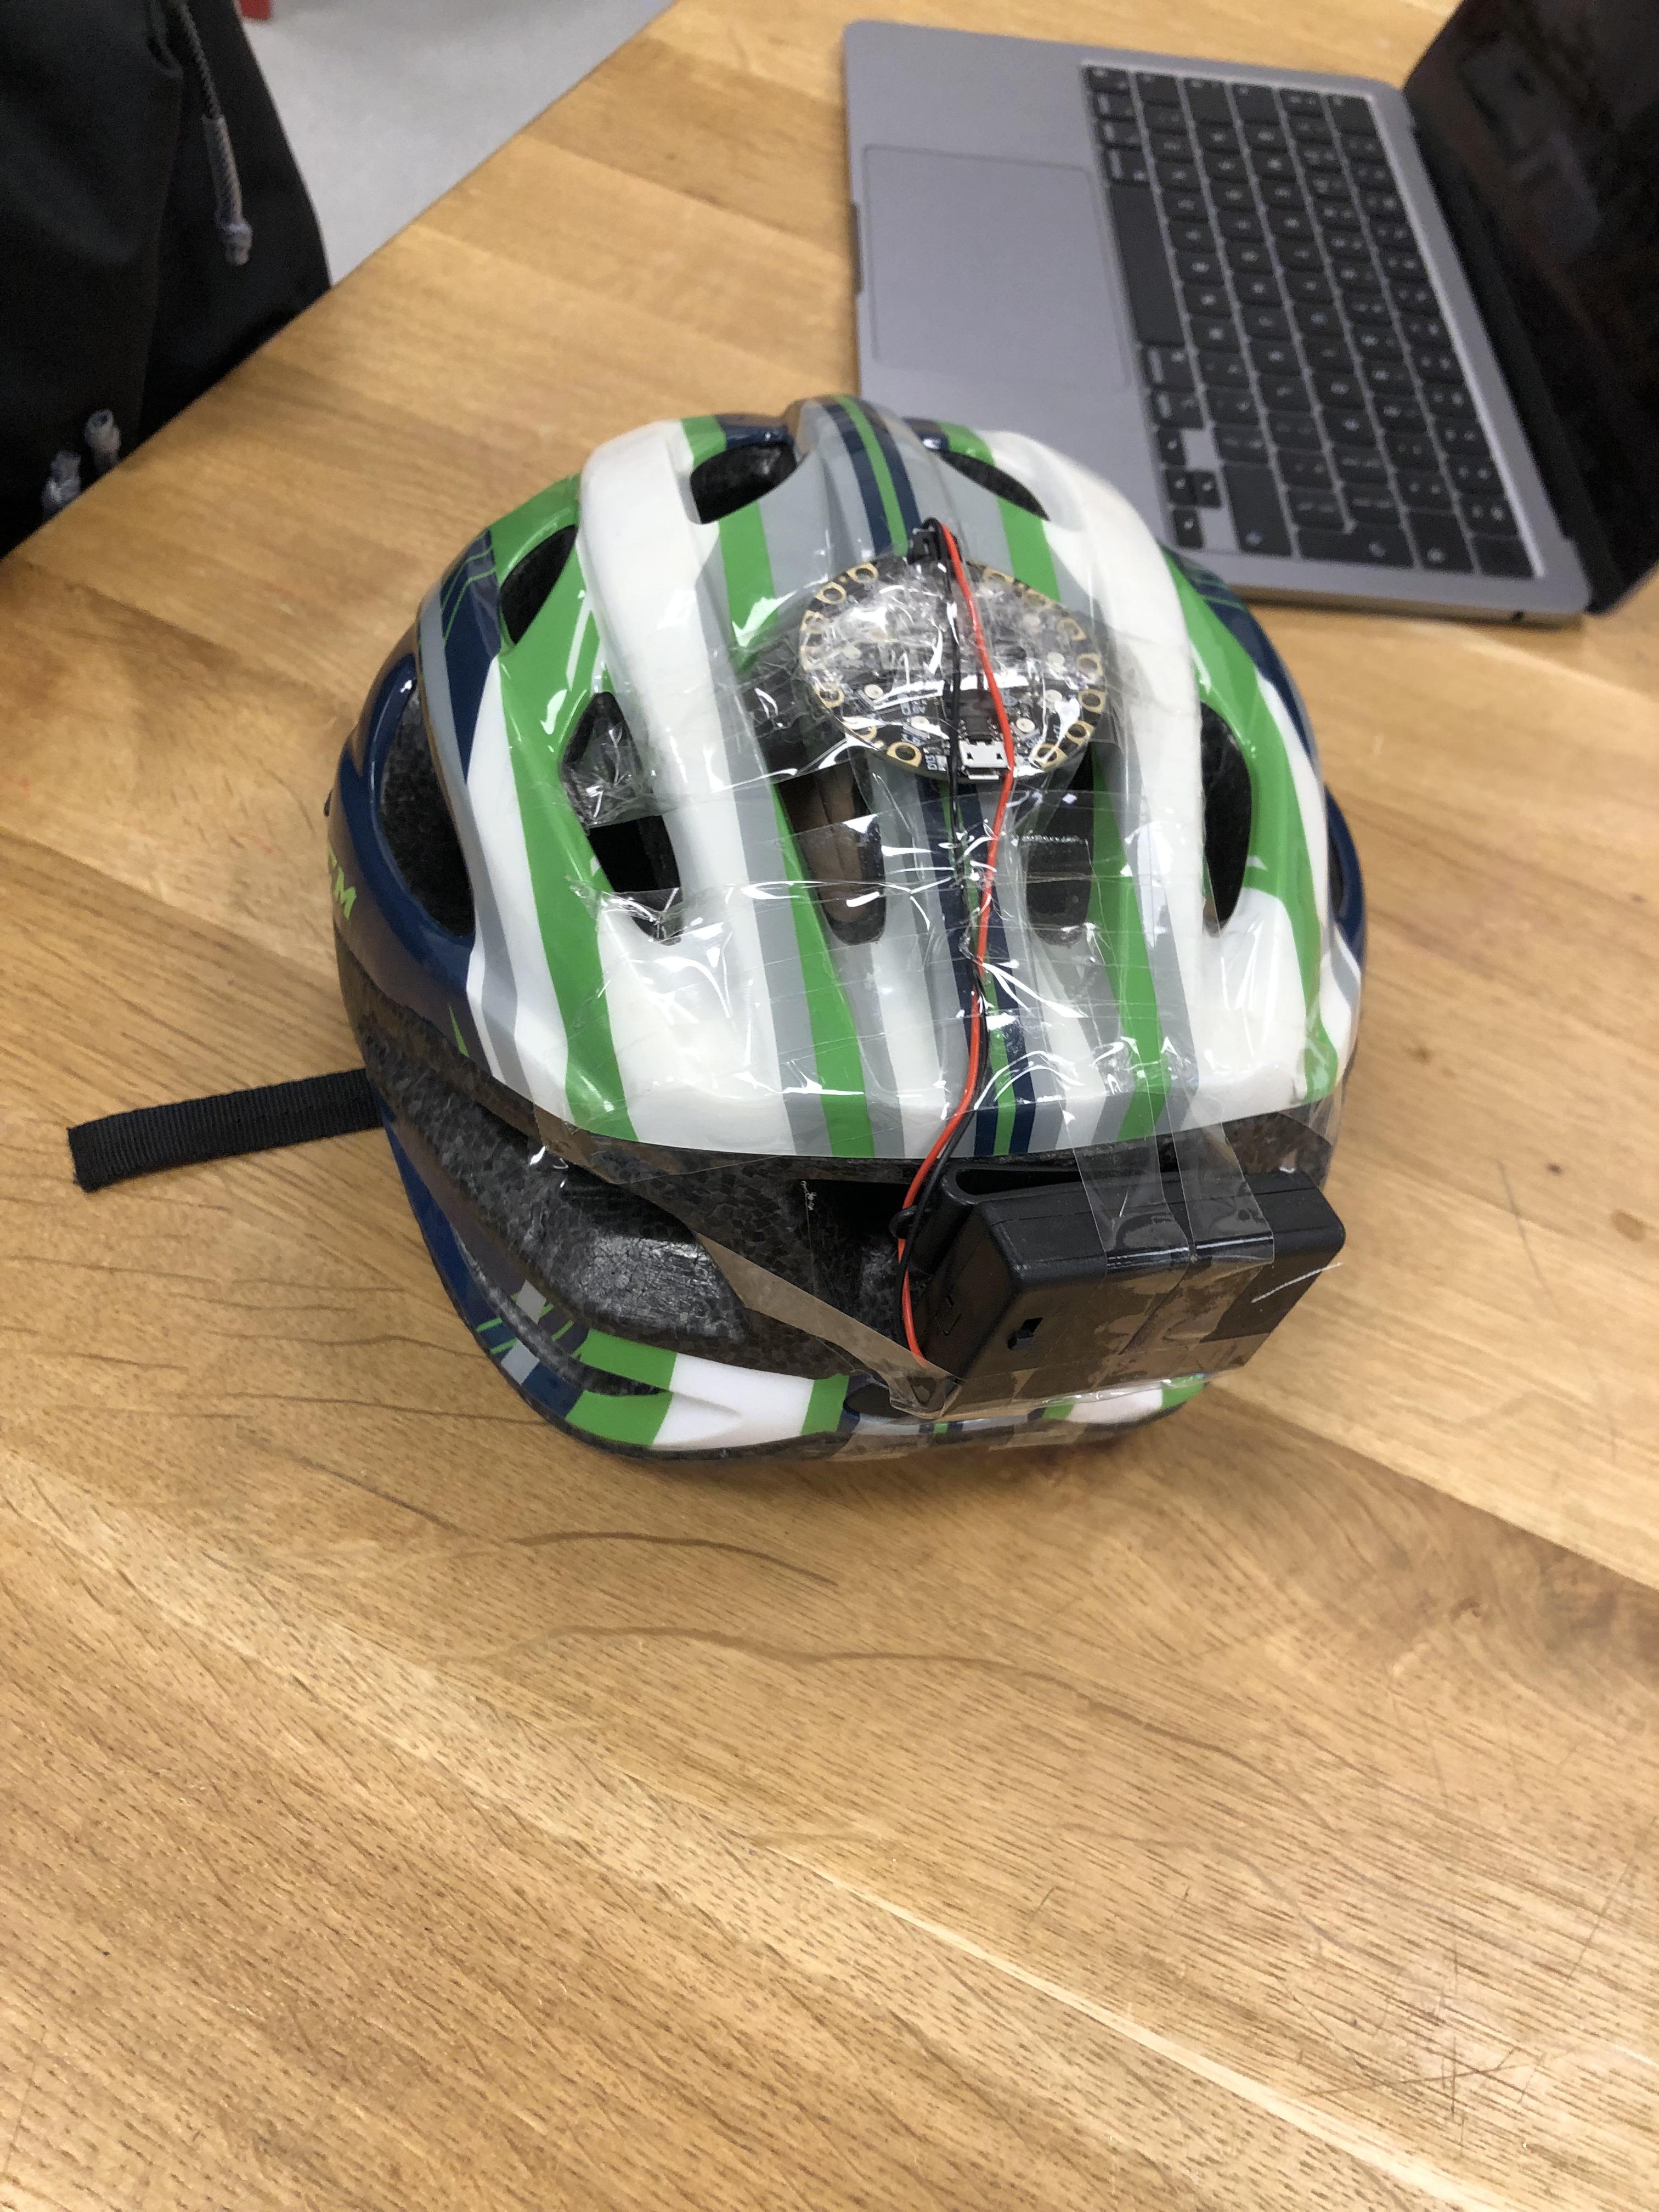
Connect the Battery Pack:
- Attach the battery pack to the CPX and secure it inside the helmet.
- Ensure the battery pack is firmly attached and does not move around.
Write the Code:
- Open Arduino IDE or Mu Editor.
- I used the Make Code Adafruit code editor
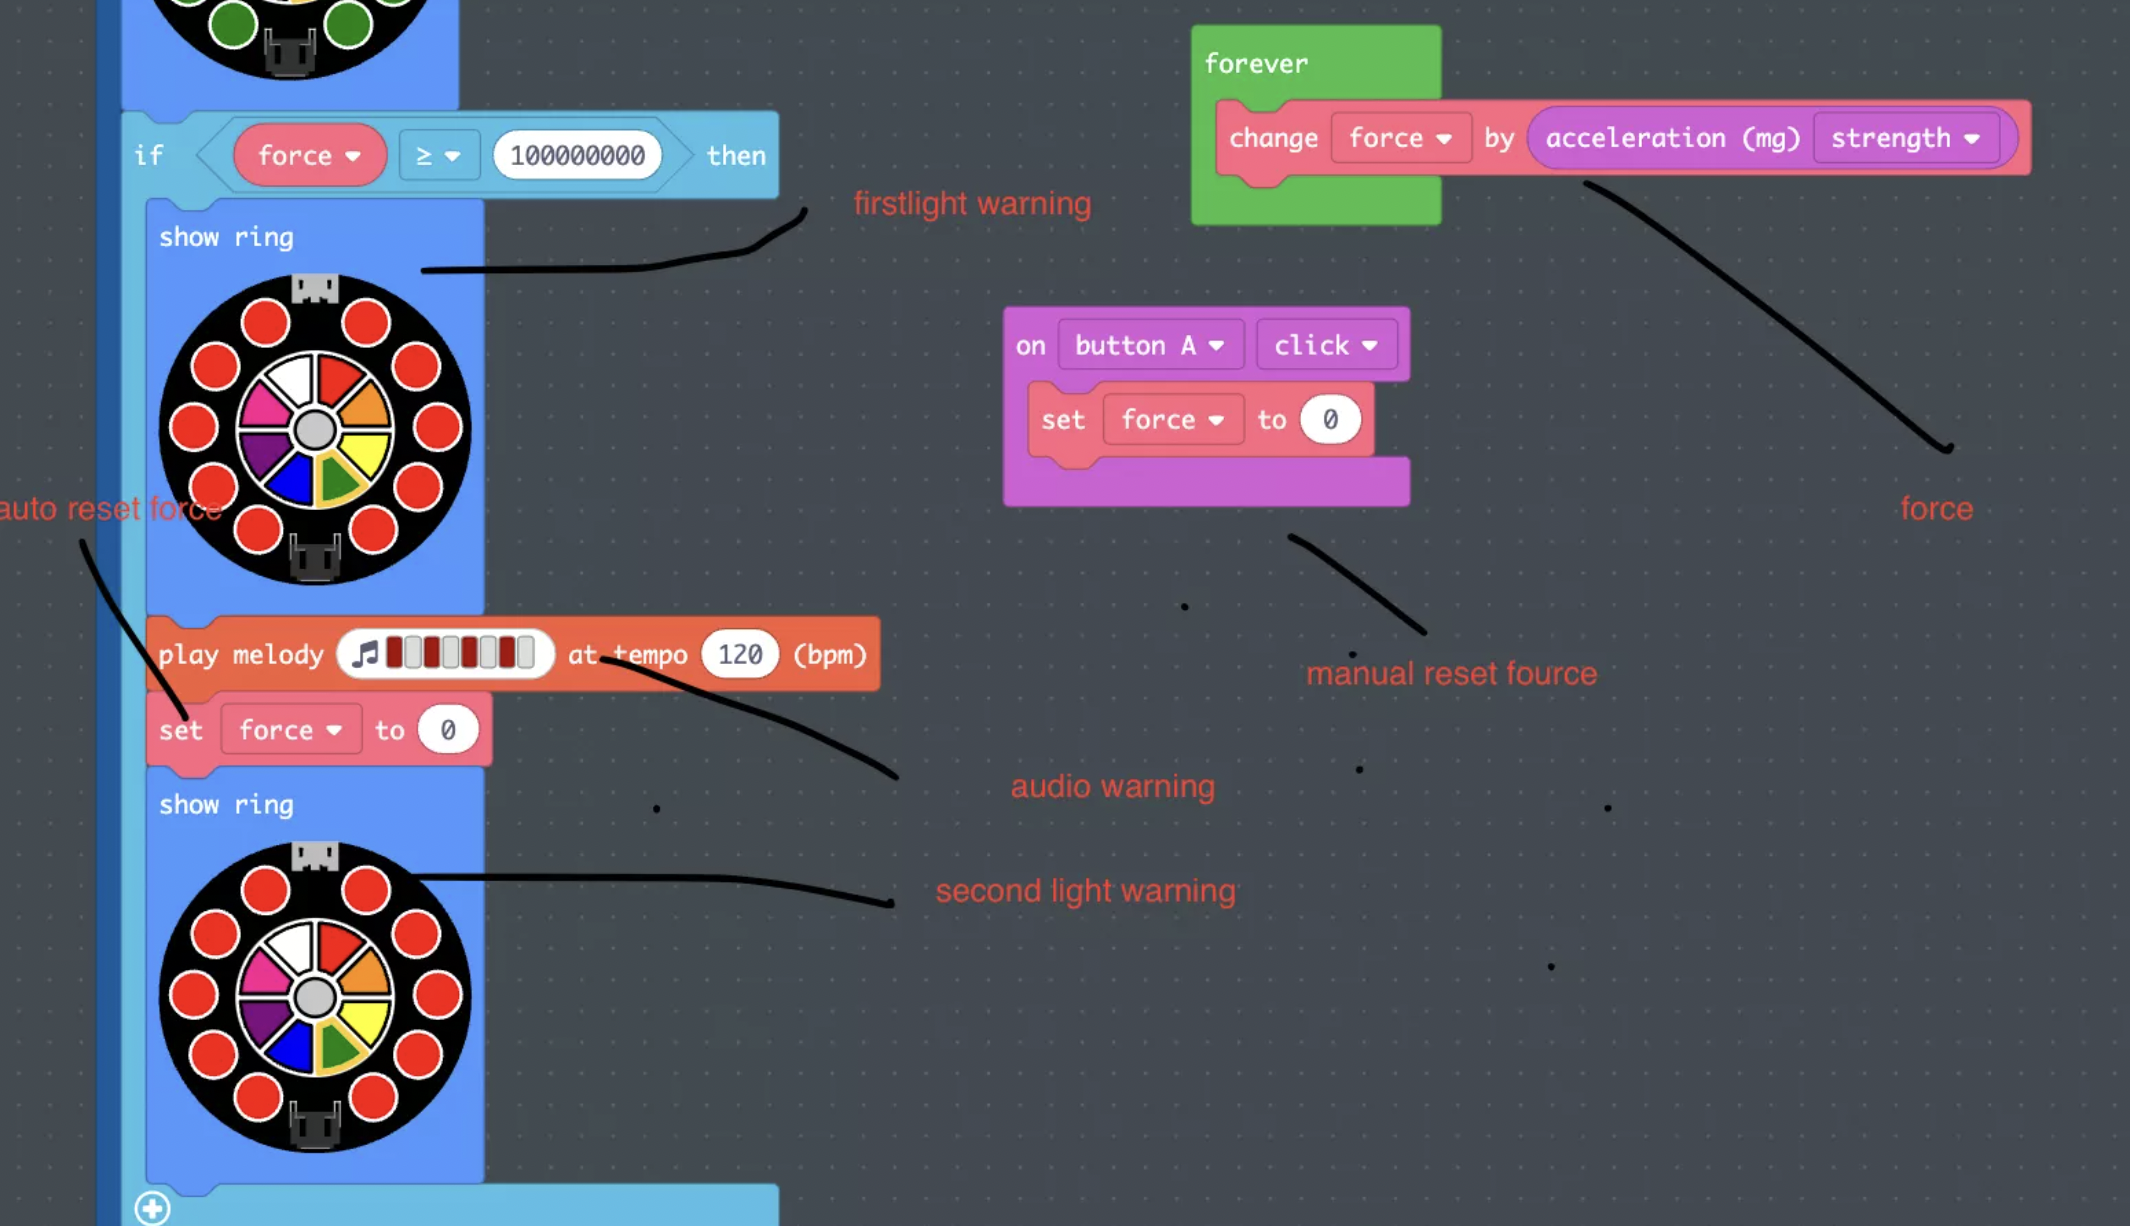
- main points needed
- calibrate accelerometer, 10000 mg= 1 g
- calculate the force needed for a concussion
- next, i calculated the force needed to cause concussion (100 g) create the lighting on the board with a concution being fully red and each of the lowerstages being one pixle less red
- then for each of the lower stages create the force needed to cross the threshold. this can be kind of random but still needs to be estimated.
Upload the Code
- Connect the CPX board to your computer using the USB cable and upload the code
Test the Setup:
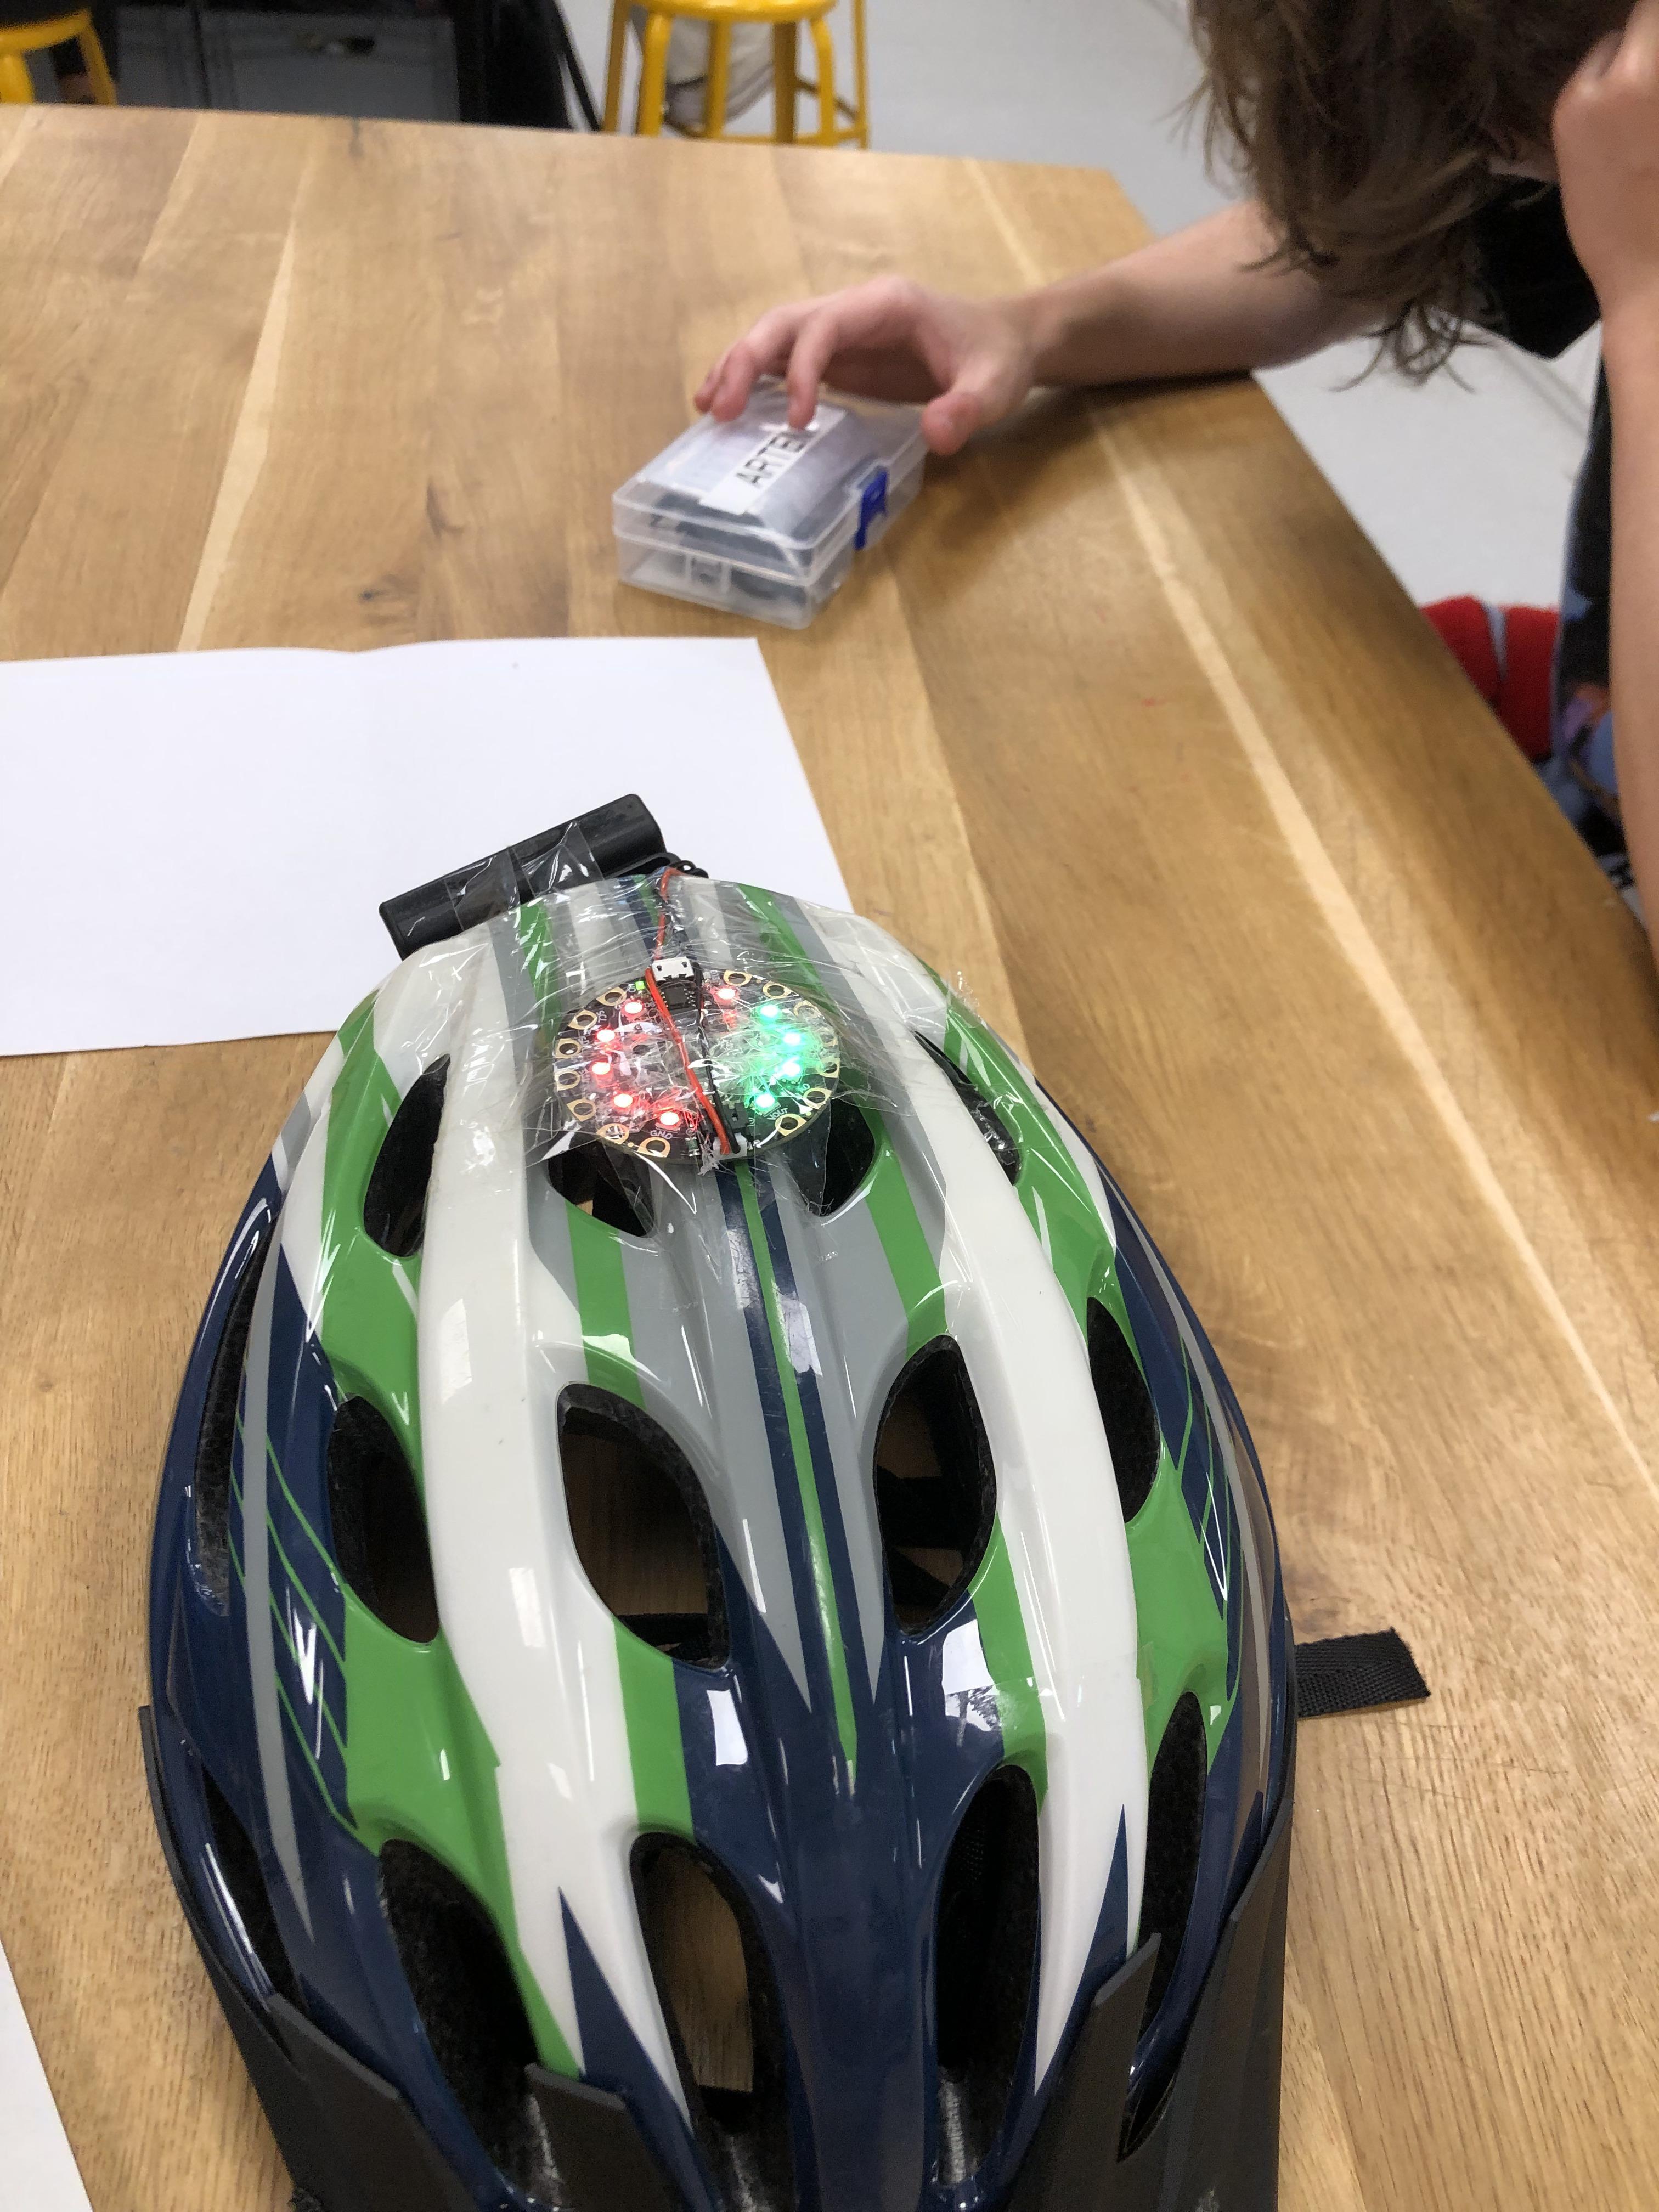
- Wear the helmet and simulate different impacts by tapping it lightly and then harder.
- Observe the NeoPixels on the CPX board to ensure they light up when a significant force is detected.
Adjust Threshold and Response:
- If needed, adjust the force threshold in the code
- Modify the NeoPixel response or add other responses (e.g., sound) based on your preferences.
Optional Enhancements:
- Add a Buzzer:
- Connect a small buzzer to one of the CPX's output pins and modify the code to produce a sound when a force is detected.