Cosplay Prop Instructions
by The Props Monster in Craft > Costumes & Cosplay
2708 Views, 16 Favorites, 0 Comments
Cosplay Prop Instructions

Often it is the smallest details that turn an ordinary project into an extraordinary one. I make custom props occasionally and one of those little details that I really enjoy is the inclusion of an instruction sheet. Here following is the process I used to make one for a sonic screwdriver build.
Things required:
A spreadsheet program. Excel, LibreOffice, OpenOffice etc.
A photo editing program: photoshop or GIMP are probably the best
A camera
A neutral background (printer paper works well)
A printer
Check out the sonic screwdriver these instructions were made for here
https://www.instructables.com/id/Mark-V-Sonic-Screwdriver/
Downloads
Take Some Pictures
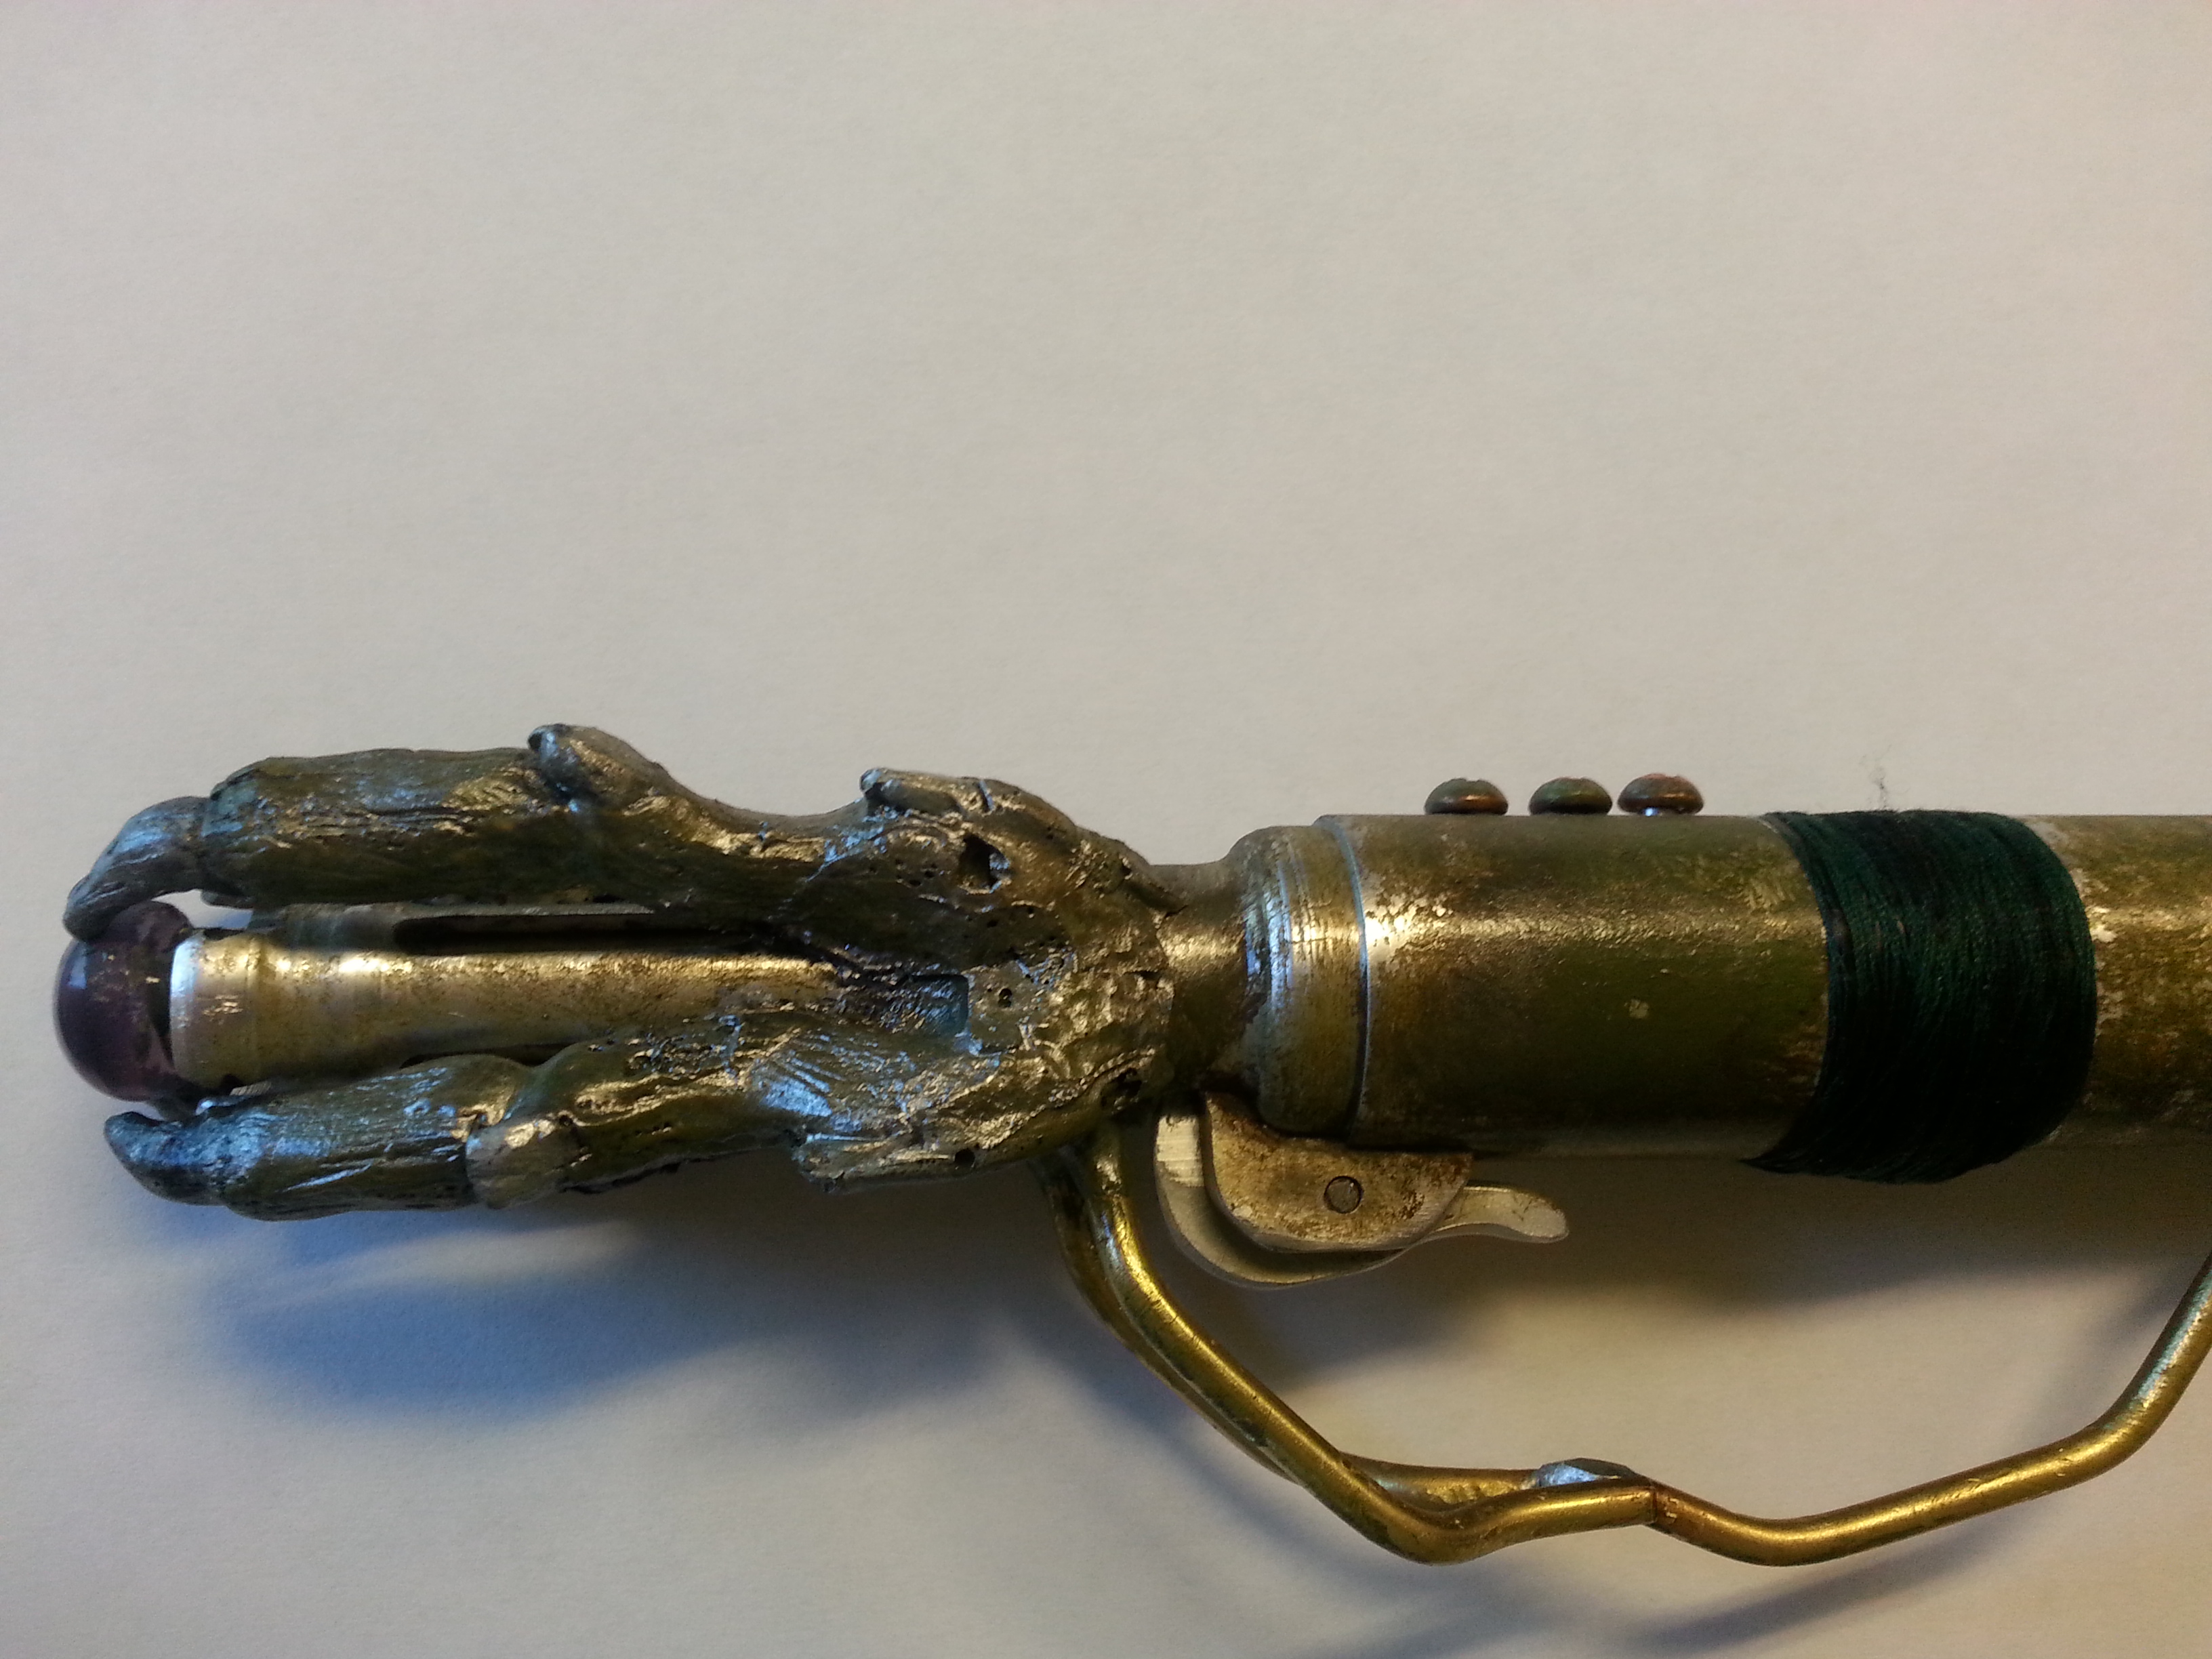
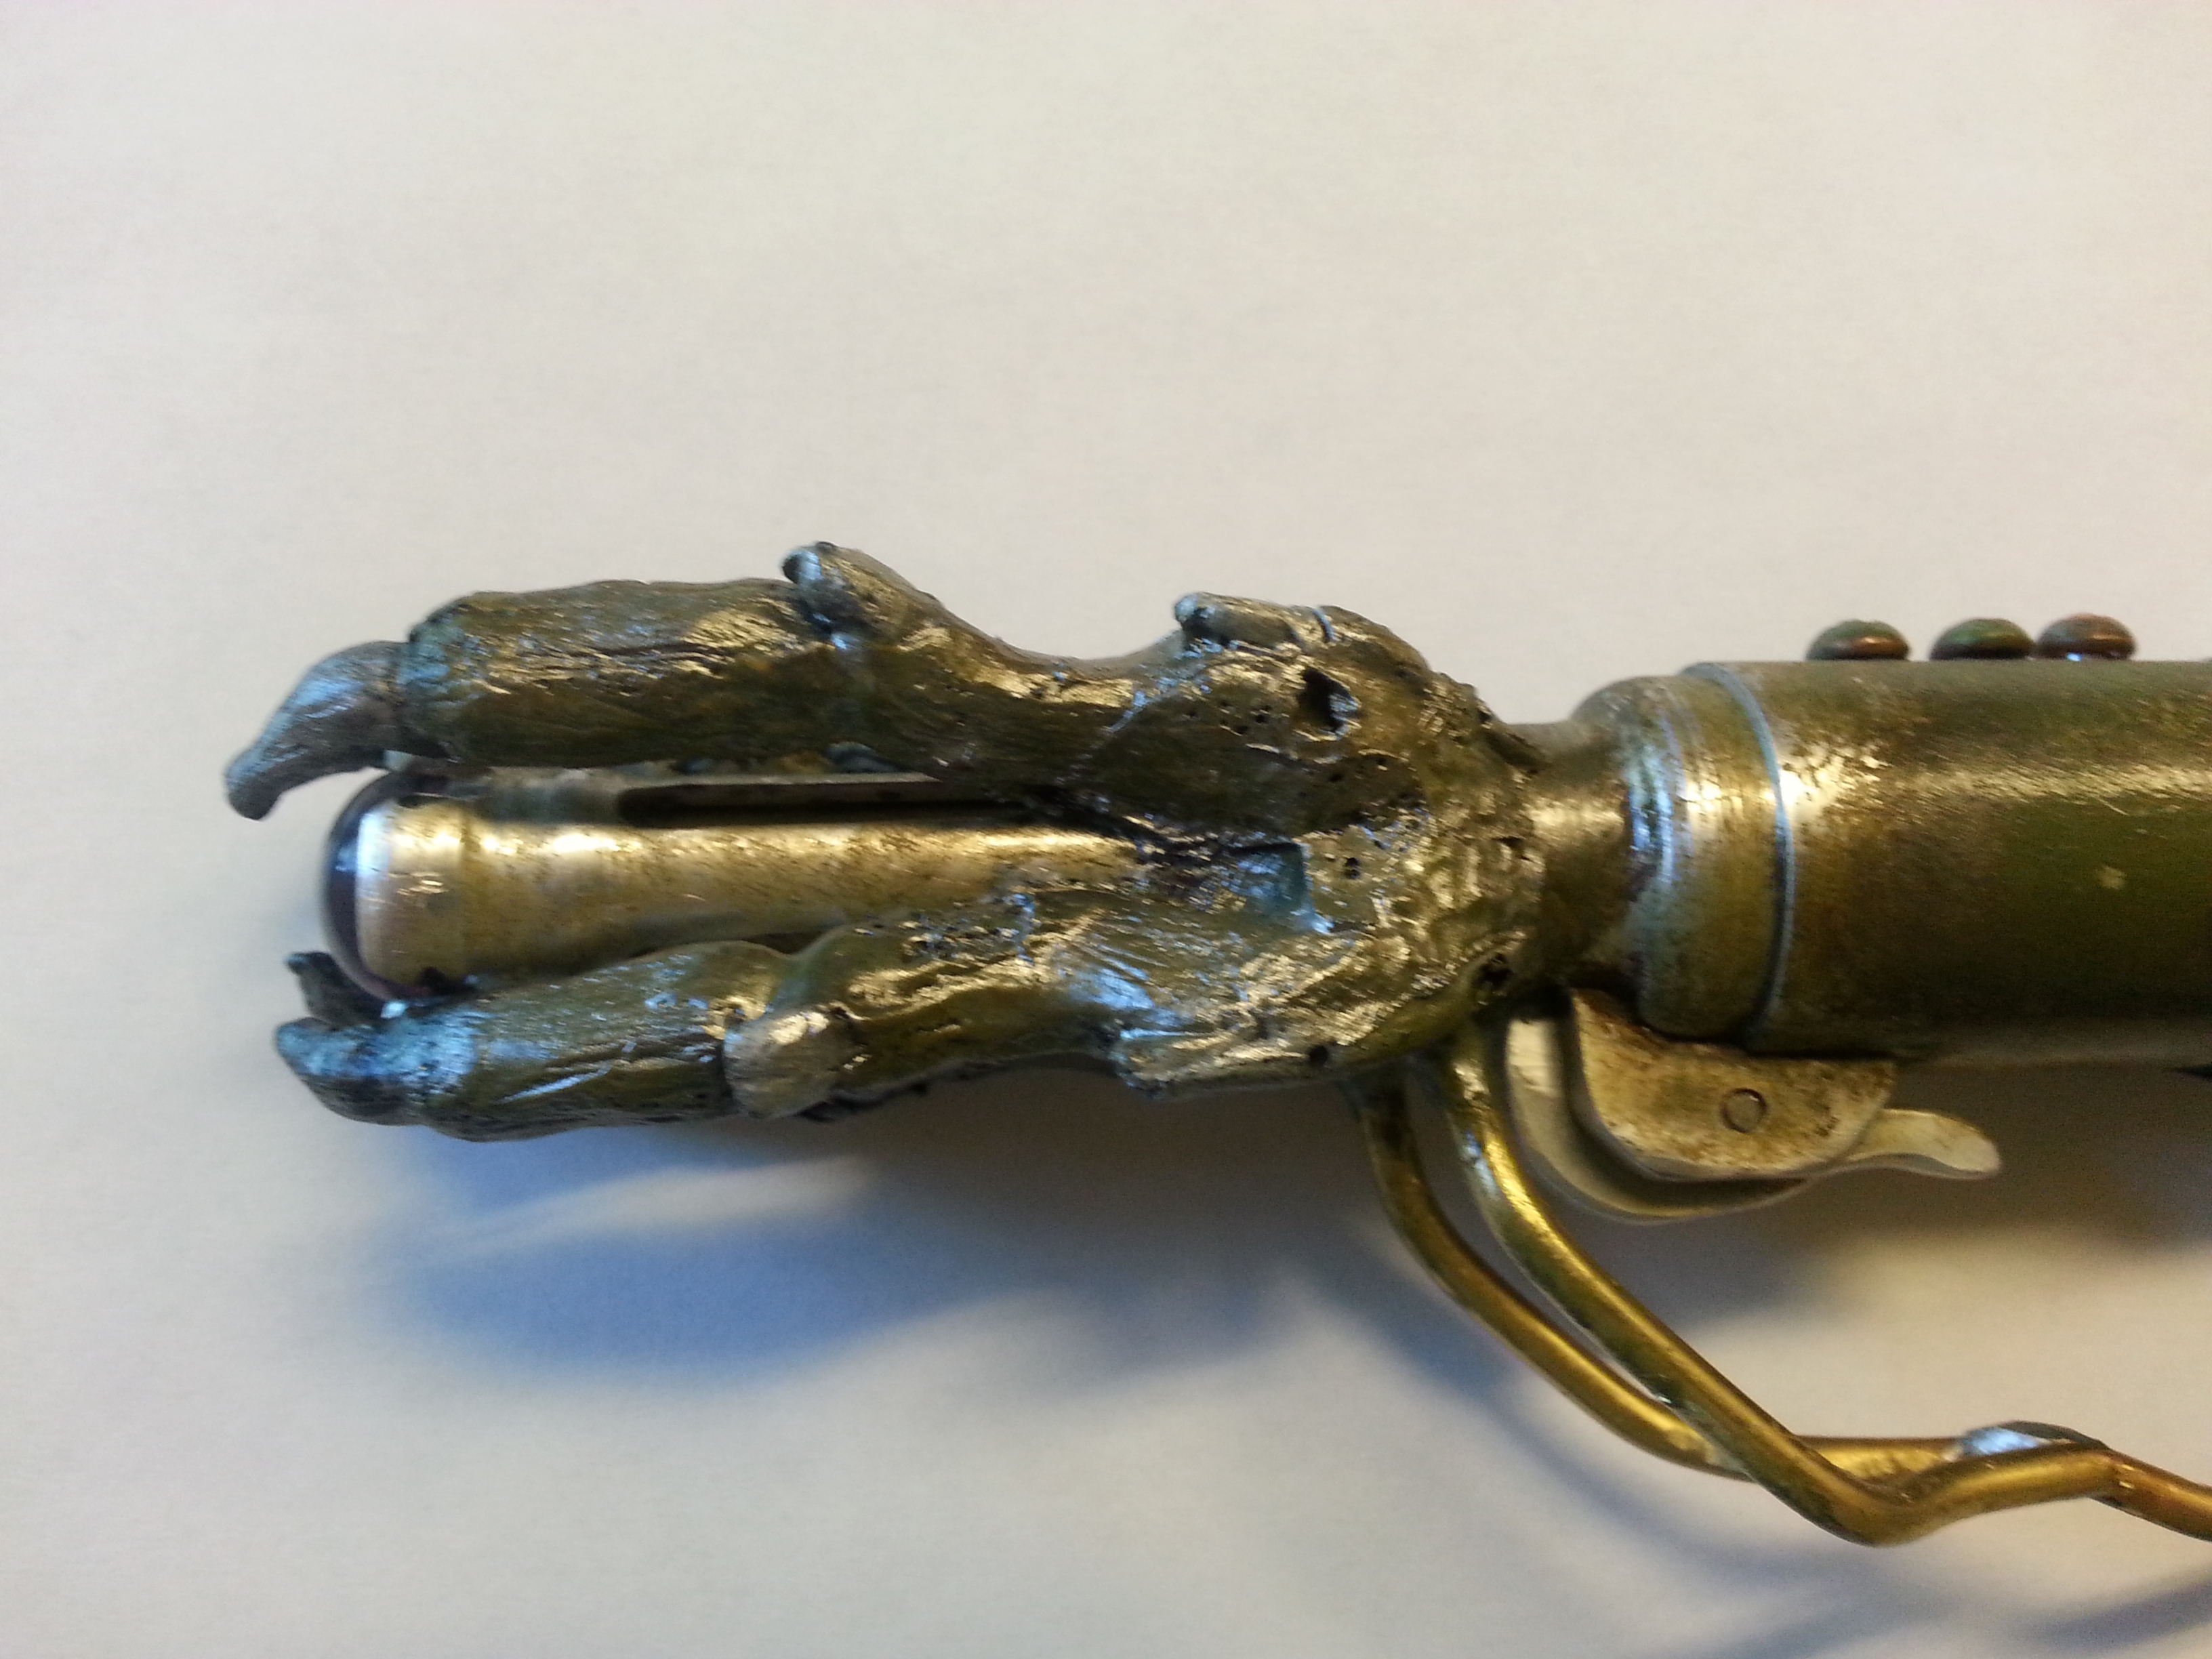
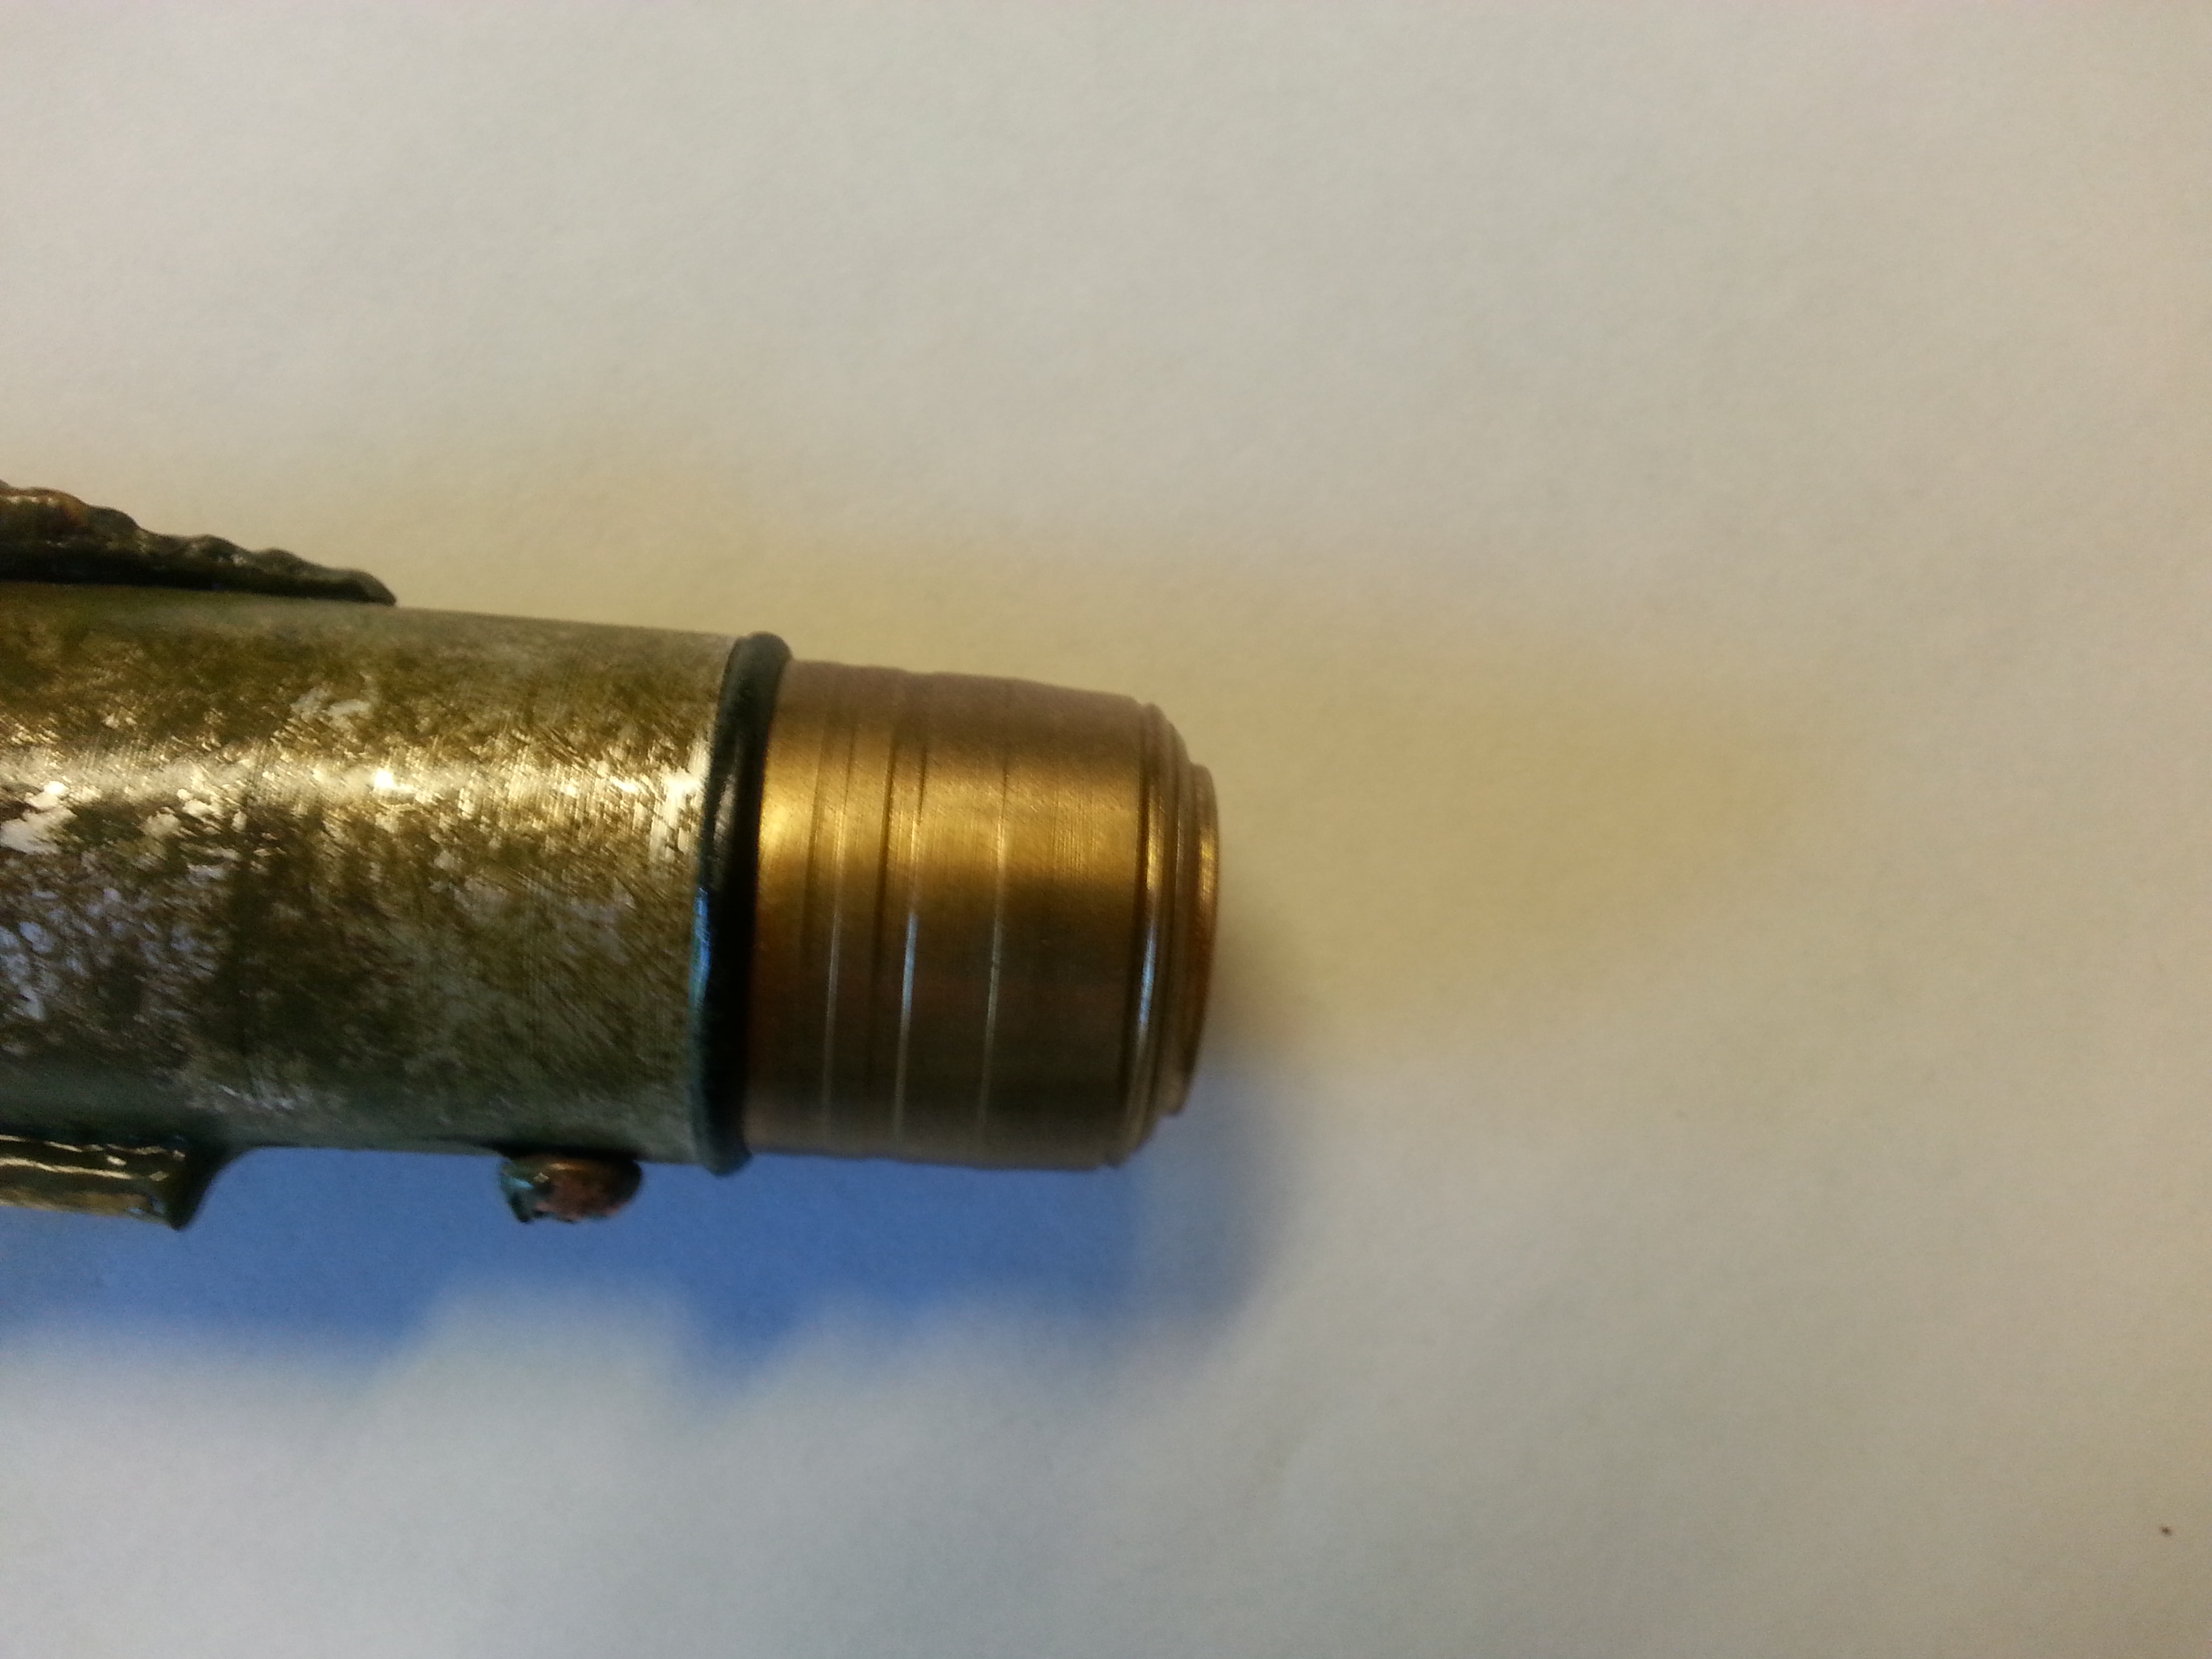
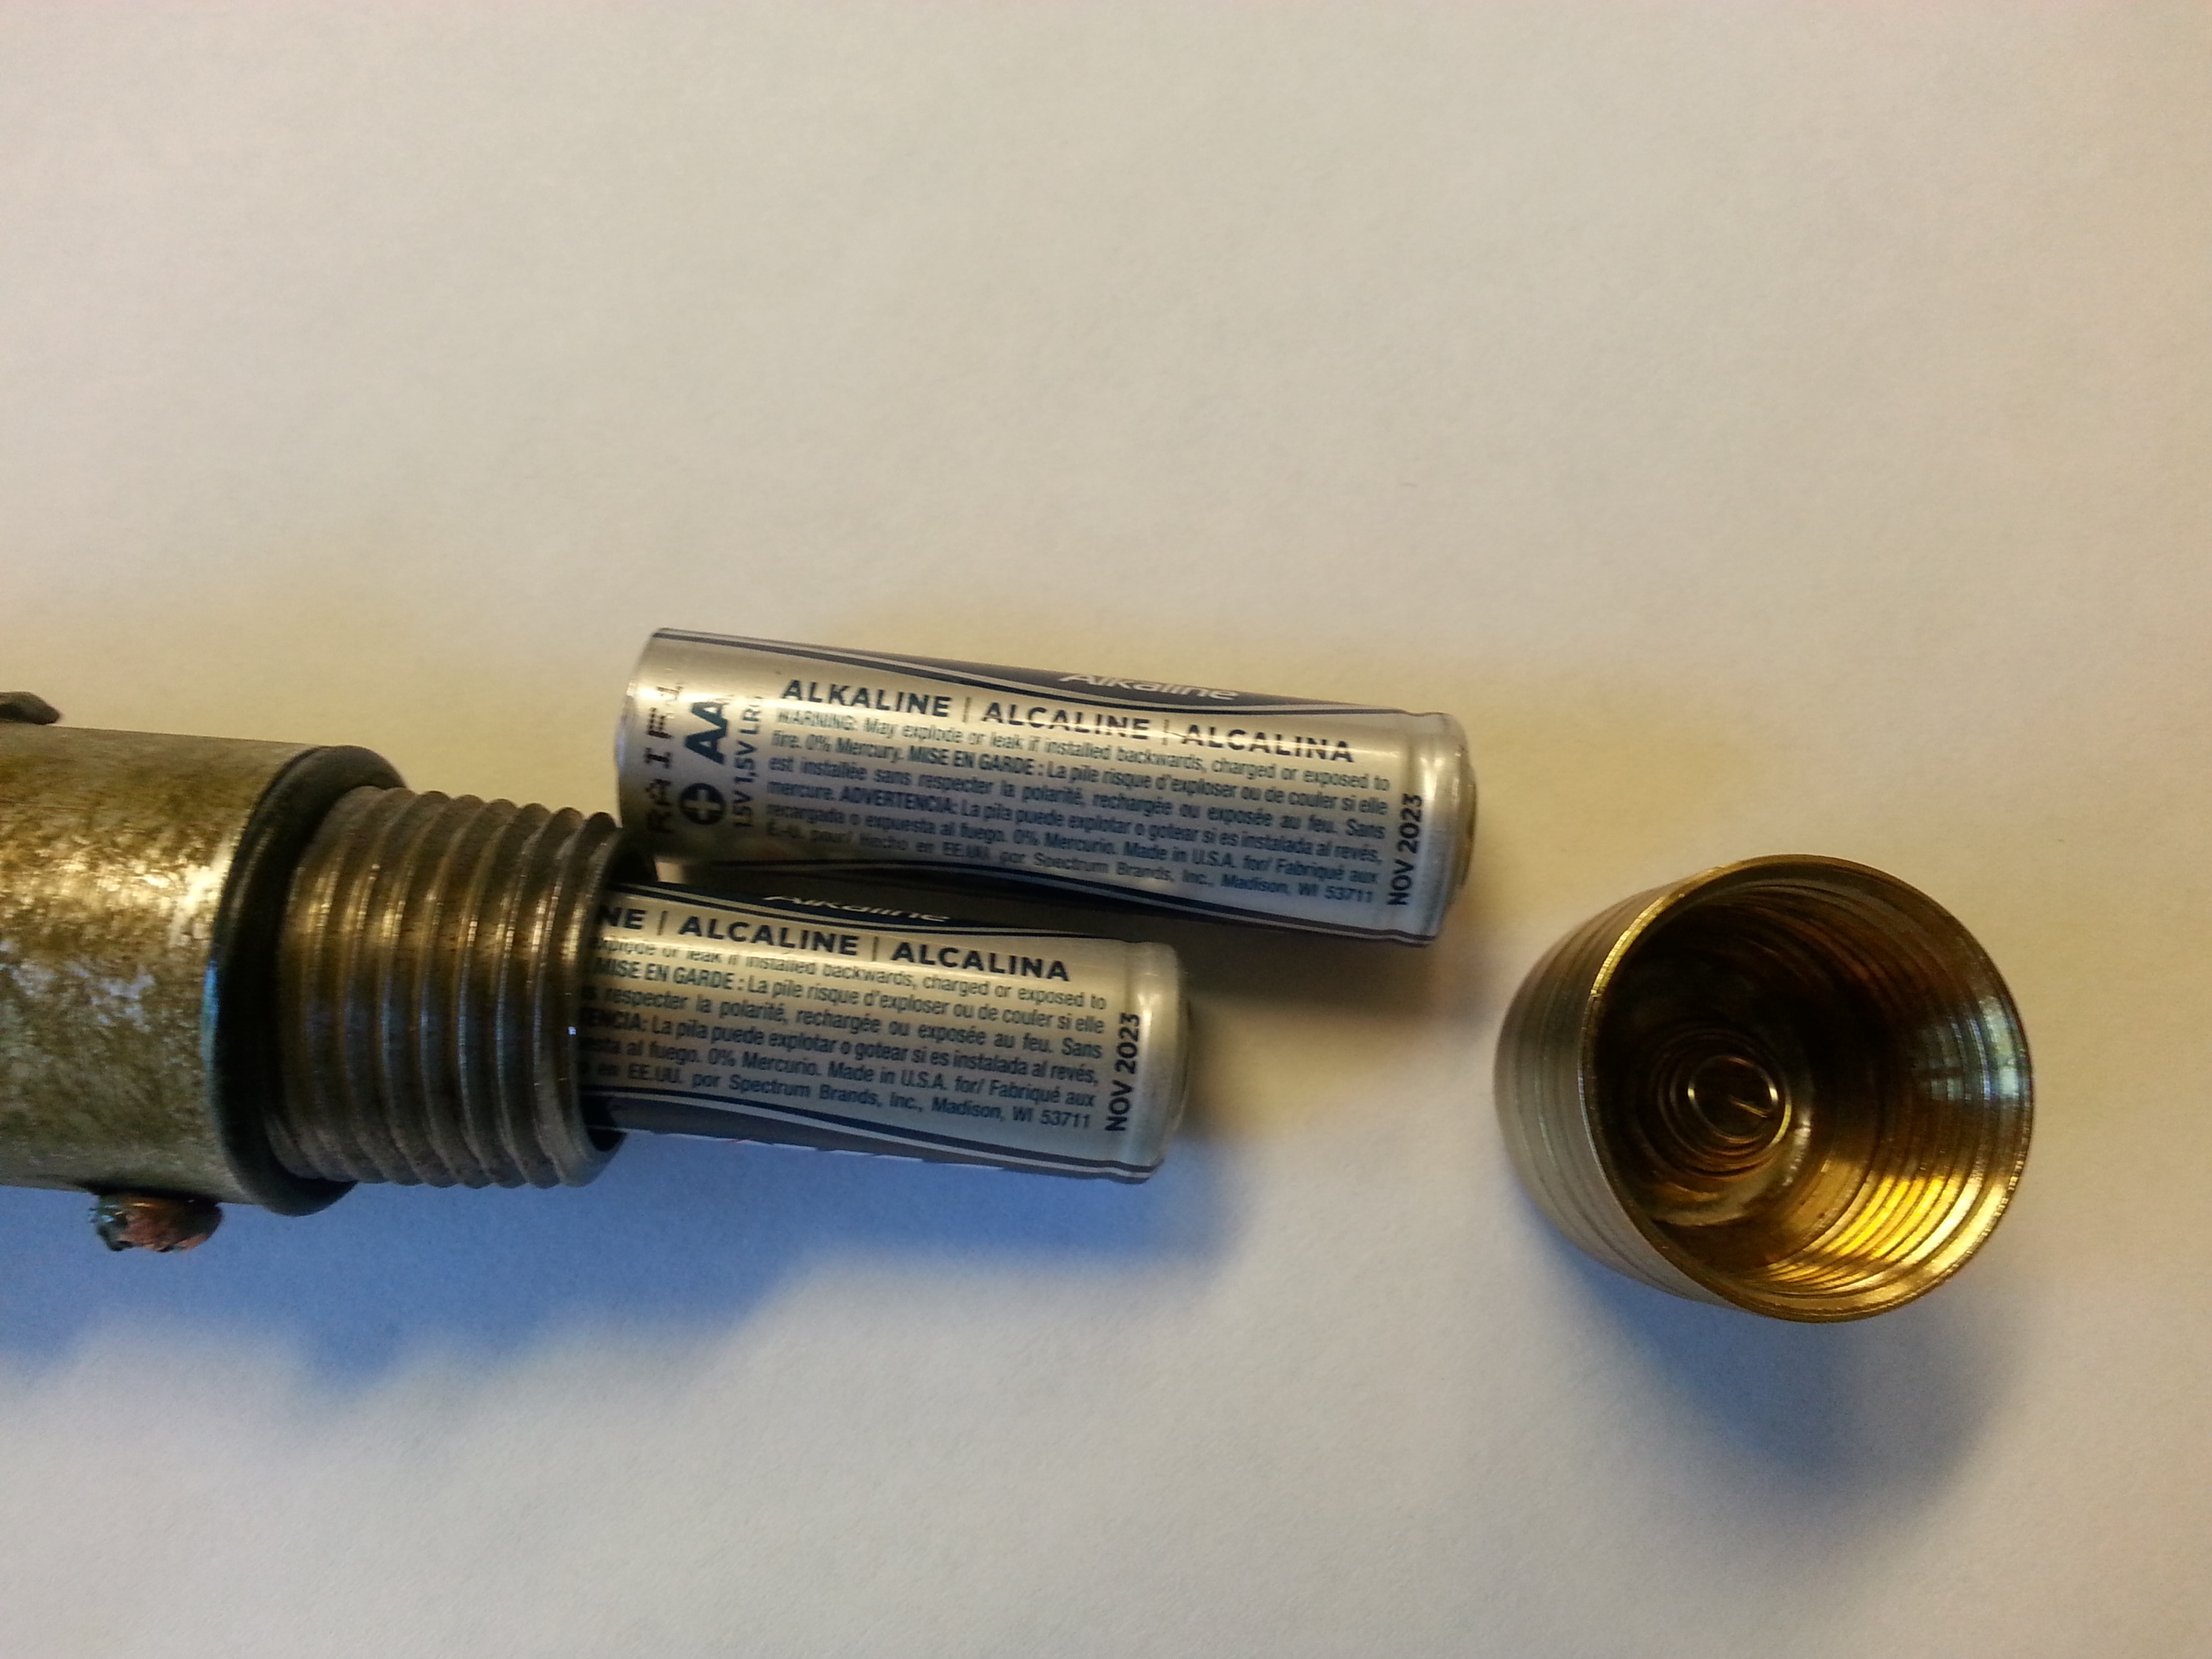
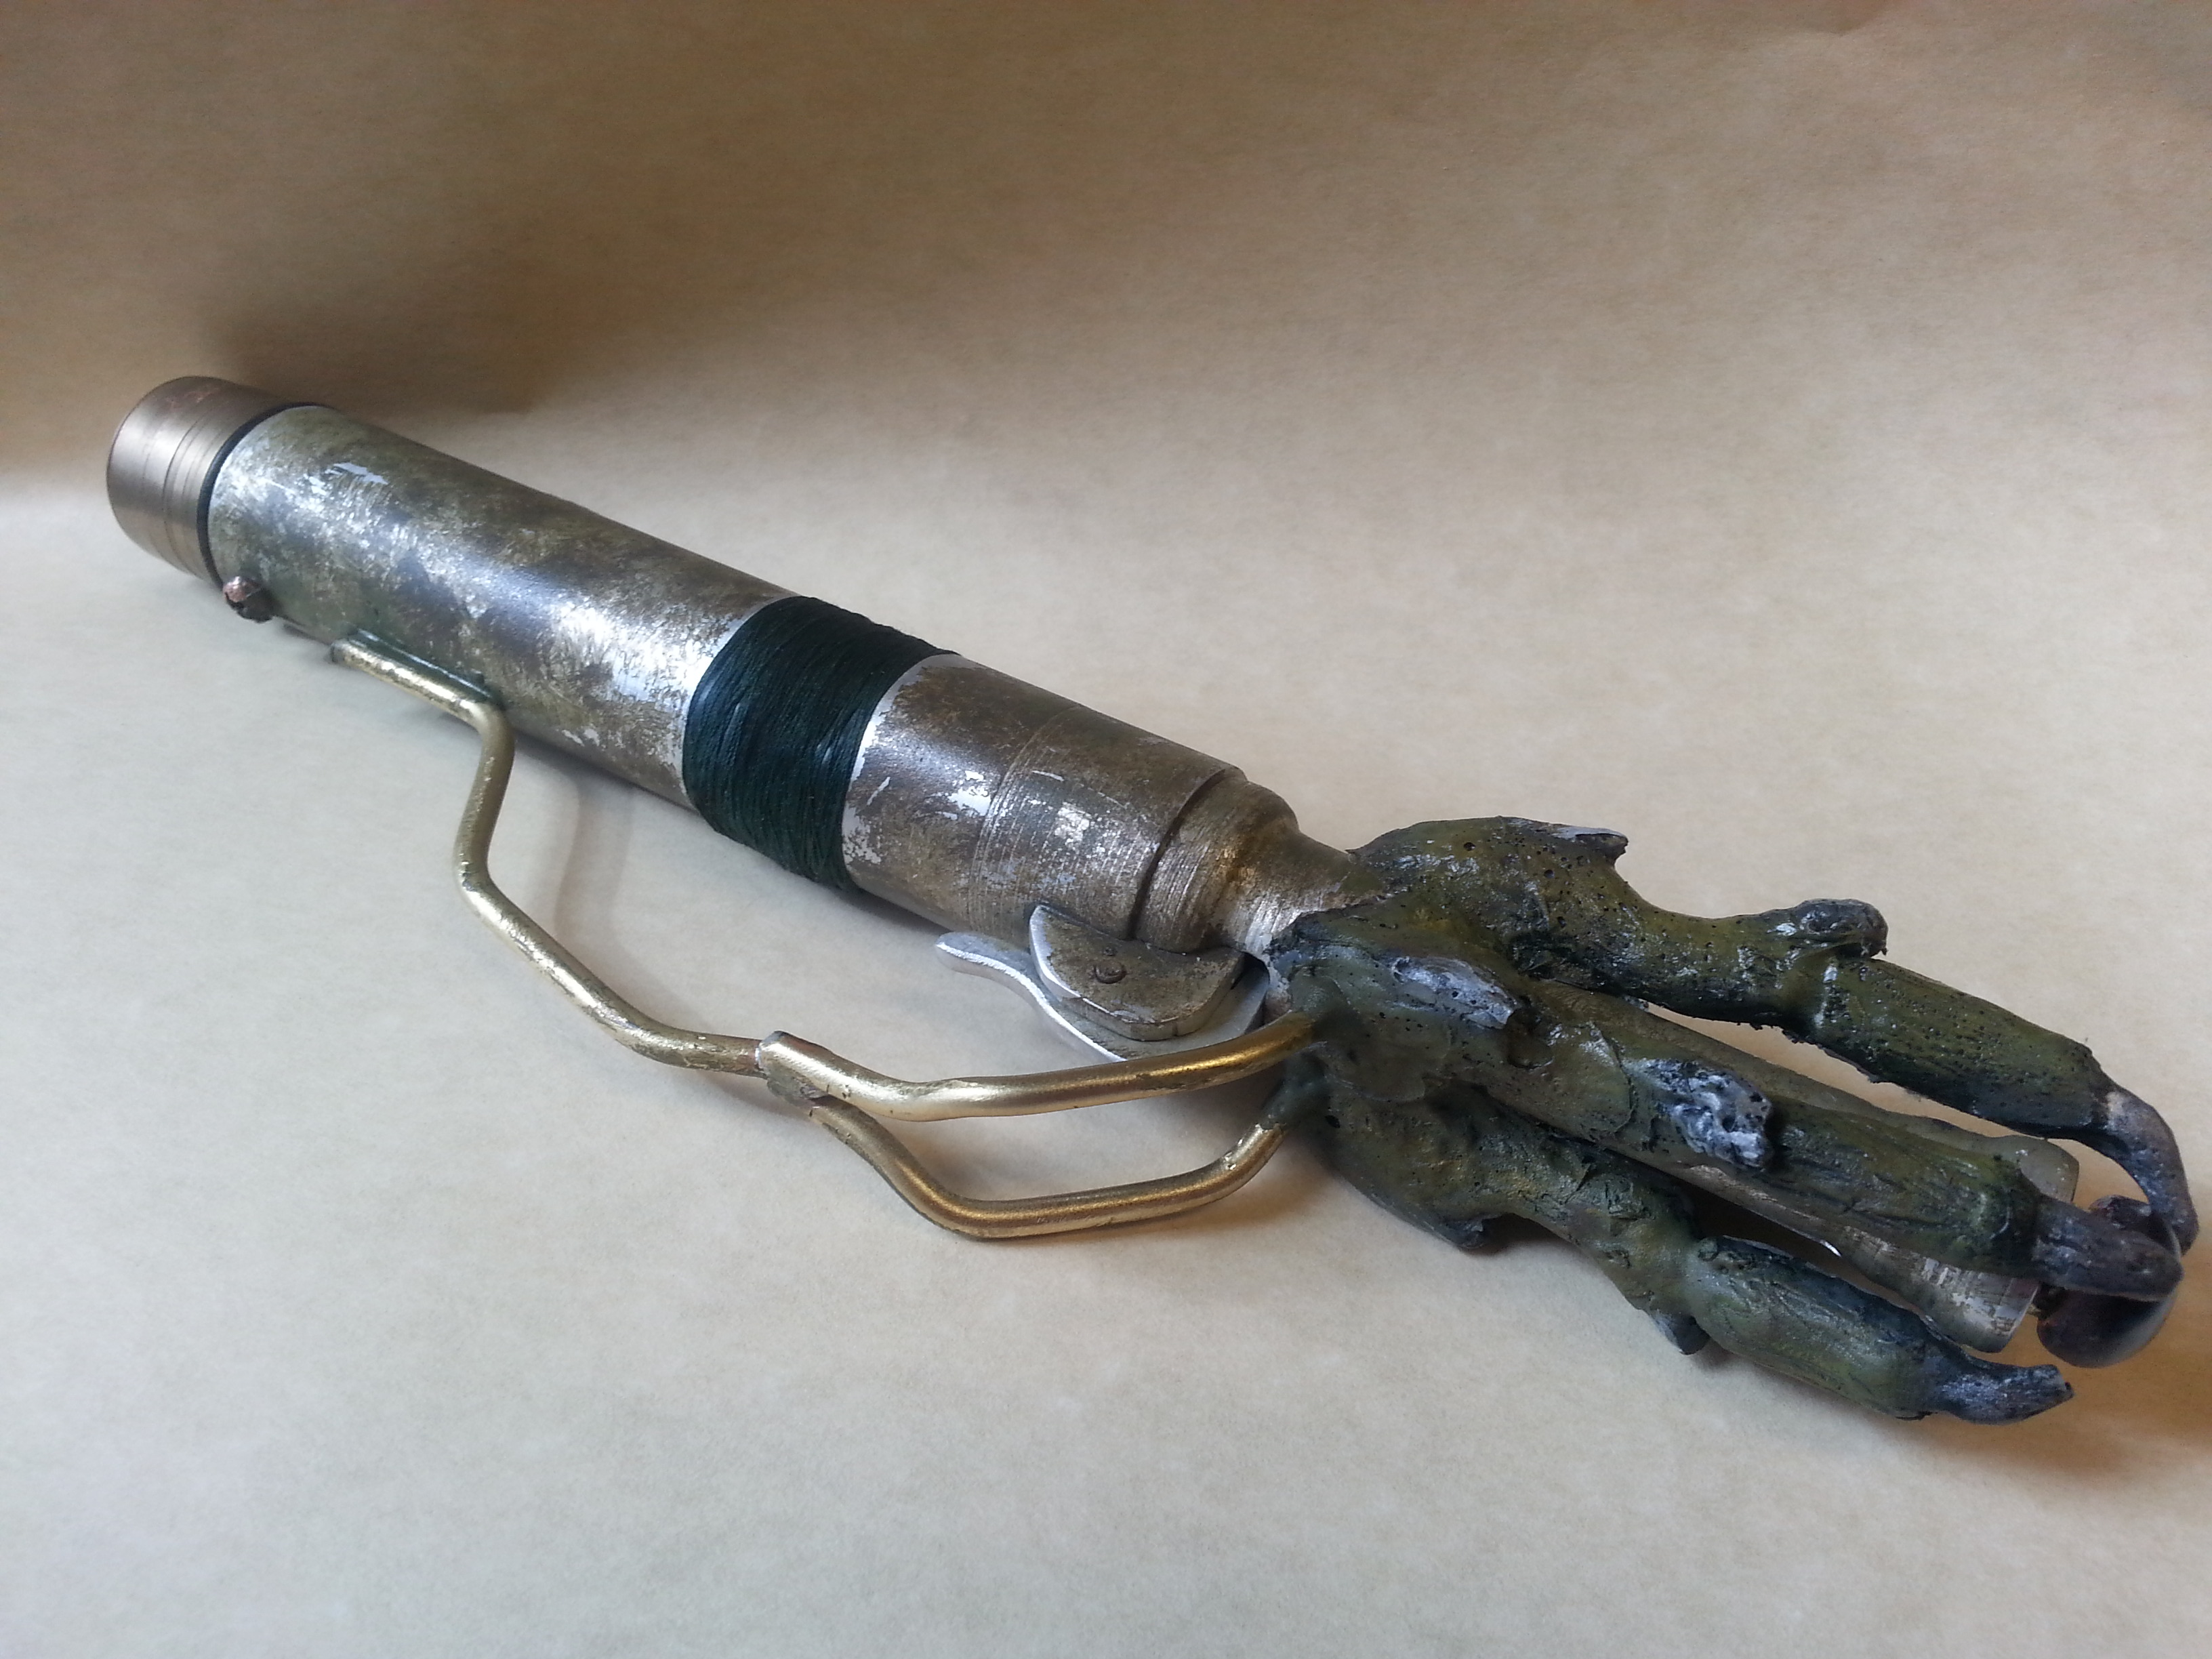
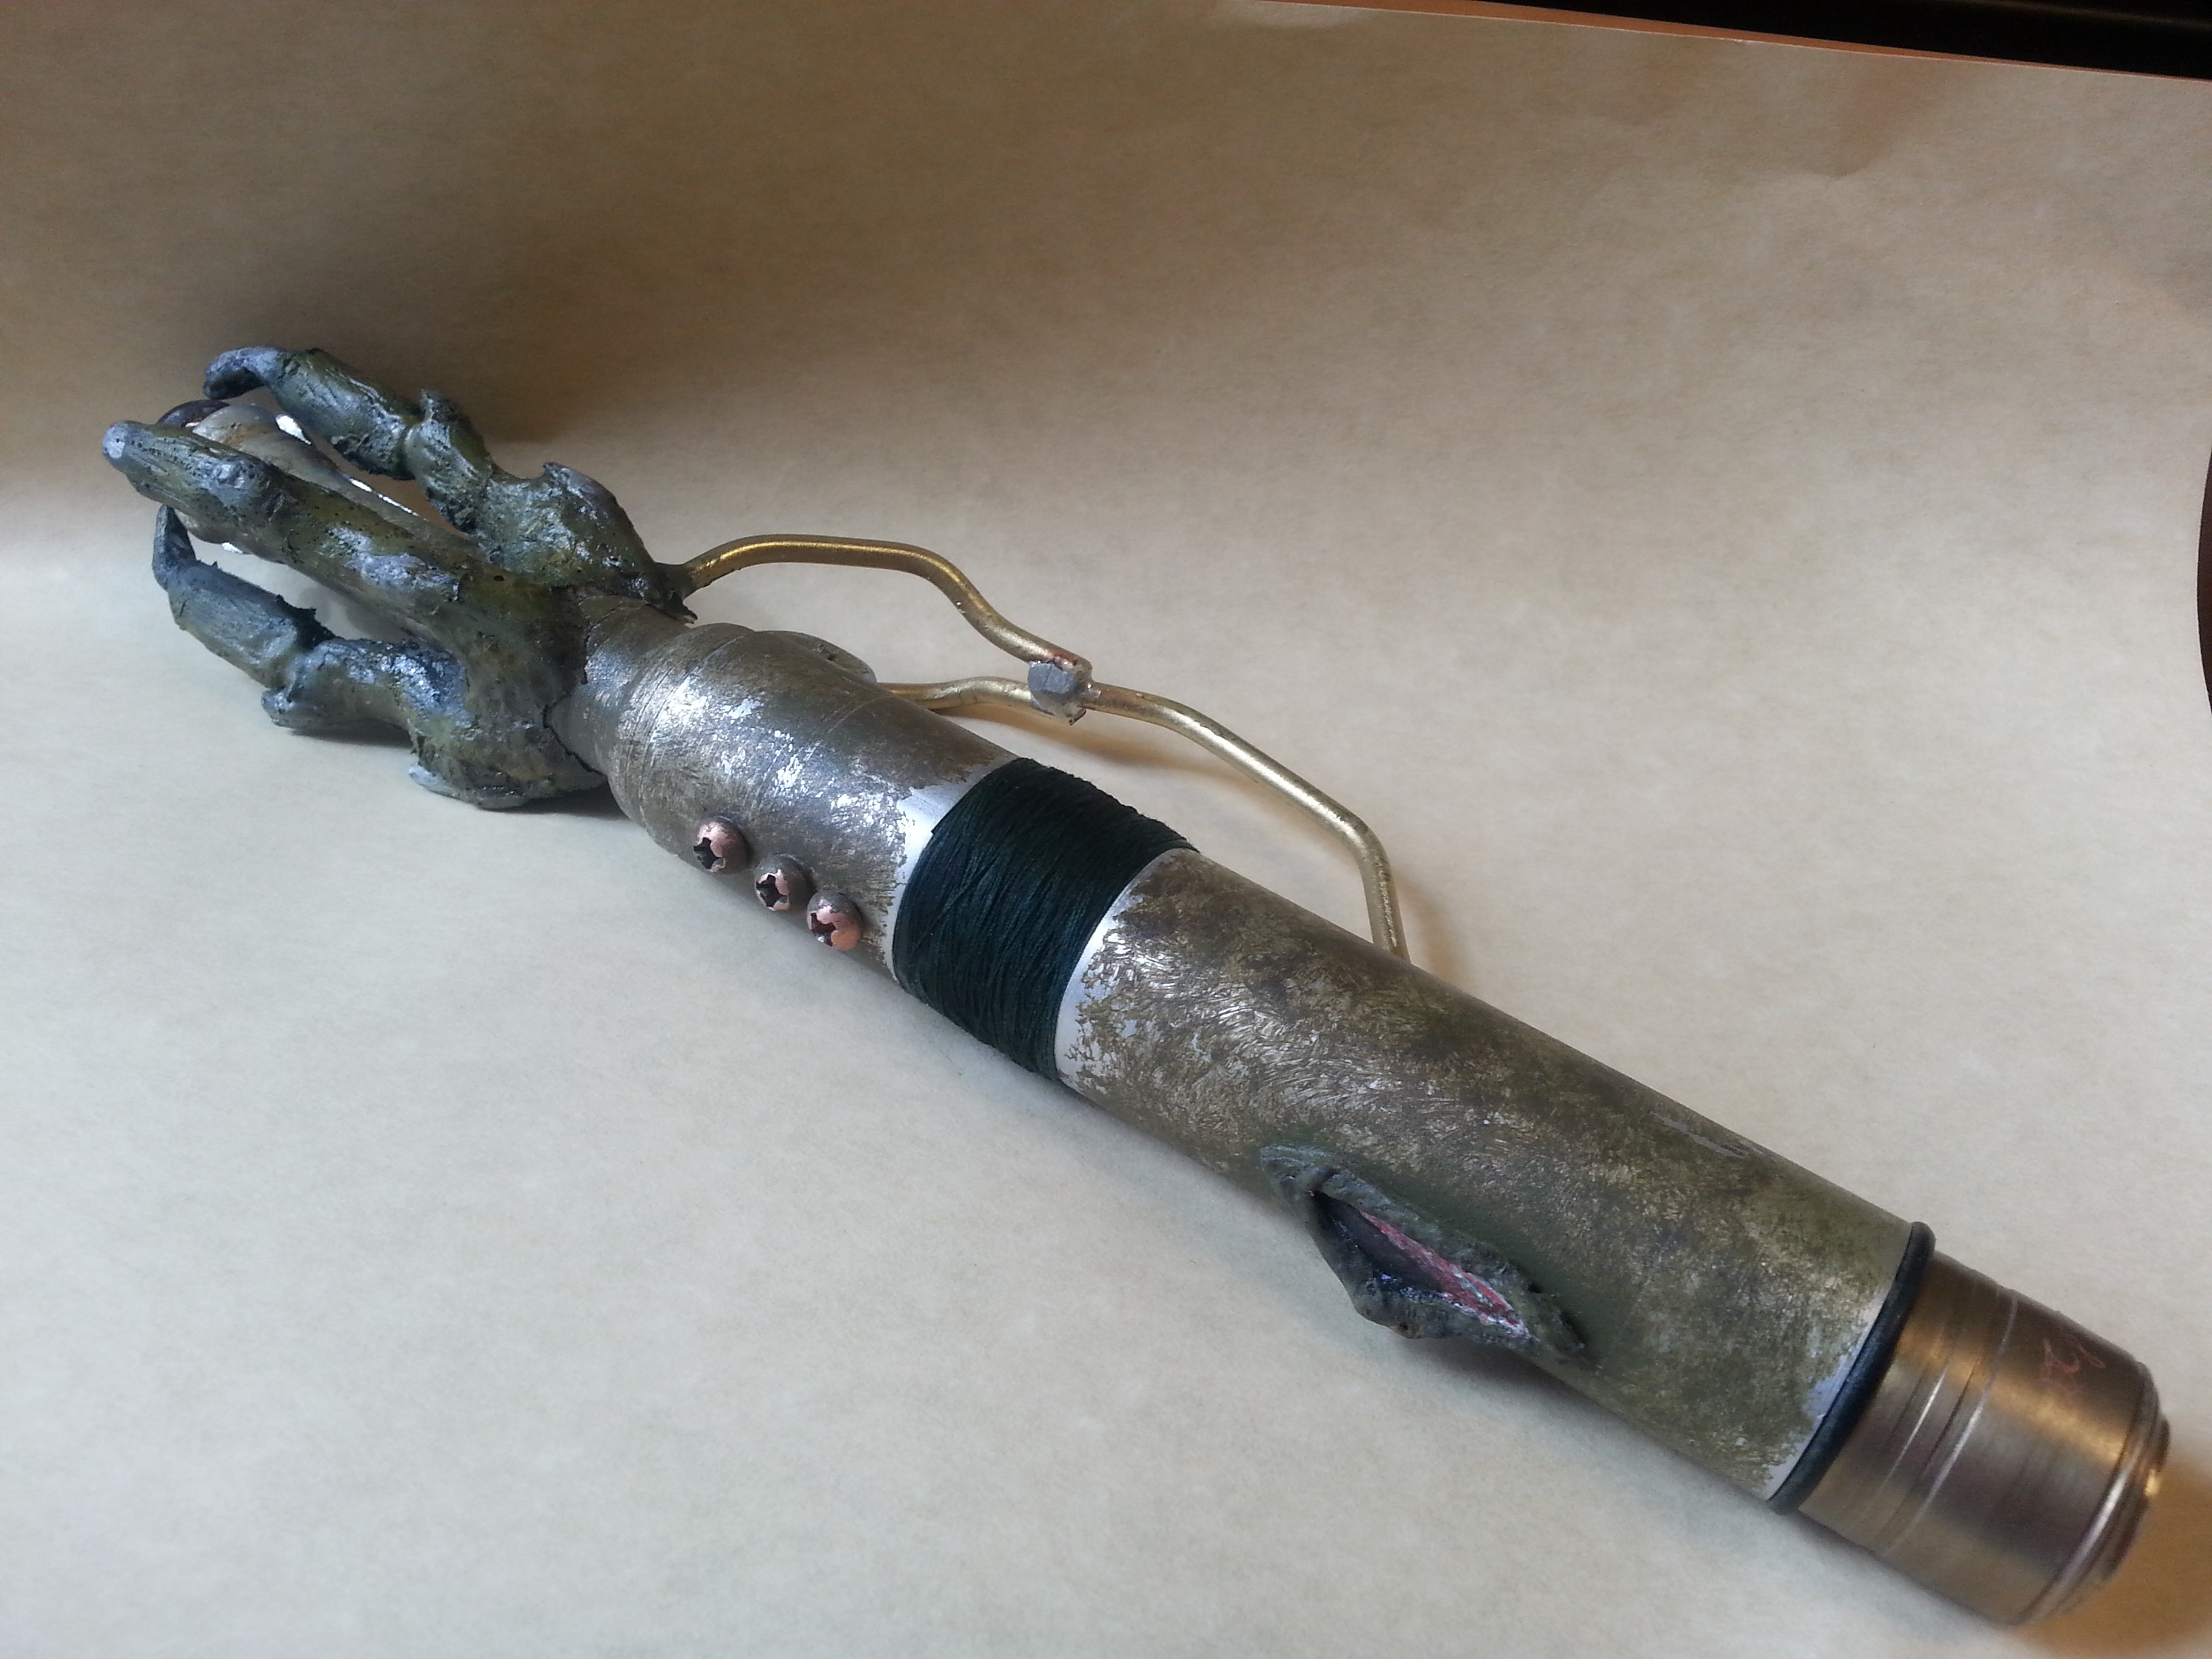
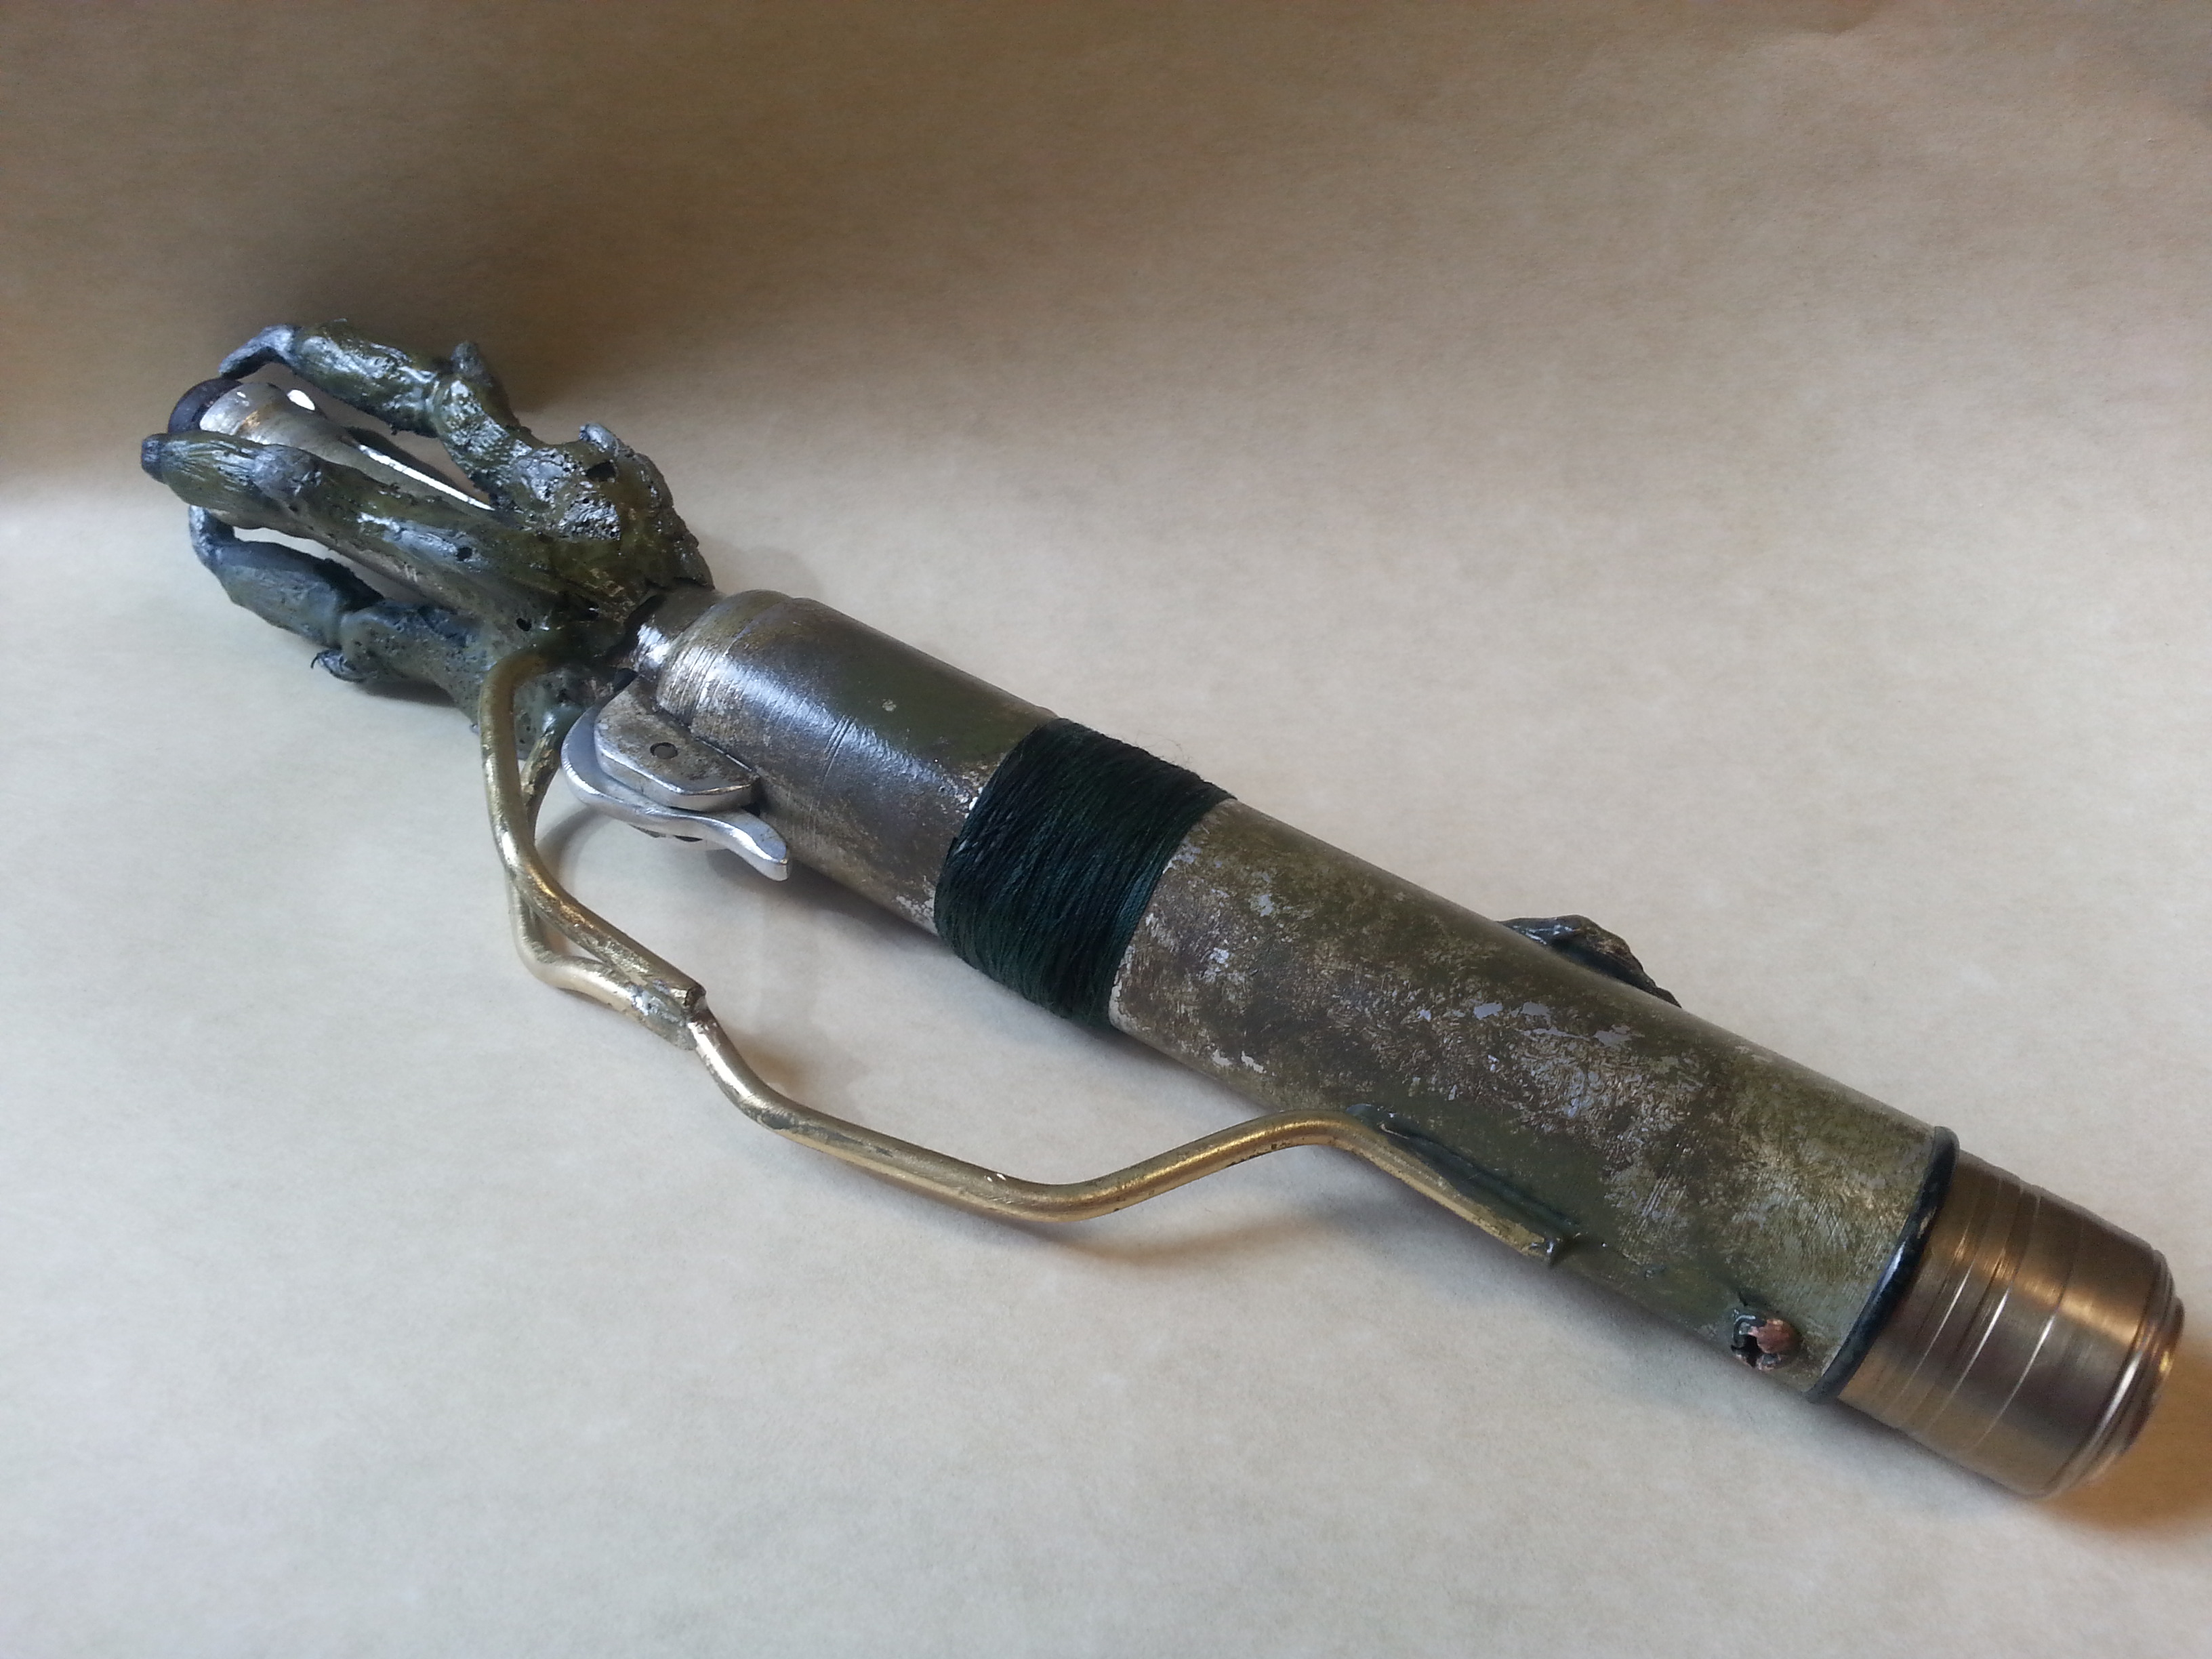
The first step is to take some pictures of the functions you would like to show. They can be a bit blurry or low quality, it doesn't matter that much as we are making them into sketches.
For example in my instructions each of the images above shows a function:
The first one will show how to turn on the lights and sound
The second will show how to activate the trigger and release the marble in front
The last two show how to replace the batteries.
As you can note, they are not the best images. I was rushing when I took them but the final product does not reveal that much at all. Better pictures are nice, especially if you can get rid of the shadows.
Remove the Background
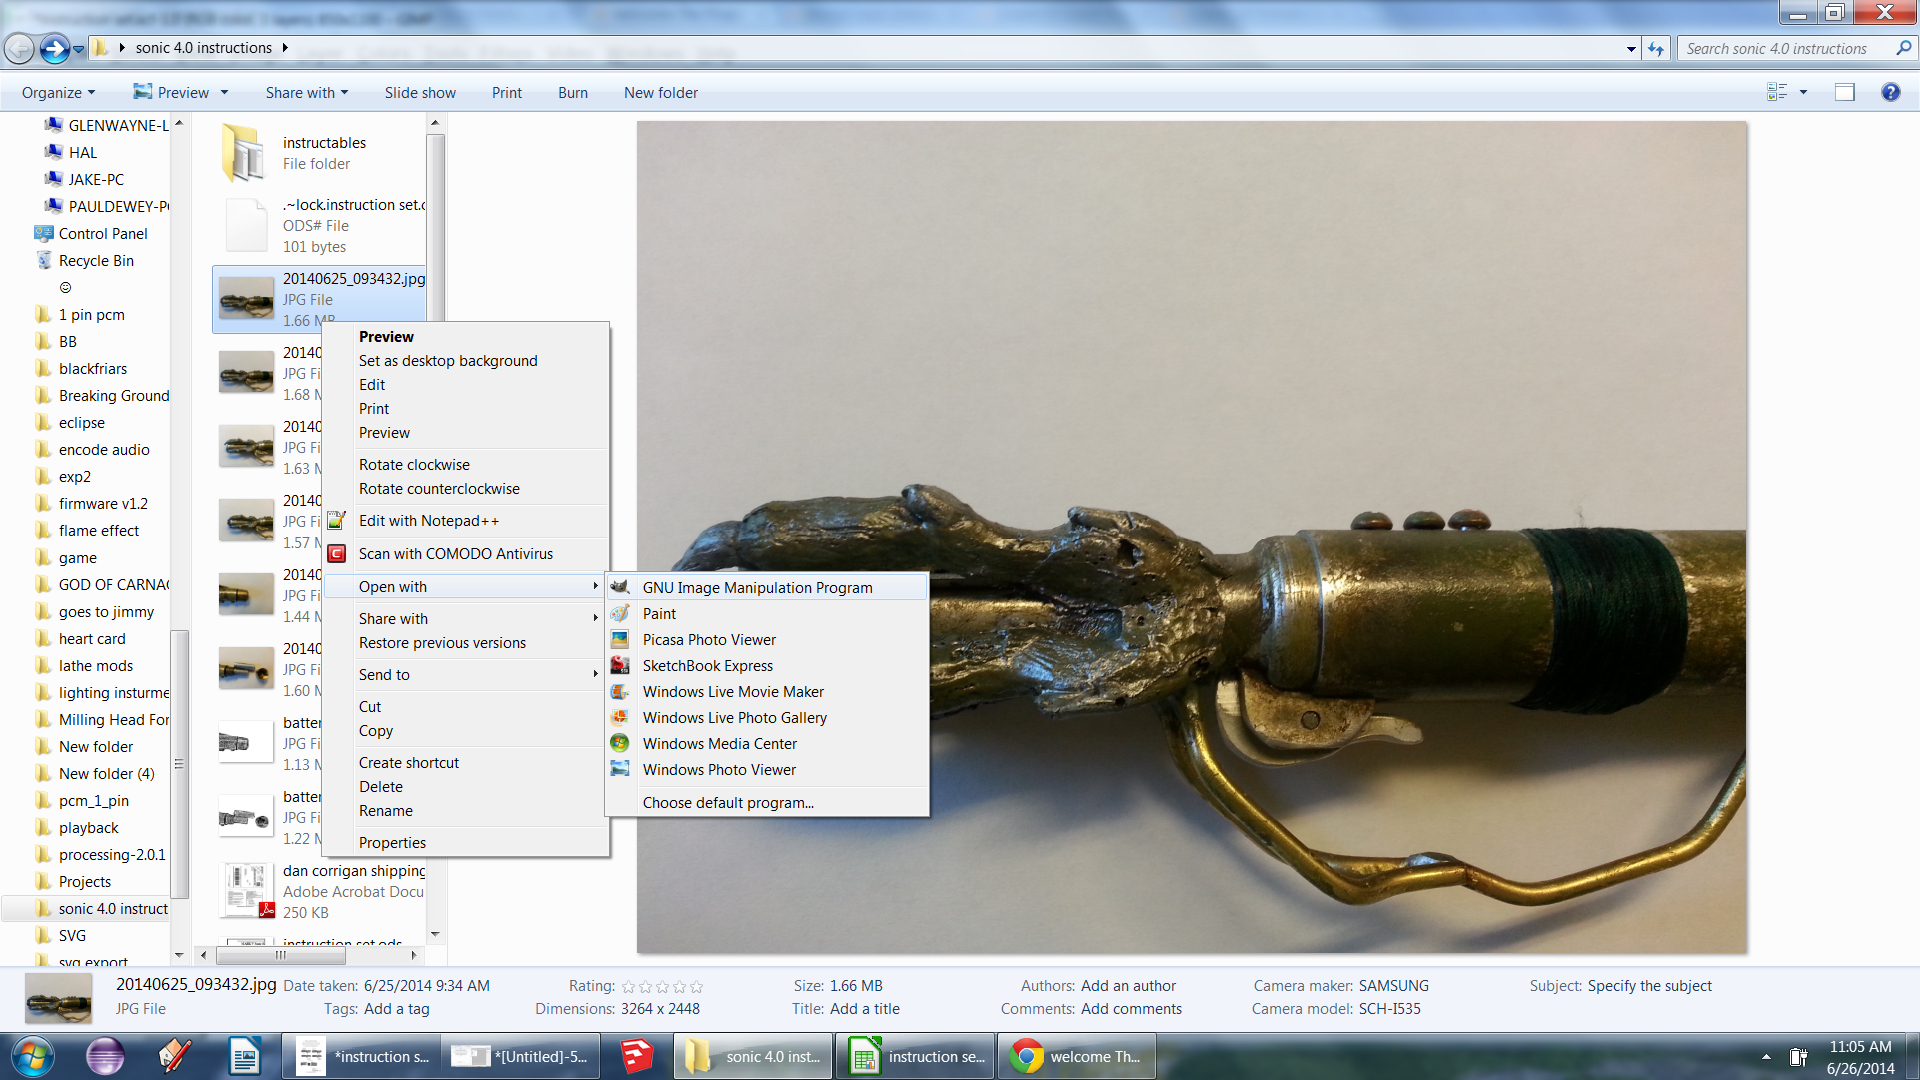
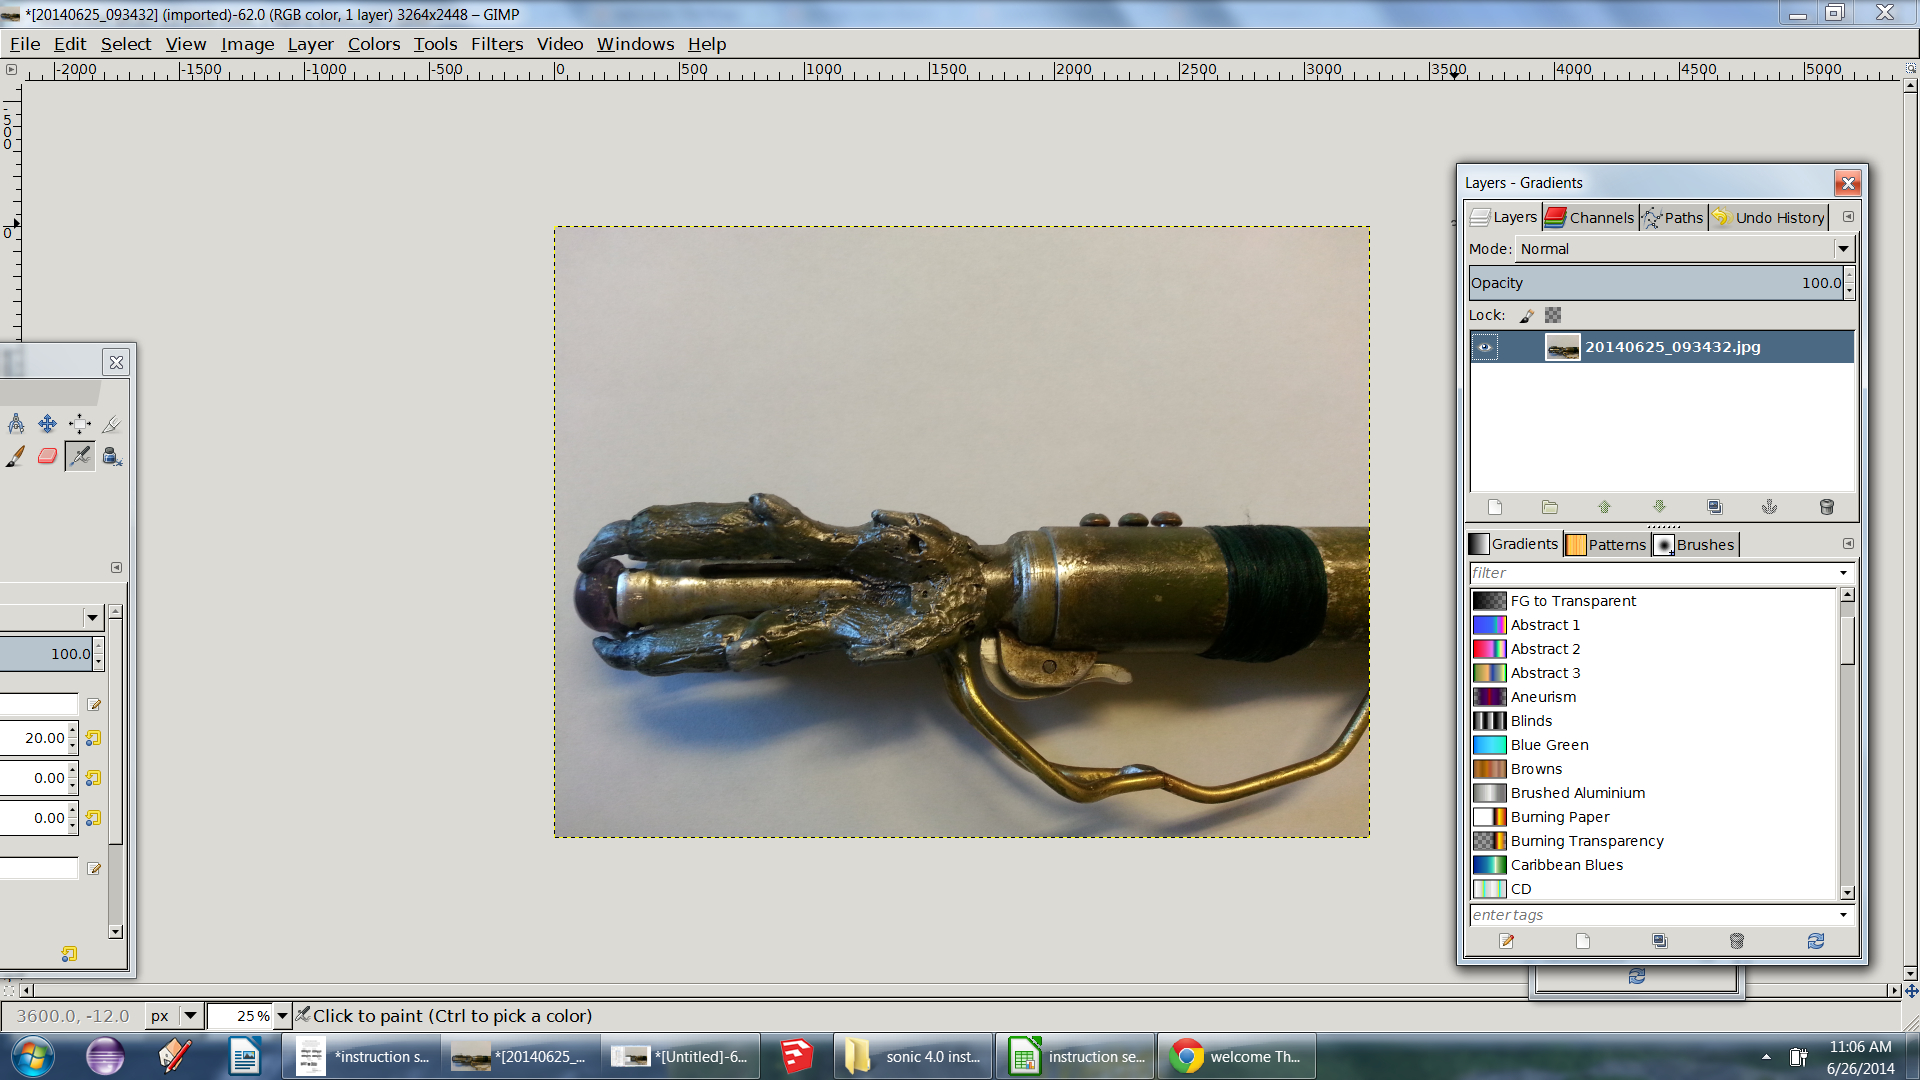
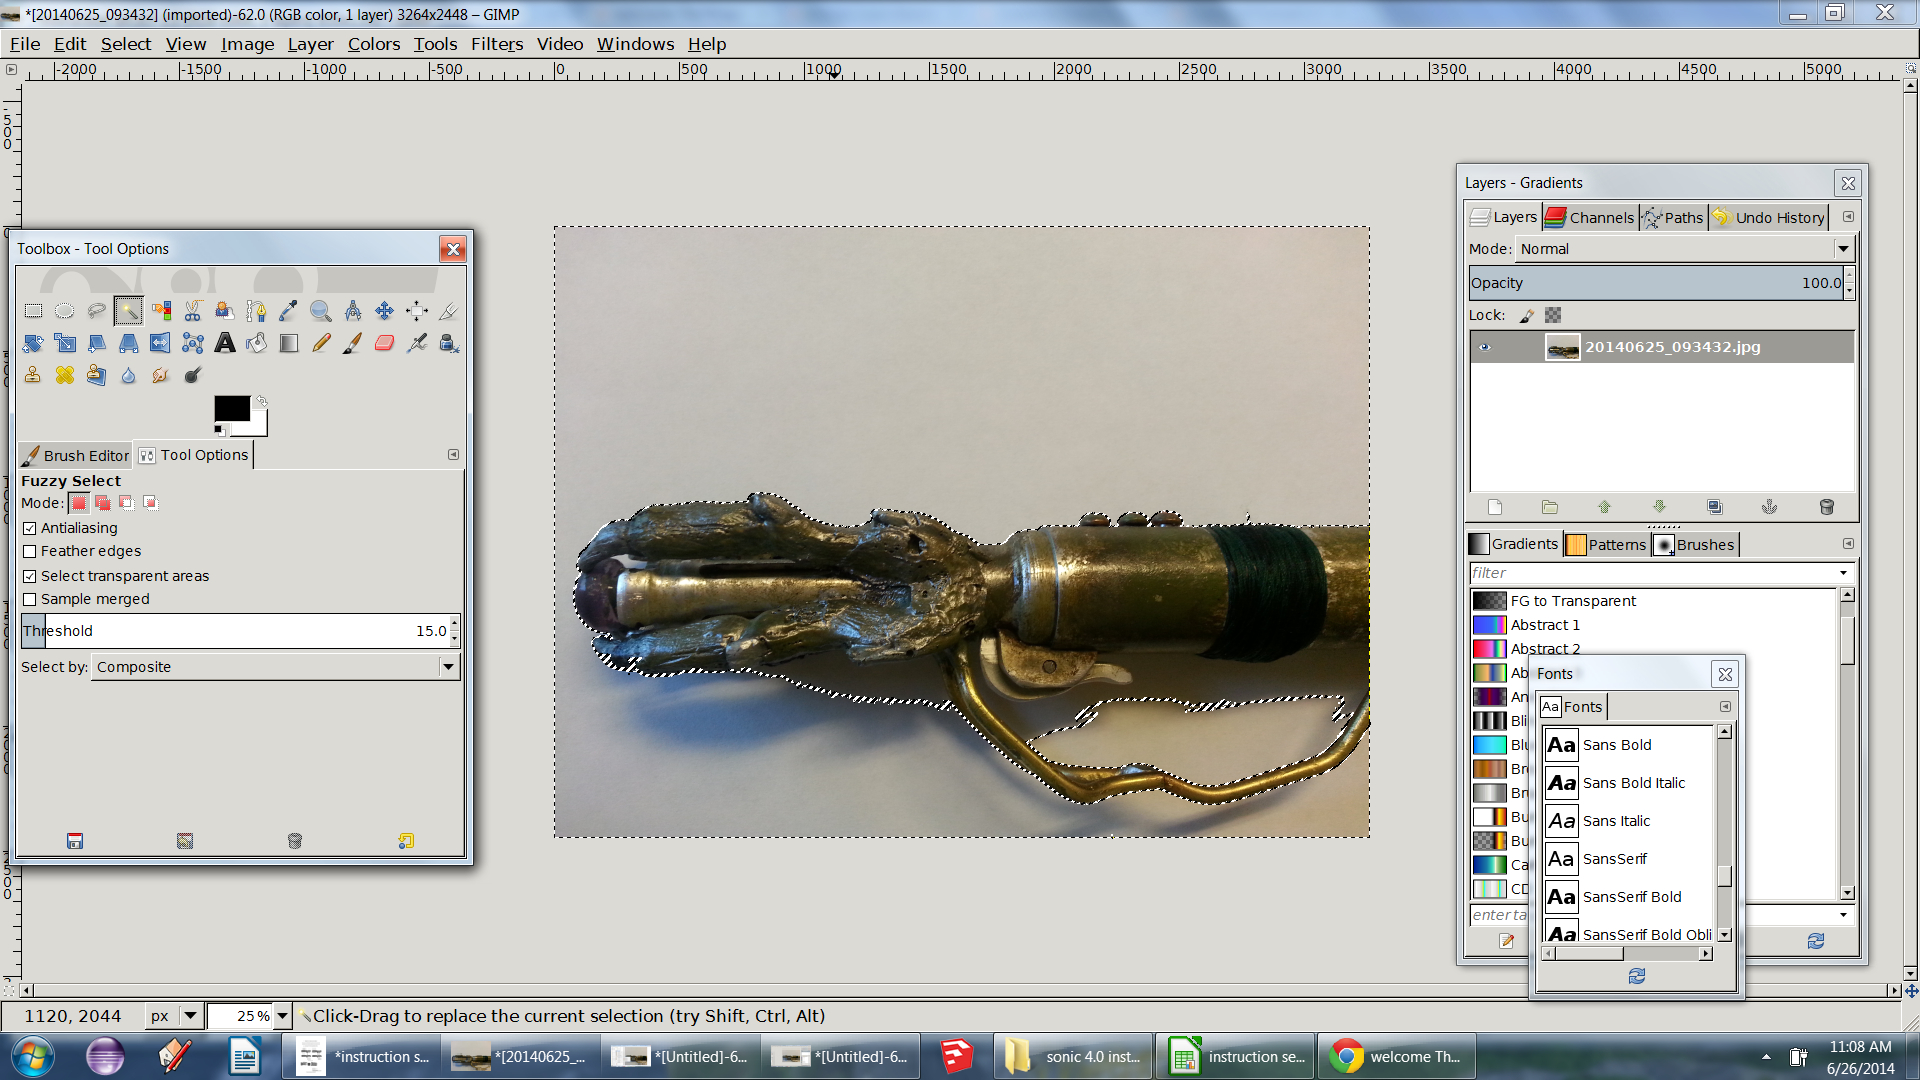
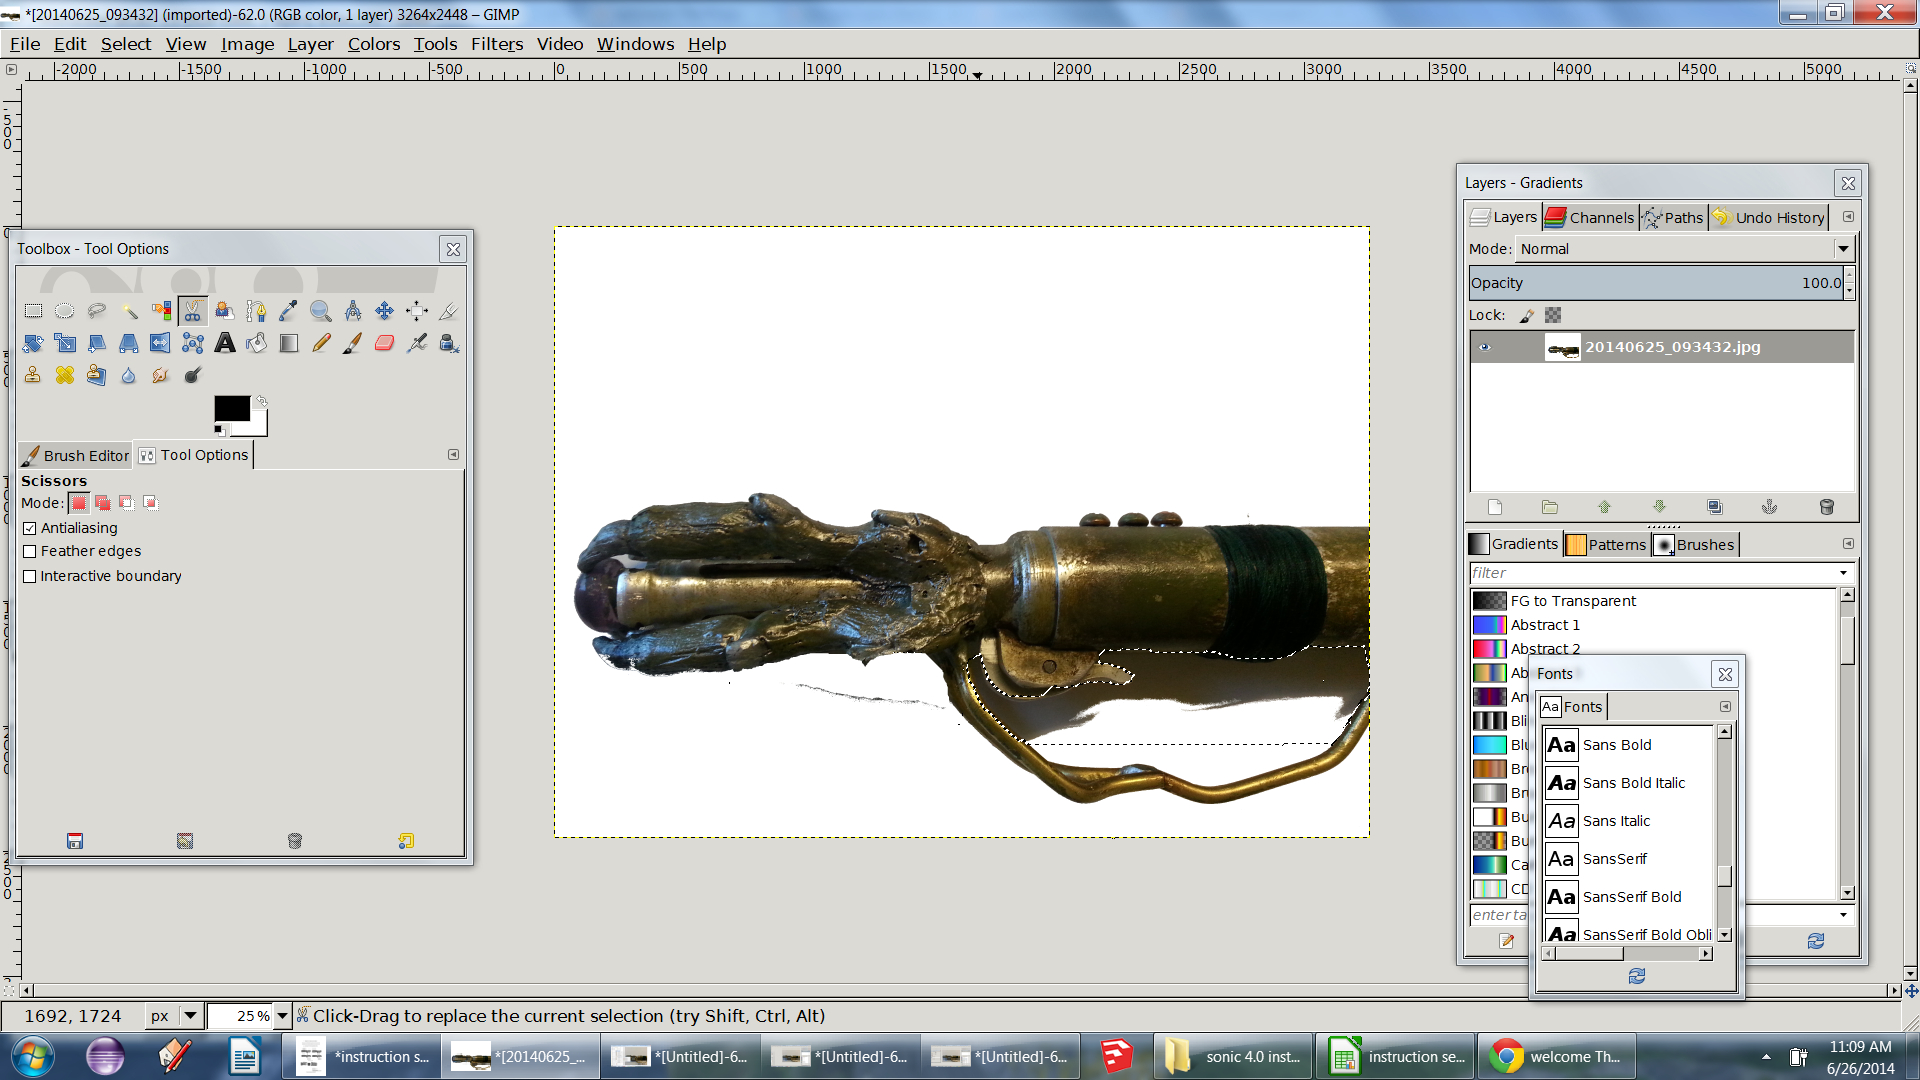
After getting the pictures on your computer, open them in your favorite photo editing software. I use gimp 2.8 (it is free and it has the filter we will be using)
Once it is open in the program, remove the background. I use a combination of the magic select and scissors tools to get rid of it. This step is far easier if you do not have shadows.
Cartoonify
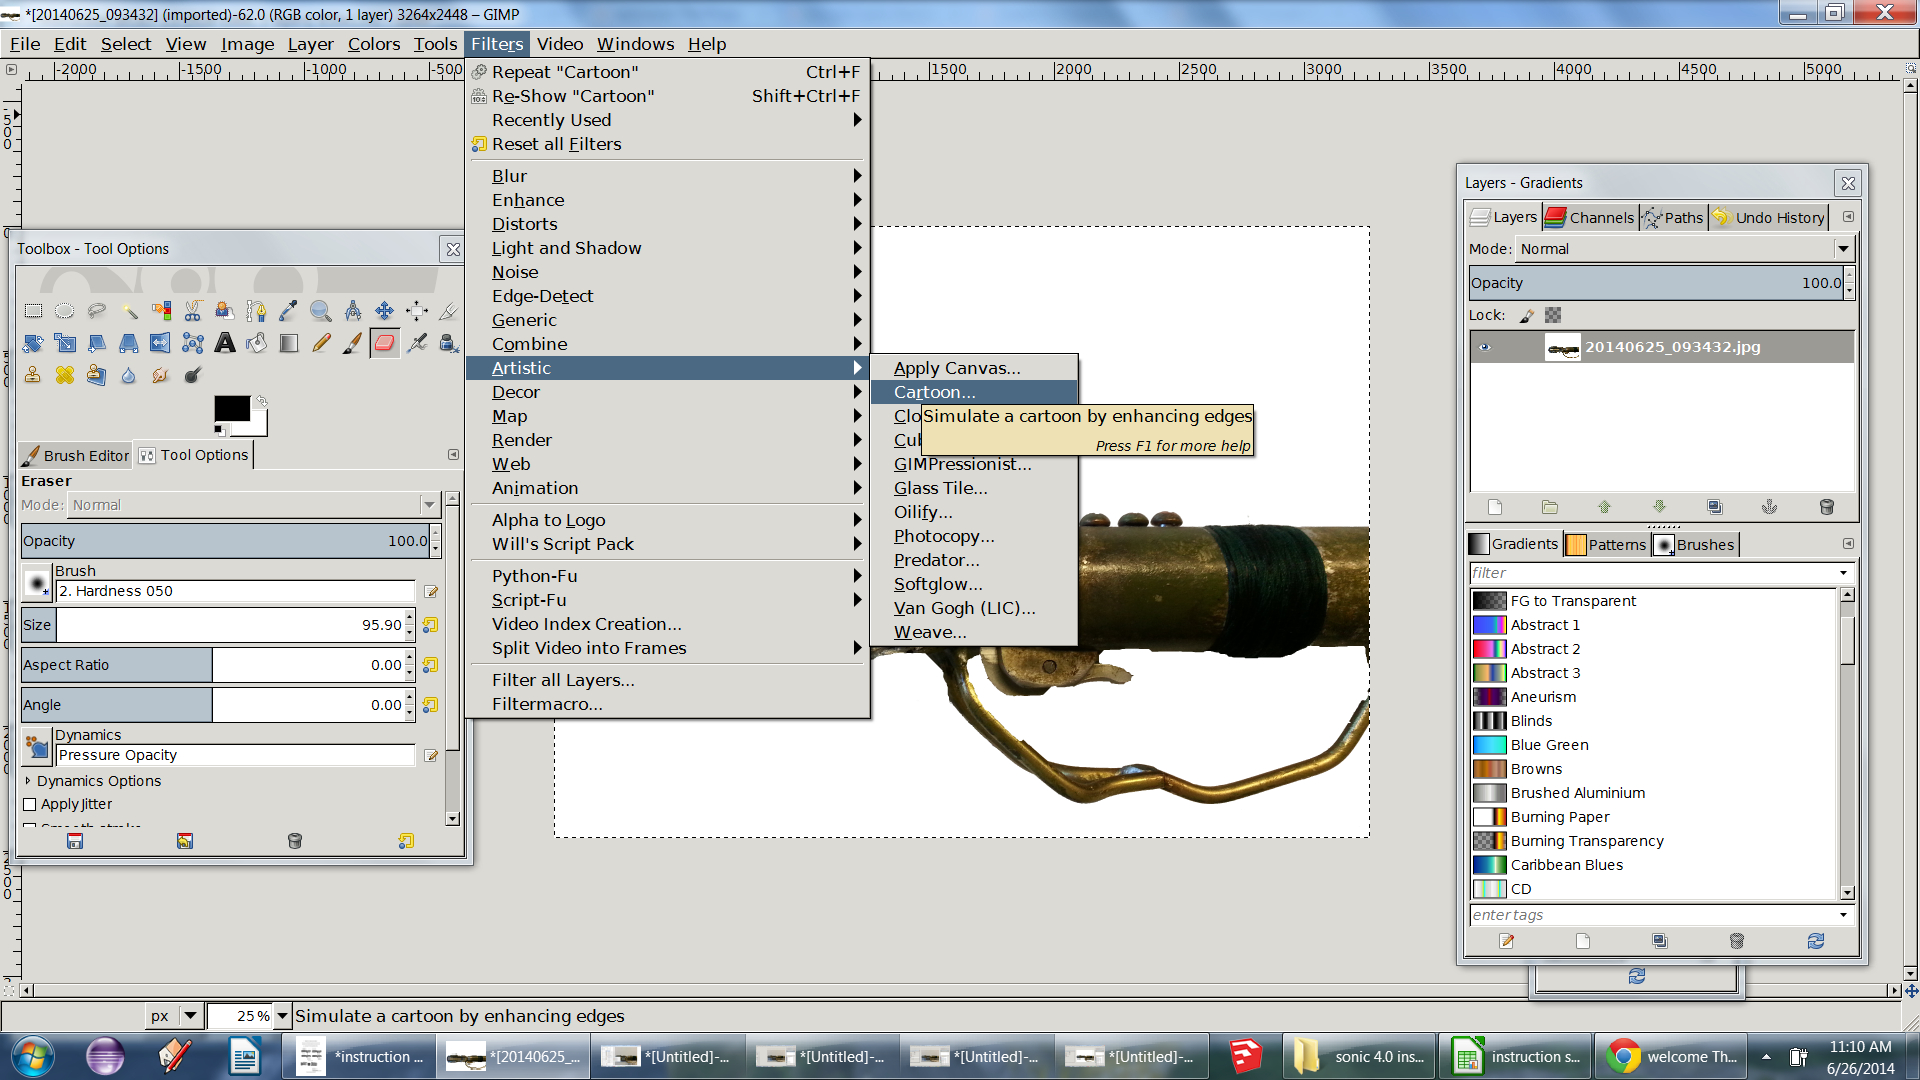
Now to make the image into a sketch using a simple filter.
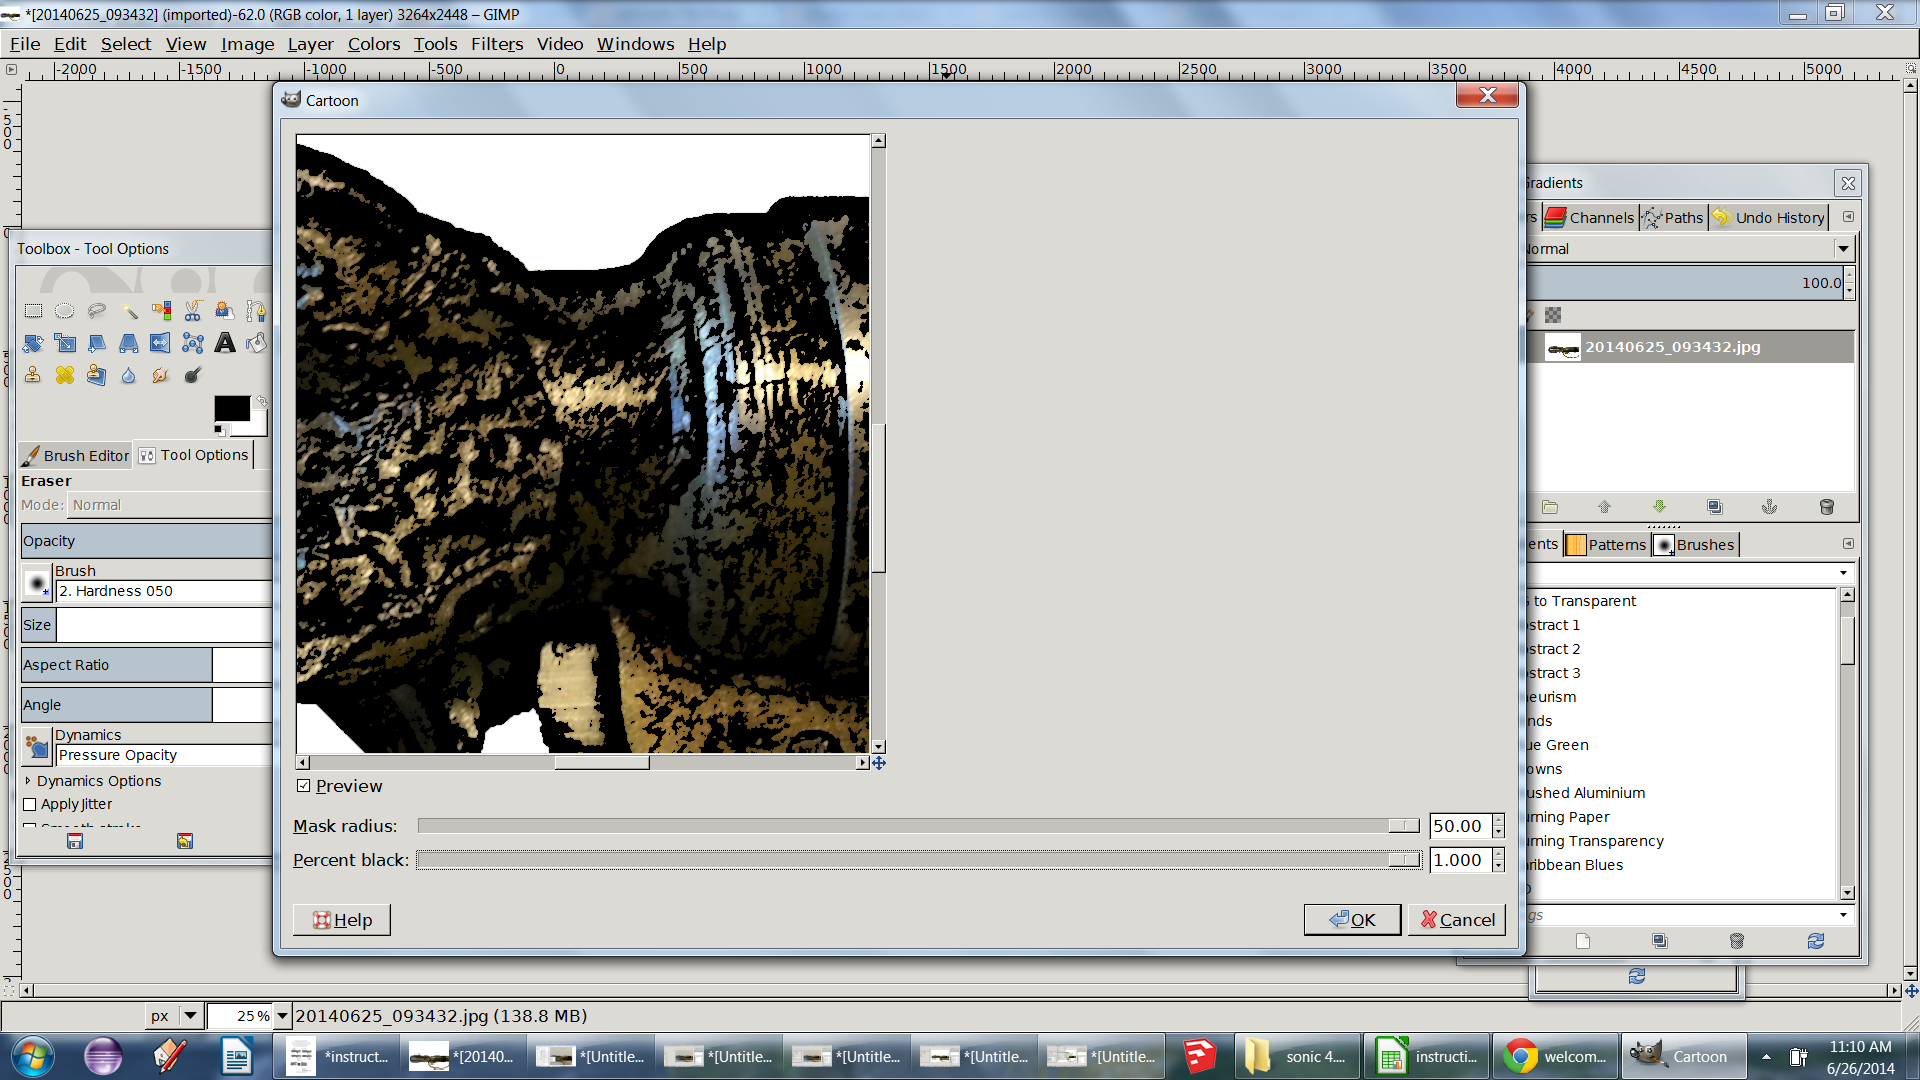
In Gimp run the Cartoon filter (Filters->artistic->cartoon)
In the popup get a good view of your image and play with the sliders until you are happy with the result (I just slid them all the way to the right) and hit ok.
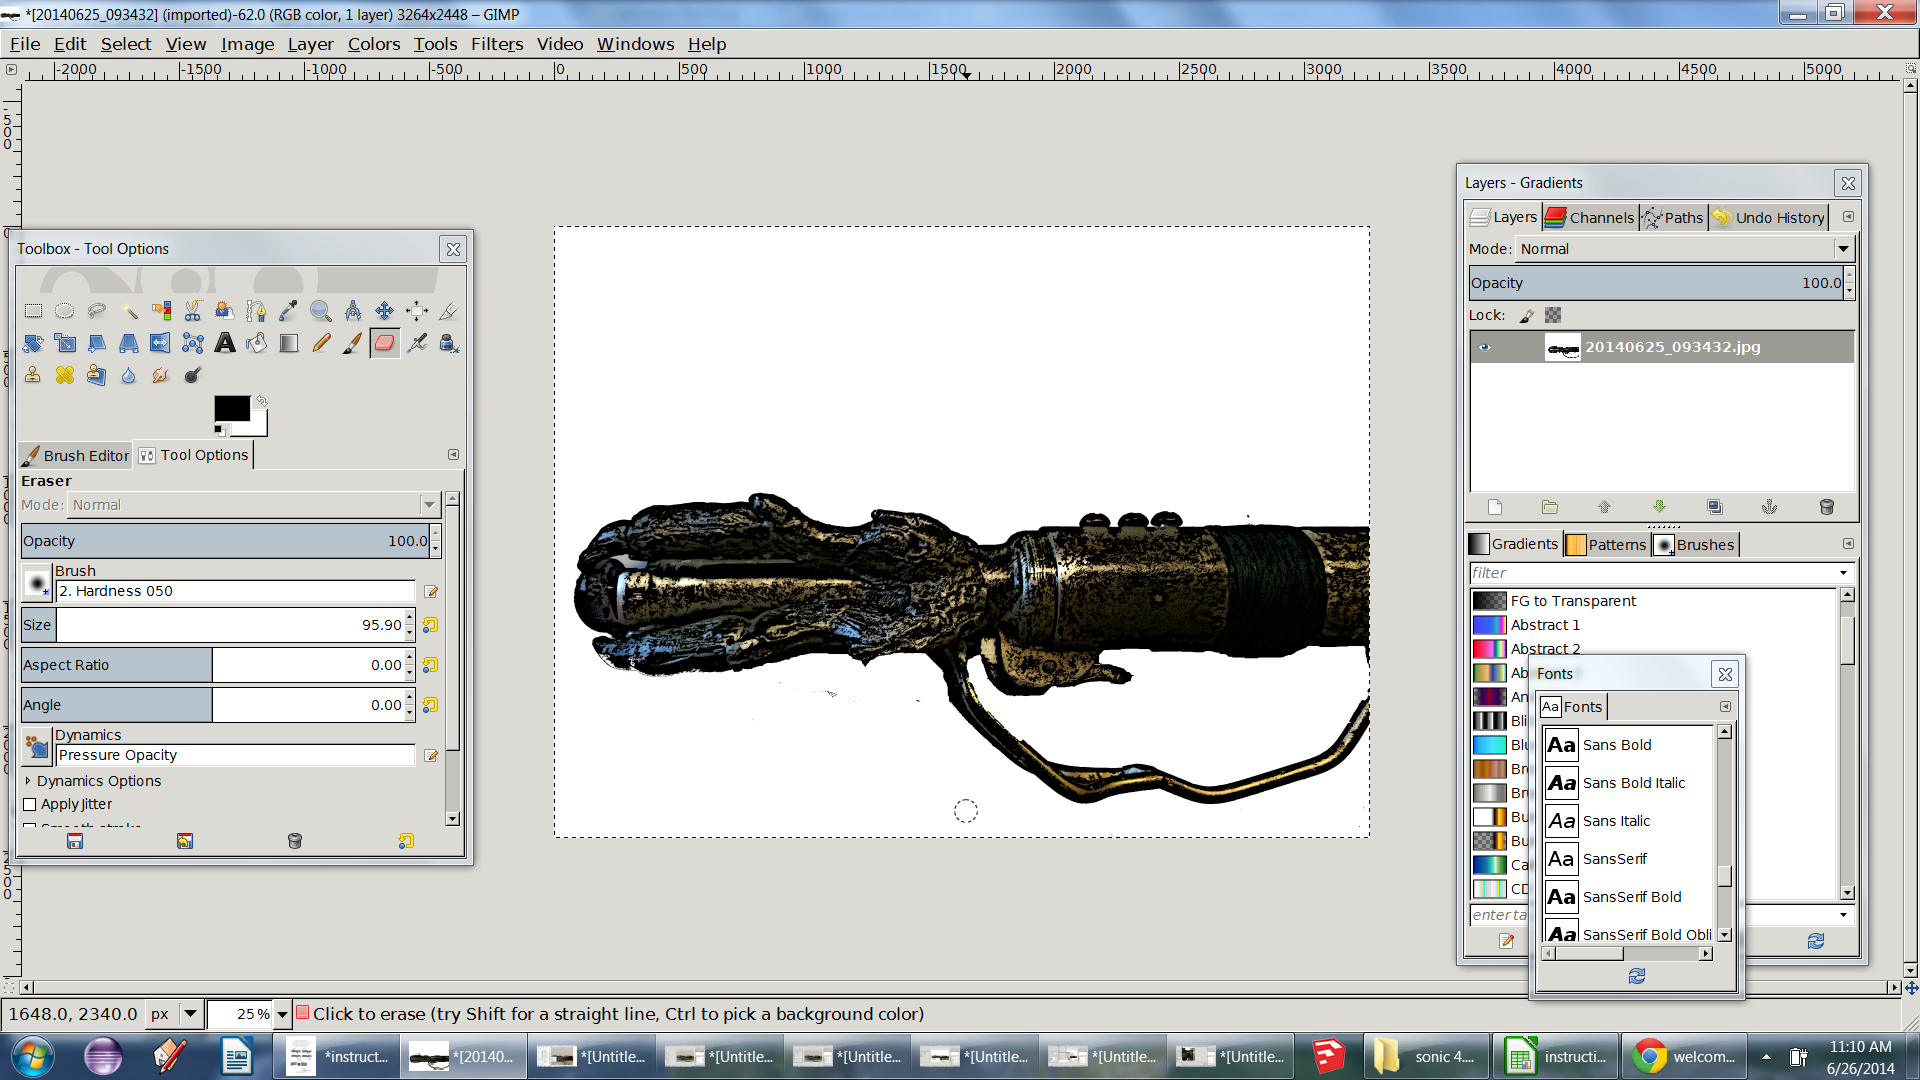
Now you have an image that is cartooned, though there is still a lot of color noise in it.
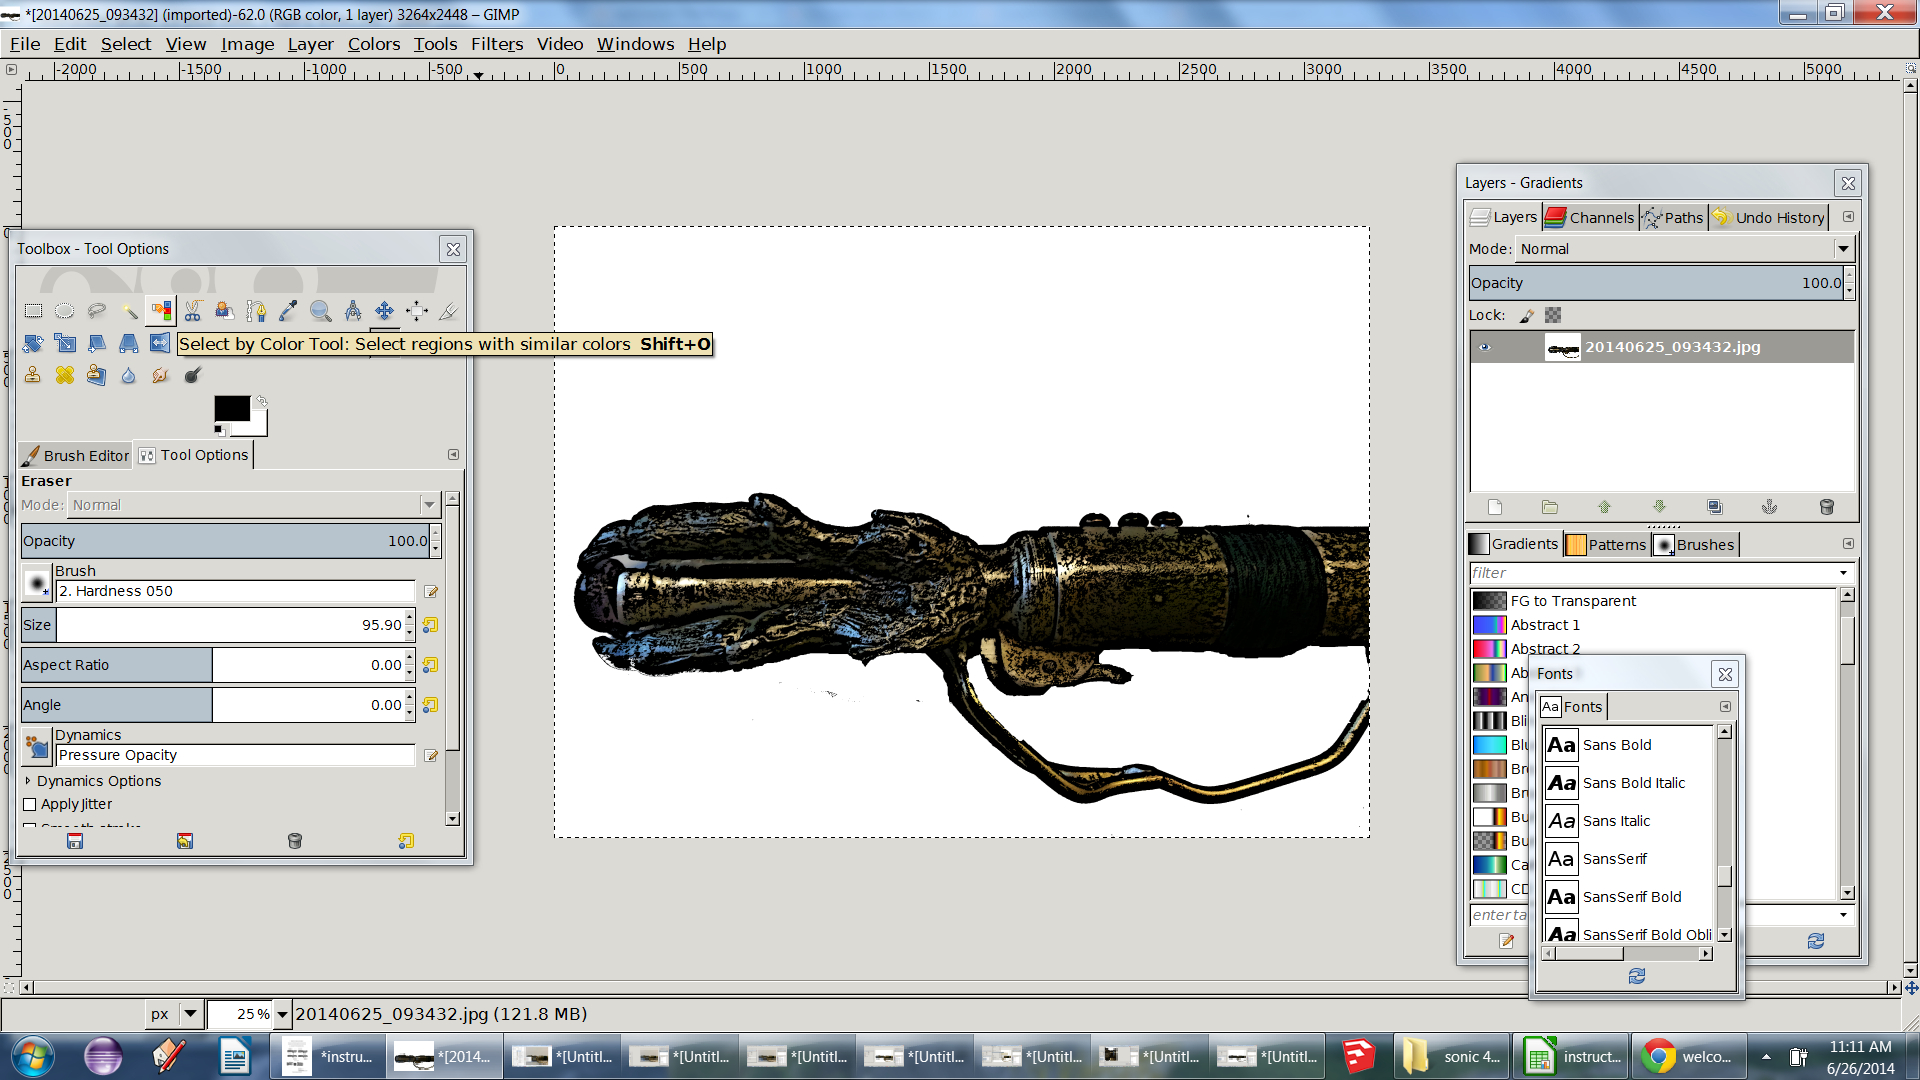
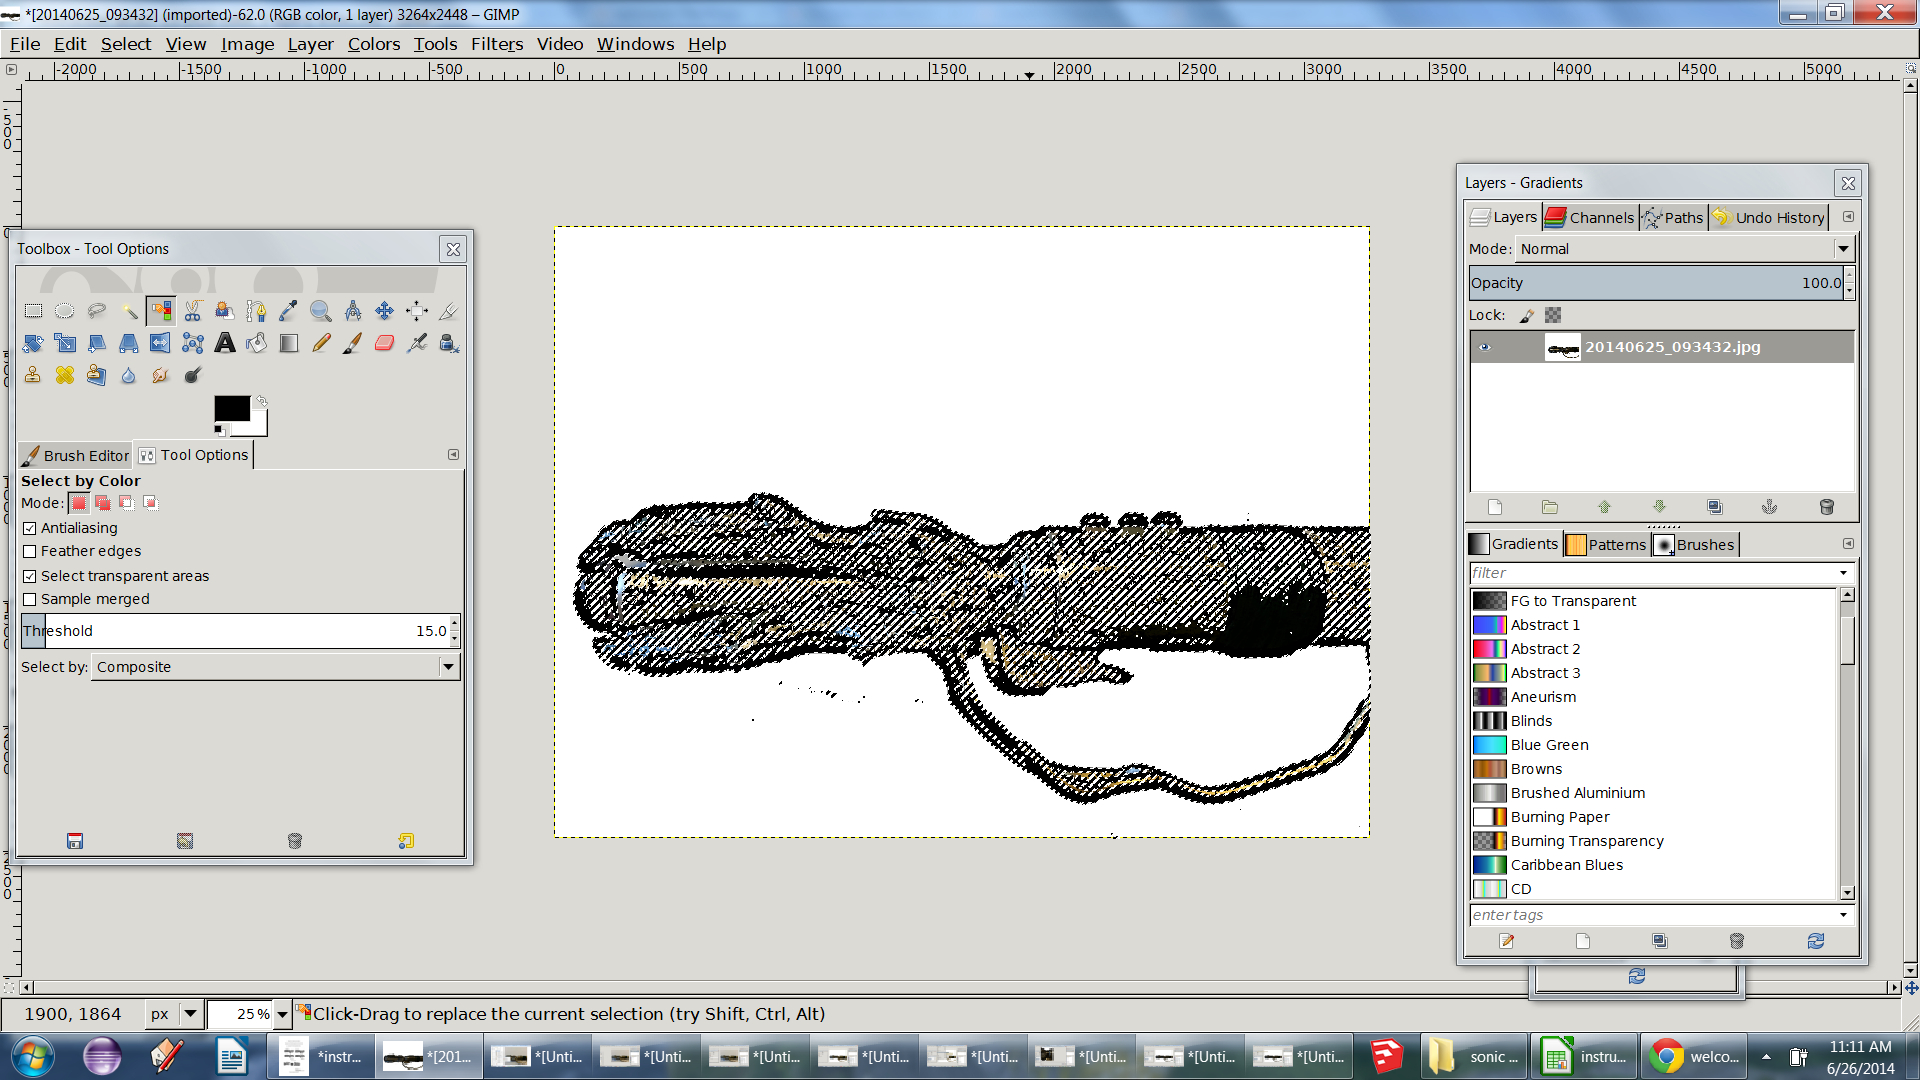
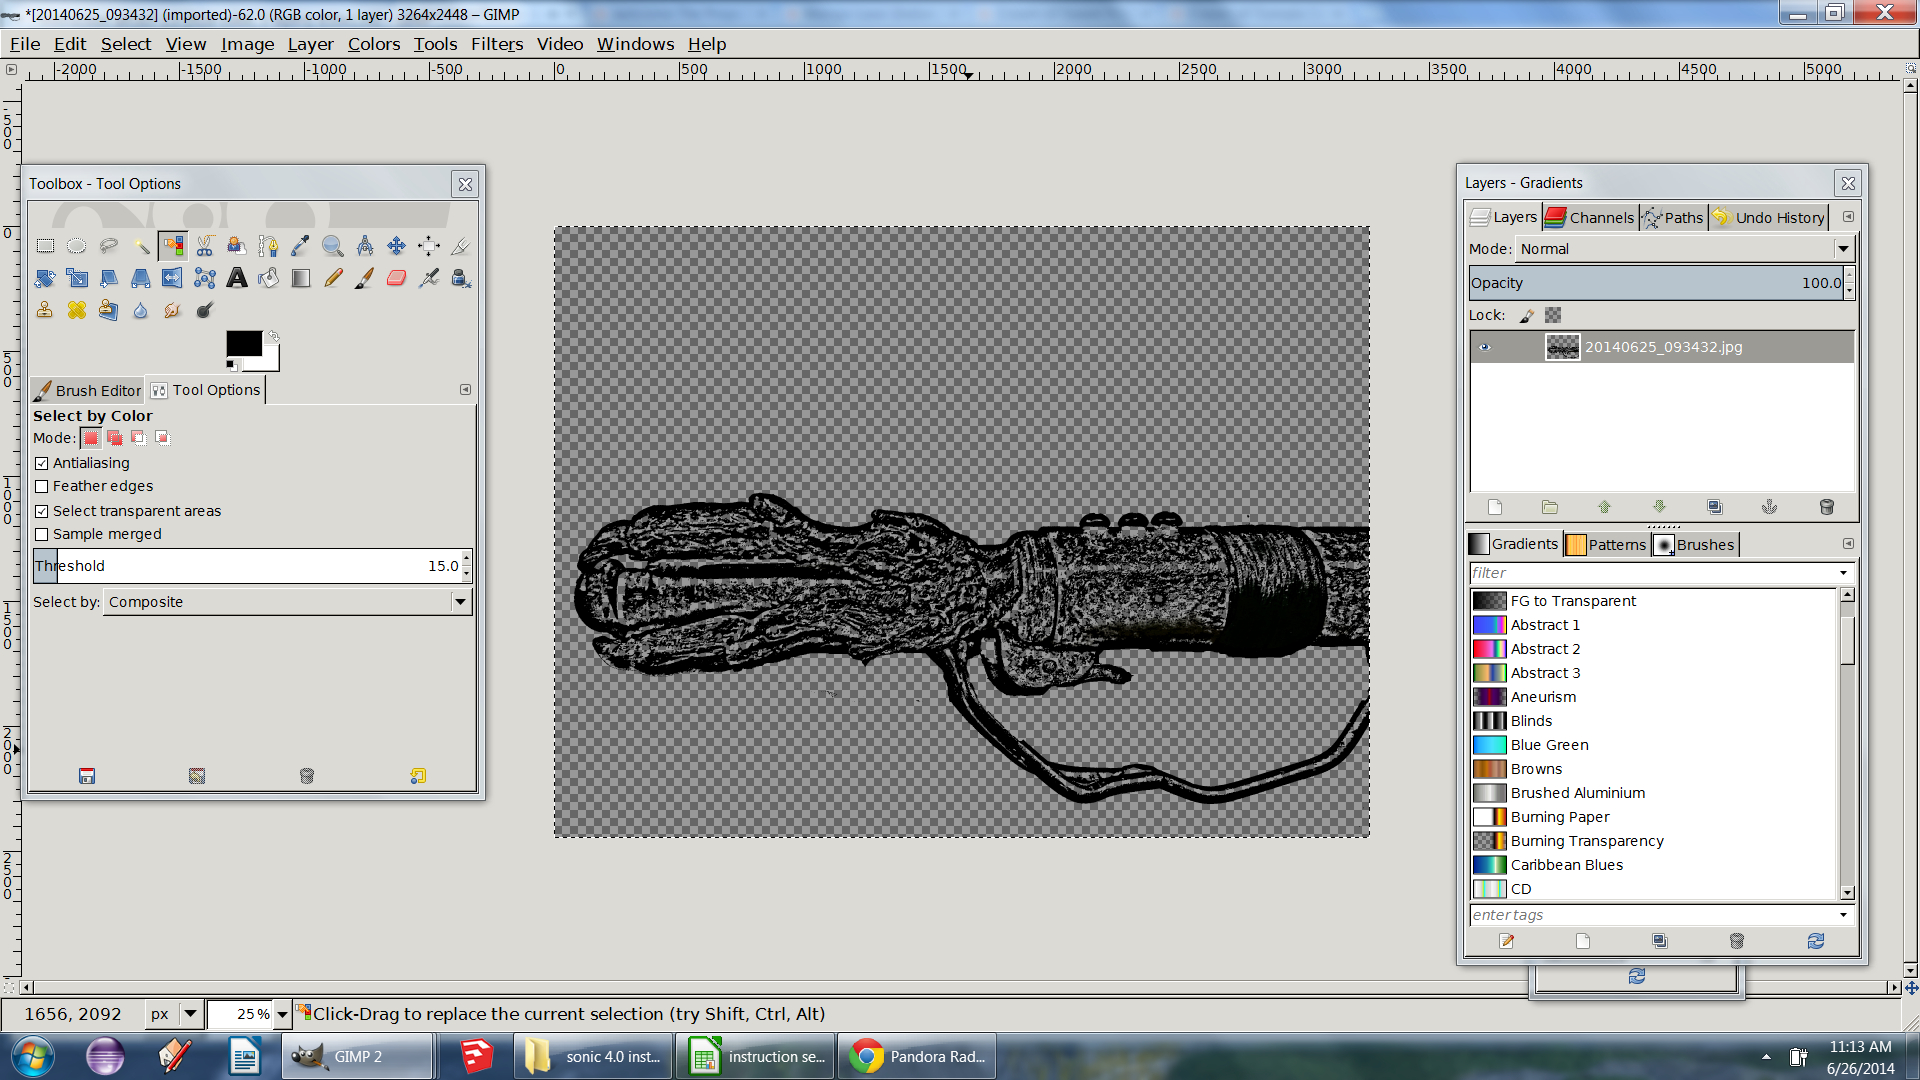
To get rid of the noise select the "Select by color tool" and find a pure black spot on your image.
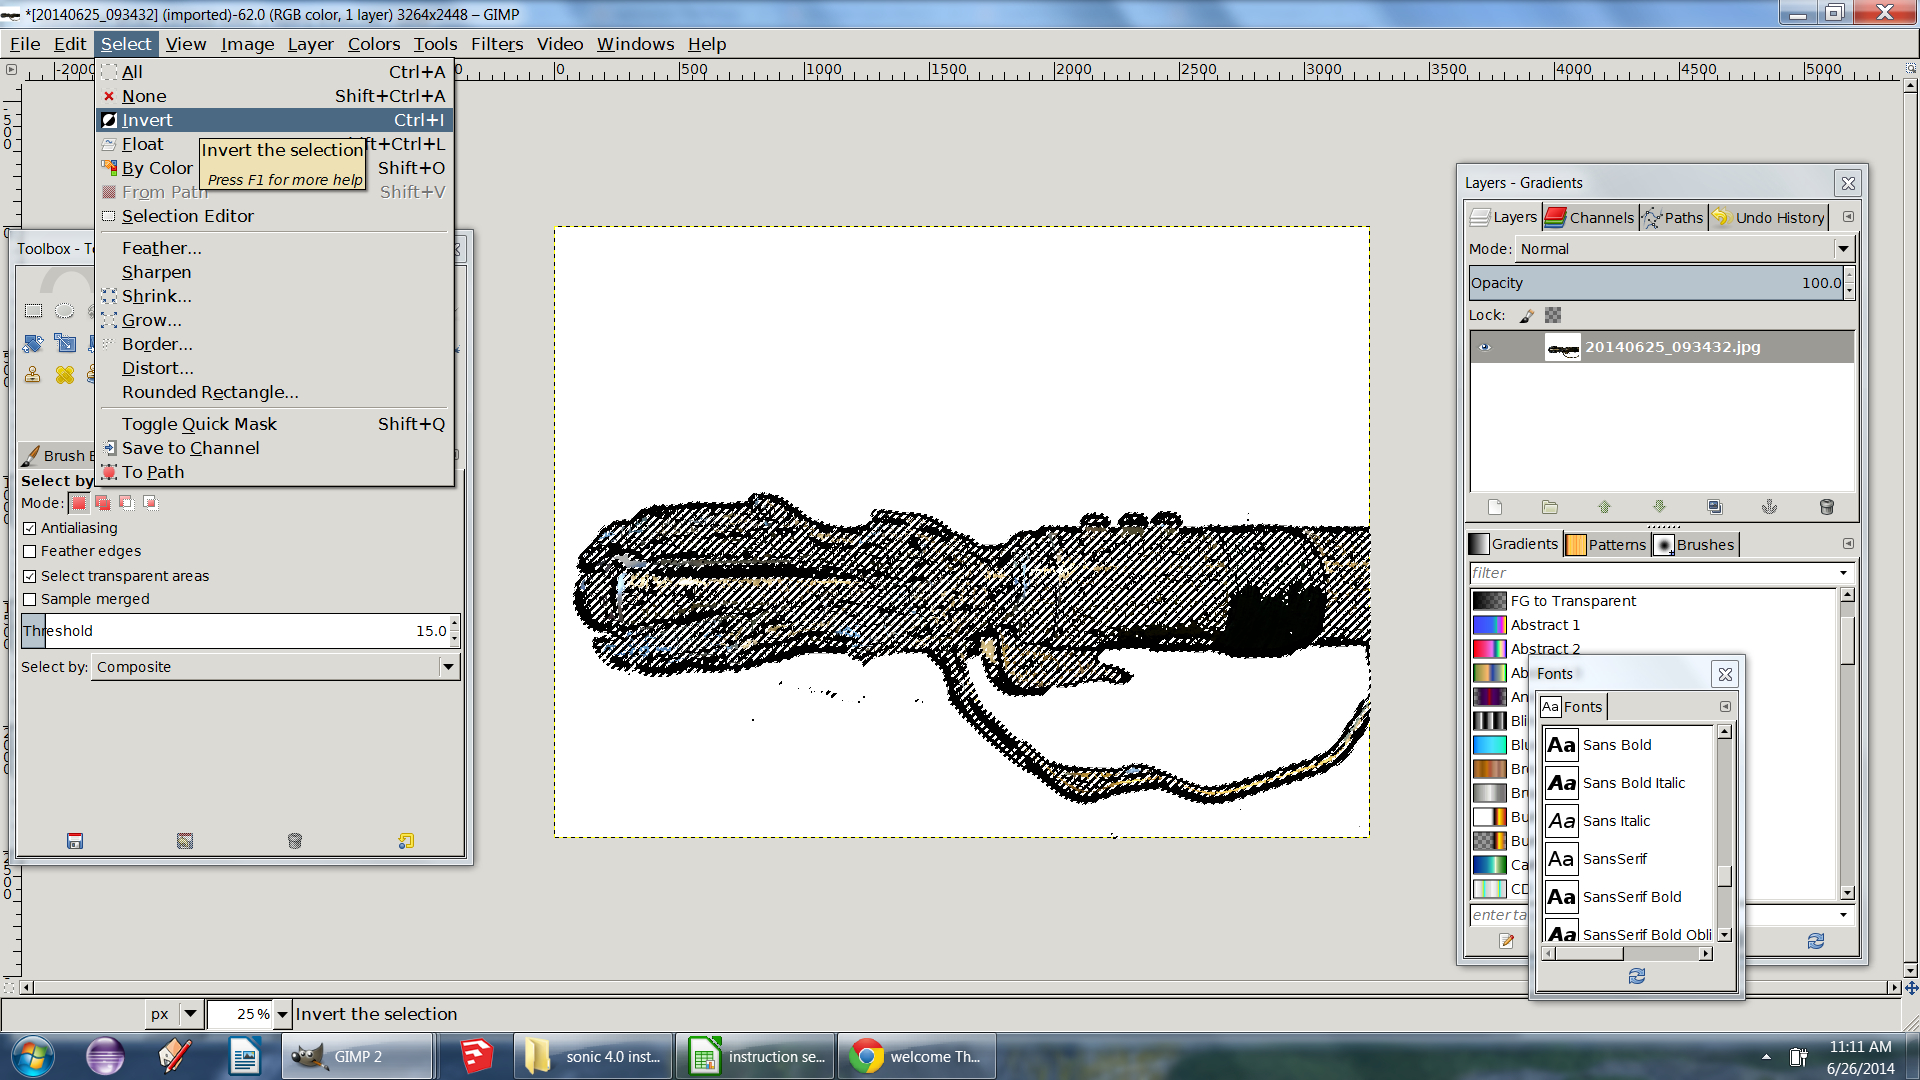
Invert the selection (Select->Invert) and hit the delete key.
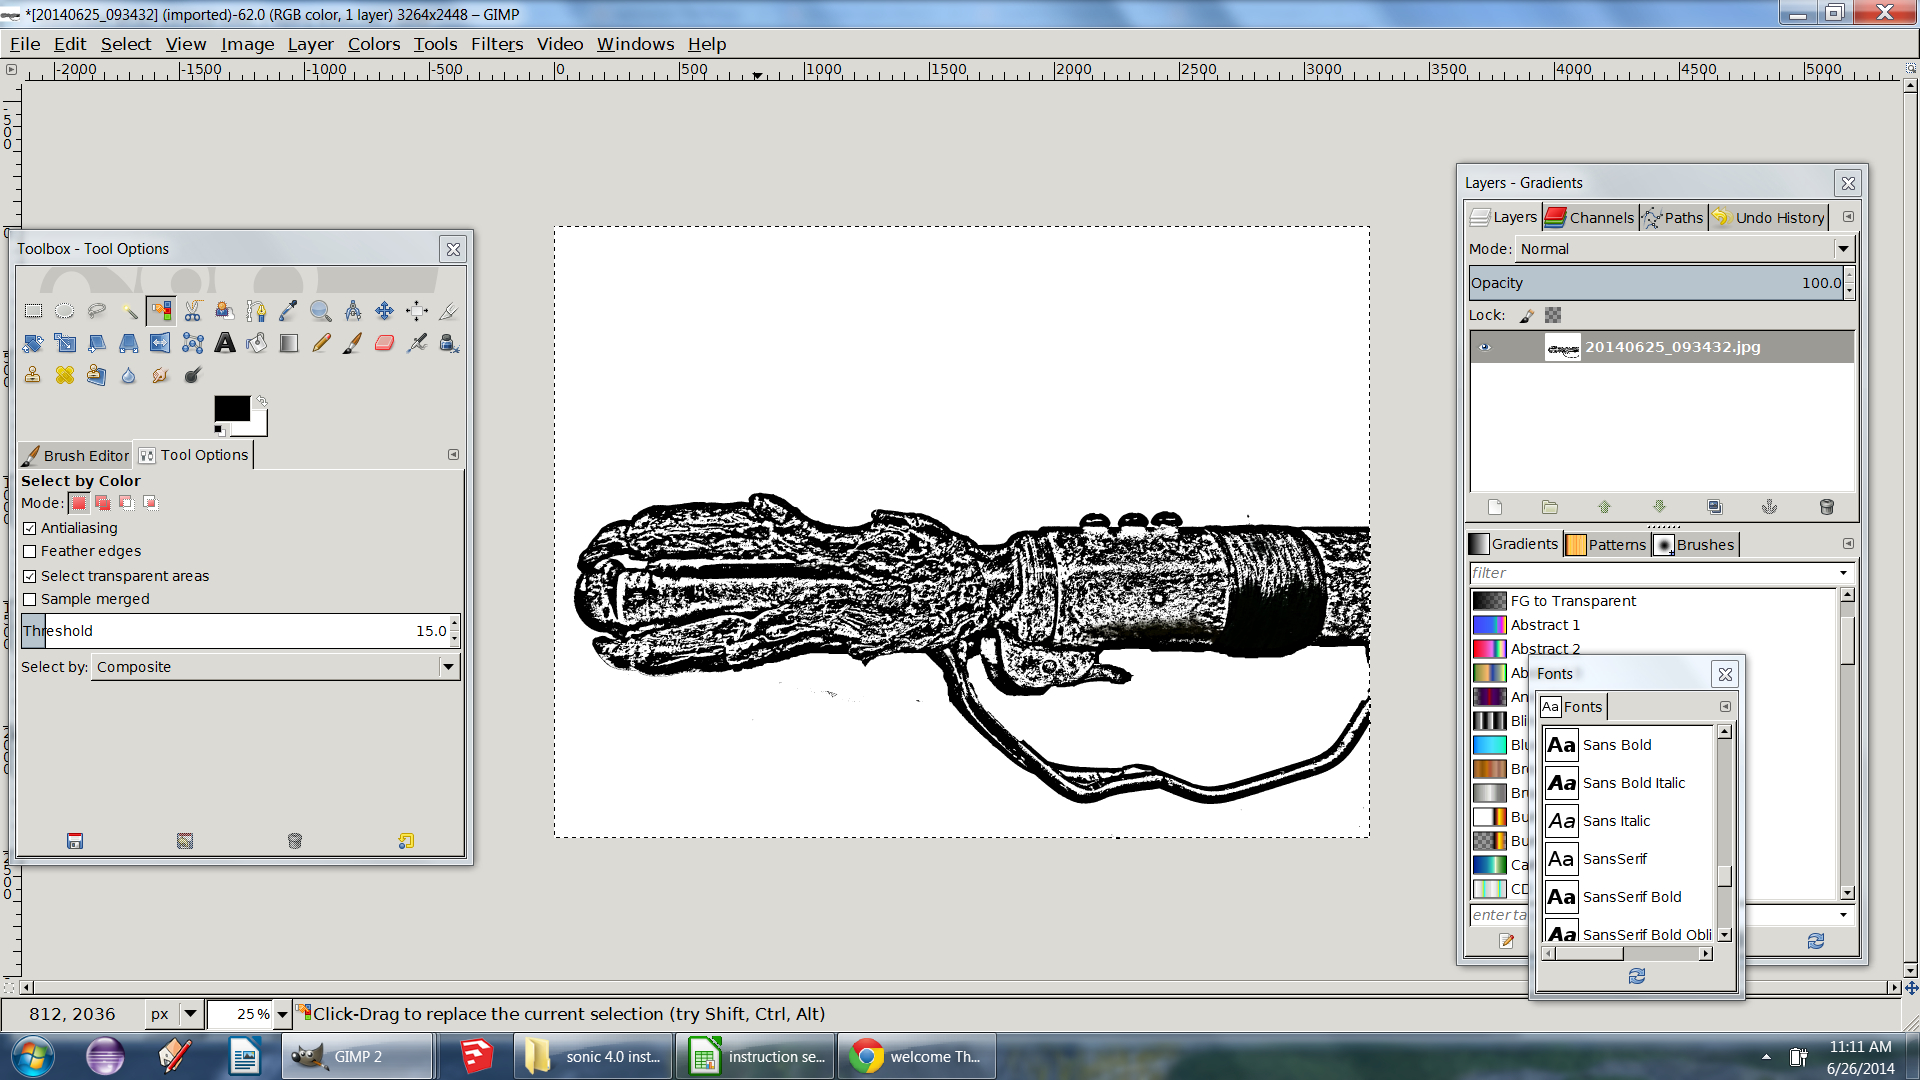
Clear your selection (cntrl+A) and you have a sketchy drawing of your prop.
Add Transparency and Export
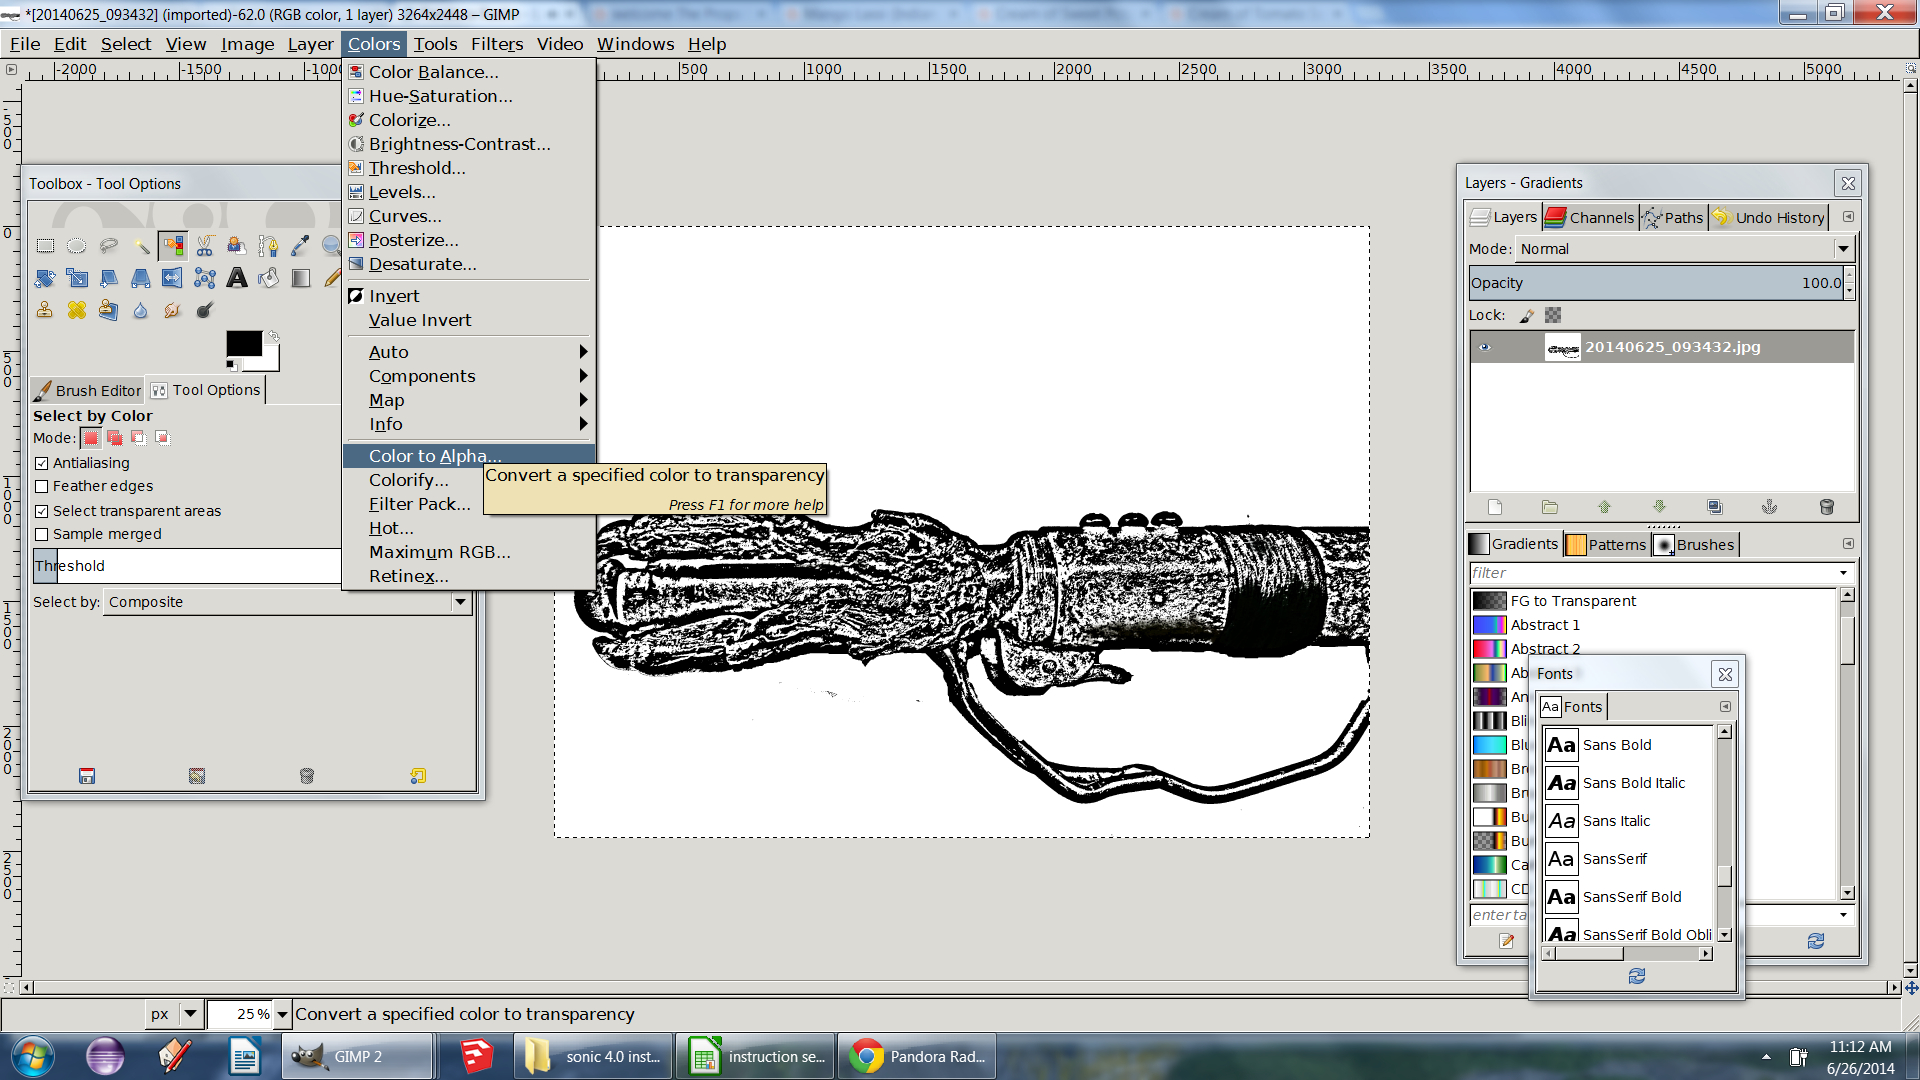
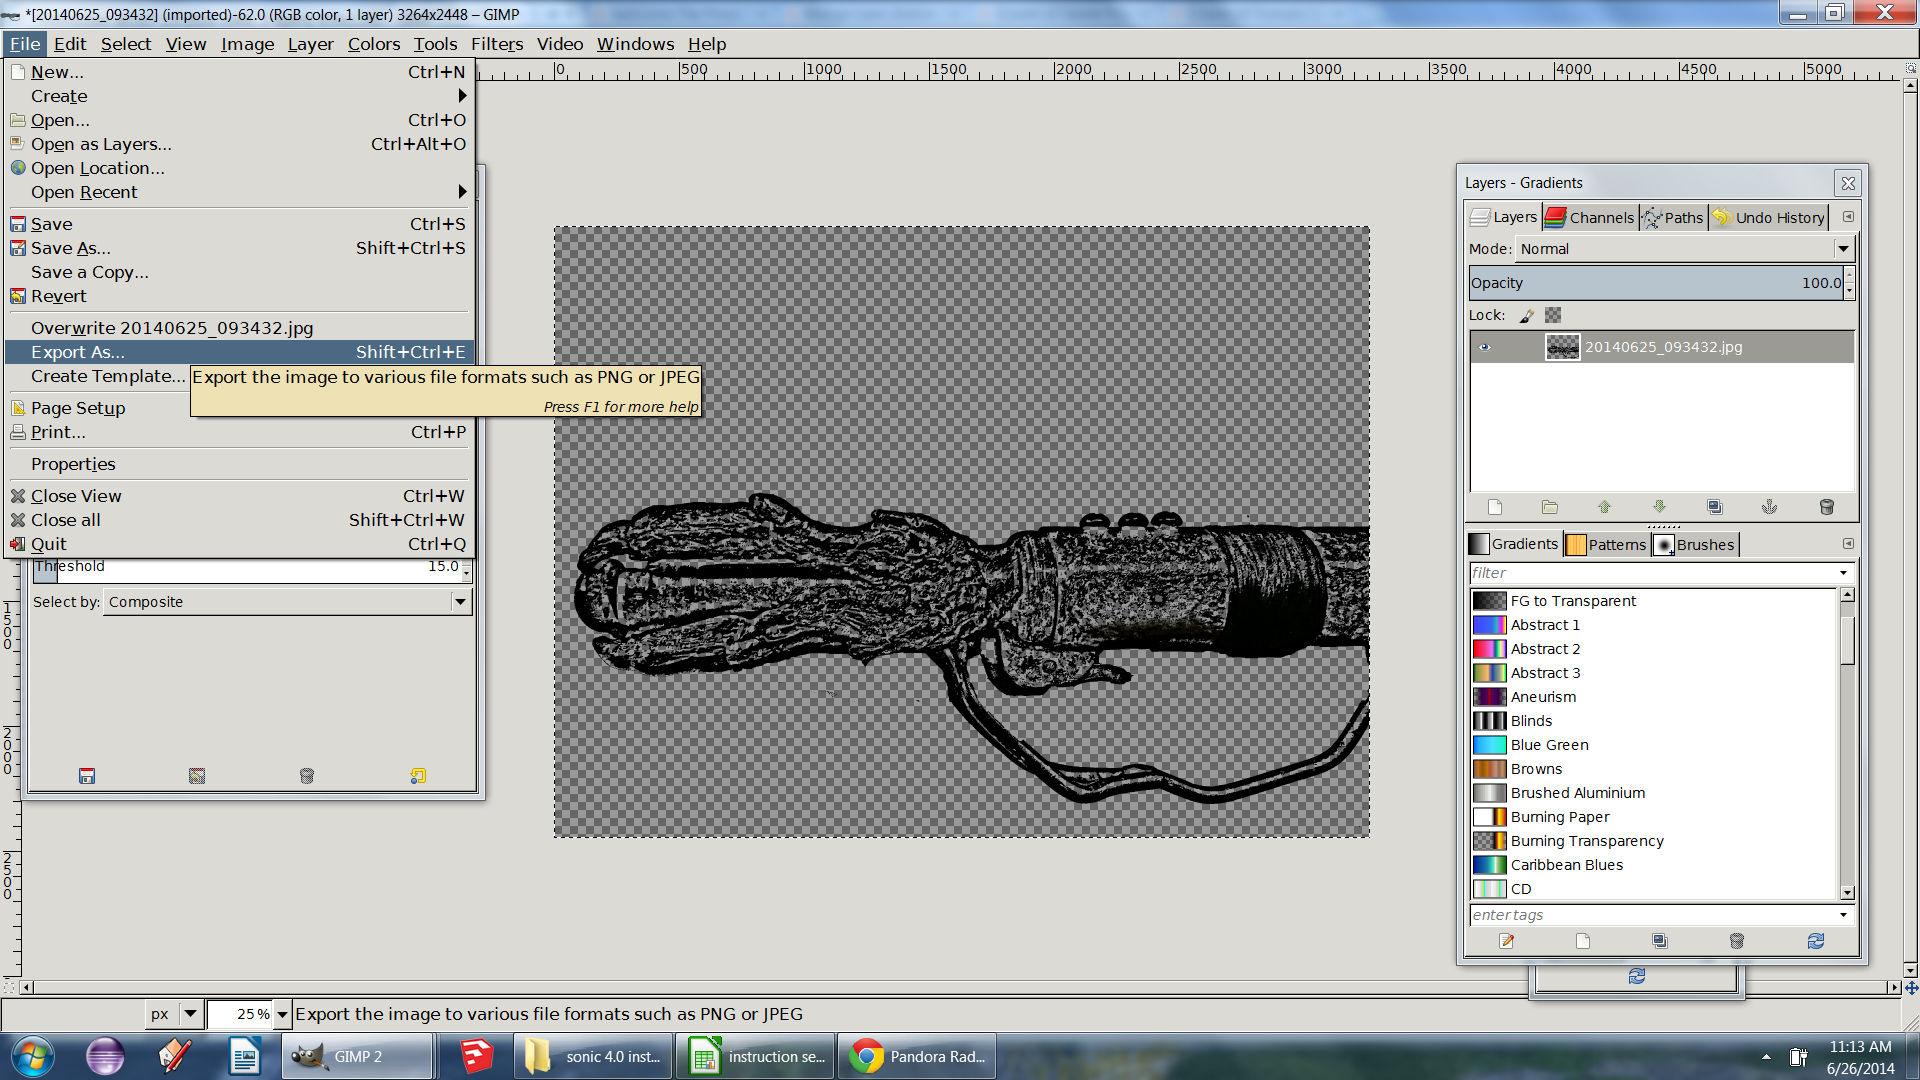
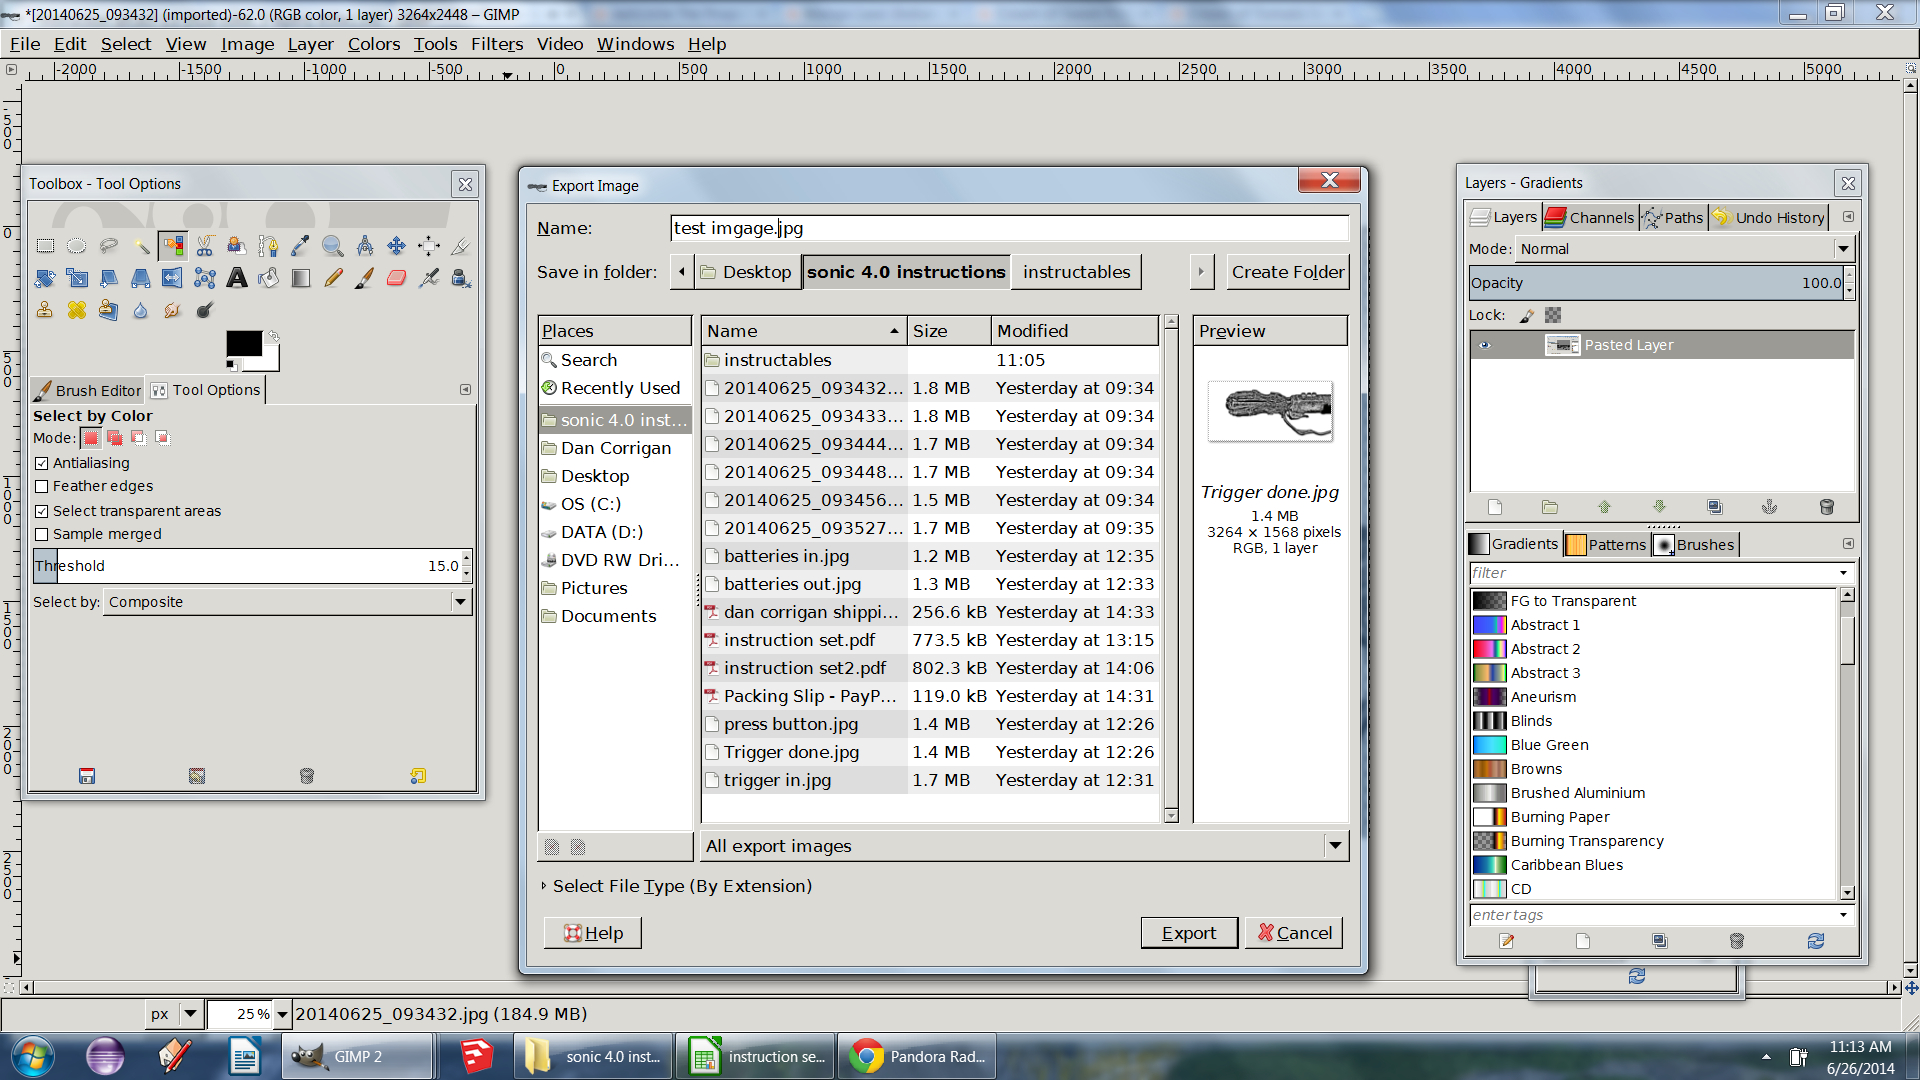
Now make the background transparent (color->color to alpha then select white and ok)
Once that is done export the image as a PNG or JPG somewhere you can find it (cntrl+E)
Opening the Spreadsheet and the Header
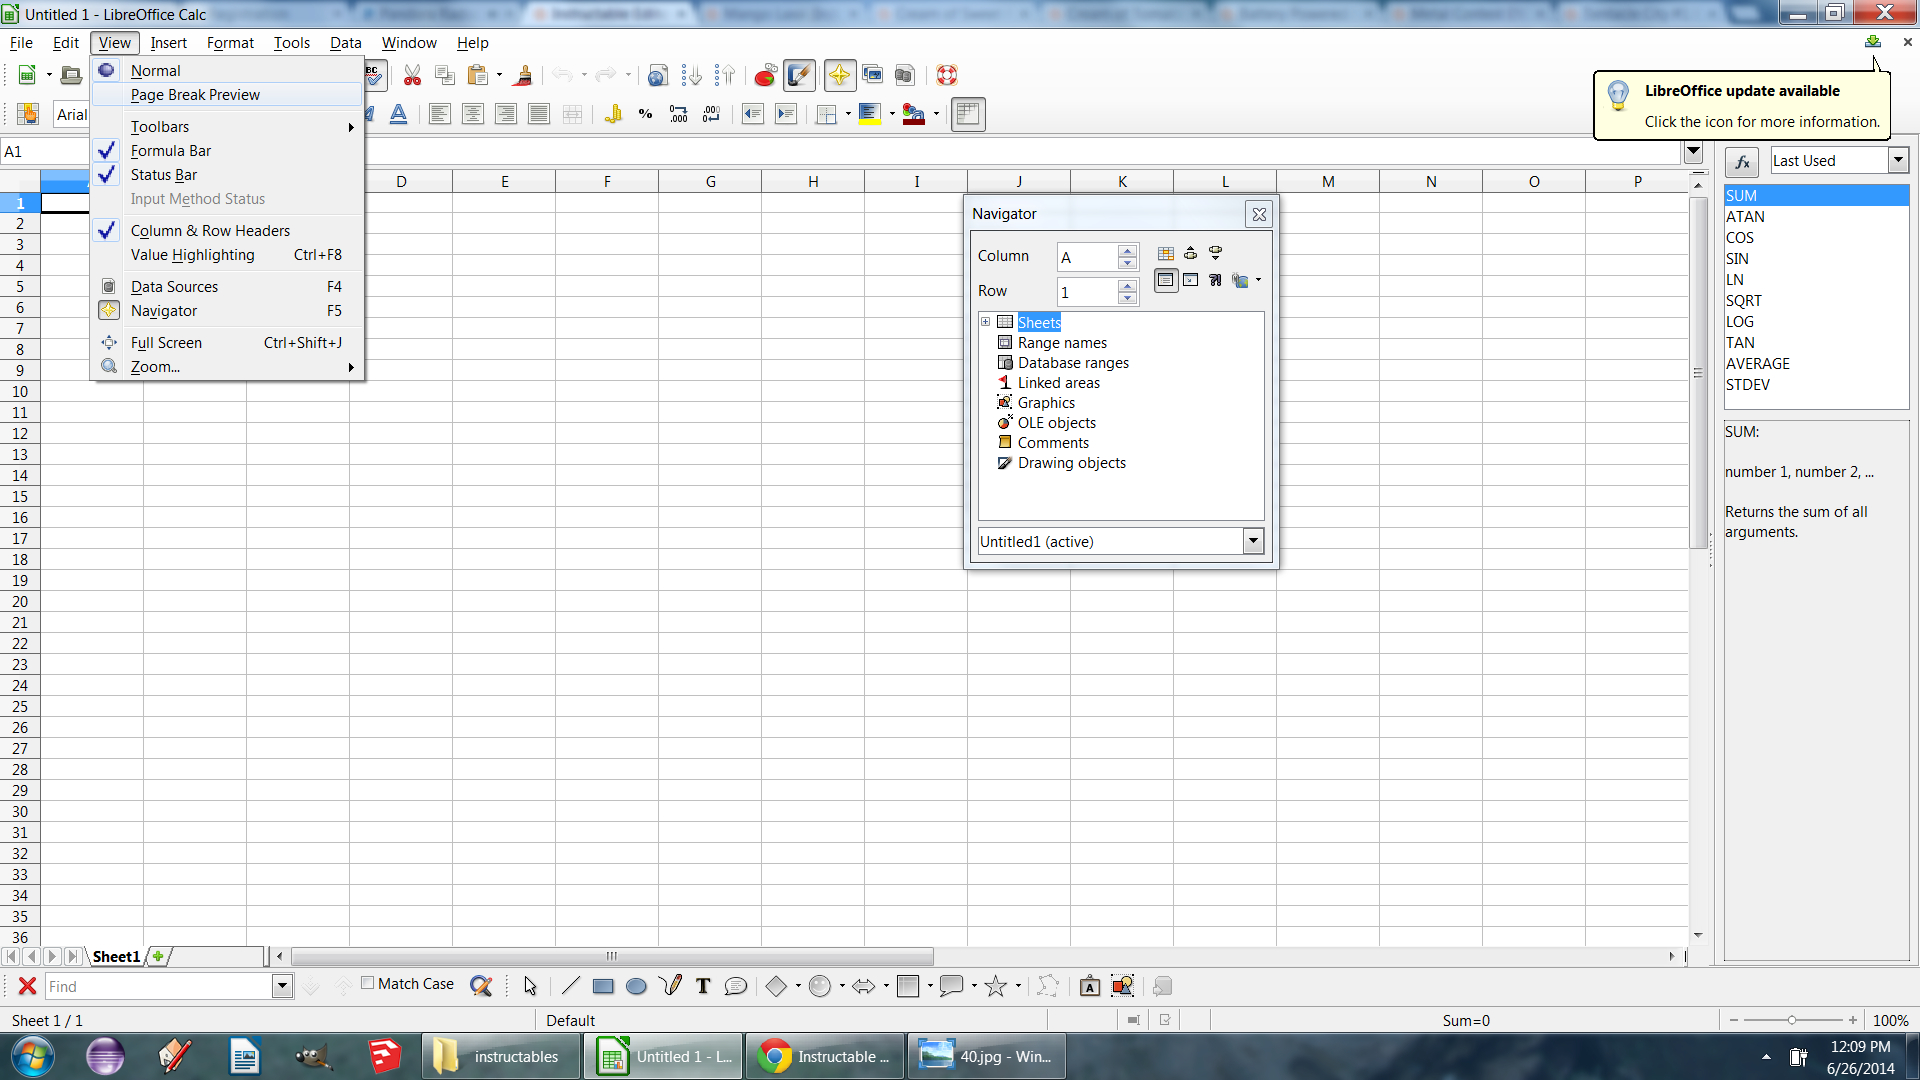
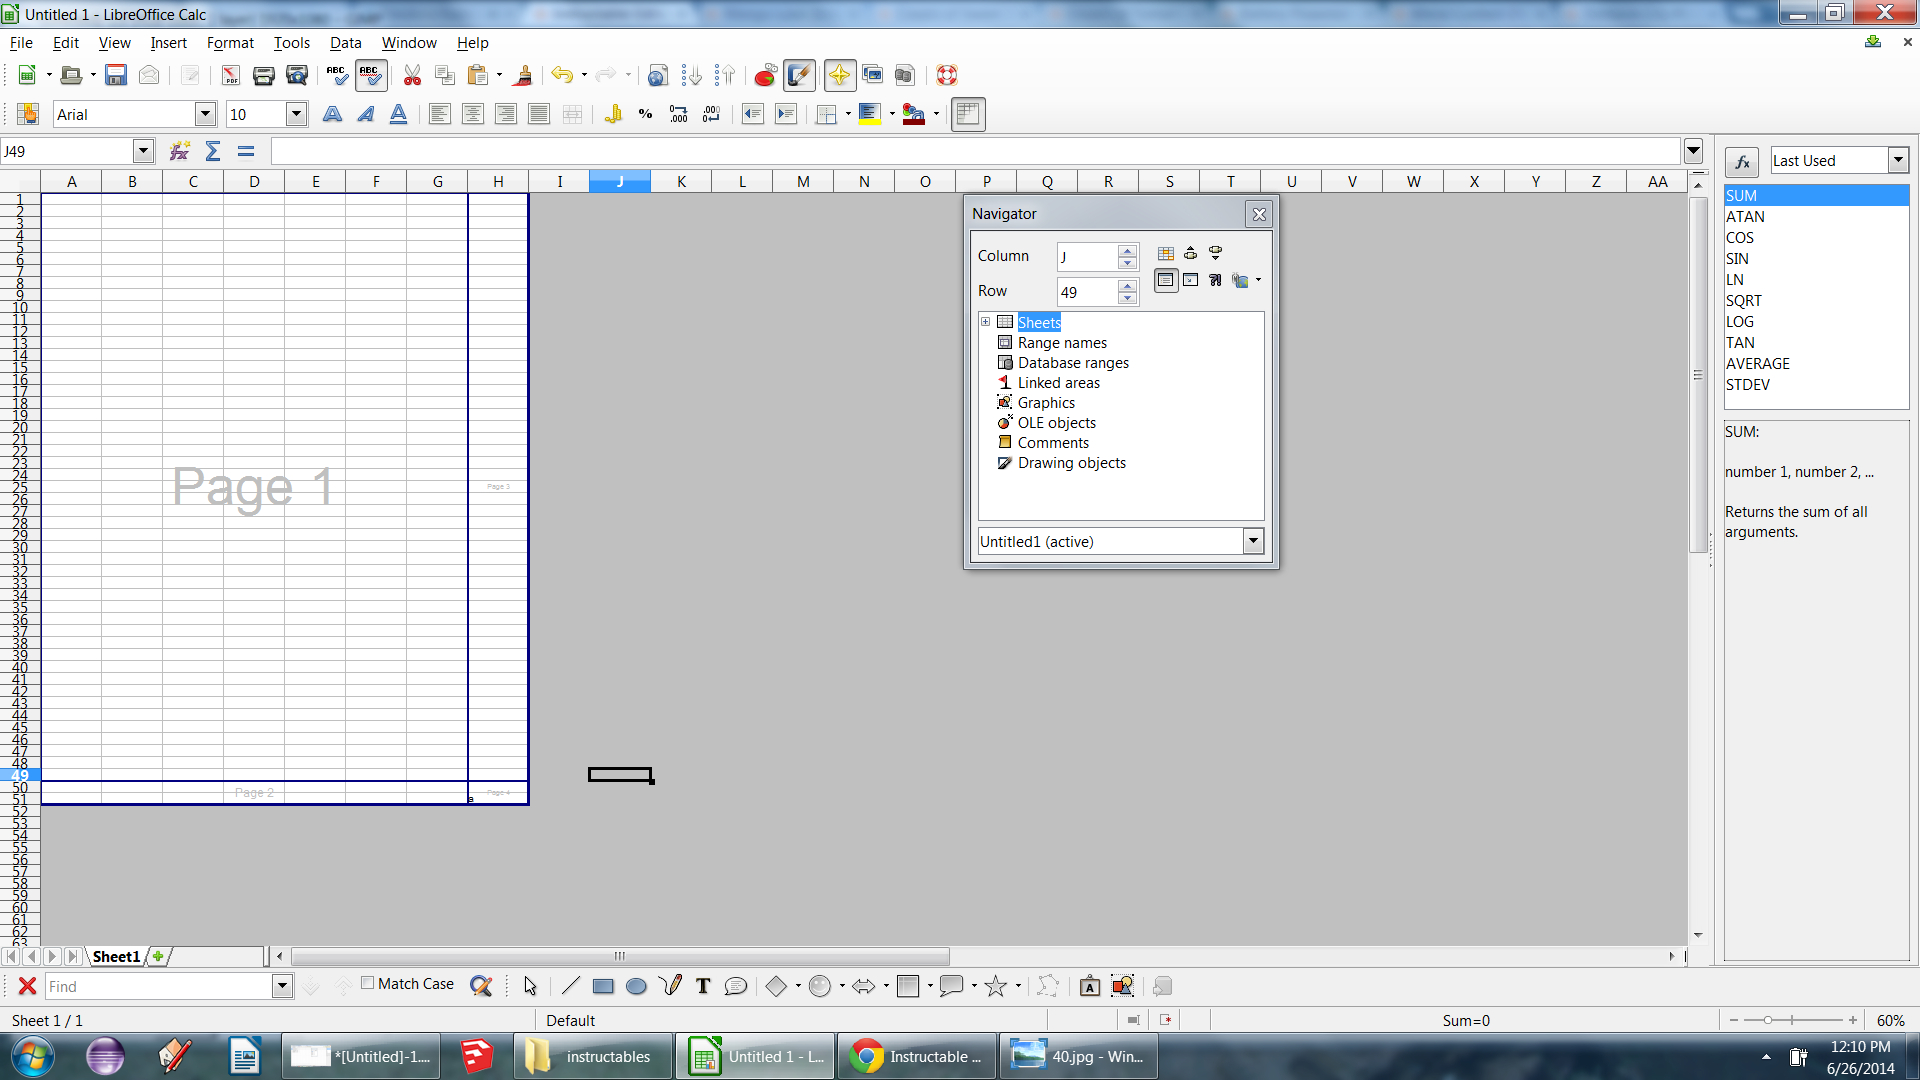
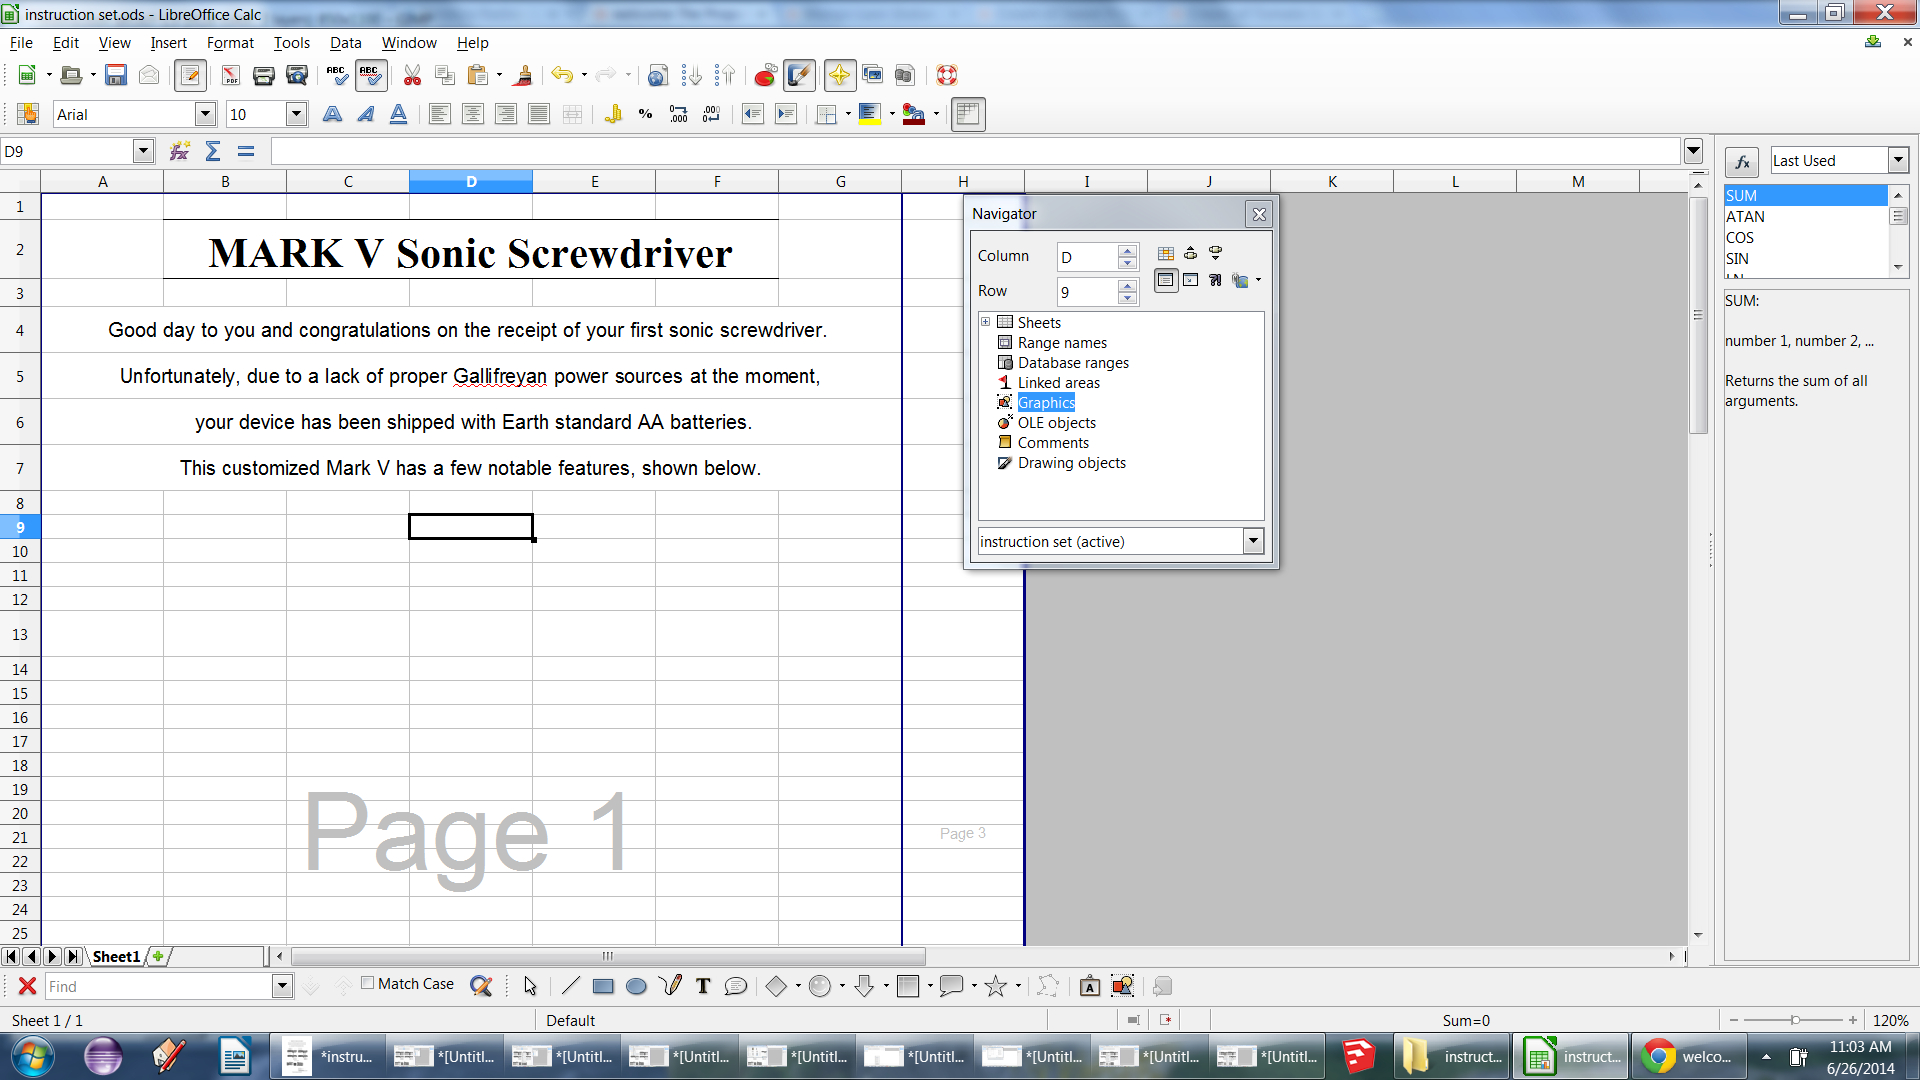
Open a new document in your spreadsheet program and set it up in page break view (View->page break preview)
Once that is done find the corner of the page by putting anything in a few boxes until there is a blue bounding box around page 1.
Now that is done you can add a header to your instructions. The first piece should probably be the name of the prop, then a brief description. Keep this in the top 1/3rd of the page. Any bits from the universe of the prop add to the "realism".
Add the Pictures
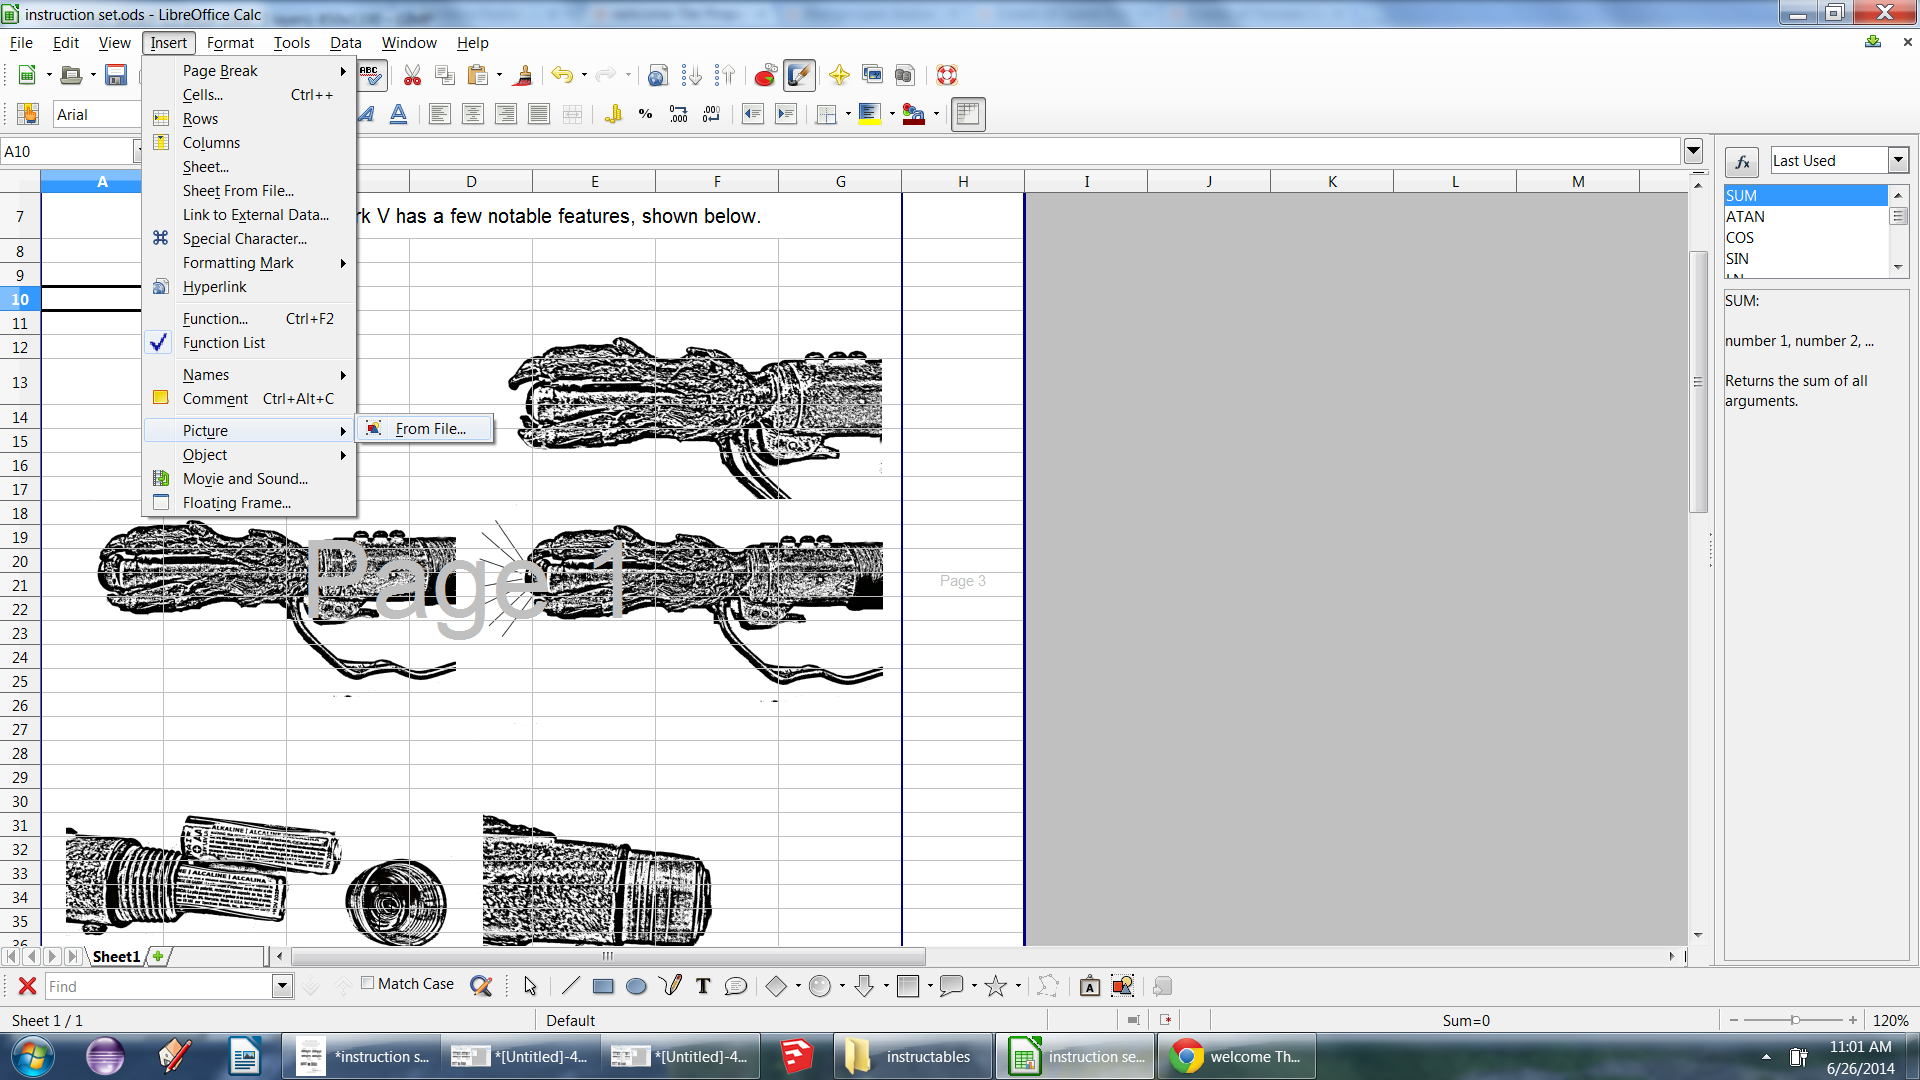
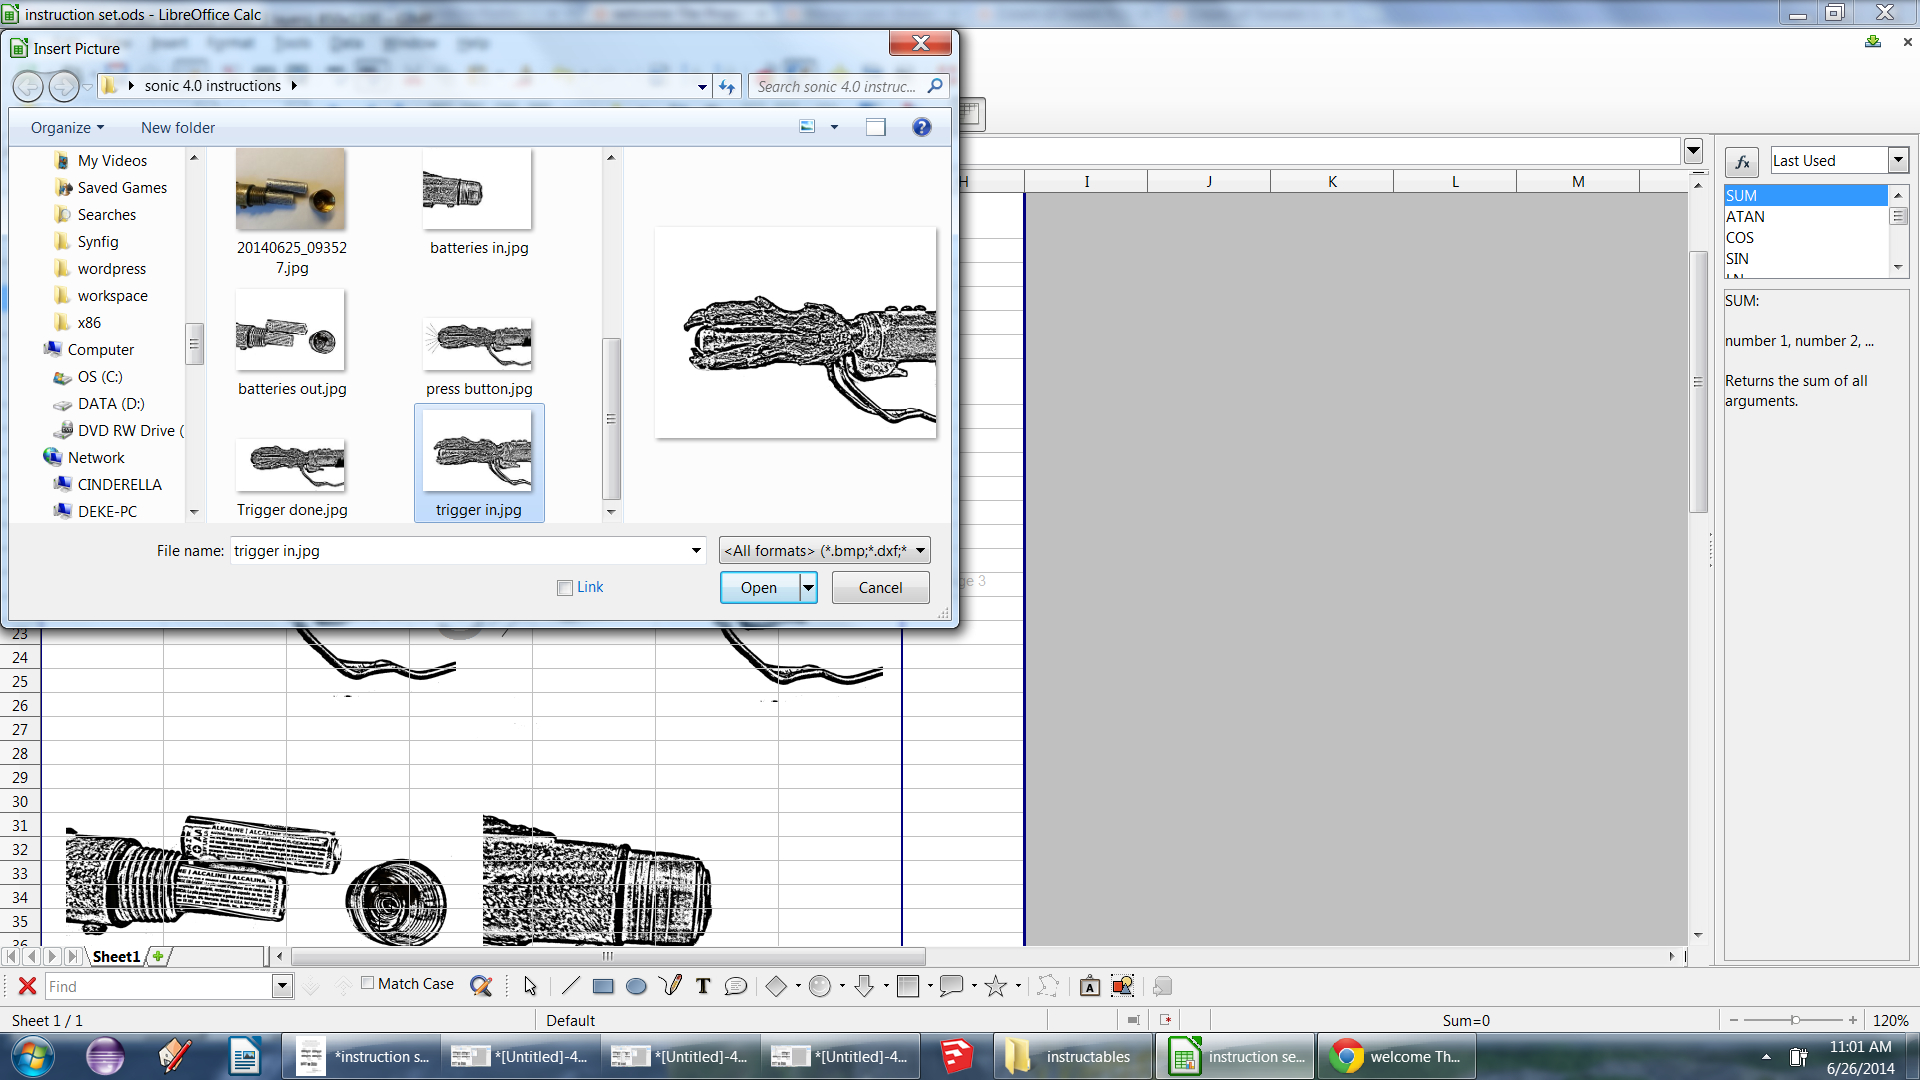
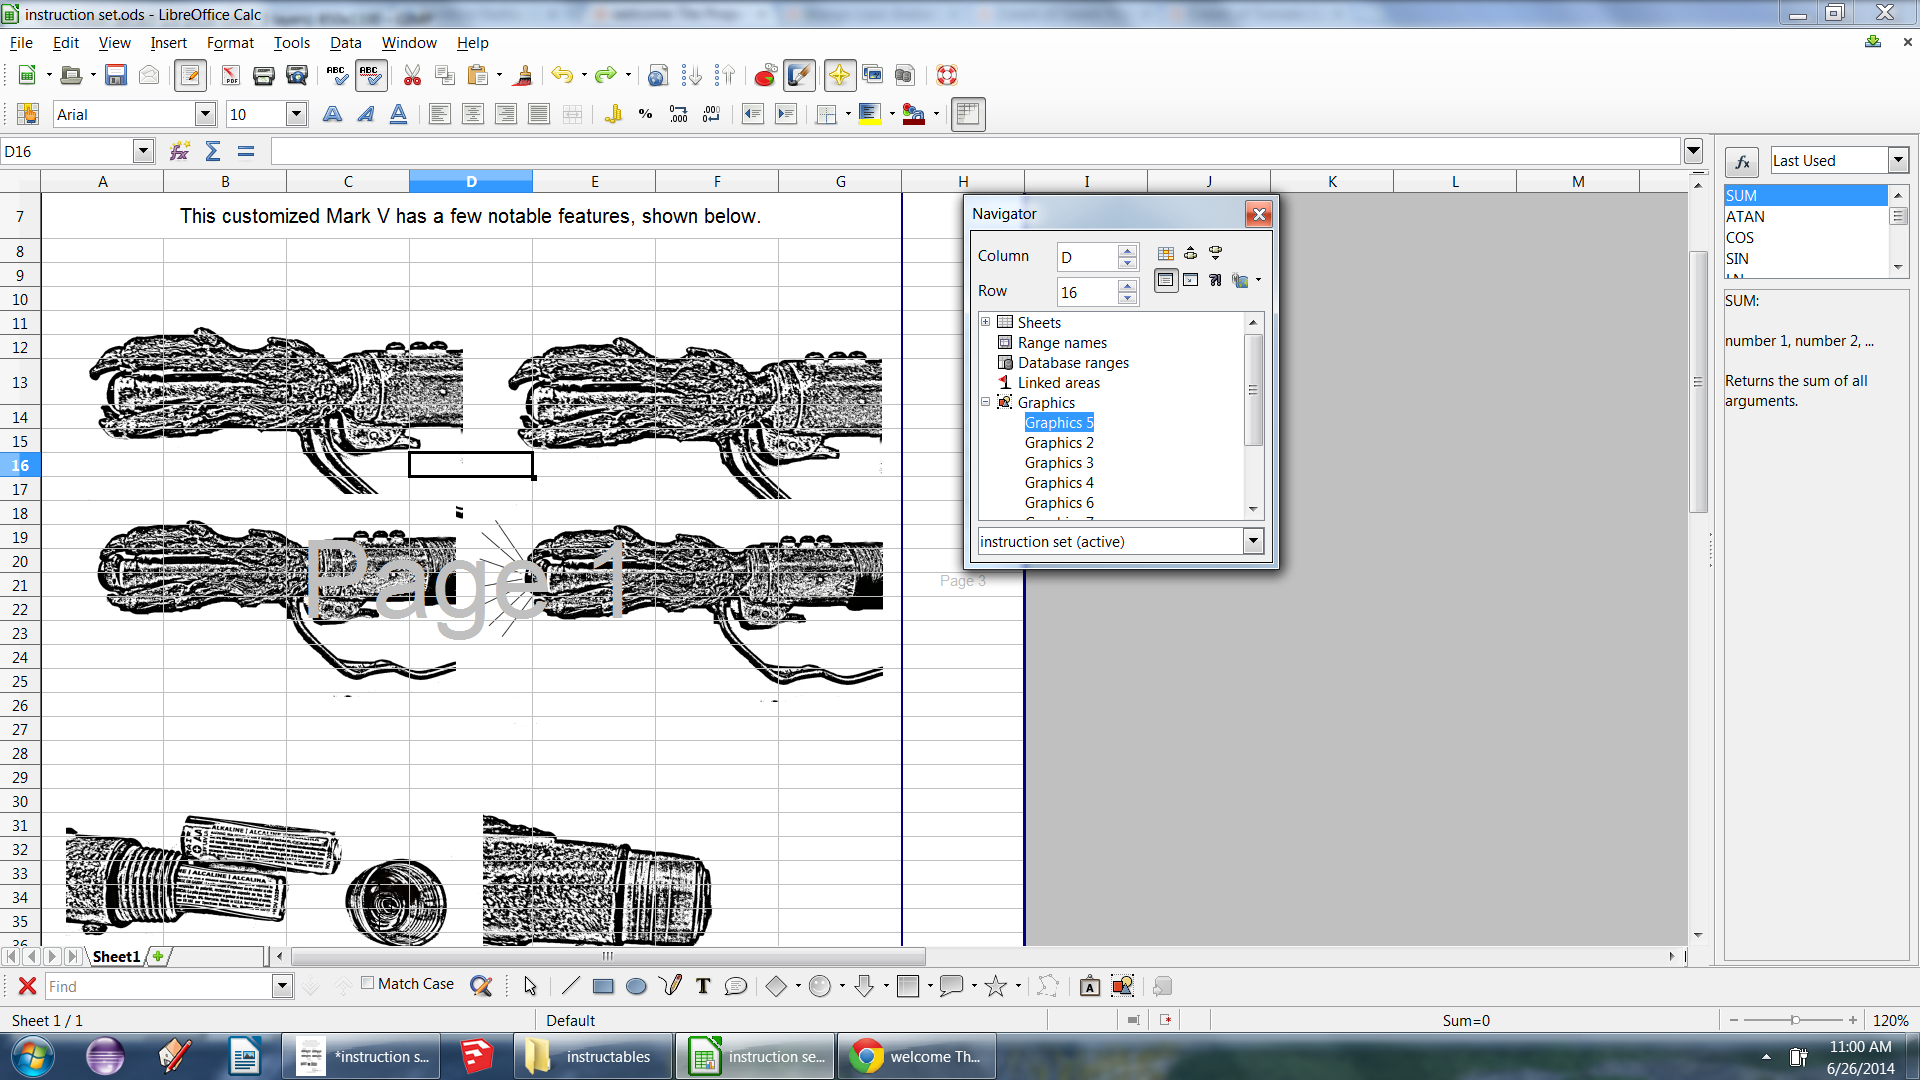
Now to add those images we created earlier, remember where you put them?
Select a box on the page and import an image (Insert->picture->from file)
Find the image and hit open.
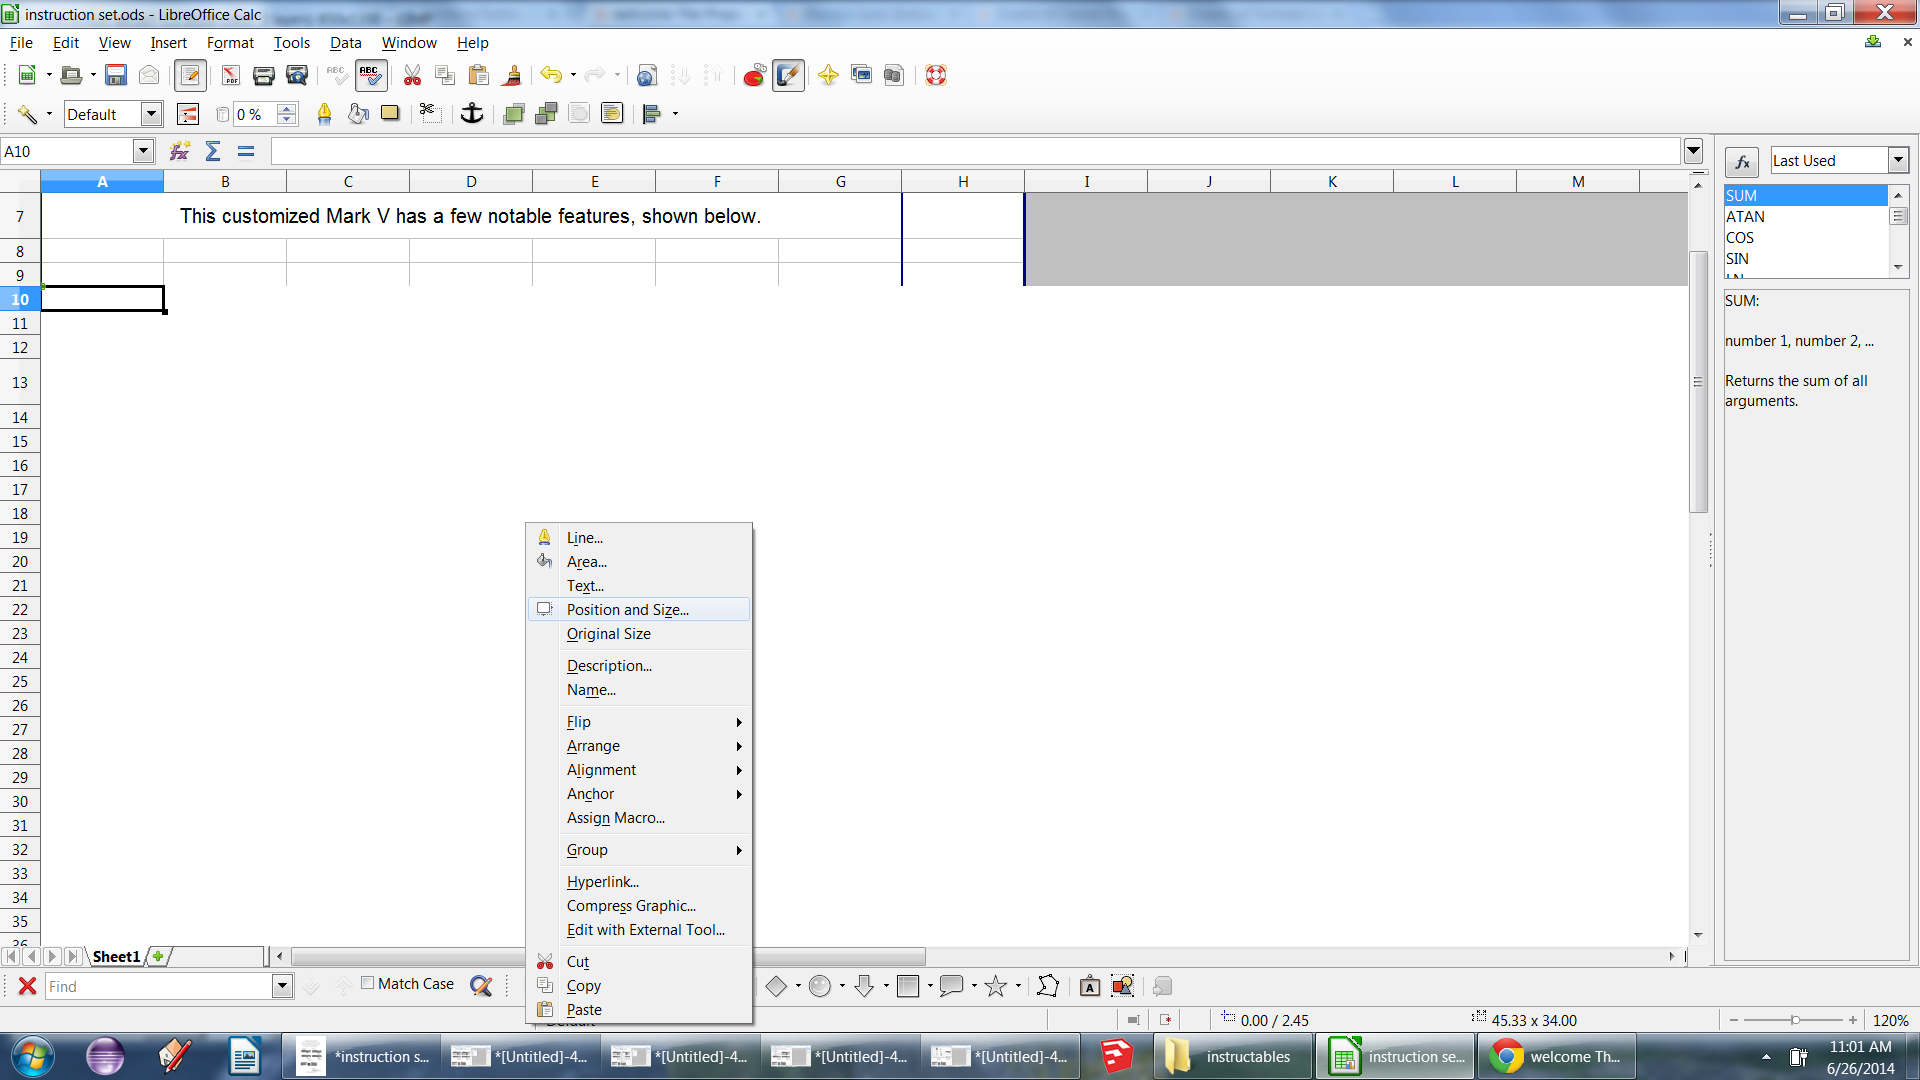
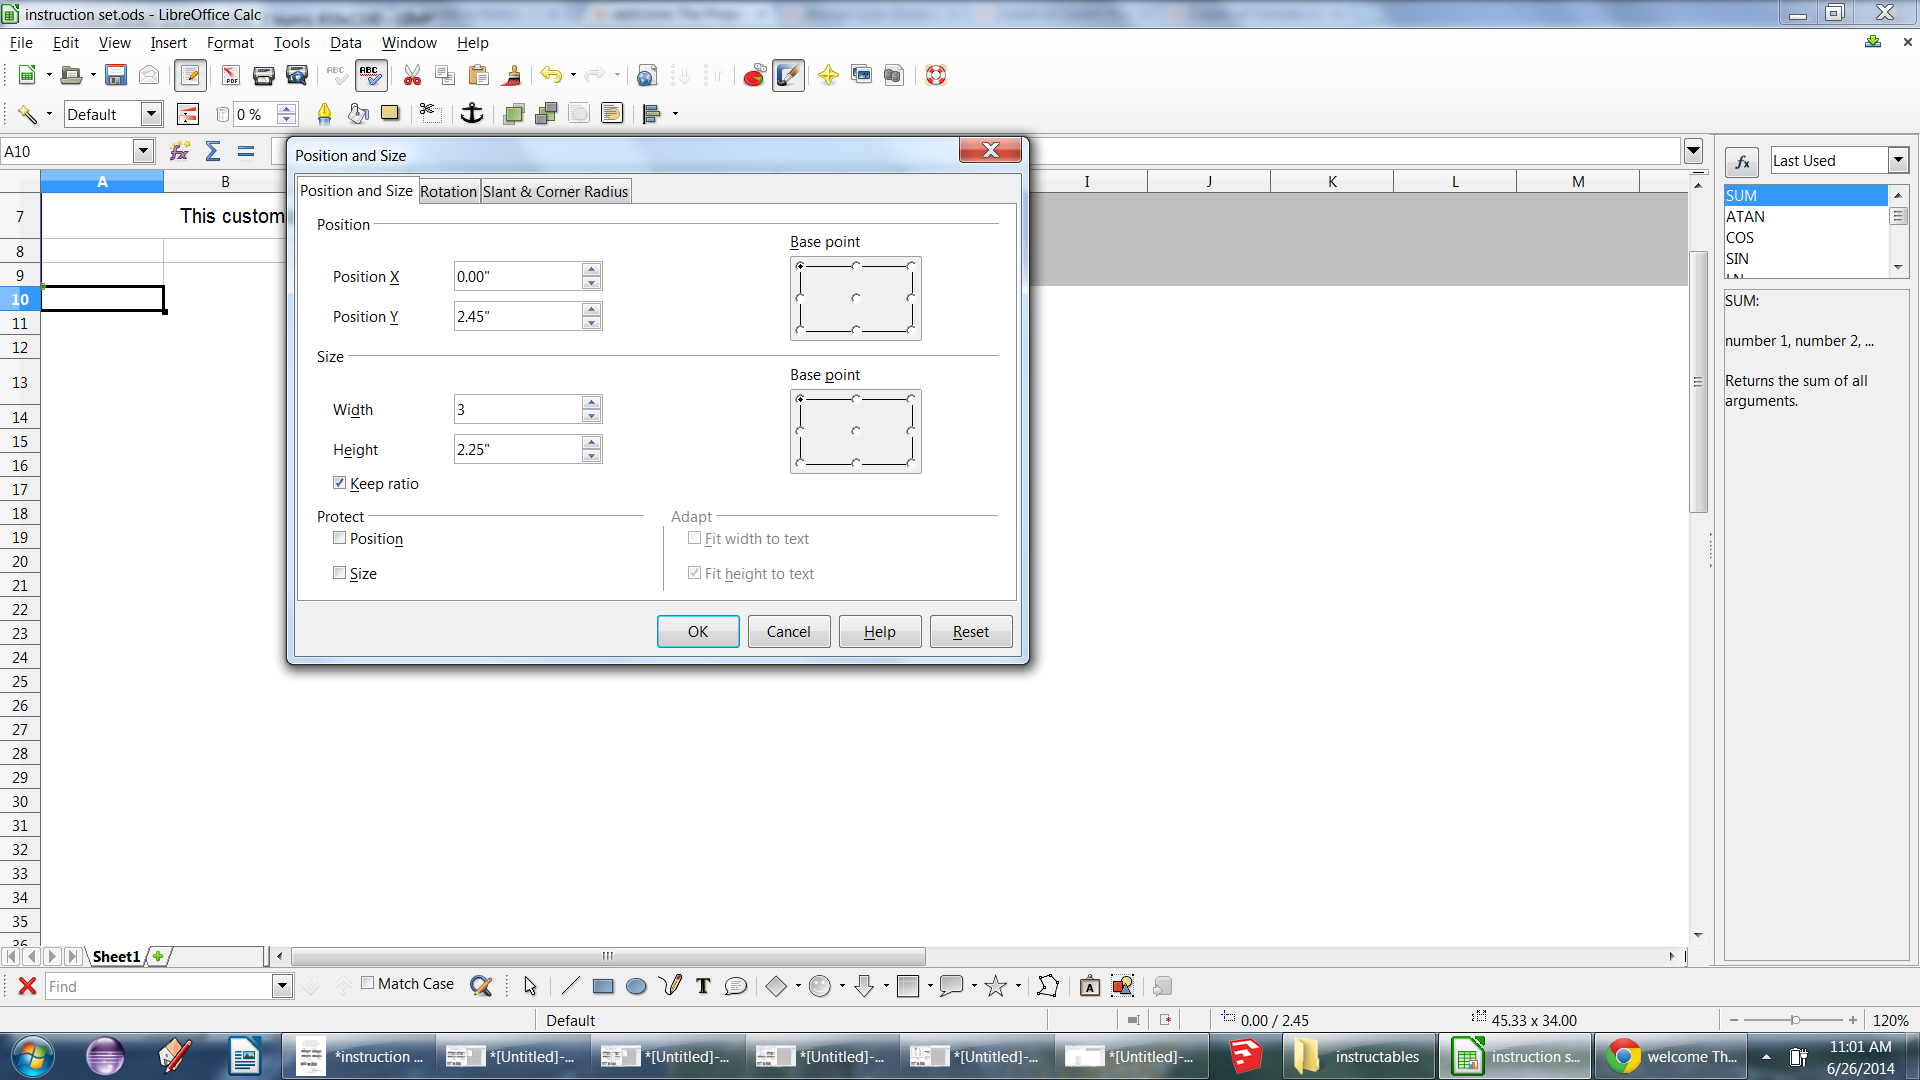
My images turned out to be huge compared to the page size, do not worry. Right click the image and select position and size.
Adjust the size to something around 3x2 inches to get it on your page (you can refine with the draggable corners later.)
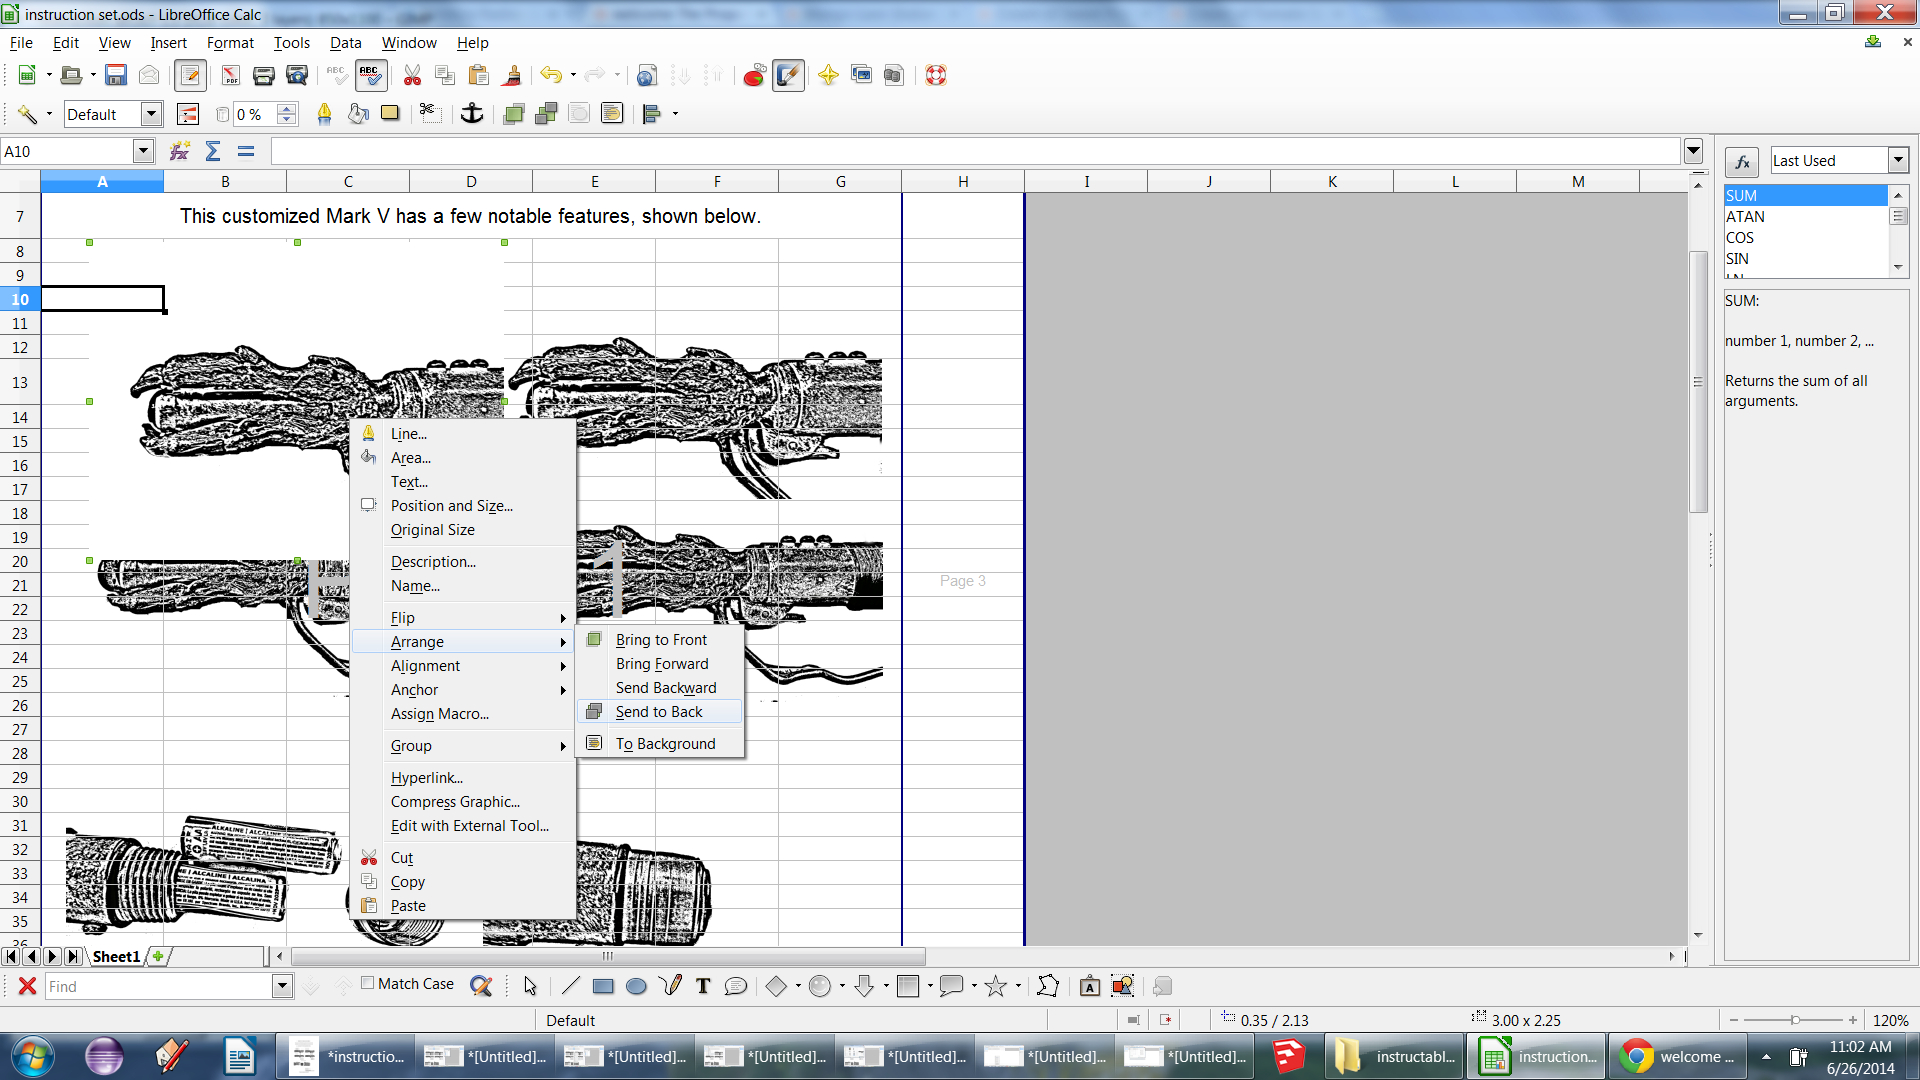
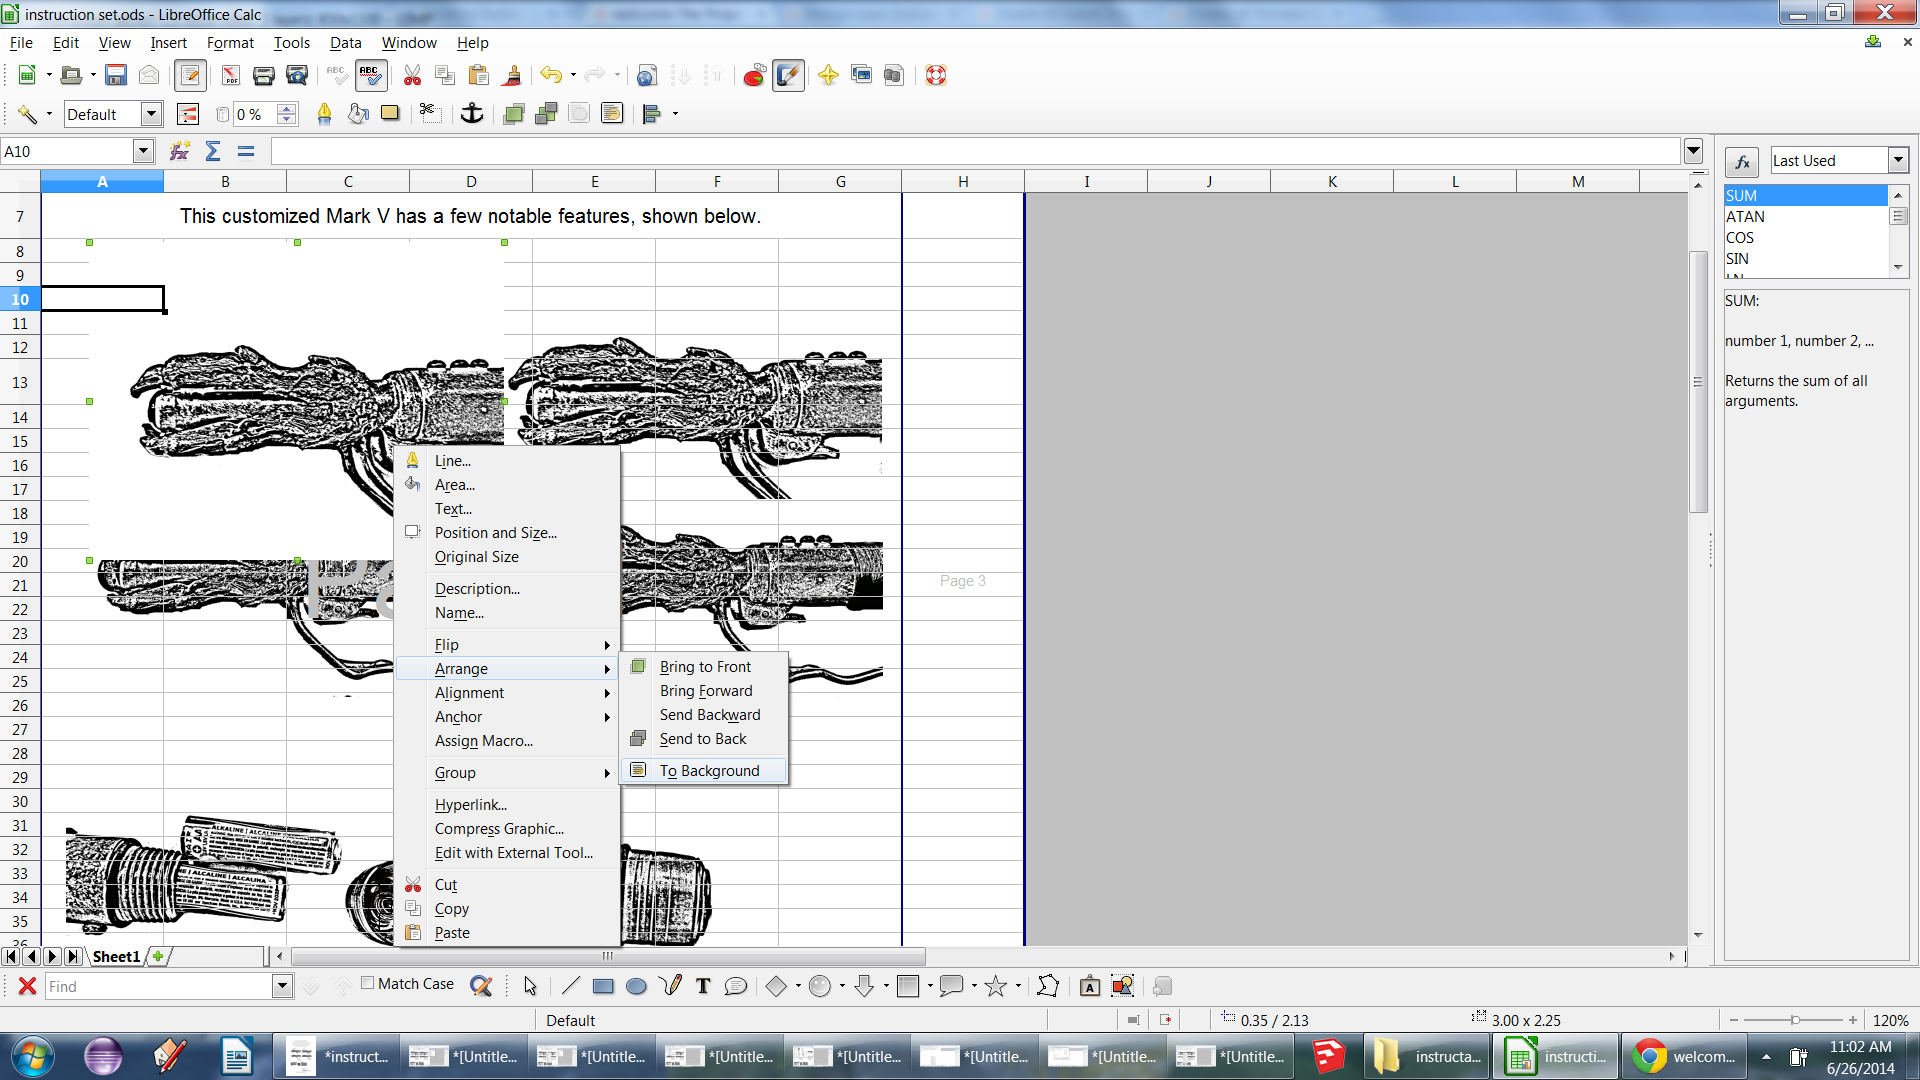
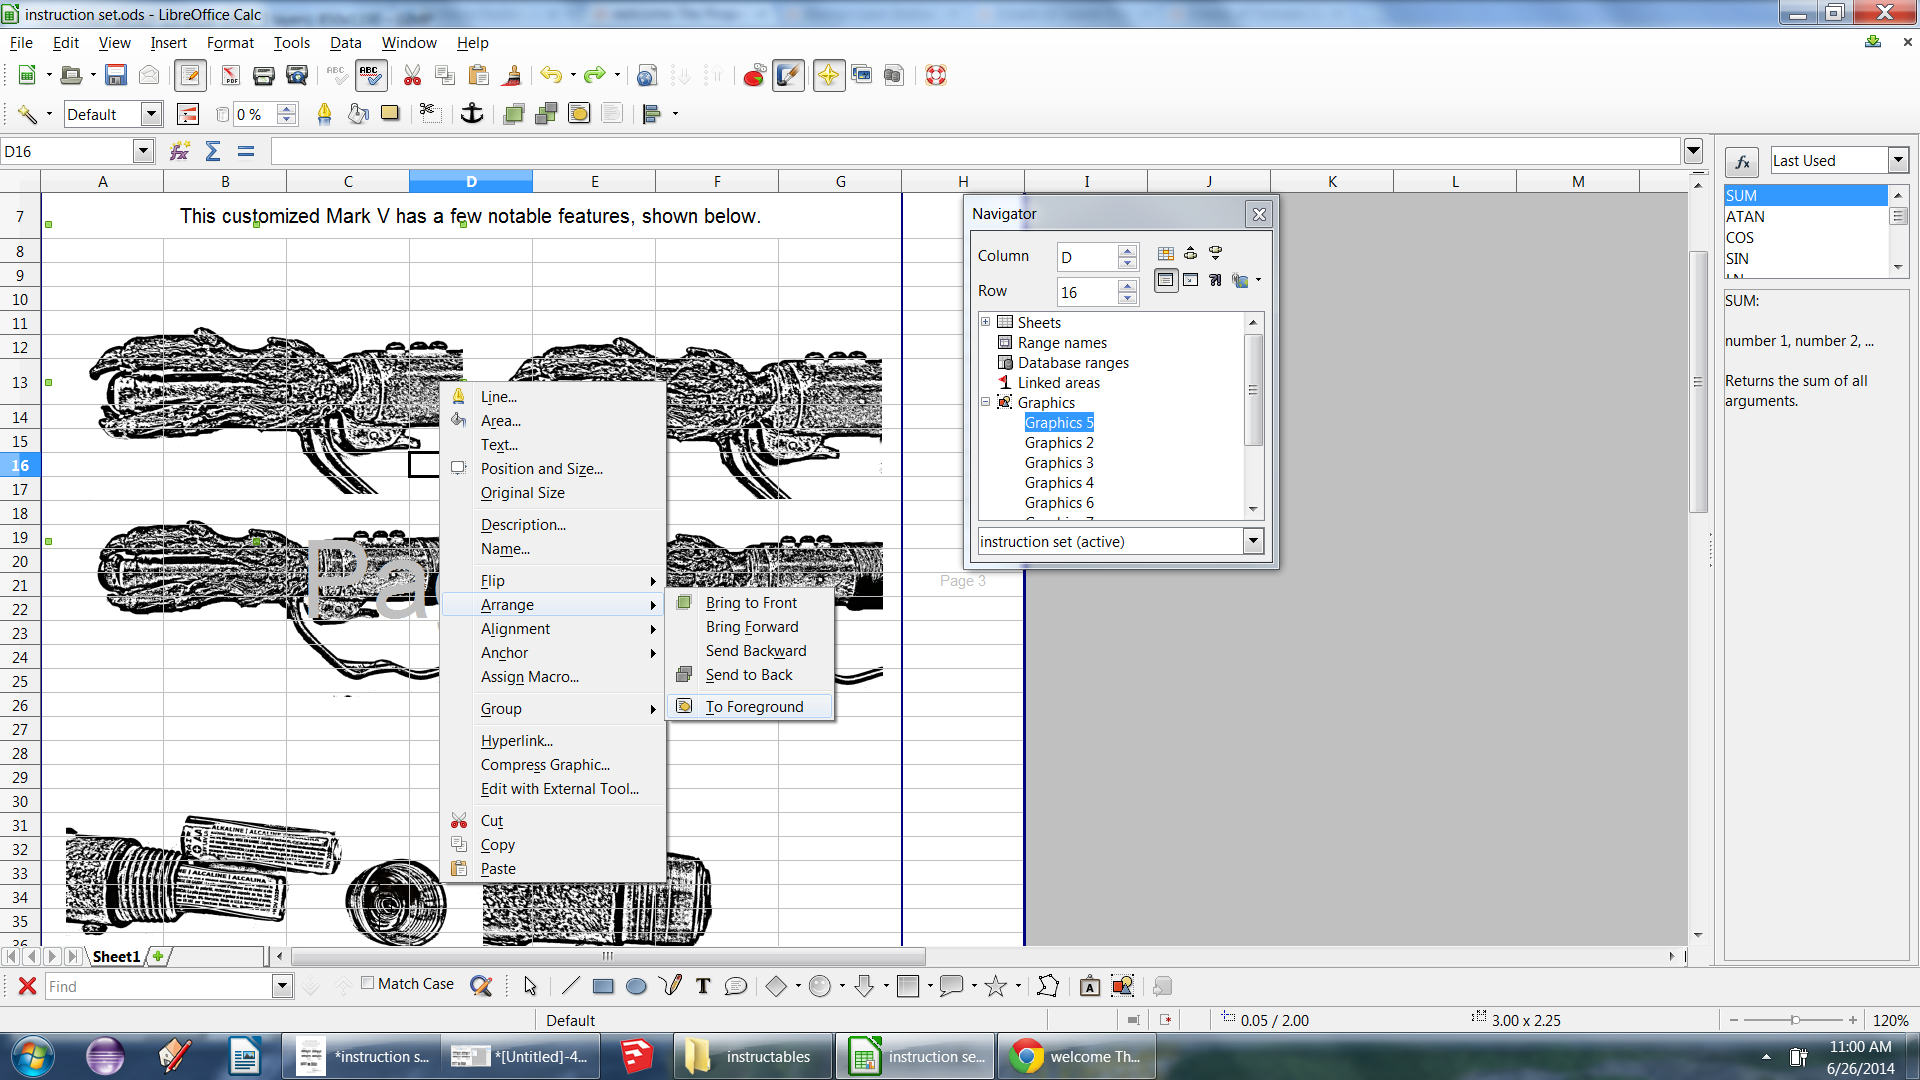
Repeat this process for the rest of the images and arrange them how you would like them to appear by moving them and changing the order (right click->arrange.)
Once you are happy with how they look, right click each one, go to arrange and put it in the background.
If you do no like how it looks you can change the images by hitting F5, finding your image in the popup, double clicking and bringing it back to the foreground (See the last few pictures)
Add a Footer
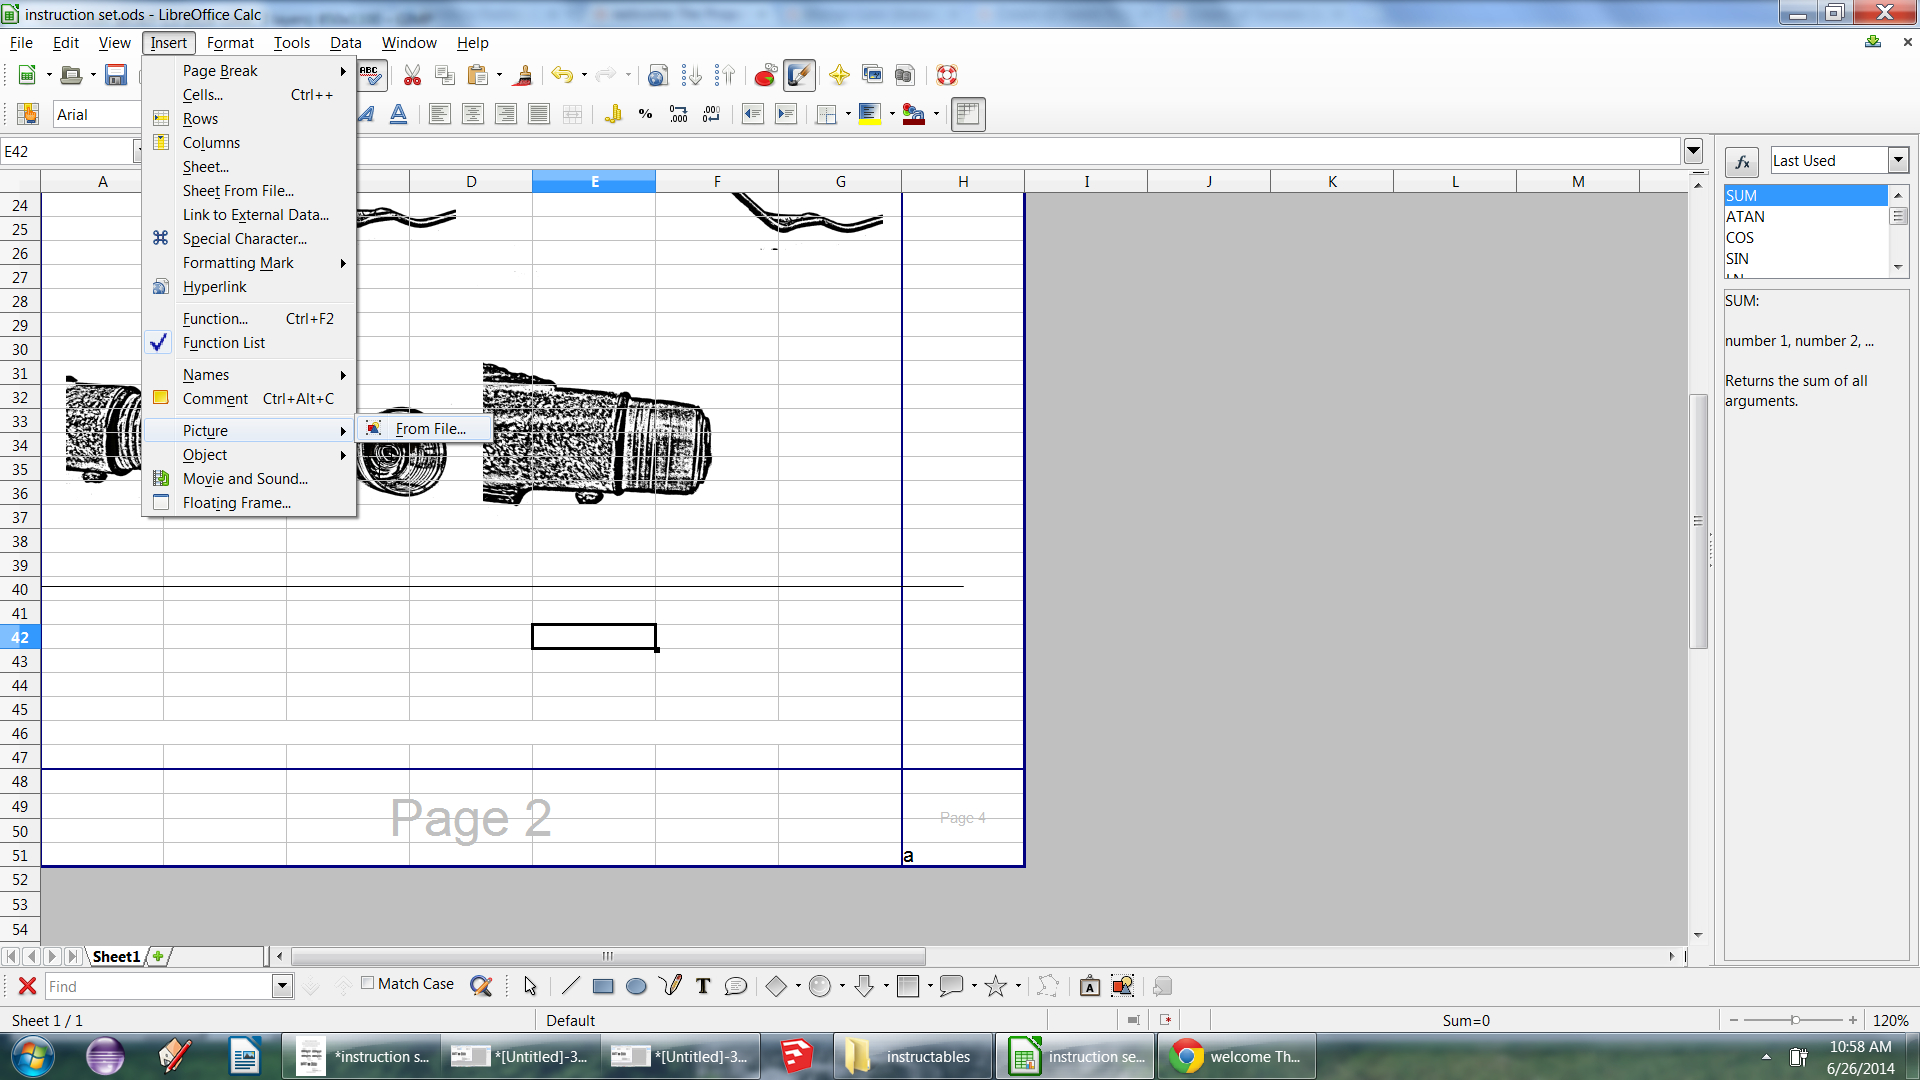
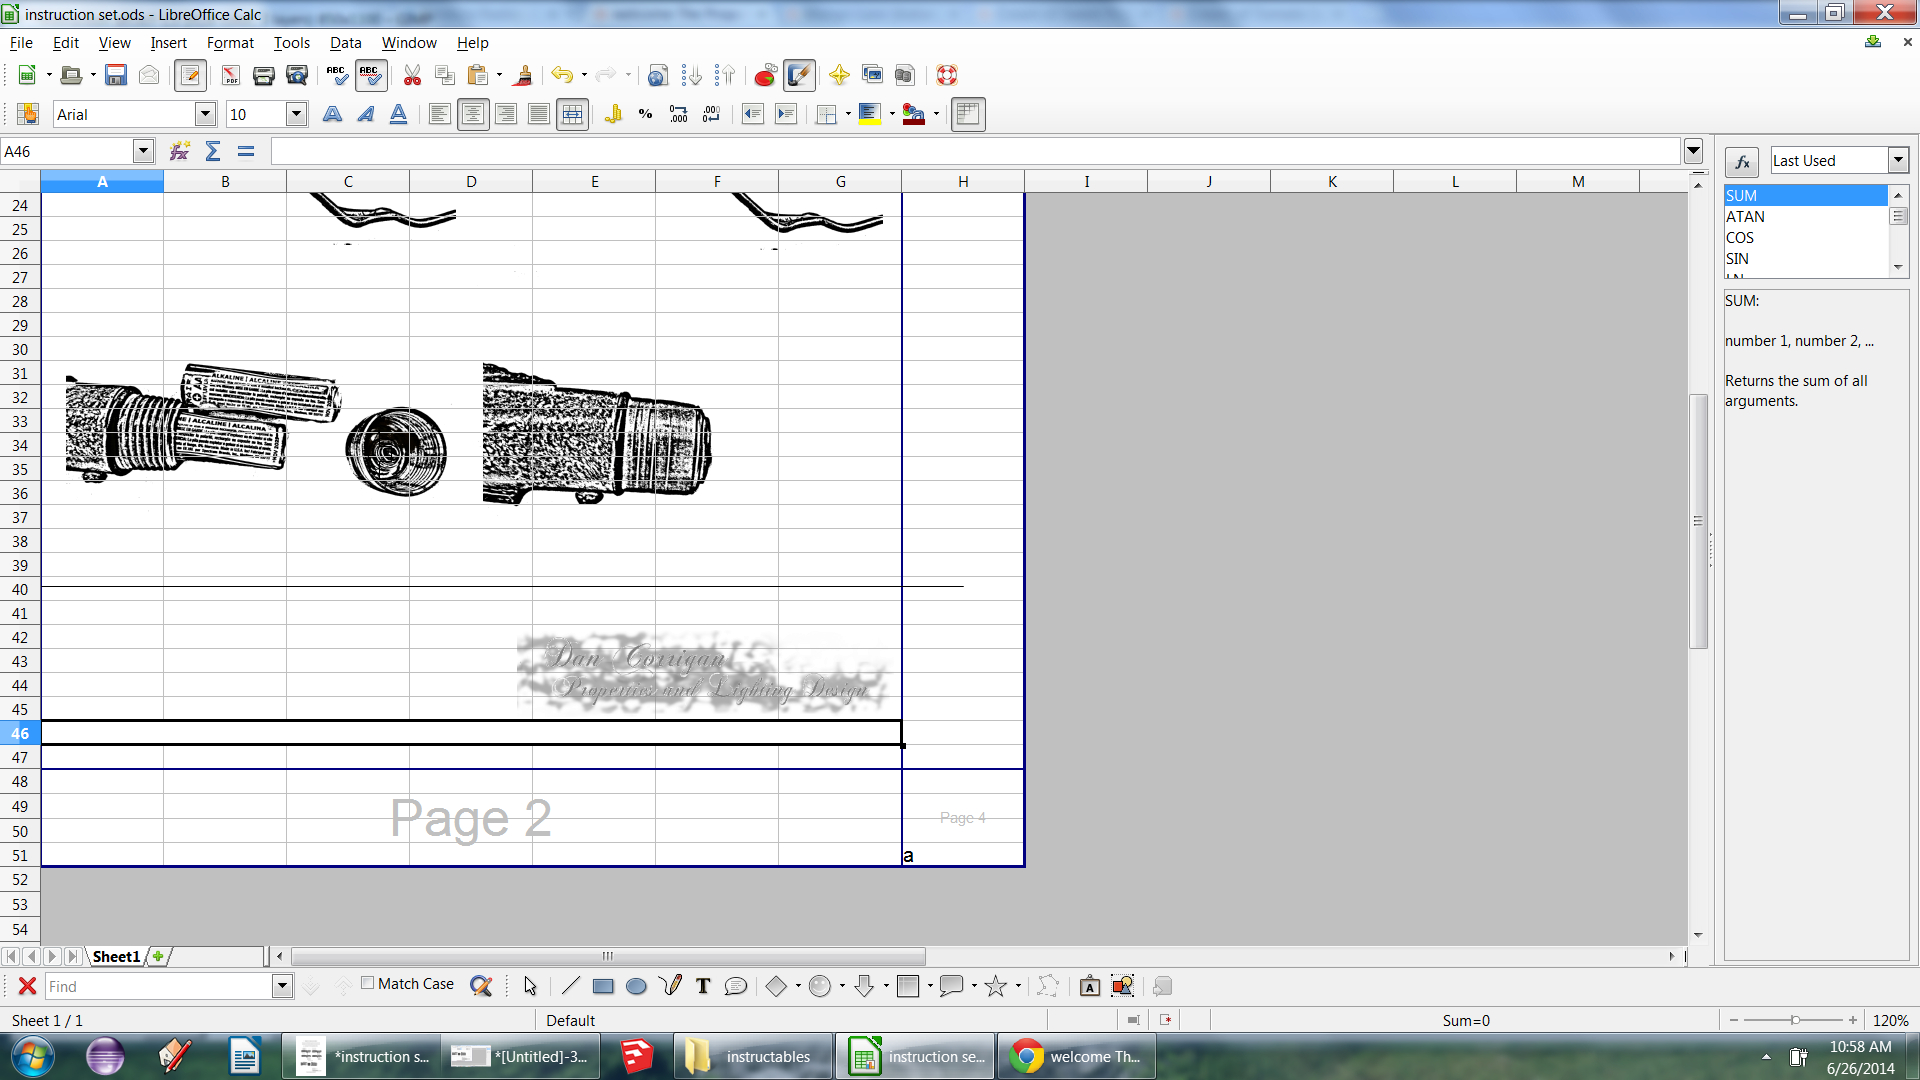
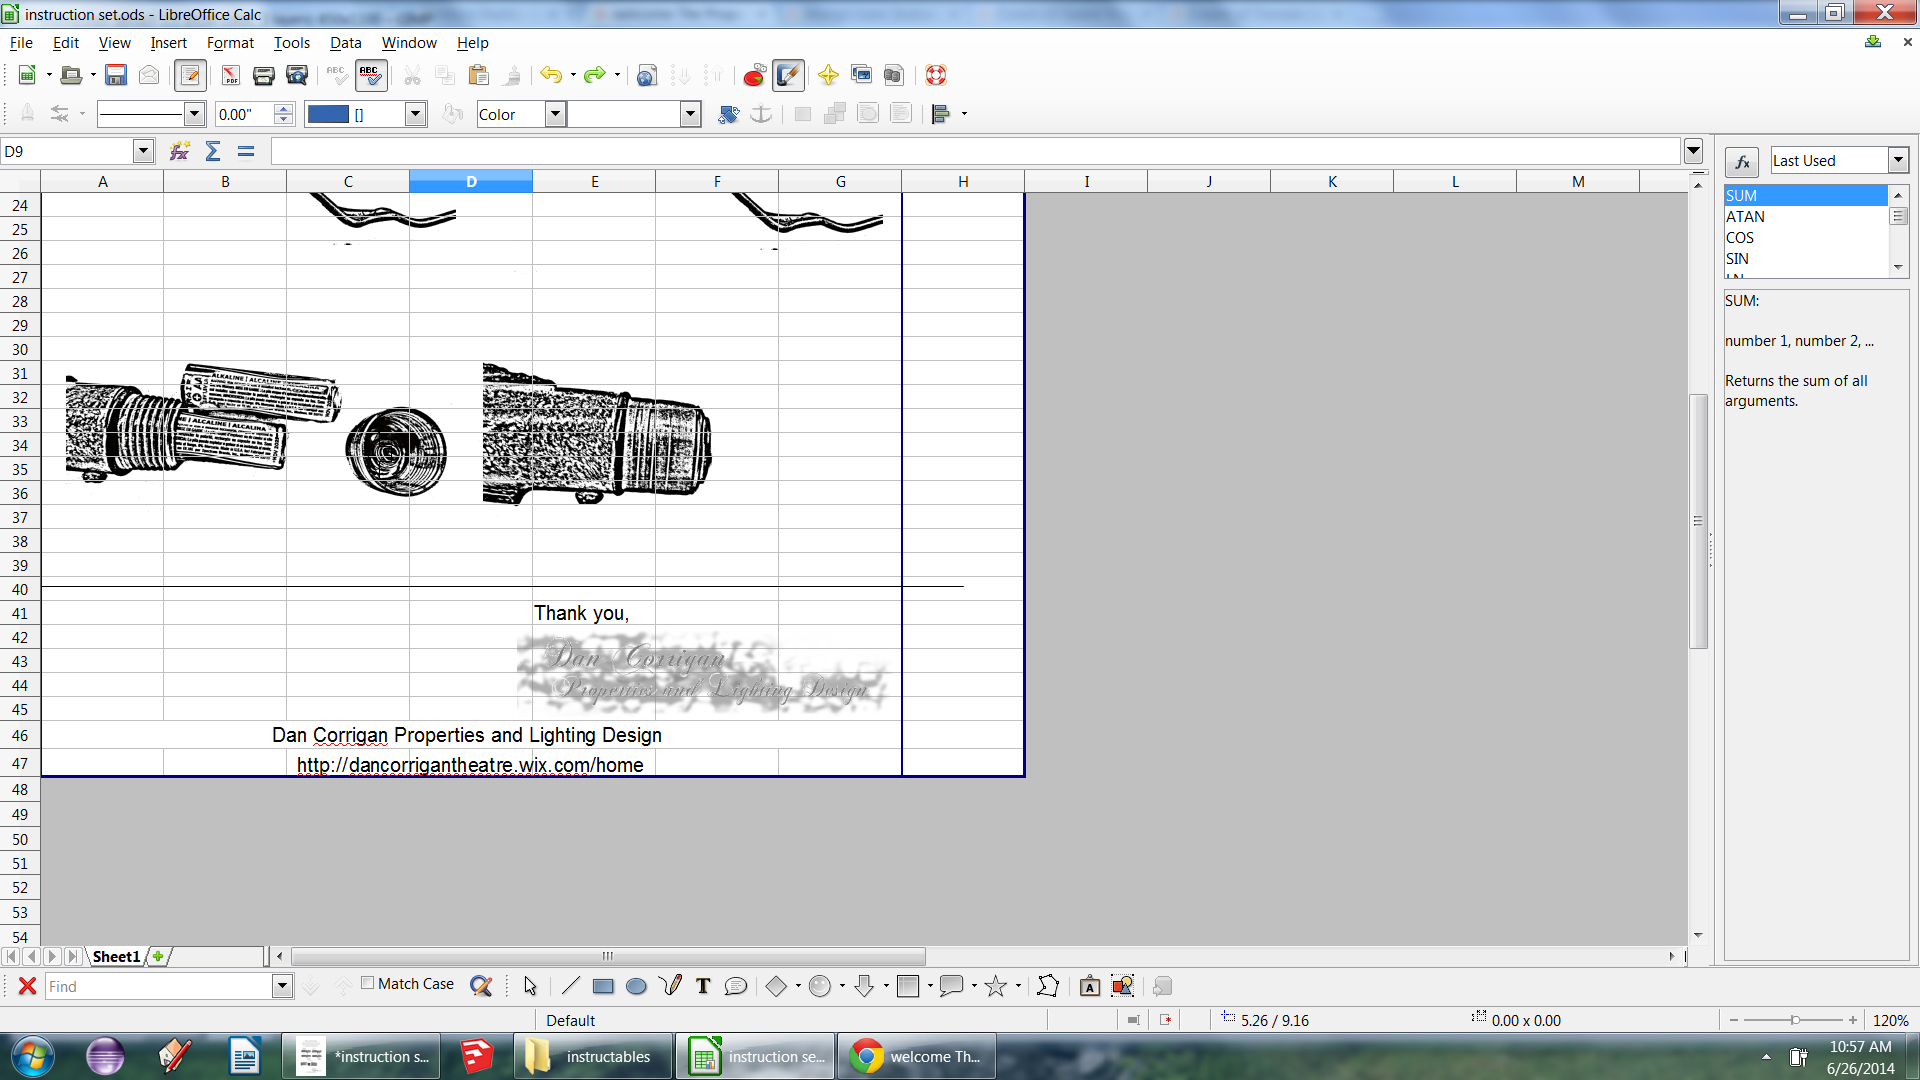
To add a footer to the image select a box in the bottom corner. Add a logo file and some text however you like. Shown above is an example.
Add Lines and Shapes
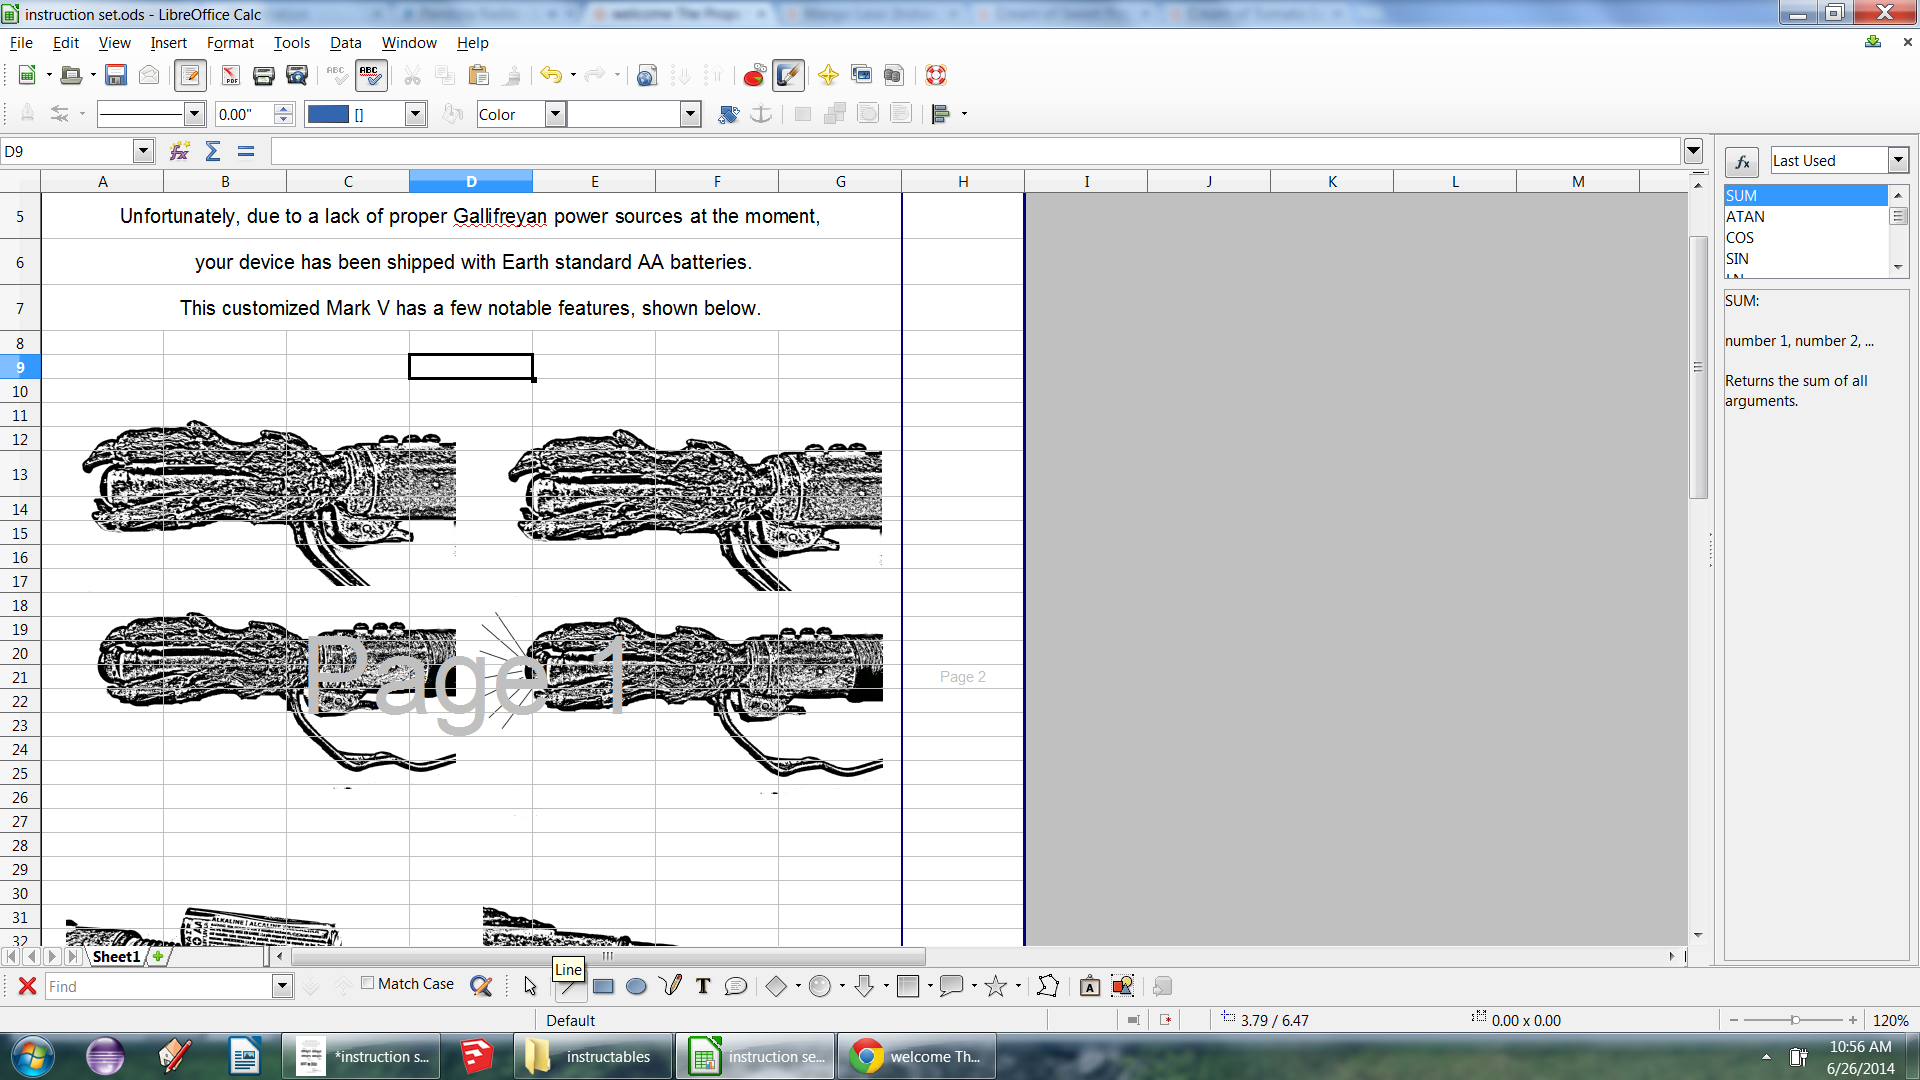
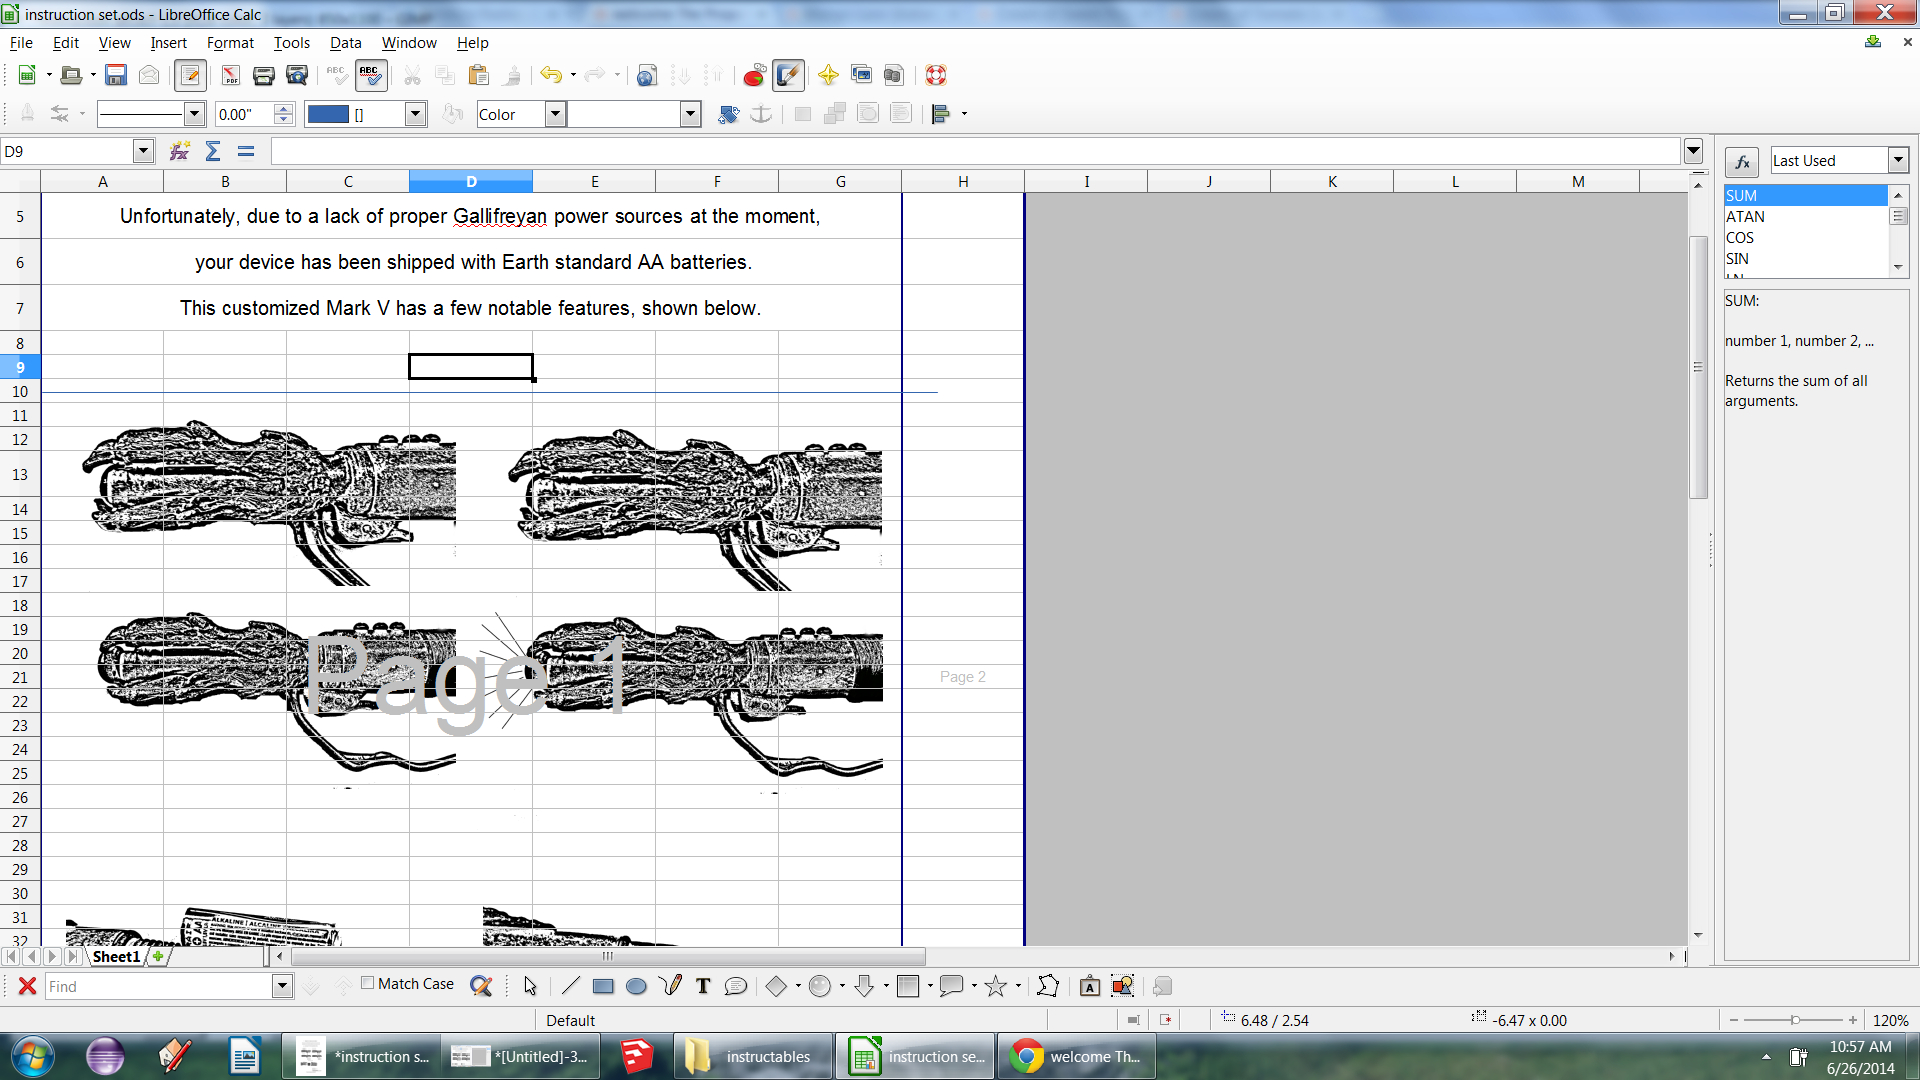
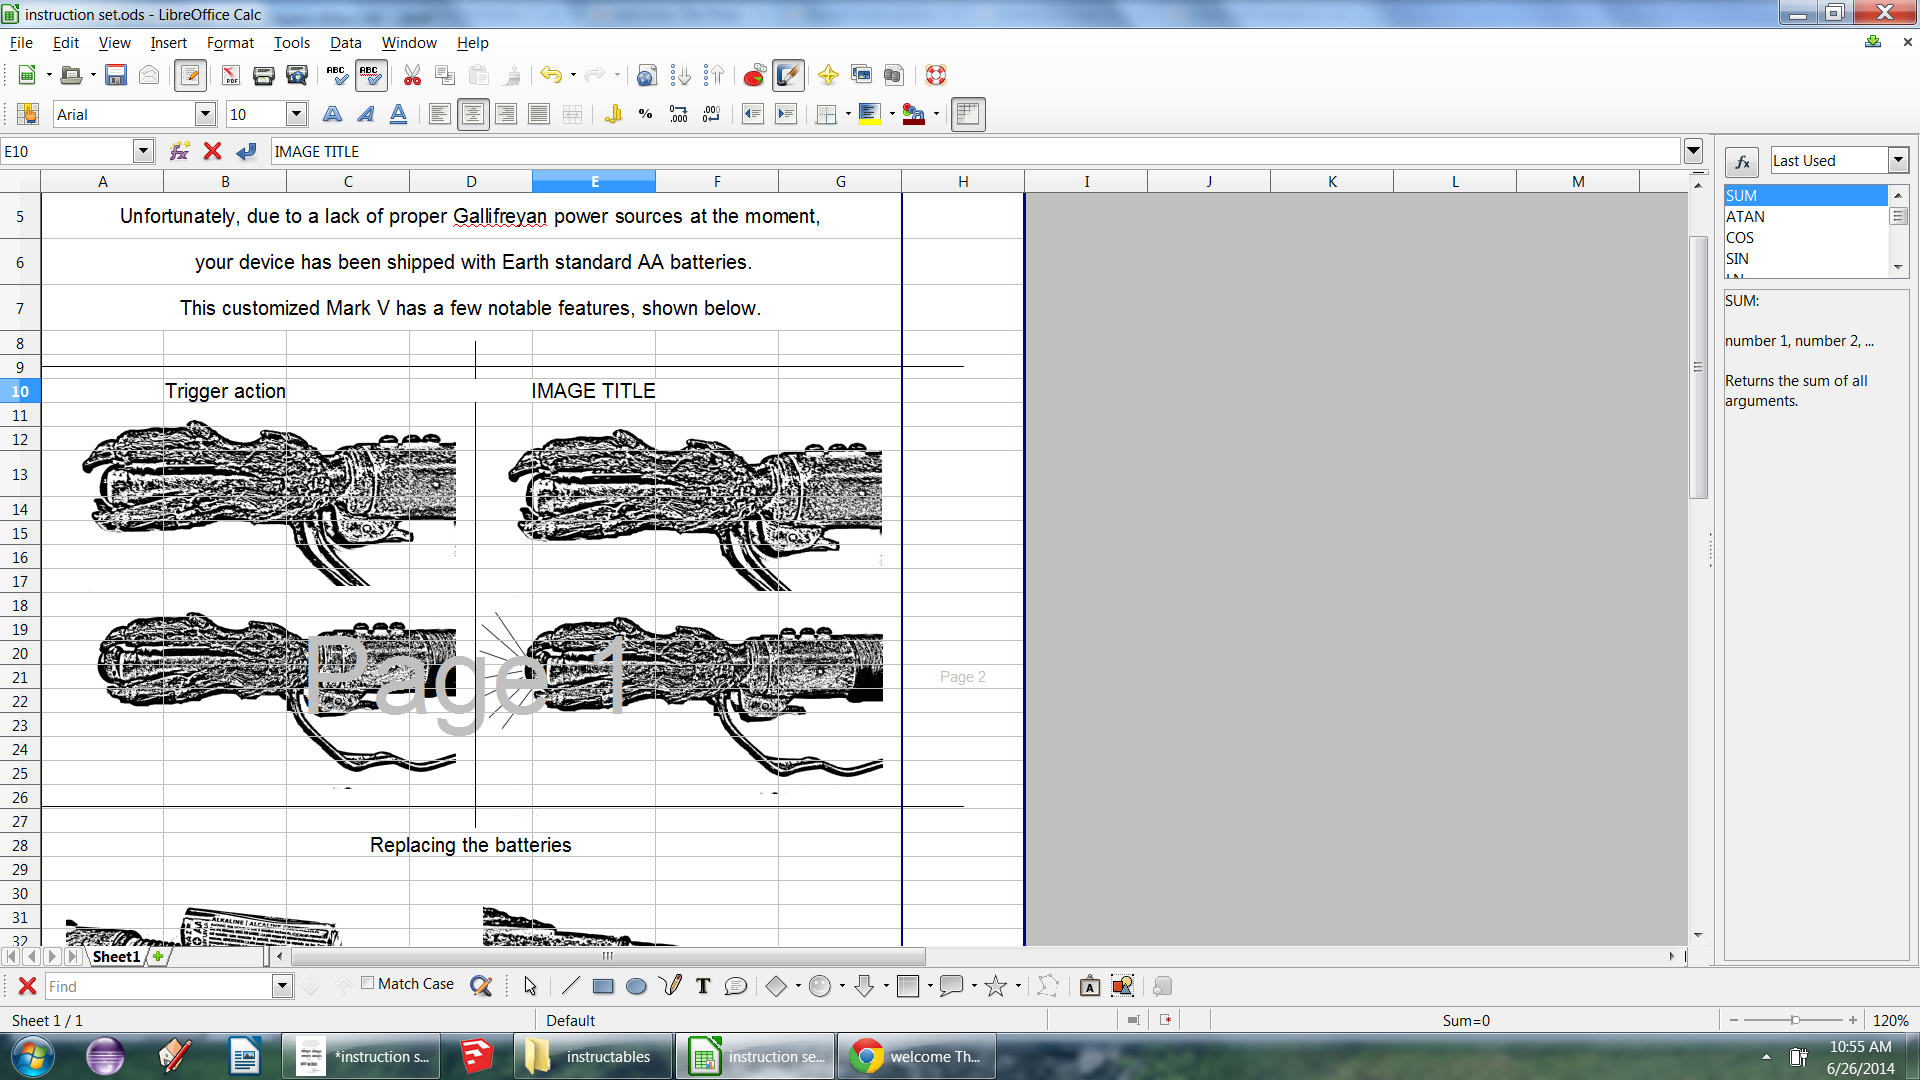
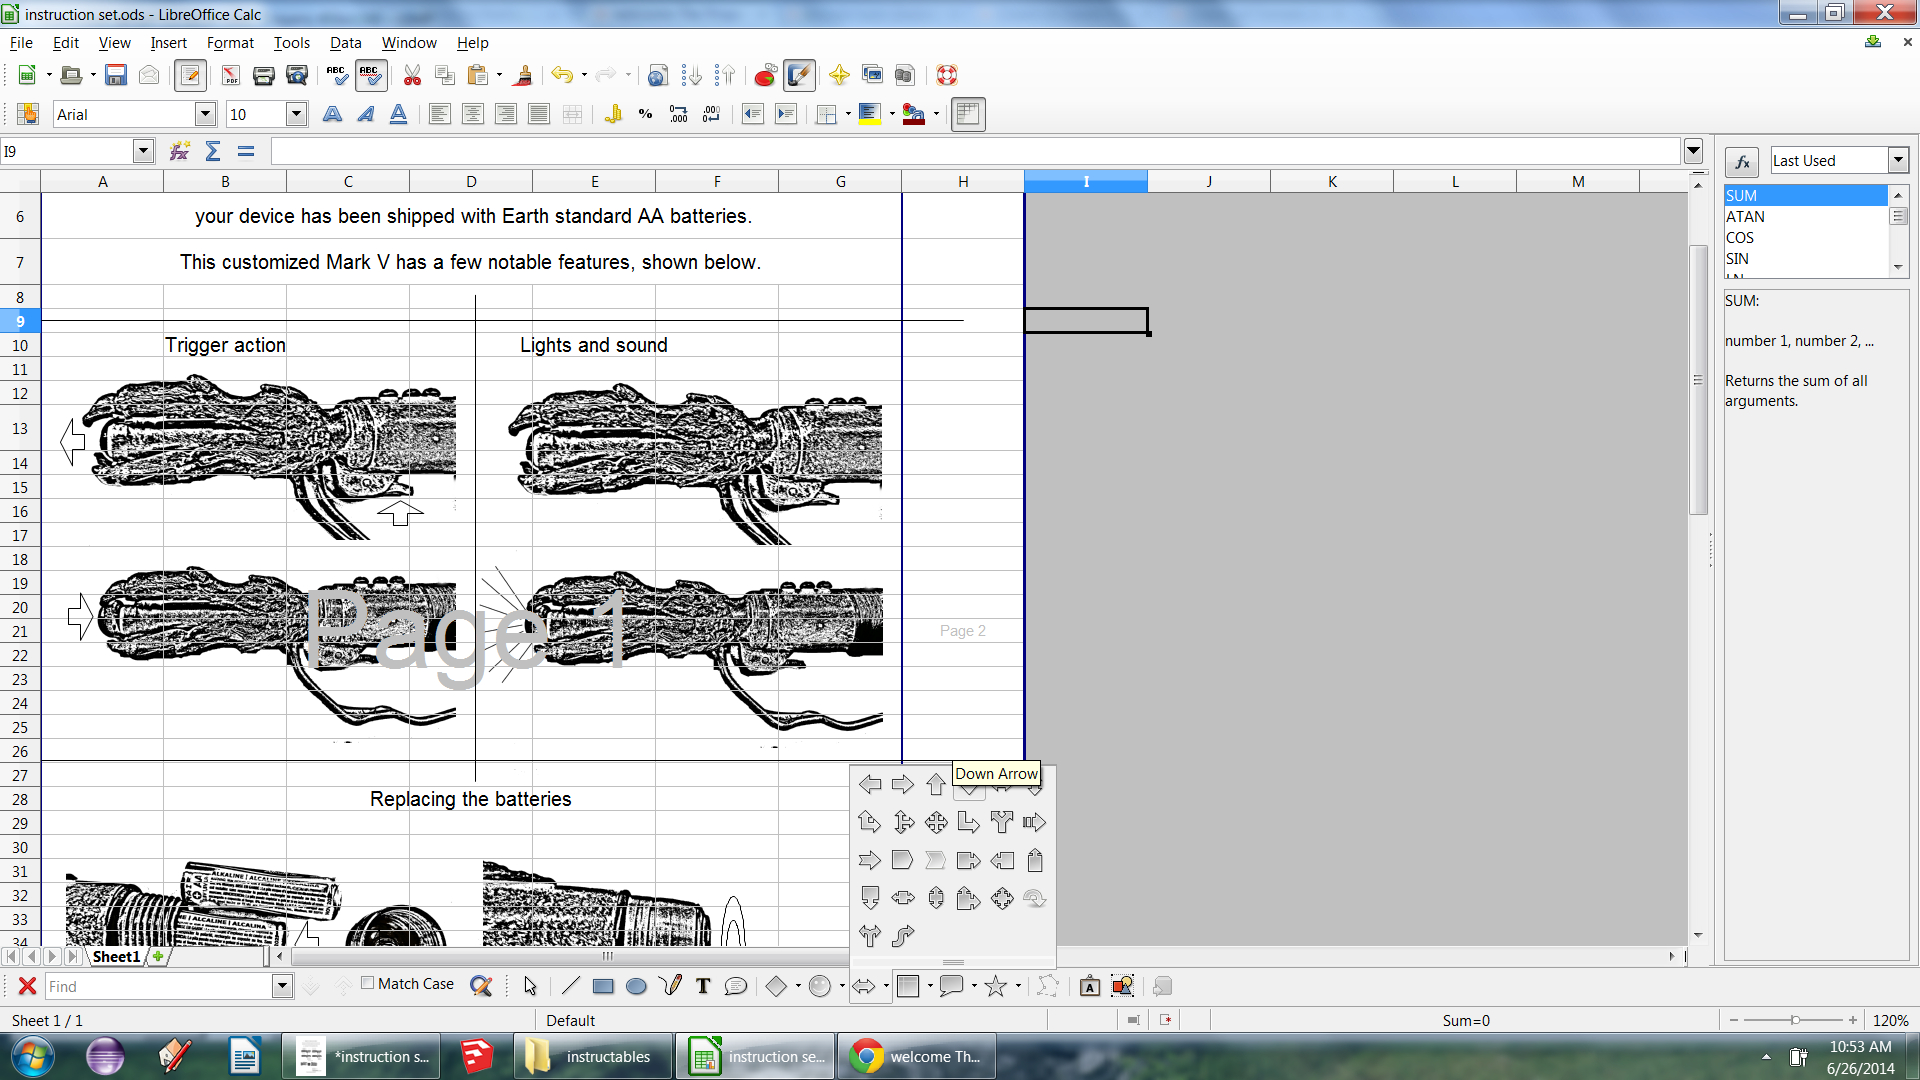
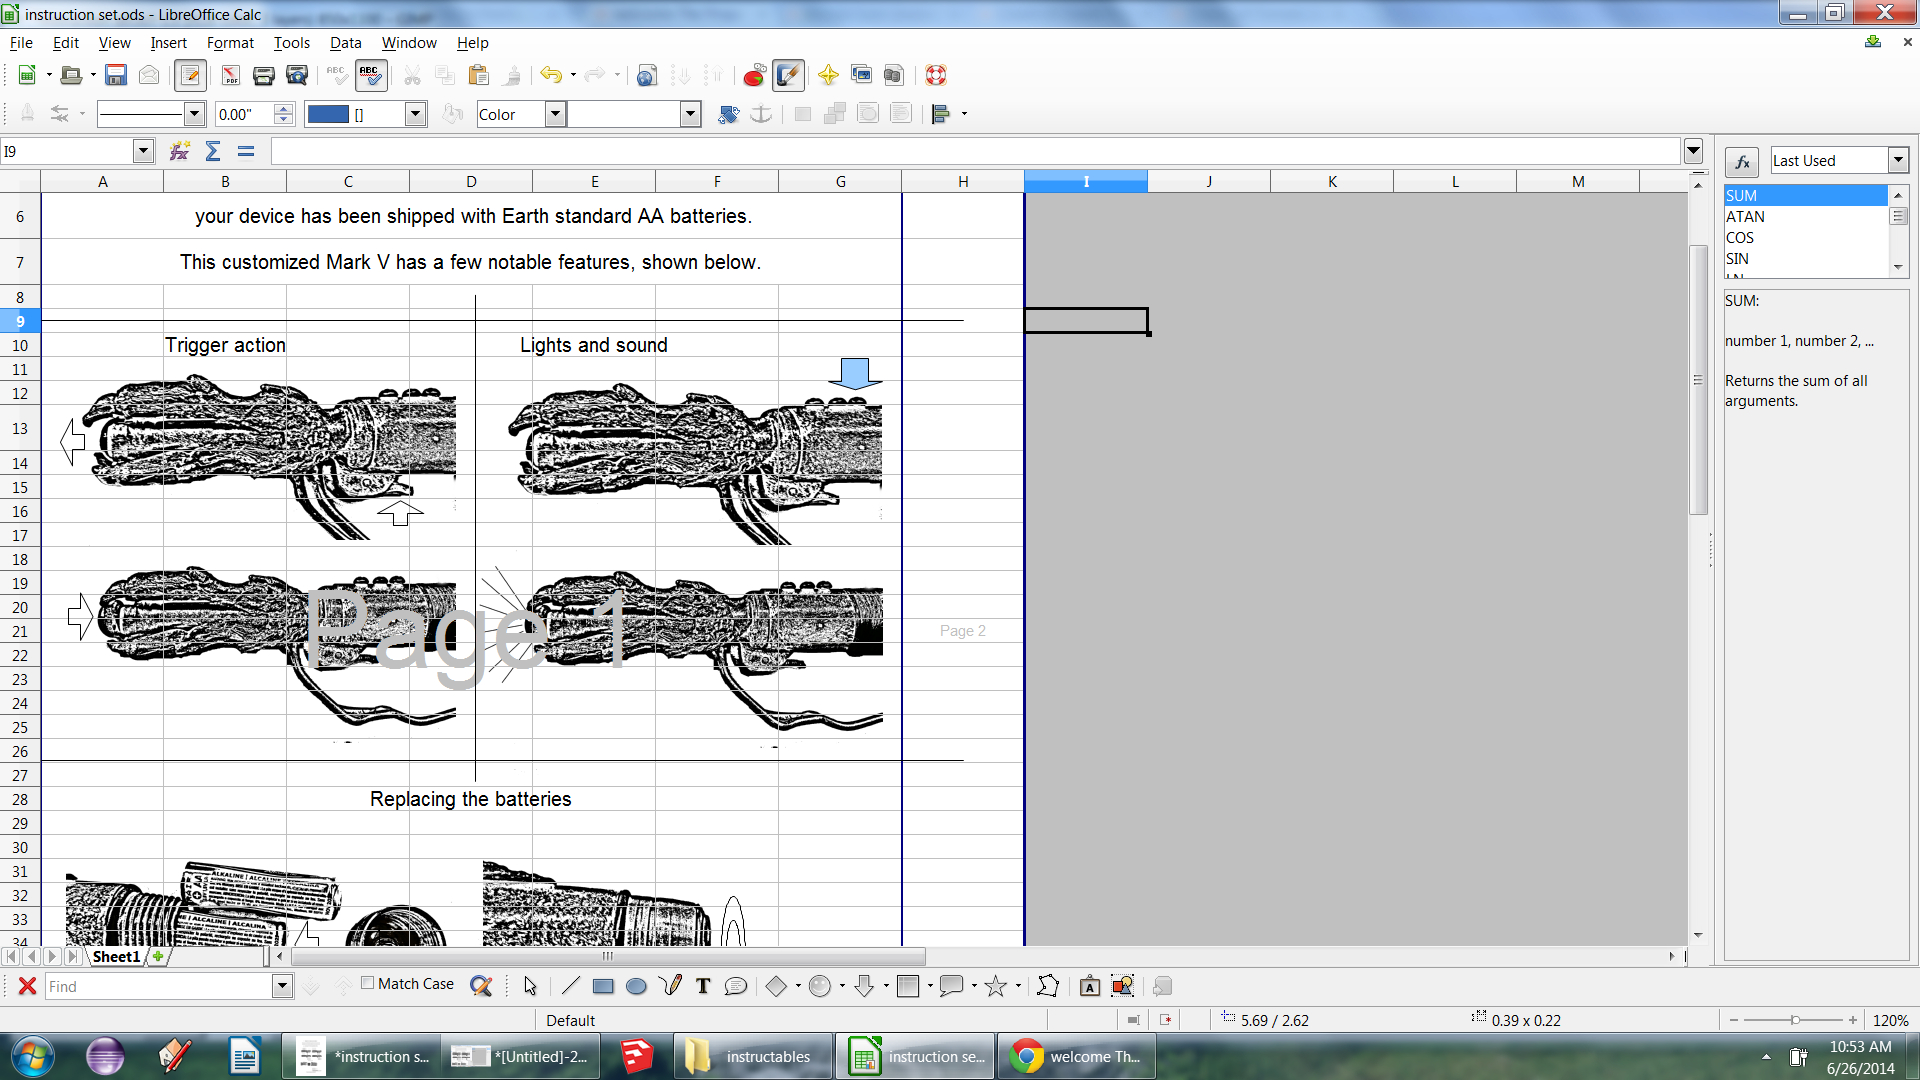
The pictures do not really mean anything yet, they have no directions to them.
I start by breaking each section of images out on its own with simple lines (draw line button on the bottom of the screen) to keep them straight I hold shift.
Once I have sections divided I add titles to the sections just by typing into one of the boxes. Since the images are in the background the text will show up over them.
That done I add some arrows and other lines to give direction on what to do, from pushing buttons to unscrewing a compartment to replace batteries. I tend to keep my instructions very visual with little text.
Exporting the Basic Image
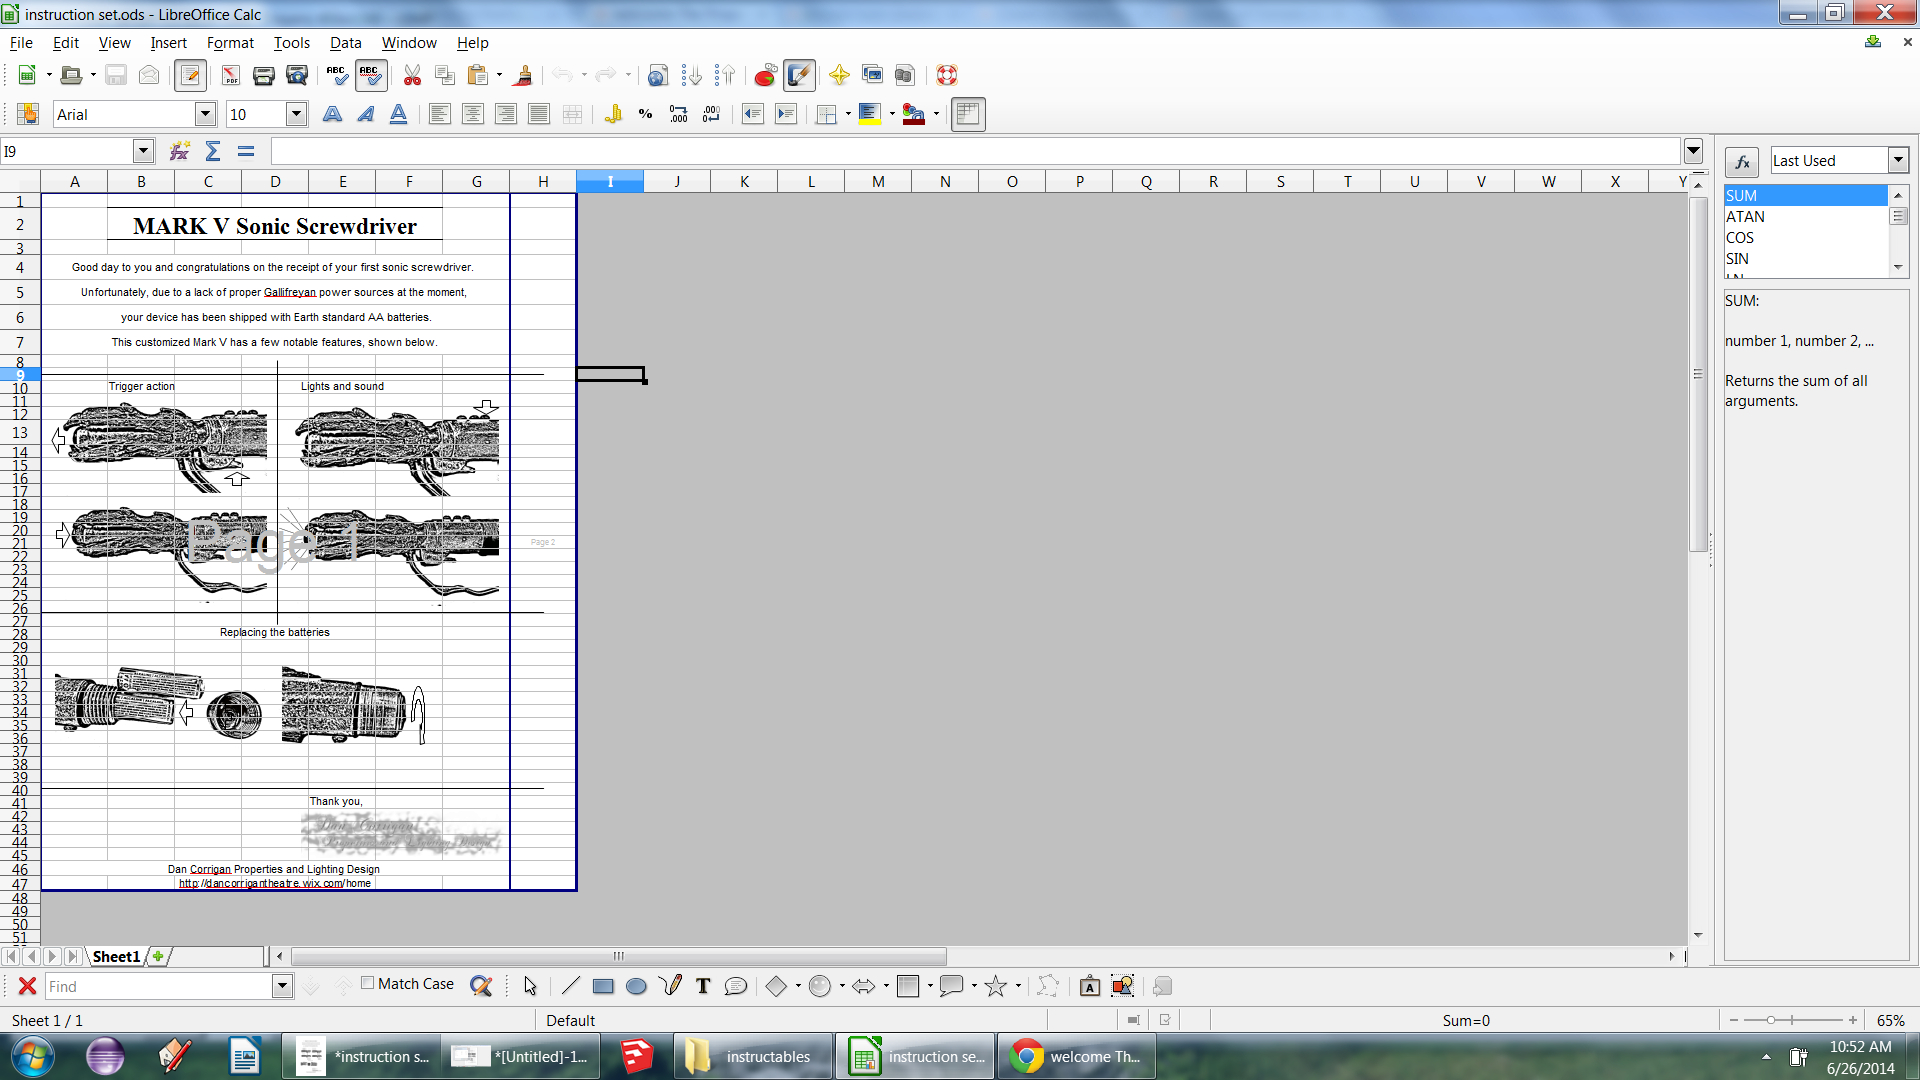
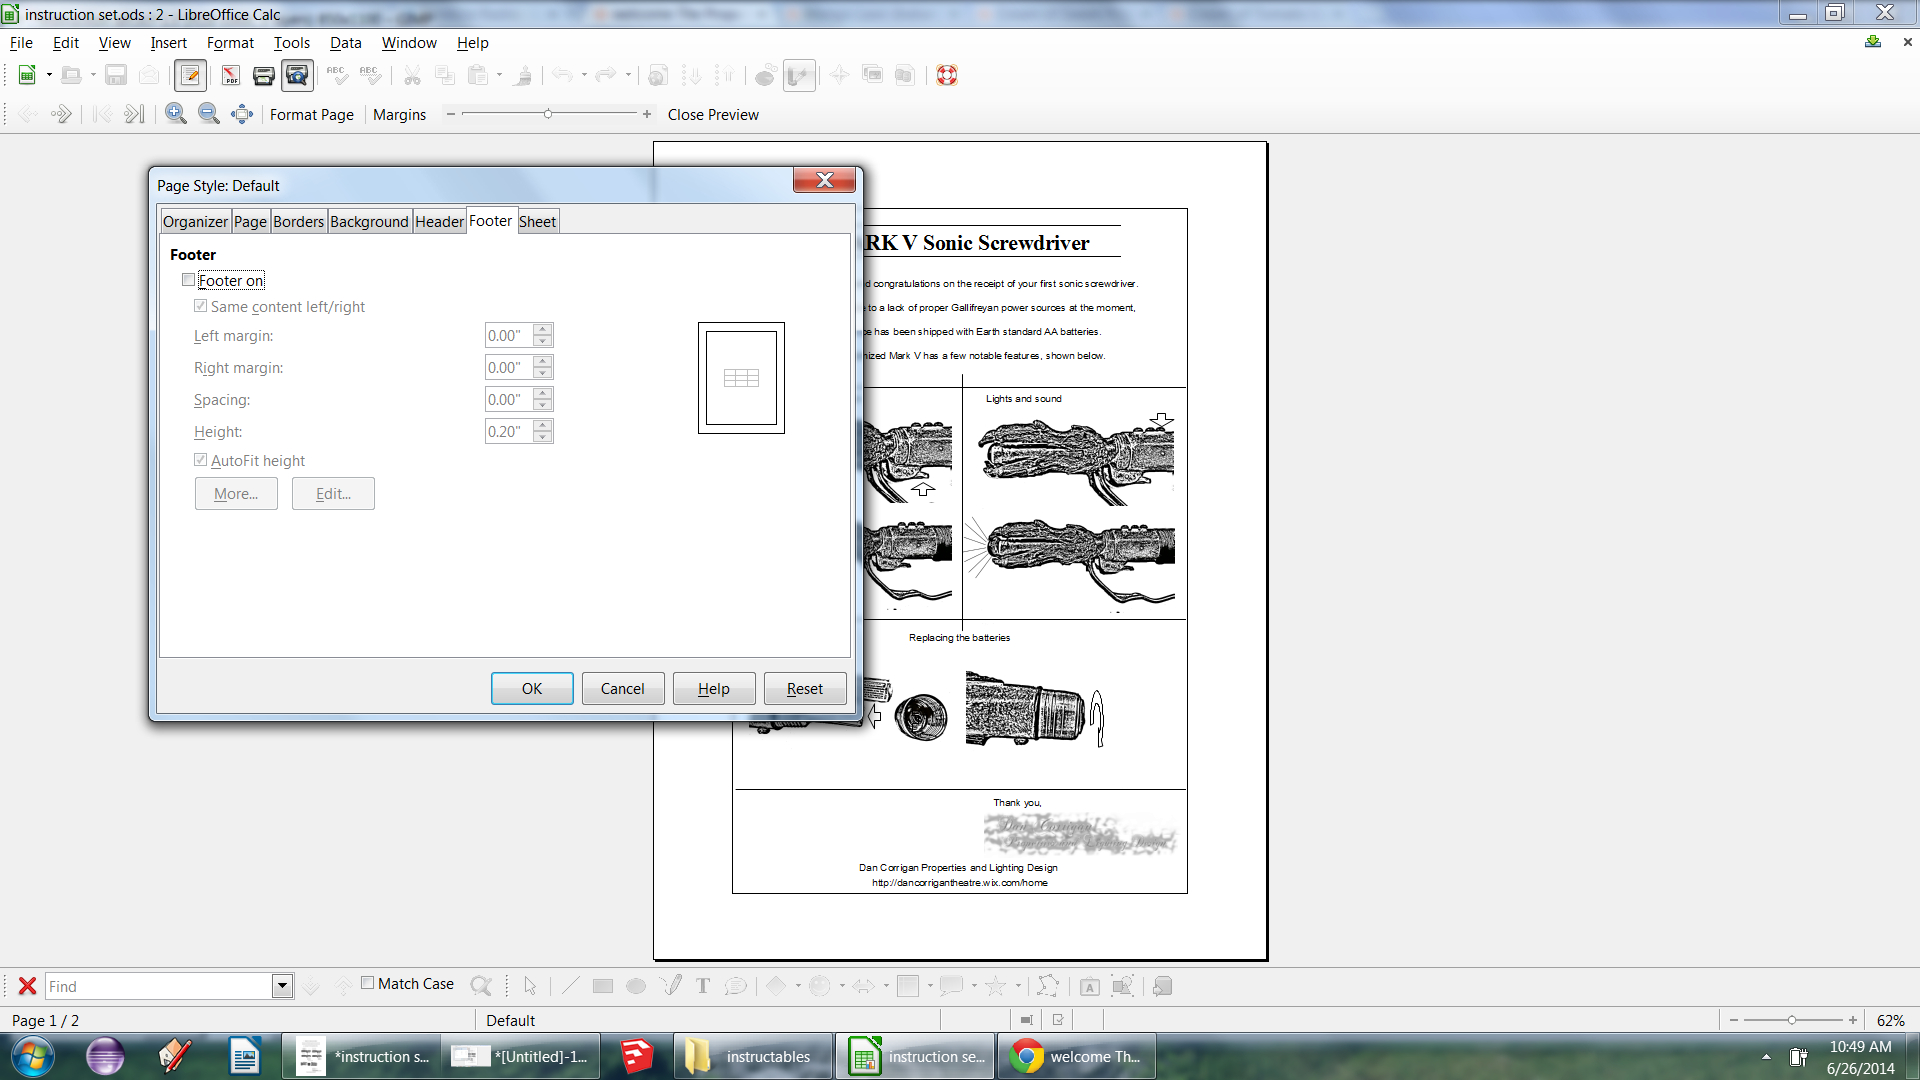
The hard work is mostly over.
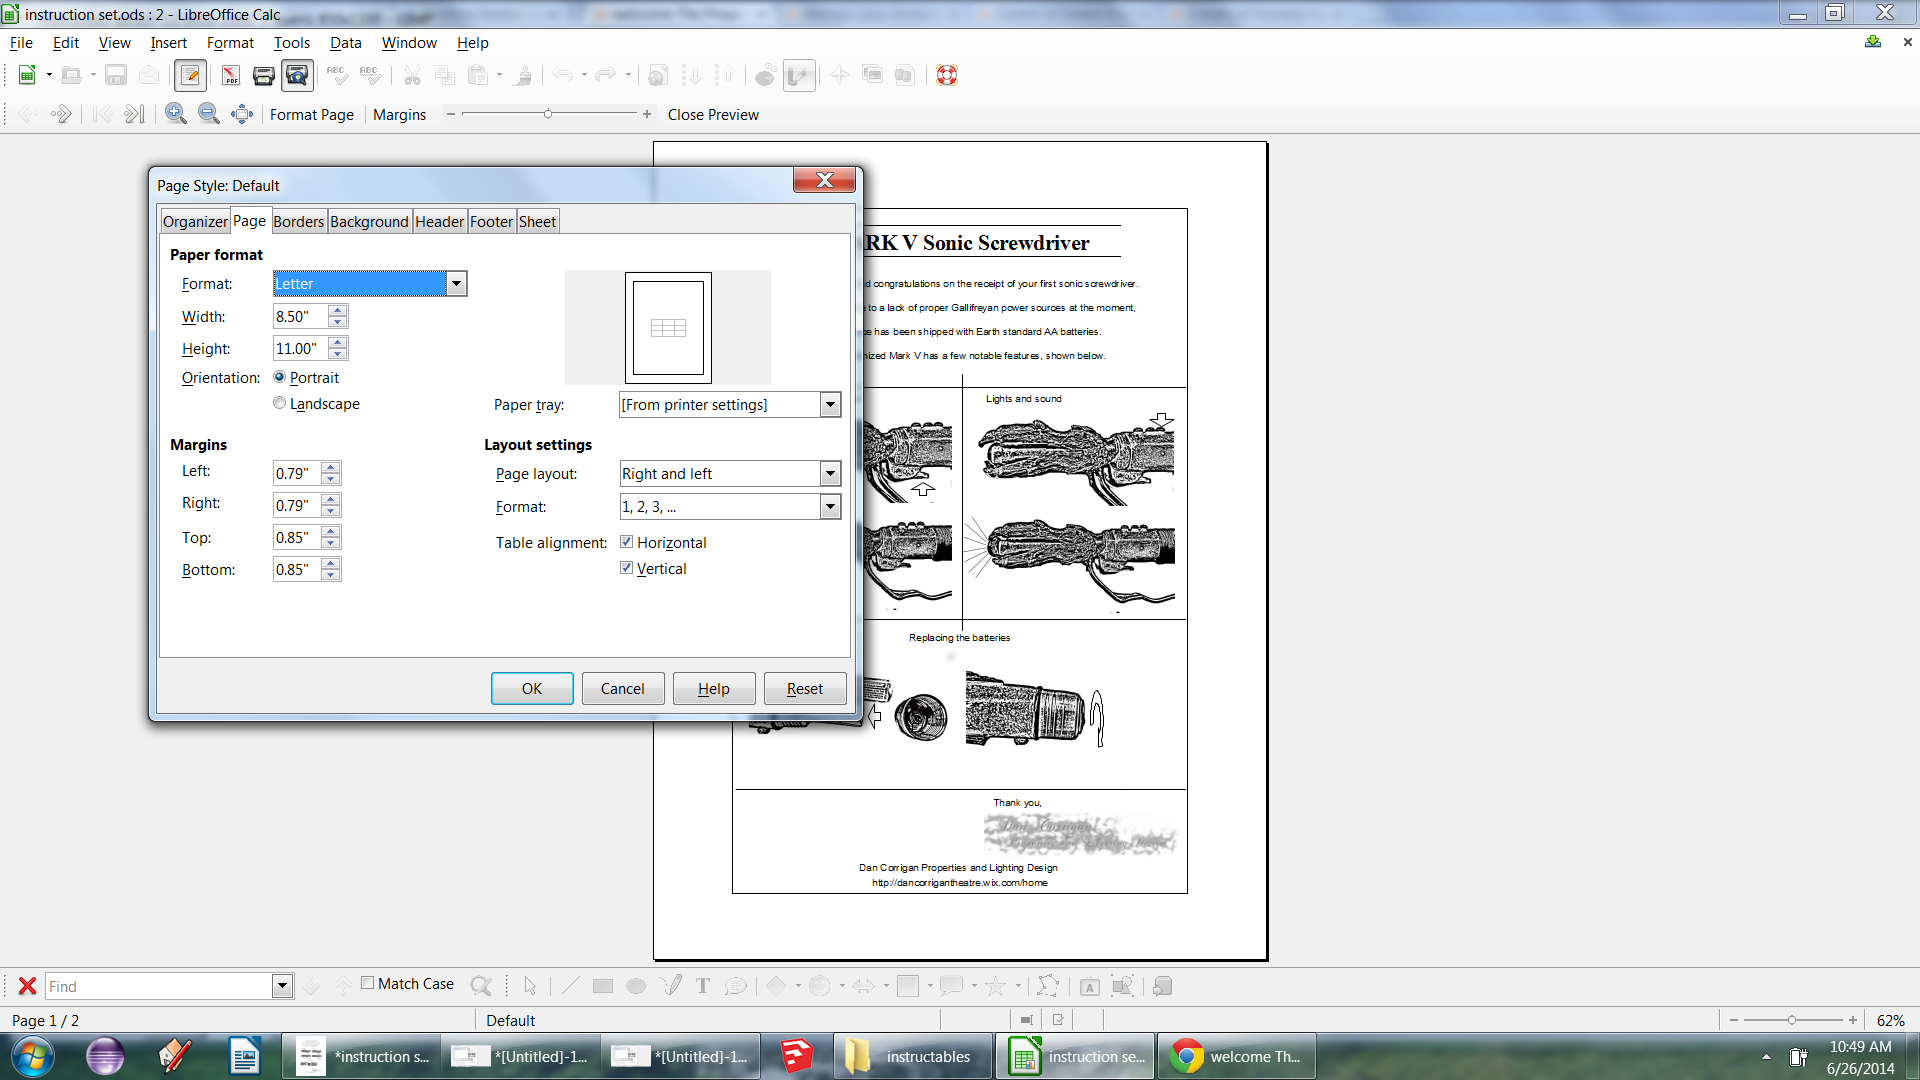
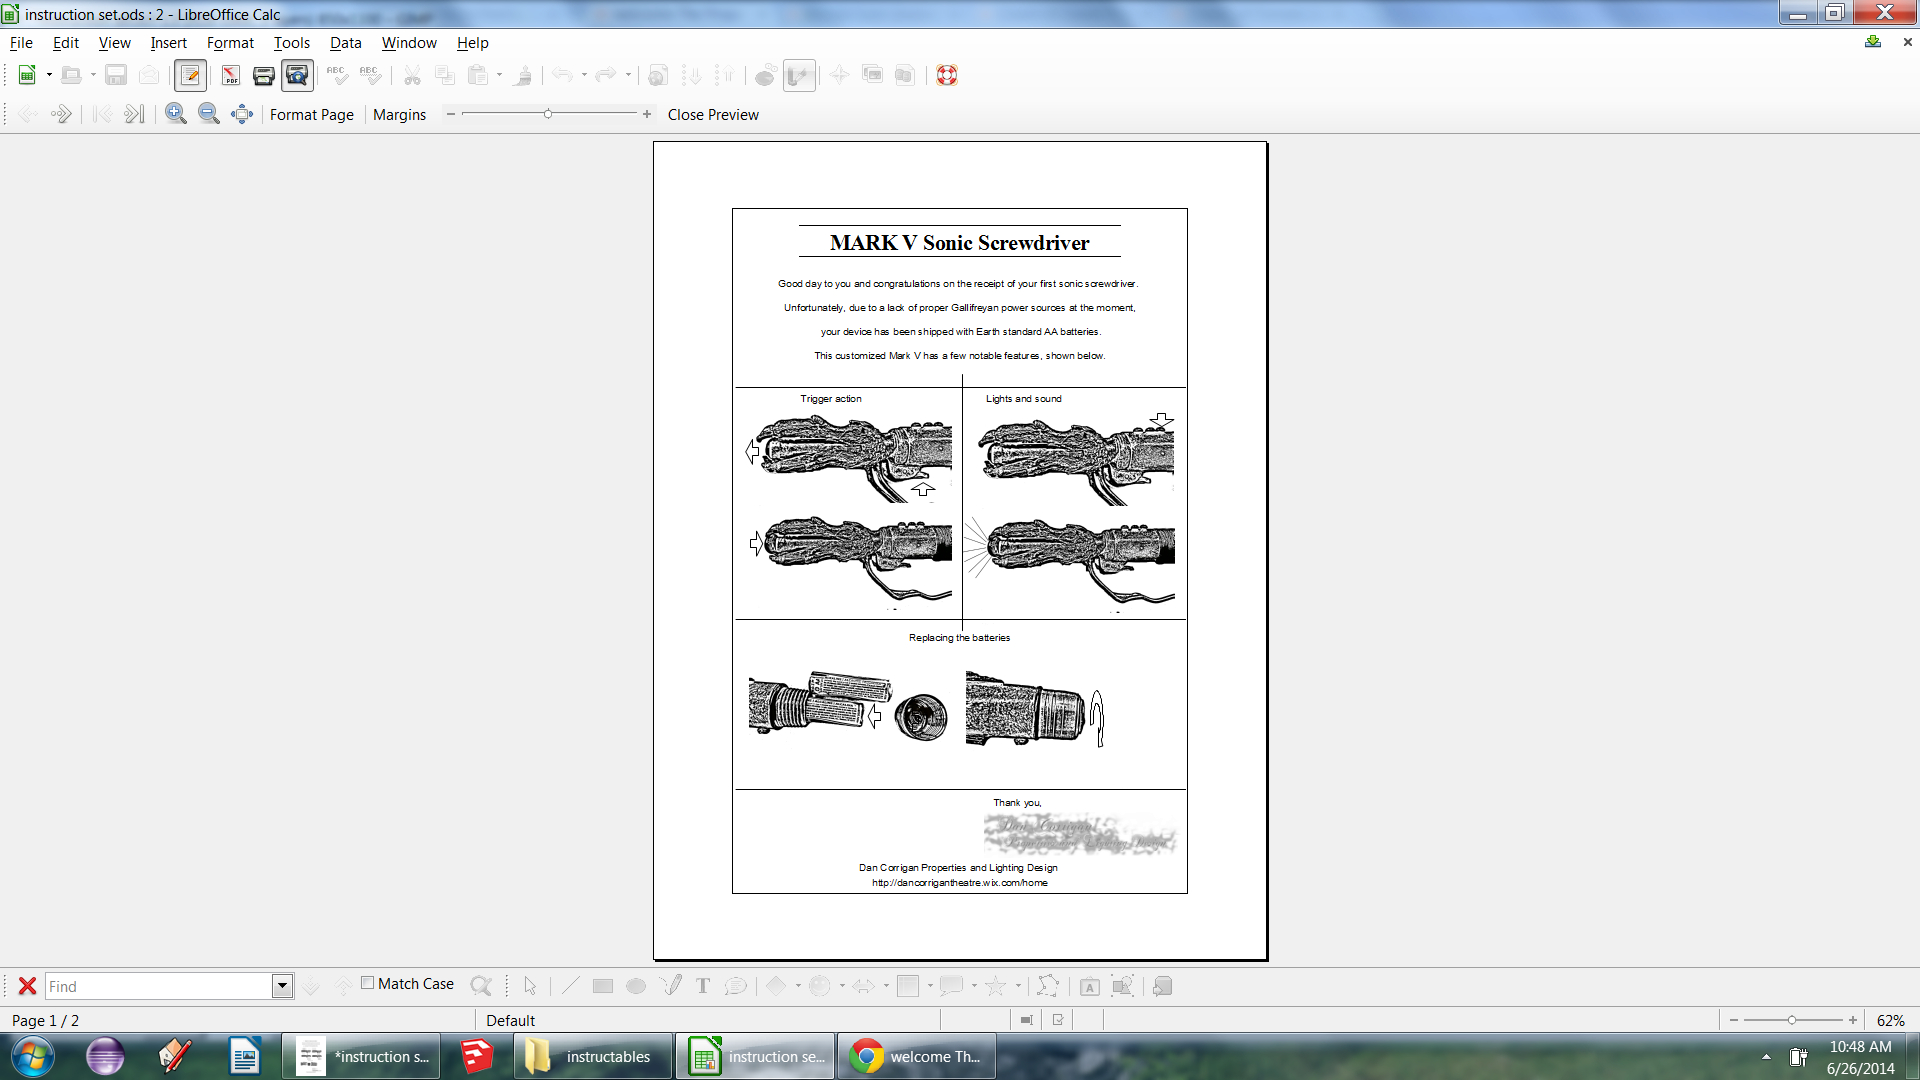
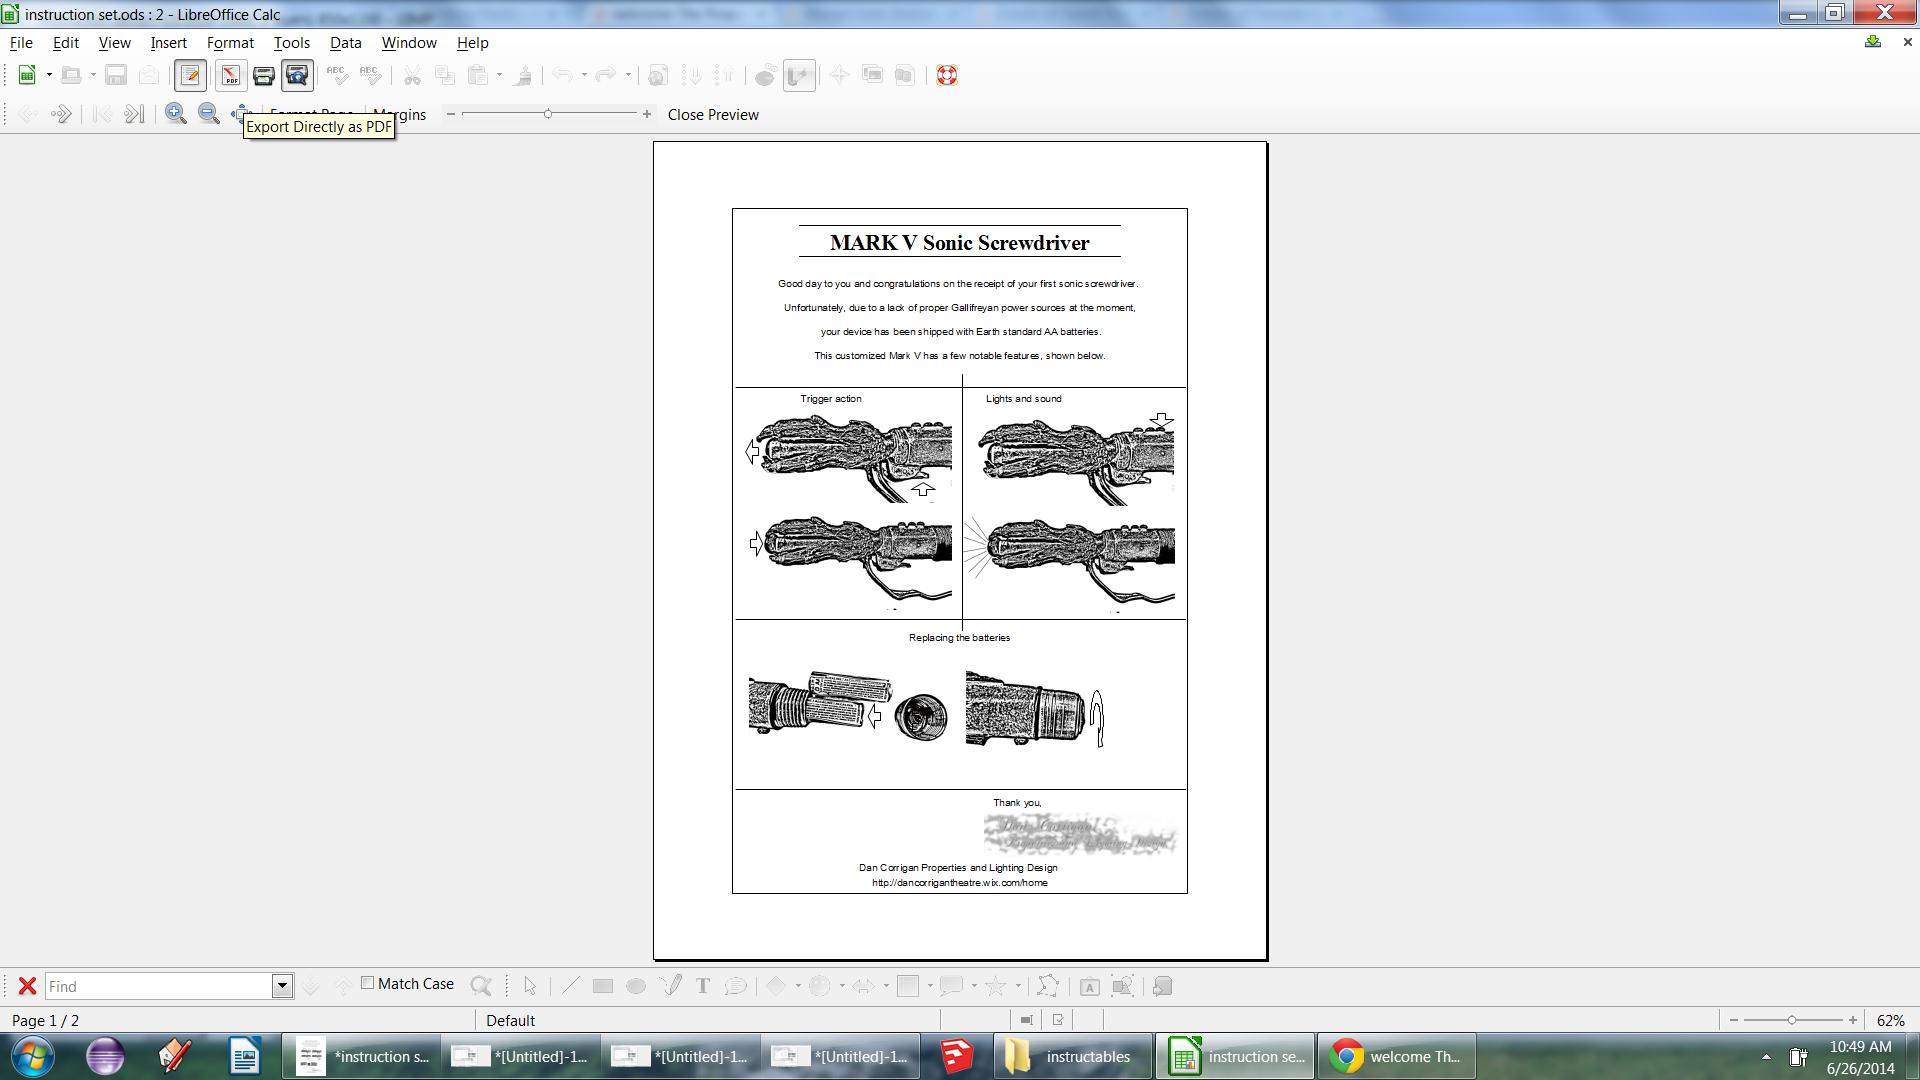
Zoom out and look at your instructions and change anything you do not like. Then hit the print preview button
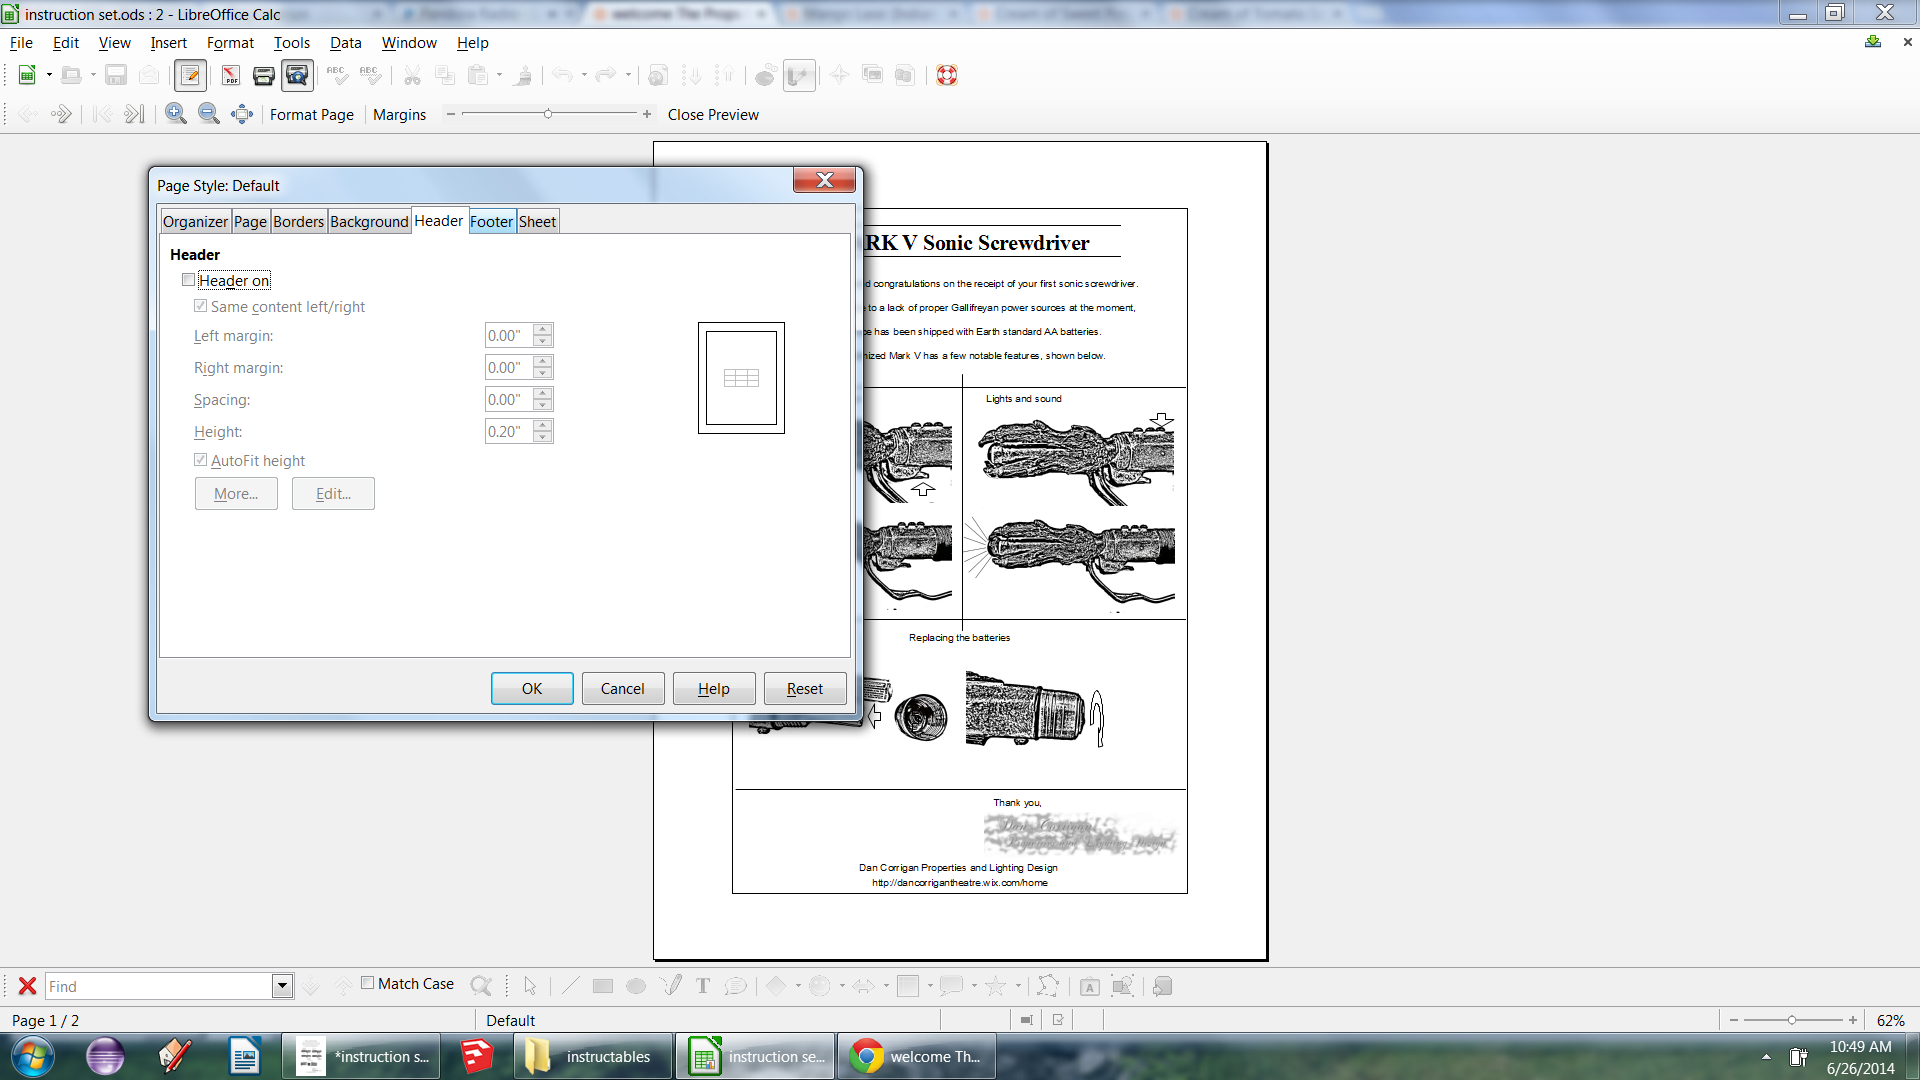
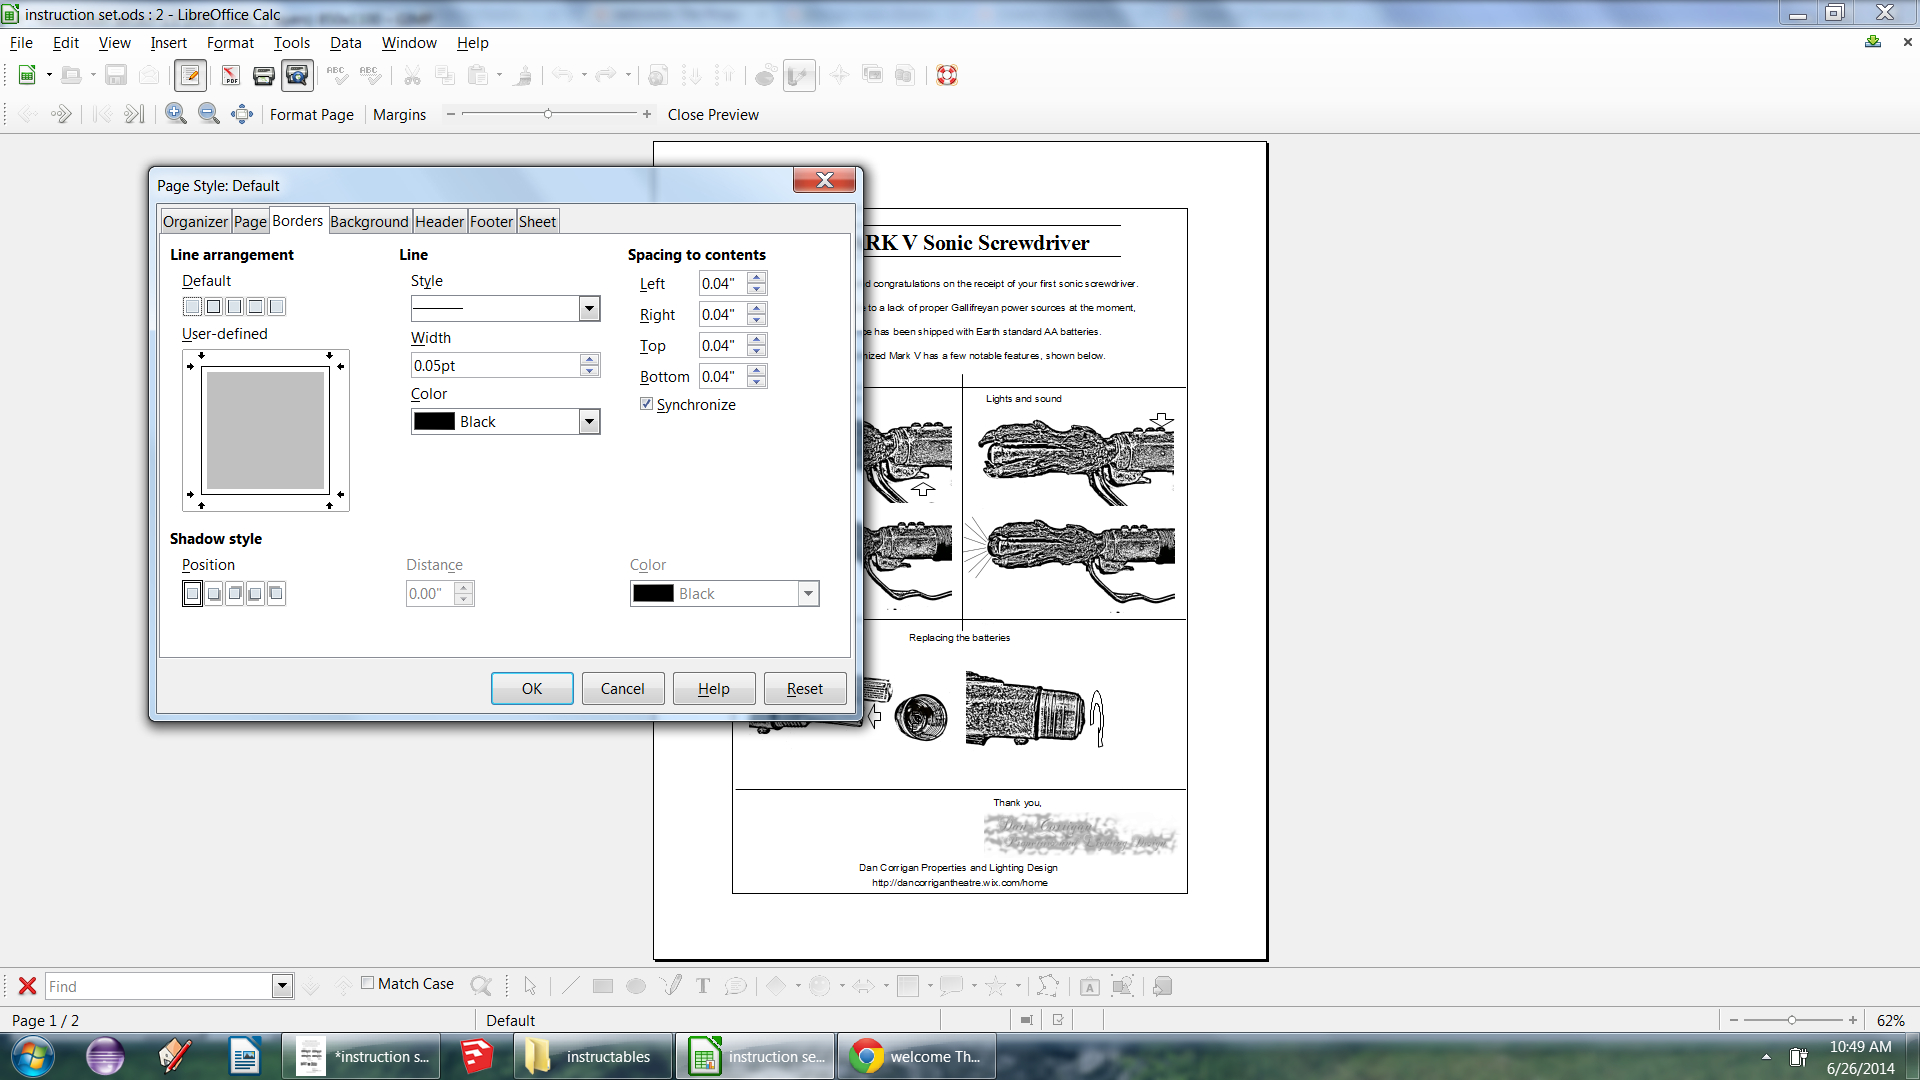
In the print preview hit the format page button.
Turn off the header and footer and add a border around the page, it gives it a more finished look. The images show my page settings for this file.
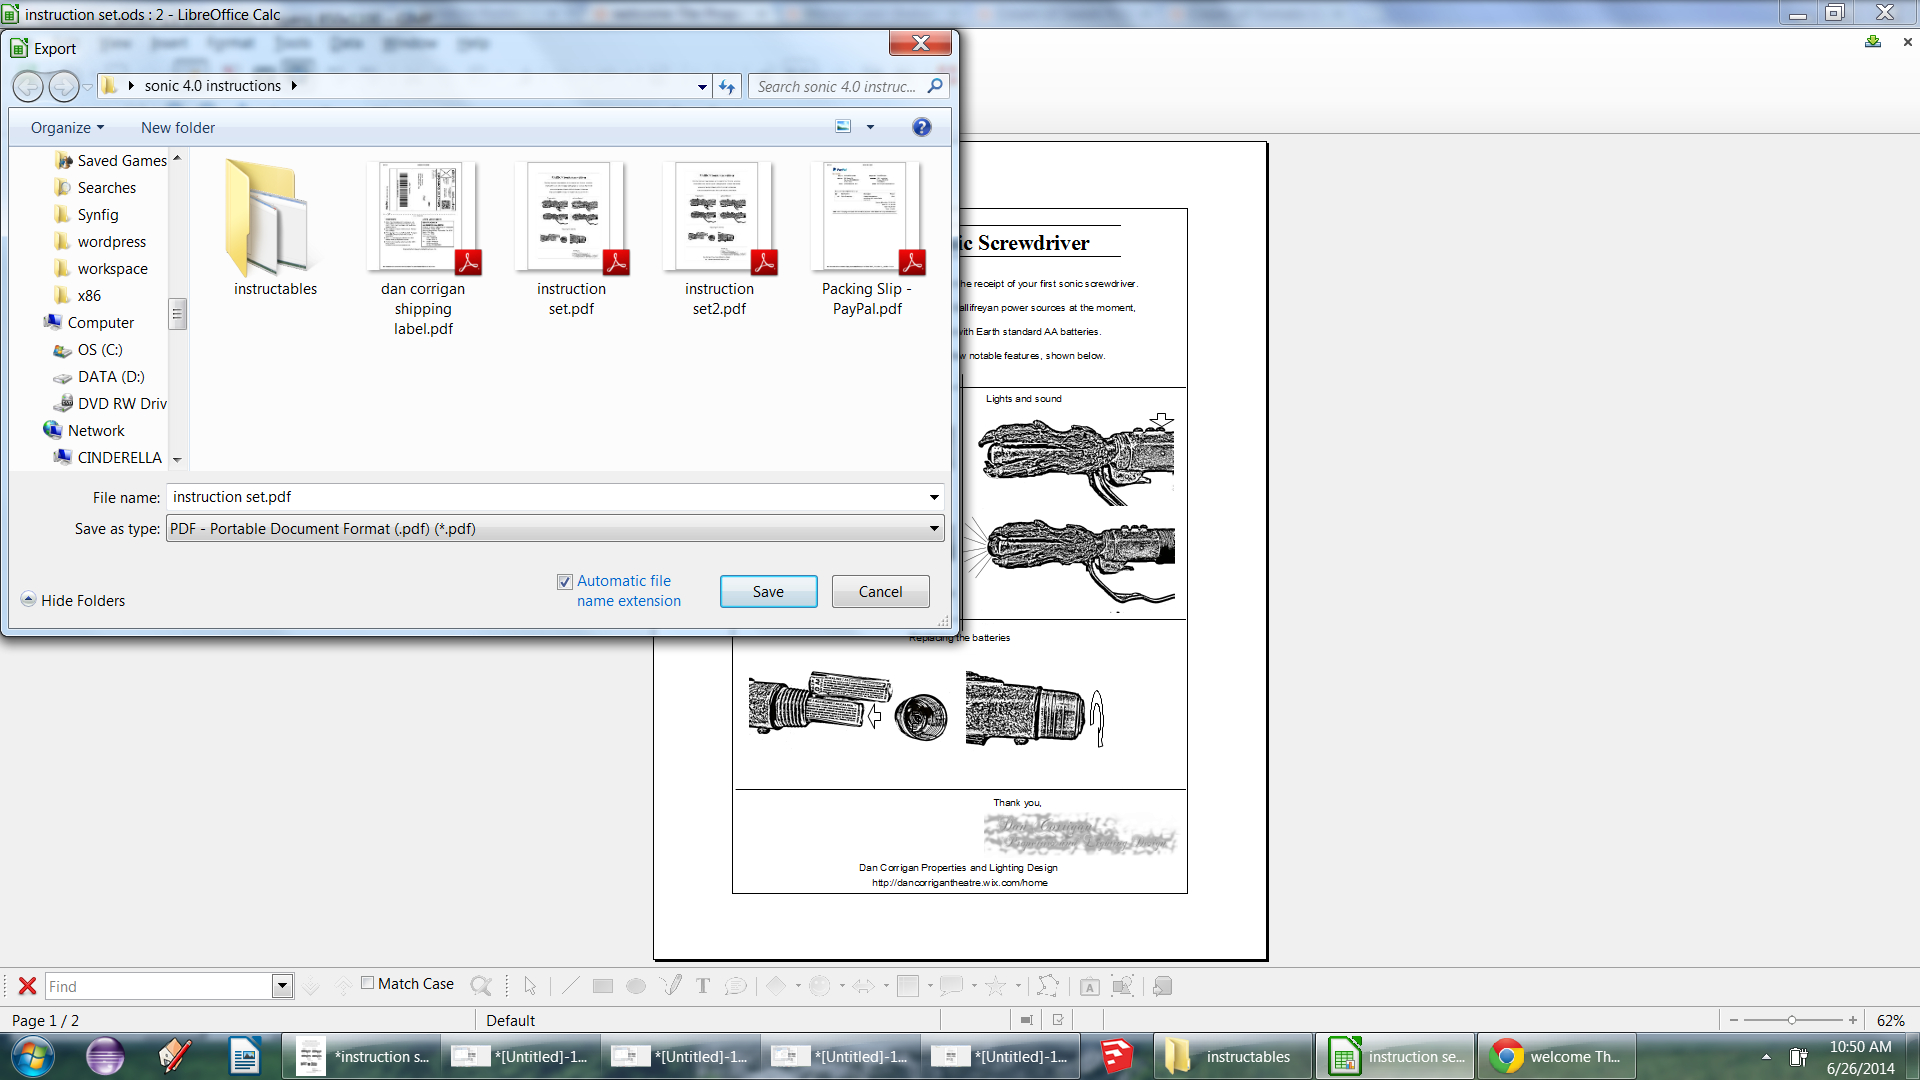
After that export your document as a PDF. Libreoffice has a wonderful button in plain view for just that purpose.
Finishing Touches in GIMP
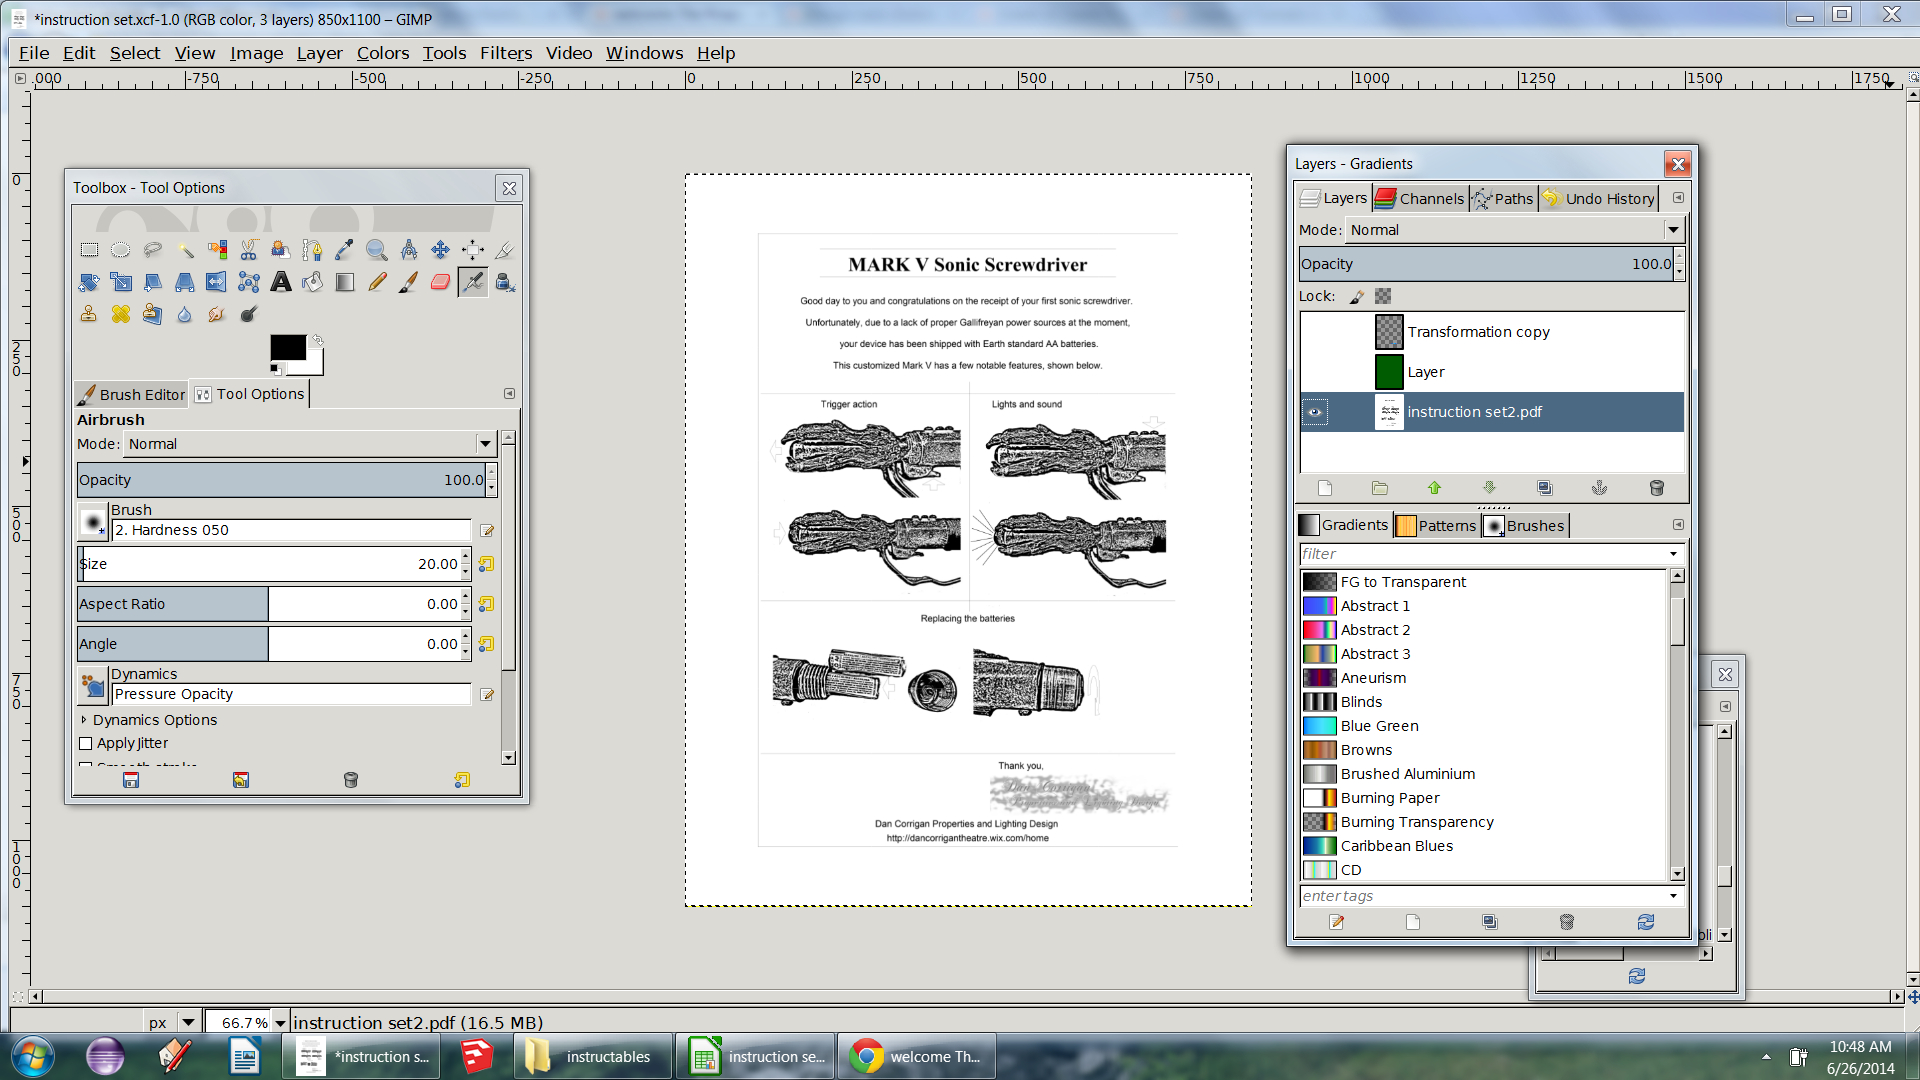
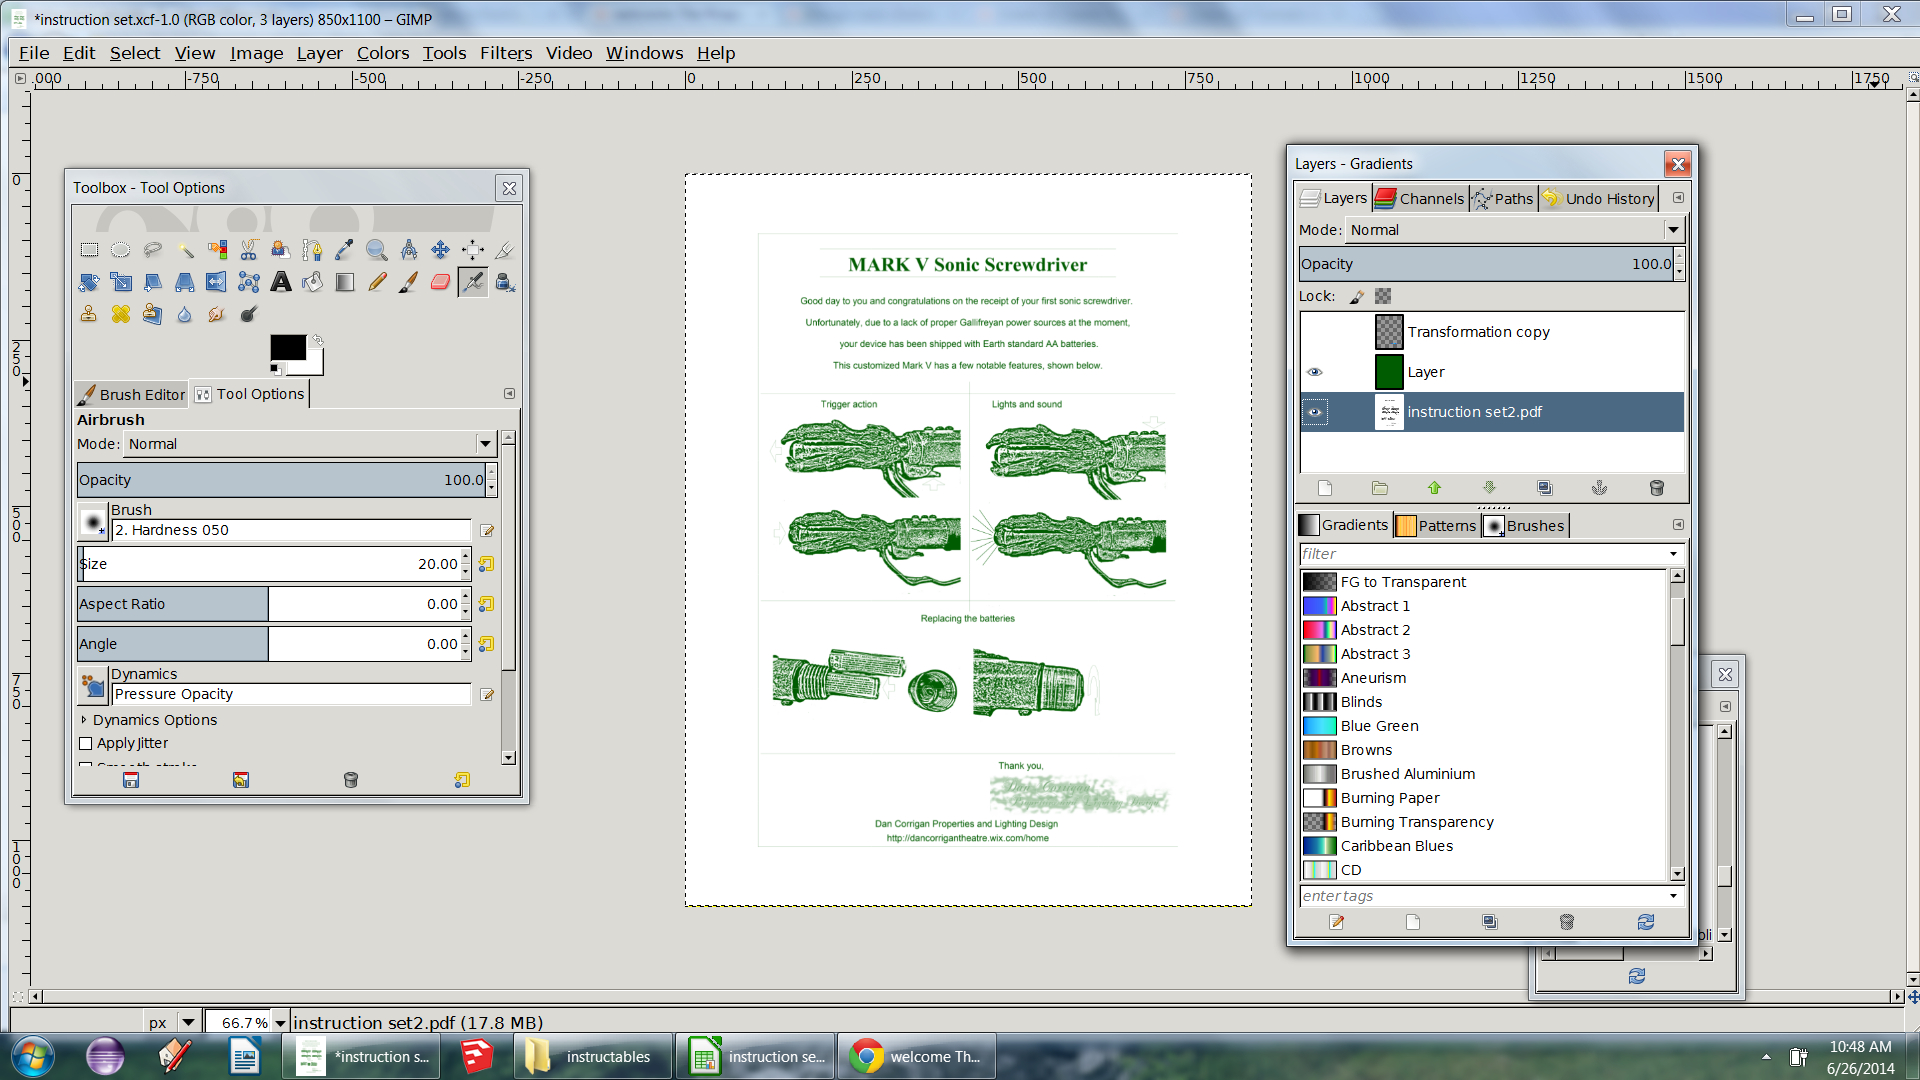
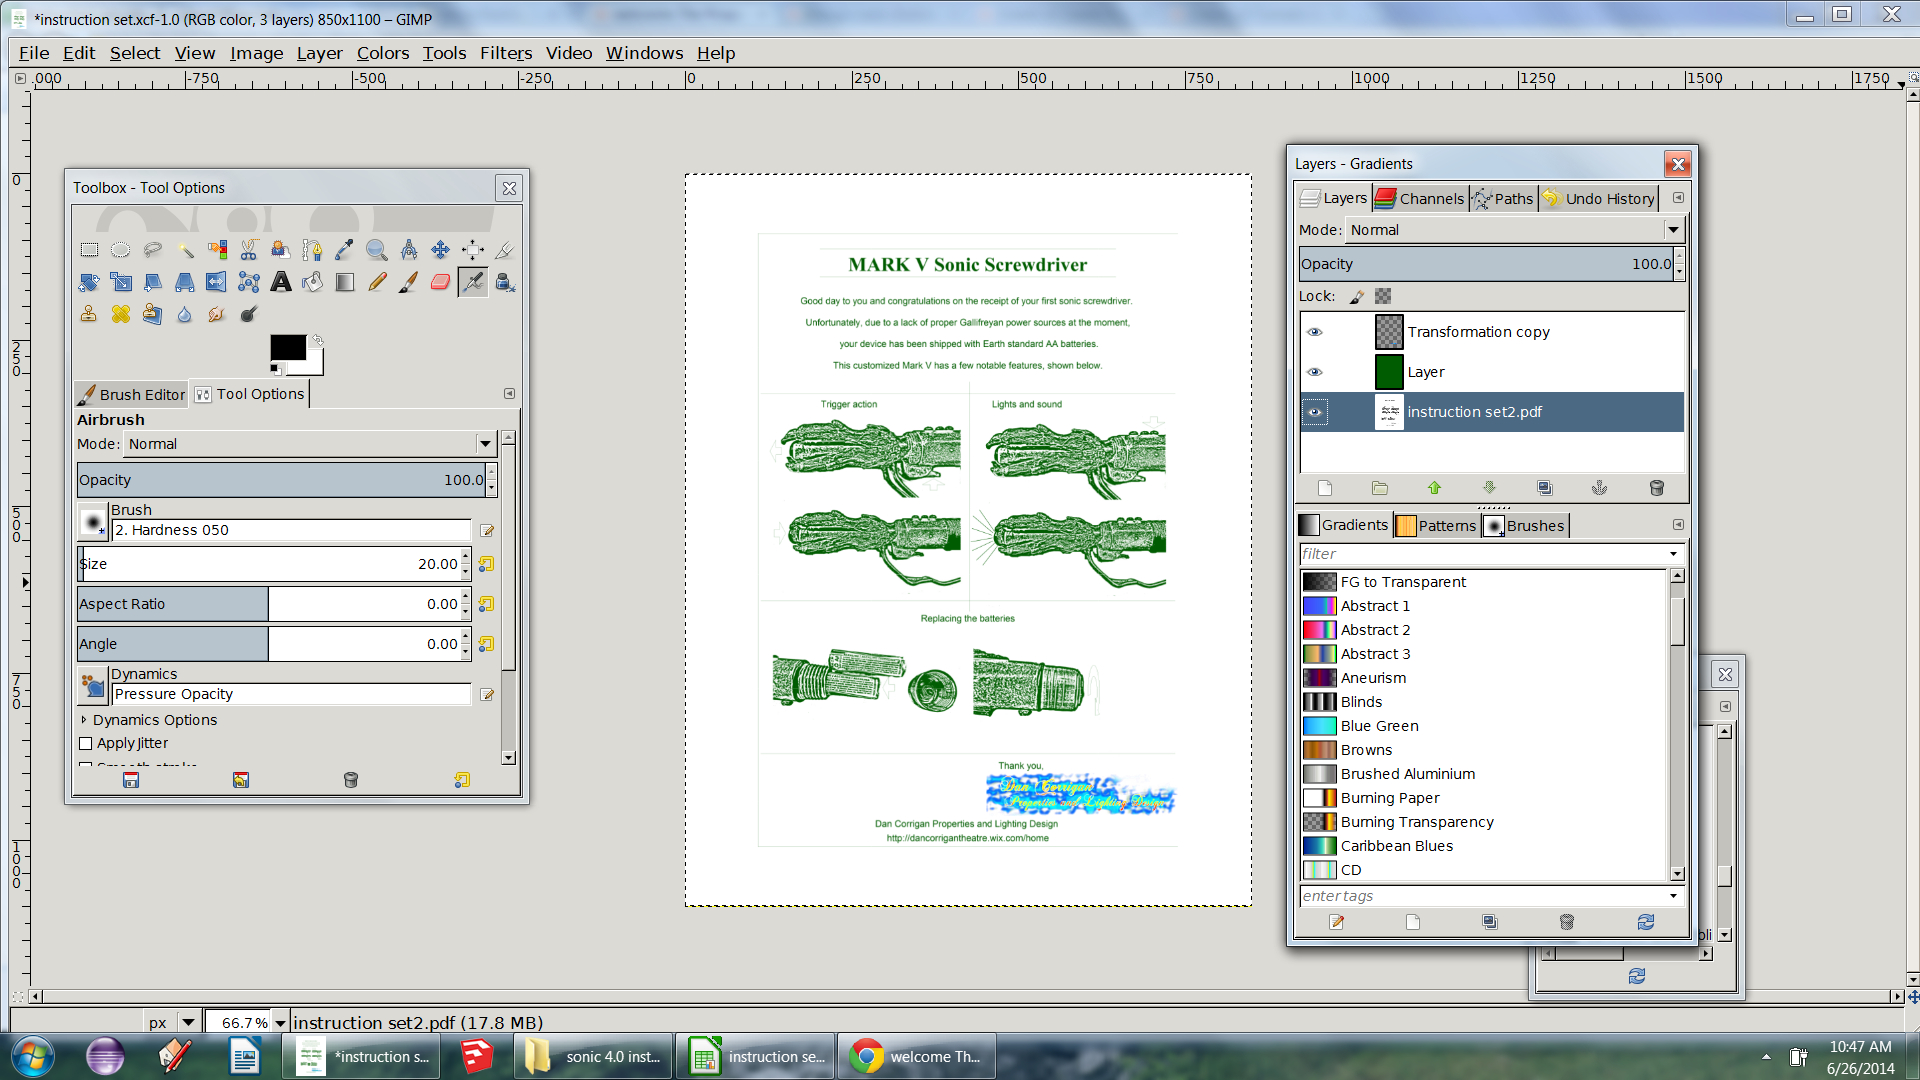
I wanted to add a bit more color to my instructions from the beginning to help stand out on the parchment paper I would be printing them on.
To do this I opened the pdf in gimp and added a screen layer over the top in green.
The logo I added did not pop enough when I got to that stage so I added it back in with color this time, above the screen layer to prevent it from being green.
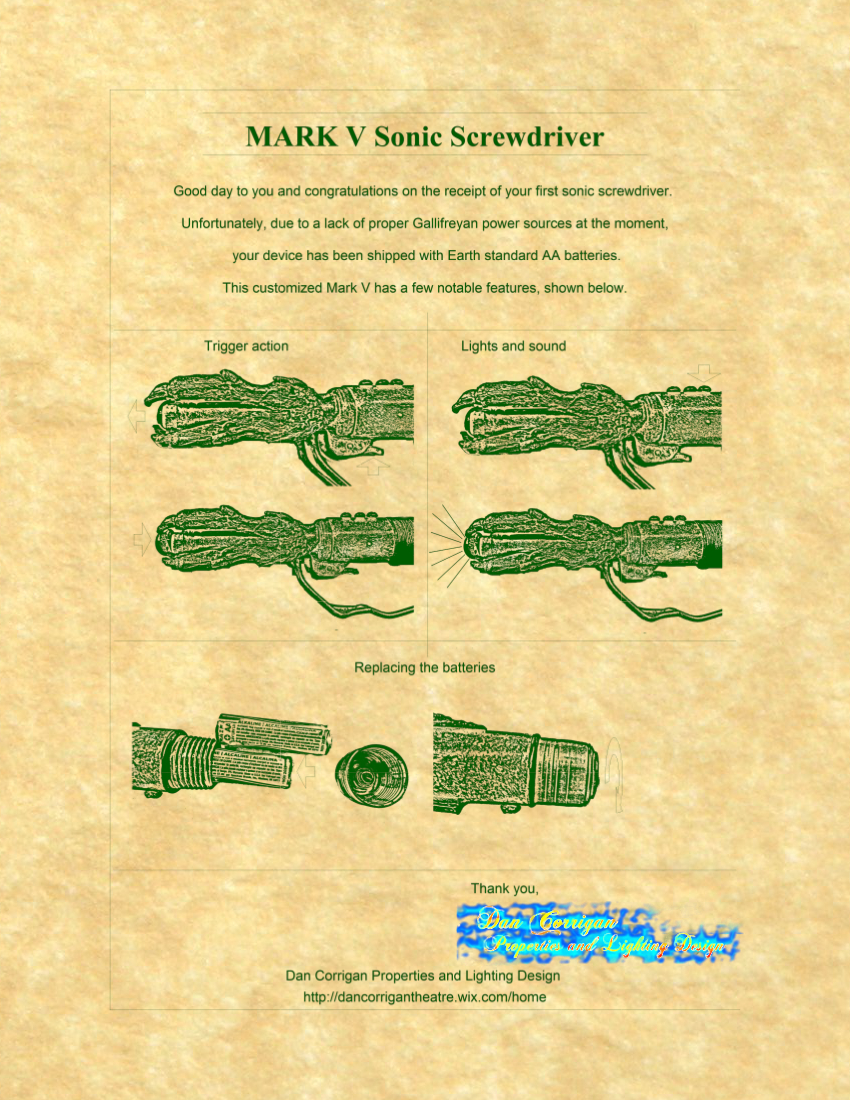
Once you are happy with the product, save the file, export a pdf or JPG and print the file onto your desired paper.
You Are Done
.jpg)
.jpg)
.jpg)
.jpg)
.jpg)
So ends making simple sets of instructions for props. I hope you enjoyed this tutorial. Good luck at making your own!