Corpse Bride Wedding Photo
by kristylynn84 in Circuits > Cameras
4170 Views, 1 Favorites, 0 Comments
Corpse Bride Wedding Photo
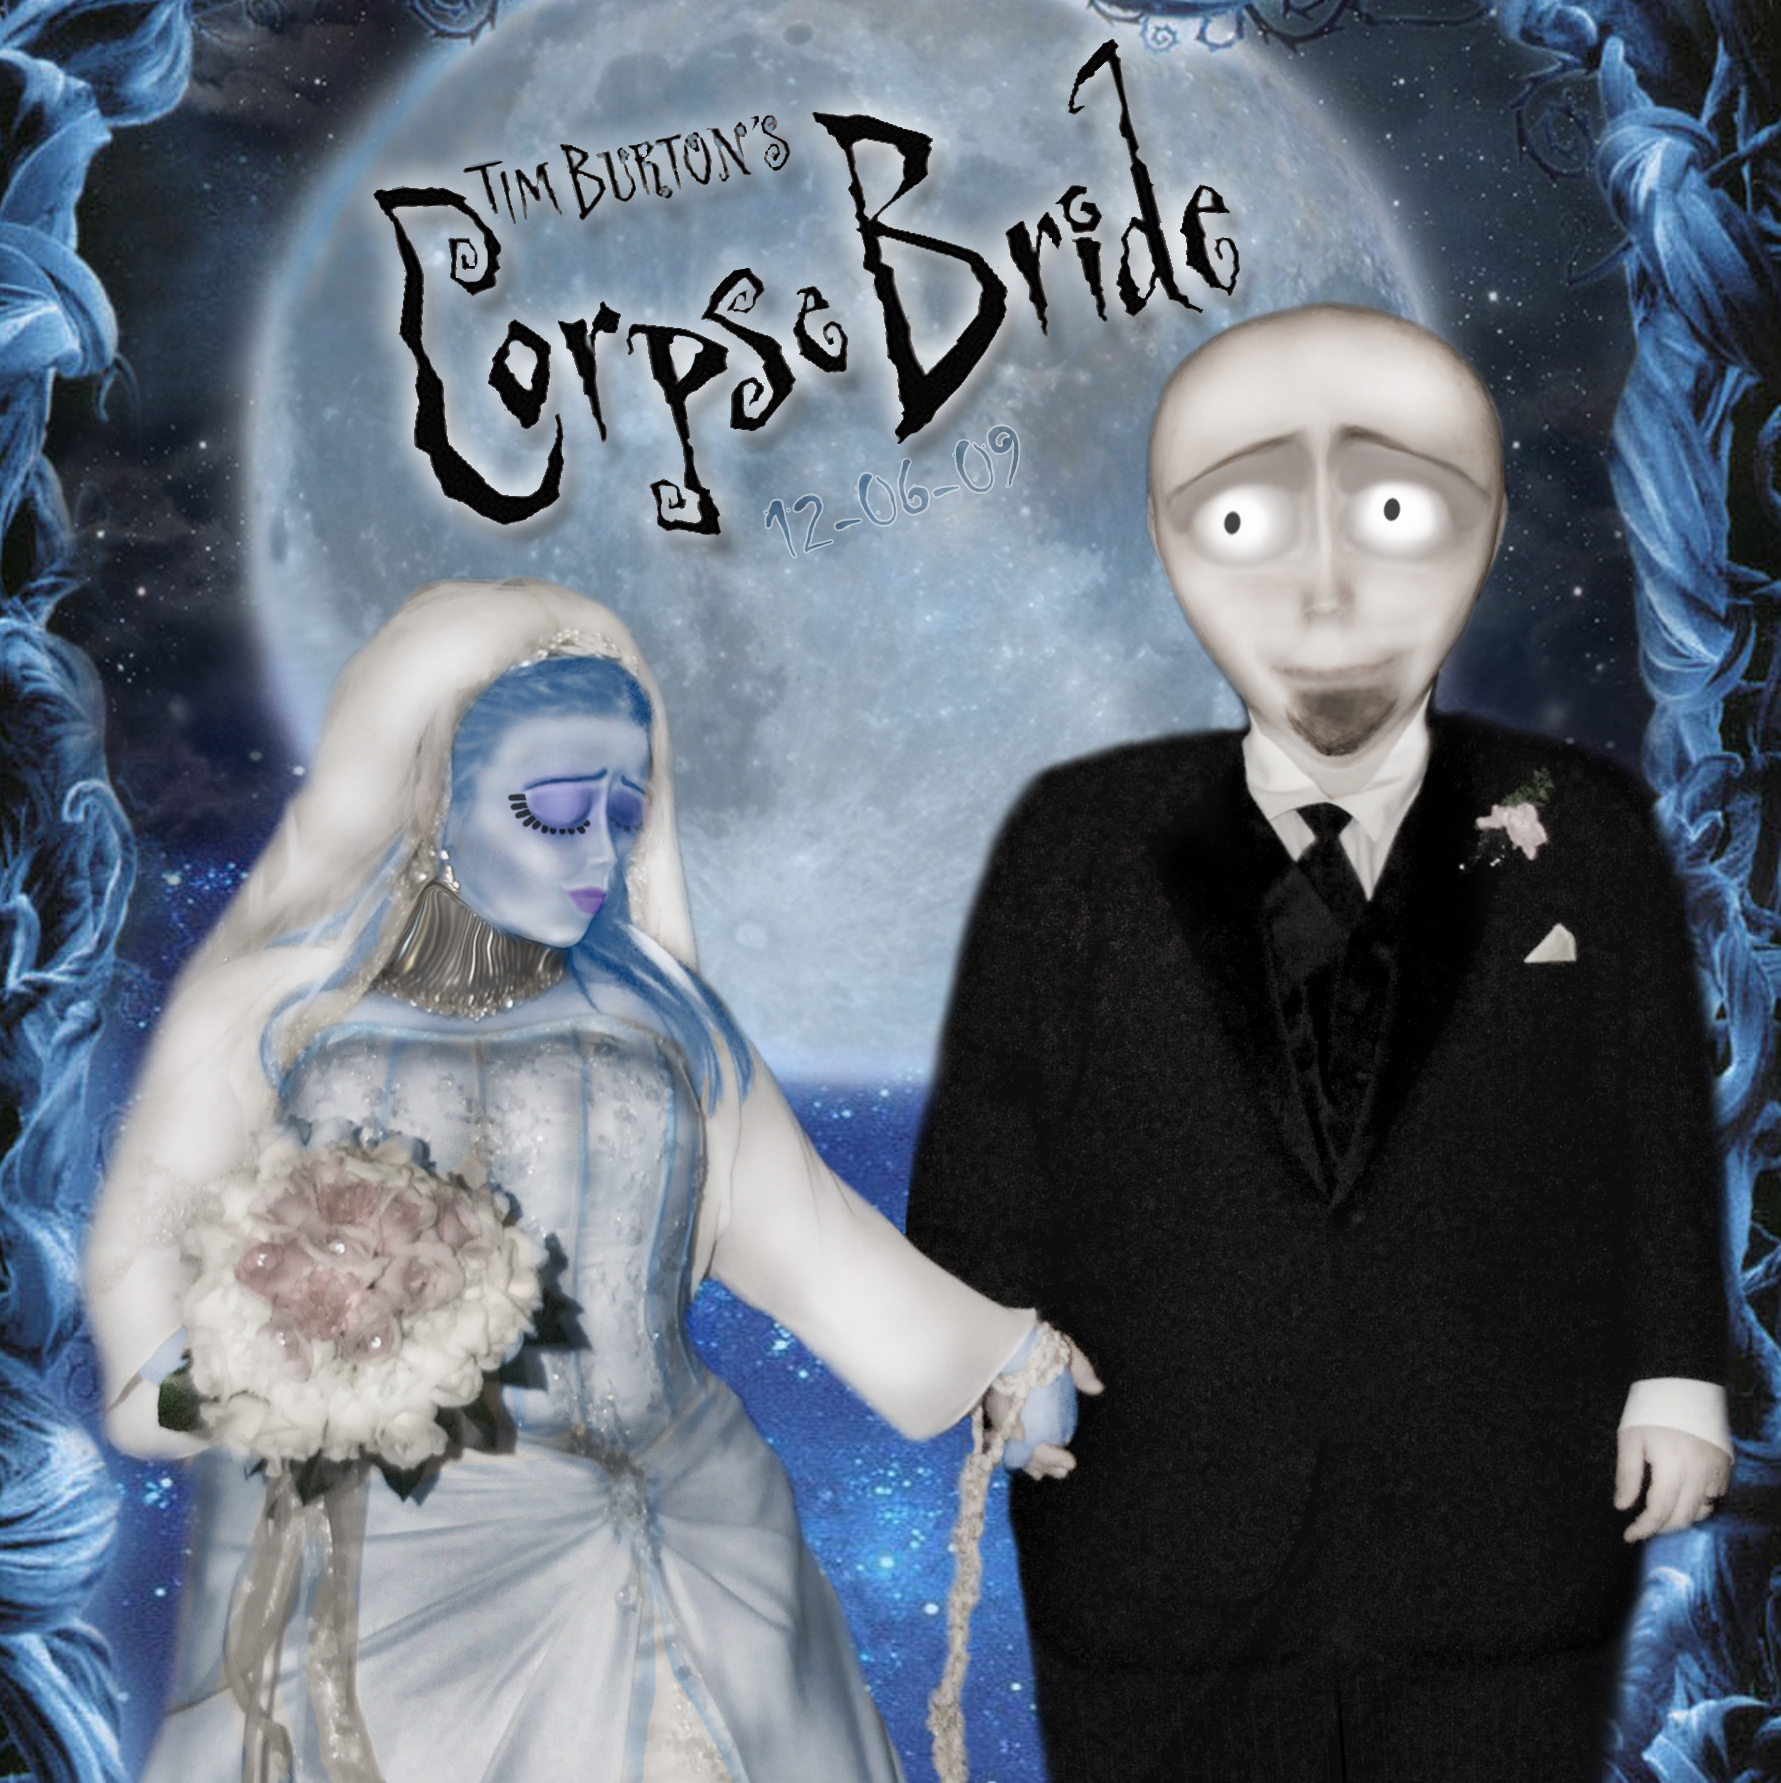
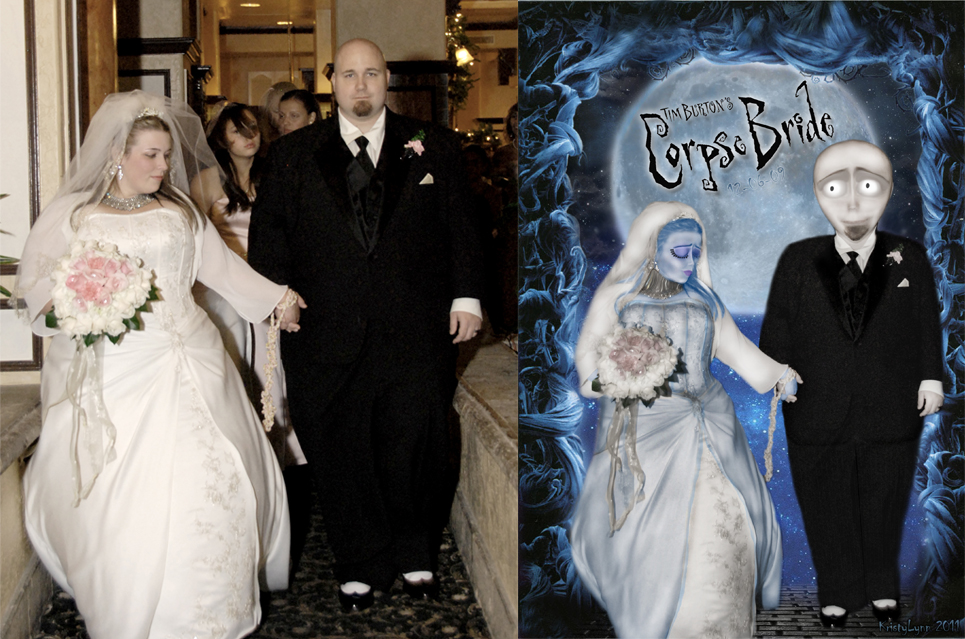
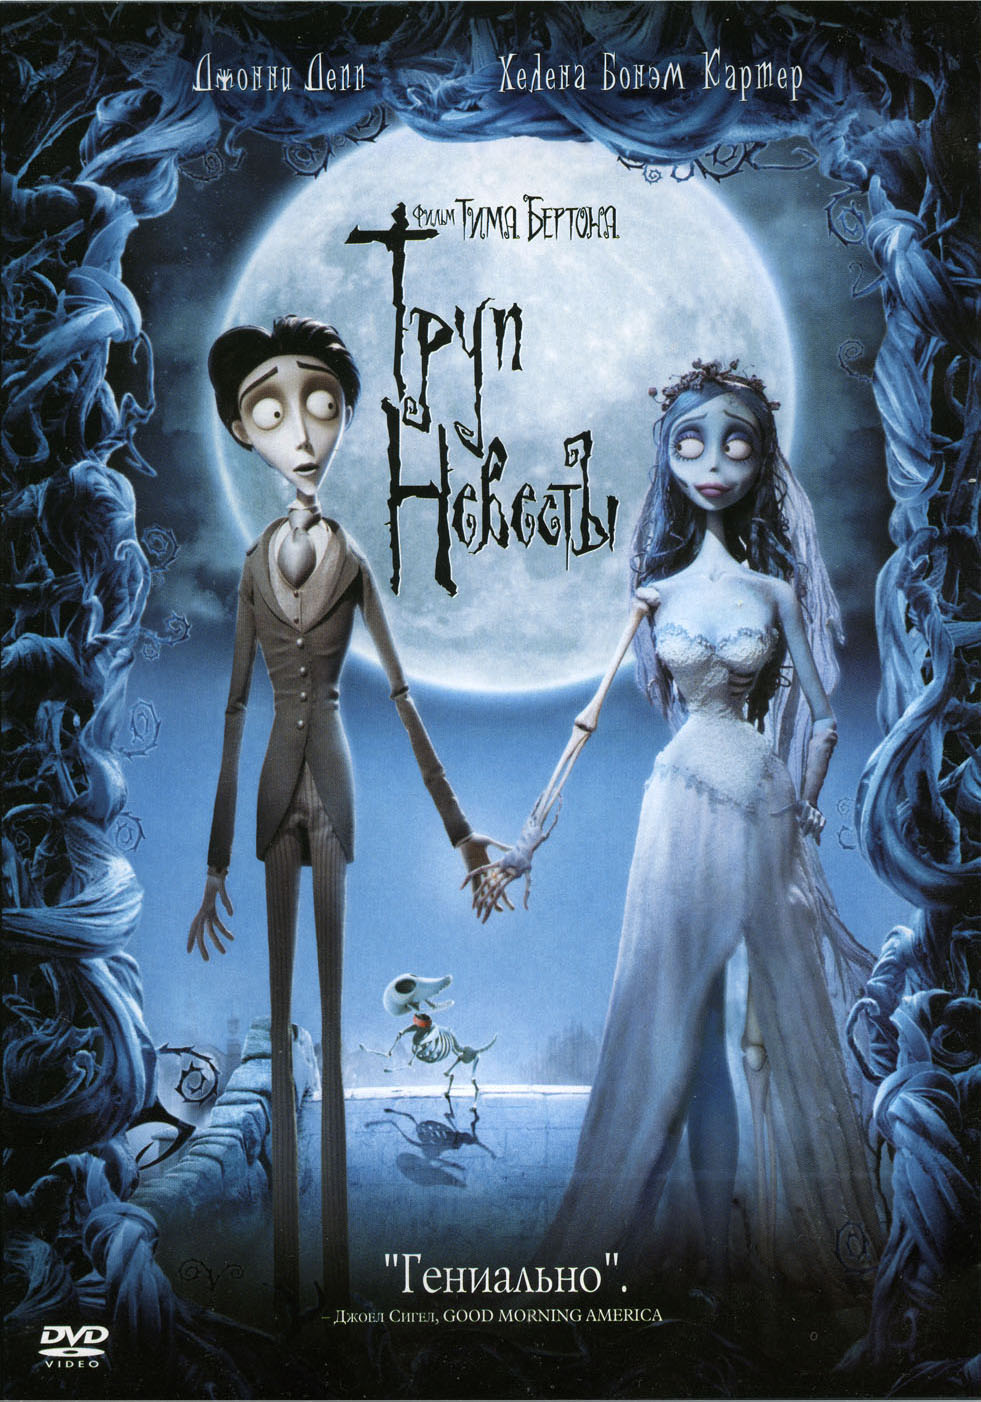
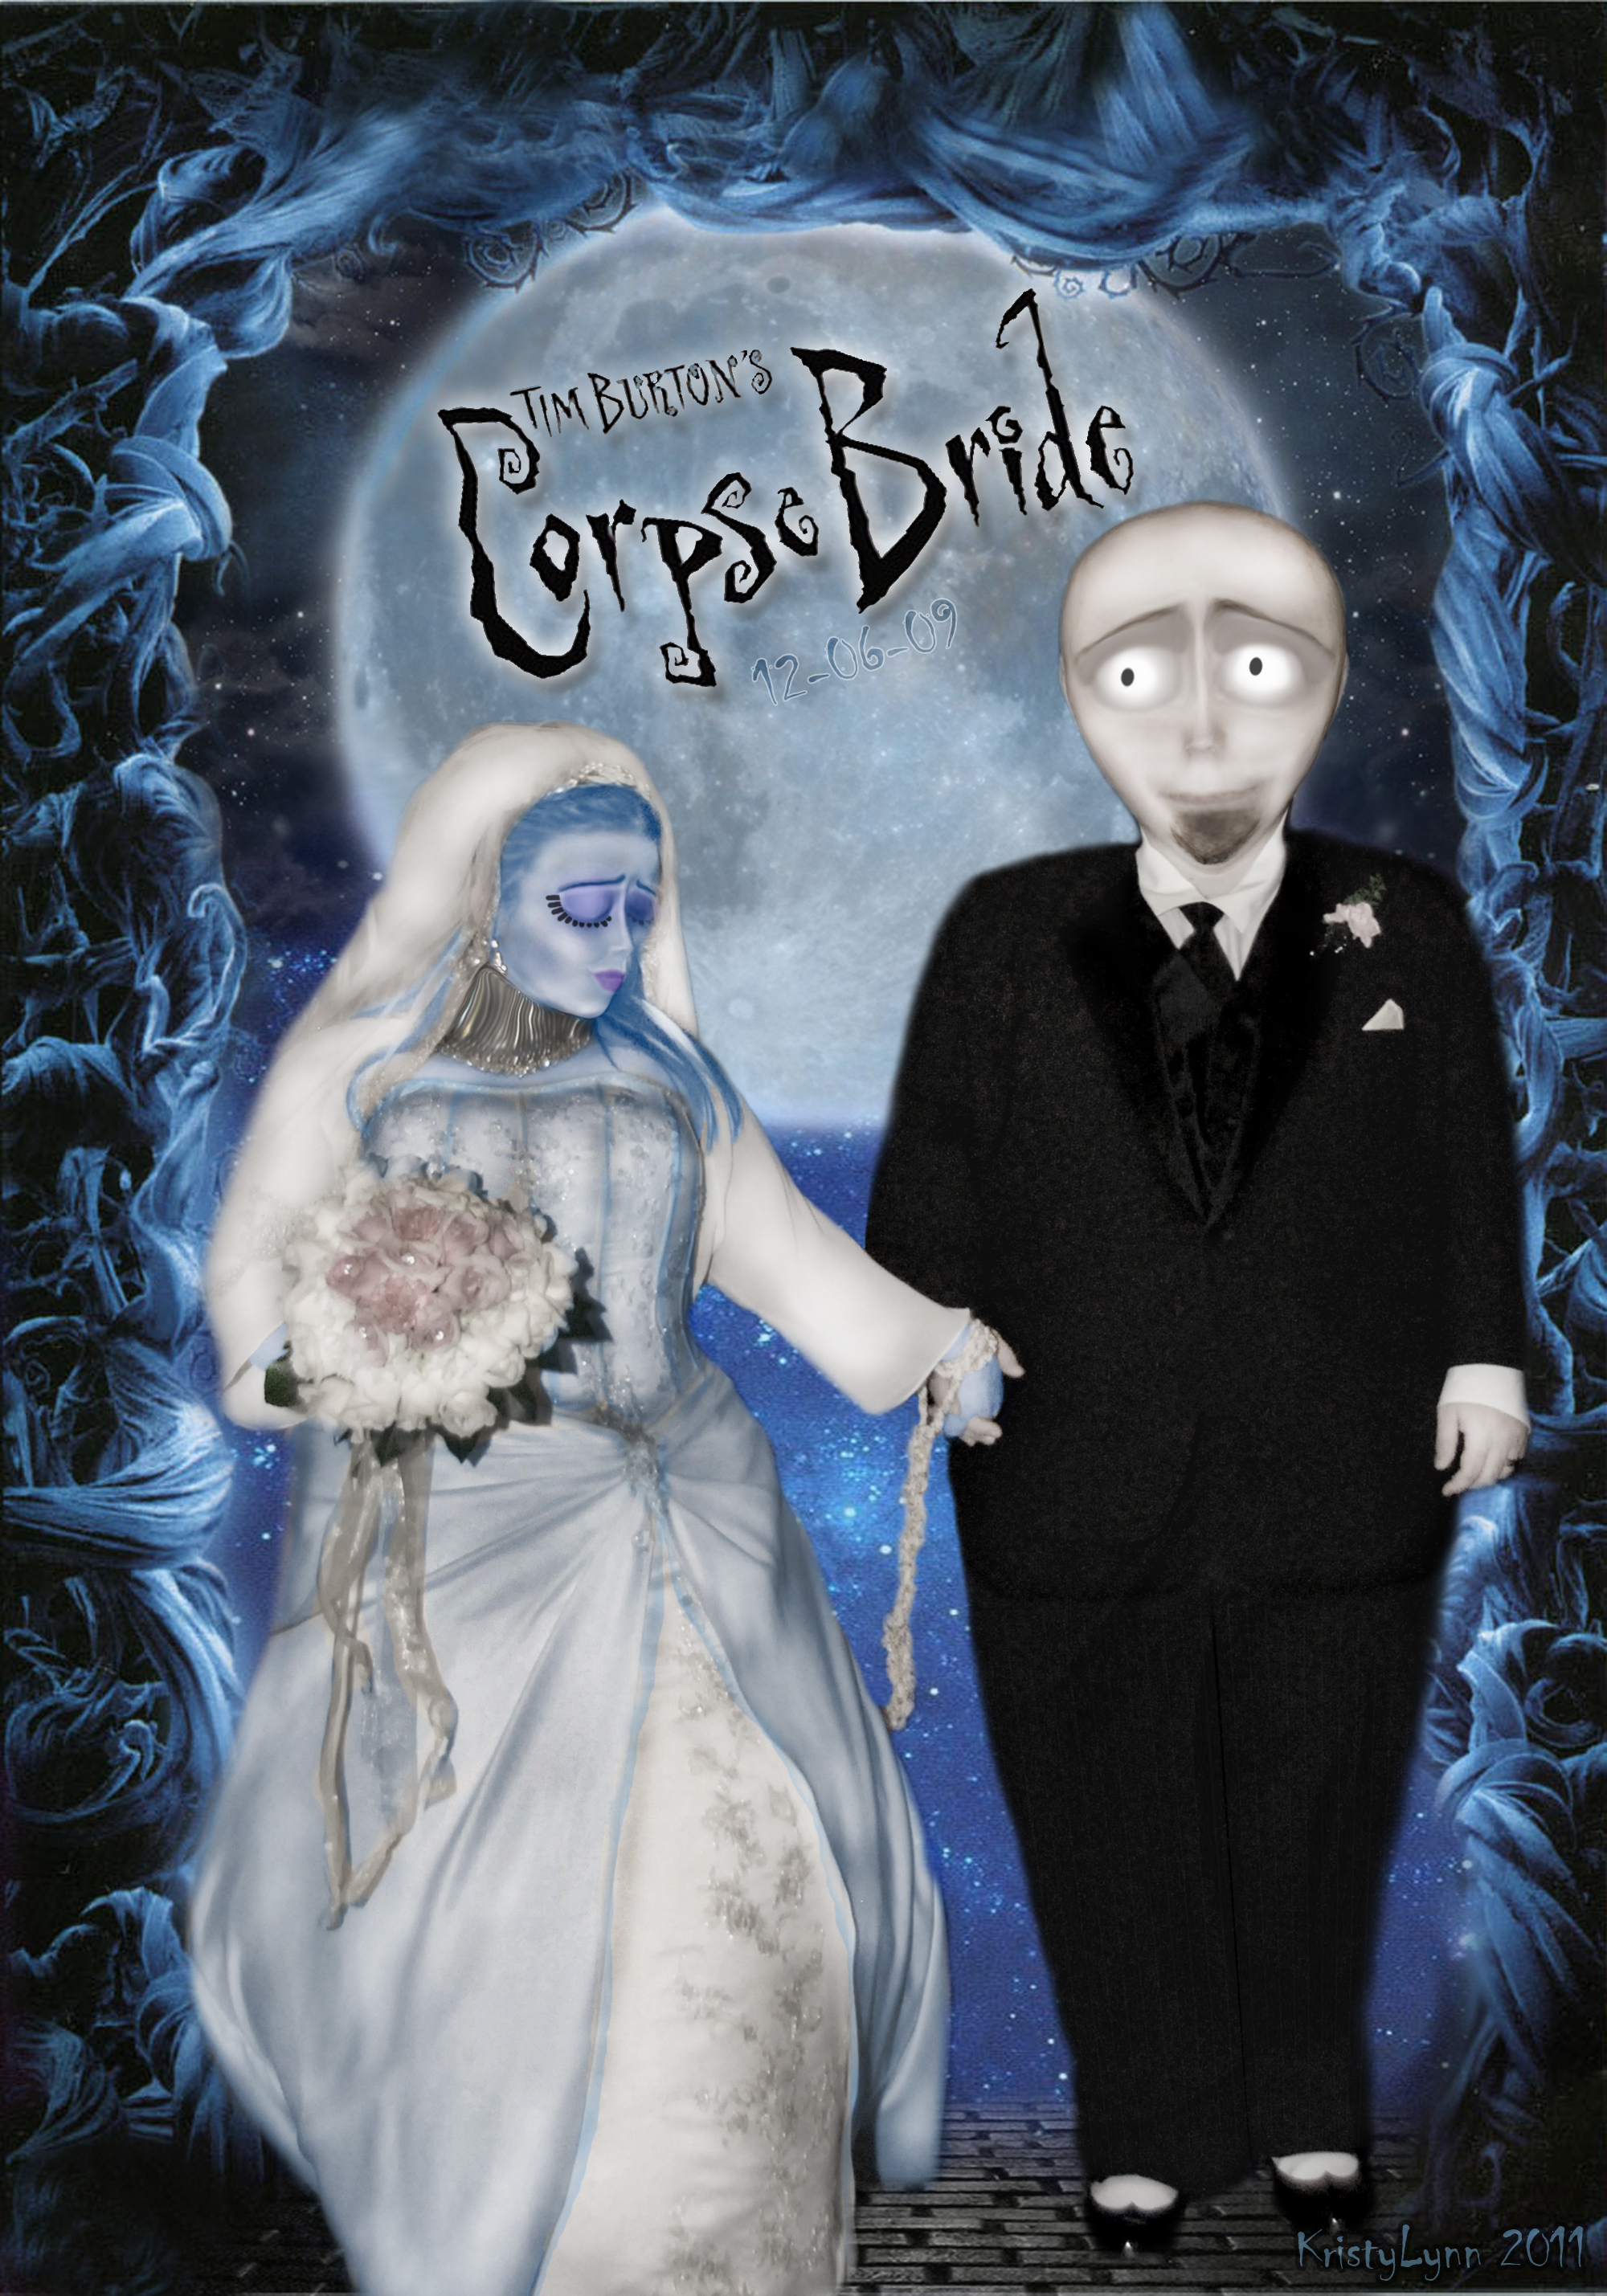
I was inspired by the Corpse Bride and I wanted to turn my husband and I into the movie cover. :) Here we are! Cartoony and dead-ly. These are highly manipulated images! I even made the background on my own, but that would be an entirely new instructable. When it was all said and done, I had over 100 screen shots for the tutorial. So I had to leave out tiny steps that I was anal about, and I left out the background all together. You can find spooky backgrounds on google, etc. (What I did was pure insanity. I was up from 3am - 10am.)
This was made using photoshop! Enjoy :D
This was made using photoshop! Enjoy :D
Prep Yourselves!
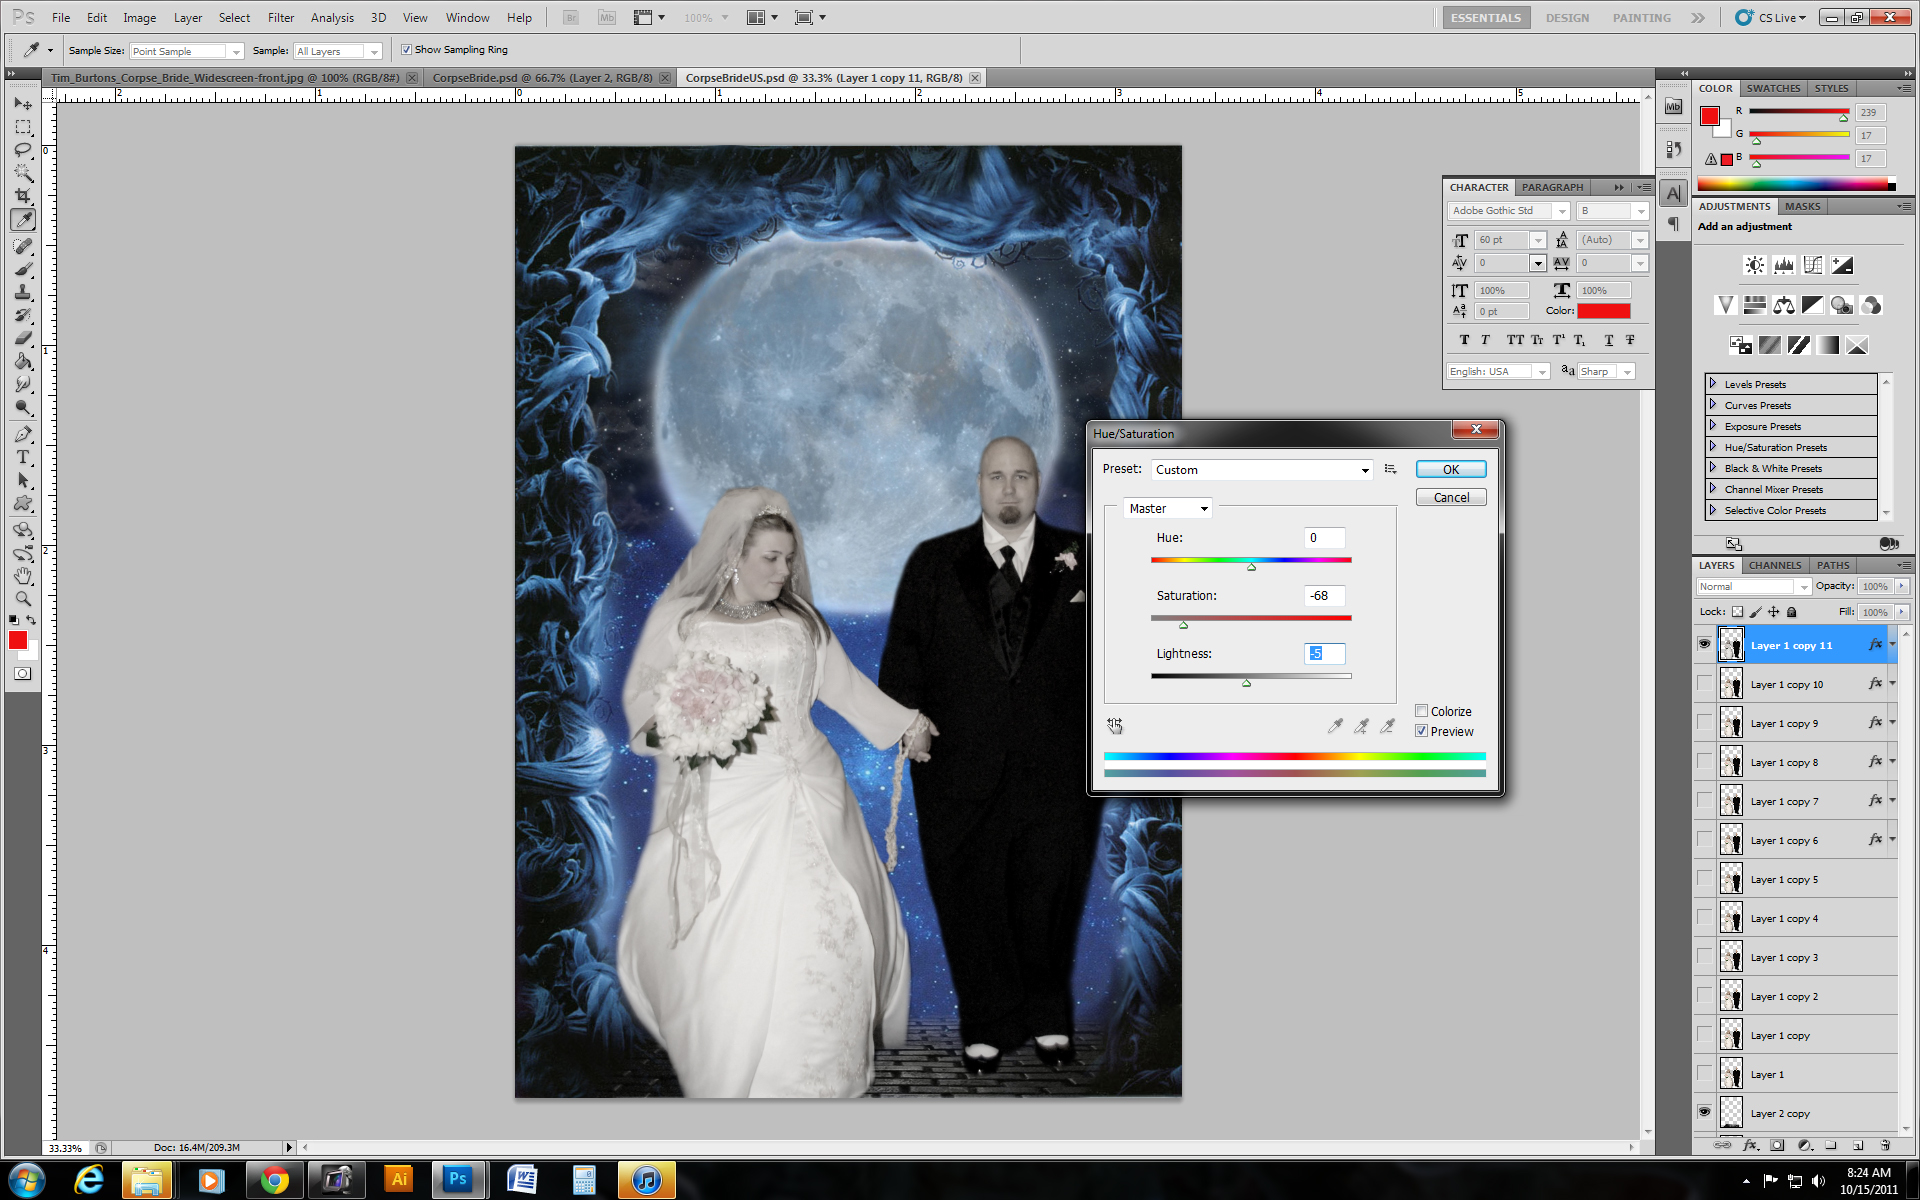
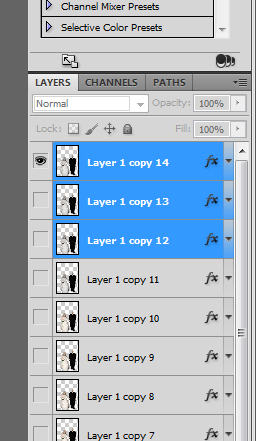
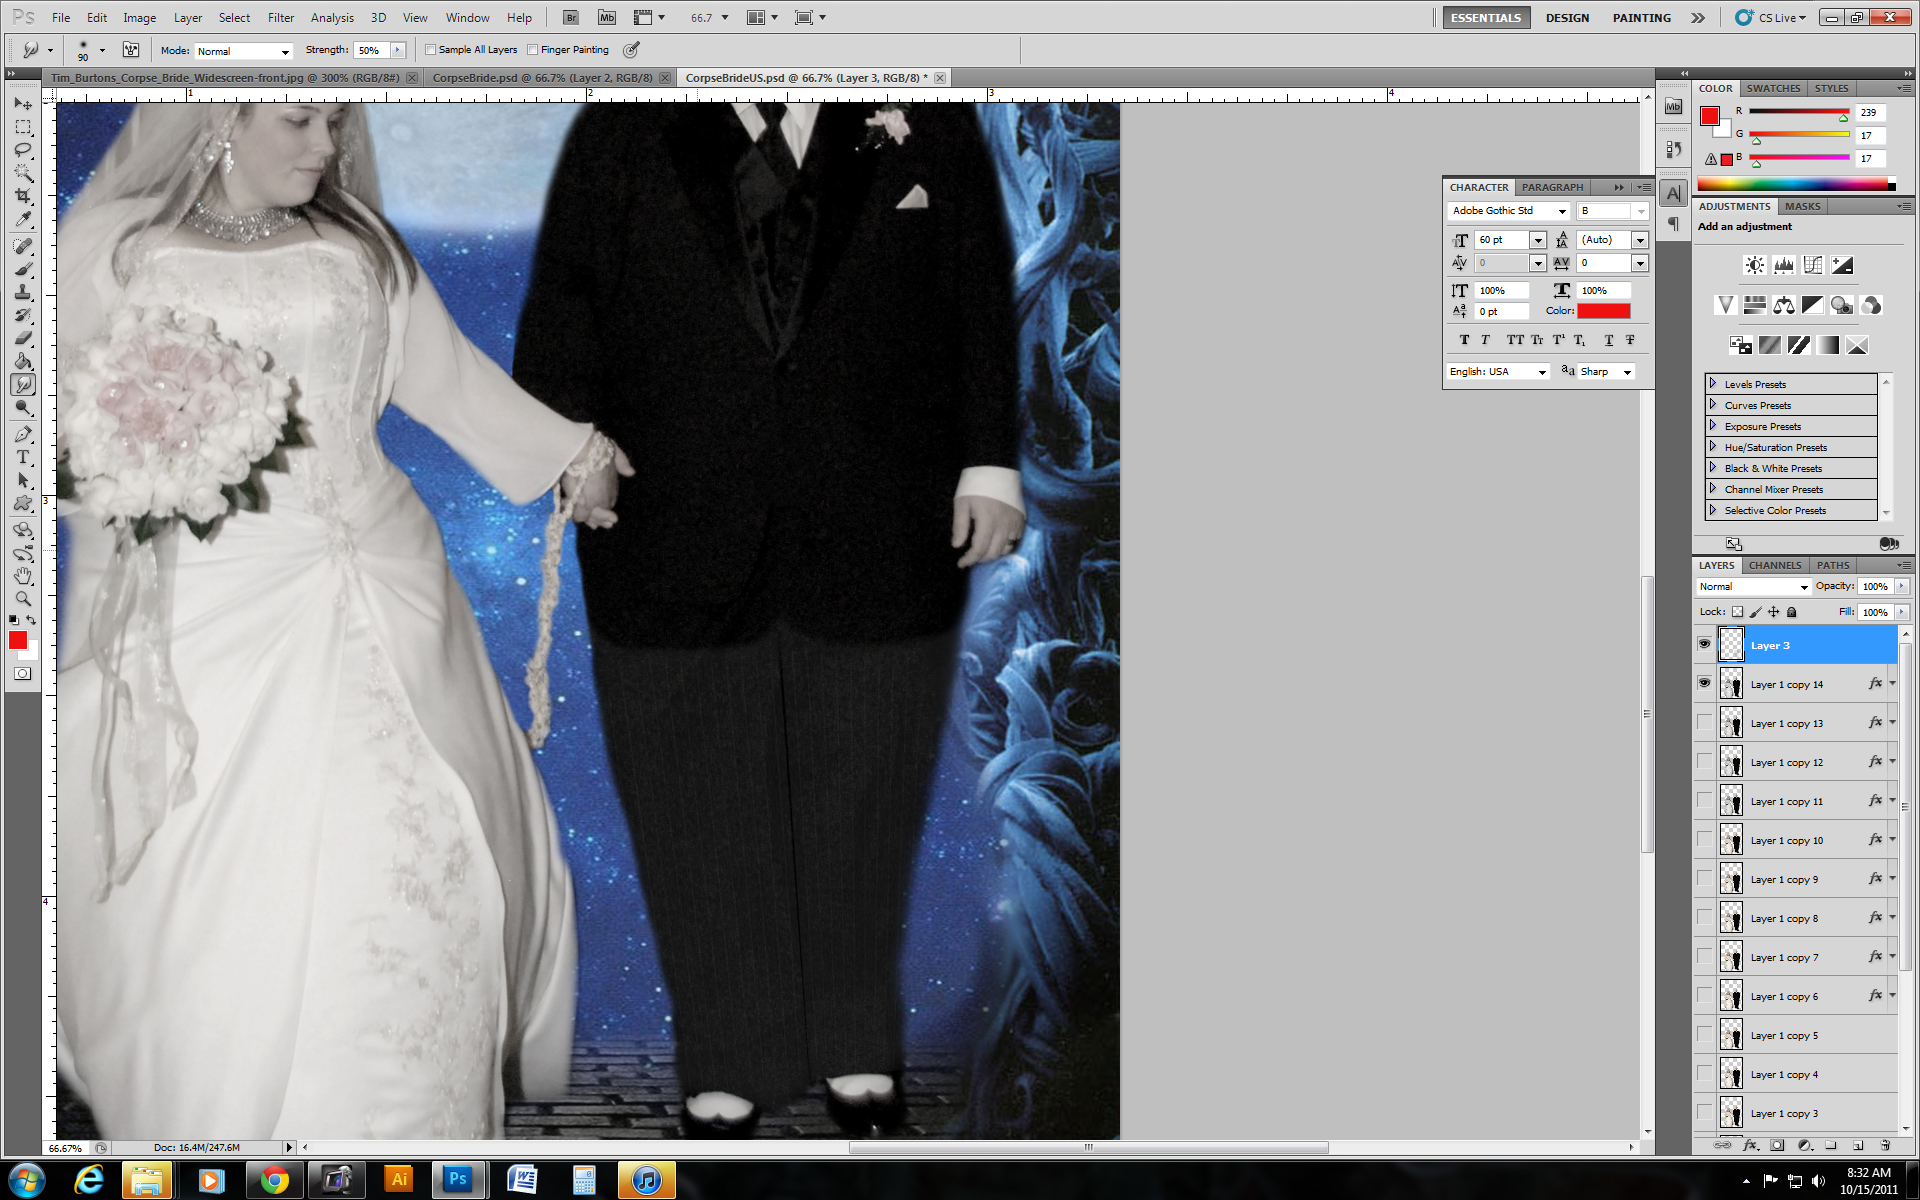
Start with an image of the two of you, already cut-out from the background.
Go into IMAGE, ADJUSTMENTS, HUE and SATURATION, and then take down the saturation so that you both turn grey-ish. But leave some color in there, just not much.
Make lots of copies of your image in case you mess up at some point in time. I like to make multiple copies each time I majorly change the image.
Not needed, but I added light pinstripes to my husband's pants to look more accurate to the movie cover. (I used a small square and CONTROL + T to transform it LONGer, then copied it over once more, for 2 pant legs.)
Liquify!
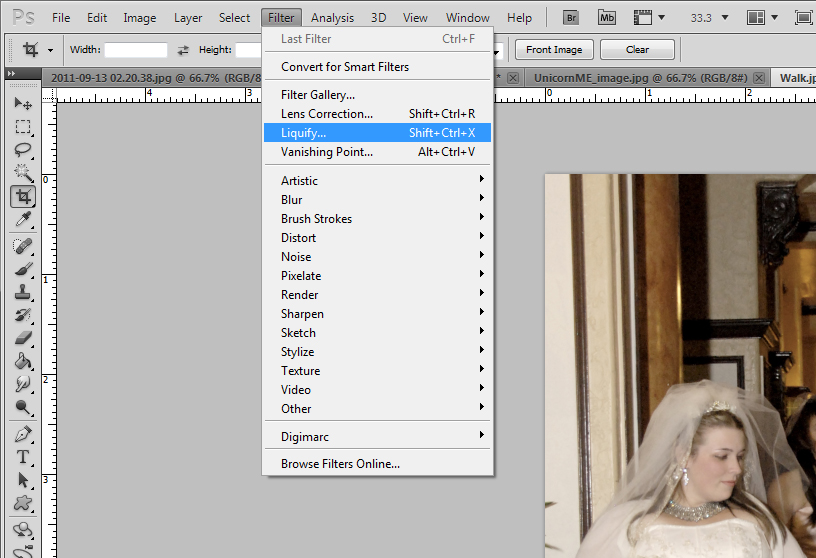
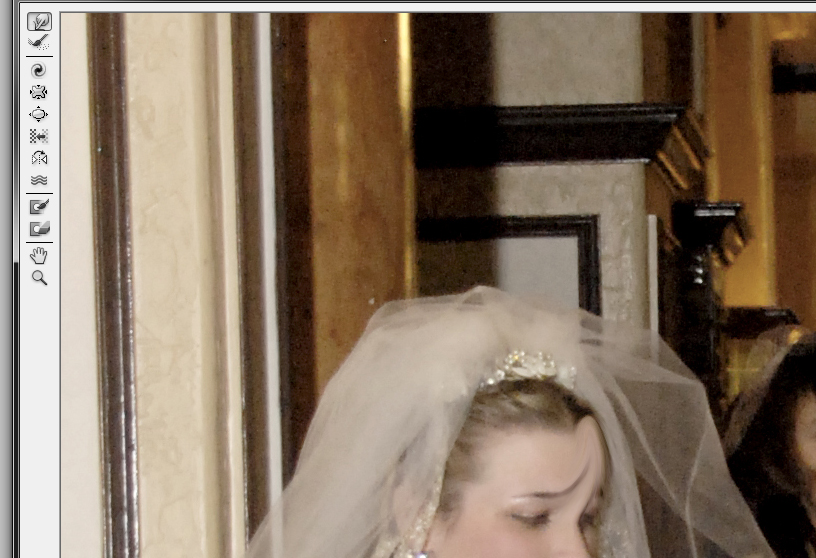
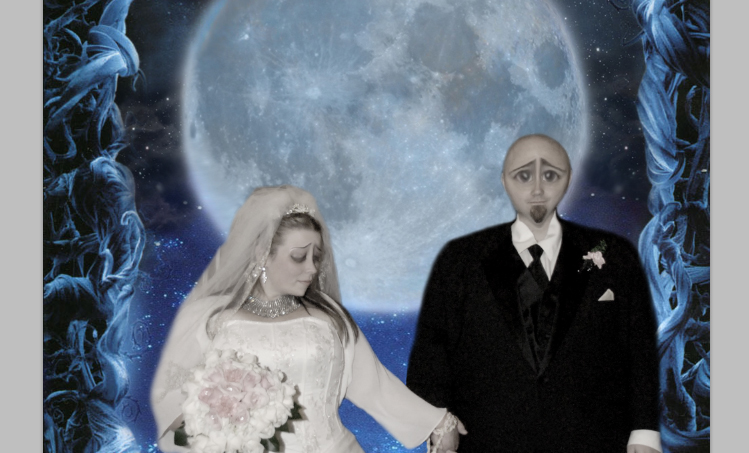
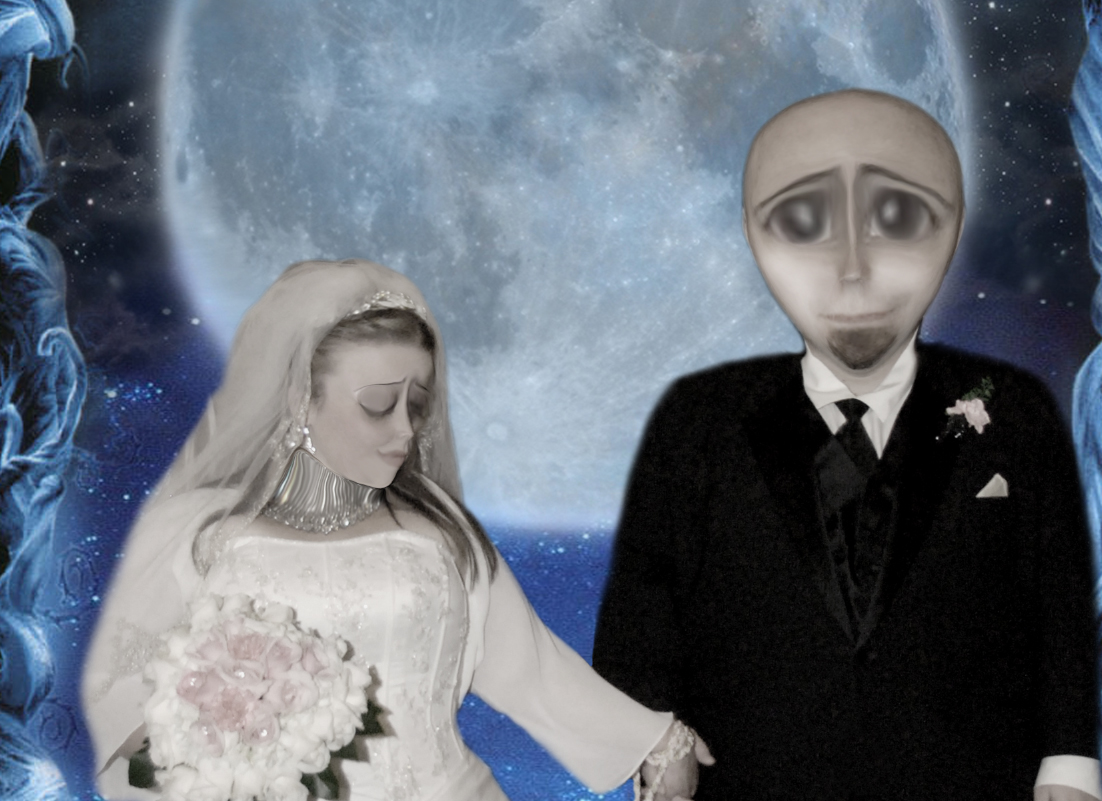
The magic happens here. When you go to FILTER, LIQUIFY, that's where you'll be altering your faces. Just make sure to have the right layer selected and have an image of the Corpse Bride cover to refer to, for the facial expressions, etc.
You'll be stretching, puckering and bloating. There is no real set method to this, just experiment and if you don't like what you did, over on the right side of the LIQUIFY box, you will see a button to reset it back to the beginning. :)
For myself, I just compared the characters and tried to pick the major attributes to mimic. It takes a lot of finessing, to get the look you want, so just be patient.
Colors for the Dead
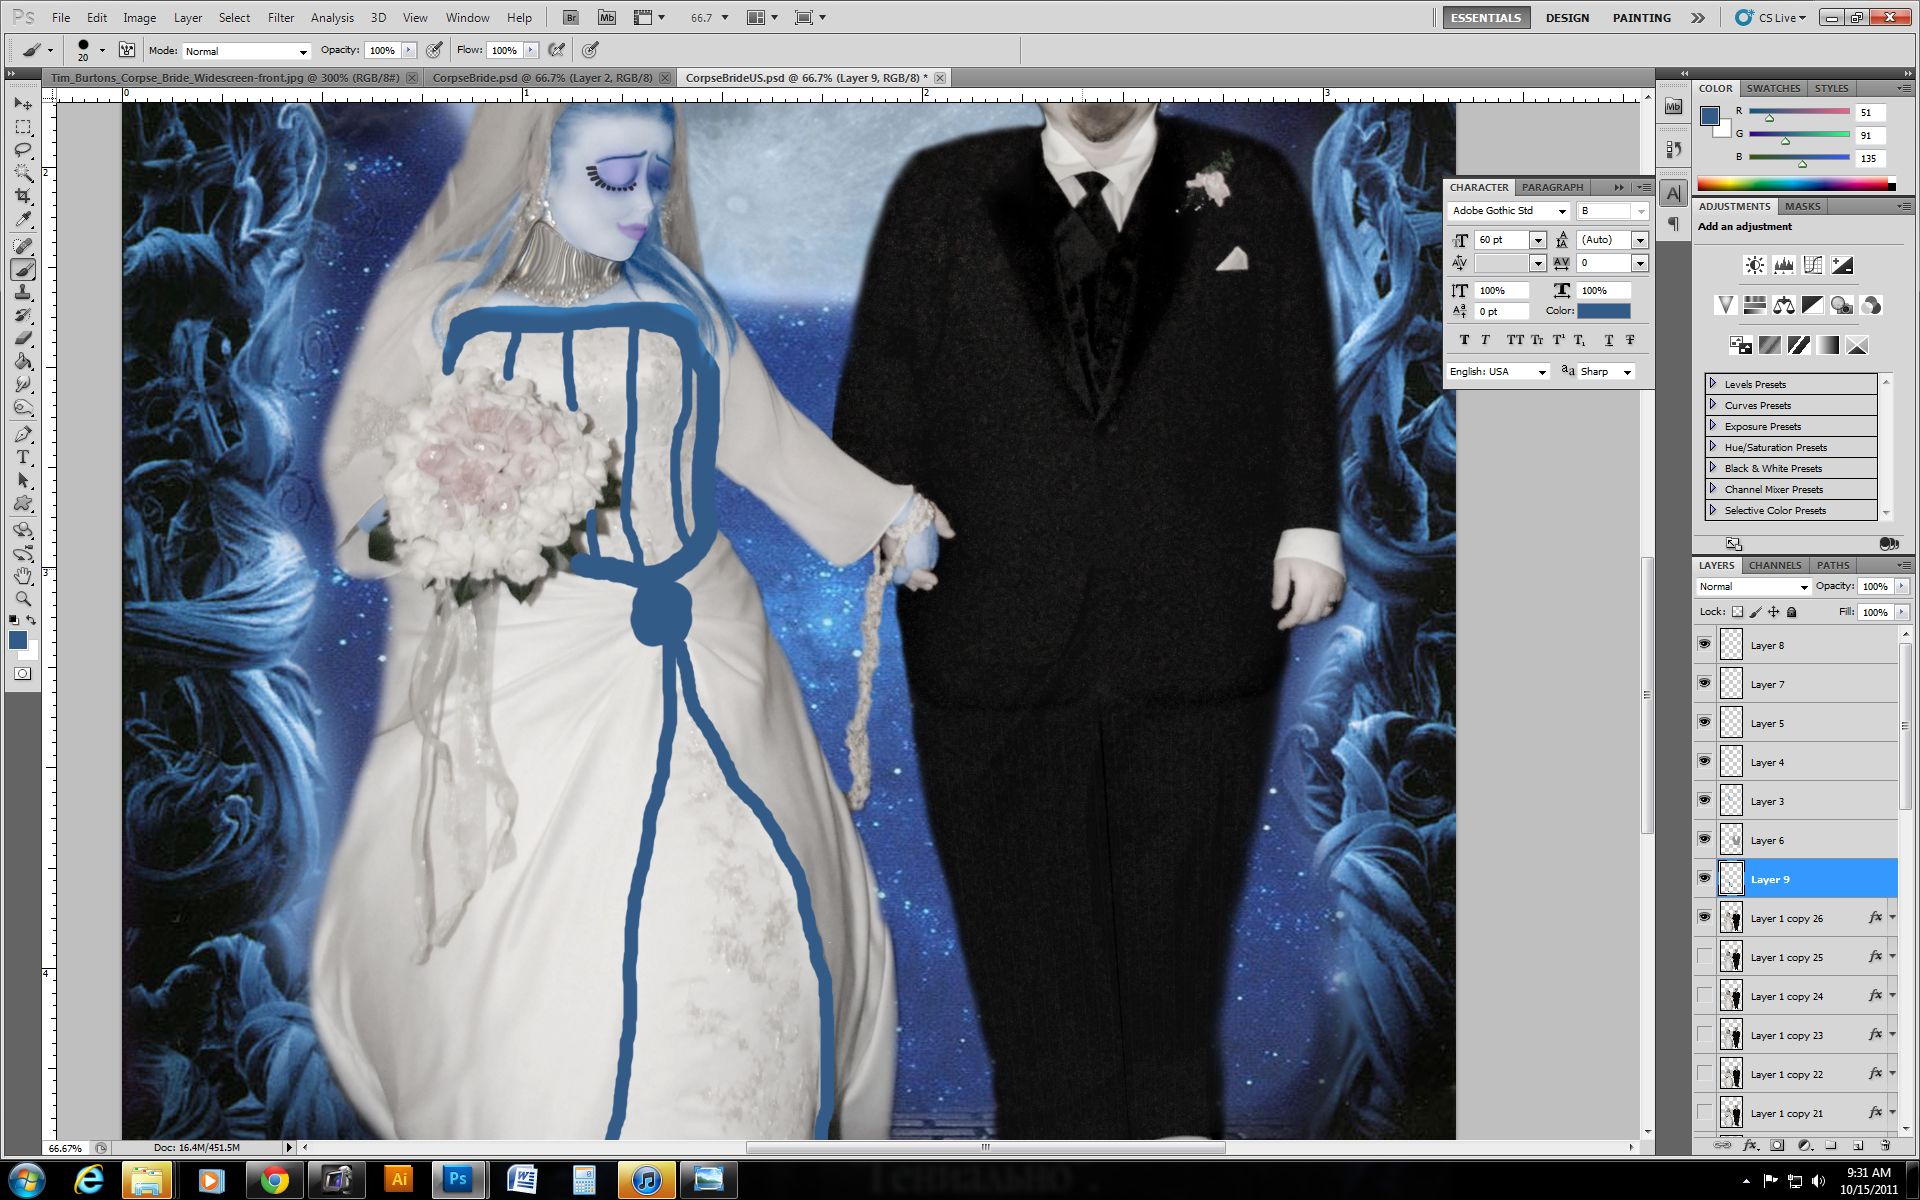
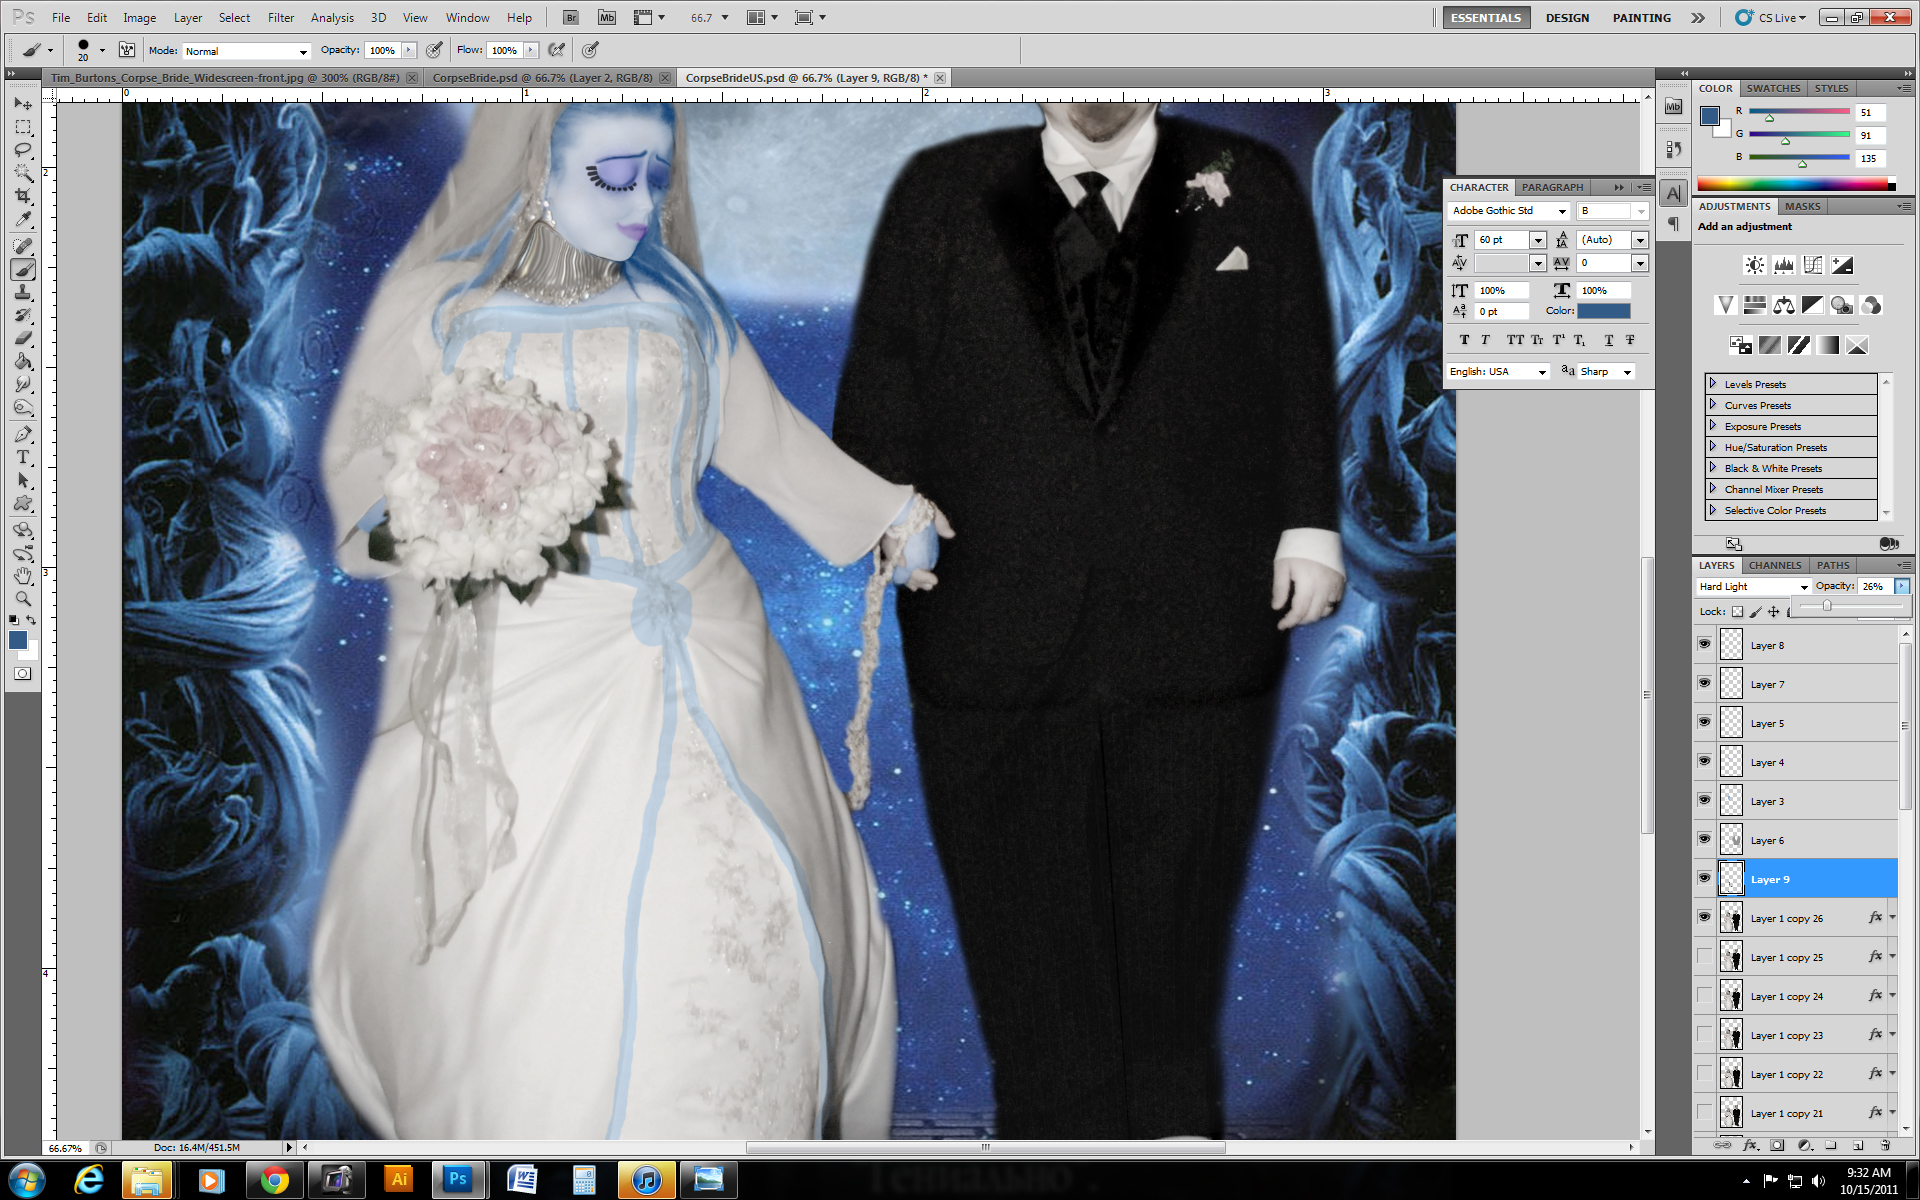
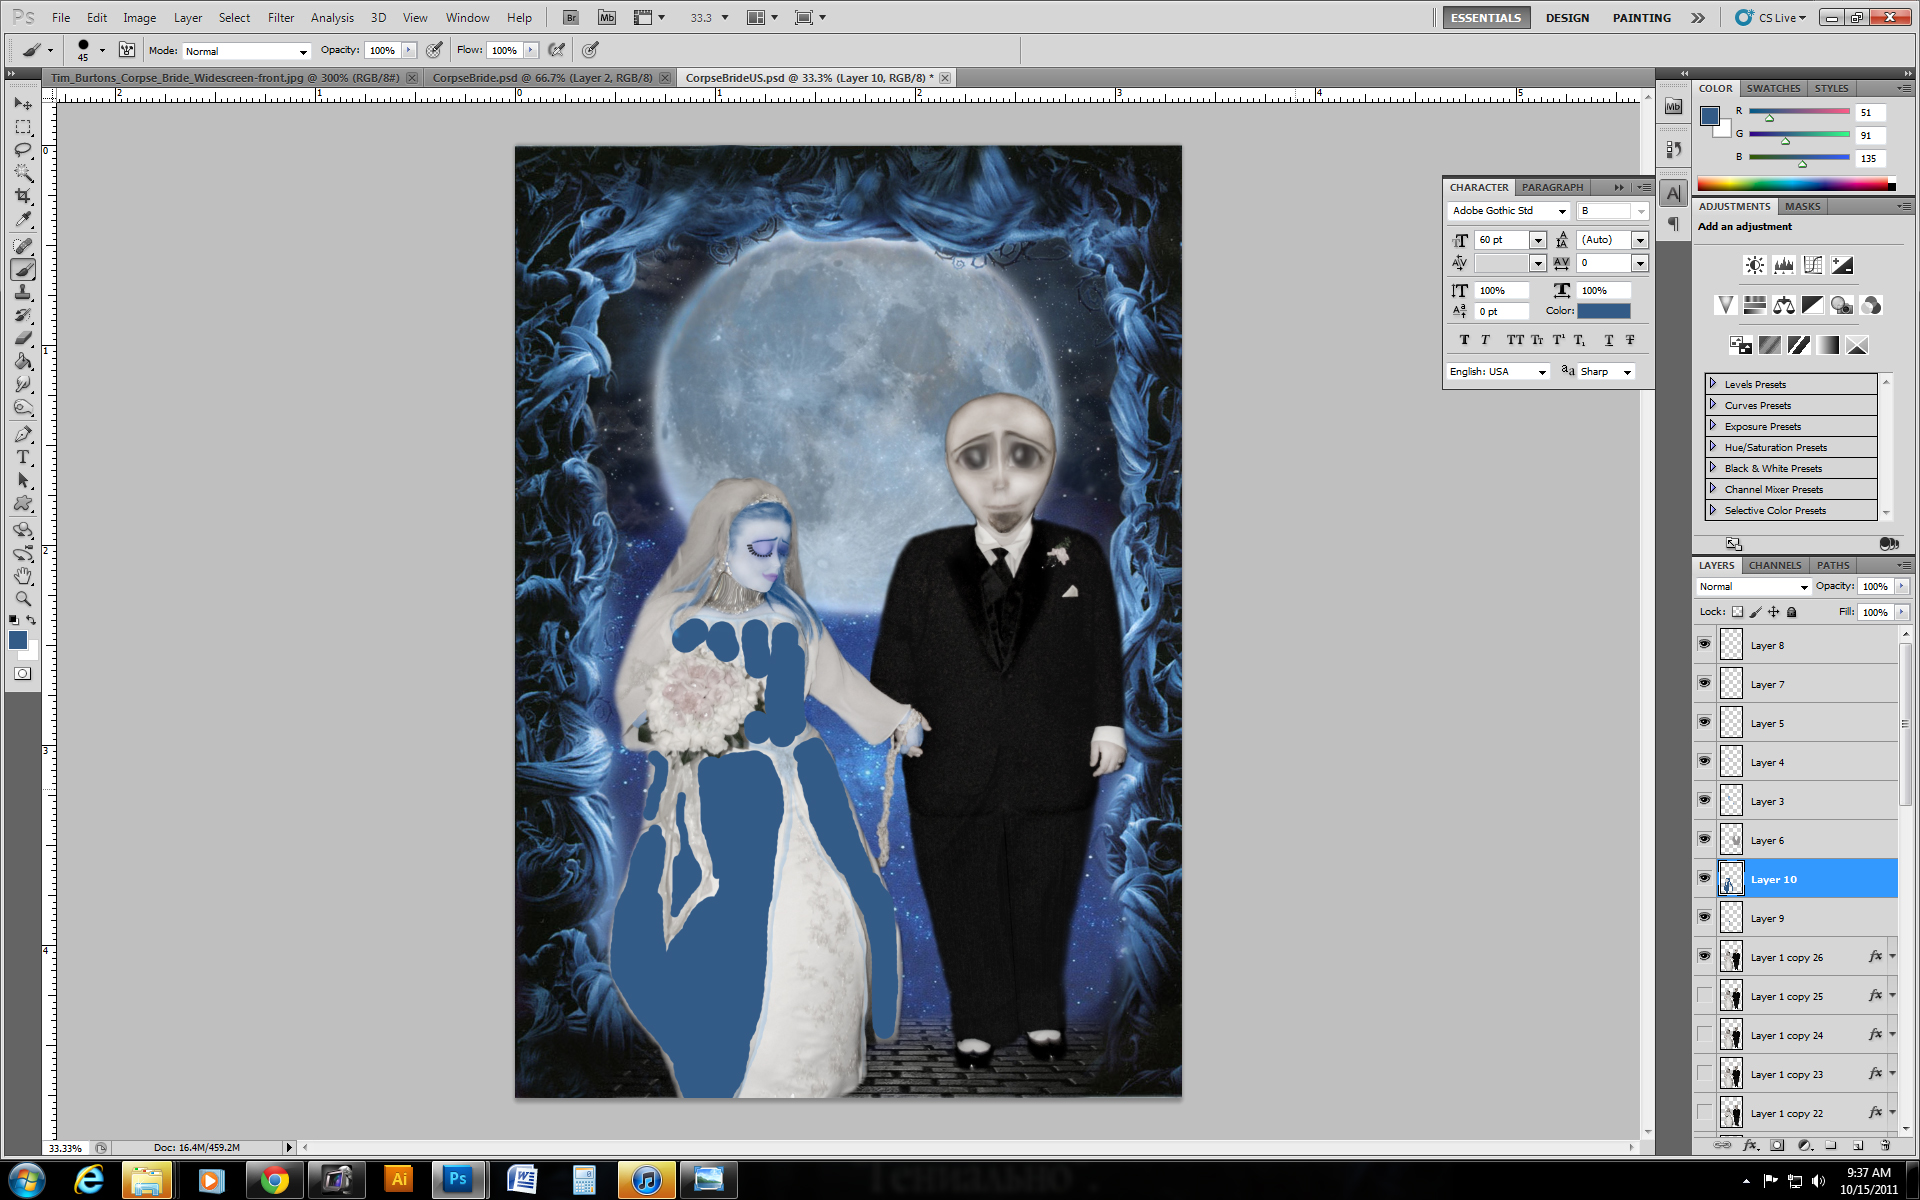
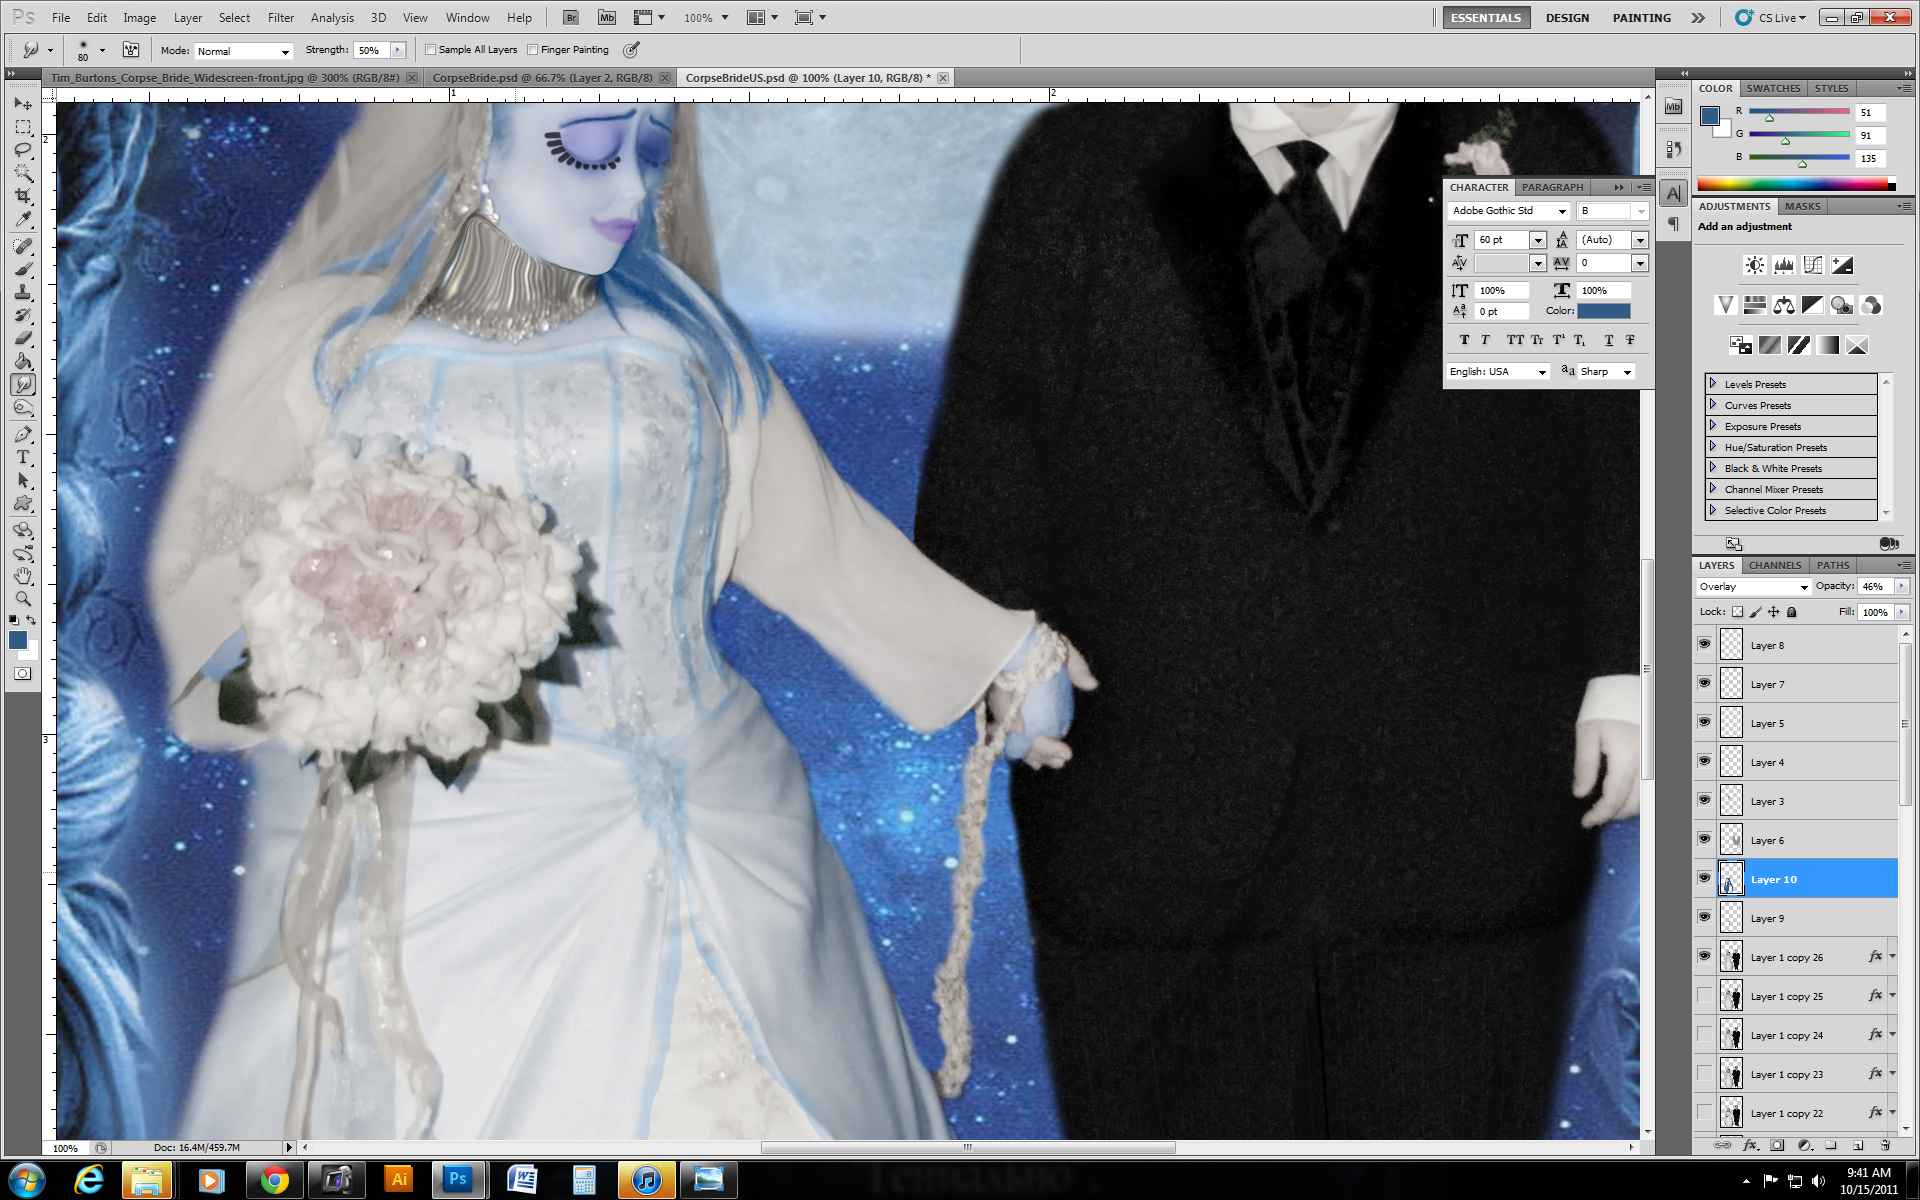
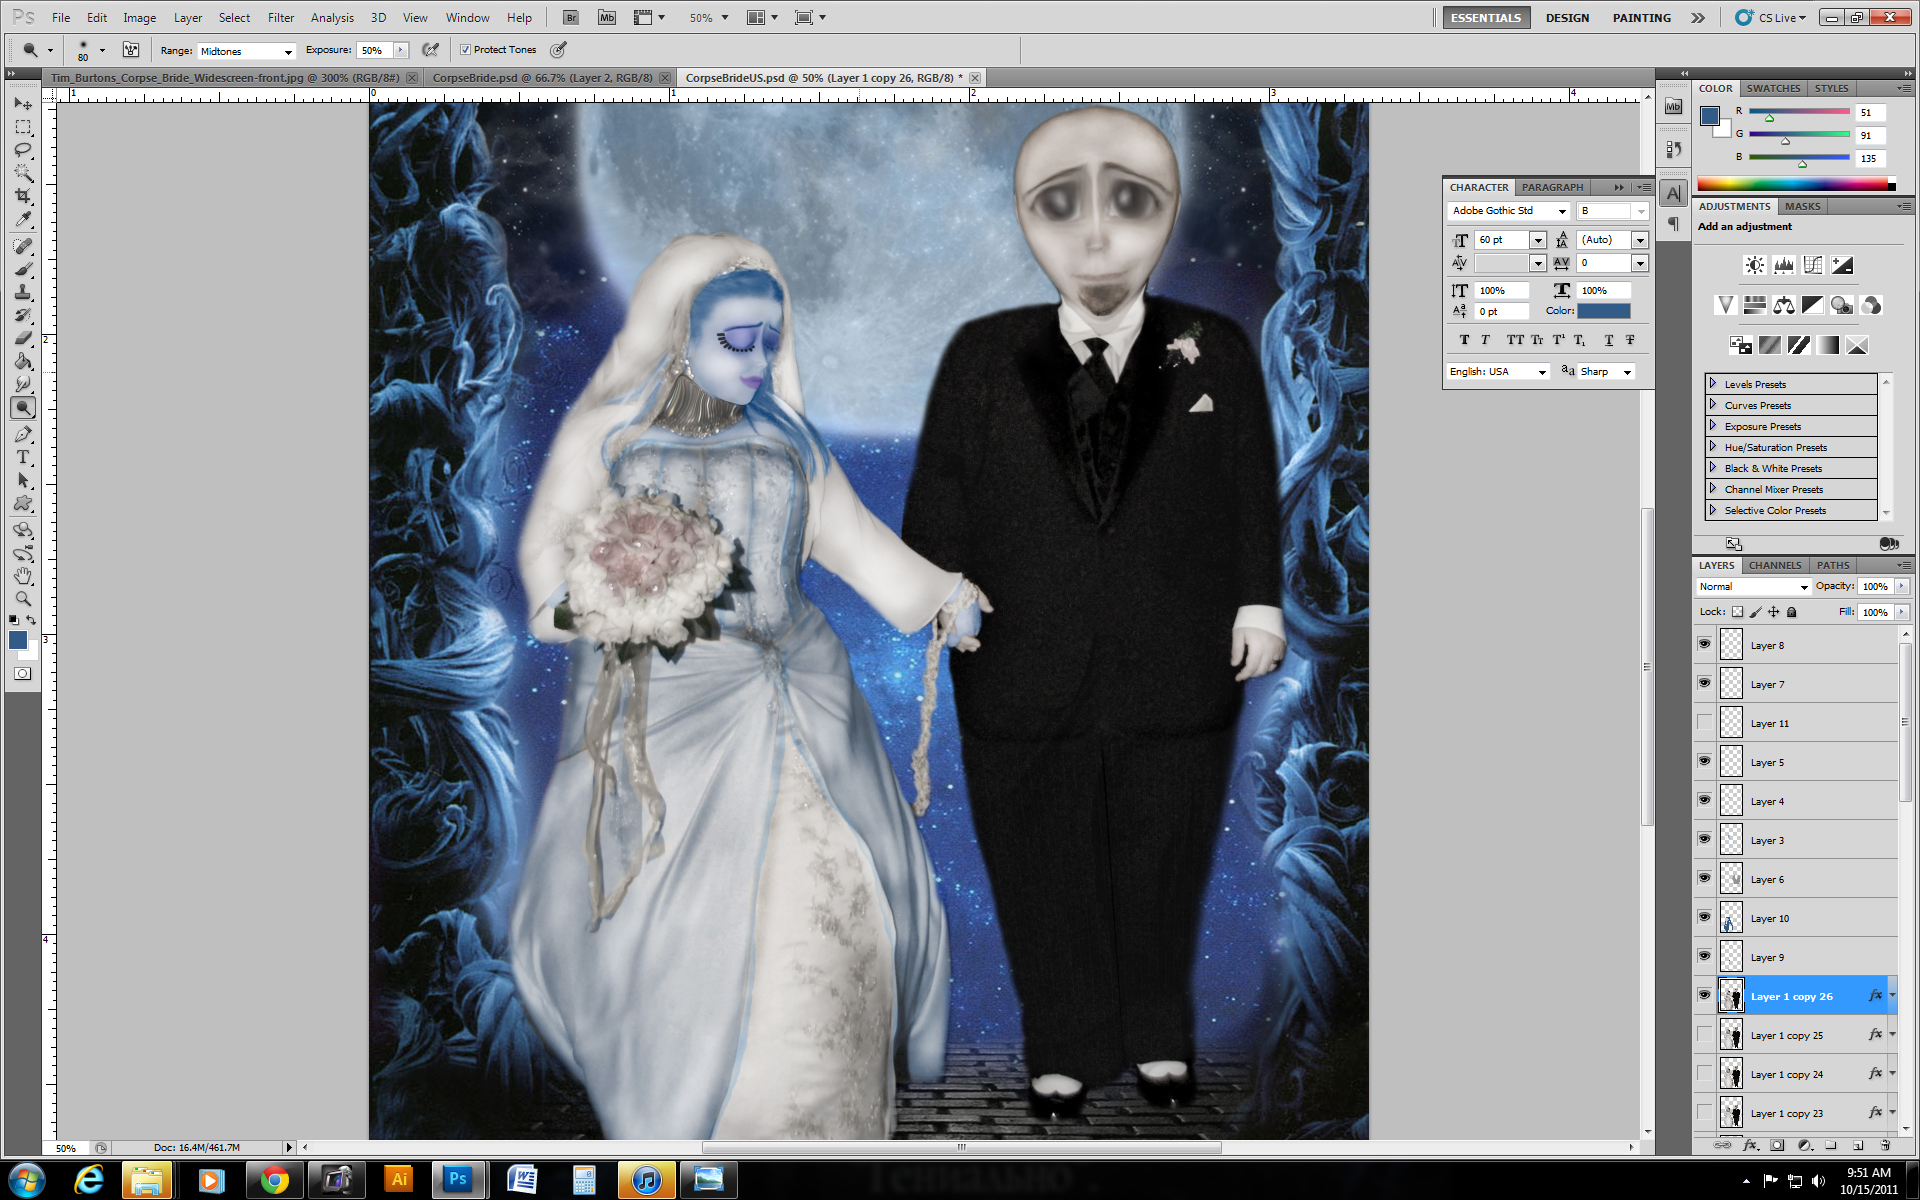
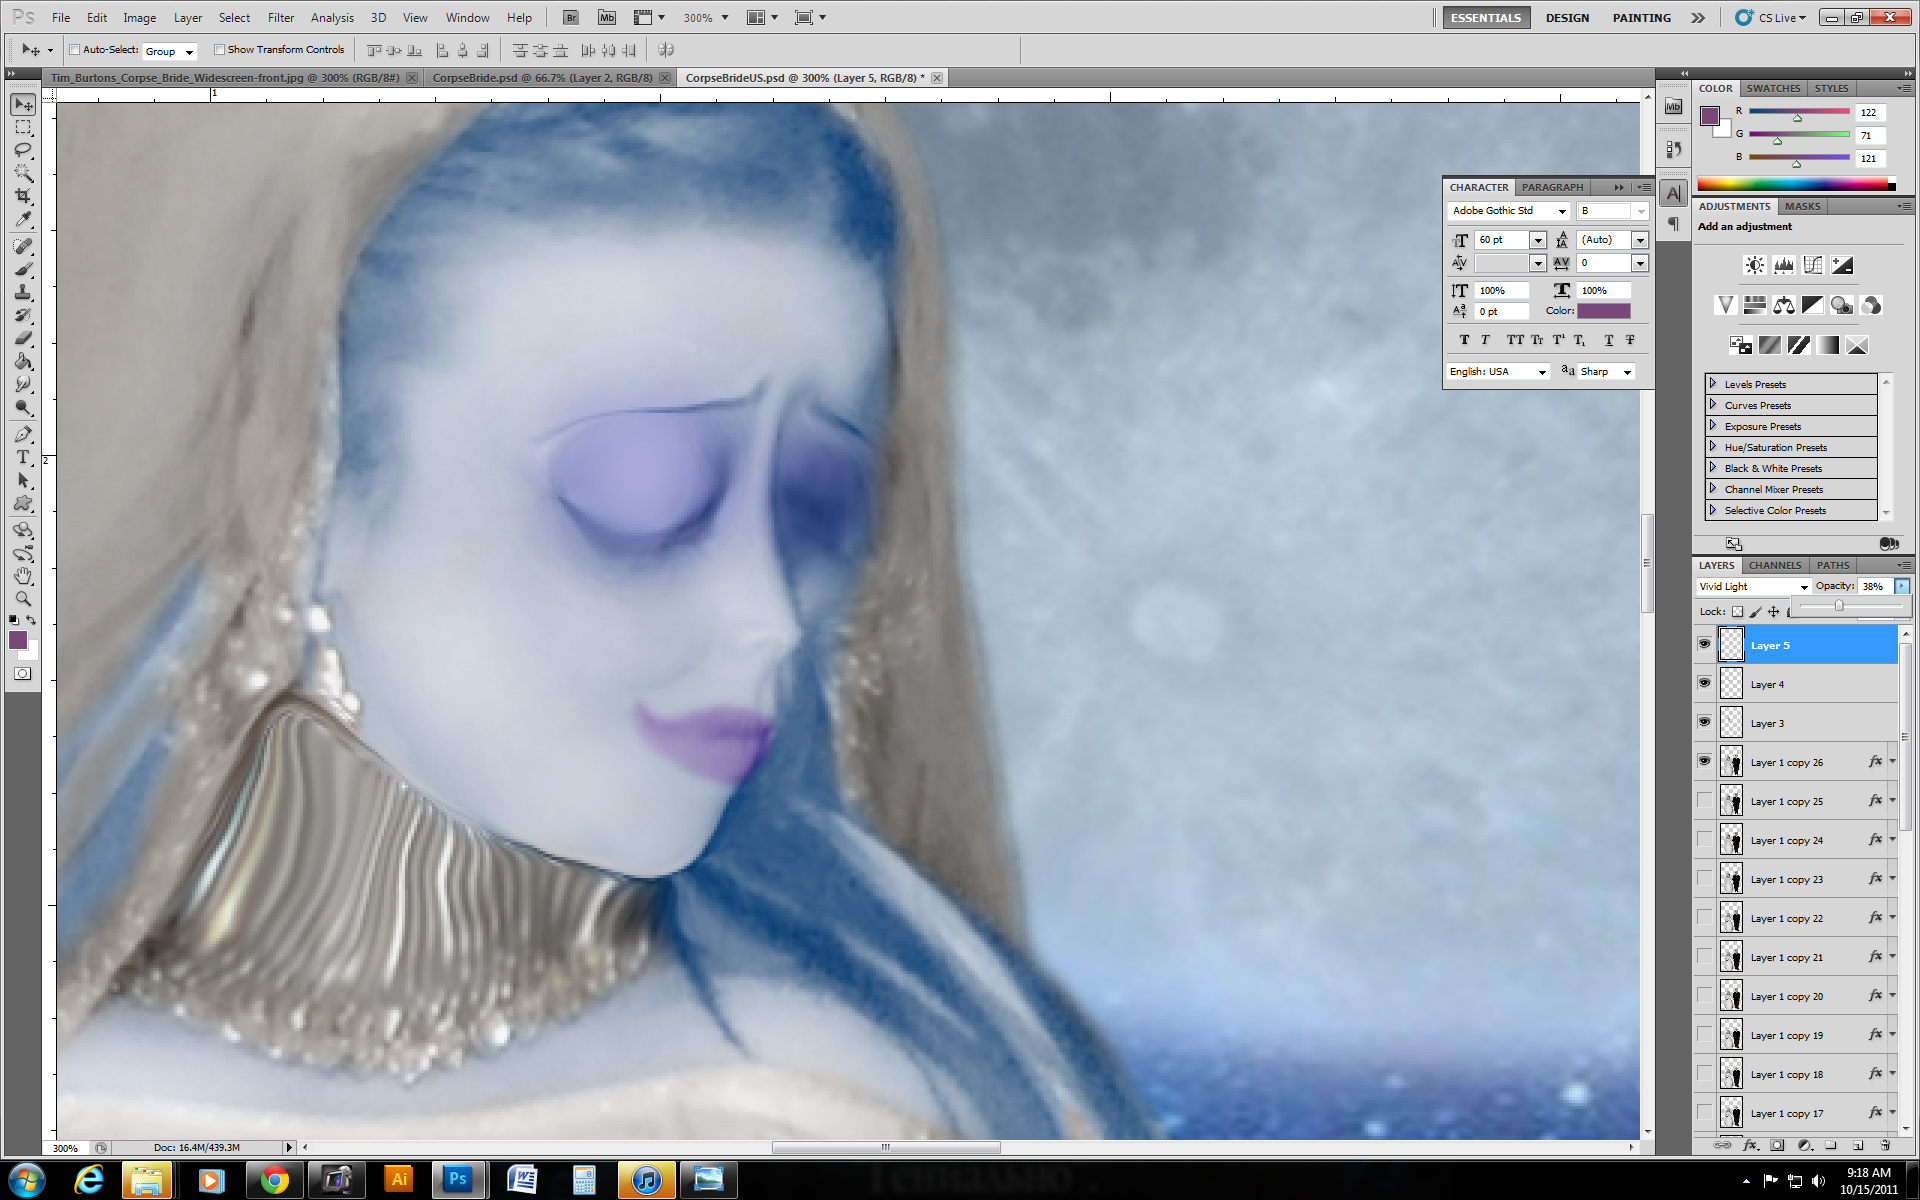
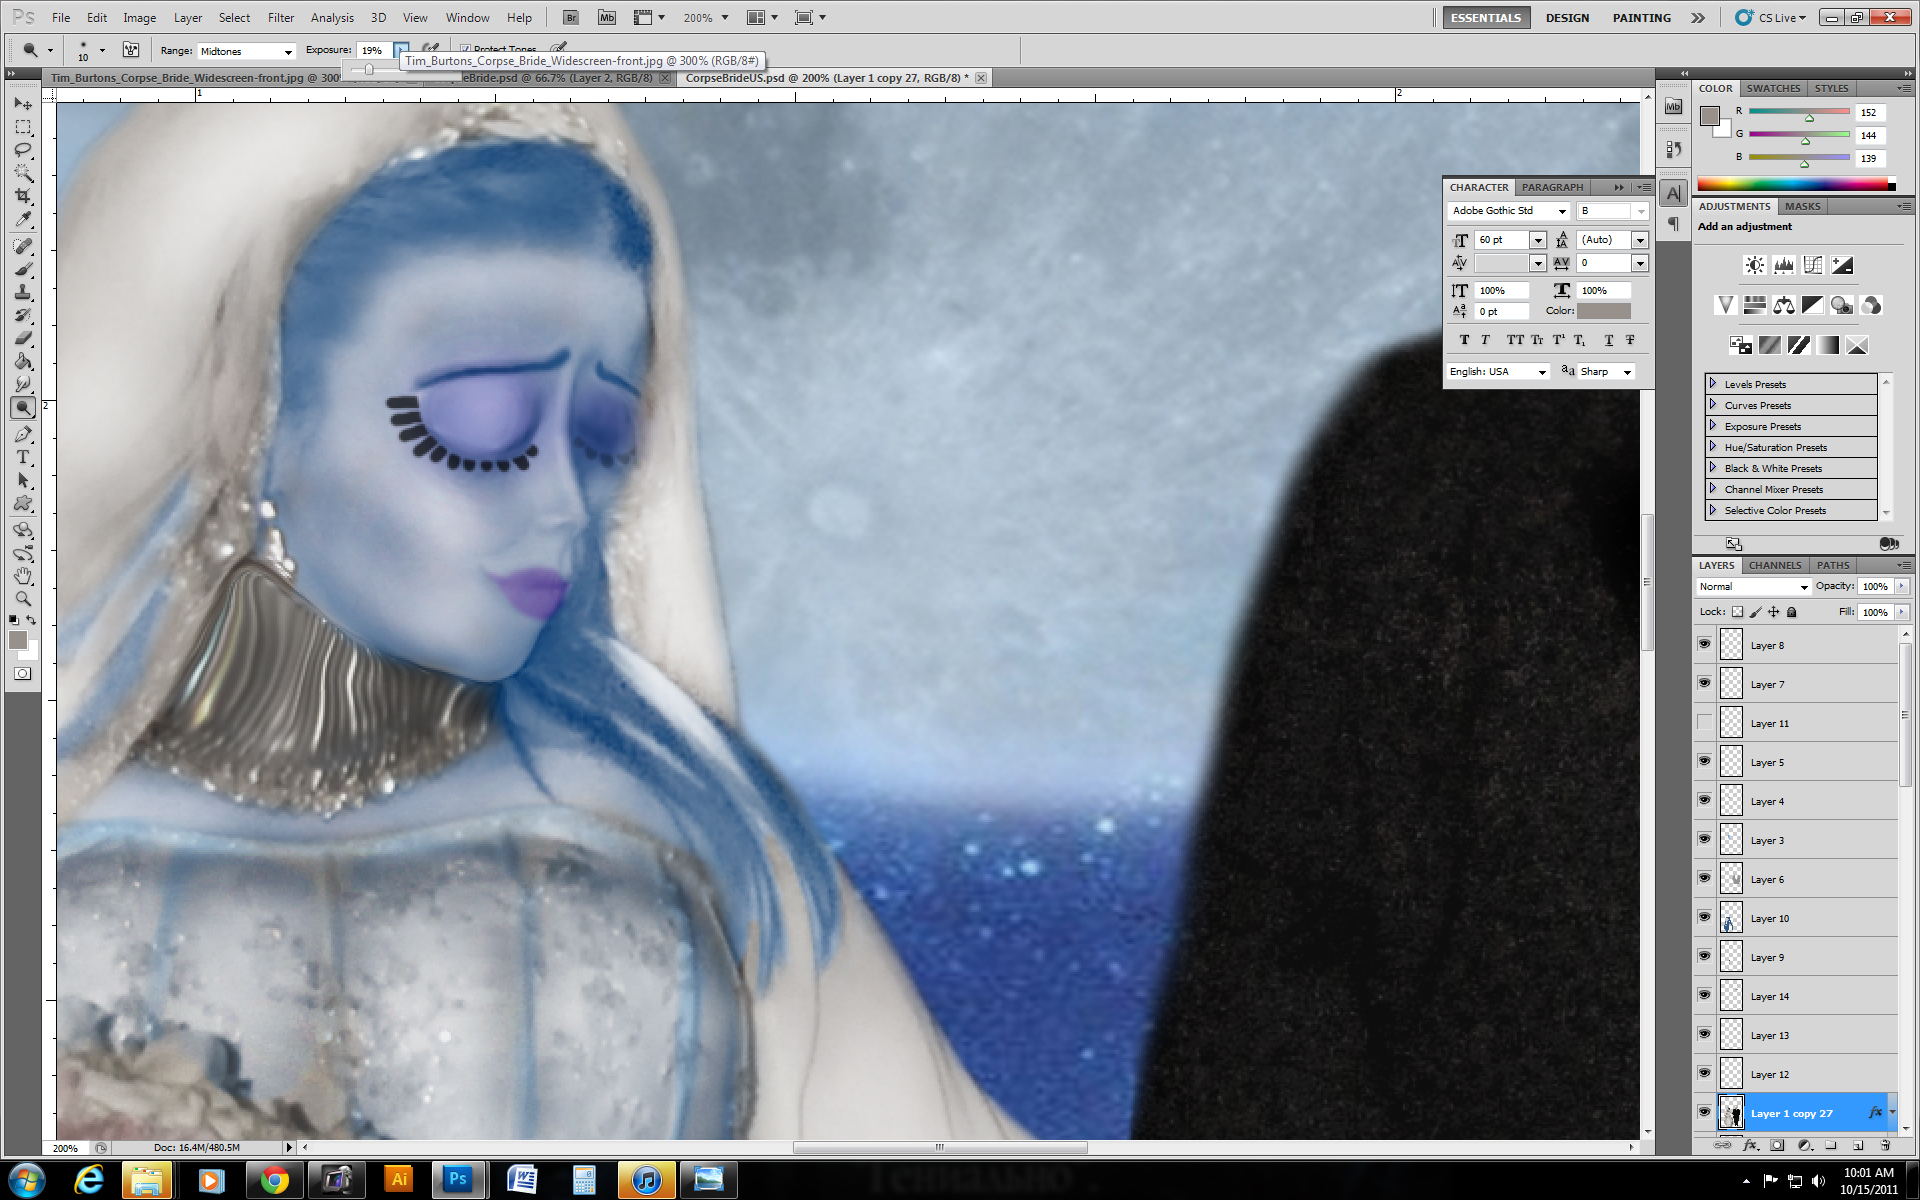
The Corpse Bride has some color, whereas the groom does not. So we need to add more color to the lady! I took a blue color, made a new layer and just traced over the lines in my wedding dress. Then I changed the opacity of that layer.
Next, I colored the big panels with a darker blue and I changed that layer to COLOR BURN mode.
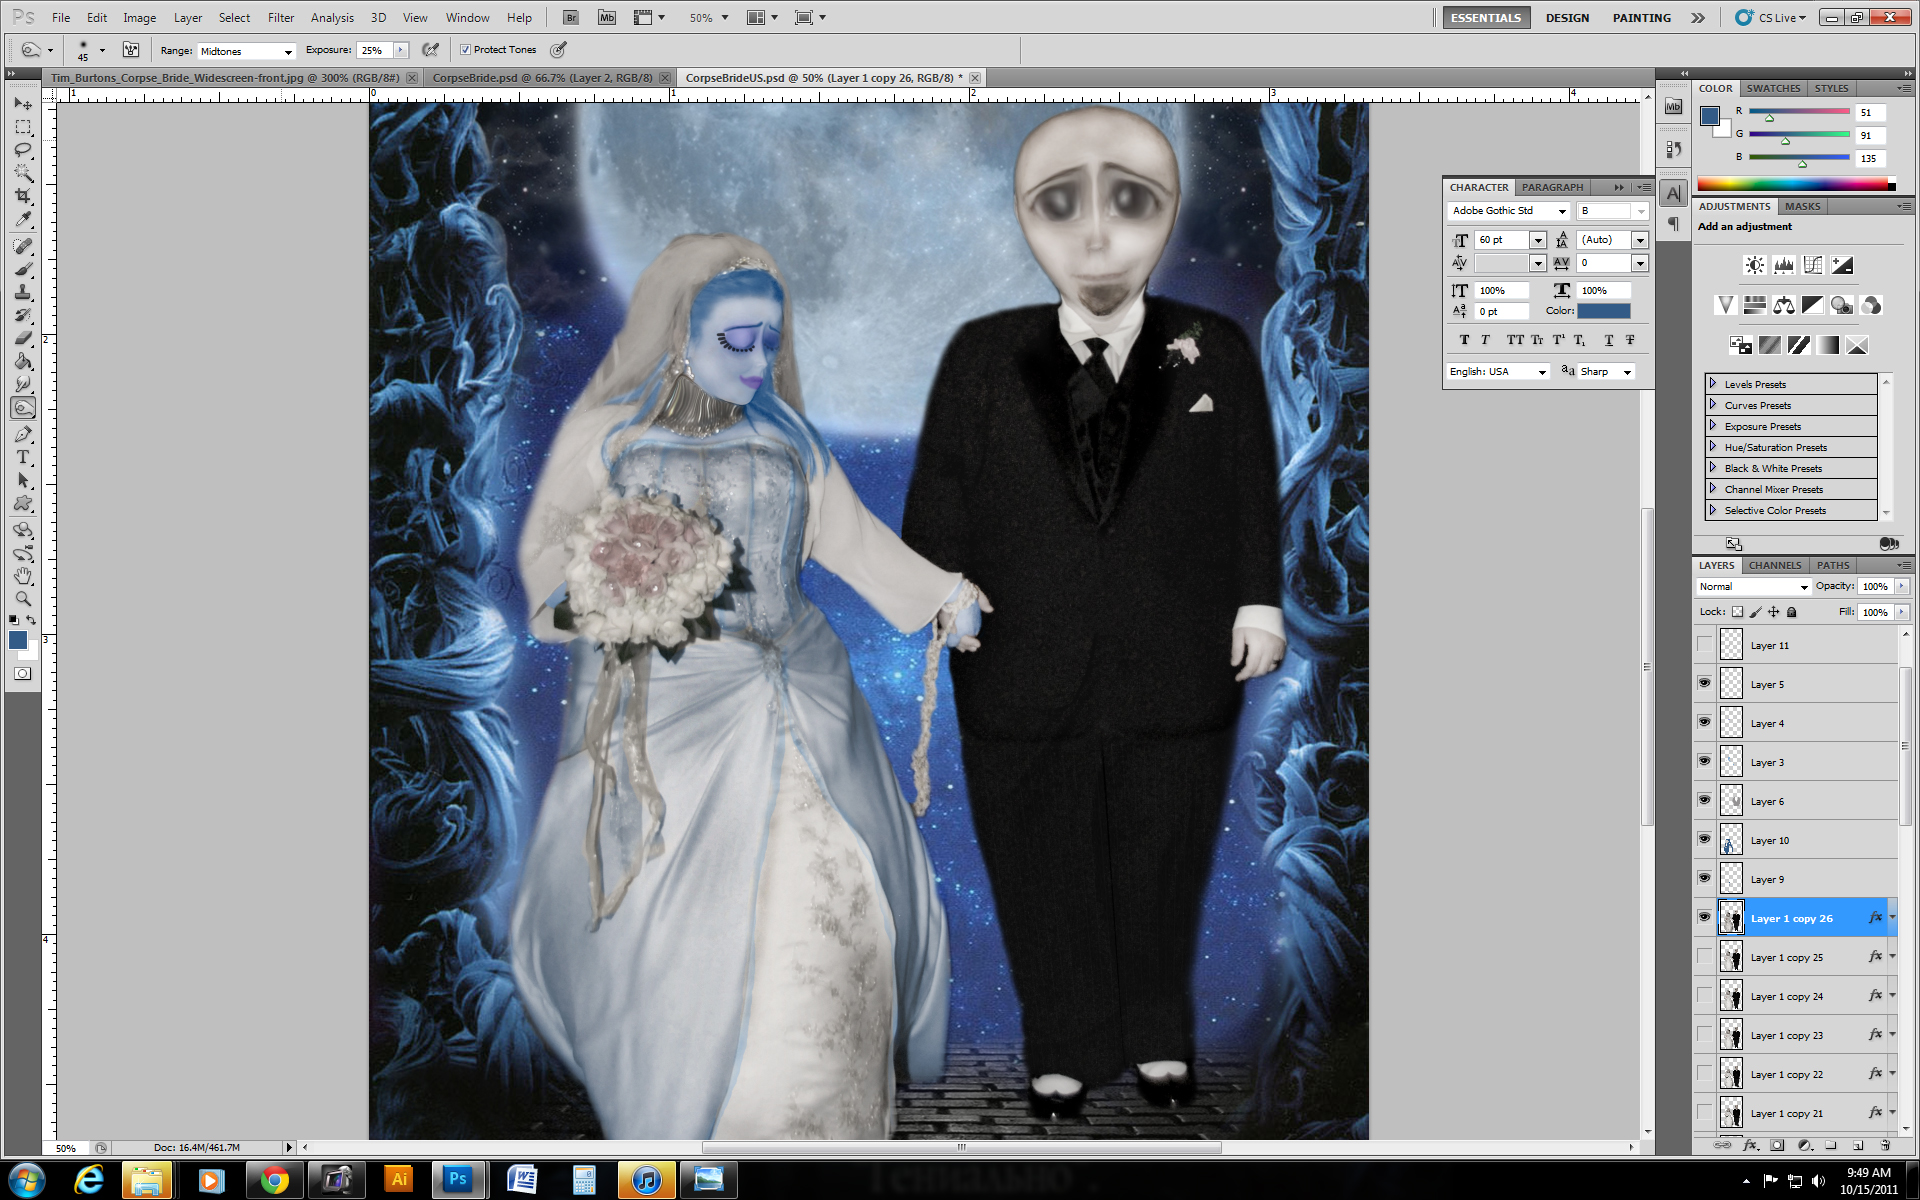
Then I dirtied it by using the BURN tool, burning the edges lightly to make the dress look more dramatic.
For my eyes, I put some purple on it's own layer and I changed it to a lower opacity and the same with the lips, on their own layer, with their own color.
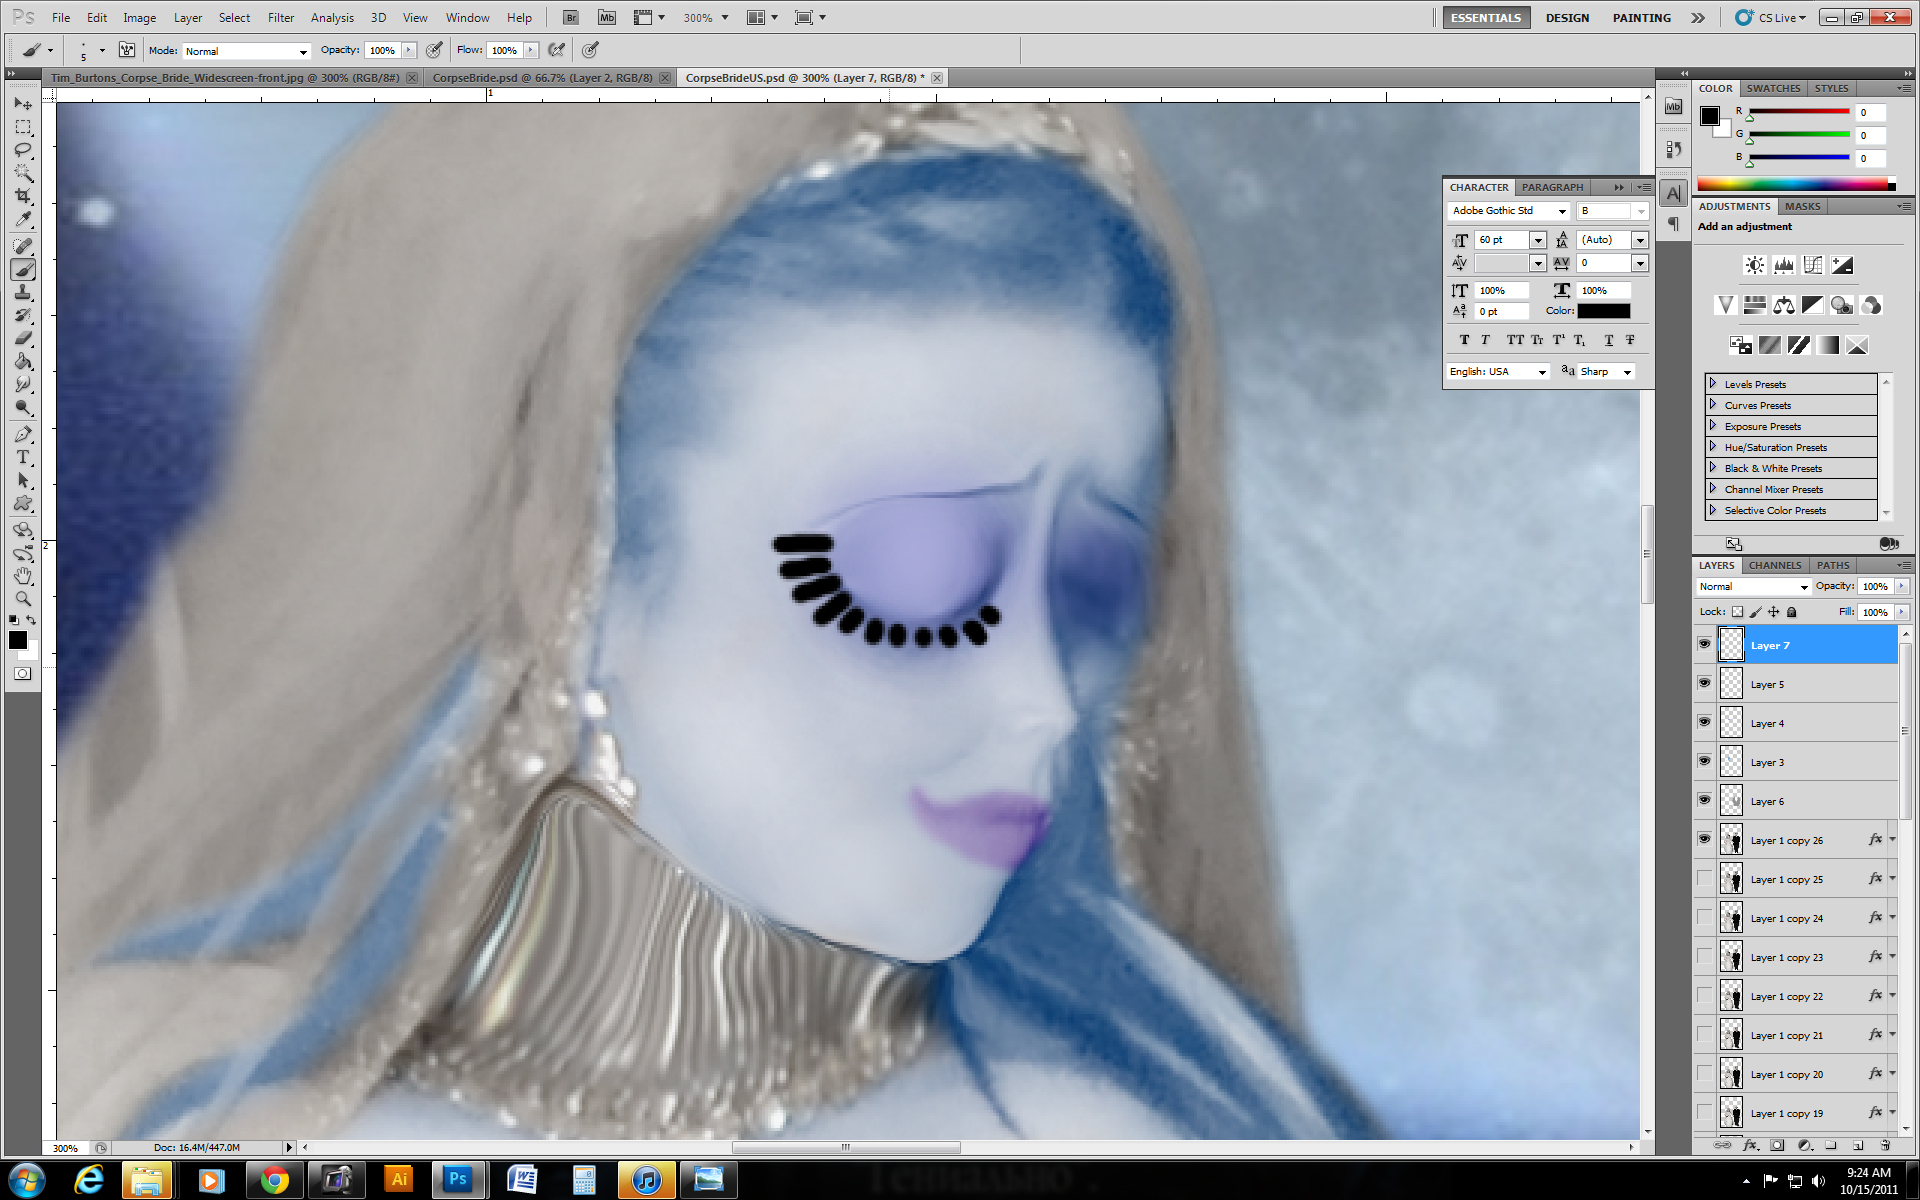
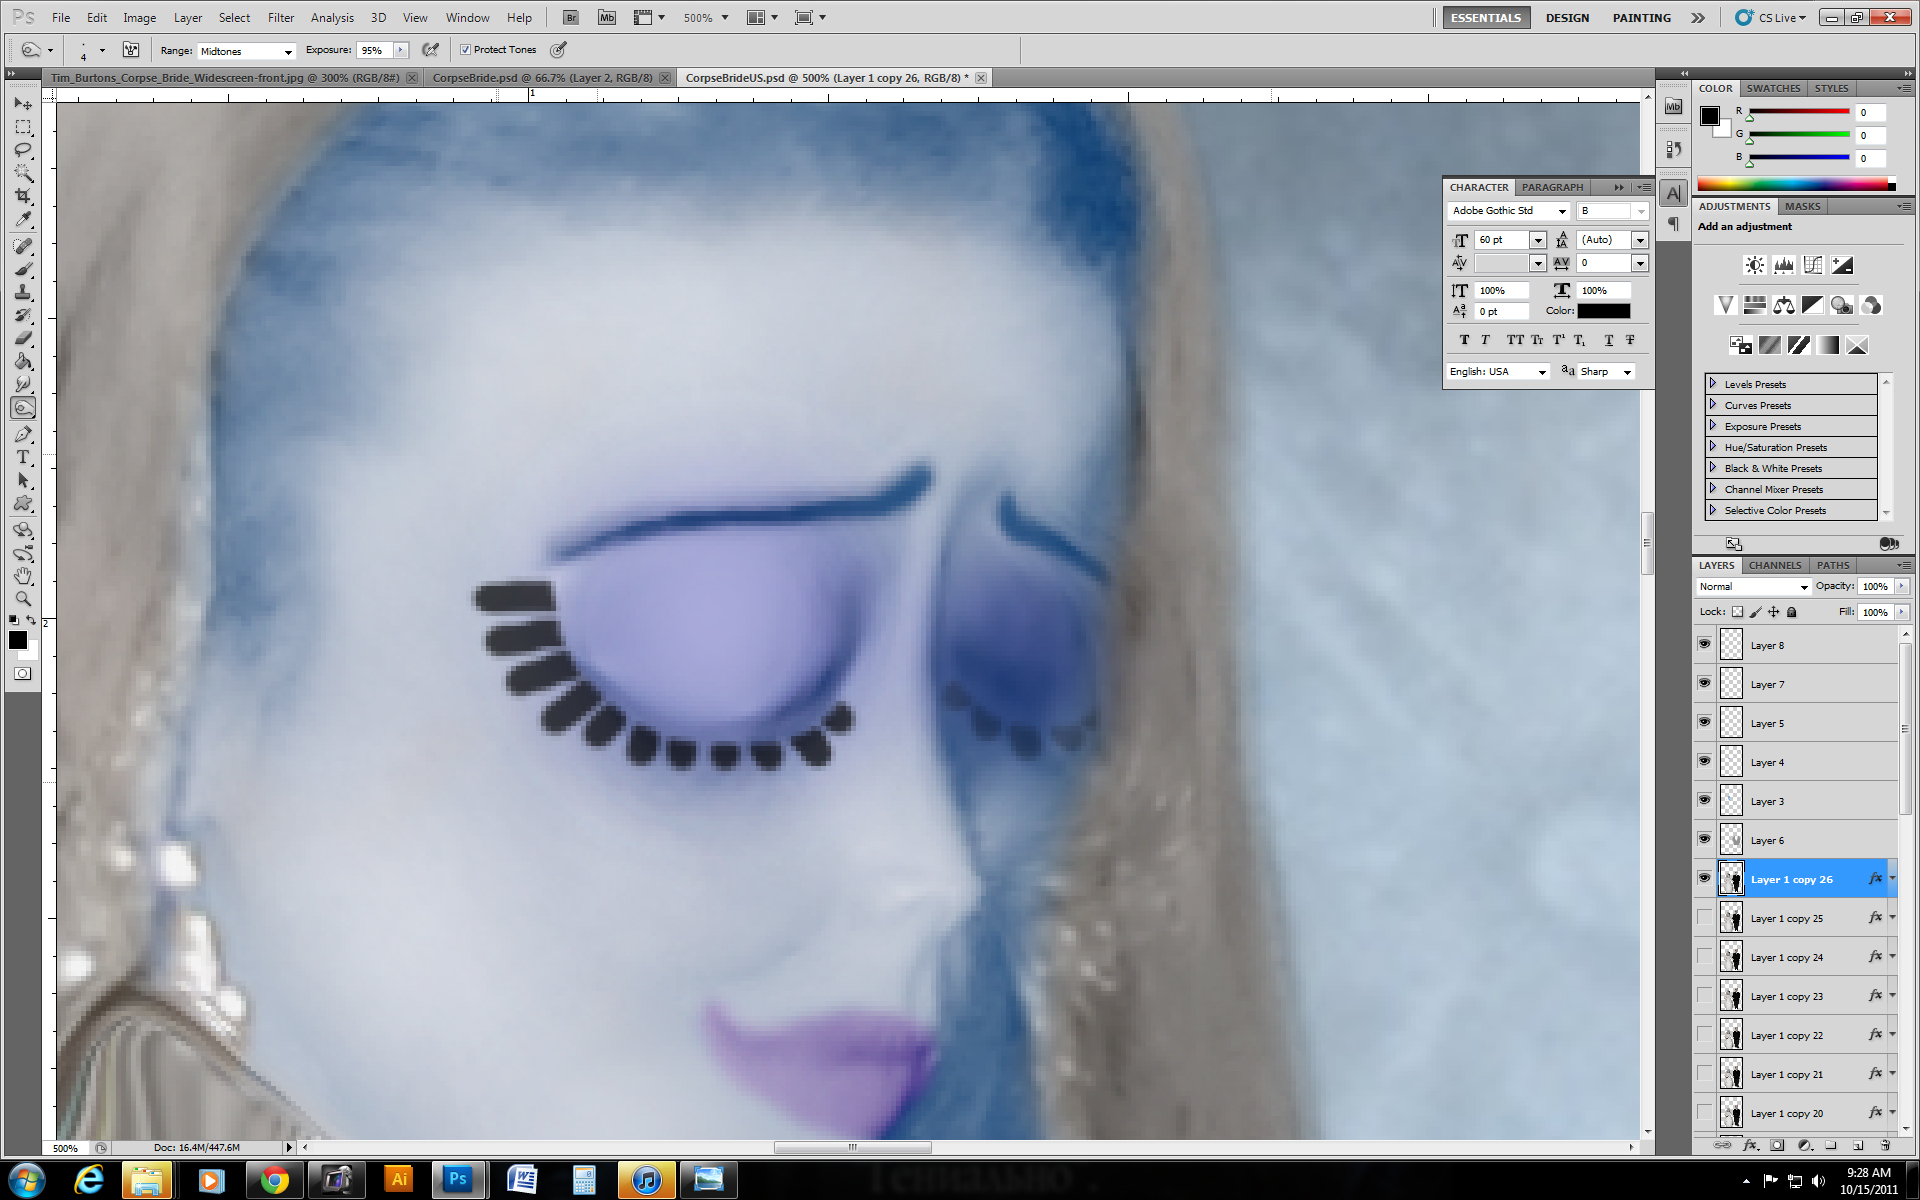
I drew on some eyelashes on their own layer and I changed the opacity to not make them so vivid, then I made some under the other eye, just barely. (Standard soft brush.)
My Lover's Eyes
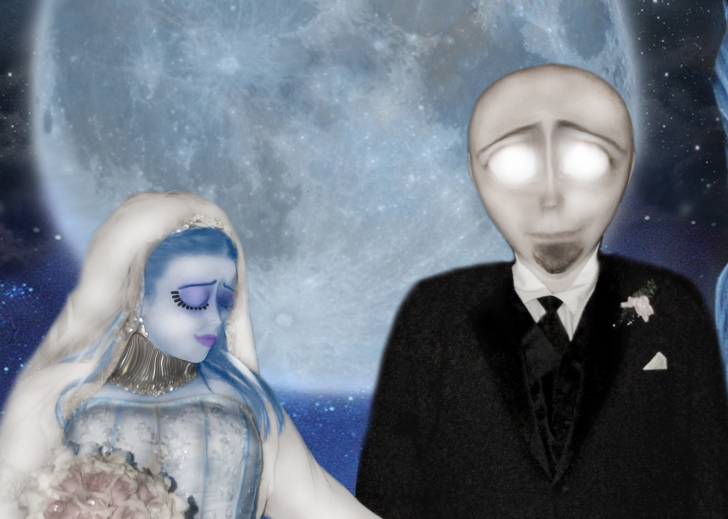
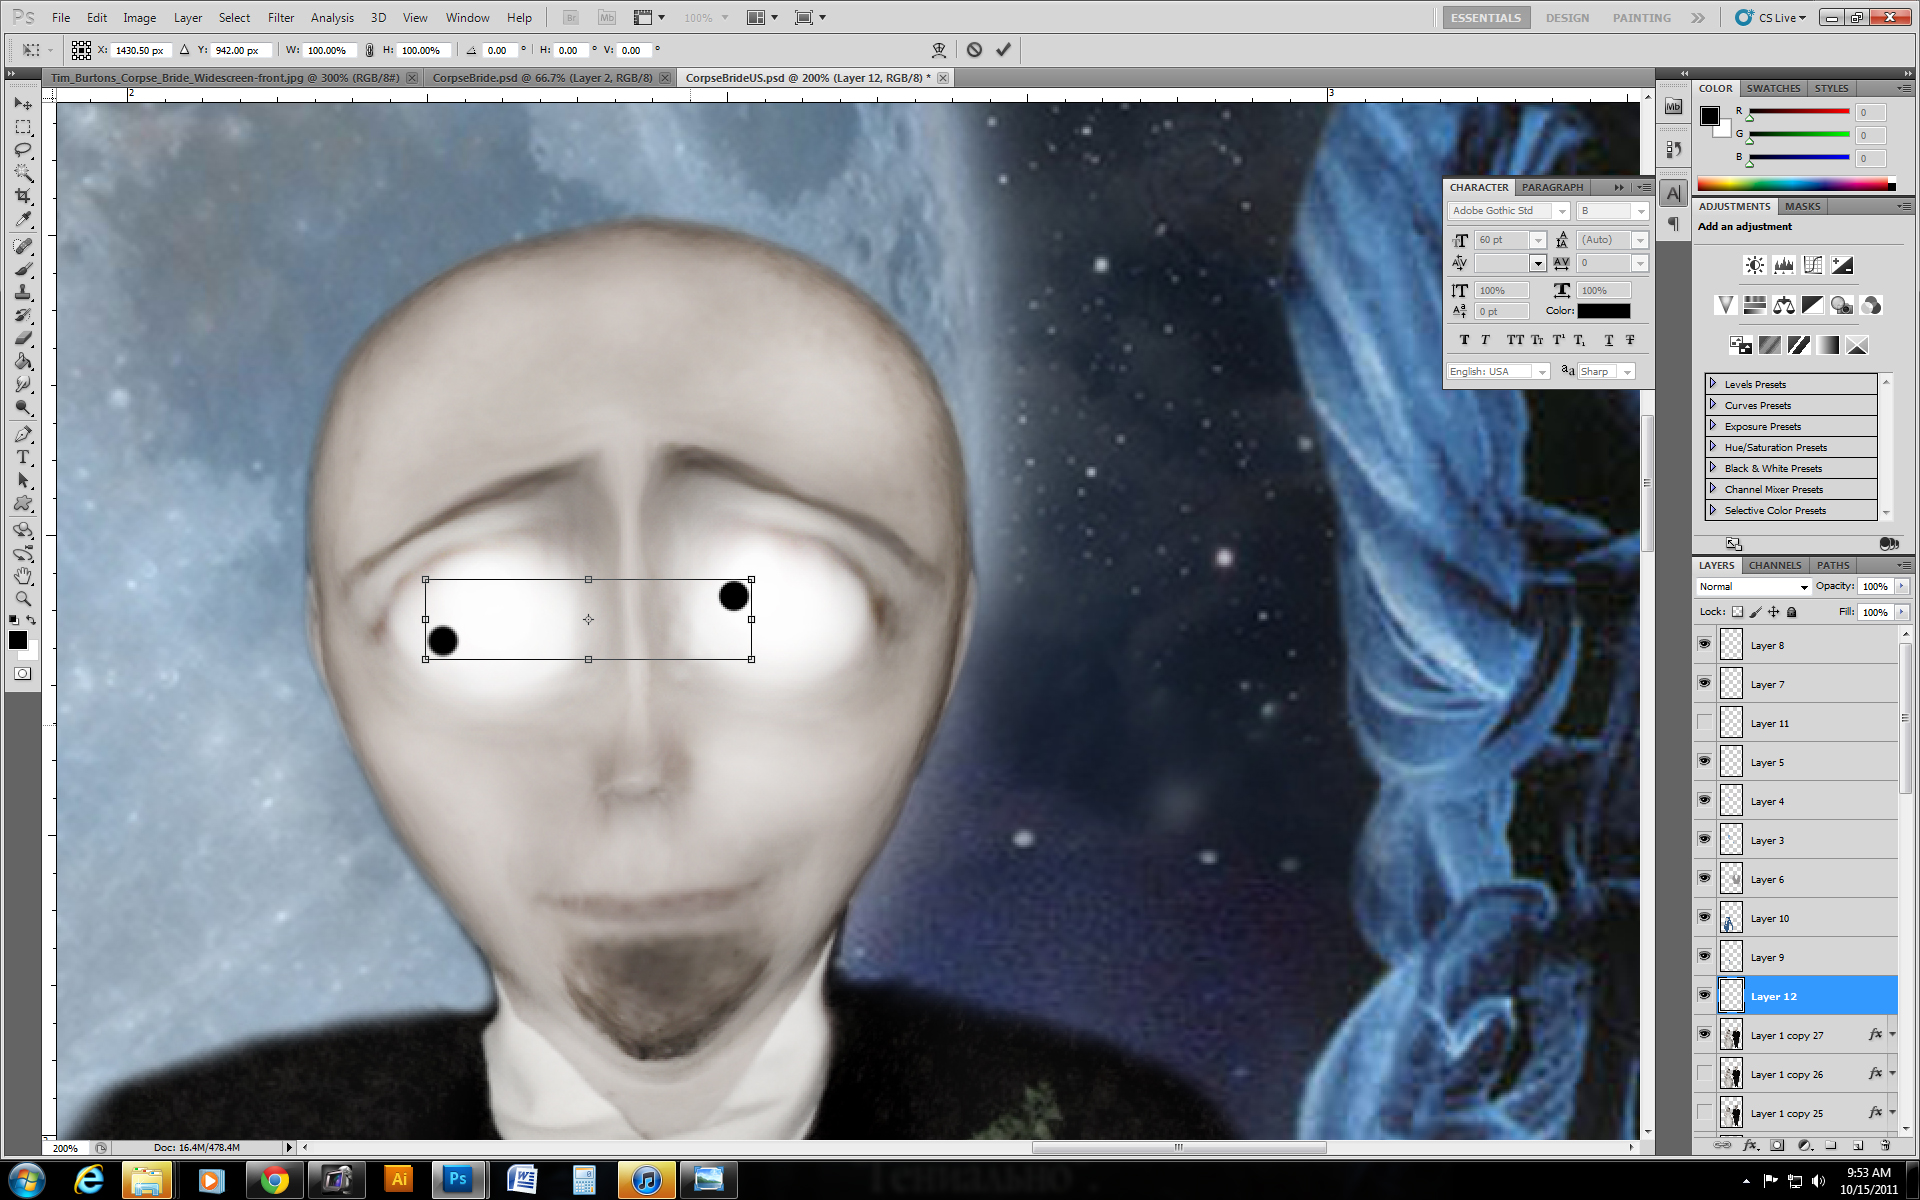

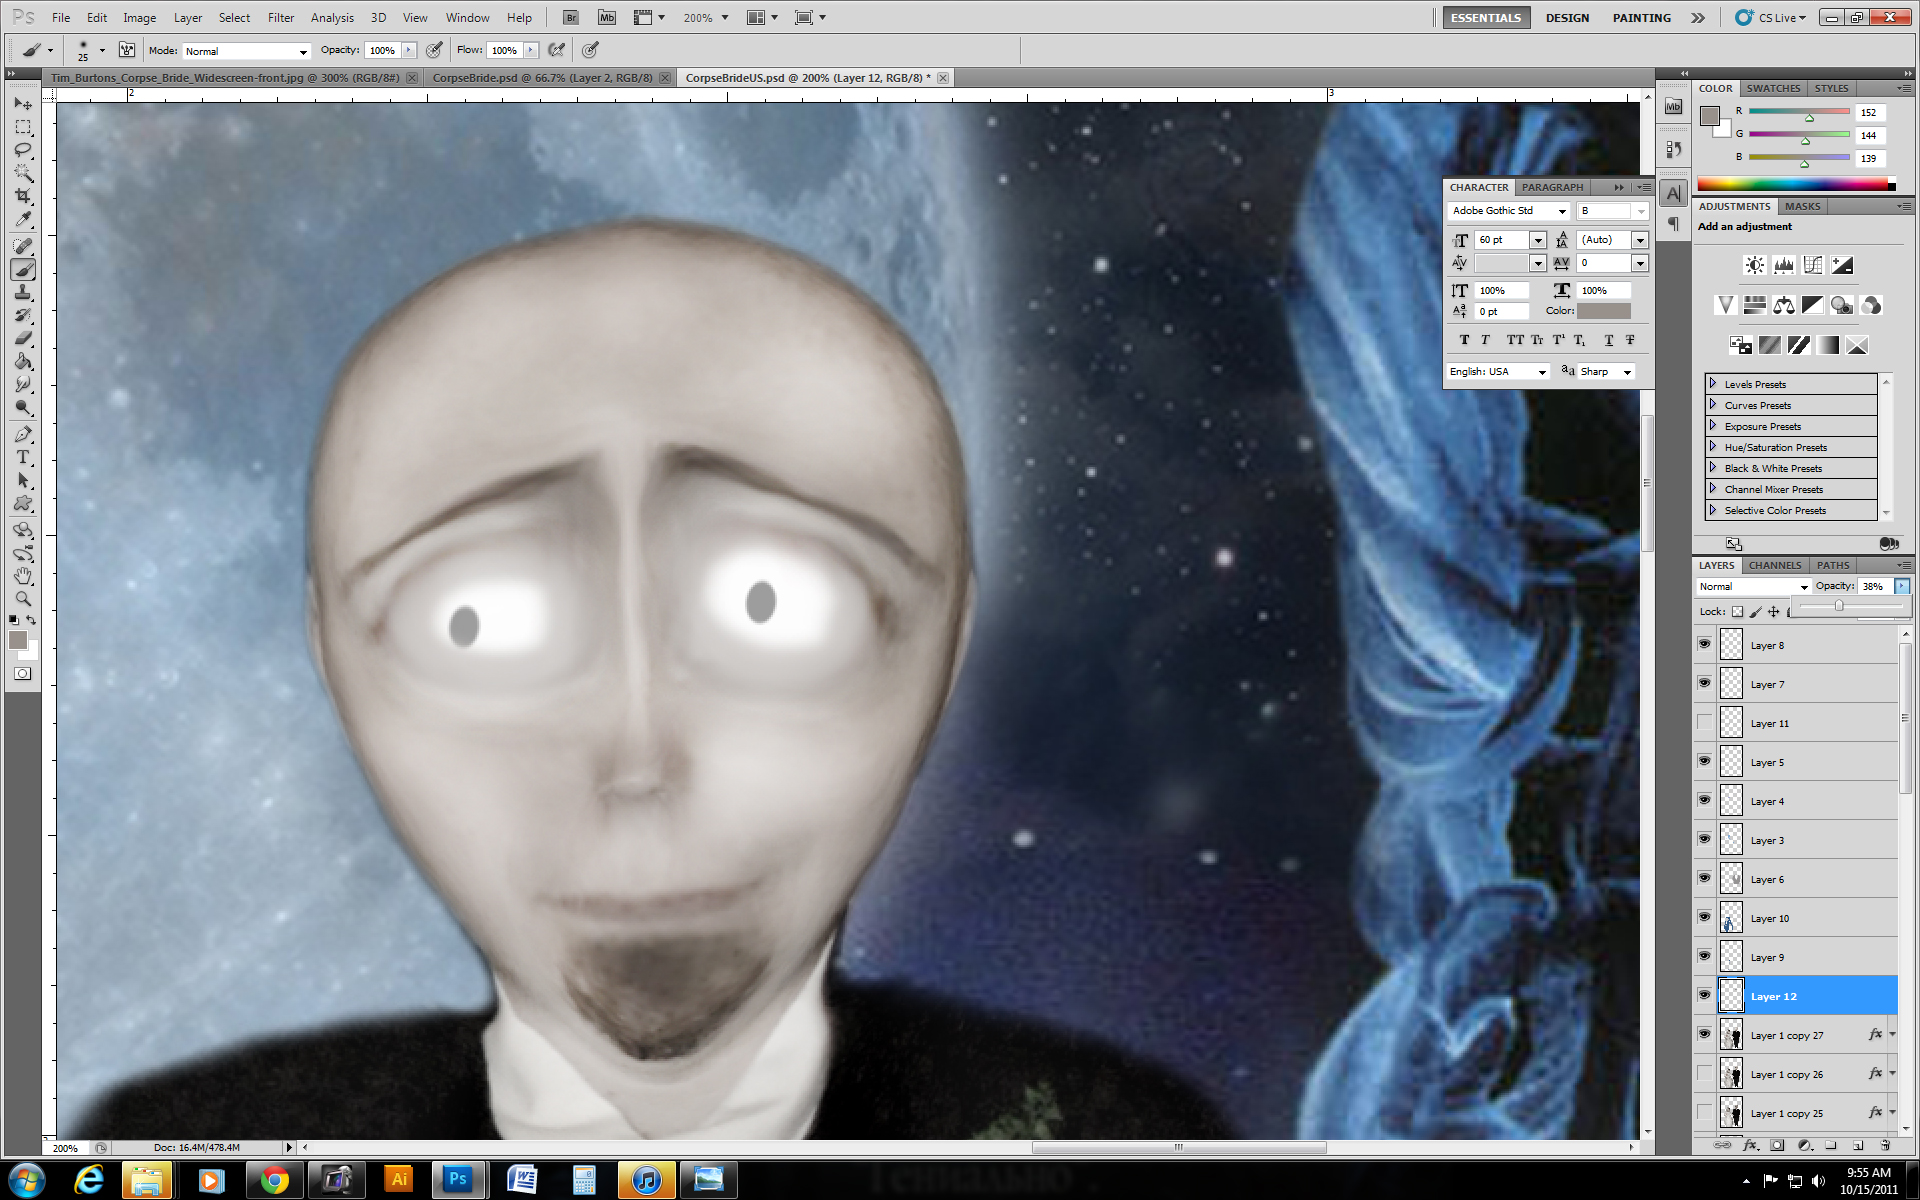
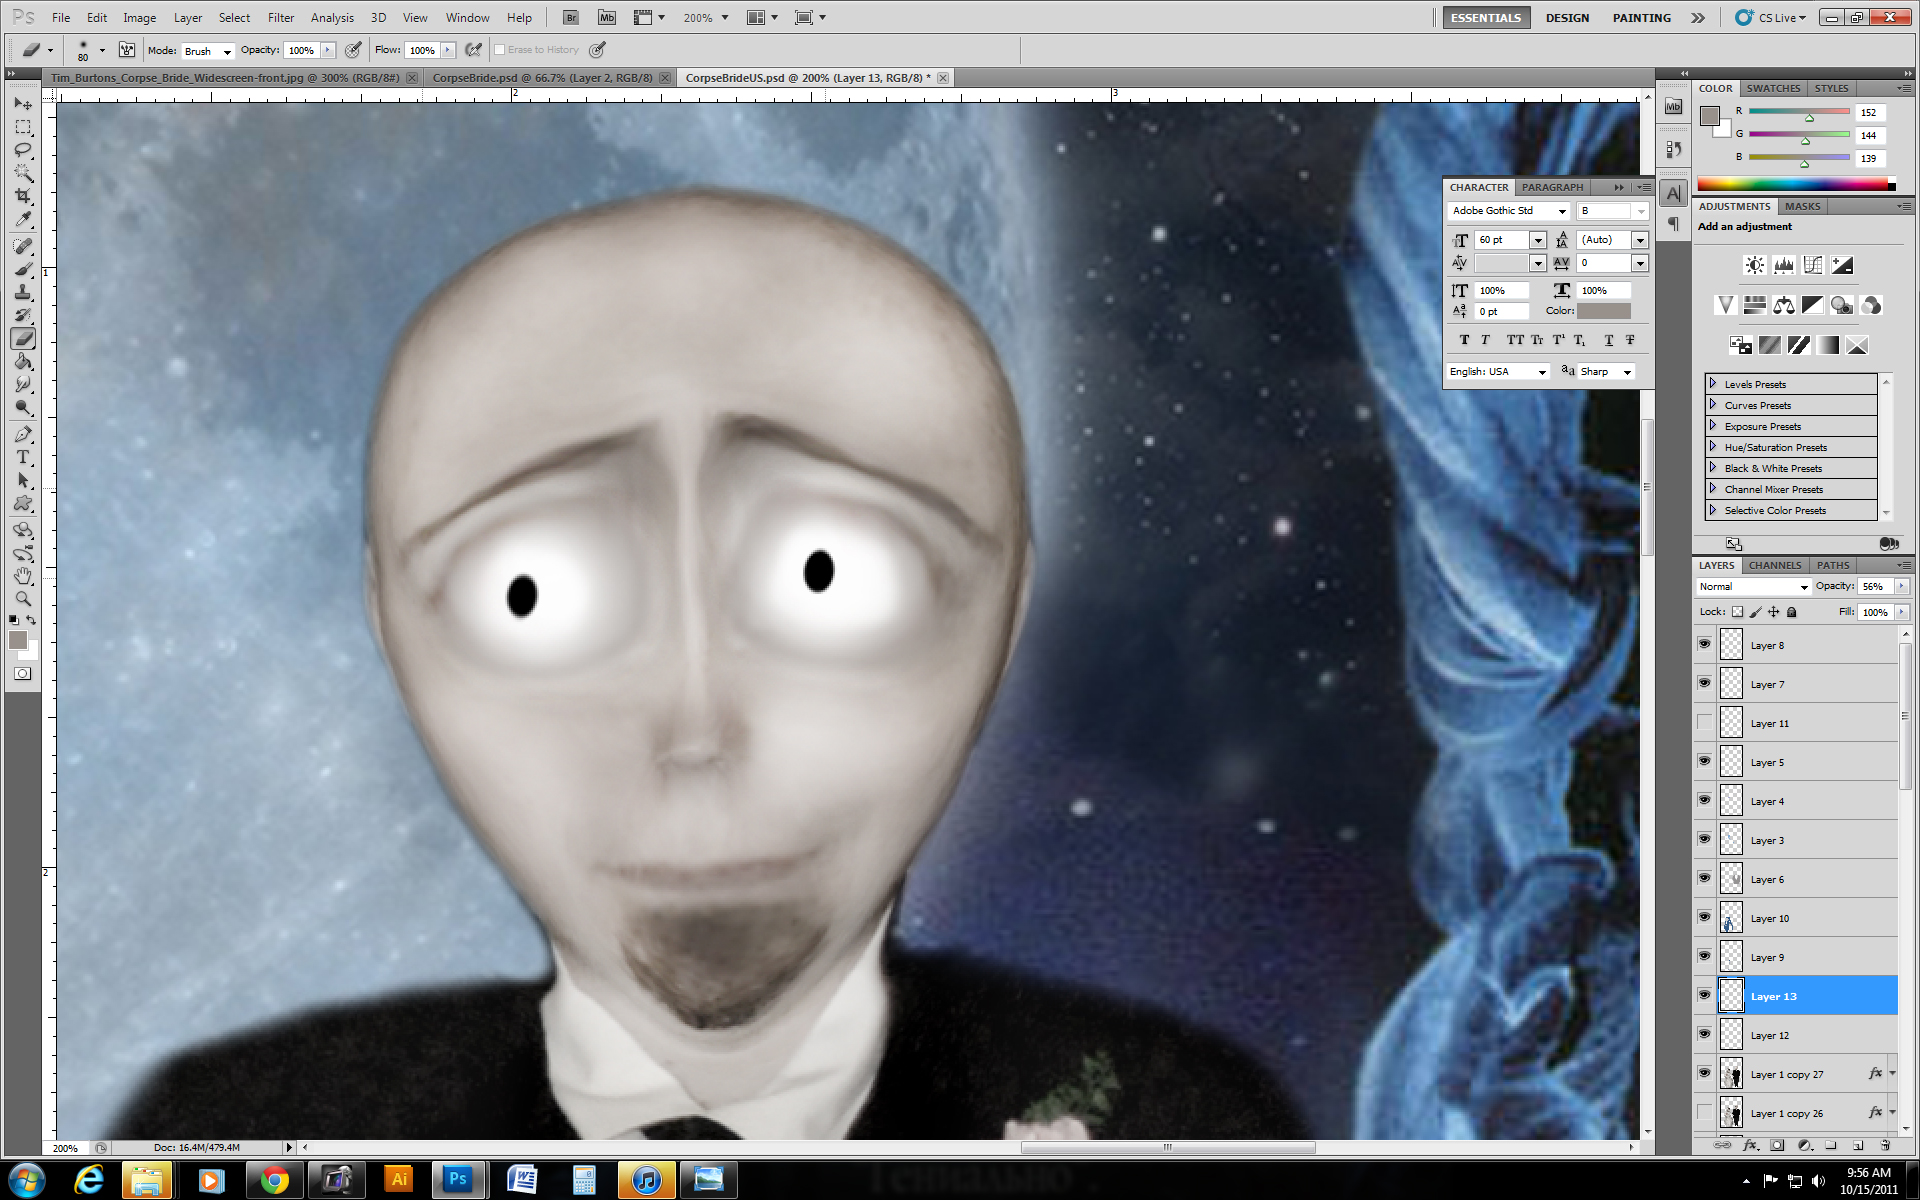
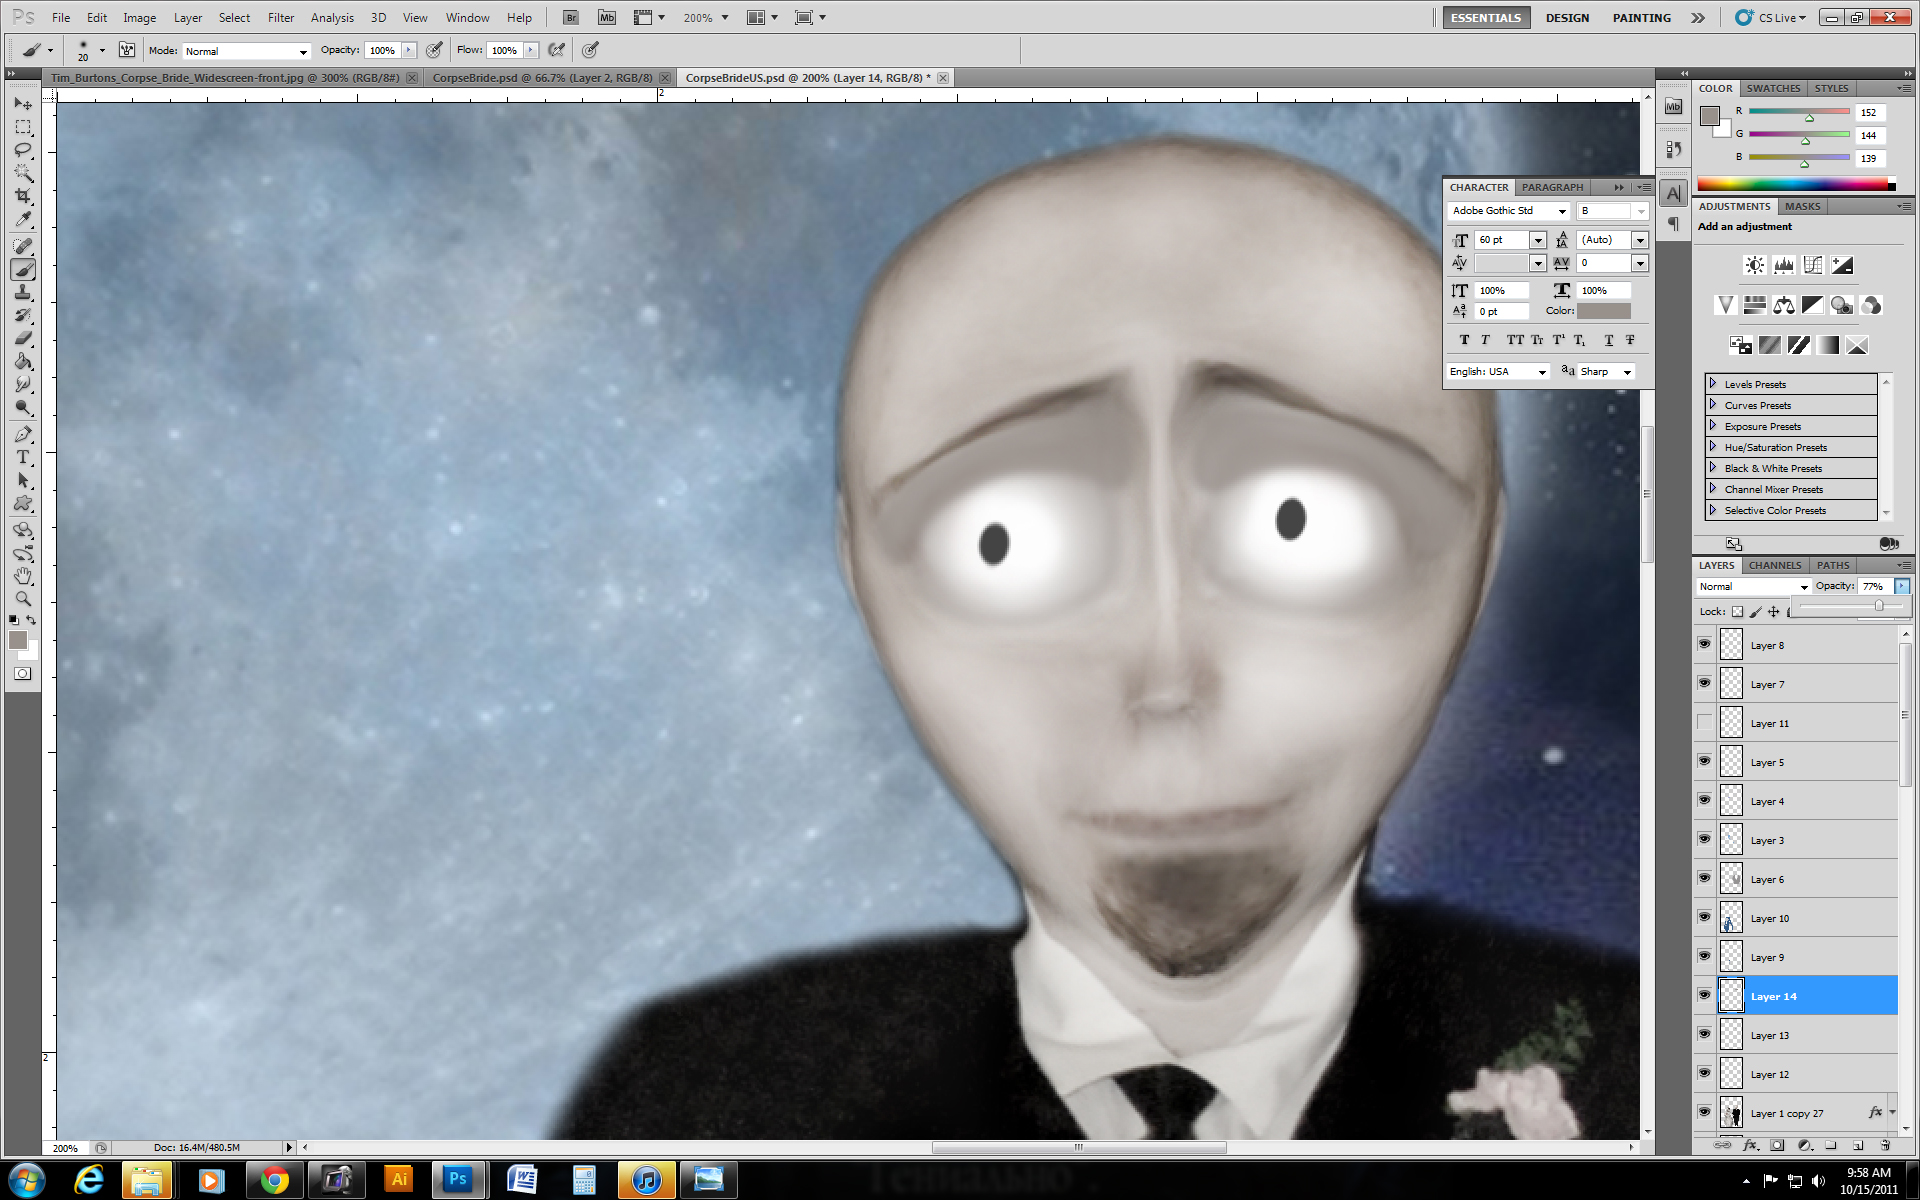
I erased my husband's eyes to look more like the groom, big and round with a lot of white.
Then I made a new layer, and with a circle brush, I made 2 dots, one per eye. Then I selected the 2 layers, LINKED them, and then CONTROL + T to transform, I dragged the outer box lower to elongate the eyes so they weren't perfectly round.
Then I made a light brown layer around the eyeball to insinuate that they were round. Then I used the soft brushed eraser and made the brush bigger, and erased a circle out of the eye-outline later, so it wasn't looking like a strange outline. More natural this way.
Next, I made an eyebrow shadow, to give depth above the eyes. Then I turned down the opacity on that layer. (You want to keep all of these changes on their own layers so you can do as you wish with them.
On my face, I used the DODGE and BURN tools to make the cheeks darker/hallowed and it created more depth.
Finishing Touch
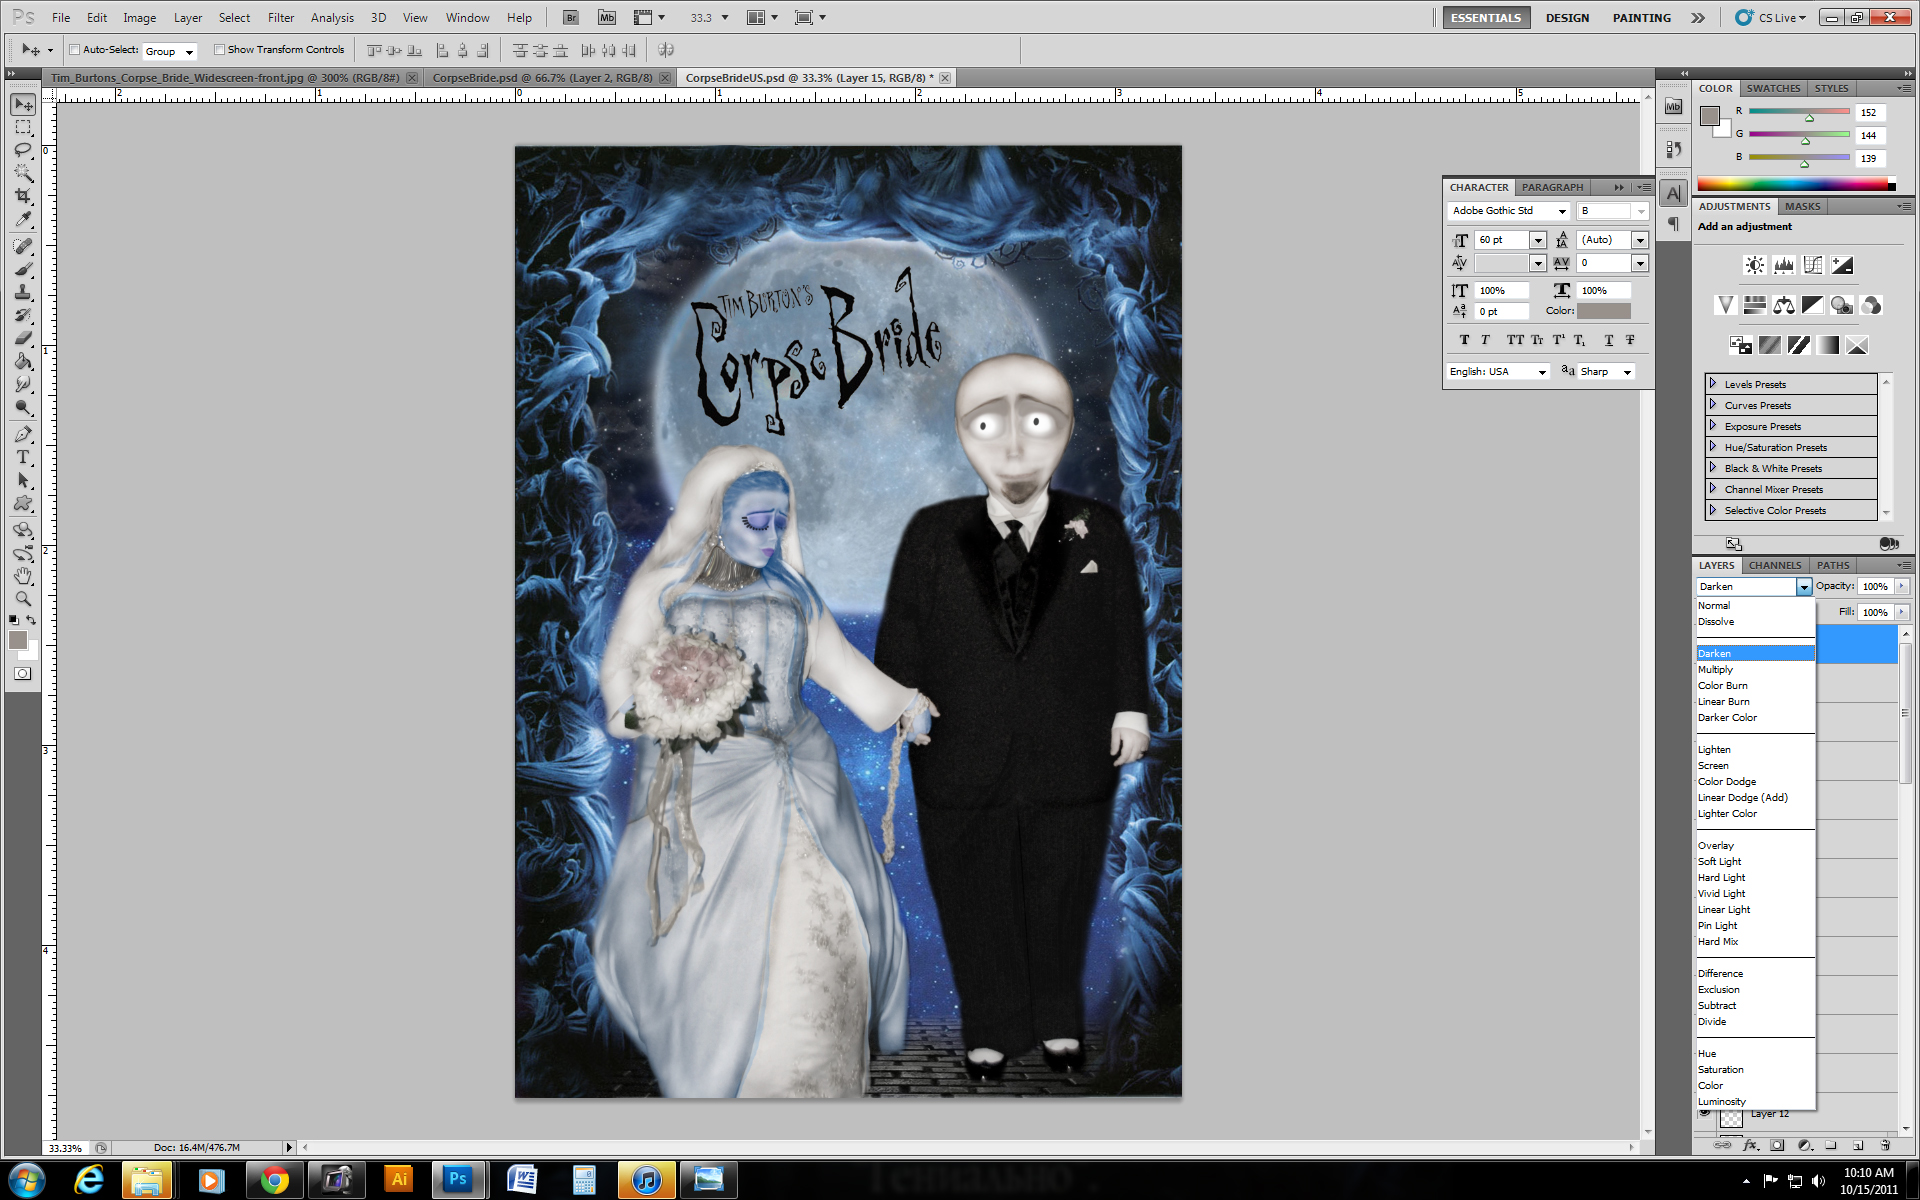
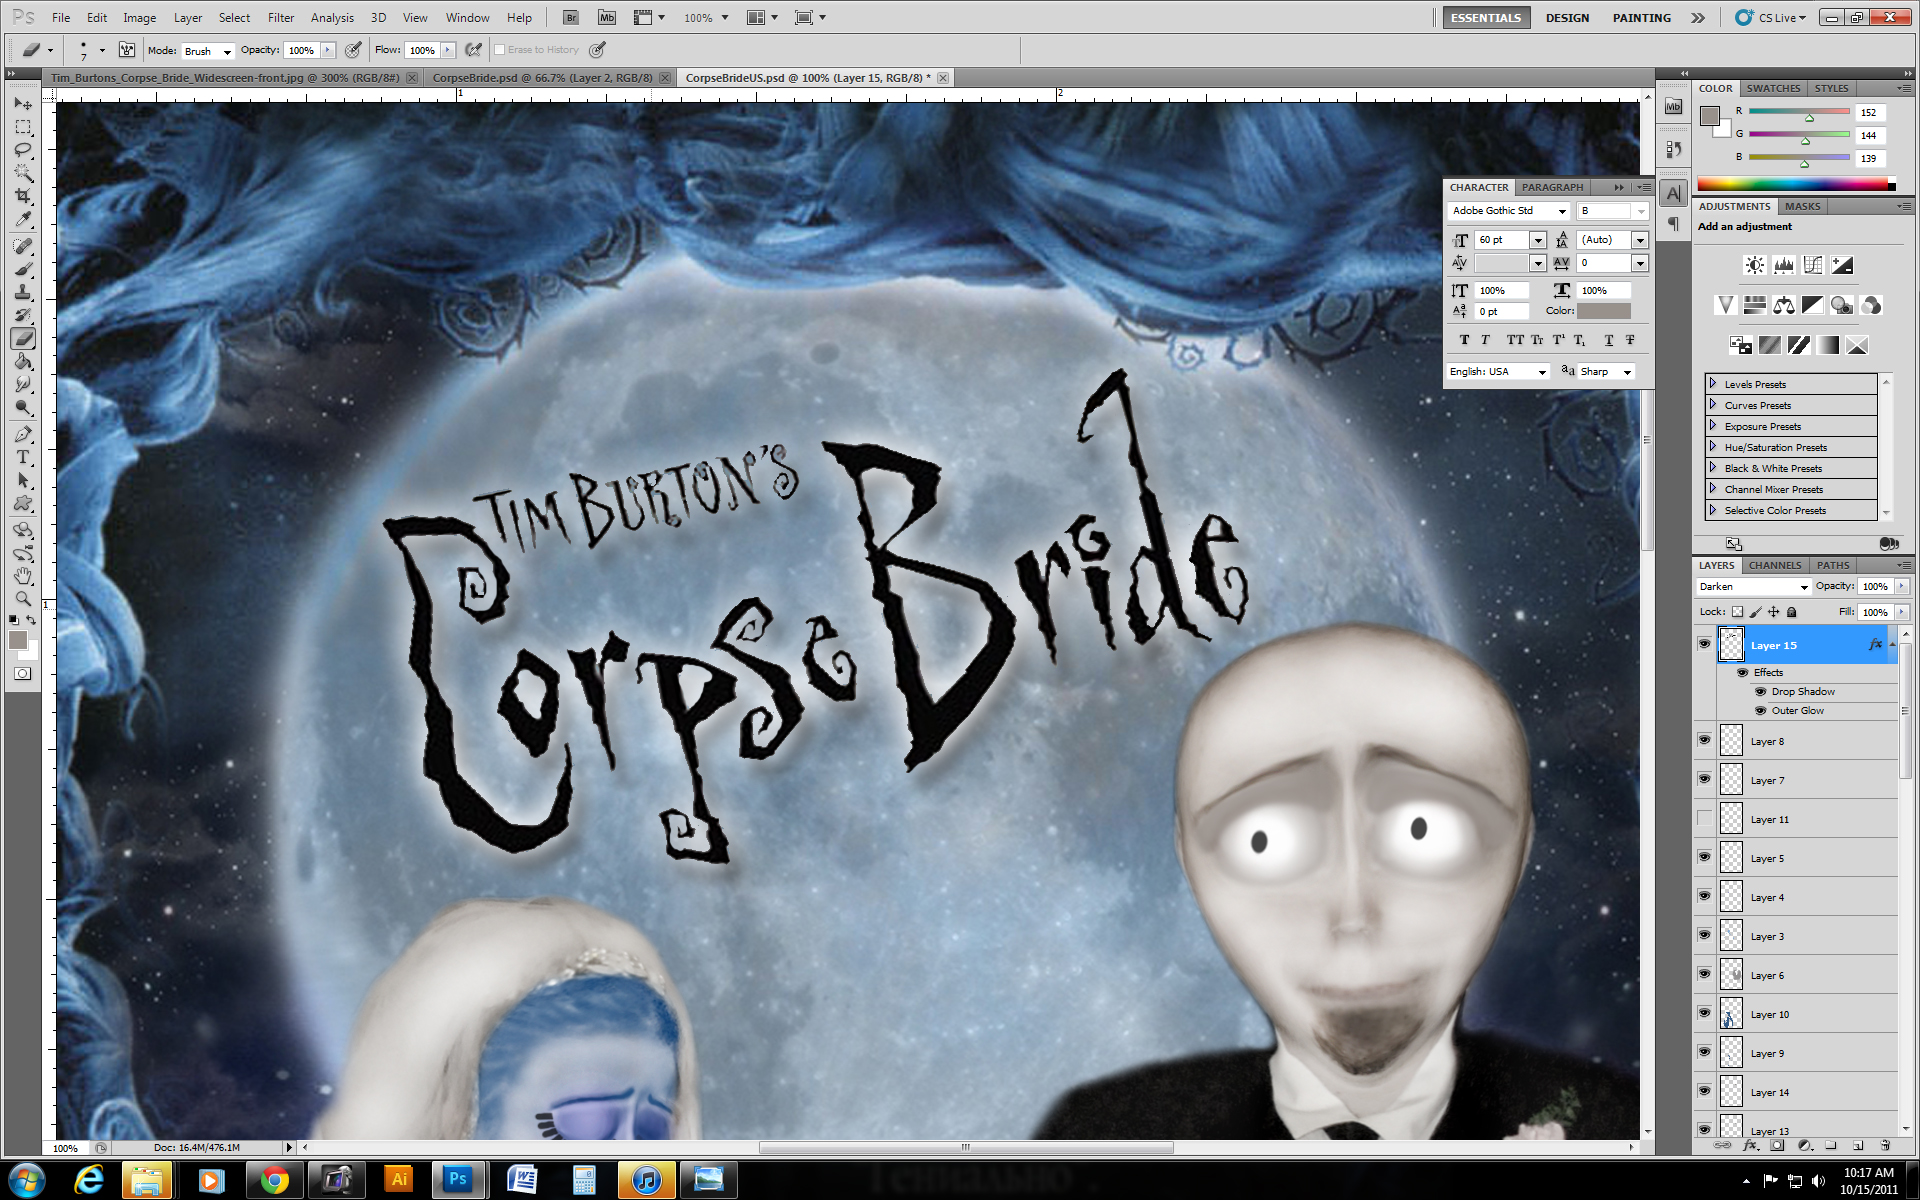


Now, to finish the image, you can find the logo on google and copy, paste it into your document. With the white background on the logo, and my being lazy, I just set the layer MODE into DARKEN and the white just disappeared. Then I went in and cleaned up the edges of the logo.
If you want to add effects to the logo text, you need to use the MAGIC WAND TOOL, which looks like a dandylion poof on a stick. Select the background with the wand and hit delete. Go in with a circle eraser and clean up anything it missed. THEN you can go to the layers area, still having the logo layer selected, click the FX button and add an outerglow and drop shadow to make it pop.
For fun, I added our wedding anniversary under the logo. :)