Coronavirus Case Counter - ESP32
by Xarcrax in Circuits > Arduino
1006 Views, 4 Favorites, 0 Comments
Coronavirus Case Counter - ESP32
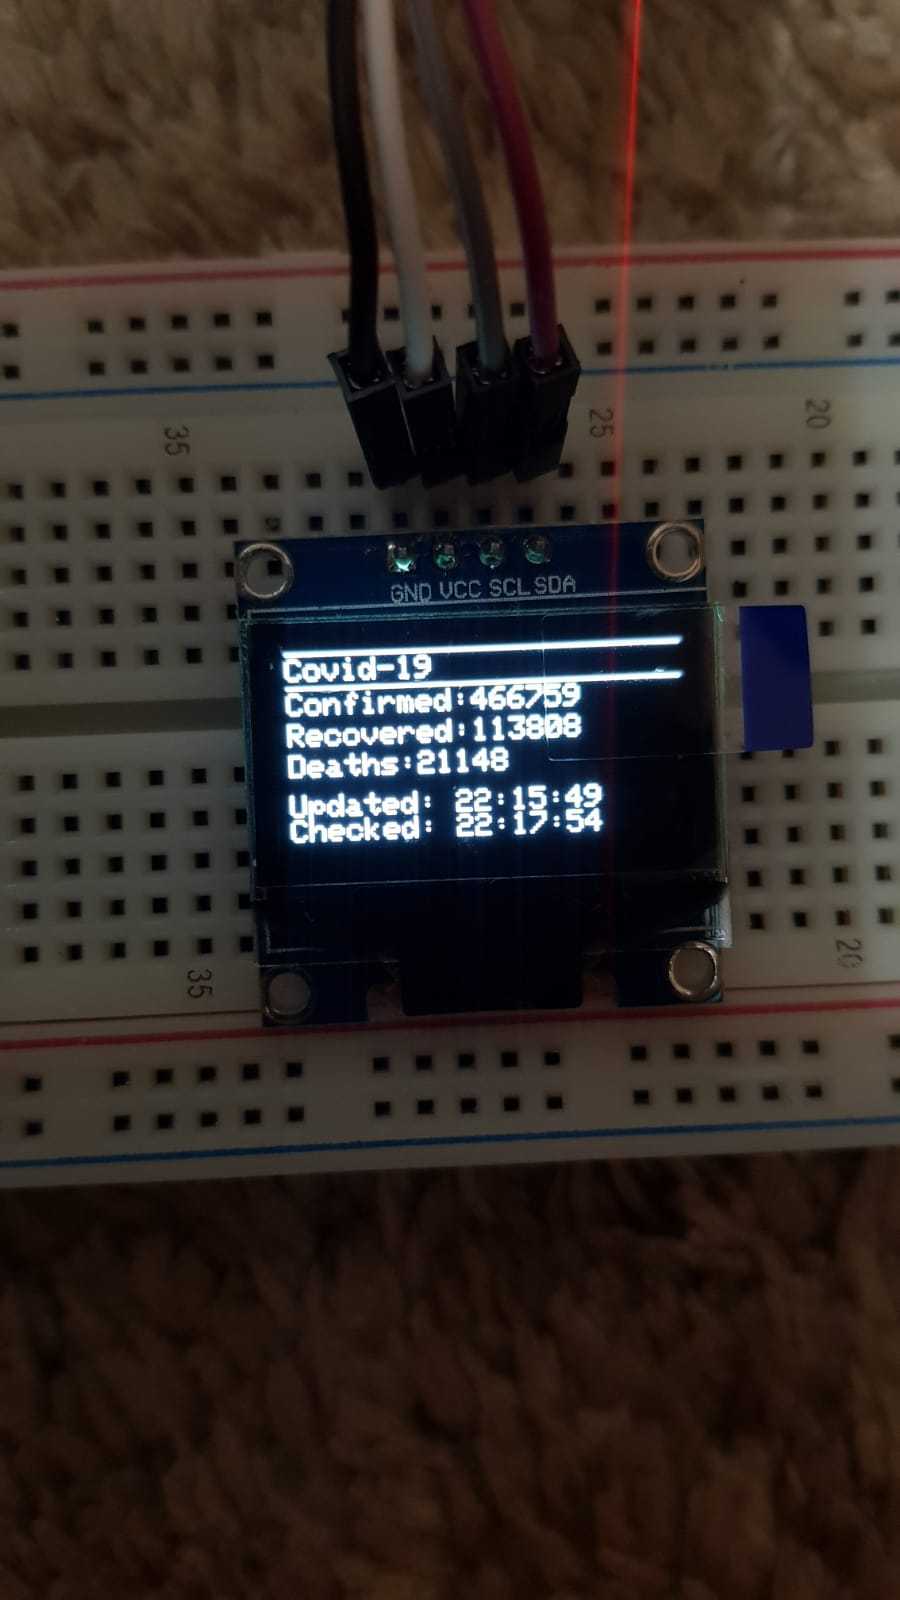
With the recent pandemic going on, I decided to document the journey of the coronavirus in a diary. But one of the problems I faced was getting correct and recent figures for the spread of the virus. When the lockdown started, my dad had bought me an ESP - 32 board, and so as I was learning about using it, I decided to come up with a solution to my problem.
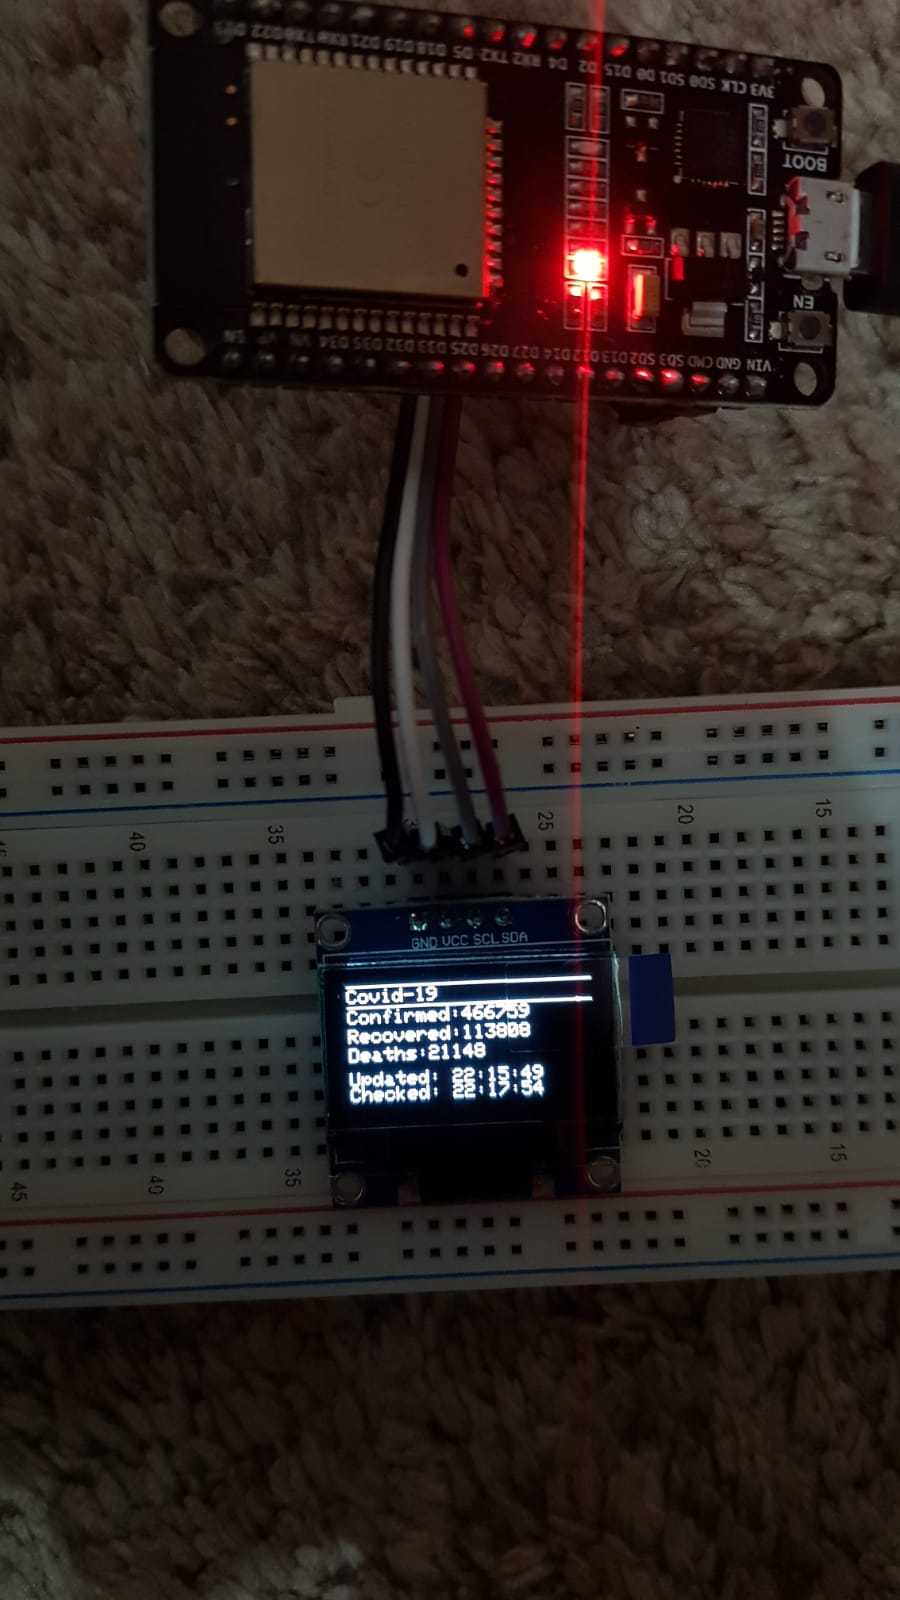
I have created a program that takes data about worldwide infections from https://github.com/NovelCOVID/API("source") and then shows it on a 0.96" OLED. So, I will be sharing the code and the setup with you, as well as teaching you how the code works.
I have used an ESP-32 DOIT DEVKIT V1 board, but you can use any board with Wi-Fi capabilities.
Supplies
Essentials:
USB to micro-USB cable
ESP-32 Board(any, mine is DOIT DEVKIT V1)
OLED Display - 0.96 inch (128 x 64 pixels)
4 female to female jumper wires
Arduino IDE (on a computer)
Optional:
Breadboard
Driver & Library Installation in Arduino IDE
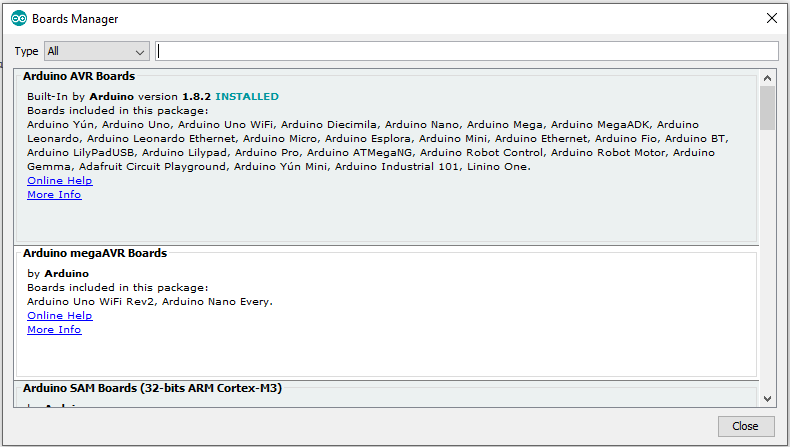
- First, go to Tools>>Board and change it to whichever board you have. You might have to add it using the Boards Manager.
- Then, change the port to whichever port you have, and set the upload speed to 115200.
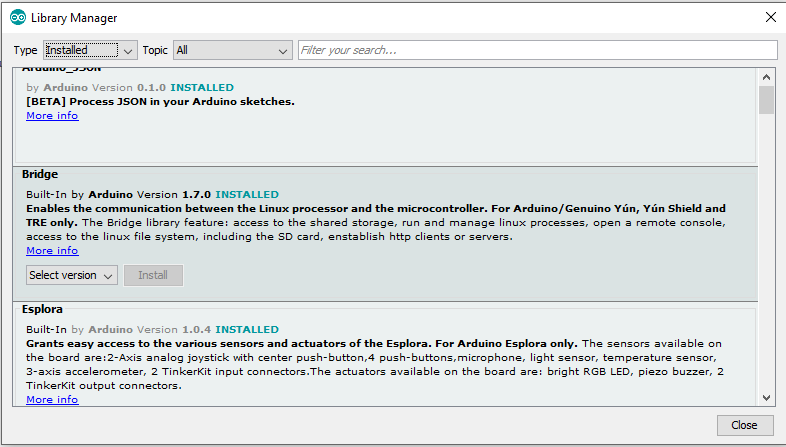
- Next, go to Sketch>>Include Library>>Manage Libraries and add the following libraries
- Arduino_Json
- NTPClient
- Adafruit GFX Library
- Adafruit SSD1306
- Time
After that, you are ready to connect the circuit.
Circuit Connections and Testing
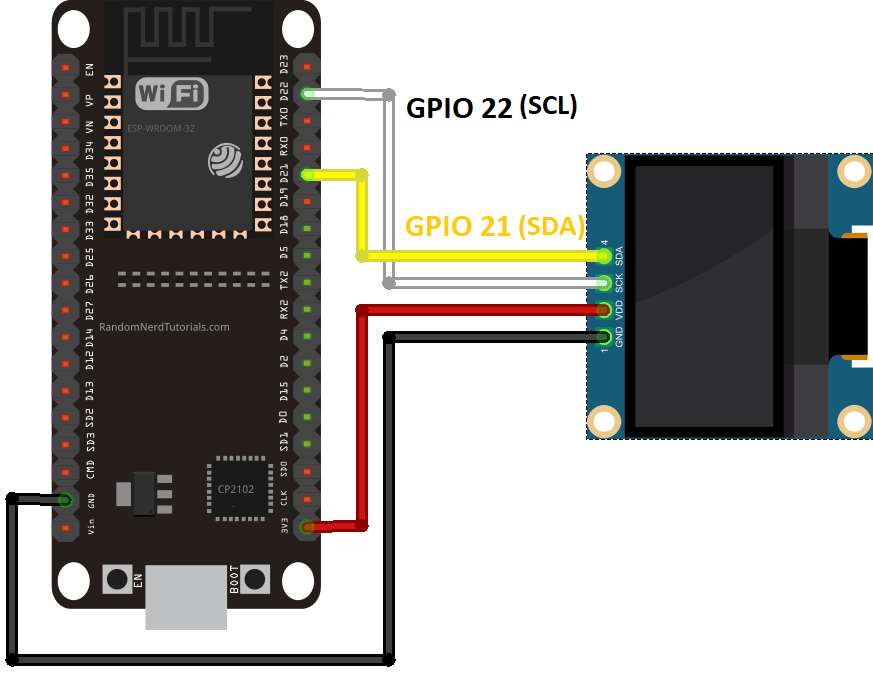
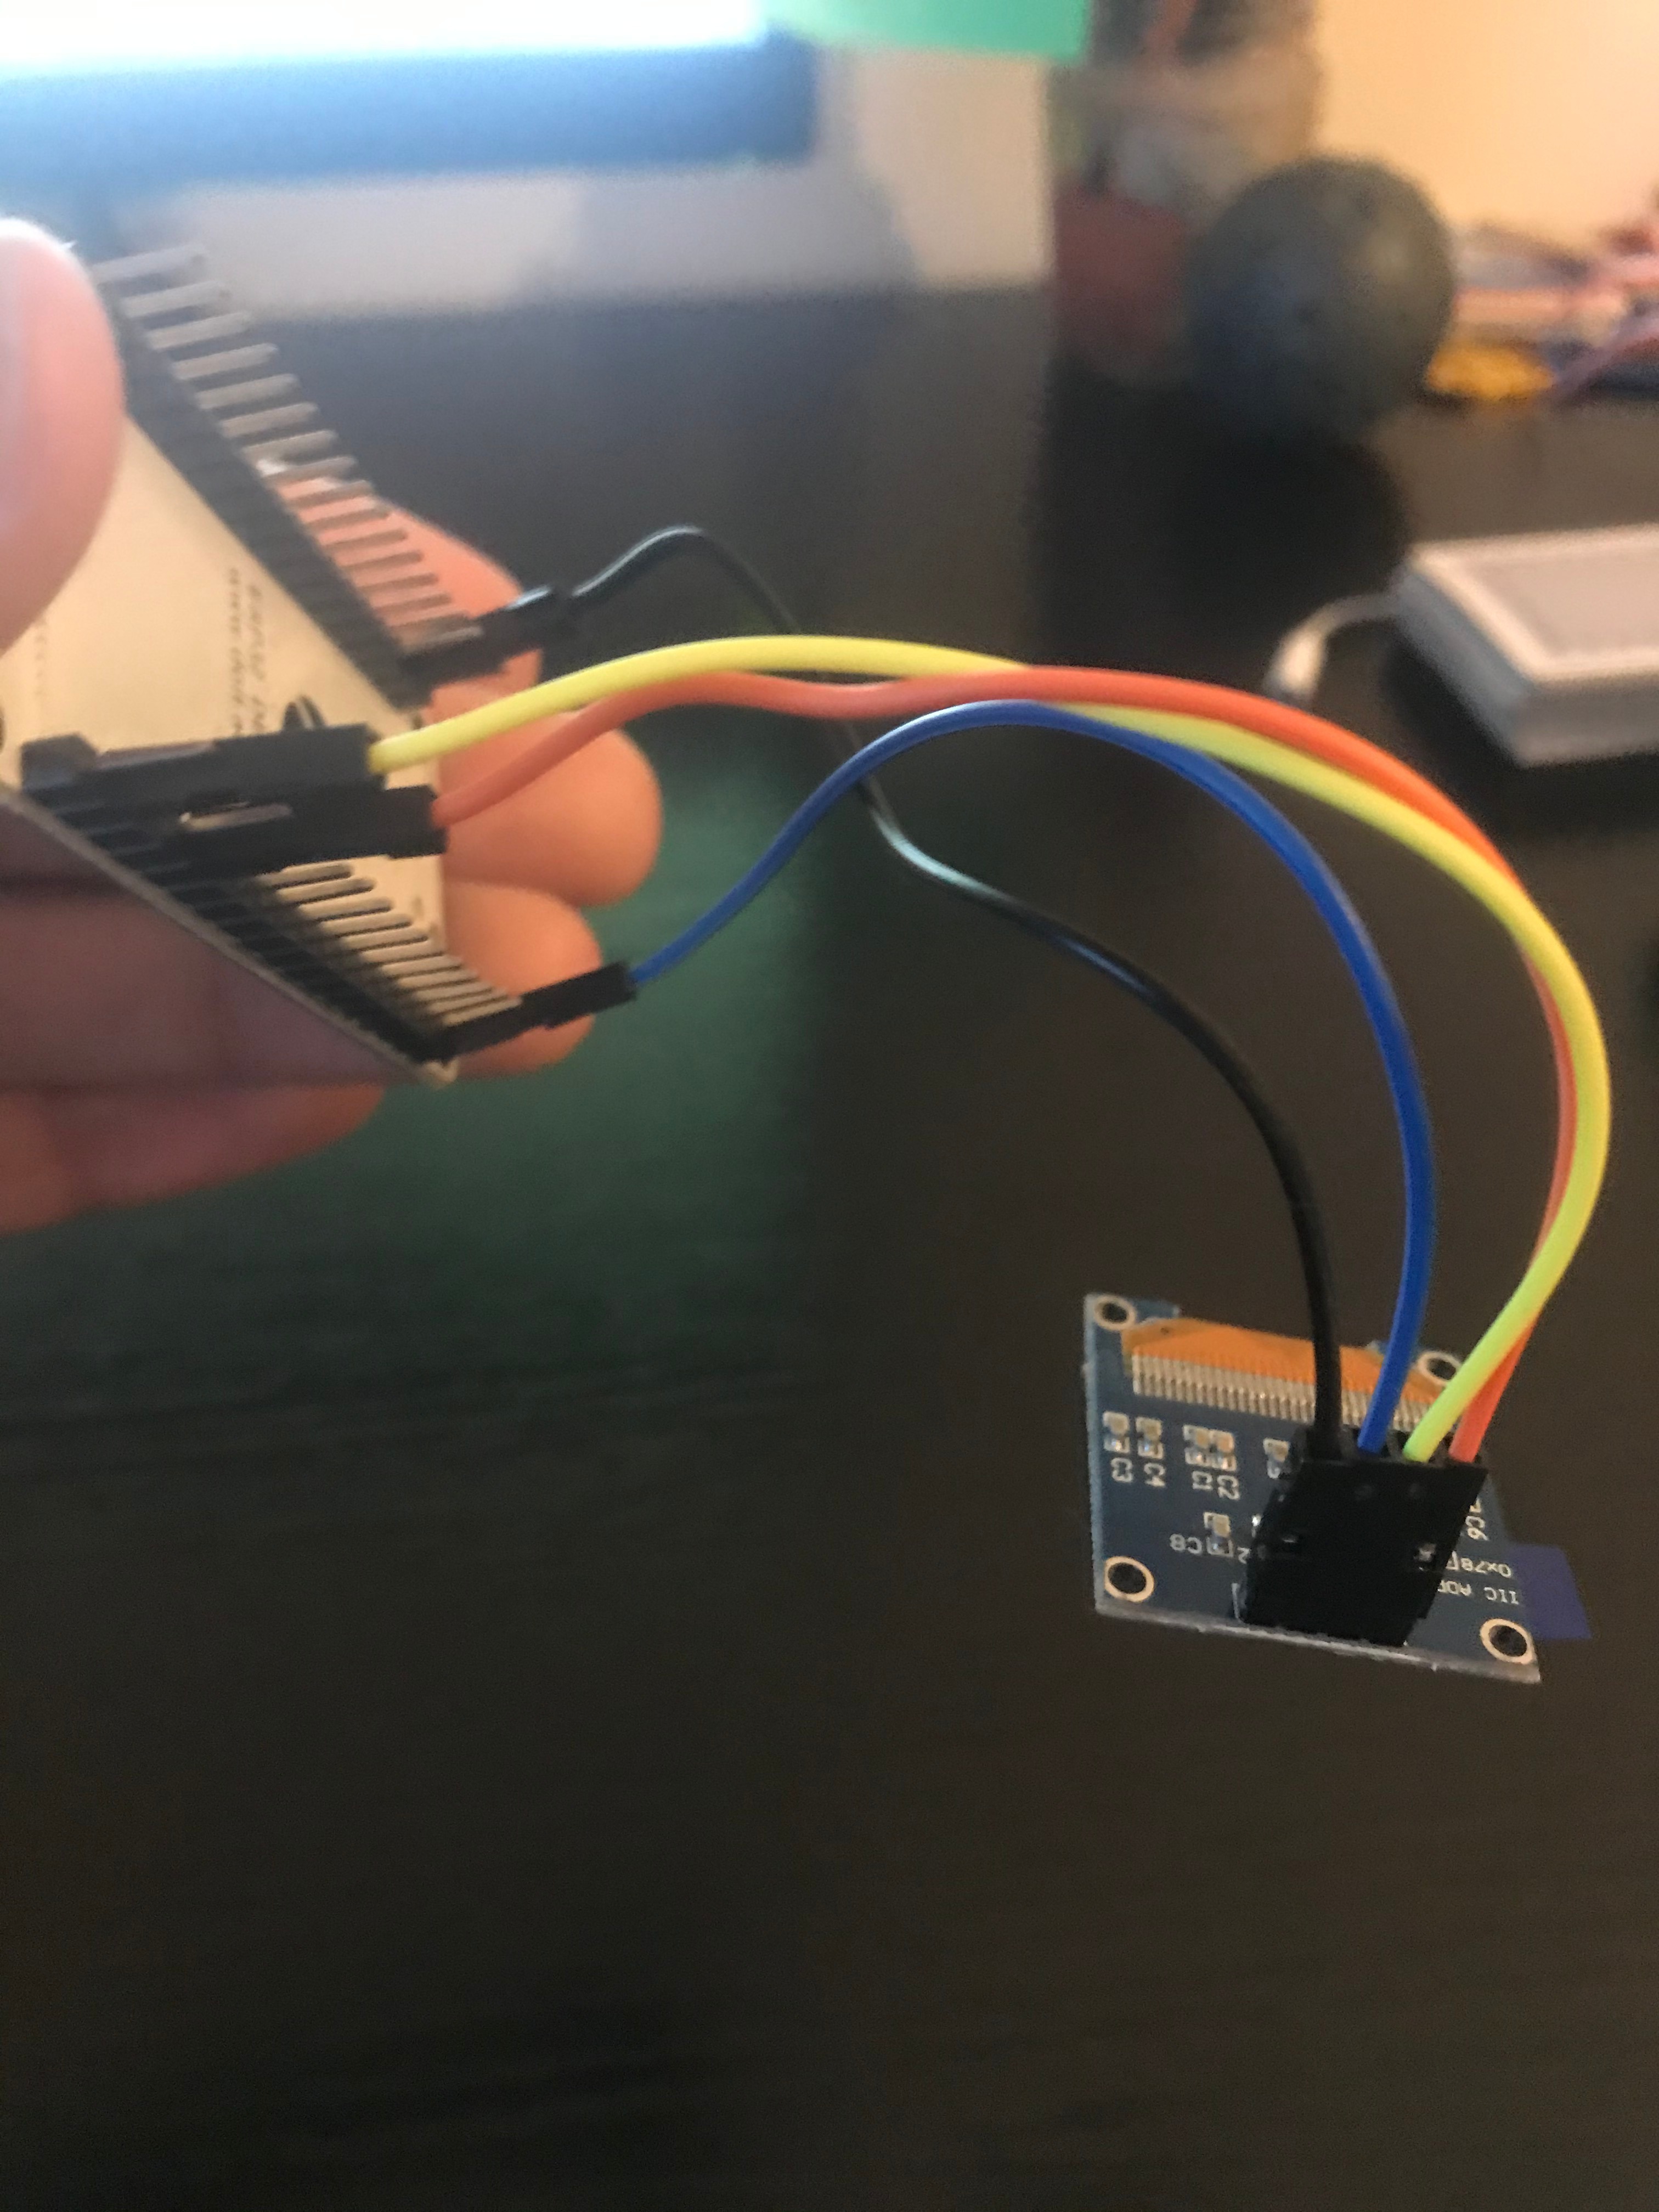
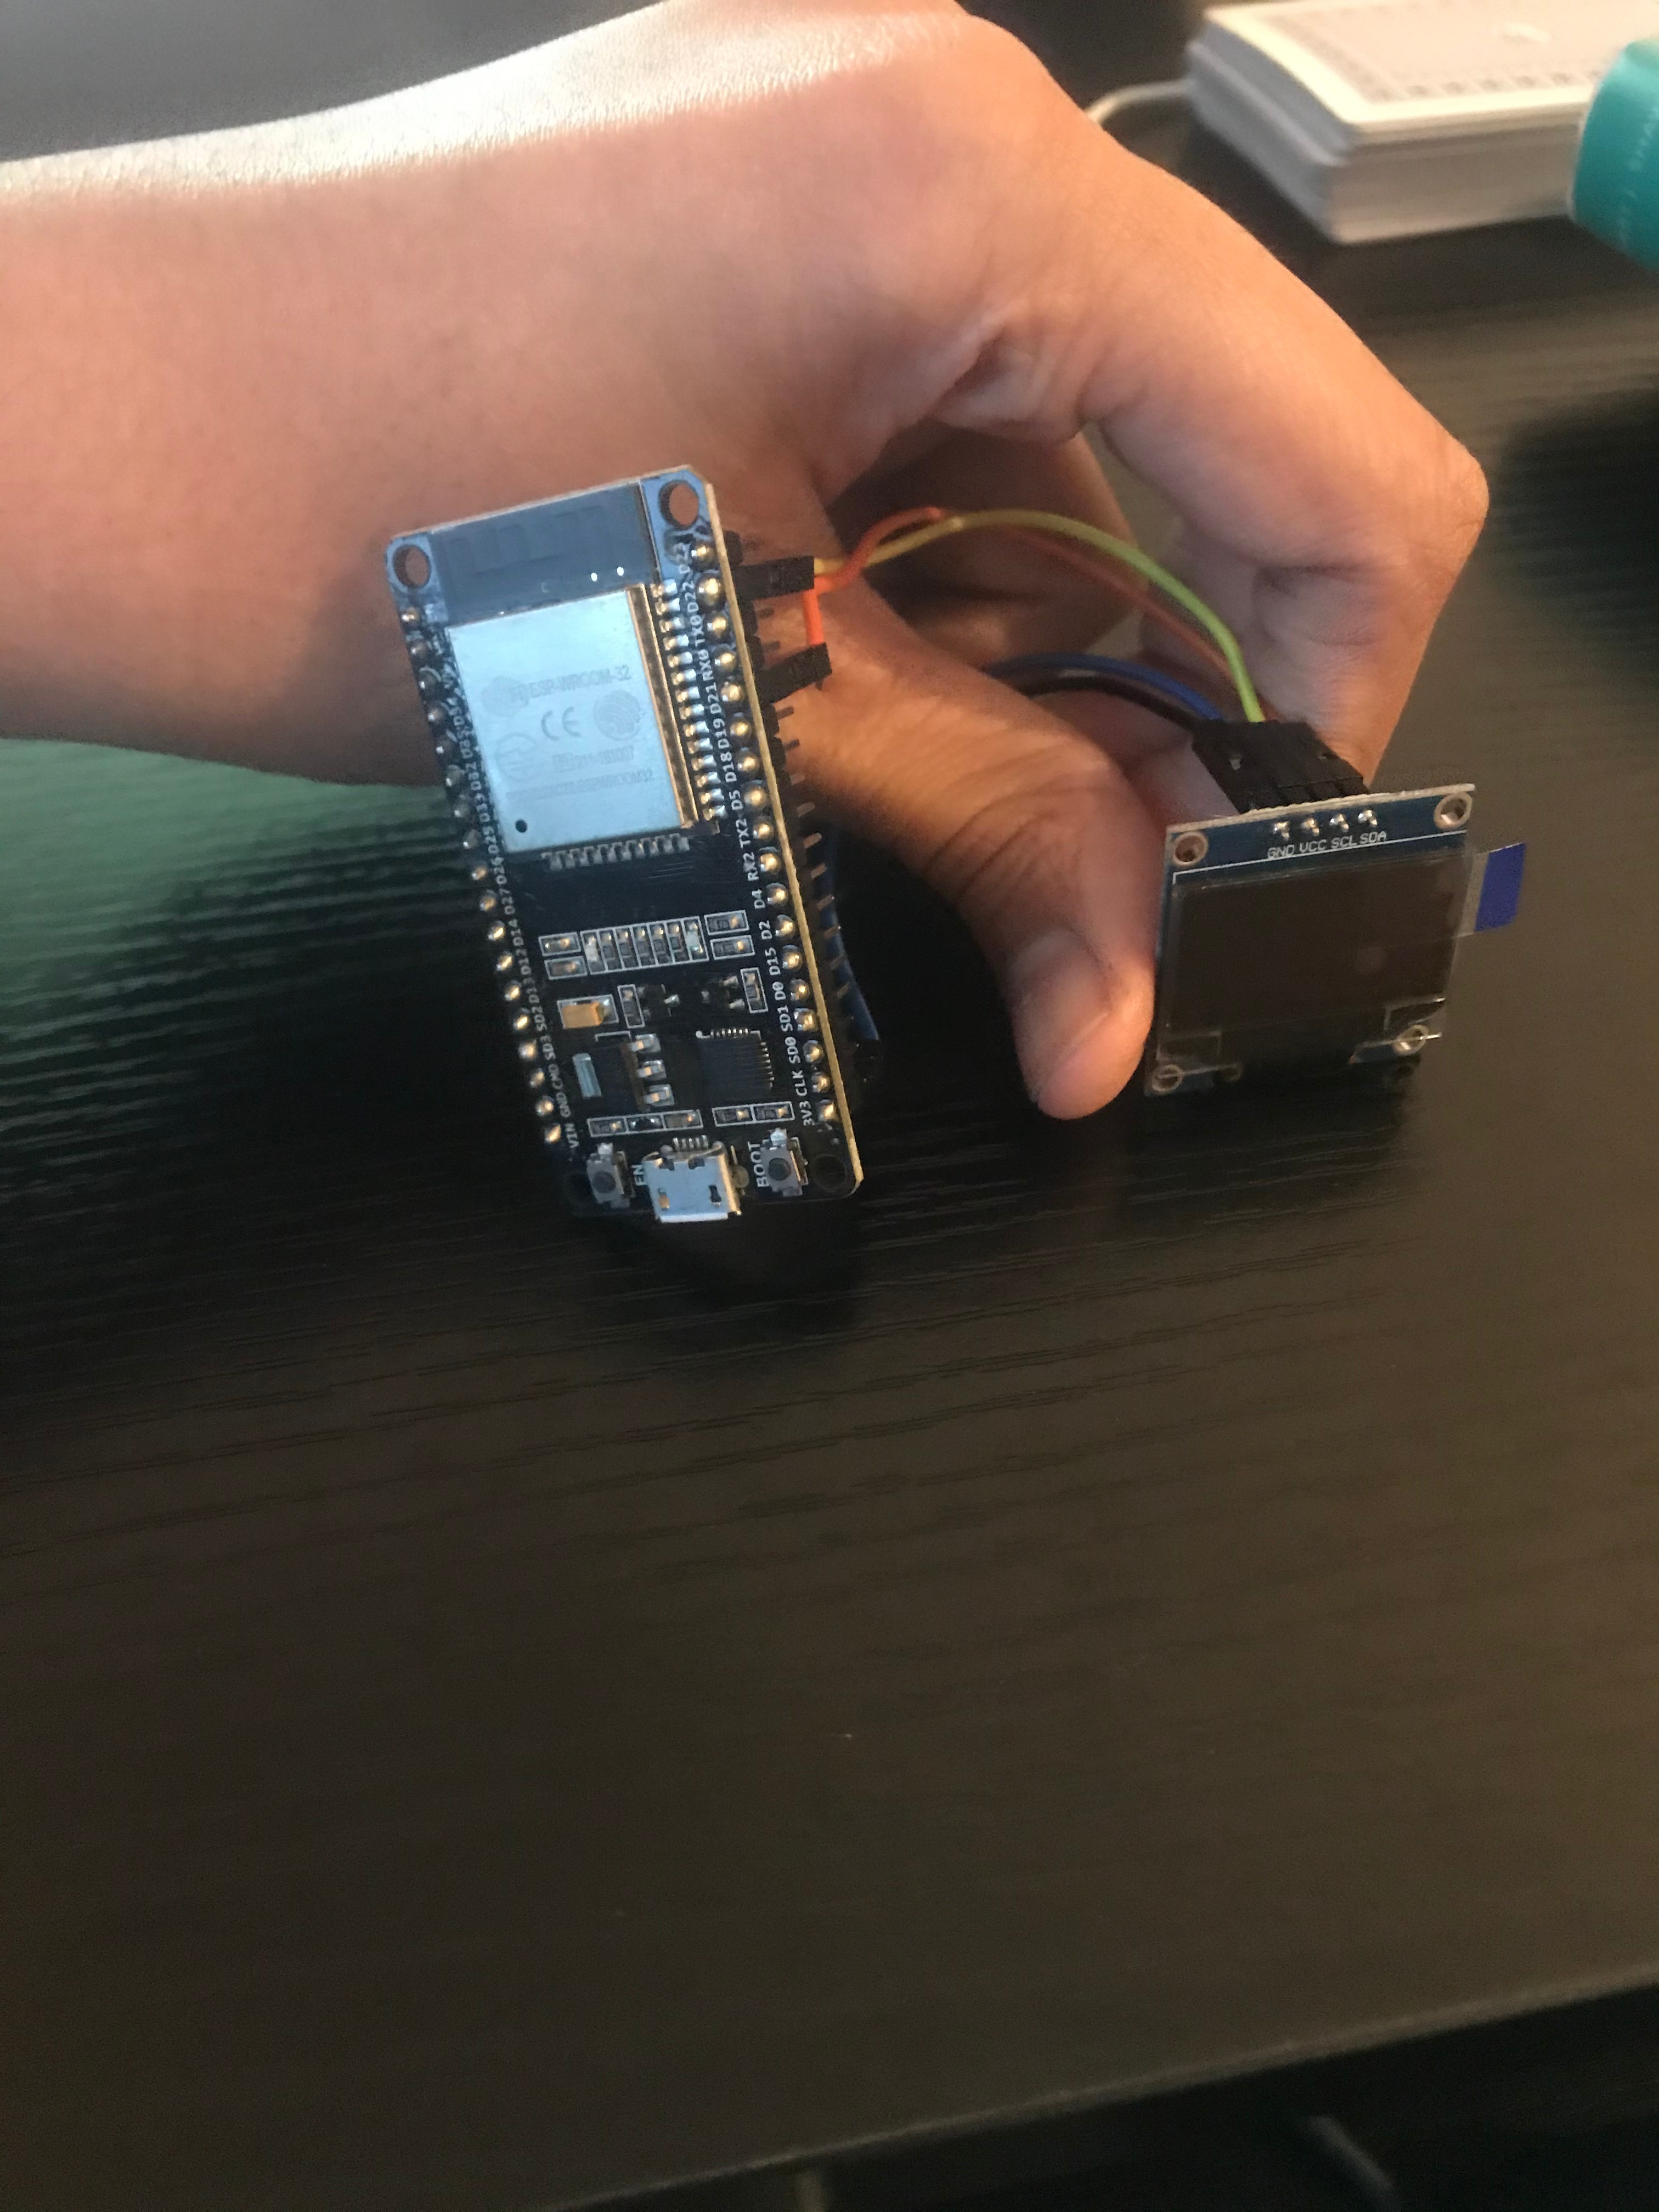

Start by connecting VCC pin to the 3.3V output on the ESP32 and connect GND to ground.
Next, connect the SCL pin to the D22 pin on your ESP32 and connect the SDA pin to the D21 pin on your ESP32.
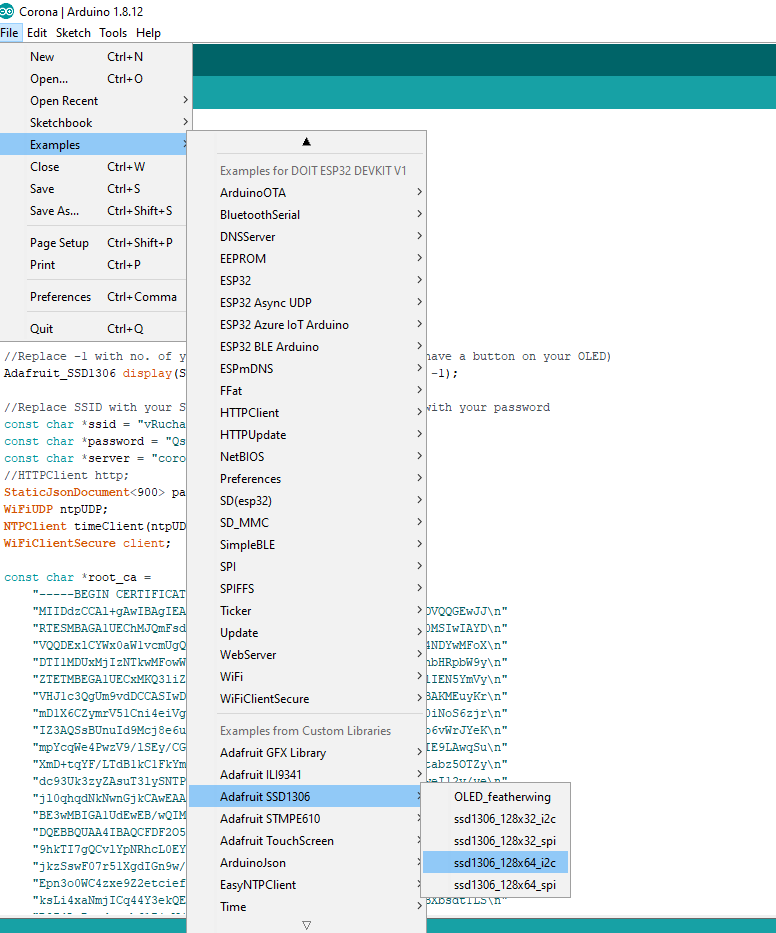
To test the OLED, go to FIle>>Examples and scroll down till you reach Examples from custom libraries. Now, search for Adafruit SSD1306. Choose ssd1306_128x64_i2c. You might have to choose another one if your OLED is different.
One edit that is important for you to make is that if your OLED doesn't have a reset button, then you should set the variable to -1.
#define OLED_RESET -1
Code
Now, this is the most difficult part. the coding. To get the data, I am using this. This is the code I have written. Now, if you don't want to understand how its written, and just want to try it out, head on over to the next step.
Otherwise, let's begin.
At the start of the code, the 'include' tells the program which, libraries to use, which helps write easier functions, as well as adds features like the OLED.
Then, it goes to the server and asks for the latest update, which it then formats and displays on the screen.
I have also added comments at each step in the code for a more detailed understanding.
Result
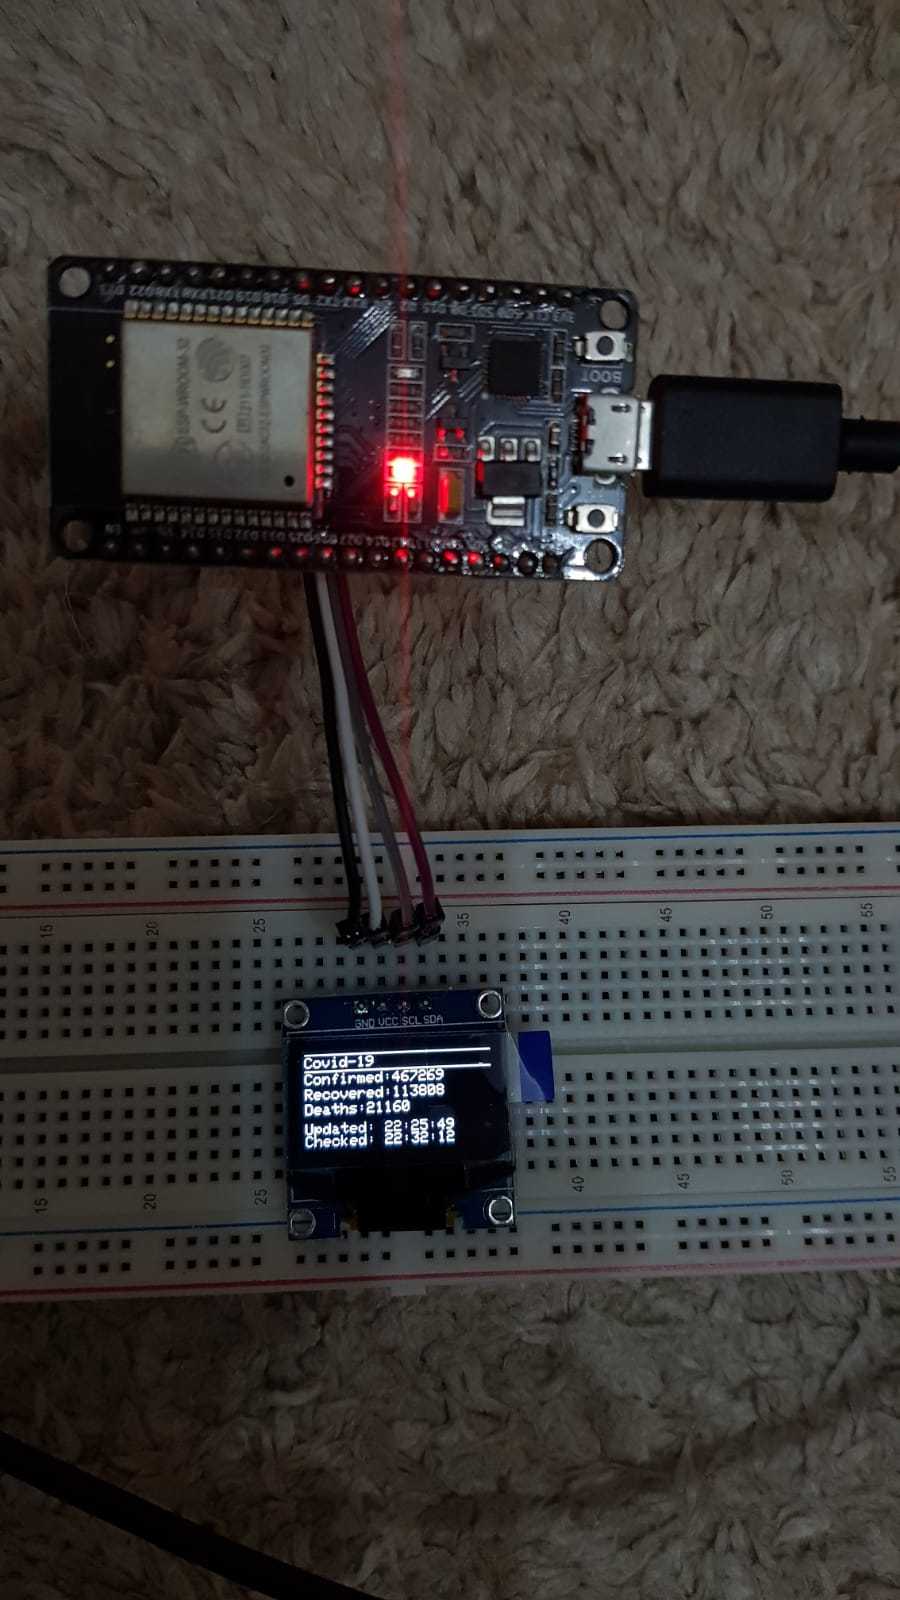
Now, to run the program, check that you have selected a valid port and that your driver is installed. Follow this link if it isn't, or search online.
Now, go and press the upload button after connecting your board, and you should get an output like the one above.
Congrats! Now you've got a fully functioning COVID counter. Keep playing with the code and see if you can attach it to a buzzer to tell you when the number has increased, or make it show a specific country.
Hoping that this epidemic ends soon, and excited to see what you will do,
Signing Out,
Xarcrax