Corner Radius Template on the CNC
by TheLeftyMaker in Workshop > Tools
3797 Views, 34 Favorites, 0 Comments
Corner Radius Template on the CNC
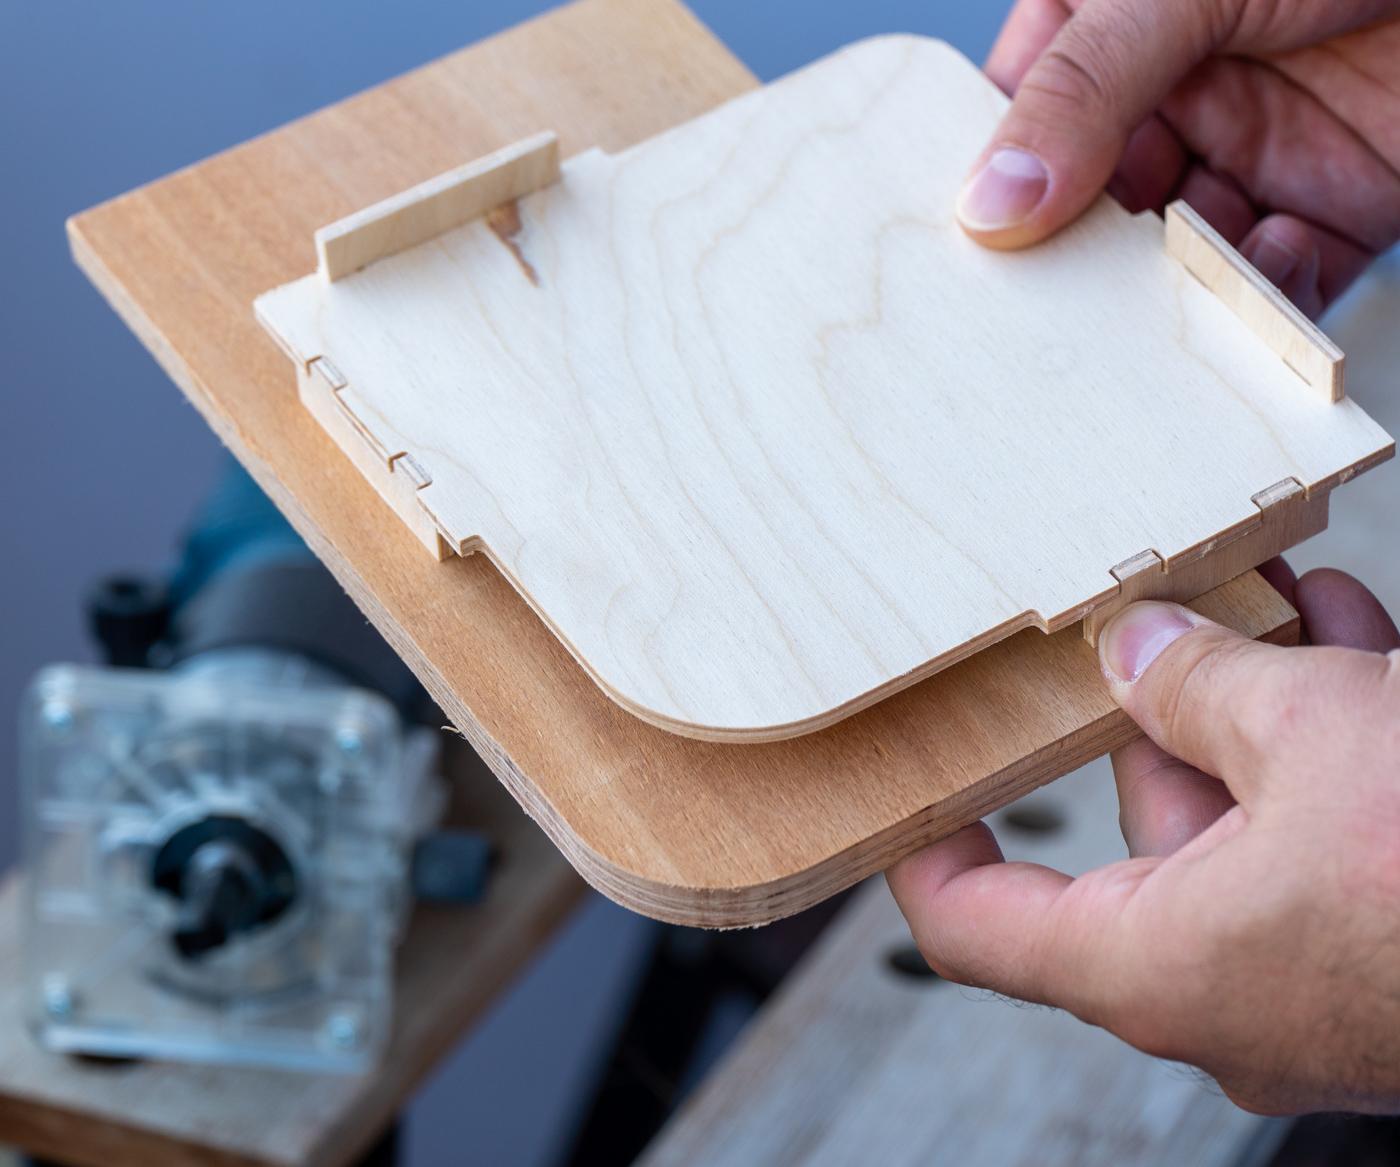
Have you ever looked at a product and said to yourself "I can make that"? That's what I thought as well when I was shopping for a corner radius template, which I need for a custom plywood cabinet I'm making.
A corner radius template like this one is used to round off the sharp, 90-degree angle in the corner of a flat surface. The template is placed over the corner, and a router with a flush trim bit is used to round off the angle. A rounded corner looks prettier and prevents chipping, not to mention that it hurts less when you accidentally bump your head into it.
You can get a radius template kit on Amazon and at hardware stores for as low as 20 bucks. Mine is made out of a $2 piece of plywood using a CNC router (a Snapmaker 2.0*) and Fusion 360.
You may also find these instructables helpful:
- Corner Radius Router Jig + Full Box Set by ratmax00 - a similar project that uses a laser to cut the templates
- DIY corner radius templates by Toolify - an alternative approach that does not use a CNC or a laser cutter
Supplies
- Plywood - I used 4mm-thick plywood because that's what I had on hand. 6 or 8mm should work just as well, if not better.
- Wood glue
- Clamp
- Sandpaper (optional)
- CNC router - I have a Snapmaker 2.0* so that's what I used to make the template.
- Fusion 360 - Powerful 3D CAD/CAM software that's free for hobbyists.
*This is an affiliate link. I may make a small commission if you make a purchase. The price you pay stays the same, but the support helps me make more cool projects. Thanks!
Planning and Designing in Fusion 360
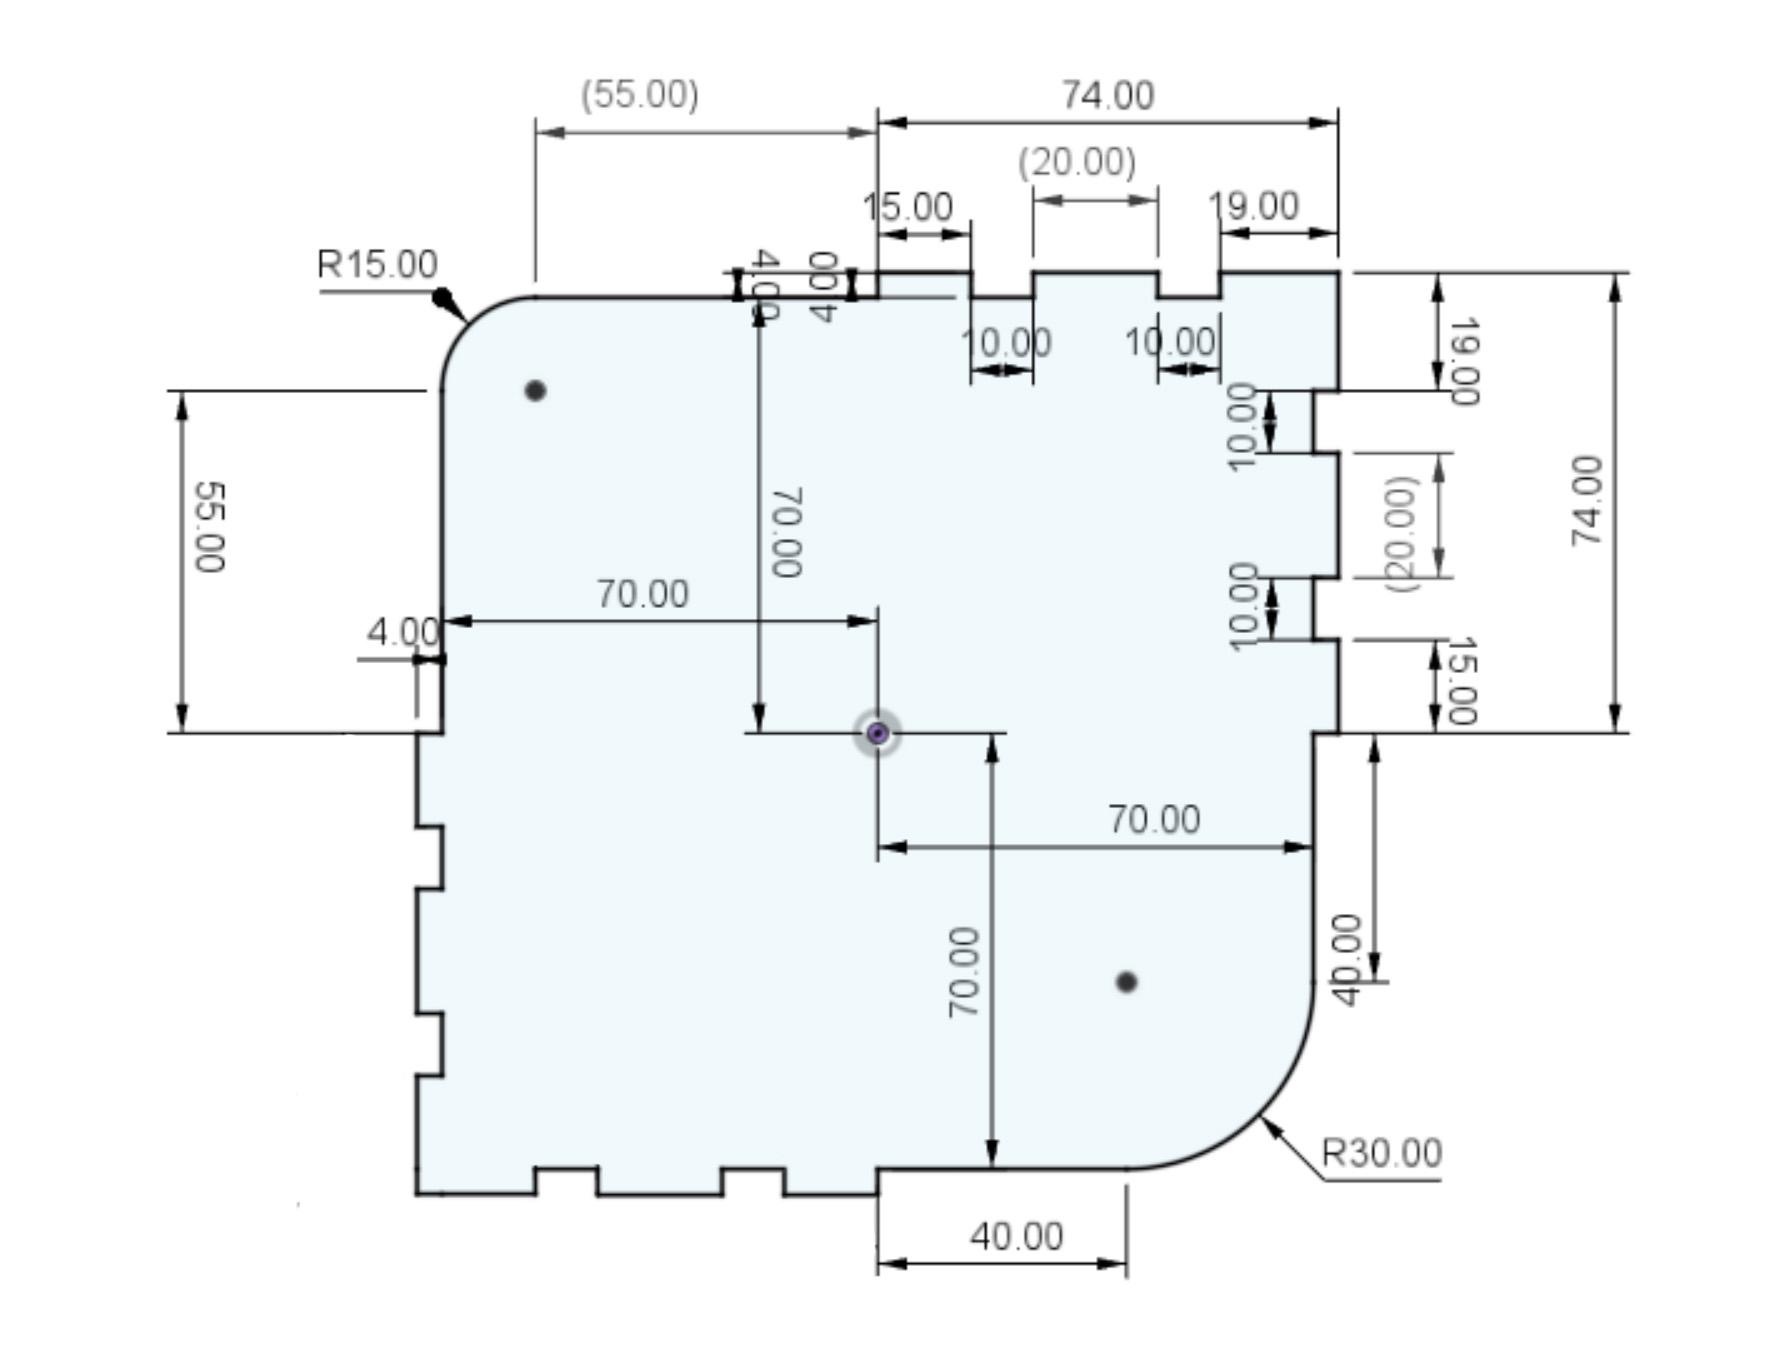
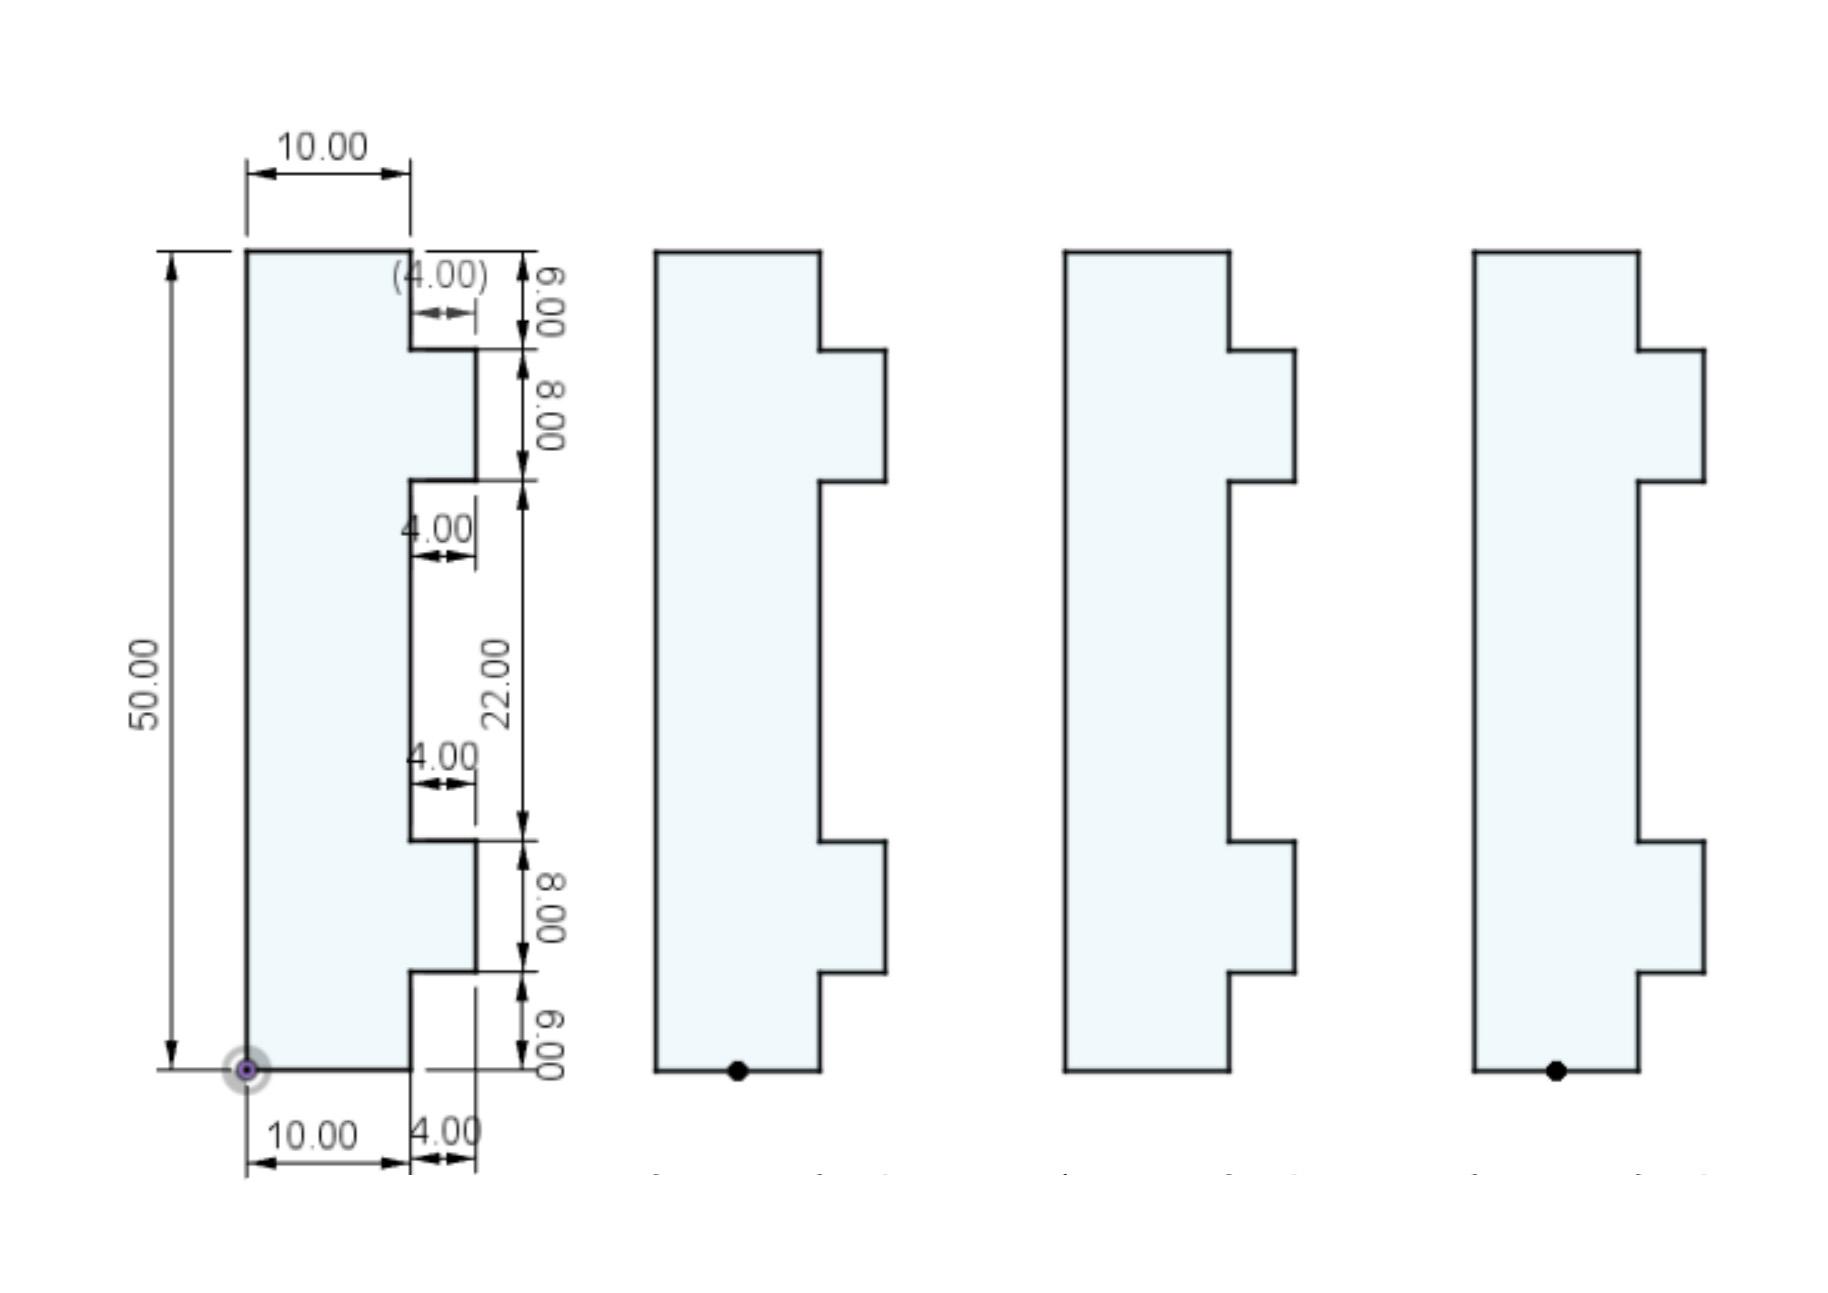
After looking at several commercial templates, I decided to draw inspiration from the one by Woodpeckers. It seemed simple and functional enough, and there was no need for me to reinvent the wheel here.
To make my template, I had to cut a total of five elements on the CNC. The first one is seen on the first image here - a square-ish piece approximately 14 by 14 centimeters in size. There are two rounded corners, 3 and 6 centimeters in diameter, but you can make them as big or as small as you want. The box-joint-like slots are for the stoppers.
The second image here shows the dimensions for the stoppers. There's four of them in total, two for each side of the template. Their job is to position the template perfectly in place and prevent it from moving while rounding.
Notice that the "fingers" on the stoppers are 2mm narrower than the slots they're meant to go into. That's on purpose - I'll be making the cut with a 2mm CNC bit, and the gap is to compensate for the rounded inner corners the CNC bit would leave. If you have a thinner CNC bit, you can get away with a smaller gap. Or you can use a chisel to remove the rounding and have no gap at all!
Cutting the Pieces on the CNC
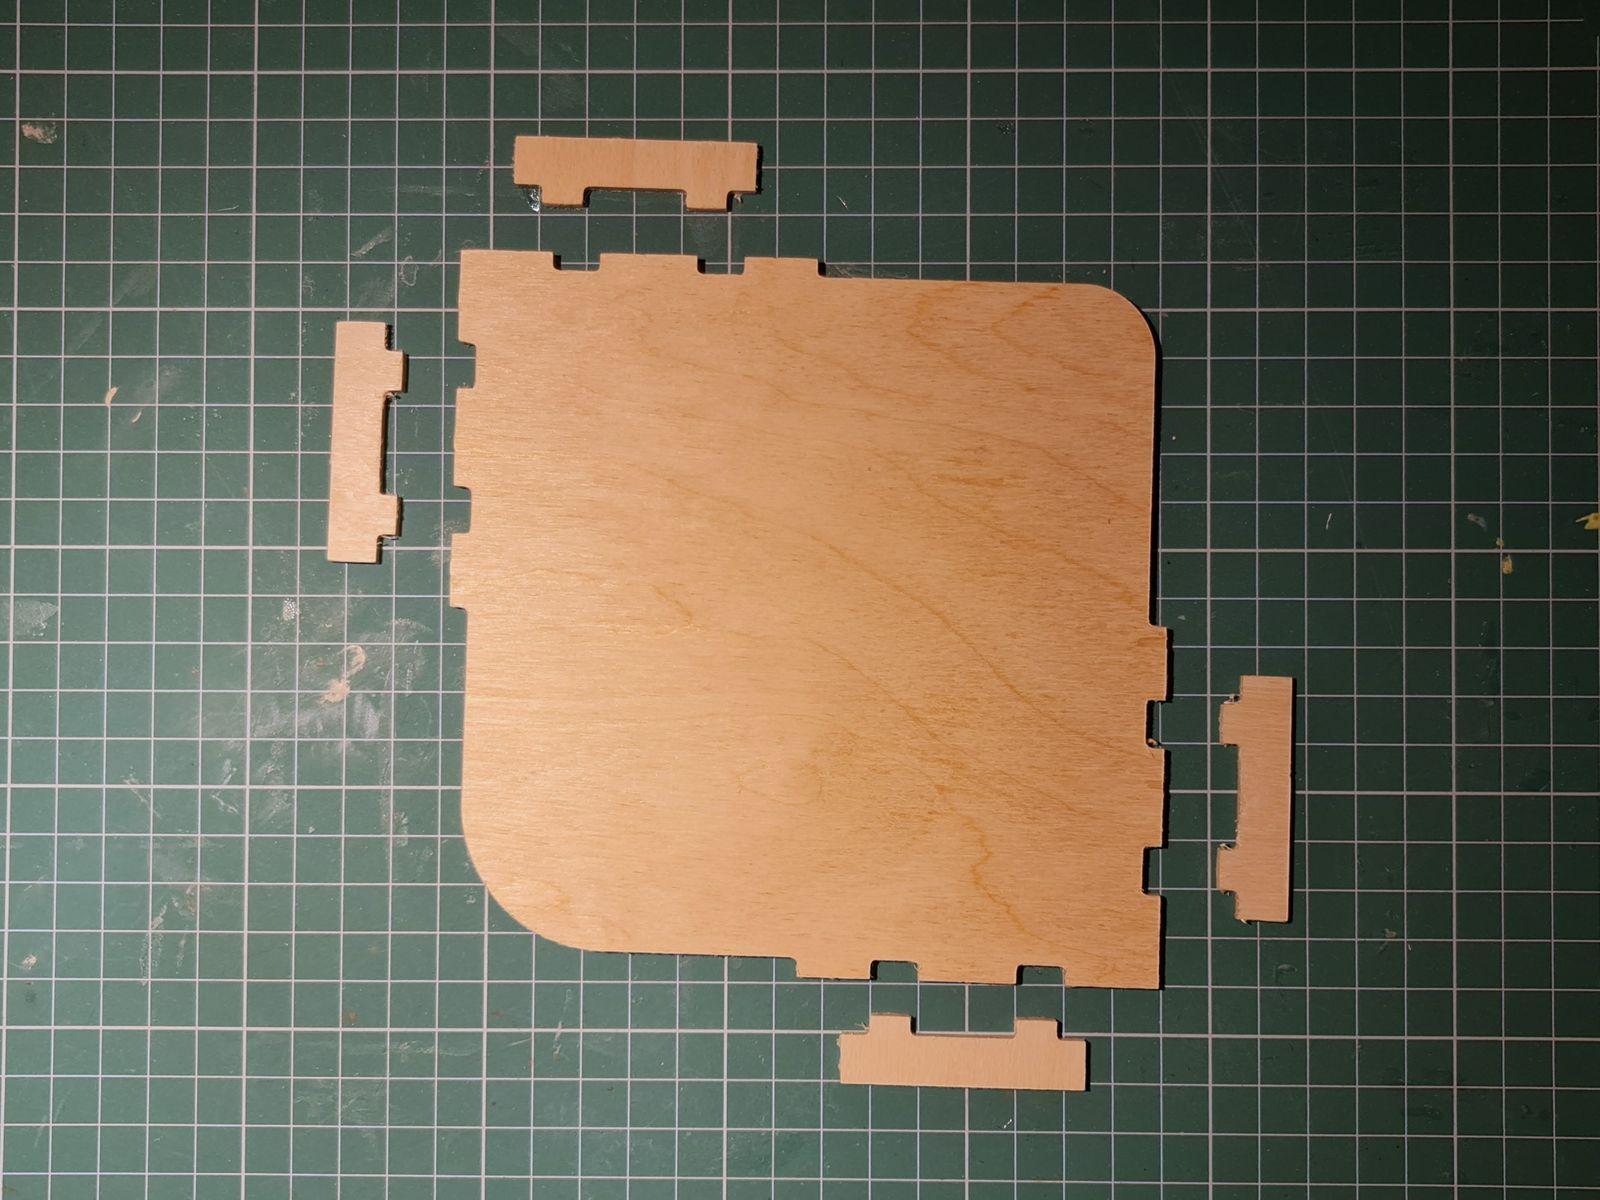
I exported a file with the cuts that had to be made, then used my CNC router to cut the pieces out of 4mm plywood with a 2mm bit. All the cutting took about 20 minutes at modest speeds. I used 120-grit sandpaper to sand all pieces and remove the tab traces. (Tabs are small bits of material that prevent the piece that's being cut from moving and hold it attached to the piece it's being cut from.)
Gluing All Pieces Together
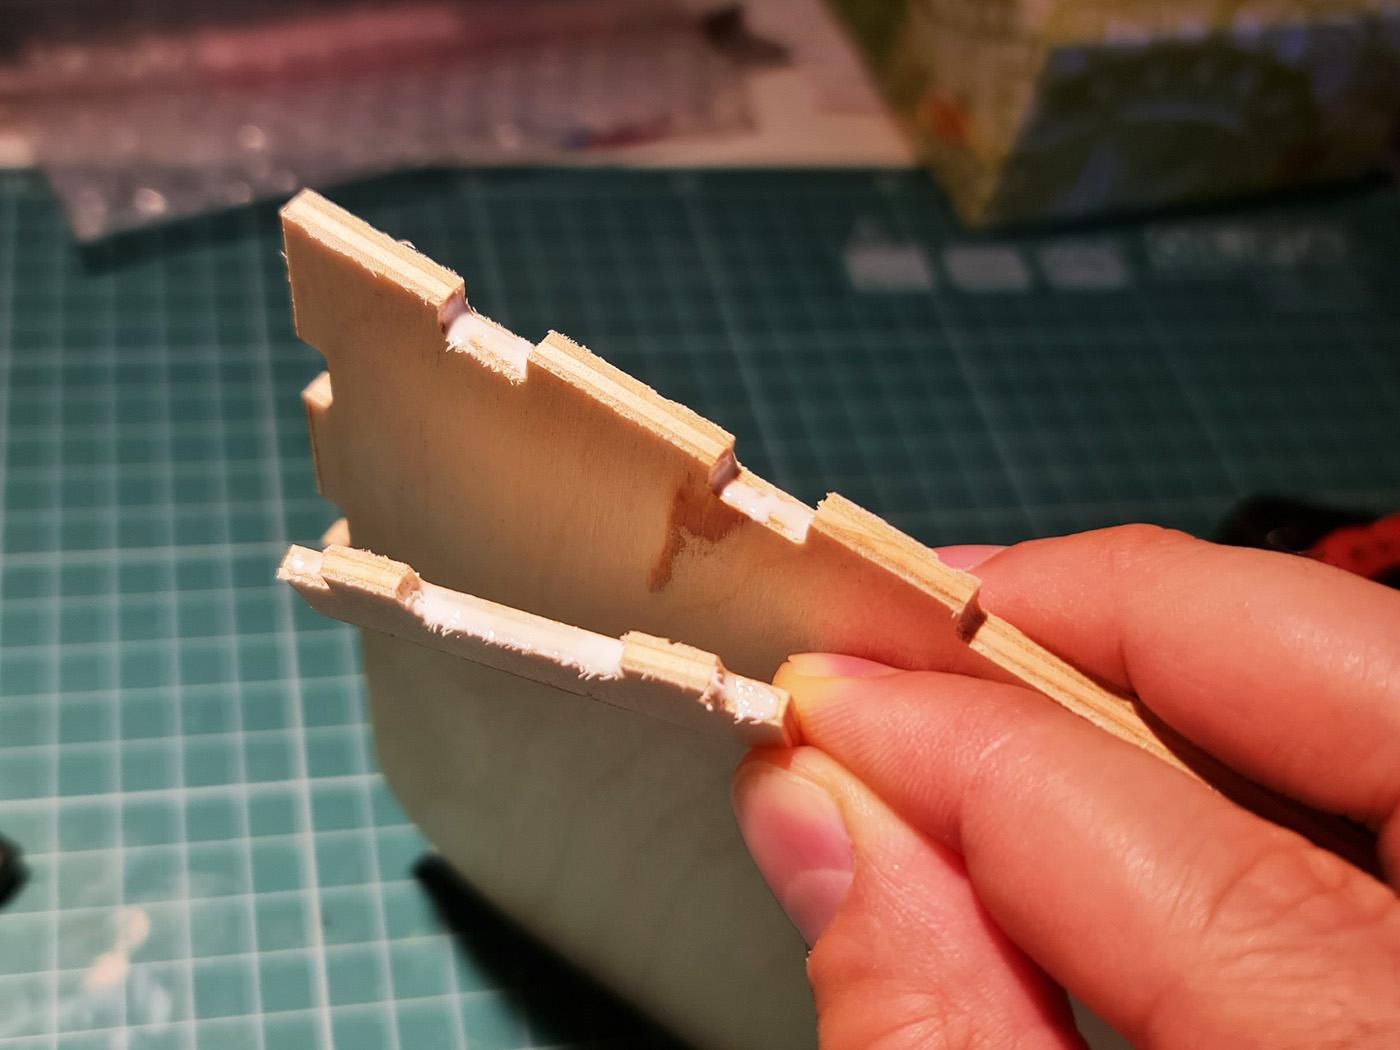
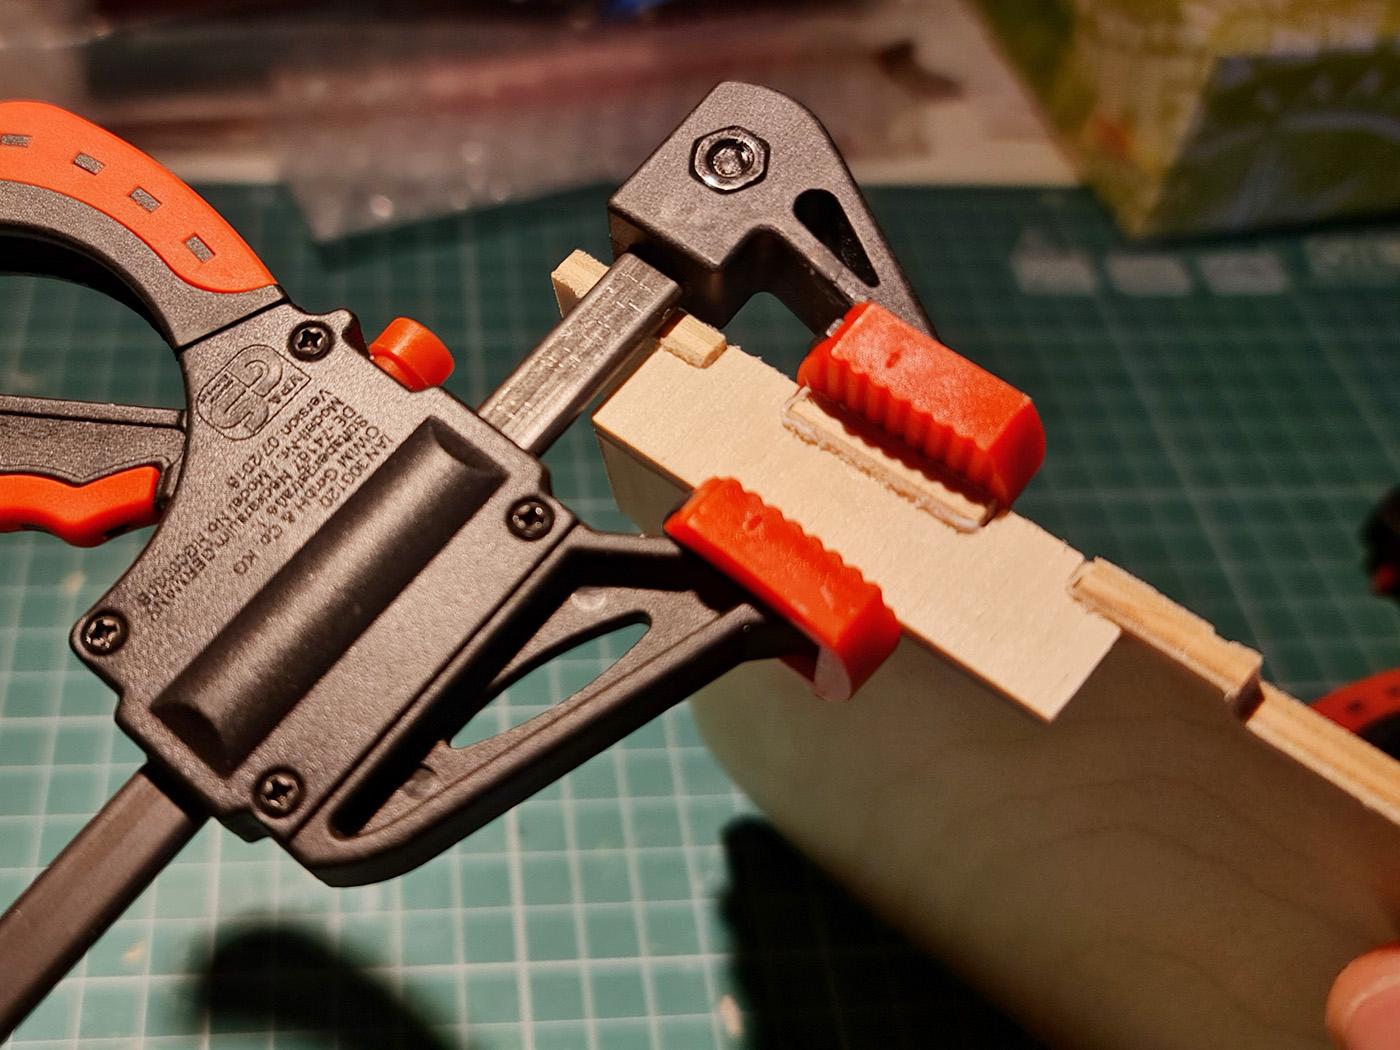
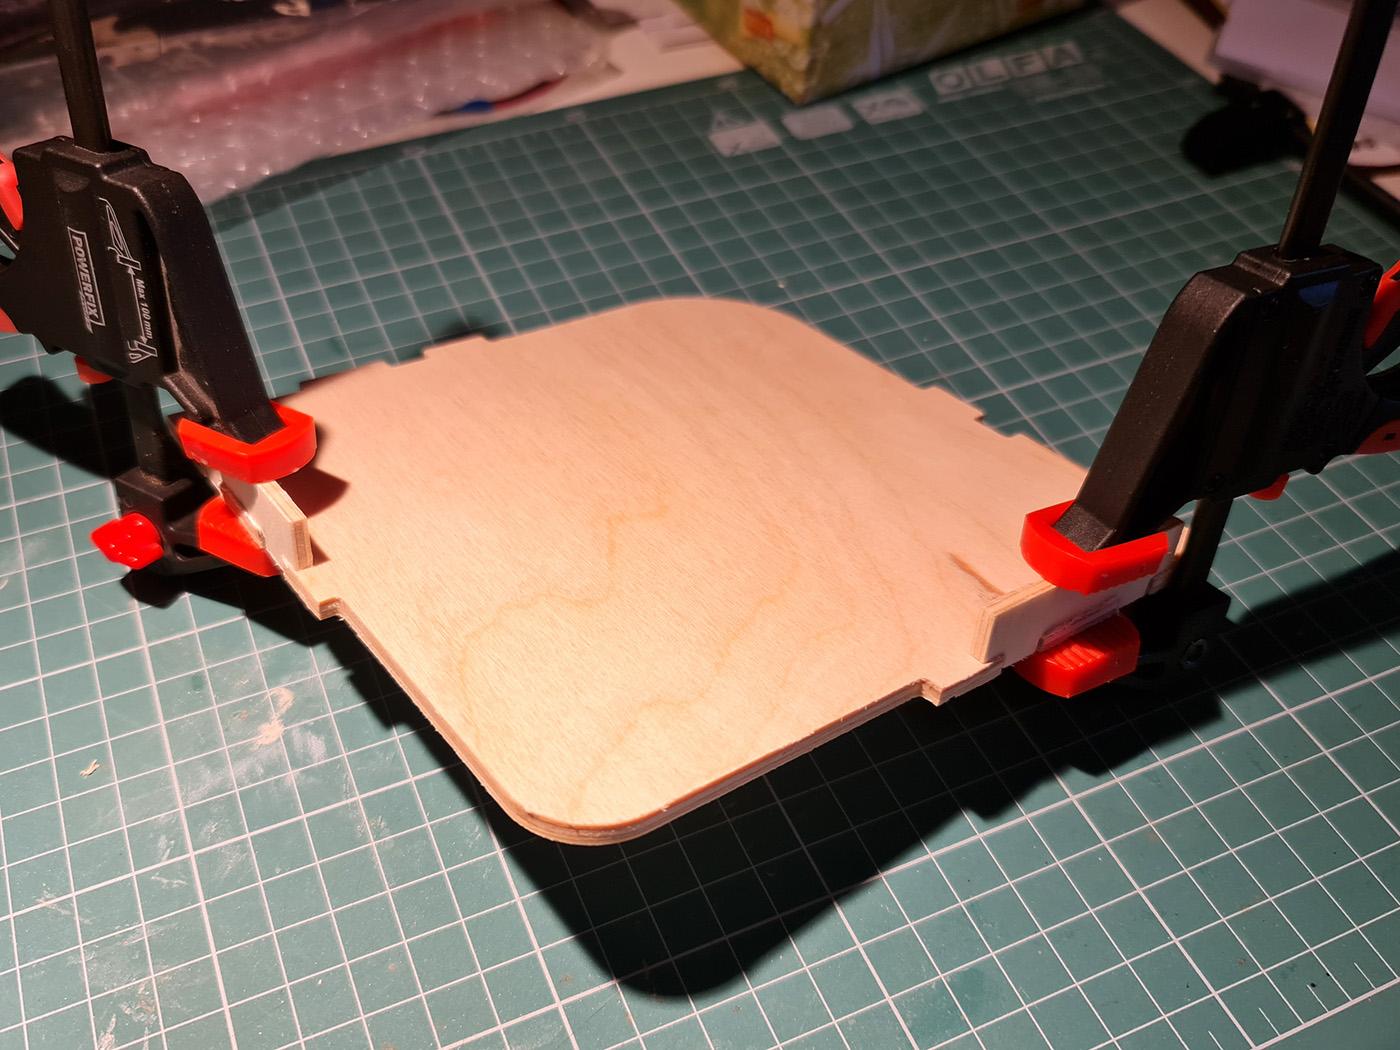
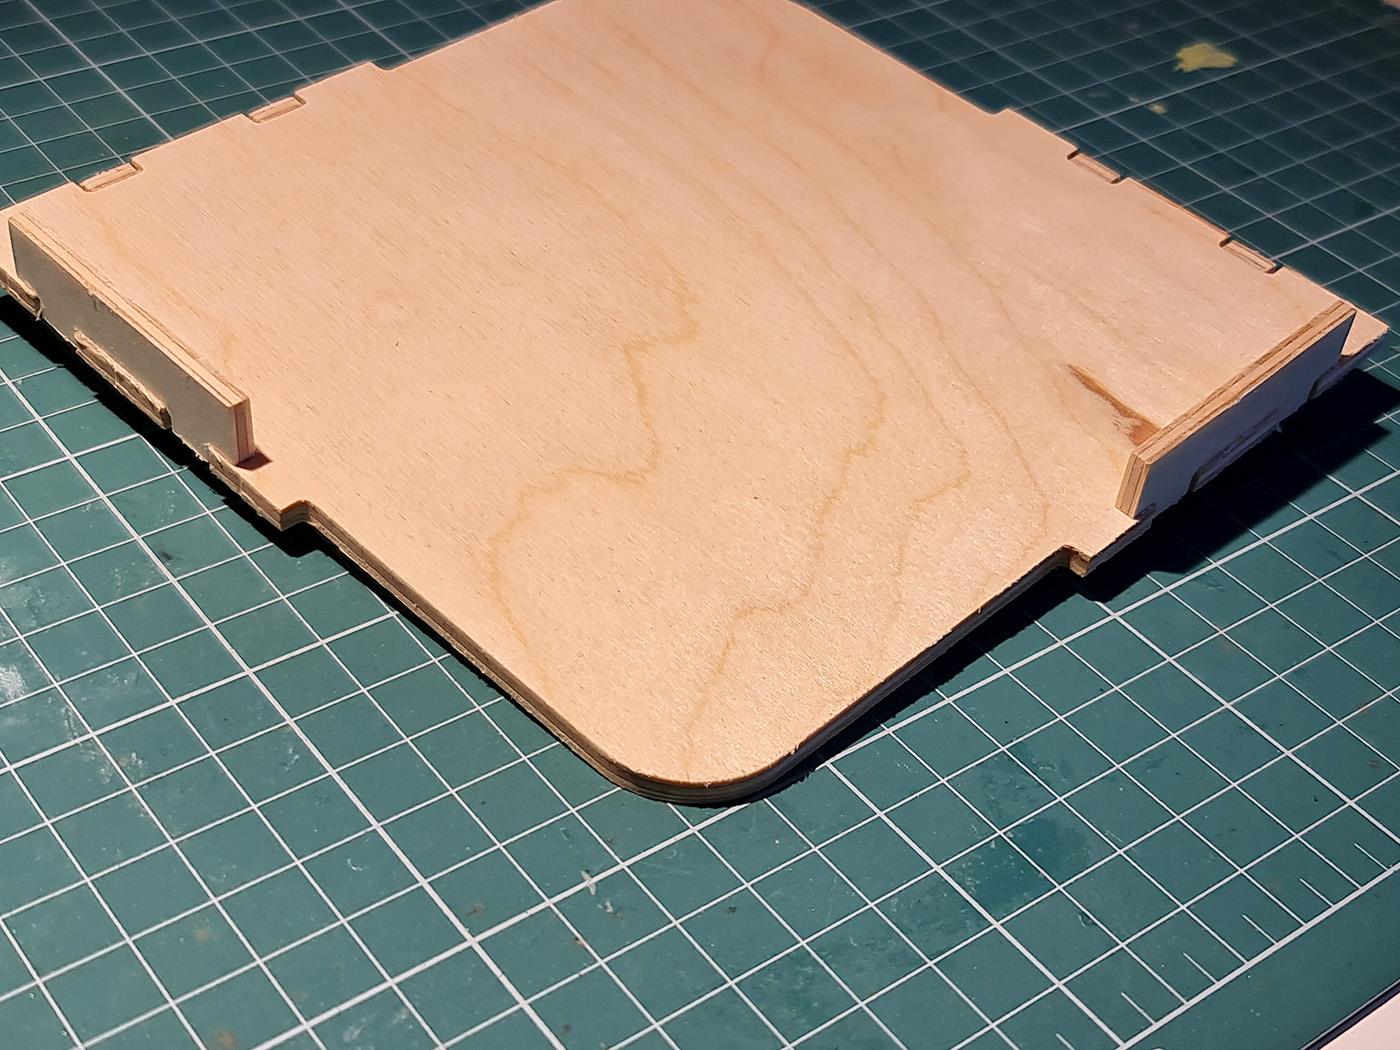
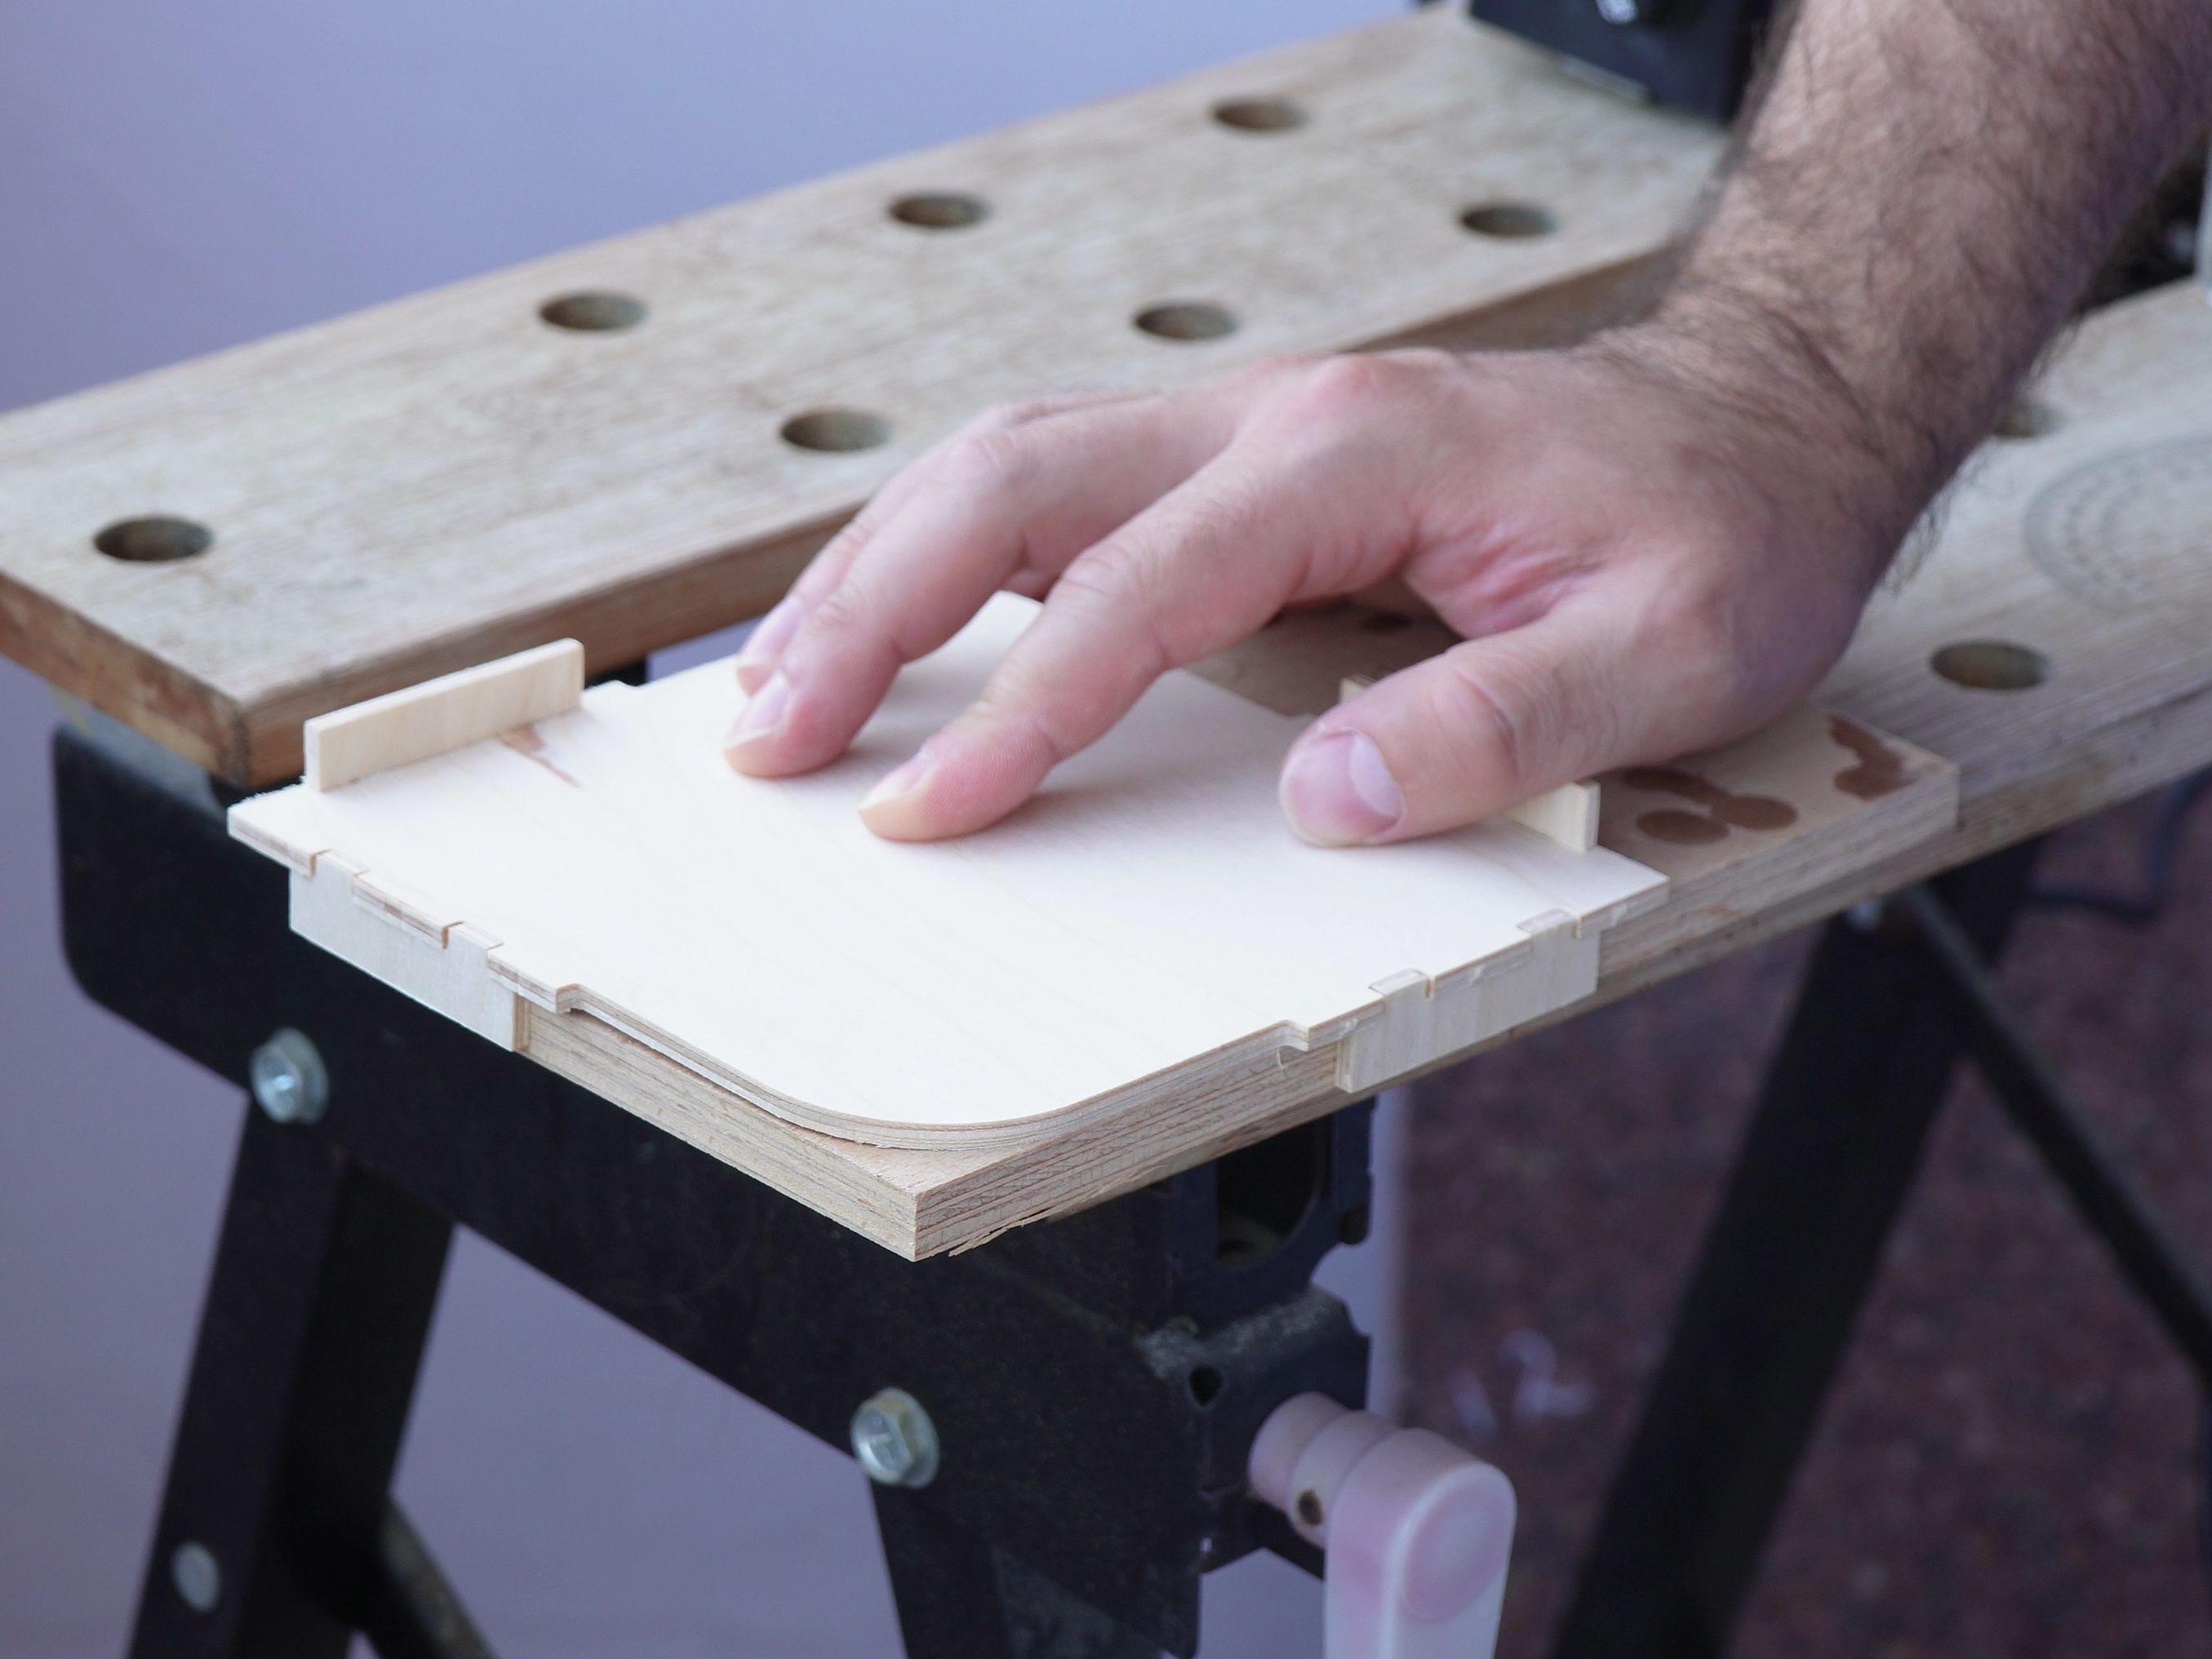
I used regular wood glue and a set of small clamps to glue all pieces together. The most important detail in this step is to glue the stoppers correctly -- getting this step wrong may require you to cut new pieces and start over. It is best to take a good look at the pictures here to get the idea. Basically, the stoppers to the left and right of a rounded corner need to face the same side. The other two face the opposite side.
Does It Work?
.jpg)
.jpg)
.jpg)
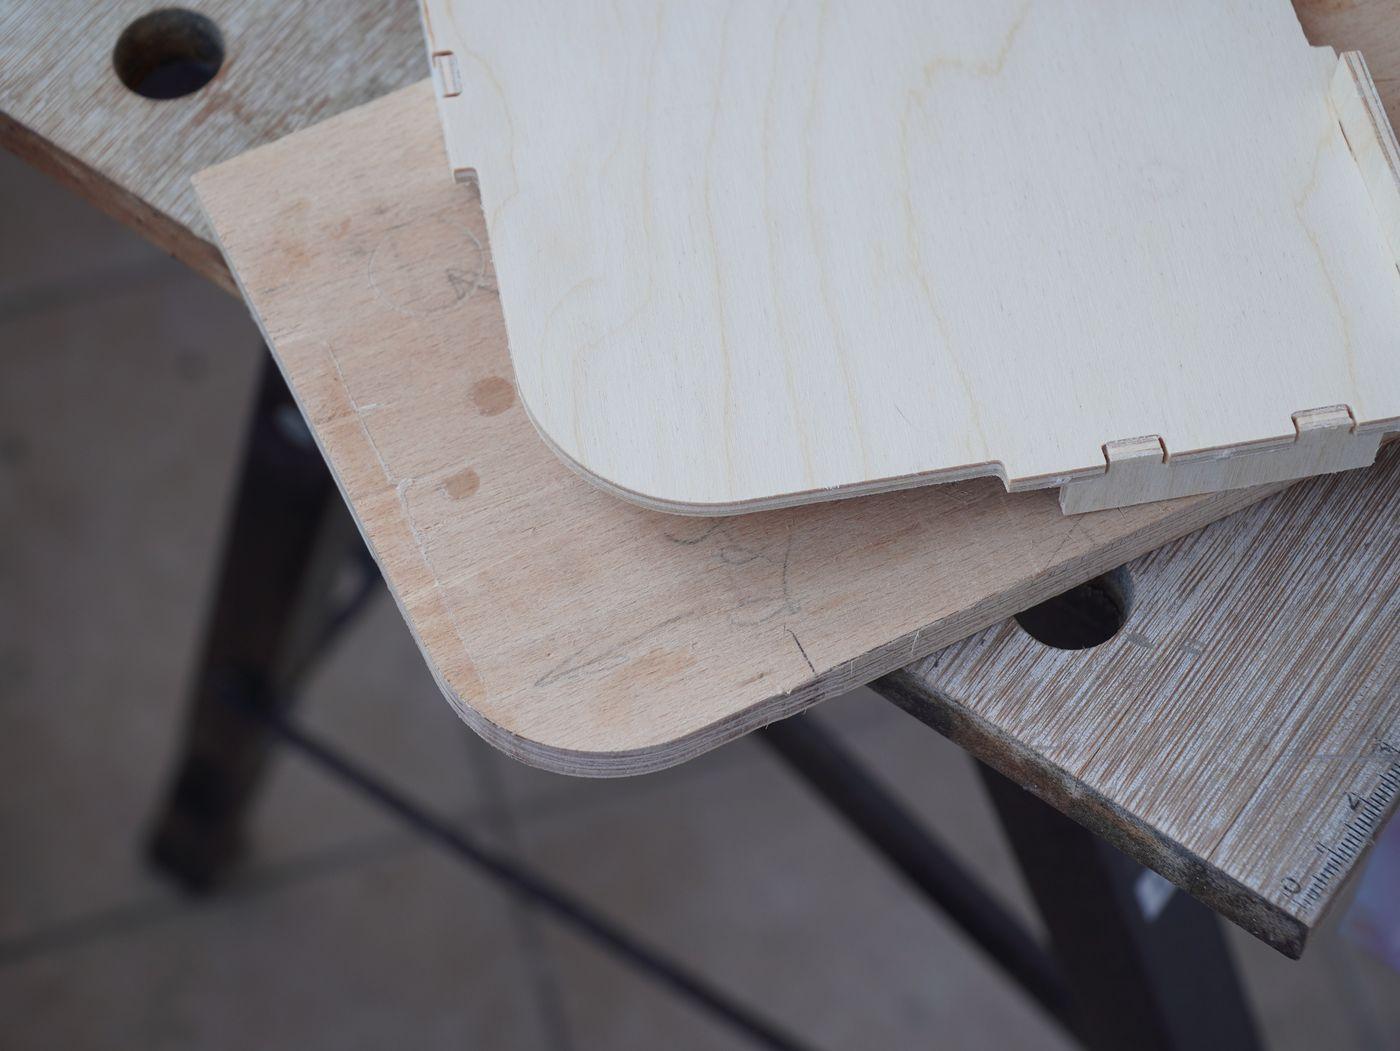
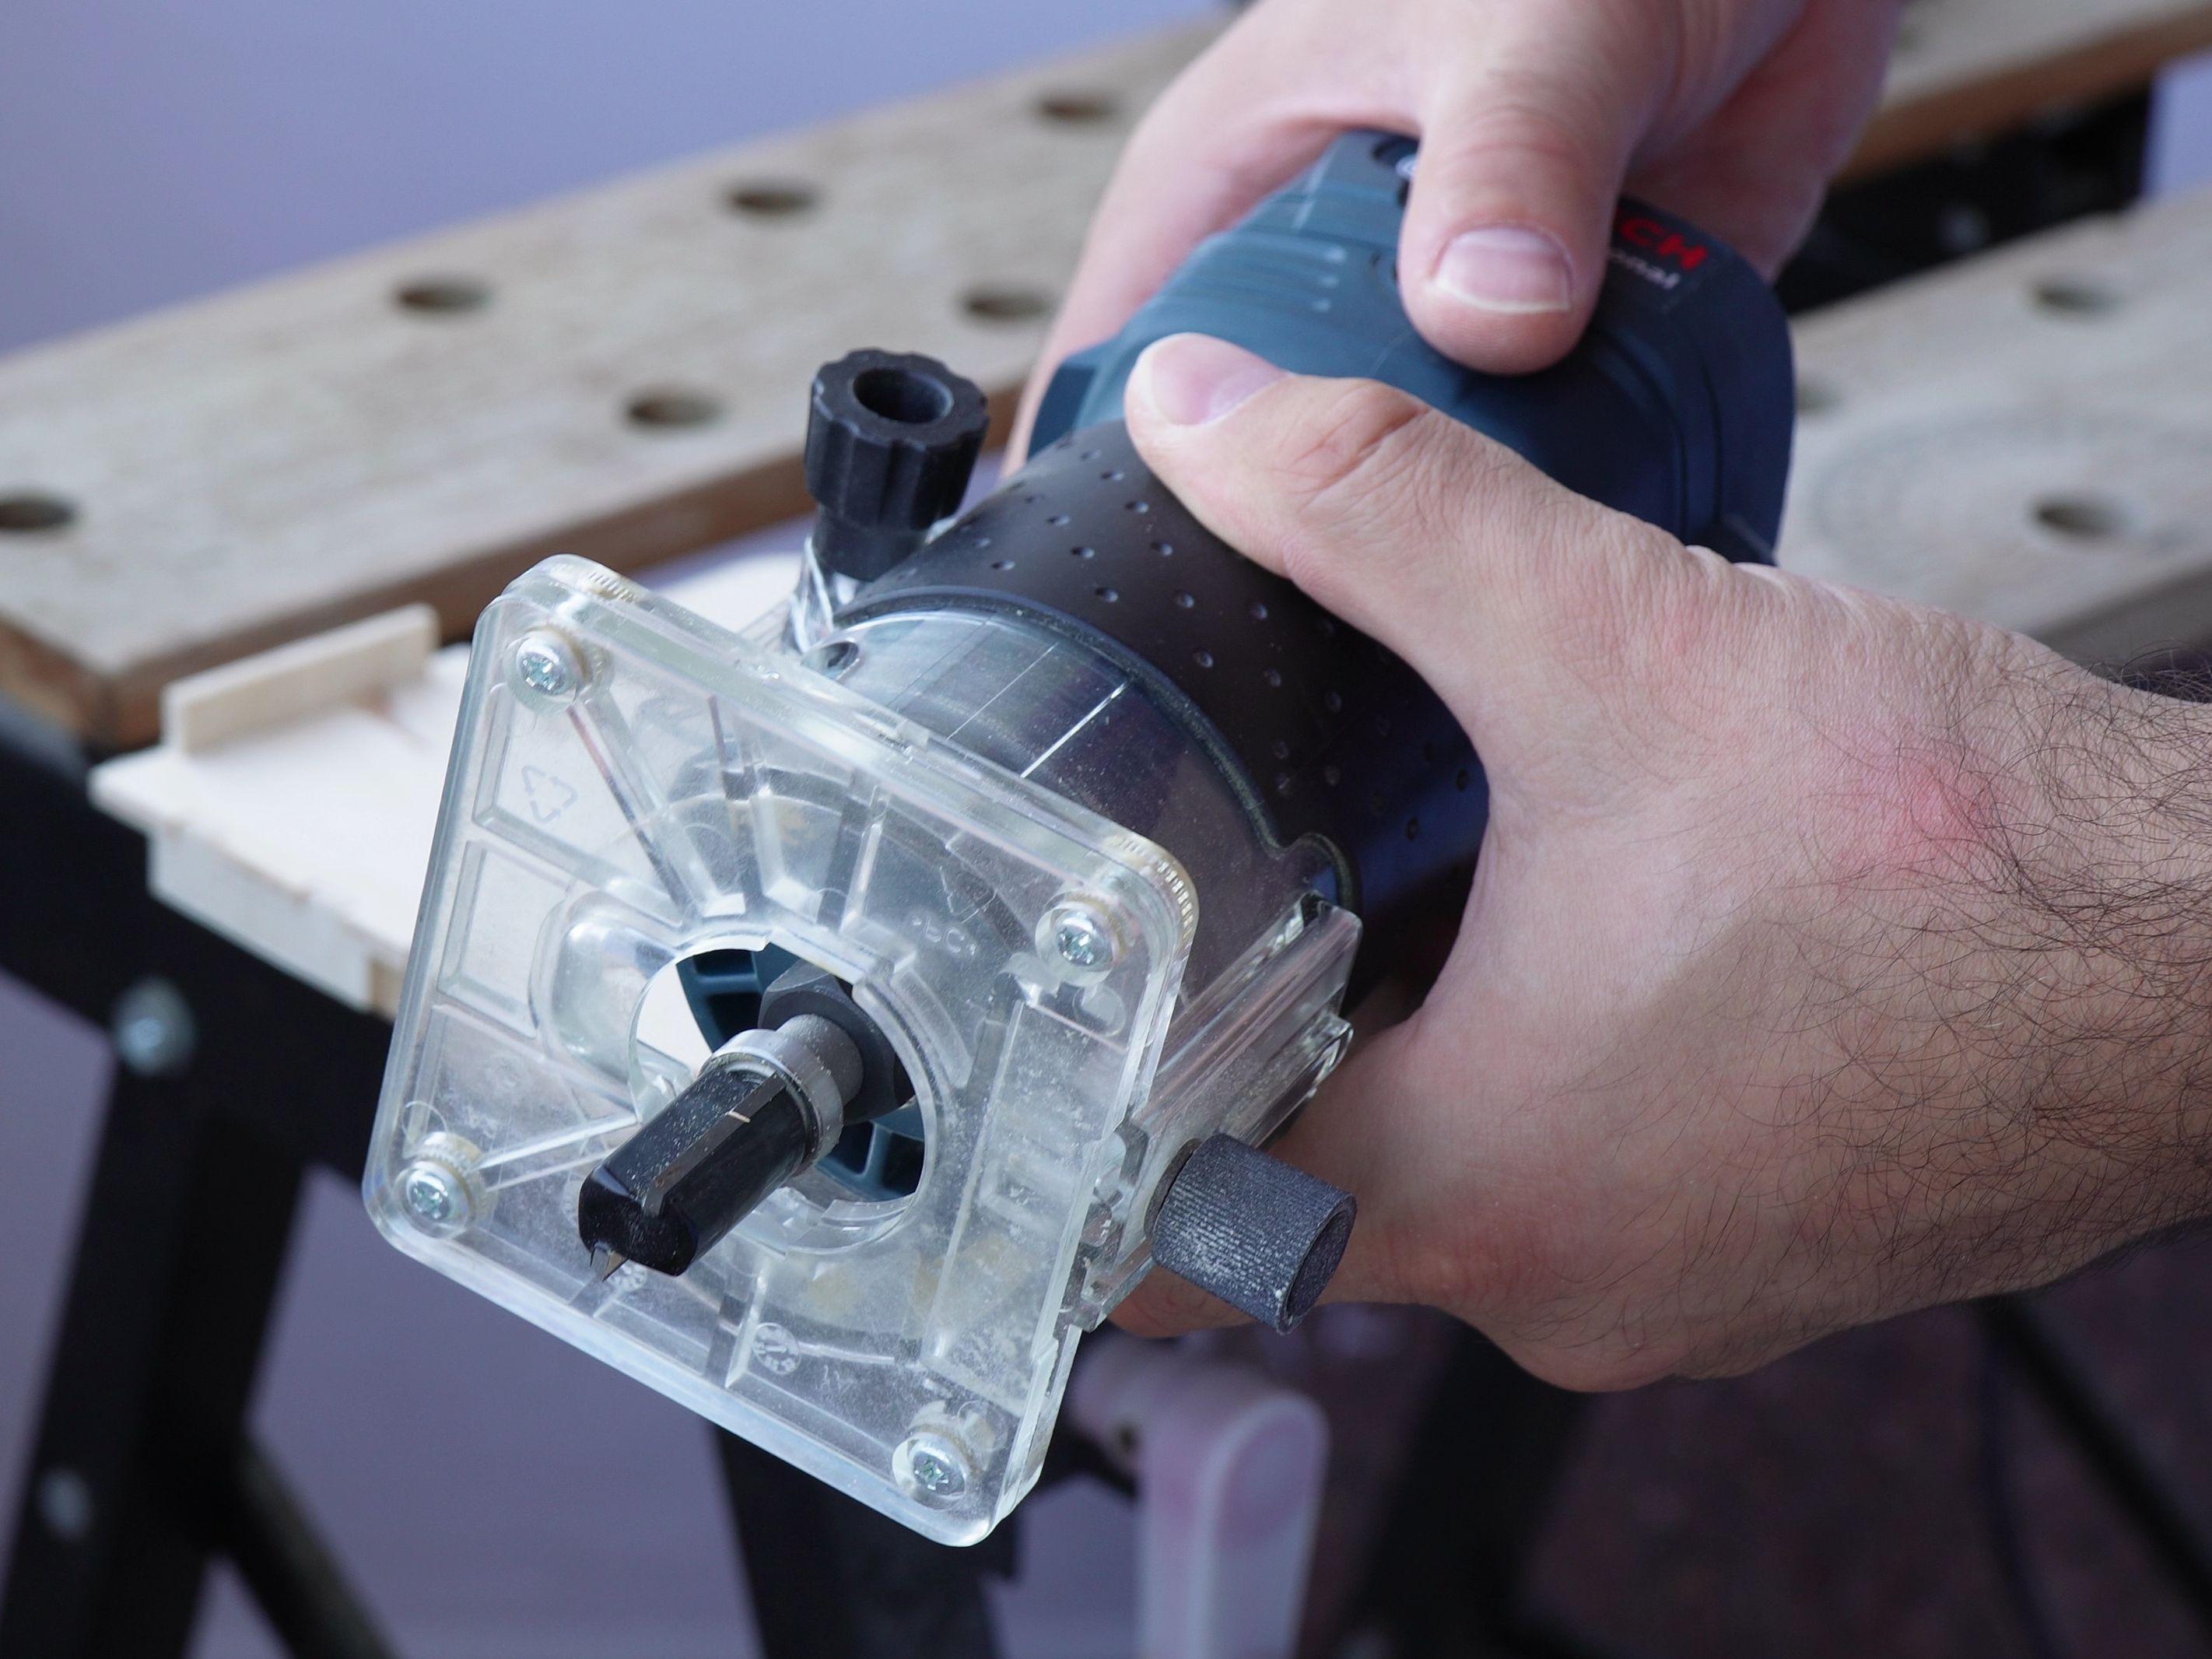
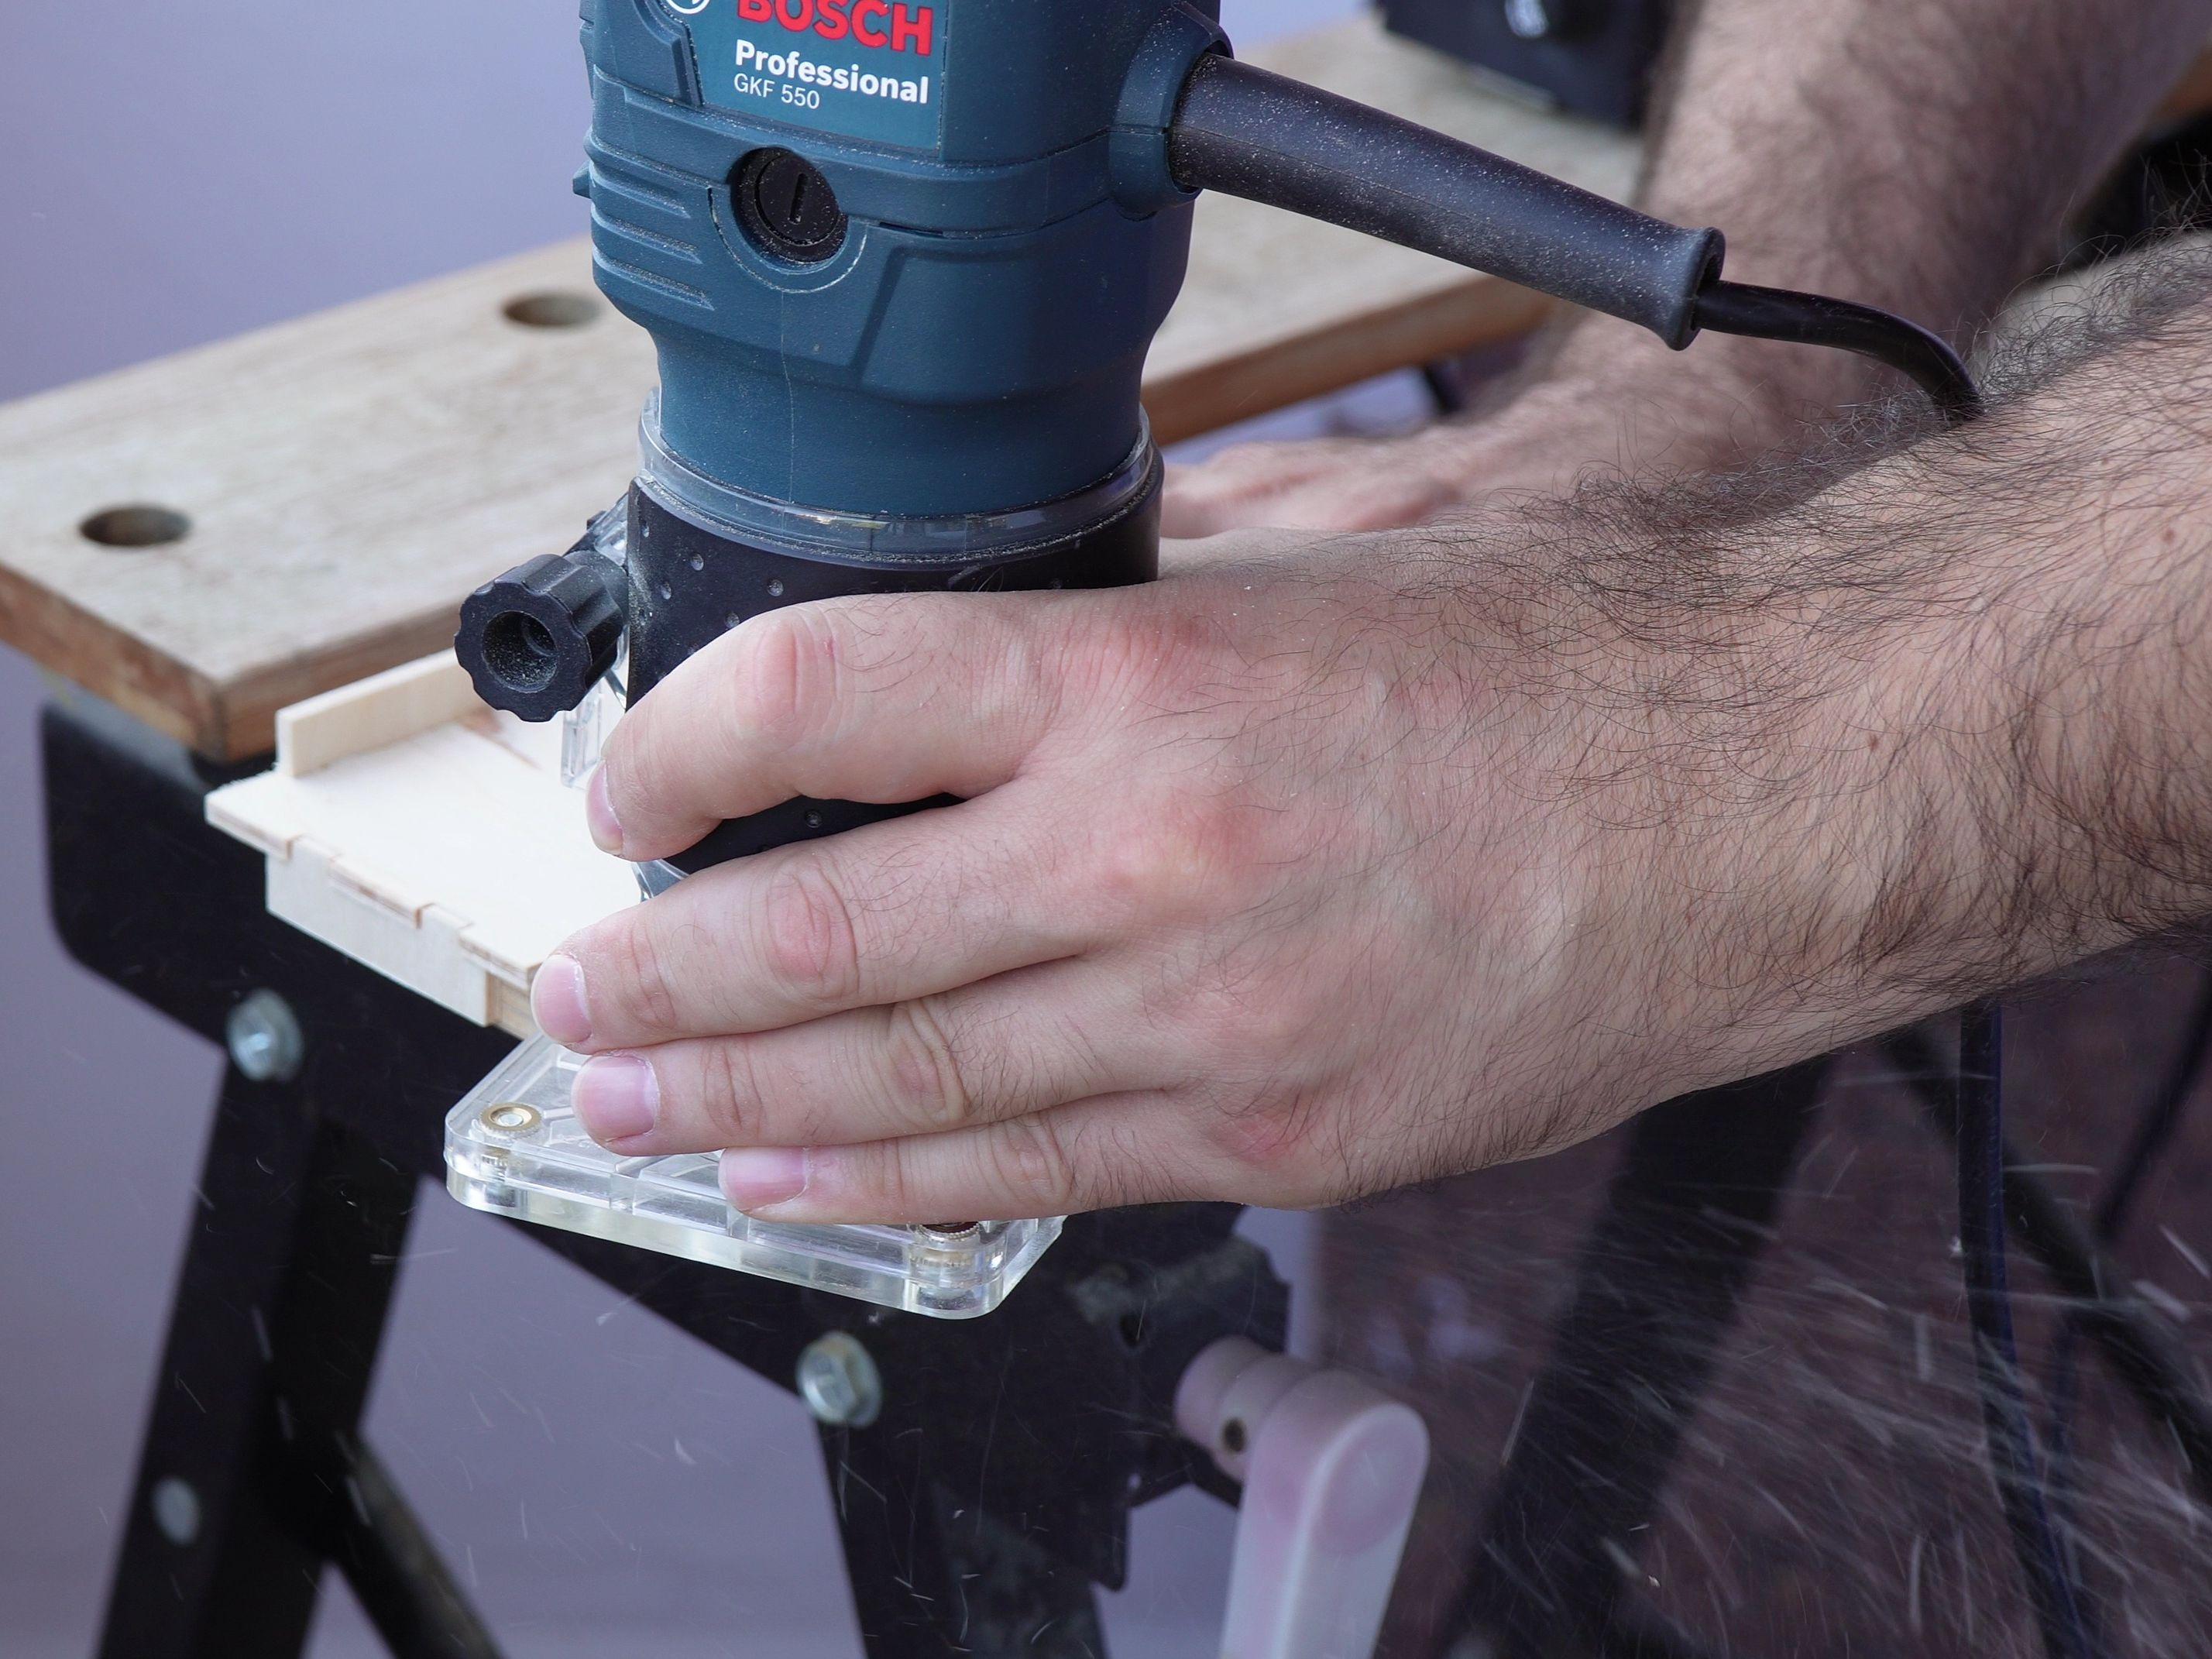
I took out a piece of scrap plywood to see how well the template works. I placed the piece on the side of my workbench, then positioned the template over it. Next I used my router with a flush trim bit to round off the corner. The result was good enough to me! Now I could make repeatable, good-looking rounded corners easily using my handheld router. I'm guessing the template would work fine with a routing table as well, though I don't have one to do proper testing.
Thoughts? Advice? Any ideas how a tool like this could be made better? I'd be happy to hear any comments you may have or answer any of your questions.